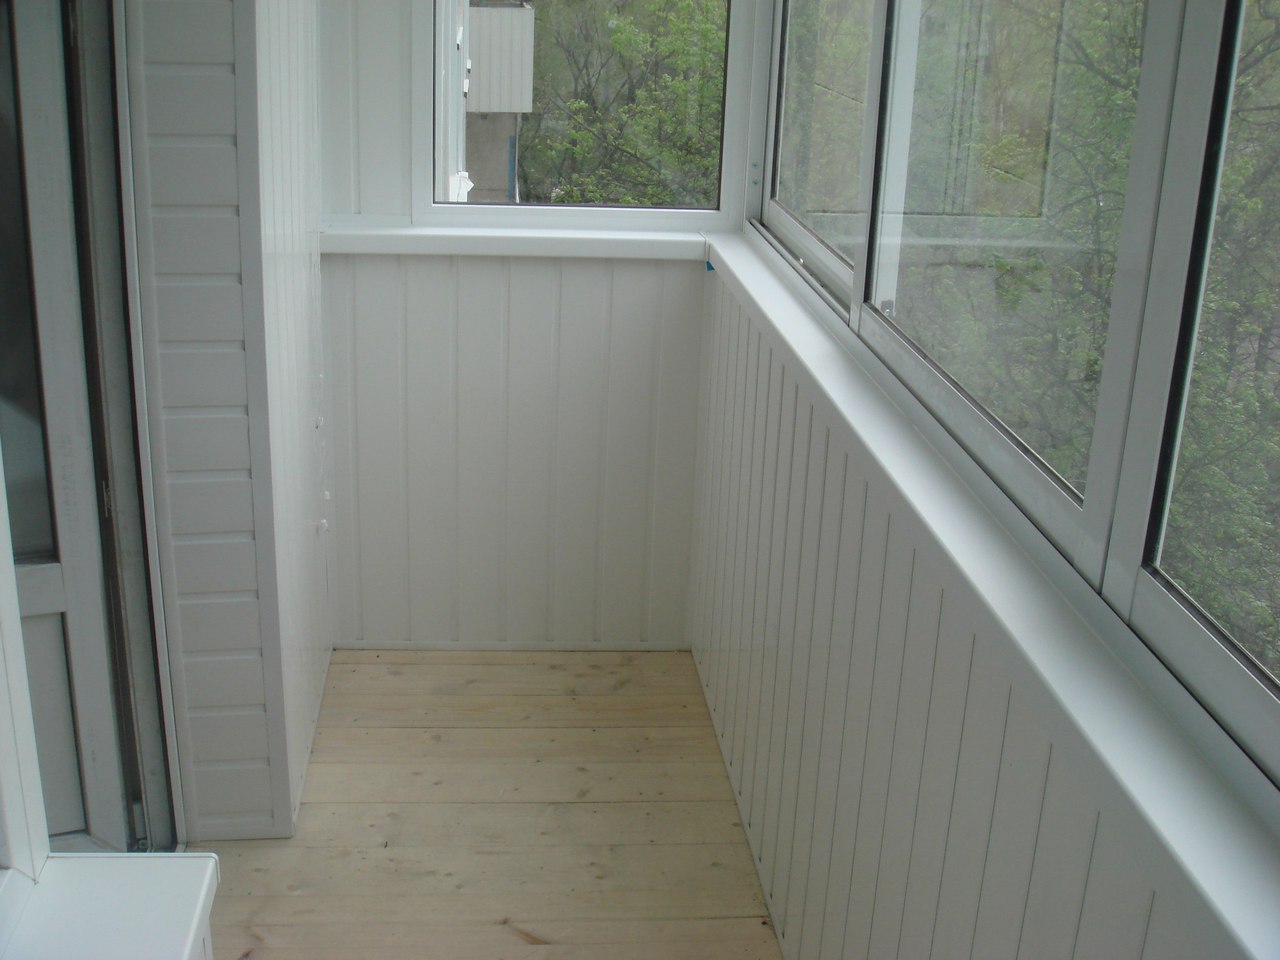
Finishing the balcony with plastic panels
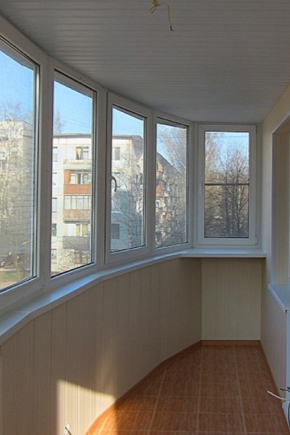
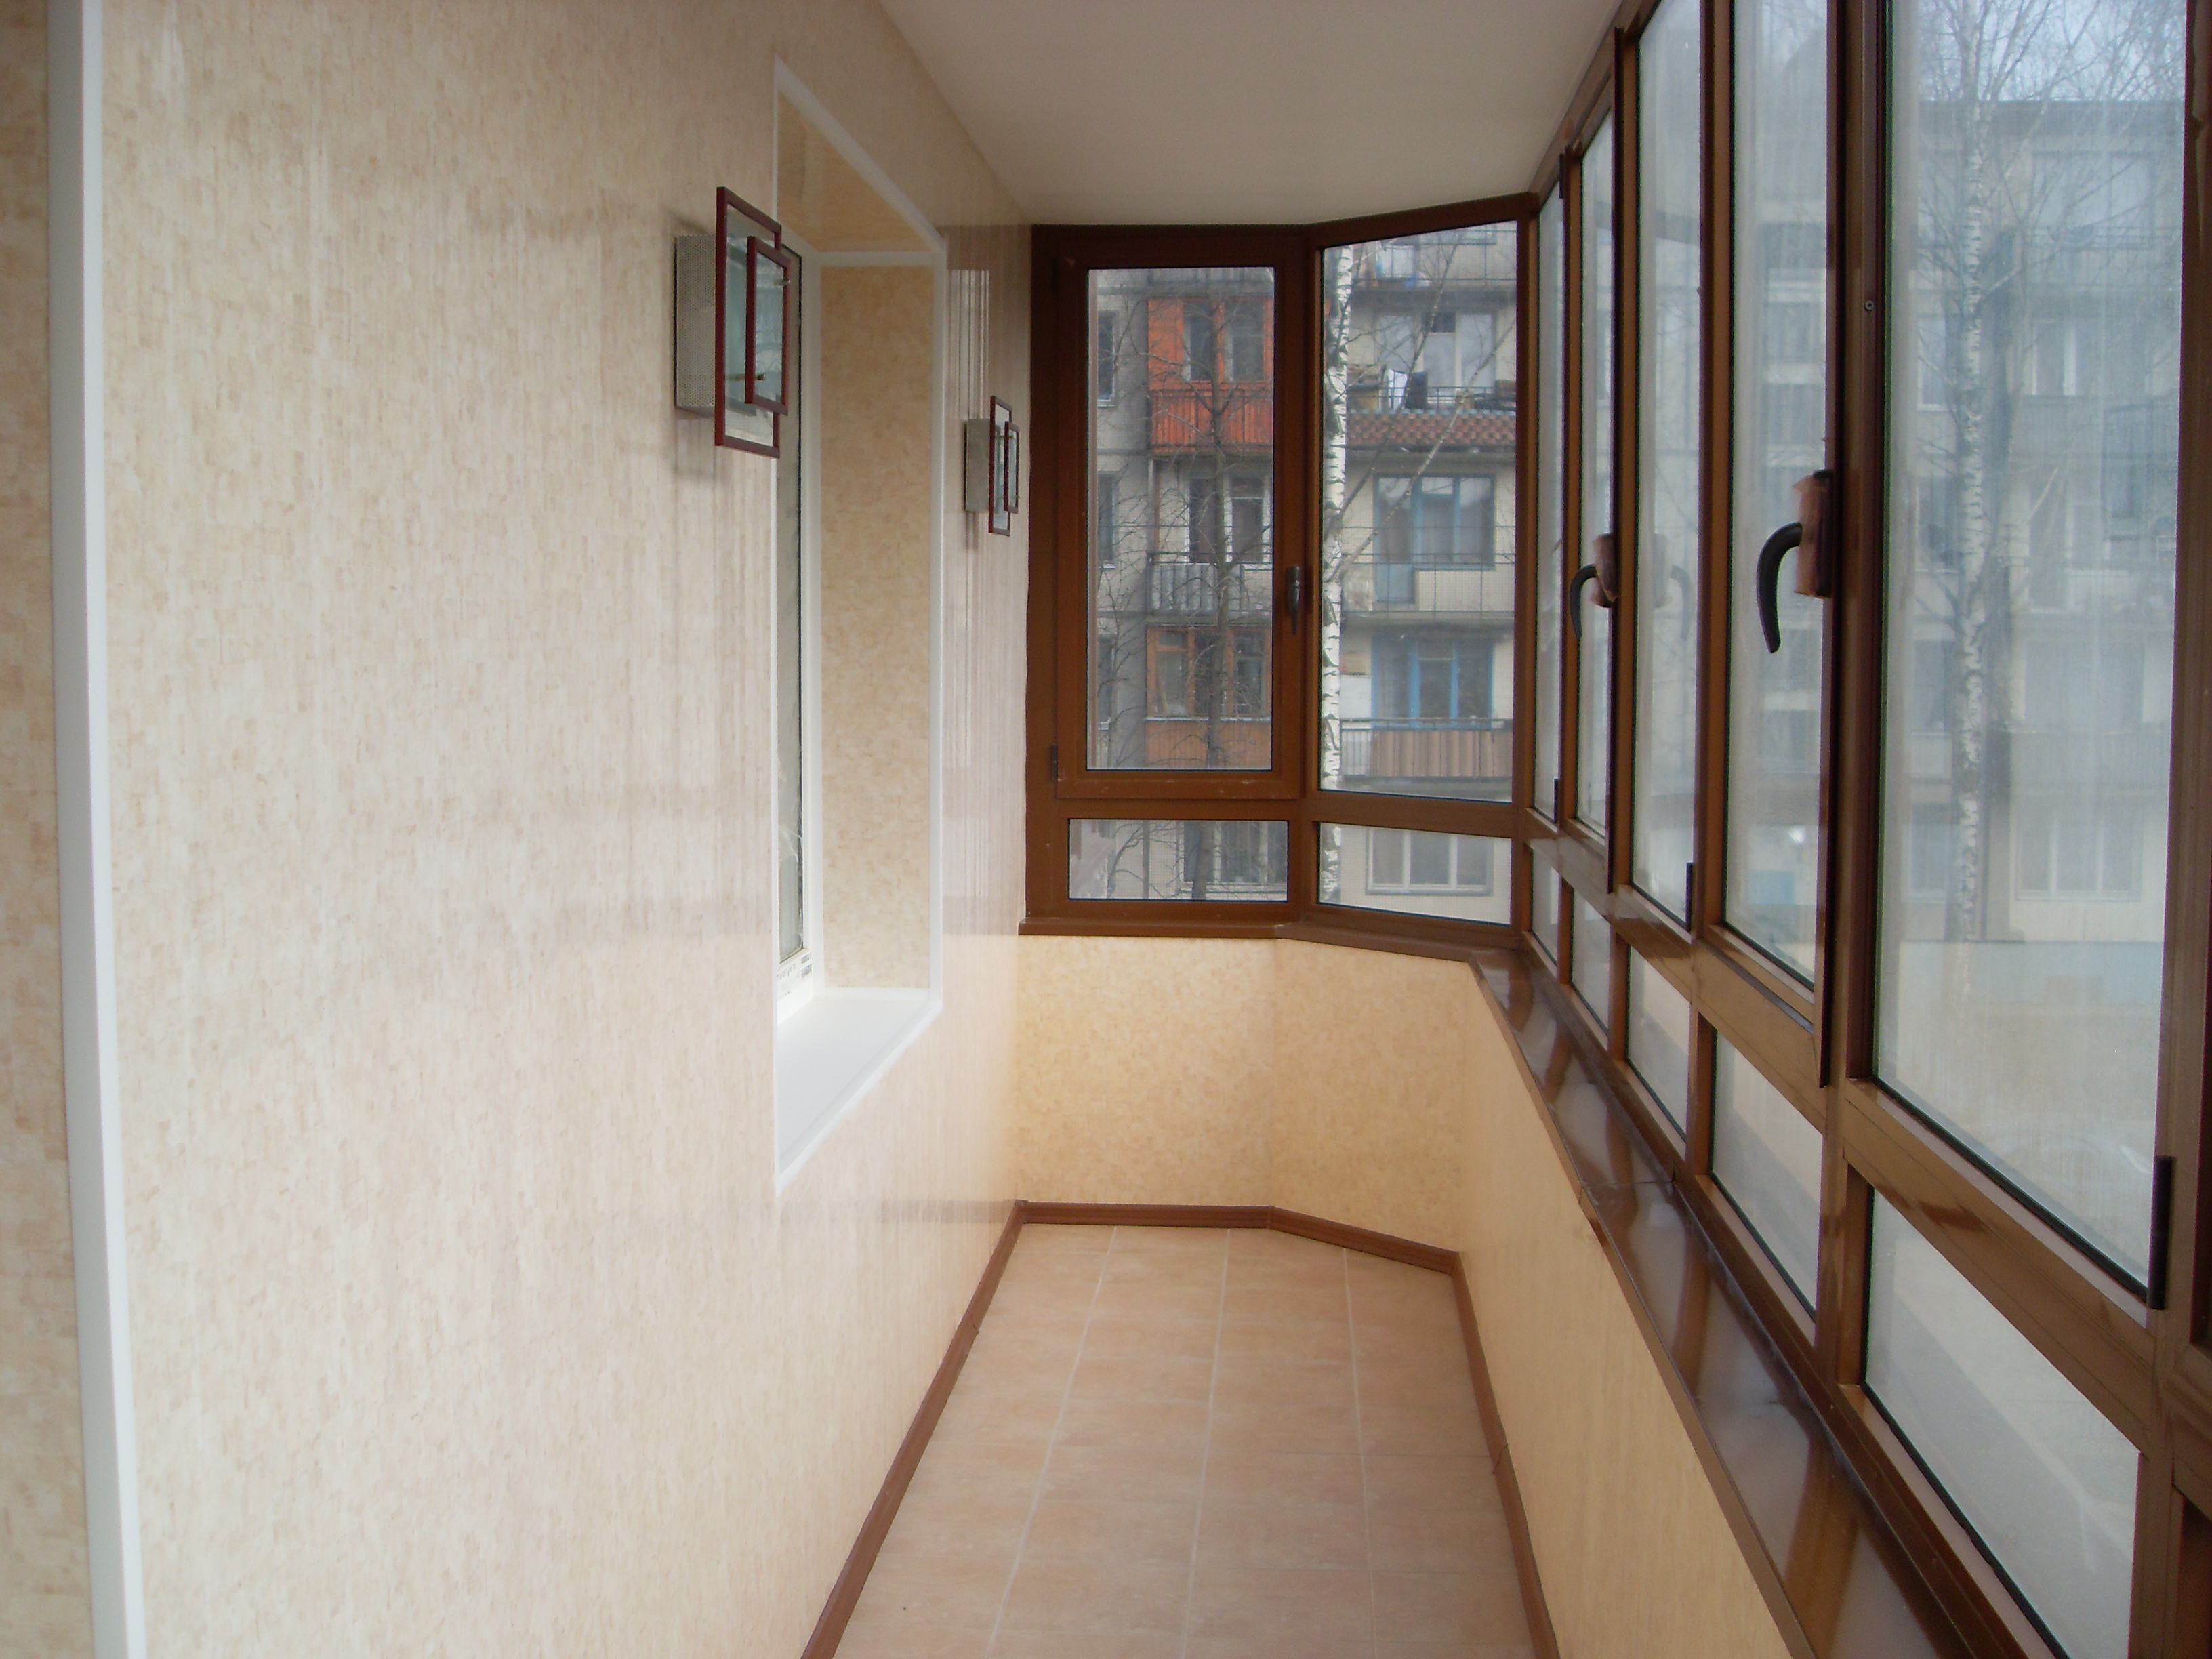
The balcony has long ceased to be used solely as a utility room for storing things and drying clothes. Today it is a full-fledged part of the living space of an apartment or a private house. Therefore, the owners treat its design as carefully and attentively as it does with the finishing of the rest of the apartment.
Repair - it is not only troublesome, but also expensive. To decorate the interior in a modern style and spend a minimum of funds to help budgetary materials.They are presented in wide assortment and possess high operational characteristics. Plastic panels are a vivid example.
Advantages and disadvantages
The choice of finishes for the balcony is a matter of responsibility. Not every material can cope with changes in temperature and constant exposure to sunlight. Plastic panels have a number of indisputable advantages over their counterparts.
Among the advantages of this material:
- Resistance to UV light (panels do not lose their color intensity even after prolonged use).
- Durability (service life from 20 to 50 years).
- Strength.
- Resistance to sudden temperature changes.
- Water resistant.
- Resistance to insects and rodents.
- Good heat and sound insulation characteristics.
- Easy installation and ease of maintenance.
- The possibility of finishing the balcony on their own without the involvement of a professional team.
- Wide range of.
- Environmentally friendly and safe for others.
- Affordable cost.
Plastic panels are equally used for the design of the ceiling and walls, only in the first embodiment a material with a low weight is selected.

When buying a material, you need to pay attention to a few points:
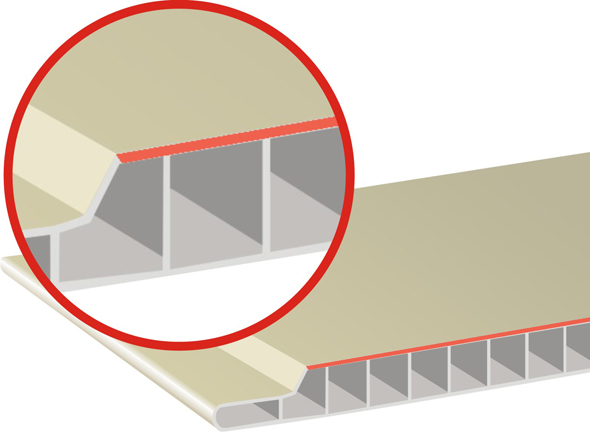
- Stiffeners on the inside of the panel increase its strength. The more often the ribs are located, the stronger and more reliable the finished surface will be.
- The inner and front parts of the panel should be painted evenly. Coloring should be smooth, without the presence of impurities or foreign inclusions. A sign of low quality is the grayish tint of the inside.
- The edge part of the plastic strip should be flat, smooth and free from chipping. When installing the panel should fit tightly to each other until a characteristic click. Only then will the connection be sealed.
- Panels can have different widths. Narrow is best suited for facing an open balcony. This material is better withstand temperature fluctuations.

The undoubted advantages of plastic panels include their excellent compatibility with other types of material: plaster, wood, metal, glass, textiles, bricks.
This greatly expands the possibilities of interior design.
Like any other material, plastic has a number of features and disadvantages:
- With strong heat plastic emits an unpleasant odor.
- The material is sensitive to strong mechanical stress (it can crack from a strong blow).
- The possibility of temperature deformation (for example, at very low temperatures).
Despite this, plastic panels remain one of the most popular, low-cost and practical materials for interior and exterior decoration of the balcony.
For more information about the features, pros and cons of plastic PVC panels can be found in the following video:
Species
Plastic panels are divided into several groups depending on the size, thickness, appearance, texture, the presence in the composition of various additives and other characteristics.
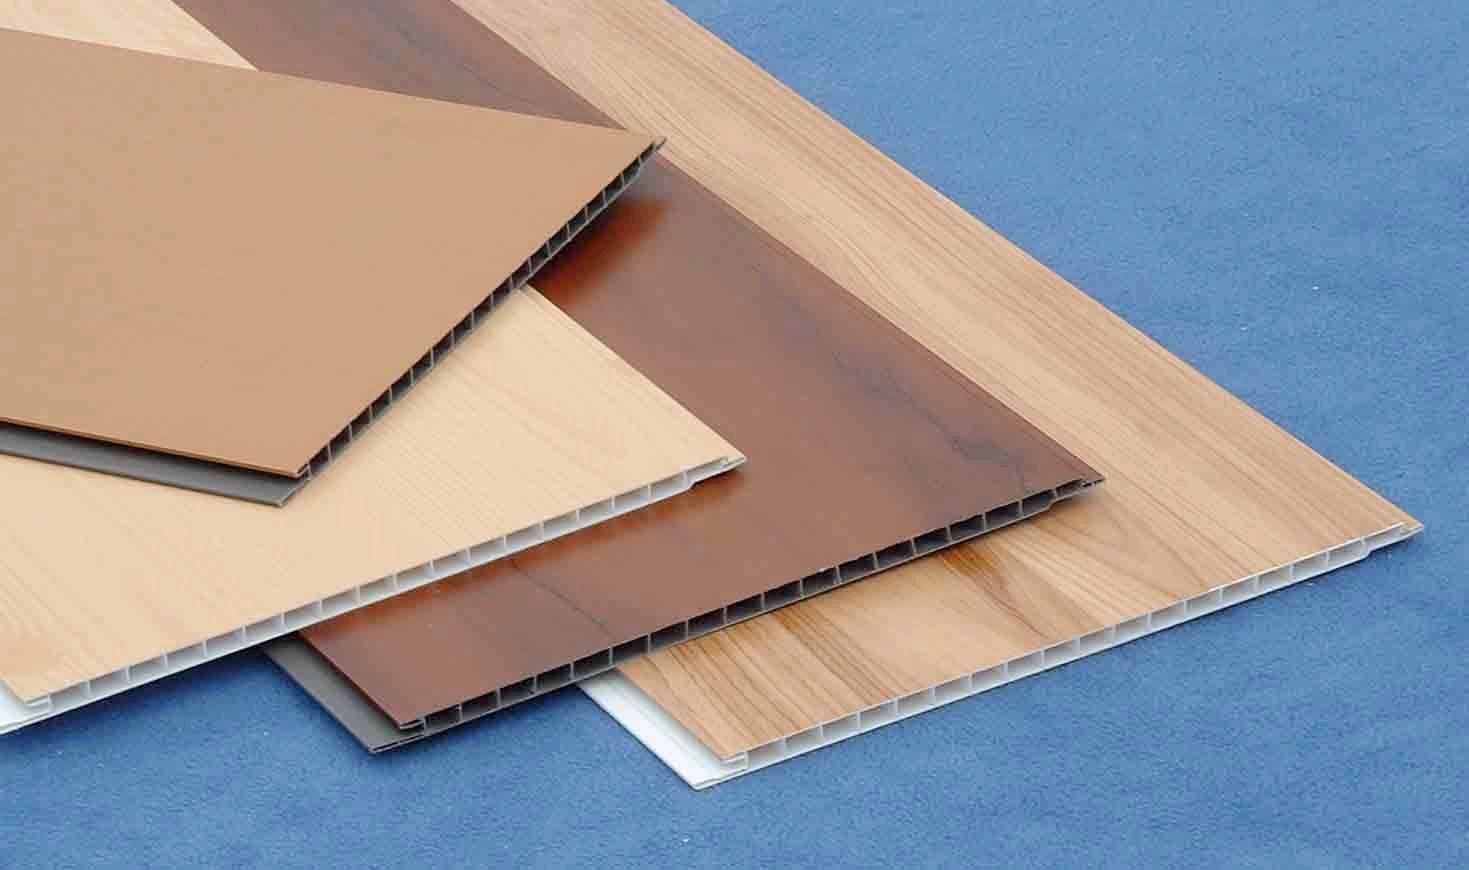
PVC panels externally look like bulk strips with internal stiffeners. They can be seamless (then the finished fabric looks whole and smooth) and suture (the coating has small gaps). The latter option is often used for vertical facing of small premises. Longitudinal seams visually "pull out" the room.

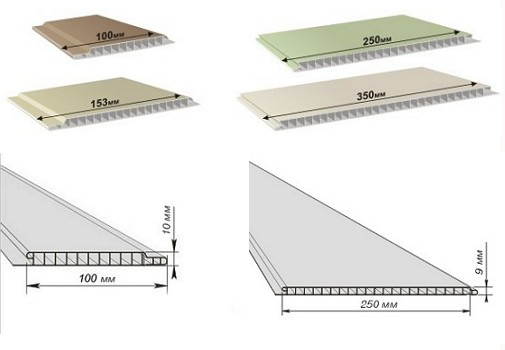
Size range
Standard panels are presented in a wide range of sizes and have several options for thickness. For the ceiling decoration, narrow lining is used, for walls - plastic panels of different widths.
By type of coverage
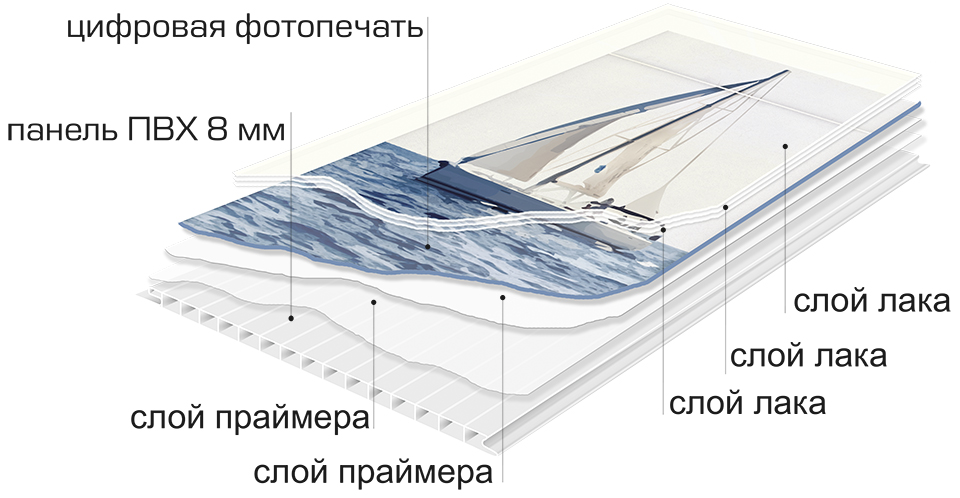
In thermal printing, the pattern is transferred to the panel using a special thermal film. The advantages of this method include the possibility of applying patterns and colors of varying degrees of complexity and intensity. A protective lacquer layer that covers the film gives the finished panel a glossy shine.
The method of offset printing is applied using typographic forms. The picture can be very different, including photographic. Imitation of natural stones is considered the most demanded: marble, granite, malachite and other minerals.
Another option for applying the ornament - laminated film. It is applied to a different ornament, including a pattern that repeats the texture of natural stone, textiles, bamboo. Then this film is pasted on the panel.
Preparation method
The first production version consists in pressing and stamping of polyvinyl chloride. The second option is a sandwich panel. This is a fairly new design option, but it has already become very popular. Such material consists of two layers of polyvinyl chloride and a layer of insulation. Usually, mineral wool or polystyrene foam is used as a layer.

Such a panel can be one-sided (usually used for decoration of walls or slopes) and bilateral (decoration of partitions). The materials in the composition of the sandwich panels make it possible not to use additional layers of vapor or waterproofing for the surfaces. The material is available in several thicknesses.
The disadvantage of such panels is their rather large overall dimensions (1.5 * 3 meters).
Appearance
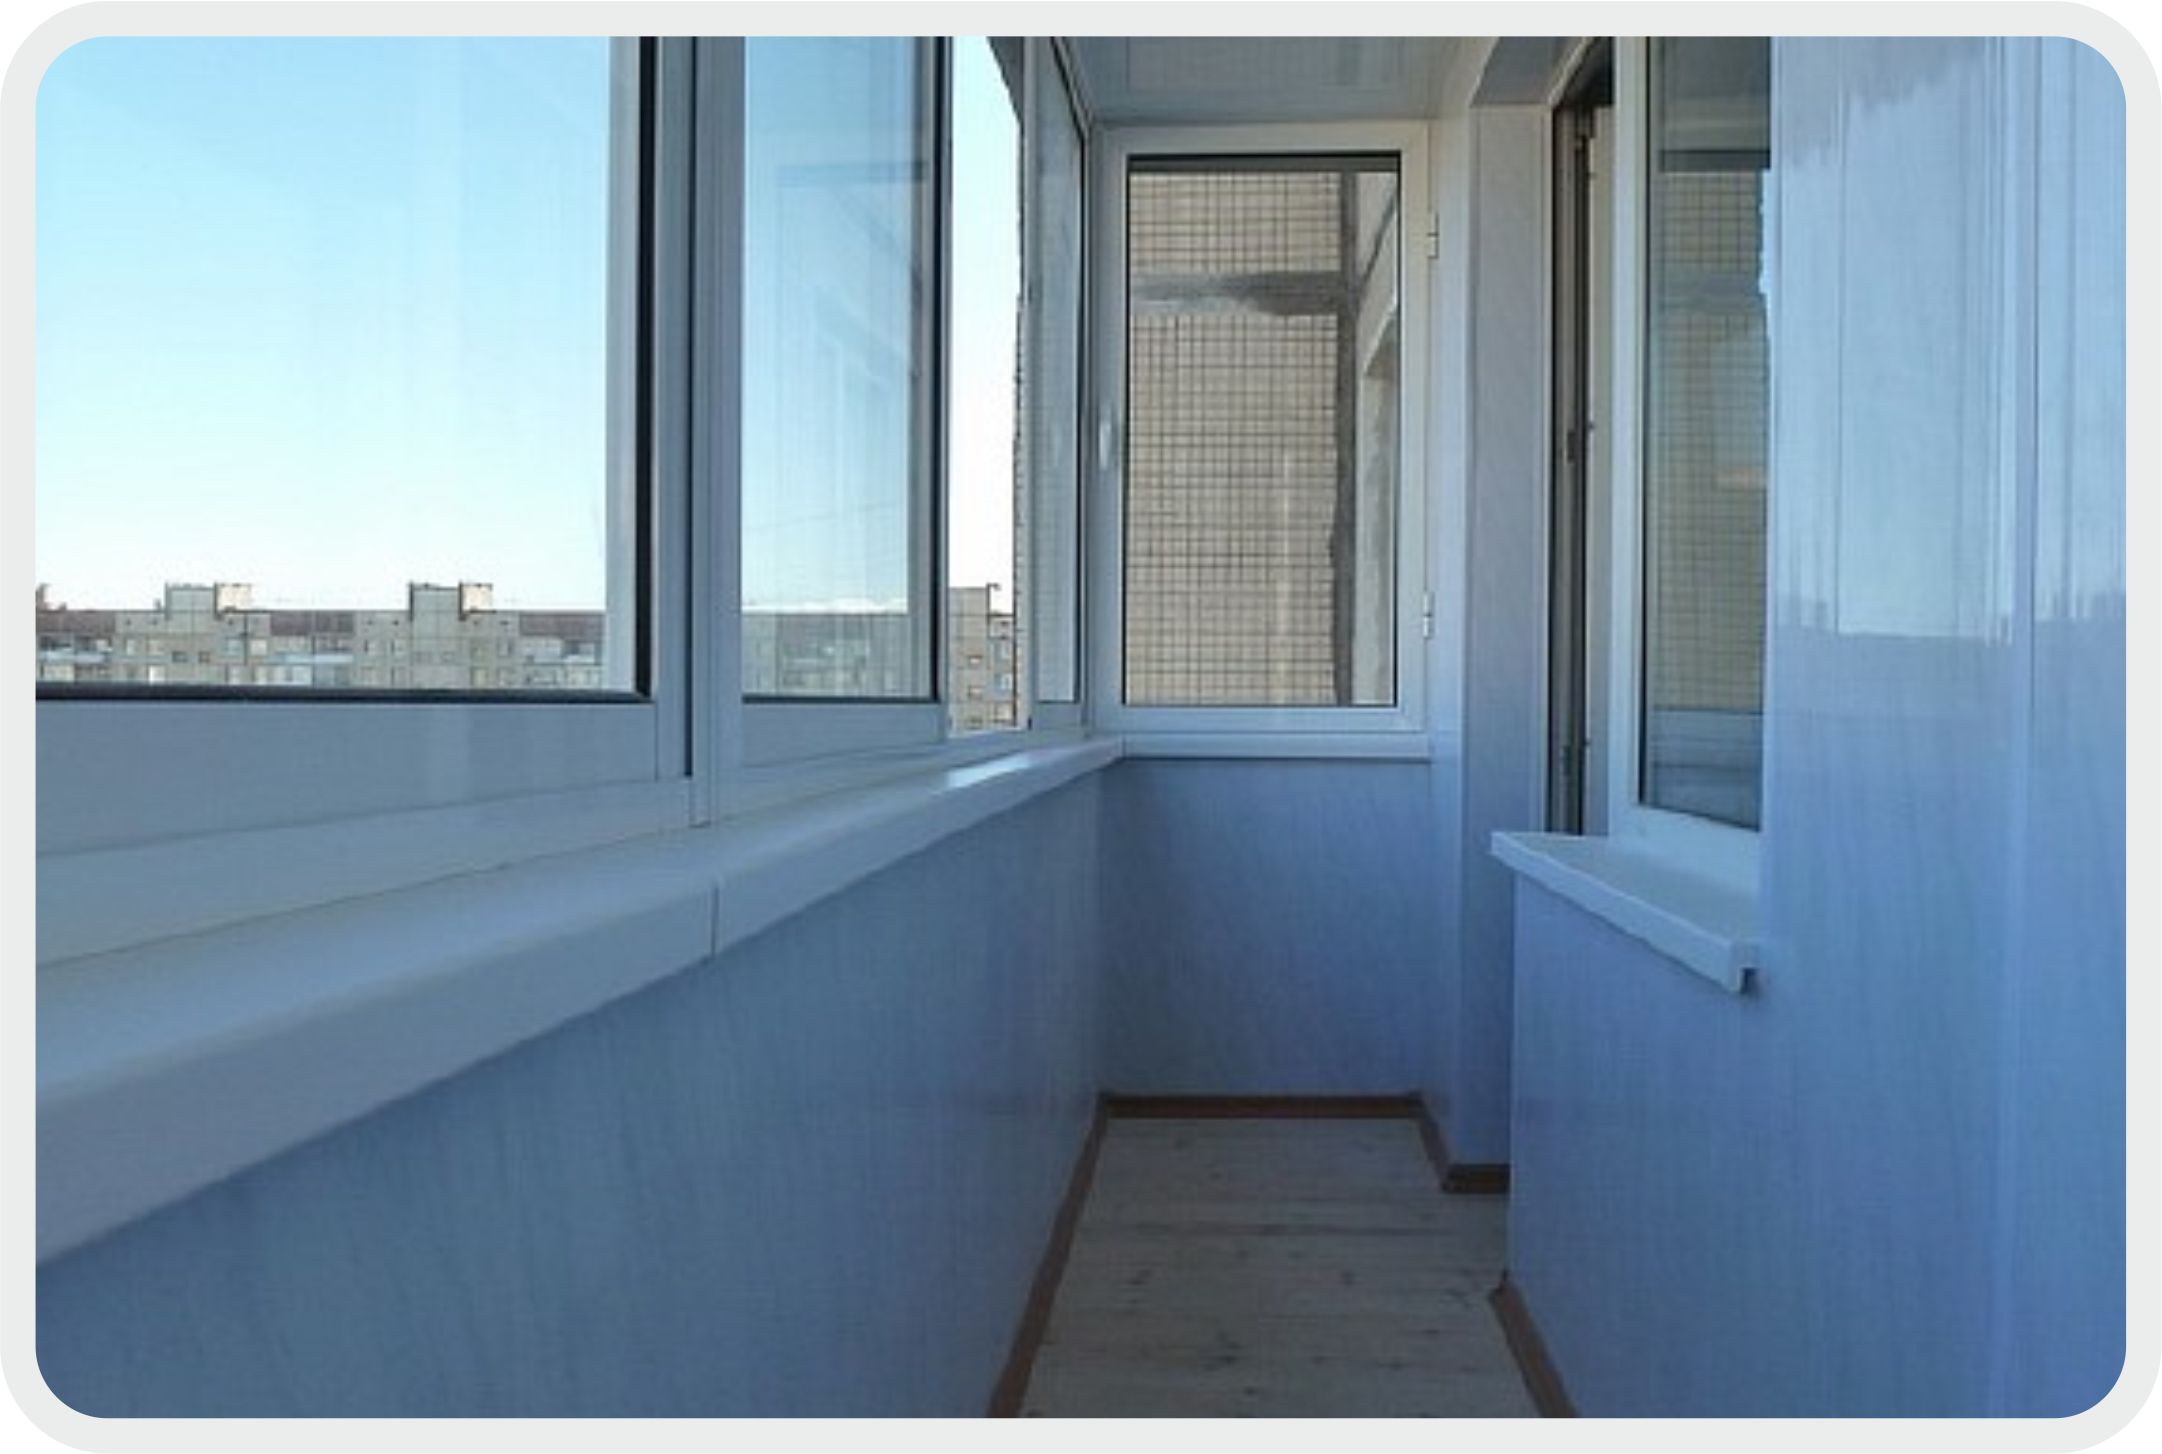
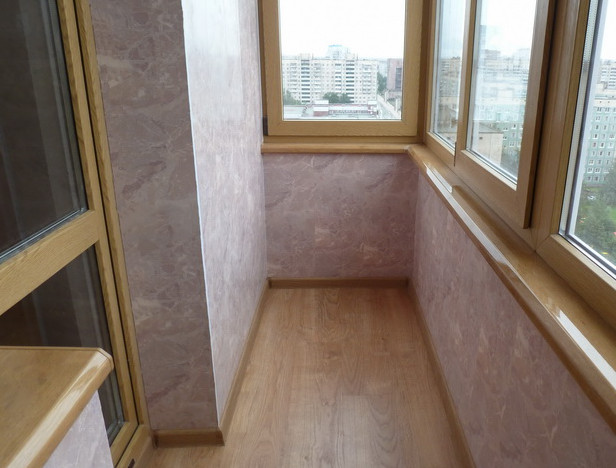
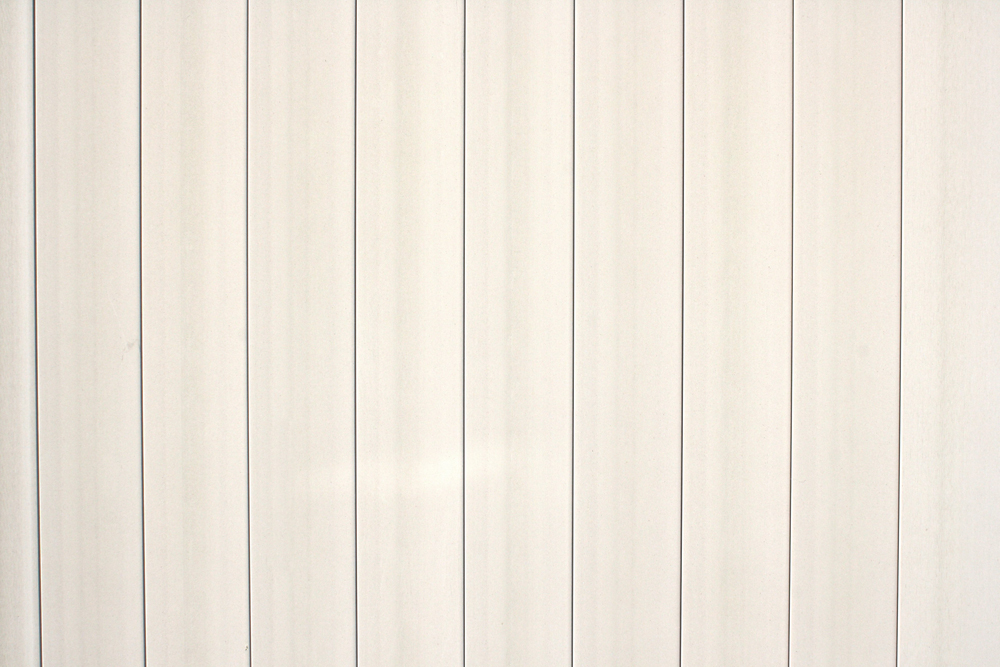
Plastic panels today are presented in a very wide range, so choosing the right style, size and cost for finishing the balcony is not difficult. Panels can be plain or patterned, smooth or textured.
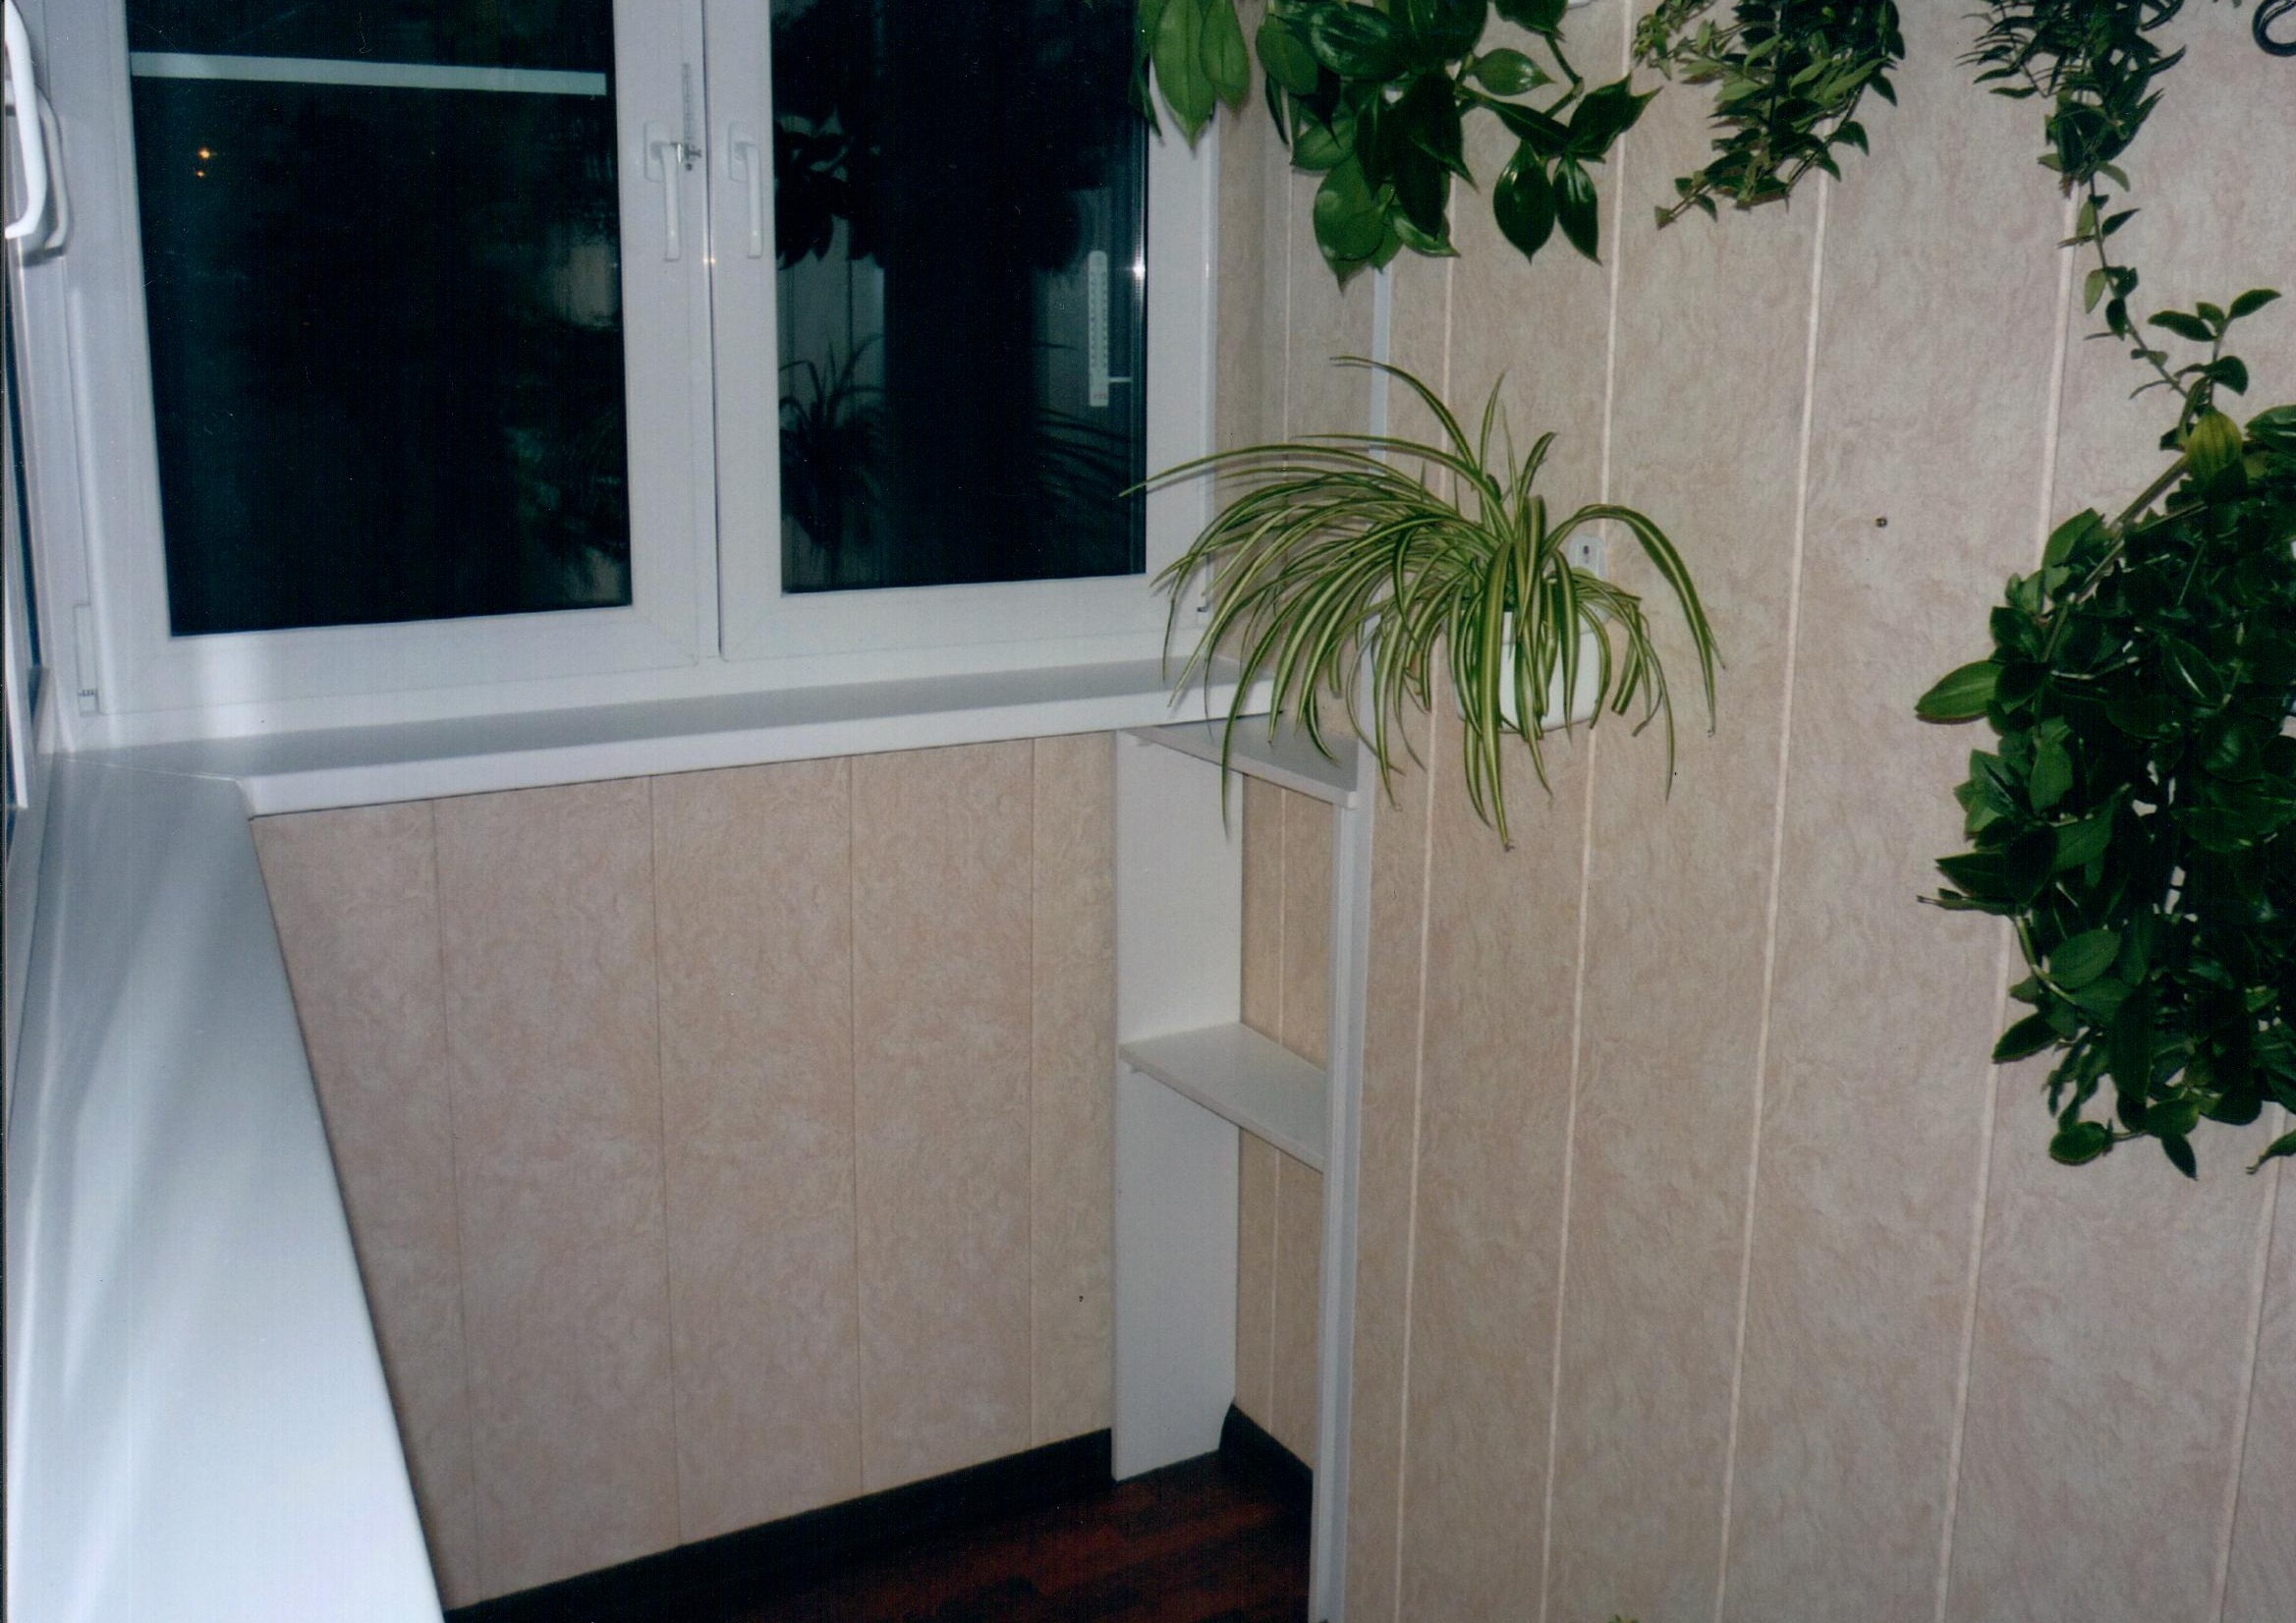
Transparent panels are an original way to unusually decorate your balcony, making it more open and bright. Transparent plastic perfectly passes sunlight and has all the operational and physico-mechanical characteristics of the usual material. Balcony, trimmed with transparent panels, can be used as a home greenhouse, for example.

Necessary tools and materials
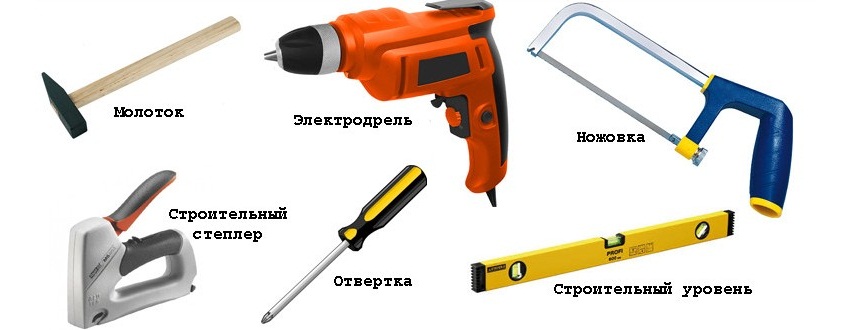
In the process of working with plastic panels may require the following tools:
- building level;
- plasterboard knife (it is great for cutting plastic);
- construction stapler;
- crosshead screwdriver;
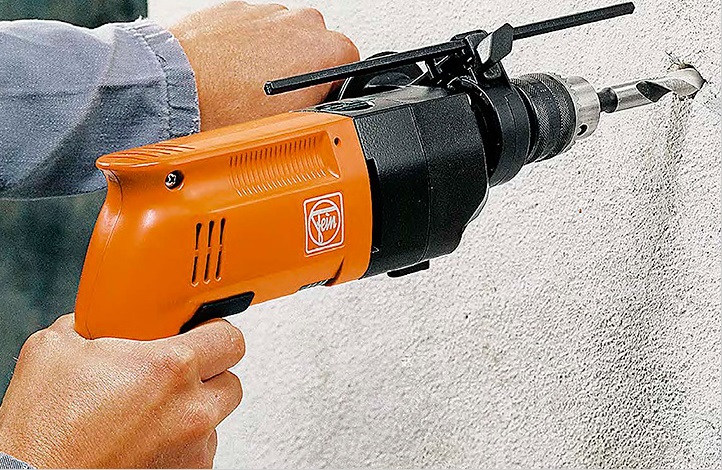
- drill or screwdriver with a magnetic nozzle;
- hacksaw
Necessary materials:
- wooden slats or metal profile for the manufacture of crates;
- insulation;
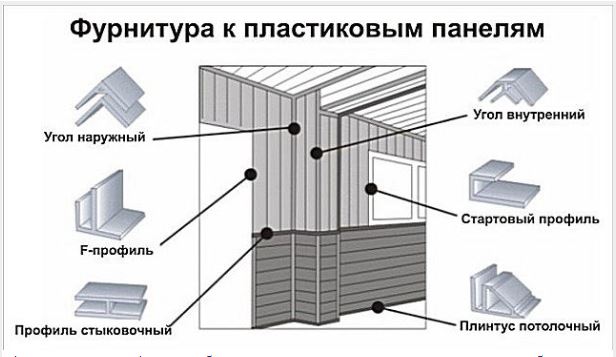
- finishing strips (starting, finishing, connecting strip, internal and external corners of plastic);
- straight wall panels;
- Corner panels with two sides for trimming the corners of a balcony and three for decorating slopes.
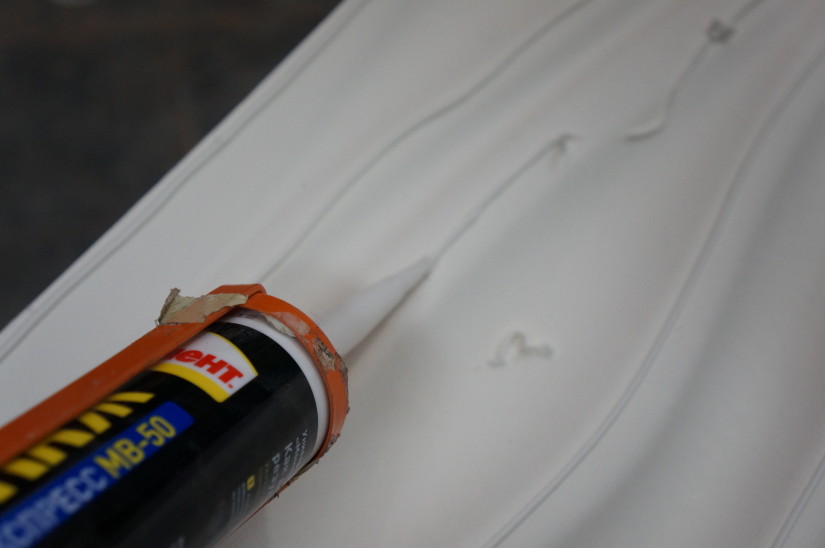
For fixing the batten, panels and additional elements, you will need dowels 6 mm thick and 8 cm long, screws, staples, clamps, liquid nails, foam (depending on the type of fastening chosen).
Calculation of materials
In order to correctly calculate the required amount of material, it is necessary to measure the perimeter of the room. The resulting value should be divided by the width of the selected panels and add a few spare pieces for trimming or scrap.
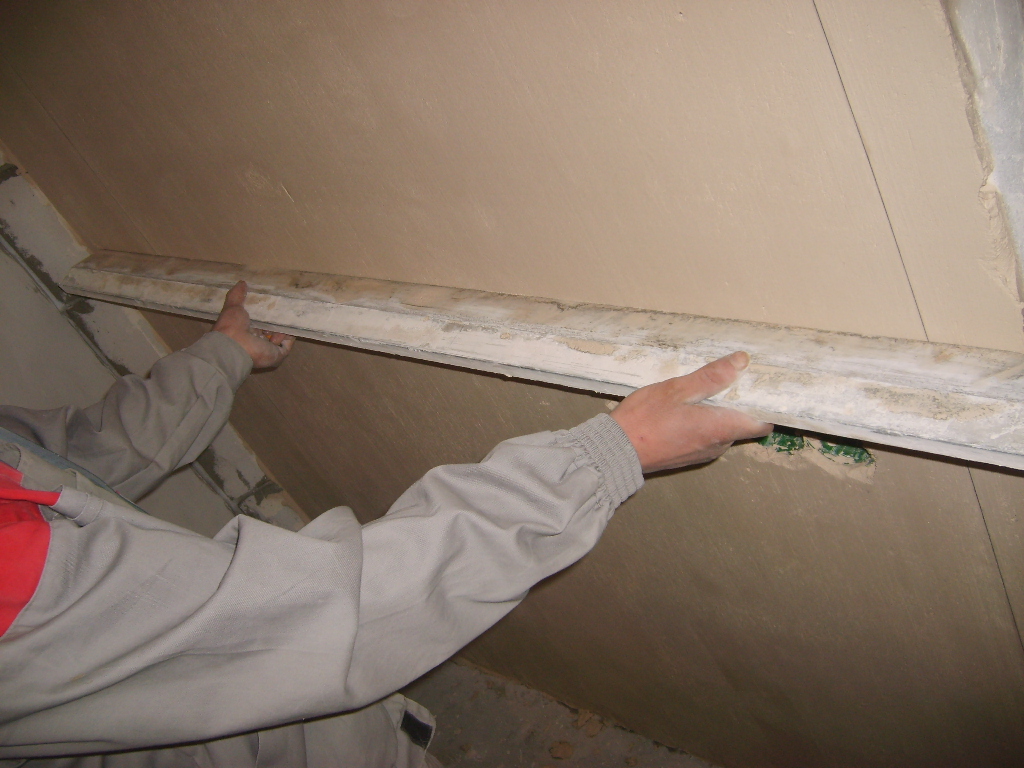
Preparatory work
Balcony trim starts with the preparatory phase. On how carefully it will be executed, the final result largely depends.
Preparatory works include:
- removing the old coating (paint, wallpaper, panels, plaster);
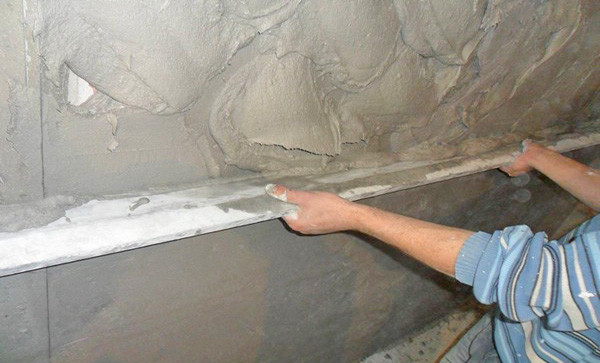
- checking all surfaces for cracks, gouges, chips, bumps;
- sealing of cracks with cement-sand mortar, removal of protuberances by perforator, protection of metal interior elements with an anti-corrosion coating;
- surface treatment with an antiseptic to prevent mold and mildew (this procedure is performed 2 to 3 times in a row with an interval of about 4 hours).
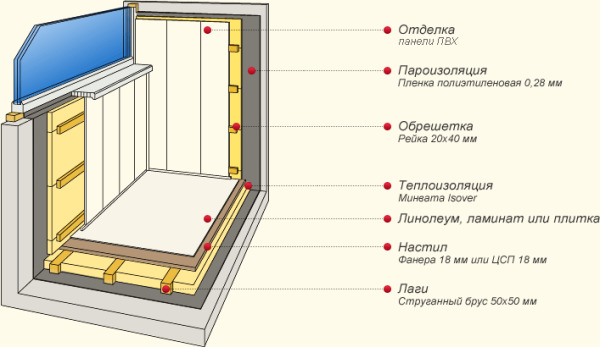
If this is provided by the project, then the balcony should be insulated and glazed. The surfaces to be treated should be laid with a waterproofing layer.
For cladding walls and ceiling with plastic panels exposed wooden or metal crate. This allows you to create the necessary air gap between the plastic and insulation. Depending on the material chosen, the crate is set in a specific way. For vertical panels - horizontal batten and vice versa.

Fastening methods
Plastic panels can be fixed on the walls, ceiling and floor in different ways:
- The most simple and short-lived option - mounting on liquid nails. This method is used for relatively recently aligned ceilings and walls. The panels will last exactly as long as the glue dries, so its service life must be checked with the seller.
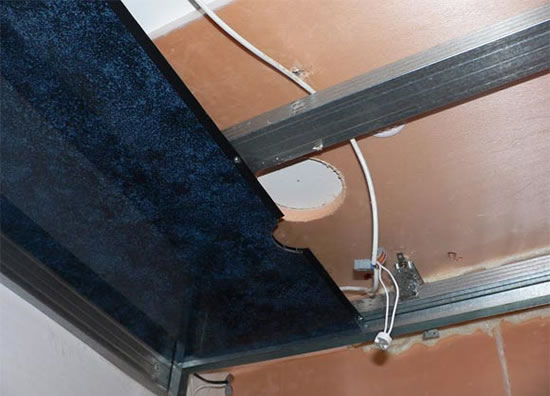
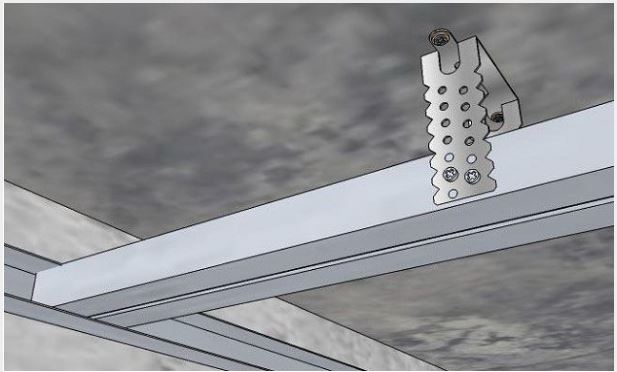
- The strongest and most reliable method of mounting is mounting on a metal crate. Most often, a metal frame is used for the ceiling covering, because there the plastic base should be as reliable and strong as possible.

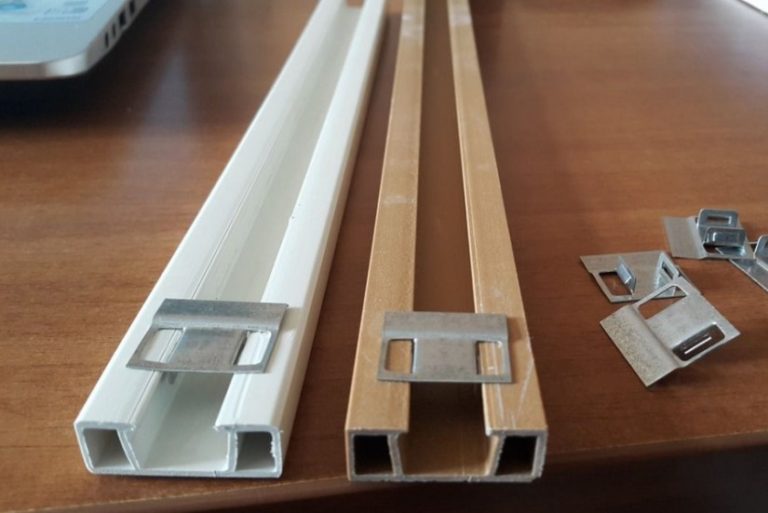
- Sometimes to create crates used and strips of PVC. This method is the least common, as it is quite complicated in execution.
- The most popular option for today is wooden crate. It will require a wooden rail 50 * 20 mm and dowel-screws.
To fasten the panels to the crate, depending on its type, you will need wood / metal screws, staples or staples.
How to sheathe your hands inside: step by step instructions
After the preparatory phase, you can proceed directly to the cladding panels.
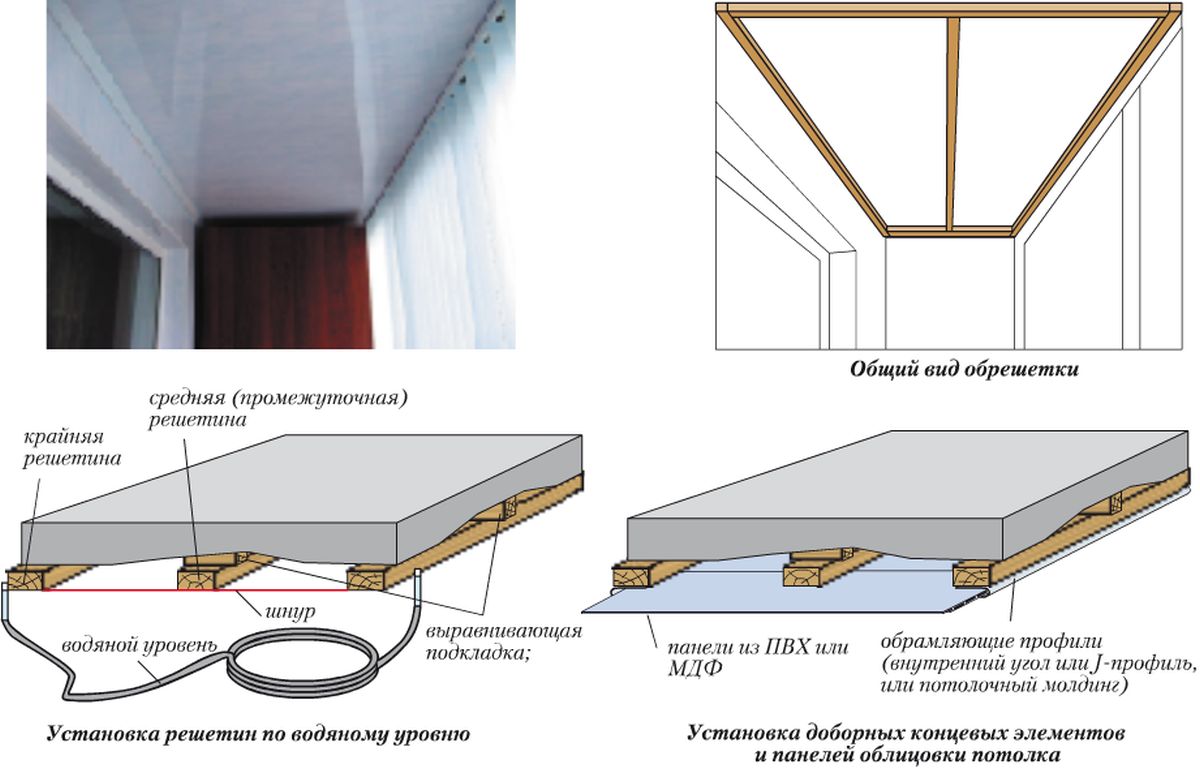
It is best to start from the ceiling. The whole process of work includes several stages:
- The marking of the surface. For this, the center of the ceiling is marked and a longitudinal line is drawn through it using a level. Further marking is performed on all sides of the ceiling, retreating from the edge of the wall by 5 cm.
- A galvanized profile is applied along the perimeter of the ceiling, and every 25–30 cm in the wall, holes are drilled to a depth of 5 cm.
- A dowel-screw is inserted into the holes obtained and the profile is fixed with a screwdriver.
- Then, depending on the size of the ceiling, 1-2 longitudinal profiles are installed.
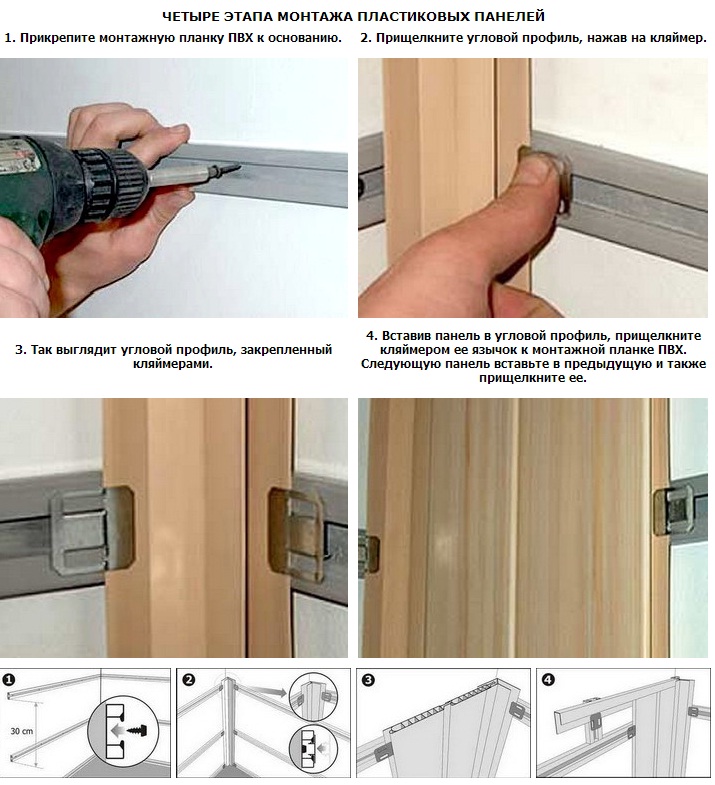
- The starting strips of plastic panels are attached to the longitudinal profile.
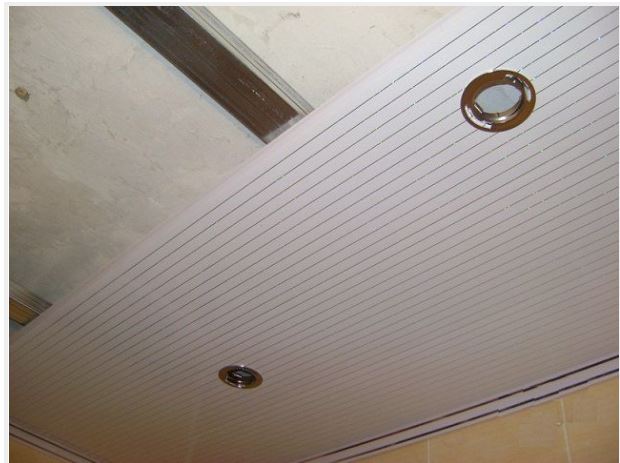
- If the design project provides for the installation of luminaires, then the wiring is extended at this stage.
- The first panel is inserted into the starting strip and is fastened with screws to the longitudinal profile and edging. Subsequent panels are inserted and fixed in the same way. The last panel, if necessary, is cut to the desired size. The ceiling is ready!

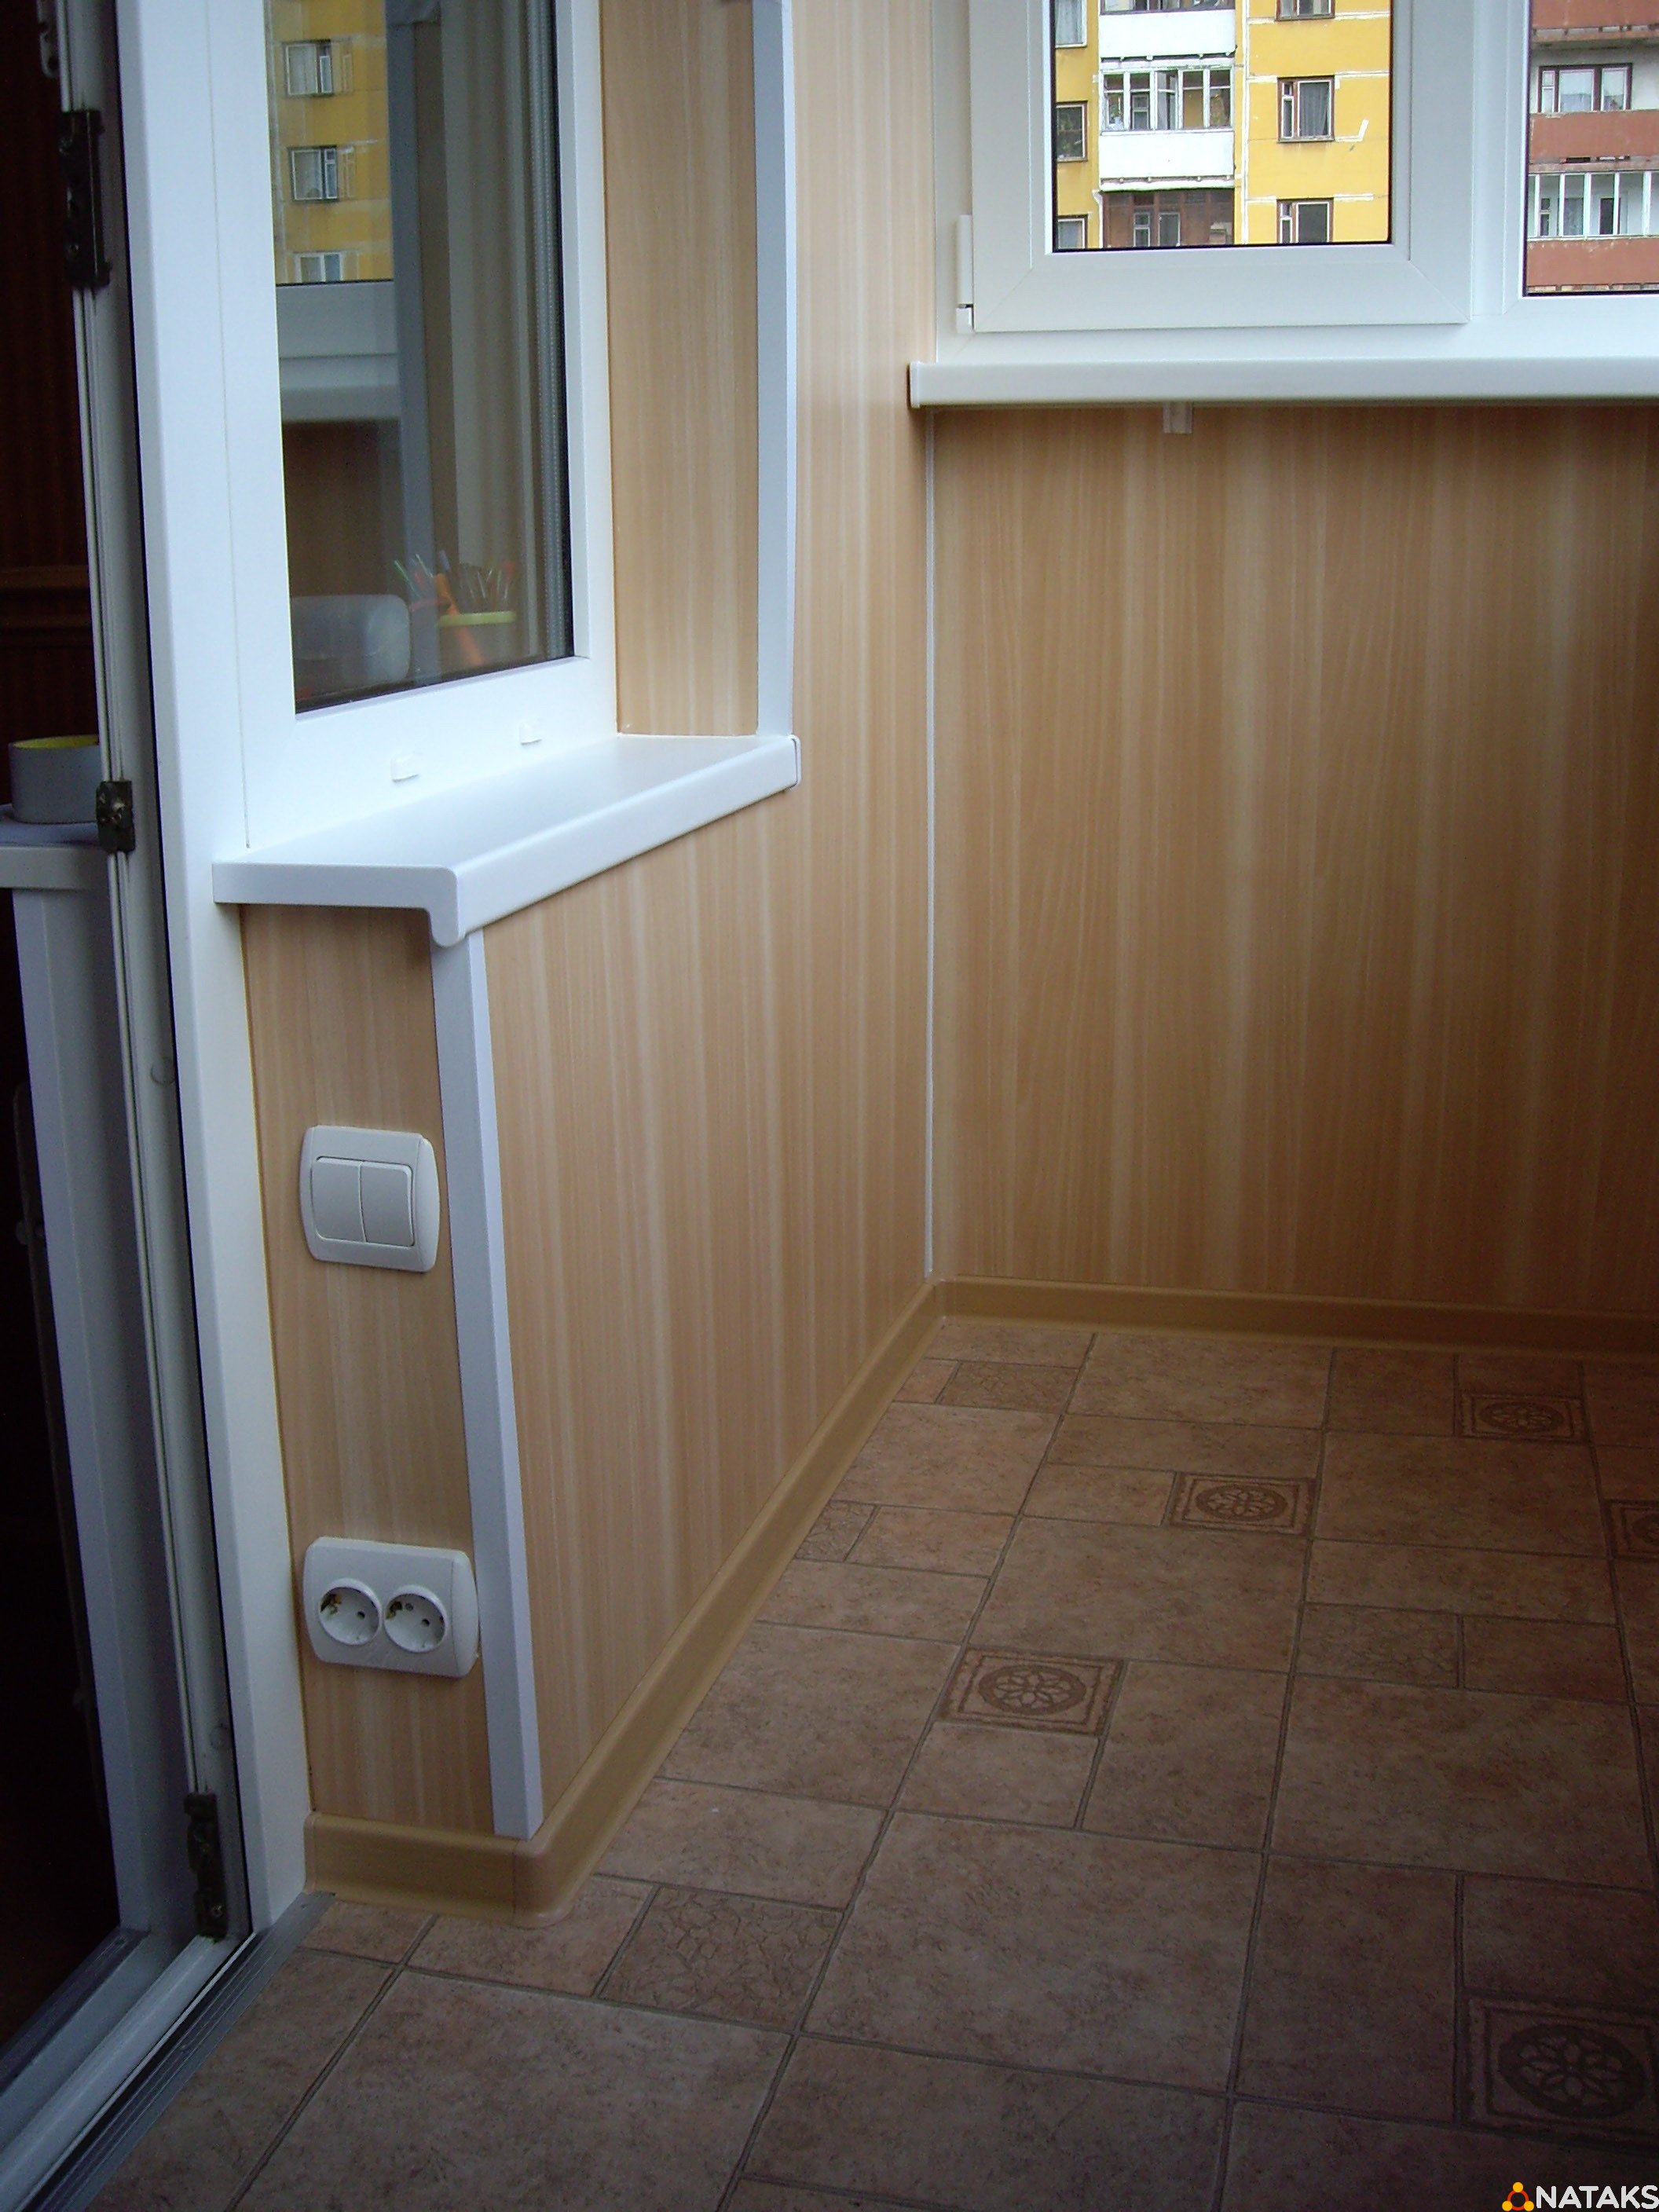
The next stage is working with wall panels:
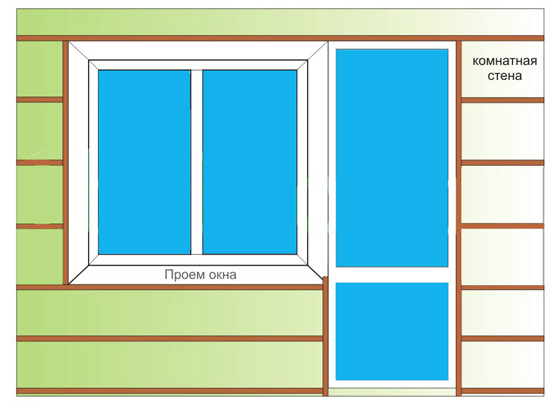
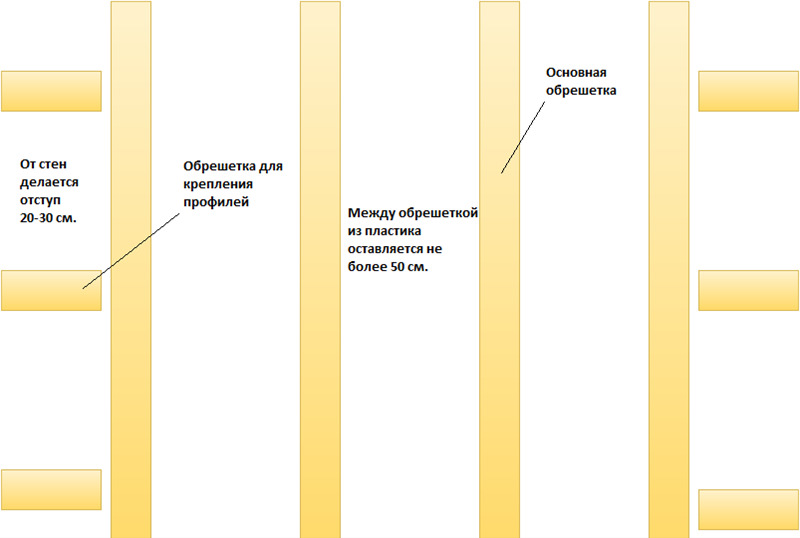
- Making wooden crates.At a distance of 10-15 cm from the level of the ceiling and floor, horizontal slats are set along the perimeter of the room. Then every half meter vertical rails are installed.
- The starting plastic profile is fixed.
- External or internal plastic corners are installed at the joints of the walls.
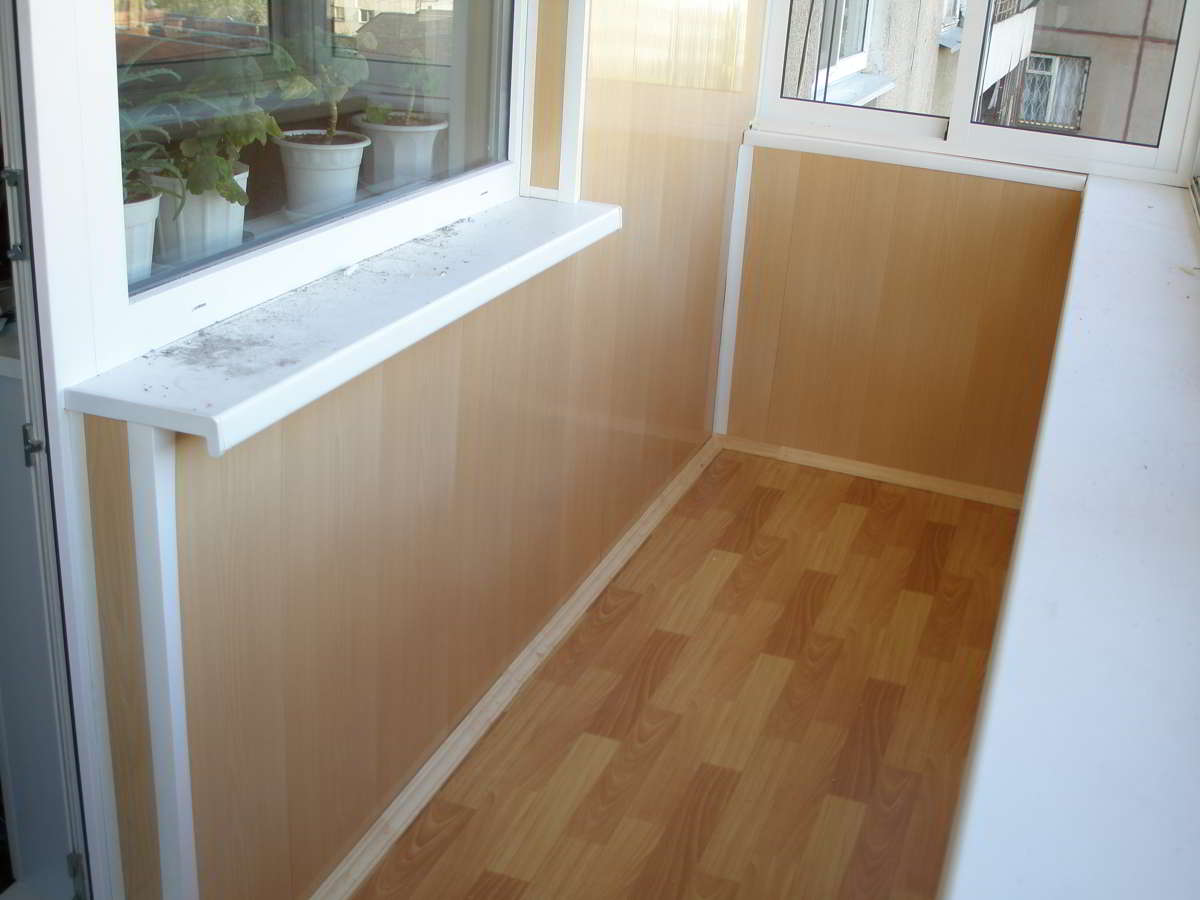
- Installation of plastic panels. The first strip is fastened from one corner to another or from the corner to the door / window opening strictly vertically or horizontally. A slight slope at the beginning with each new panel will only increase. The panel is inserted into the starting strip to a characteristic click and is fastened with screws to the crate. Each next strip is placed very smoothly and firmly pressed against the previous panel.
- The last strip is cut and inserted into the groove of the previous panel to achieve a tight connection between the coating.
A detailed process of finishing the balcony with plastic panels can be viewed in the following video:
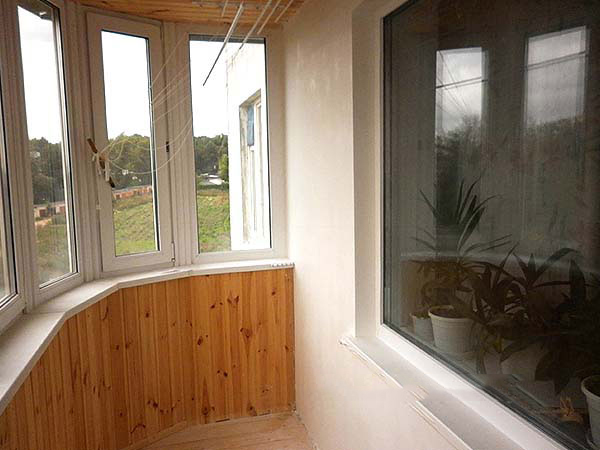
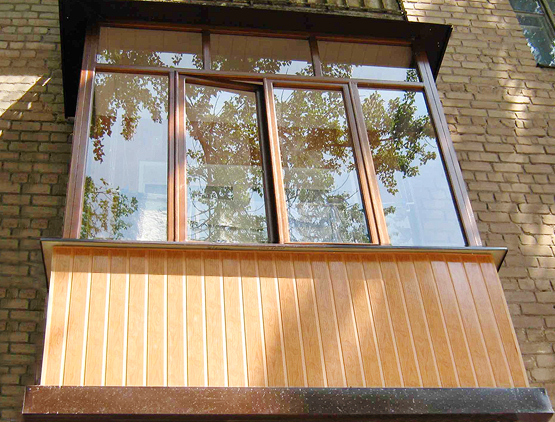
Trim stages outside
External facing of a balcony - a stage not less important, than internal furnish. To be confident in the quality and fast results, it is best to take the help of professional builders. But if there is no such possibility, then you can do it yourself:
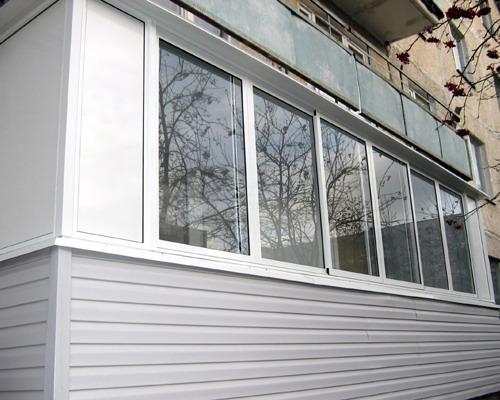
- First you need to remember that the exterior is used material designed specifically for this purpose. The width of such panels varies from 10 to 37.5 cm.
- Plastic sheathing is considered one of the most practical and affordable ways to exterior trim a balcony. The panels are not afraid of water, tolerate temperature fluctuations well, have excellent decorative characteristics, are durable and do not require special care.
- Work begins with a preparatory stage, cleaning the surface from the old finish and removing defects.
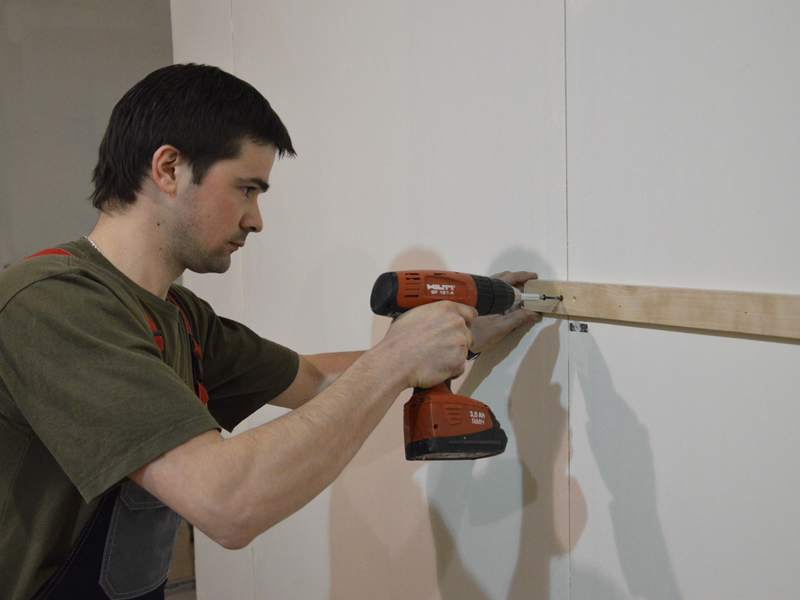
- The next stage to the balcony fence is attached wooden or metal bars as a batten.
- Then plastic corners, starting profile are installed and installation of the base material begins. Each panel is attached to the lining vertically with self-tapping screws or a construction stapler.
It must be remembered that finishing the balcony from the outside (if we are not talking about the first floor of the house) is a process associated with risks and dangers. During the work it is necessary to follow strictly safety regulations.It is necessary to carry out installation work with an assistant.


