How to make and install a window sill on the balcony?
We are used to using a balcony or a loggia as additional rooms, be it a full room or a storage room for things. During the work on weatheries, questions arise regarding the installation of a window-sill: how to install it correctly, what goes first and how wide it should be.
Types, purpose and design
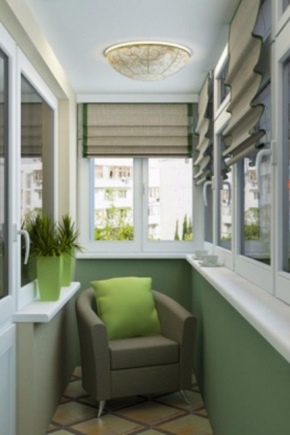
A window sill is necessary on the balcony not only as part of a decorative element that completes the entire design of the balcony. One of the main functions is that the window sill prevents the ingress of cold air from the outside and does not release warm inside. Another purpose is functionality.After all, it can accommodate indoor plants or equip the desktop.
Window sills are divided by material and form. According to the last point, they are divided into three types:
- standard models - rectangular tabletop, both large and small sizes;
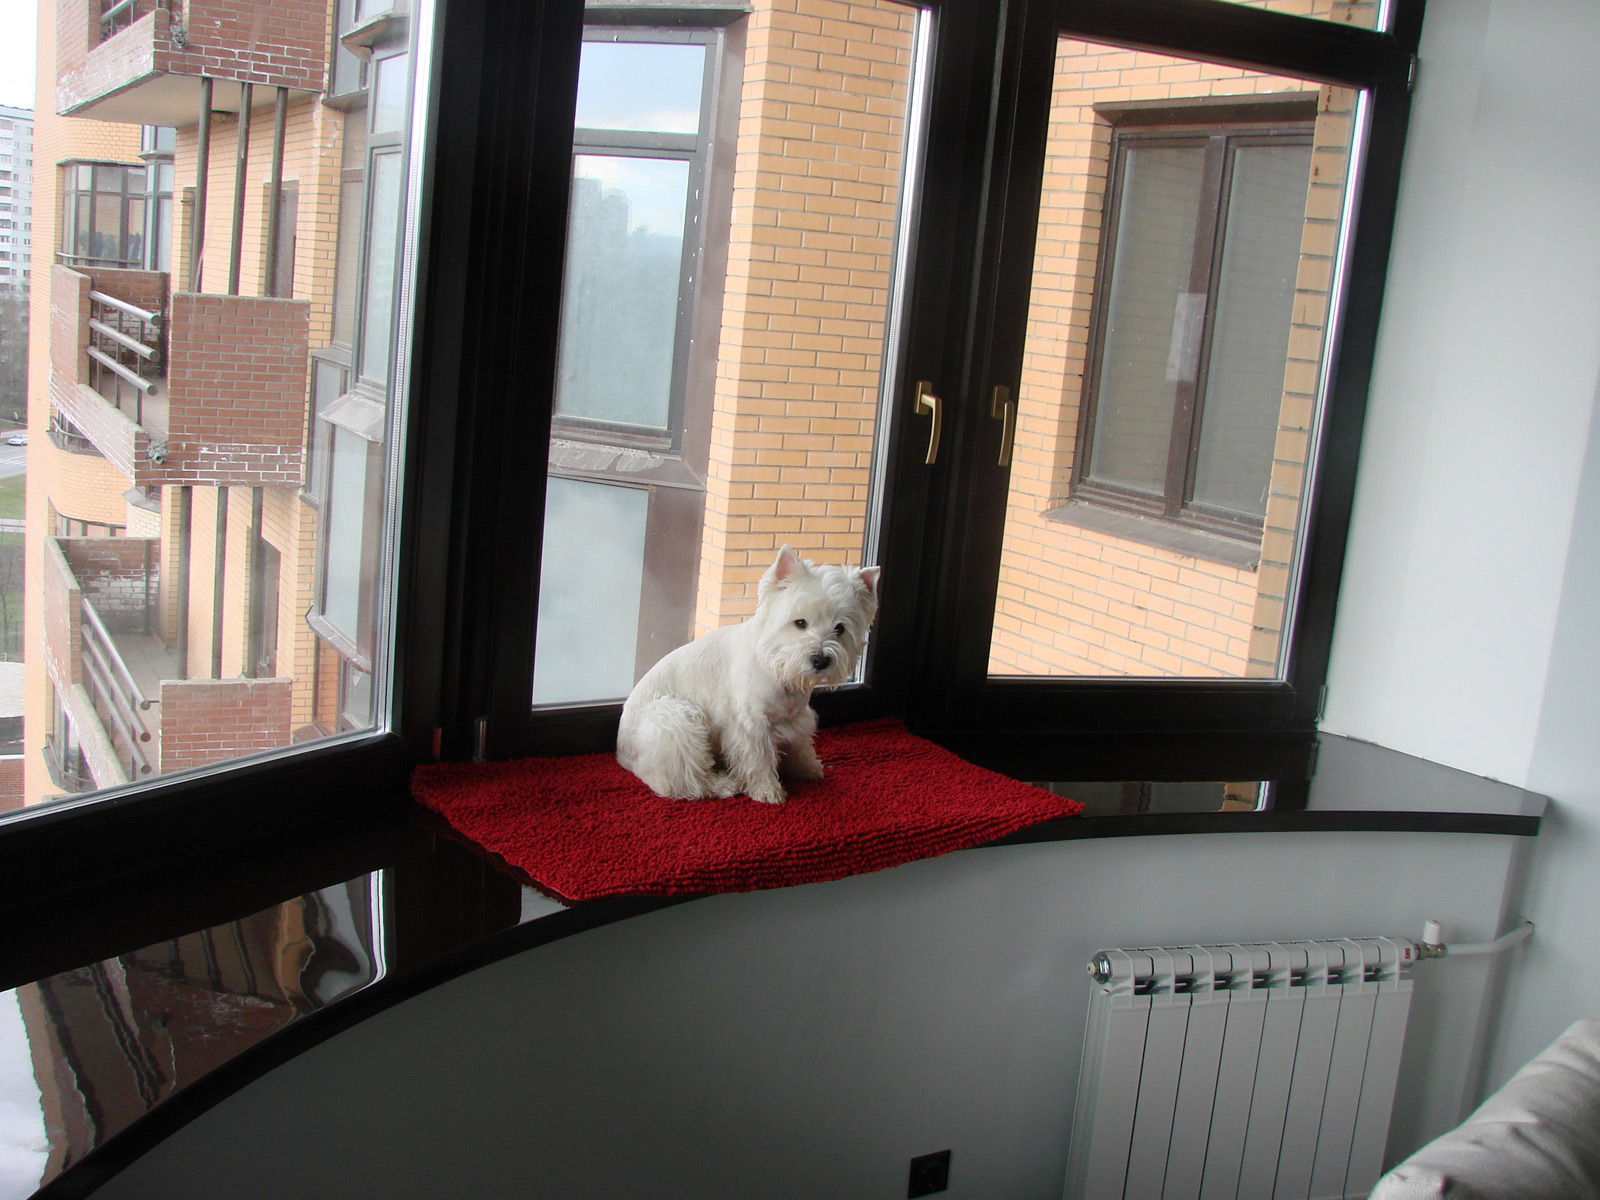
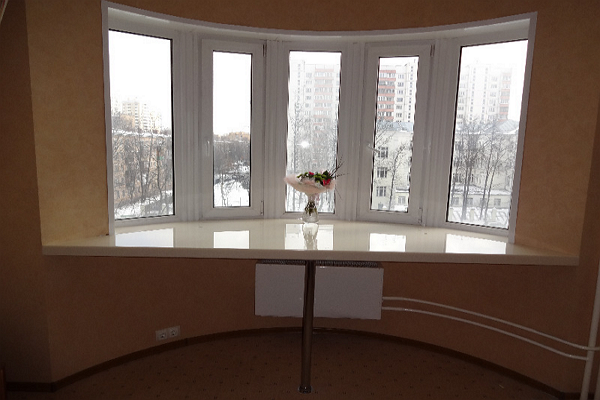
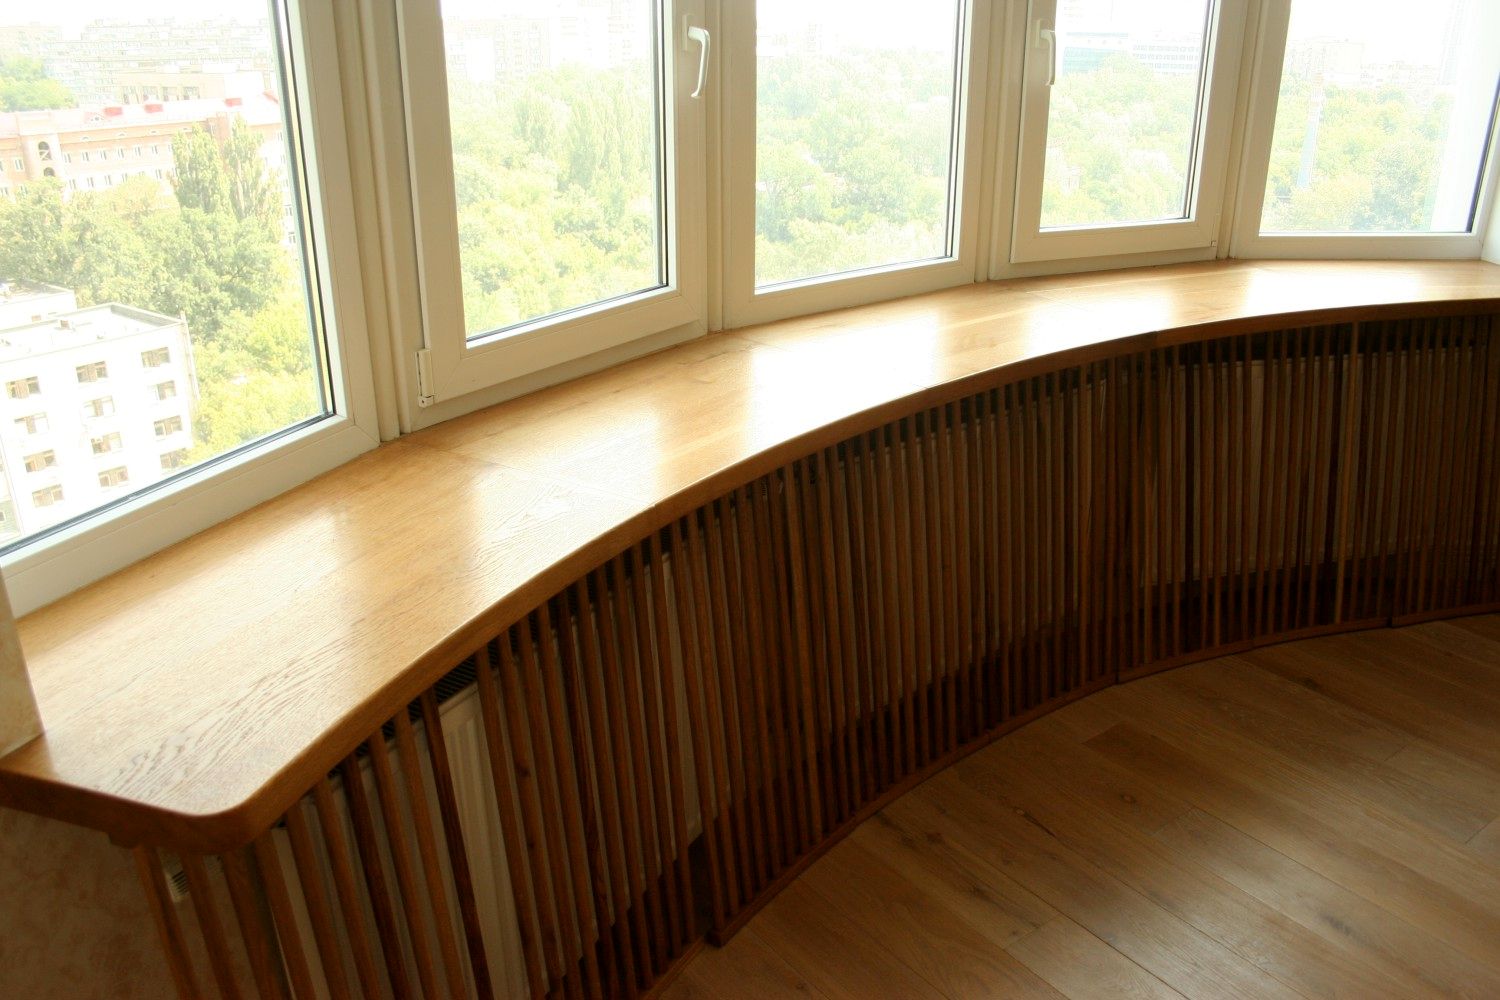
- corner - solid tabletop, which "captures" perpendicular walls;
- combined - such models are most often used when installing a designer canvas - it can be bay or passing tops.
A window-sill-table most often belongs to the latter category, however sometimes it can be included in the first group. It depends on how exactly you want to install the countertop. In case the wide table-top is stretched along the perimeter of the entire balcony, then this is the first group.
If you decide to install a window-sill-table only on the ends or along the perimeter of the larger side, then such models belong to the design options.
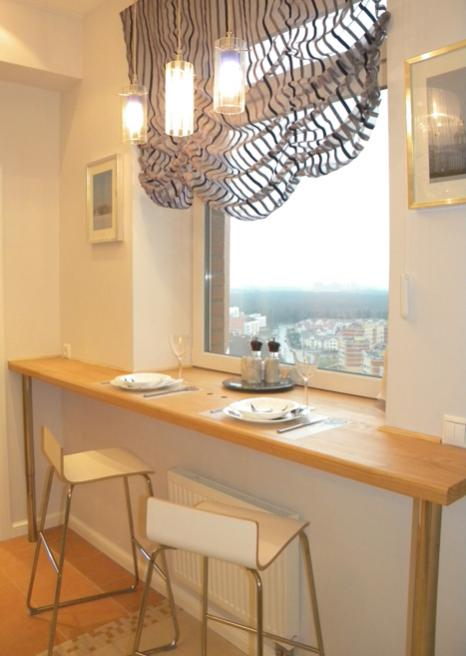
Registration of window sills can be the most diverse. You can make installation with a ledge or make it flush with the wall. In the first case, you get a useful area that can be used for their own purposes.Wide models can serve as a full-fledged table or a small table for evening gatherings.

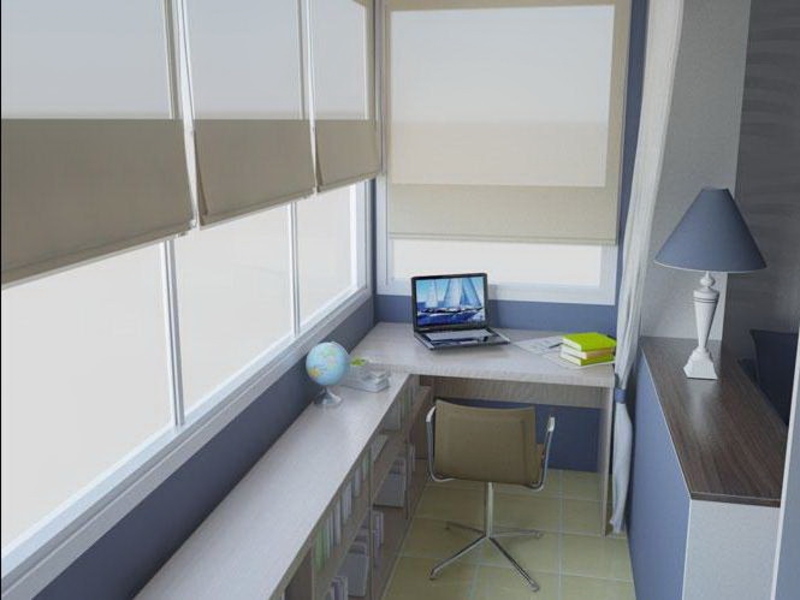
It is also possible to use the entire area under the window sill. For these purposes, below, along the perimeter of the greater wall or only from the front side, drawers are installed. Doors from them can be swing (if the area of the balcony allows) and coupe.

In the construction hypermarkets presented a huge number of models of different colors and textures. The most budget option is considered white plastic. It fits any design and fits in as a budget repair, and in the elite. By texture, for the most part they prefer plastic or acrylic under wood. Such models are very practical to use, and also look very presentable.
Material
As for the material for the manufacture of window sills, today both budget and premium models are on the market.
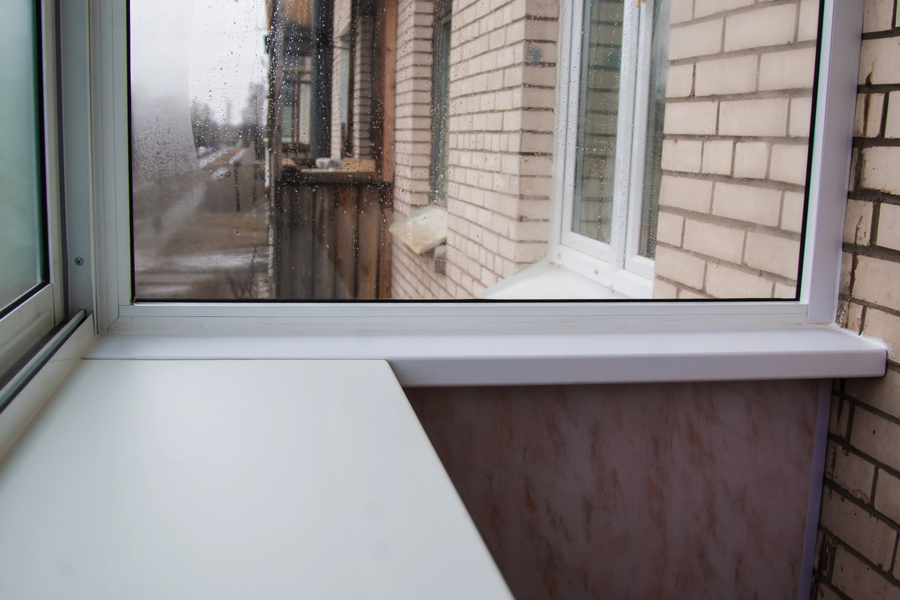
Plastic
PVC models are considered the cheapest. In stores, they are presented in a huge assortment of different lengths and widths. Plastic window sills are very practical to use and suitable for narrow balconies. The color is not limited to only white.Today you can buy plastic models of wood, stone, or just bright monochromatic colors.
The only thing that the cost of such options will be slightly higher than white plastic.

Models from such a material have a lot of advantages: they are easy to wash, and with constant contact with moisture, mold does not appear. In addition, with the installation itself there are no big problems.
PVC models are not resistant to damage, and at high temperatures plastic begins to melt. Laminated PVC in a year of use will lose its appearance. Such windowsills can not withstand a large load, so even wash the windows can be a problem.
Acrylic
Variants of acrylic are also considered not the most expensive on the market, but compared to plastic models, the price is 2-3 times higher. In addition, the cost of acrylic window sills will increase if you decide to install models with a glossy surface. Also, the price depends on the thickness of the models and edge processing options.

Such models are not afraid of mechanical stress, temperature drop or heavy weight. The advantages also include easy cleaning, seamless connection, the lack of porosity, under the influence of the sun acrylic does not change its color and texture over time.
At the same time, acryl does not stand too high temperatures - therefore traces may remain on the window sills.
A natural stone
Considered more expensive option of natural stone. The average cost of one running meter starts from 4-6 thousand rubles. These models are most suitable for finishing the balcony in luxury homes. But do not forget that not every balcony is able to withstand heavy construction.
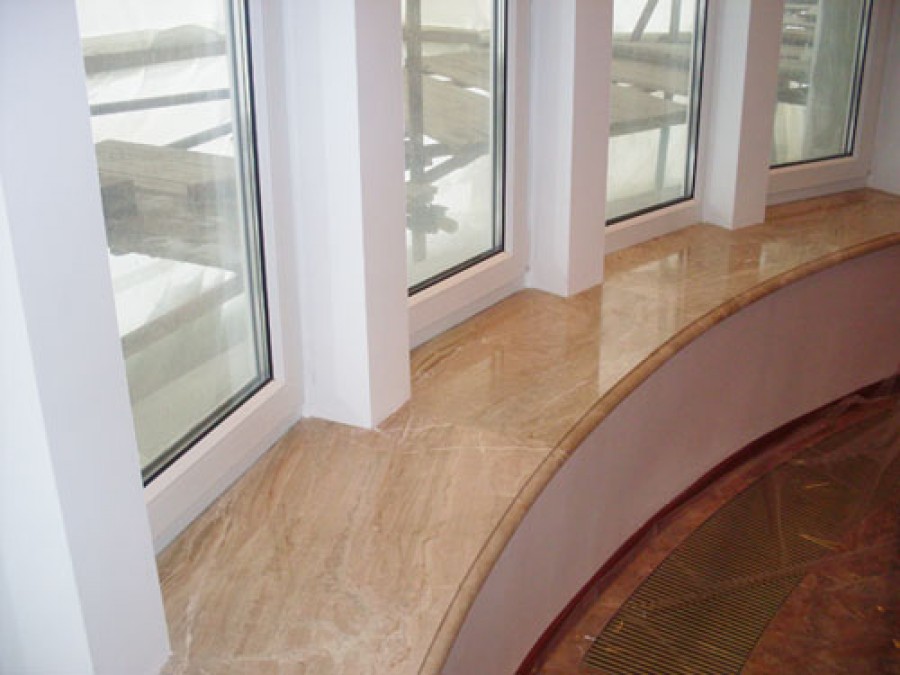
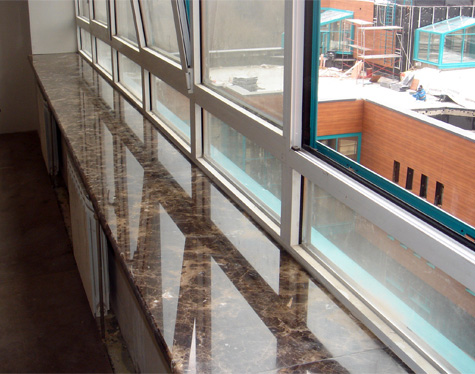
Most often stone options are made from natural marble and granite, as well as artificial agglomerate. The surface of such models is made in several versions: polished, ground or aged. When installing models of natural stone, you will also have to spend money on special profiles, the cost of which starts from 1,500 thousand rubles.
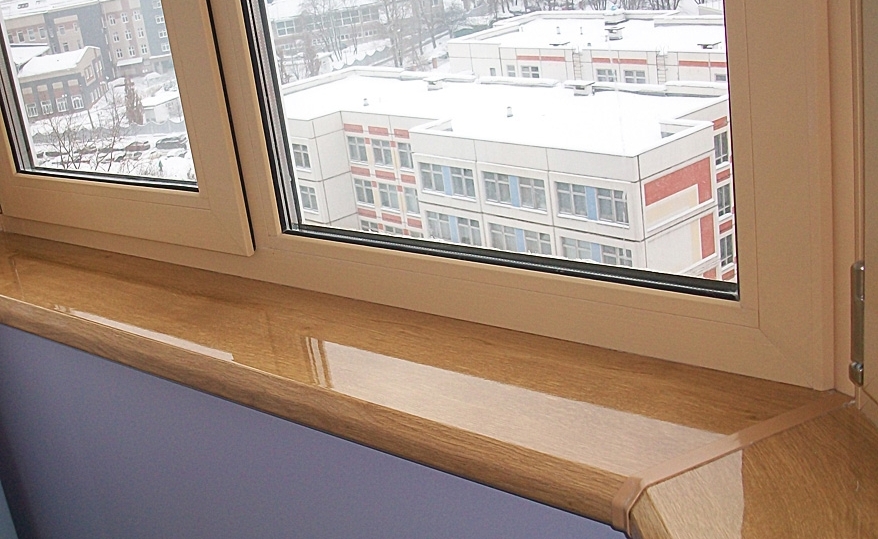
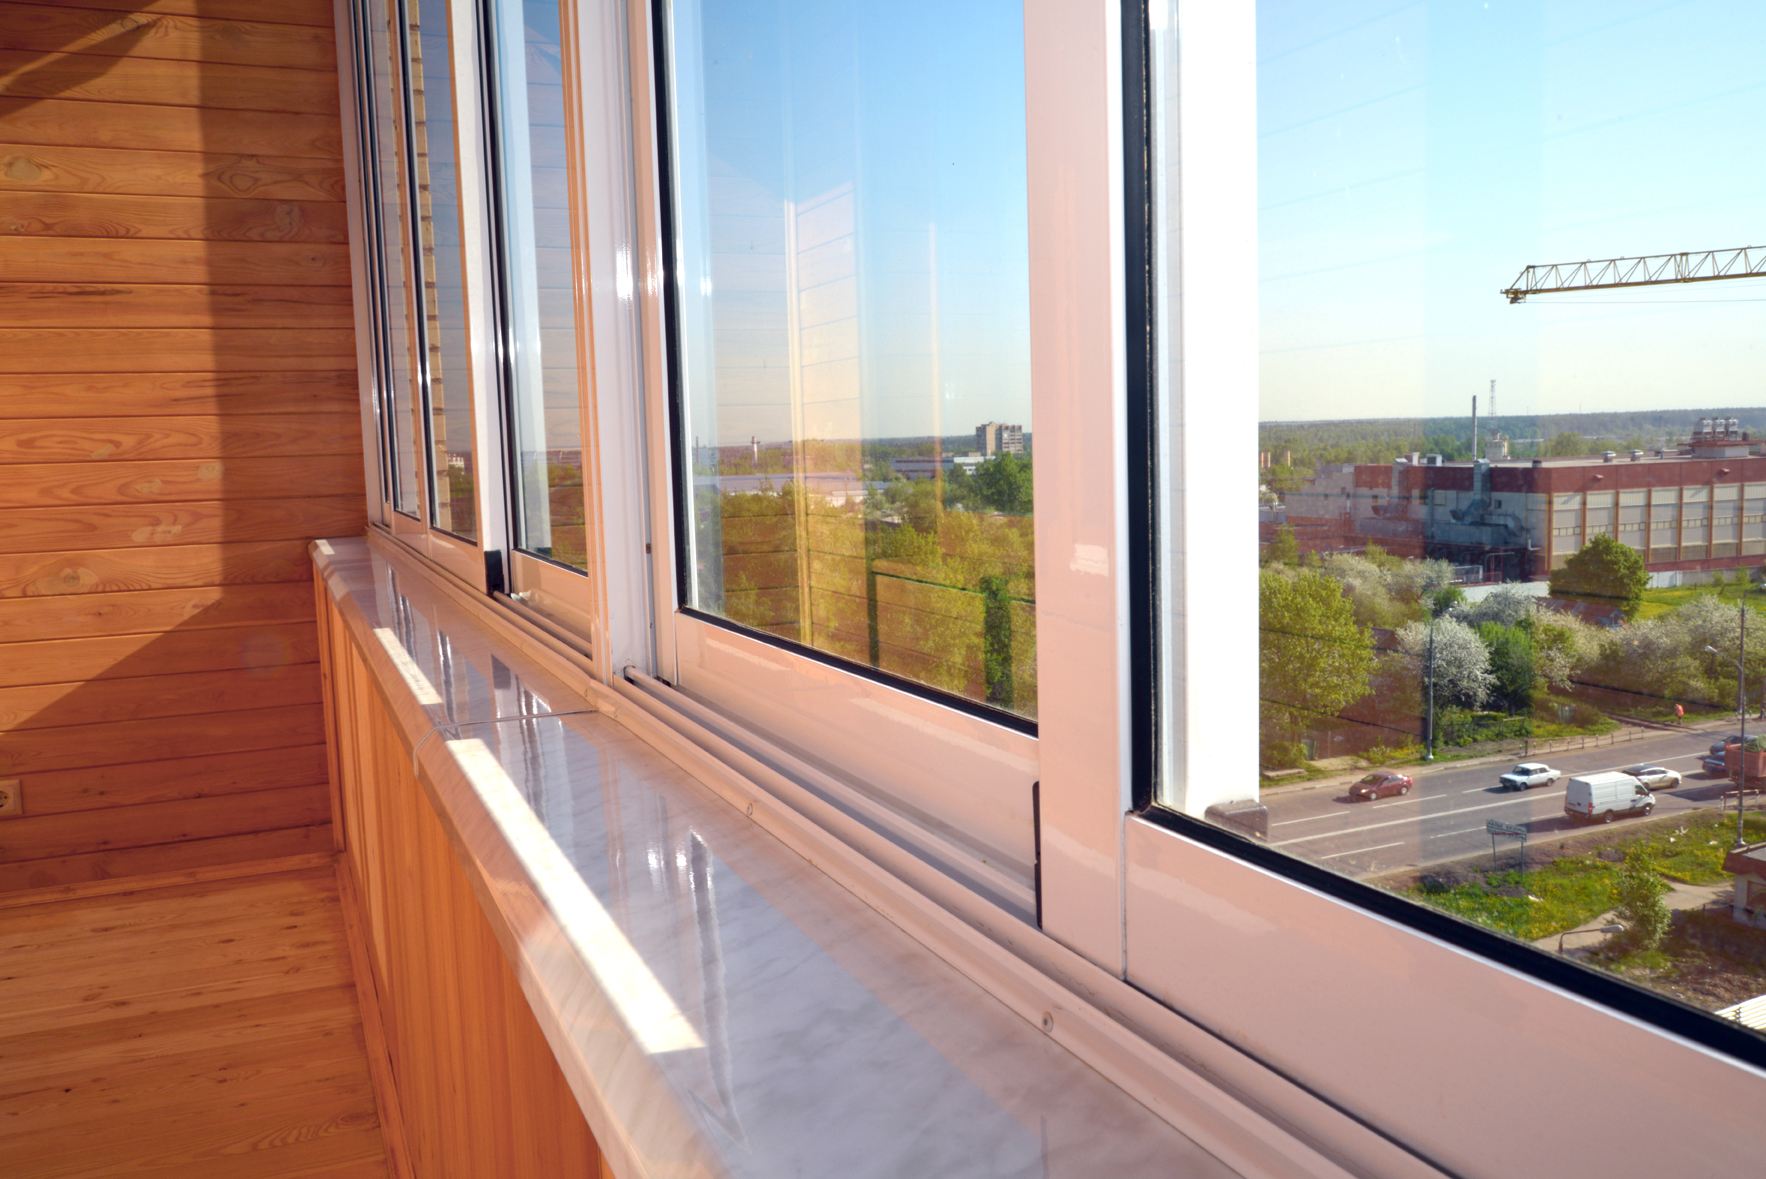
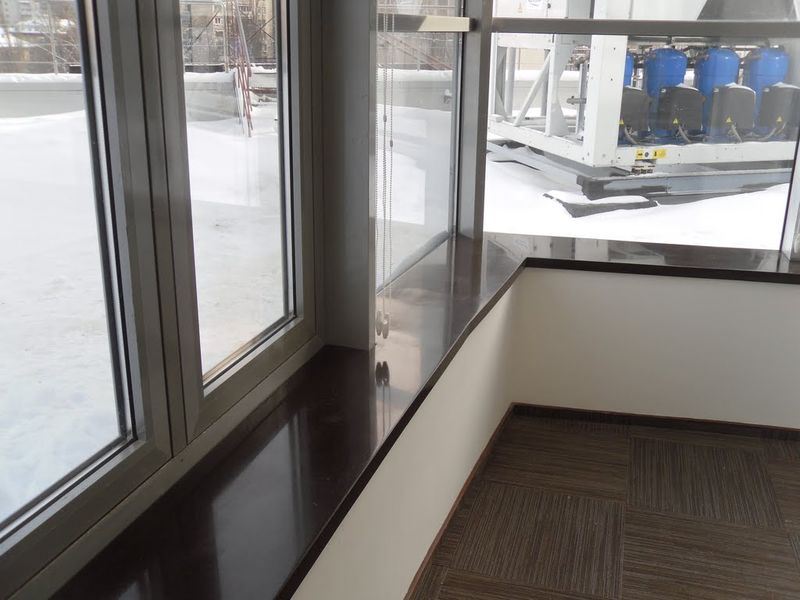
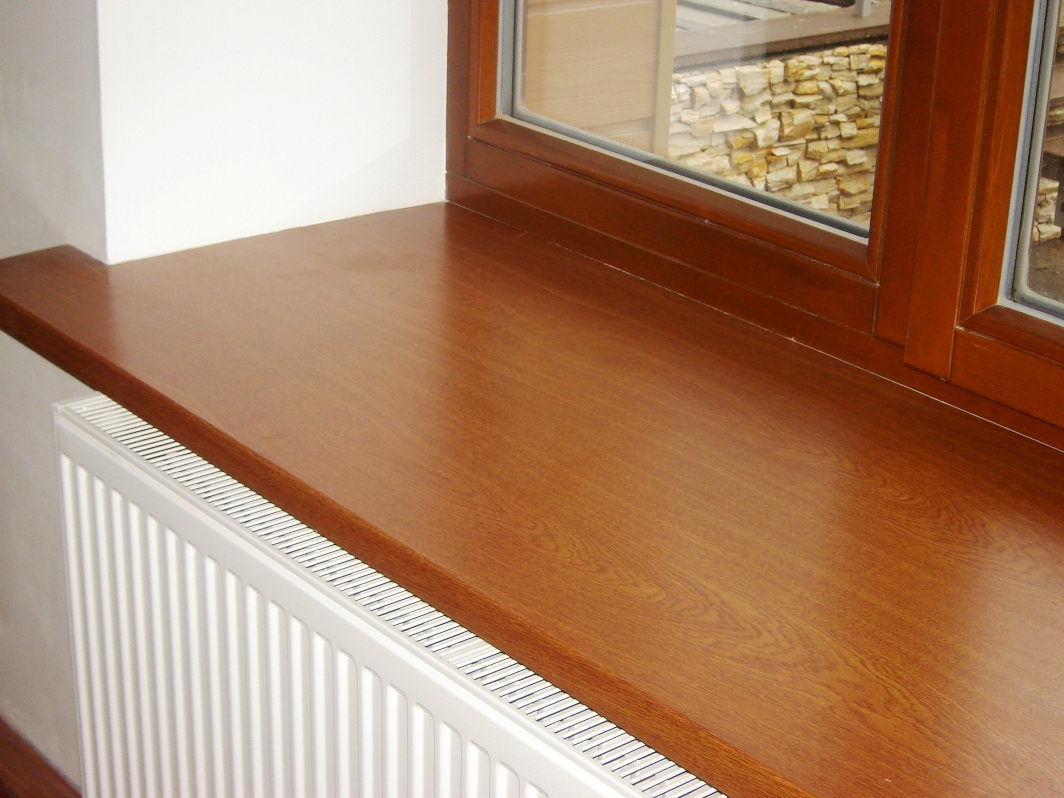
Tree
It is better to refuse installation of wooden models if your balcony is not warmed or not heated:
- First, when exposed to moisture, the tree will rot
- Secondly, because of the sudden changes in temperature, the tree shatters and loses its original appearance.
If you nevertheless decided to install the tree on the balcony (and the balcony was made warm), then process the window sill with special means - moisture-resistant impregnations. Thanks to them, you can avoid a large deformation.
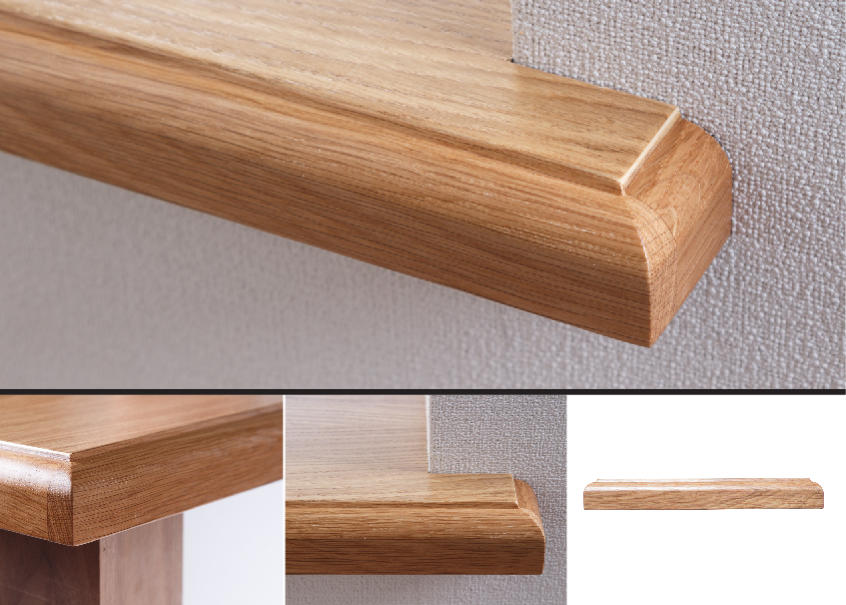
Also pay attention to the installation of such models. It is the options of the tree are considered the most difficult to install. When installing it is necessary to take into account the fact that wood is prone to deformation not only because of external factors, but also because of internal factors - the temperature in the apartment, the humidity level.

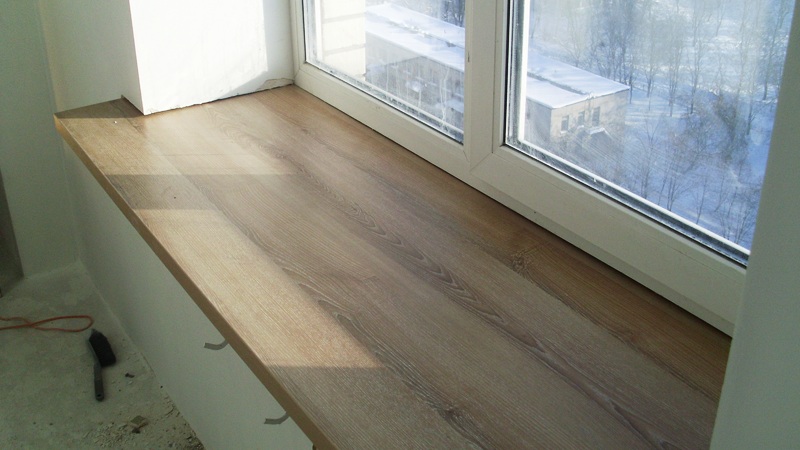
MDF or chipboard
Cheaper than wooden models will cost only the windowsill of MDF or chipboard. Models from MDF are much stronger than DPS. In addition, in the latter version, harmful formaldehyde resins are used. Get better laminated from both sides of the board. During the cut, the end parts of the window sill are best protected with a strip so that the moisture does not disturb the appearance of the board.
Models of chipboard, although the cheapest, but very impractical. Such window sills can not withstand heavy loads and will serve only as an aesthetic part of your balcony. In addition, both materials will have to be covered with a special impregnation, and the works themselves are repeated at intervals of once a year.
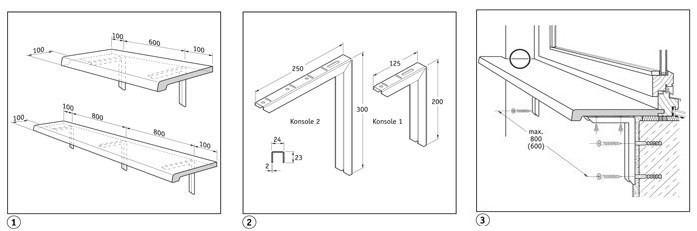
The size
To determine the correct size of the length, you need to measure the width of the window opening. To the resulting figure add 6-10 cm. As a result, you should get the tabs on the sill on each side for the slopes. The minimum size of the projections is 3 cm.
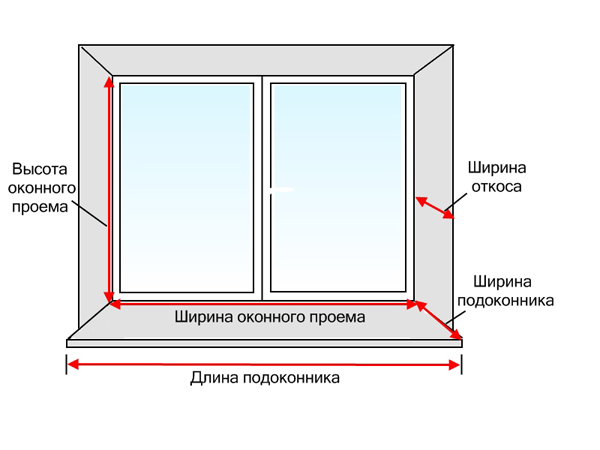
On the balcony, the window sills are cut into the wall from one side.At the door, they must act one centimeter. When calculating the width, add 2 centimeters to the total figure - this is exactly what is needed for the spade under the windows. This spade is necessary so that the windows on the balcony are not misted.
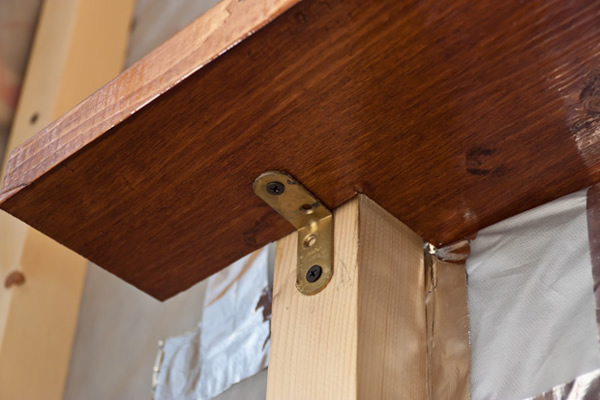
The protrusion on the balcony must be made according to your wishes. The best option - 5 centimeters. If you want to use the window sill as a working area, the projection can be from 7 to 20 centimeters. However, do not forget that with a large overhang it will be necessary to install special brackets for stability.
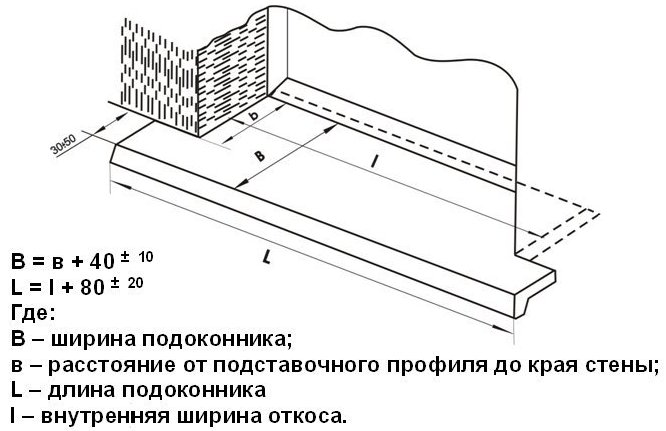
Also during the work you can use the formula to calculate the length and width of the sill.
How to do it yourself?
For this job, you need to know not only the dimensions, but also the specifics of the room: the average temperature, humidity, and the possibility of heating.

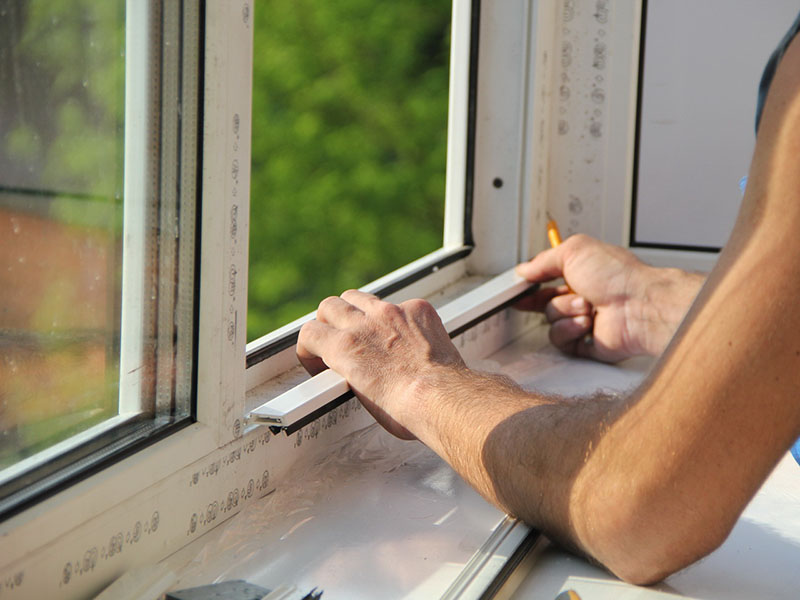
When installing the sill, also consider the projections of the frame. Cutting must be done with a manual jigsaw (if we are talking about wooden or PVC models) or a grinder with a special saw (for acrylic and stone). It is important to understand that all materials are rather fragile and one awkward movement can spoil all the work.
Installation options
Before assembly work it is necessary to choose one of the mounting options: using brackets, onto mounting foam or glue, onto retaining brackets.
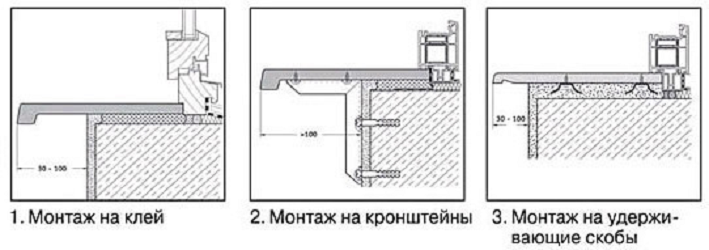
Most often, windowsills on the balconies are installed using brackets. This ensures the retention of the entire structure despite external influences. But in some new homes today installation on the brackets is impossible due to the fact that the frame of the balcony can not withstand the load. In such cases, repairmen attach window sills to the foam.
Mounting on brackets
For each meter of the length of the sill there are 4-5 brackets. Their installation can be made on a concrete or brick wall or on a special aluminum profile. Mounting brackets on self-tapping screws for concrete. The canvas is laid after mounting brackets. Then the canvas is installed to the window with screws.
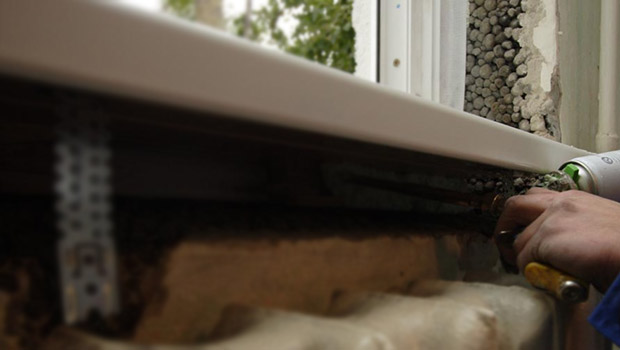
Installation on mounting foam
- In the first stage, you install the lining under the canvas. It may be a wooden beam.
- Then you lay the canvas, fixing it with foam. Do not forget to use at work the building level.
- Next you install the brackets, which will leave the rest of the canvas.
- Then the sill is pressed down to the base due to the load.
- The gaps are filled with foam, and the structure itself remains in this position for 2-3 days.

Mounting on staples
This type of installation is possible only with a large base space - a concrete or brick wall. Special staples are purchased at hardware stores. At installation the cloth is exactly imposed on a basis and fixed on brackets.
Before beginning the process of installing the window sill, the surface of the balcony must be cleaned from dust and dirt. It is advisable to go sealant on the junction between the window and the wall.

For more information on how to install the window sill on the balcony, tell the following video:


