The floor on the balcony do it yourself
A lot of people living in apartments have to carry out repairs to the balcony themselves, which means that the installation of the floor on the balcony should be done in the most qualitative way.
Housing prices today are very high, and a couple of square meters on the balcony will definitely not hurt anyone, especially if the apartment itself is small. For this reason, special attention should be paid to the repair of the balcony and the weatherization of its floor, because the greatest amount of lost heat goes through the floor.
Kinds
Depending on the purpose and purpose of the balcony, the technology of arrangement of floors may be different. There are three main types, each of which differs in the degree of difficulty of self-installation:
- flooring - flooring is installed on the finished concrete slab;
- potting, subsequently coated with ceramic tiles or similar materials;
- wooden floor.
All of these options allow you to make a warm floor, if the process will be installed heating system. It can be electric or (not so often) water.
You should also pay attention to the fact that the unauthorized laying of the heating pipe connected to the central heating is prohibited. For this kind of work, you need to have a special permit, which can be obtained from the architectural supervision authorities.
What can you do?
There are several types of balcony floors. Like any other floors, they can be wooden, tiled, self-leveling or polymeric. Any type can be equipped with electric heating (cable or infrared):
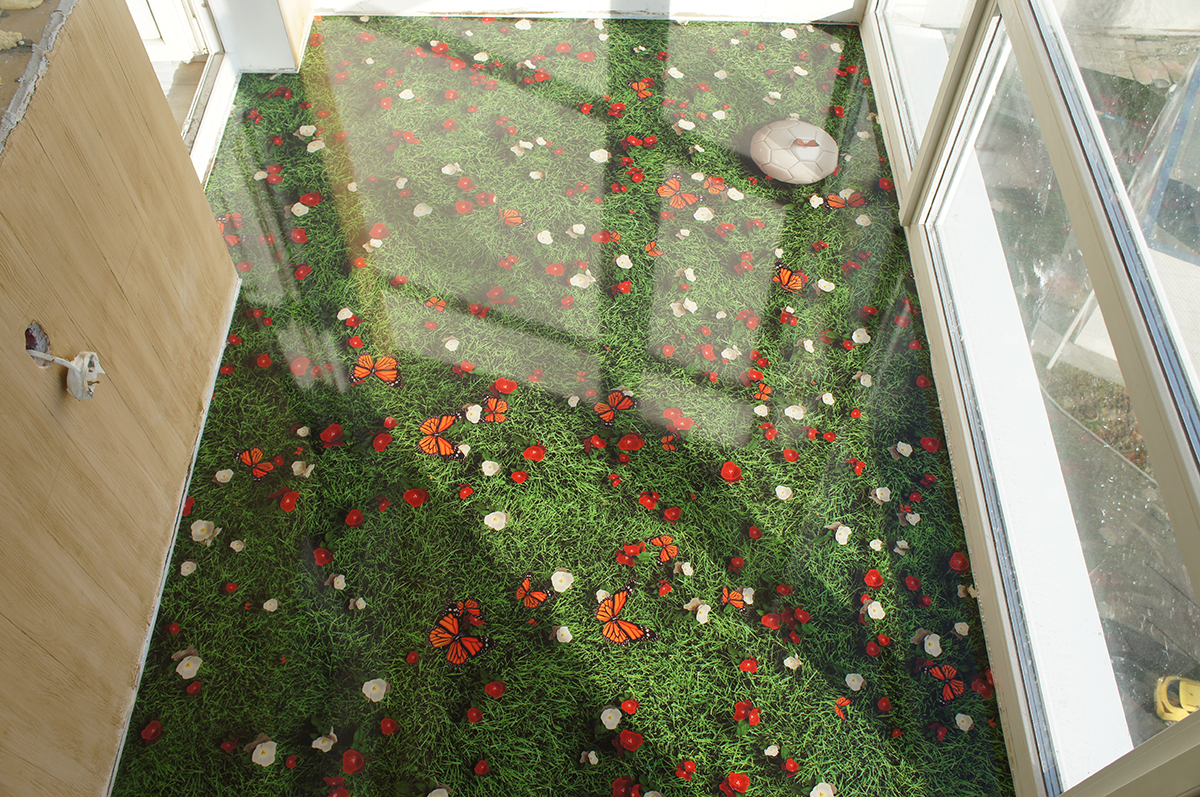
- Polymer floors are made from rolls of linoleum (possibly insulated) or from PVC tiles. Can be used both in the form of an independent covering, and in the form of a decorative one.
- Self-leveling floors made of special self-leveling mixtures, which are based on cement or artificial resins.
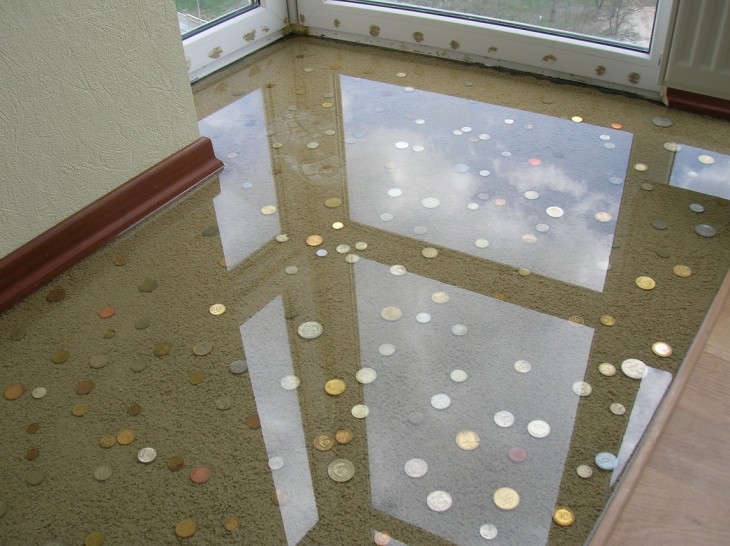
- Tile floors are made of tile or ceramic granite. Not so often, but still, used for their manufacture and natural stone. The rare use of these materials is due to their heavy weight, which may have an undesirable effect on the balcony slab itself.

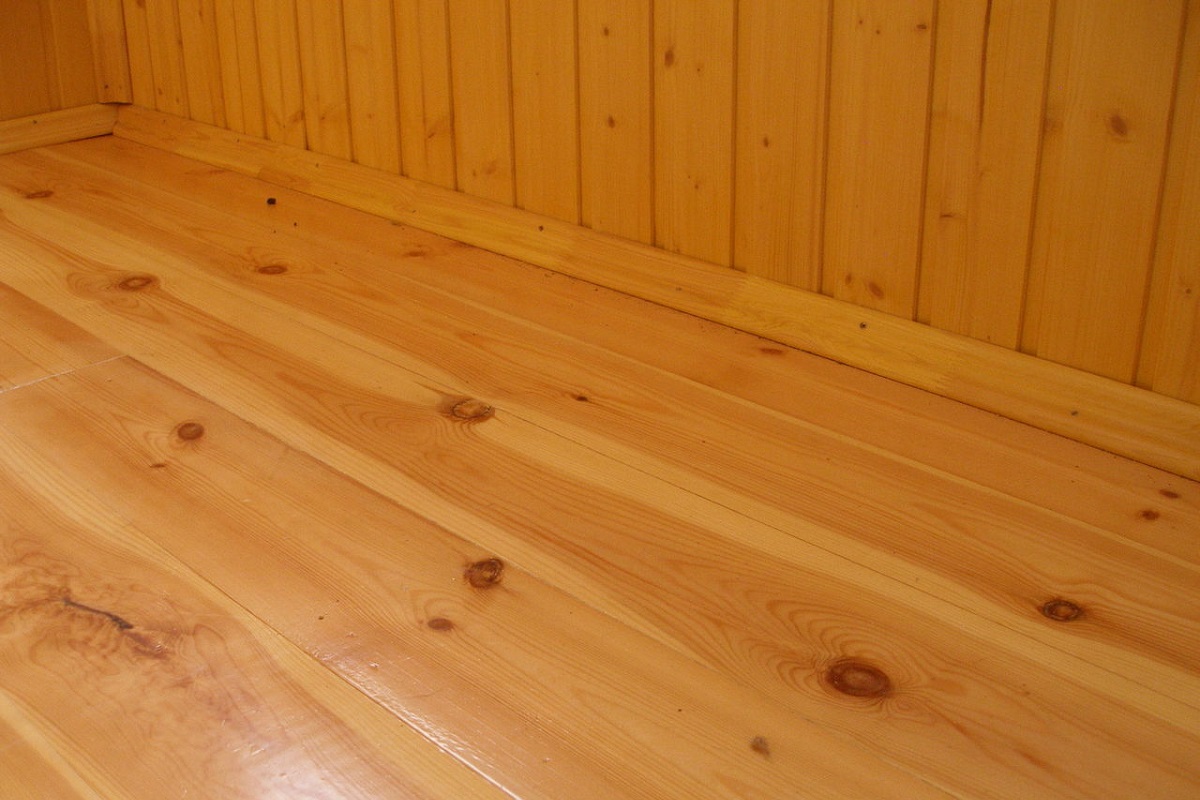
- Wooden floors They are the most sought-after solution for a balcony, as they are not as heavy as tiles, and at the same time retain heat better. There are several basic types of wooden floors: parquet, grooved boards, laminated wood.

Any coating, regardless of the type, should be resistant to contamination. It should also be durable and look good visually.
Choosing the type of floor, it is necessary to consider the design of the balcony. If the balcony is open, then the preferred option is tile, or simply painted concrete slab. When choosing materials, one should take into account how much they will be able to withstand all the seasonal cycles associated with freezing and thawing.If the balcony is glazed, then almost any kind of floor listed above is suitable for it.
Required tools
You may need:
- perforator;
- screwdriver;
- jigsaw;
- hammer;
- roulette;
- dowel;
- drill;
- marker or pencil;
- screws;
- acrylic or silicone sealant;
- cement or glue;
- Styrofoam;
- insulation or thermal insulation coating.
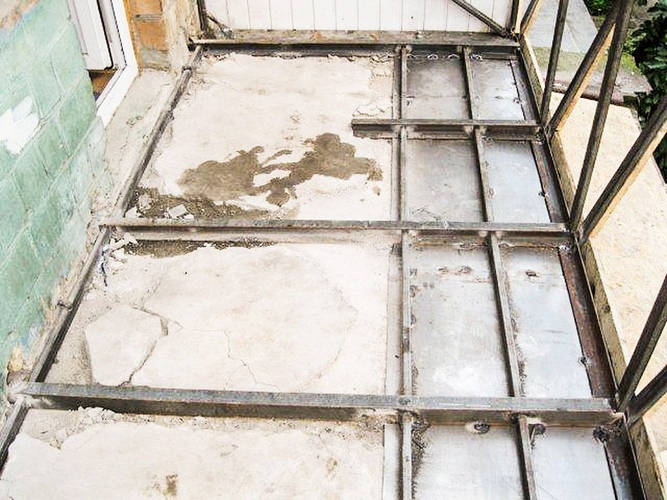
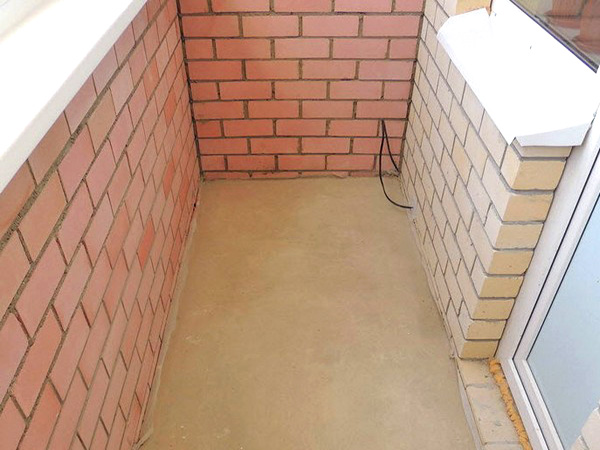
Preparation of the plate and base
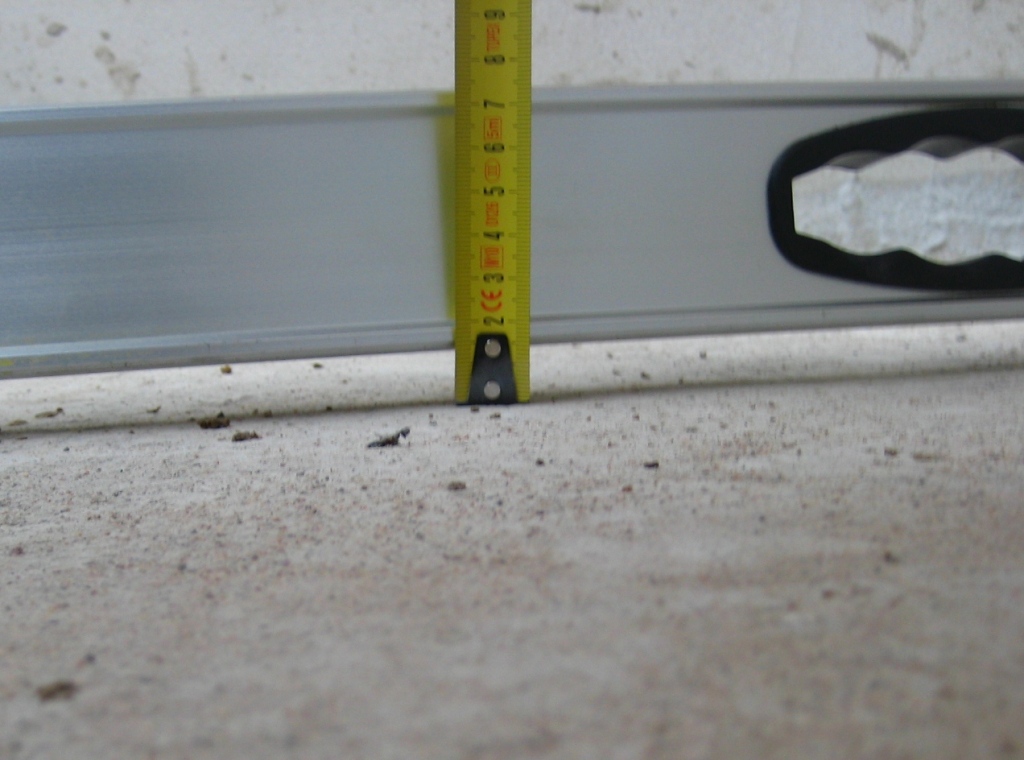
First you need to check the flatness of the base of the balcony. This is done using the building level. In the case when the base is not even enough, you must first align it with a tie.
The following steps:
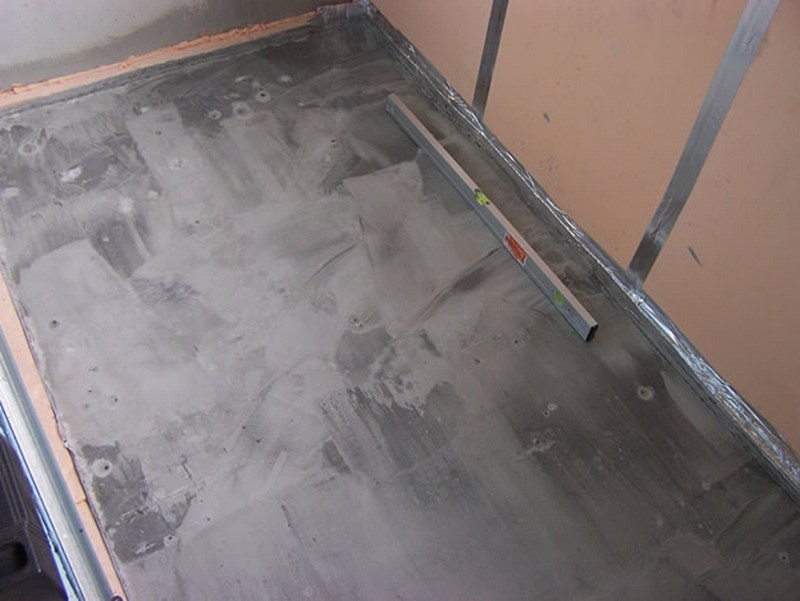
- The initial stage of the installation of a balcony floor is to fill the screed. In order to make the screed even, first of all you need to solve the problem of leveling the floor. This is done by installing beacons, which are reinforced strips of metal. These bands are cut into a number of parts (depending on the size of the balcony) and are set at a distance of 60 cm from each other, perpendicular to the base.
- The lighthouses need to be leveled using the building level. and semi-dry solution, which they are fixed. In the case when the balcony is not glazed, you should make a slight slope towards the street. All beacons align separately. When work is completed, a final alignment should be performed over the entire area.
Do not rush, the work must be done very high quality and neat.
- When the lighthouses are fixed and aligned, you need to leave them for a day in order for them to freeze. To prevent the spreading of the solution, you can use the formwork. To do this, you need a wooden bar or board, which is installed on the outside of the base. The remaining gap should be covered with a thick solution. When the casting is completed, this formwork can be removed.
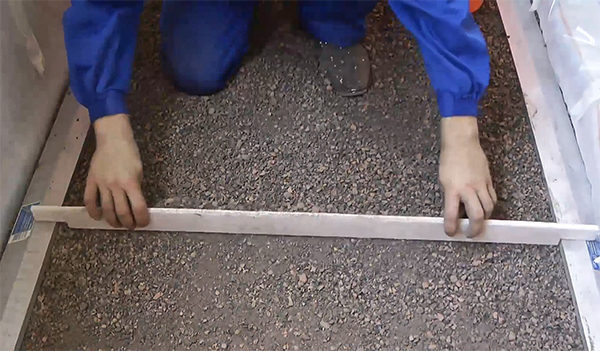
- For warming screed well expanded claywhich needs to be placed on the profile level, having executed with it filling. You can not be afraid to have time to do it at once, since the surface is not so large in area. When the floor is filled, you should wait for its final hardening, which will occur over a certain number of days.
- When the floor hardens, it will be possible to perform a final finish. Ceramic tile can be a suitable material for this finish.
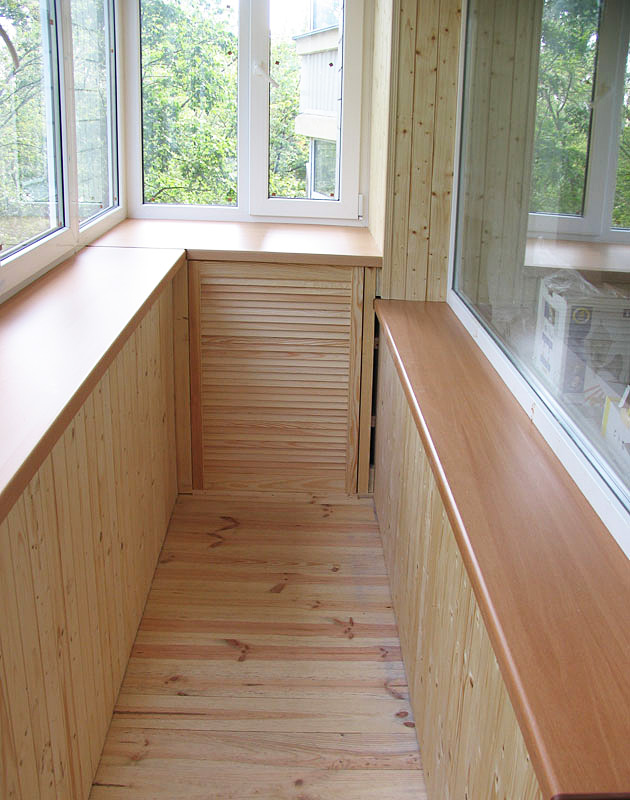
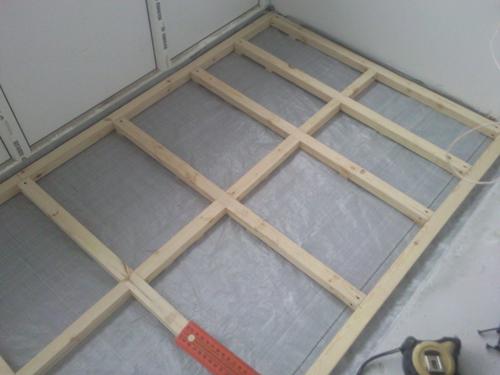
We warm the floor: step by step instructions
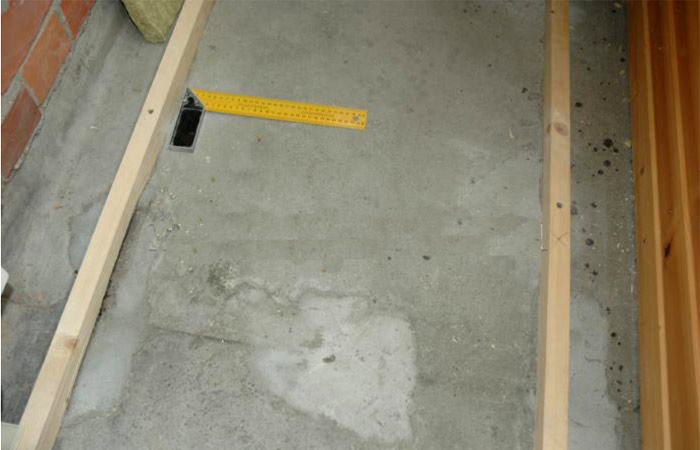
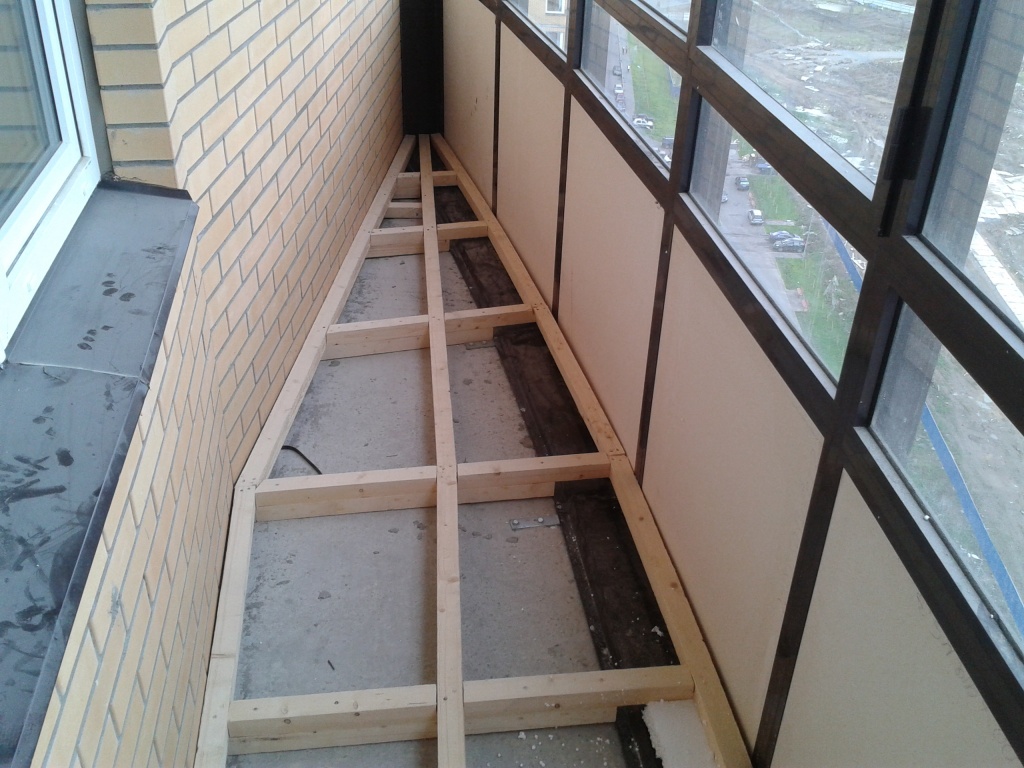
Warming the floor begins with the installation of wooden formwork on it. To do this, you need wooden slats:
- First of all, it is necessary to measure the width of the floor with a tape measure. After that, you need to transfer measurements to a wooden bar with a marker or pencil. When the marking is ready, with a jigsaw you need to cut off a part of the bar of the required length, resulting in a wooden log. It should be applied to the place of attachment, after which with a hammer drill, drill holes in it at the same distance (30-40 cm). This should be done so that the holes are through, because the lag will be attached to the floor.
- Then you need to insert dowels in the holesdrilled in a wooden plank and hammer them into the floor with a hammer. After that, insert the screws into the dowels and hammer them. The lag will thus be attached to the floor.
- When the strap, located in width, will be fixed, you can take for the strap, located in length. It is fastened in exactly the same way. The only difference is the interval between the holes, which may be slightly larger (50-60 cm). Then, several more slats located in length are fastened, so that a kind of “grid” is formed, between which slats of foam plastic will be laid.

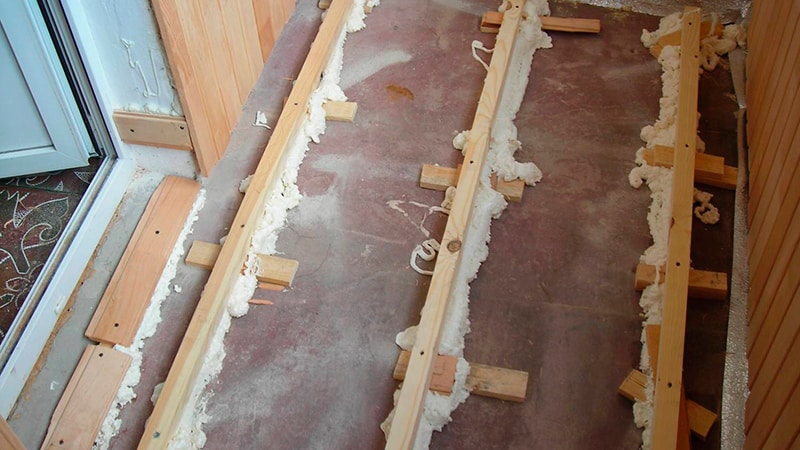
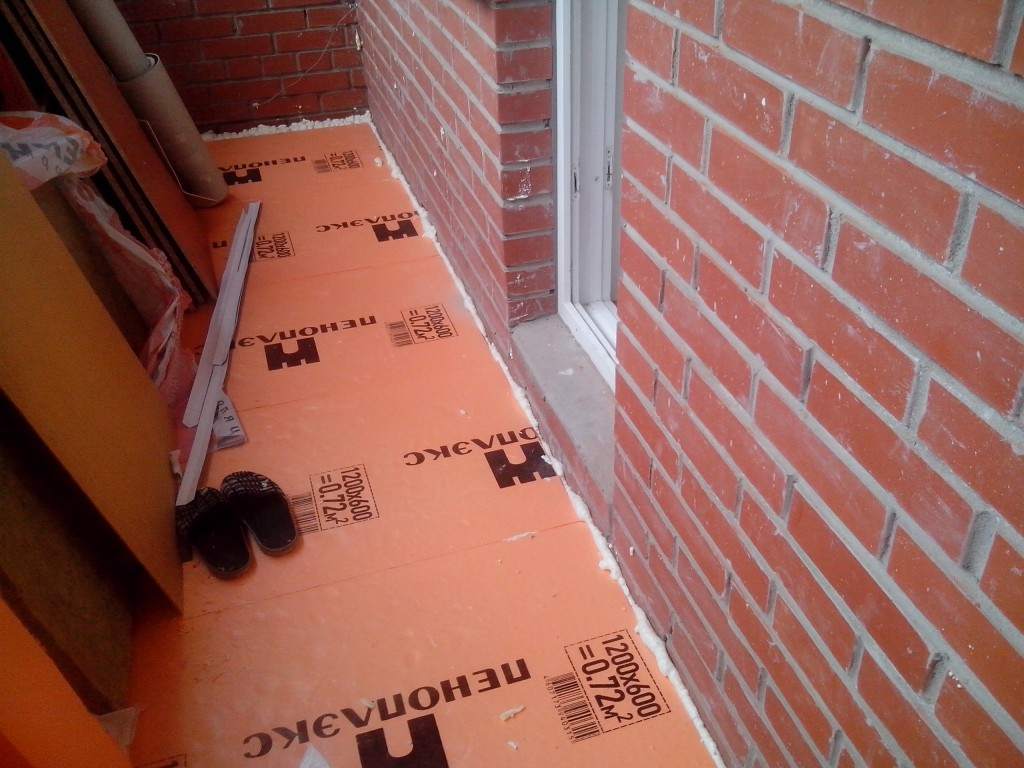
Installation of foam and the second layer of formwork
Stages:
- The foam is cut into plates and placed between the wooden planks arranged in length. The width of the strips of foam should be about 7-8 cm. For cutting it is best to use a simple construction knife. After the foam is laid, you should proceed to the installation of the second layer of formwork, the installation of which is carried out similarly to the first layer, with the difference that the fastening will be done without dowels.
- Wooden planks will now be attached not to the floor, but to the wooden planks of the first layer. Fastening, thus, will be carried out by means of screws and a screwdriver. When the second layer of formwork is ready, you should fill. The prepared solution of cement or glue is applied with a spatula on the inside of the perimeter.
- After completing the fill, you can start installing wooden slats in width. Between them there should be a distance of about 15-20 cm, which subsequently must be filled with another layer of foam. When all the strips are installed, you will need to once again eliminate all gaps with cement or glue.
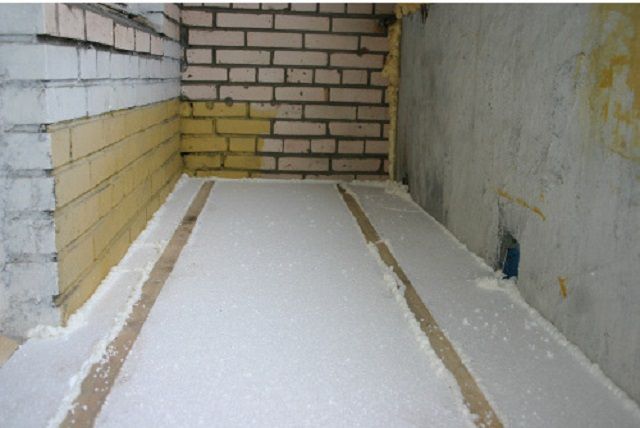
Laying insulation
When the solution hardens, it will be possible to lay a heater. It is important not to be mistaken with the side of the installation, setting it so that the reflective side is on top. When installing insulation, you need to adhere to the following points:
- you need to stack with overlap, so that the insulation goes on the walls and frame of the balcony for 3-4 cm;
- the remains of a heater need to be rolled back into a roll;
- excess insulation is trimmed with a construction knife;
- at the end, it is necessary to straighten and smooth the material so that its surface is smooth.
When the insulation is laid and straightened, it will need to be fixed with the help of wooden logs, the installation process of which has already been described earlier. In fact, now you need to mount another layer of the “grid”, between the slats of which another layer of foam plastic will be laid, the third one in a row.A new layer of foam should also be fixed on top of another layer of wooden slats.
At this stage, the installation of the floor can be completed by lining the resulting multi-layer structure with clapboard. In another case, for covering the wooden slats can be used tightly adjacent to each other, on top of which the floor covering will be installed. In order for the floor to be more durable, it is also desirable to lay the slats in two layers.

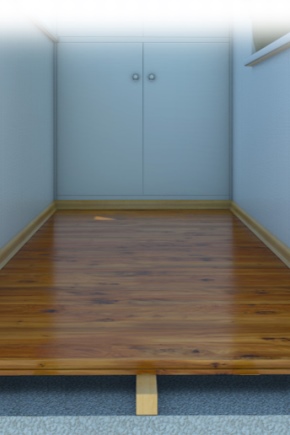
Cold flooring options: installation steps
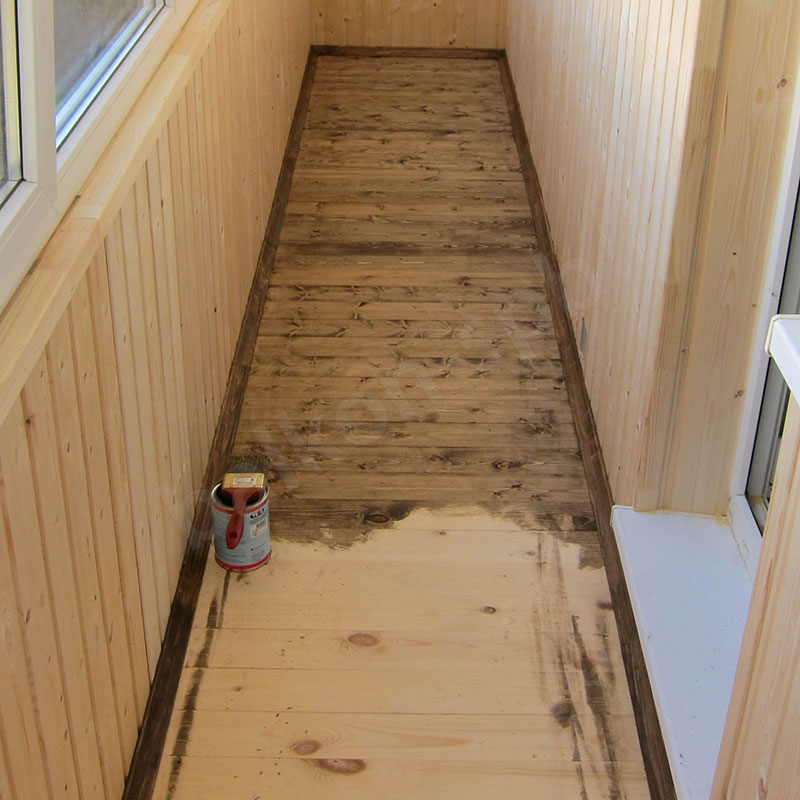
Wooden floor
In order to install a wooden floor on the balcony, the surface on which the installation will be carried out must be flat. Align the plate in two ways:
- knock off bumps;
- perform the screed.

When the supporting bars are installed on a flat surface You can begin to install and paint crates. In the case when the screed was made perfectly smooth, you can install the boards directly on the screed. However, with this option, the floor will be without insulation, the air in it will not circulate, and it will not be easy to adjust the boards. The positive side of using boards as a batten is the availability of the necessary space for insulation.
In order for the crate to be more long-lasting, it is advisable to paint the boards, or to treat them with special compositions that prevent the effects of moisture and, as a result, rotting.
Bars are attached to the concrete slab with dowels and screws. The crate itself is assembled as follows: first, the perimeter is made, and then longitudinal or transverse strips are installed at some distance from each other. If the balcony is long, it is preferable to lay the boards across.

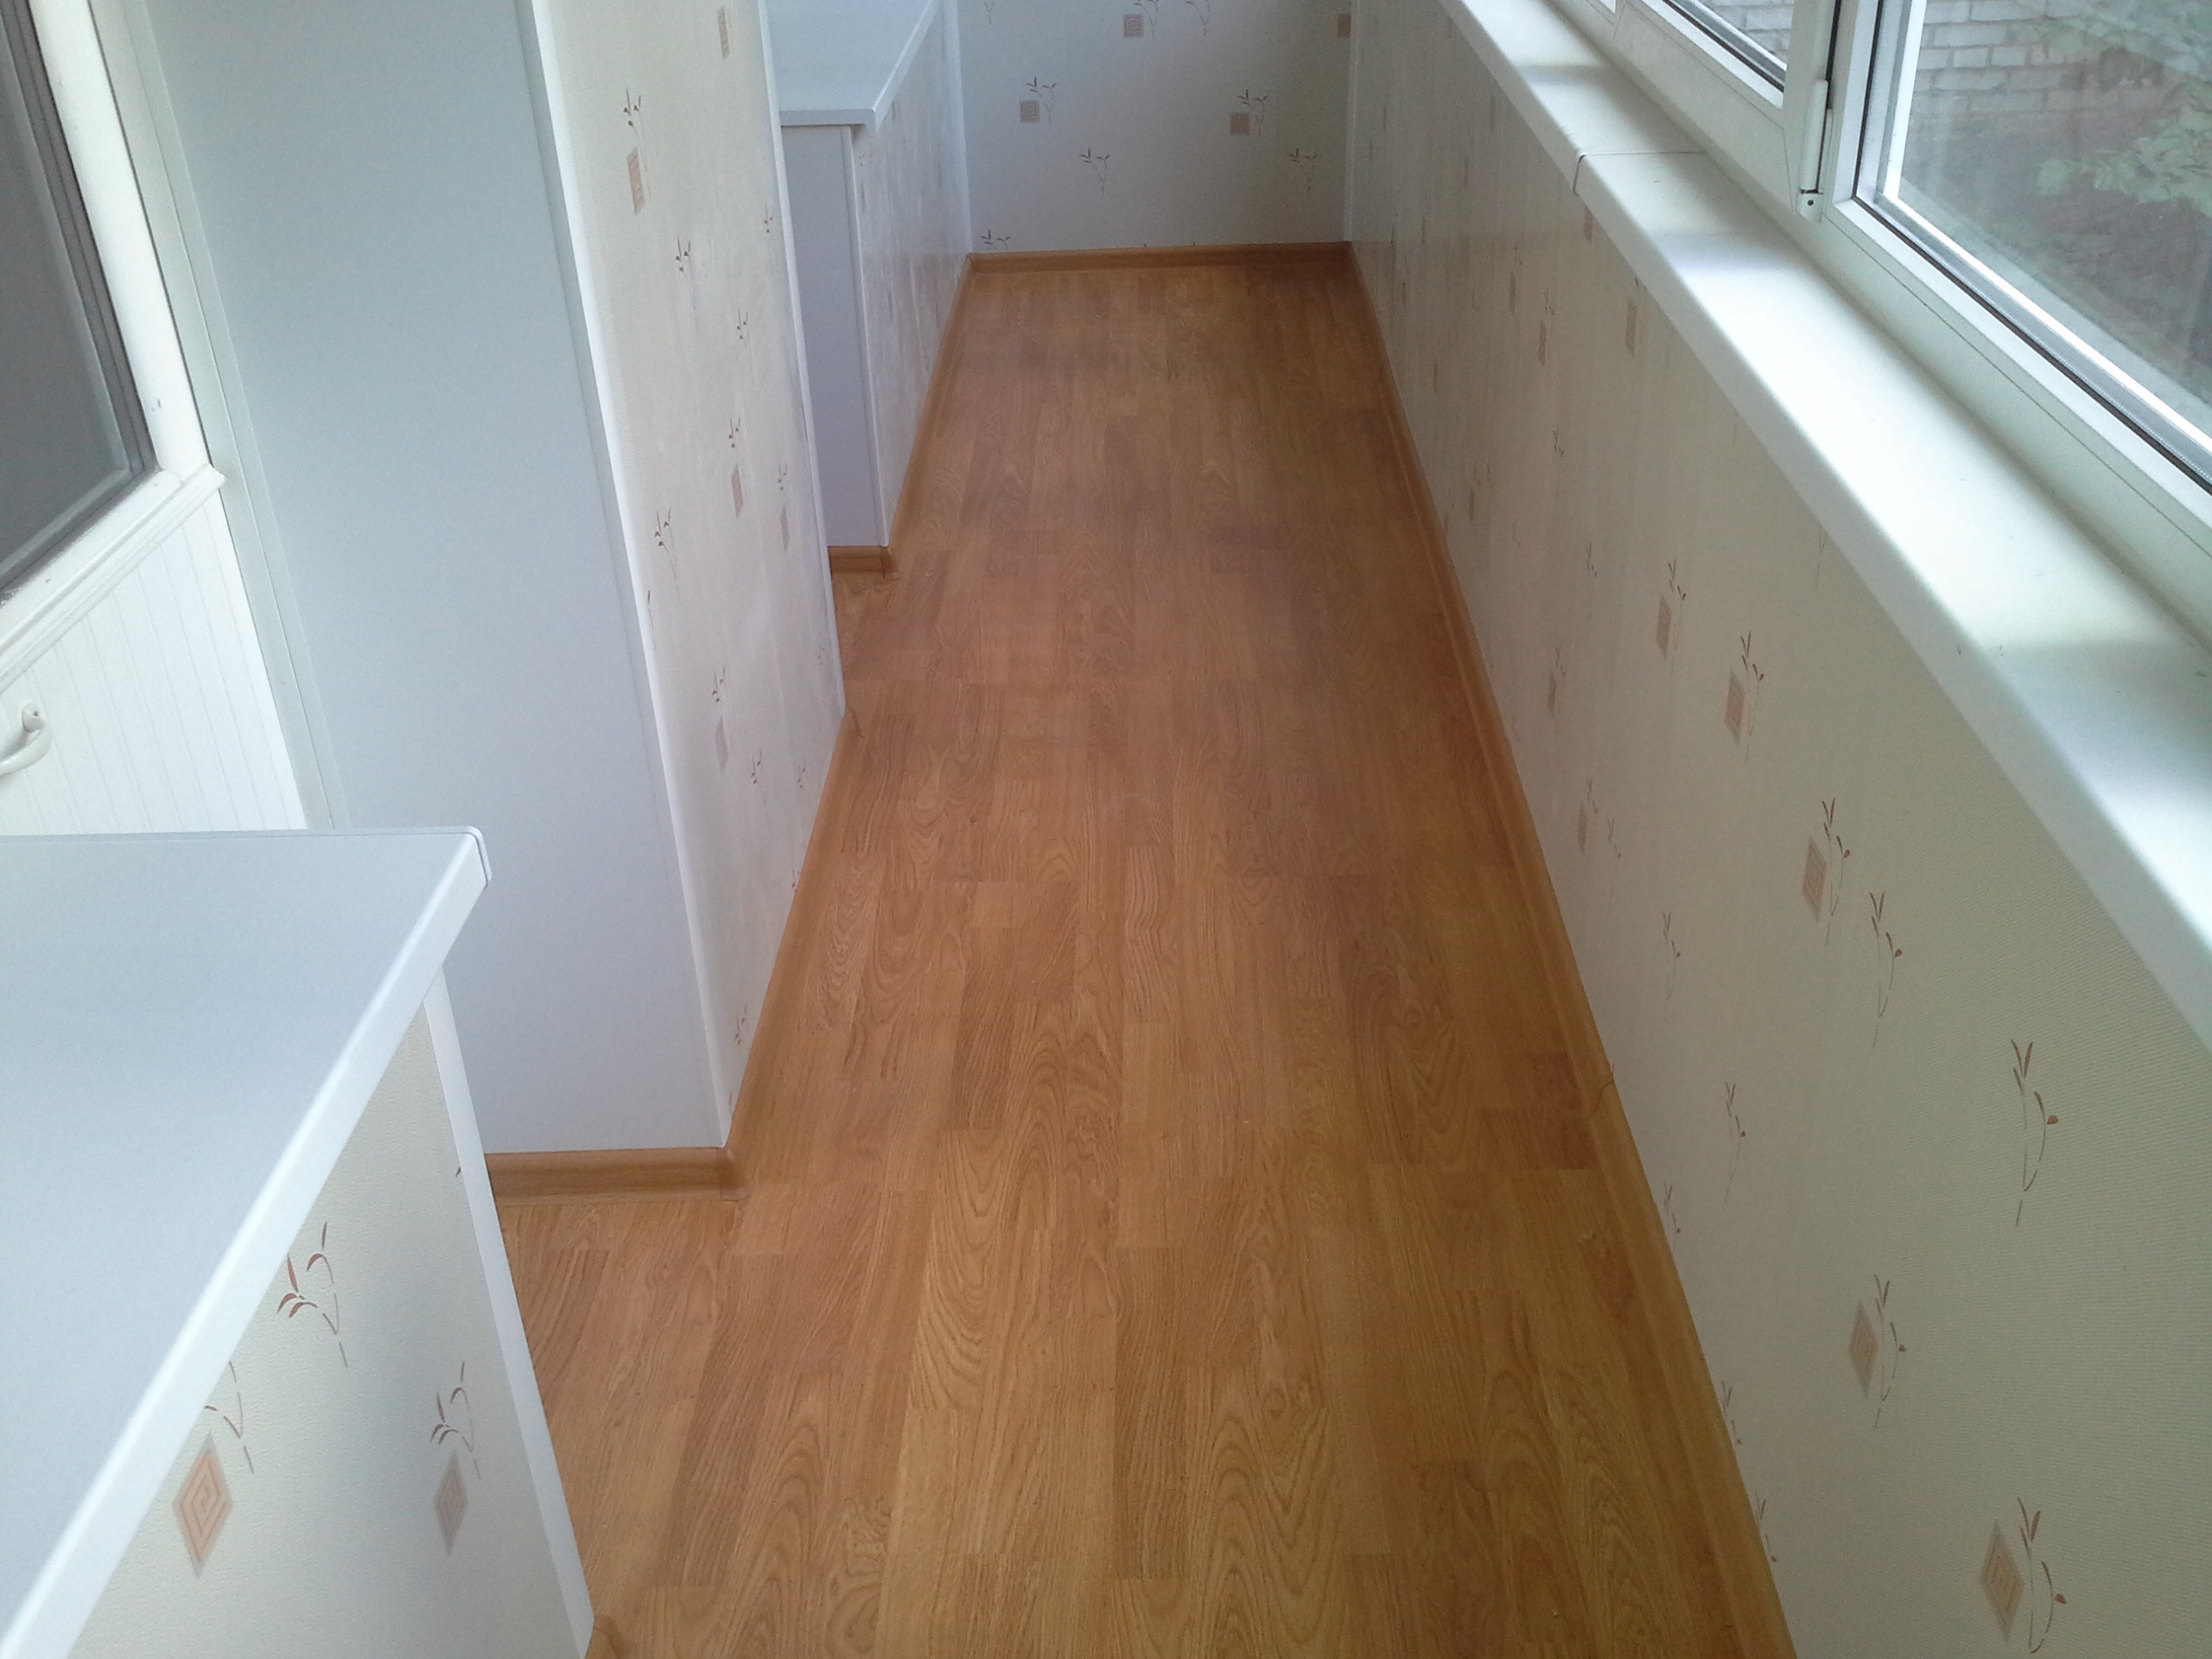
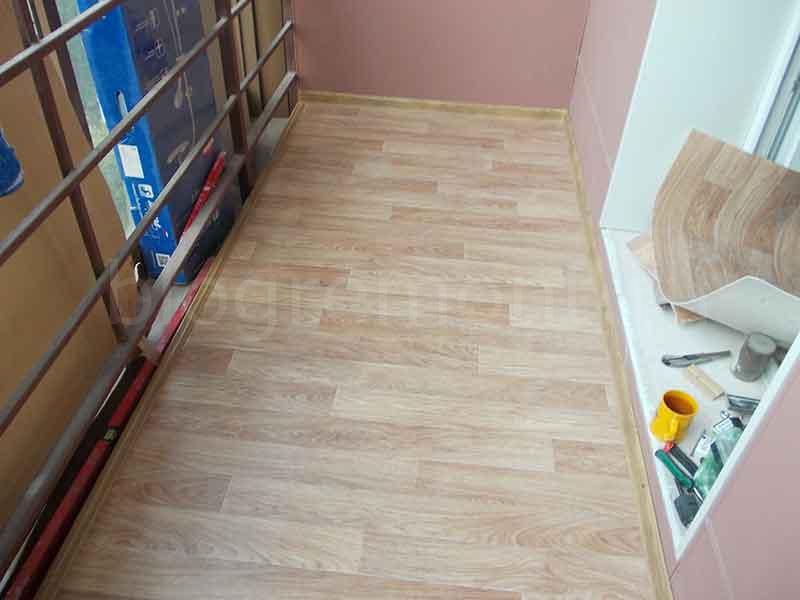
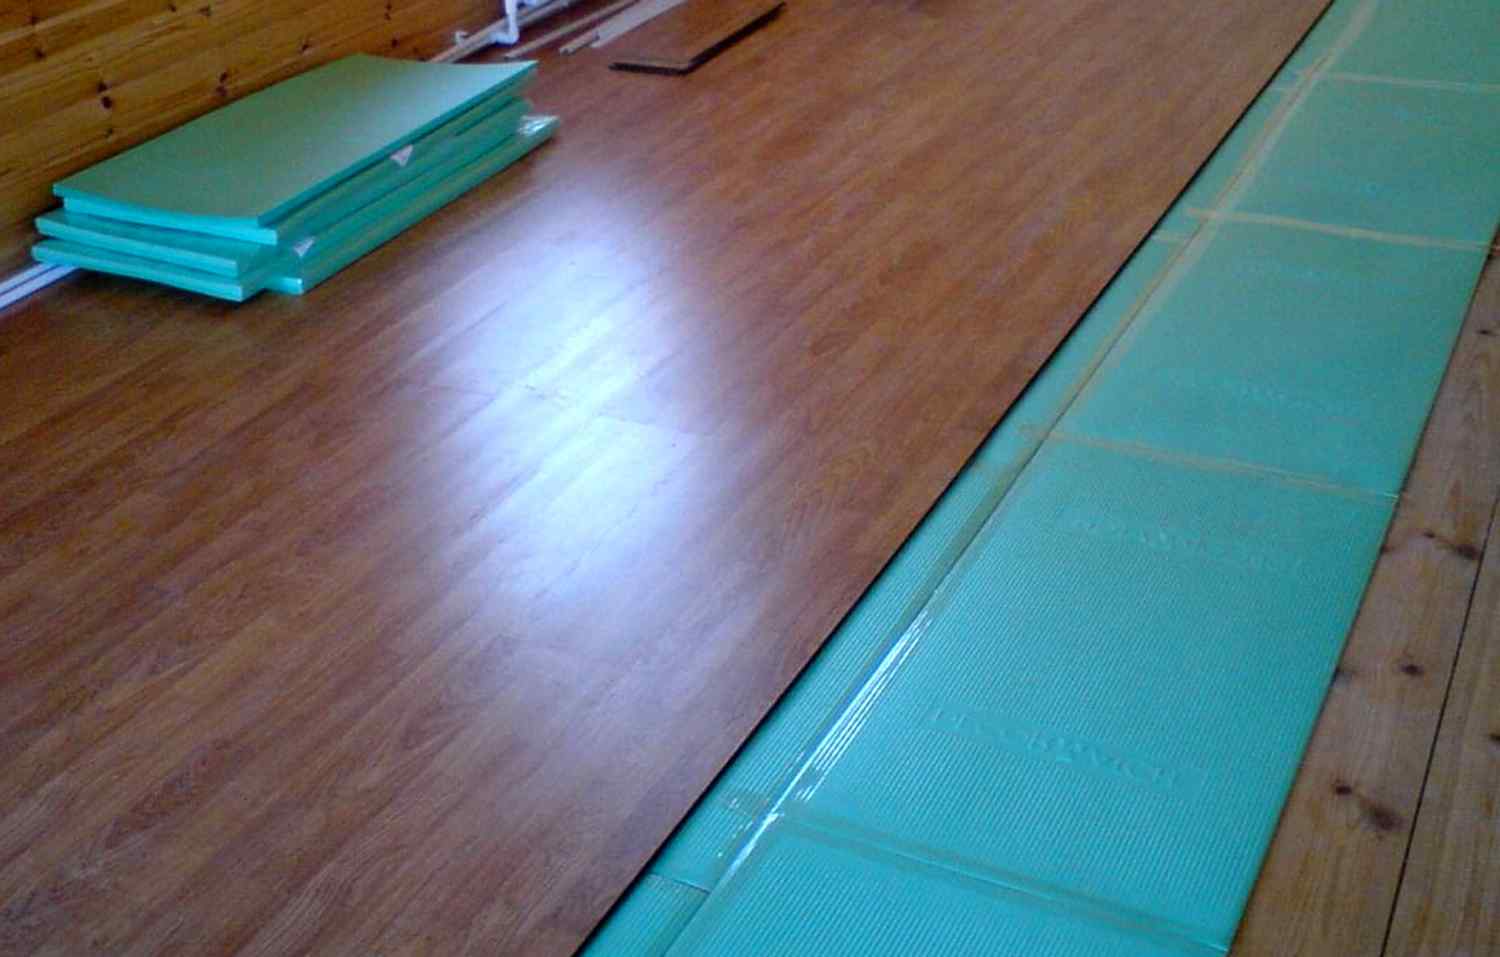
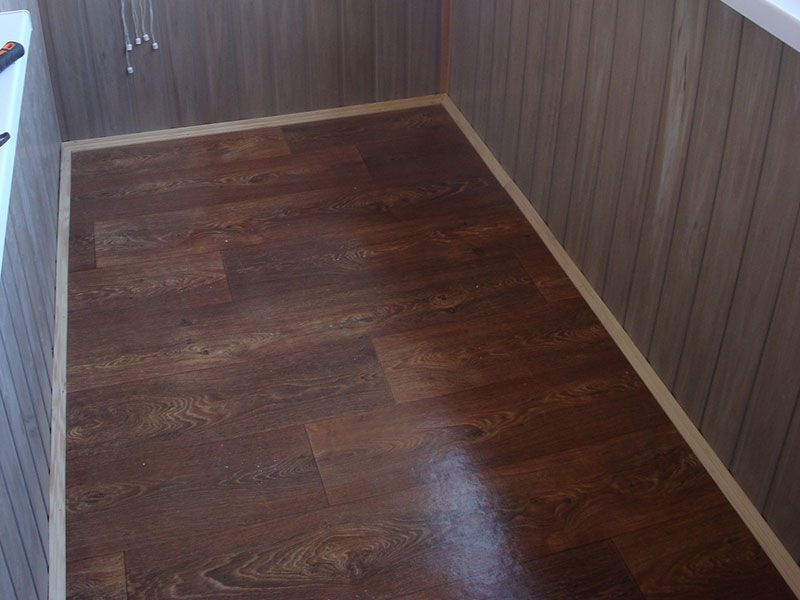
Laminate
Laminate is a fairly popular material for flooring on the balcony. The advantage of this material is the presence of several layers, which provide:
- rigidity;
- thermal insulation;
- noise suppression;
- moisture resistance.
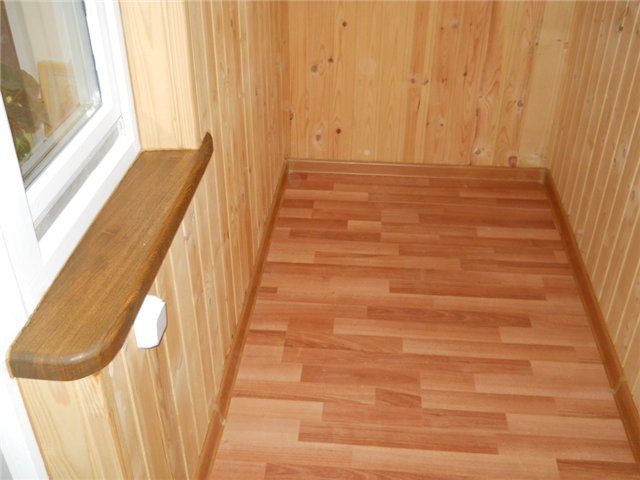
The top layer of this coating is decorative and contains a pattern. When choosing a laminate as a flooring on a balcony, you should take into account that this material is very poorly tolerated by water, therefore, when installing it, waterproofing is important.
The surface on which the laminate is laid must be flat, so before installing it you must always carry out all the relevant preparatory work, such as screed and crate installation.
Between the batten and laminate it is necessary to make a layer of the substrate, the material for which can be polystyrene or cork. This layer should form an angle of 90 degrees with the laminate. Joining the fragments of the substrate layer must be glued with tape.
It is necessary to make laying, starting from the side opposite to the entrance to the balcony. There are three options for laying laminate:
- diagonal;
- longitudinal;
- transverse.
Each new row of laminate must be laid with an offset of 40 cm, as this will contribute to greater durability of the coating. In this case, a small (about 10 mm) distance should be left between the laminate and the wall. Laying such a coating is quite easy, since fragments of the material are installed "in the lock".
Plywood flooring
Relatively easy to implement version of the balcony floor. As in all other methods, first of all, it is necessary to level the surface of the balcony slab by doing this using a screed or by knocking out irregularities. Then lags are installed on the concrete base with screws and dowels, which are desirable to paint.
Next, plywood sheets are cut in accordance with the length and width of the balcony. It is desirable to carry out cutting with an electric jigsaw. This tool will make the edges of the sheets smooth, and the process of cutting will be easy and convenient. When installing sheets of plywood on the sheathing, you should leave a small gap. This is done so that later the floors do not creak.
In order to plywood floor was more durable, it is desirable to lay the sheets not in one, but in several layers. The finished plywood floor can be either a self-covering, or a good basis on which to lay linoleum or carpet.
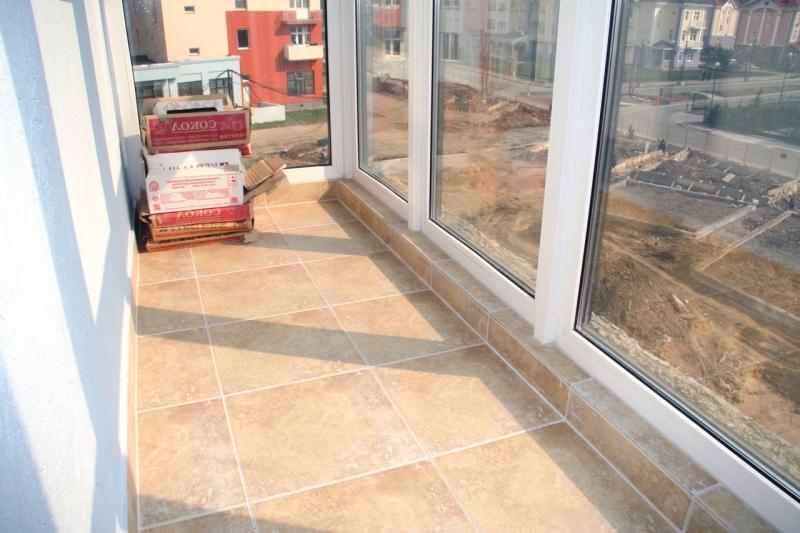
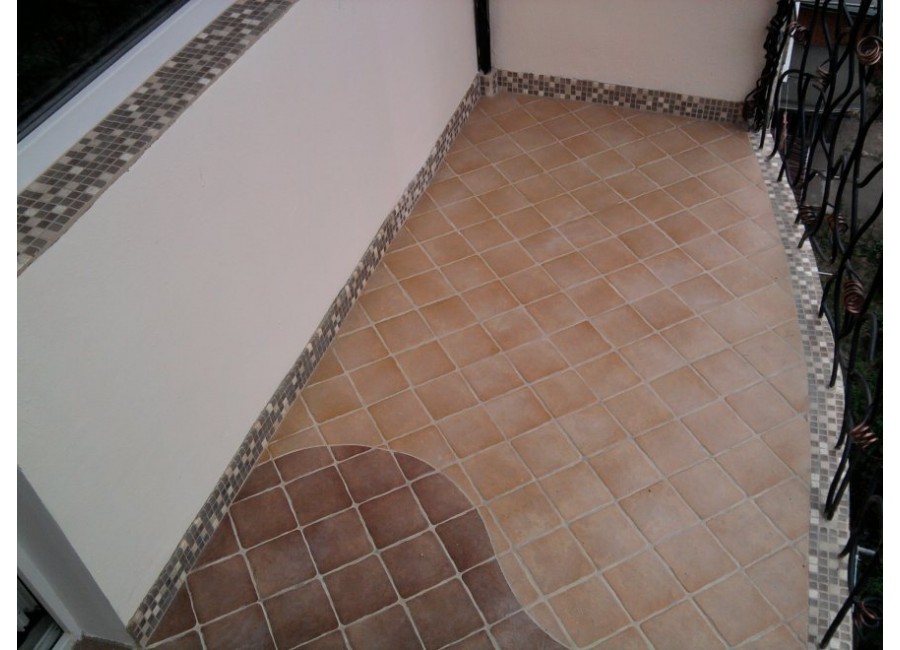
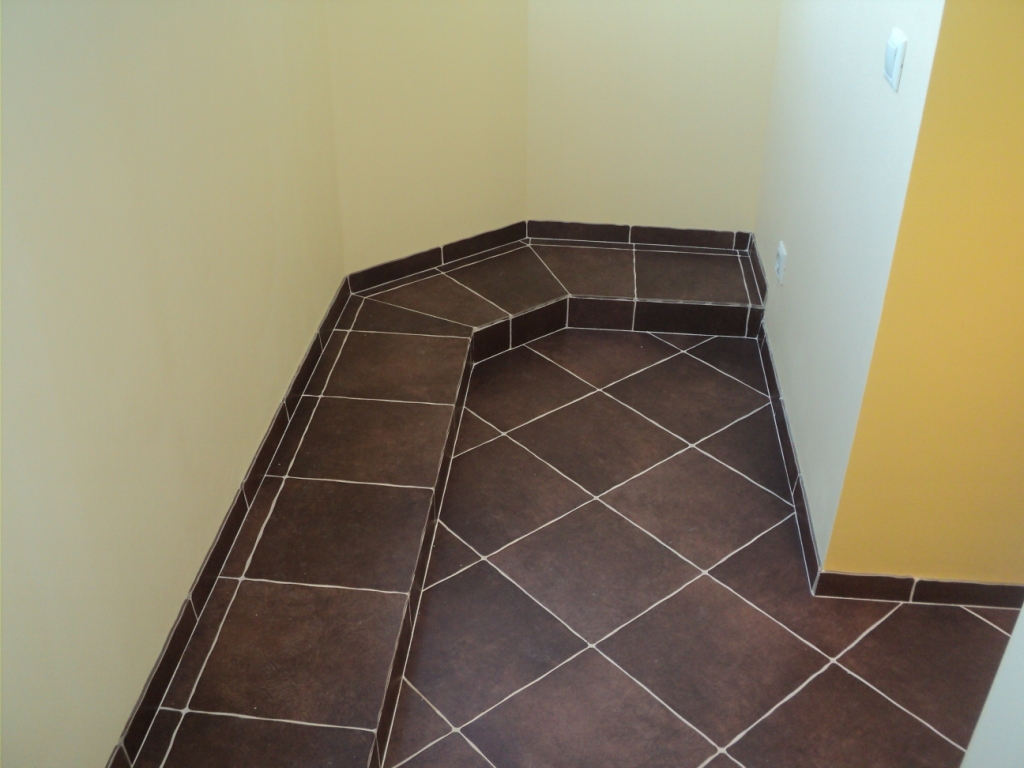
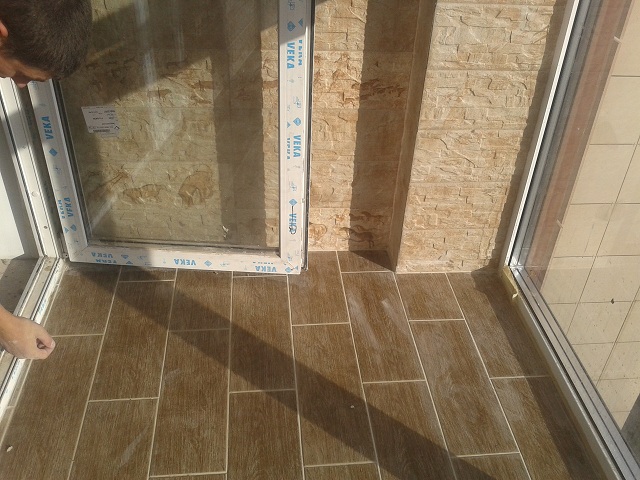
Ceramic tile
Another possible option is to cover the floor on the balcony with ceramic tiles. This option is also quite simple to implement. Attention should be paid to the tile surface: it must be textured or rough, but not glossy, otherwise the floor will be slippery.
You can cope with laying tiles on the balcony yourself. For this you will need:
- tile adhesive;
- spatula comb;
- building level;
- tile cutter or grinder with a disk for cutting stone.
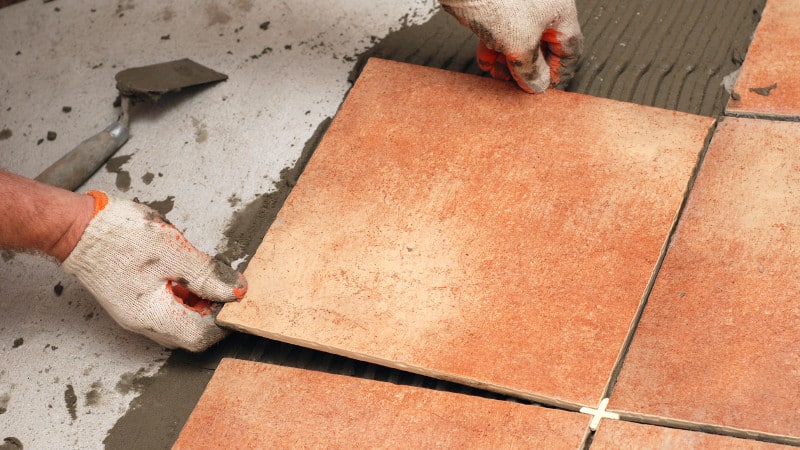
When stirring the glue, be sure to follow the instructions that are usually written on the package. Laying tiles begins from the opposite corner of the entrance to the balcony. Glue is applied with a spatula on a concrete slab, then a tile is put on top and pressed down. This sequence is repeated for subsequent tiles until the entire floor has been laid. If there are areas in which the whole tile does not fit, it must be trimmed, pre-measuring the free space and performing marking on the tile. When the glue dries, it remains only to clear and rub the seams.
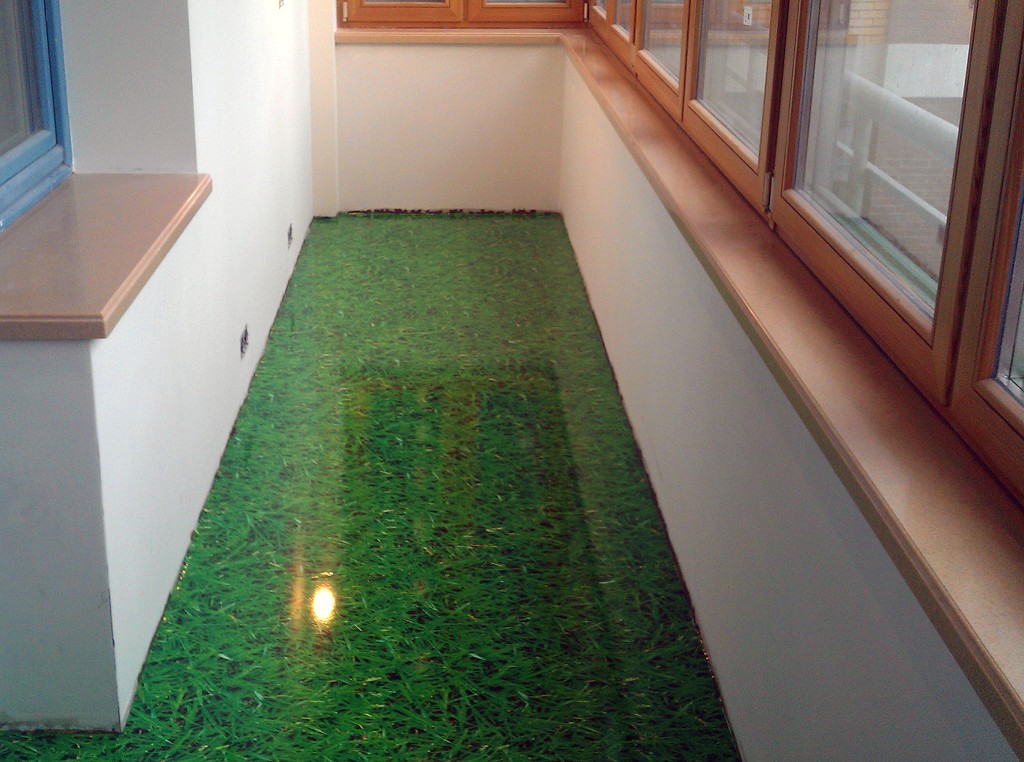
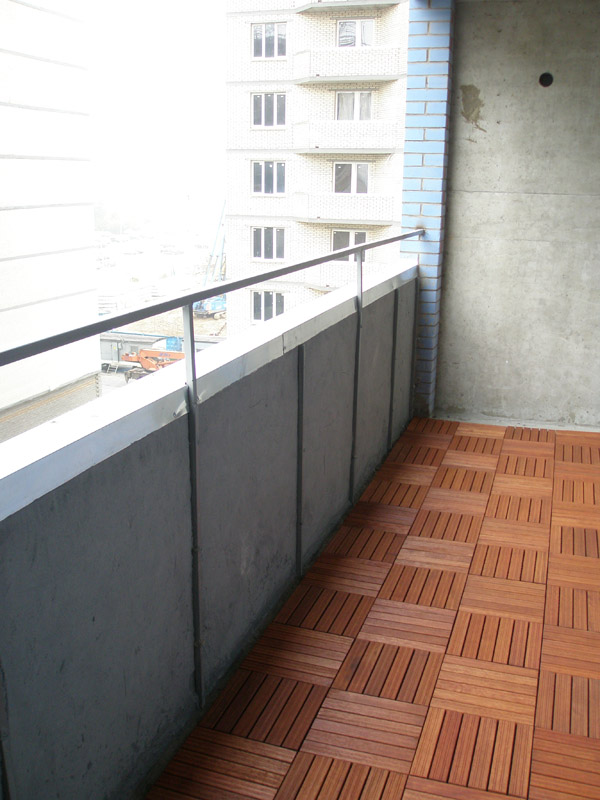
What and how to cover the raised floor
When installing a raised floor (or a raised floor) on a balcony, it is necessary to take into account that this type of floor can only be installed on a glazed balcony. The installation consists of several stages:
- measurement of the balcony and the layout of the main grid points, which will determine the location of the racks;
- installation of raised floor racks and their connection with stingers;
- tile laying, accompanied by level control and height adjustment;
- final adjustment;
- laying decorative cover.

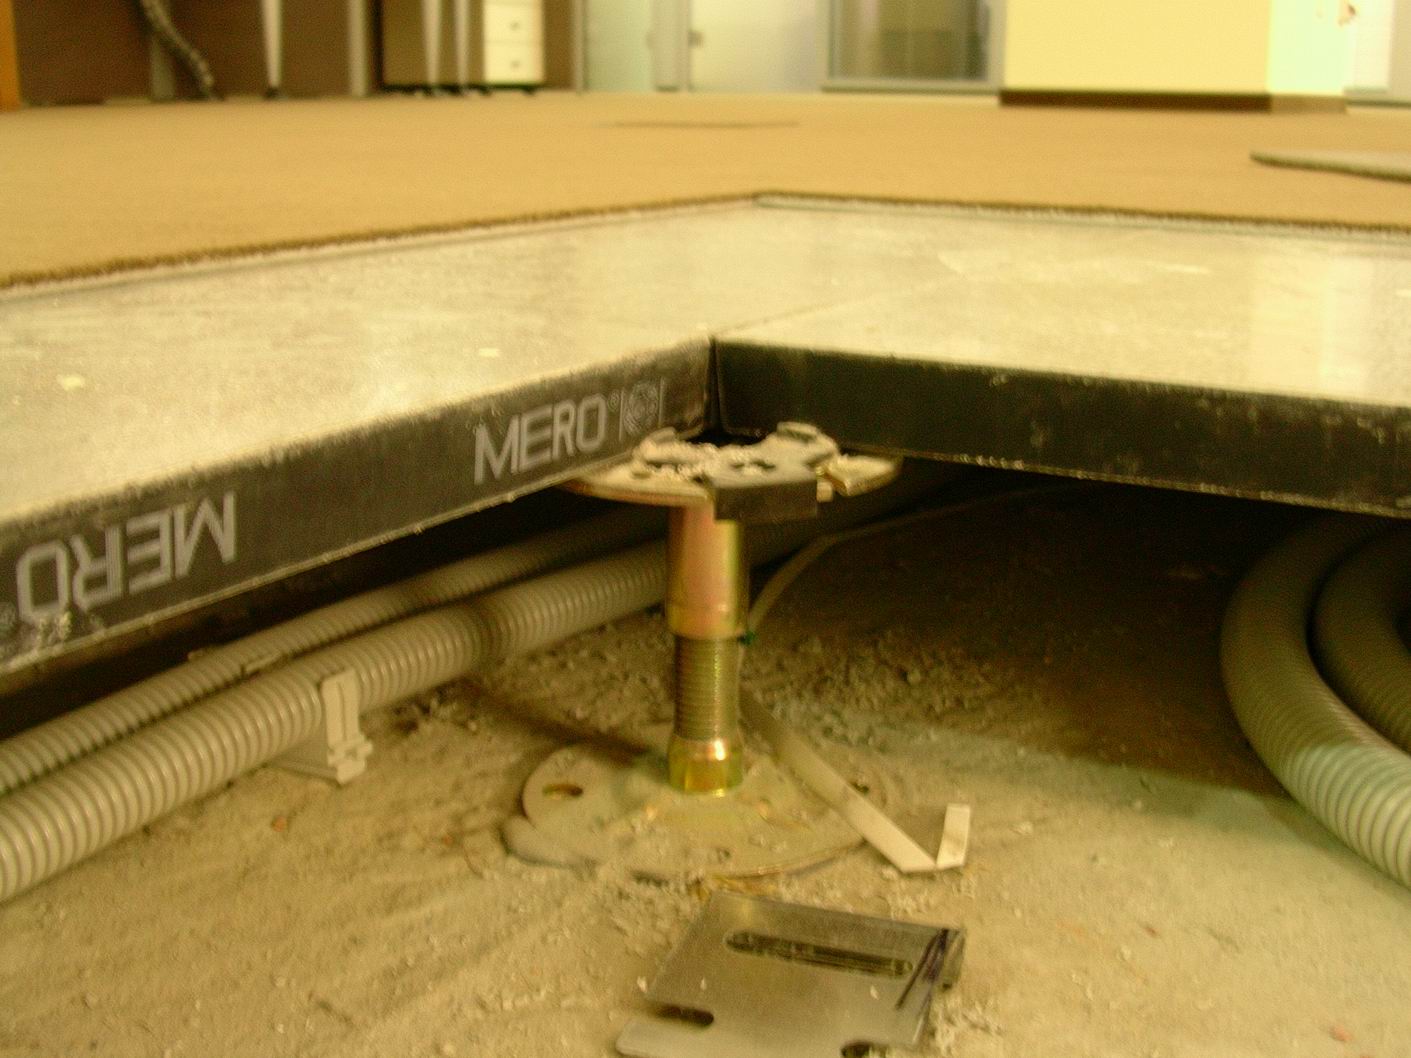
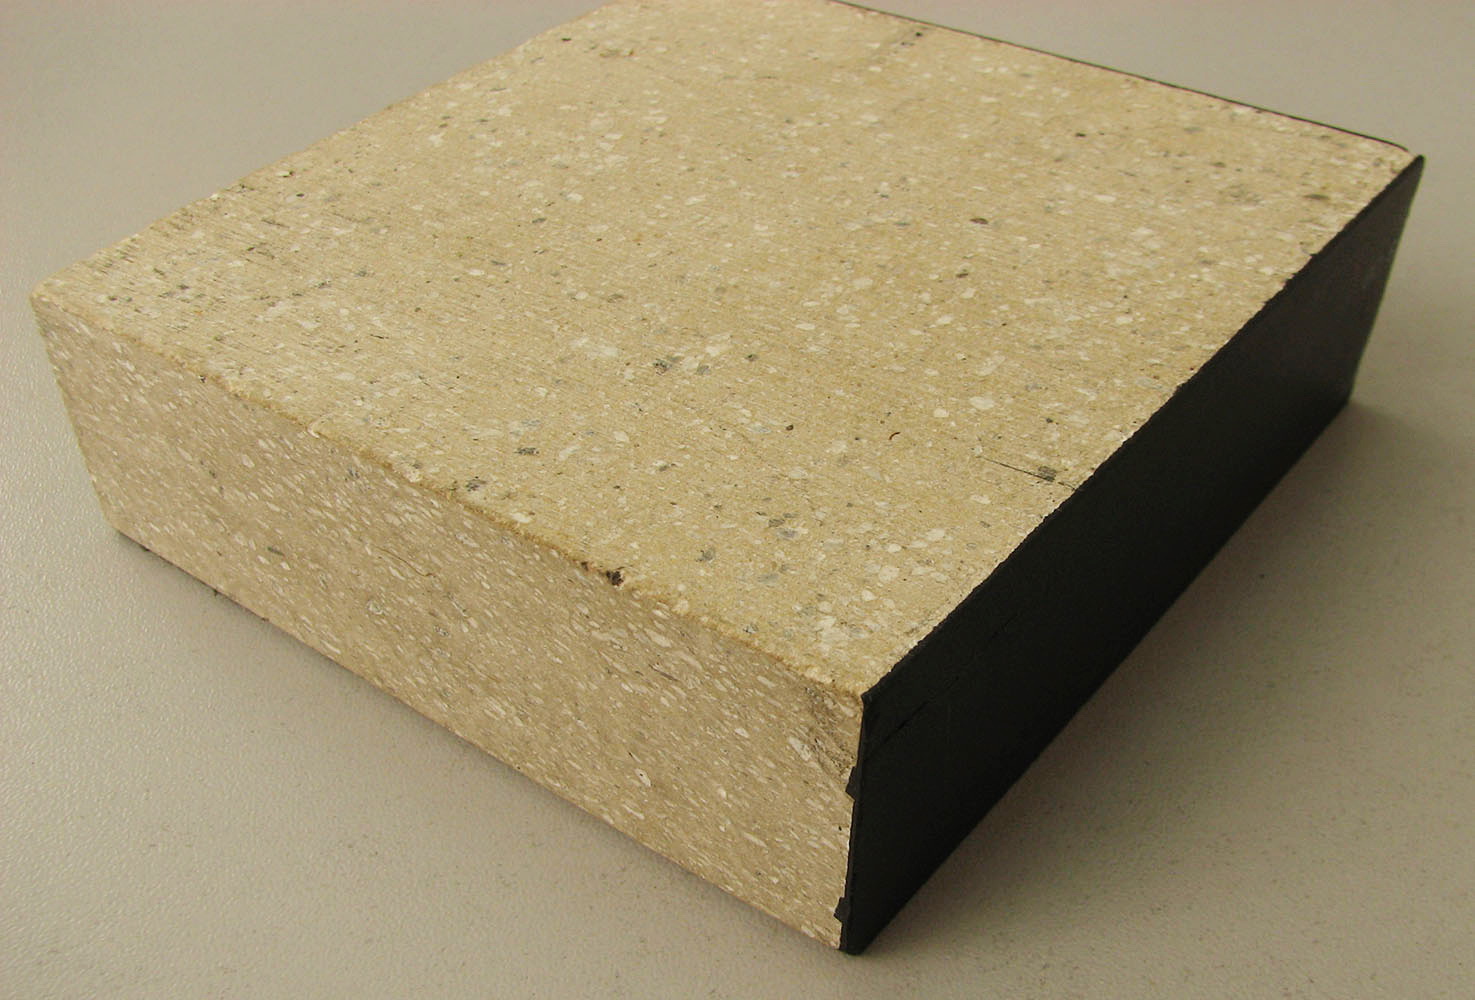
The slab (or panel) of the raised floor is a flat element that has a square shape. The size of the panels is always the same and is 60x60 cm. The thickness of the panel can be 2.6 cm or 3.6 cm (this depends on the conditions of use of the floor).
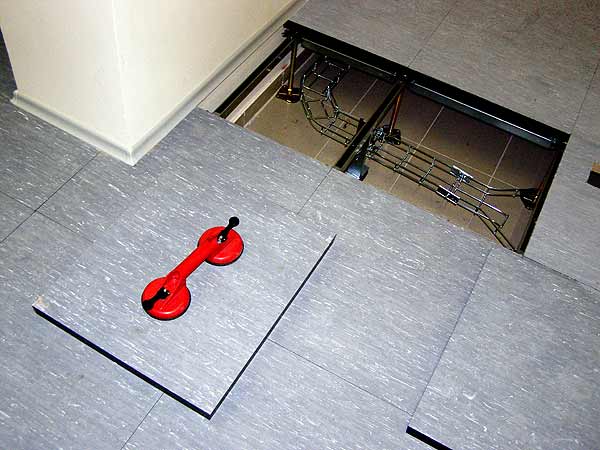
All necessary communications are installed in designated boxes, located under the panels. At the same time, the plates are freely positioned on supports, thus it is possible at any time to remove the desired plate in order to get to the communications located under it. On the balcony it can be communications electric heating system.
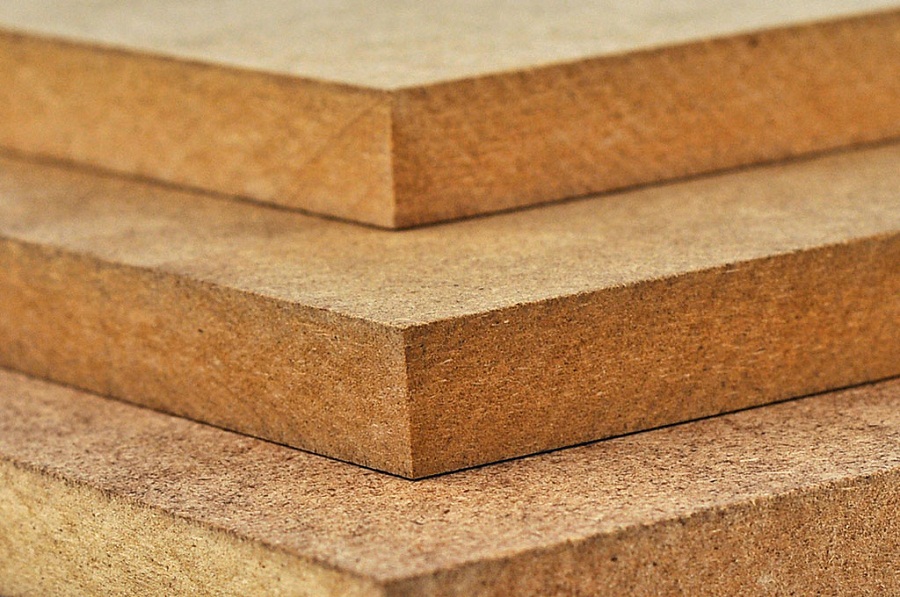
There are three types of panels used to install a raised floor:
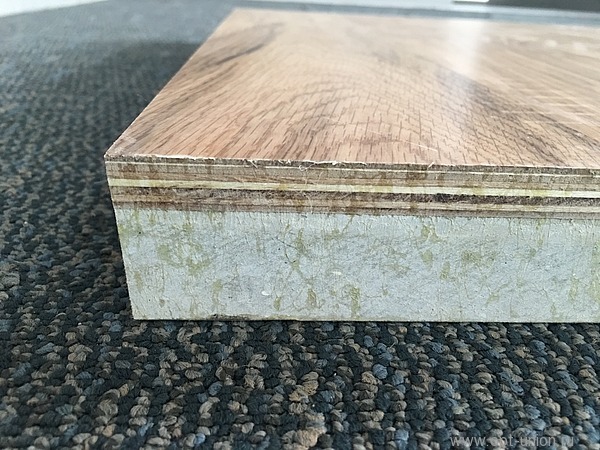
- panels of chipboard high density;
- cellulose-reinforced calcium sulphate panels;
- calcium sulfate panels with mineral fiber.
As a decorative coating panels can be used different materials, among which the most common PVC, linoleum or carpet.
The bottom side of the slab can be lined with aluminum sheet or steel plate. Steel coating is usually used in industrial premises where the raised floor must withstand heavy loads and throughput.To cover a raised floor on a balcony, a more appropriate option would be a bottom cladding with aluminum sheet.

How to make a warm floor on the balcony with your own hands, see the next video.


