Interior trim bath clapboard: a step by step guide
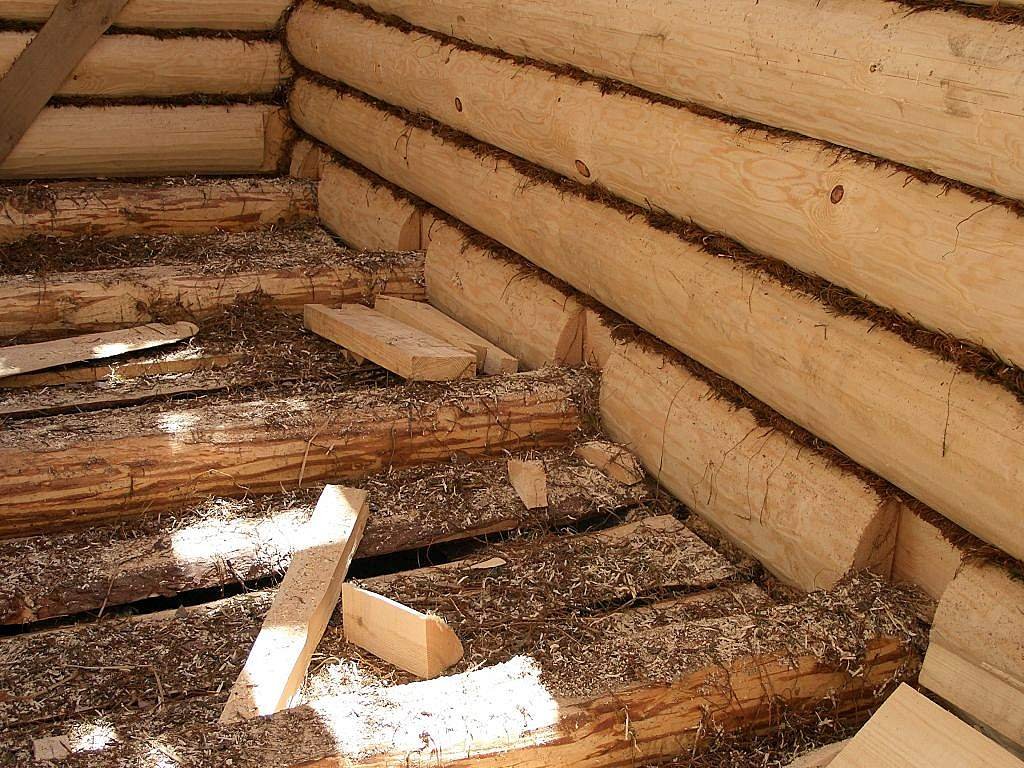
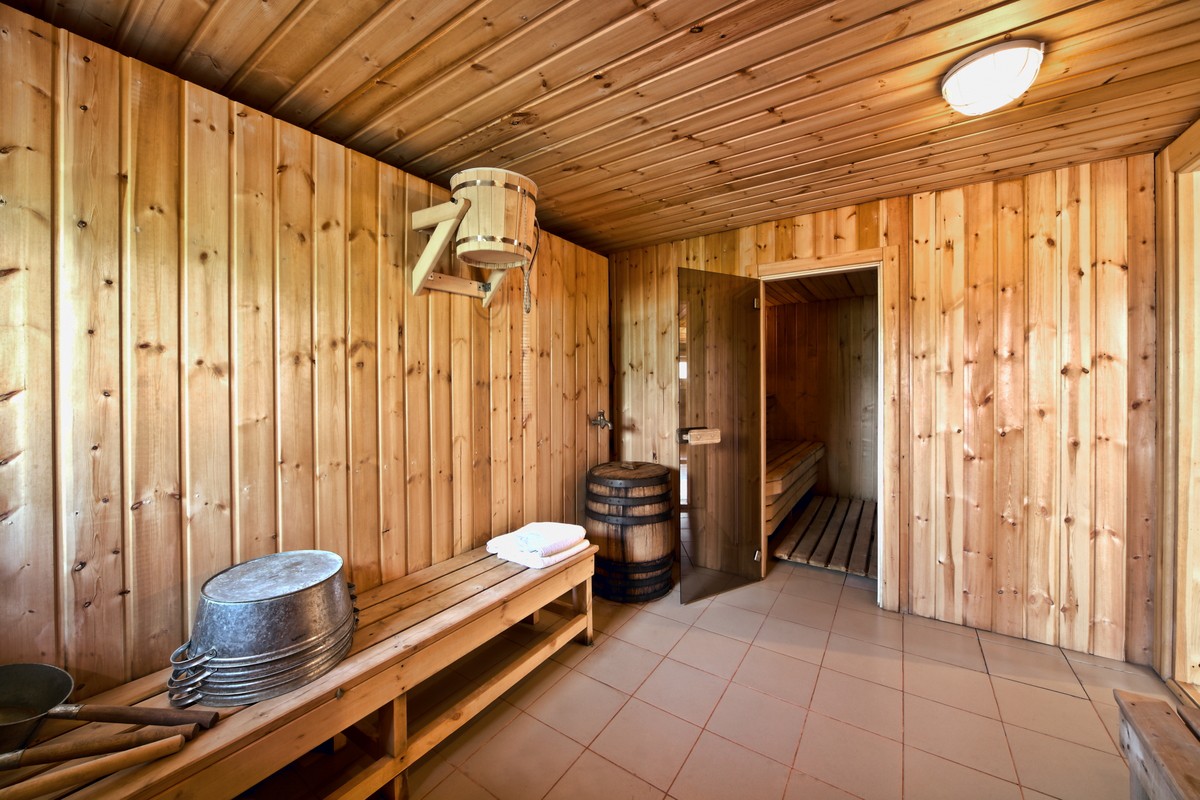
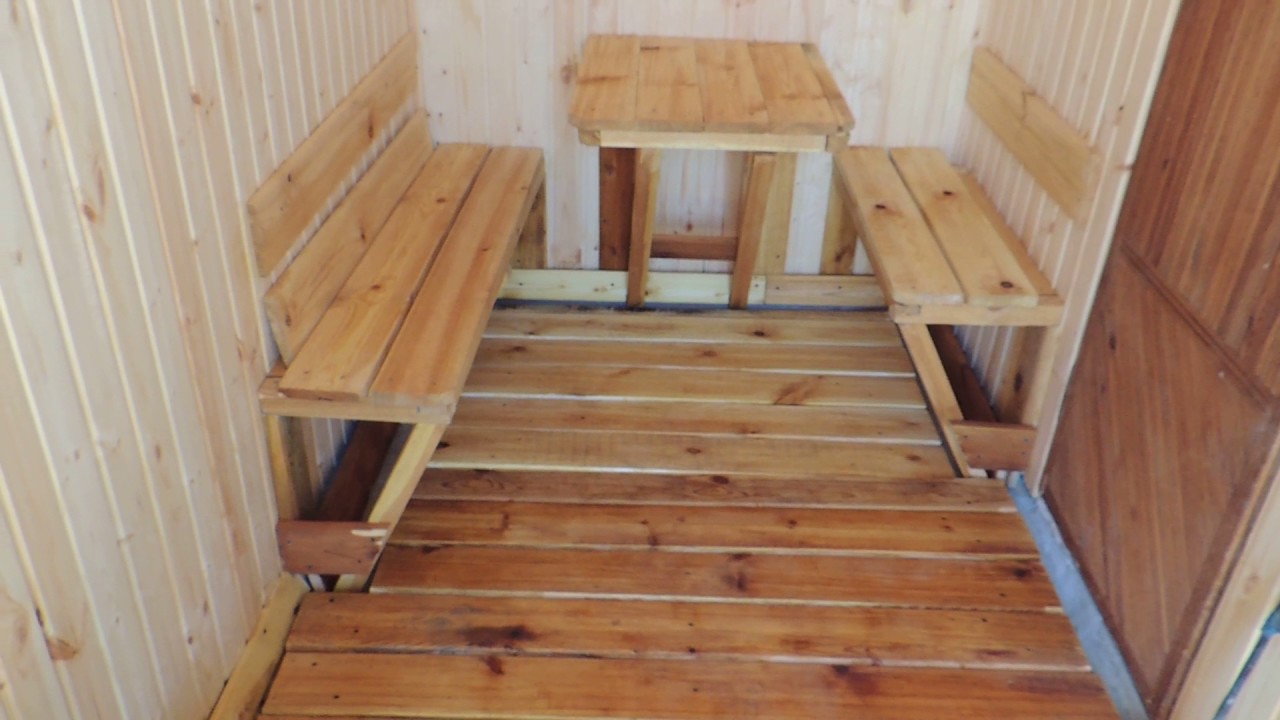
The use of the bath has long been considered not only hygienic, but also a wellness procedure. People visiting the bath are less likely to suffer from colds, cardiovascular diseases and diseases of the nervous system. The traditional wooden bath is considered: the walls of the steam room in it “breathe”, which contributes to the improved ventilation of hot air.
Special features
To date, there are many different options for interior decoration baths - this gas-silicate blocks, and bricks, and so far only gaining popularity magnnelite. However, the most suitable continues to be considered finishing from natural materials, namely - from wood. Thanks to wooden lining there is an opportunity to create a specific microclimate and a cozy atmosphere necessary for a bath or sauna.Planning your own hands to sheathe a bath clapboard, you need to take into account not only all the nuances, but also carefully follow the rules of such decoration indoors.
Choice of lining and calculation of the area
For quality work it is necessary to choose the right material and calculate its quantity.
To sheathe the inner surface of a room such as a bath, you need only those materials that can withstand:
- large temperature drops;
- high humidity;
- constant contact with water and various substances.
Board type and material grade
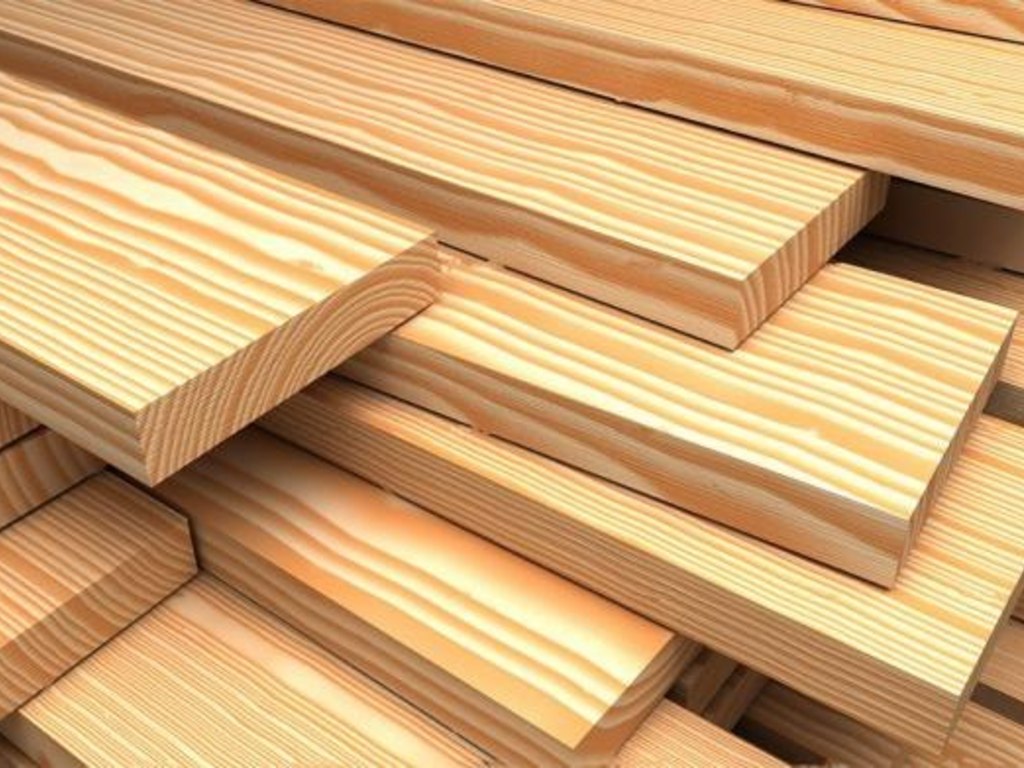
To date, the building materials market is filled with a variety of clapboard from a variety of manufacturers. Lamels are produced both in Russian and foreign production. Available in lining with different options for the cross section of the profile. Also wooden lining can vary in quality of the surface of the back and front side of the board, the shape of the lock and its size, type of material and other equally important parameters.
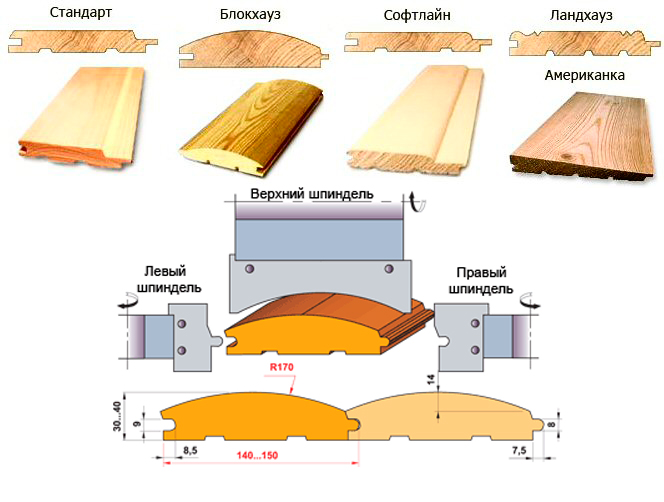
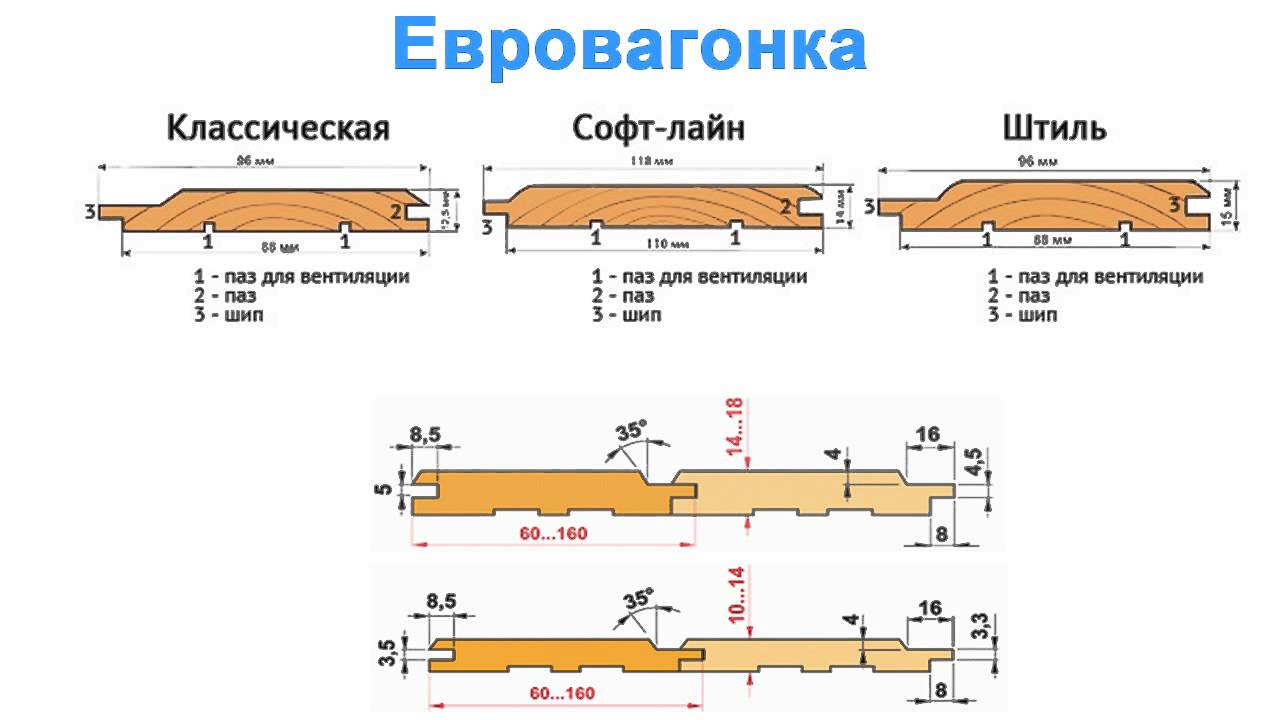
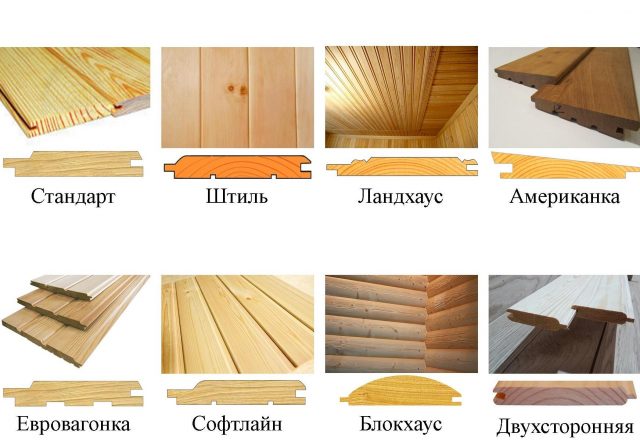
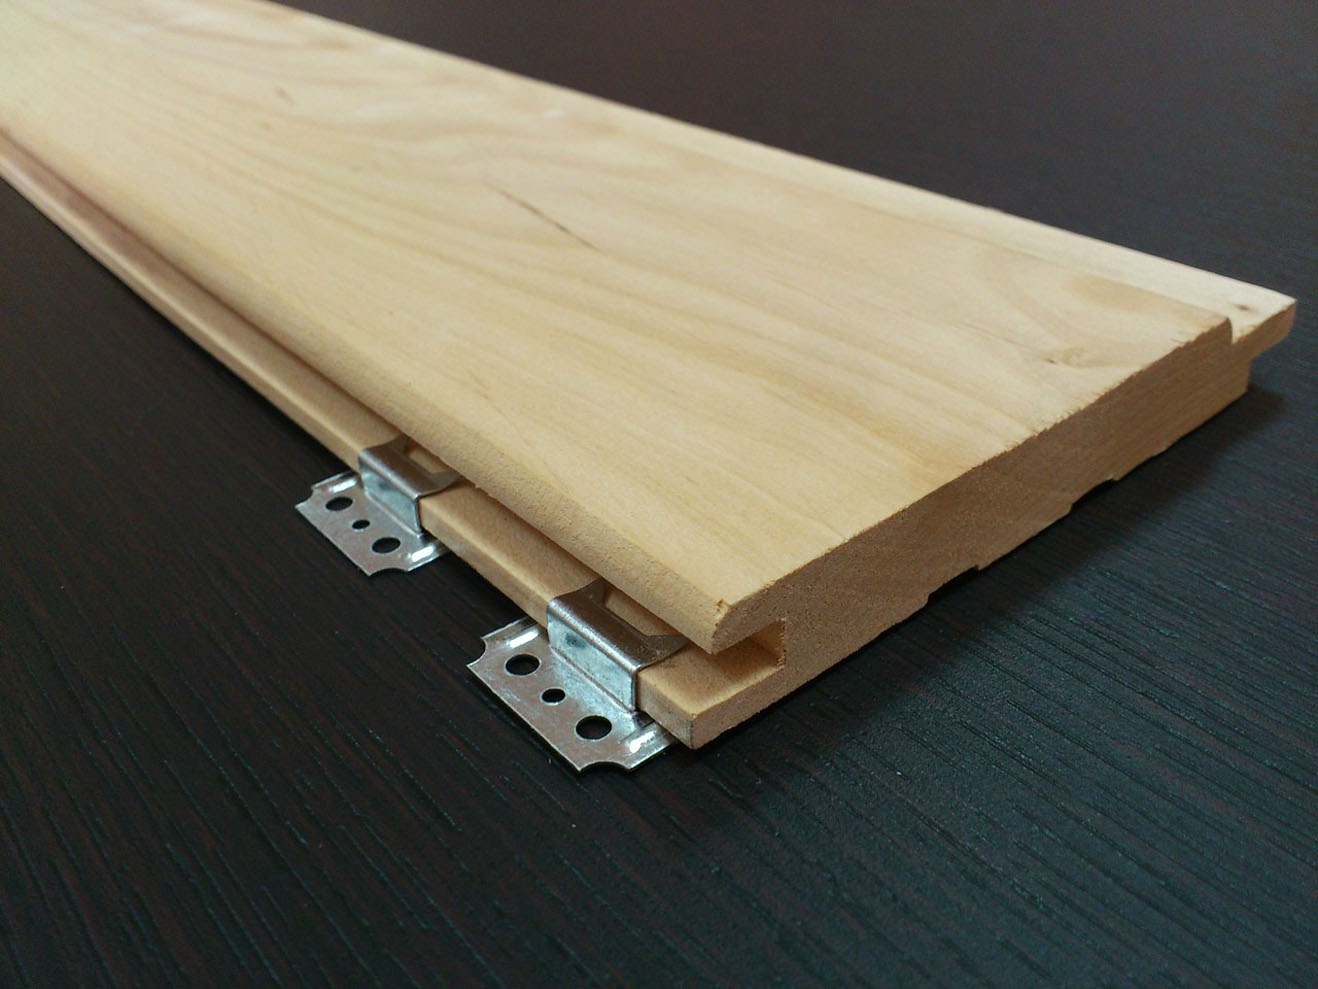
Most often use lining of several popular profiles.
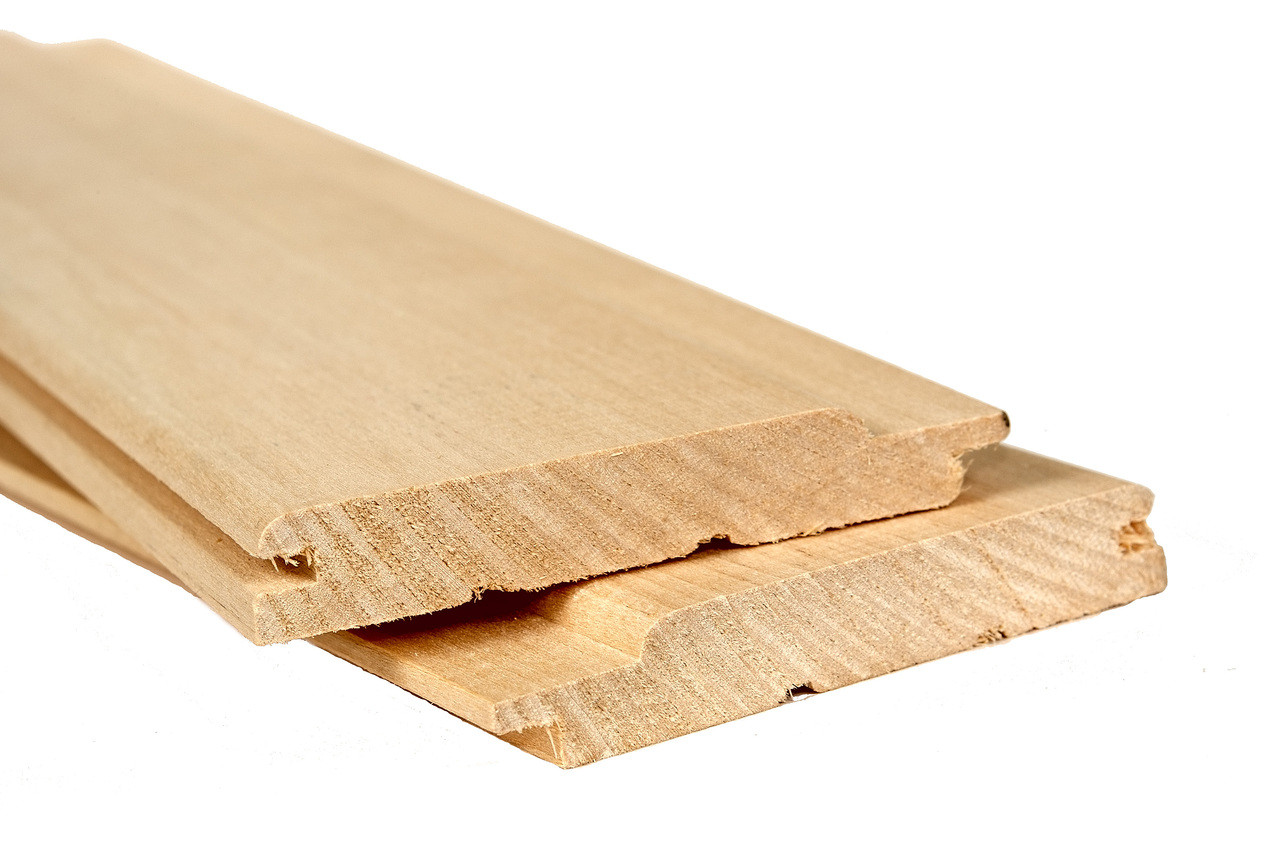
- Lining with clear sharp edges and forming seams visible with the naked eye during plating.
- Softline with more rounded corners.
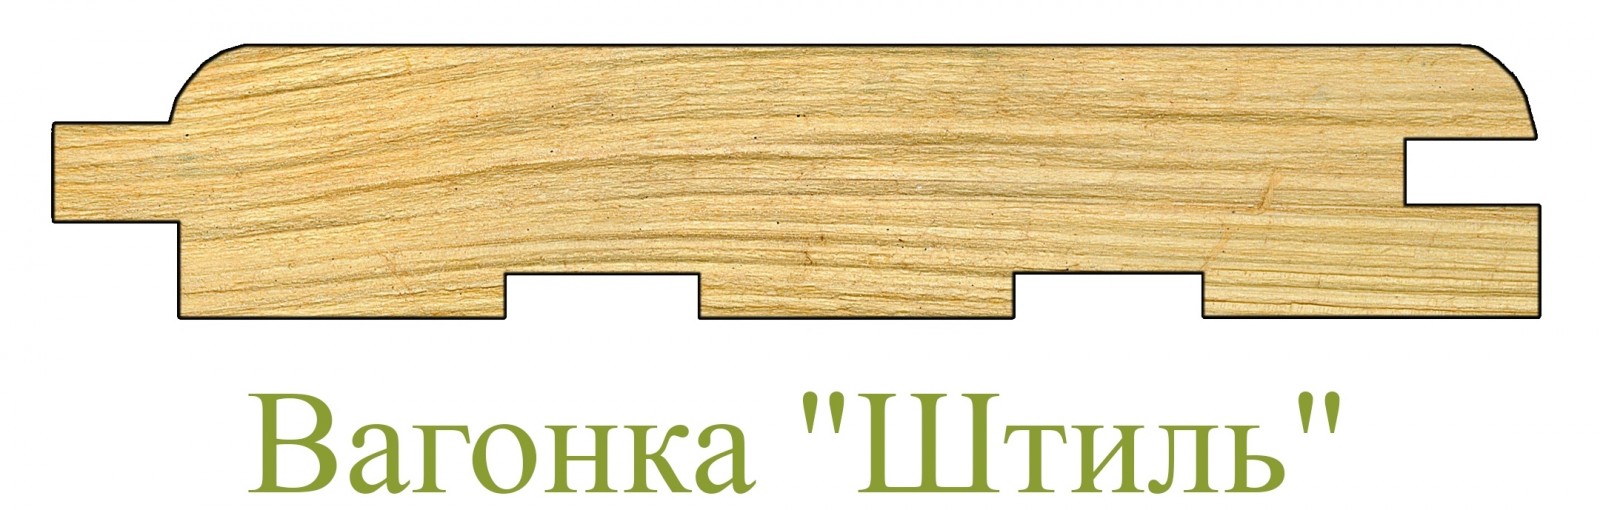
- Calm. The seam with such a finish is almost not visible, because it has no shelf-grooves. It can imitate timber, have both sharp enough and smoother rounded edges.
- The loungehouse, the front side of which is not smooth, but with different patterns. The drawing on the lamella of the lodge house is applied using figured milling on more expensive materials and using hot stamping on cheaper ones.
- Blockhouse (siding).
- Double-sided clapboard. Both the groove and the spike of such a board are exactly in the middle, so both sides are equally flat - you can choose between them. However, this material has almost no ventilation (the ability to "breathe"), so it is not very well suited for the interior decoration of such wet rooms as a bath, swimming pool or sauna.

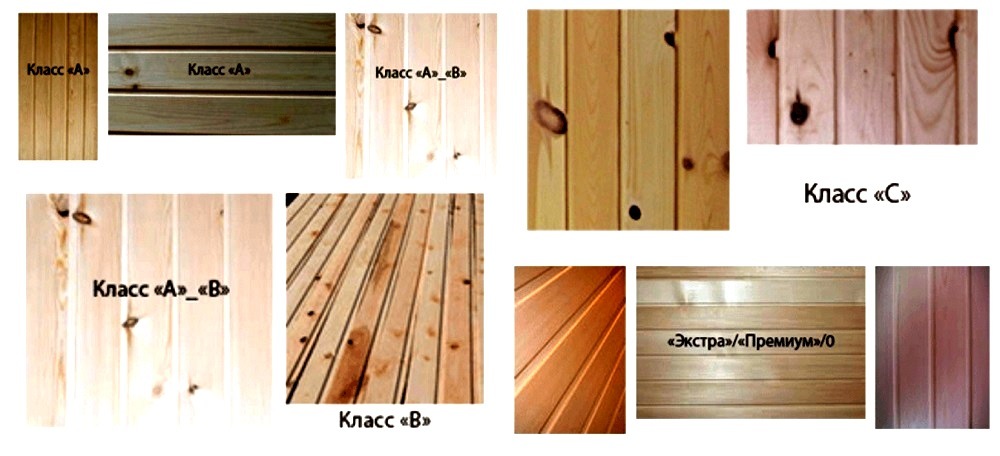
To determine the grade of purchased lining, you can use the European standard DIN. The difficulty lies in the fact that many manufacturers use different GOSTs and even their own specifications, so first of all it is necessary to look at the surface quality of the material itself, and not at the marking. All lining is made using the same equipmentand according to a single technology, therefore, the grade of the material is determined upon inspection at the end of the manufacturing process.
- Premium (or extra). Almost perfect quality lining. On the lamellae, neither branches nor cracks are allowed. Light blue tint, small shcherbinki, roughness and uneasy are possible only from the inside.
- Class A. The branches on such a board should not be more than 1 cm in diameter and occur no more often than once in a section of one meter in length. The cracks, if any, should be very small and, of course, not through. It is desirable that the manufacturer independently putty them. All other defects are permissible only on the inside.
- Class B. Knots in diameter can be no more than a third of the lamella, but in any quantity. The presence of through cracks and opened pockets is also allowed.
- Class C - this is the rest of the lining, which can be seen and blue spots, and a large number of large knots. Difficulties can even be on the surface of the side that is visible after installation. However, it is believed that the lining of this class is unacceptable to use for finishing walls.
Wood
The bath is not only a steam room, but also a washing facilities, a dressing room, or even a swimming pool. For each of the premises it will be more advisable to choose wood of a certain species.
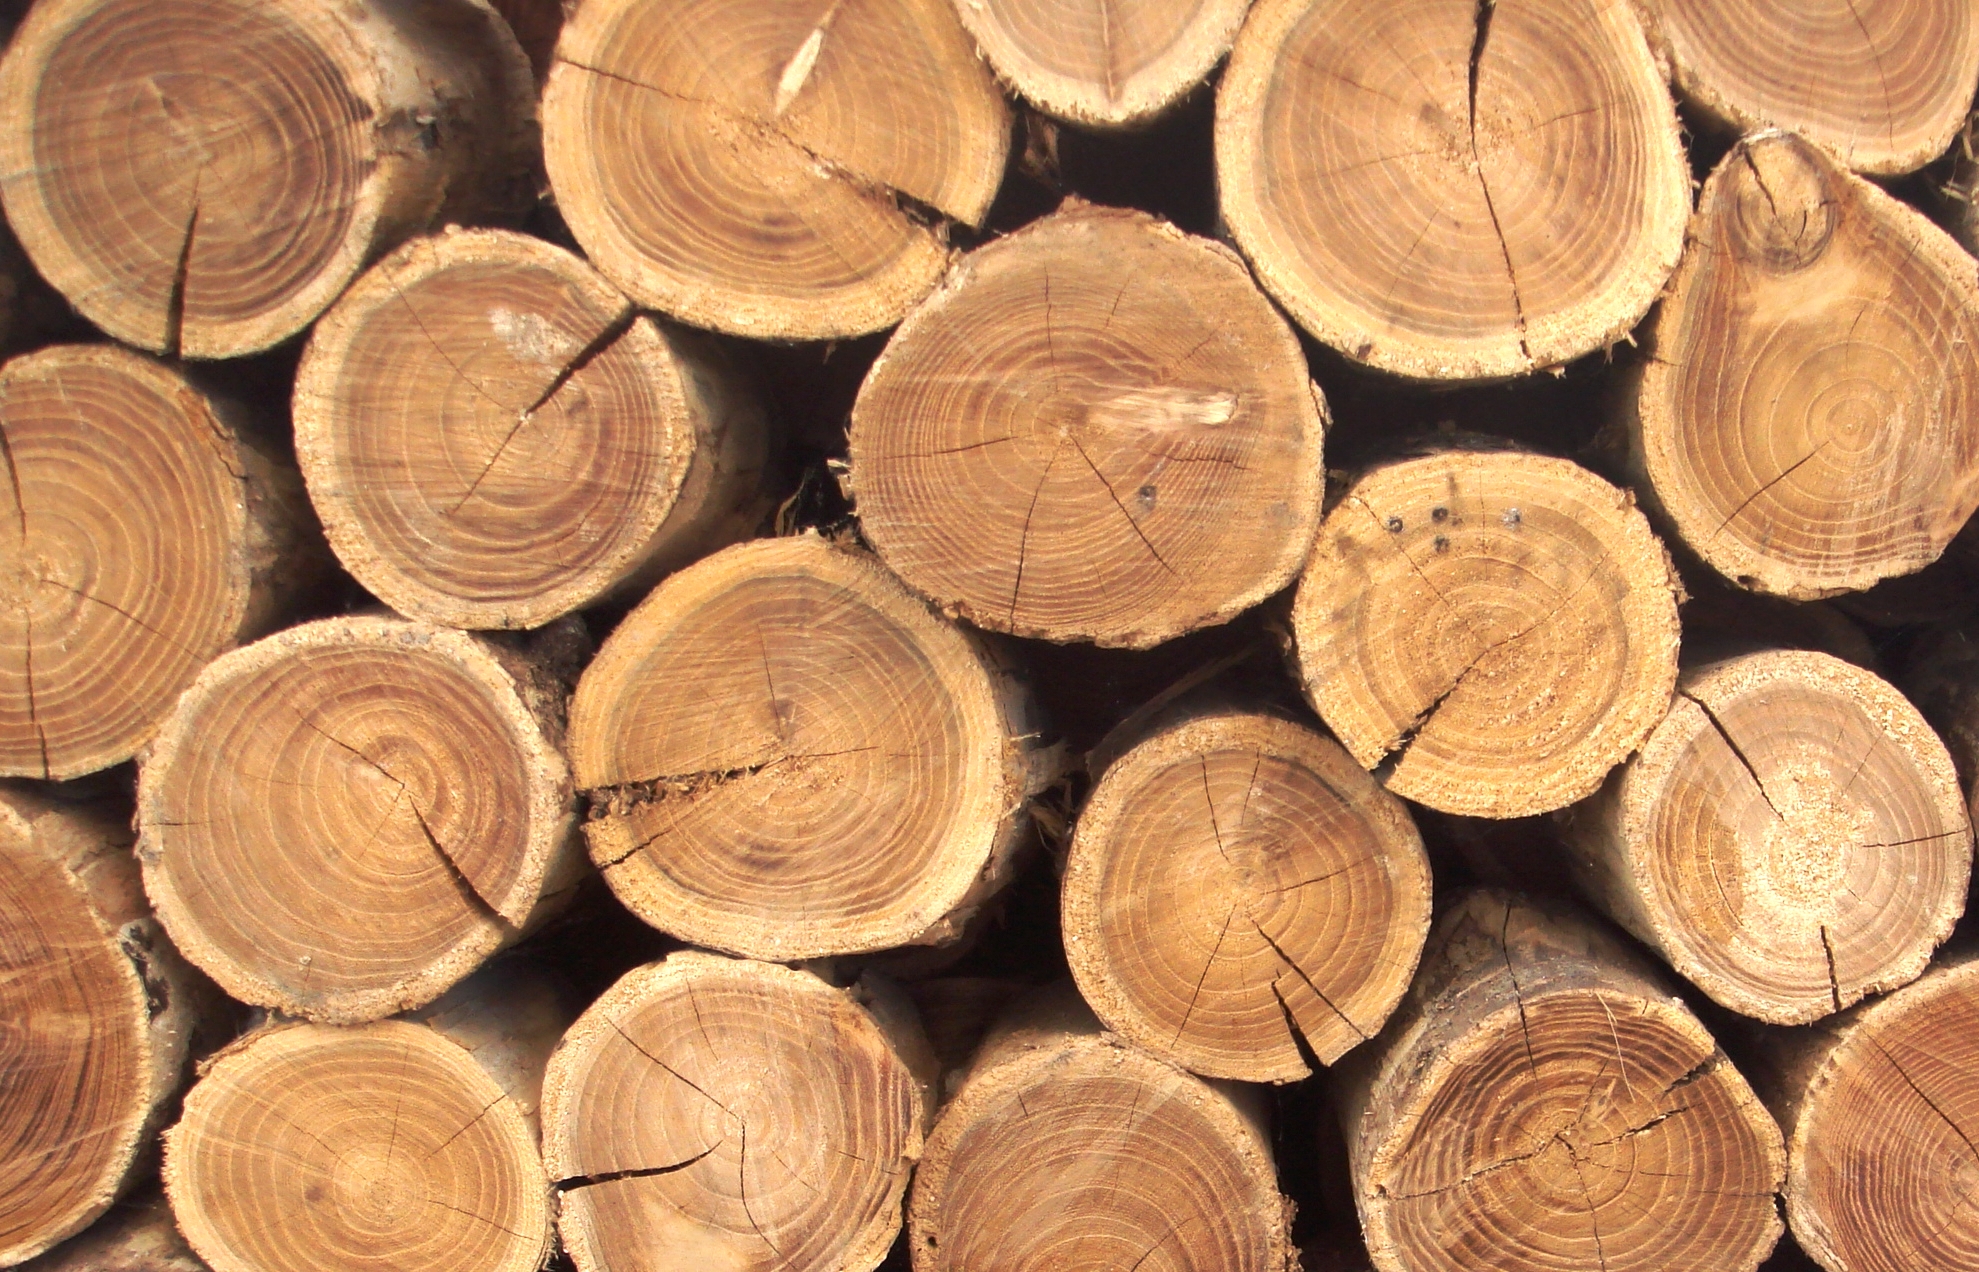
Wood is divided into two categories:
- coniferous: pine, spruce, cedar;
- deciduous: linden, aspen and others.
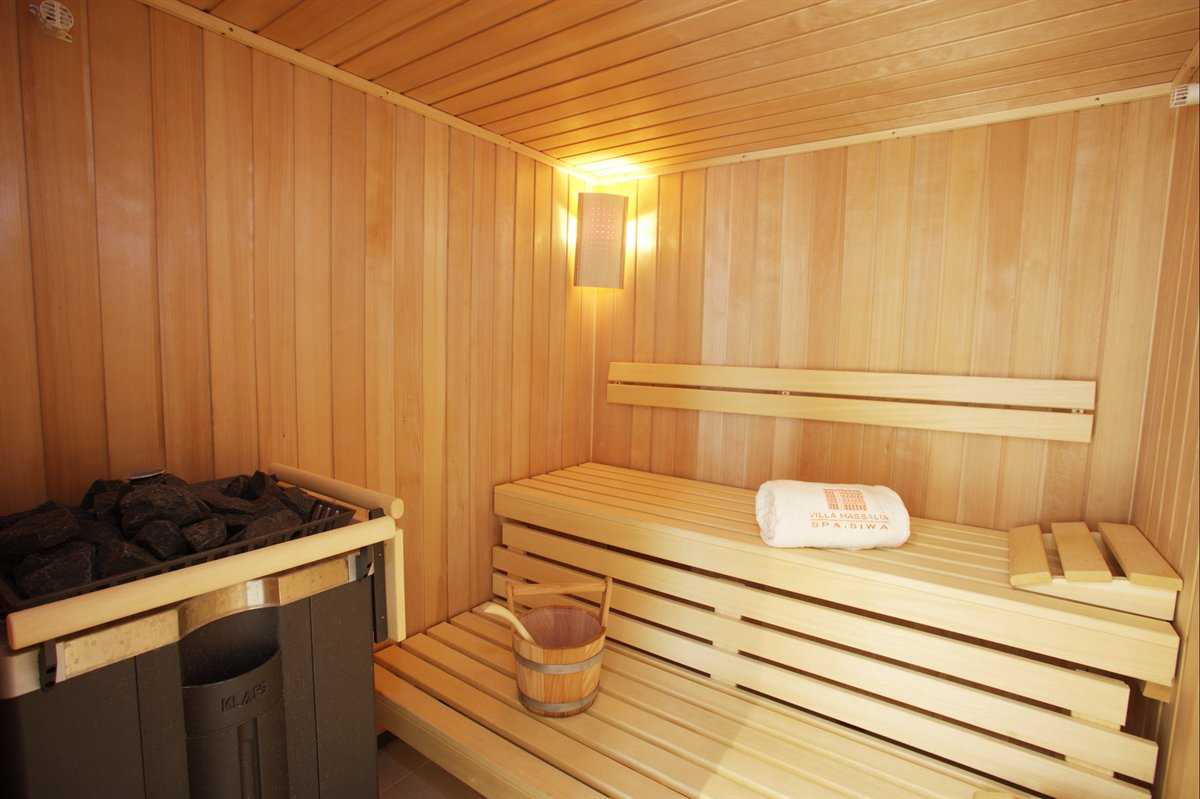
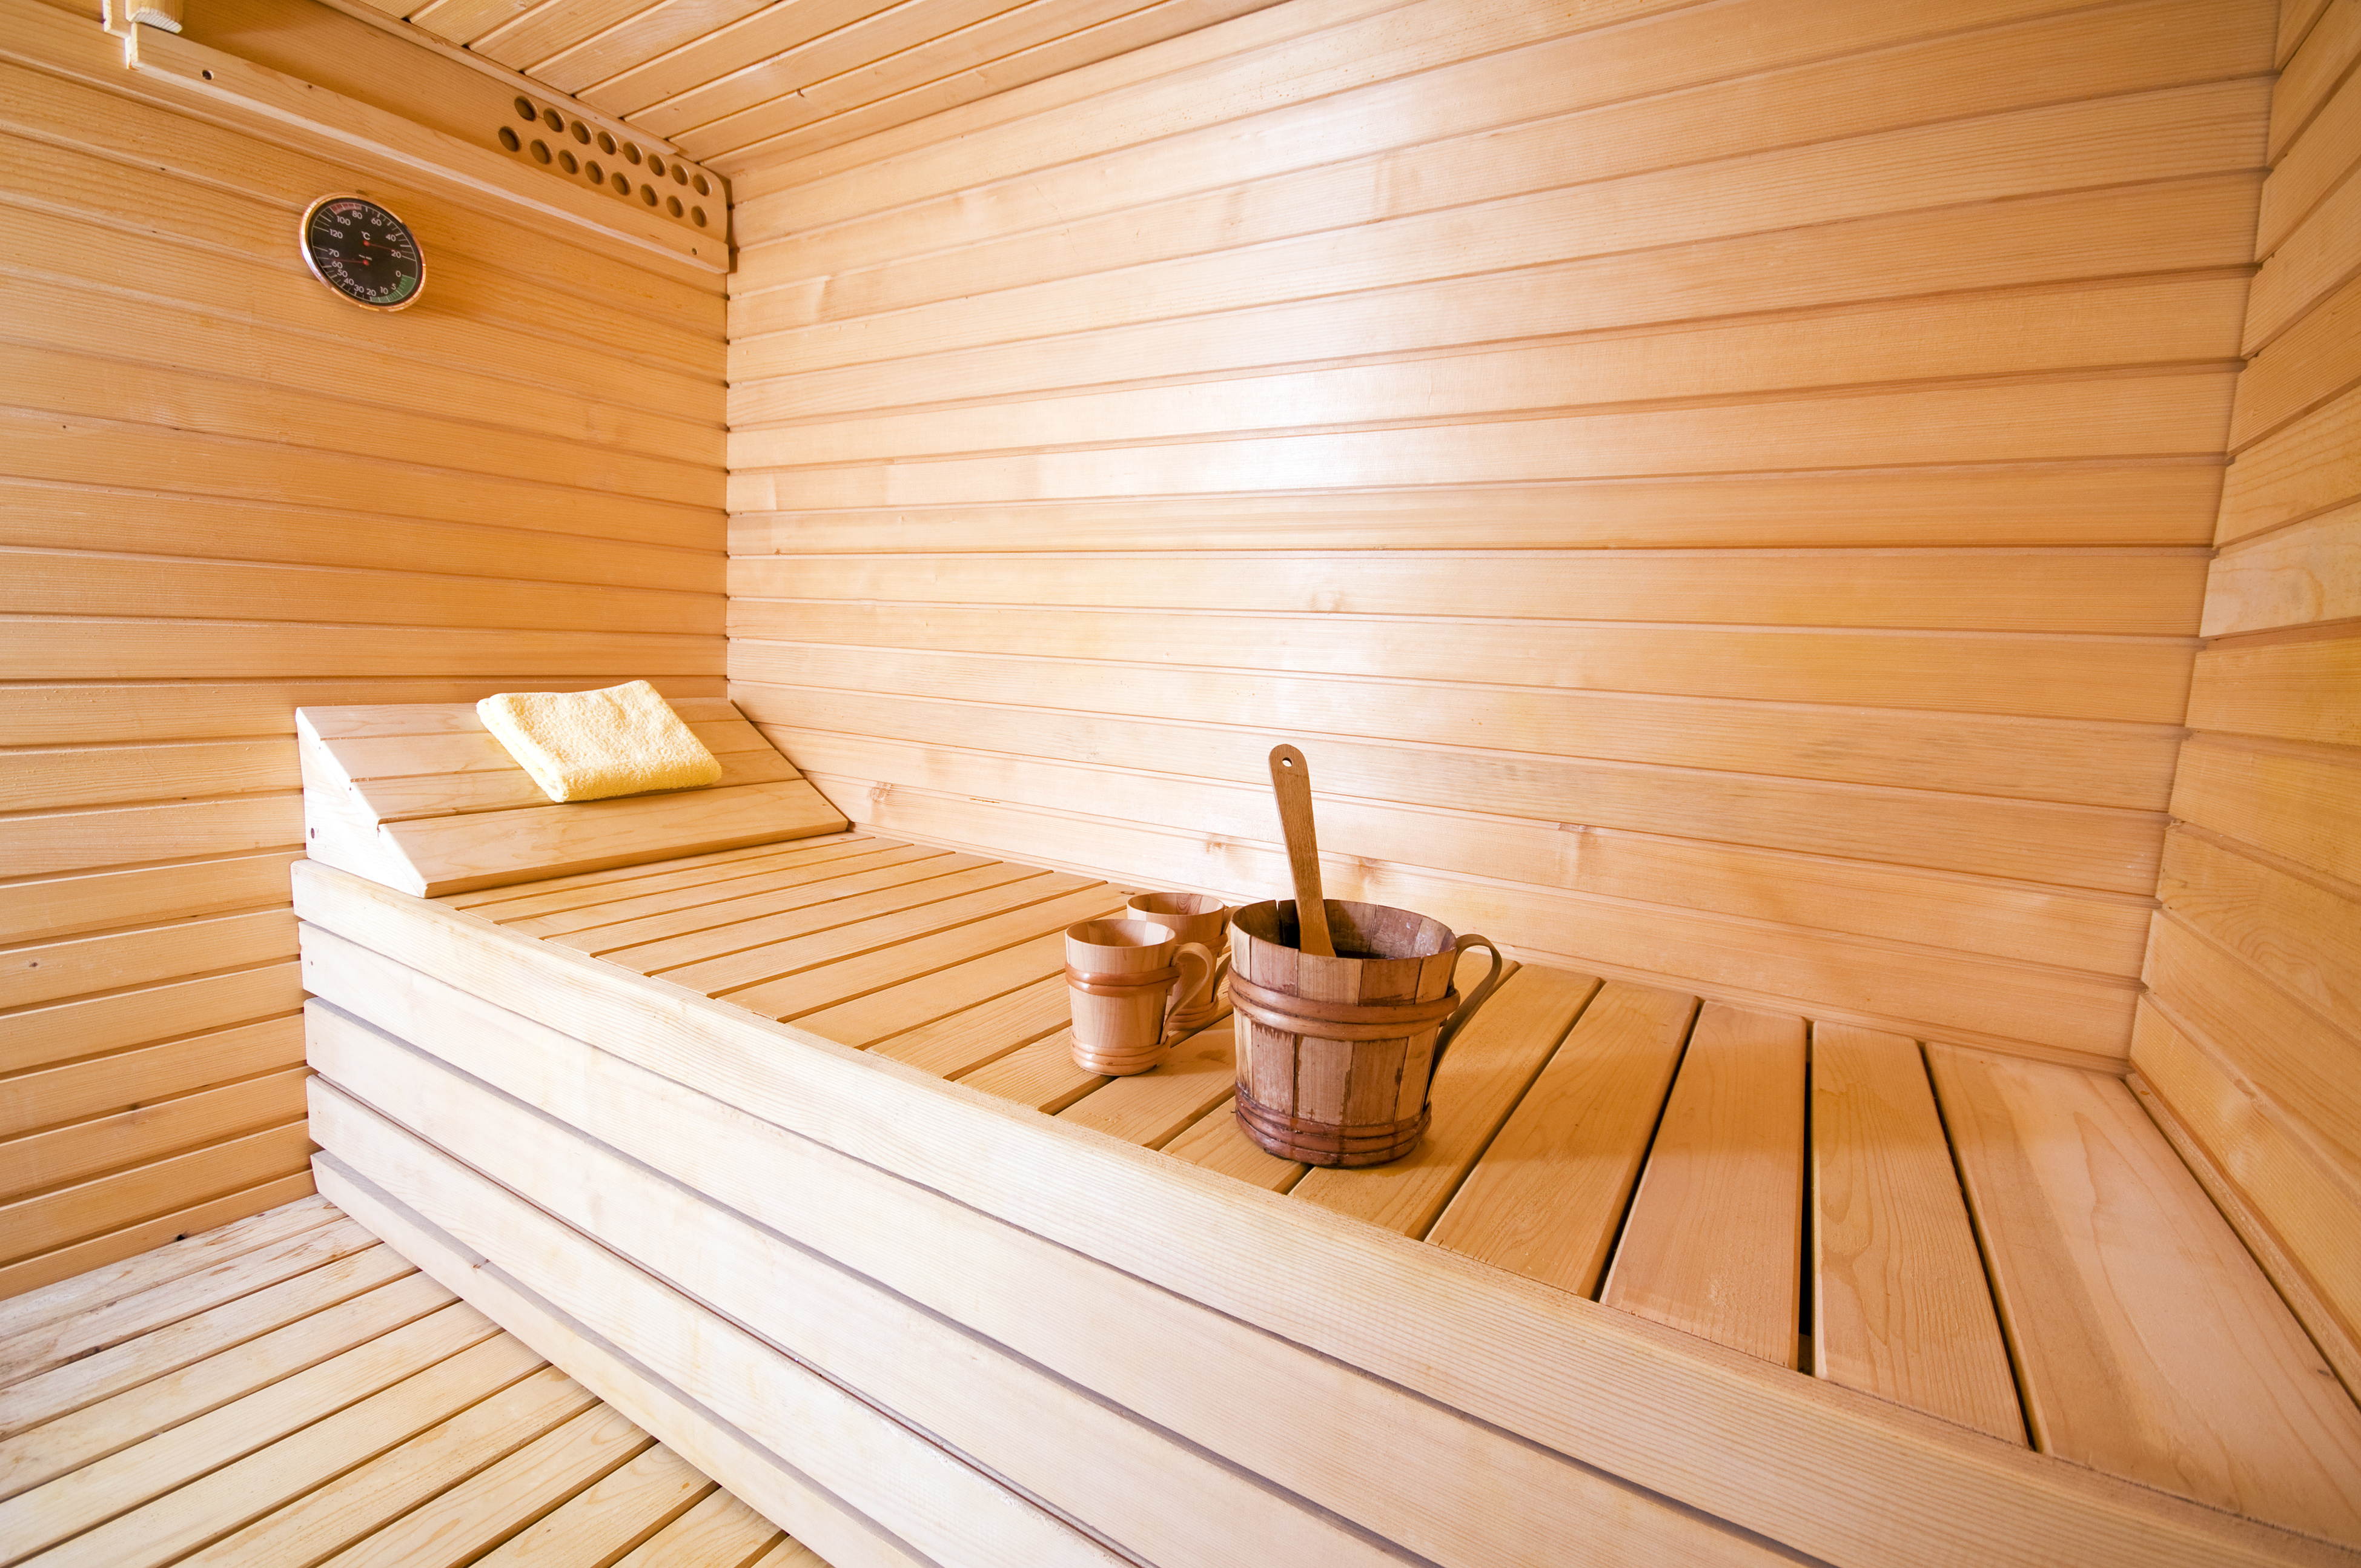
One of the most popular material options for eurolining is a lime board. The linden is quite durable, does not change the structure of fibers for a long time and is resistant to various negative factors. The atmosphere of the lime bath is full of freshness and purity.
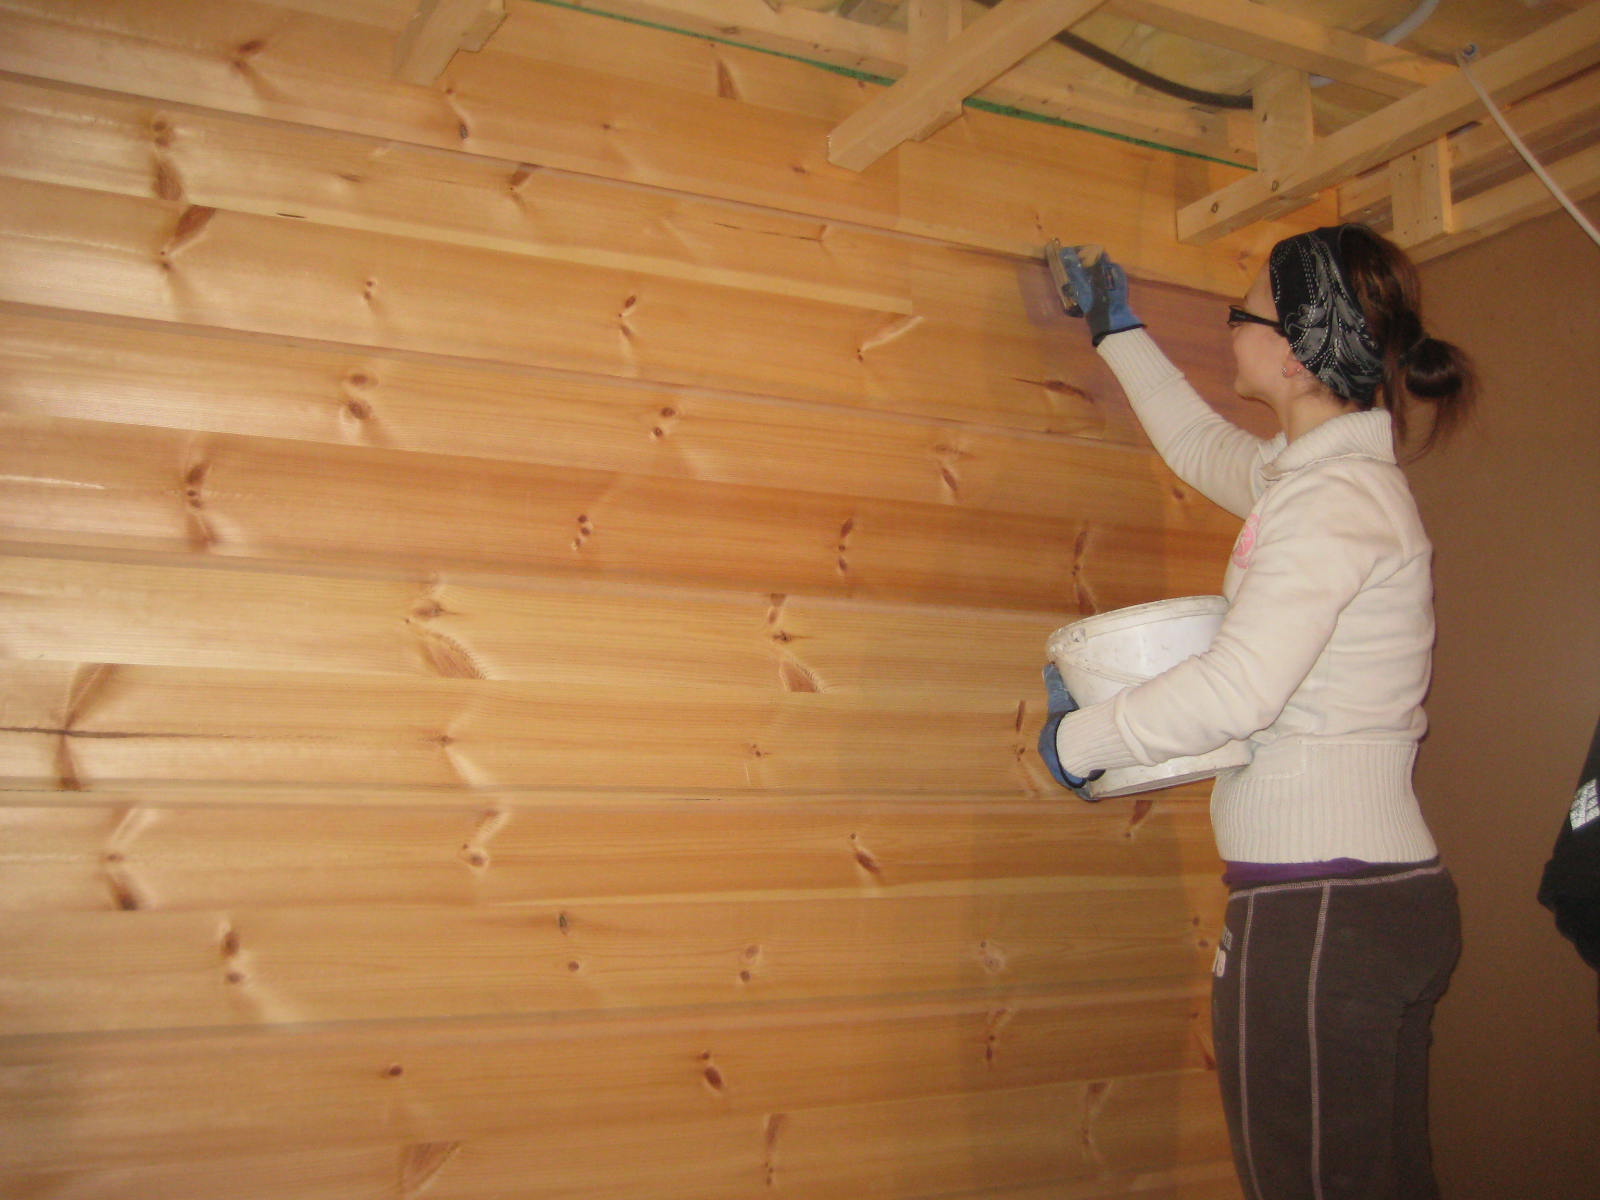
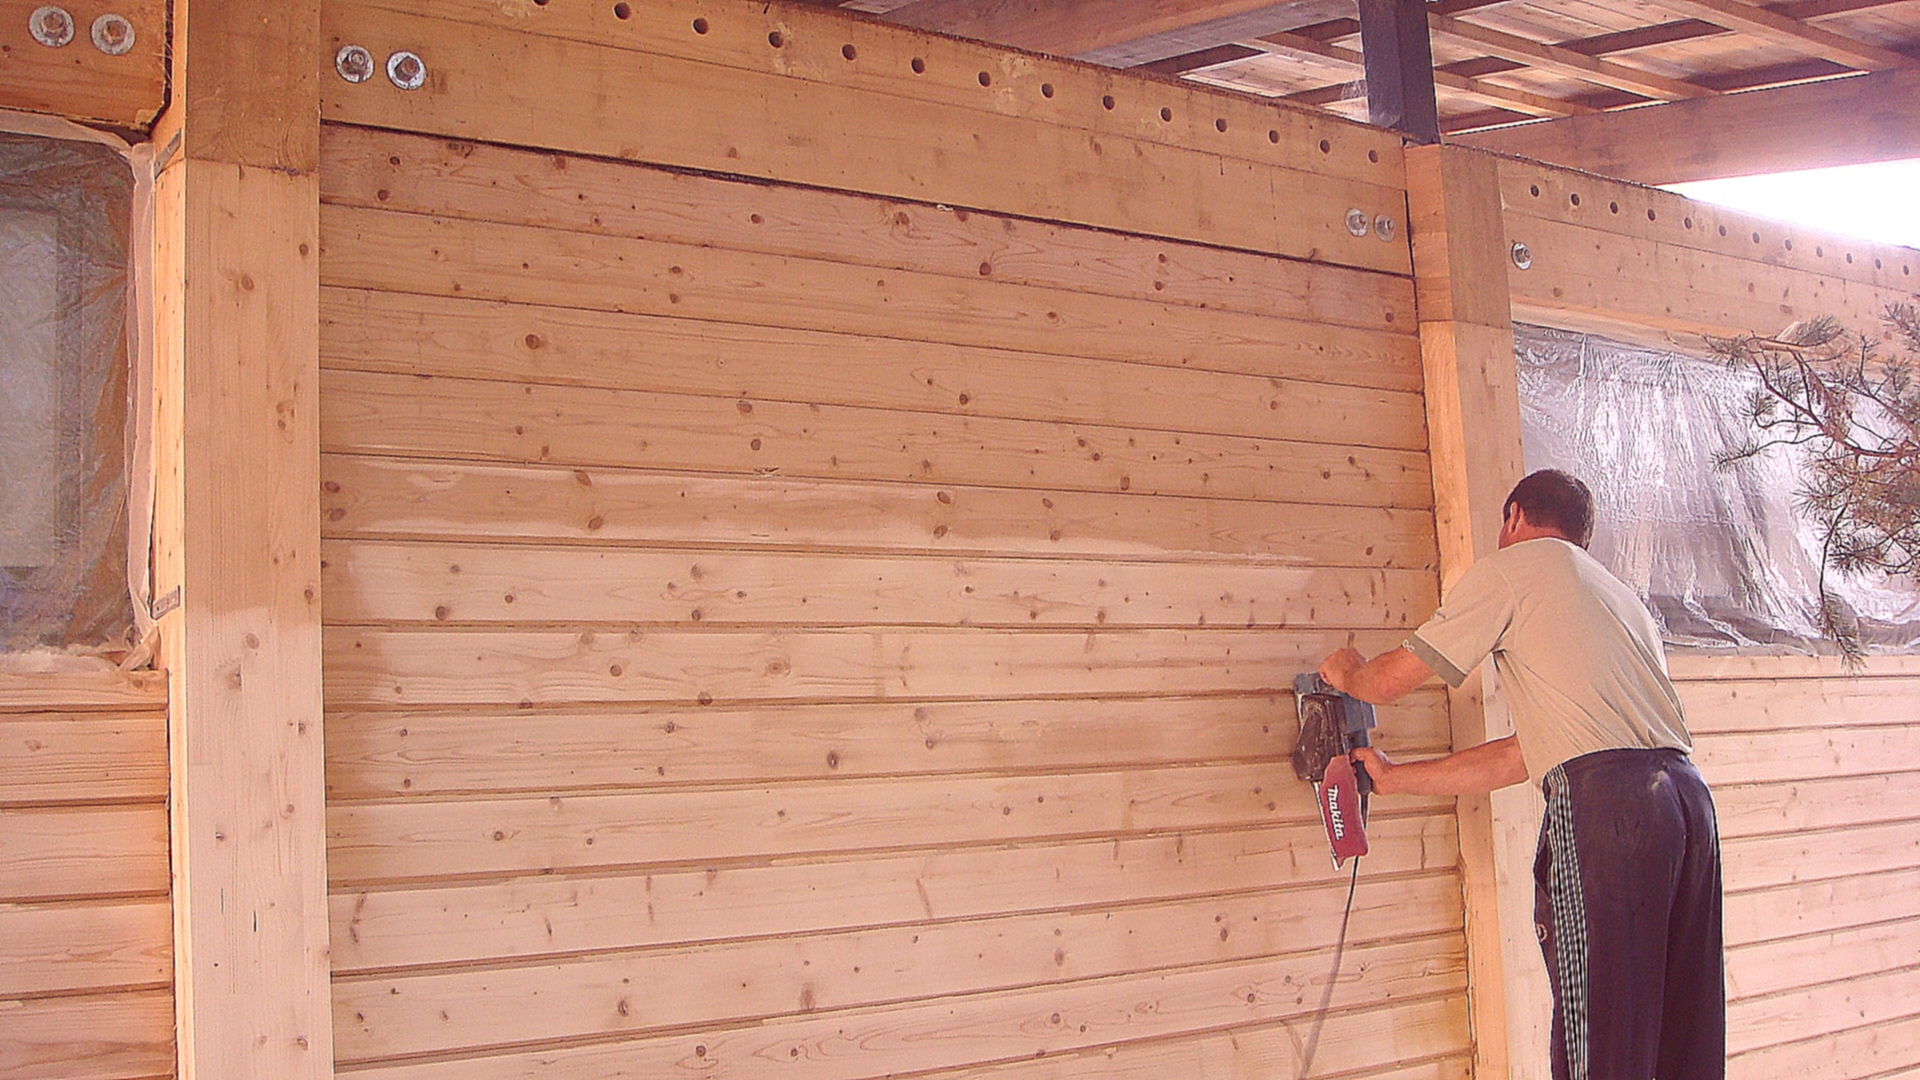
It is easy to work with aspen clapboard, time makes this material only stronger. If the surface of such lining darkens, it is easy for her to return the original look by sanding the surface. Both linden and aspen are used to finish the hottest and most humid room in saunas - the steam room.

Also, for its decoration it is allowed to use cedar, however, due to the fact that the cedar heats up very quickly, discomfort may occur when touching the sun loungers and walls of this material. Coniferous trees sheathe mainly washing or a waiting room. Pine and spruce abundantly produce resin and, like cedar,have a high heating rate, but the use of this material will save money and choose from an extensive decorative range of lining. It should be noted that the coniferous wood must first be degummed to avoid a large number of stains on the walls.

Mounting options
There are two options for placing items when facing the sauna. It is possible to upholster a wall by eurolining, having placed boards both horizontally and vertically. Under each of the options you need a certain type of frame, which is also made from a bar, connected to each other with ordinary nails. Each of the methods has both advantages and disadvantages.
The advantages of the horizontal version are:
- reduction of the chance of water getting into and stagnation in the seams, as the fastening is done with a spike upwards, which allows water that has already got inside to flow down;
- the frame for this method of fixing the wall paneling is made vertically and allows the air to circulate more evenly in the room;
- even the highest quality wood is subject to rotting processes, and the horizontal method of fixing the lamellae will allow replacing only the material that is located at the bottom and has suffered more damage without dismantling the entire wall;
- with horizontal laying of the wall paneling, the drying out of wood, which will inevitably occur with any type of material, is less noticeable.
The vertical finish of the sauna with eurolining is faster and easier than the horizontal one. This method also has its advantages:
- fast moisture flow along vertical seams in the wall;
- using the groove-comb system reduces the risk of stagnant water and the destruction of the material fibers from constant humidity;
- This finish better retains the high temperature of the room.
Step-by-step instruction
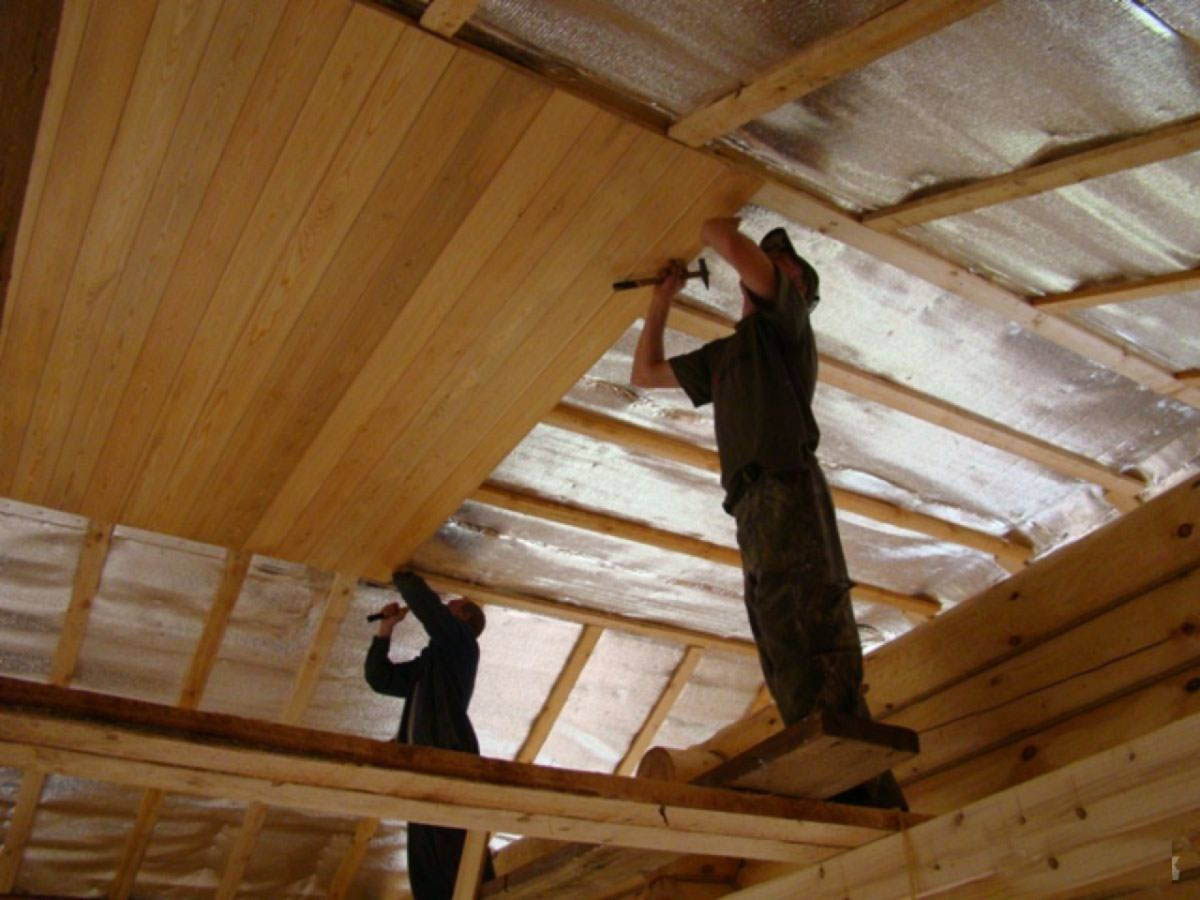
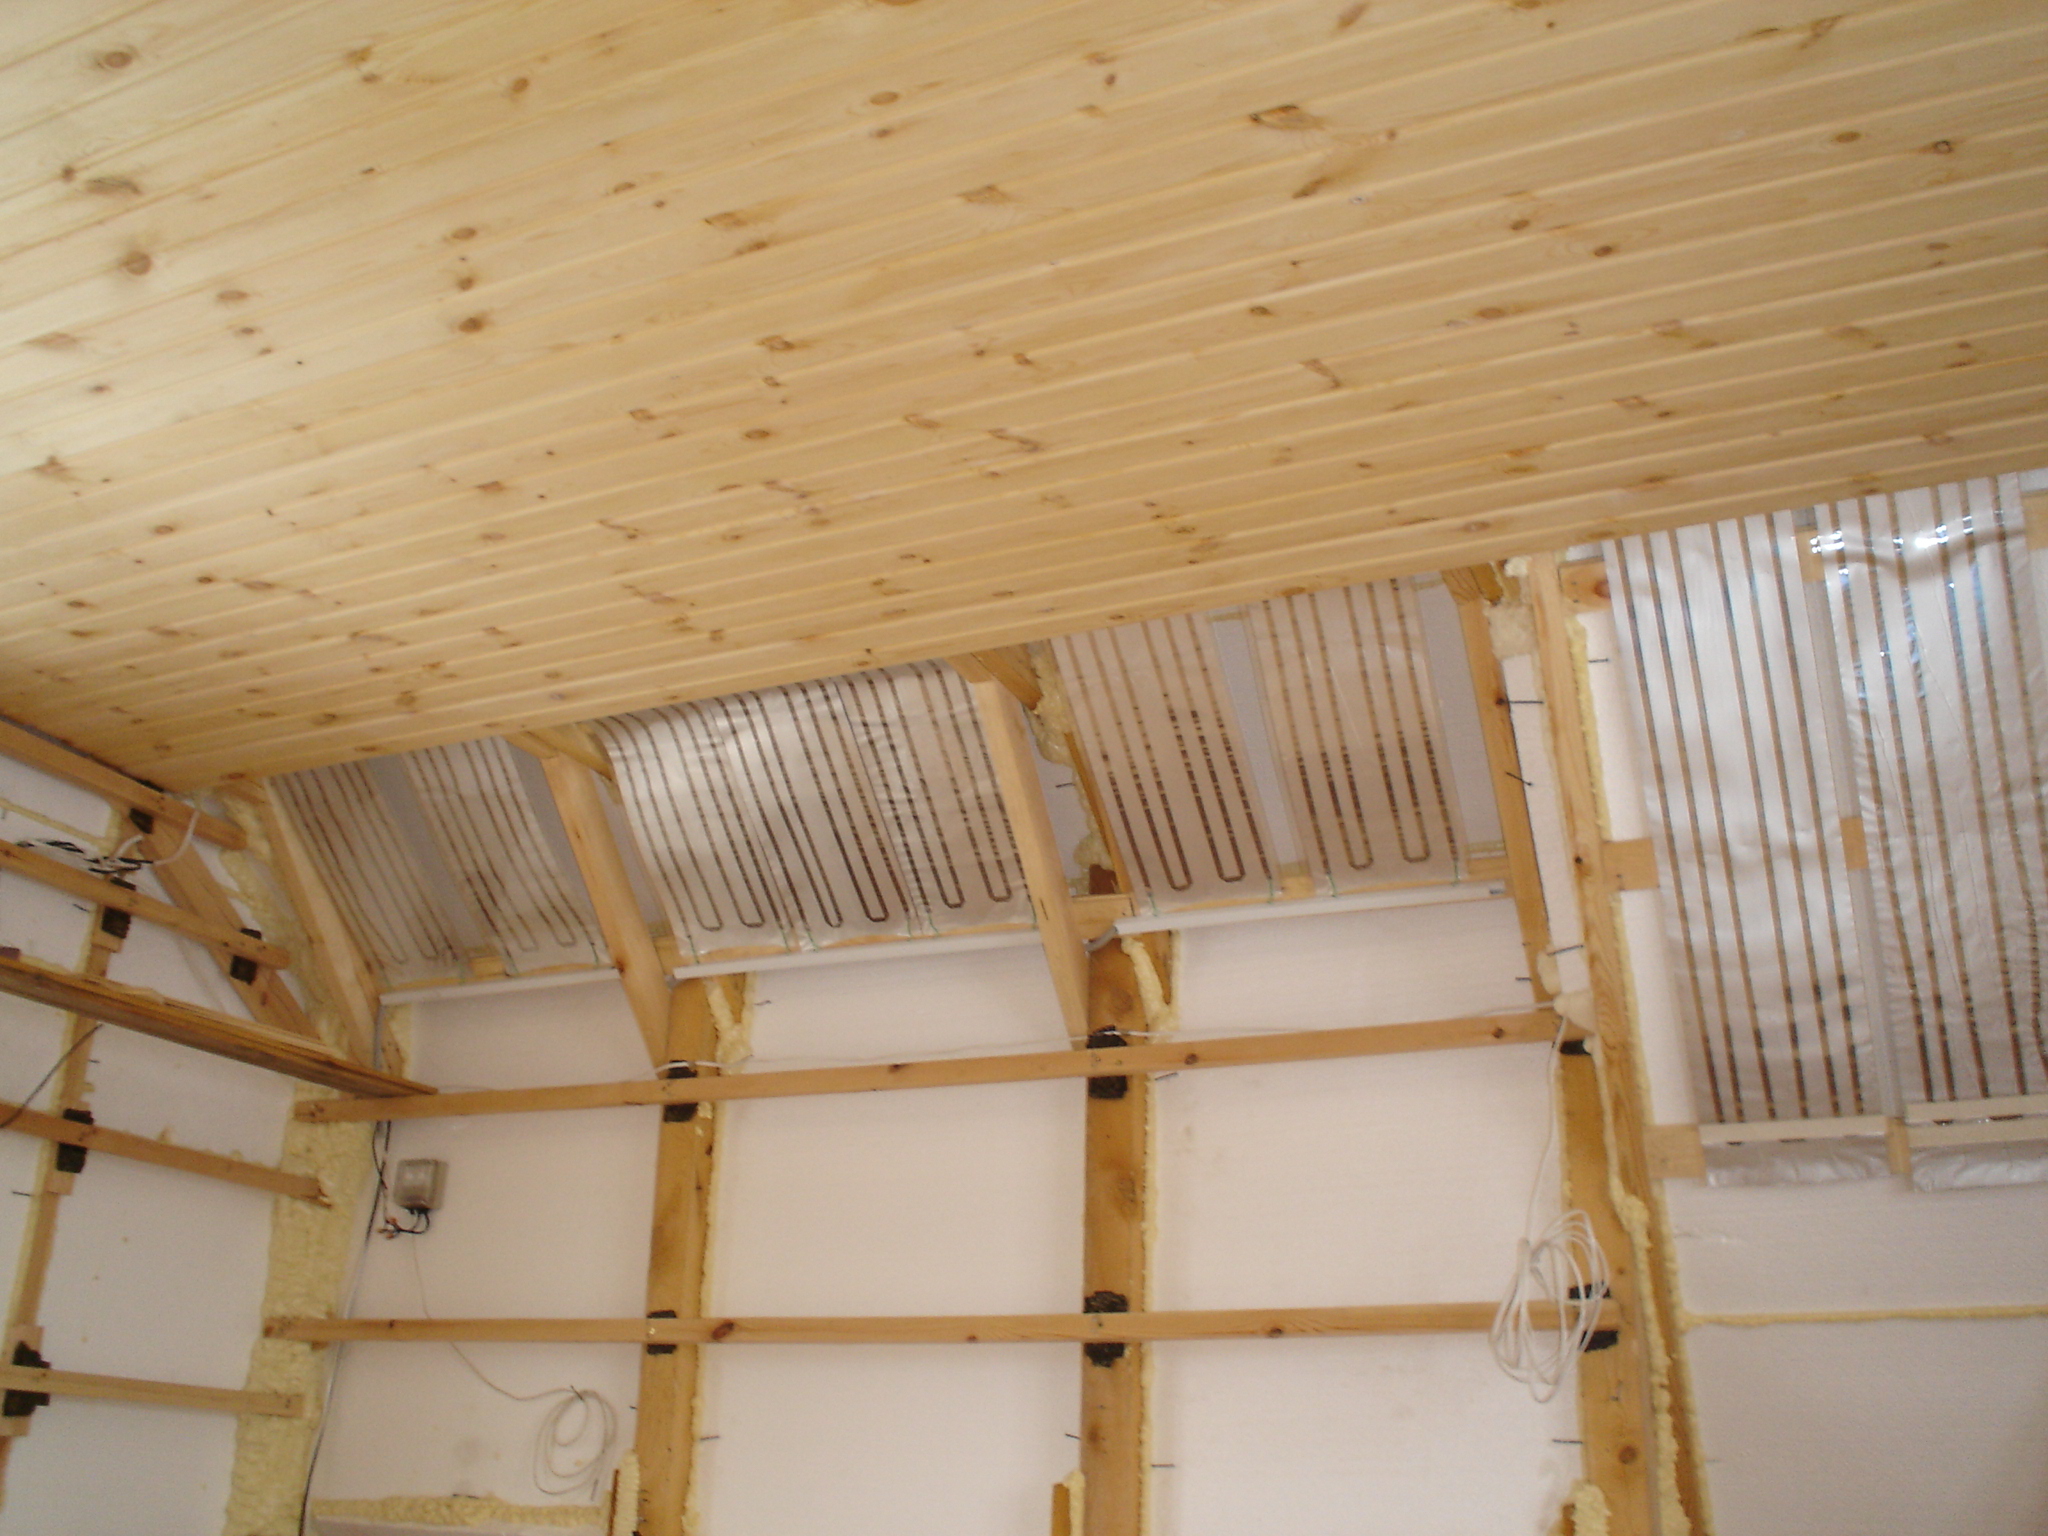
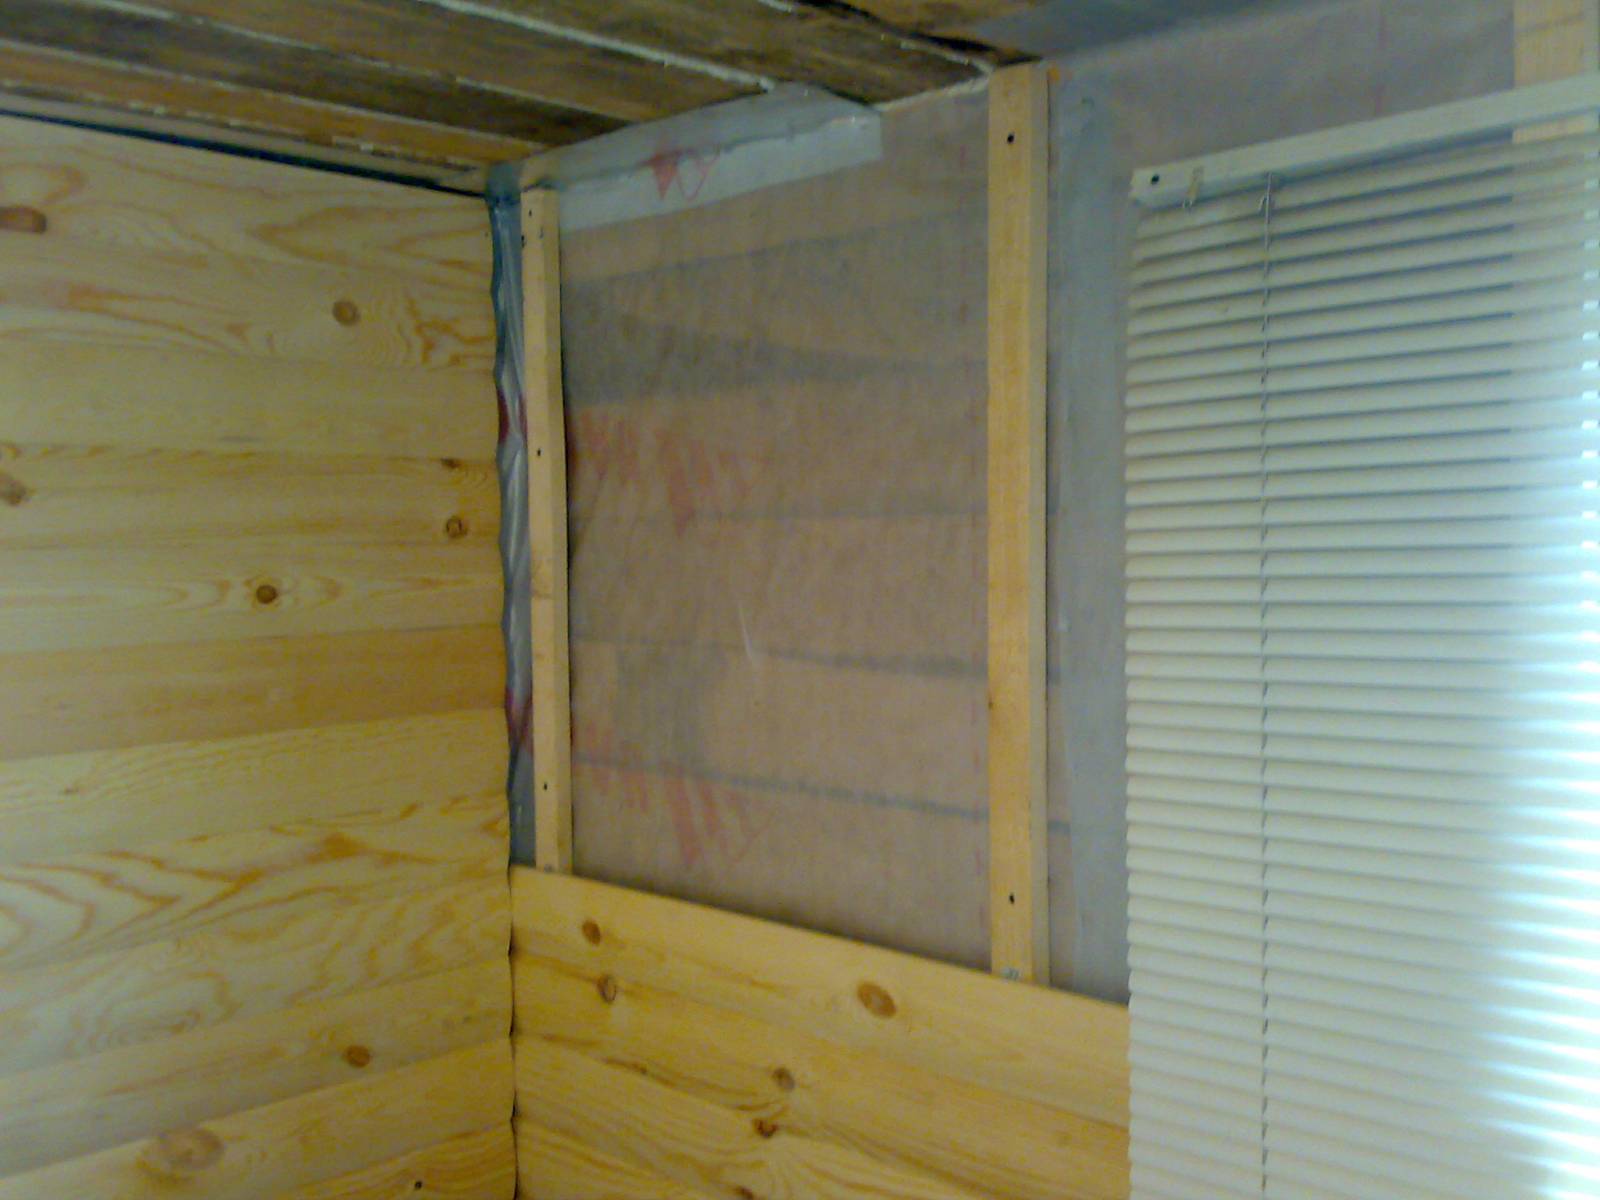
Before you start plating, you must calculate the area of the surface to be sheathed and choose exactly how the wall paneling will be mounted: horizontally or vertically. The floor and ceiling of the sauna from the inside can be heated with cotton wool or other type of insulation. It is necessary not only to select and install any insulation, but also to cover it with a layer of insulating material with foil to avoid exposure to moisture. Such material must be nailed to the wall before installing the batten. It is also necessary to mount the ventilation system and the stove, and only then the framework, to which the eurolining itself is attached, can be nailed to the walls.First of all, they install the crate and clapboard the ceiling, and only then begin to work with the walls.
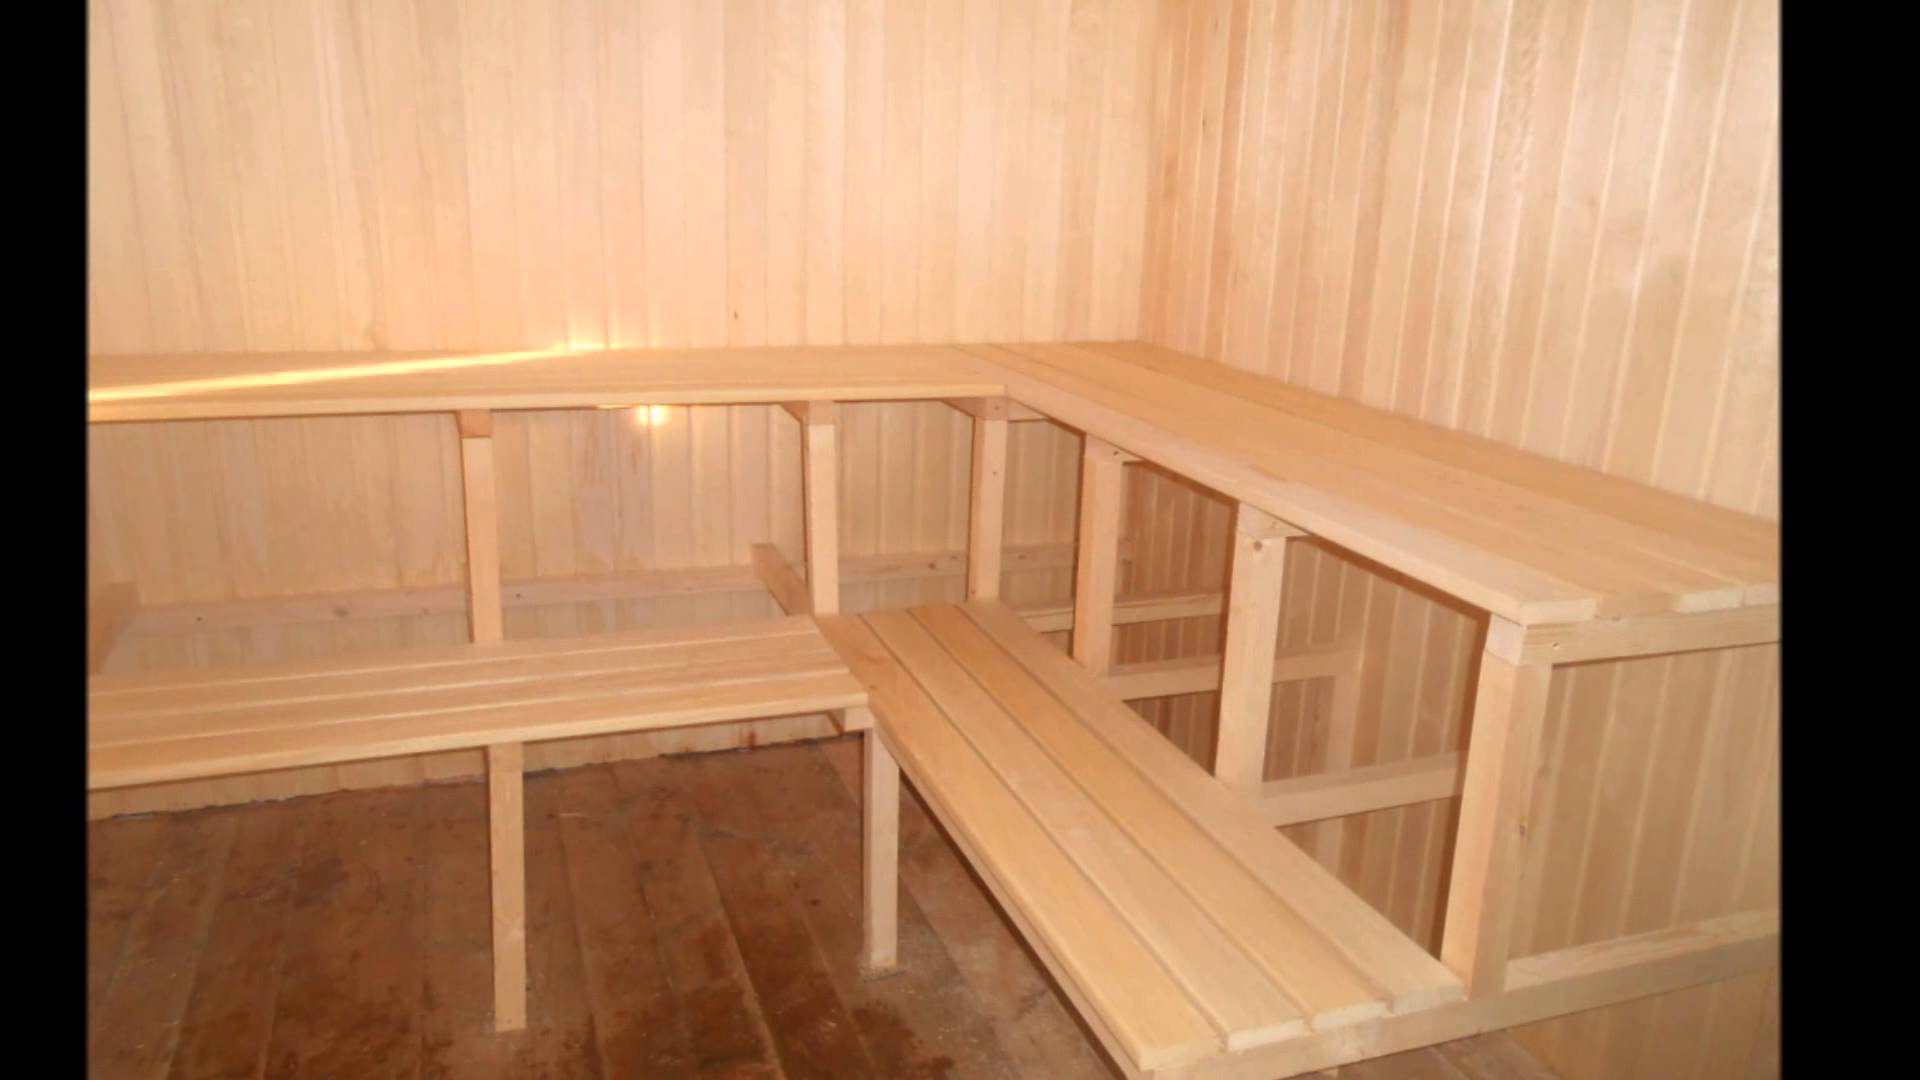
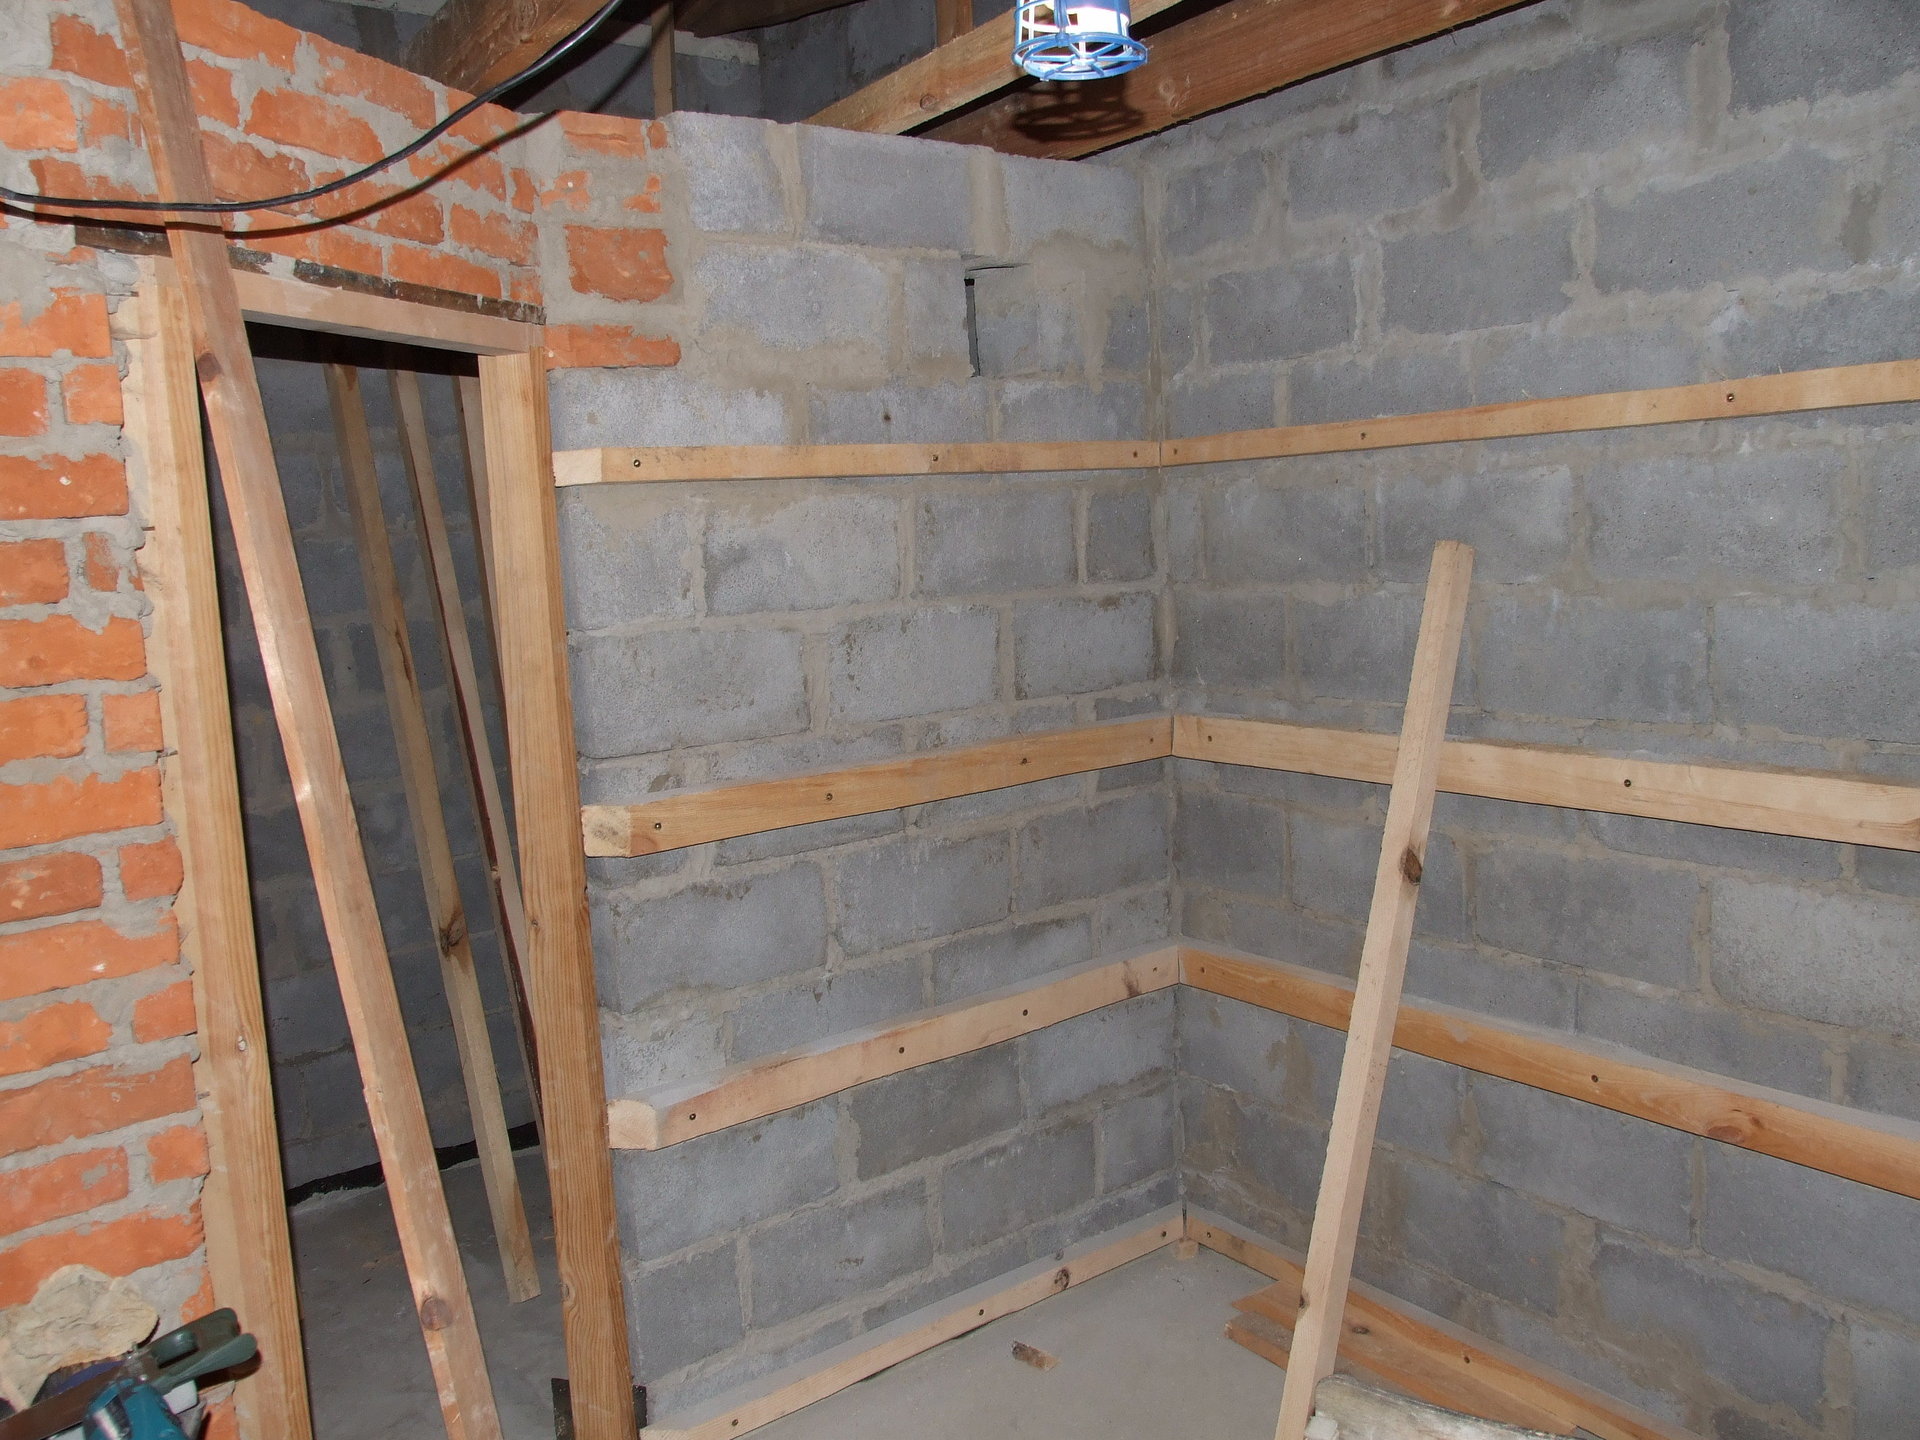
Crate
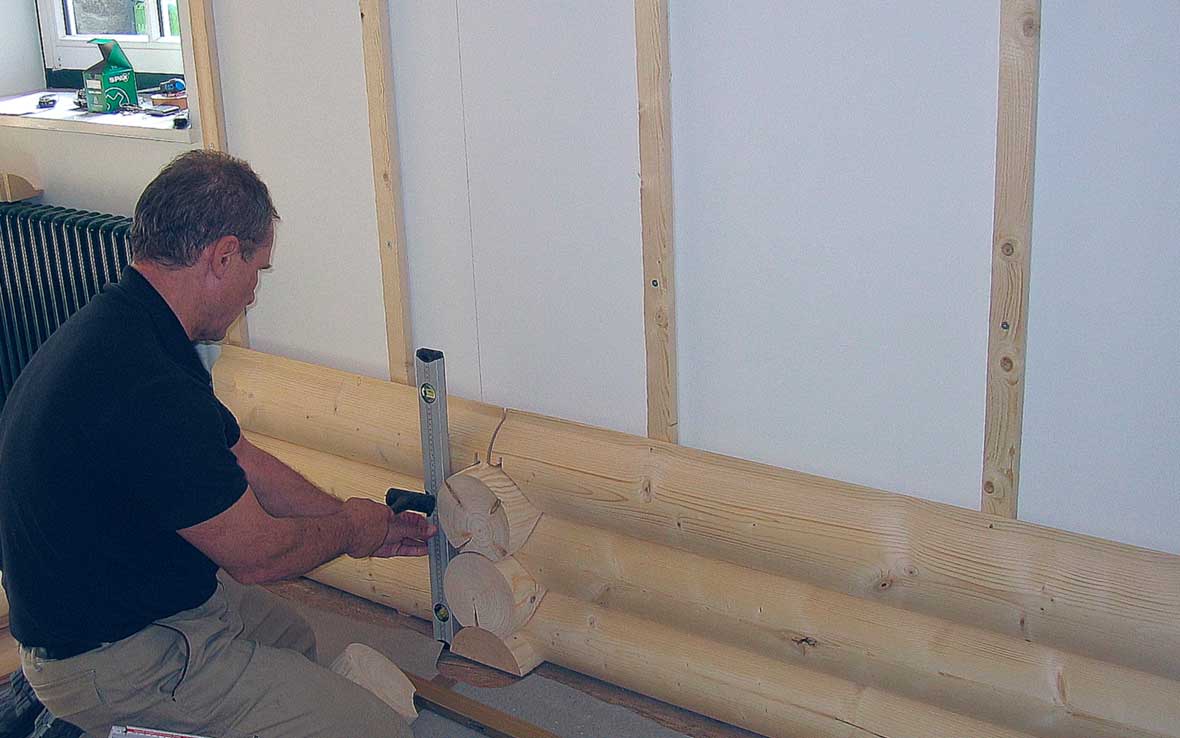
After all the preparatory work, you can proceed to the creation of a wooden frame - crates. First you need to carefully prepare the timber itself. It can be either trimmed or left in its original form, as long as the bar is treated with impregnations. Racks are mounted first - they are installed perpendicular to the future location of the wall panel. In some cases, it is necessary to clearly calculate the location of the beam in advance, since the vertical and horizontal layouts can be combined on the same wall. The profile can be fixed with ordinary nails, if the bathhouse frame is also made of wood, but it is better to mount it to the wall with dowels. It should be noted that the length of the timber needs to be made a little more than the length of the insulation nailed to the wall.
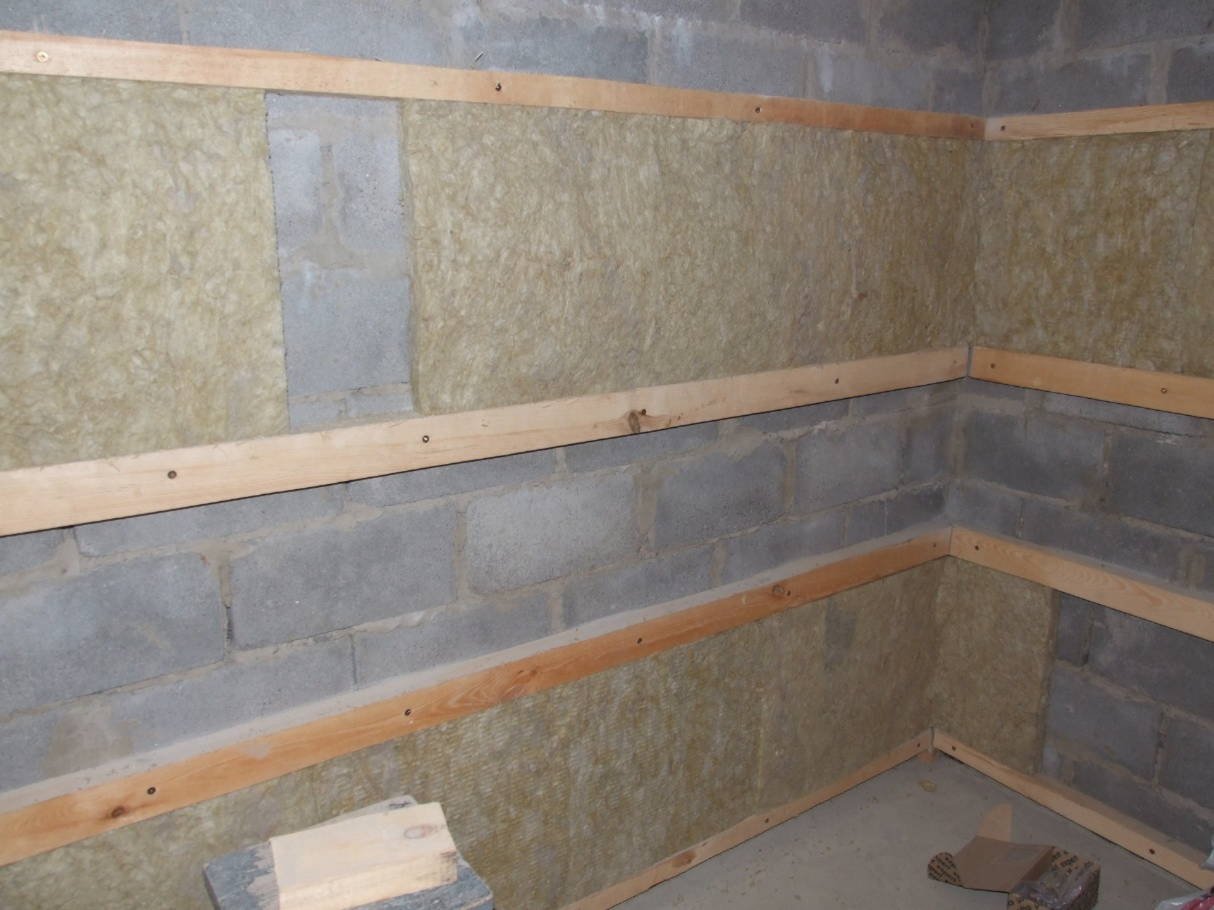
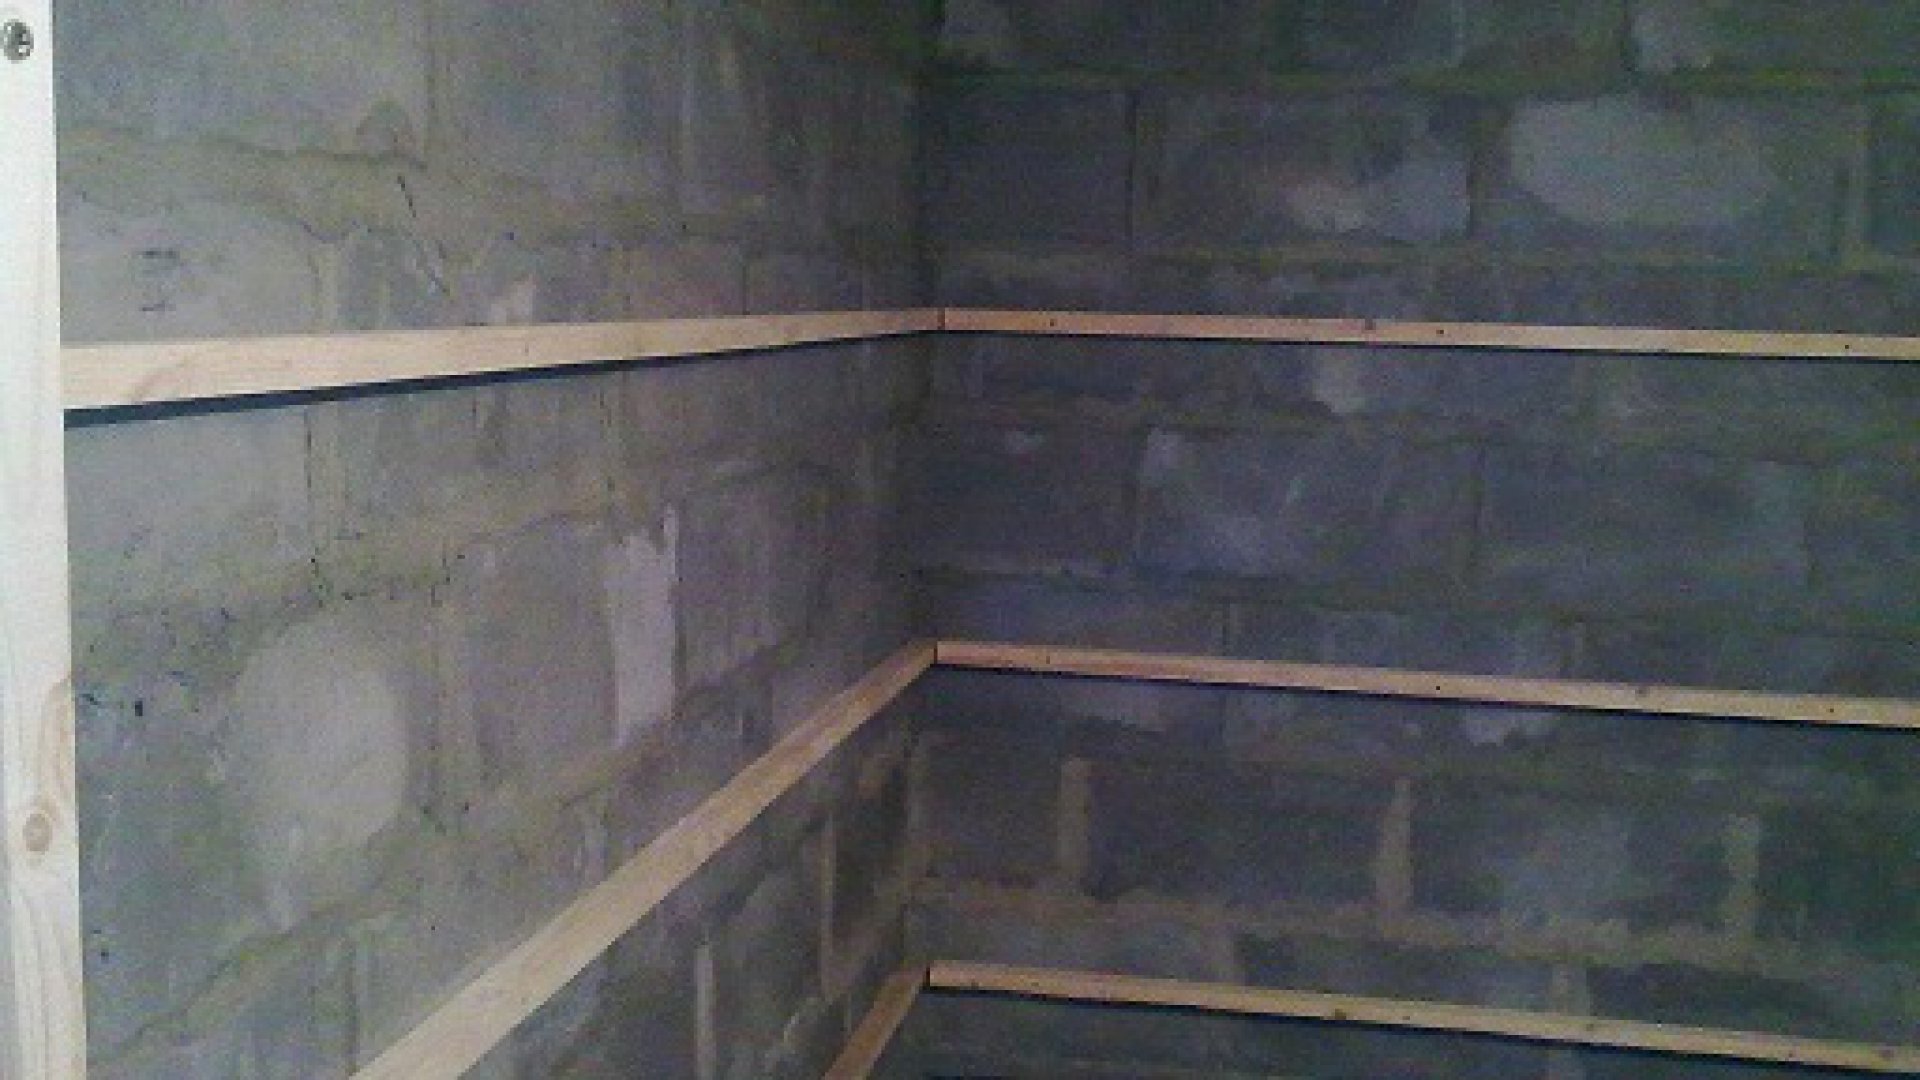
Further racks are mounted at a distance of 50-60 cm from each other. For more accurate calculations, you can use a plumb line, tape measure or level. If the wall is not flat enough, you can attach an additional piece of wood or use a suspension for a frame of plasterboard.
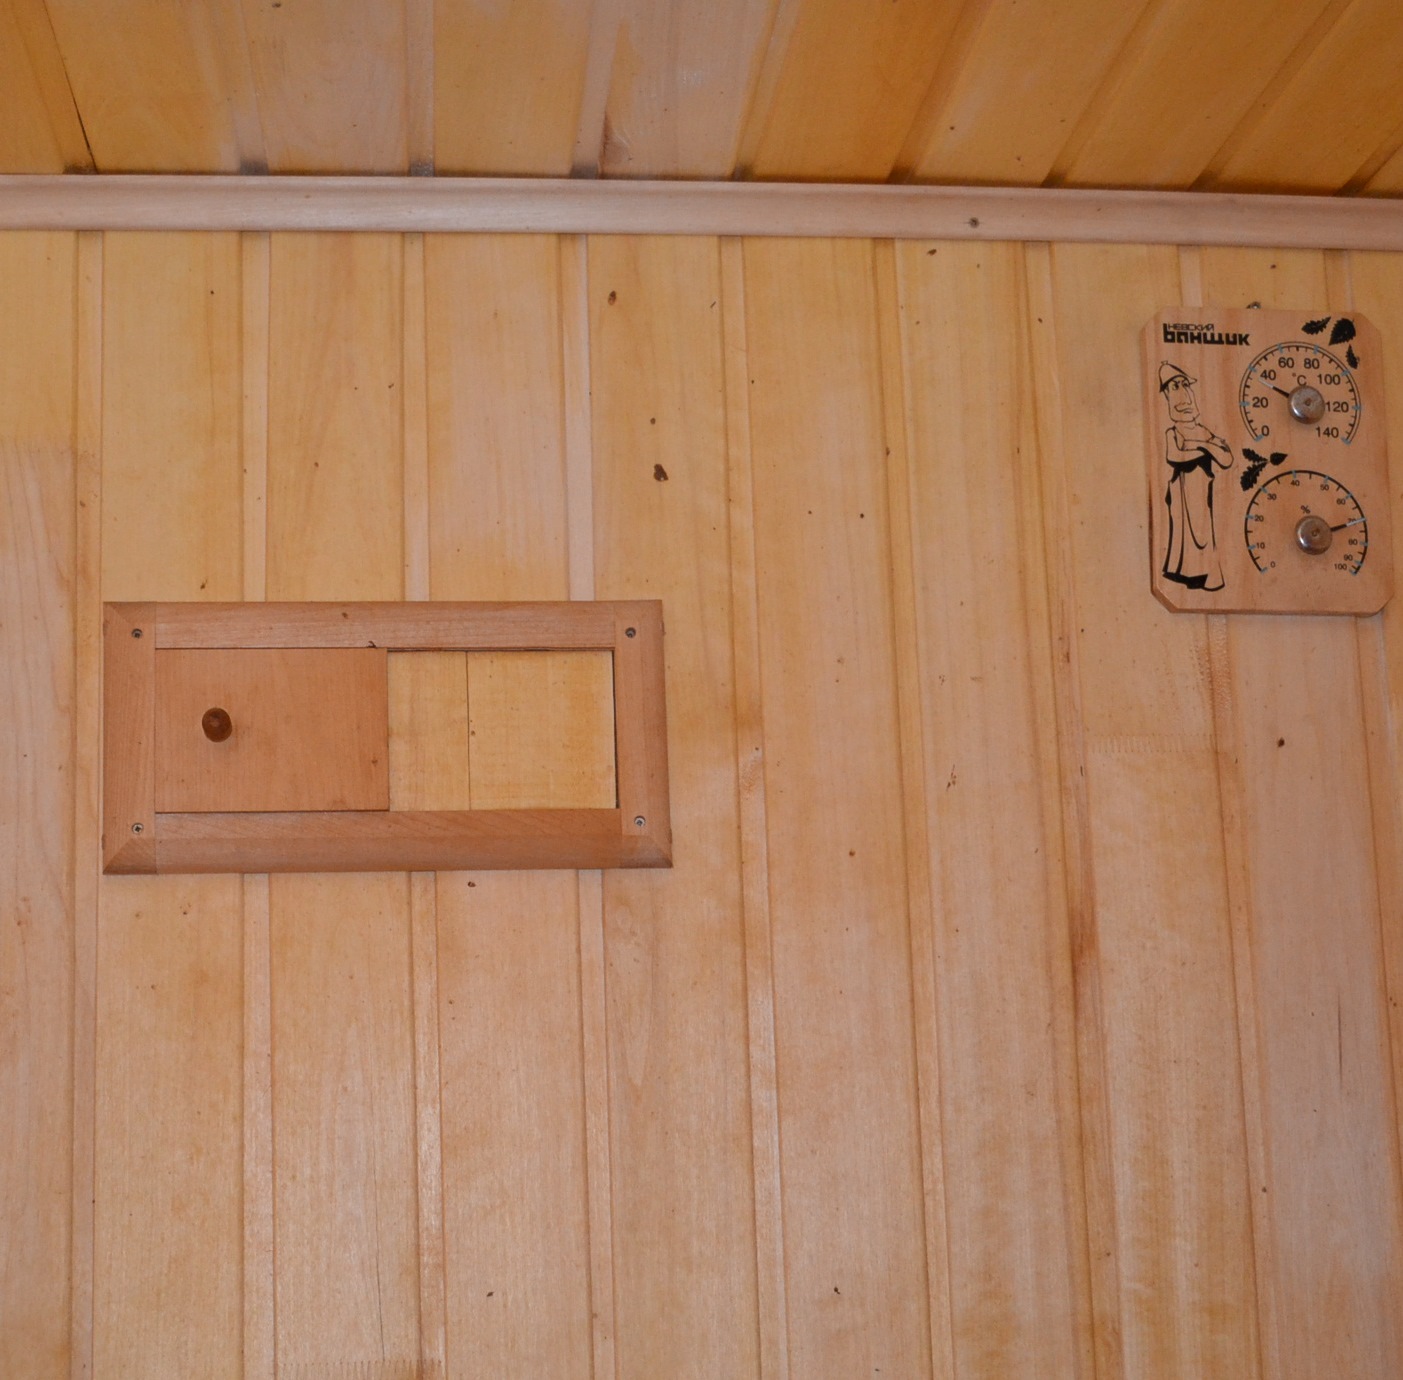
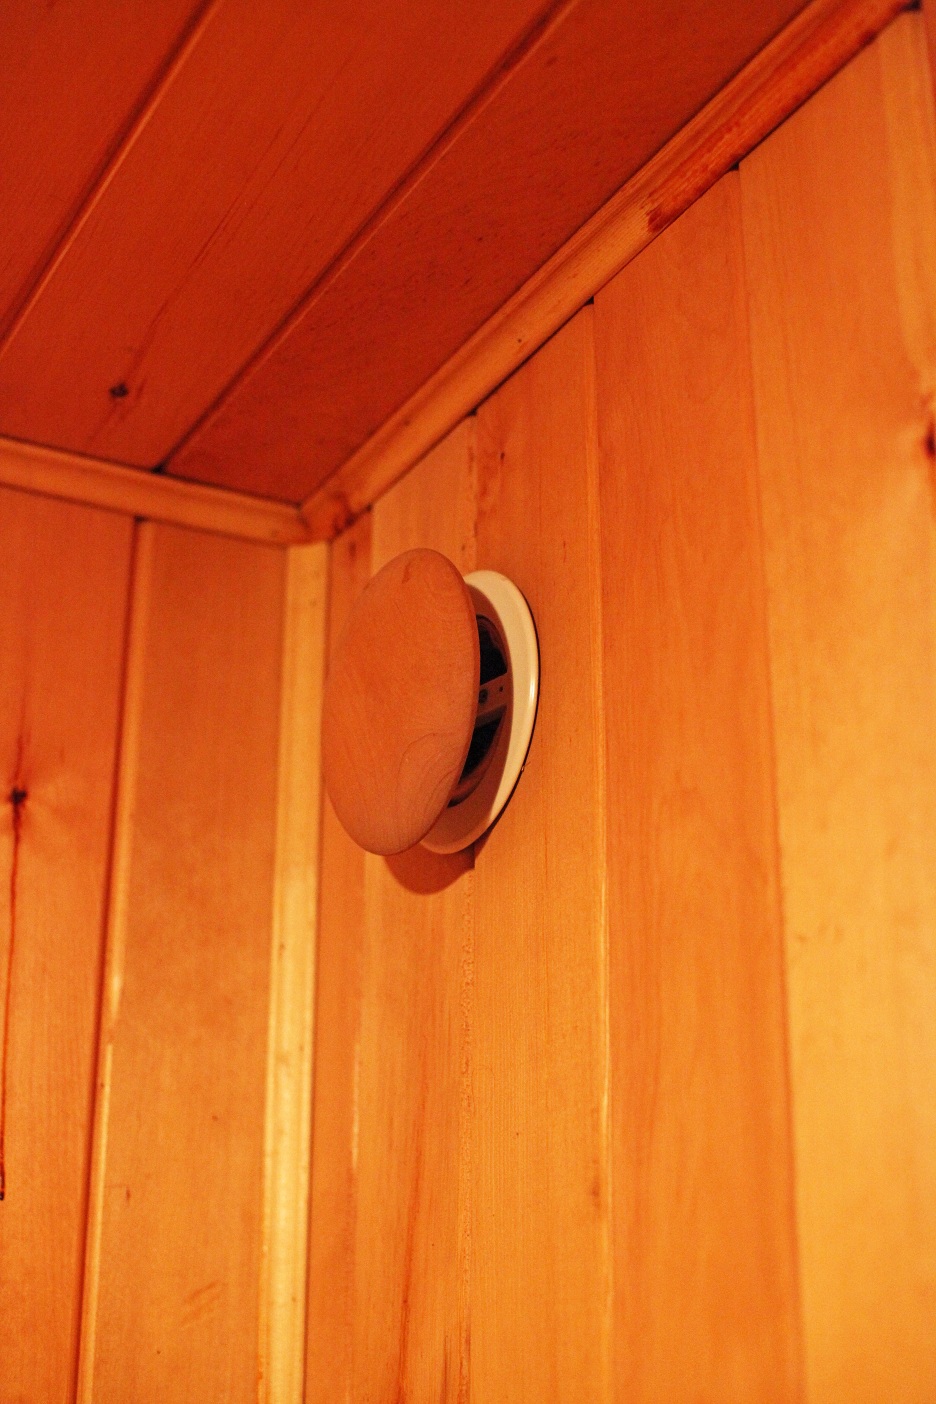
Ventilation
For the full functioning of the bath or sauna, as well as in order to comply with safety regulations, it is necessary to have good ventilation.
The technology of its installation is as follows.
- Already during the installation of the lathing, it is necessary to mark in advance those places that are intended for air vents. One hole is located near the ceiling, and the second - no higher than 150-300 mm above the floor. It is better if the second hole is placed near the furnace.
- For the duct is better to use aluminum corrugation with a diameter of 100 mm. Placing holes for mounting corrugations should be in easily accessible places to be able to quickly adjust the flow of fresh air.
- The use of foam as a heat-insulating material when installing ventilation is strongly not recommended. It is better to use non-combustible materials, for example, basalt (mineral) wool.
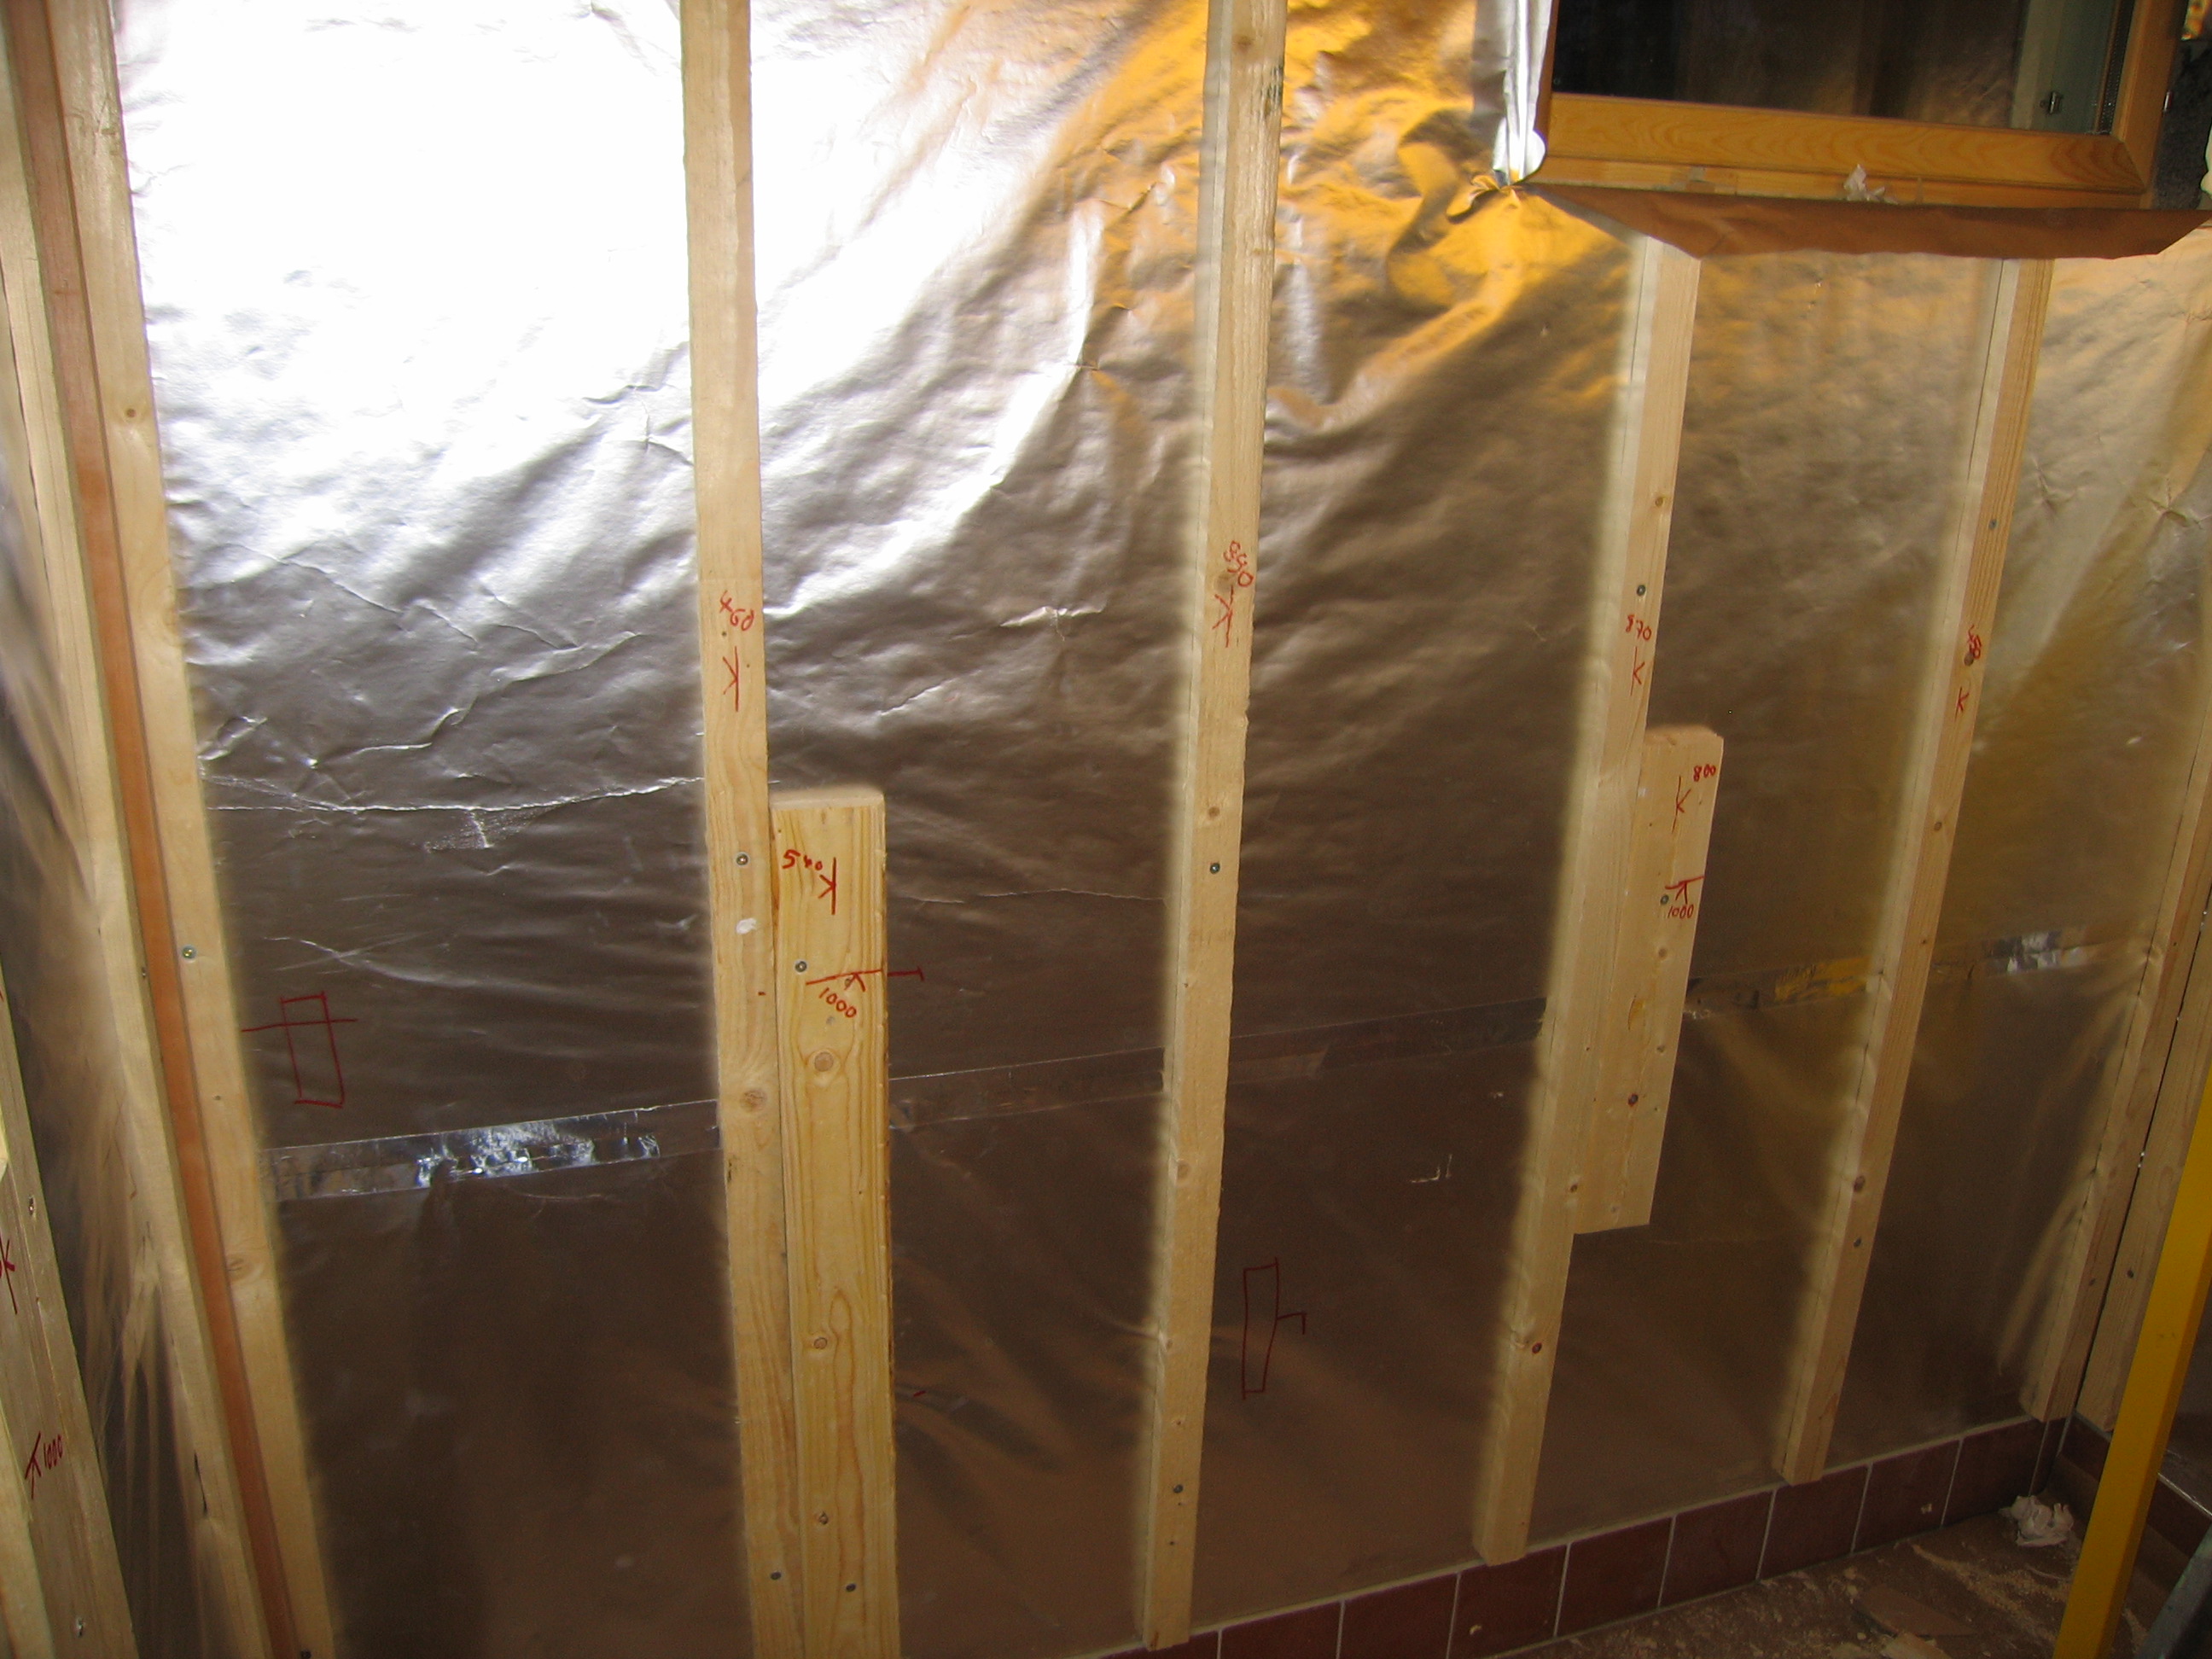
Warming
It is necessary to dwell in more detail on the wall insulation. The room of the bath because of the constantly high humidity needs special fastening and multi-layer insulation.
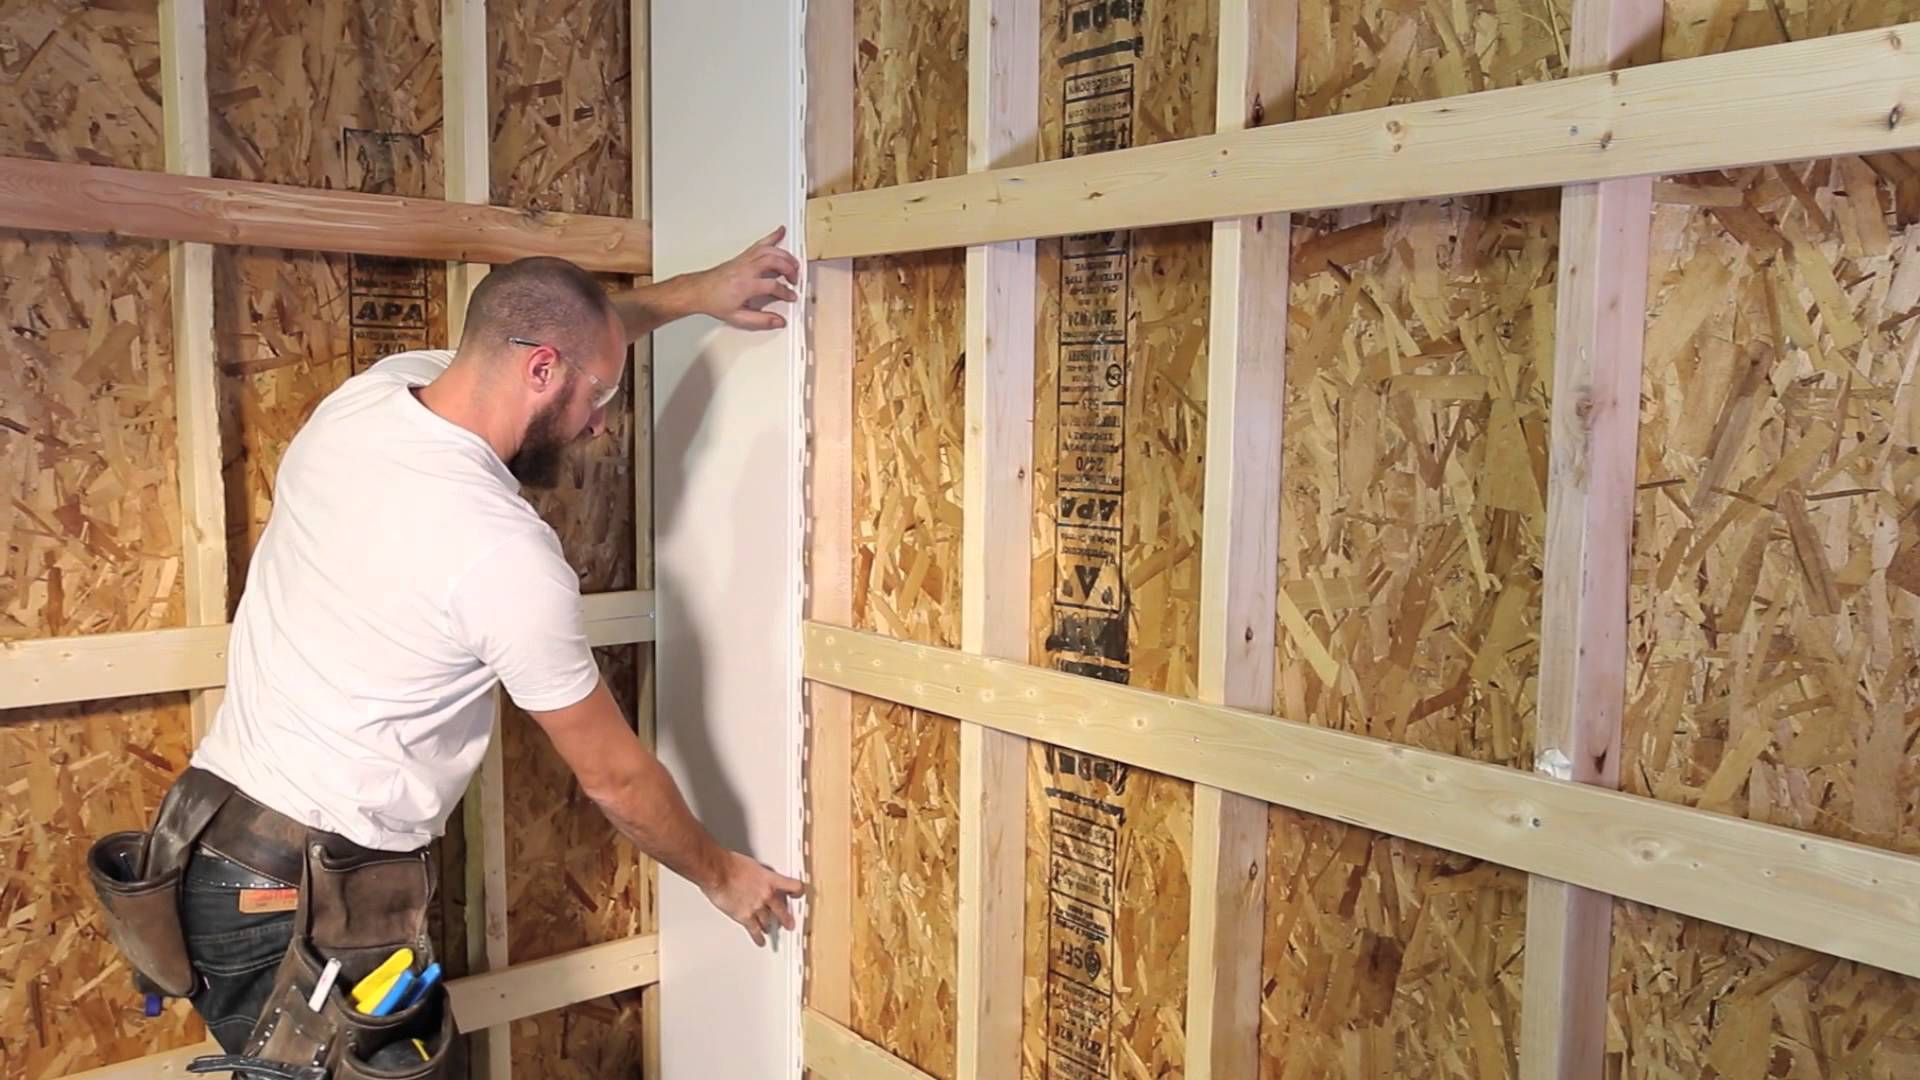
First you need to lay waterproofing material on the wall so that the moisture does not start to destroy the insulation.You can nail waterproofing to the wall itself or additionally fix it on the wall surface with wooden slats. The wool itself needs to be laid between the frame (bars) of the sheathing with an overlap of 10 mm.
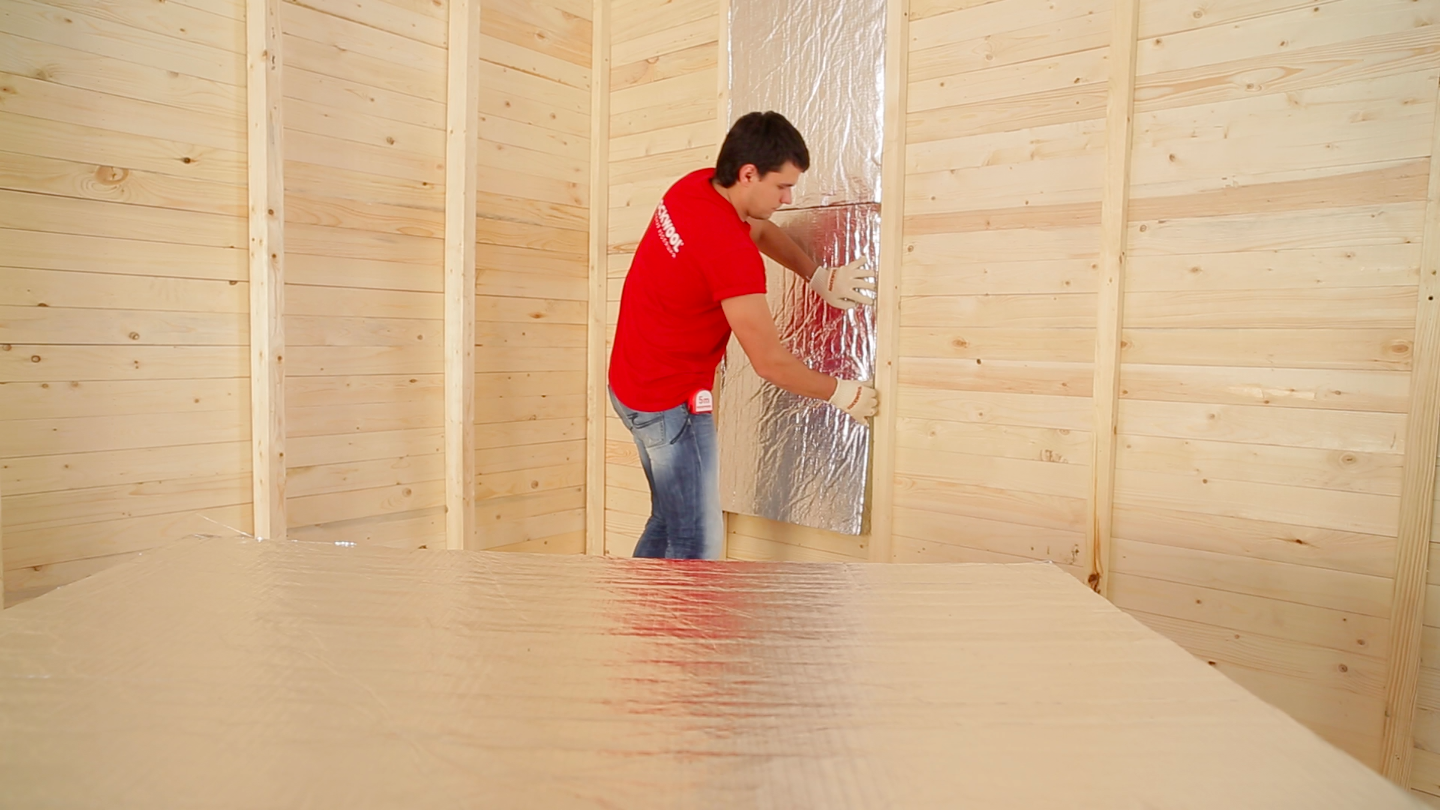
A foil film must be laid on top of the mineral wool, which not only protects the insulation from moisture and steam, but also reflects the outgoing heat inside the room. Such a vapor barrier can be attached with a construction stapler directly to the batten battens overlapped.


You can also use a simpler method and insulate the walls of the sauna with the help of already foiled basalt wool, which is laid with foil to the wall paneling.
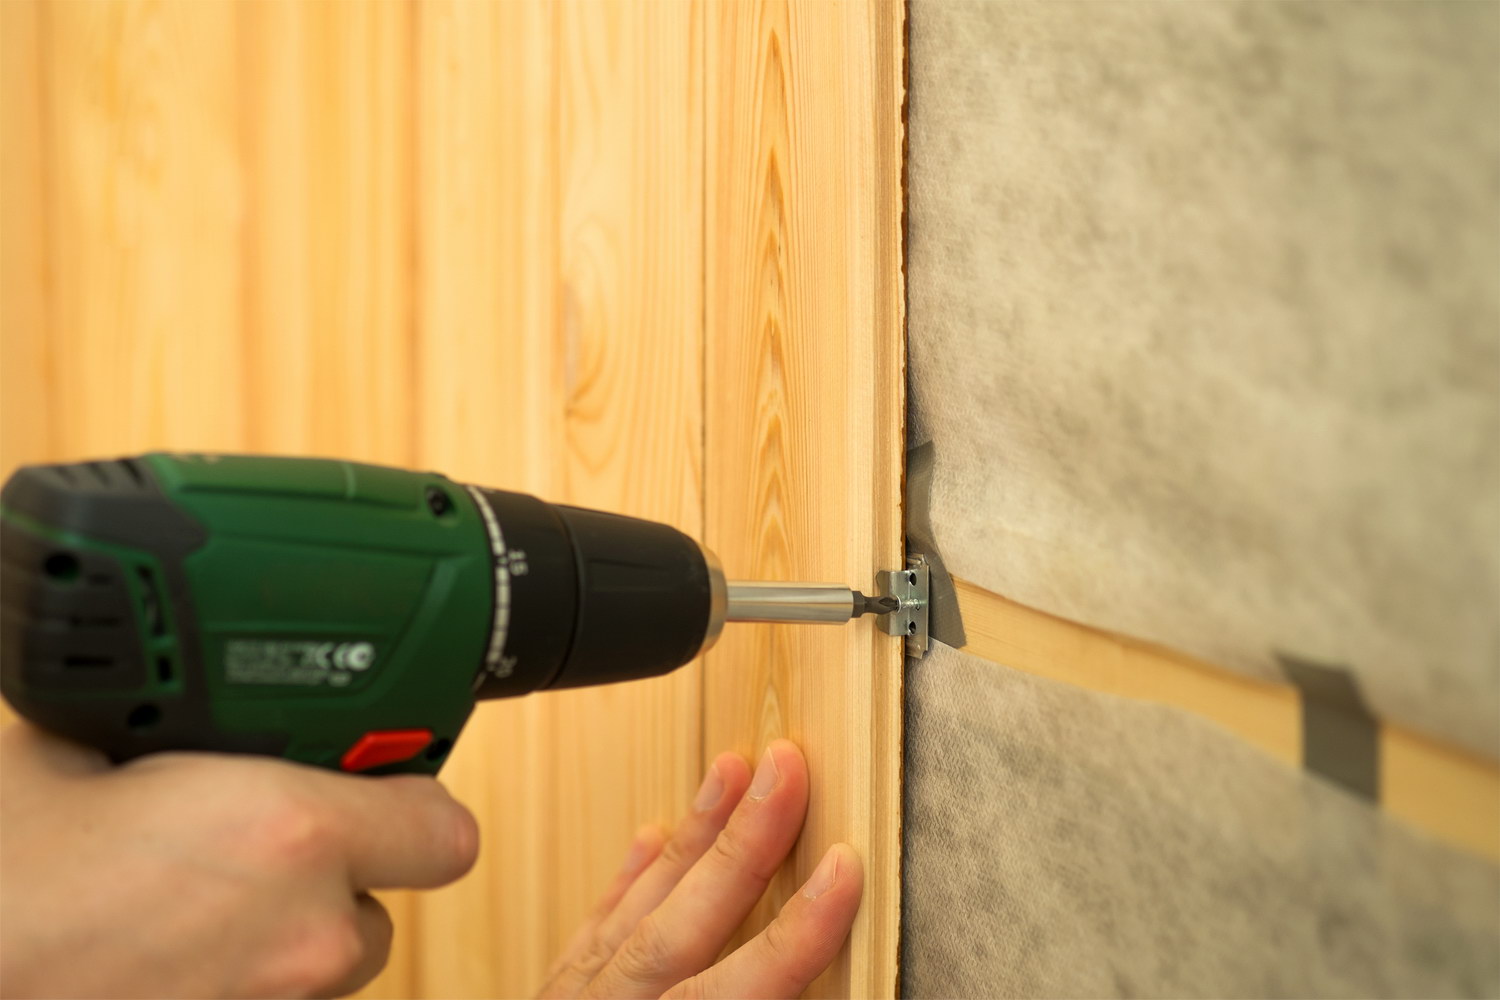
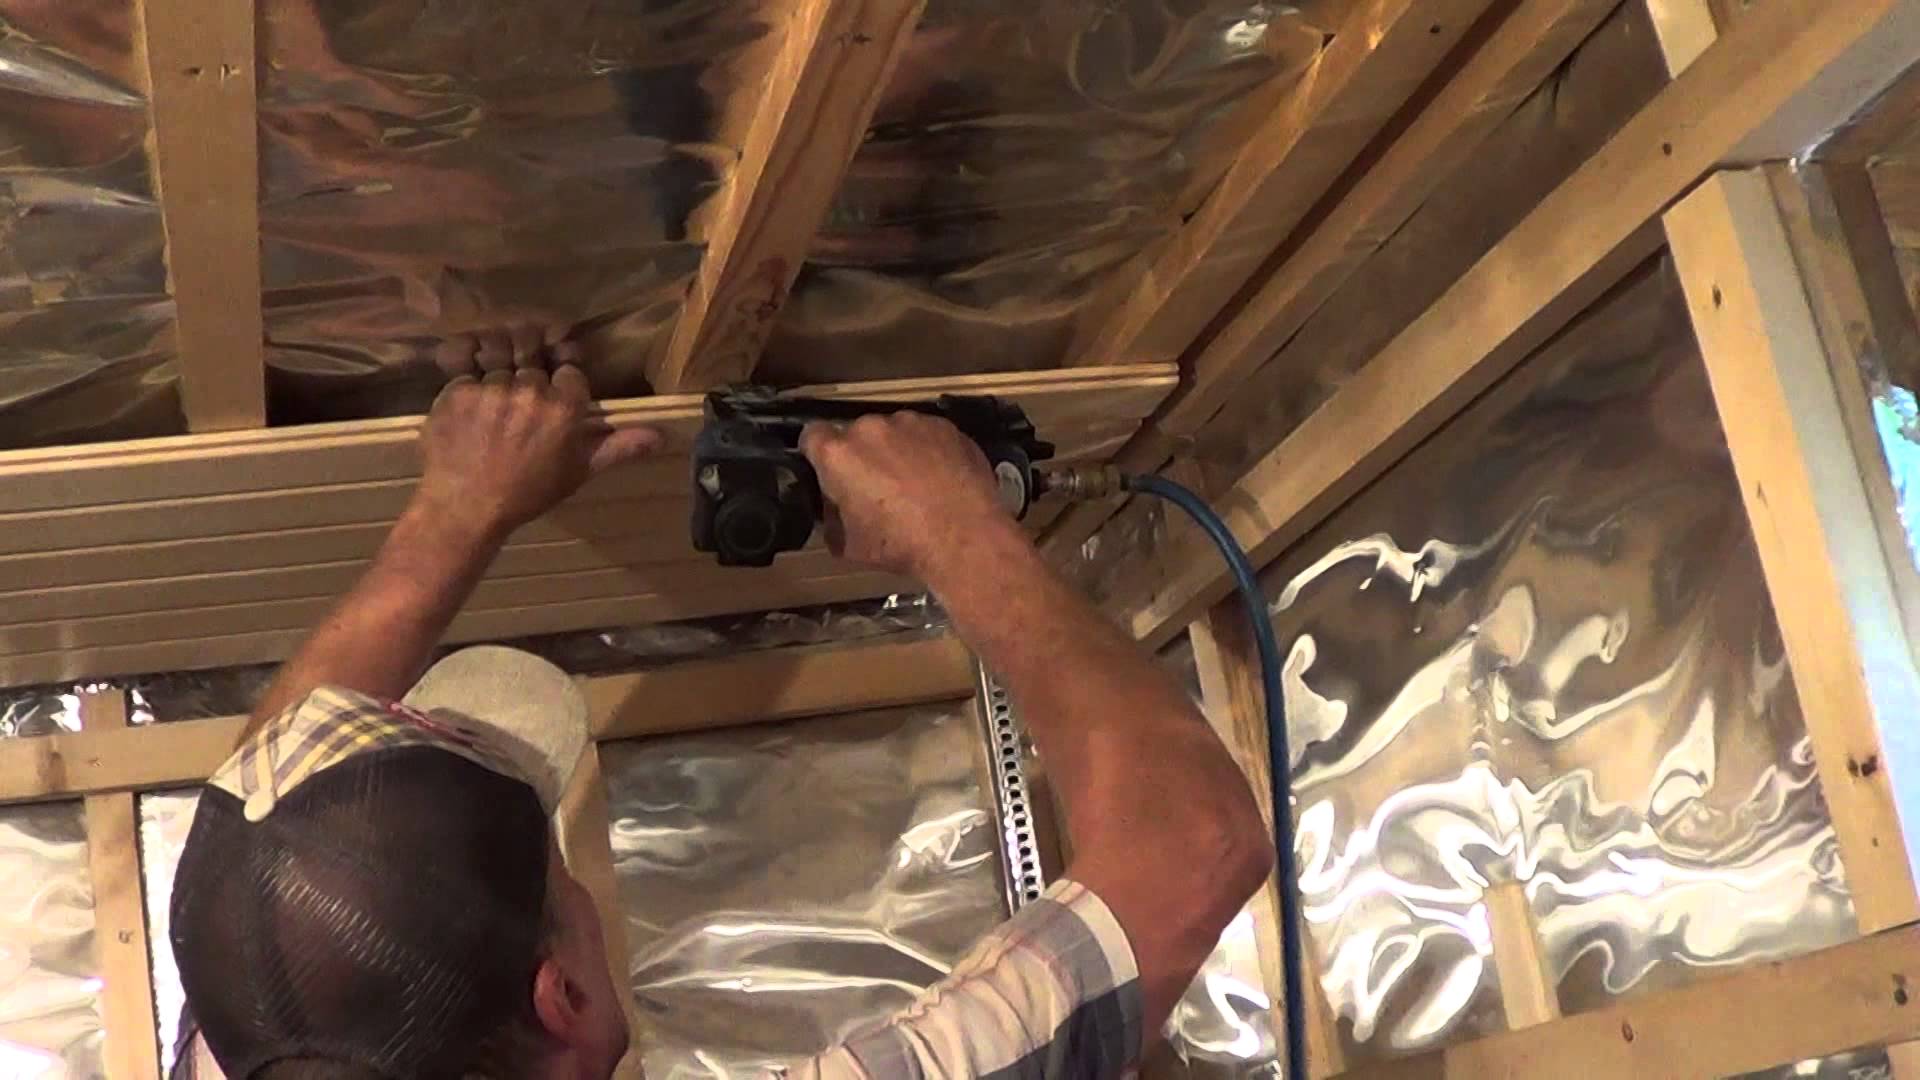
Installation
Fastening eurolining in baths and saunas make only the hidden method. Firstly, the hardware with which the lamellae are attached to the frame heats up so much that it can deliver painful sensations when it is touched to its head. Secondly, the metal attachment can rust from constant contact with water and damage the surface of the lamella. And finally, thirdly, these mounts look too careless, especially when using lining very light colors.

Covering the steam room in the bath should always be carried out first on the ceiling.It starts from the front door. The lining is mounted either on nails or with the help of a kleimer, since a small finishing nail cannot support the weight of the lamella hanging on the ceiling in this position. Kleimer is a kind of clip (clothespin, bracket), which is made of stainless materials and better keeps the wall panel from damage during installation. The last boards are quite difficult to hammer into a groove or put on the clamps, so you can use a hidden nail without a cap. Scoring such a nail, it is very easy to hit the board itself and damage it, so you need to use a docker. Along the joints with the walls, it is necessary to leave a gap of 40-50 mm so that the air freely circulates, and the lamellae, slightly swelling from the humidity, do not break each other.

The wall covering of the steam room is carried out by analogy with the ceiling lining. It is better to start from the corner, leaving a gap near the floor of 10-30 mm in order to avoid rotting of the boards at the places of their joint with the floor. Docking separate parts of the wall panel closely when finishing a room such as a bath is not worth it. It is better to leave a small margin so that, when swelling, the whole wall covering is not deformed and does not go “in a wave” due to constant contact with water.
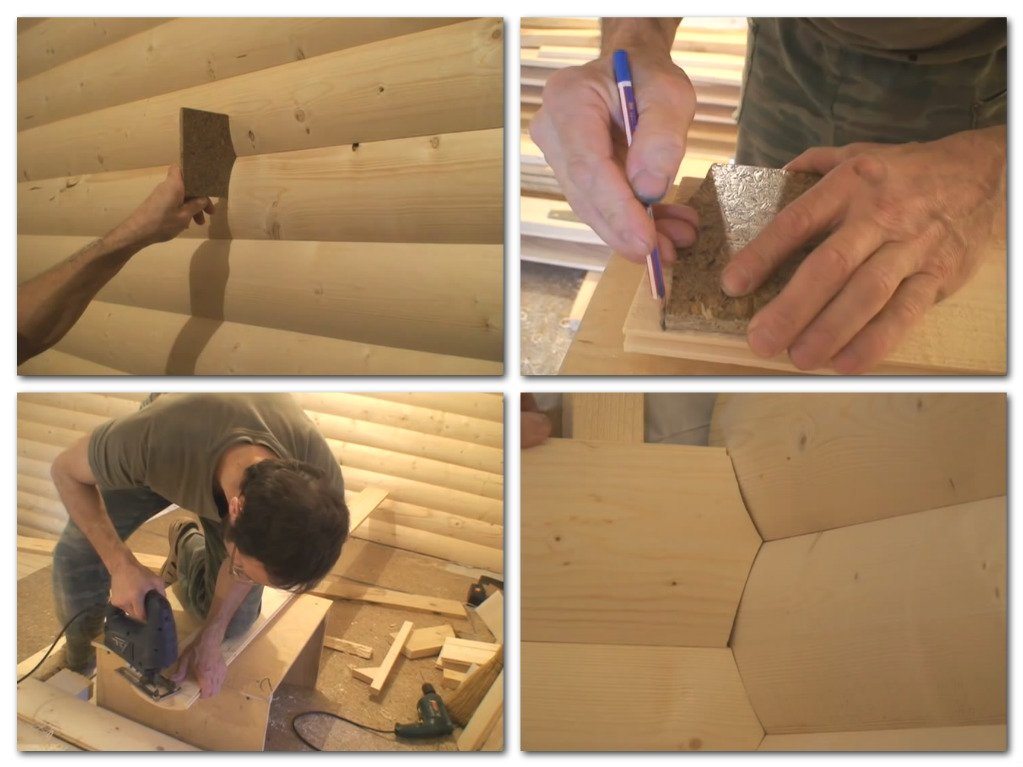
The clearance is done as follows:
- initially, the lamella is pushed all the way to the slot of an already installed other lamella, small marks are made along the seam line of the two boards with a sharp object;
- the board is slightly removed from the notes made and leveled by level;
- the algorithm repeats with each subsequent lamella;
- Lining joints will look more neat if you sustain equal indentation on both walls and on the ceiling lining.
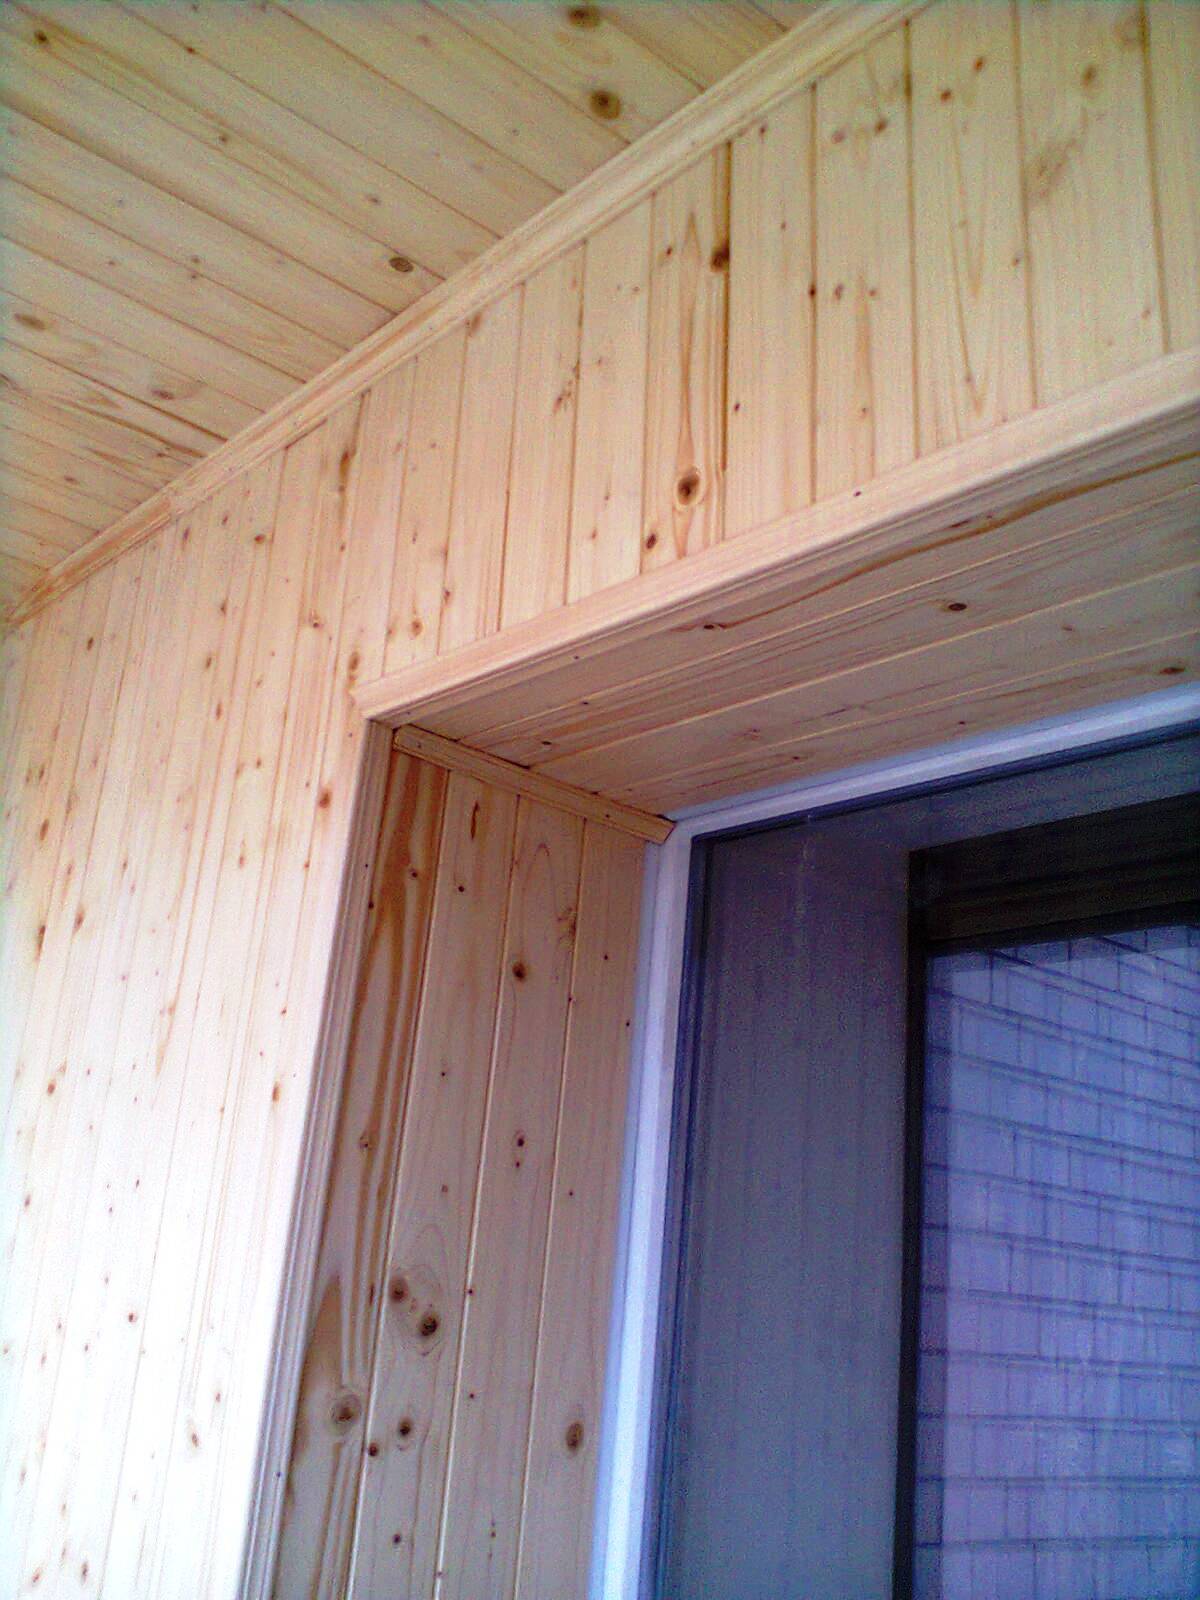
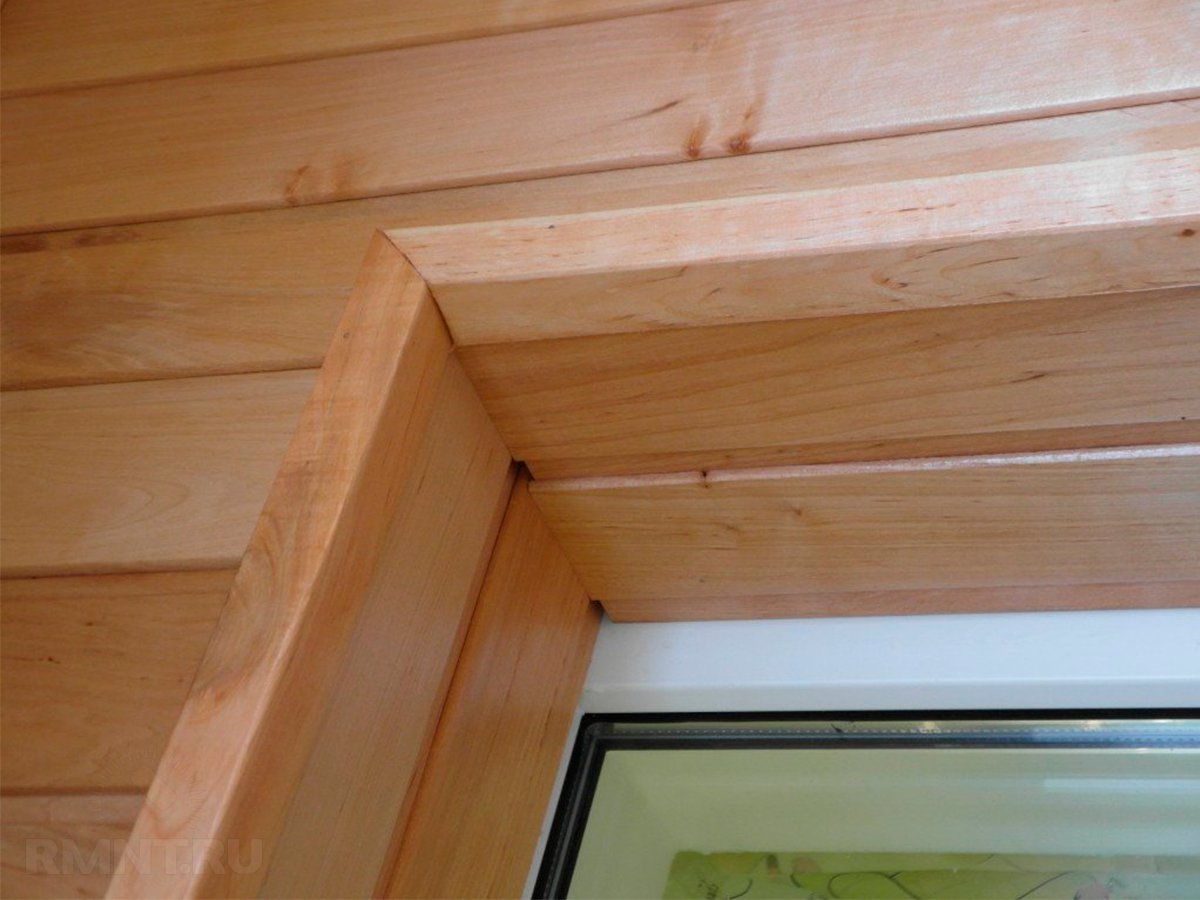
With the help of slats, you can also sheathe doorways, cutting boards to the required length. The openings themselves can later be framed with platbands.
The window slope is installed using a starter plate attached to the plastic lamella. In this case, the wooden paneling is attached with one end to the wooden beam, and the remaining - to the plastic. This simple option is suitable for metal windows. You can also use a more sophisticated method: install a separate frame on the slope and lay wooden batten on it. This method is well suited for wooden windows with a decent depth. If the wall slope is quite narrow, you can simply revet it with a wooden splat.
Finishing the washing room is similar to finishing a steam room, but it is imperative that the lower ends of the boards (or the boards themselves, which are laid on the floor with a horizontal mounting method) are fixed at a height of at least 30 mm from the floor. Also in the washing room, you can use PVC lining or plastic panels that are decorated with wood to create a single design. Tiles and ceramics are also great in the form of an alternative finish.

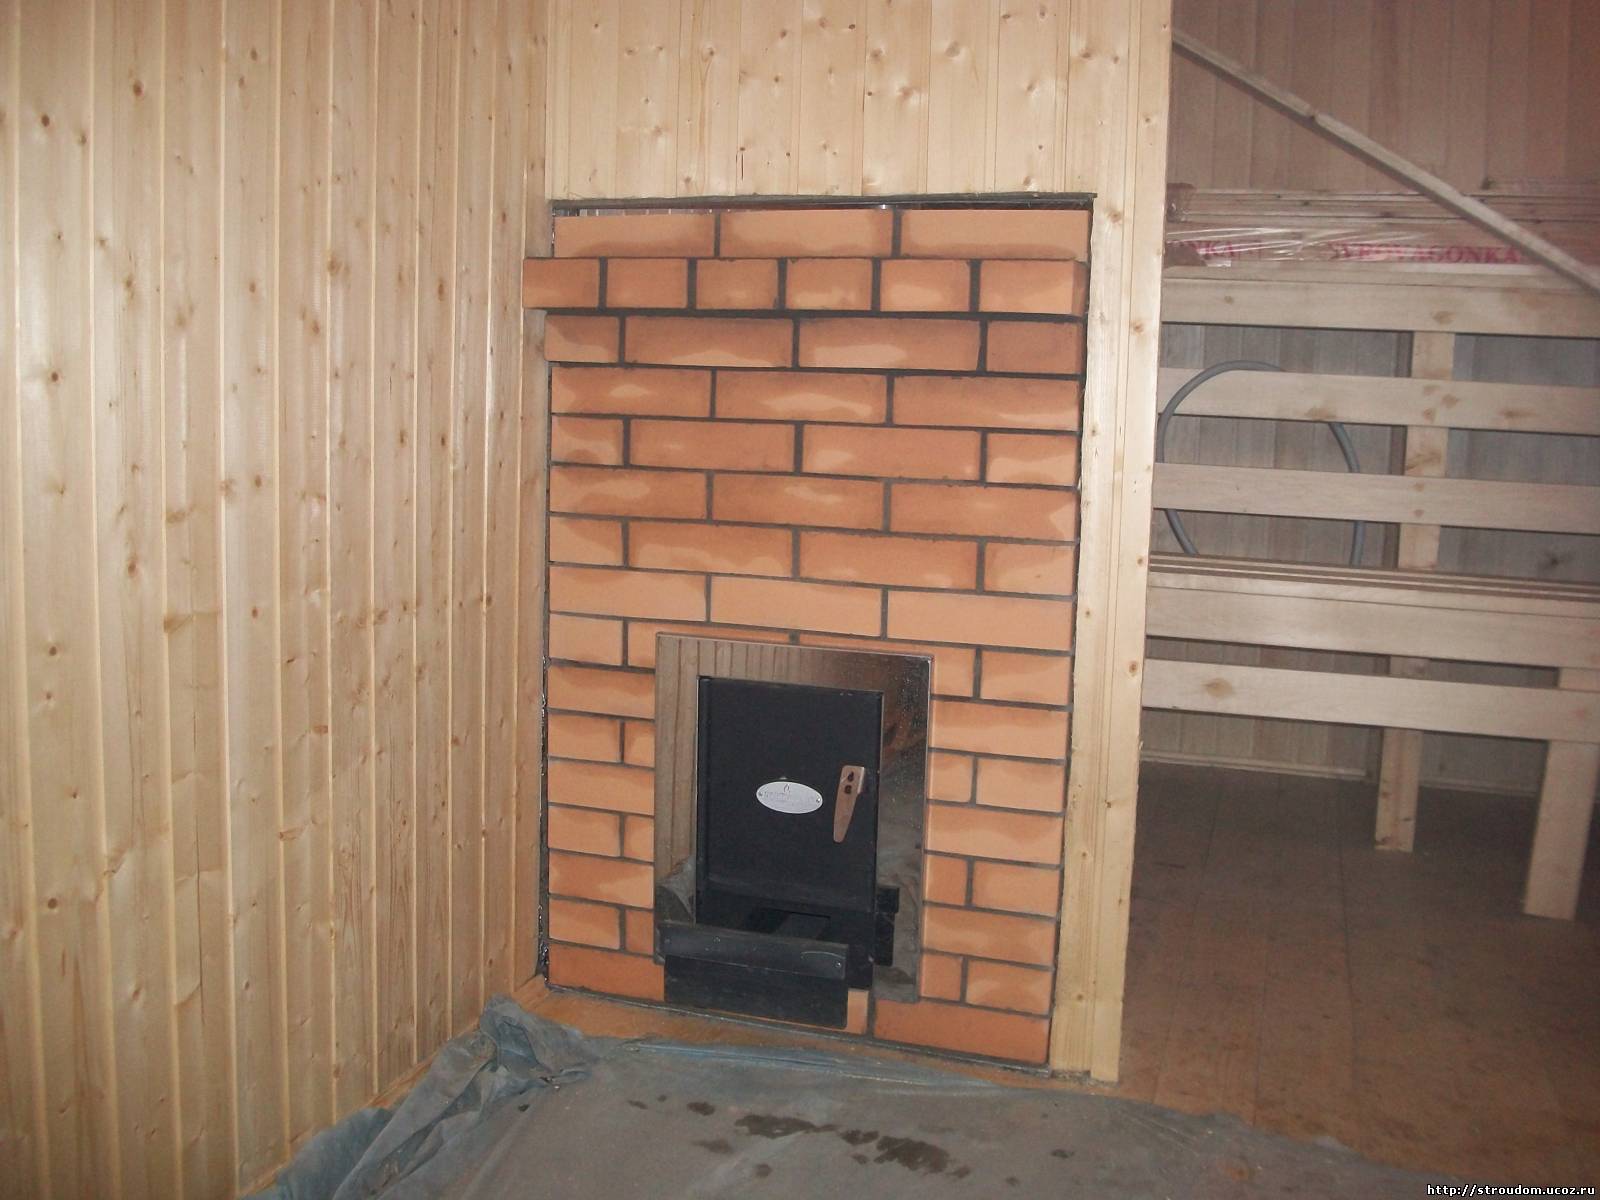
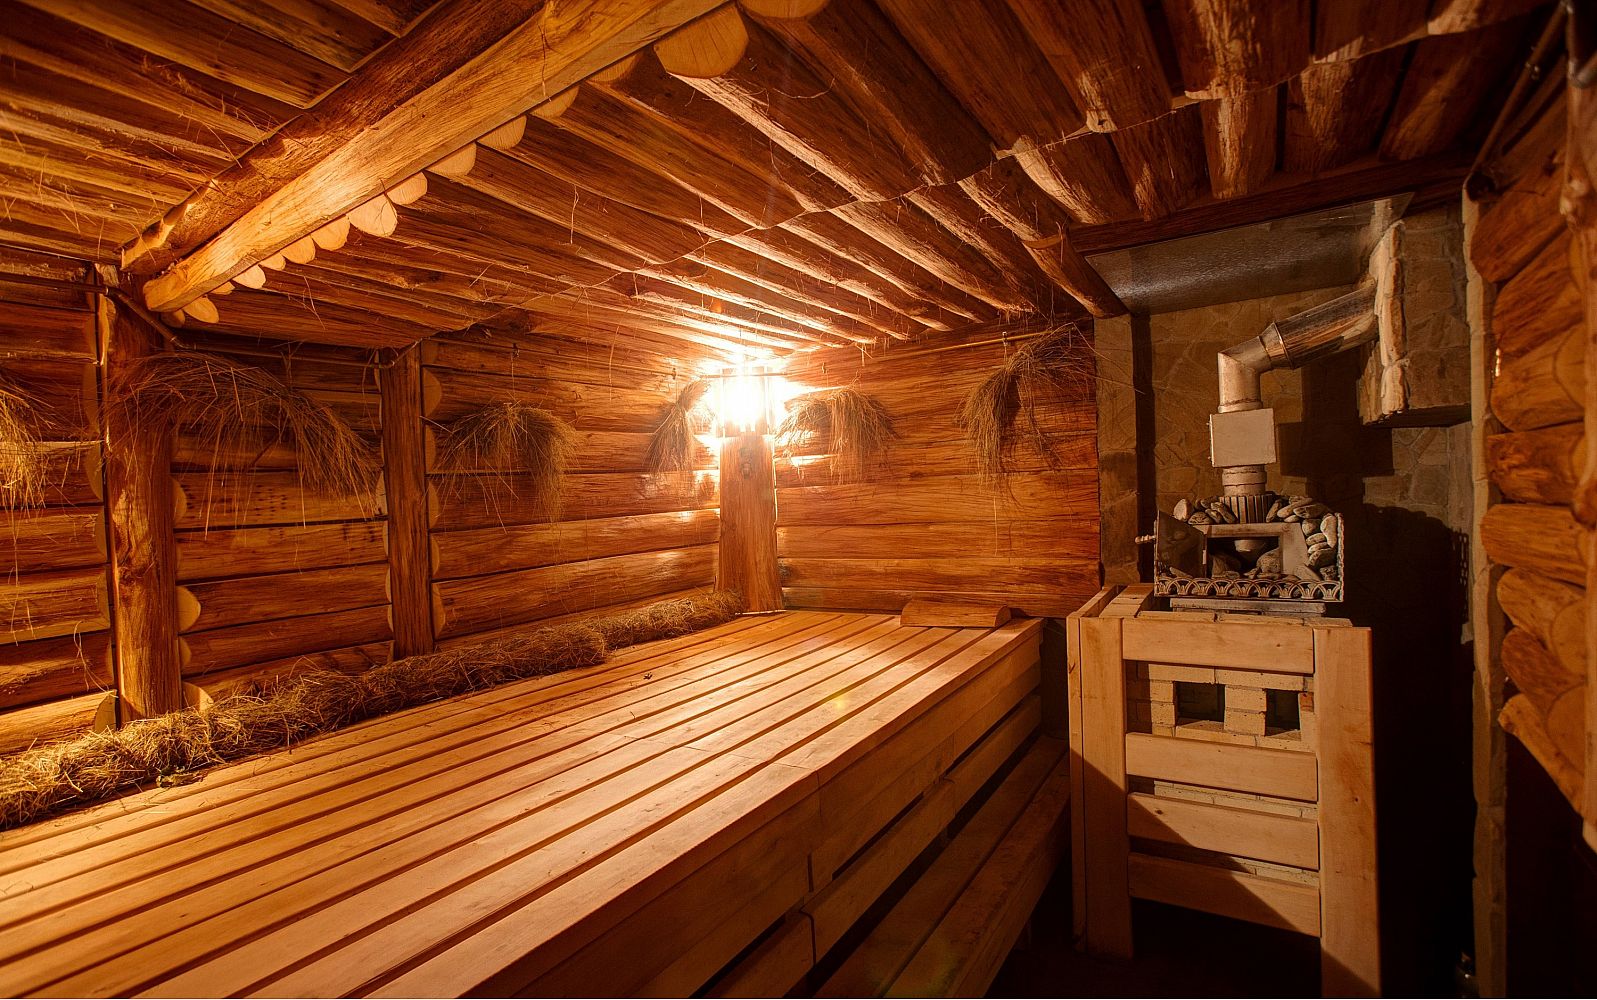
Installation of the dressing room is no different from the installation of a washroom, but near the firebox the wall paneling cannot be mounted. The walls near the stove should be bricked up with brick or stone. Often use sheets of metal or other non-flammable coating. Do not adjoin the chimney pipe to anything other than a metal screen, mounted on the ceiling. Behind the screen, it is desirable to wrap the chimney with mineral wool.
Finishing
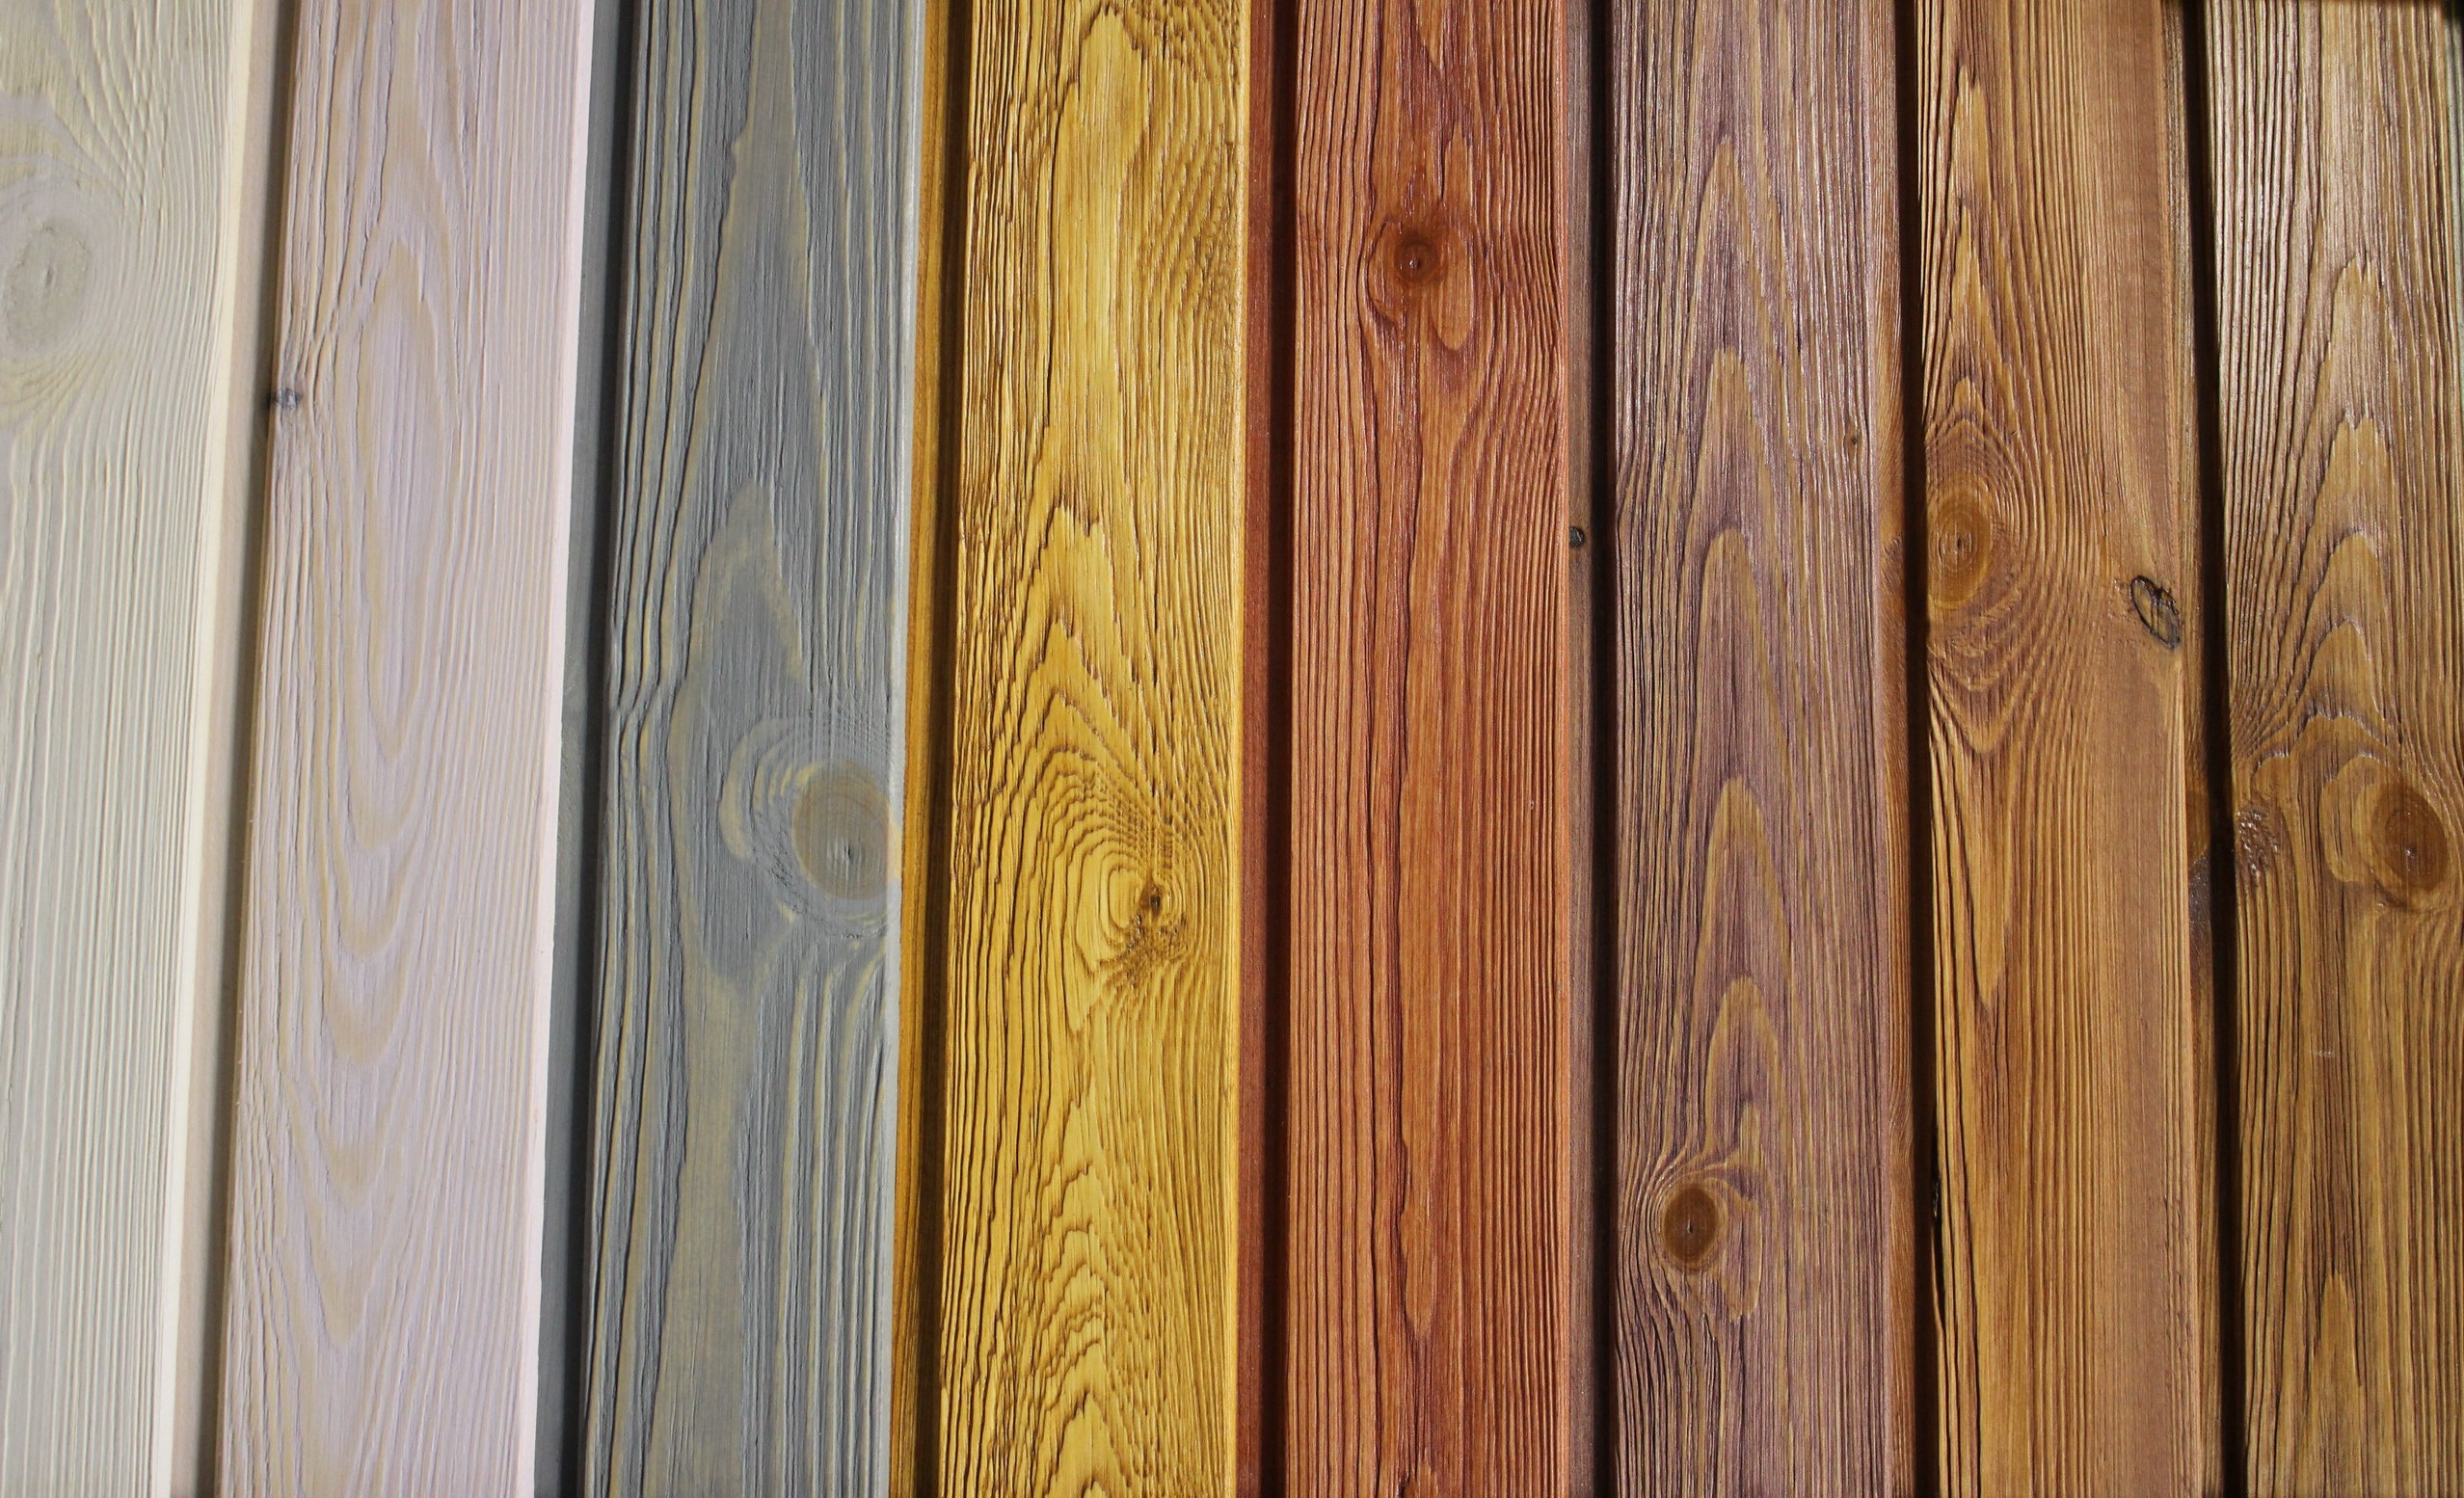
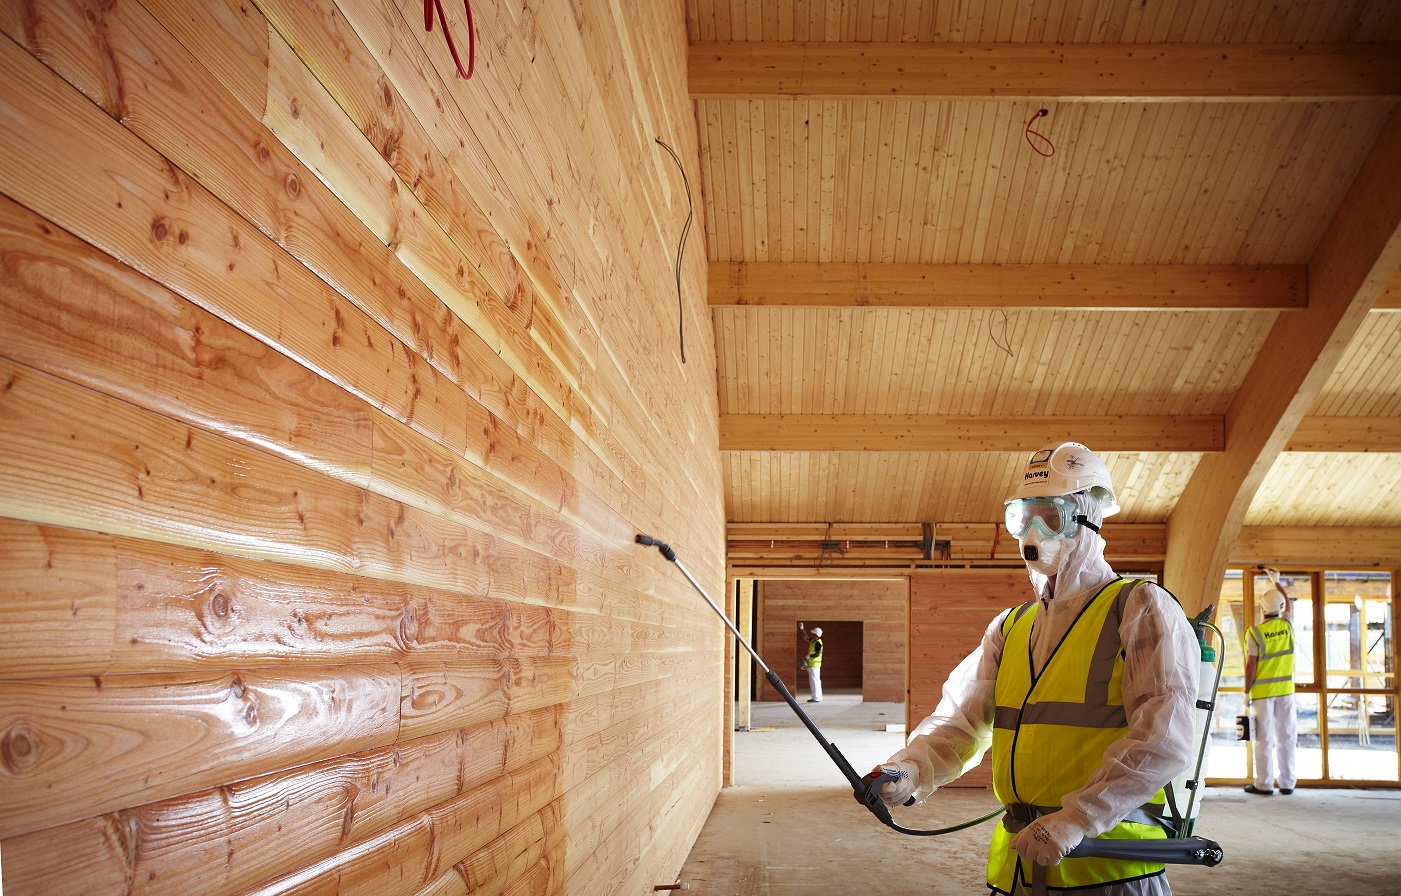
So that the wood does not darken, rot and lose attractiveness, it can be treated with special means. However, the lining in the steam room is still better not to handle, otherwise, due to high temperatures, harmful fumes from such impregnations fall on the skin and lungs.Of course, over time, the raw lamellae deteriorate and must be replaced, but this happens no earlier than once every 2-5 years. If the steam treatment is necessary, you can only use special compositions for the sauna or bath.
The means by which the lining is treated are divided into several types.
- Special impregnation and oils - These are the most popular products that are sold ready for use. It is necessary to apply them to the surface of the slats and thoroughly saturate the wood.
- Normal varnish. It is advisable to abandon the use of lacquer in the washroom and especially in the steam room, but you can paint the lining in the dressing room with lacquer.
- Acrylac - means intended for surface treatment in rooms with high humidity. On the building materials market is represented by both Russian and foreign manufacturers. With the help of acrylac, a water-repellent and dirt-repellent surface is formed, capable of withstanding temperatures up to 120 degrees. The tool also protects the wood from mold and can even be used on concrete structures.
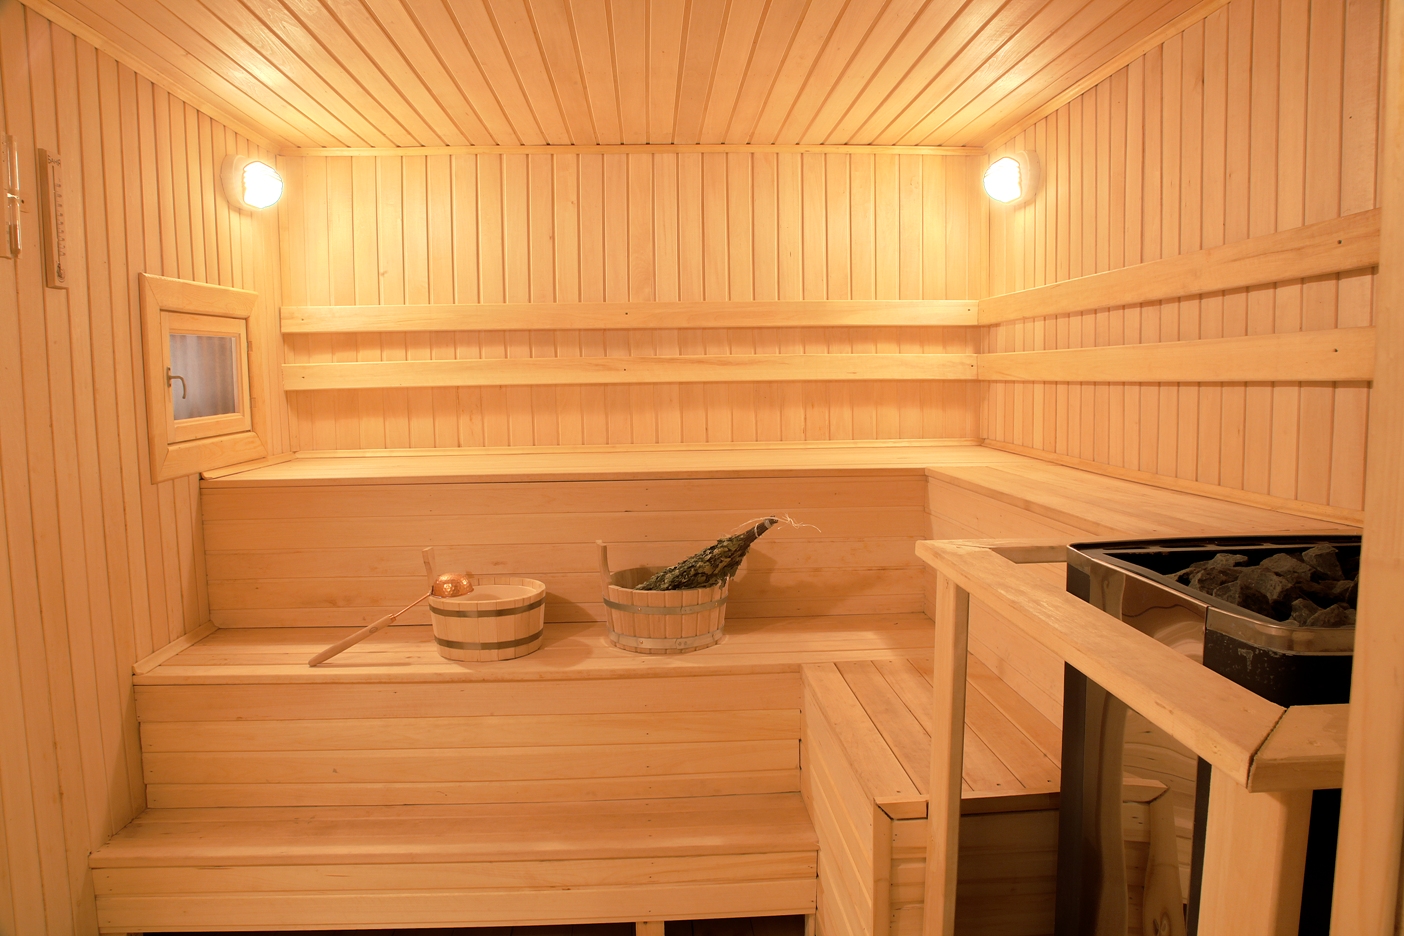
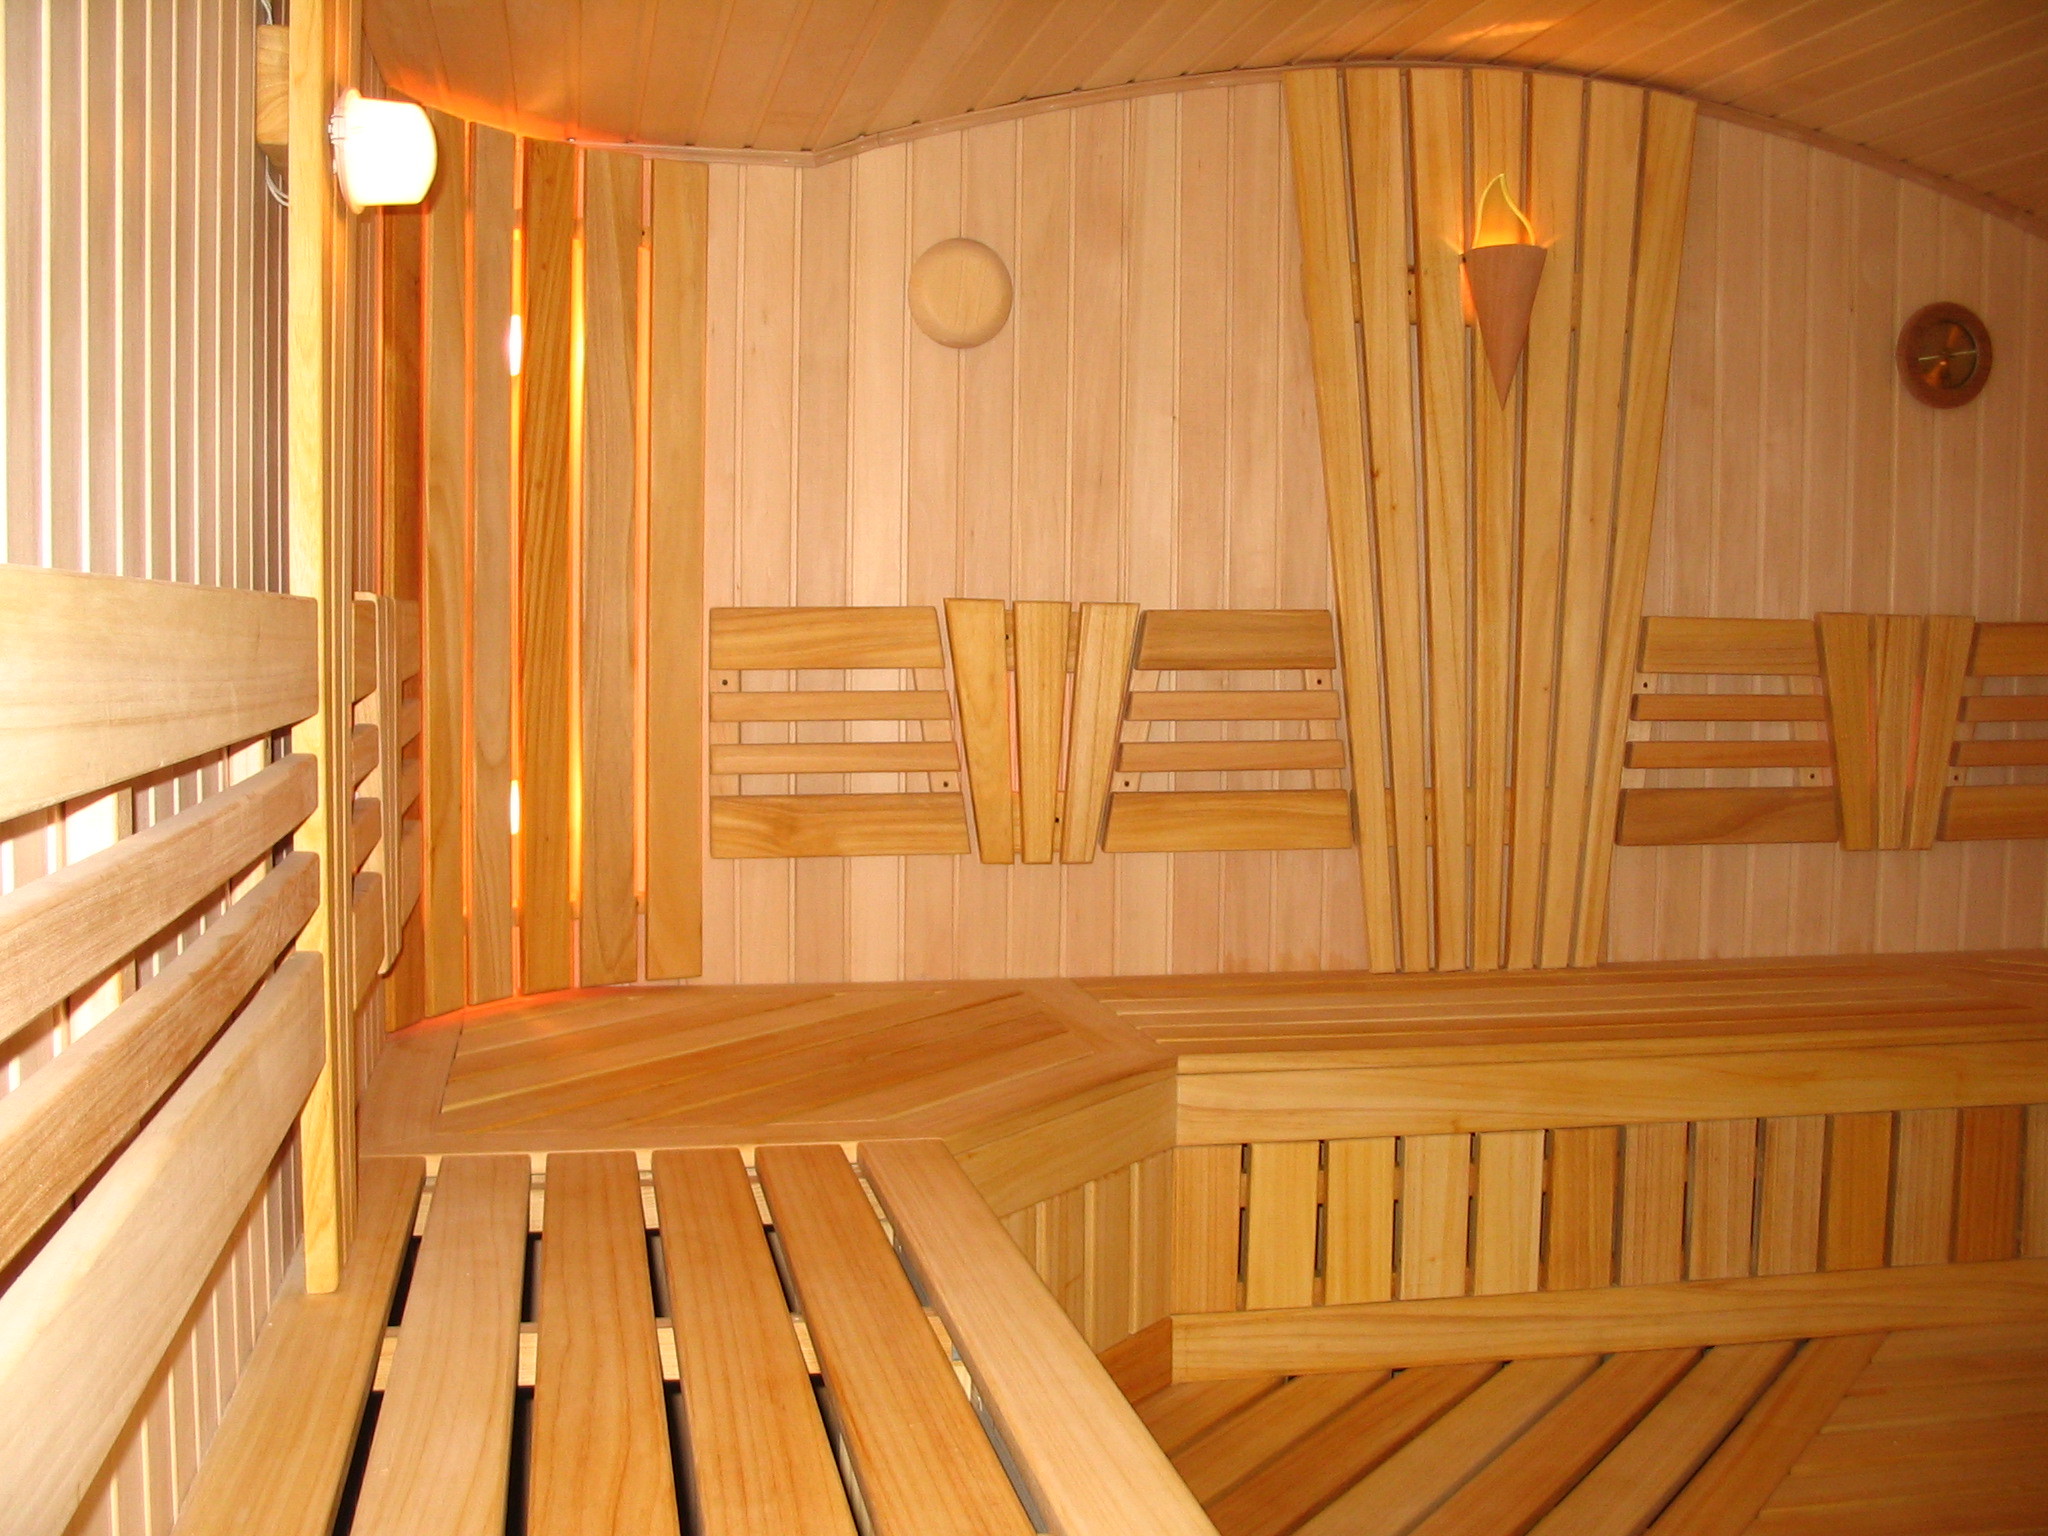
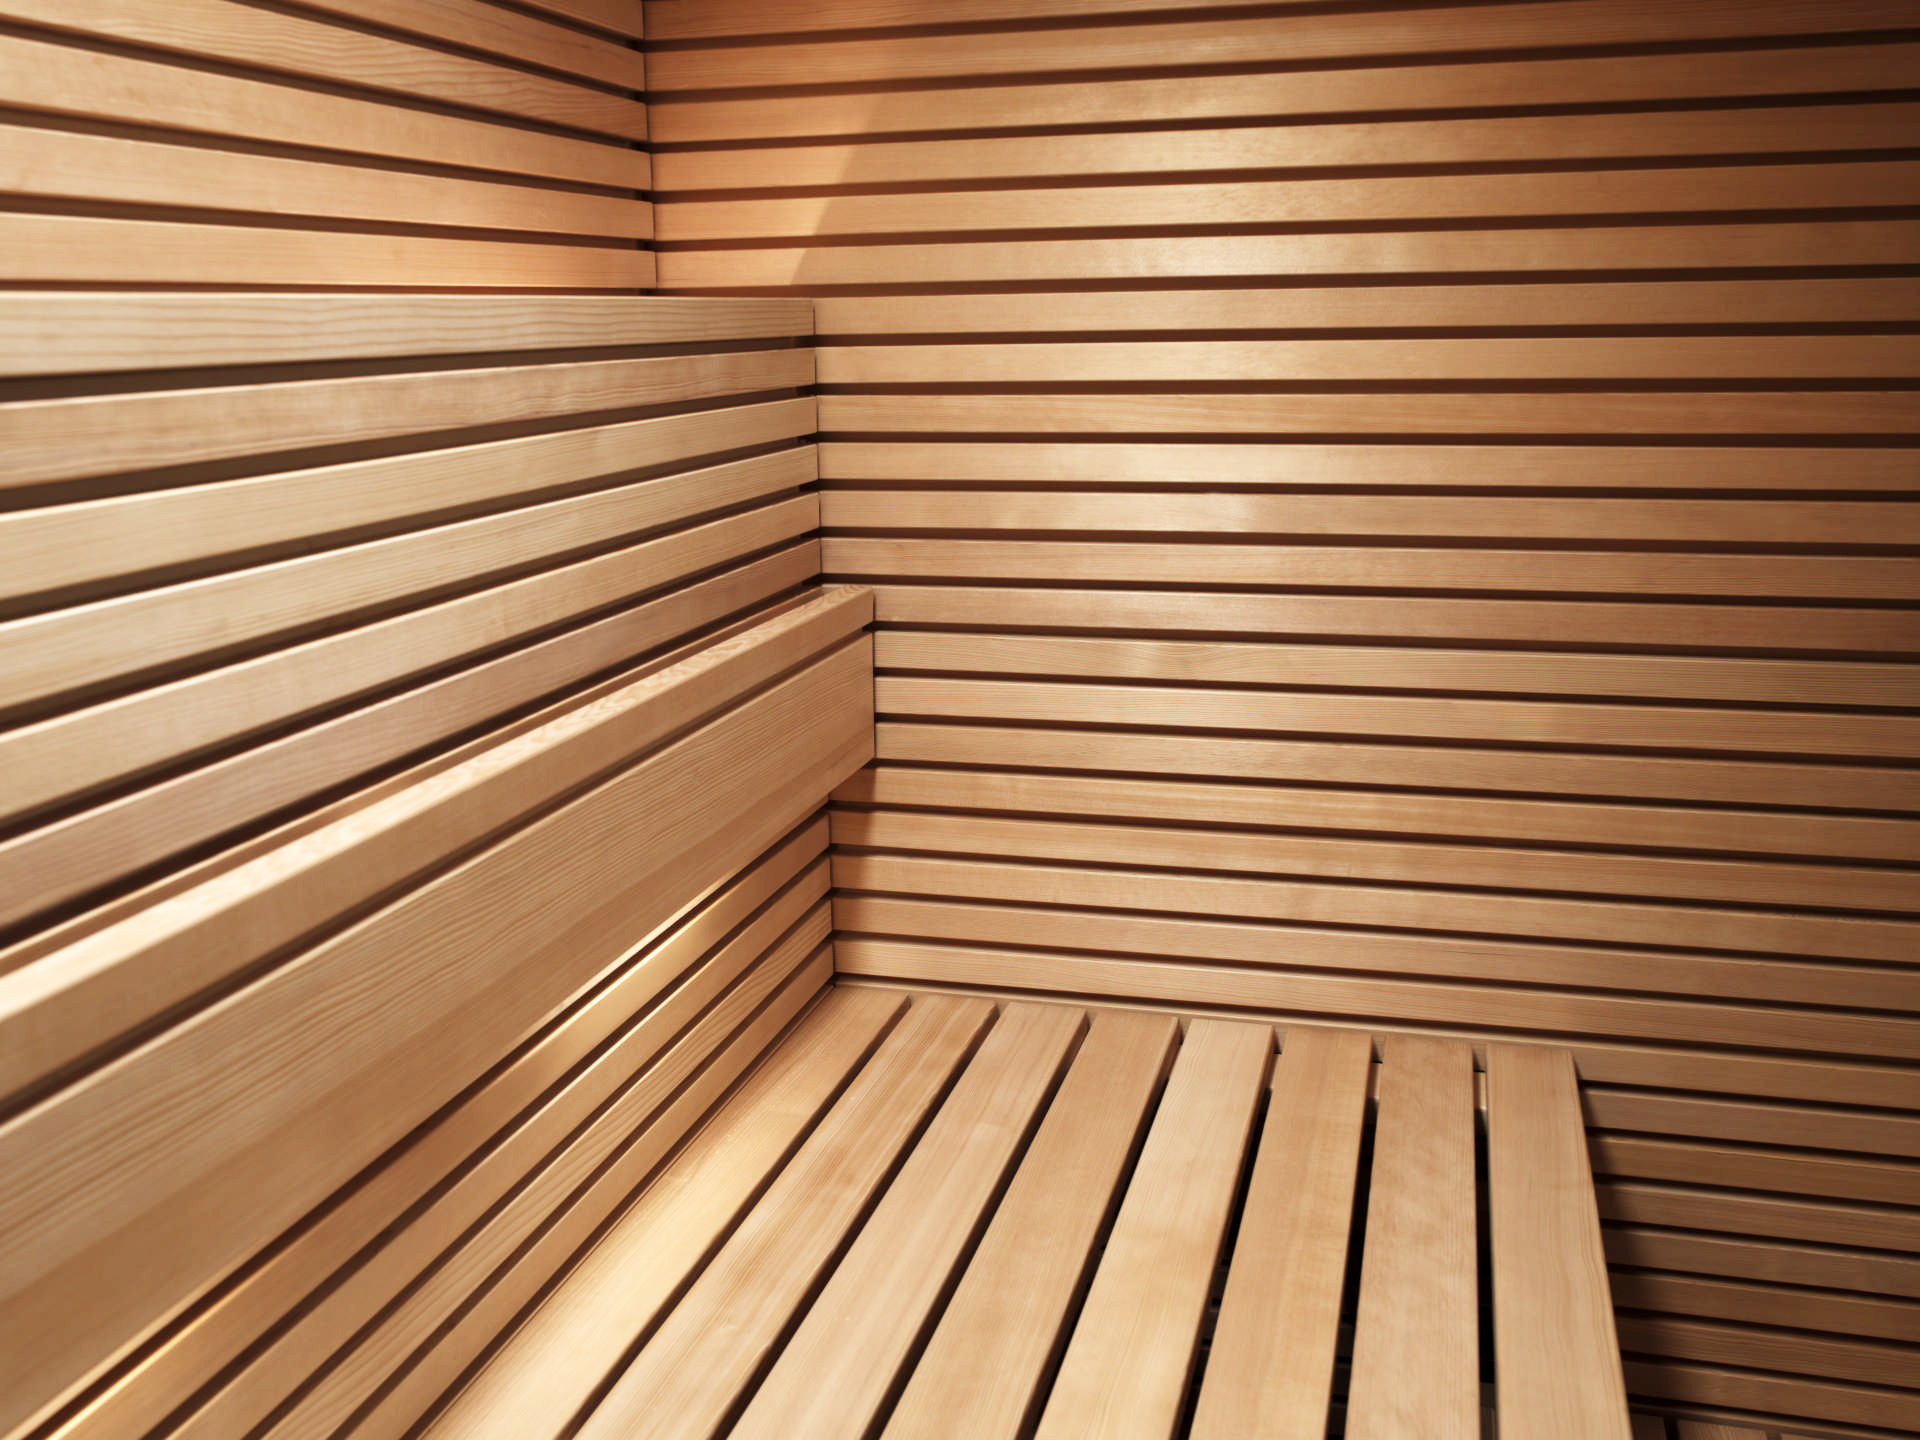
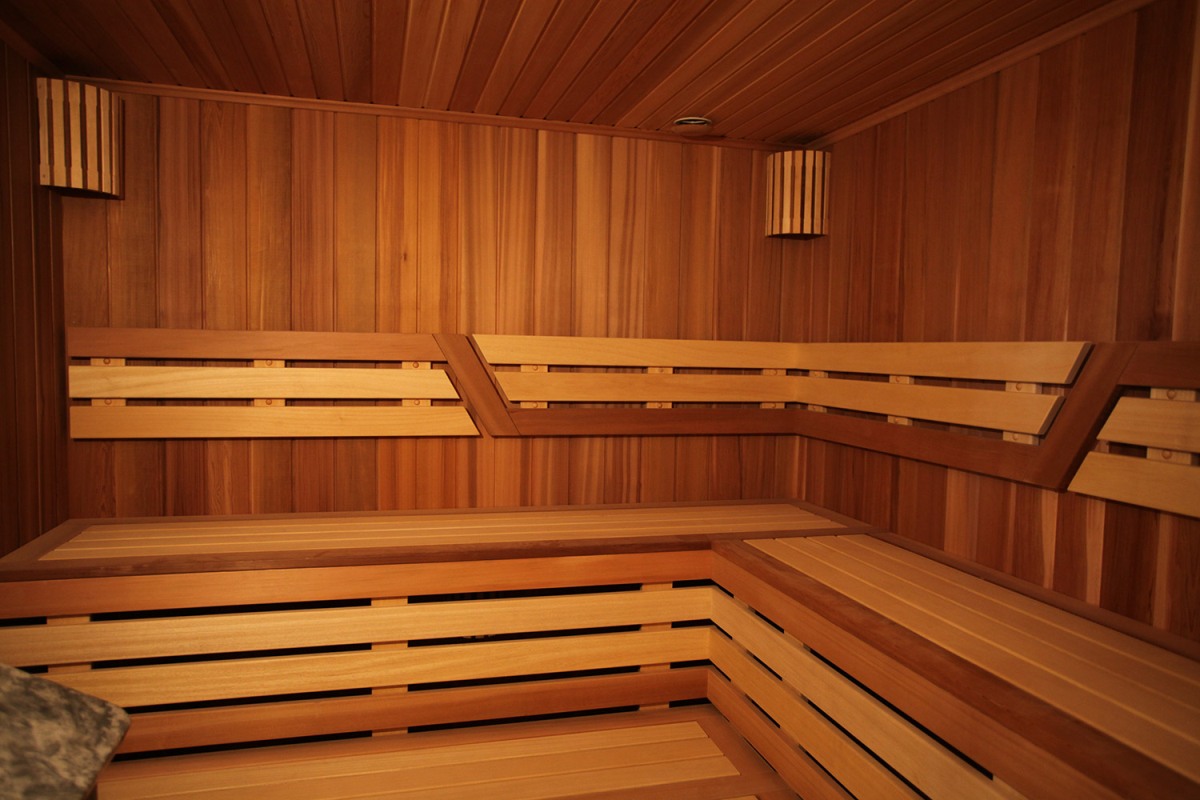
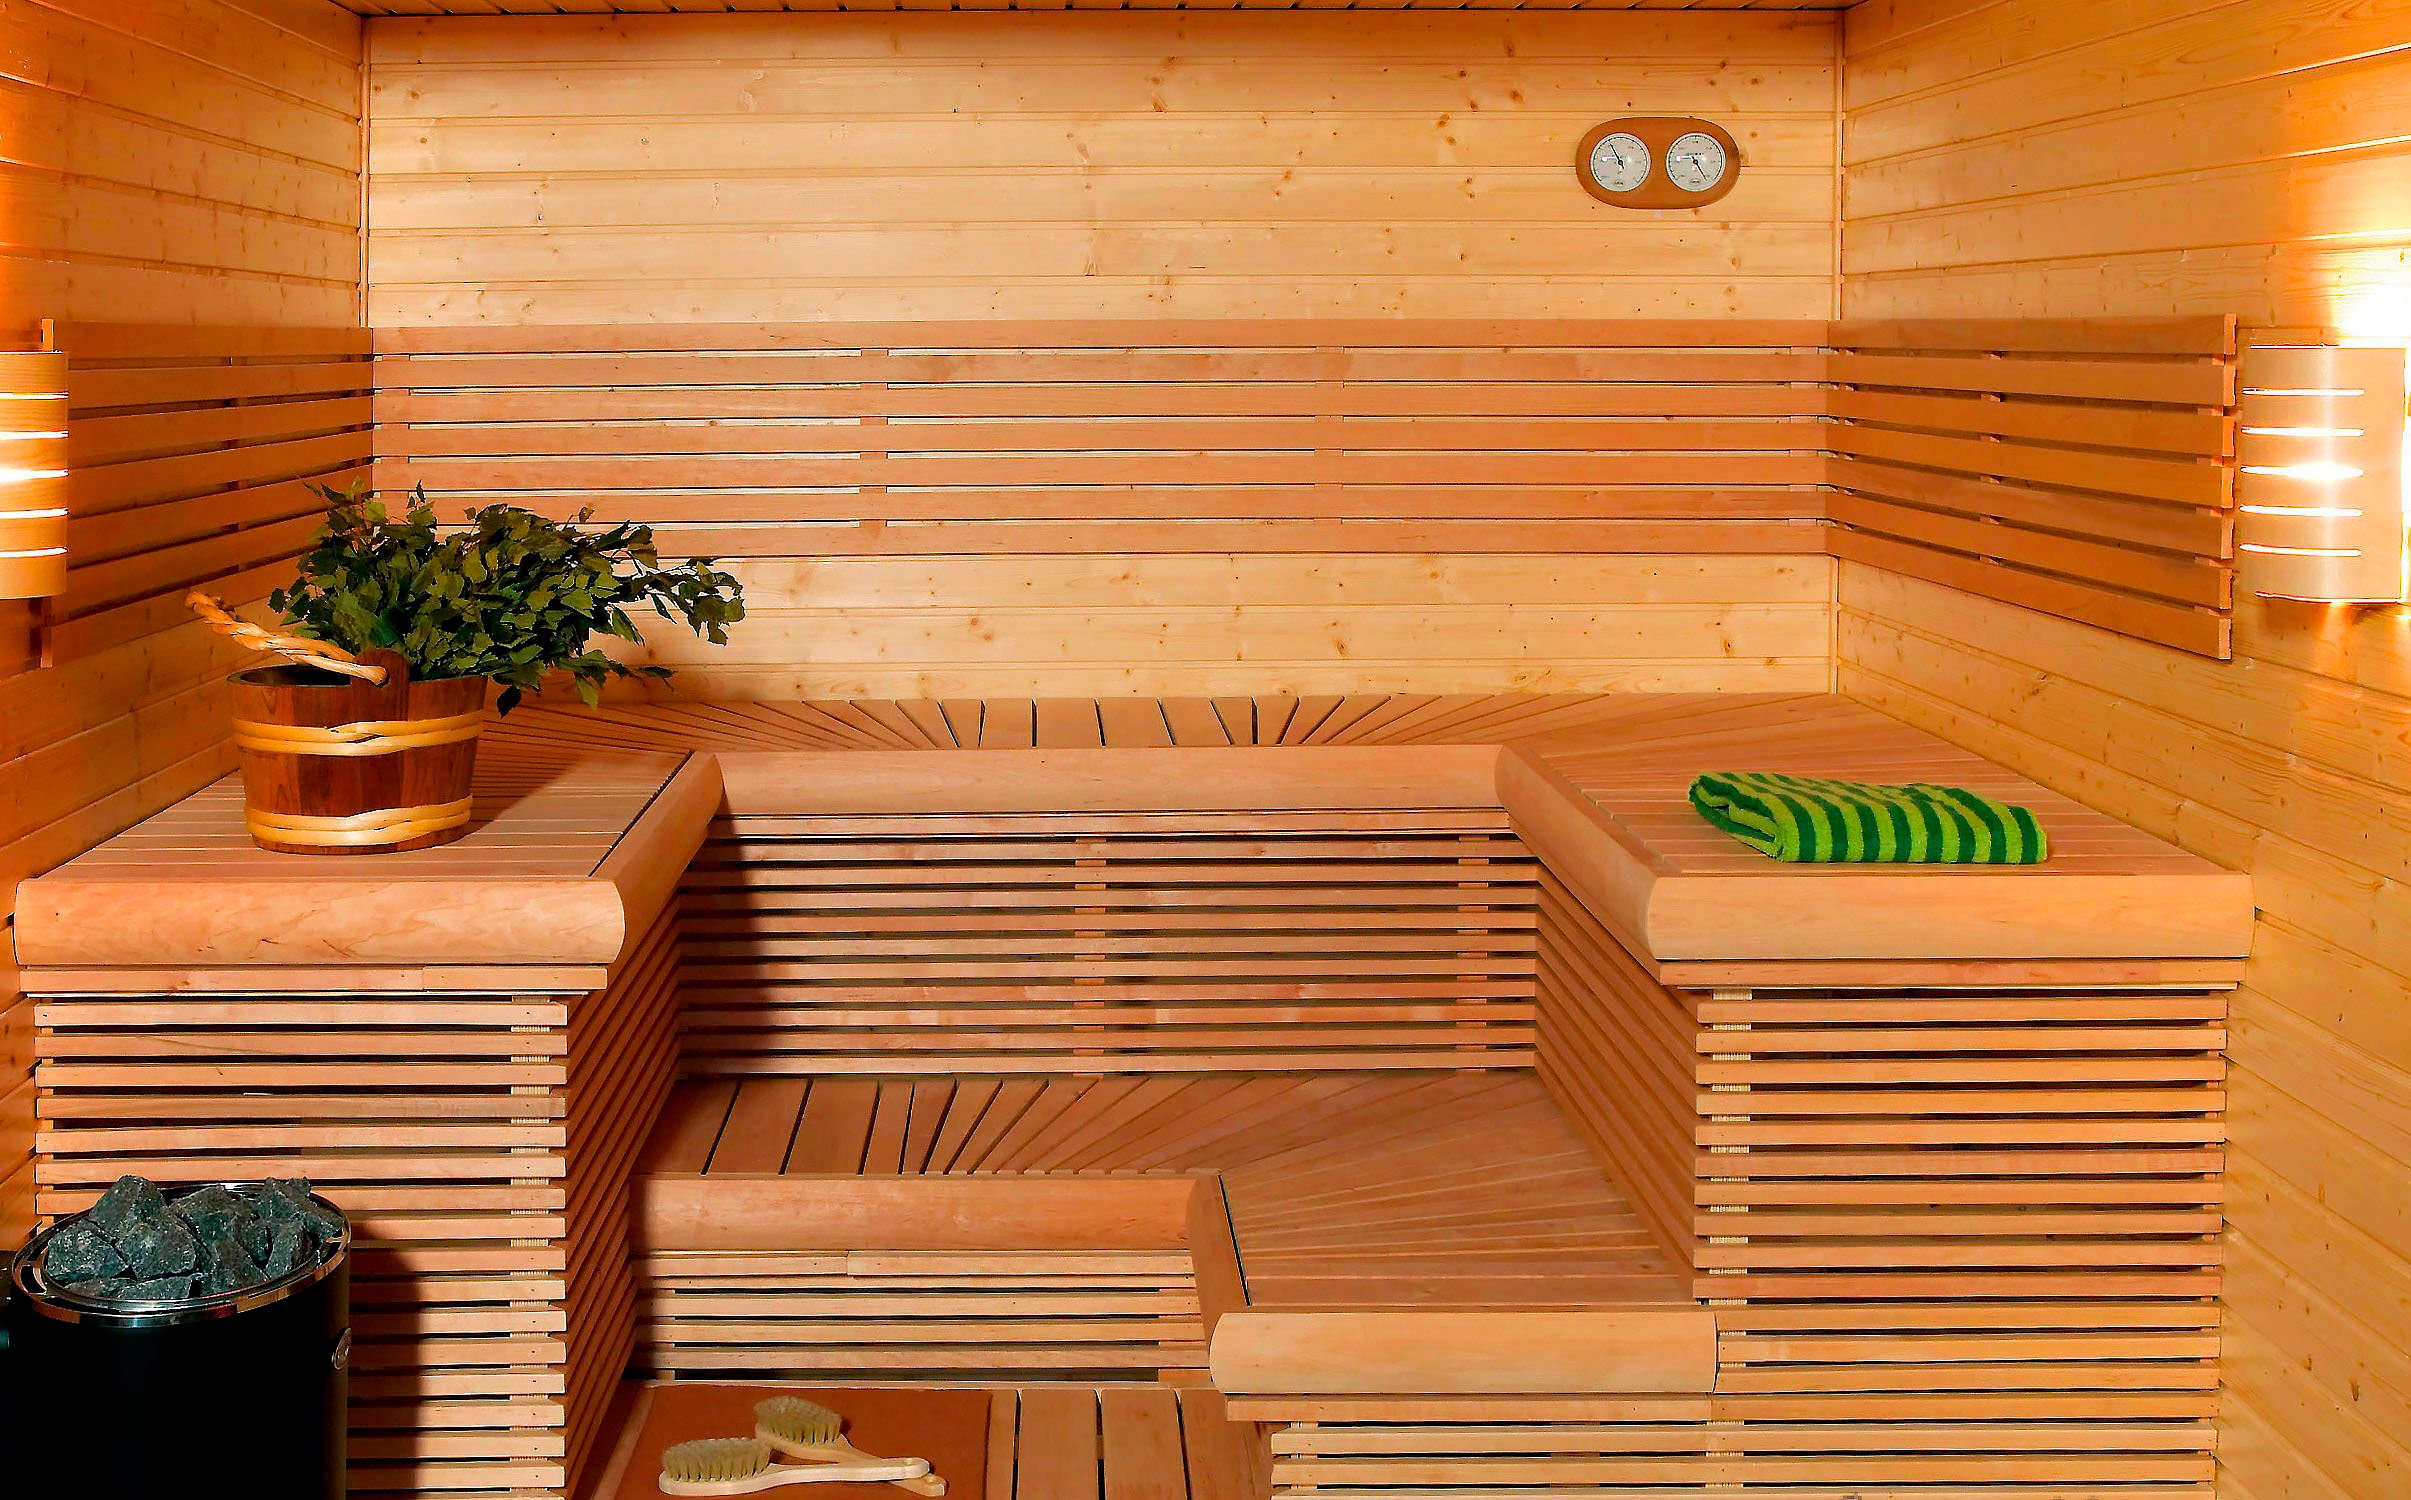
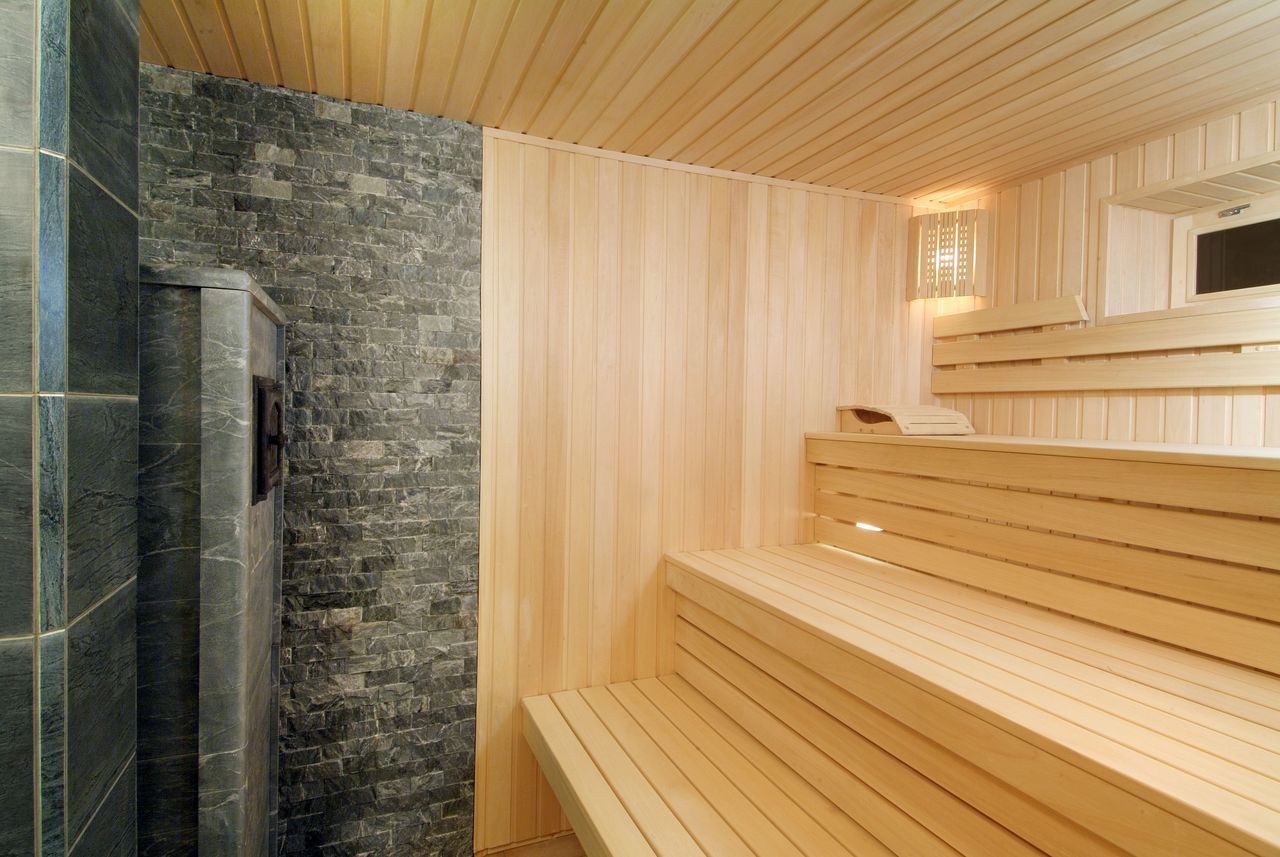
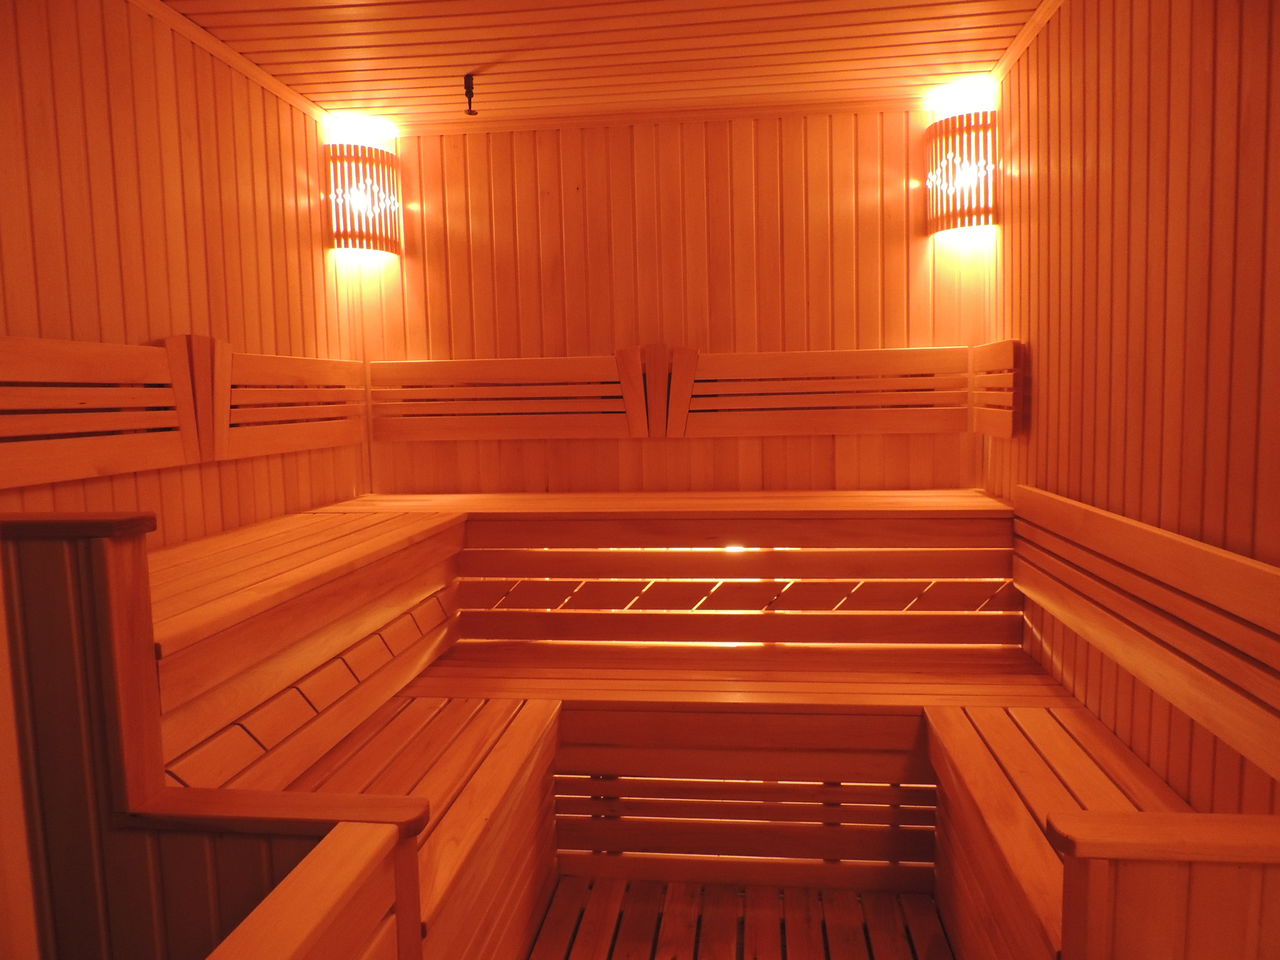
Design Ideas: Examples
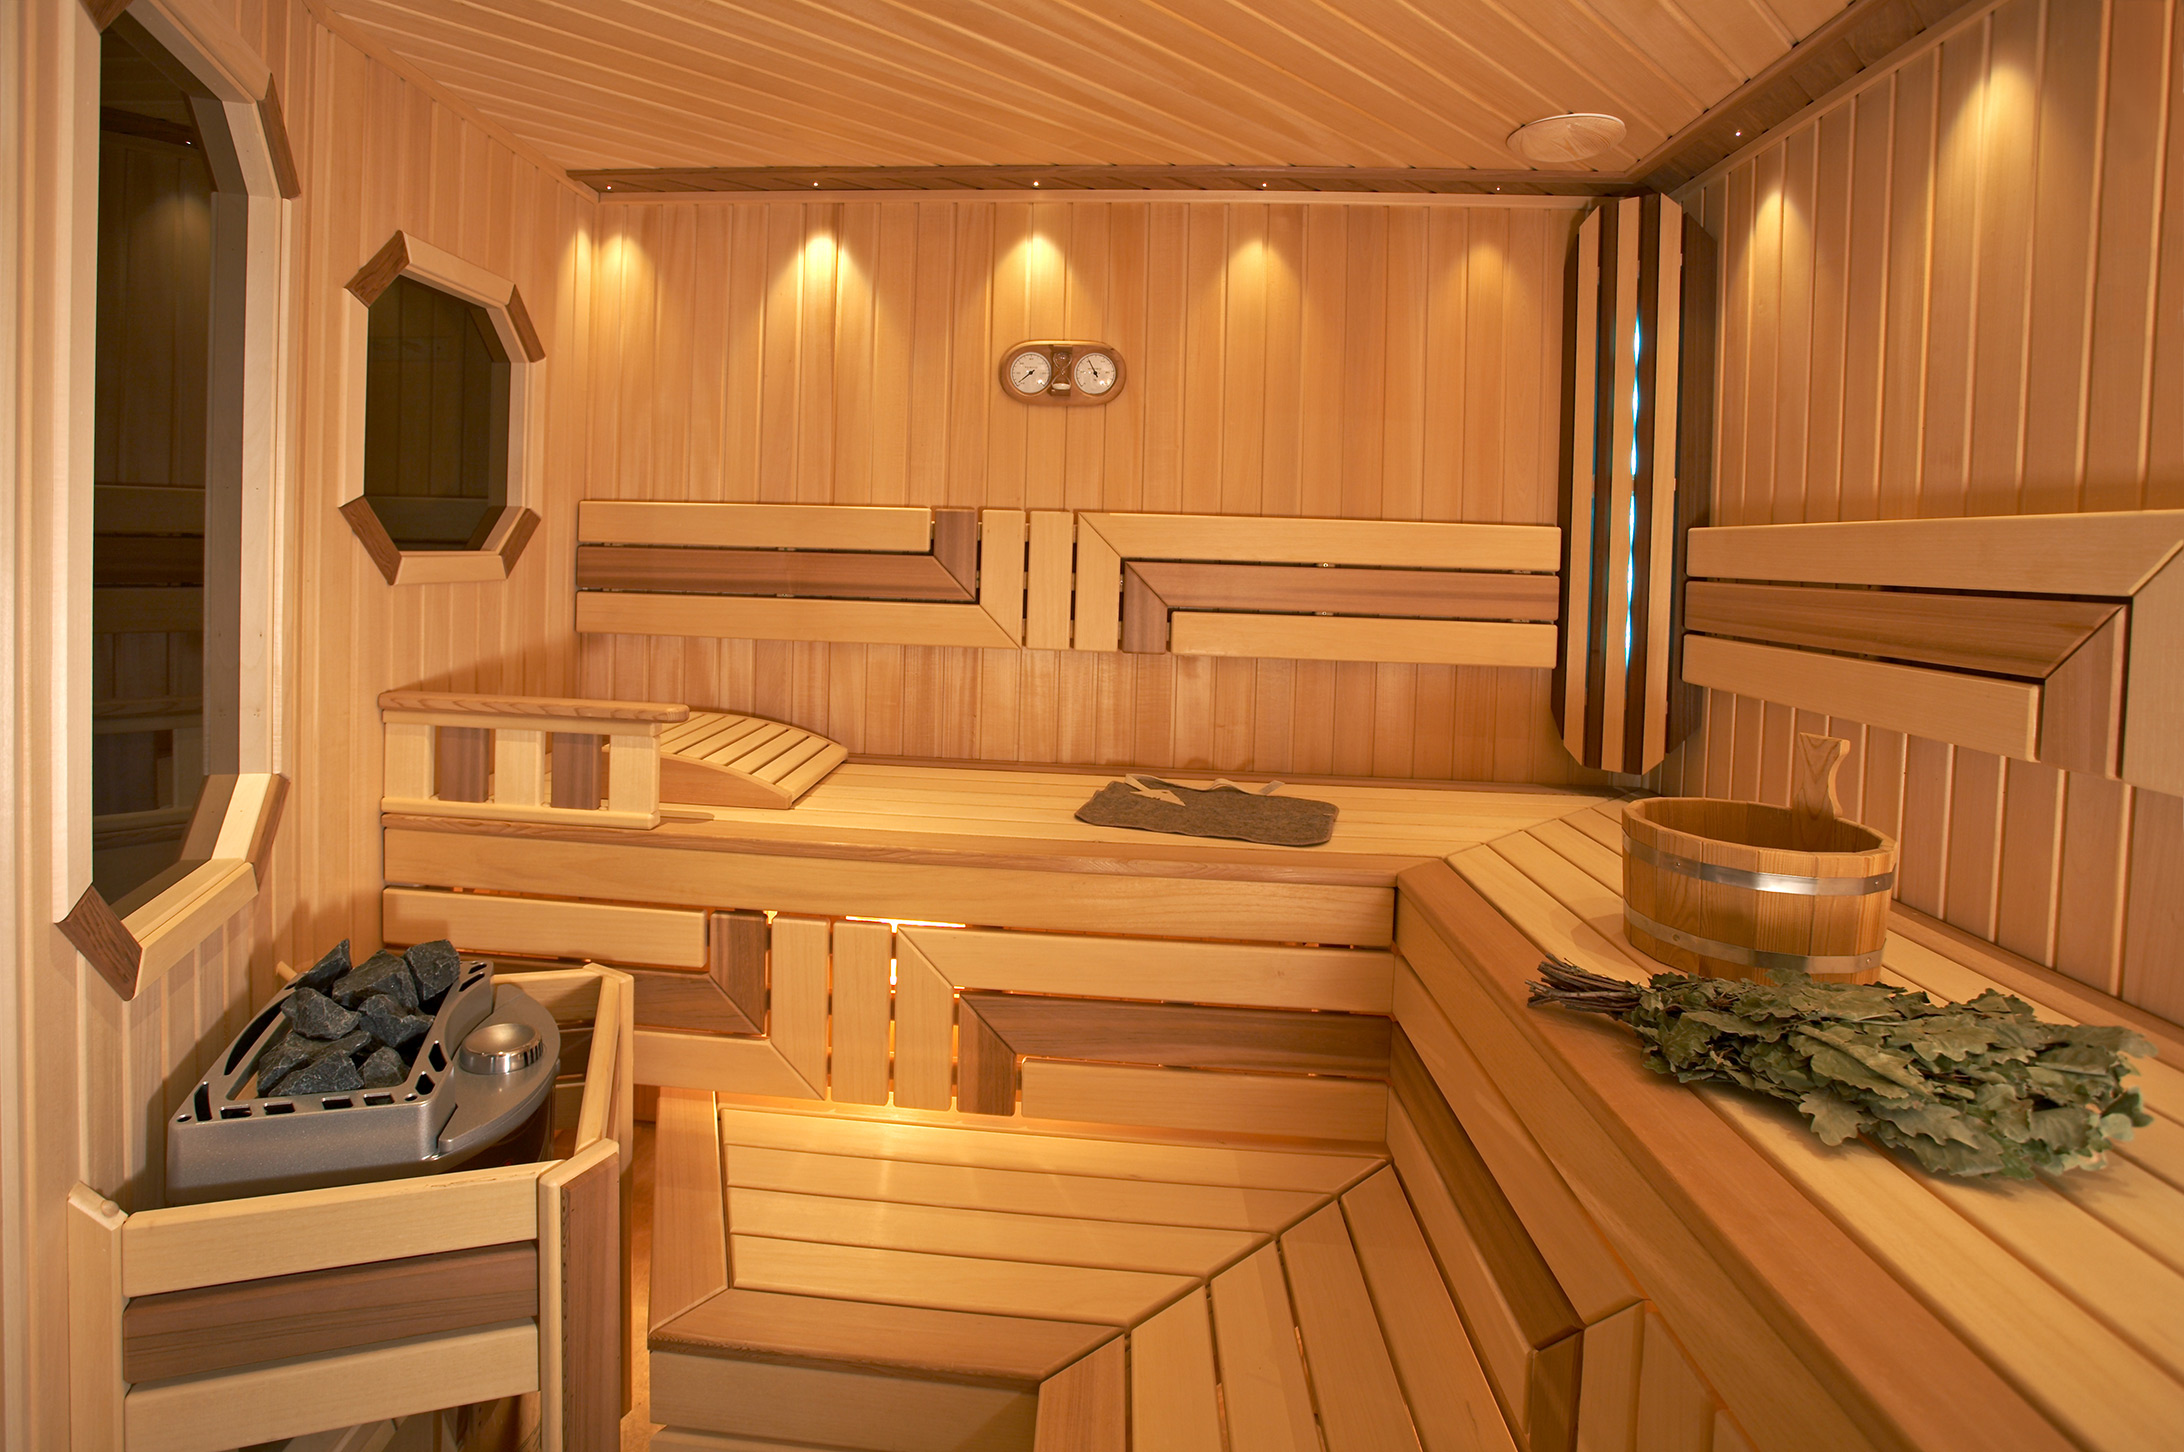
Lining in combination with other types of interior decoration allows you to embody even the most daring design solutions. You can lay the wall paneling in different directions, forming an intricate pattern on the walls or ceiling.
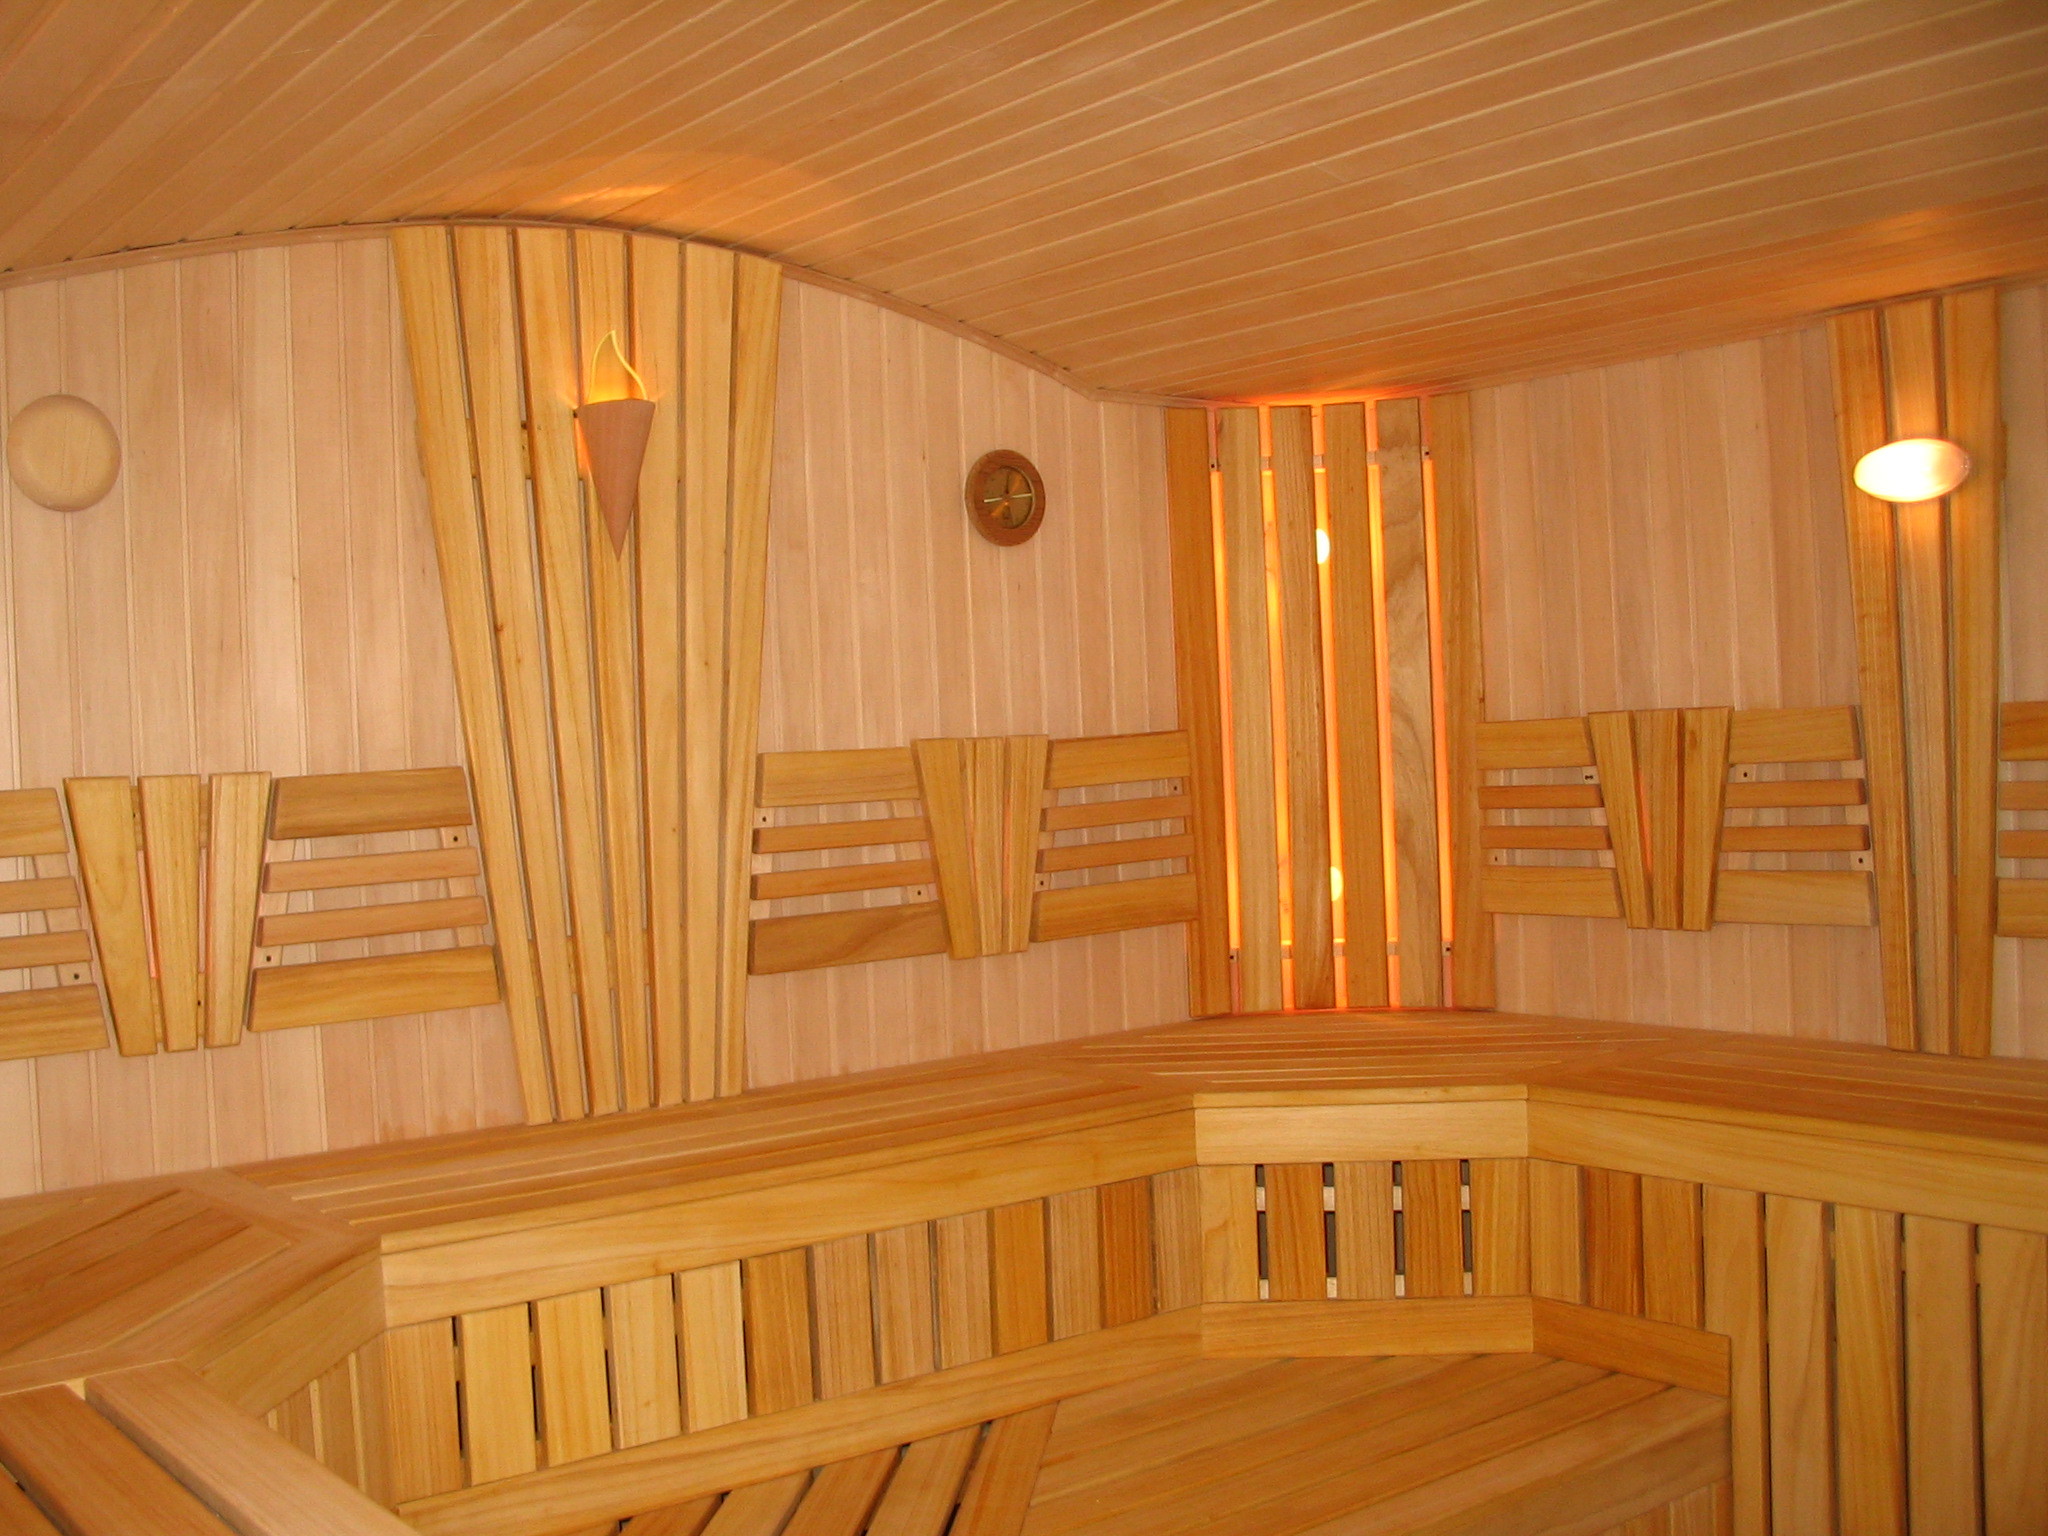
It is also important to choose and install the lighting in the sauna - it should be dull and not cut the eye. Lighting devices need to choose heat-resistant, moisture-proof and safe. LED or fiber optic lamps are great. Protection class must be at least IP-54. Lamps in the steam room is better to install under the benches, as the devices will work more stable below, where the air temperature is lower. Lamps on the walls can be decorated with a decorative grille.
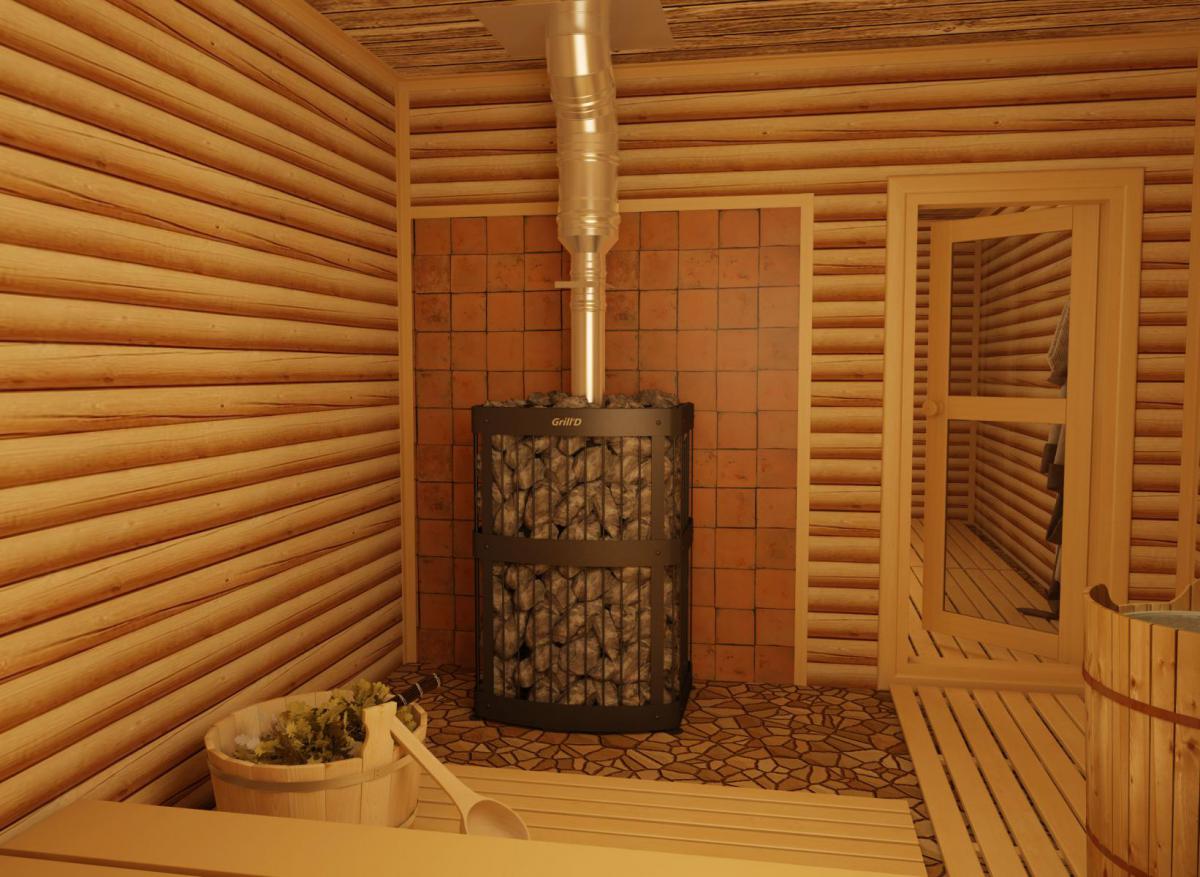
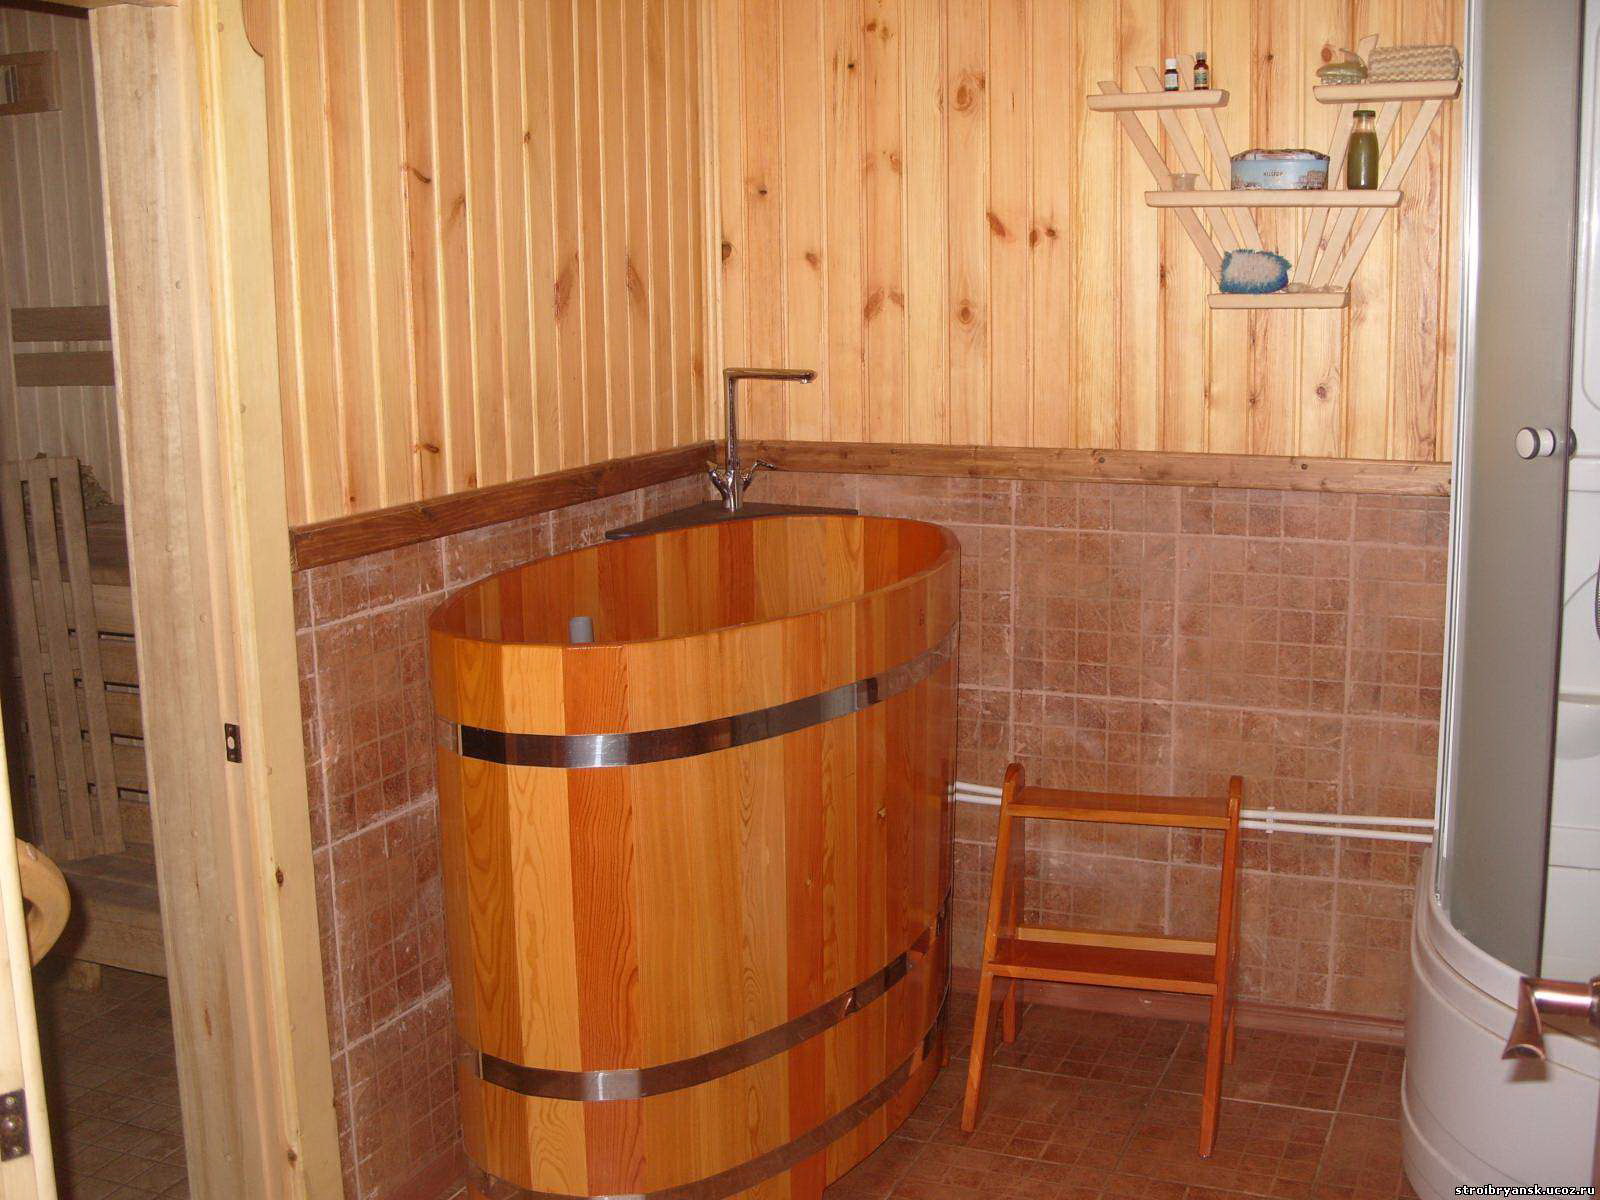
To avoid frequent replacement of the bottom of the wall paneling in the washroom due to moisture, you can combine tile laying and wood paneling. Ceramic tile is laid on the floor and the lower half of the walls, and the ceiling and the upper part of the wall are sheathed with wooden clapboard. The process of laying tiles for baths and saunas is no different from laying in other rooms, you only need to more carefully choose the glue and grout.They must be water-repellent, well tolerate the effects of aggressive environment and not be destroyed by a large temperature difference.
To learn how to make the interior trim bath clapboard, see the following video.


