How to make the shelves in the closet with their own hands?
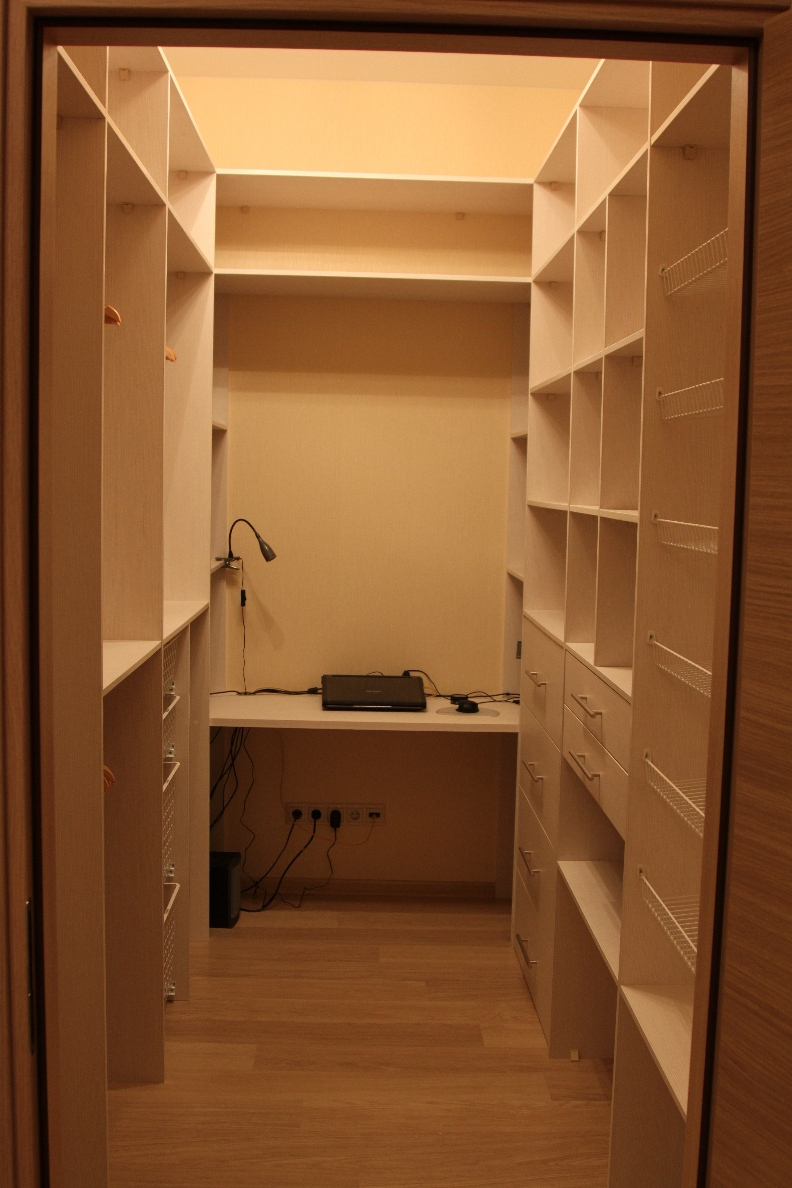
A storage room is a dream of many people, and if the owners of private houses can afford the luxury of a separate room for storing and organizing various things, living in apartments has to be content with only a small room at best. This happens if during the planning of the apartment is equipped with a separate, very small place, fully equipped with wooden shelves. Sometimes there is no such room at all, but during repairs it can be done independently, thus fulfilling your cherished dream.
It happens that the pantry room is provided, but it is not equipped inside. In such cases, there are two options: the first involves calling the master and making shelves to order, and the second - arranging the room with your own hands.In this article we will consider in detail the algorithm of actions for the independent creation of a rack for the pantry.
Design
There are only a few options for creating a shelving in the pantry, there are only two of them: make a separate closet or attach shelves directly to the wall. After choosing one of the two options listed above, first of all it is necessary to make measurements of the room and reproduce the detailed design of the future storage room on paper. It is necessary to take into account some of the nuances to use the shelves was convenient. For example, it is important to arrange the shelves in such a way that it is convenient for you to be inside, taking the necessary thing.
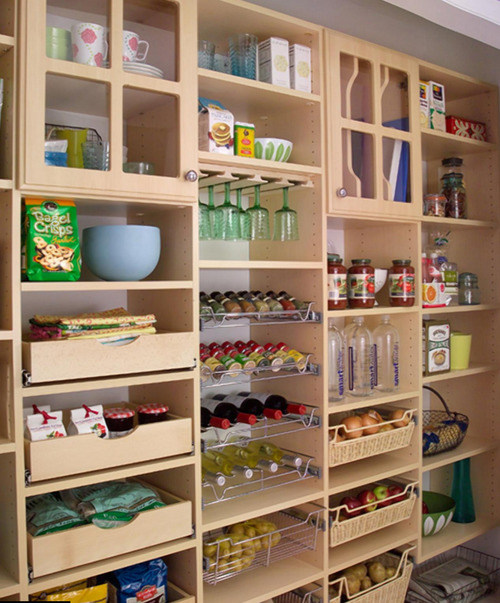
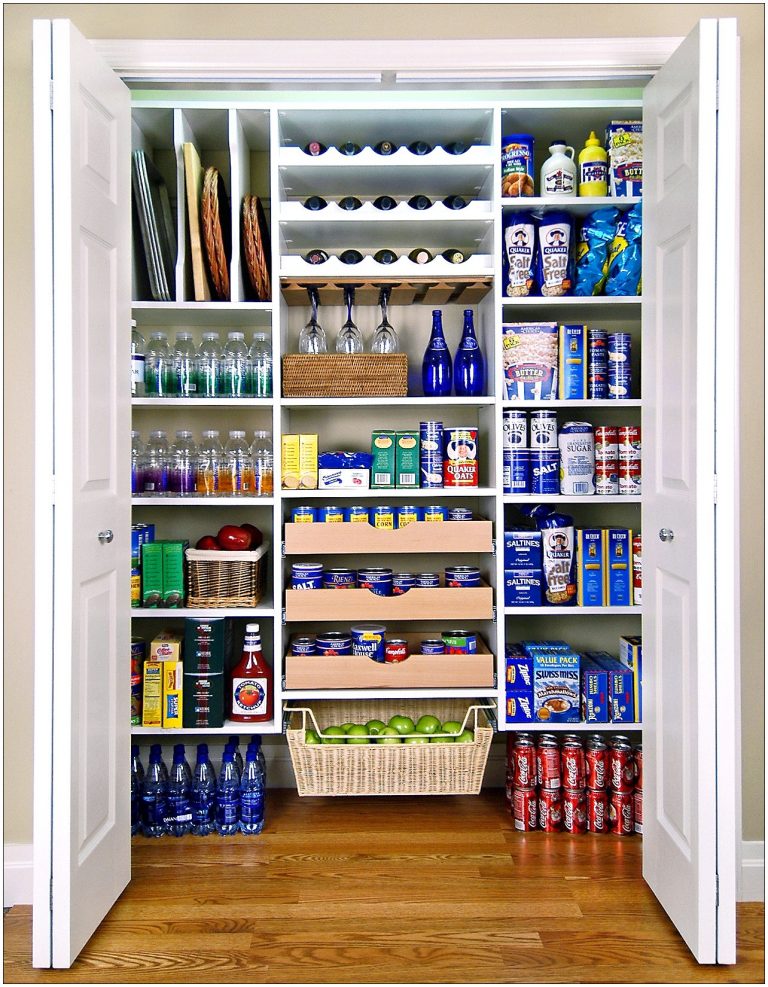
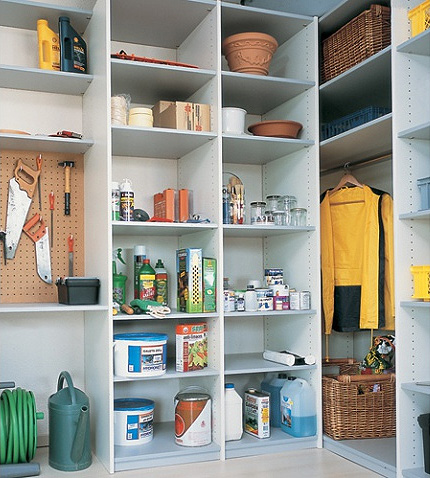
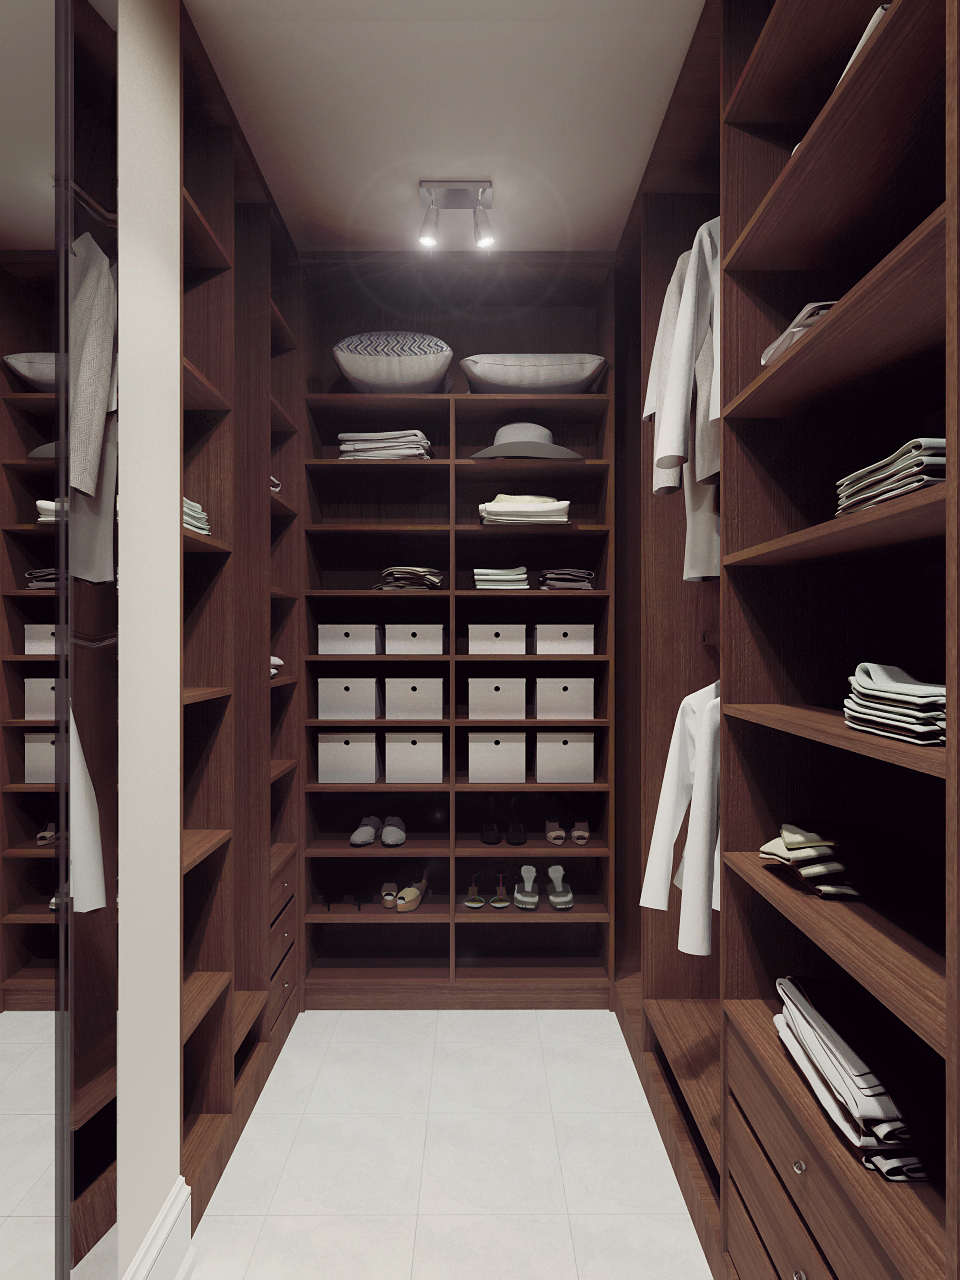
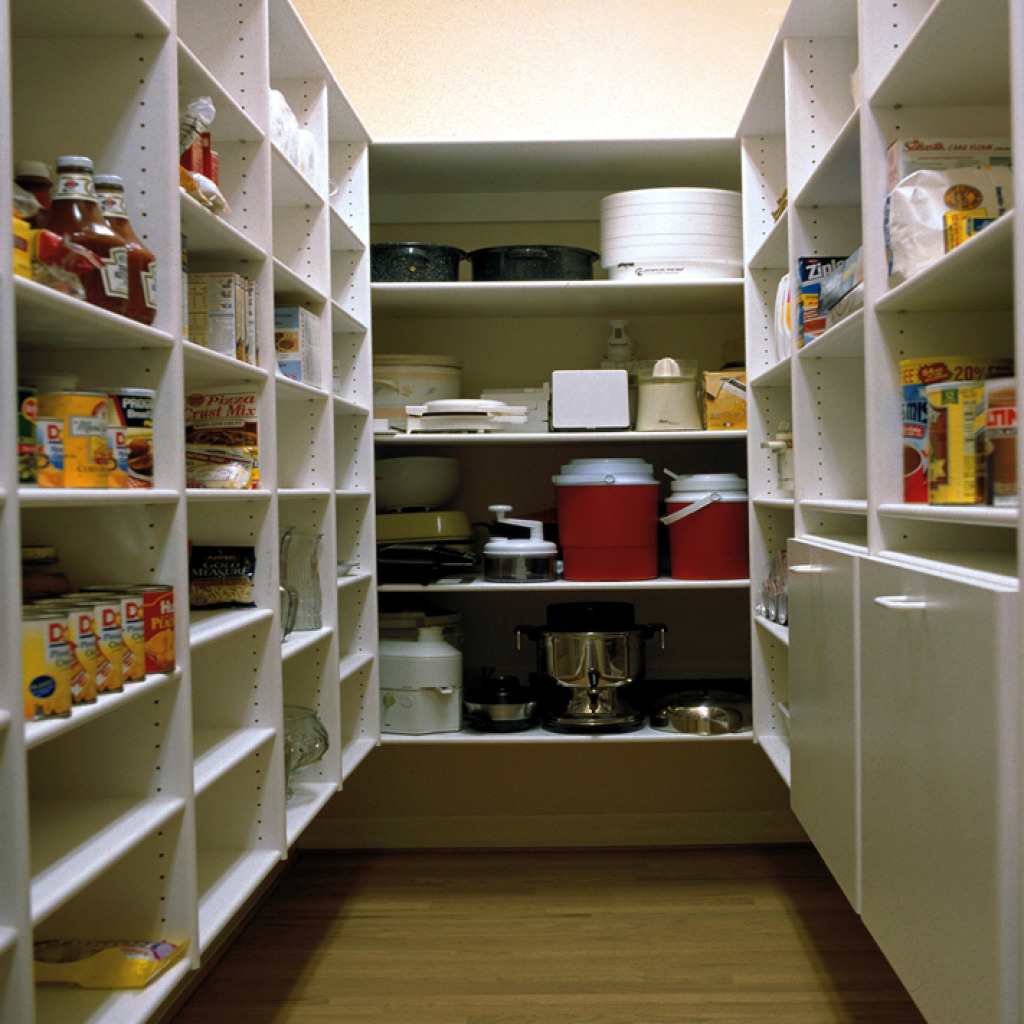
Be sure to consider the correct location of the shelves: from wide to narrow. Naturally, the wide should be at the bottom to keep there the most heavy and large objects that are difficult to fold up and remove from there. You also need to think about the distance between the racks themselves. Pre-review the things that you put there and determine the places to put everything at the right distance.

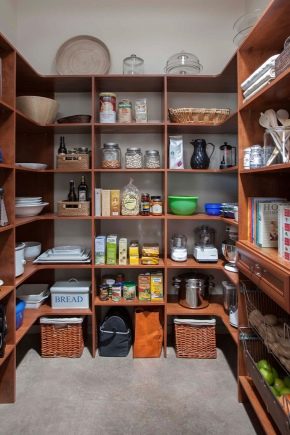
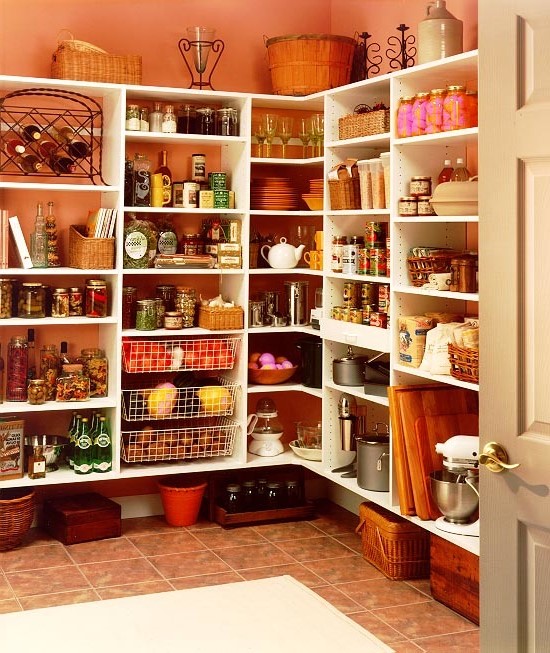
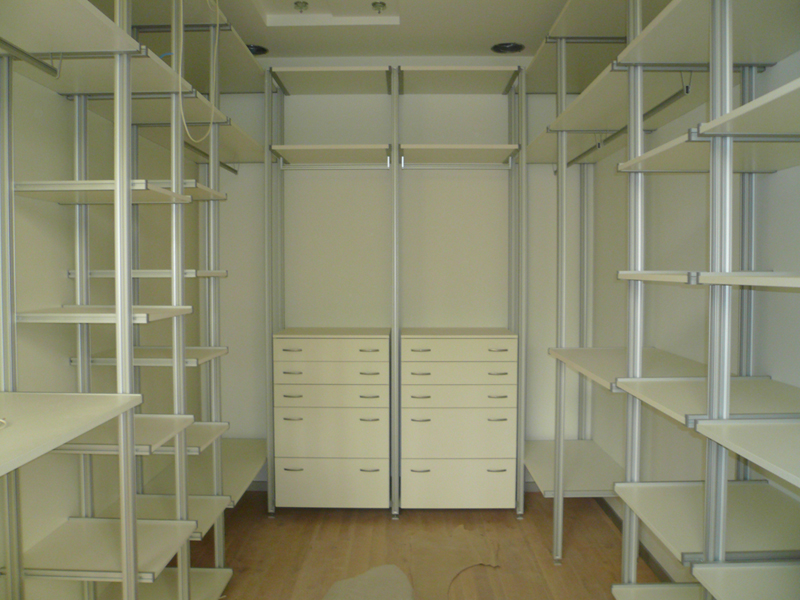
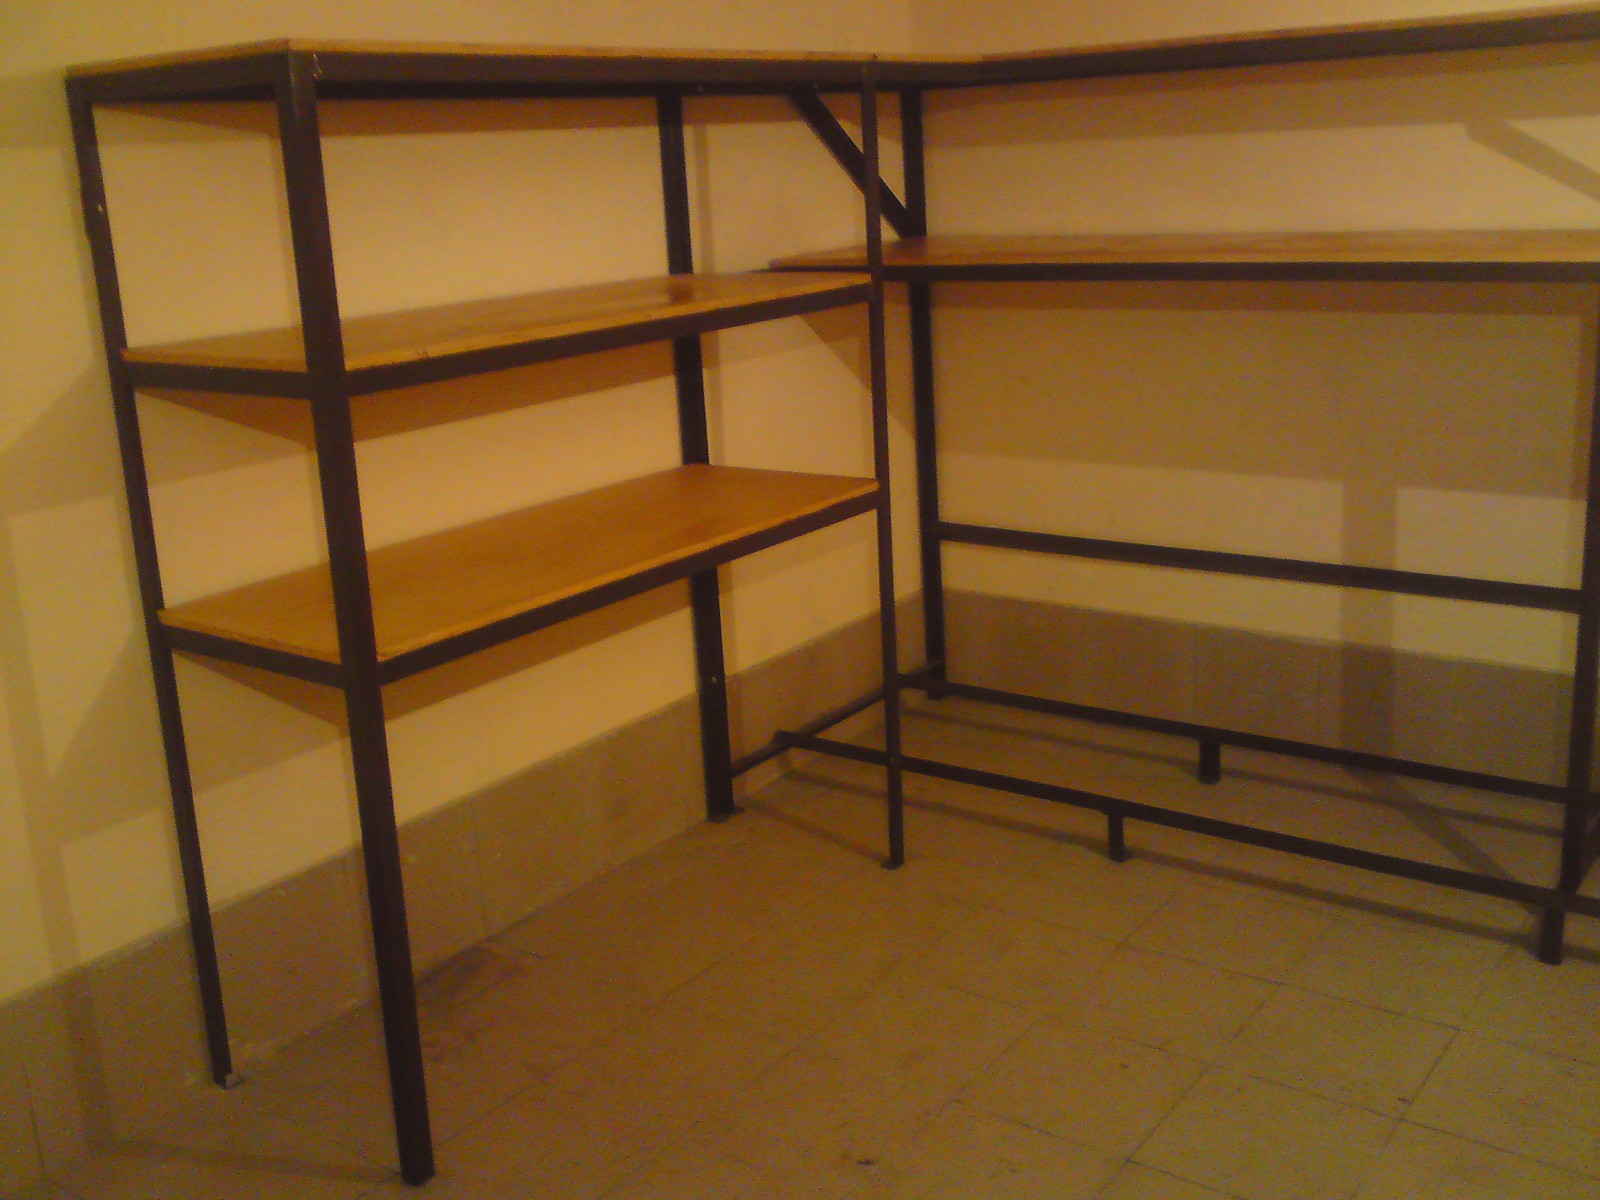
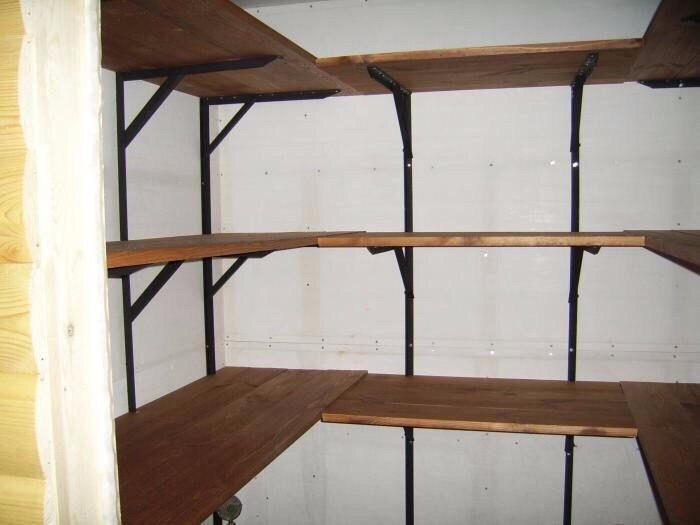
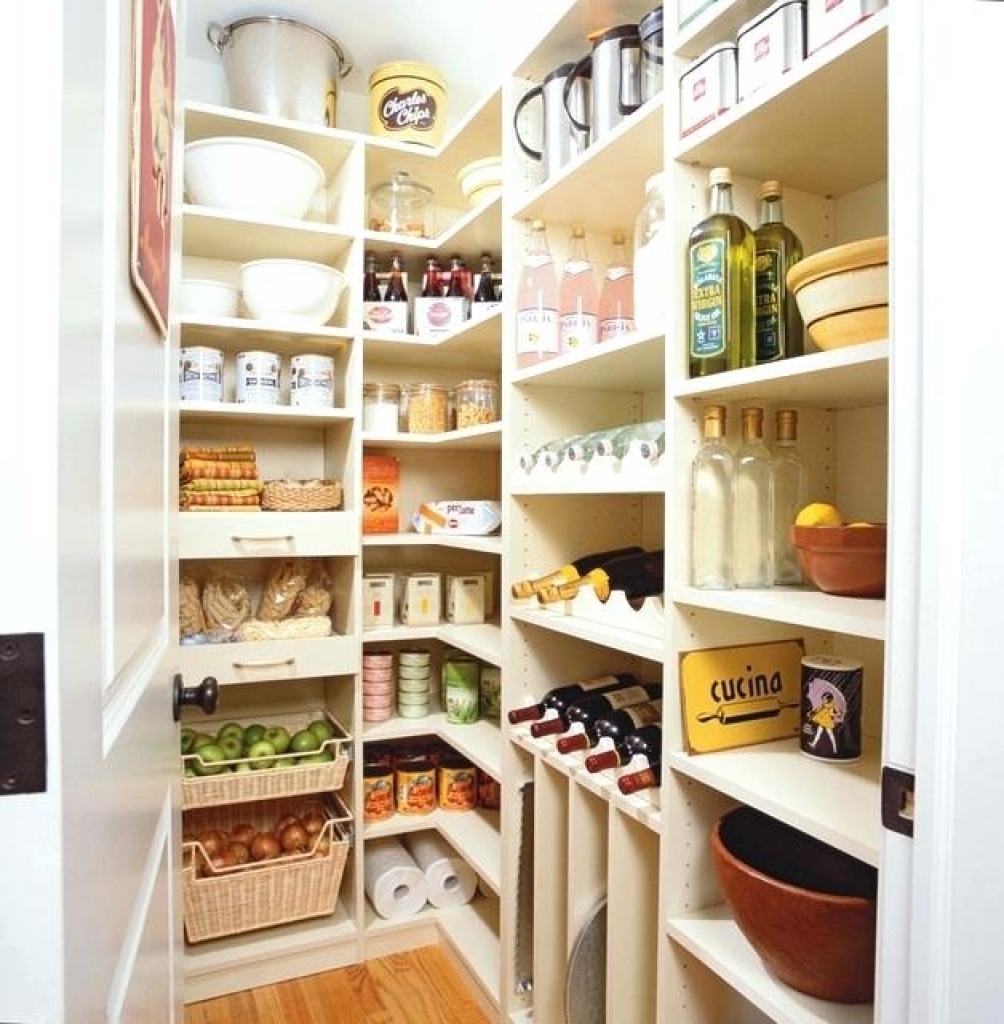
Further, it is necessary to determine the location of the racks, as a rule, it is built up either U-shaped or L-shaped form of the structure. These options are the most practical and convenient.Metal brackets are optimal for fastening, they are the most durable and can withstand the maximum load.
Materials
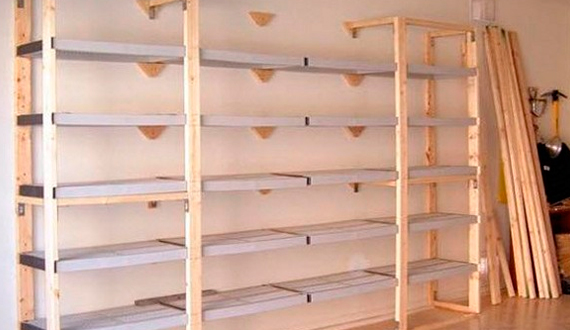
After all the above steps are completed, you need to proceed to the selection of materials. There is one economical option, thanks to which you can save a good amount. If you have an old chest of drawers, bedside tables or a small shelving at home, you can disassemble them and make good parts from them and at the same time free shelves.
The second option involves the purchase of boards from wood or other material., having previously determined their width, thickness and quantity. Indeed, depending on the severity of the stored items, the shelves should be wider or narrower.

Some use ready-made sheets of plywood, but this option is applicable only if you are not going to put heavy objects on this shelf. At best, with a strong load, it can crack and gradually bend, at worst, it will break sharply and bring everything that holds it down. Therefore, for the pantry, it is still recommended to use more dense materials to be sure of their strength and quality.
In principle, the material can be not only wooden, it is possible to use metal structures, if they are strong enough to hold the intended load. You should also think about fasteners that will hold the board, and other consumables.
Instruments
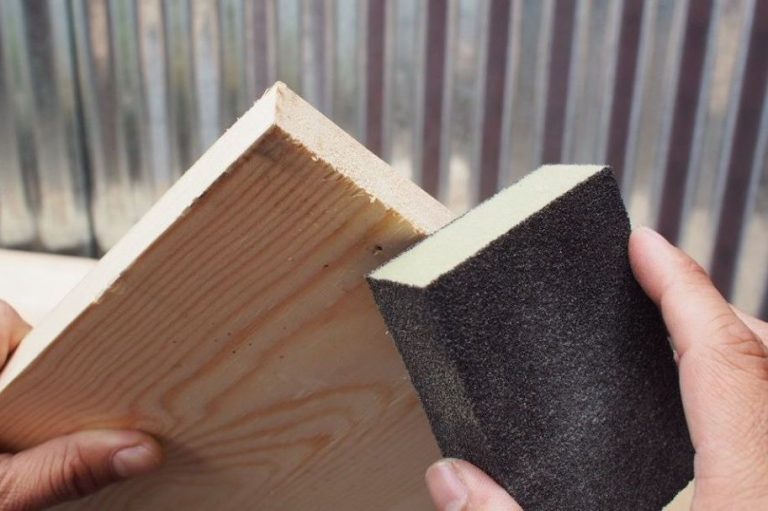
Consider the necessary tools to work. In principle, if you have available ready-made and suitable boards, you will need not too many of them. If the material is not ready and it needs to be customized in size and shape, then you will need a jigsaw and a plane to perform the necessary actions. In this case, the presence of an emery paper for processing edges of the saw cut and the whole shelf as a whole is necessary in order to give it a complete look.
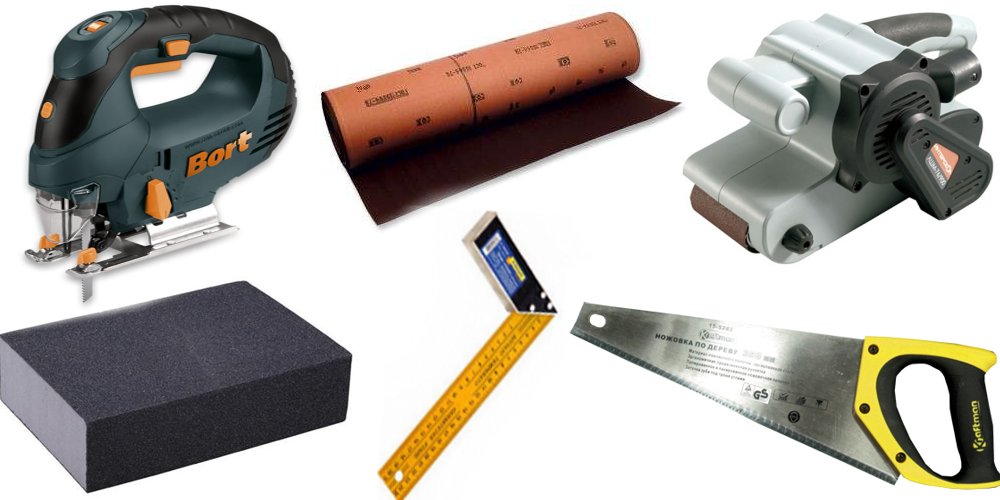
When the shelves are ready, only a punch tool is needed.to make holes in the walls and fix brackets, as well as a screwdriver, if necessary, to merge parts together. It is imperative to use during the work of the roulette for measurement accuracy, construction level, so that the shelves are even and a simple pencil or chalk for wall markings.

Location selection
The first stage of the start of work is the selection of a place for shelves. You can not attach them to the wall just as you wish, it is very important to take into account certain factors, so that upon completion you are happy with the result, and your storeroom will serve you for many years. The wall intended for fastening must necessarily be bearing, since ordinary partitions can not withstand high loads, and all the shelves simply fly down.


Mounting location must be prepared in advance: it should be sanded, leveled and, if necessary and desired, plastered. This is necessary so that the shelves stand up smoothly and there are no problems with their installation.
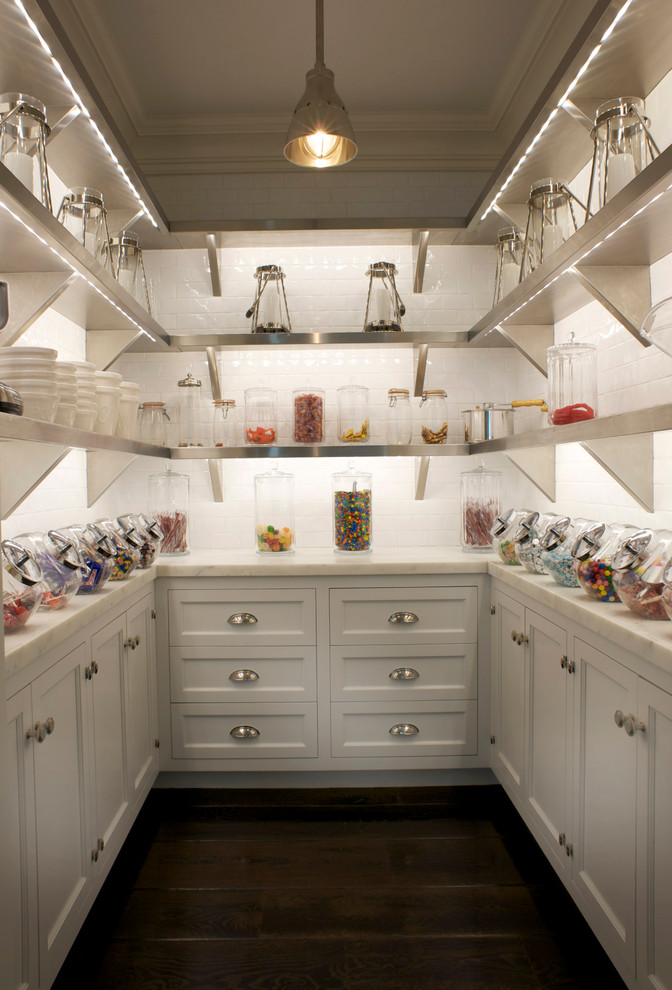
And of course, it is important to think about the proper lighting of the storage room for your convenience. This must be done before installing the shelves.
Installation process
After all the measurements, the preparation of the necessary materials and tools, as well as the implementation of all the above actions to select the site and its preparation, you can take up the job.
The first steps to translate your little dream into a storeroom room into life:
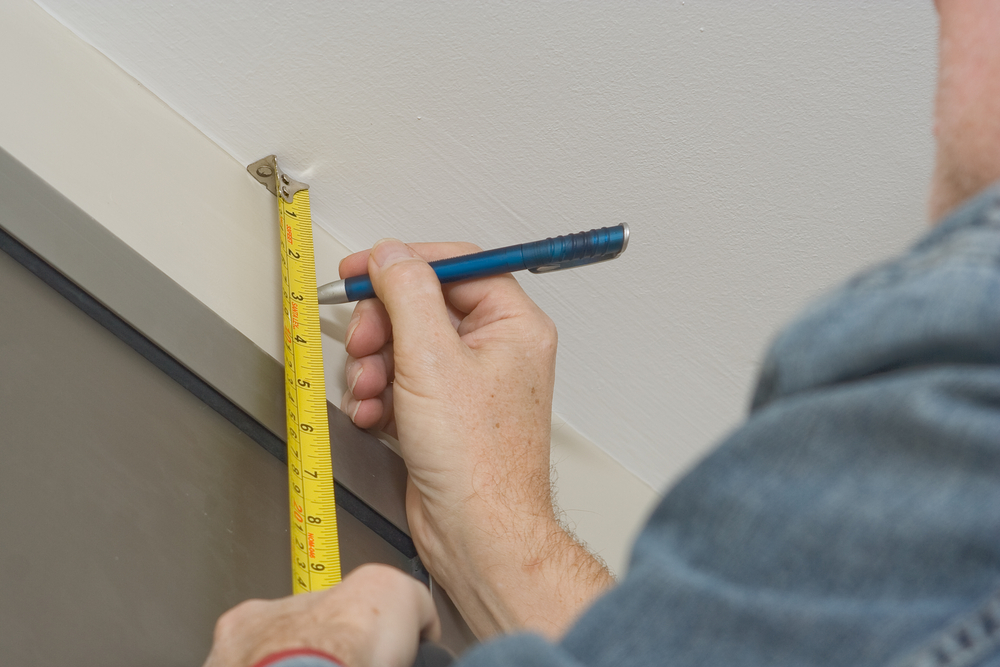
- First of all, markup should be applied to the walls with the help of a tape measure and a building level. This will help you ease the task during attachment and ensure the evenness of the shelves.
- Next, you need to make holes in the wall using a perforator, and then fix the dowel-nails in these places the base for the brackets. The distance between them depends on the height of the future shelves.
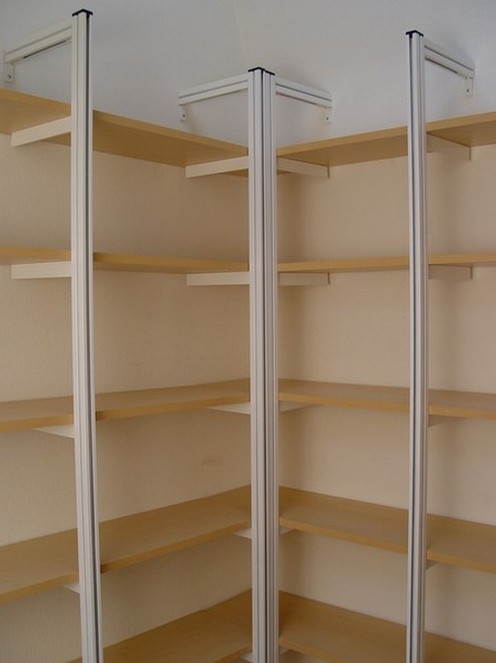
- After performing these actions, the future storeroom frame itself is assembled and brackets are installed.

- The next stage applies only to those who do not have ready-made boards and need to cut them themselves. After checking the correctness of the dimensions (just in case), you need to cut the necessary shelves with a saw or jigsaw and then carefully treat their edges with an emery paper to make the surface look attractive.
- When the main work is done, all that remains is to put the shelves into place and fix them with a screwdriver and fixings.
- The final step will be cleaning and cleaning the room from unnecessary sawdust, unnecessary parts and other things that you needed in your work.
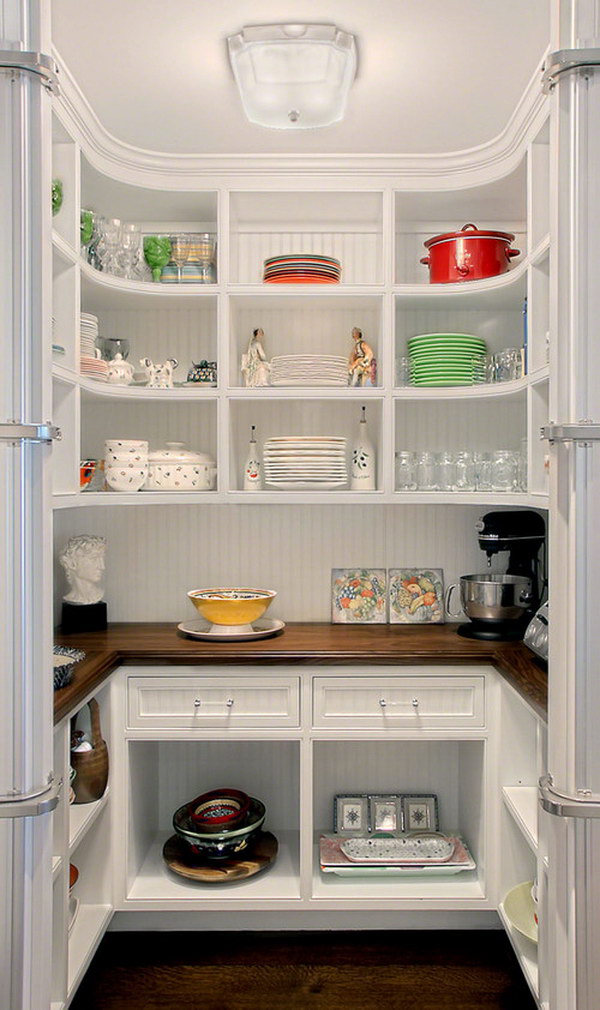
Your storage room for the organization and storage of unnecessary items in everyday life is ready.You can bring things there and enjoy the vacant space in the apartment.
How to make a rack in the pantry, you can see in the next video.


