Subtleties installation ground cellar
The owners of country houses and cottages know firsthand how useful a home cellar can be in life. Indeed, such rooms are extremely roomy, which, moreover, is combined with an optimal microclimate. They are designed to store various products for a long time. It is noteworthy that you can build it yourself, you only need to know the subtleties of mounting the ground cellar, which will be discussed in this article.
Special features
The main feature of the cellars is the above-mentioned need for its location relative to ground level. Unlike its counterparts (for example, the underground cellar), the cellar is located exclusively on the surface.
Types of cellars:
- separate - the building is not included in the integration with other buildings and is an autonomous object;
- wall mounts - in this case, the repository is like a part of an already existing structure, for example, a shed, bathhouse or house.

Benefits:
- complete isolation from the system of electricity and, consequently, saving money;
- large size, capacity, spaciousness;
- ease of use;
- complete absence of flooding;
- perfectly performs all its functions regardless of the time of year outside the window.

Disadvantages:
- the loss of a part of the land plot for the installation of a structure;
- there is an intervention in the structure of the landscape of the site, it can be minimized if you use the option of a wall cellar;
- waste of time and material resources for hydraulic works.


above-ground riding cellar can be erected, for example, from foam blocks or red brick. There are different types of cellars. Let us consider the ways of mounting each of them in more detail: how to do it step by step, explain the structure of the device and present the project.
Device
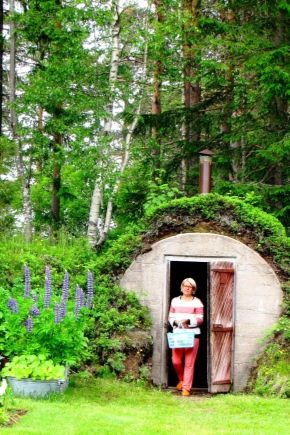
The device of the ground cellar is simple.It is a spacious storage room for canned foods and vegetables. It can be decorated to your taste with thematic elements of decor. The main elements are numerous shelves or mini-storage for certain products. It looks like an unremarkable room, although it has its own individuality in the spirit of the old time. There are, of course, small differences in the device, depending on the type of ground cellar (there are several), which will be discussed later.
The surface version is quite popular.
Materials
The ground cellar is a fairly simple structure, at the same time distinguished by its reliability. For its construction using various materials. Among them are:
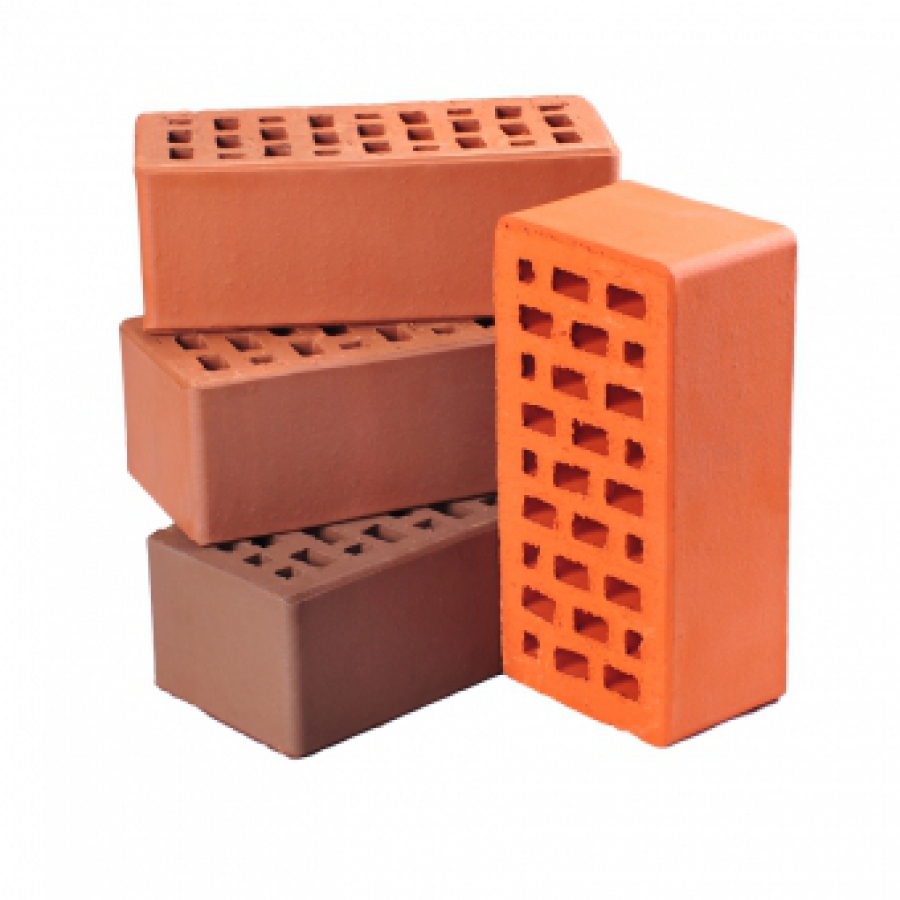
- brick: red and white;
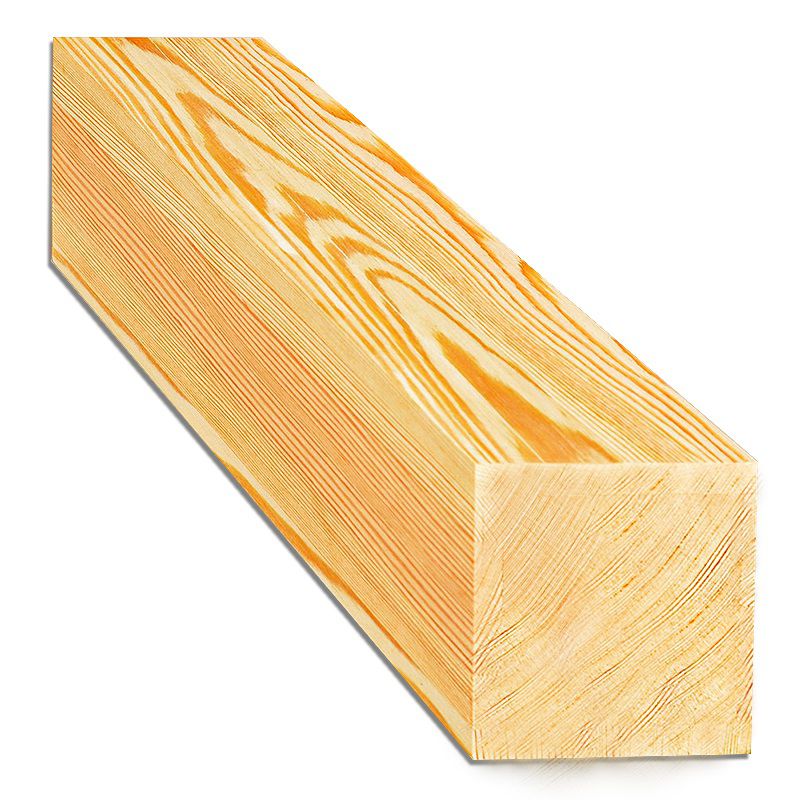
- tree;
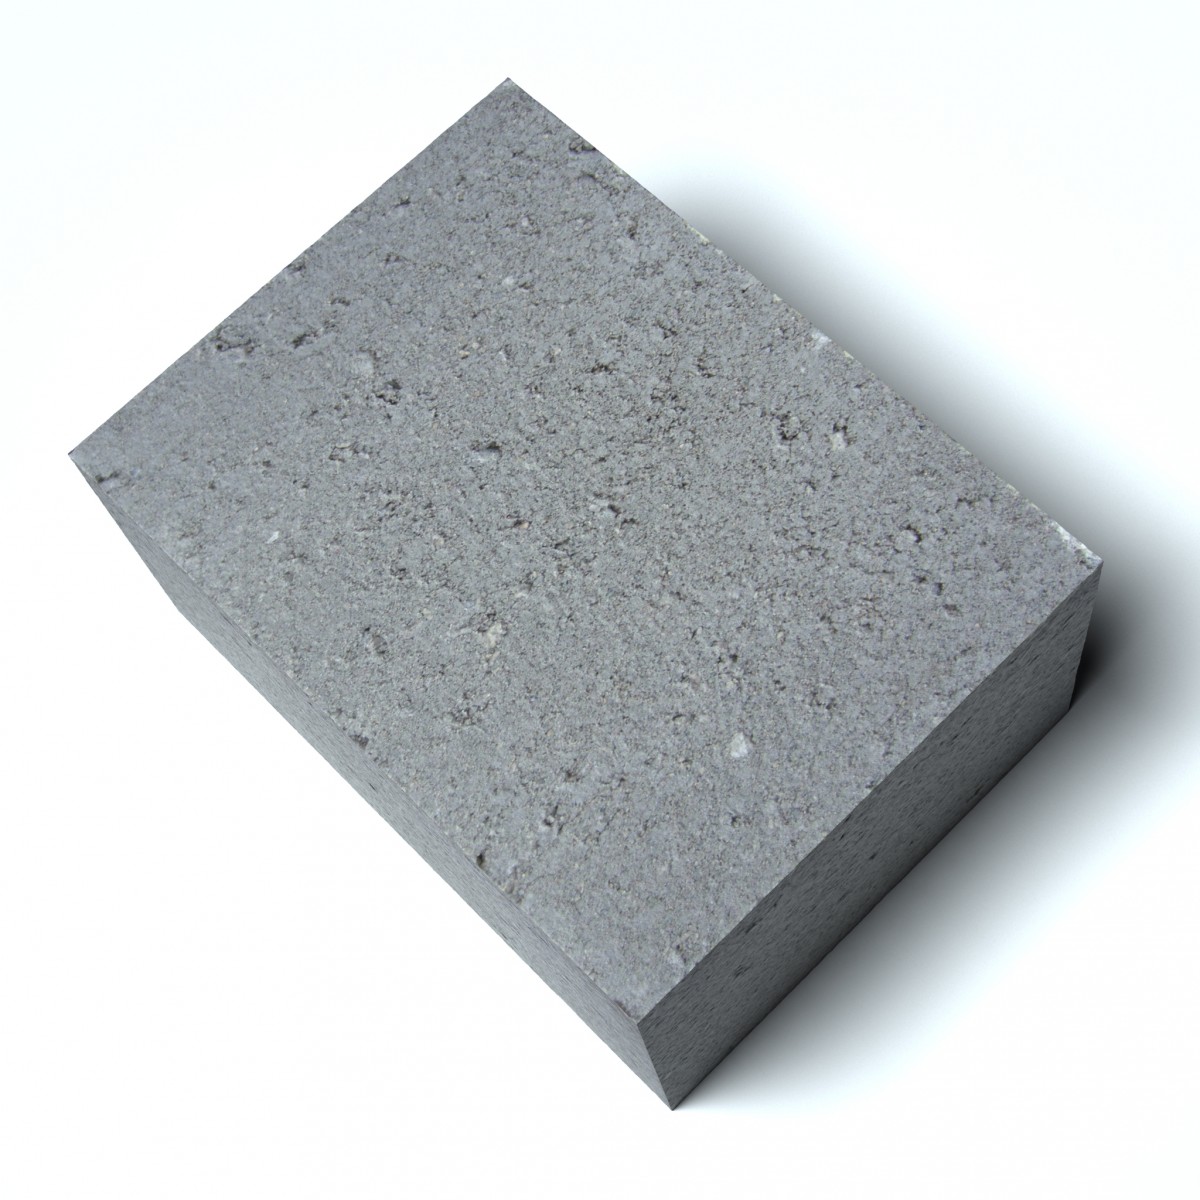
- concrete (to create a pillow);
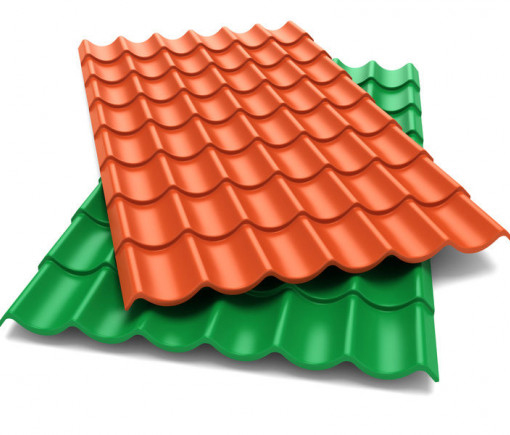
- roof of various components (for the construction of the roof);
- clay (for protection against rodents);
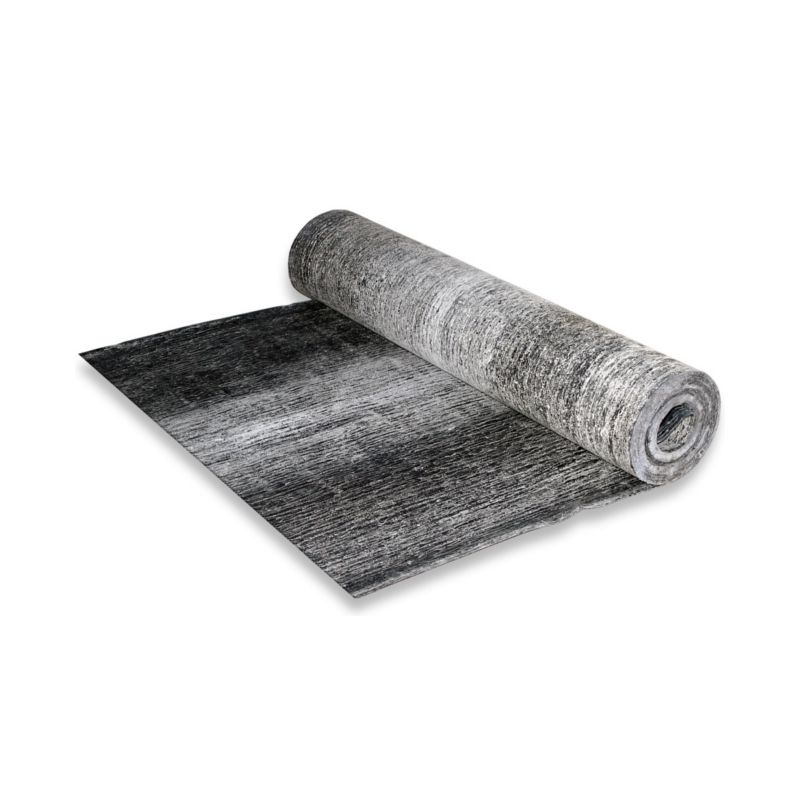
- roofing material (to ensure waterproofing);
- sand, gravel, expanded clay.
This is not a complete list of components that ultimately form a full-fledged ground cellar. The amount and type of materials depends on the individual project, its size and so on.

Project
The creation of the initial project is the most important stage in any business. All subsequent works will be based on it. He sets their main vector. You can make it yourself, or you can contact the experts.
The primary task will be the choice of location construction. This question cannot be approached irresponsibly. As is known, it is the place of construction that will affect its strength and durability and, most importantly, the freshness and safety of stored products.
First of all, you need to know that the building is being erected on a dry elevated place. It is important that the groundwater is not less than fifty centimeters down from the bottom of the cellar. If you can not pick up a dry place on a hill, you need to create a pallet of a mixture of gravel and sand.
Then designate the dimensions of the perimeter and future premises, its internal layout.

How to do it yourself?
There are various types of ground cellars. You can build them yourself. Consider each of the varieties separately.
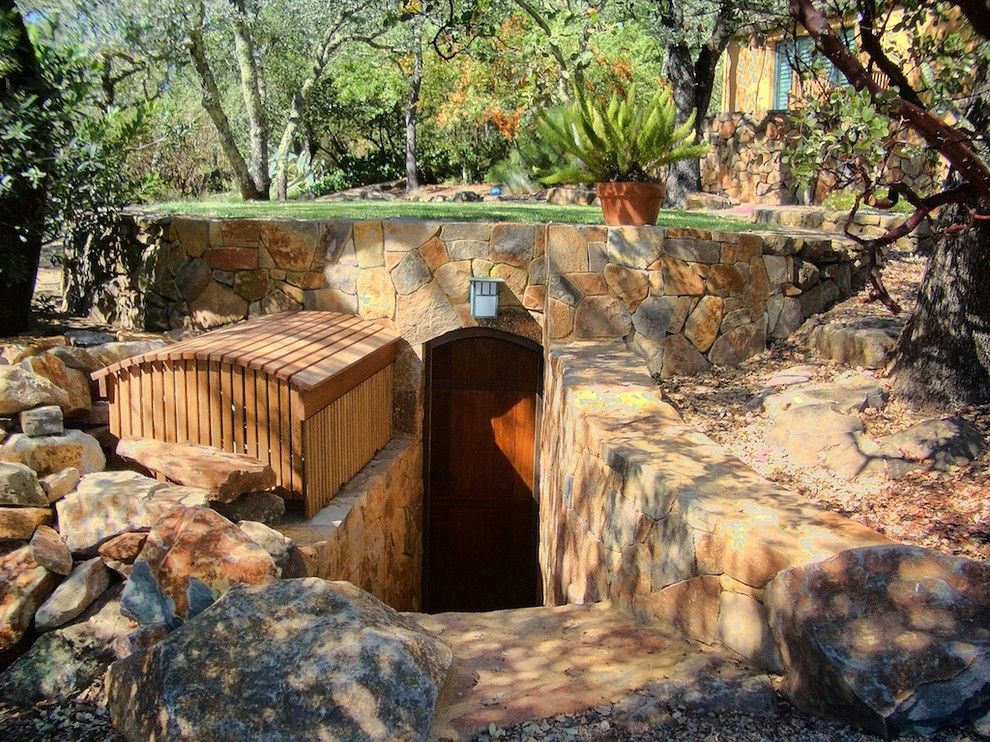
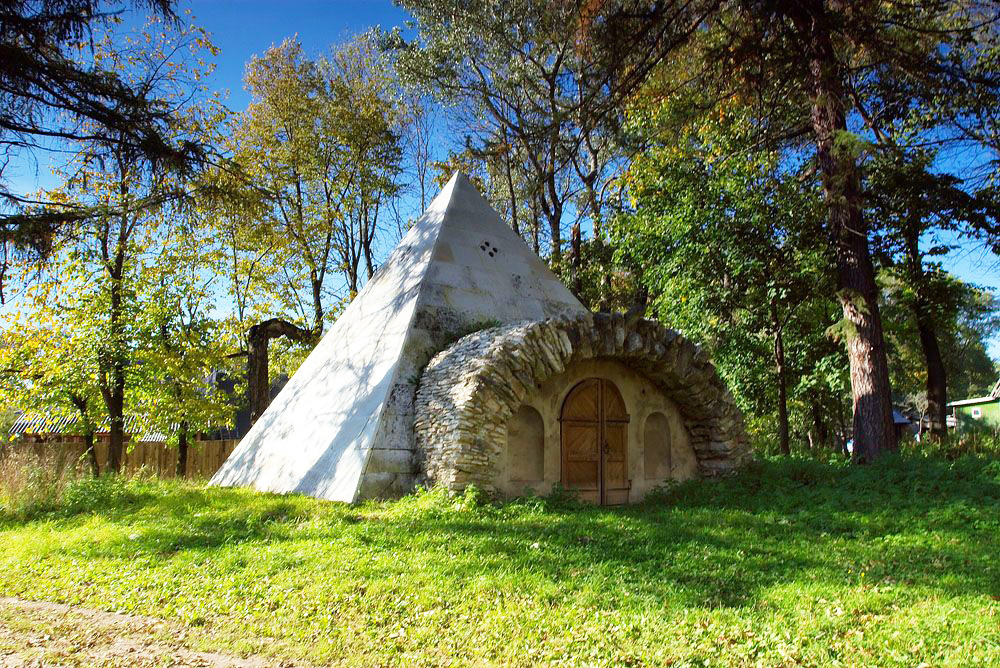
With embankment
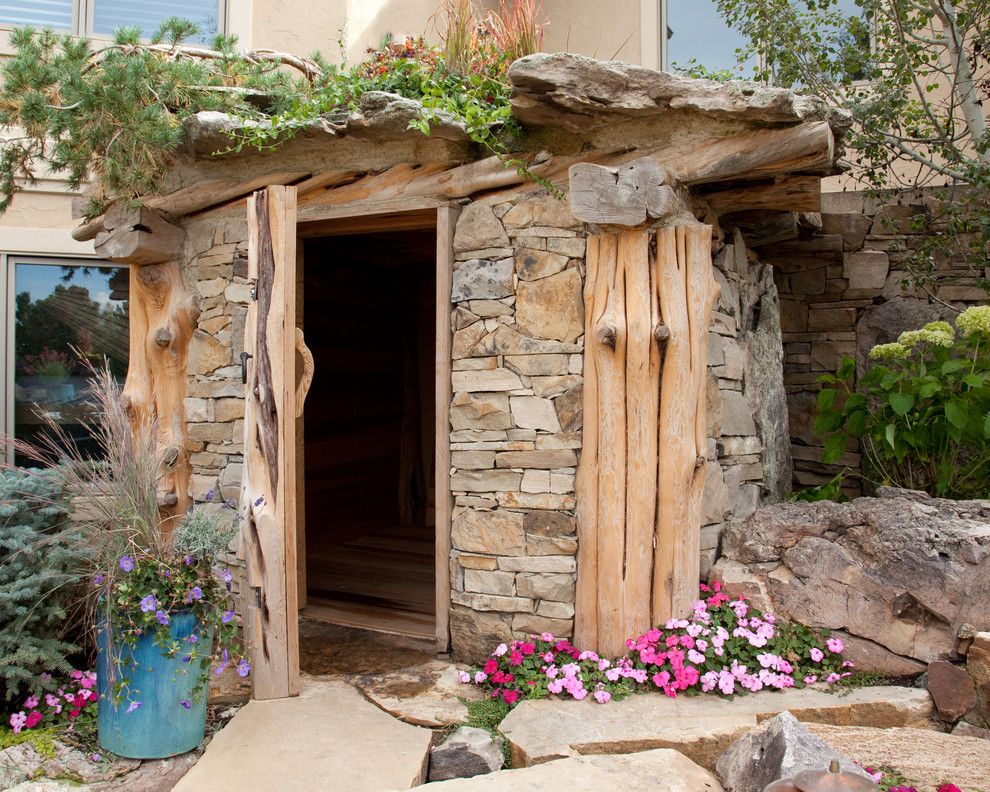
This is perhaps the simplest type of construction of all existing. Outwardly, he resembles a hut.For the construction used boards and logs of wood.
It is worth noting that spending on new materials is not necessary. Suitable and used materials. This will save money.

You can use the installation tips provided by the professionals.
- For the construction most often take skinned logs. Pay close attention to the size: the diameter should not exceed twenty-five centimeters. After that, it is necessary to apply a bitumen coating or to carry out roasting about fifty centimeters high. This is done in order to ensure maximum durability.
- Next you need to dig a log into the ground. This is done around the perimeter of the future cellar. It is important to place them on the surface with the treated side.
- Then the upper sides are fastened together with large poles. All this together forms an integral structure.
- After that, the top coating of the boards and the crate of slab are created. If there are cracks, you need to caulk them. The most suitable for this procedure is moss.
- It must be remembered and protection from moisture from inside the building. Here you need to resort to the help of plastering with bitumen mastic. The mixture should be preheated.
- Next put ruberoid. It provides high-quality waterproofing construction.
- The walls from the butt need to sew up the boards and also impose a ruberoid.
- To keep warm indoors, it is necessary to fill it with peat soil.
- Grass or plants are sown on the top layer of the earth, for example, turf.
- It is important to create a small groove near the structure, which, if necessary, will protect it from the water approach.
- Entrance doors most often install double. On the north side, doors with insulation materials should be used and a shed should be installed.
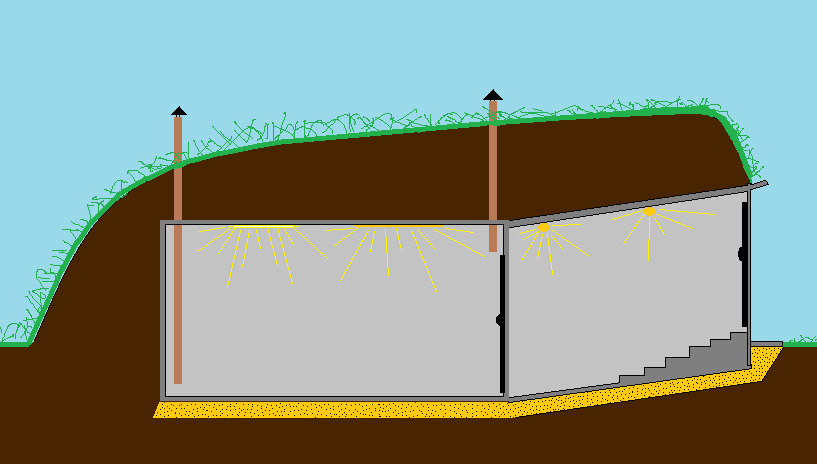
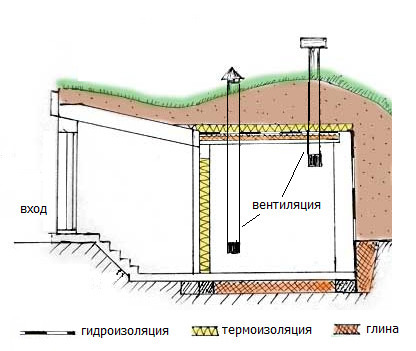
- An important element of the construction is to provide room ventilation. As the hood is most often used a box of wood. On it there are a special valve and two pipes: exhaust and flow.
- If after construction there is a feeling that the hill, which is the basis for it, is superfluous and does not fit into the overall design concept, you can turn the situation into a plus and use it as an additional design object. For example, plant beautiful flowers on it or install garden figures and so on.
- The most common sizes of such cellars are 4 by 8 meters.In compliance with the rules of operation of the building can last up to ten years.
- If there is no time, effort or desire to carry out systematic cleaning and processing, you can choose the option of a folding design.
Remember that the edges of the roof of the cellar should almost reach the ground and create the shape of a hut. Snow in the cold season will serve as an excellent natural insulation.

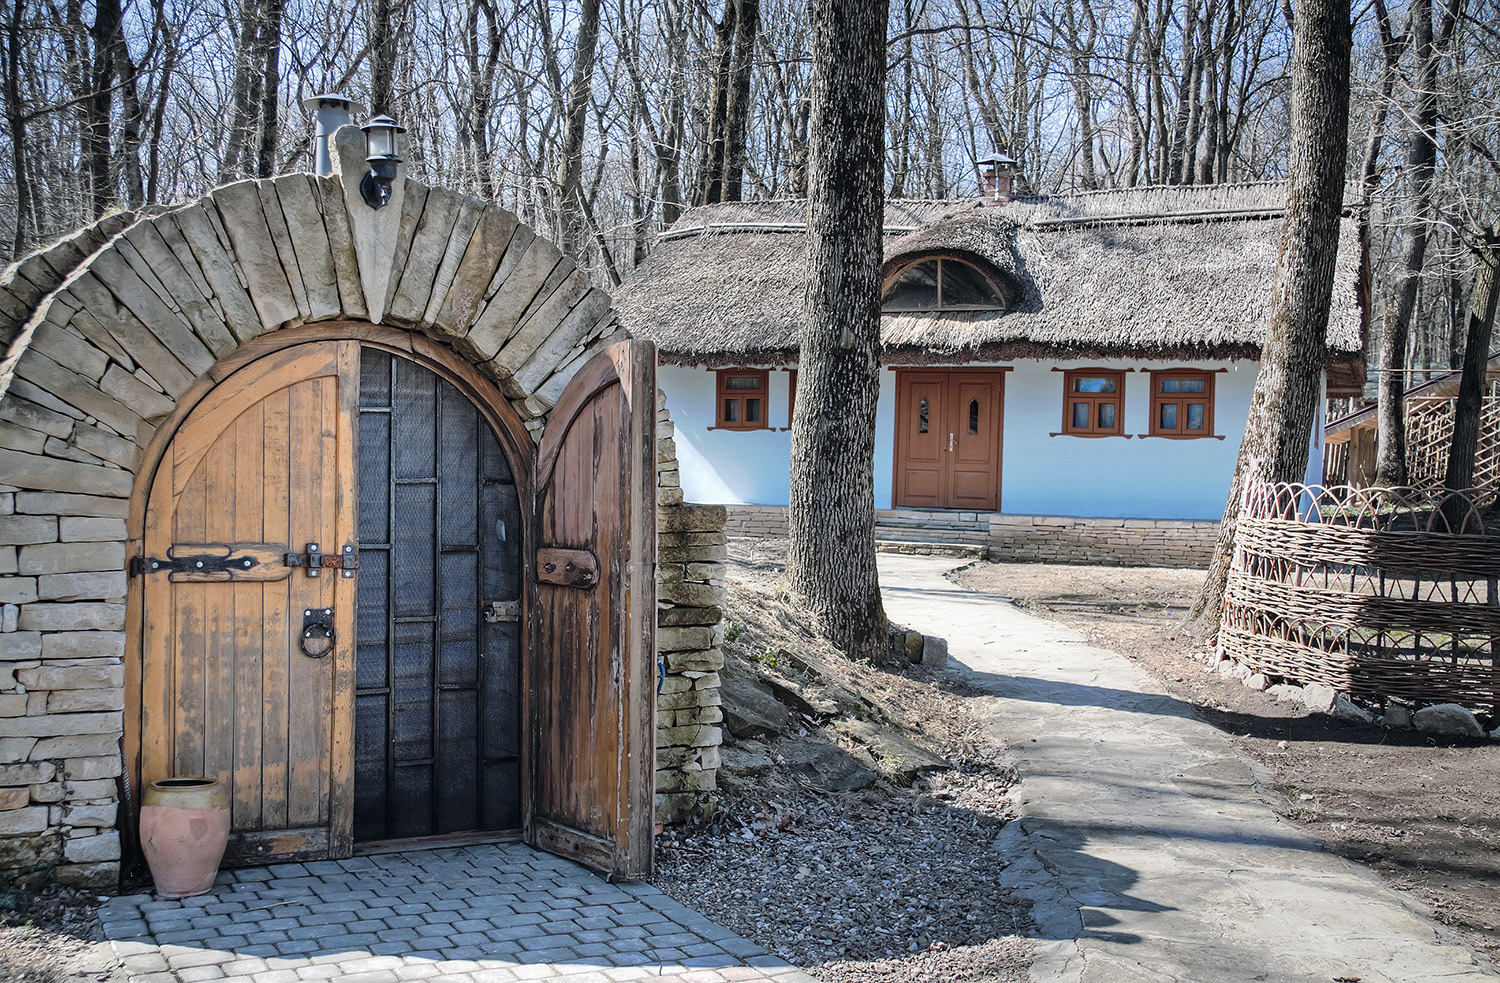
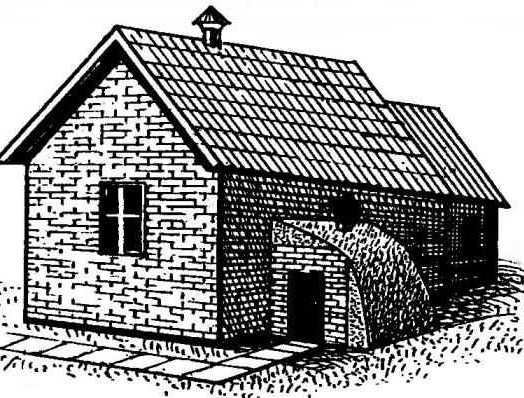
Without embankment
Unlike the previous version, this design is not like a hut, but is an ordinary small house.
Elements of such a building:
- walls;
- ventilation window;
- the roof, which is also covered with roofing felt;
- pillow in the basement;
- floor;
- protection from insects and rodents from clay;
- entrance doors;

This is a rather simple construction, which can also be erected with your own hands if you carefully study all the steps and follow the rules.
- The dimensions of the future cellar and its perimeter are measured.
- I eat turf.
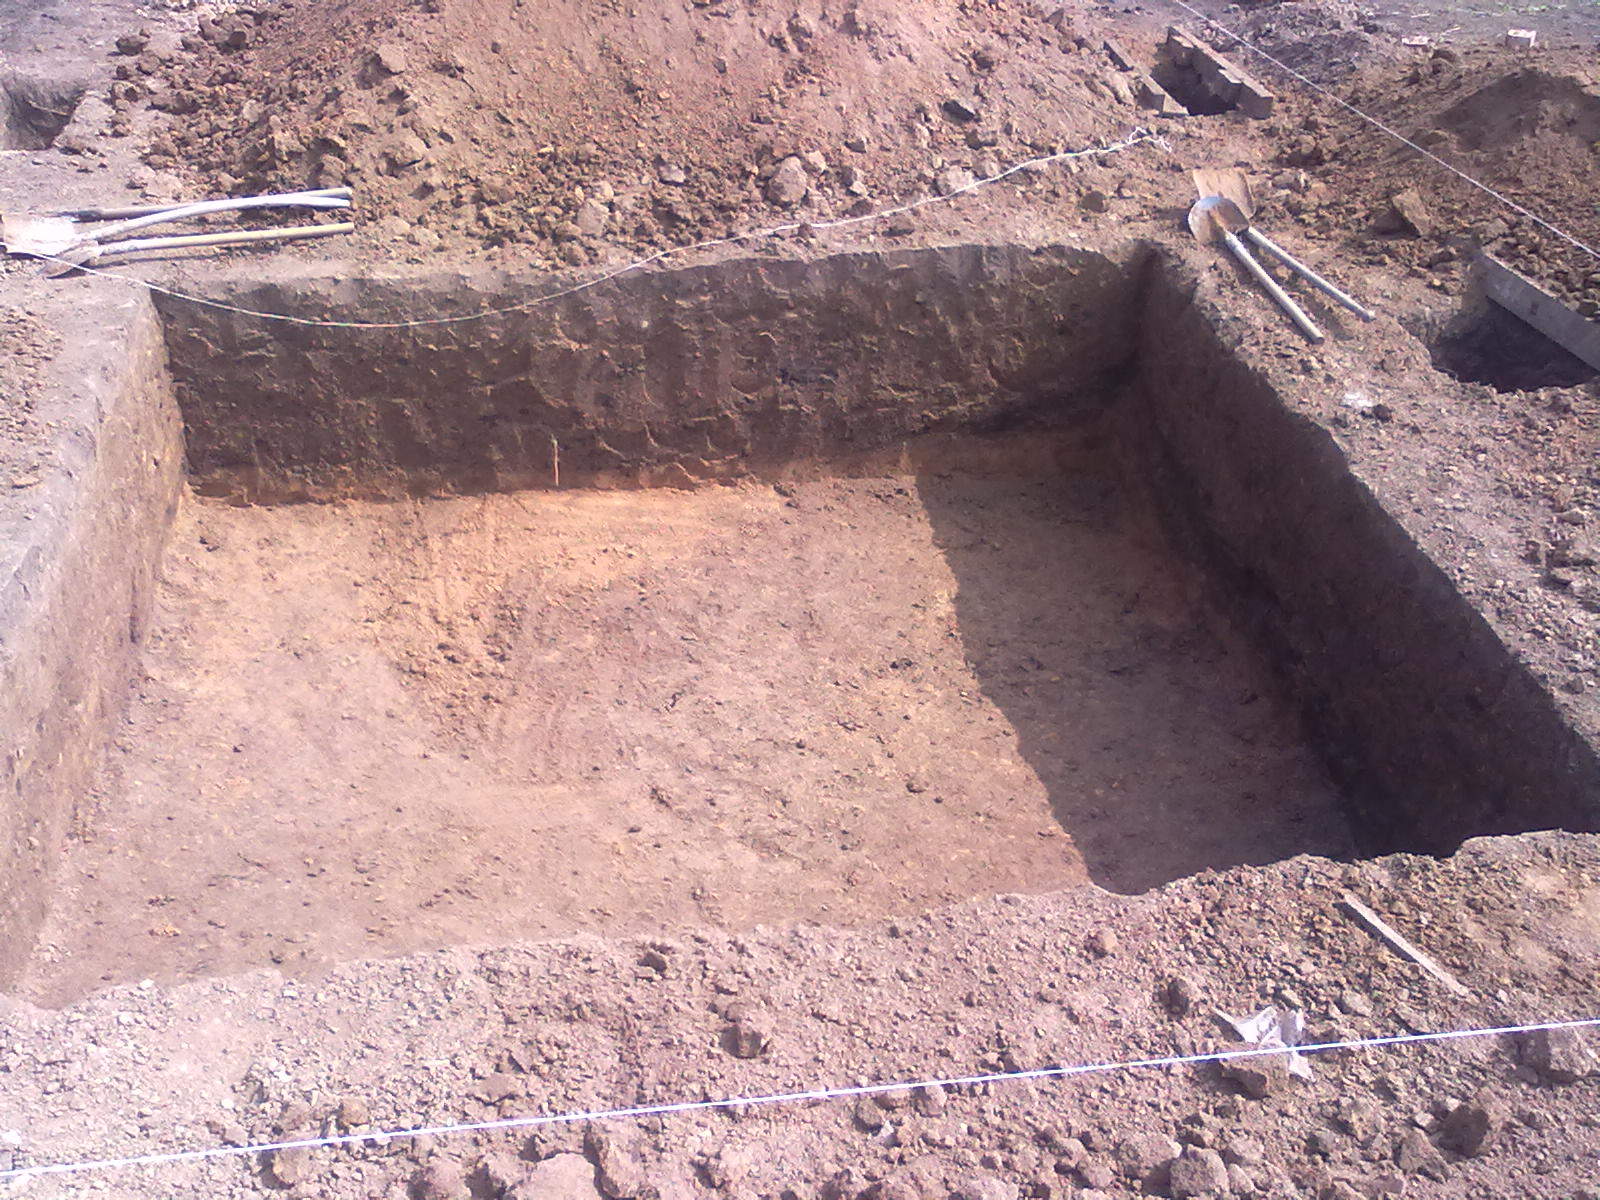
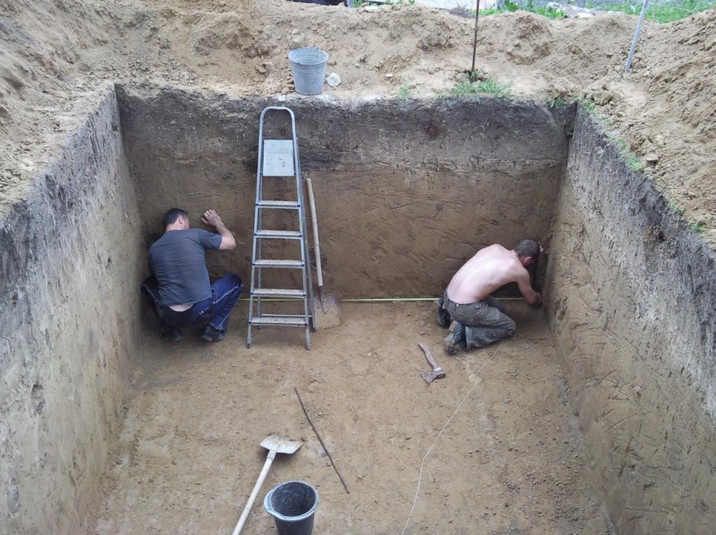
- Preparation of the basics - pits. Its depth should be no more than sixty centimeters.
- The remaining land does not need to clean up. It is useful in the future.
- The created platform is leveled, the “foundation” of the building is created.
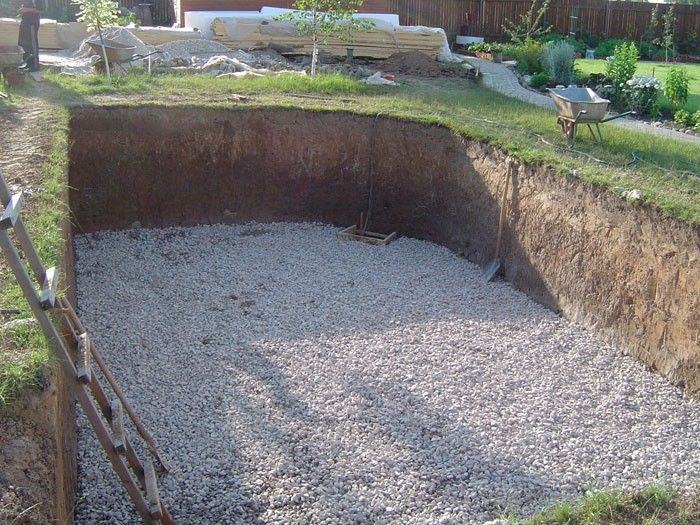
- Monitoring the position of the special pillow, which provides the necessary waterproofing. The following common materials will be suitable: sand (coarse), gravel (fine), and also expanded clay.

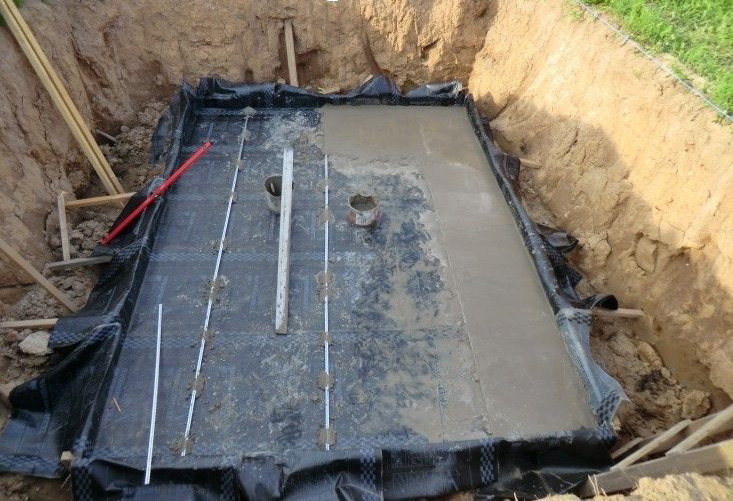
- Provides guaranteed protection against possible attacks of rodents and insects. To do this, throw clay and put it with a layer of no more than twelve centimeters on a pre-installed pillow, then the area is covered with bricks.
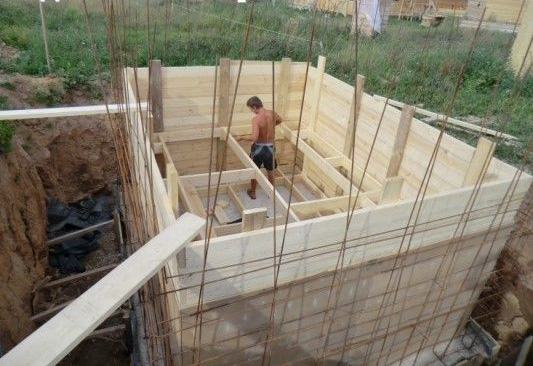
- Walls are built on the sides of bricks. They are connected by a lime mixture with the addition of clay and sand.
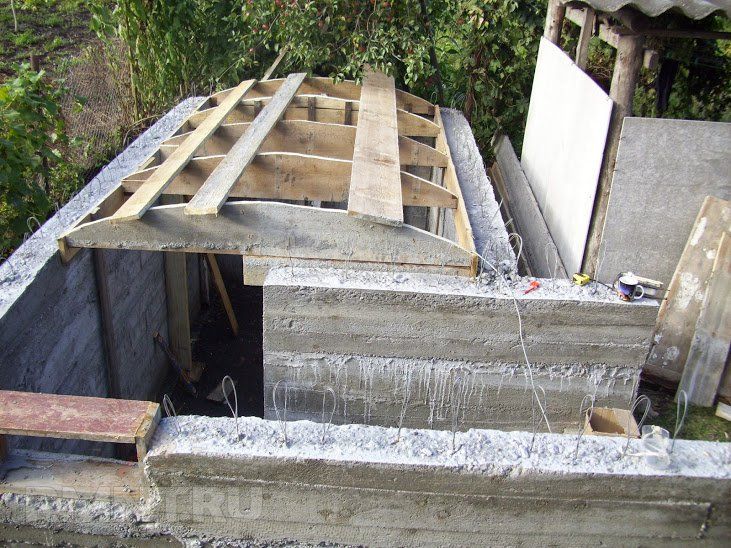
- The remaining walls and ceiling are being built. For this most often used large boards (their thickness should be about five centimeters). Their rows are necessarily supported by the material for the creation of thermal insulation. This may be the usual expanded clay and even foam.
- Ruberoid taxation occurs. This is to ensure that there are no drafts in the room.
- Installation of doors inside and out. For comfortable operation in cold climates, you can use special heaters or build a kind of small vestibule. Here you can also put the pipe for ventilation.
- One of the final stages is the creation of roofing. It can be single or dual. In this case, you can use the extremely common material slate or known roofing material.

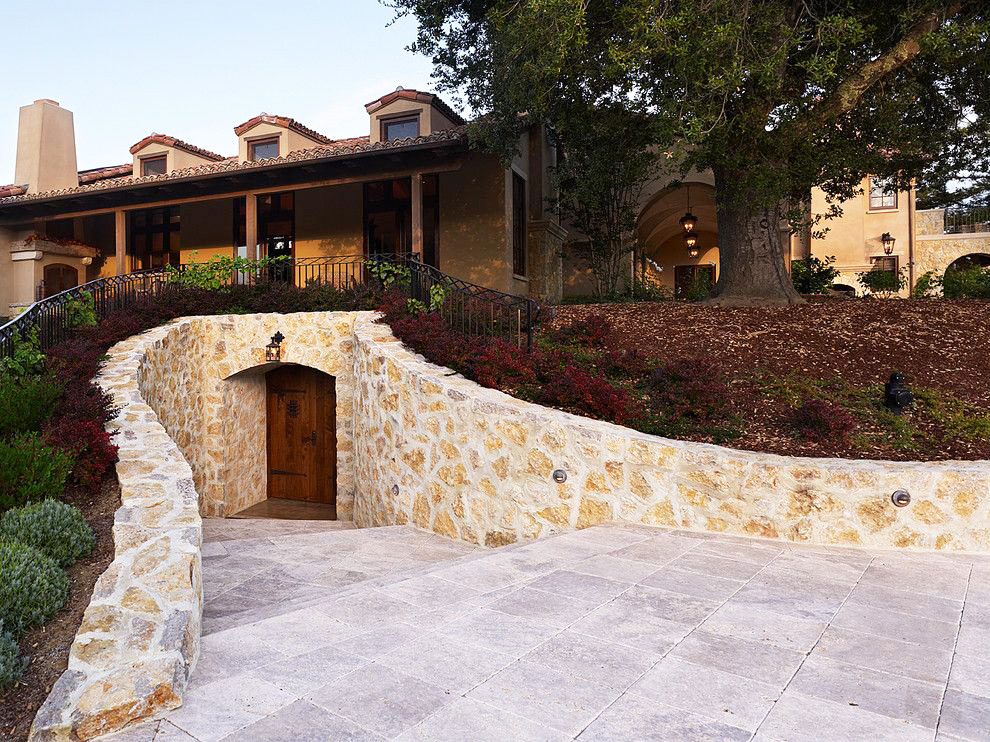
Wall mounted
As noted earlier, this method is quite convenient: it saves a significant amount of space on the site, because it seems to be attached to the carrier side of a house or any other building.
The cellar consists of:
- own walls;
- walls of a house or building to which it is attached;
- ceiling;
- sex;
- embankments;
- roofing coatings;
- roofing;
- specially designated storage place.
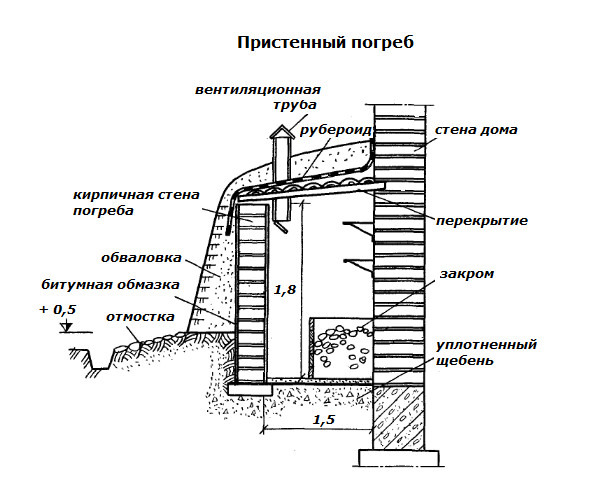
Installation is quite simple, and it can be done also with your own hands, without the help of professionals. The order is about the same as in previous models. Consider it a little more.
- The necessary measurements are made, the perimeter is determined.
- There is a laying of the missing walls of concrete or brick. A mixture of sand and cement is used to connect the materials.
- Used bitumen grease. This provides the necessary insulation from water. It imposes on the outer surface of the cellar.
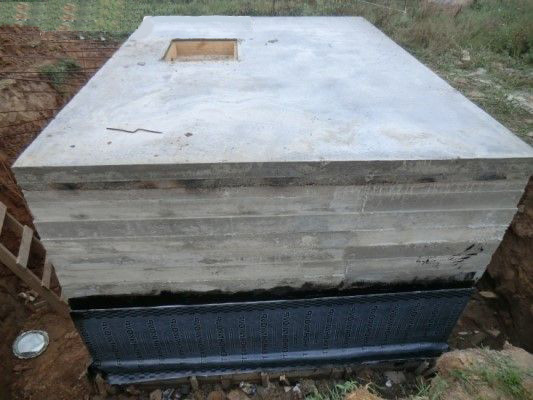
- It creates a kind of cushion of concrete with a thickness of not more than twenty centimeters. It protects the prepared and leveled surface.
- After 1-1.5 weeks, the final floor is created in the building. To do this, use a mixture of sand and cement and lay out a layer of not more than six centimeters.
- Roof under construction.
- The necessary embankment is being created.
- Along the perimeter of the building is built blind area.
- As in the previous cases, a small groove is pulled out (with a depth of no more than 1/4 meter). It will save rainwater and provide protection from flooding.
Tips
It is only important to study the subtleties of installation of the cellar and follow the rules of operation for maximum durability.
- The main thing - to carry out systematic cleaning, to monitor its cleanliness. Since a polluted cellar is not only aesthetically unpleasant, but also threatens the composition of the products, they deteriorate more quickly, lose their taste, microbes get inside.
- The second key rule: regular disinfection and treatment against parasites. This will avoid the appearance of parasites, insects, rats, which are not only a threat to the stored things, but also the health of the owners.
On the intricacies of the installation of the ground cellar in more detail tell the following ideo.


