Step-by-step instructions for marking the foundation: how to make a breakdown of the site?
To build a house, you must have markup. Only with its presence will it be possible to build the structure correctly, without worrying that it will warp and be different from the plan that you have drawn yourself in your head or even on paper.
Special features
The markup is the first stage of construction. It must be attributed not so much to the preparatory work as to the construction work, since its importance cannot be overestimated. An interesting fact is that to perform most of the constructions, only knowledge of the rectangular marking will be needed. In all other cases, you can only use them, while the quality will remain at a high level. Before proceeding with the markup, you will need to carry out some preparatory steps.One of the most important among them is site preparation. It is necessary to remove all rubbish and grass, level the surface to simplify the subsequent work.
Markup has its own rules, and all constructions should be made only on their basis. Neglect of the rules leads to the fact that the marking will be performed incorrectly, which in turn will lead to incorrect location of the foundation under the house. It can skew strongly or the corners will be uneven. Particularly difficult is the marking of an inclined or uneven area. In these cases, you need to attend to the choice of the foundation of a suitable type, otherwise the house itself will not work out straight.
The markup for such a foundation is better to be entrusted to professionals, since here it will be necessary to take into account side factors, such as height adjustment and others.
Types of designs
The most popular are only some types of foundations. This is due to the fact that they are relatively easy to build on their own.
Therefore, it makes sense to pay attention only to them, because for all the rest the builders will do the markup.
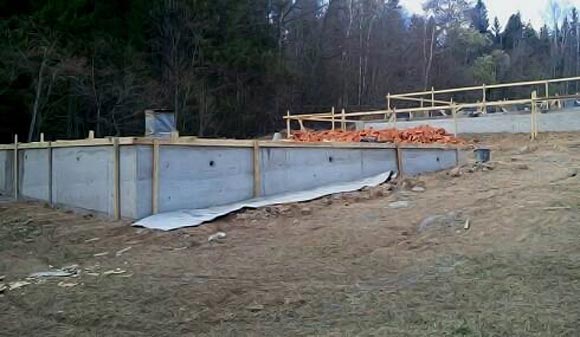
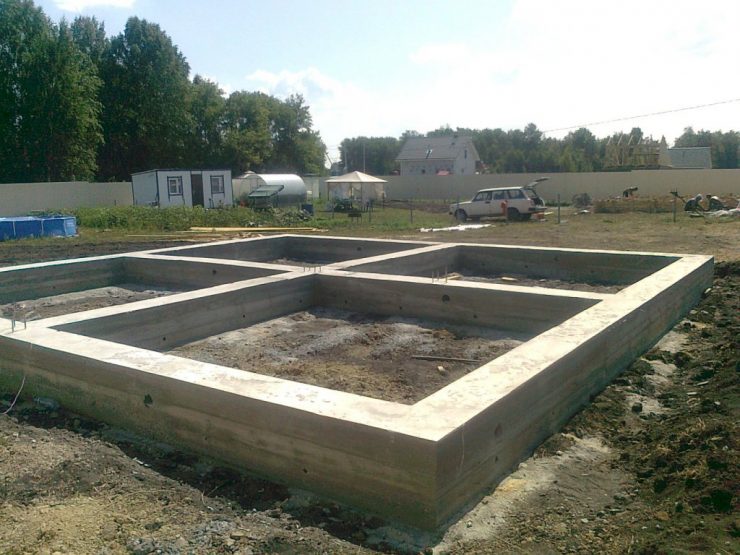
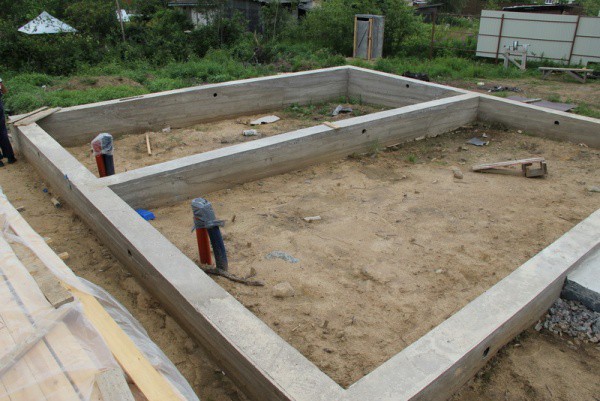
- Ribbon. This type is the easiest to build.So, it is a reinforced concrete tape, which is located around the perimeter. It can be shallow, which is suitable for wooden and small stone houses, and recessed - for houses with heavy walls.
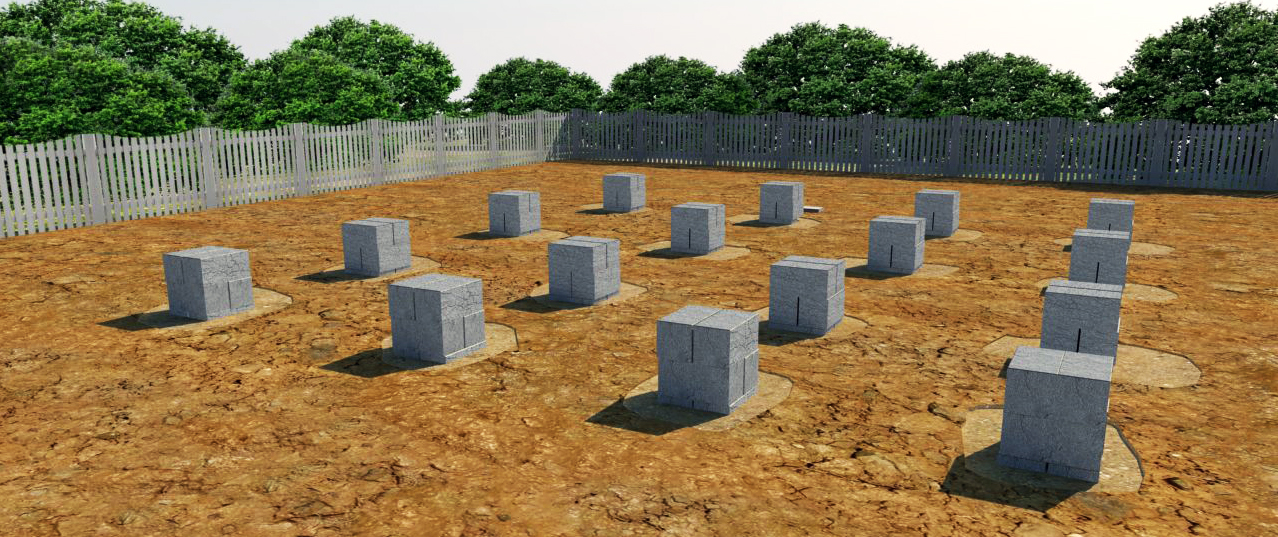
- Columnar. From the name it is clear that the foundation is built on pillars. They are located in places of maximum load. However, it should be borne in mind that this type can only be used for houses made of lightweight materials, for example, frame.
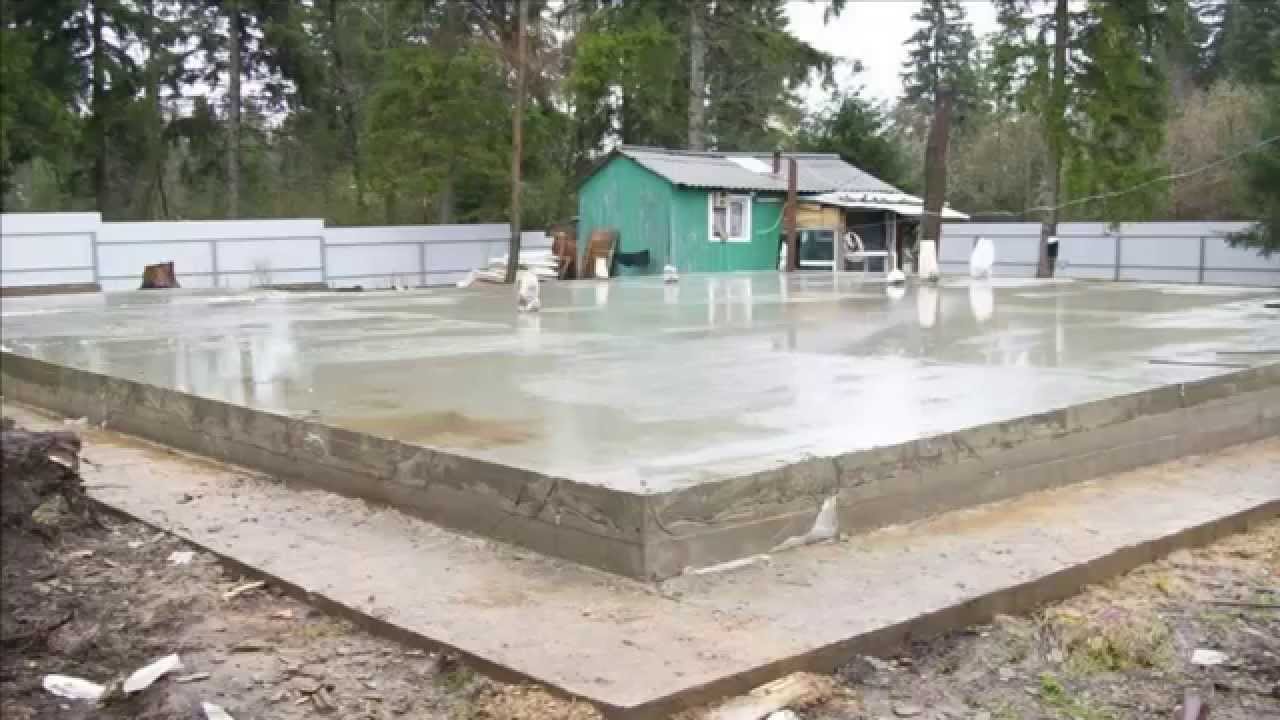
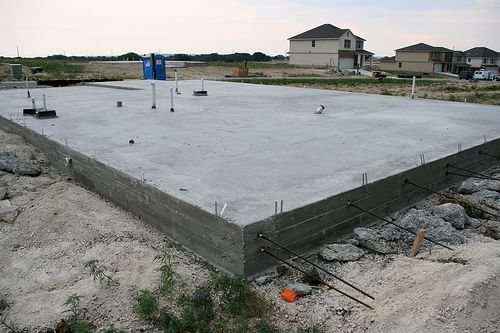
- Monolithic. In this case, the whole slab serves as a foundation. Construction does not require special skills, but it is extremely important to correctly markup. The advantage of this method is that when the ground moves, the whole base moves with it, thereby maintaining the integrity of the house.
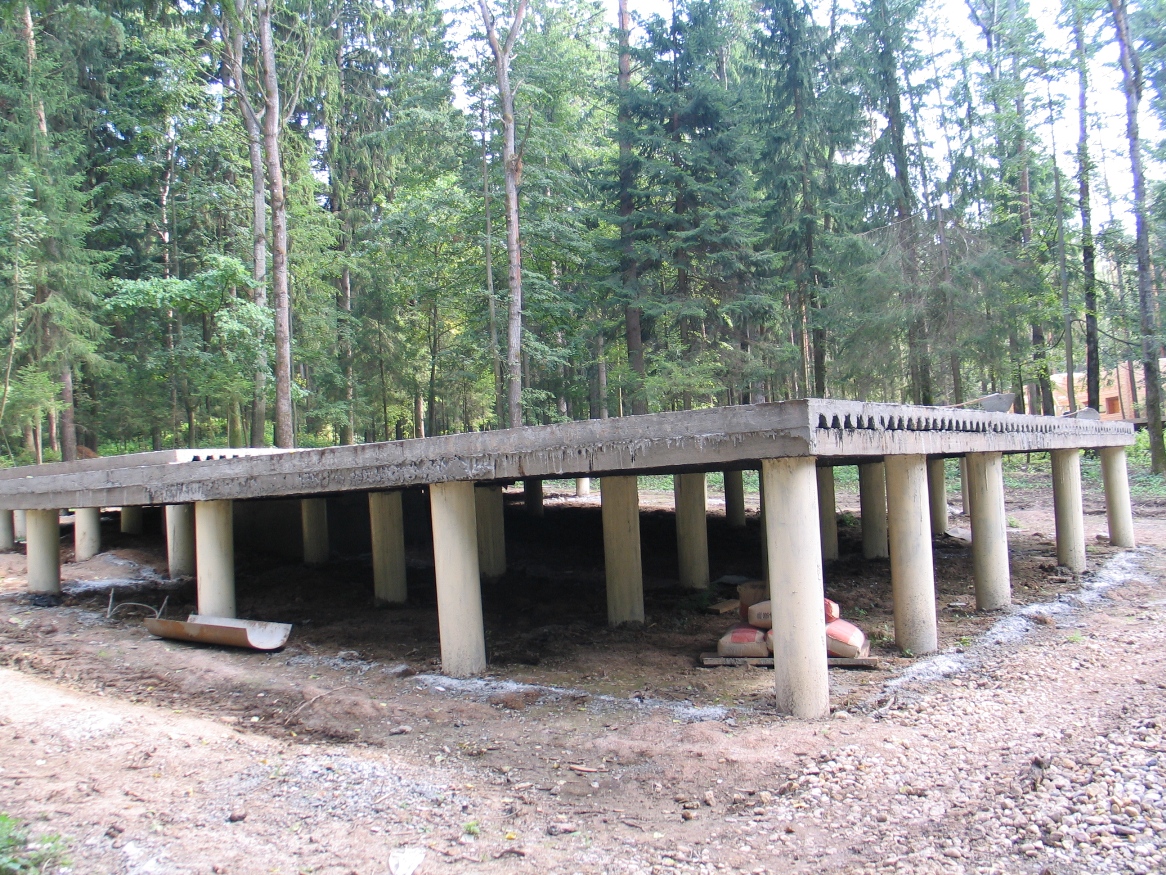
- Pile This method is chosen when construction is performed on heaving or unstable foundations. It is suitable for the construction of bases under heavy houses.
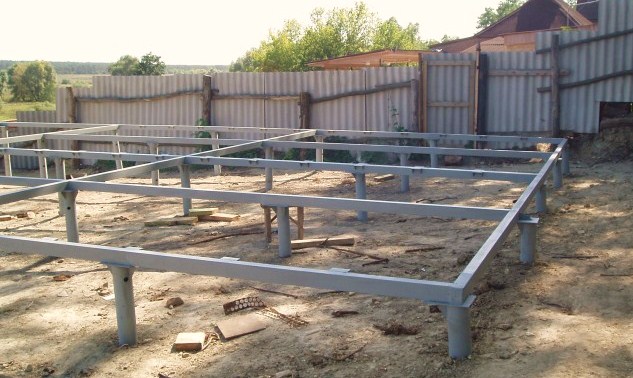
- Screw. By its characteristics, this option is close to the pile. It is also suitable for floor construction. In contrast to the previous version, screw piles need to be screwed, not hammered, so many choose them.
General rules
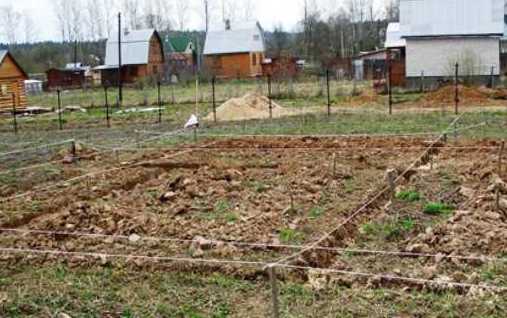
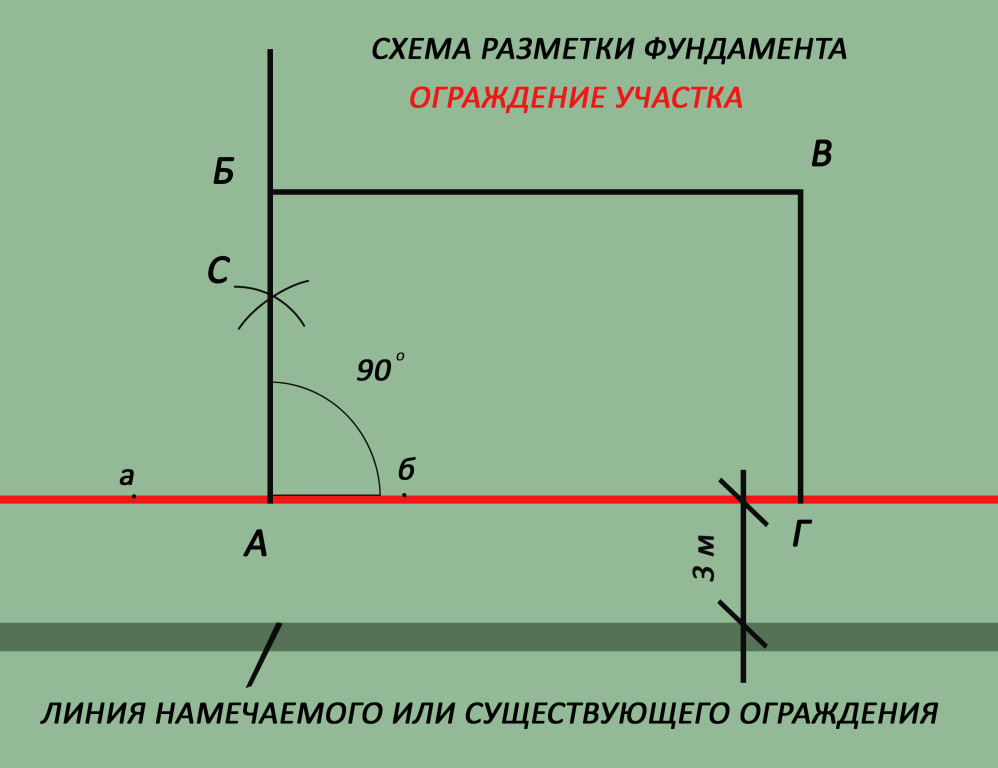
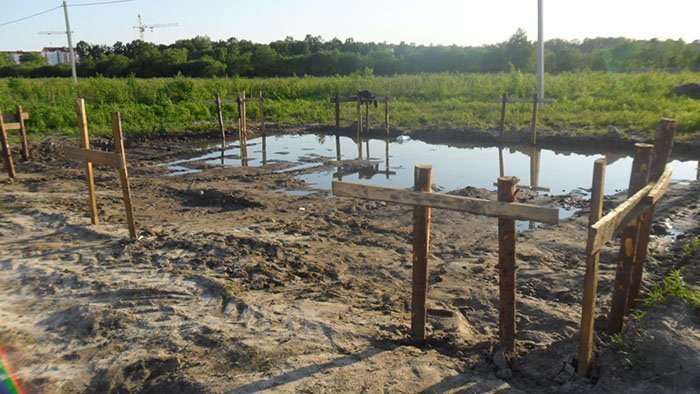
Without preparation and compliance with the sequence of rules to mark the site correctly will not work. Be sure to take into account the following so-called point of reference. The location of one of the corners of the foundation must necessarily be tied to any object located on the site. This is done to make it easier to correct if you accidentally get lost. An example of such a subject can serve as a fence.
Many try to arrange the house so that it is parallel to the fence structure. To do this, equal segments perpendicular to the plane of the fence are deposited from the fence at several points. To do this, you can use twine. After that, you need to build a right angle from the starting point. Now you can proceed to the rest of the markup.

Instruments
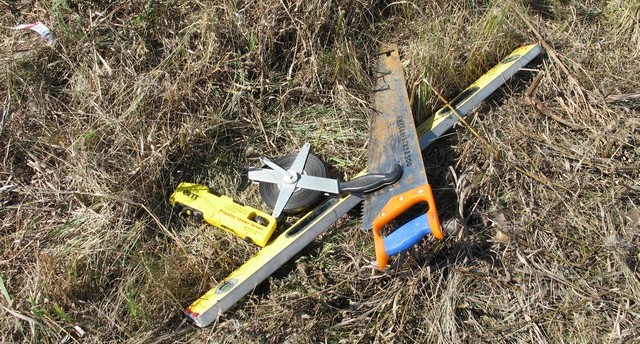
It is necessary to make a breakdown of the site with the help of tools specially designed for this, so that before starting this kind of work, It is recommended to stock tools such as:
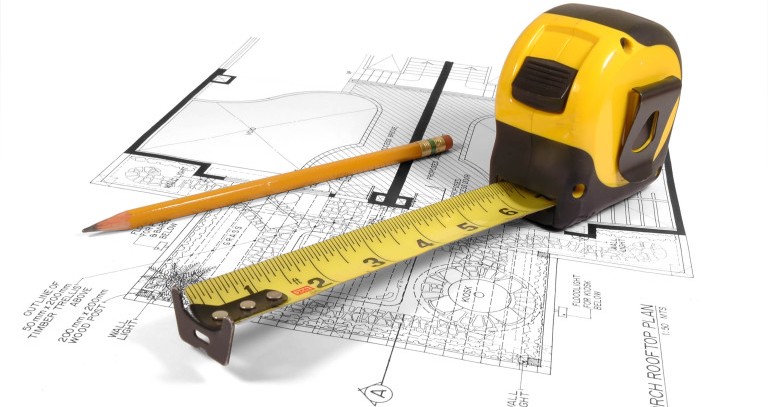
- roulette. The length of the measuring tape must be equal to or greater than the length of the diagonal.You can use the device and a shorter, but it will cause additional difficulties with the docking;
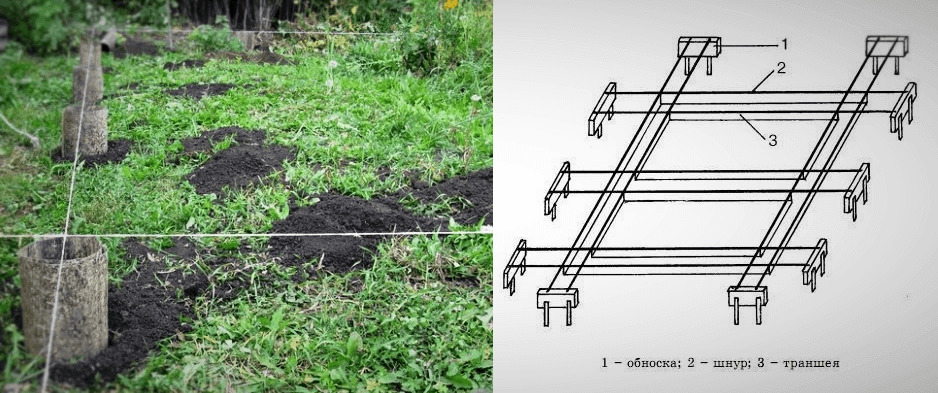
- wooden stakes are needed to fasten the string on the ground after the marking has been moved to the lower plane;
- the square is needed only to check the angles at 90 degrees, but it does not hurt to have both 30 and 60 degrees;
- cord or string for marking;
- fixings are needed in order to secure the string on the stakes. You can use clothespins, nails, clips - everything that fits;
- laser level or theodolite, and you can also use a cheaper construction level - spirit level. However, you need to know that working with the laser level is much easier and faster.
How to do?
The markup is made for different types of foundations. It is necessary to bind the markup to the type, since it can have its own characteristics in each specific case. It is necessary to consider all of them. However, it is first necessary to consider common specific features.
Two methods for constructing a rectangular foundation
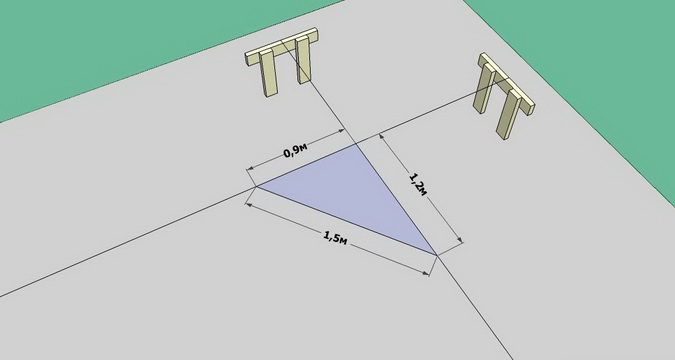
In fact, anyone who studied geometry at school can build a right angle. To do this, do not need any special knowledge.So, in one of the cases, the Pythagorean theorem can be applied:
C = √ (А² + B²)
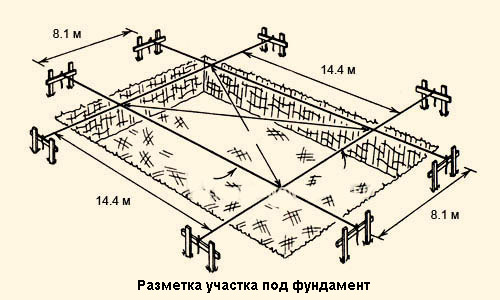
Without going into the wilds of geometry, it is worth considering using the Pythagorean theorem by example. If there are already two sides built. One is located along the fence. It is not planned to change it. The second one is built nearby, but there is no certainty that it is located at a right angle and I want to check it out. Then from the angle on each side you need to measure the segment. For example, many take the full length by segment.
For example, take the sides of 9 and 12 m. Then √ (9² + 12²) = √ (81 + 144) = 15 m. This means that the diagonal between them must be equal to 15 m.
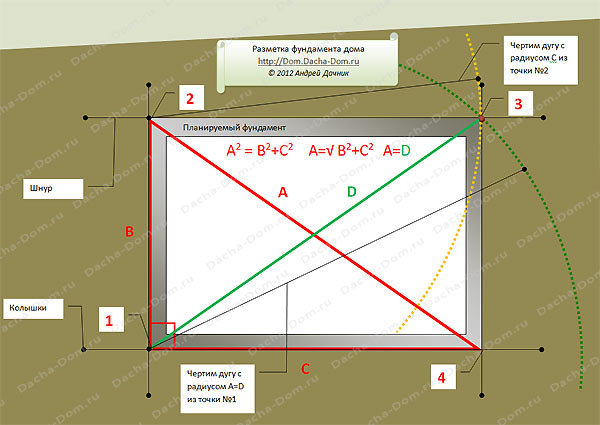
If everything is correct, then the angle is built perfectly straight. If not, then there is an opportunity to slightly move the peg, denoting the second angle, thereby correcting the rag.
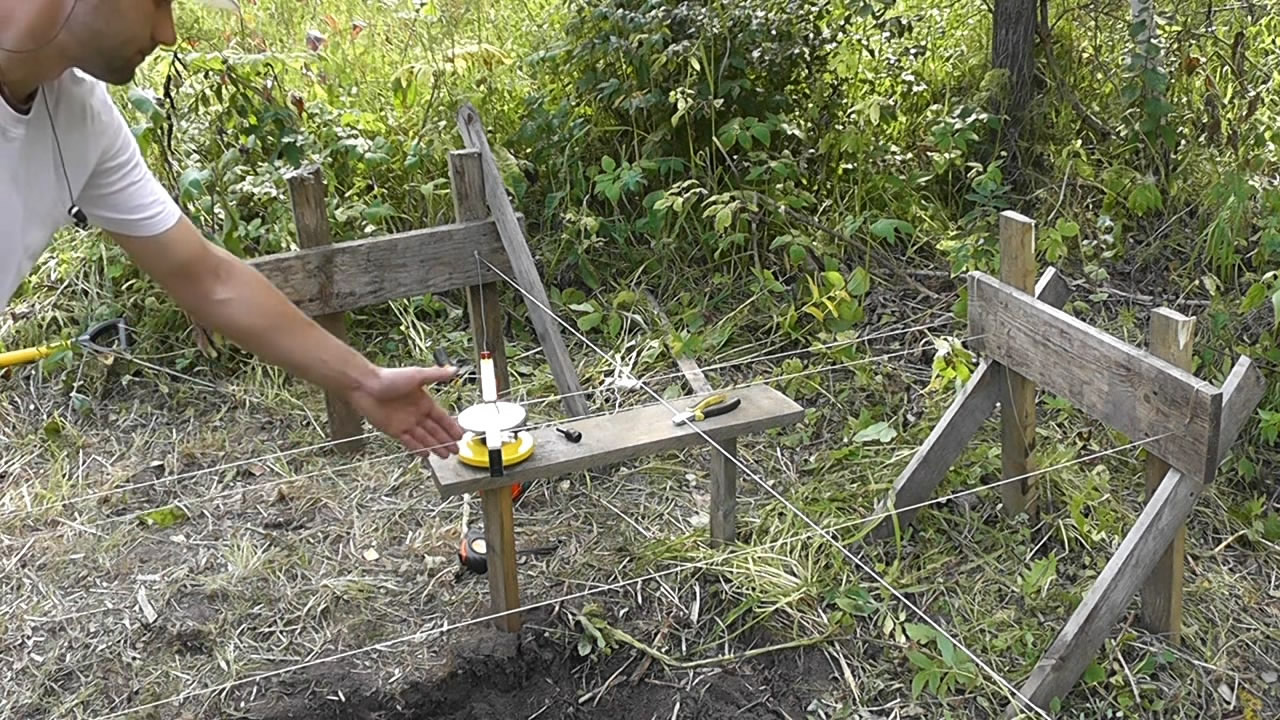
The second method is called the "web". Here it is important to prepare a twine that does not have the property to stretch. Be sure to pay attention to this fact, otherwise it will not work. First, you need to cut the string exactly under the dimensions of the future foundation. Take the same 9 and 12 m. It is necessary to cut off the piece in order to later measure out the diagonal. It will take two segments of 9, 12 and 15 m, as well as a small amount to fix.
Now you need to fasten the twine on the corners, and also attach the diagonal. After that, you can proceed to the tension. First, pull one side, preferably long or located along the fence. After that, you need to tighten one of the short sides.
It should be ensured that the string, which denotes the diagonal, is also well stretched. It is necessary to do the same with the other short side. All fixings should be made using wedges.
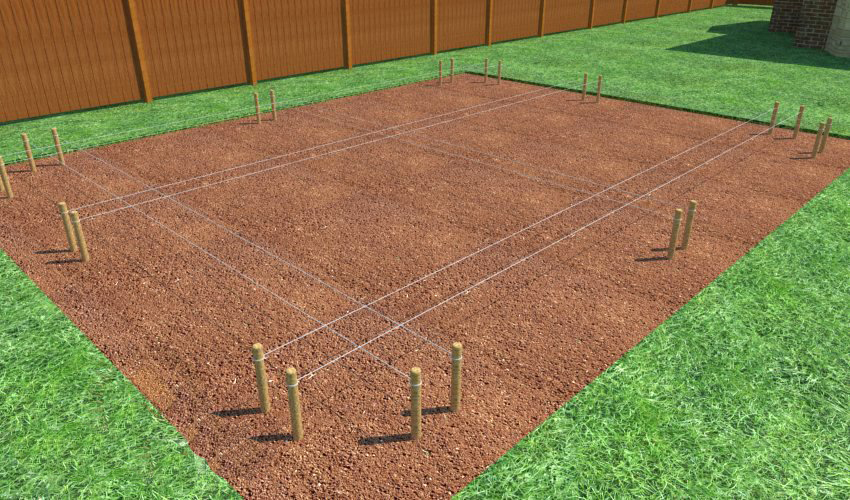
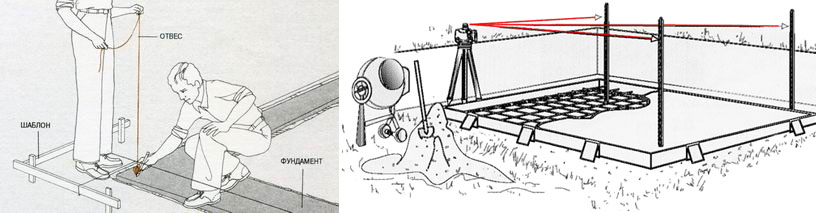
Under the column foundation
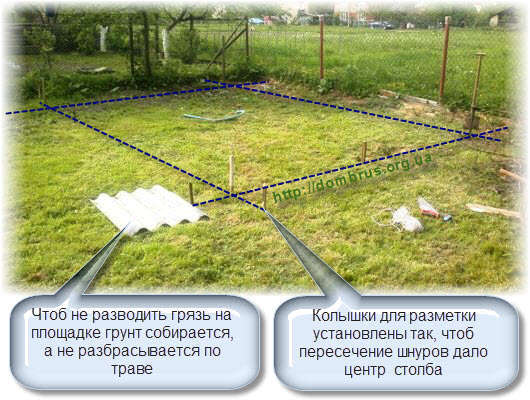
Should make a cast in two tiers. In this case, the lower tier should be located at the same level as the pillars. After that, you can pull the string. Check that the twines intersect at a right angle. Where there are places of intersection of the twine, with a plumb line you need to mark the place under the piles and secure the wedges. Twine should be removed so as not to interfere.
Now it is necessary to drill holes under the posts and install the posts. Re-tension the twine. Now you need to remove all the pillars from the ground equally, so that they touch the twine.
It must be remembered that the twine from the center of the scraper must be moved to the edges so that they do not interfere with installation and fitting.
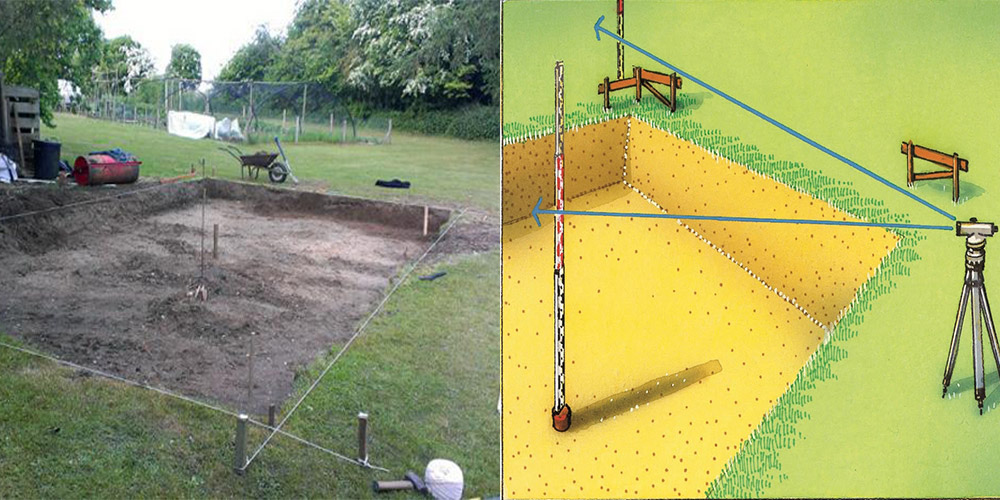
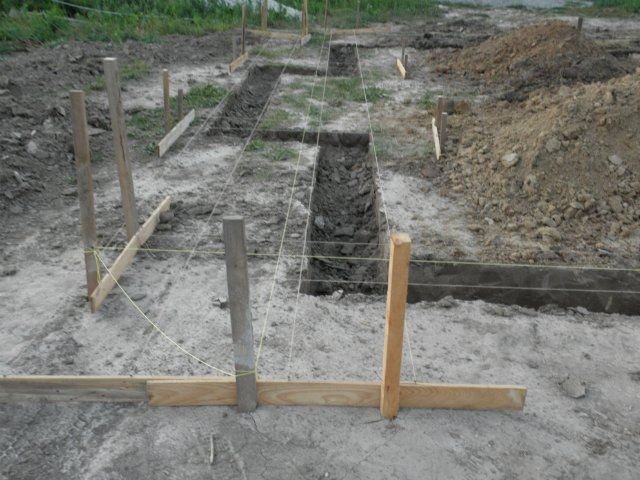
Under strip foundation
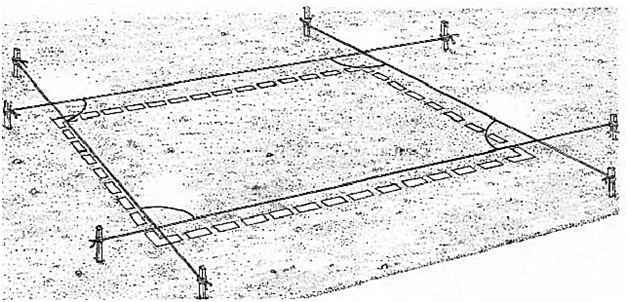
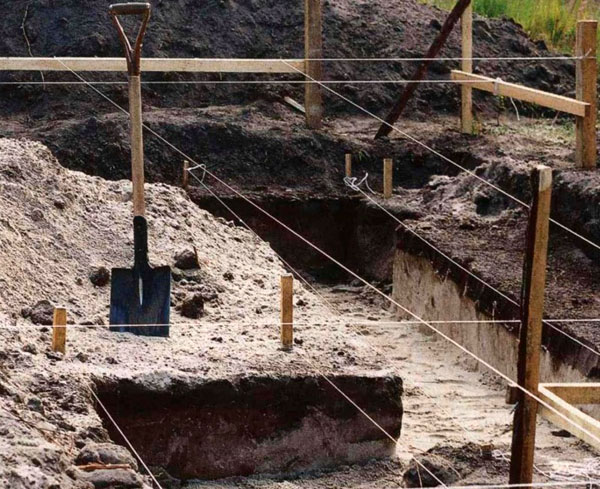
In this case, you will need to make a double markup, since the strip foundation is a strip. First, you need to position the rag, then you need to pull the string at right angles. First, an outer contour is made. It should be remembered that the height of the string should be equal to the upper level of the foundation. After that it is necessary to make an internal contour. To do this, a piece equal to the width of the tape is deposited on the obnovka from the existing twine, after which an internal contour is made.
In the future, using a plumb line is determined by the angular locations. Pegs are fixed on the ground of corners on the ground. A string is drawn between them, denoting the boundaries of the trench under the strip foundation. After that, dig a trench. When forming the lathing, re-tension the upper twines, it is not necessary if the height of the foundation will be determined by the lathing.


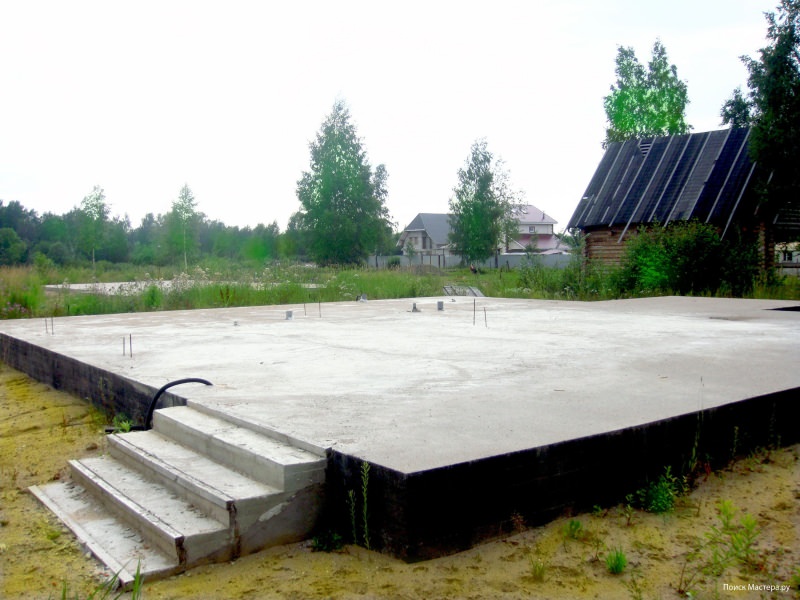
Under the slab foundation
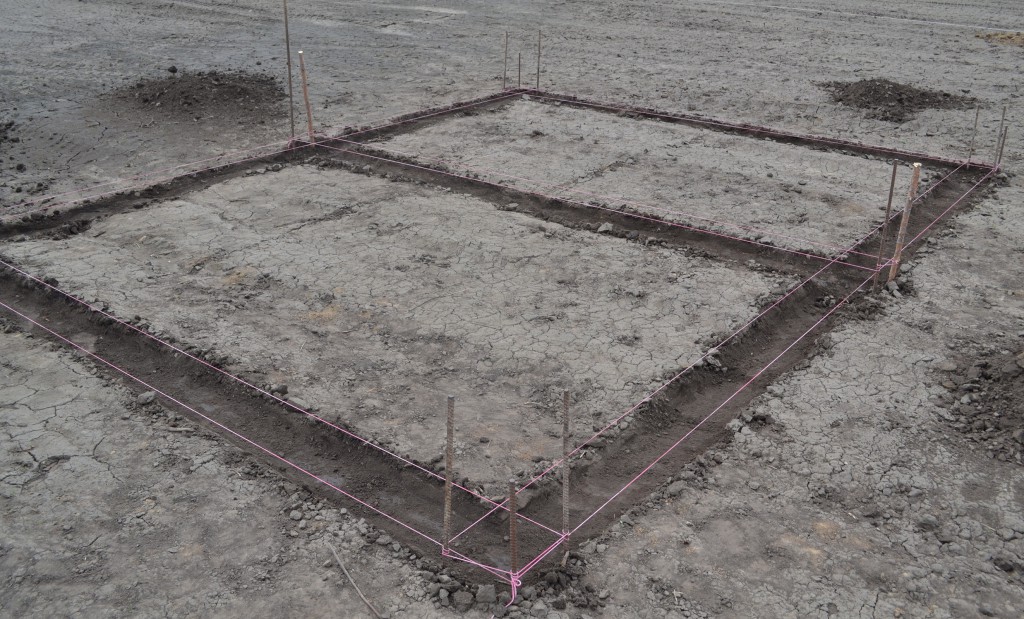
In this case, making the markup is much easier than for a columnar or strip footing. All that is needed is to build a rectangle with a string. Special attention should be paid to deriving right angles.In principle, this is all over. In the future, just as in the previous cases, with the help of plumb lines, you need to find the corner spots on the ground and mark them with pegs.

Complex markup
When it is necessary to make a marking of the unusual rectangular basement, and structures with many protruding corners, you will have to sweat. However, it is still possible.
Step by step instructions are as follows:
- for a start, the general outline of the future construction is outlined. On the plan, the distances from the extreme points of each other should be marked. Based on these data, a large rectangle is built into which the house will be inscribed;
- after that, it is necessary to correct all angles, re-measure the diagonals and lengths of the sides;
- Next, go to the most difficult - marking the breaks of the walls. It should be borne in mind that in almost a hundred percent of cases, each of these fractures is another rectangle, so all you need to do is to build several rectangles inside. In the future, you need to set and double-check the corners;
- with the help of plumb lines, it is necessary to calculate the intersections that are on the plan and form the general contour of the house.
Tips
Experts share several recommendations that allow you to carry out work on marking the foundation easier and faster.
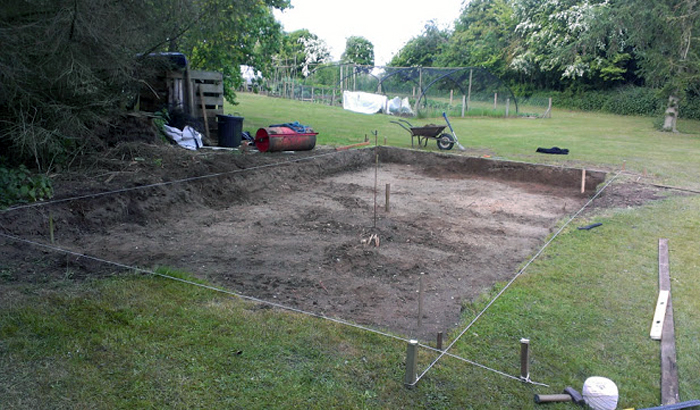
- In order to properly carry out all the markings in the future, it is imperative to properly prepare the site: remove all trash and grass. Then it is possible to estimate the relief of the soil, and also the twine will not be hooked on something about the tension.
- The axes or diagonals in the rectangle are equal to each other. If it turns out that one axis is longer than the other, you should check the calculations.
- In general, all calculations can be carried out using special programs, so if you do not want to bother with extracting square roots, you can use one of them.
- If you want to build a house exactly along the fence, you need to choose some other object as a “point of reference”, for example, a small bench.
The simplest foundation in terms of marking is monolithic, so for side structures, such as a bath or a shed, it is preferable to use it. This will allow all the work done by hand.
- Before you set the corner points on a complex foundation with plumb lines, it is necessary to break it into rectangular sections.In the future, you need to check with the drawing for the presence of each of the kinks, since it is often difficult to determine “by eye” which of the twine marks the wall and which of the side constructions turns out to be difficult.
- The easiest way is to use the old foundation. In this case, the markup is not needed: it will only be necessary to modify the existing base a little.
On the layout and excavation of the foundation with the installation of formwork and reinforcement, see the following video.


