Concrete fireplace: types and features of manufacturing
Who among us does not dream of spending rainy evenings like Sherlock Holmes sitting in a rocking chair when it’s already cold outside, and before turning on the central heating for another month.
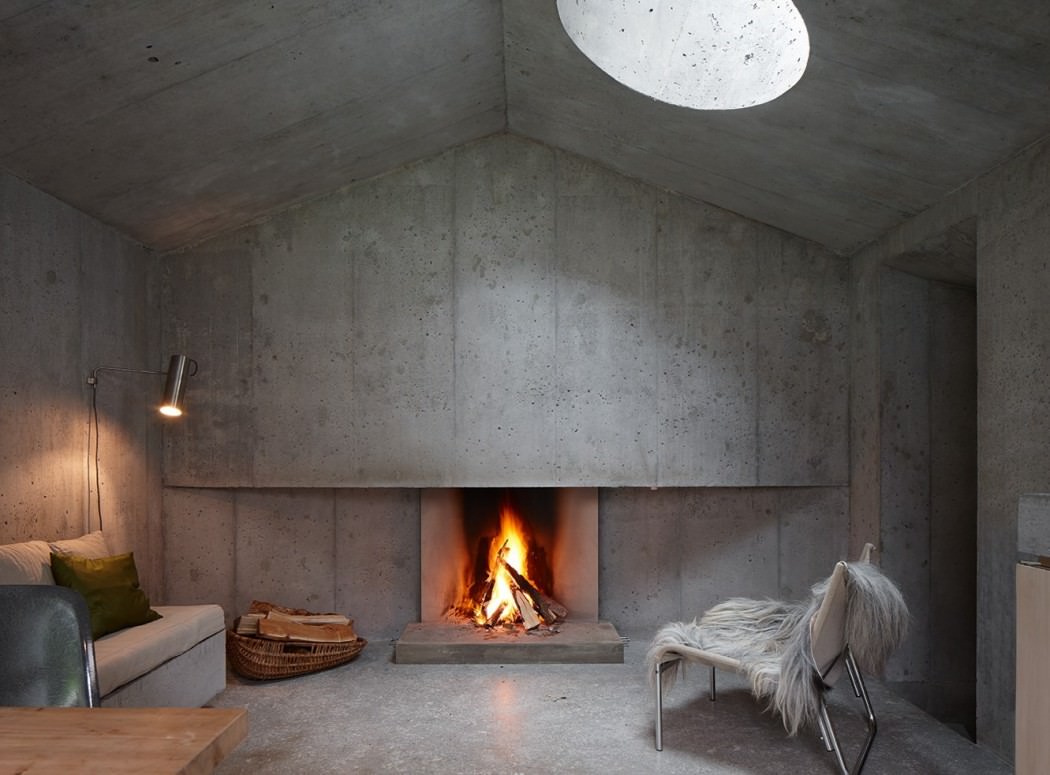
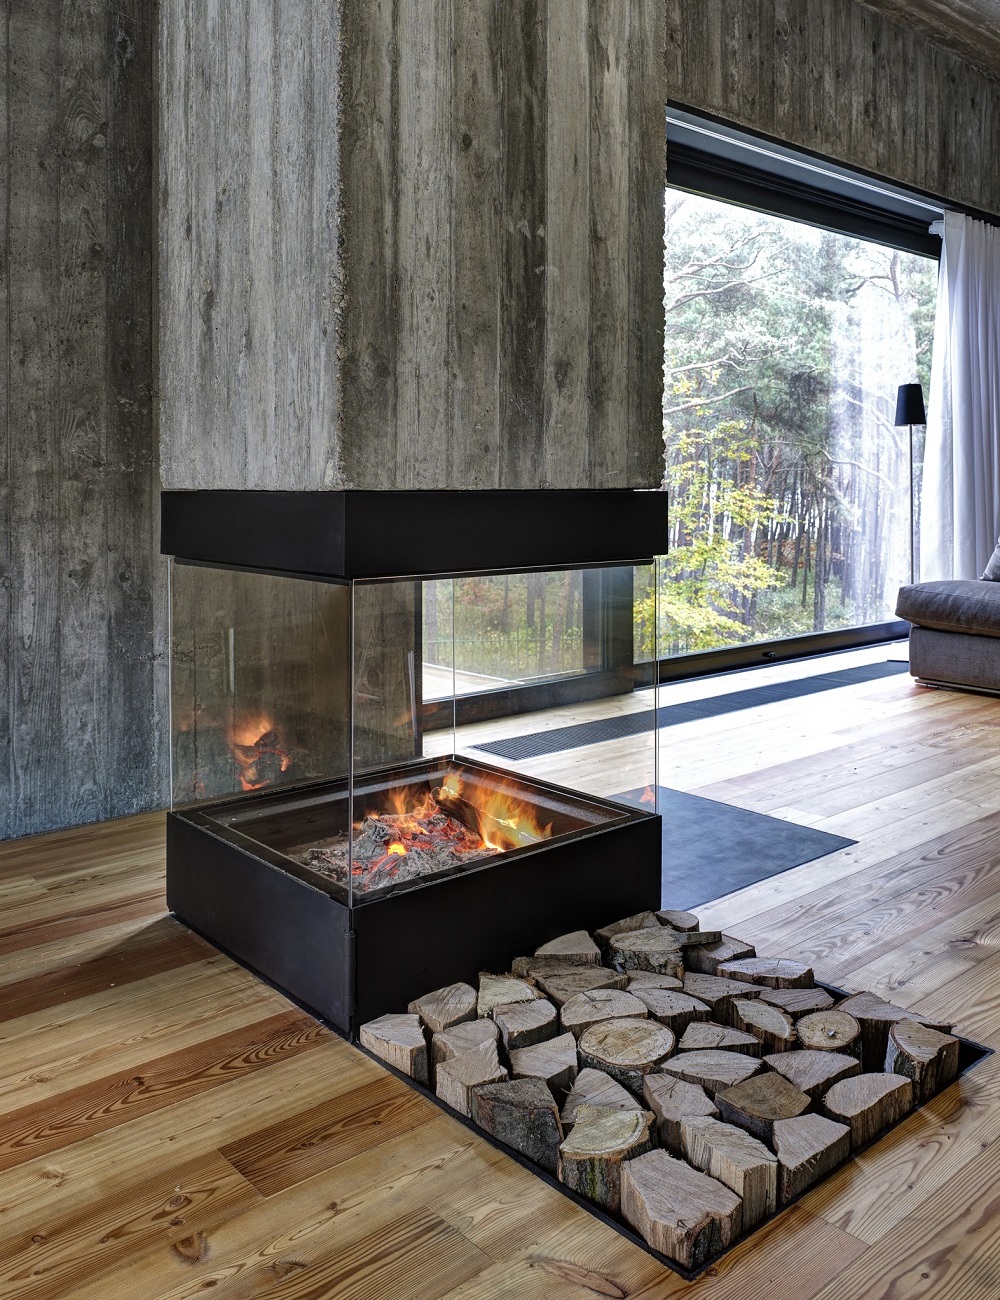
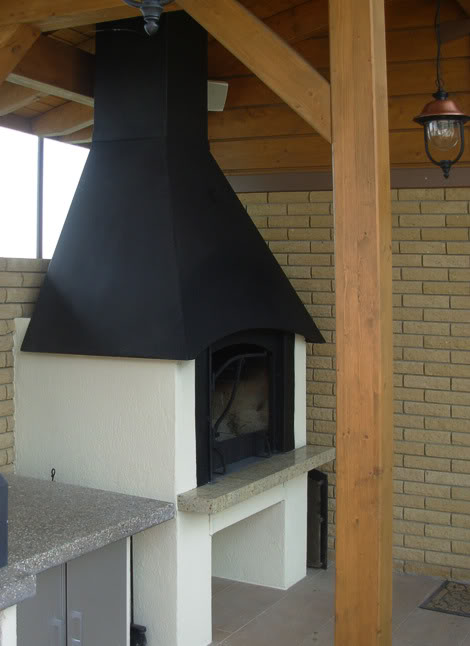
Now residents of an ordinary apartment have such an opportunity - a concrete fireplace. This variety is suitable for a private house, and for an open veranda. The advantage of the model is that it has high heat transfer.
Unlike natural stone, concrete is cheaper and easy to use, it easily tolerates temperature drops and changes in humidity.

Kinds
You can assemble a concrete fireplace from factory parts or create your own unique design. Widespread models from the rings. They are easily mounted and can be used for cooking both on an open fire and in a cauldron. Such type of the center perfectly will be suitable for placement on a personal plot.
Stone decoration will give the design a neat appearancewhich will organically fit into an exposition of a garden site. The platform around the fireplace, tiled in one color with a stone, will look very nice.
By the type of blocks you can conditionally distinguish fireplaces:
- from ready-made concrete blocks - can be in the form of rings or molded parts;
- from ordinary concrete blocks that require rework;
- from molded gas blocks;
- cast concrete.
By location:
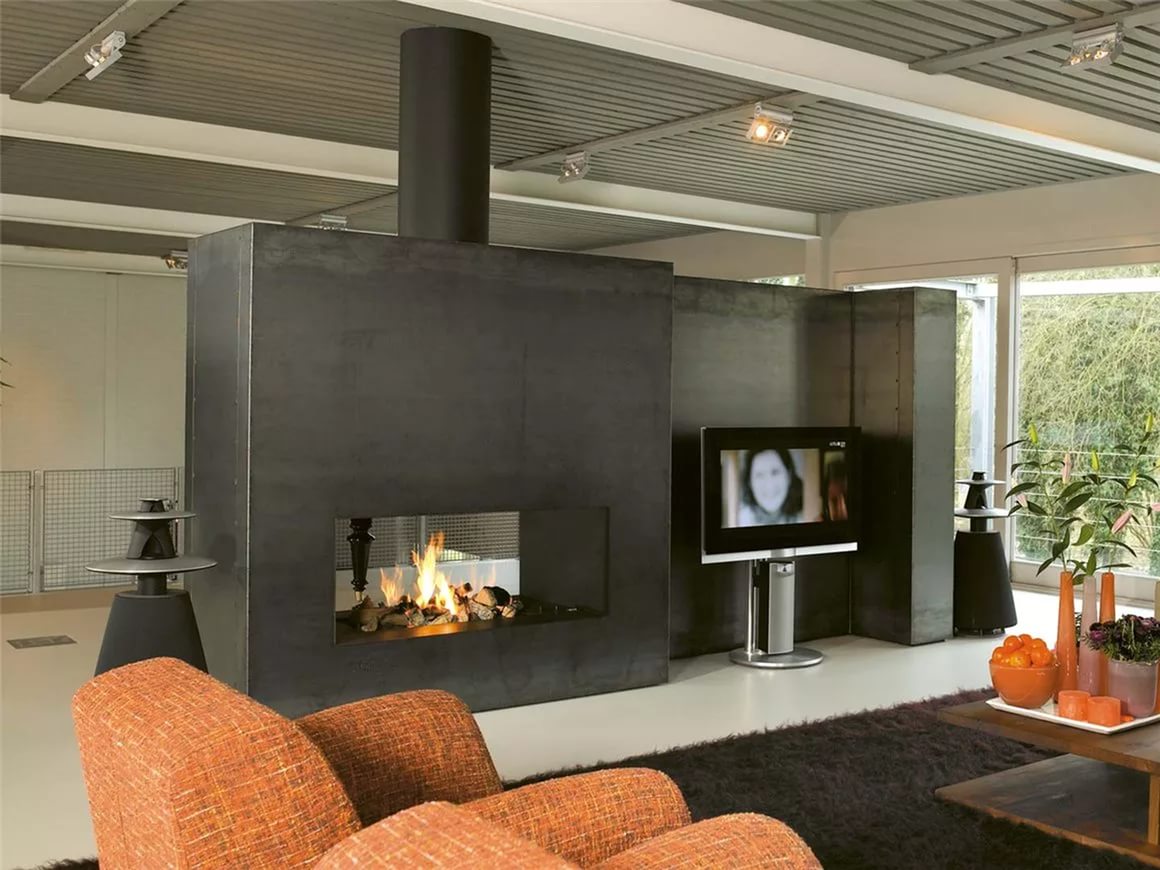
- wall;
- built-in;
- island;
- angular.
By type of foundation:
- on a brick foundation;
- on the rubble foundation;
- on a cast concrete foundation.
By way of registration:
- in country style;
- in modern style;
- in classic style;
- in loft style and others.

Installation and assembly
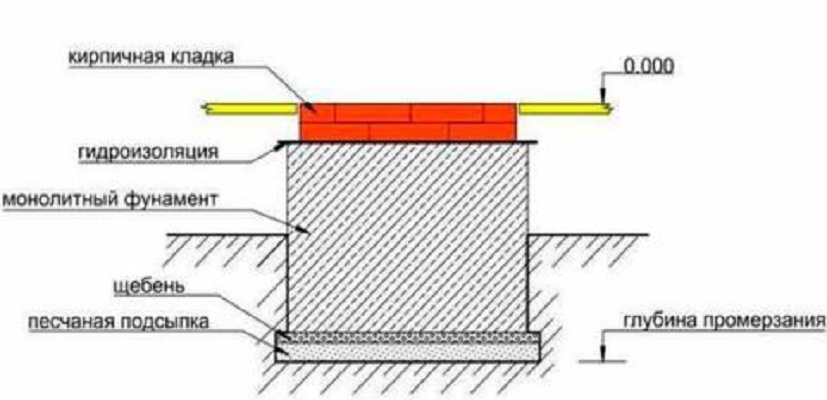
Such models, as a rule, have a foundation at the base. Experts advise to think about placing a fireplace before building a house. If you install it indoors, for less deformation of the structure and longer service life, make sure that there is no common ligament with the floor.
Otherwise, you will have to remove part of the floor covering in time.
Installation work includes the following steps:
- Prepare a 0.5 m deep pit that is slightly larger than the external diameter of the fireplace.
- Bottom lay out first with rubble, then sand.
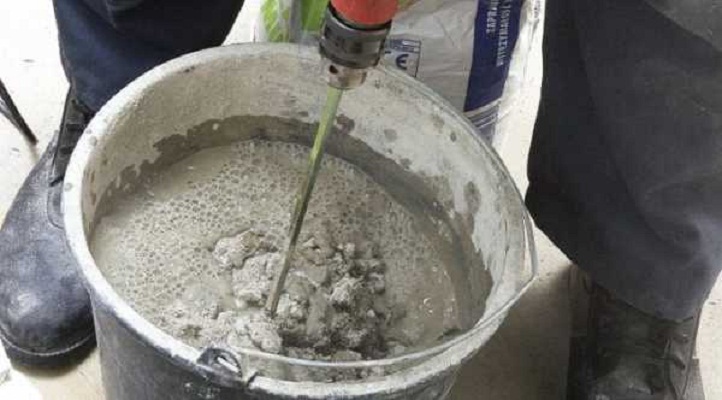
- Fill the resulting cushion DSP, consisting of one piece of cement and four sand.
- To prevent condensate from entering, a waterproofing material is laid between the upper rows.
- The foundation must protrude above the floor.
- The resulting base plate is left for a couple of days before the concrete hardens.

Next, you should think about the placement of the chimney. It is better to place it inside the wall if your house is under construction. In the completed room, the chimney will need to be made as a separate structure.
To properly cut the smoke hole, you first need to mark and cut it on the concrete ring. The ring should be attached to the chimney without applying a DSP.
To make a hole more convenient with a special saw with a diamond disc, which can be rented, the Bulgarian in this case will not work. Stock up on special glasses, headphones, construction vacuum cleaner, overalls and get to work.

Now it's time to start building the fireplace itself.
The first two rows can be connected to the DSP with the addition of lime. They will serve for the assembly of ash and will not be very hot. Then use crushed clay mixed with sand. The resulting mixture should have an elastic consistency. When applying, the leveling of the masonry should be checked from time to time by level.
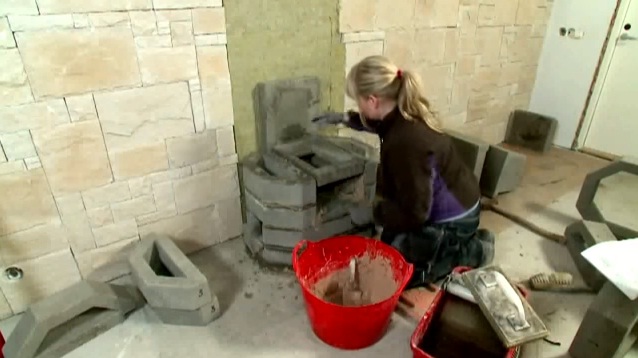
In an apartment or room it is better to build a fireplace from ready-made concrete blocks. They are built like brick:
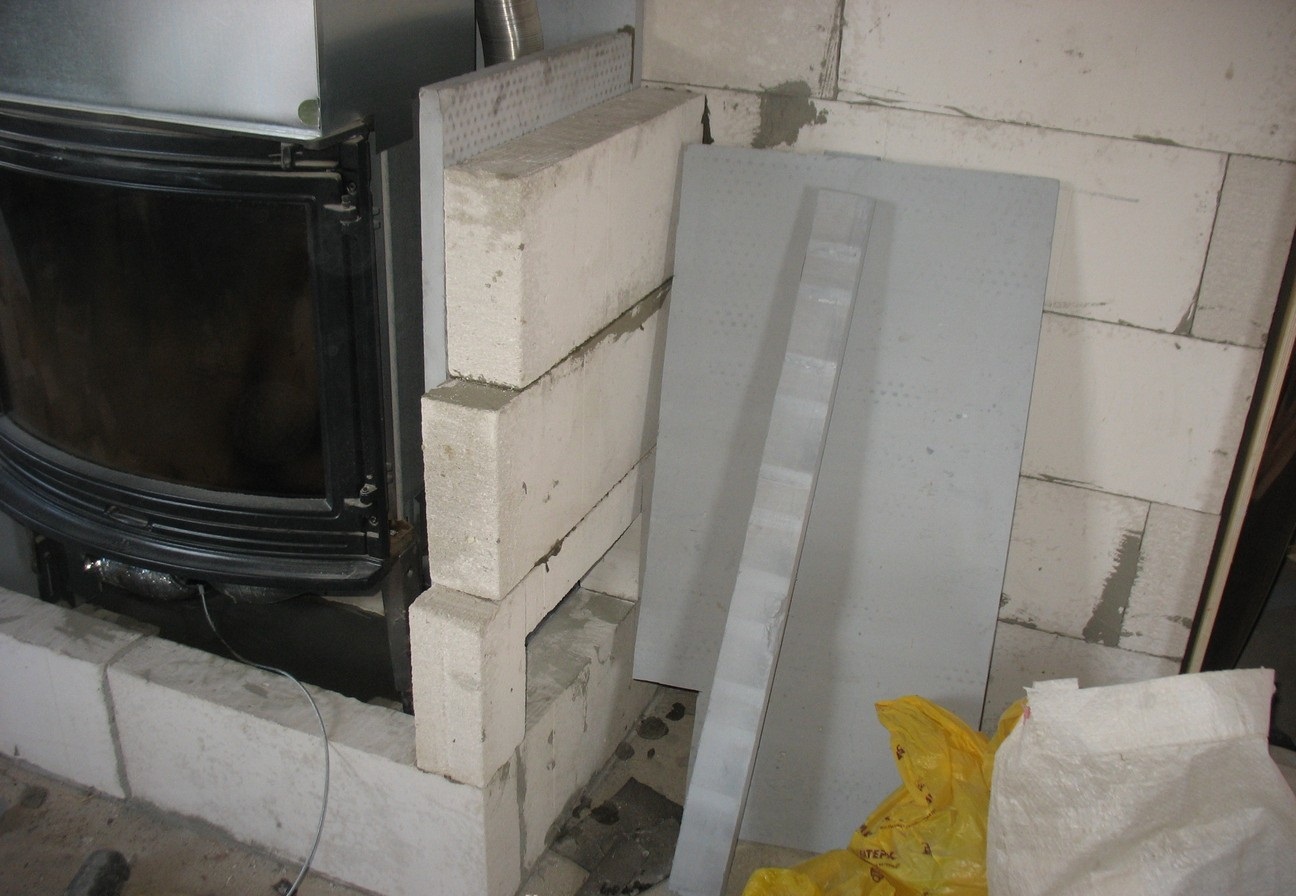
You will need the following materials:
- Blocks for the rear wall thickness of 100 mm.
- Side blocks 215 mm thick.
- Concrete slab 410x900 mm with a hole of 200 mm, which will serve as the overlap of the smoke box.
- Portal for framing the furnace.
- The pavement serving as the base.
- Steel sheets and refractory bricks for the design of the pre-furnace platform, for fire safety purposes.
- Chimney shelf.
Fireplace device:
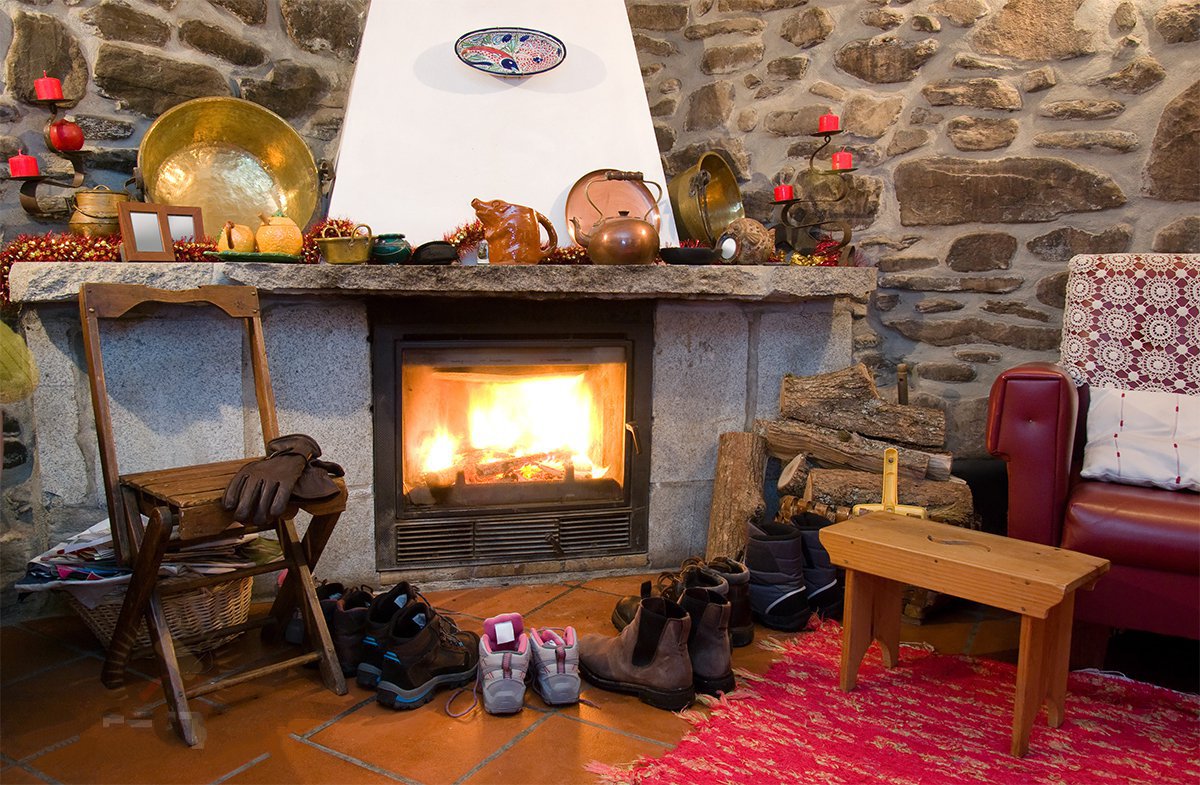
- “Under” is a place where firewood burns. Spread it out of refractory bricks on the pavement above floor level to ensure uninterrupted traction. On it you can install an additional grid.
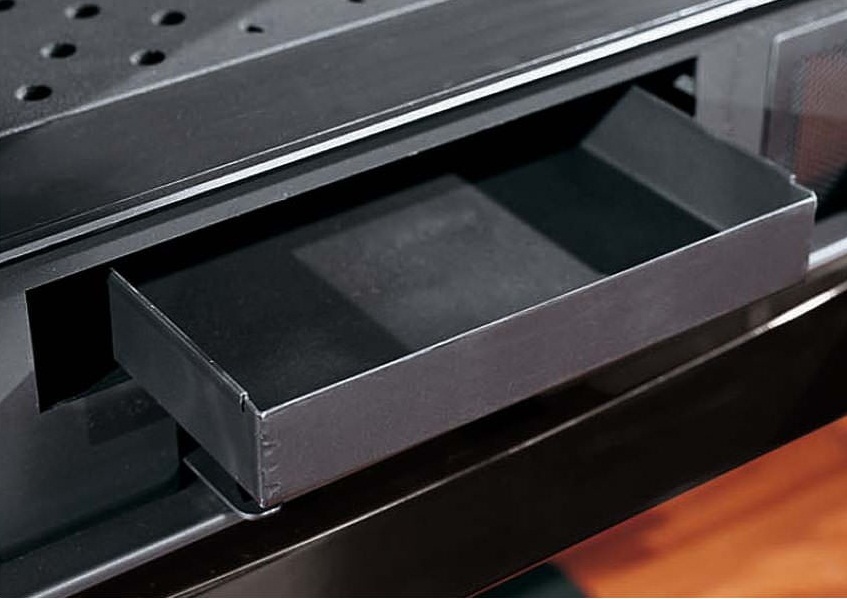
- An ashpit is placed between the base and the bottom. It is better to do it removable in the form of a metal box with a handle.
- Grate portal, preventing the loss of firewood and coal from the fuel chamber.
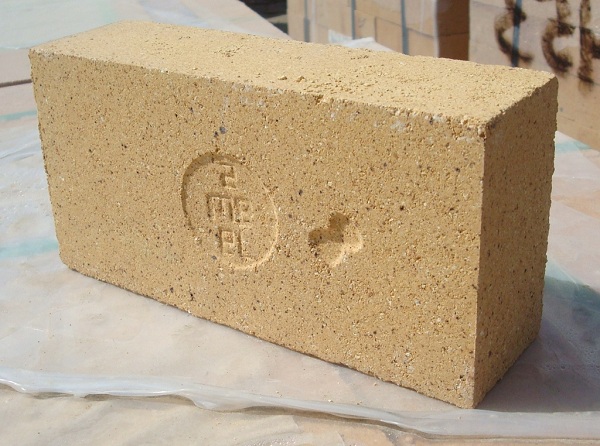
- Laying refractory fireclay brick of the fuel chamber will save on the lining.
- The laying of the back wall of the firebox with an inclination of 12 degrees and its finishing with a cast-iron plate or steel sheet will allow for a heat-reflecting effect.
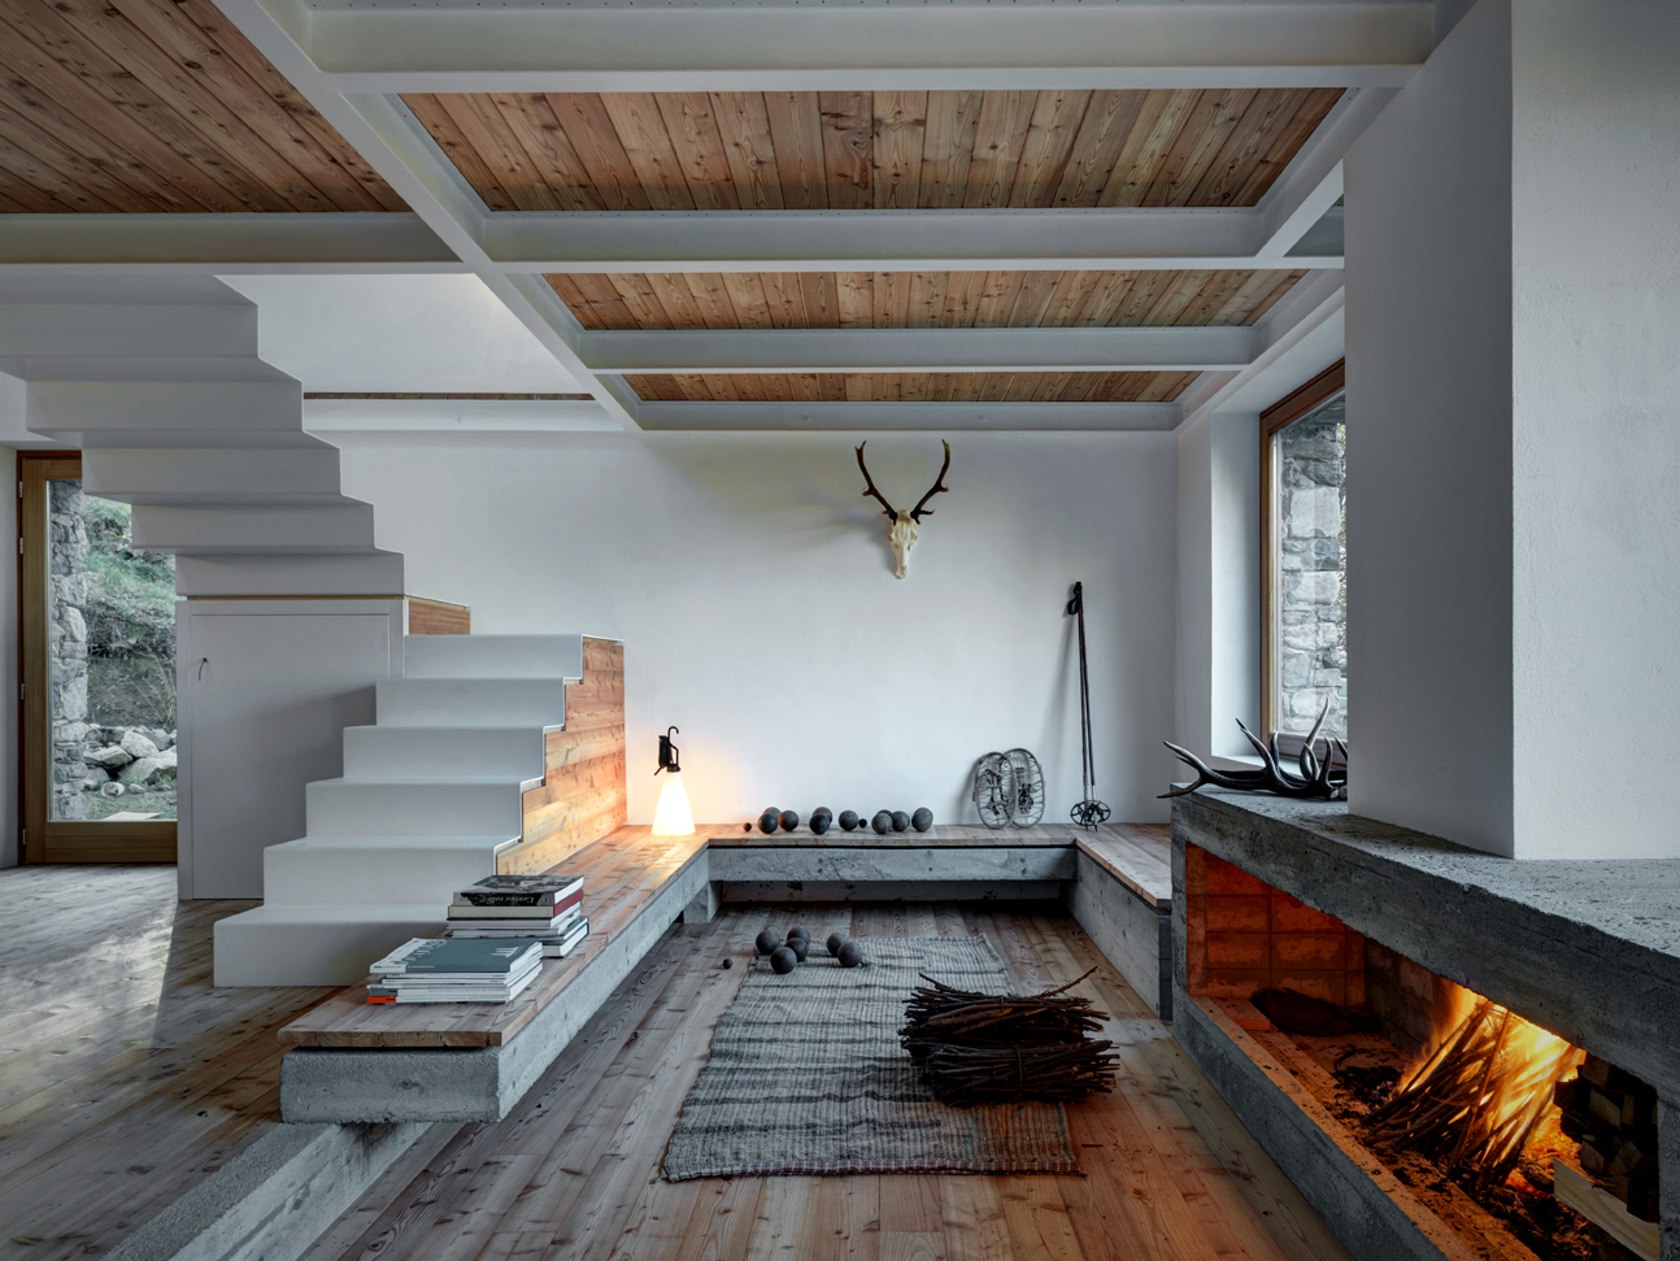
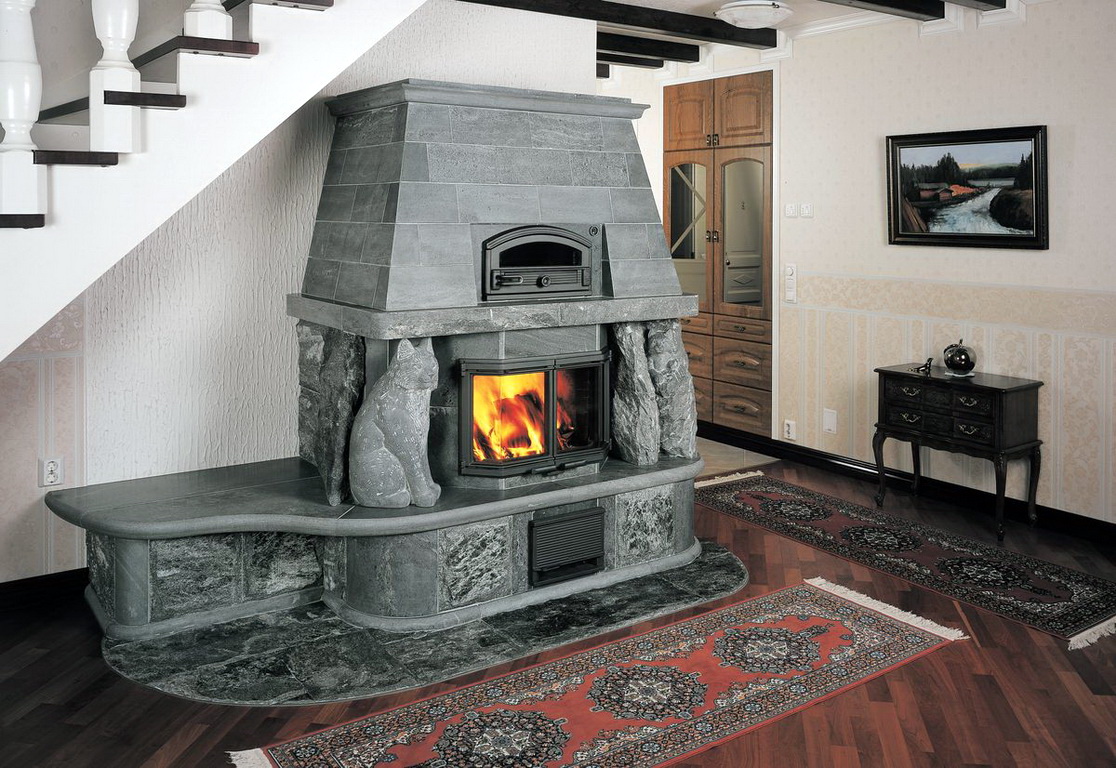
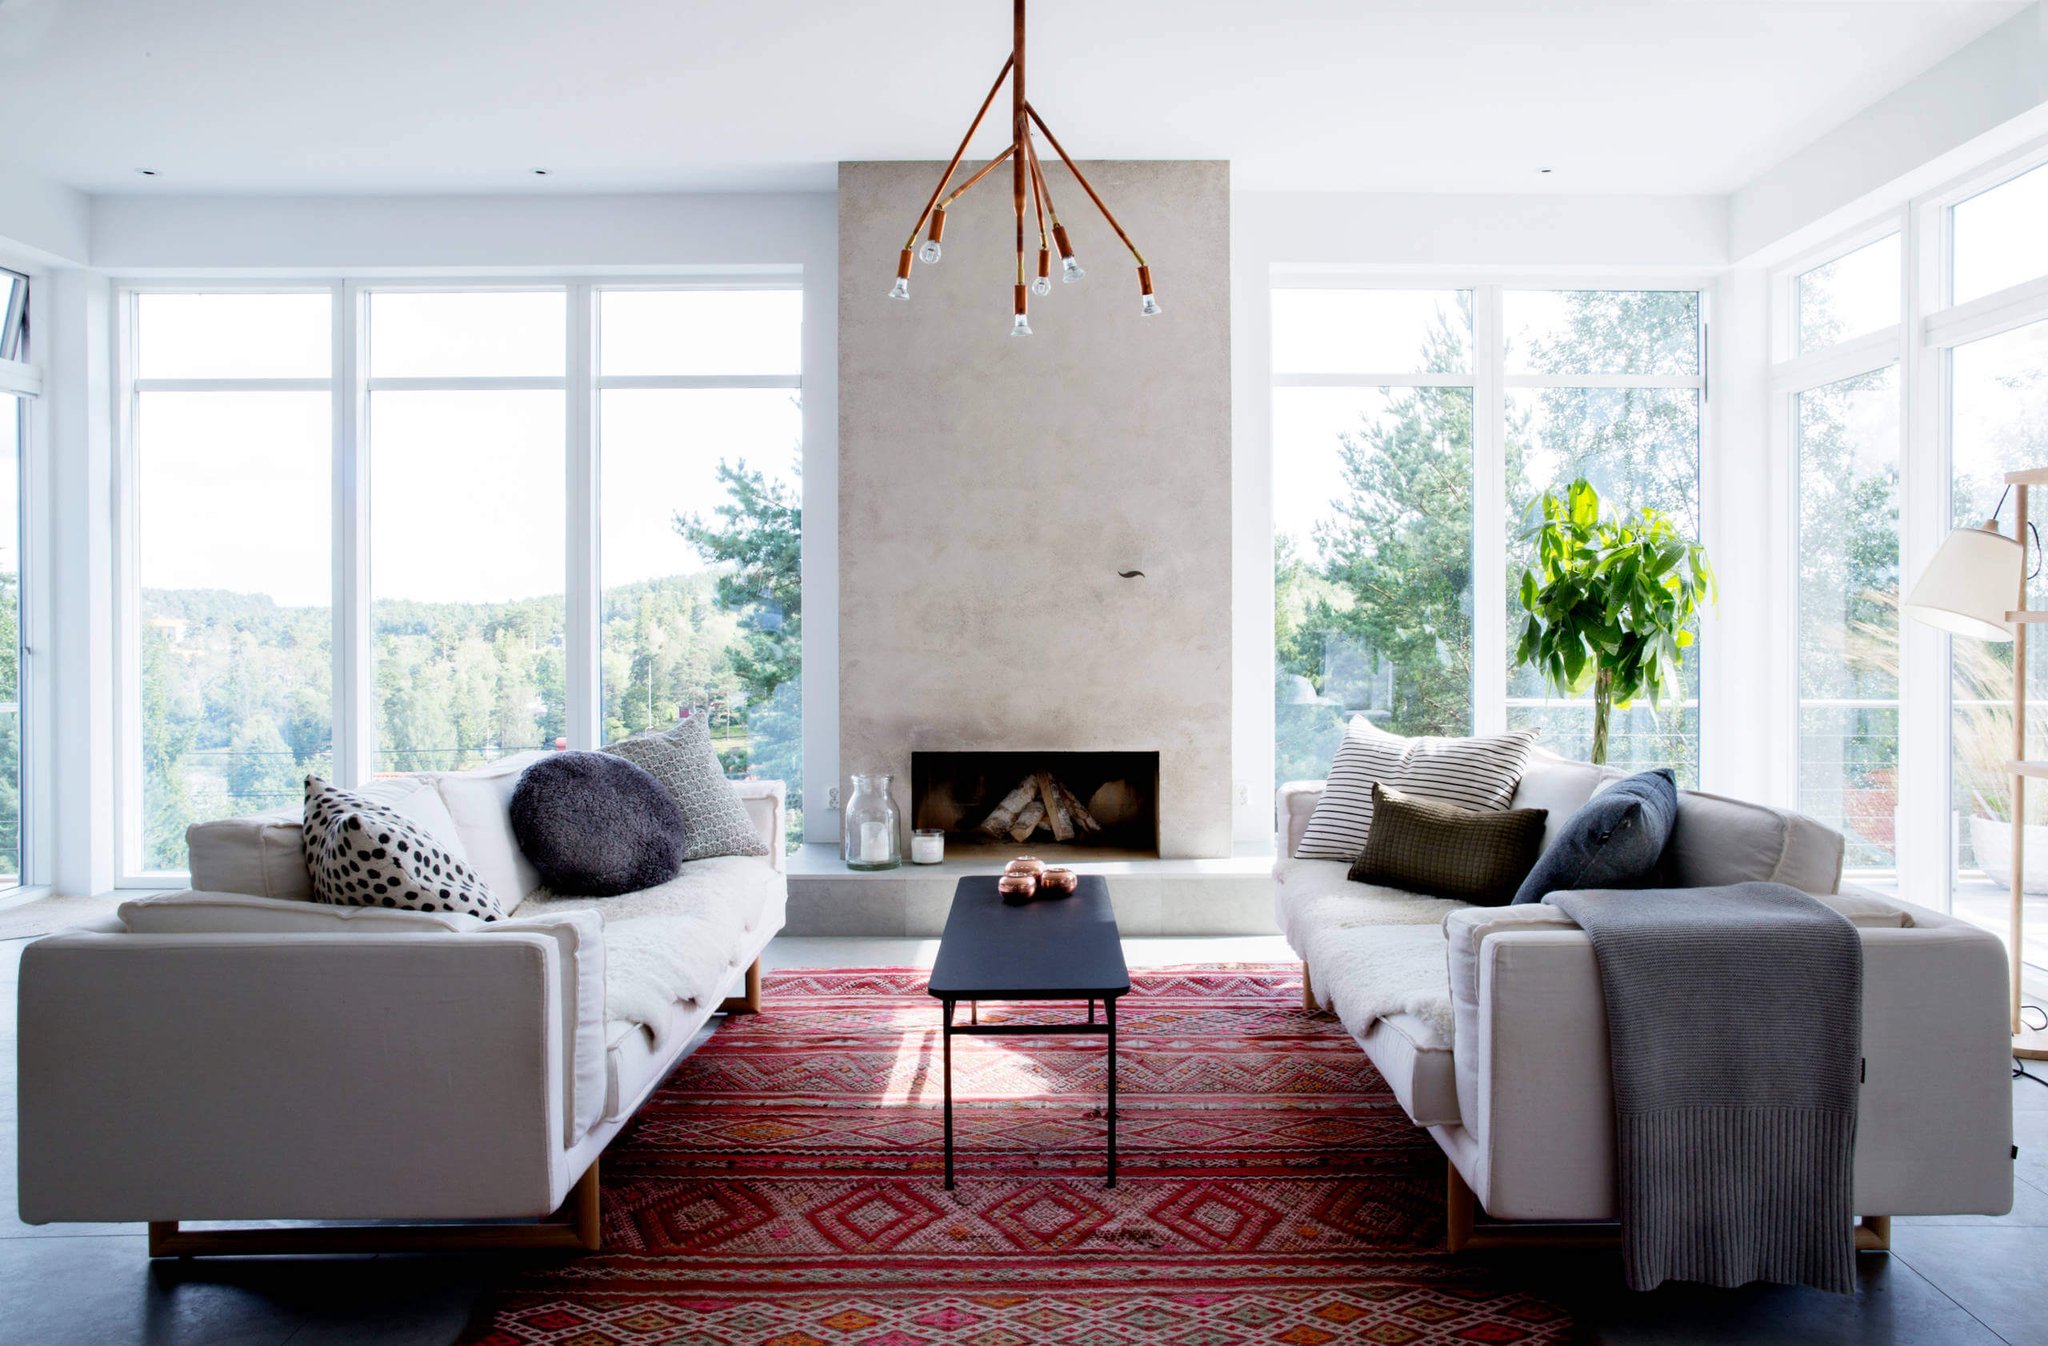
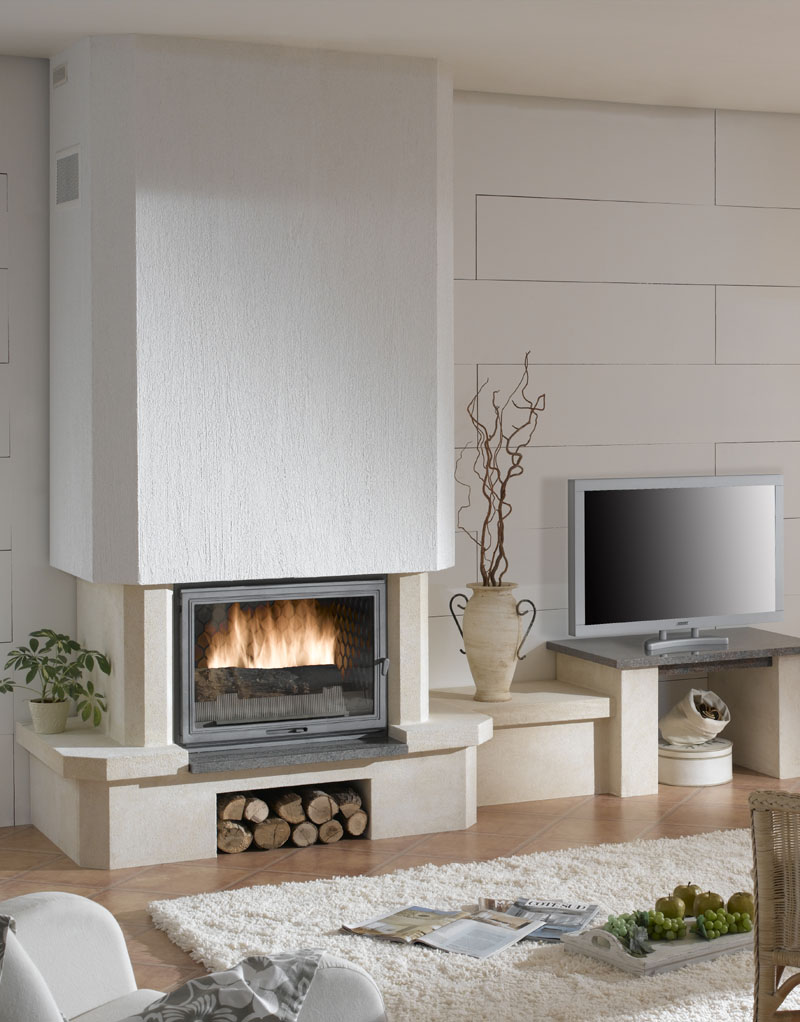
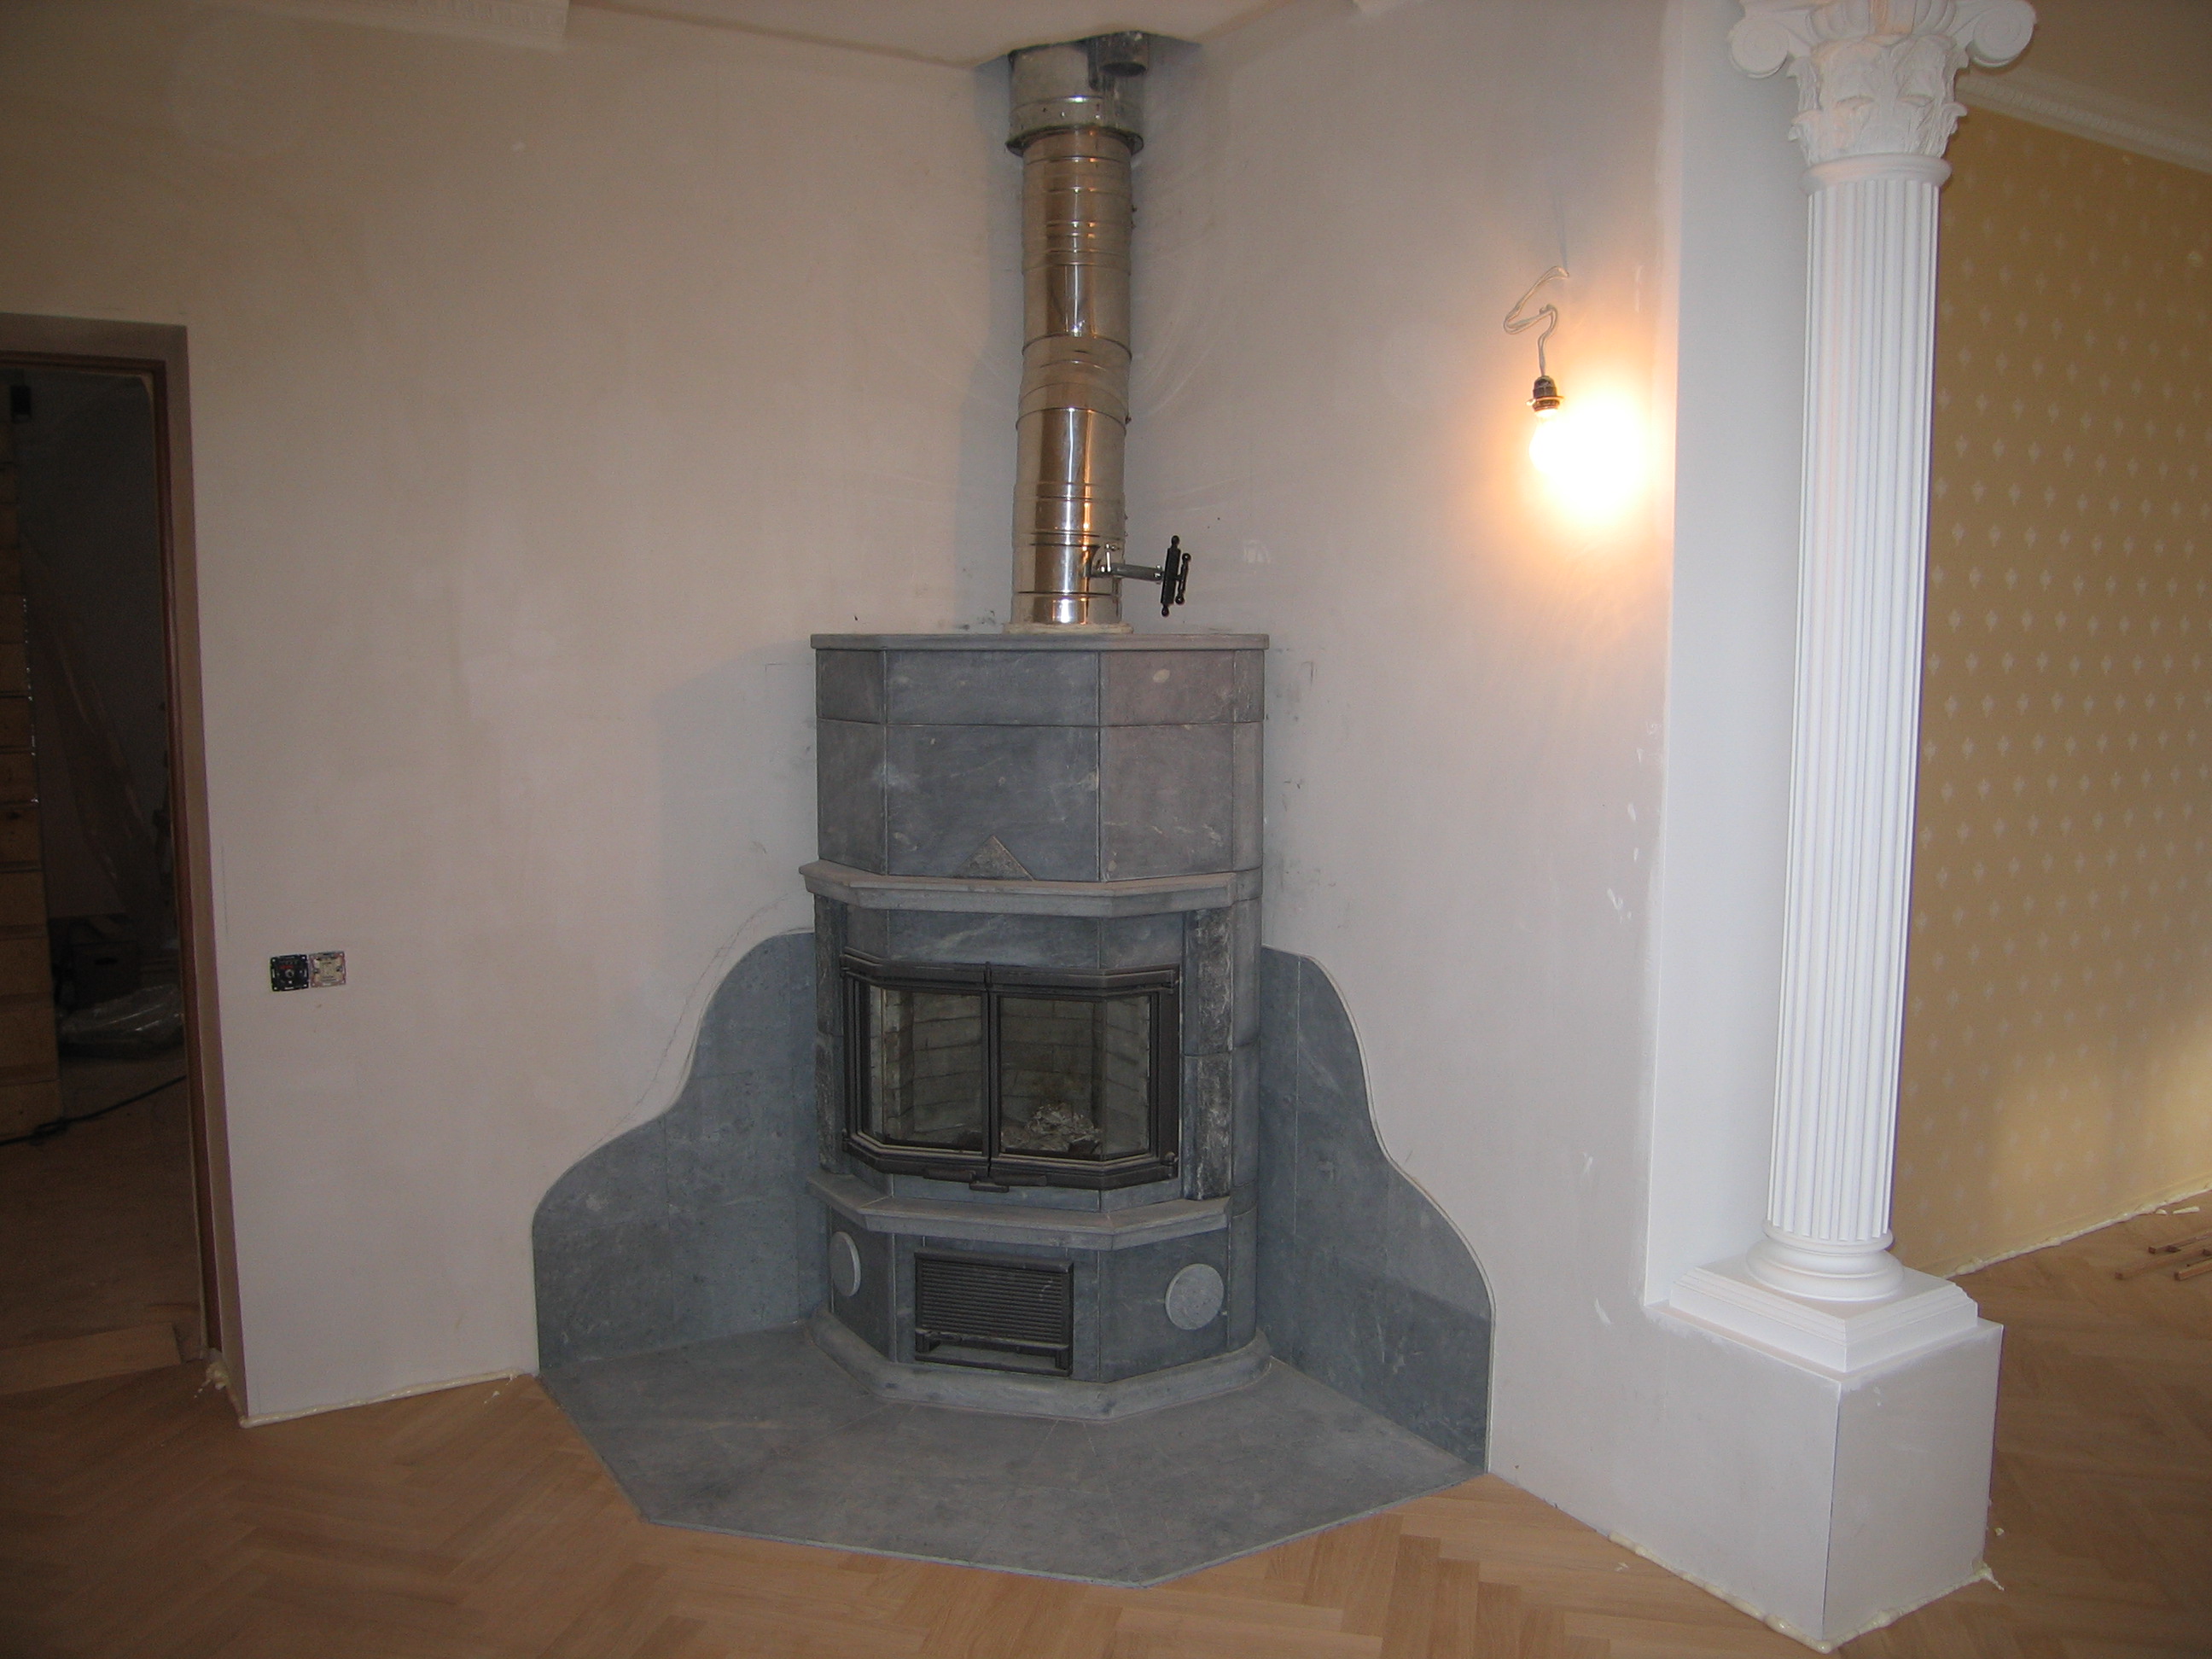
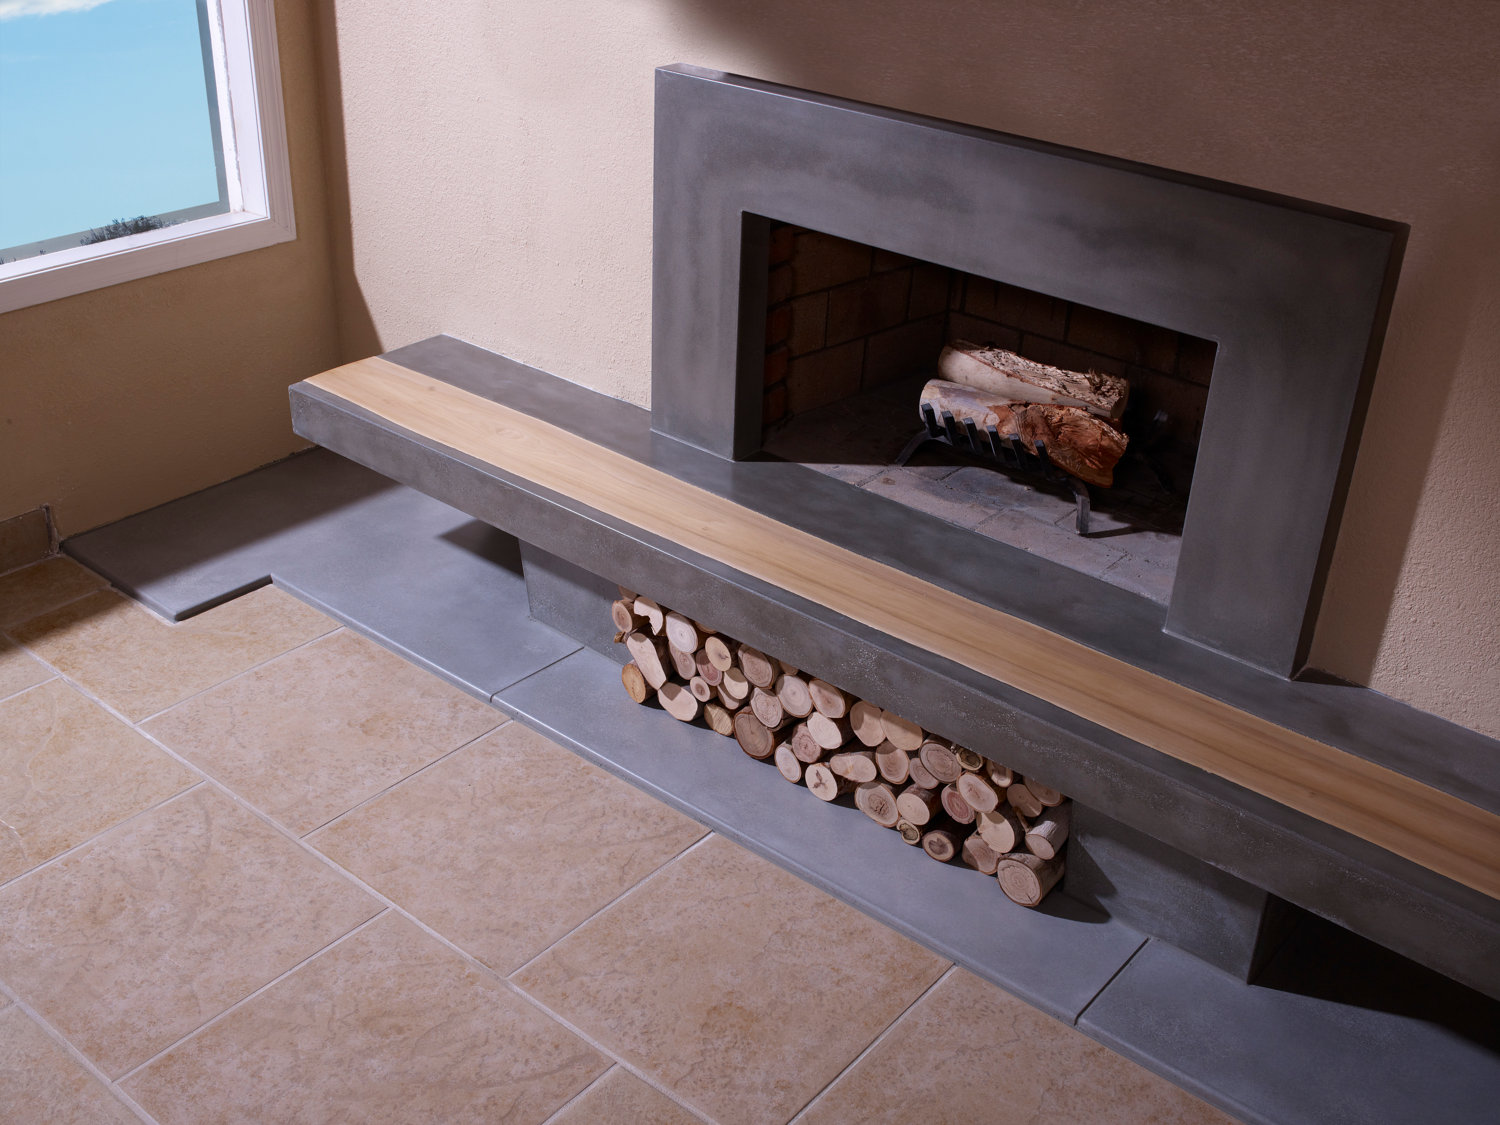
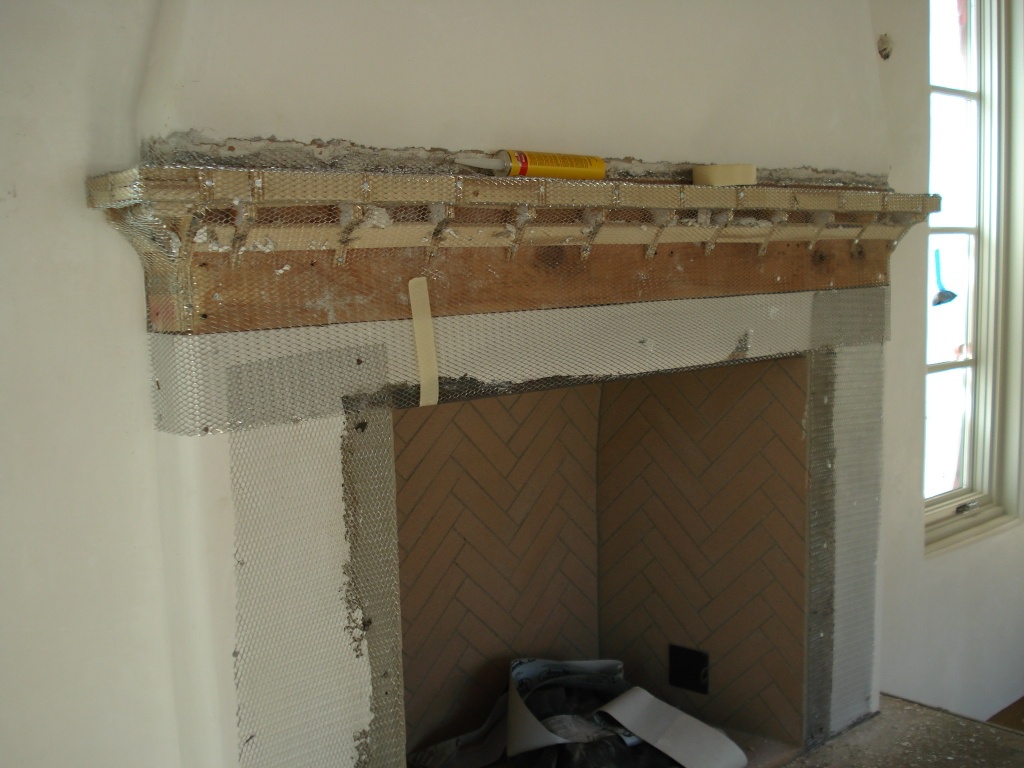
- The mantel will give the design a sense of completeness and beautiful appearance. It can be made both from concrete, and from marble, granite.
- Installing a pyramid-shaped smoke box over the fuel chamber will prevent cold air from entering the fireplace from outside.
- A stove valve installed at a height of 200 cm helps to regulate the thrust and prevents the blowing of heat through the chimney.
- Chimney should not be below 500 cm. To ensure proper traction, it is brought to a height of 2 m above the ridge of the roof.
- During construction, it is necessary to respect the proportions of the fireplace relative to the heated room.
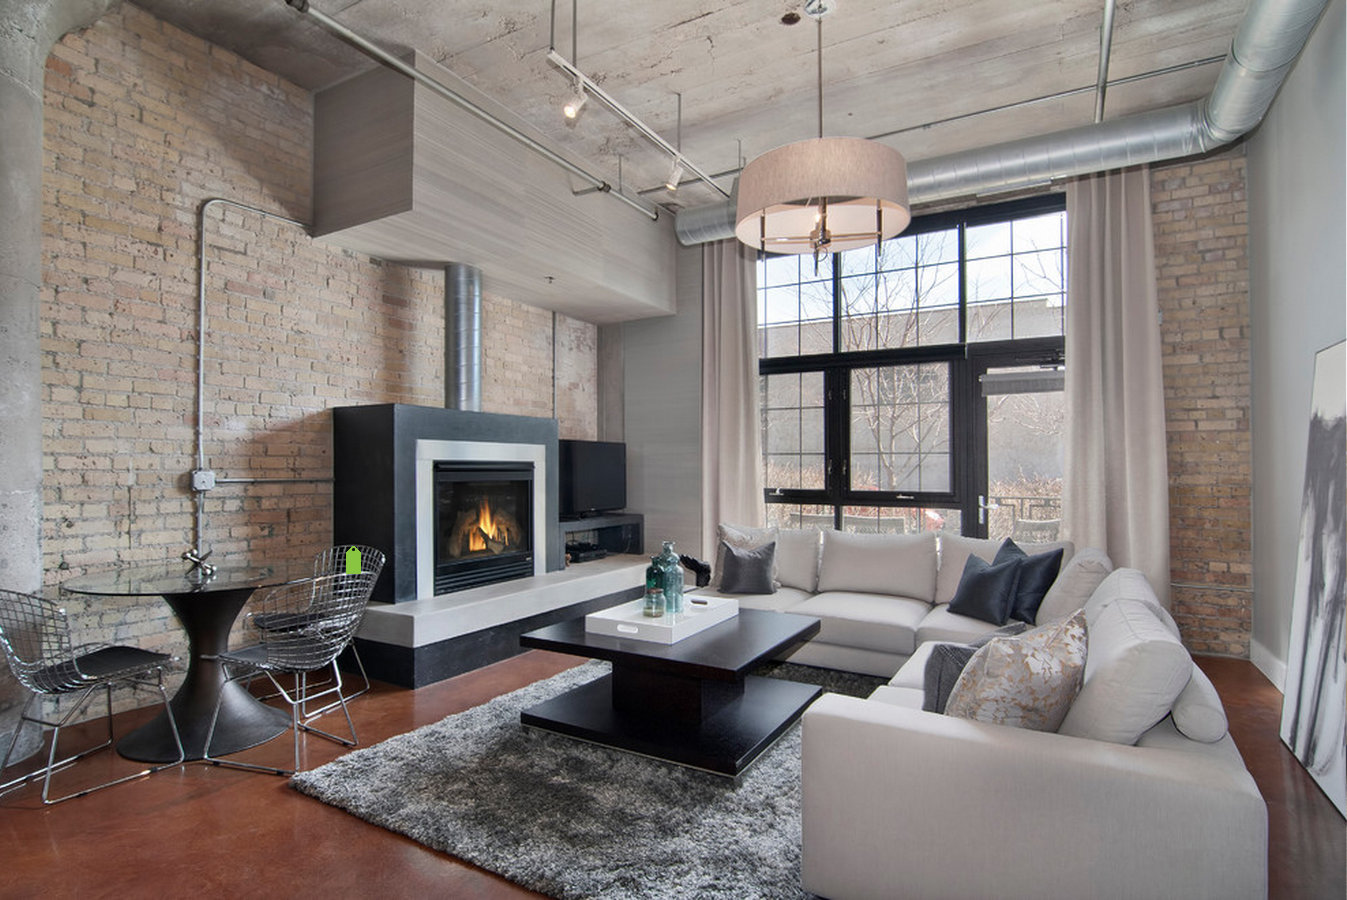
Construction of a fireplace from concrete in the finished room
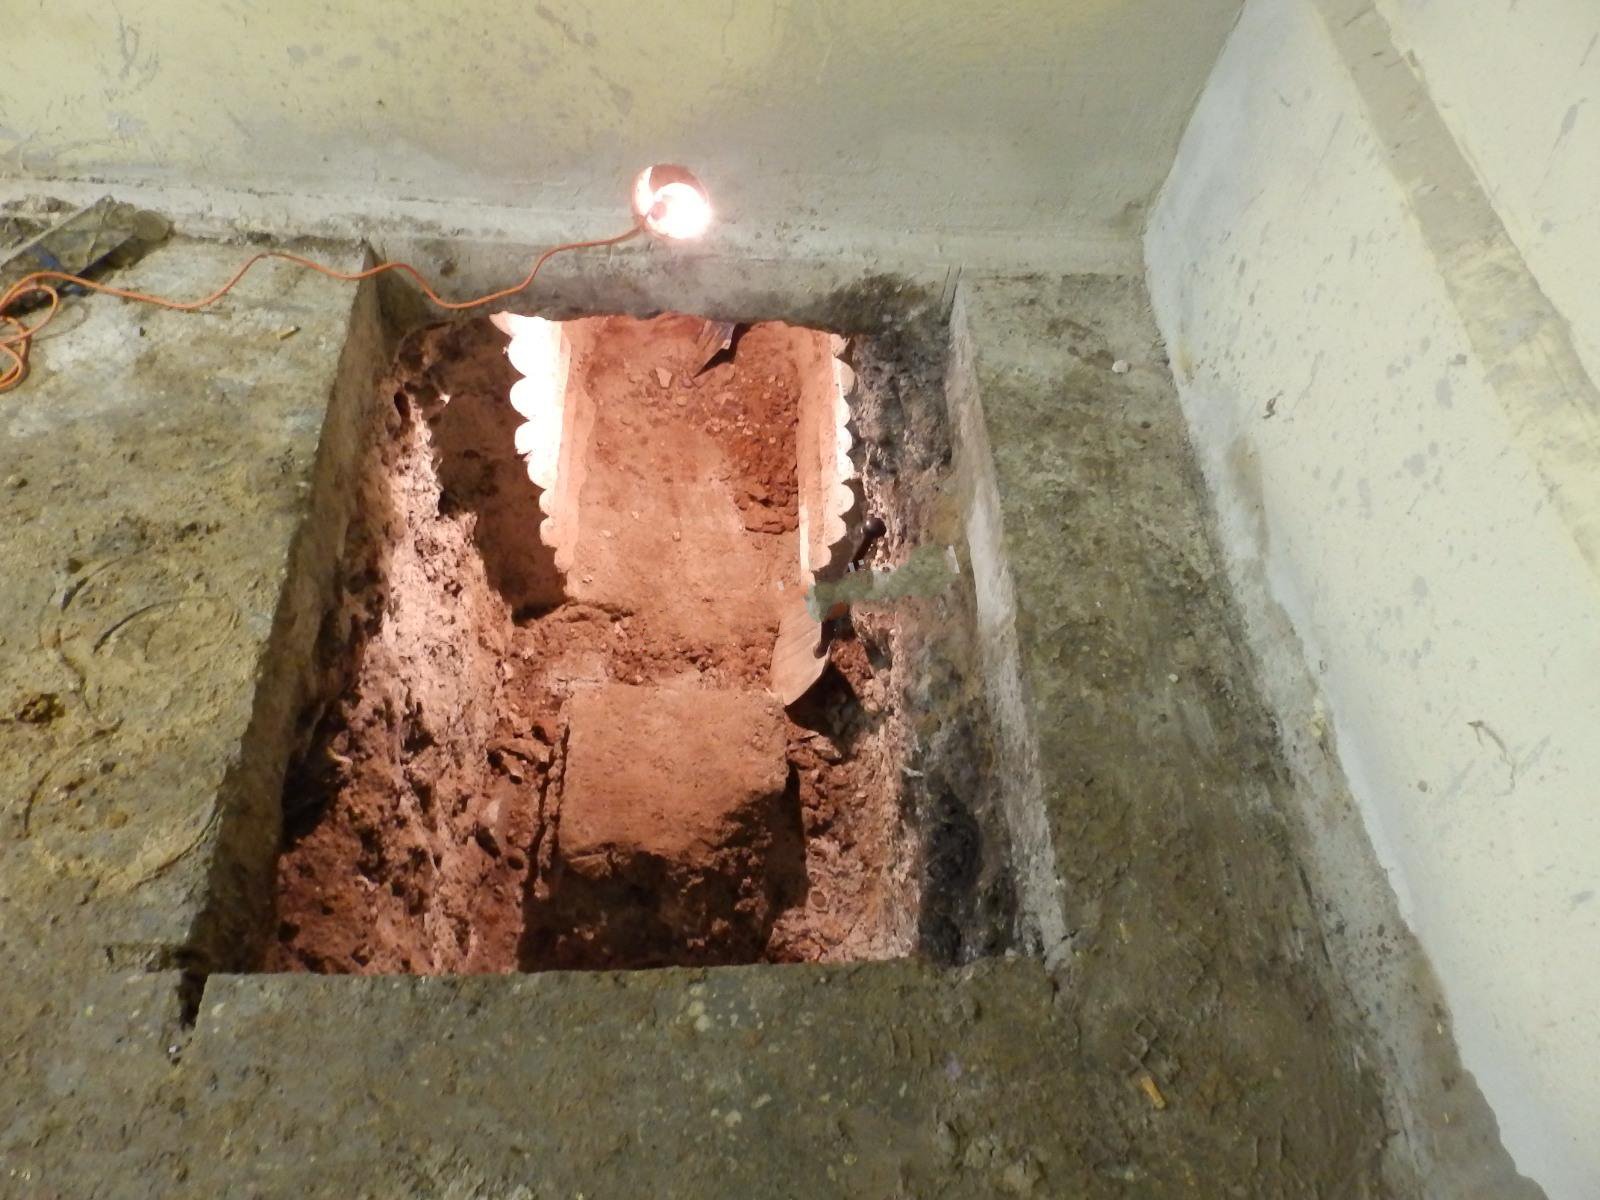
- Preparation consists in dismantling a part of the floor and digging the excavation to a depth of at least 500 mm. In a two-story house - from 700 to 1000 mm.To mark the boundaries of the foundation take the size of the fireplace table and retreat to 220 mm on each side.
- When arranging the fireplace on the second floor, I-beams are used, which are mounted in the main walls with a width of 1, 5 bricks. For light models, it is enough to strengthen the lags.
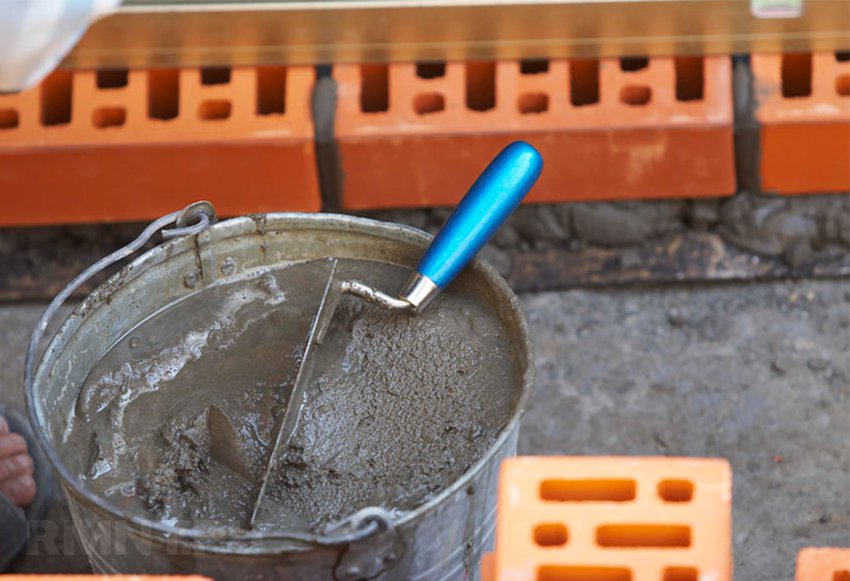
- Foundation construction. The material used for laying brick or red brick. Its height should not be higher than the floor and must be waterproofed to prevent moisture ingress from the subfloor. When building a foundation of rubble, the top two rows are laid out with bricks. For the construction of the foundation of concrete prepare a special solution with the addition of sand and gravel, which should be four times more than Portland cement. This solution should be reinforced with reinforcement mesh. It can be bought ready-made or cooked from metal bars with a section of 8 mm, soldering them together at a distance of 100 or 150 mm.
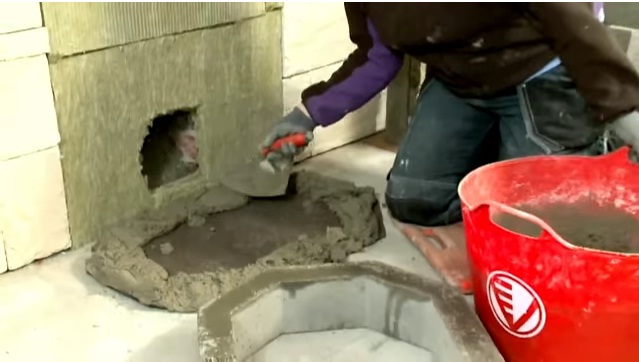
- After solidification, we begin to build a fireplace table made of concrete or a special refractory brick, to which the pre-furnace platform adjoins.
- We spread the side walls of the fireplace.
- Build a fireplace chamber.For coupling the finished blocks, a mixture of one part sand and cement and six parts sand is used.
- Install the stove with a hole for the smoke box. The latter is fixed with a solution of 1.5 cm thick.
- Facing the fireplace. As a finish, it is worth noting ceramic tiles, as it may not withstand high temperatures. Usually in such cases a brick or stone is used. Have it the same way as in the construction of the house - with an offset to half-brick.
The sequence of assembly of the fireplace from the finished gas blocks
- We are building a foundation.
- We moisten ready blocks.
- We fix the chimney at the height specified in the instructions, leaving the output open. We fasten sheets of mineral wool to the DSP along the entire length of the chimney.
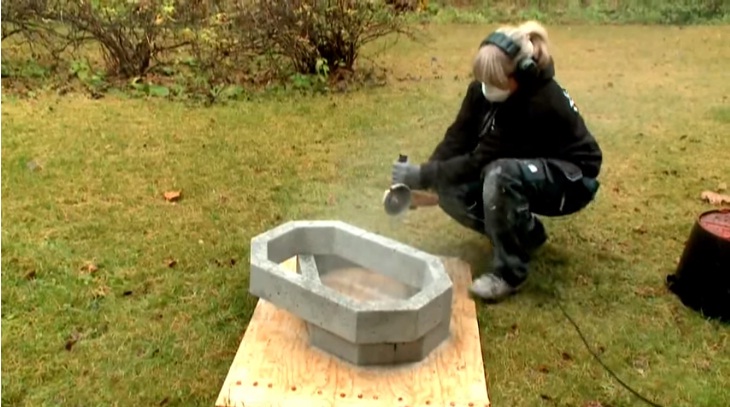
- We install the blocks on each other without adding a DSP and mark the size and location of the smoke hole with a construction pencil. Cut it with a grinder with a diamond disc.
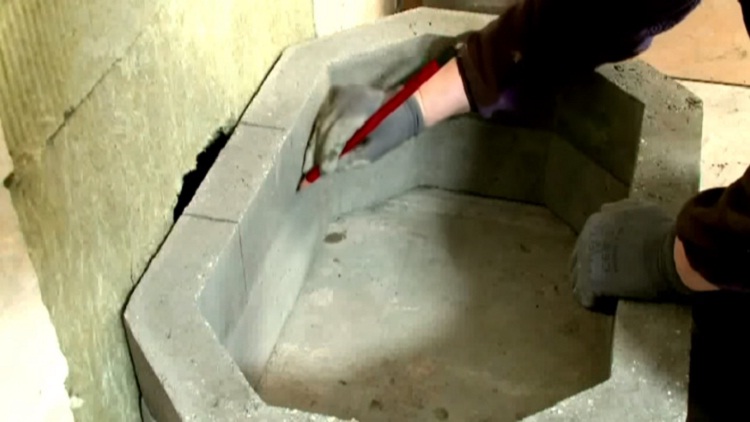
- Install the blocks on the fireplace table from an iron sheet, holding them together with a mixture of clay and sand.
- Insert the ready podzolnik.
- We spread the fireplace chamber.
- We fix the plate.
- We make facing brick.
Even a girl can easily cope with the laying of such a fireplace, which is shown in the next video.


