DIY headboard
Perhaps the most important accent in each bedroom is the beautifully designed headboard. Since the furniture market offers standard monotonous options, and you want an exclusive in the interior of the bedroom, you can turn to your creative abilities and make the headboard with your own hands.
Kinds
Depending on the method of installation and shape, the headboards are of two types: with an inclined back and a simple vertical panel design.
If we consider the sloping headboard, you should pay attention to its clear advantage in providing comfort for the back while leaning on while watching TV or reading books.
From the advantages of the panel, you can select space saving indoors (unlike the reclining backrest, which increases the length of the bed, taking up extra space on the floor, the straight panel only takes non-functional space on the wall).
The inclined headboard can be made manually from a wooden profile up to 20 mm thick or from a chipboard profile. Details are drawn on the sheet, blanks are cut out, which are carefully sanded and leveled with a file. By means of wooden dowel pins and epoxy glue, all parts are fastened together.
After checking the durability of the gluing, you can proceed to the finishing of the structure: use both self-adhesive decorative woodgrain and facing panels and upholstery fabrics. The backrest is attached to the bed frame with screws or bolts with nuts.

Key points when choosing a headboard
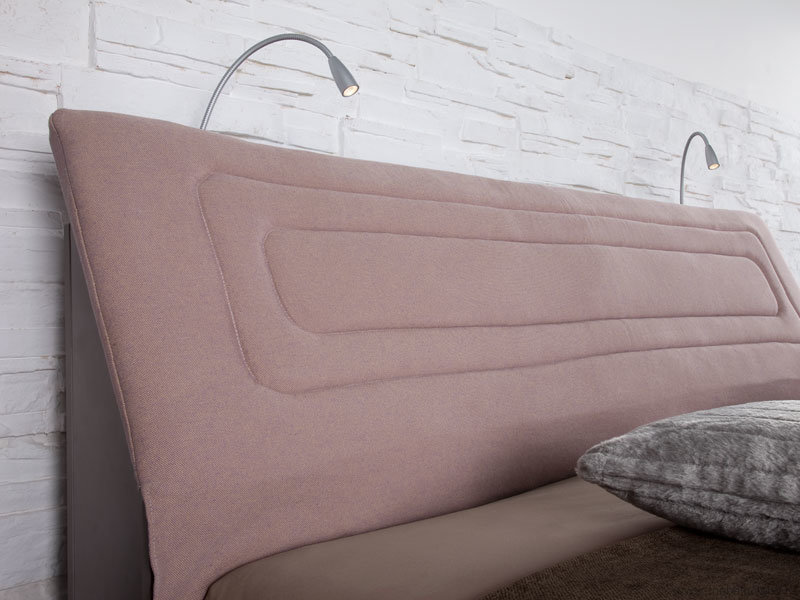
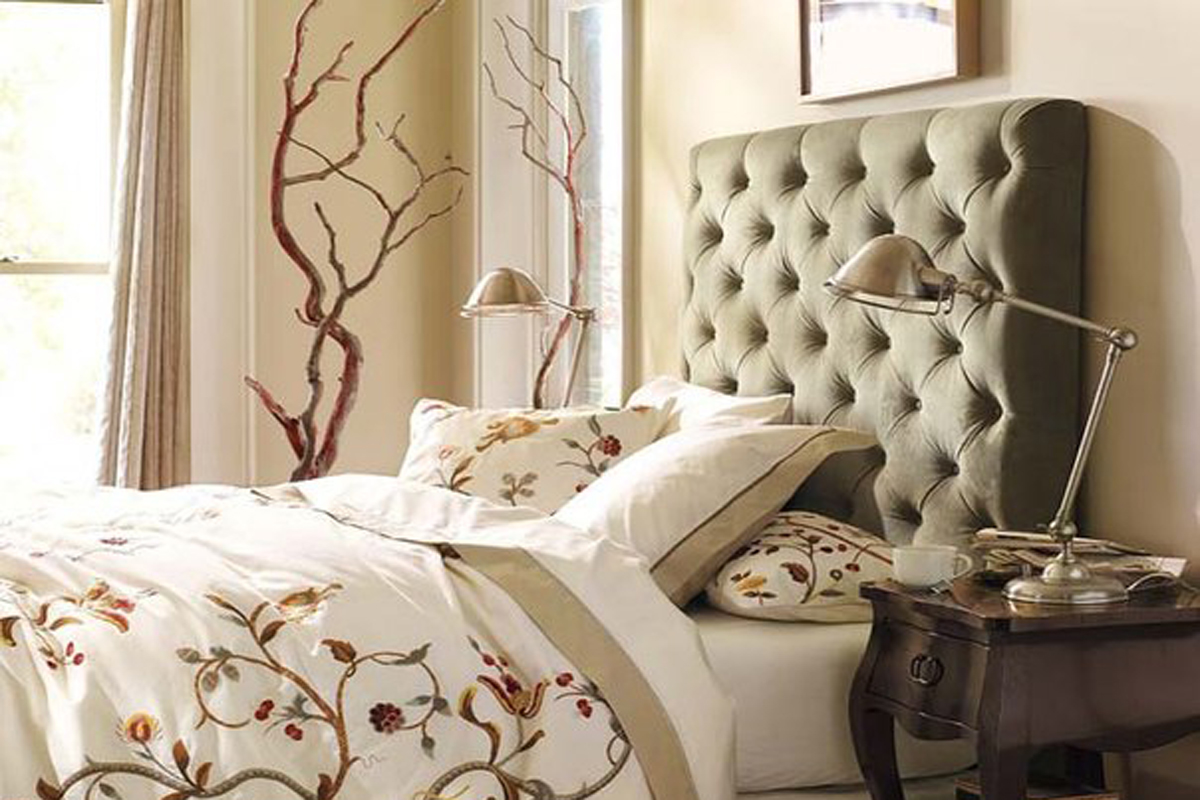
The main parameters when choosing a headboard are appearance and convenience. For those who spend a lot of time in bed reading books and watching movies more suitable soft headboard.
Taking into account the fact that the headboard will often lean on the back of the bed, you should choose upholstery fabric, the care of which will be simple (the best material will be durable artificial or genuine leather).
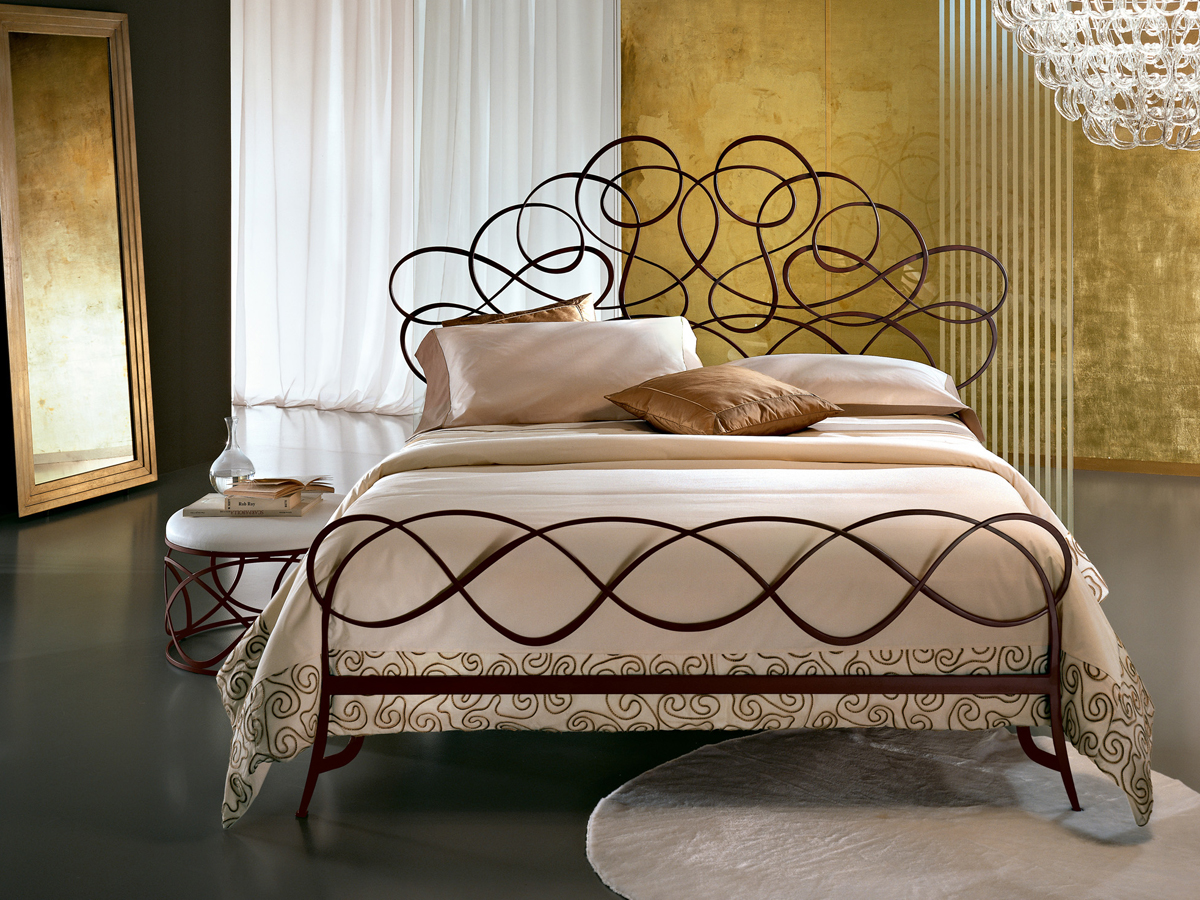
The option of a rigid back is suitable for those for whom product design is more important than comfort and functionality (for example, it is very inconvenient to lean on a wrought headboard and lay a pillow). Here you can experiment on the shape of the back, taking into account the interior and bedroom concept. From materials suitable wood, metal, plastic profiles.
As for the choice of headboard fabric, here it is worth paying attention to the following nuances:
- the back of the selected fabric should fit into the interior of the bedroom;
- it is desirable that the fabric was durable, and care for it did not bring inconvenience;
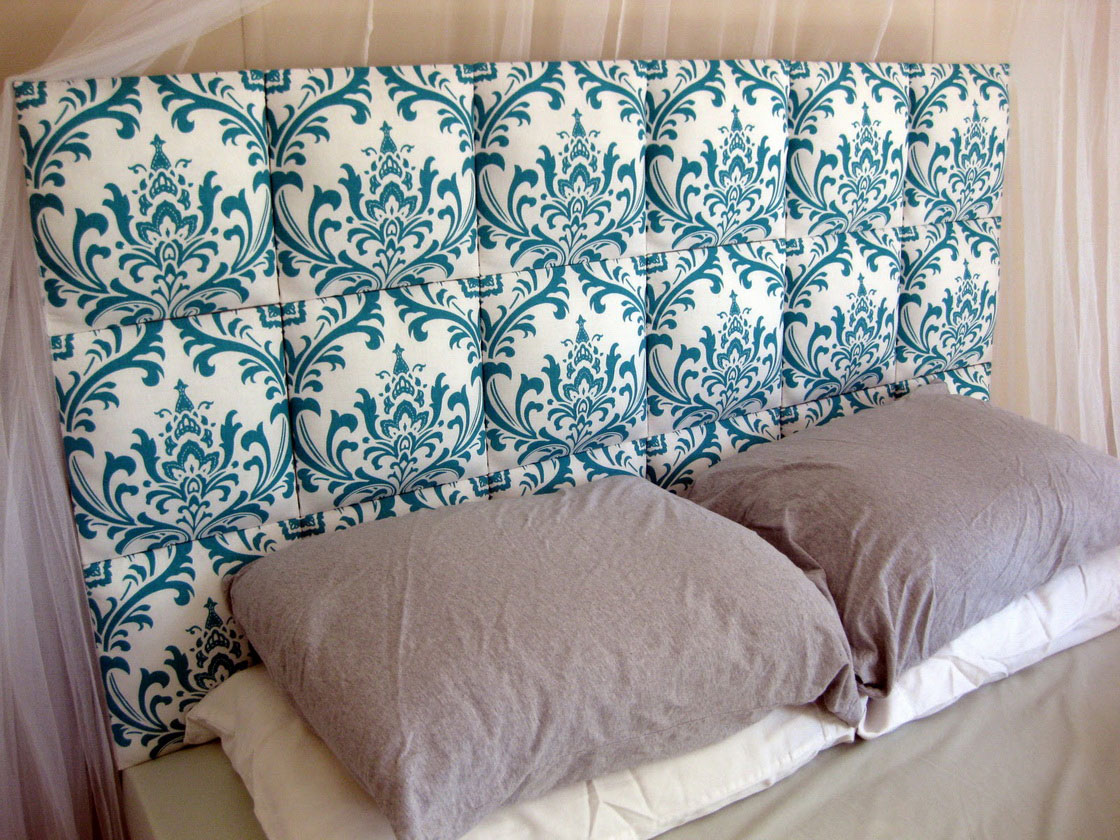
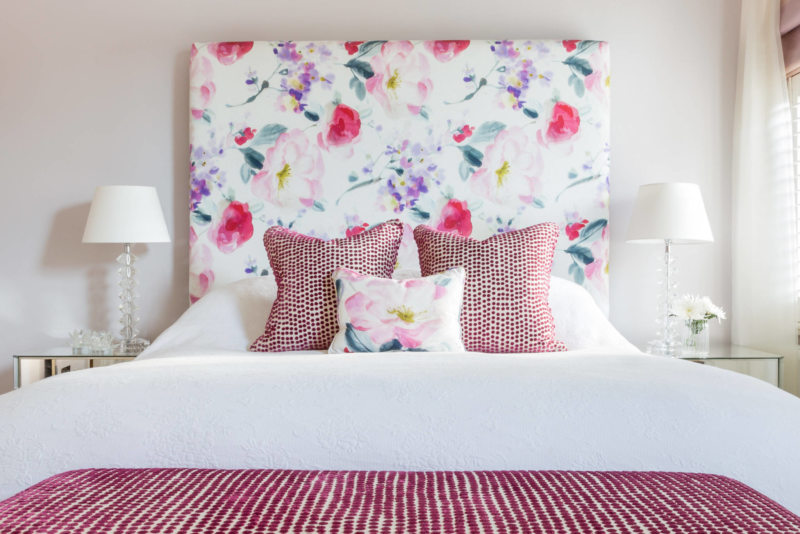
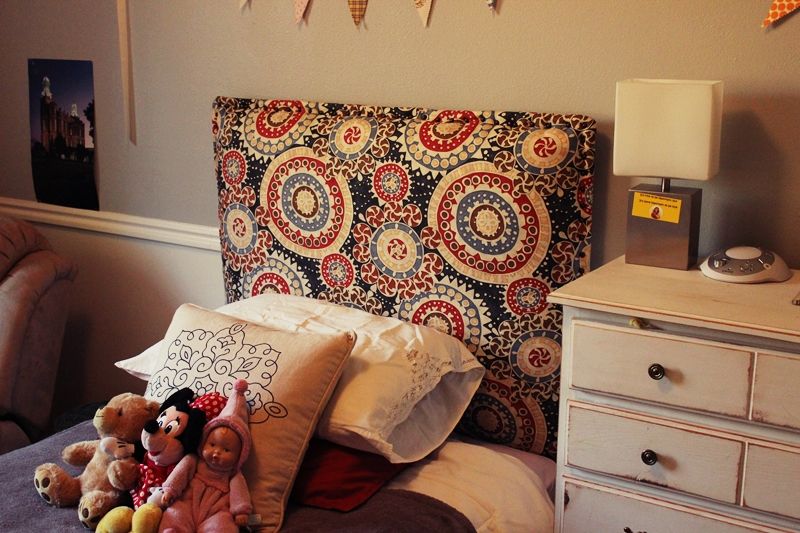
- when choosing textiles with a large pattern (flowers, geometric shapes) of bright colors, it is recommended to restrict the interior with only these prints, so as not to overload the appearance of the room.
Having considered the following styles of interiors of the premises, you can decide on the appearance of the headboard for the bed, which will harmoniously fit into the bedroom, create comfort and define the necessary accents:
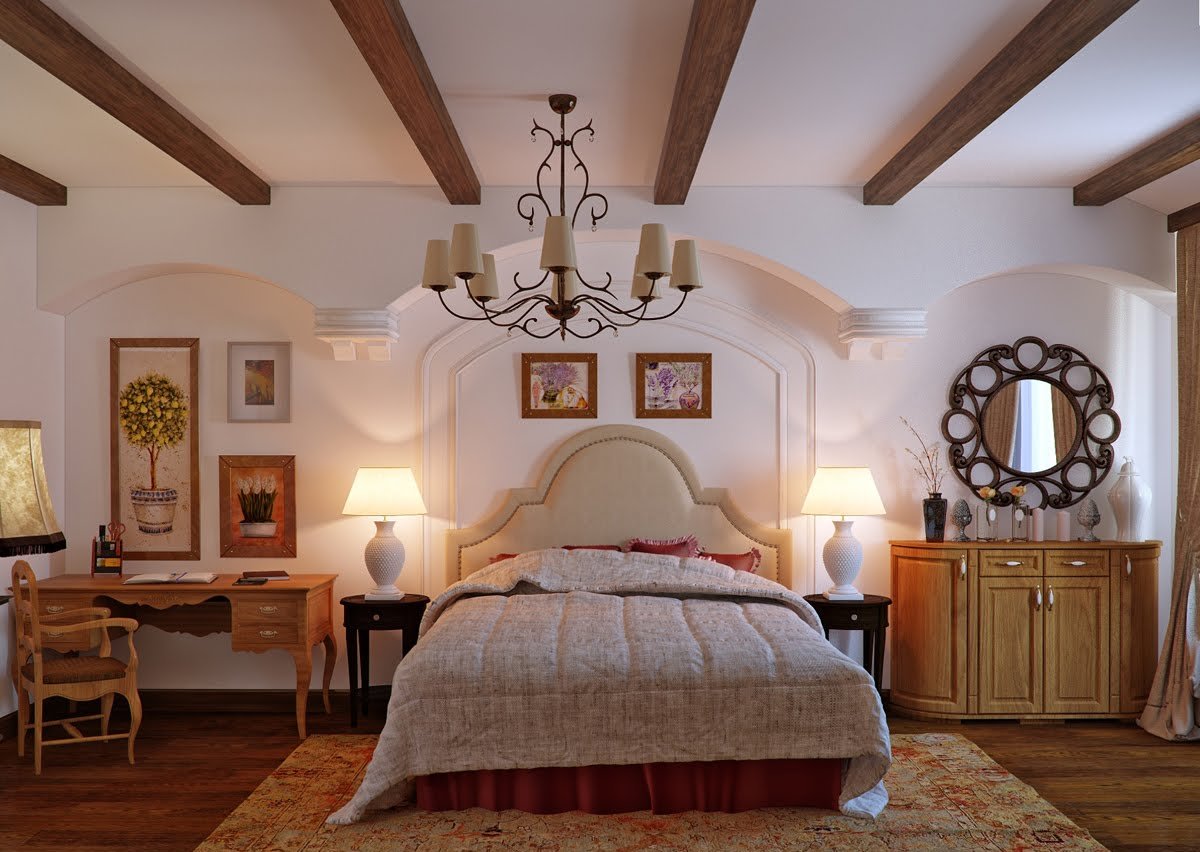
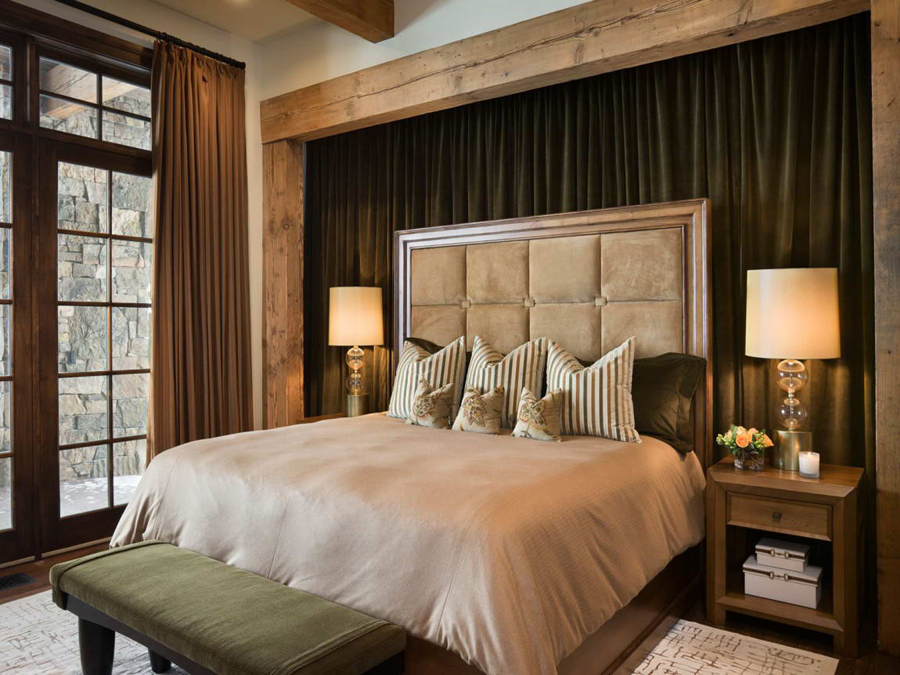
- Classical style assumes the correct geometric shape of the furniture. Pastel, soothing shades are combined with the color of the tree.Often for a bedroom in a classic style choose wooden headboards or rich options with carriage stitch.

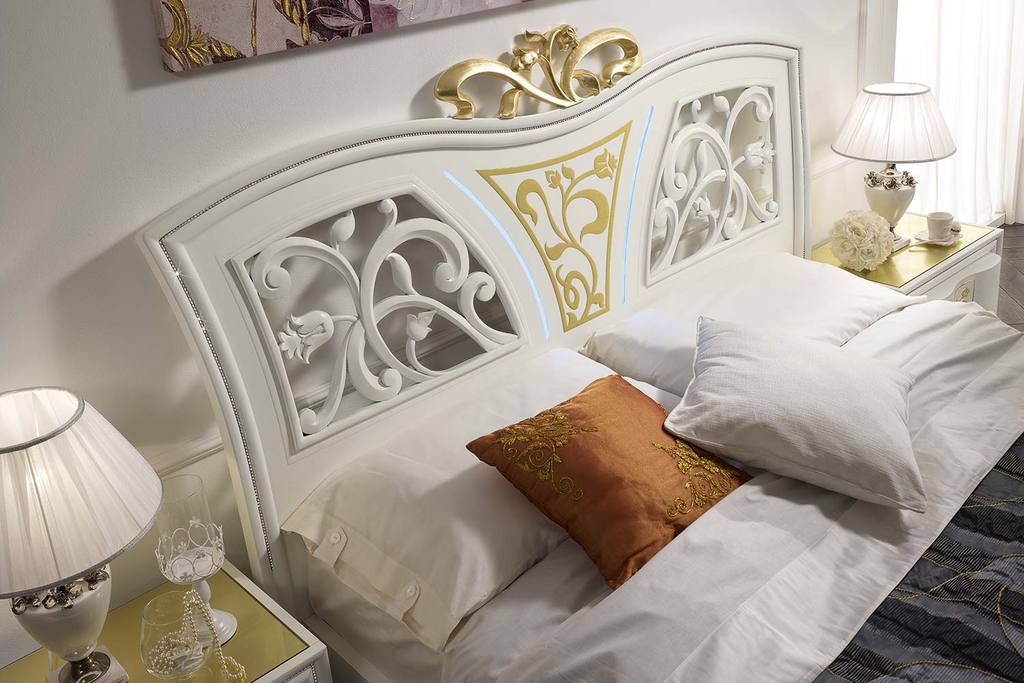
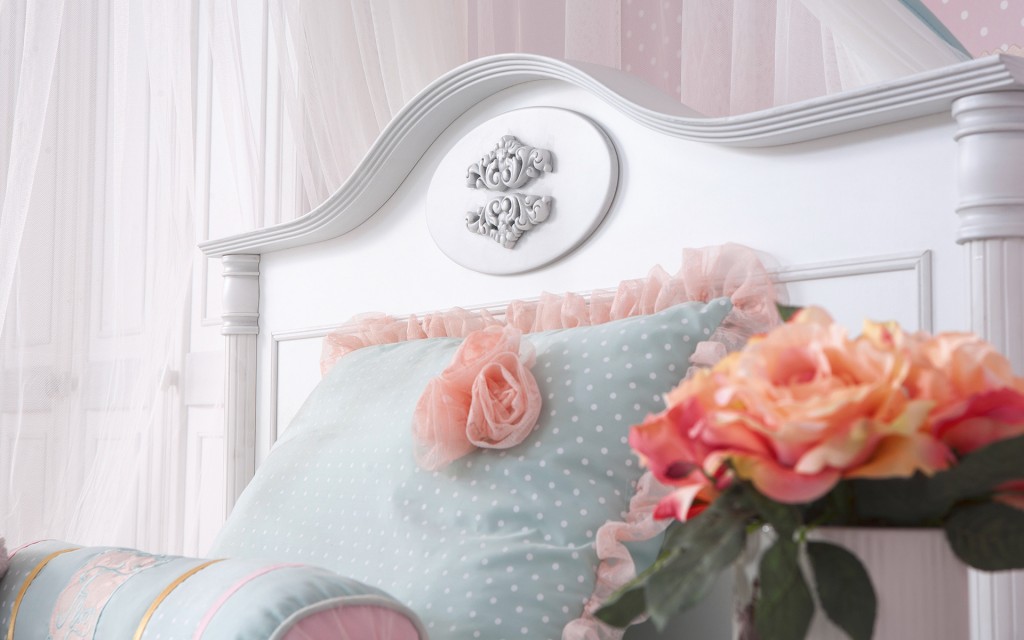
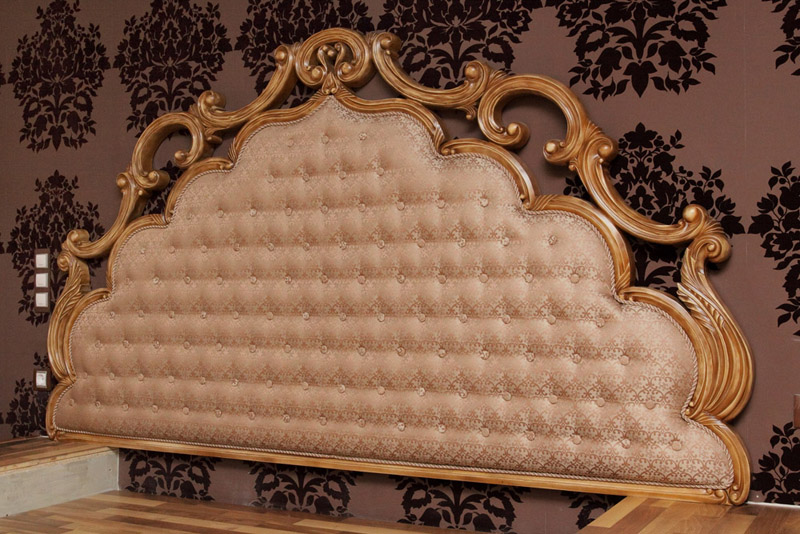
- Style baroque very fanciful and pompous. A lot of stucco, gypsum and gilding are the distinctive elements of the Baroque interior. Backs for beds of a difficult curved form with patterns will approach here.
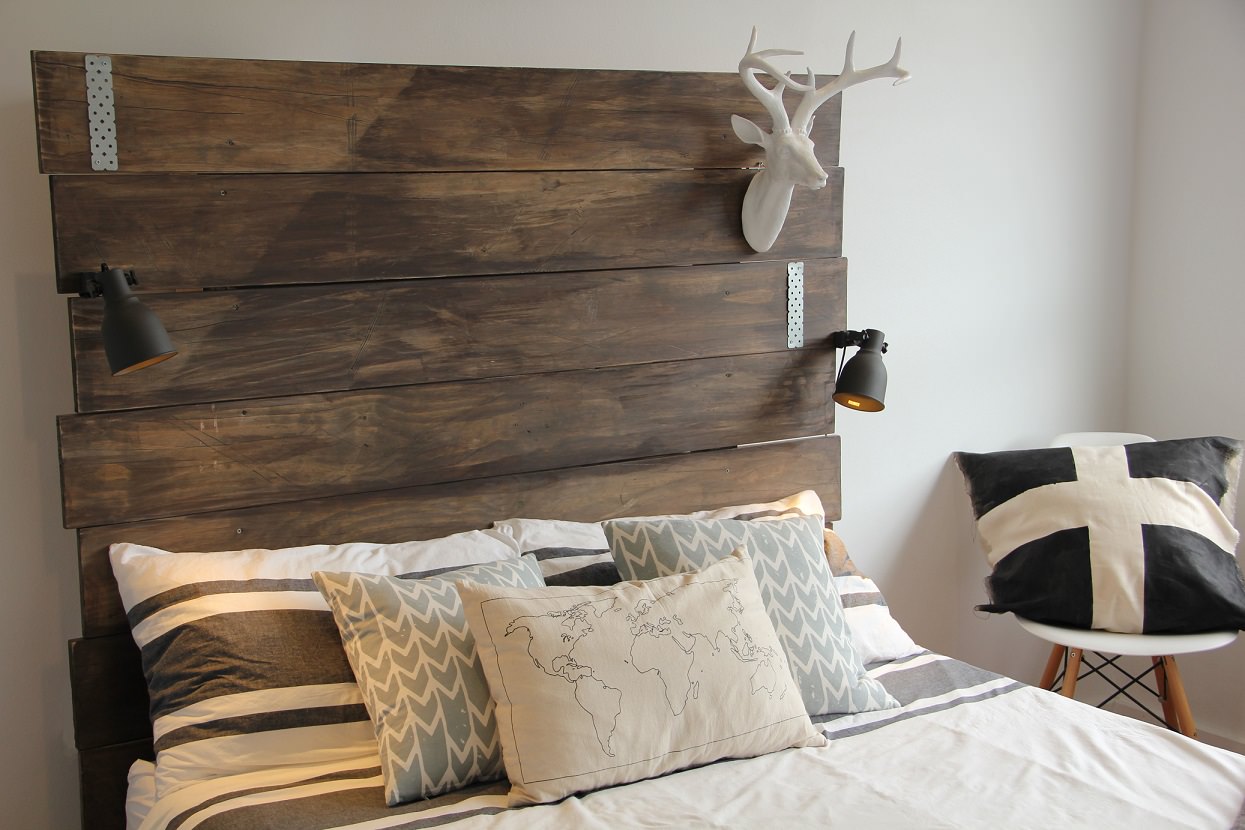
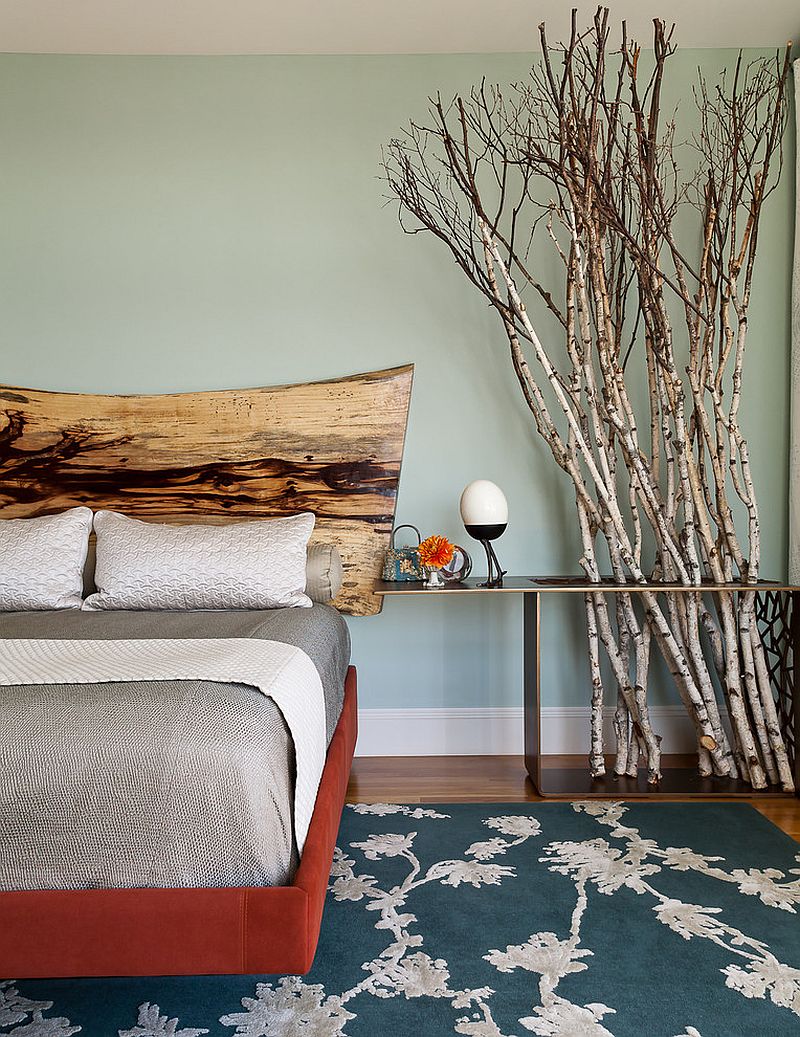
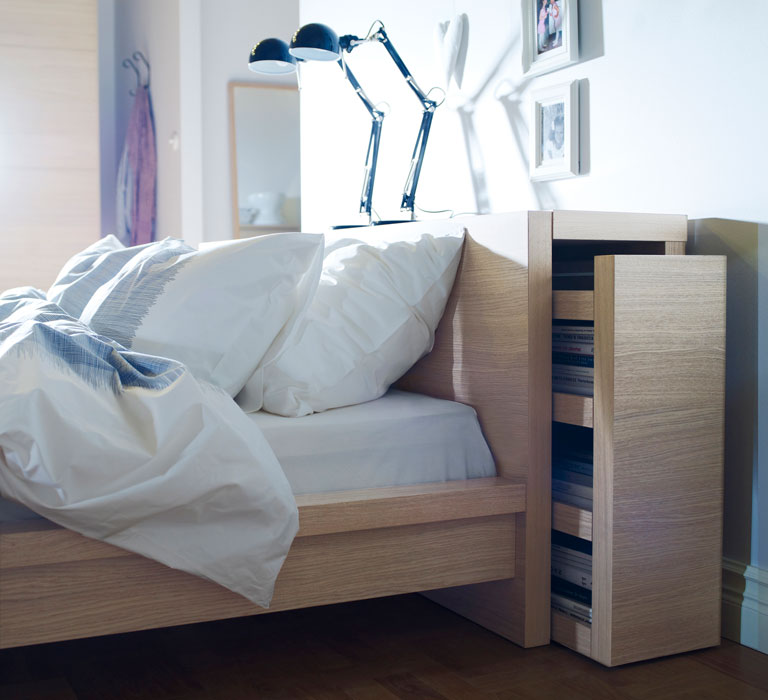
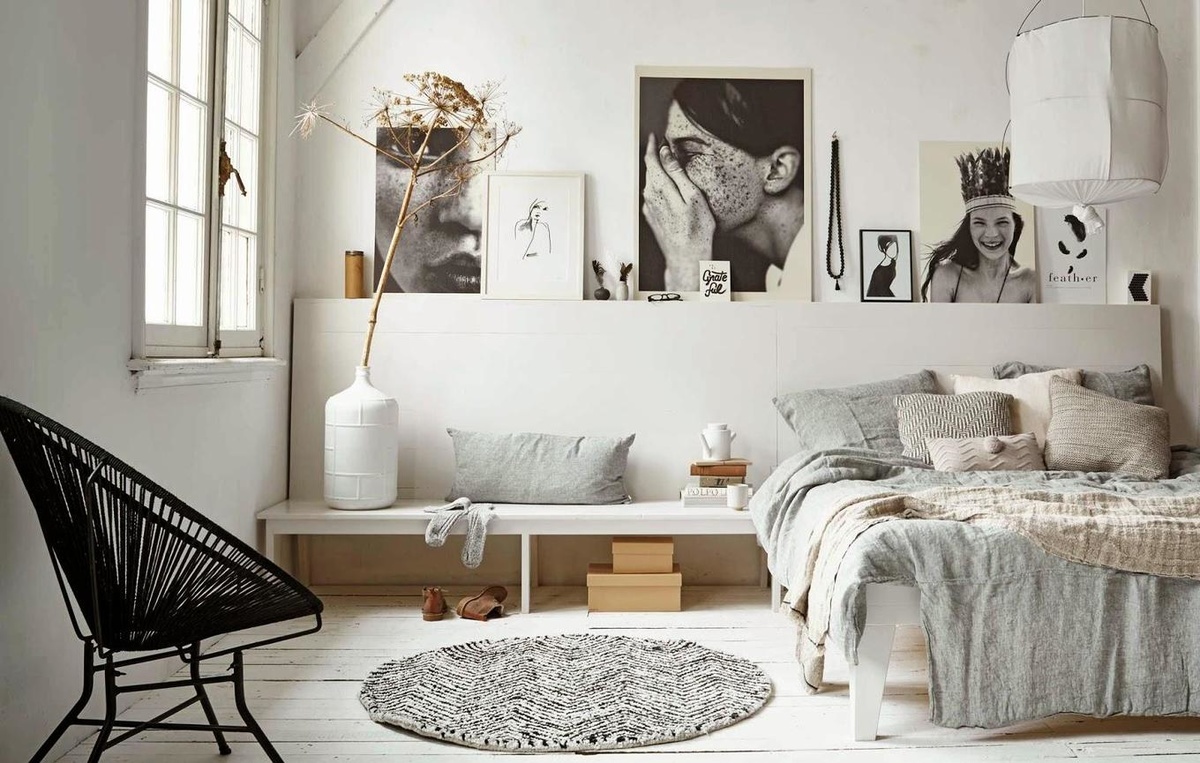
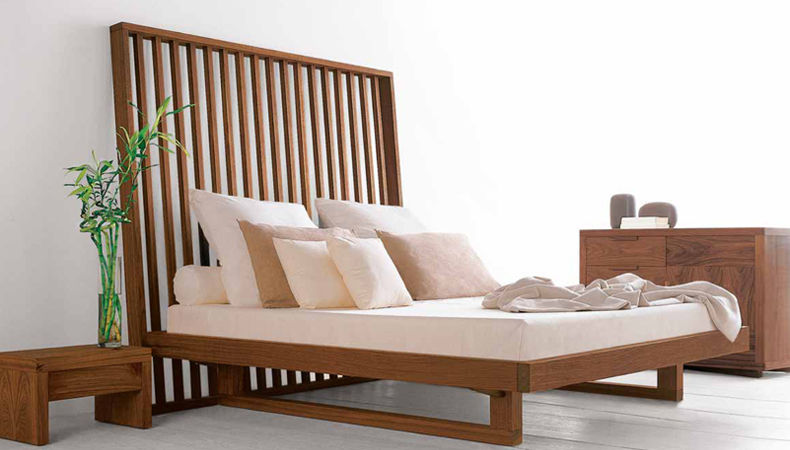
- Popular now Scandinavian style is characterized by the predominance of natural materials of light colors. Functionality, simplicity and light are the main attributes of the Scandinavian interior. When choosing a headboard, you should pay attention to the options of wood, cotton and linen fabrics, drawers are welcome, located on the reverse side of the profile or bookshelves.
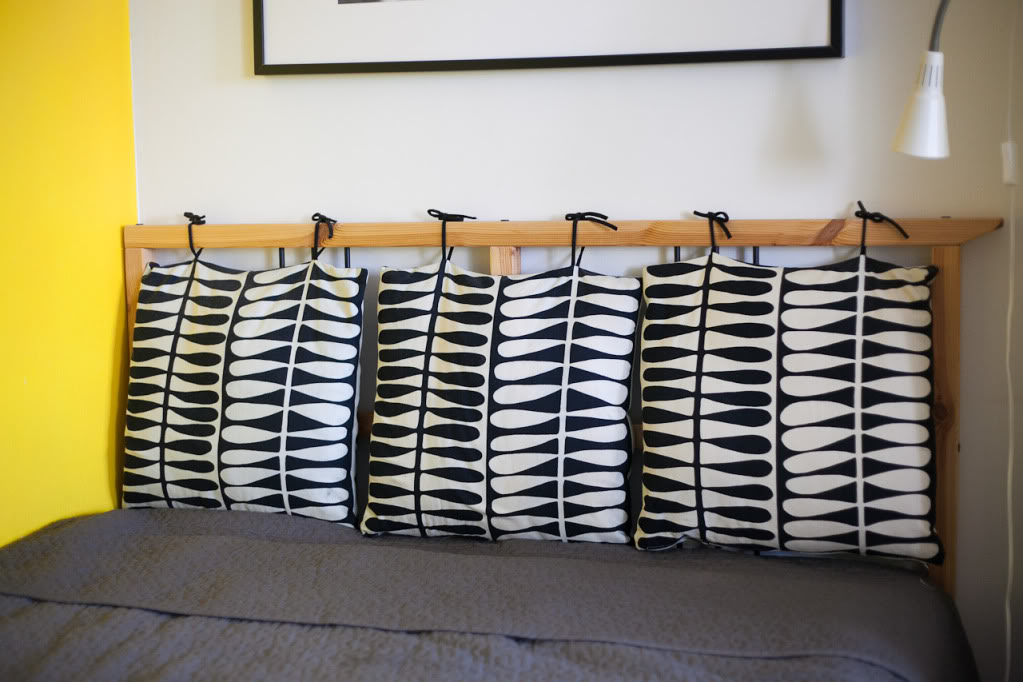
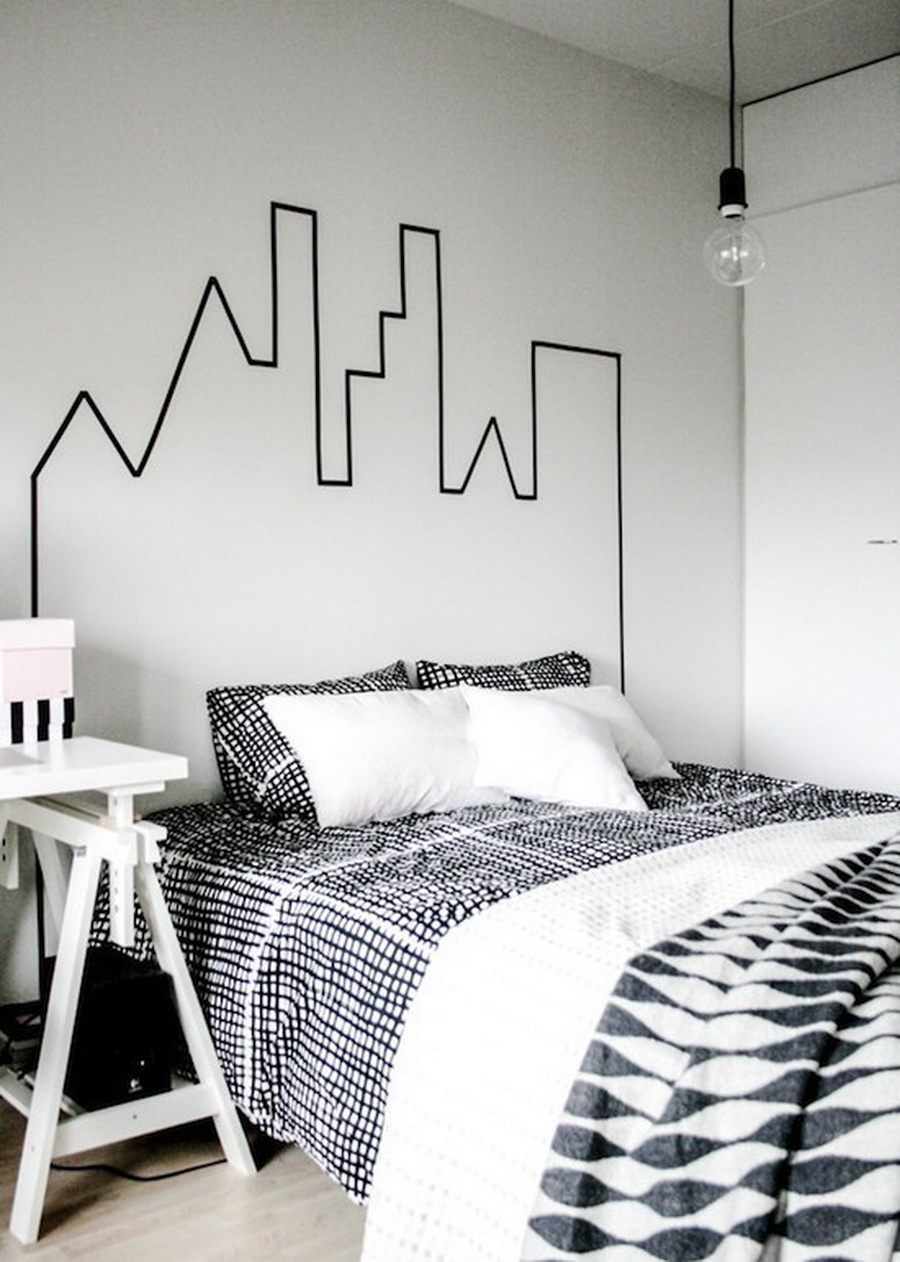
- High tech loves chrome, shiny metal and glass. The strict geometric shape of the headboard in black and white is the perfect choice.
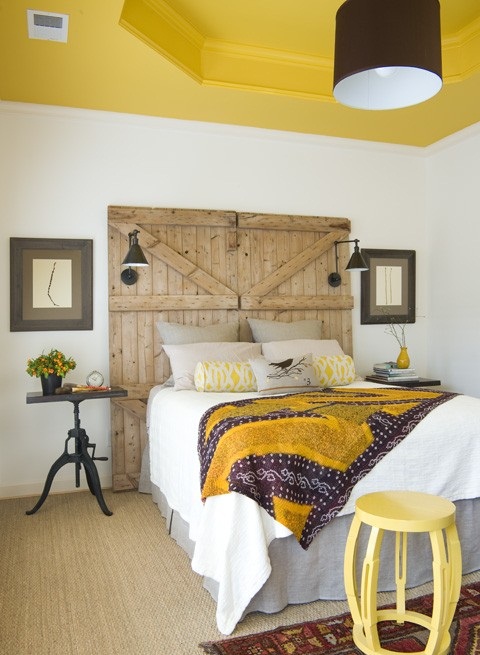
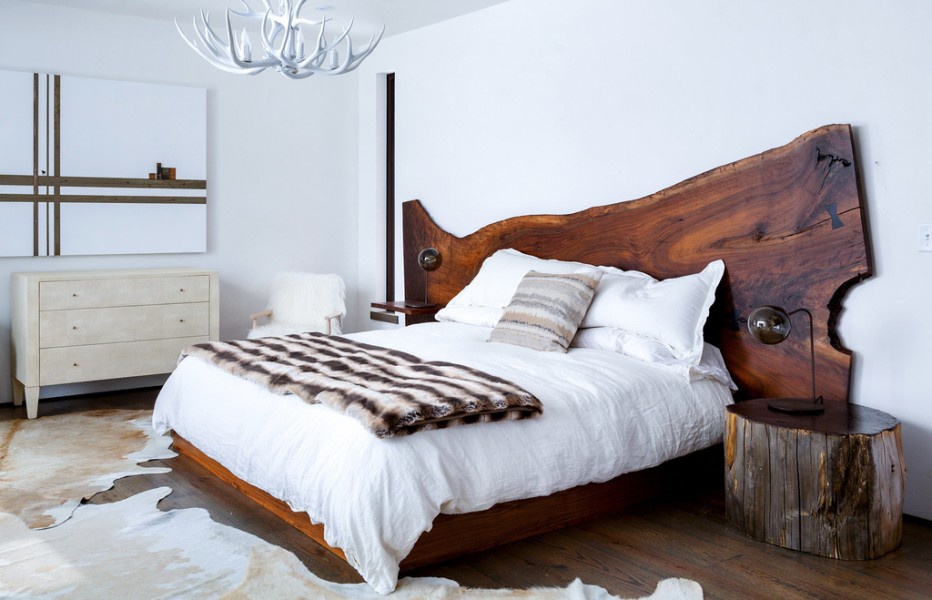
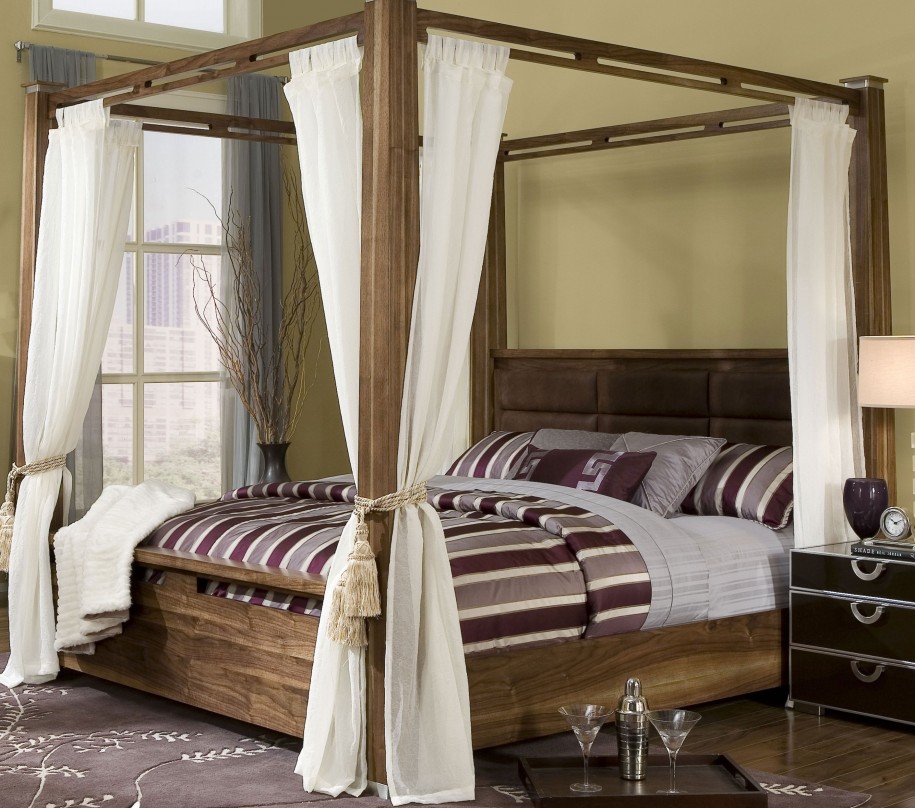
- American style suggests dark wood in combination with light walls and textiles. When choosing a headboard in this case, you can focus on the classic options.
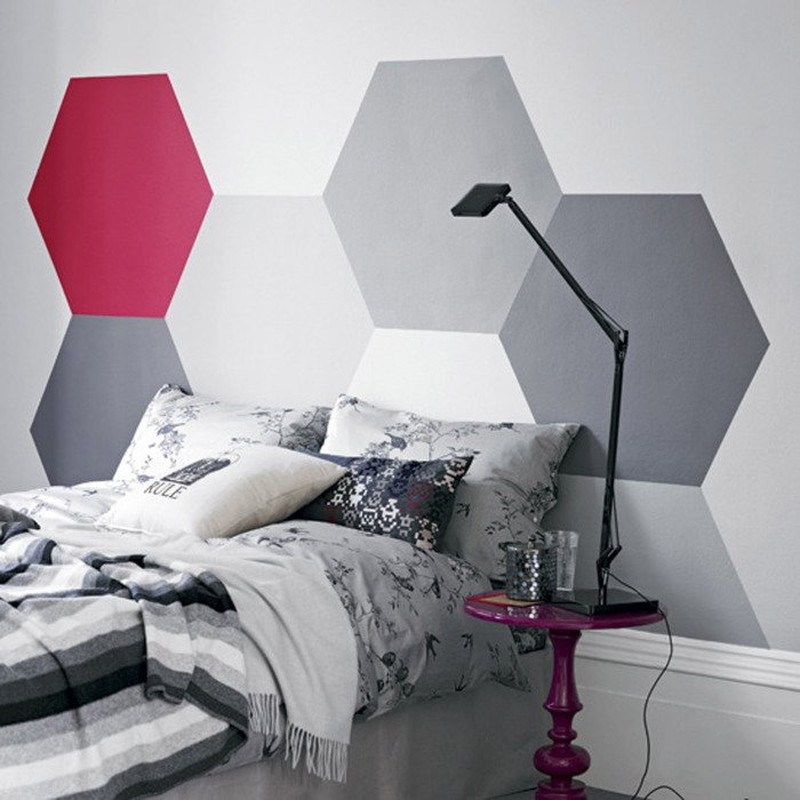
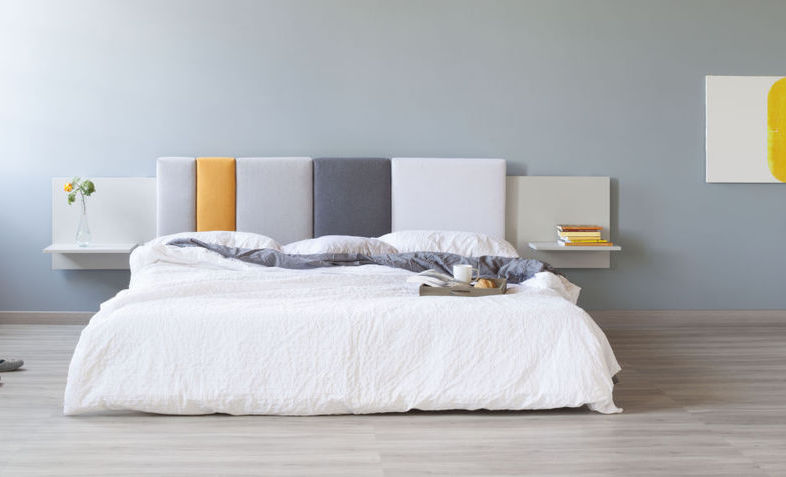
- Minimalism, like the Scandinavian style, welcomes restraint and functionality in everything.Headboard colors can be pastel, light gray, blue and beige.
- Modern Does not tolerate rough design and sharp corners. Smooth lines of a headboard from plastic or metal will fall here by the way.
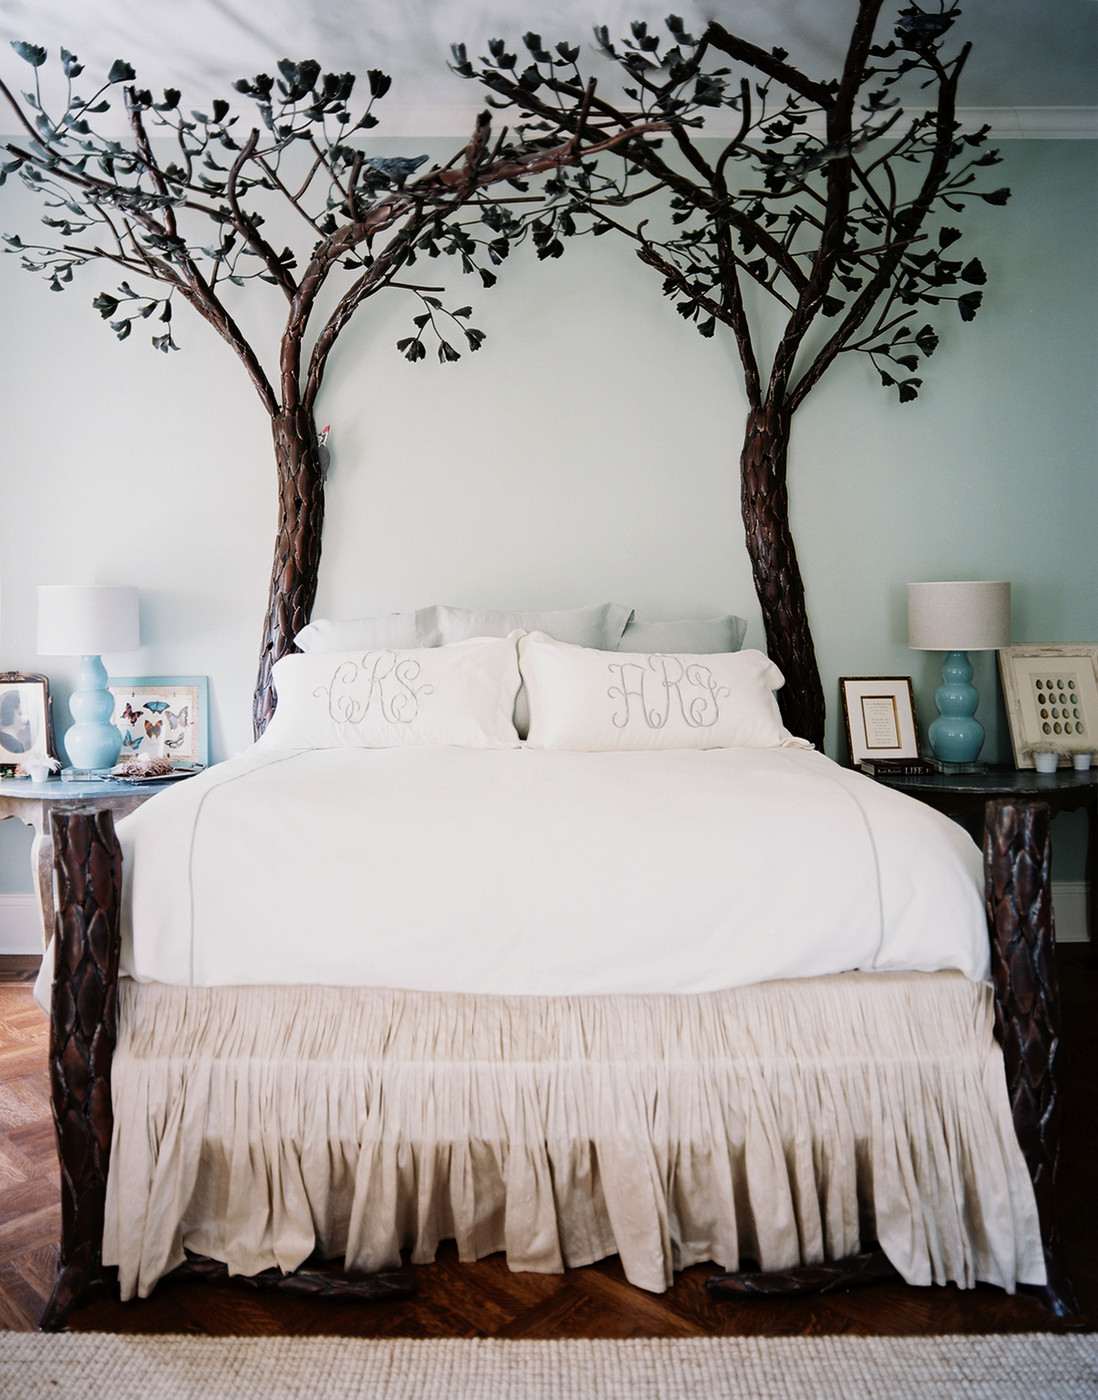
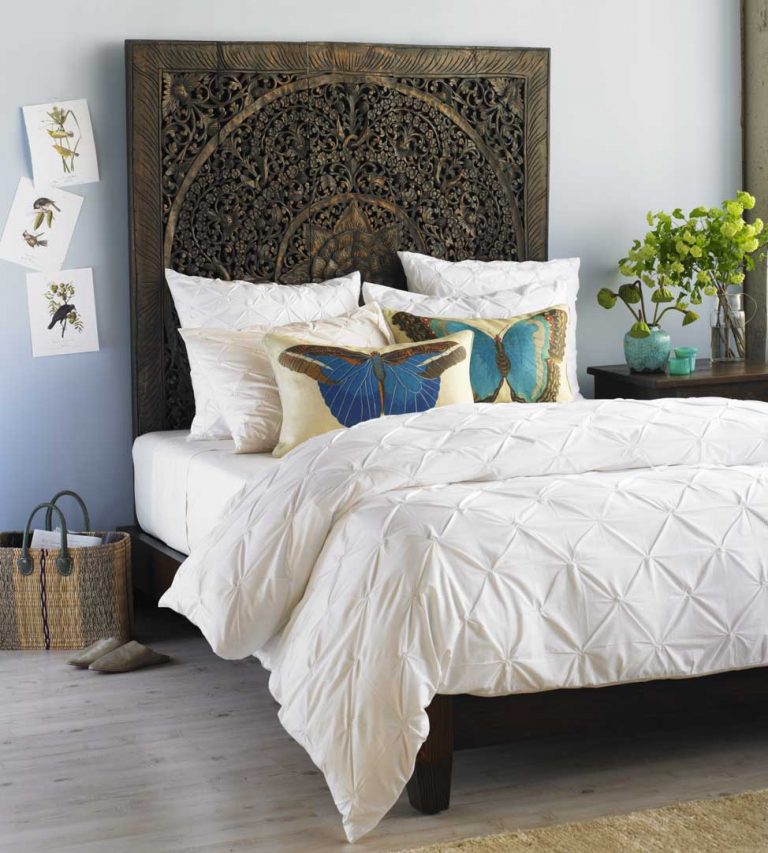
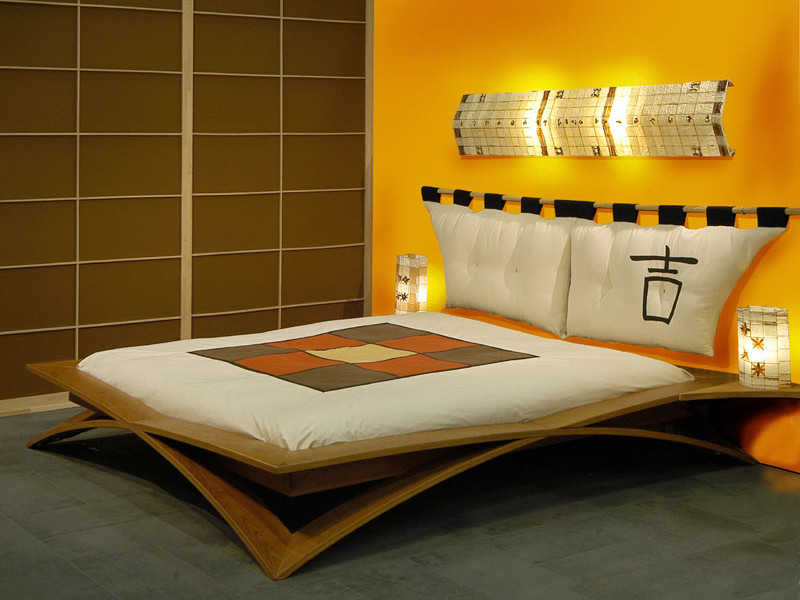
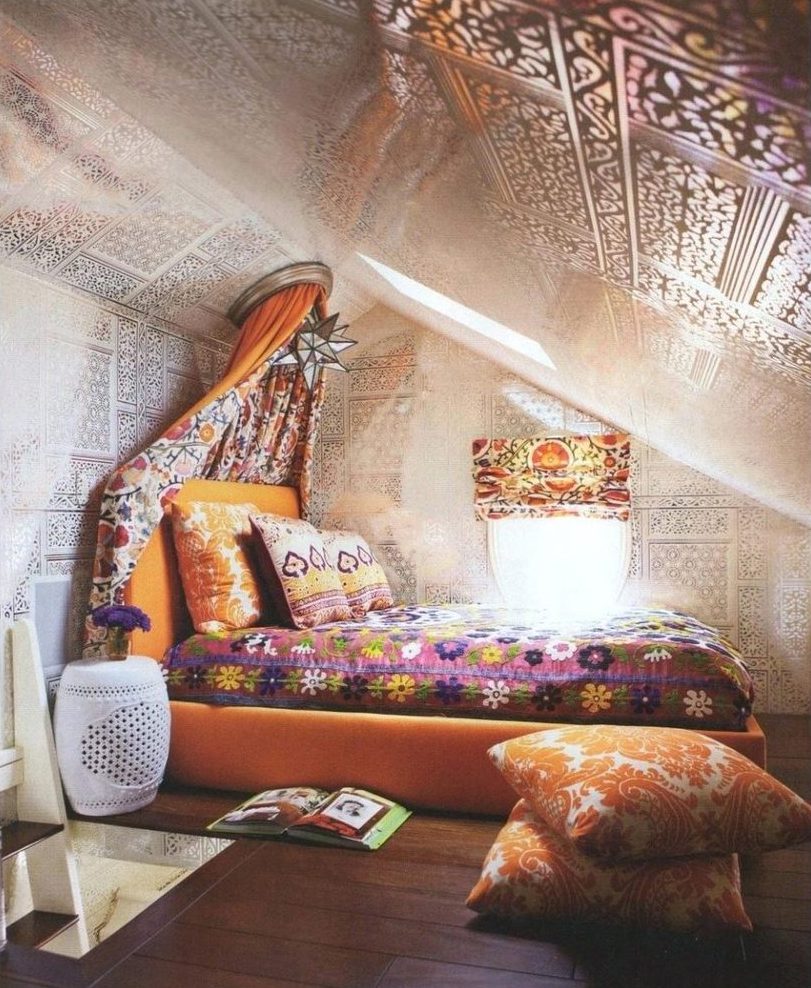
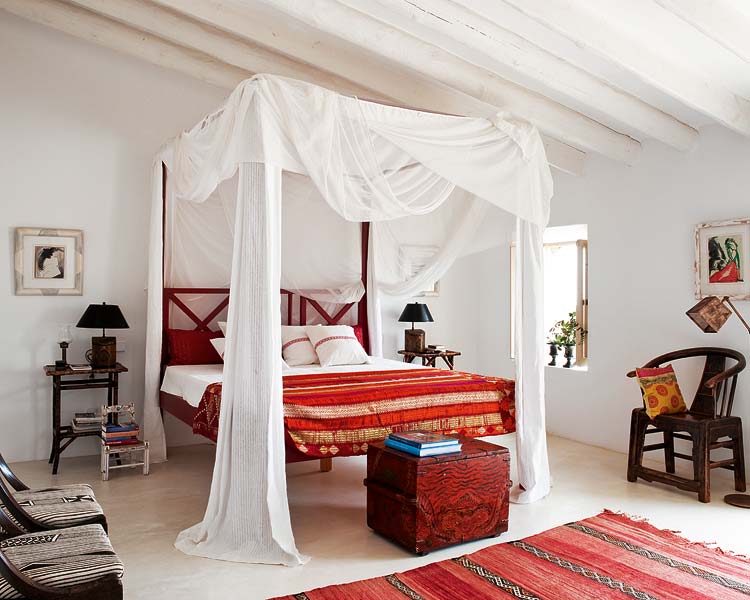
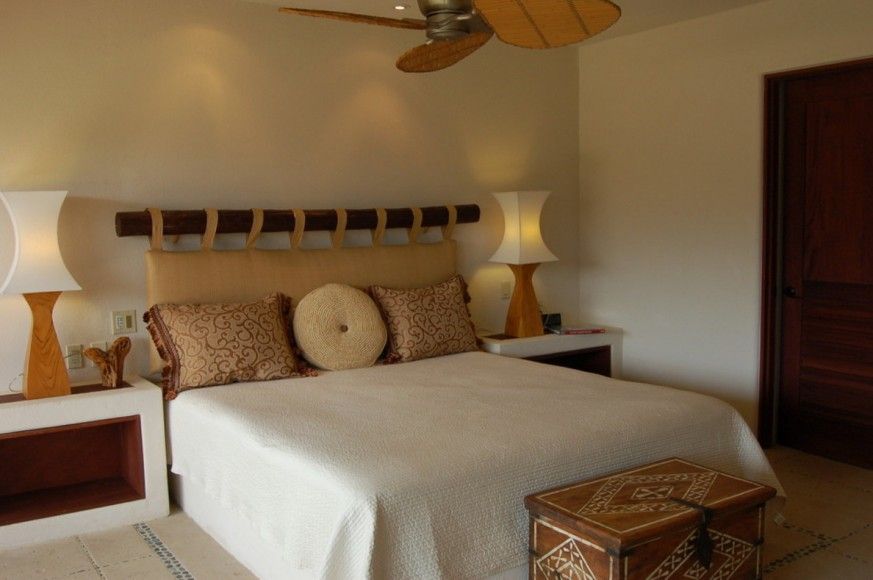
- Oriental style is the wealth of painting and paint. Carved backs or canopies will perfectly fit into the interior of a bedroom in an oriental style. Inlaid as no one canceled.

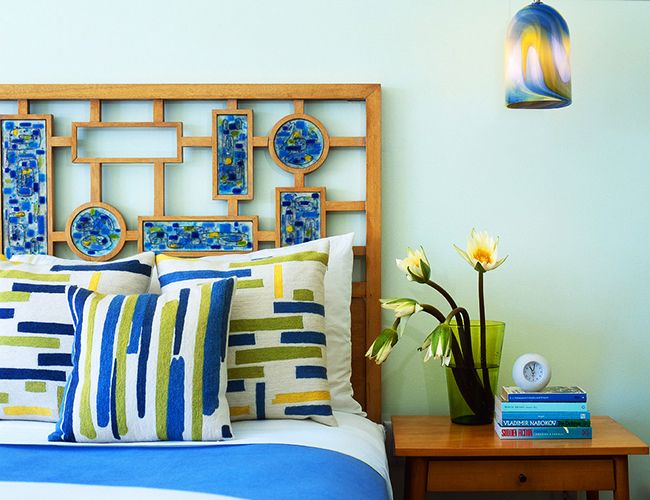
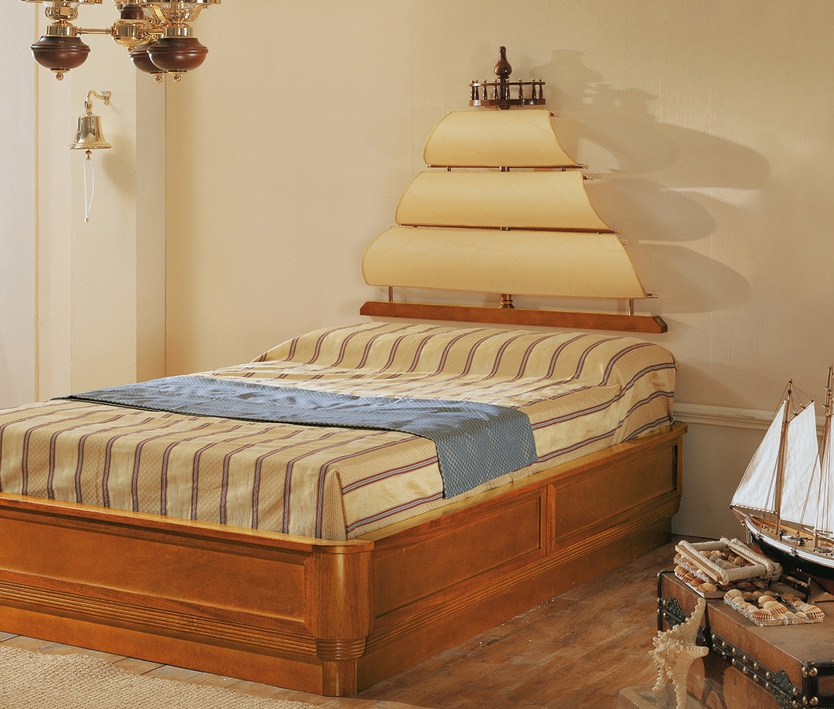
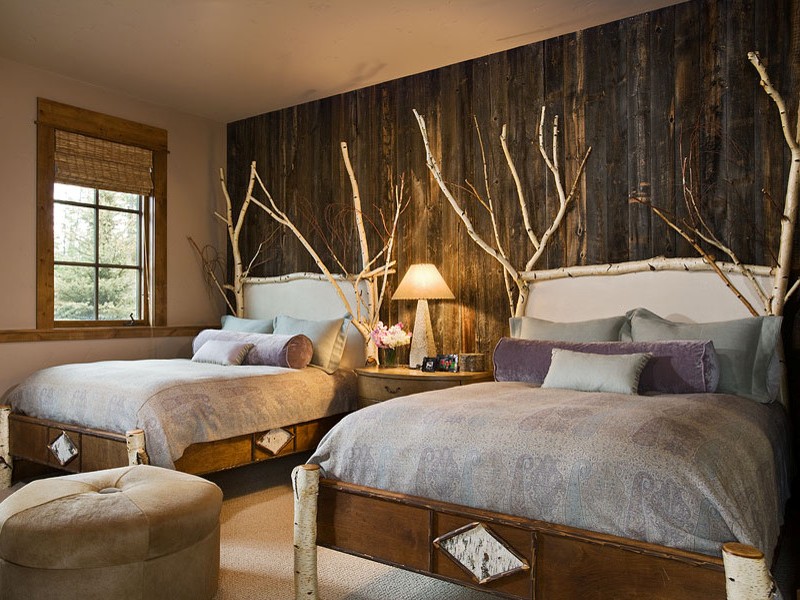
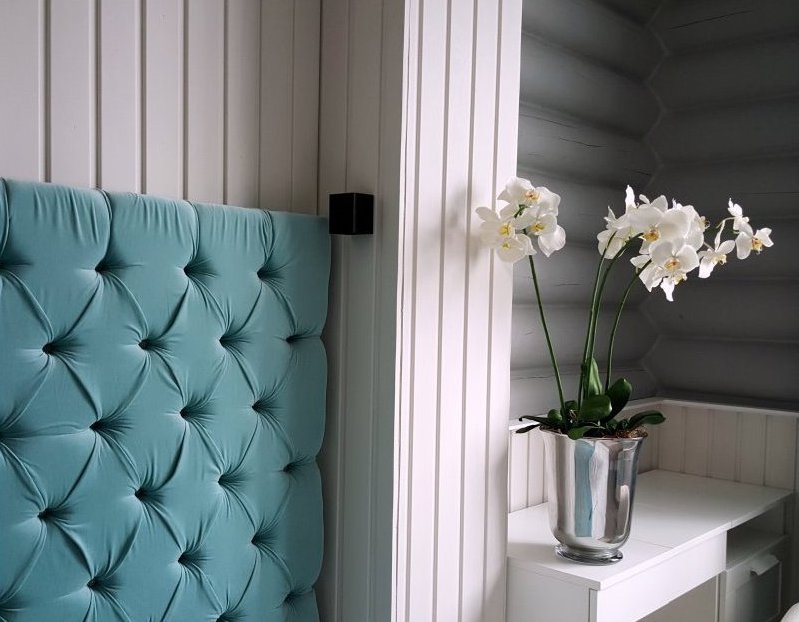
- Nautical style is famous for the predominance of fresh colors in the interior. Therefore, it is better to choose a headboard in blue, white or turquoise. Materials products: aged wood, metal forging, natural textiles (except leather).

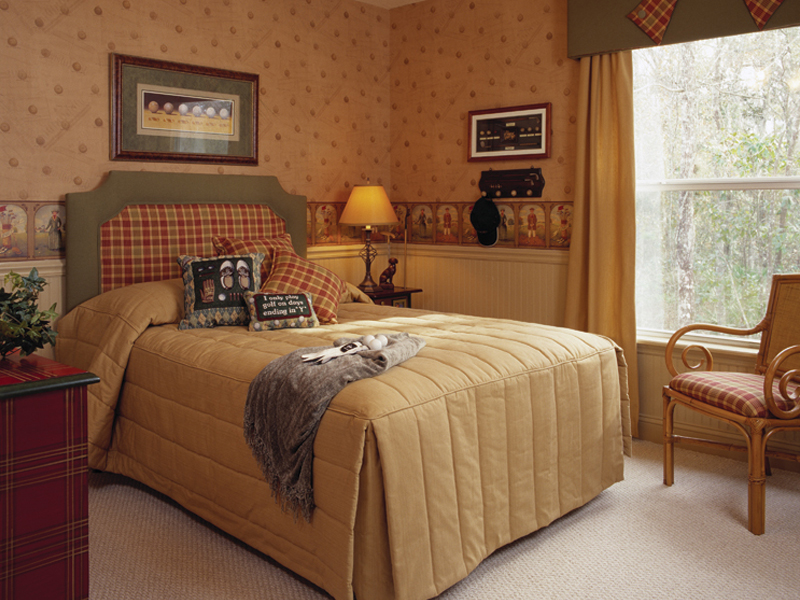
- Style country music - This is a warm and bright range of colors in the interior, wooden furniture, ornaments, natural textiles. The ideal headboard for a bed decorated in country style will be a product of leather, tapestry, from a variety of multi-colored pillows.
- Style Empireon the contrary, expensive and luxurious. Only high quality materials are acceptable. A bronze or leather headboard will be appropriate in this bedroom.
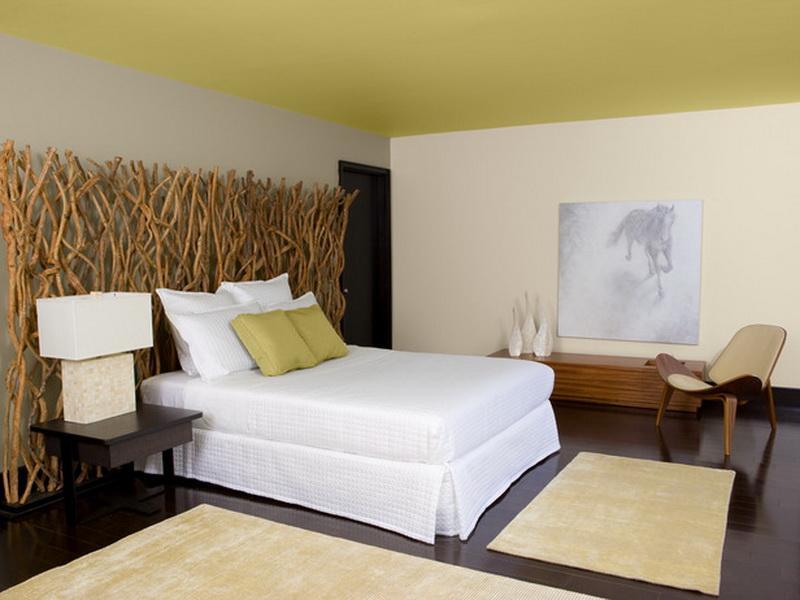
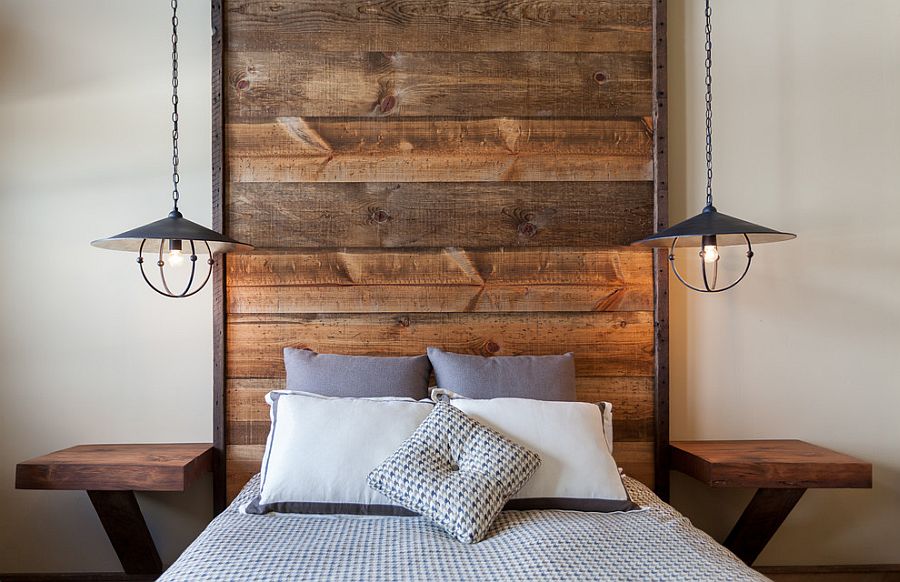
- Ecostyle suggests a lot of light and free space. The backs of the beds from natural textile materials such as flax and cotton will look perfect. Hard wood backs also fit.
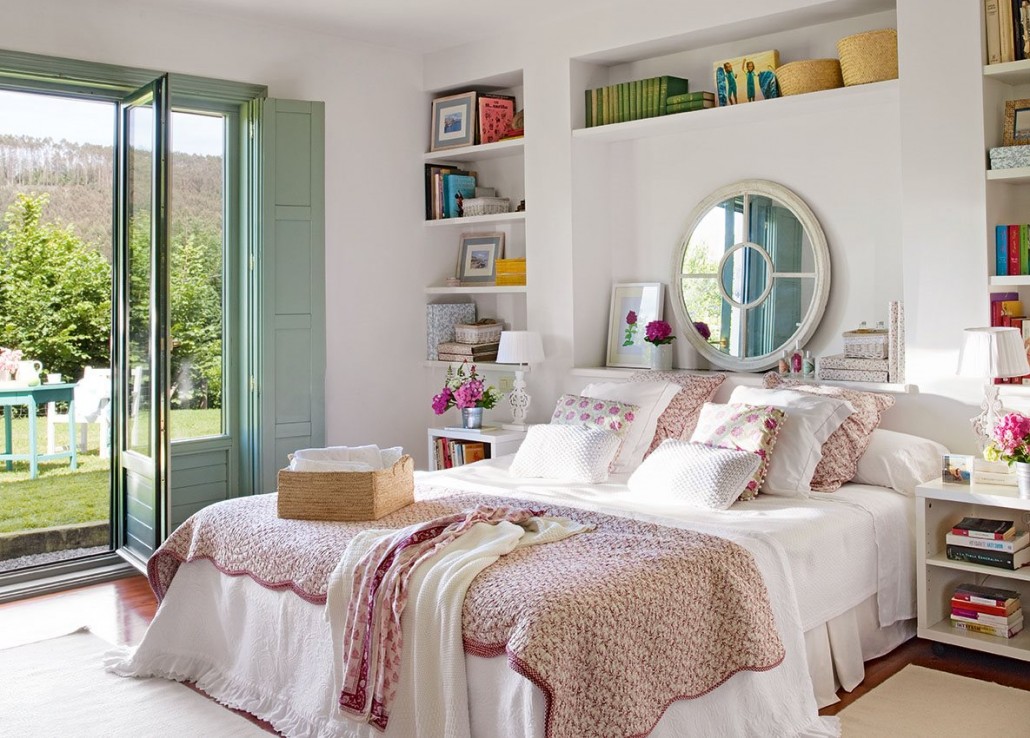
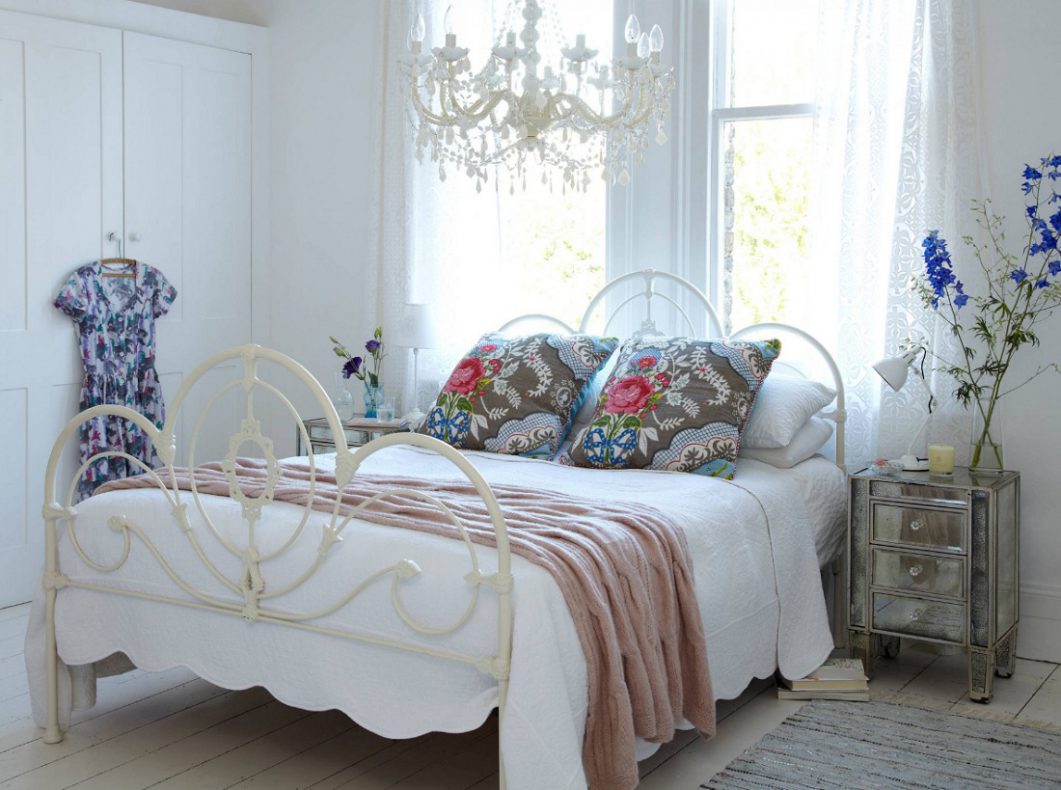
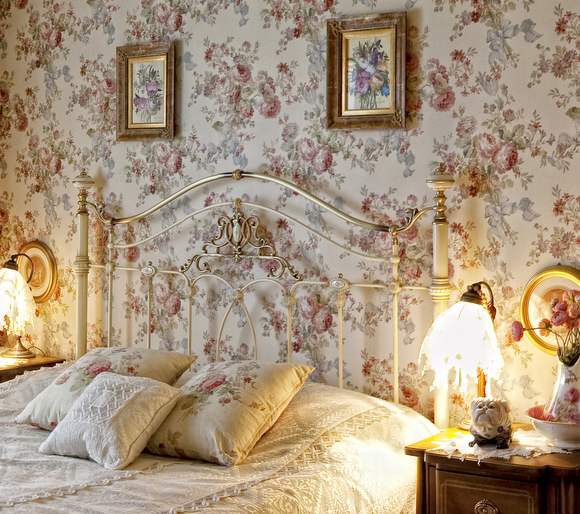
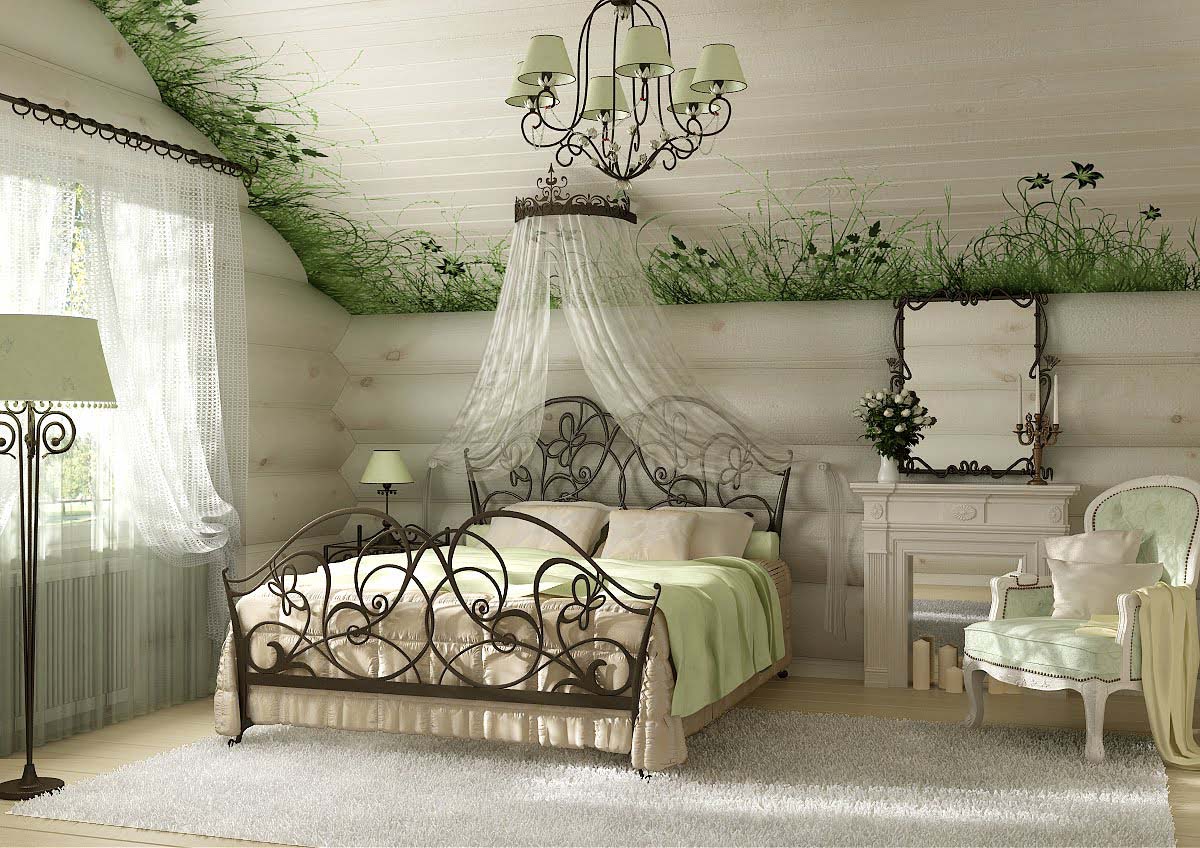
- French style embodies the romance and special atmosphere. Forging, carved wooden elements will fit well into the French bedroom. And antique fabrics or aged materials will add elegance to the bed and the interior as a whole.
- Colonial style, as well as oriental welcomes canopies, decorated with tassels. Massive headboards will fit well into the solid interior of the bedroom.
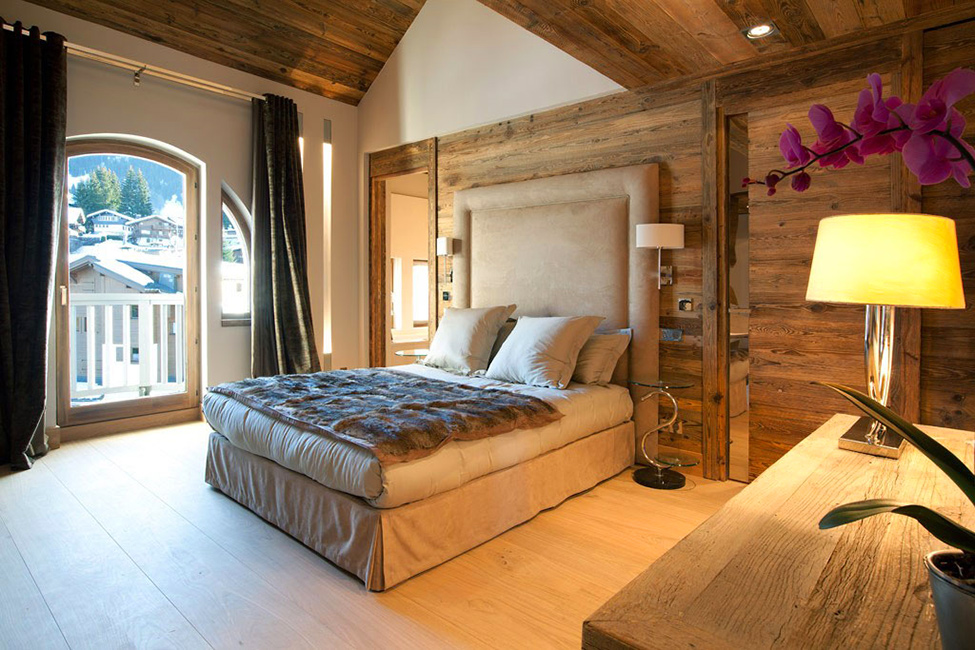
- Chalet - style without frills. The severity and correct geometry can be traced throughout the interior. The best choice for the headboard in the bedroom in the style of a chalet - a wooden frame, sheathed in tapestry restrained tones.
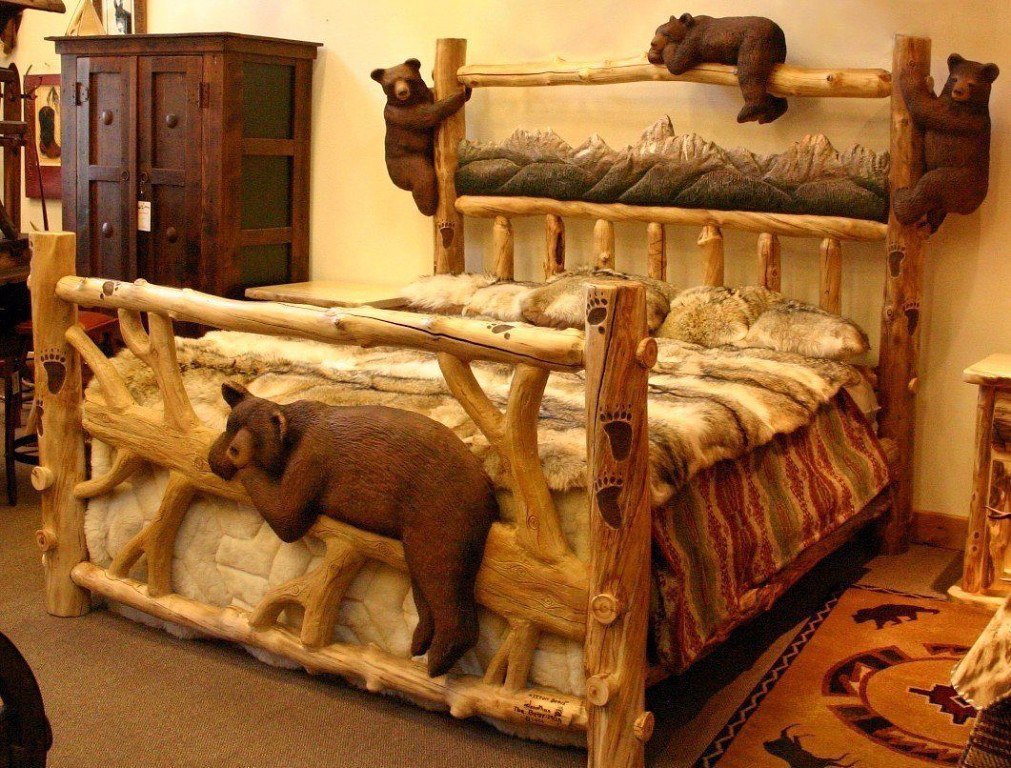
- Russian style - a lot of wood in the interior. Therefore, to the same wooden bed fit the headboard to match. Particularly interesting are the options with aged furniture. You can perform the headboard with elements of the design of the Russian stove.
How to make your own hard back?
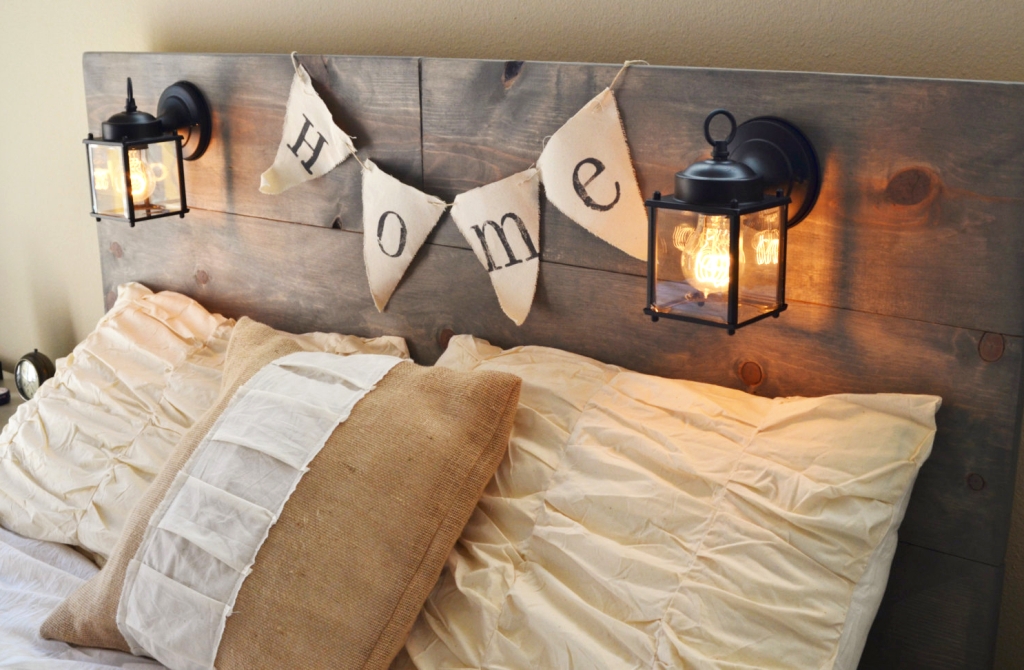
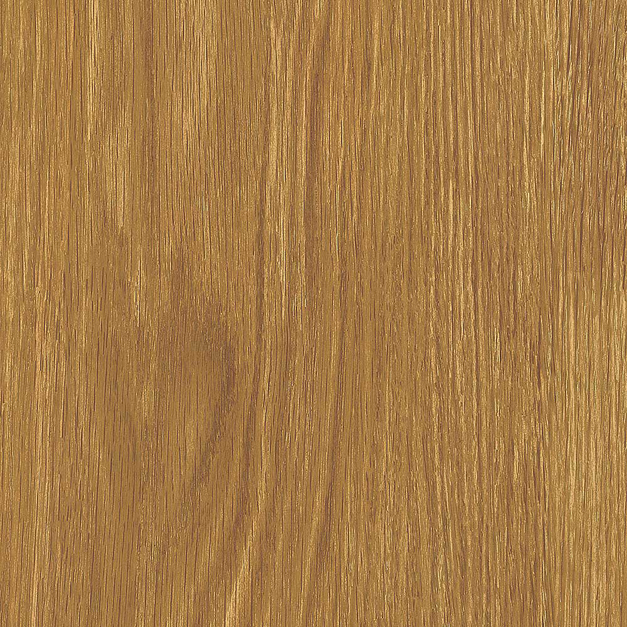
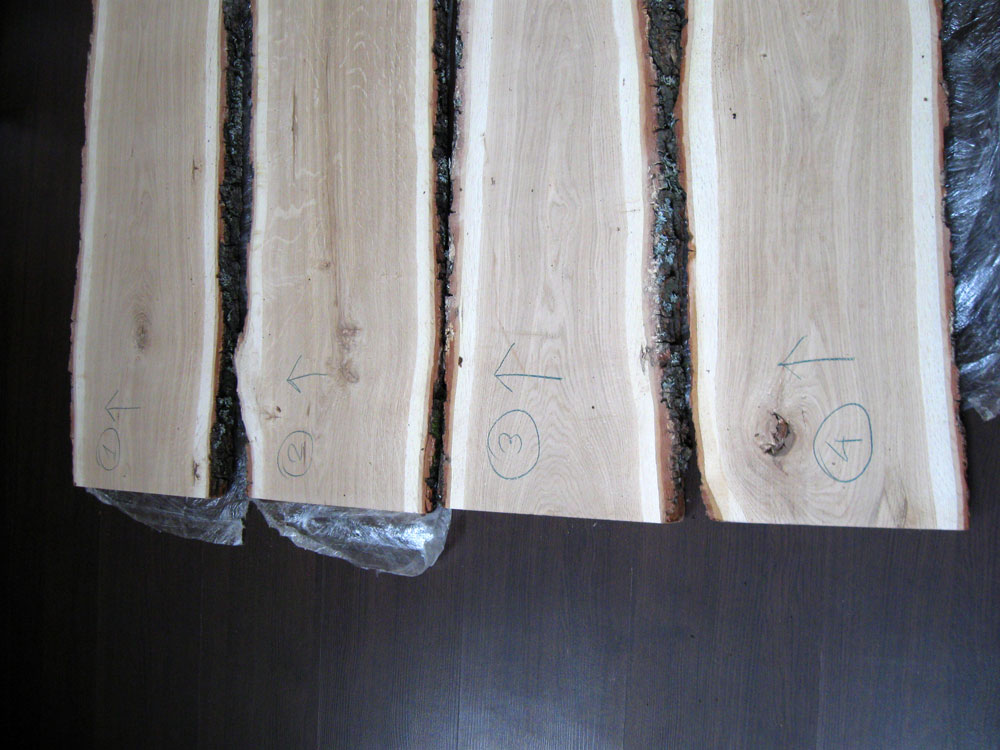
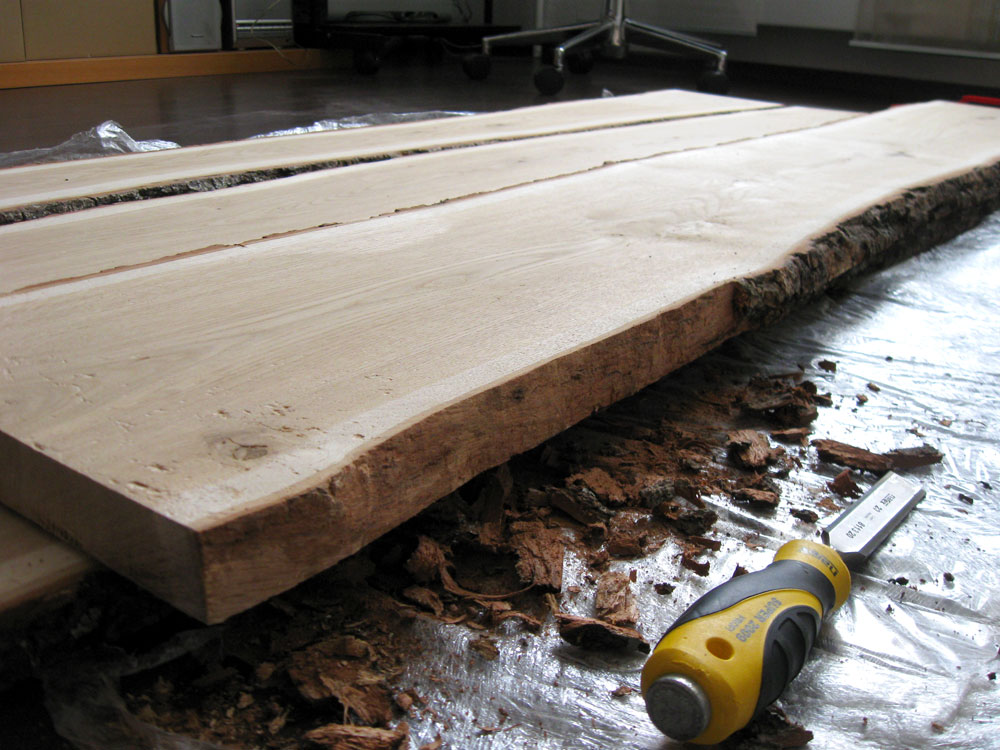
If you decide to make the headboard yourself, then the first thing you need to decide is the material from which the frame will be made, upholstery materials, appearance and rigidity. Hard backs are made of wood, laminate, prefabricated wall panels, plastic, metal, and even ceramics.If a wooden headboard is chosen without facing materials, then the final version of the product should be smooth, even, without cracks and natural grooves in the tree.
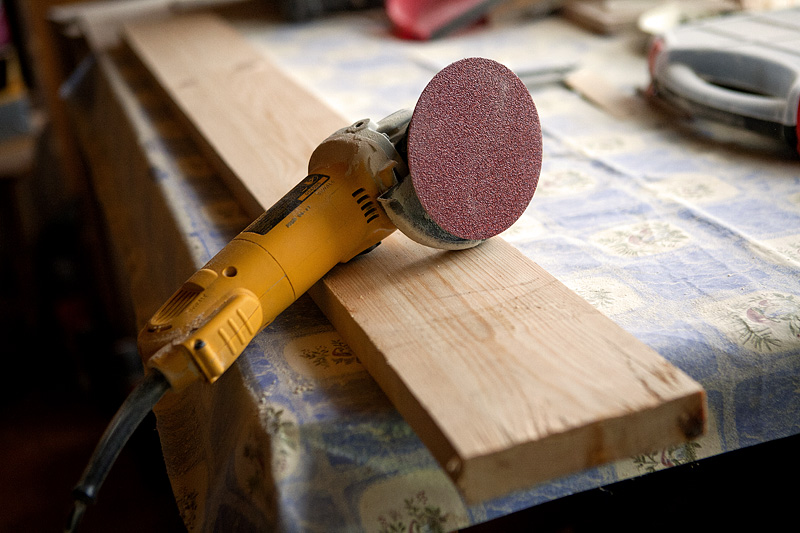
In order to avoid the difficulties of sanding untreated wood, choose a finished profile from an array or a floorboard.
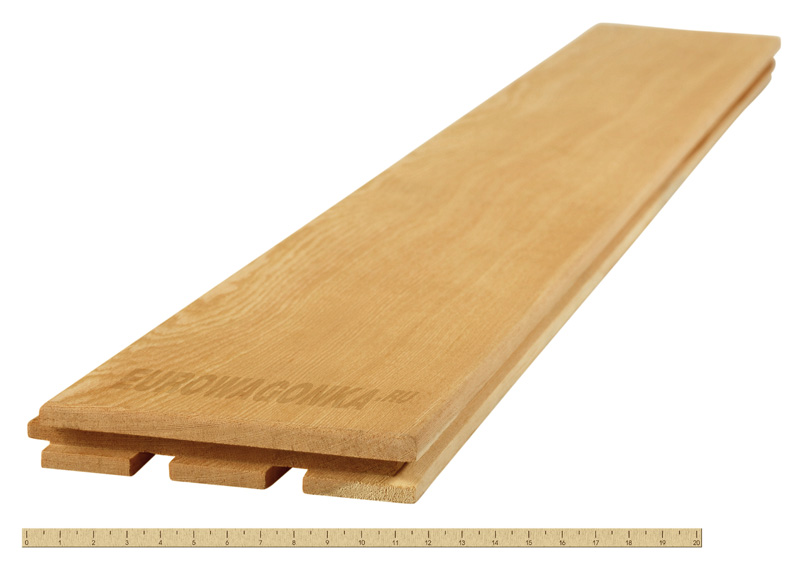
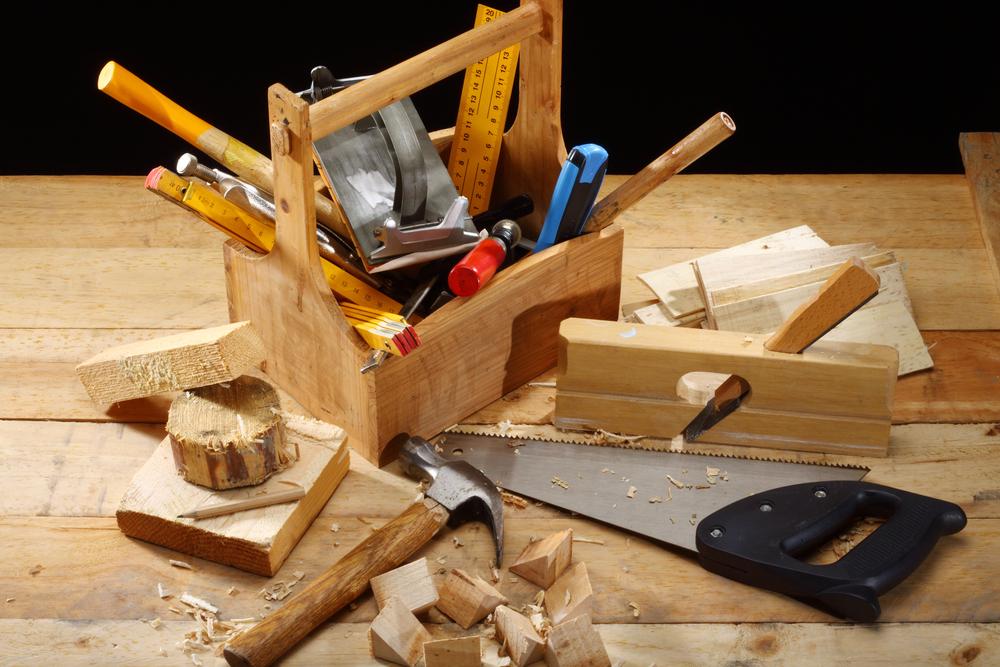
To make a hard wooden headboard, you will need:
- wooden base thickness up to 20 mm;
- fastener elements (bolts, nuts, screws, hinges);
- sandpaper sheet;
- electric drill;
- pencil on wood;
- screwdriver;
- hammer;
- building tape measure.
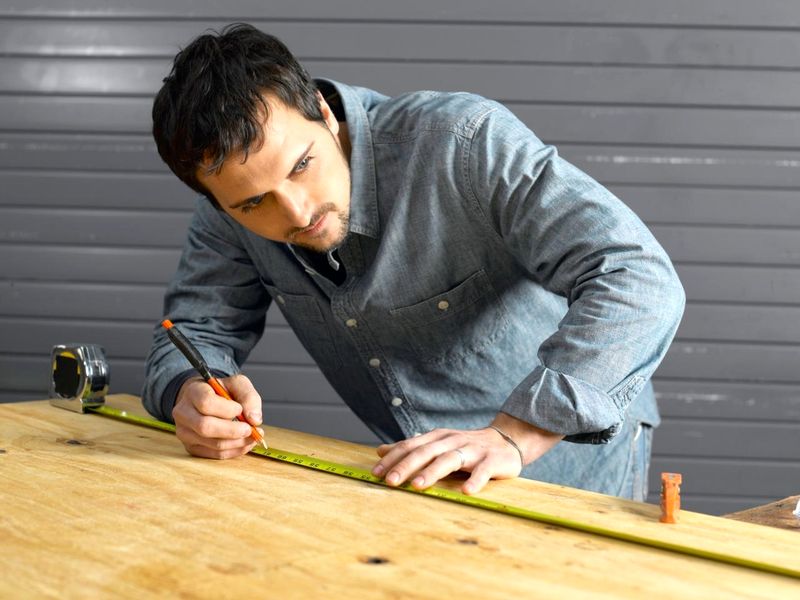
First you need to draw a sketch on the wooden profile of the future product with a simple pencil and mark the points where the fastener holes will be located.
It should be borne in mind that the width of the backrest should correspond to the size of the bed.
After that, carefully checking out all the dimensions, cut the product along the contour, make holes (from two or more for each side).
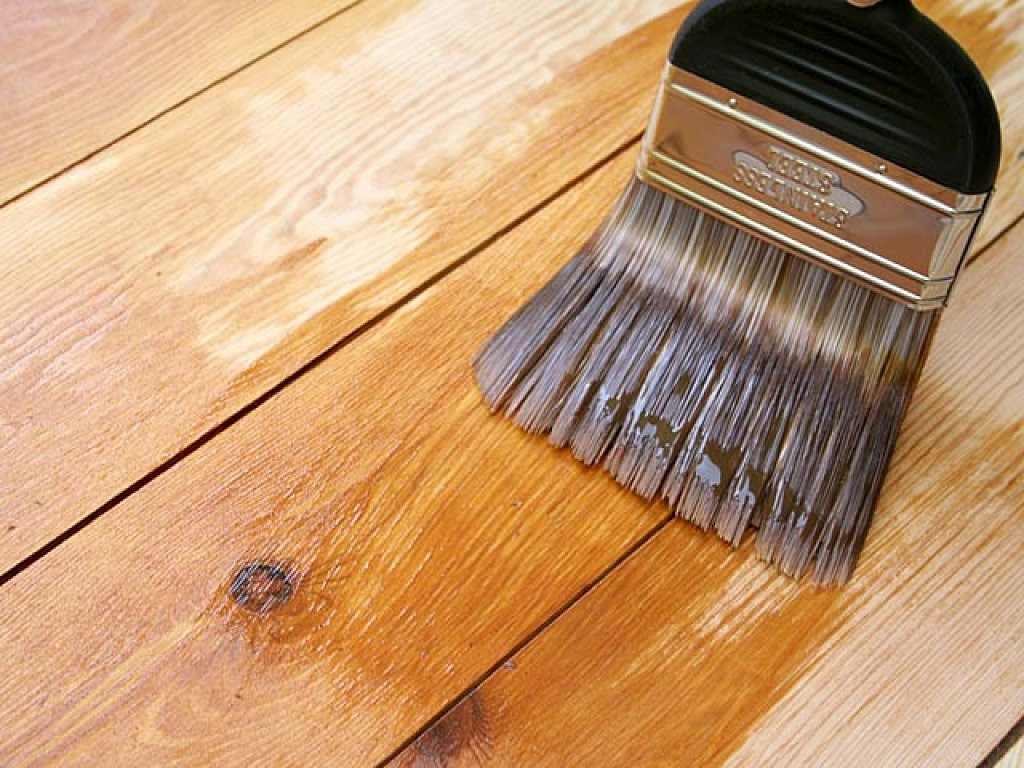
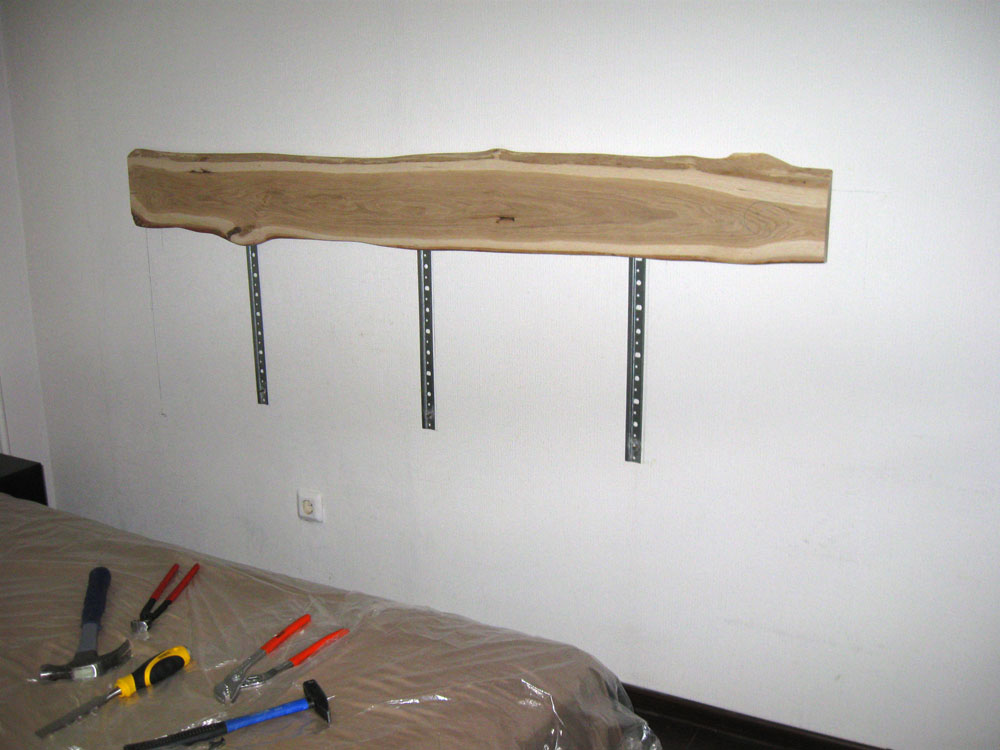
All roughness gently sanded with sandpaper. If desired, the workpiece can be varnished. After complete drying of the surface, this structure is attached to the bed frame by means of screws or bolts, or hanged on hinges on the bedside wall.
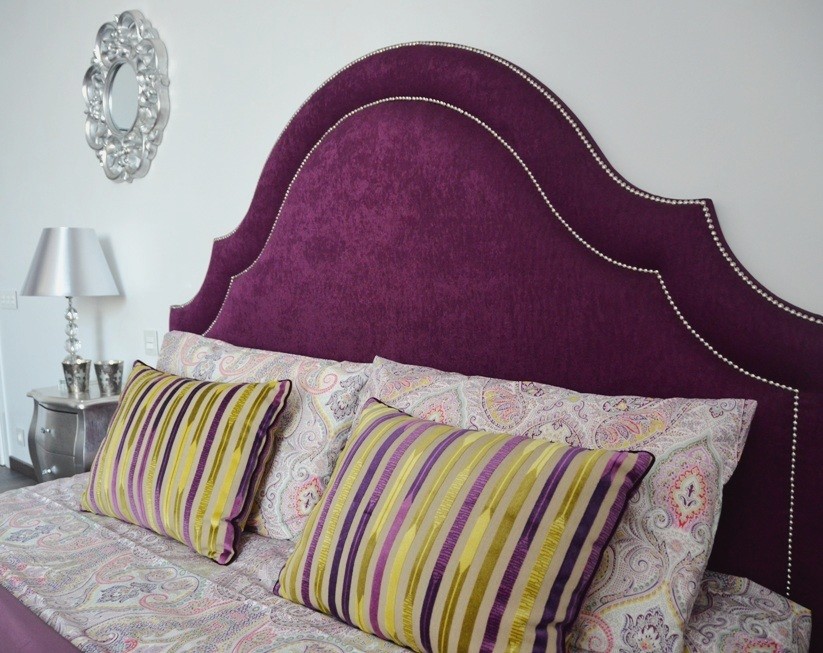
How to make a soft headboard yourself?
Simple upholstery
Making a soft back will require more trouble, but its rich appearance is worth these material, physical and time consuming.
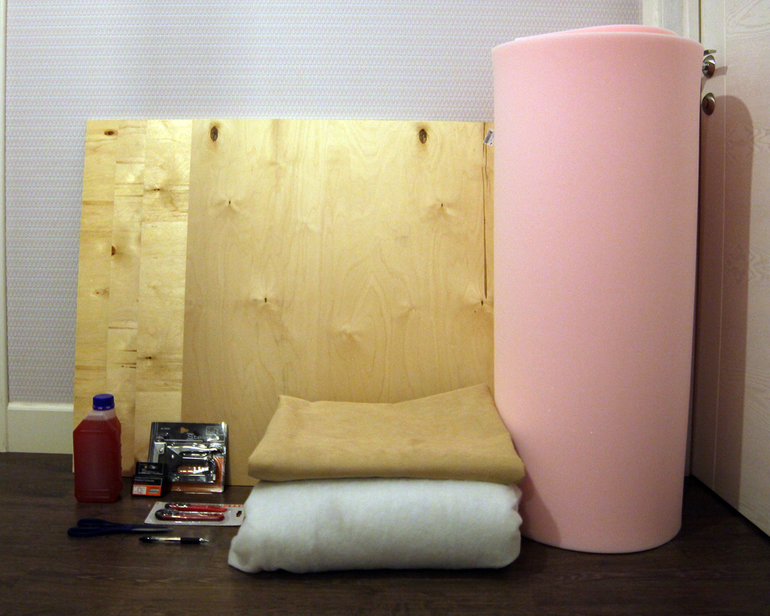
For the manufacture of such a headboard are needed:
- Chipboard profile or plywood, with a selected height;
- upholstery fabric, the length with the width of which will exceed the dimensions of plywood by about 20-30 cm to grip the stapler;
- synthetic winterizer, foam rubber or batting (capture by fastening with a stapler must be considered similarly to the upholstery fabric);
- fasteners (bolts or screws);
- furniture glue;
- drill;
- furniture stapler.
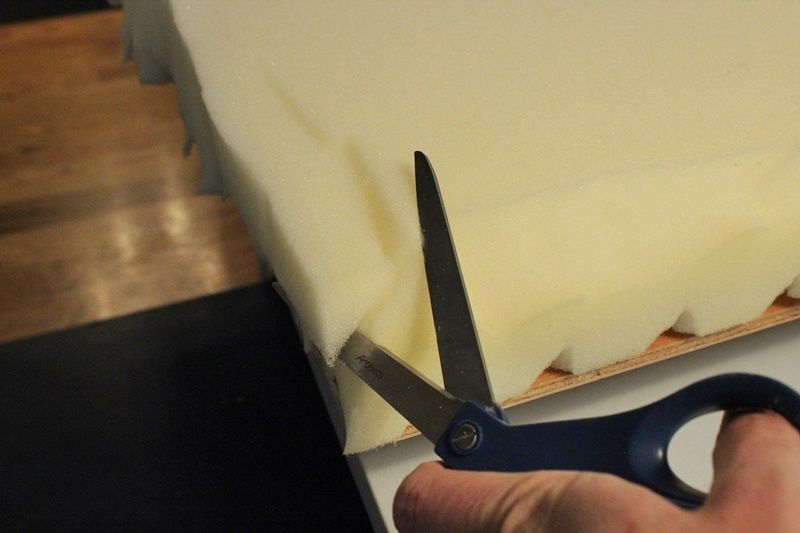
Draw a sketch on a sheet of plywood, mark the holes for fasteners. If desired, make out figured edge. Carefully cut out the workpiece.
The selected soft filler (sintepon, foam rubber or batting) is spread on the headboard surface, fitting to the dimensions of the product.
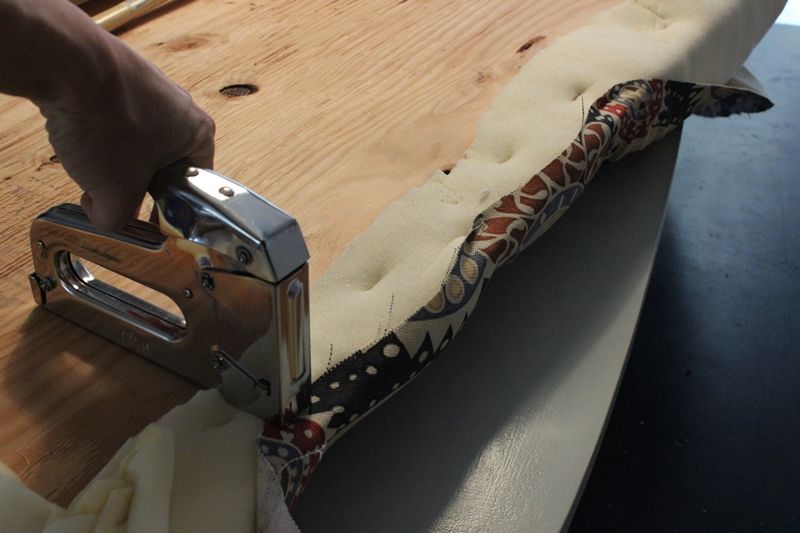
If a layered synthetic winterizer is used, then its first layer is fixed with a furniture stapler on the reverse side, and the last layer of synthetic winterizer is sprinkled with glue.
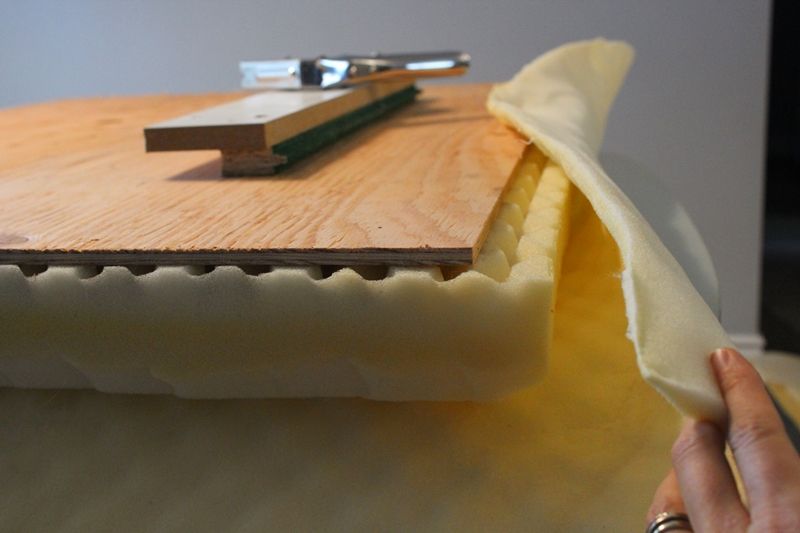
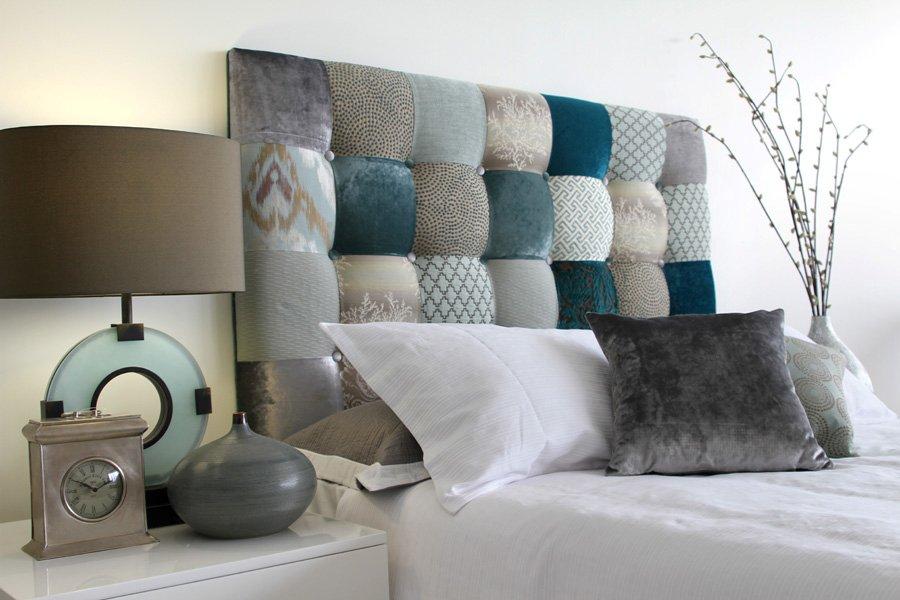
After the glue dries, the skin is tied on top (velor, tapestry, leather or eco-leather materials are most often used as skin materials).The selected fabric is evenly distributed without clips over the surface of the workpiece and the edges of the padding polyester and fabric from the wrong side are fixed with clips of the furniture stapler. With the help of screws or bolts, the product is fixed on the bedside wall or on the frame of the bed itself.
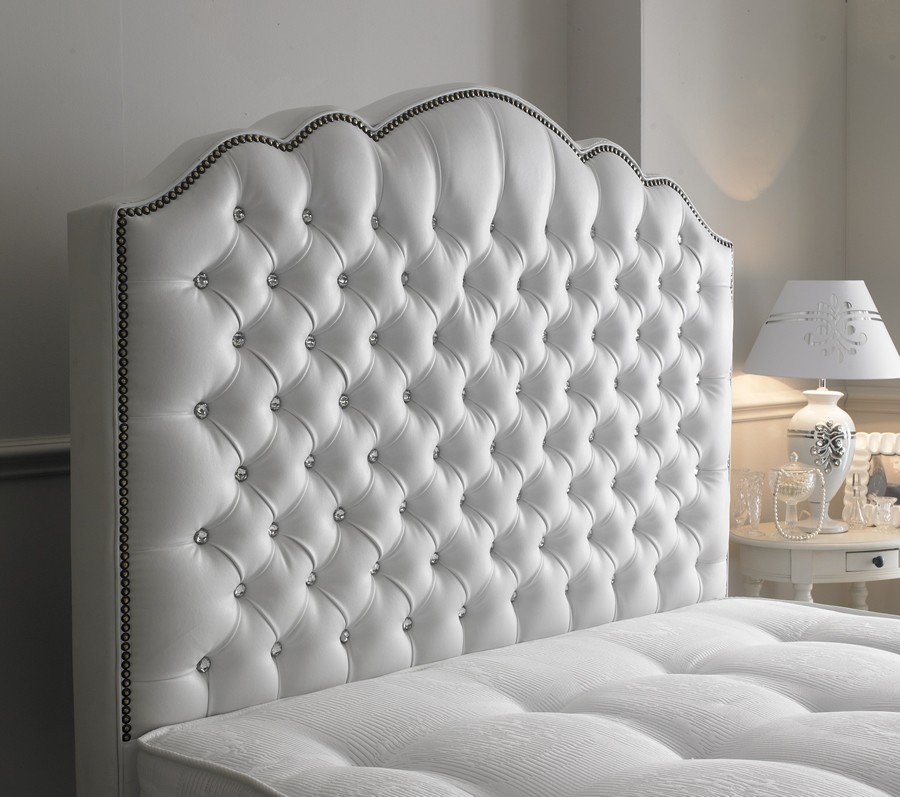
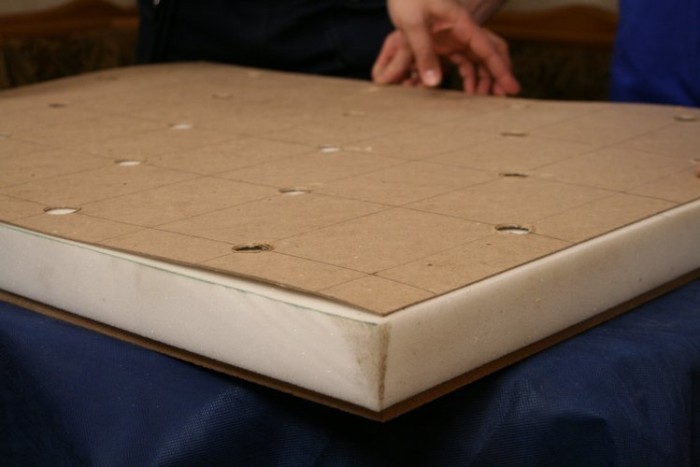
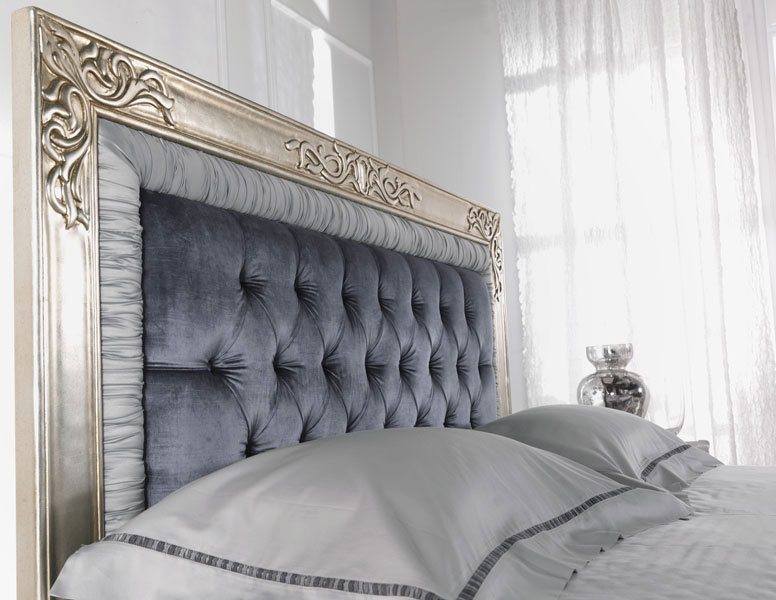
Quilted in the "carriage fastener" technique: master class
Lovers of the classics will like the quilted headboard with the use of the "carriage fastener" technique. The method of execution of this technique was invented in France for the design of carriage saddles. The luxurious design of upholstered furniture in this technique is used to this day. And to make recessed buttons in a lush space is not difficult. The blank is cut out as described above.
On the surface of the frame headboards mark the holes, drill through them and cover the foam layer from above. In appropriate places draw holes and foam rubber. Then, with the help of glue, the foam is fixed on the surface of the head (at the same time, care should be taken that the holes in the foam match the holes on the frame of the product). A synthetic winterizer is put on top of the foam rubber and the upholstery textiles are put on it (10-15 cm grip on the wrong side).Fix fabric and a synthetic winterizer with a stapler on the back of the product.
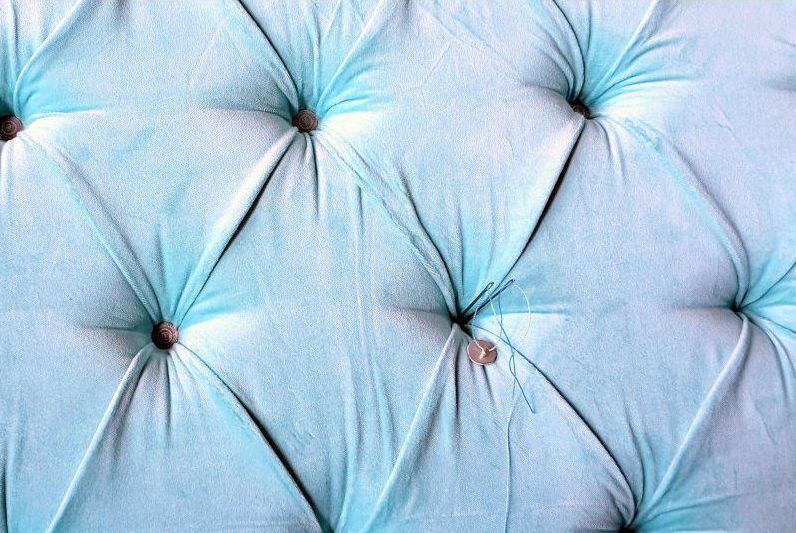
When choosing accessories - buttons in the color of the main product, they pre-sheathe them with the same fabric as the head of the bed. You can use multi-colored buttons and even glass.
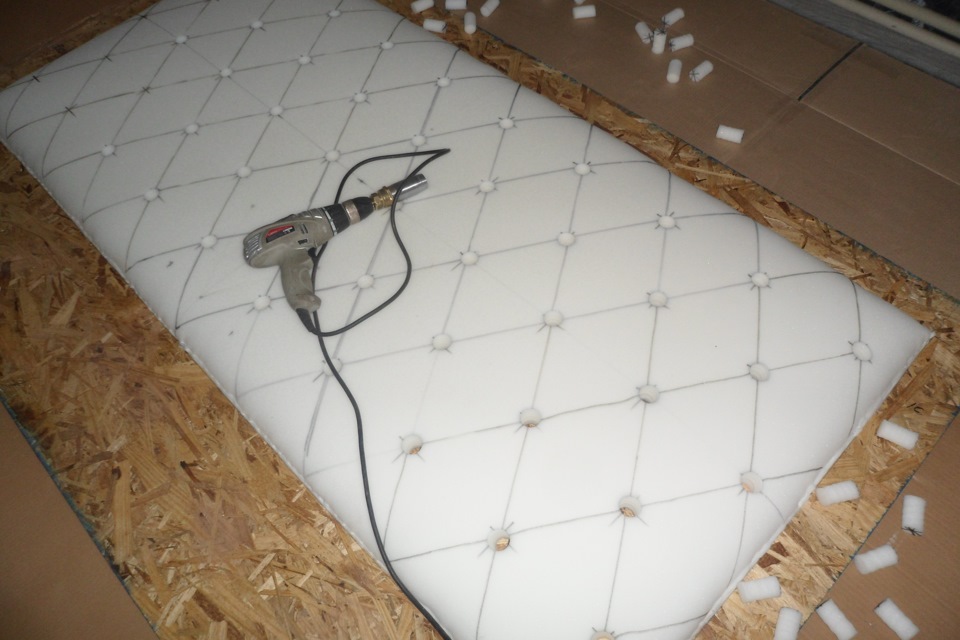
Through the base of each button pull the harness and tie it into a knot. Each button is placed in the prepared hole on the front side of the headboard.
Using a crochet hook or needle, thread the tow into the hole, tighten and fasten it to the back of the product. Thus, folds appear on the fabric around the buttons. If desired, to hide all the seams and brackets, the wrong side of the head can be covered with the same upholstery fabric. By head screws or by means of sheds, the headboard is also fixed on the wall or on the bed frame.

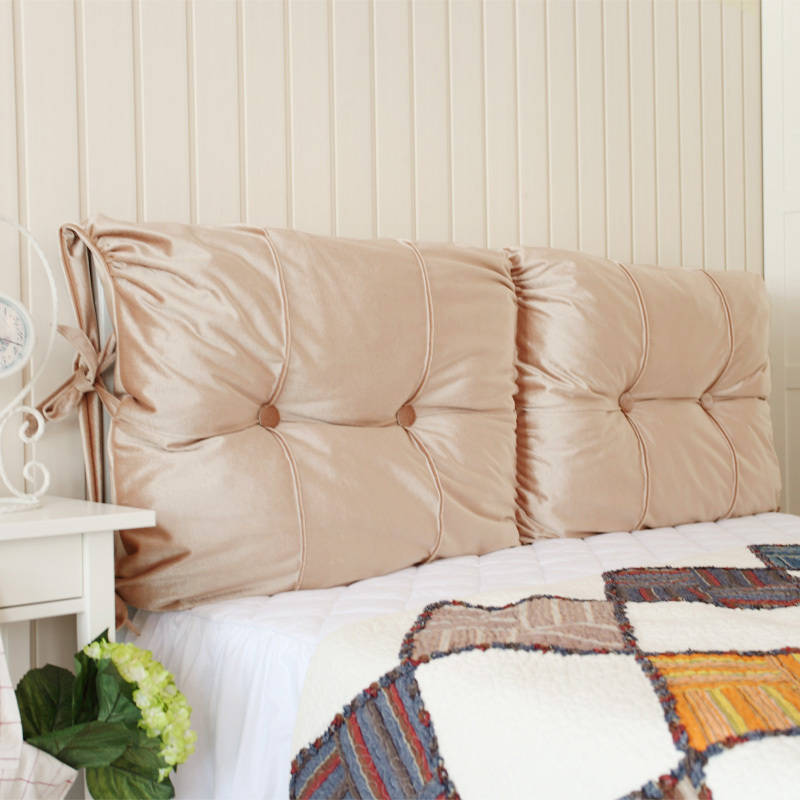
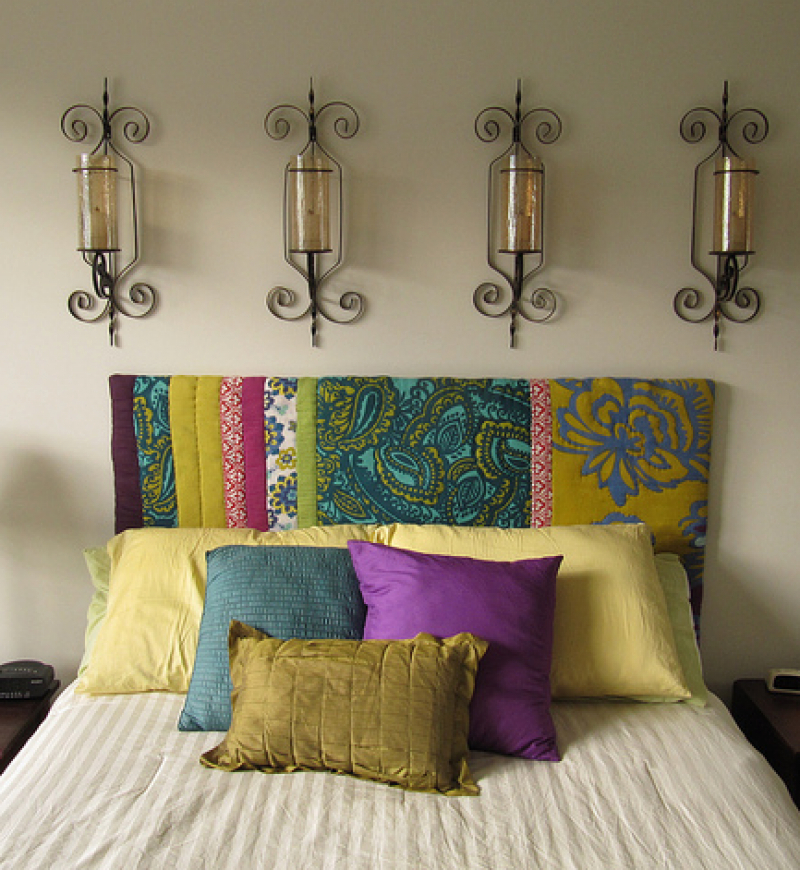
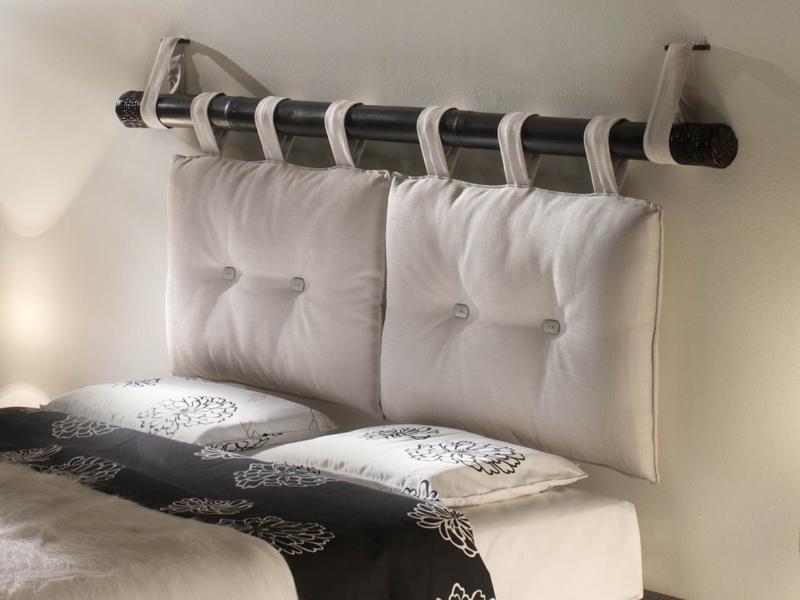
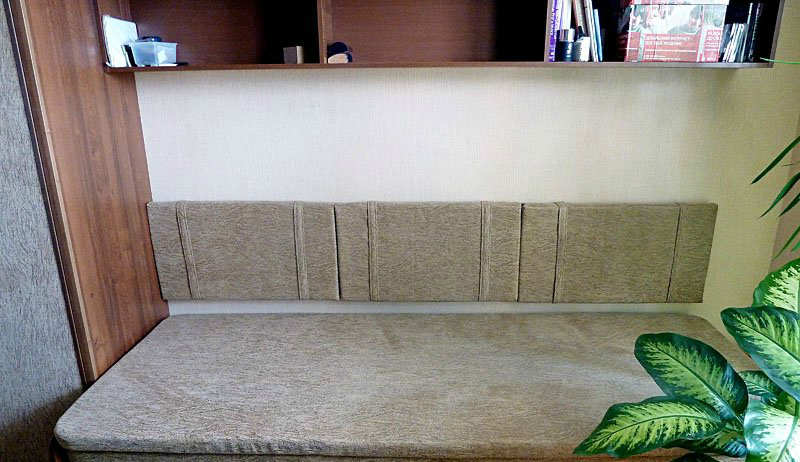
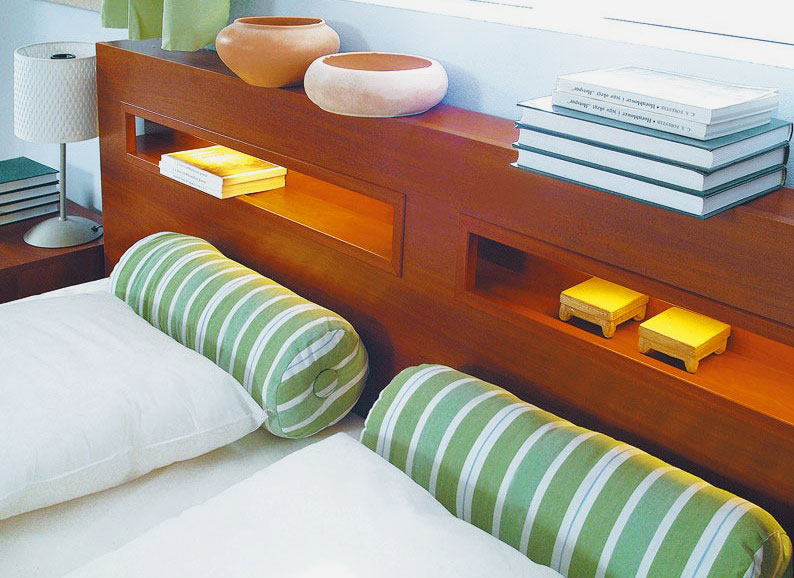
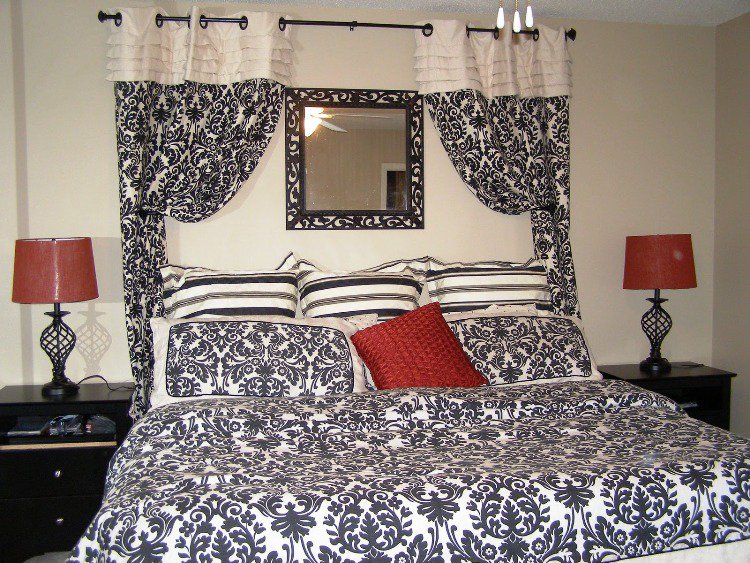
From pillows
The way to decorate the head of the bed with decorative pillows will be very original and simple. For the back does not need a plywood profile. No need to drill and cut. And there are pillows in everyone’s house, or they are easy, and it’s not expensive to buy at the store.
The original pillow headboard will look no less comfortable than velor or tapestry. In addition, they are so nice to rely on, because they are soft and comfortable.Easy installation allows you to quickly install such a headboard. It is enough to attach a decorative eaves for curtains at a certain height above the bed and with the help of loops to hang pillows.
The pillow headboard also has the plus that if old covers are bored, they can always be replaced with more interesting ones.
Sew case
In order to sew the cover on the head of the bed choose a suitable upholstery fabric. Previously, to shrink the fabric, it is washed at a temperature of 30-40 degrees, dried and ironed.
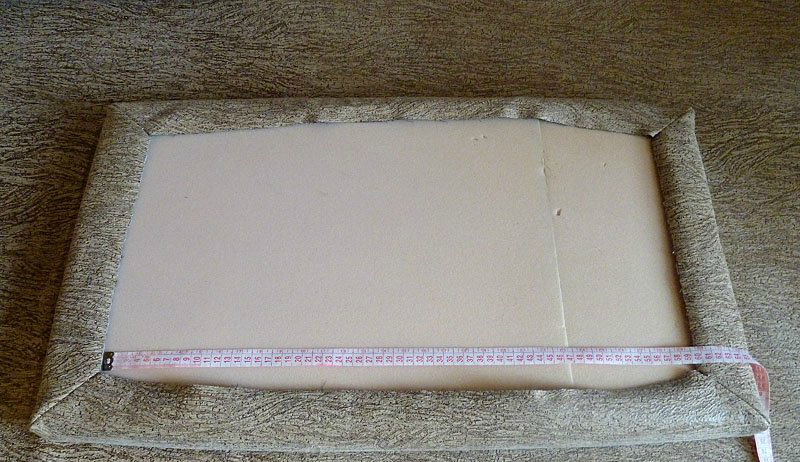
Then a rectangle is cut out on the fabric according to the following formulas:
- product length = A + 2h + 10 cm + 2 cm;
- product width = B + 2h + 10 cm + 2 cm;
- And - the length of the pillow;
- B is the width of the pillow;
- h is the thickness of the foam (you can reduce the pattern to 0.5 cm, so that the cover fits the product tightly);
- 10 cm - grip on each side of the inside;
- 2 cm - grip seams.
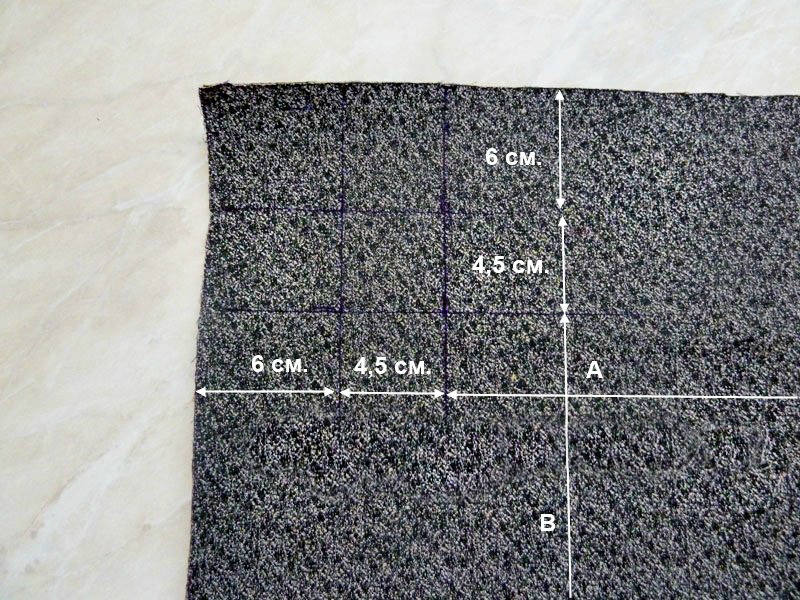
Measure 1 cm + 5 cm = 6 cm along each edge and draw a line. Strike out 4.5 cm, spend another line. A diagonal is drawn through the corners of this rectangle so that its intersection is at equal intervals from the corners. After accounting allowance of 2 cm for the seams are cut along the contour. For each corner, repeat the same steps.

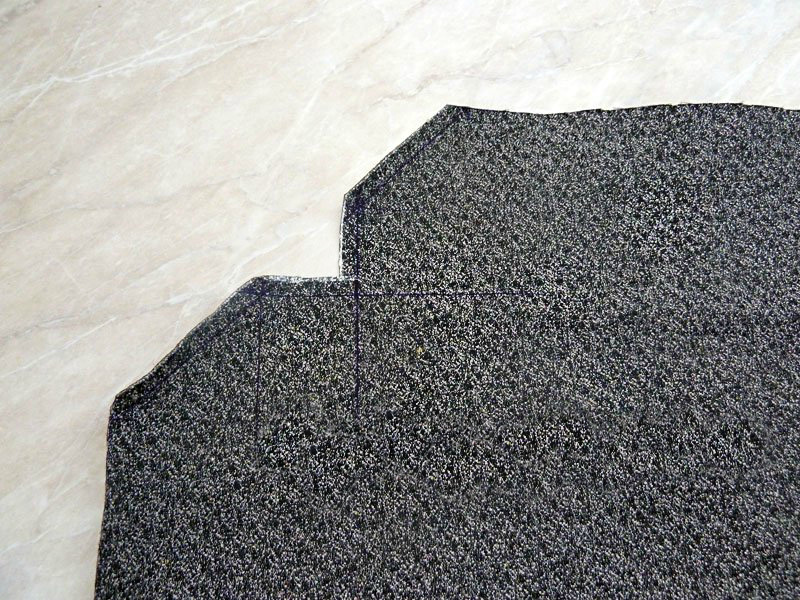
The corners fold diagonally.The width of the seam on the seam is stitched on a sewing machine to the bottom edge and fasten. After measuring the dimensions of the window, they are added to another 2 cm (taking into account the grip on the seams, another 1 cm). Cut a rectangle.
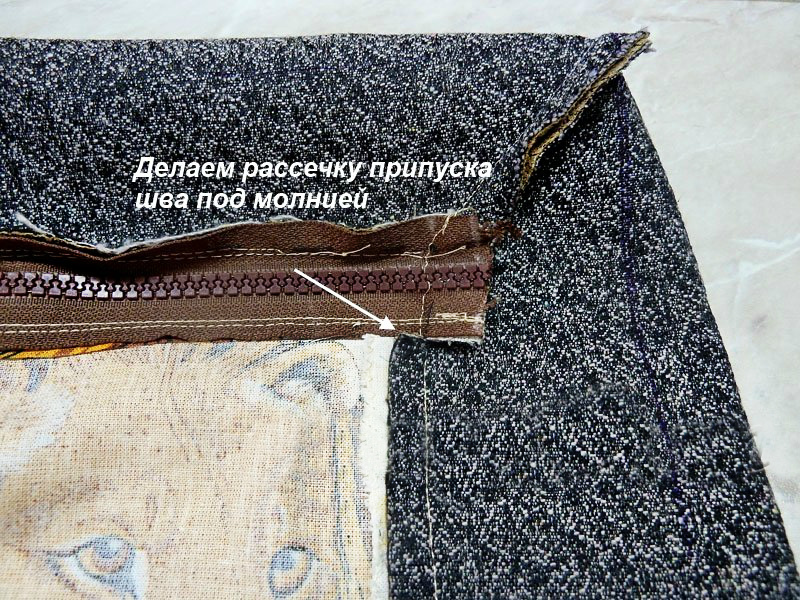
Lightning is stitched on one side. The front side of the zipper impose on the front of the bandage pattern and fasten it, then sew a zipper to the product. On both sides of the zipper put serifs. Straighten the grips to the seams in the place where the canvas is sewn to the zipper. The center straighten those grips on the seams, which belong to the joints of calico and fabric products.
For a third party, the operations are carried out as above. After that, all external and internal edges are successively spent. Inside the finished cover they thrust foam rubber, straighten all corners and fasten the zipper. For the manufacture of pillow mounts can be used belts.
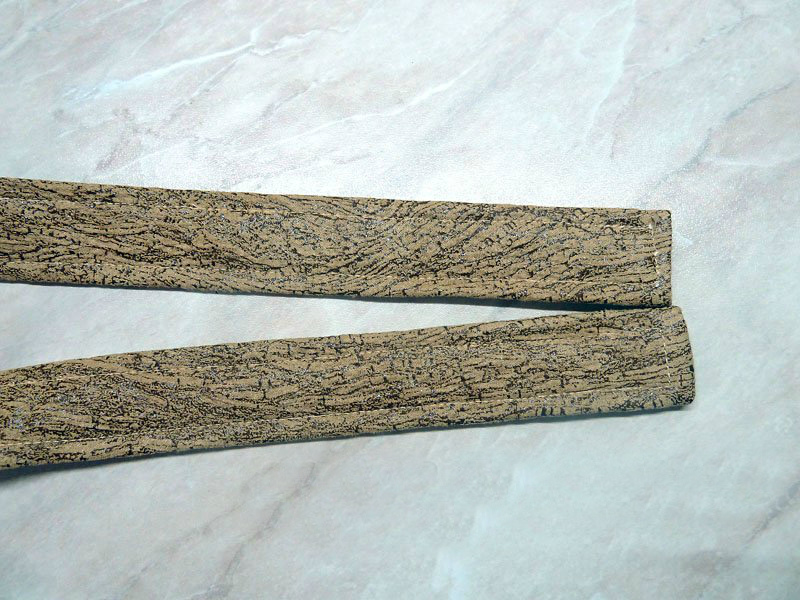
Cut out the product according to the formula: product length = 2B + 2h + 10 cm. The product width should be about 9-10 cm.
Fold the patterns in half along the entire length and sew on a typewriter. The seam is smoothed on the sides in the middle of the product, then turn the workpiece in the opposite direction. Velcro strap sewn around the edges.Ready belts are attached to the finished pillows. The product is ready.
How to attach?
There are three main types of headboards, depending on the method of their attachment: mounted, stationary and attached:
- Attached headboard is a kind of module and may include a toilet mirror or storage boxes. The advantage of this headboard is its undeniable functionality, but it takes up much more space than other options, and the manufacture of such a module will require much more time and money.
- The hinged headboard is attached to the bedside wall with self-tapping screws or with the help of special canopies. It is universal and suitable for any bed.
- The stationary headboard is attached to the bed frame with screws or screws. To change such a headboard, if it is tired, is very difficult.
Beautiful ideas for the decor of the headboard
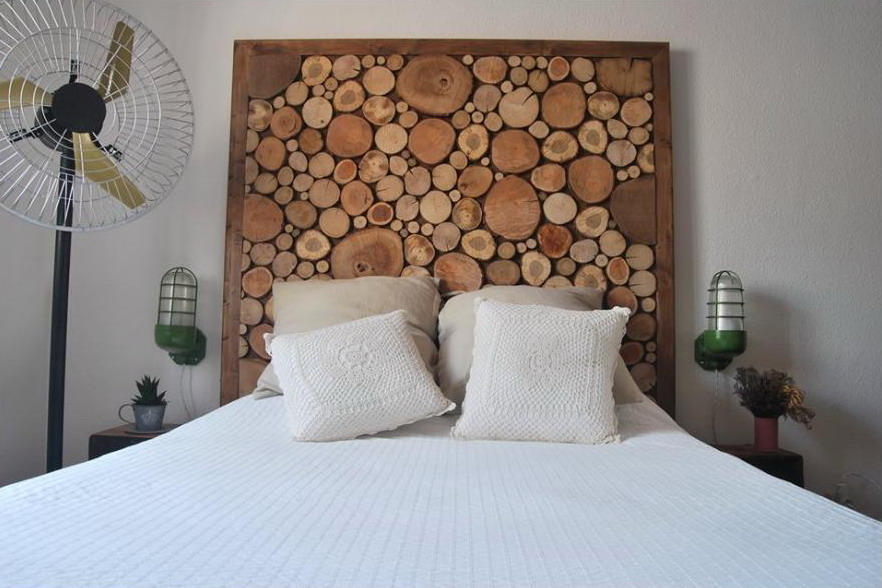
To give the headboard a complete look, different ways of decorating it are used. First, you can give the headboard an artsy shape. This will emphasize the originality of the bedroom. The headboard of a regular geometric shape can be revived with an interesting frame.Streamline bed space can be created using a headboard in the form of a cocoon or back with rounded ends.

Secondly, use bright tones of the skin. This will allow the product to become a peculiar point in the interior. Gilding and silvering of the surface will give a sophisticated bed, and decorative buttons will create a luxurious and expensive look in the whole bedroom.
How to make a headboard with your own hands, see the next video.


