How to make a loft bed with your own hands?
Owners of small apartments can appreciate the loft bed. How can you make it yourself? How to use this wooden bed to organize a working area for adults? Read about it below.
What makes such models attractive?
Today, the use of a loft bed is more relevant than ever before. First of all, the need to save living space comes first, especially when you need to organize a working or playing area, but there are no free squares.
Of course, various transforming furniture has already been invented. Of course, it cannot solve the main problems, but it still helps with something. But to make it yourself is very difficult.
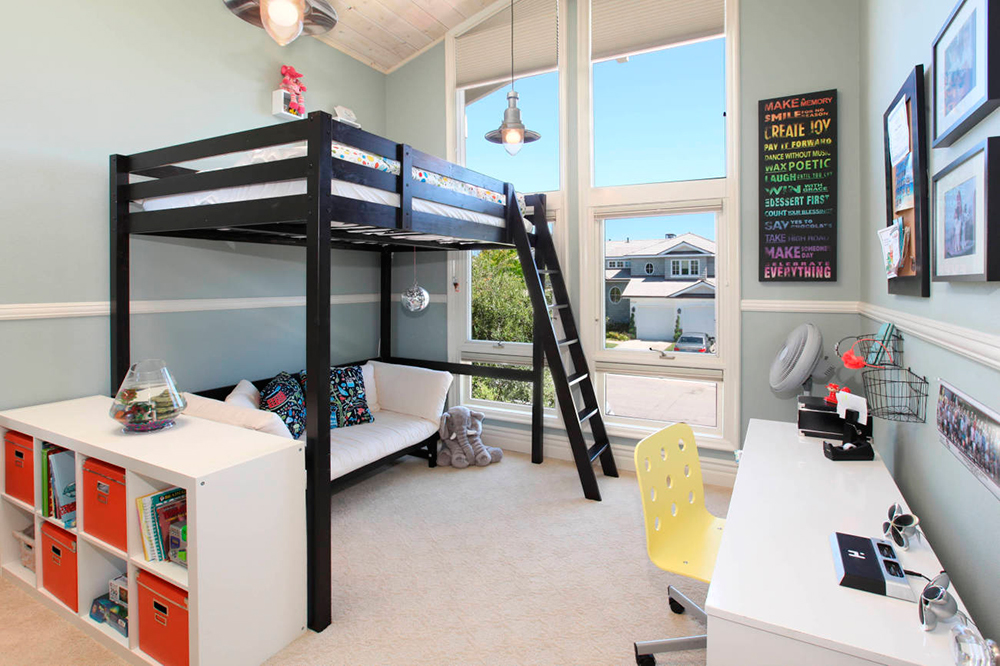
A very good help in organizing an economical bedroom and workplace has a loft bed.
It is simple in its design and can be organically incorporated into various types of interiors. As a result, both adults and children have the opportunity to find personal space for themselves, even in small apartments with a small living space.
Design features
The design of the loft bed is not very complicated, but it also gives a lot of room for imagination.
First of all, it is a lounger, which is fixed at a height of from 120 to 180 cm, depending on the height of the ceilings and the wishes of the owner. Since such structures have passed the test of time, then following certain rules, we can say that they are quite stable and durable.
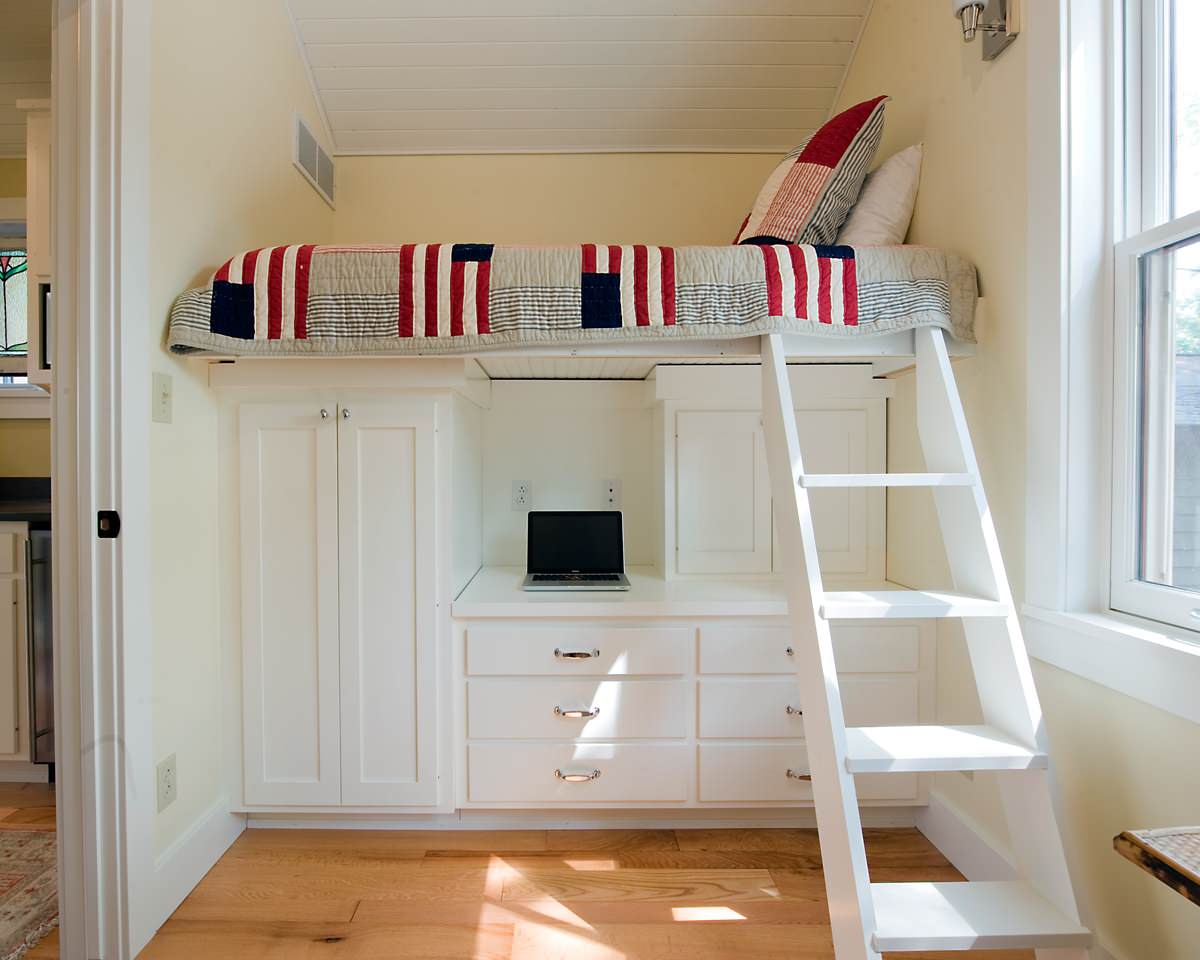
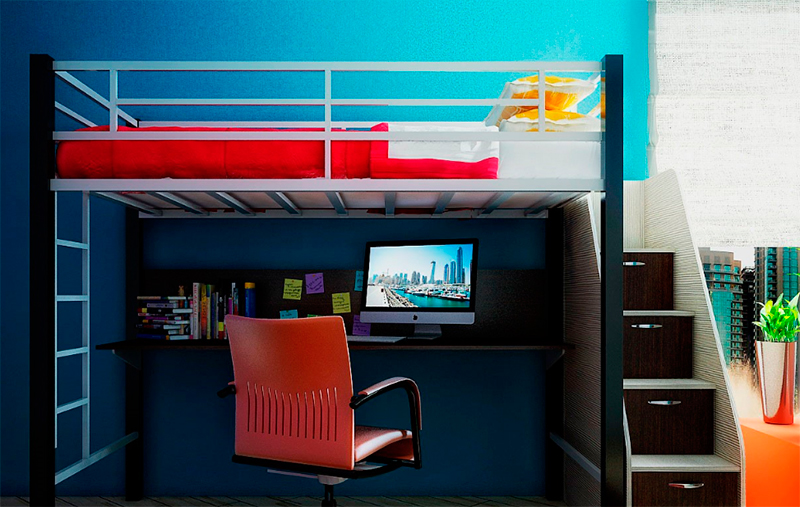
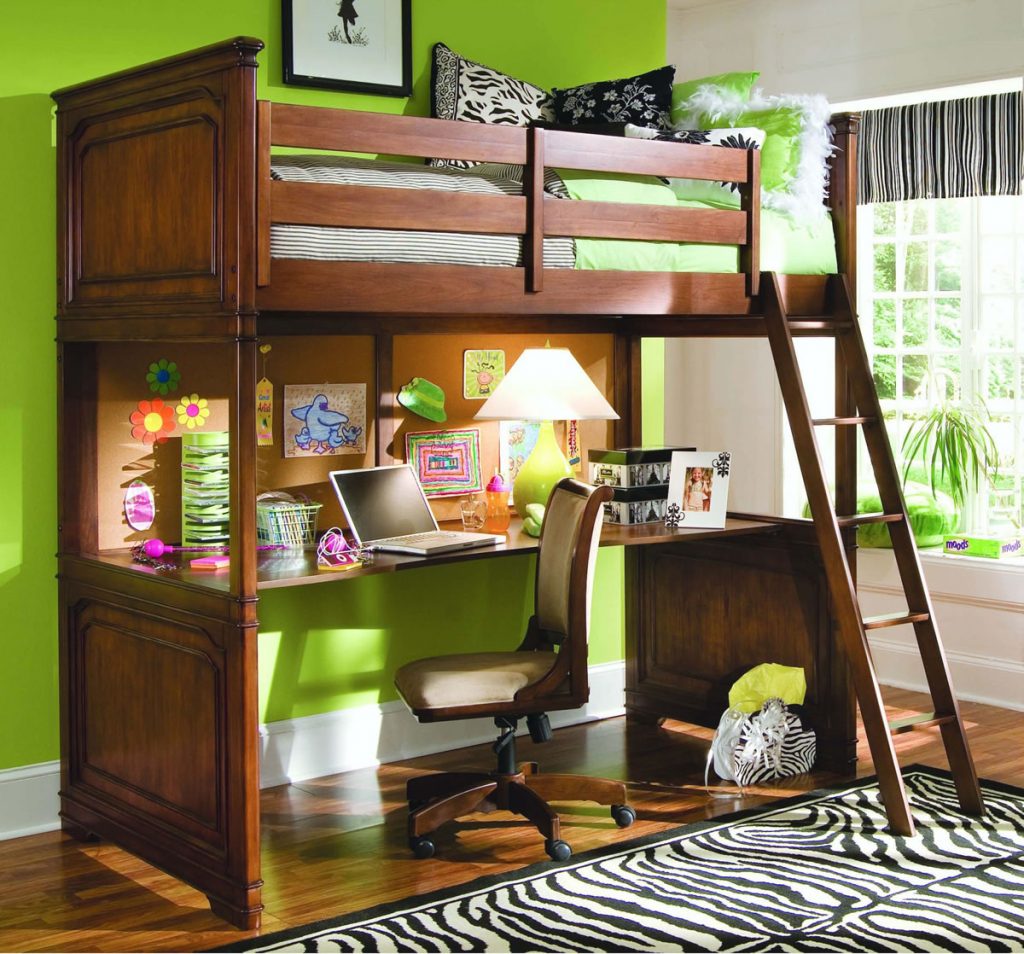
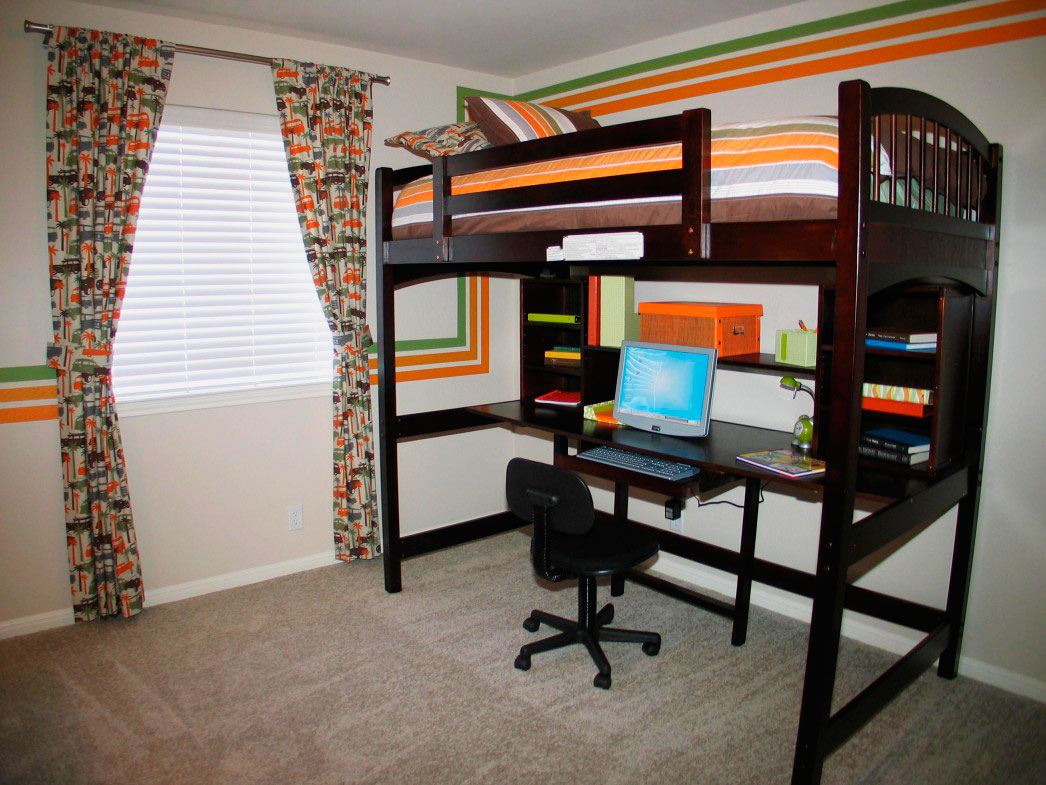
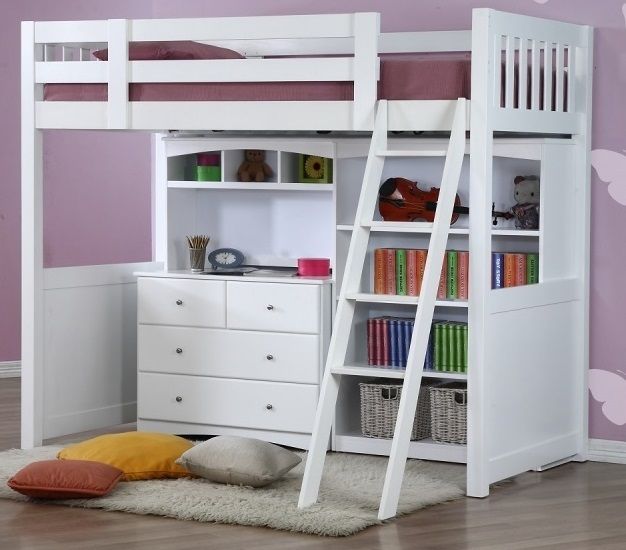
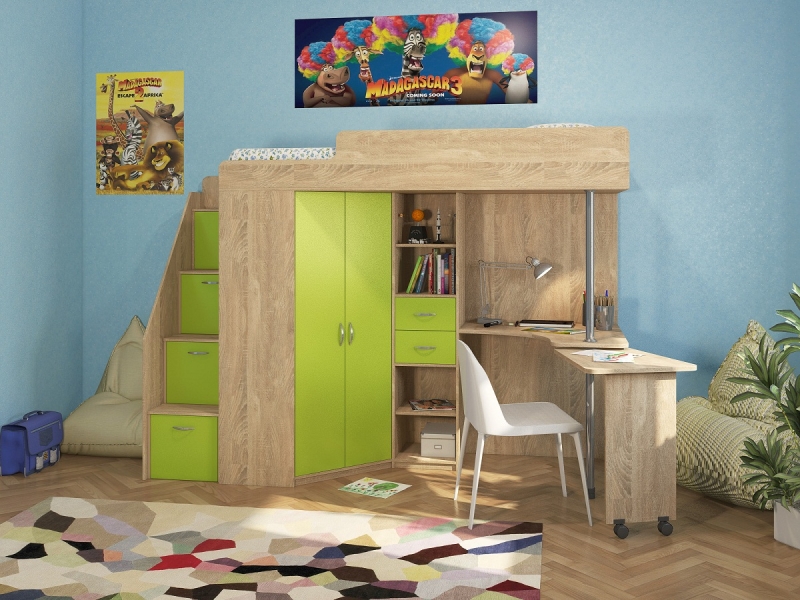
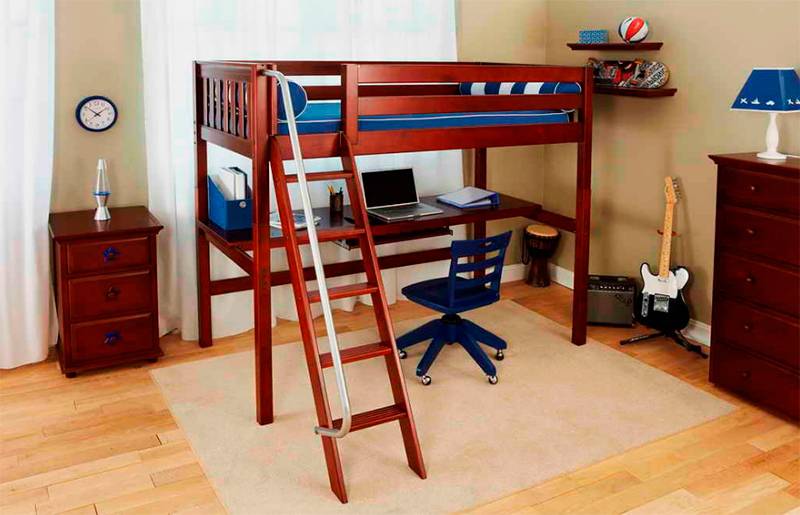
The organization of the bed is such that a place to sleep is on the upper tier, while under it can be organized working or playing area.
This can perfectly fit:
- computer desk and chair;
- a desk at which it is convenient to do homework;
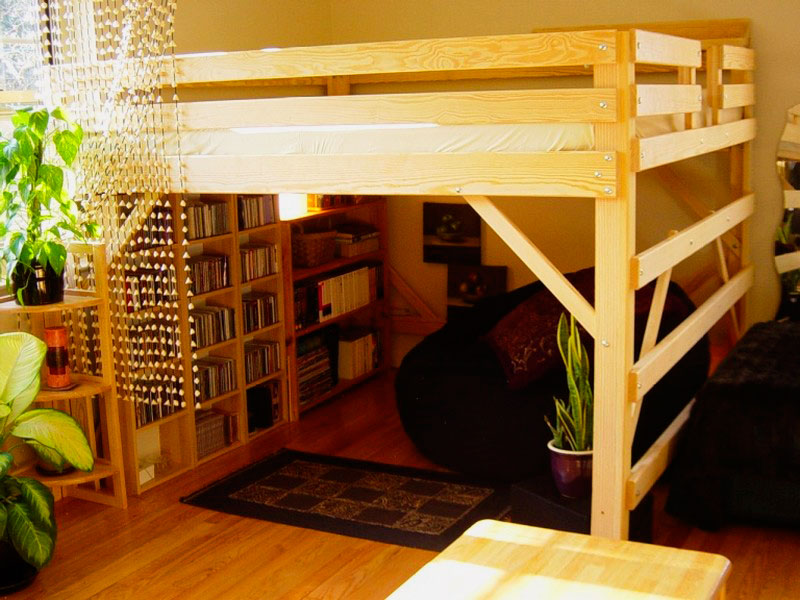
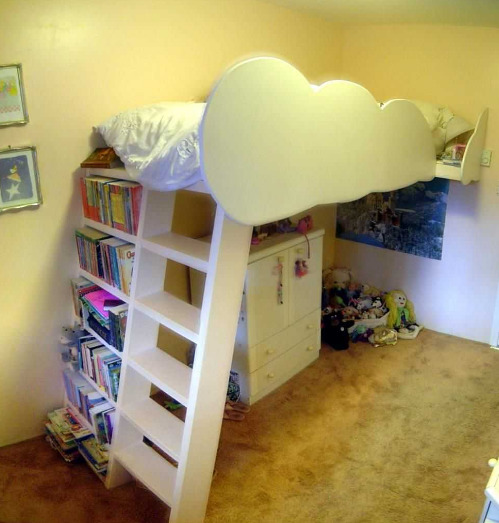
- bookcase or shelves with books;
- chest of drawers or boxes for storing things and toys.

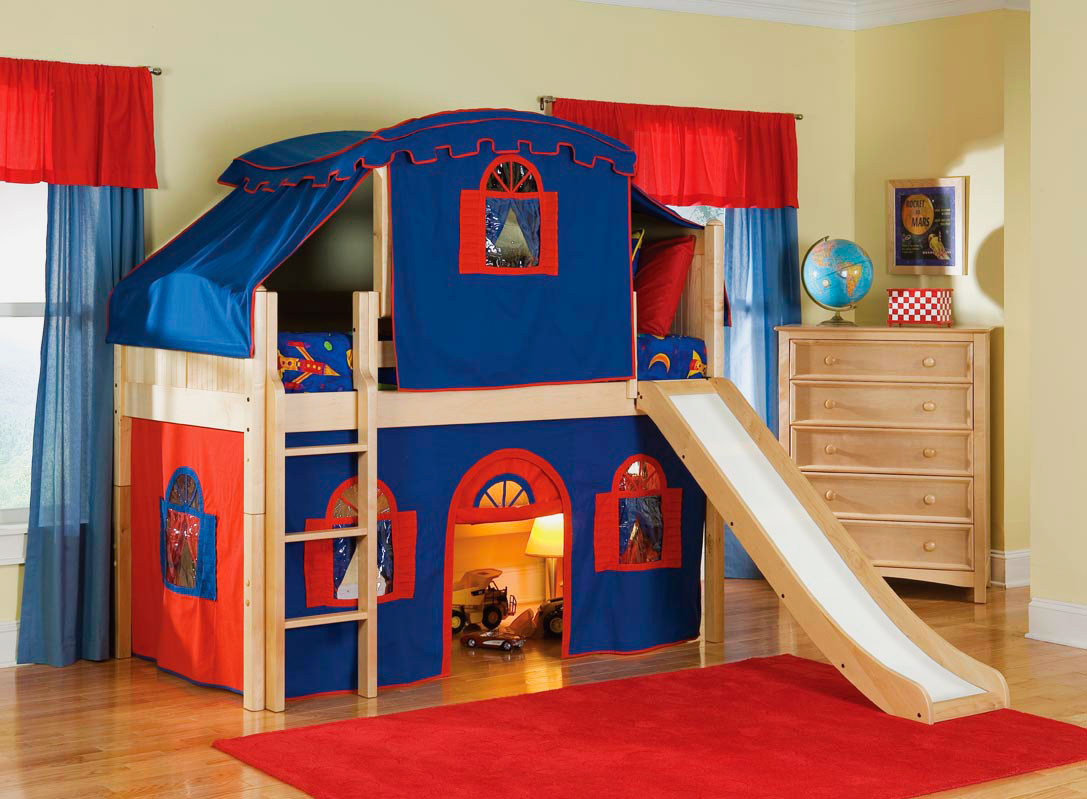
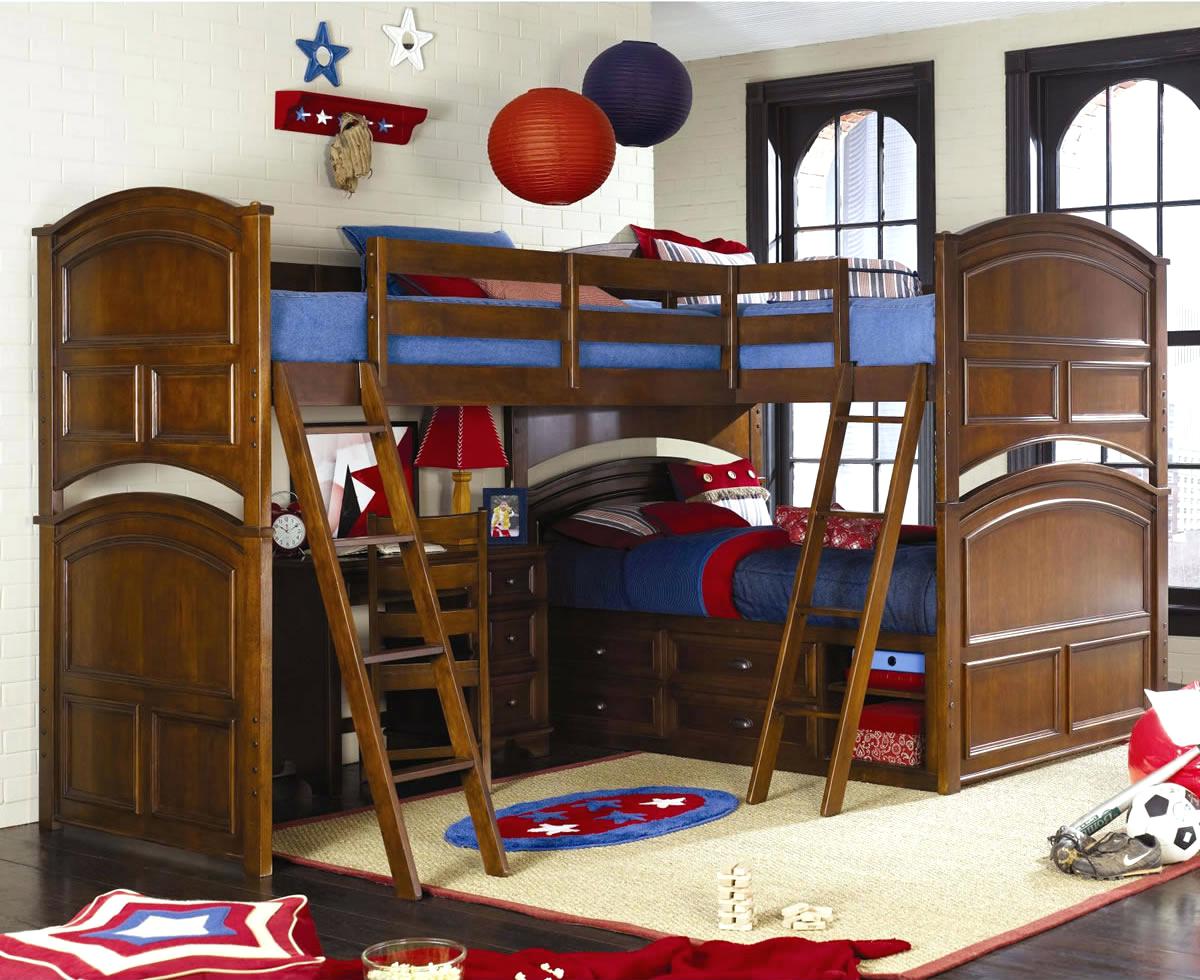
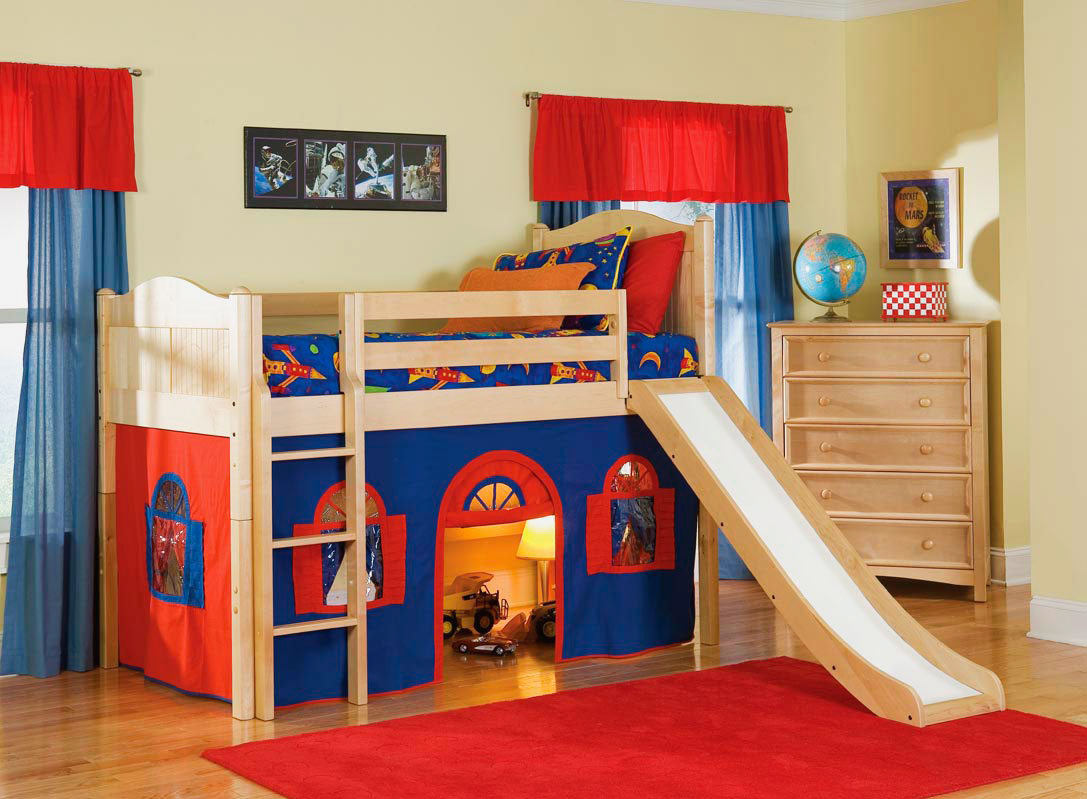
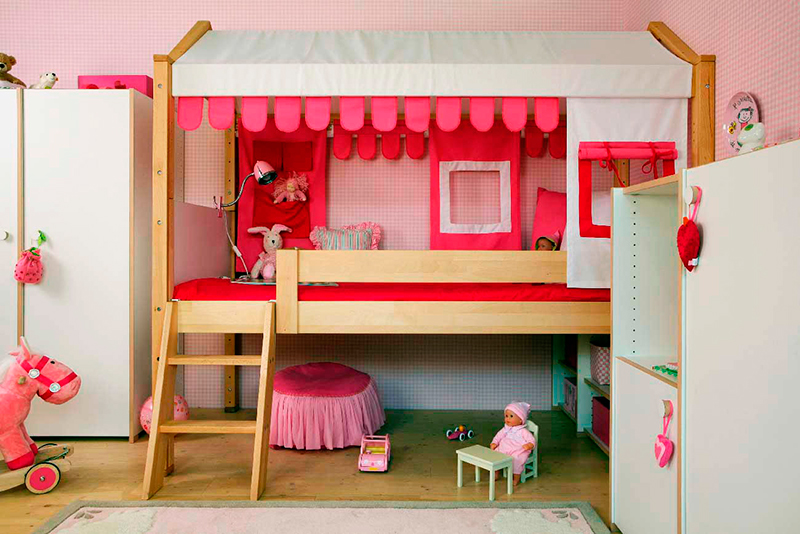
If the child is still small, then under the bed you can build a small house with a place to play. This can be his personal territory.Naturally, you need to take into account the age and interests of the person who will be the owner of such a bed.
Materials and tools for manufacturing
Naturally, when there is a desire and free time, and you also want to save a little, you can build an attic bed on your own. What does that require? First of all, quality materials. The first step is to decide whether the bed is made of wood or metal.
Wooden, at the price of materials and a way of production, will be much cheaper. In addition, this is due to the ease of processing wood. It is much easier to purchase and prepare.
In addition, wood products are lighter and practically do not require additional processing. At the same time, a framework made of metal will require not only the experience of the welder and the apparatus itself, but also the pretreatment and preparation of the material used.
Choosing the wooden structure of the bed, you need to know that this will require special treated bars and planks made of solid wood. You can use MDF, fiberboard, chipboard or chipboard.
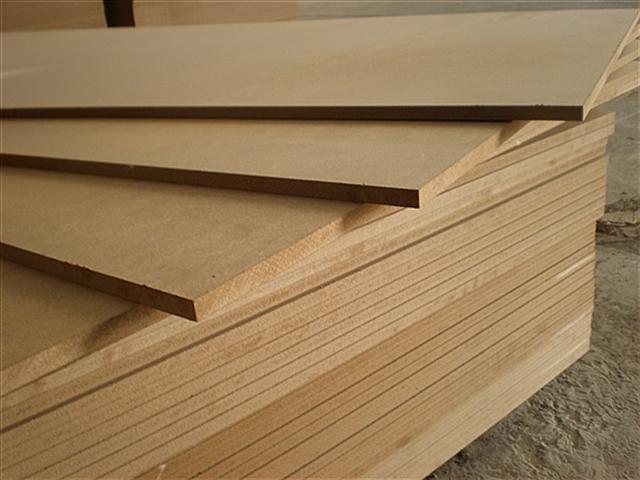
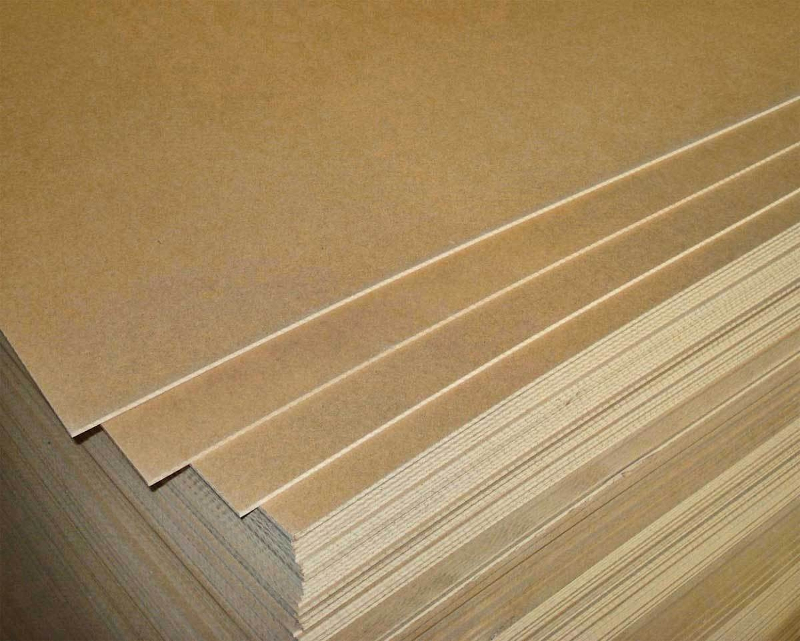
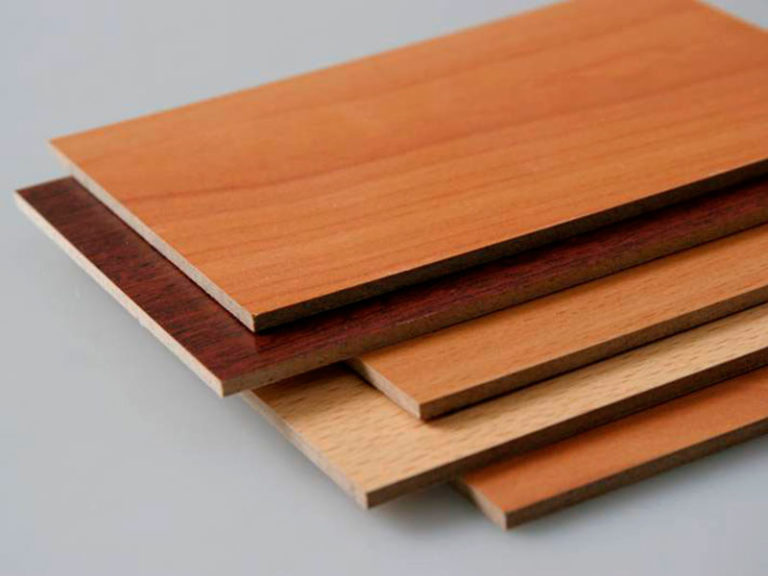
So, these materials can be used in the organization of home-made dressers and shelves, writing or computer desk at the first level.On the second, you can use the material as a decorative wall decoration or the organization of additional shelves.
If you choose wooden blanks, you should pay for such wood species as pine, while it should be 1 grade. Beech or oak are more expensive, but more durable.

When choosing a timber, it is necessary to pay attention to its section. For a bed to be safe, it is necessary that it be 100x100 mm. Will need more rails. With their help, the staircase railings will be trimmed. The required thickness should be in the range of 20-30 mm.
When purchasing the boards, pay attention to whether they are oiled, impregnated or not. In some cases, you can give dimensions that will allow you to get them in a fully finished form.
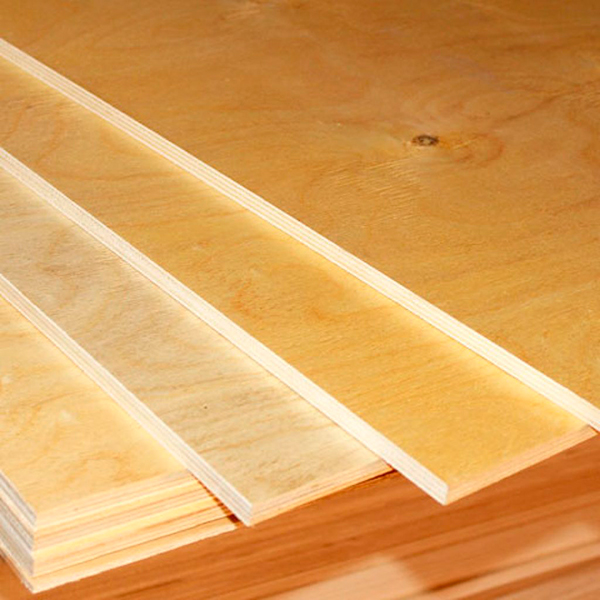
For the manufacture of the bottom of the bed, you can use a thick plywood sheet. It should be said that despite all the advantages of plywood, it is still recommended to use the bottom of the rails located on special holders. They are made with rails and planks.

In addition to wooden blanks, it is necessary to take care of the acquisition of materials with which the structure will be fastened.
This list will include:
- screws of various lengths. In this case, it is desirable to choose products equipped with a countersunk head;
- nails for finishing;
- wood glue;
- stain, varnish and paint. In some cases, self-adhesive decorative film may be suitable.


From tools it is worth taking care of such as:
- jigsaw or circular saw;
- screwdriver;
- drill with various drills and nozzles;
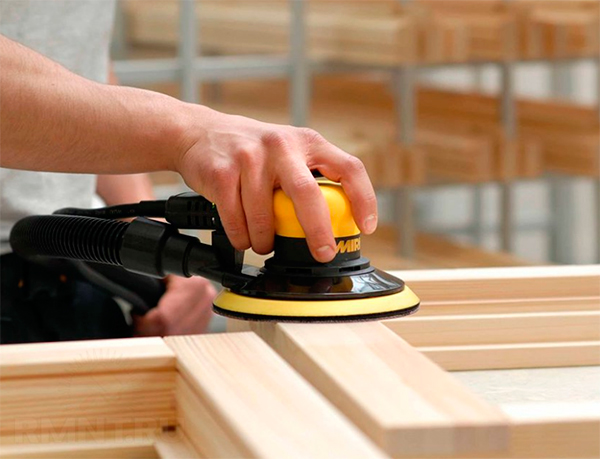
- all for grinding, namely sandpaper, having a fine grain, a sander with nozzles;
- hammer, chisel and clamp;
- roulette, long ruler;
- the level is big and small.


If there are no such tools at hand, they can be rented, borrowed from friends or try to replace them with similar ones.
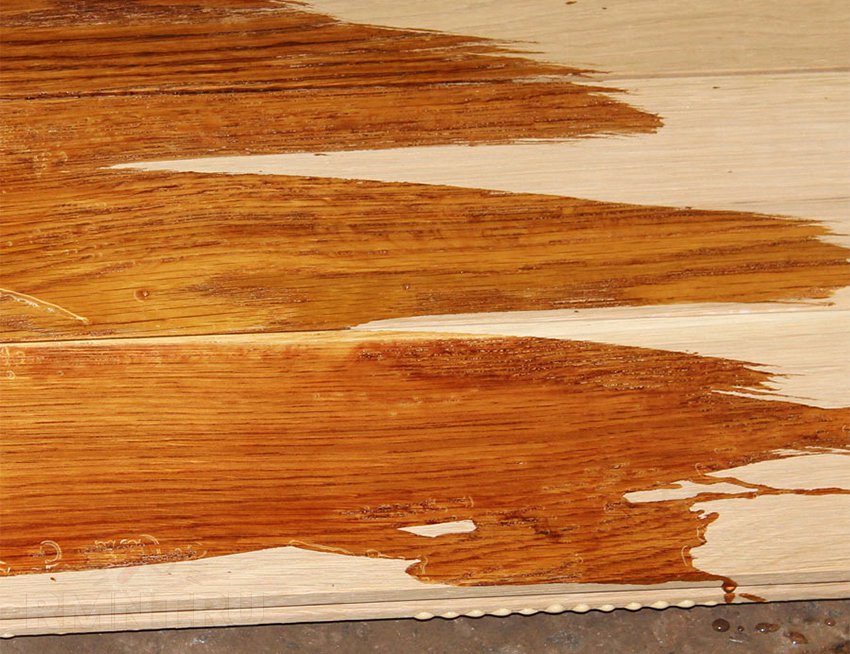
In some cases, acquiring timber and planks, strips, you can pre-negotiate their preliminary processing by staining. If you have not agreed before, then it is easy to do it yourself. The stain will not only protect the tree, but also give it an interesting shade.


The choice of design
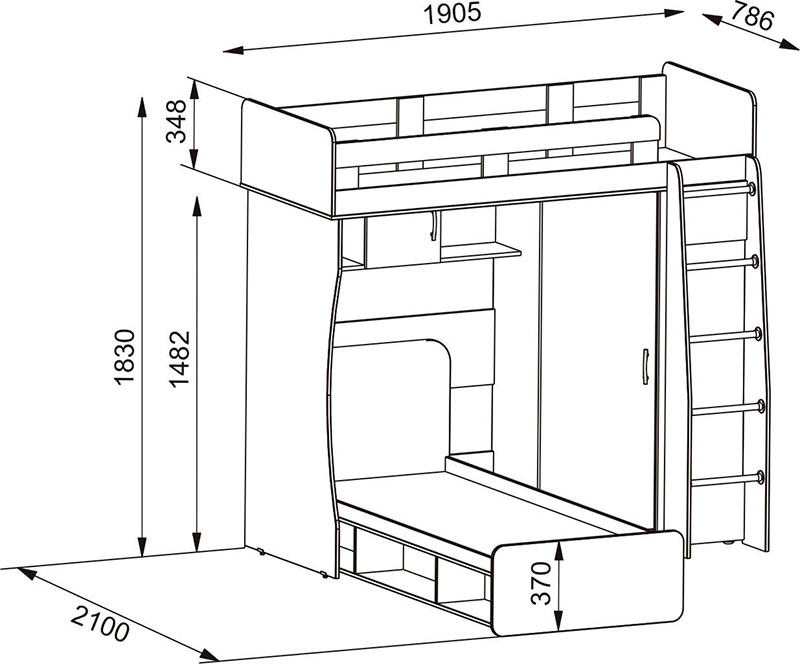
The apparent simplicity of the design implies several versions. First of all, you should decide on the size of the bed.
For example, for children up to 5 years old it is recommended to use dimensions 70x160 cm, in extreme cases up to 120 cm. Schoolchildren and teenagers can make a bed with the following dimensions: 90x200 cm or 140x200 cm, with a height of up to 180 cm.

If we consider only the basic models, then they can be divided into three structures.
Each of them will differ in the method of attachment:
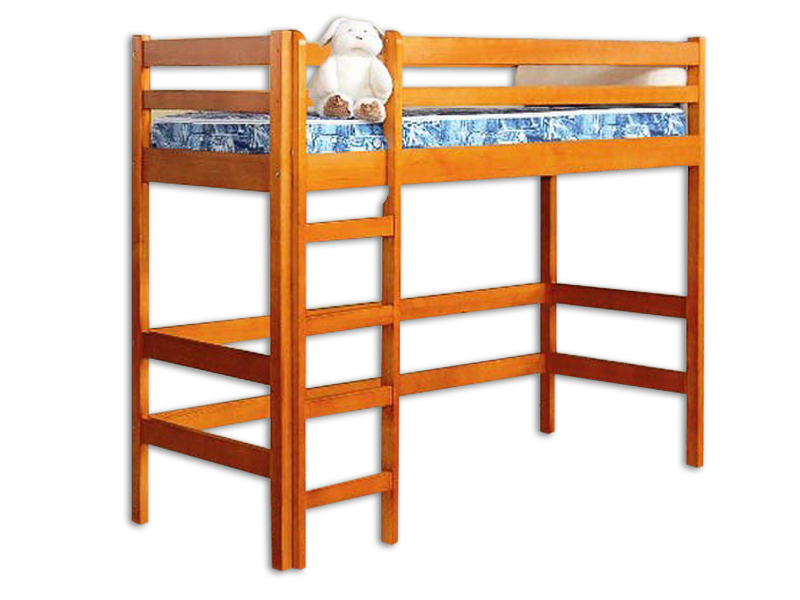
- On four pillars. Its convenience lies in the fact that it can be transferred as needed. At the same time for the manufacture requires a good calculate the height of the bed relative to the ceiling. The thing is that the child should sit quite freely, without risking hitting the ceiling. And therefore it is worth immediately doing everything with a reserve, because children tend to grow.
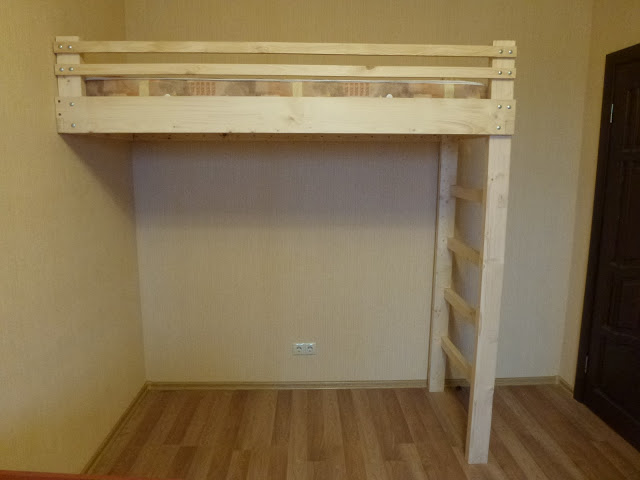
- It has two pillars and fixing to the wall. It has a higher stability and efficiency in the assembly, as it saves materials. It should be understood that to move such a bed will be very difficult, if not impossible. It is for this reason that the maximum bed length and location should be considered in advance.
- Mount directly to the ceiling. On the one hand, this is the most original way of placing an attic bed, but on the other hand, it will require precise calculations, including with regard to the methods of fastening.

Now it is worth analyzing the ways of execution in more detail. Most often choose the first and second designs. They are simpler and easier to assemble and use. These options make it possible to organize a space there with a working area, not only for adults, but also for children and teenagers.
The third option is more complicated, and therefore it is better not to collect it yourself, so that later it would not hurt for the time and money spent.
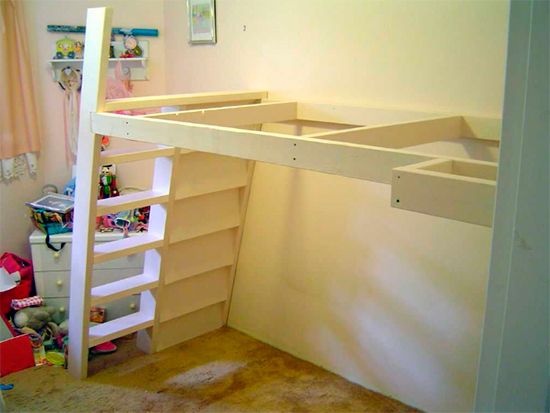
Among the main nuances of all three designs is to highlight the stairs. And since this is an attic, which means that it is located at some distance from the floor, one cannot do without it. Considering how to install the stairs, you need to understand that there are several possible options.
First of all - placement at a certain angle to the floor. This option is the safest, but it will take some space from the room. The staircase can be vertical, while it should be understood that this option is simply not suitable for small children.
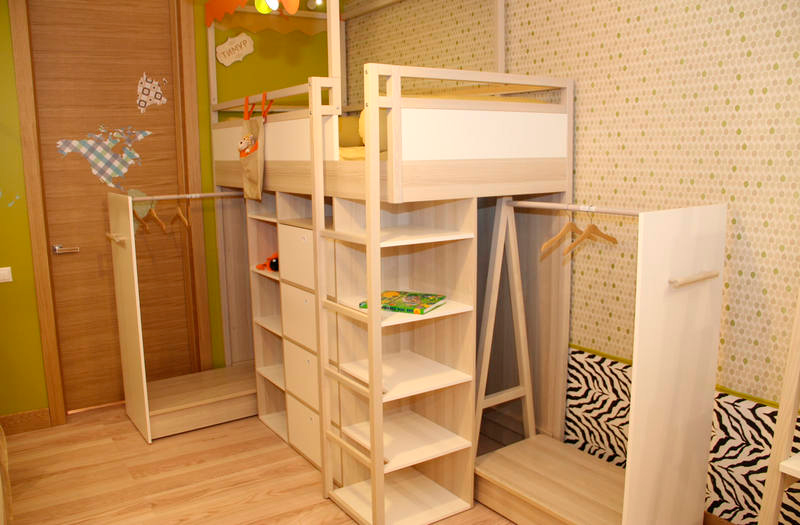
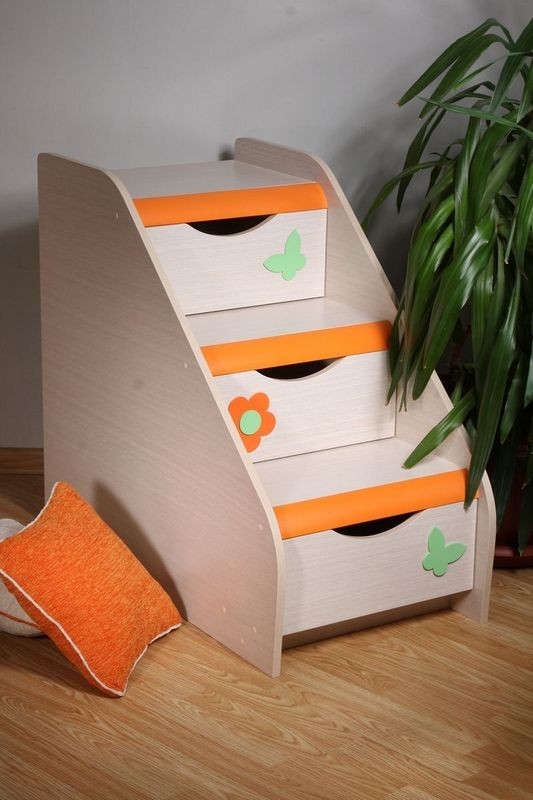
An interesting, but more complicated option is to make a staircase from several compartments of the lockers that form the steps.
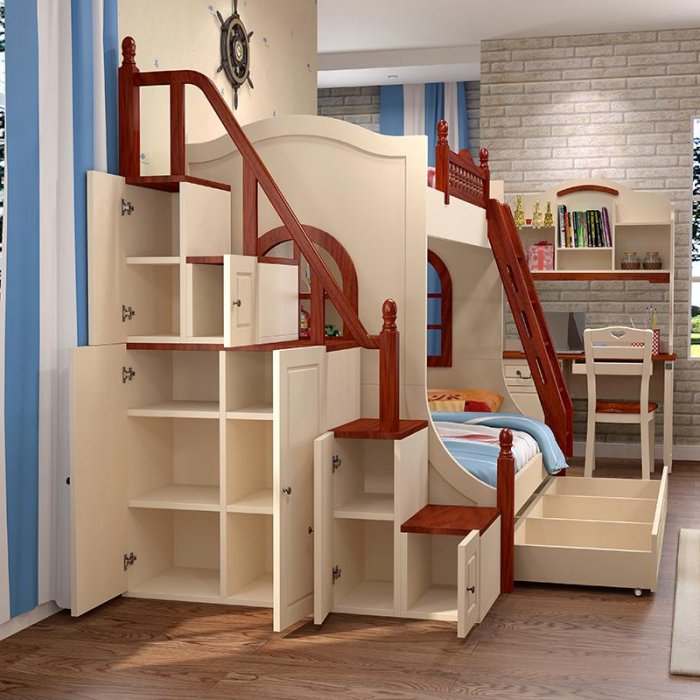
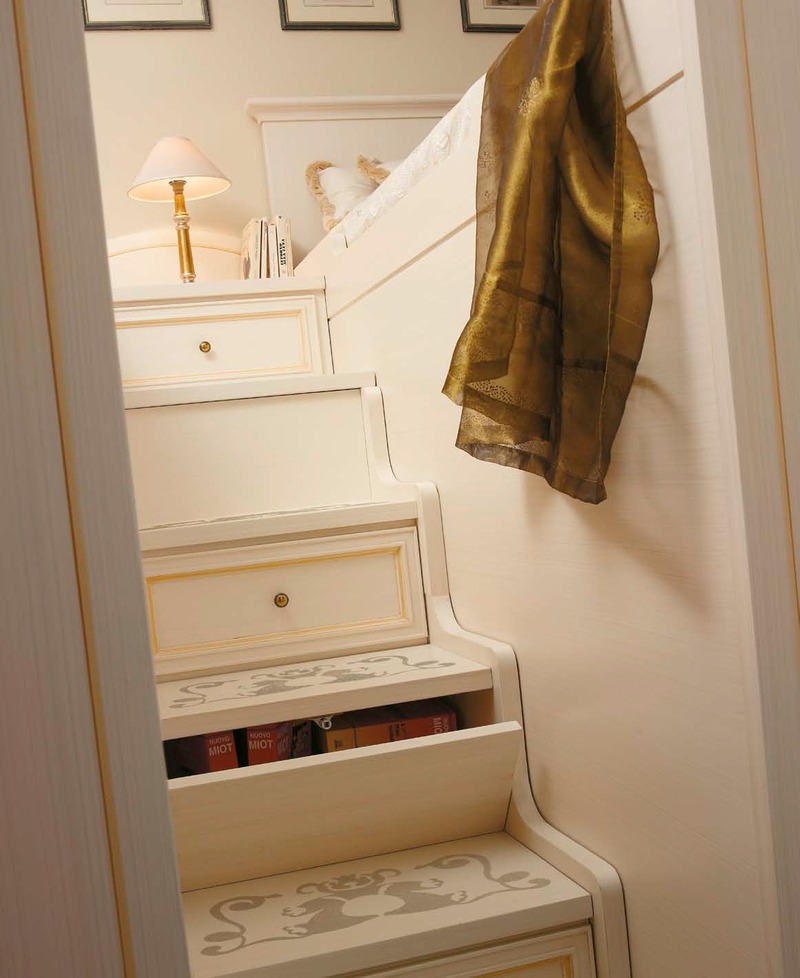
By way of placement, the ladder can be installed immediately on the facade,and no matter which side, convenience is important, or directly on the end. At the same time care should be taken of the side of the facade.
After the most suitable model is selected, the drawing and calculation of the necessary materials are made. And only after that you can contact the building and furniture stores for everything you need to do it yourself.
Assembly
Having a drawing with all sizes on hand, making the bed is not so difficult, especially if they are all accurate, and the purchased material is of good quality and well prepared.

It is for this reason that when selecting a material, it is necessary to choose those boards and bars that have been dried and have a humidity level of 18%. Otherwise, in the very near future the tree will begin to crack, crack and warp.
Before you start to mount the structure, it will be necessary to grind all the elements of the future bed with sandpaper or a grinder. At the same time, all available sharp corners and chips are removed.

Do not pre-drill or cut holes. It is better to do this during the assembly process, which will reduce the number of waste and scrap.In addition, before connecting, it is recommended that all the holes be coated with a special glue.
As supports it is required to have in the presence of a processed timber, with a section of 100x100 cm. It will go to the pillars and the frame. The frame itself will be a support bar with an outer board side.
They are attached to the racks with a screw connection. You can use metal corners for this, especially for support bars. And don't forget to check which vertical is by the bed. To do this, use the square.
In order to make the construction more reliable, all supports should be fixed at a height of about 30–40 cm.
To do this, use slats, which are fixed on the ends and on the rear wall. Do not forget about the rails of the fence. They will depend on the age of the child. After all, the floating design is high above the floor, and safety will be here in the first place.
The video below shows in detail how to build a loft bed for a small child.


