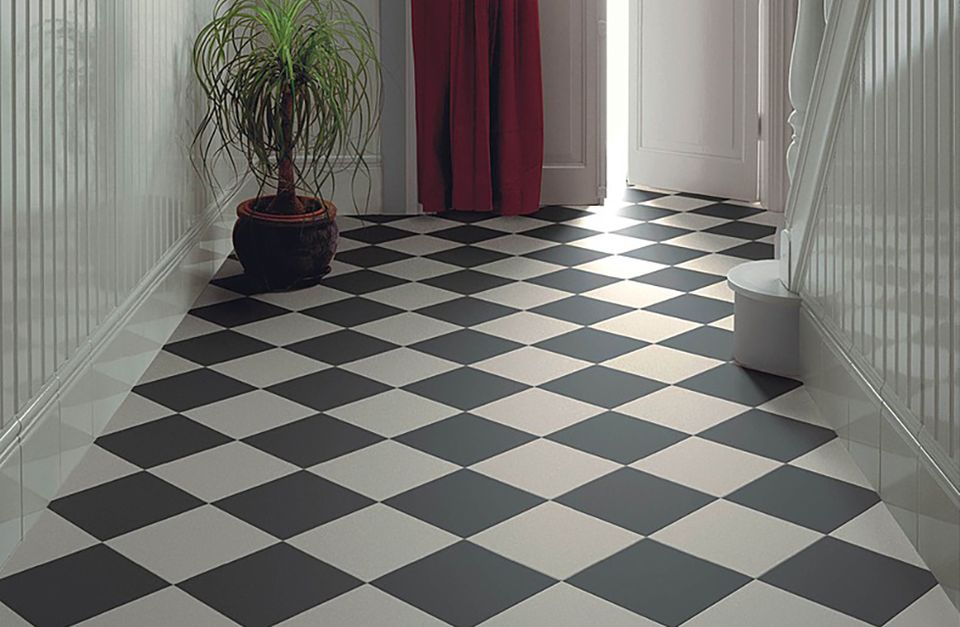
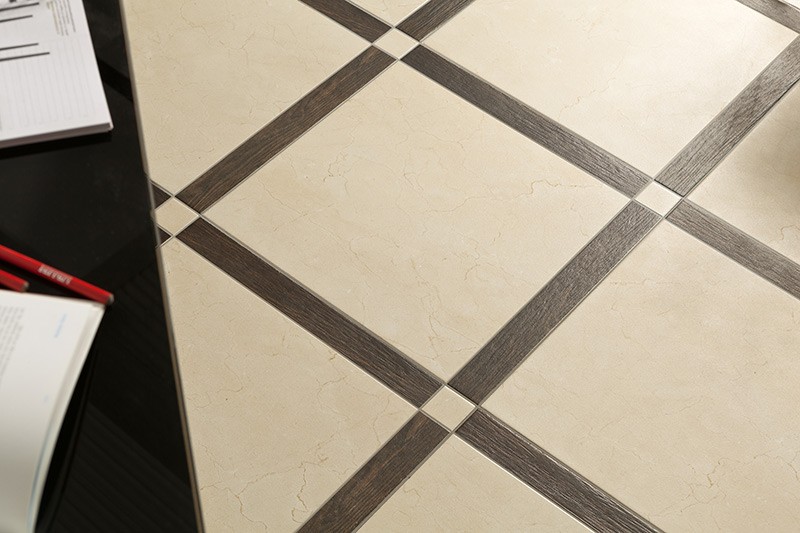
Floor tiles in the shape of a diamond in the interior
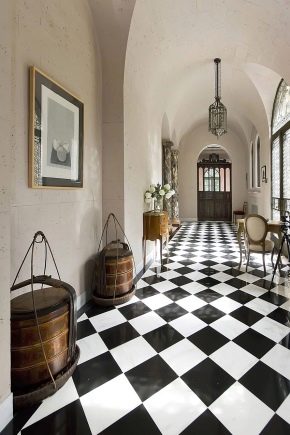
Tiles are the most practical choice of flooring for rooms where pollution is high (in the bathroom, toilet, hallway and kitchen). Properly laid floor tile will last several decades, will not lose its aesthetically attractive appearance with daily wet cleaning and intensive load.
Modern designers offer to lay tiles in the dining area of the living room: this tile looks especially beautiful when laying with a diamond. About this method of facing the floor will tell in the article.

Laying technology
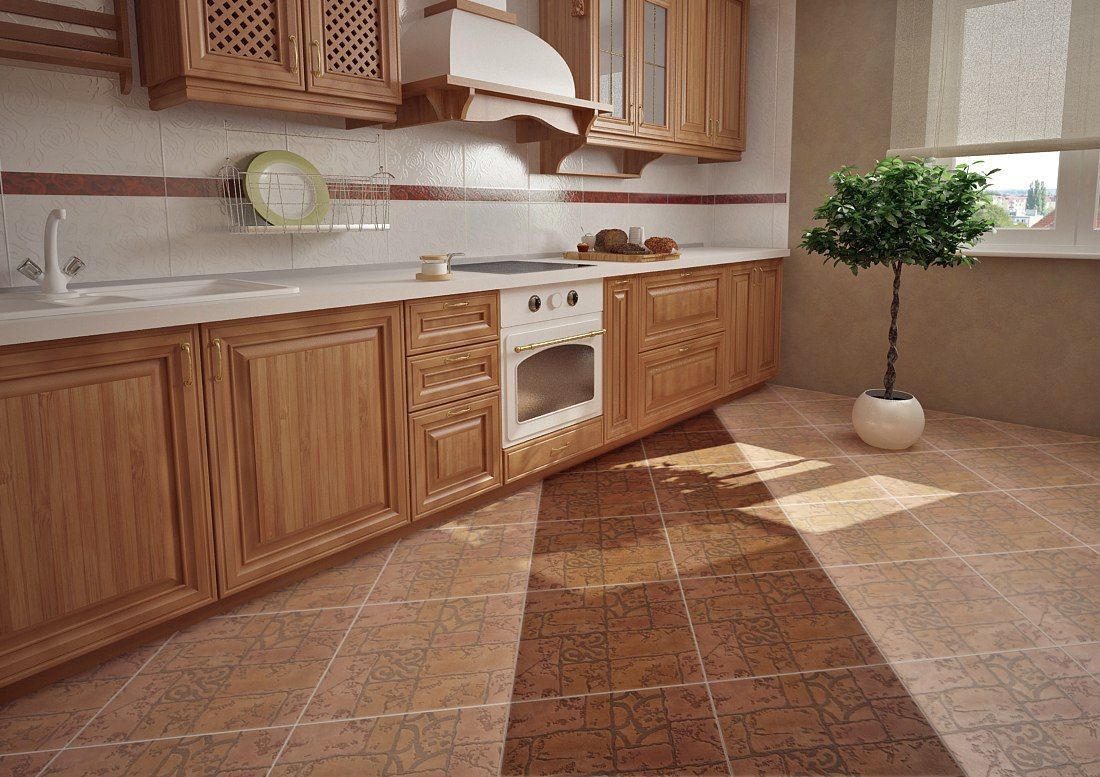
Laying tiles with a diamond is not the easiest way, but it allows you to hide all the flaws in the geometry of space.Diamond-shaped laying of the floor covering in the kitchen will exclude situations when kitchen furniture fronts do not coincide with tiled seams, which is possible if the calculation is incorrect, which may cause the floor to look sloppy and the general aesthetics of the kitchen are often broken.
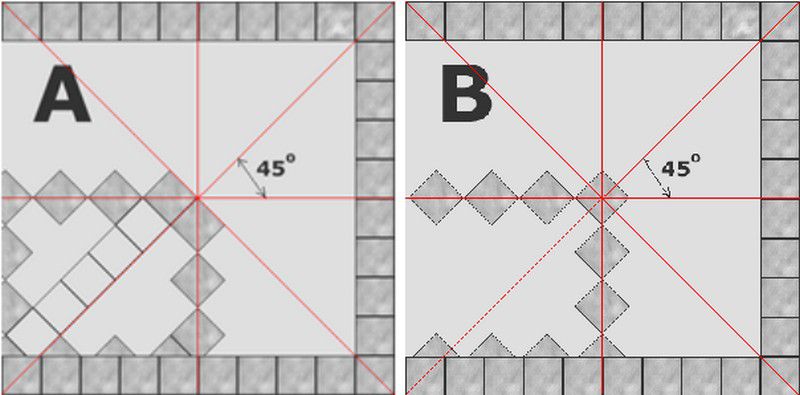
There are two methods for laying this finishing material with a diamond.
From the center of the room
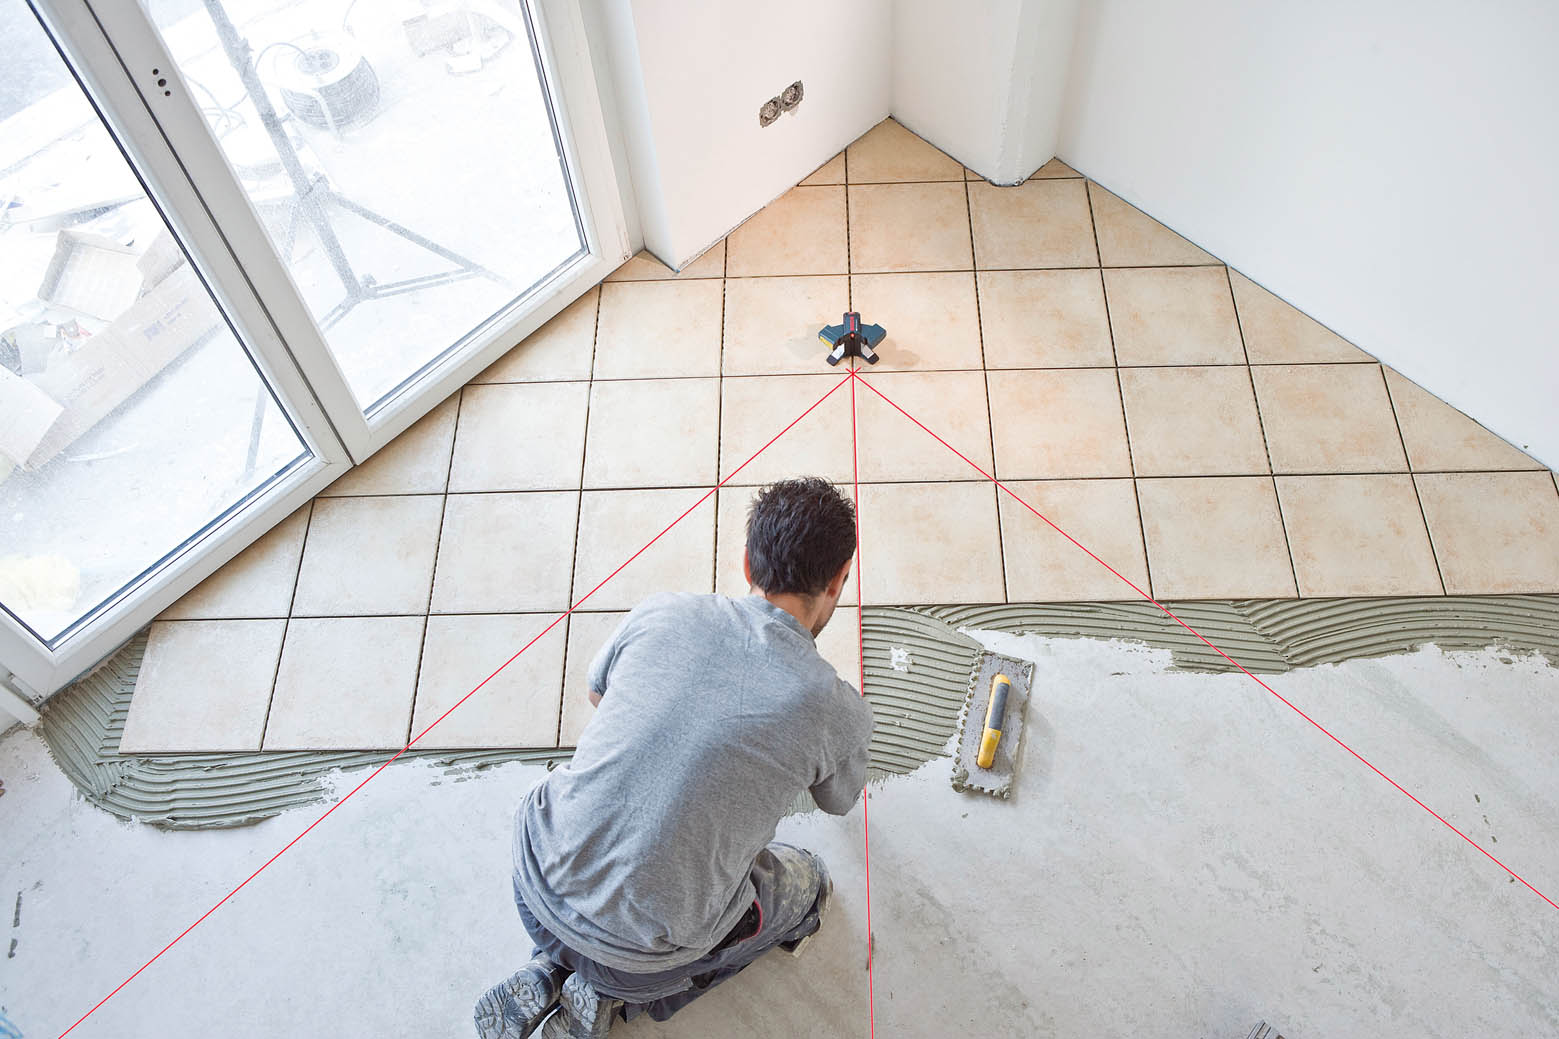
This method is used if the center of the room will be free in the future during operation. Laying produce sector method, the center is determined by laying auxiliary lines from each of the four corners of the room. In the place where the lines intersect, there will be a center, there you need to lay the first tile, the lines themselves form visually four triangular segments. The tile must be laid sequentially in each segment diagonally.
From the corner
Work begins with laying solid tiles in the corner of the room. At first all integer elements are laid, after - cut diagonally in the form of an isosceles triangle. As a rule, tiles begin to be laid along the long wall from the corner farthest from the window.
Which option is more suitable for a particular room, will help decide a specialist tiler.If you want to work independently, it is important to understand that when laying from the center errors in the calculations will be much more noticeable than when laying from a corner.
Materials and tools
Before you start laying the floor cladding with a diamond, you need to prepare the necessary tools and materials.
From the materials you will need:
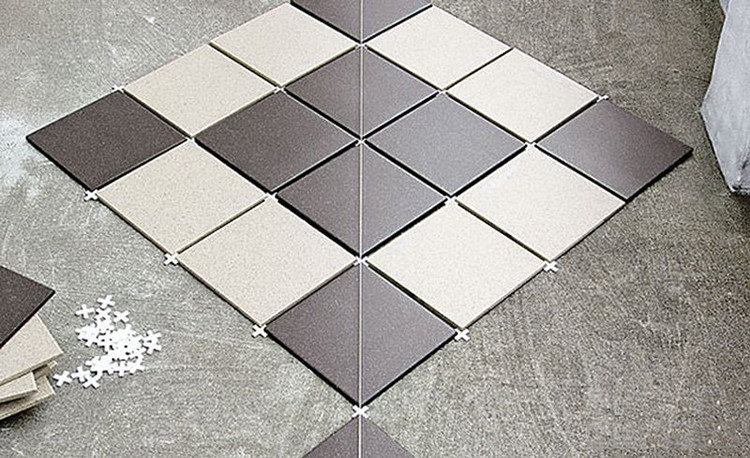
- tiles of the same size from one manufacturer, purchased from one lot (it is worth taking the material with a margin), or a companion (for example, white with black);
- special glue for ceramics;
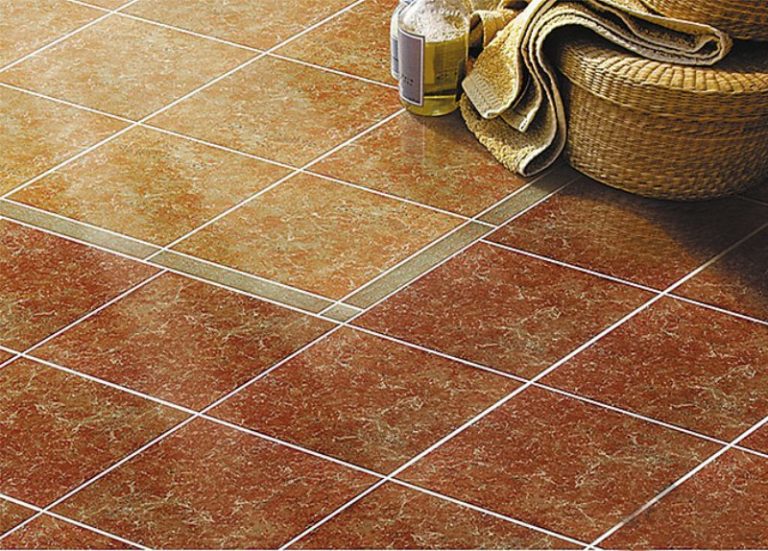
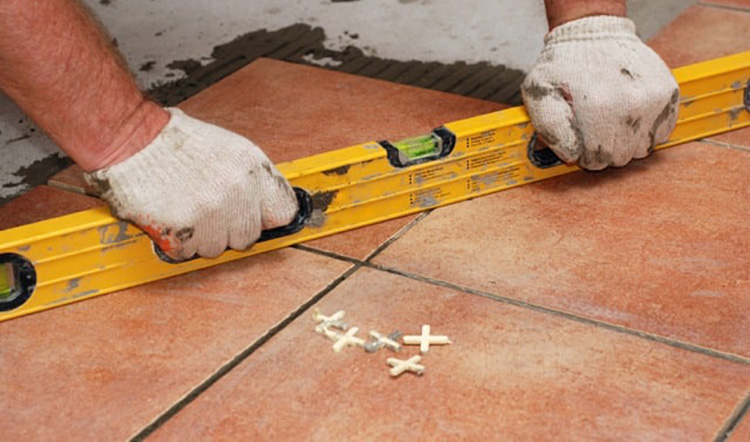
- suture crosses to evenly fix the distance between the elements;
- grout for joints (to eliminate black in the joints);
- primer.
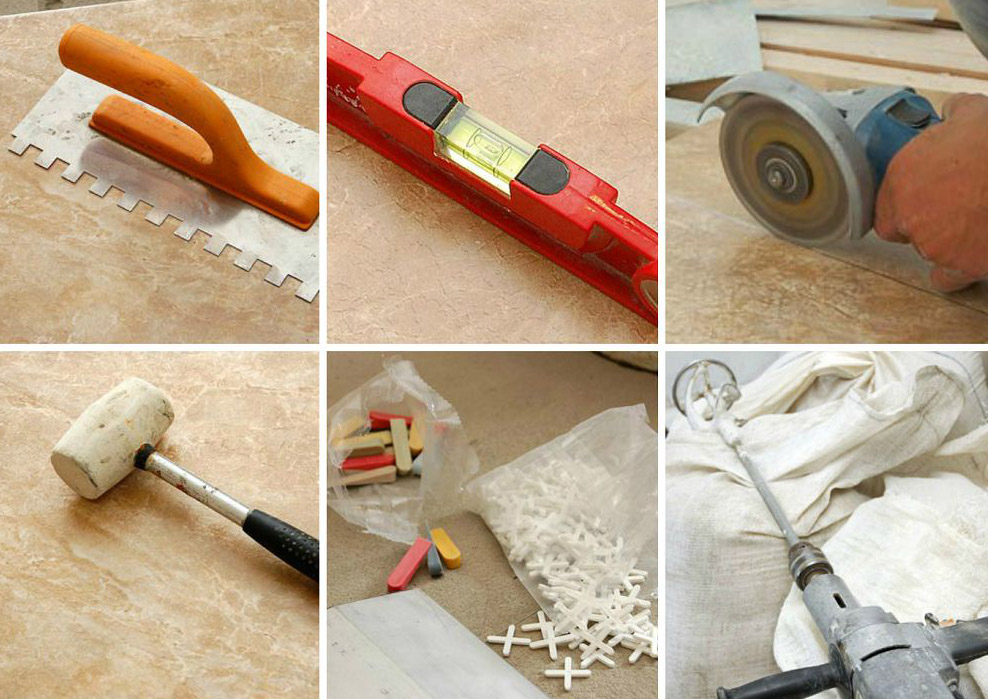
From the tools you will need the following:
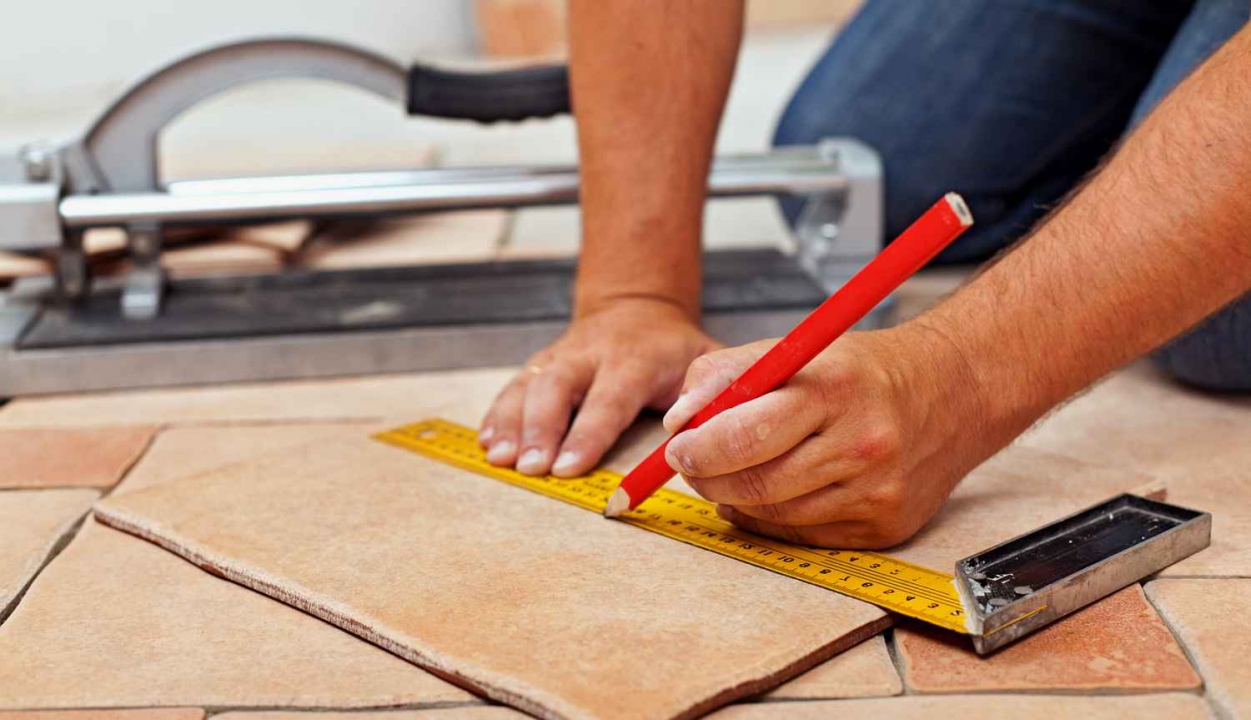
- tile cutter (the main tool, without which it is impossible to properly and beautifully lay a tile with a diamond);
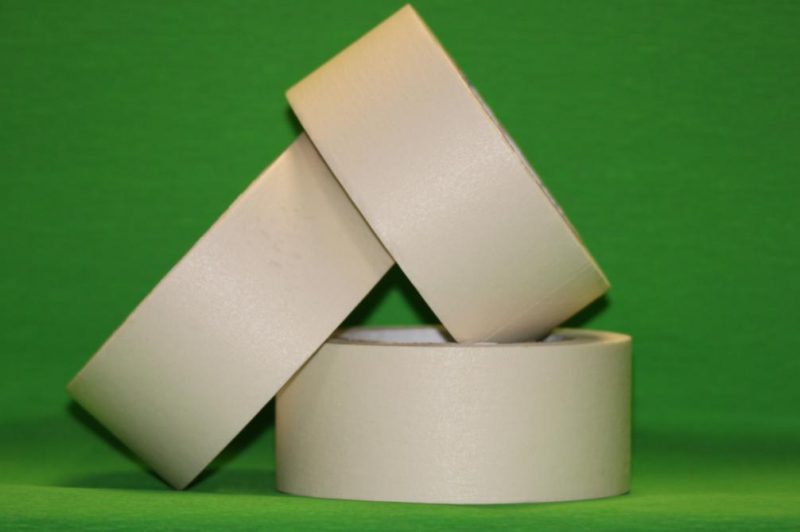
- paper tape for cutting elements;
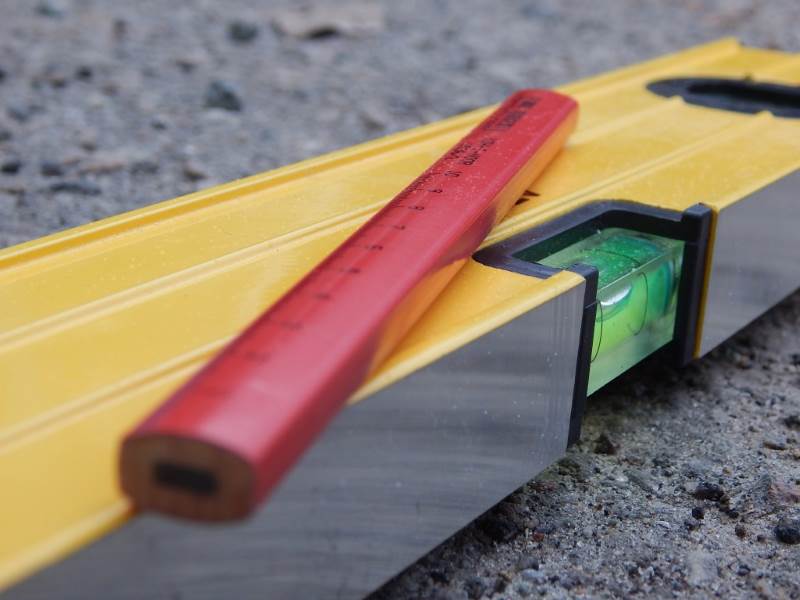
- construction levels of 500 and 50 cm (to align diamond lines);
- containers for breeding glue and grout;
- the cord with which to pave the first line of tiles;
- construction pencil for marking;
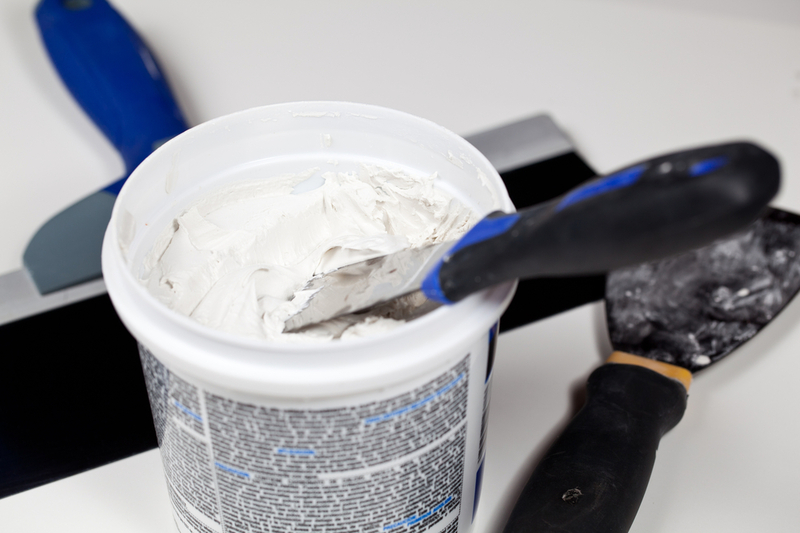
- spatulas with various parameters (metal and rubberized), with which glue and grouting are transferred onto the tile;
- hammer with rubber, blunt to tamp elements for smooth styling;
- metal construction tape measure;
- drill with nozzle "mixer" for mixing glue;
- sponge in the form of an iron grater, necessary to start the grouting process;
- rag and water (to remove residual glue from the front of the tile).

How to calculate the quantity?
Diamond-shaped floor covering implies a greater consumption of tiles than simple installation. Elements laid on the perimeter of the room will be cut in half, they will all go to the gathering, about 15% of the purchased material must be taken into account for waste.
This factor is important to take into account in advance, because even in large stores the tile of one batch can be disassembled instantly, it is possible to purchase exactly the same only through a supplier, which will take more time to order and deliver it.
For proper calculation of the necessary material need a drawing of the location of the future installation. You can draw it yourself or order from a specialist. At the stage of buying the material there is an opportunity to get advice from sellers. Almost always, manufacturers provide large retail chains selling their products with special software for creating 3D sketches.

In addition to the tile itself, it is important to consider that the consumption will increase due to the obligatory presence of the distance between the tiles.
The width of the seam does not depend on how you lay the tile, set a single standard:
- ceramic tiles with a size of 30 x 30 cm - 1–1.5 mm;
- a tile from 30 x 30 to 60 x 60 cm in size - 2–5 mm;
- tiles larger than 60 x 60 cm - 5–10 mm.


Installation
Diamond laying is the same as with other cladding technologies:
- tile adhesive is applied on the floor itself and the back surface of the tile;
- elements must be laid strictly in accordance with the created markup;
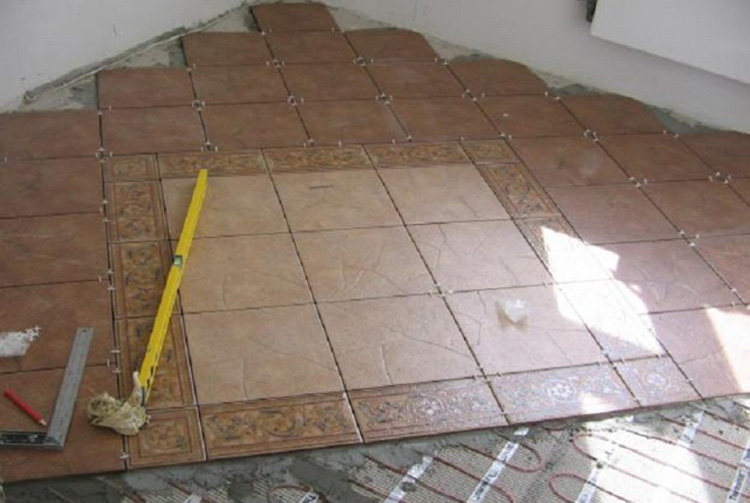
- the fragments are gently pressed into the floor, on which glue is applied, with a rubber hammer they knock the entire surface until excess glue protrudes along the edges;
- put the next element, on the construction level, make sure that both tiles are at the same height from the floor plane.
When laying from the center, work begins with whole elements, and the trimmed triangular tile must be laid after two days, when the main part reaches the desired strength. When laying out of the corner, the technology is similar.
It is impossible to lay a tile with a diamond at a time, otherwise the inaccuracy of installation cannot be avoided, such a floor will begin to “walk.” The markup must be taken seriously, the final result will depend on it.
Particular attention is paid to the first row of cladding, for its evenness above the surface they tighten the cord or use a laser pointer. No need to smear glue over the entire surface of the floor, it is enough to make cross marks for its application. The first fragment is always placed with a diamond so that its corners are directed towards the walls. Gradually, the remaining elements are laid in the planned sequence, the trimmed ones are laid at the very end.

Conclusion
Laying the tile with a rhombus ensures originality of the floor covering, allows you to correct some of the defects of the floor and walls (for example, when the walls of the room are not strictly perpendicular to each other). With a simple way, it will be evident when by the end of the work it is necessary to cut the tile near the wall by more than half, while at the beginning of work it was not cut at all. With the help of diamond-shaped styling, this defect of the room is less visible visually. Facing the floor in the form of a rhombus allows you to create unusual patterns in the central part of the room. You can choose a different texture of the tile, a different color, pattern, or even the size of the facing material, and the floor will play in a completely new way, making the interior more interesting.
For information on how to properly put the floor tile diagonally, see the following video.


