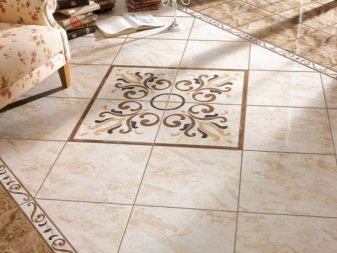
Subtleties laying tiles on the floor
If there is a question about laying the floor tile in the apartment, then it may seem to the unenlightened man in the street that this process is complicated. Especially reinforces this view the fact that the meter facing, performed by the master, is not cheap. In fact, laying tiles on the floor is much simpler: it is only important to know all the steps of the process and some subtleties of the layout used by experienced craftsmen.
Special features
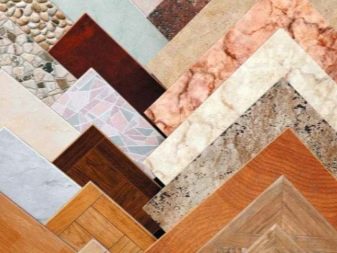
The tile is a demanded finishing material for floor decoration. This raw material is represented in the market of building materials in a wide range, but it is different and has its own characteristics.
For example, not every man in the street knows that floor tiles are several different materials that are important to use strictly for their types of surfaces.The reason for this are the different characteristics of strength and weight load.
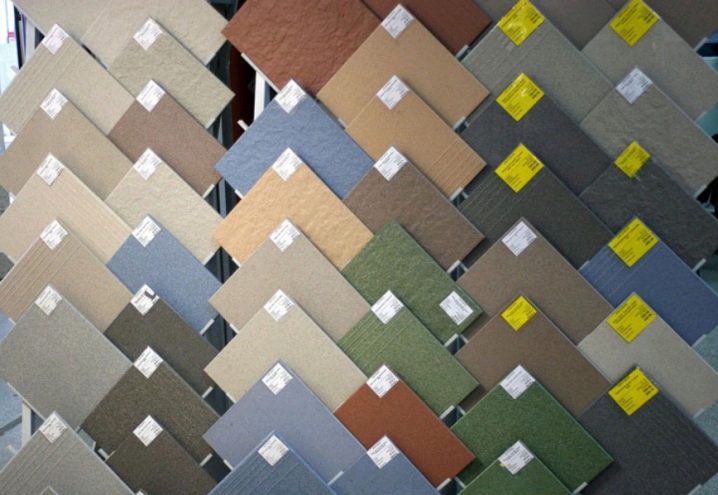
The texture of the floor tiles can be glossy, matte or polished. Recently, trademarks offer to the attention of buyers facing with anti-slip, the texture of which is rough to the touch. This material is more difficult to maintain, but it eliminates the trauma of users, which makes these types of floor tiles more in demand than others.
If we compare the dimensions, they can be different: in some varieties of floor cladding, the parameters of the fragments are quite large and can reach a length of 60 cm or more, and for rectangular elements simulating the laying of a parquet, the length can be one meter or more.
A unique feature of the tiles of large enterprises is the serial production of fragments of companions. This allows you to decorate the surface of the floor and walls of the same color and pattern. Selection to the floor tile companion to match the pattern is its advantage. At the same time, the design often uses three types of material: monophonic, contrasting, and with a pattern to emphasize a specific area.
The rules of laying tiles are quite simple, and their observance will allow to carry out repairs of high quality.
Types of tiles
To date, a large range of the proposed tiled products for the repair of the floor according to the production method can be divided into two types: extruded and extruded. The first is obtained by pressing a plastic mixture of the mixture. In this case, the mass is put in a press, given its shape and subjected to firing. The second type is produced by forcing the mass through special holes, giving it shape, and then cutting and burning.
Existing species can be divided into several types:
- Porcelain tiles. The basis of this tile contains kaolin and quartz. Its structure is homogeneous, similar to glass. This material is used to finish the floor of industrial facilities, as well as places with heavy loads.
- Porous. This type is characterized by a large absorption of moisture: the greater the absorption, the higher the porosity of the material. It is used for interior decoration surface.
- Metlahskaya. This variation is performed by the method of single firing with pressing. Unlike other analogs, it is dyed through, its properties are similar to porcelain stoneware and can be used for arranging interior and exterior works.
- Ceramic. The difference of this lining category is the coating of colored glass, due to which it gets hardness, water resistance and the presence of half tones. Glazed tile is characterized by the presence of a layer of enamel, and unglazed has a uniform texture.
- Cotto. The variety of this tile differs in lack of enamel. The thickness of the material can reach 3 cm, consists of a porous filler. With complex care, this option looks pretty impressive.
- Monokottura. A variety of material with a dense structure and low moisture absorption. It is possible to use tiles for the decoration of the floor inside and outside, including the decoration of the facade.
- Bikotura. Analogue of the previous tile. It is made using double firing and has an enameled surface.
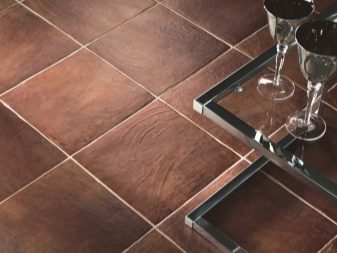
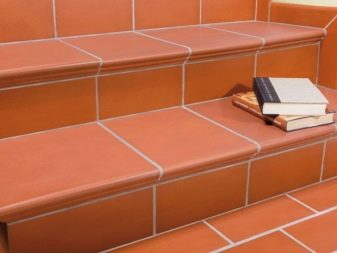
- Clinker. The material obtained from several types of clay, supplemented with dyes and other additives. Quite durable tiles, distinguished by environmental purity and inertness to chemicals. Suitable for flooring inside and outside the premises.
Ceramic granite varieties differ from tiled wall tiles by the level of wear: they are more durable and are used for finishing the floor of bathrooms, corridors, kitchens, hallways, living rooms, bay windows and even bedrooms.This material is marked in the form of feet, depicted on a black background. If the background has a shading in the schematic illustration, then this type of material is also distinguished by increased wear resistance.
The dimensions of the tile can be small (20x30, 20x40 cm) and large: some fragments reach a length of 80 cm with a width of 40 cm.
Masonry patterns
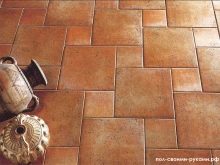
To date, there are many ways to lay floor tiles. Below are the main techniques that allow laying tiles stylishly and beautifully.
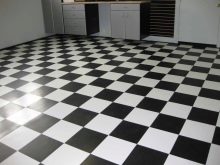
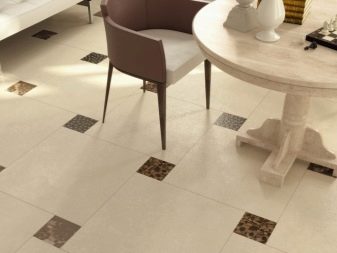
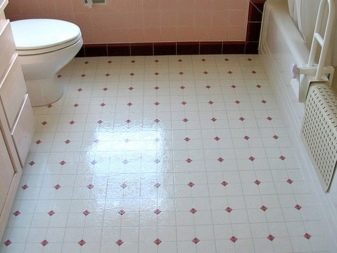
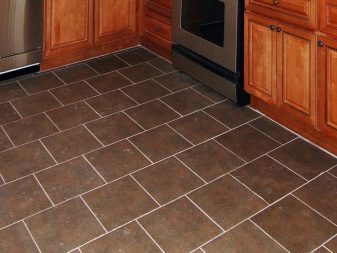
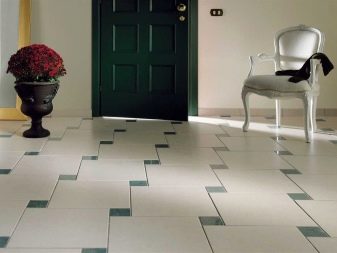
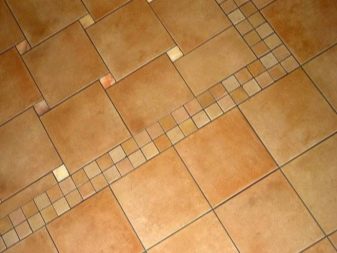
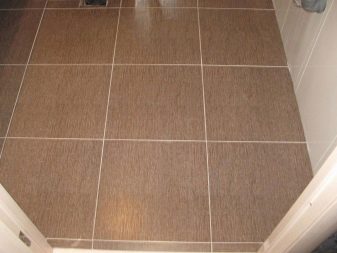
- Traditional method - This is the easiest way of laying, in which the fragments are placed tightly to each other with the formation of crosshairs. Fragments of square shape are used in the work, although this method is also suitable for finishing the surface with a long rectangular tile.
Such a lining option will look interesting if there are inserts with a pattern among the monochromatic fragments, or parts of different shades are used in the work.
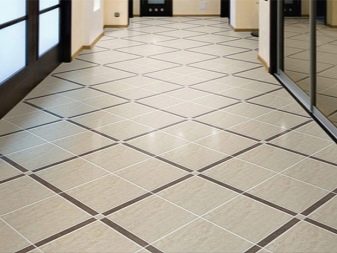
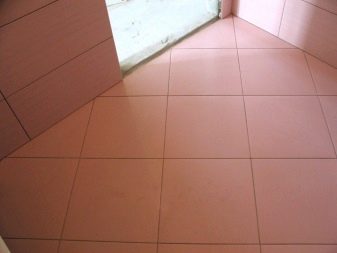
- Diagonal (diamond) method - This is one of the most difficult ways to design surfaces. Despite the basic method of execution, the complexity of the diamond-shaped method is the necessity of marking the guides and the obligatory trimming of the dies along the edges.
The advantage of this method is the masking of irregularities glued surface.When performing finishing work tiles are laid at an angle of 45 degrees. The shape of the dies should be square.
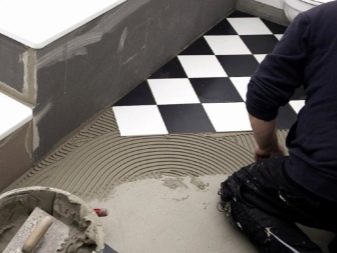
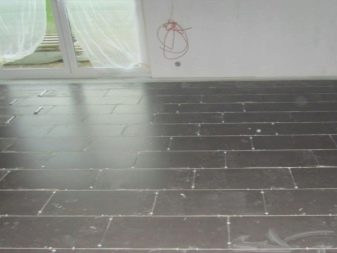
- Offset (deck). It is easy to glue tiles on the floor in this way. It is something like a brickwork: the tile is shifted half the length of the side face. In this method there will be no crosshairs, and it is better to select a rectangular tile, since in this case it will look more interesting than square one.
The advantage is the concealment of small irregularities of the treated surfaces, as well as the non-dull appearance.
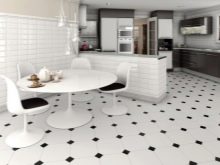
This method has other names: “in chessboard order”, “vzajbezhku”. This coating will look beautiful in the interior of the kitchen or corridor. In order to make it perfect, you will have to do the markup and mark the center of the side face on each plate. The technique has several varieties: in addition to the shift by half the length of the tile, the shift is carried out by 1/3, randomly, and also diagonally randomly, by half and by one third.
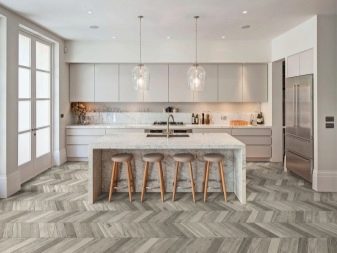
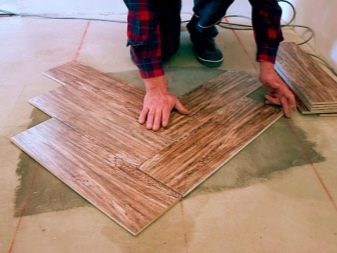
- "Christmas tree" - This is a kind of parquet flooring, in the process of which they use rectangular floor tiles. If you have skills in laying, then this method can be varied by adding additional small tiles in the form of a mosaic or an insert of elements of a contrasting shade to the pattern.
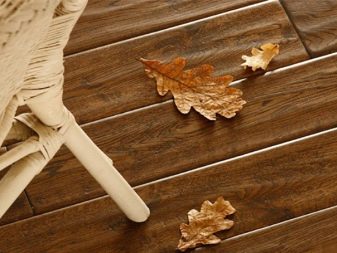
Such a lining looks more effective if the material used in the decoration with wood imitation. In the process of work, the fragments are alternately turned left and right, placing the structure diagonally.
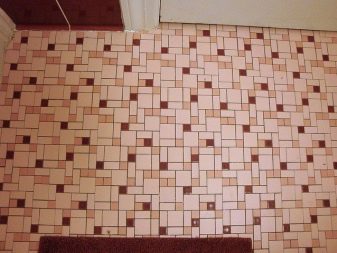
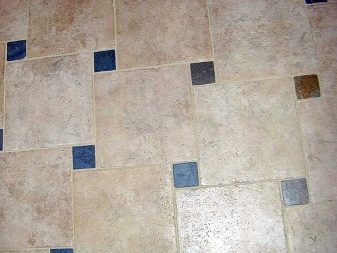
- Modular. This method is one of the most complex and resembles the laying of parquet in the form of an ornament. The work can use materials of different shapes and sizes, as well as to combine square fragments with narrow components. In this case, the direction of narrow parts is different: the seams can be arranged perpendicularly.
Particularly interesting in the decoration looks the use of small elements of a contrasting color, located in the center, having a frame of long narrow details.
- Modular with shift. This version of the installation under the force of experienced craftsmen. In drawing up the pattern do not match the joints, the direction of the pattern is diagonal. To make such a design, you will have to carefully mark the surface, fitting the center of the pattern of tiles to the center of the plane to be trimmed. In the work it is preferable to use monochromatic tiles without decor or varieties with wood texture.
Using this method for flooring, it is necessary to calculate an angle of 45 degrees when marking.
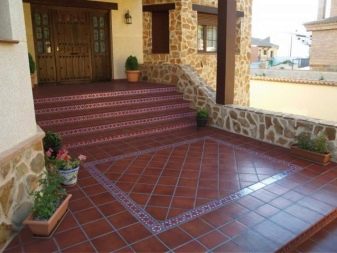
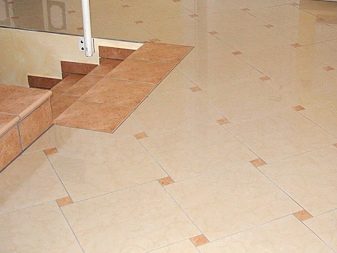
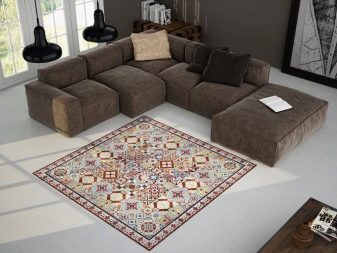
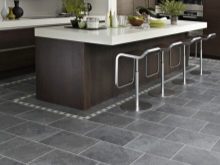
In addition to the main options, a good solution is to combine two different styles, which makes it possible to make a novelty in a boring interior, to give an individuality to the space. For example, by combining classic and rhombic styling, you can lay out a pattern under the carpet on the floor surface. It will be especially interesting if you make a finishing accent with a border of identical width.
What to put?
Finishing works by floor tiles is possible on surfaces of various types. For example, it may be a concrete floor. In this case, the novelty of the surface matters. If the concrete is poured in less than three months, it is unacceptable to lay tiles on it: during the drying process the concrete may be stretched, therefore cracks will appear on the finished lining.
When laying material on an old base, it is important to remove old paint and grease stains from it. You can lay tile on plywood, drywall, GVL (plasterboard fiber) and cement-concrete screed.
It is undesirable to lay the new material on the old tile, because, firstly, the height of the walls will decrease, and secondly, there is the likelihood of chipping on the old tile and the danger of moving it away from the surface.A bad foundation cannot provide a quality and durable floor covering.
Materials
In the process of laying, they use a primer, tile glue, special crosses and wedges, and use a self-leveling mix to level the floor when preparing it for finishing.
Primer
This material is a reinforcing composition, through which the base of the floor becomes uniform. It is usually used to prepare the floor for lining. In the modern construction market, the primer is sold in the form of a powder or a ready-made mortar. In the first case, there is the possibility of adjusting the consistency, and the second option is suitable for beginners: it has already selected the ideal proportions for surface treatment. The primer has a penetrating power and is sold in containers with a volume of 5 and 10 liters.
Due to penetration into the basement, the primer fills microcracks, pores, binds even dust. In some cases, this composition evens out minor plane defects. After application and drying a fine crystalline film is formed on the surface, which contributes to maximum adhesion of the tile to the floor.
The use of this soil is particularly appropriate where the construction was carried out in violation of technological processes. This can be seen on the surface from which sand is showered during harvesting.
For work it is necessary to use a primer of deep penetration. At the same time it is important that it is of high quality and fresh: expired material loses its properties. There is a wide range of such materials on the market.
A good choice is acrylic primer. If the cultivated area is large, it makes sense to purchase a primer in the form of a powder or a solution of 10 liters.
Primer consumption, according to the manufacturer, is about 9 square meters. m 1 liter. However, in fact, this indicator rarely coincides with the real - the whole thing in the absorbency of the base. Often the soil consumption increases by one and a half, or even twice. Of course, priming is expensive, but this preparation will ensure the durability of the flooring.
Glue
Tile adhesive is a special compound that can be:
- cement;
- epoxy;
- dispersion;
- polyurethane.
Depending on its type, it is produced in the form of a ready-made pasty mixture or a powdery consistency.The first modification is sold in standard buckets. It stands out for a homogeneous structure, economical consumption and good adhesion. The composition is quite high quality: this glue will help to cope with the processing of complex areas. However, it is precisely the high cost that does not allow it to be used for laying the entire area.
The basis of dry mixes is cement. Such varieties consist of Portland cement, sand and modifying inclusions. Plasticizers that make it up make the mass fluid and plastic. In addition, the components of such adhesive mixtures are moisture-retaining and frost-resistant additives.
The two-component composition is made of epoxy resin and hardener, which makes it durable and resistant to weight loads. This glue perfectly connects the tile with the base of wood and metal.
Dispersions are sold in the form of a paste, which must be stirred before use. They are based on acrylic, latex, polyvinyl acetate and aqueous dispersion. Polyurethane adhesive is elastic: this composition will allow to glue the tile to the metal. However, during the curing process, some such compositions may expand, so their use for ceramics is not always possible.
According to the properties of tile adhesive can be:
- universal, which is designed for different types of repair;
- reinforced, designed for very large tiles;
- moisture resistant, manufactured for finishing rooms with a high degree of humidity;
- transparent, made on the basis of white cement for cladding surfaces with transparent and translucent tiles, as well as mosaics;
- for outdoor use, designed for rooms in which there is no heating.
In addition, there are also specific varieties (for example, a solution for a warm floor). Typically, the composition of the adhesive is designed in such a way that the mass is just enough to mix well, because the structure of the material is uniform and balanced.
It is important to comply with the instructions that will allow to achieve the desired consistency, in which the adhesive mass will not spread across the floor, soaking into the base.
Glue consumption depends on the preparation of the base. If it is insufficient, then part of the glue will go to alignment. However, it should be borne in mind that this material is not a floor trowel or an alternative to screed - using it instead of a trowel with a large layer thickness is fraught with a violation of quality work.The composition itself is characterized by the possibility of adjusting the styling. In case of non-compliance with the leveling, there is always the possibility of weakening the adhesion by means of water.
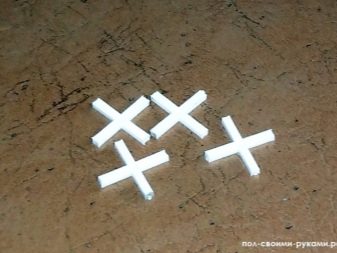
Crosses
This consumable is necessary so that the distance between the tiles is identical. Crosses are sold in hardware stores, they are cheap and vary in width. Their choice can not be accidental: the larger the tile, the larger the size of the crosses must be selected.
From the choice of this auxiliary material depends on the practicality of the facing fabric and its aesthetic perception. The minimum size can lead to the fact that the irregularities of the side edges of the tile will be underlined, and a large distance of the seams visually spoil all the work.
For example, a good solution for tiles of size 20x20, 20x30, 20x40 cm would be the use of crosses of 1.5, 2 mm. It should be borne in mind a small nuance: when filling the joints with grout, they will visually appear wider. This is due to the shape of the side edges of each fragment. If the width of the cross is 2 mm, then the finished joint will seem to be at least 1-1.5 mm thick. The final thickness depends on the master's tool: if the extra grout is removed deeper, the seam is smoother and thinner.When superficial removal of excess grouting on the width can affect a different level, unevenness or sloping shape of the face.
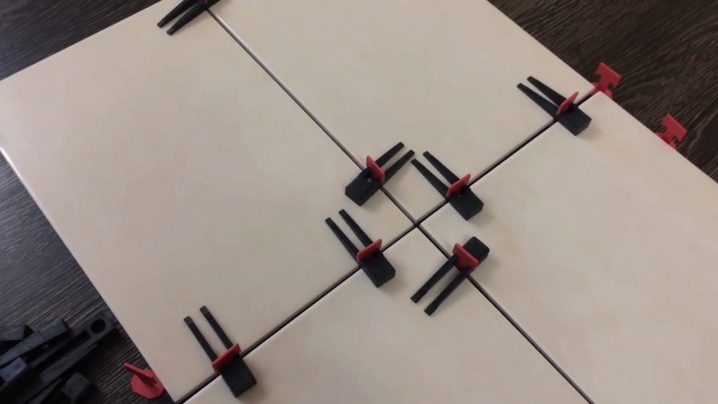
Wedges
Such elements are made of plastic, and used together with crosses. In the case of a small mismatch along the line, this consumable allows you to align the entire row. Its convenience is the form: it allows you to squeeze the wedge to the desired thickness, while the part rises to the desired height. The wedge is removed after the tile adhesive dries.
Such ancillary material is particularly relevant in hard-to-reach areas of the lining. For finishing the floor it is rarely used.
Smoothing machine
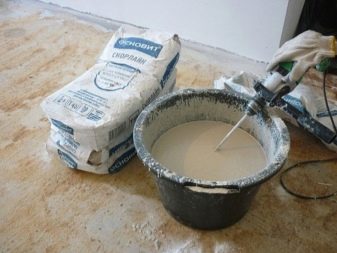
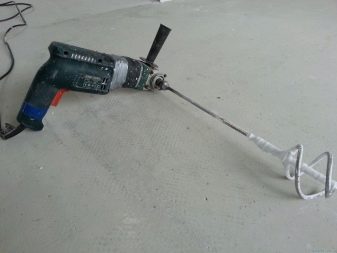
The use of a floor leveling tool simplifies the installation process by making the floor surface quality, smooth and beautiful. Self-leveling compounds are dry solutions weighing 25 kg each, which are sold in hardware stores in bags. During the preparation of the base, this material is diluted with water, the amount of which the manufacturer indicates on the package (approximately 7 liters). The life cycle of the composition does not exceed half an hour - during this time it must be distributed over the floor surface.The method of stirring does not differ from tile glue: for this purpose they also use a drill with a mixing nozzle.
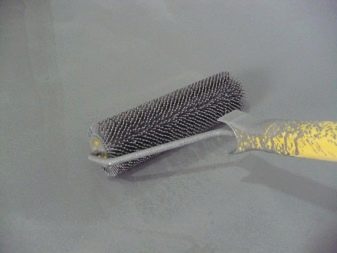
A distinctive feature of this material is the need to use when aligning the needle roller. It is important to get rid of the composition, distributed over the surface, from air bubbles. A positive temperature is required for normal drying of the composition: at least 5-10 degrees. If you ignore the temperature, it will affect the result of alignment.
Instruments
For the installation of floor tiles can not do without a few fixtures.
The standard set for preparation and styling includes:
- surface priming roller;
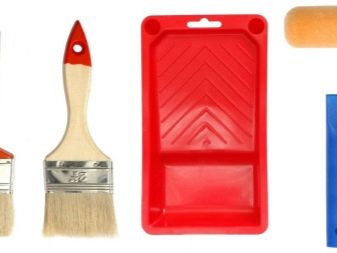
- container for primer;
- flat brush for priming;
- tape measure (metal ruler), angle;
- marking pencil;
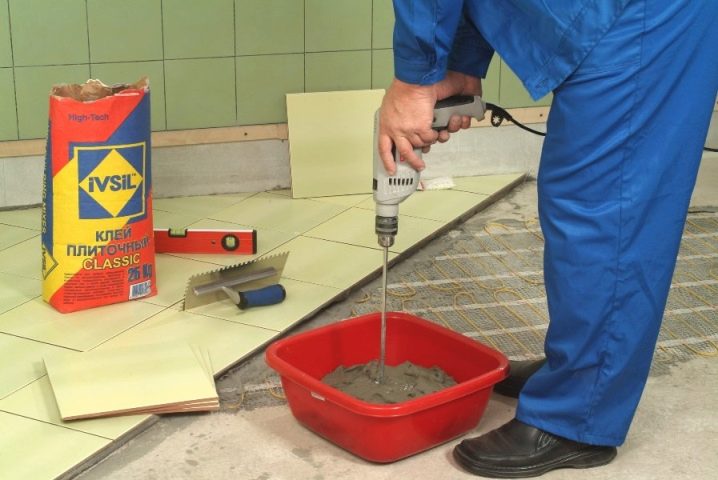
- drill with glue nozzles;
- tile cutter, "Bulgarian";
- building level;
- capacity for mixing tile glue;
- nippers (for curved tile cutting);
- file (for processing trimmed edges);
- notched trowel;
- spatula or trowel for applying glue to the surface;
- container for mixing grout;
- rubber spatula for mashing seams;
- bucket, sponge and rag.
In addition, it is worth buying gloves and knee pads, as in the process of lining the adhesive can get on clothes and skin.
Foundation preparation
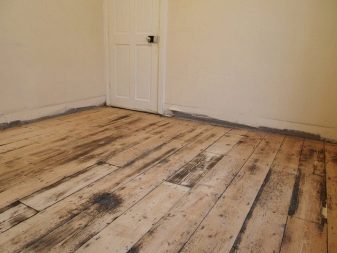
Preparing the surface for laying your own tiles is easy. Initially free up the work area. To do this, all the furniture is taken out of the room - this will save it from building dust generated during the finishing works.
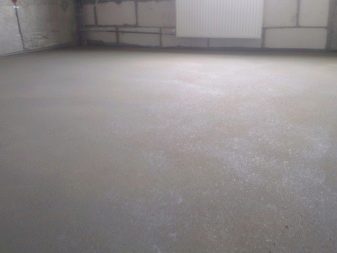
The base must be even, clean and dry - any irregularities will lead to the fact that the fragments will be glued at different levels.
The best base option is a concrete screed. However, the material is also good to glue on wooden surfaces, fiberboard and even old tiles. Although not all masters consider this finishing process expedient, because such coverage is unreliable.
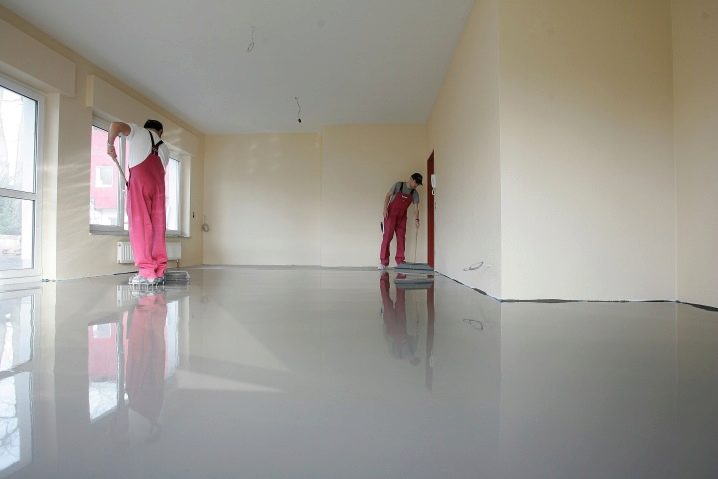
Initially, hillocks are removed from the surface of the floor, cover up the gaps, align the drop. Then use a self-leveling mixture, which is a special solution spreading over the floor surface. Such a composition usually has a plaster base, although in production it is possible to find analogues on the cement component.The difference in composition is the magnitude of the differential. For small drops (up to 1 cm), gypsum mixes are used, which are intended to level the floor in dry rooms. The second option is able to make a straight and even floor, the difference of which is about 5 cm.
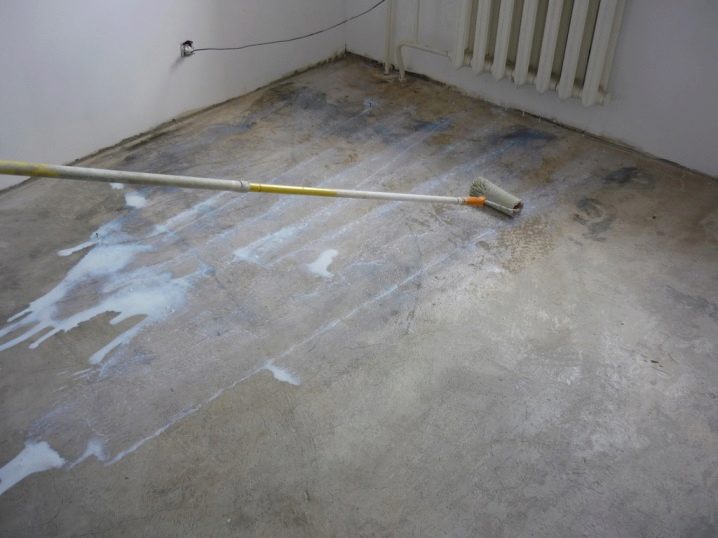
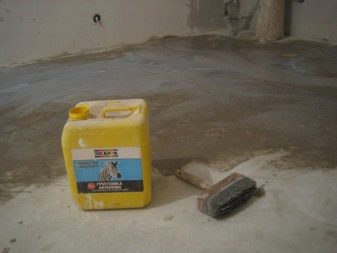
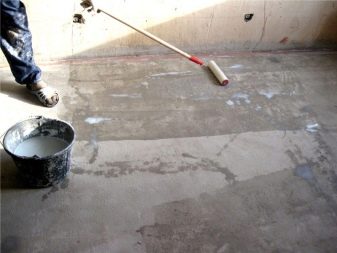
Before aligning once again get rid of garbage, then check if all the slits are smeared: if even one small gap remains, the solution can leak, creating an emergency situation for the neighbors from below. After cleaning the floor surface is treated with a primer, using a roller with a long handle. The use of the handle will make the roll wider, which will significantly save time on surface treatment.
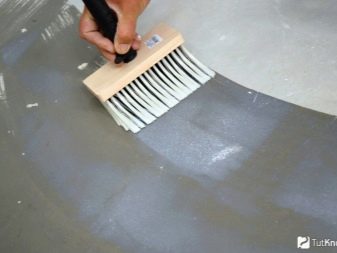
For processing hard-to-reach places with a primer, use a flat brush. It will allow you to cover complex areas with a primer composition neatly, without waste of raw materials. After the surface is covered with soil, it is left to dry completely and only then proceed to leveling the floor with a rover.
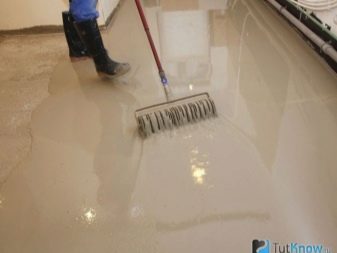
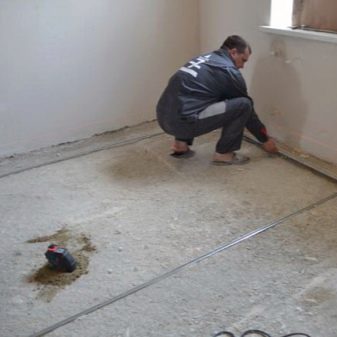
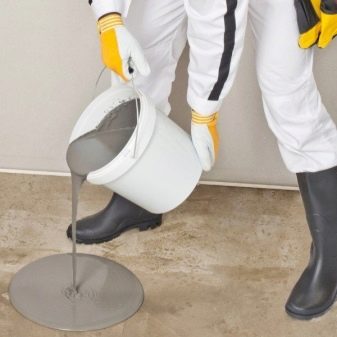
Until the mixture is used for an uneven floor, beacon screws are mounted into the base, exposing them to a level in order to have a guideline on the layer thickness.To level the floor, the kneaded solution is poured from the bucket onto the floor and spread with a special wide spatula. In this case, the consistency of the composition should be sufficient for spreading. Depending on the thickness of the layer, it dries in different ways: it can take anywhere from a day to several days.
Using a floor leveling pavement for laying allows you to achieve the same amount of glue under each piece.
If you need to prepare the floor in the bathroom, then perform a small bias. In this case, it should be from the bath to the door. It is important to note that the floor level in the bathroom should be lower than in the corridor. This approach is made on the basis of practical considerations: in the event of flooding, the water will not flow into other rooms. Preparing the floor to finish the shower, perform a slope to the drain hole.
The last preparatory stage before gluing the tile to the floor is the application of another layer of soil on top of the grinder. While it dries, you can calibrate the fragments in height and angles.
It is unacceptable to apply glue to dry soil: tile adhesive will prevent the formation of a film. The time for drying the soil is indicated on the package, but the masters advise to wait a day.
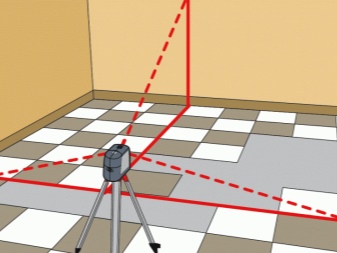
Markup
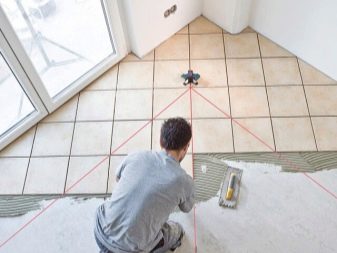
Marking is a necessary stage of finishing work.She allows to lay out a floor tile as much as possible harmoniously for perception. At the same time, for the more viewed area, whole fragments are used, the trimming is left for corners and less relevant places. It is especially important when the decoration implies a decorative insert.
For example, it can be an imitation of carpet, located in the center of the room, or a panel in the free zone of the bathroom. In these cases, it is important to position the pattern correctly, otherwise in the finished canvas its movement can create an imbalance of the situation.
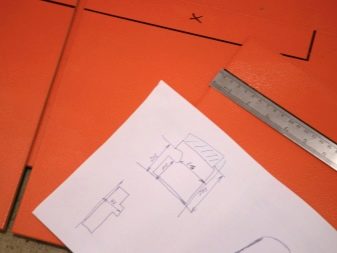
It may seem to a beginner that this process is irrelevant if one starts from the corner in the easiest way. Indeed, the method is simple and in the absence of a broken perspective of the surface it can look beautiful. However, in most cases, the installation should be thought out, so without marking, it is more difficult to start lining. You can simply draw a sketch, having carried out the calculations, schematically indicating the location of each fragment in the figure. But drawing lines on the plane itself is more reliable.
For example, if you plan to finish the floor with a pattern or decorative inserts of individual tiles, then the symmetry of the facing is important,which is difficult to imagine without having markup, because it takes into account the direction, size of the print, the size of the canvas with an adjustment in length and width.
This stage will allow you to understand how much material is needed (the number of fragments). Of course, you can make a calculation by multiplying the length by the width of the area planned for the finish, and add just in case to the total number of several dice upon purchase. However, the calculation is often accompanied by combining the first tile with the center of the floor or wall, which allows you to get on each side identical trimming, and in the case of laying with a shift to understand how many centimeters it is better to move the tile (especially important for brick and modular laying).
How to cut a tile?
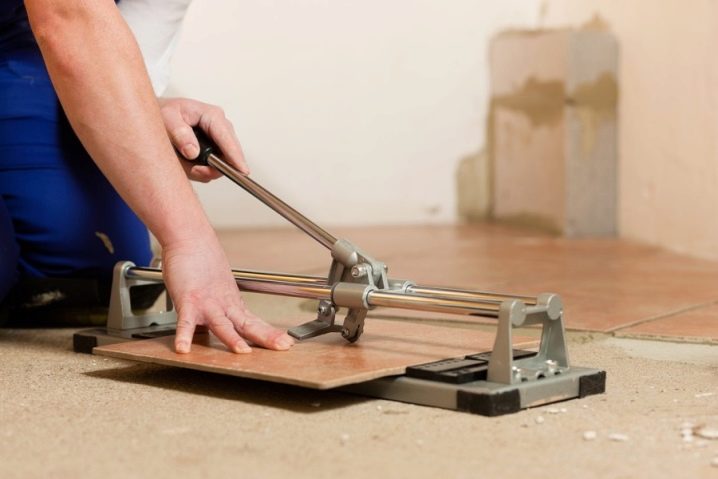
When performing laying can not do without trimming the tile. In fact, this process is not so complicated. Experts recommend for a better cut just before cutting to prepare the tile, soaking it in water for 1 hour. After the die has been lying in water for a long time, it will become pliable. Therefore, it will be easy to cut it yourself.
With a glass cutter, only wall tiles can be cut. The one that is produced for facing the floor should be cut with a tile cutter. This feature is explained by the different diameter of the rotating wheel, which the tile cutter has more.
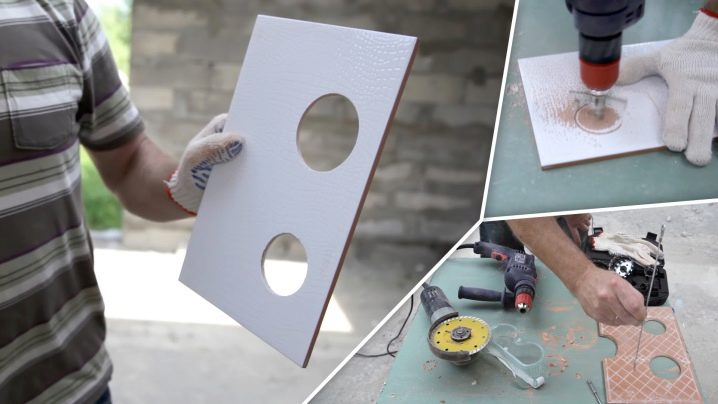
Another nuance is the difficulty of trimming a line located less than 1 cm to the edge of the fragment. If you need to make a hole in the shape of a circle or semicircle, use a special tool called a "ballerina."
To prevent the formation of cracks when making the hole, it is necessary to remove the glaze from the surface. This is done with light tapping with a hammer with a blunt side. Then you need to drill a hole using a hand drill. It can be made figured using metal tongs.
Styling process
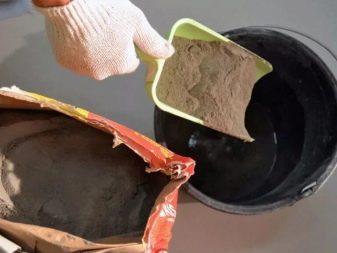
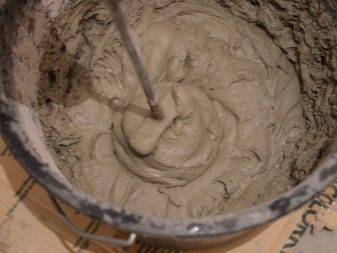
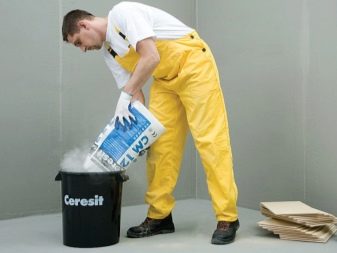
After the surface is prepared and the primer is dry, proceed to the installation. The technology of laying tiles is simple: you need to prepare the tools, glue and tile itself. The solution is kneaded in the proportions indicated on the packaging. After the first portion is mixed, it is left for 10-15 minutes, then stirred again to obtain a homogeneous pasty mass. It is possible to carry out installation, relying on the detailed step-by-step instruction.
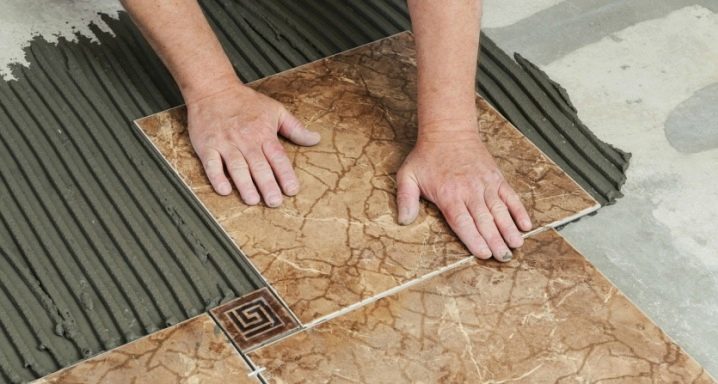
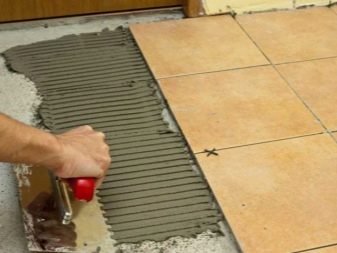
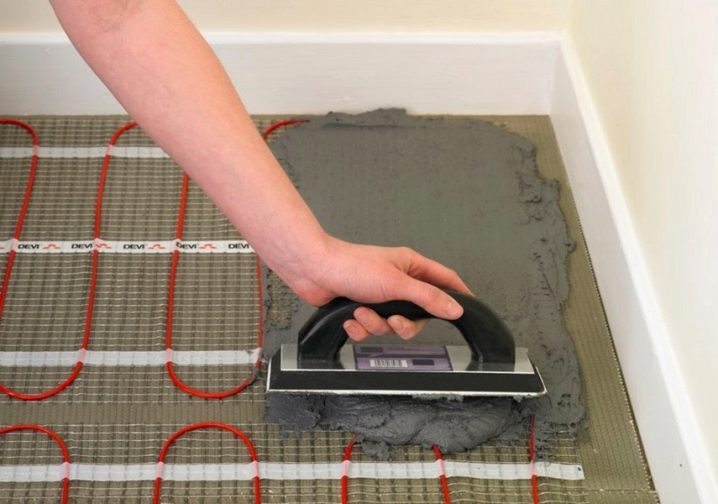
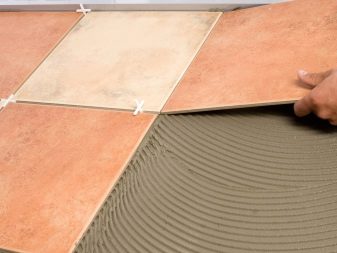
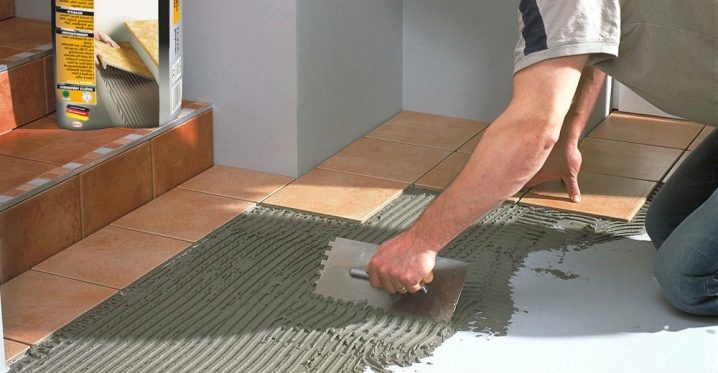
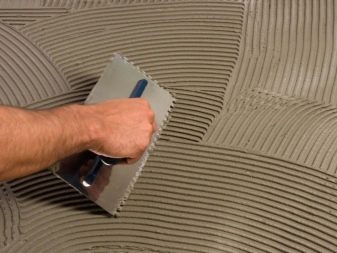
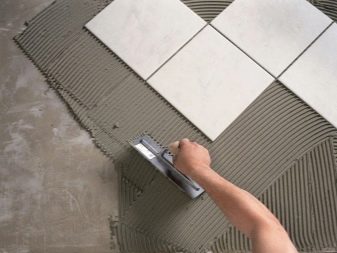
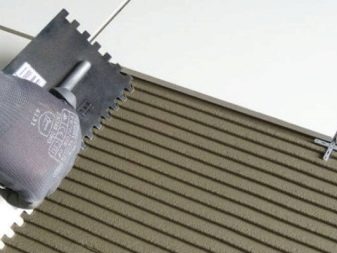
Apply glue to the prepared substrate. To do this, use a trowel or a special grater with a smooth and serrated side.The choice of such a tool is based on the size of the tile itself: the larger it is, the larger the grater teeth should be.
If laying is done by marking, then you should not put a lot of glue on the float, especially with regard to the process of gluing to the base of the first fragment (no need to overlap the marking). At the same time, a paste-like composition is drawn onto the smooth side, and the toothed side is spread over the surface, removing excess material. The same is done with the very detail of the tile.
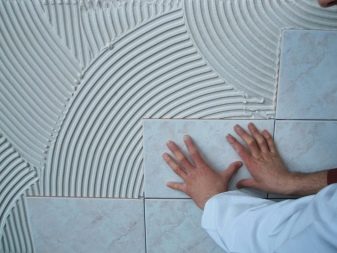
It is not necessary to clean the glue with a serrated trowel to the ground: it must be on the whole plane, otherwise the tile will stick worse. The same way they do with the facing fragment: they apply glue with a trowel, trowel or float, and then distribute and remove the excess. However, in this case, the direction of the serrated side of the float is perpendicular to what is on the floor. This will allow the glue to be distributed under the tile more evenly, leaving no air voids.
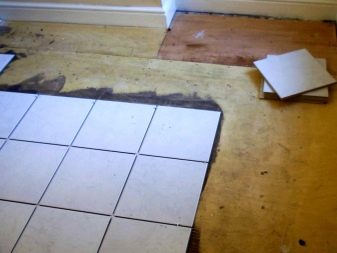
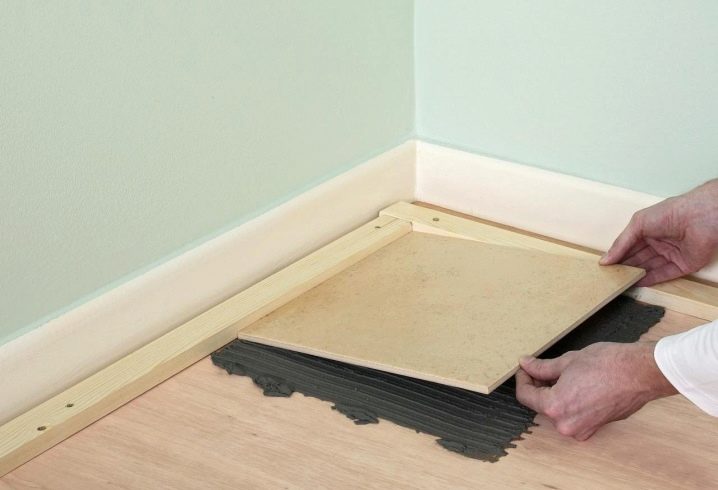
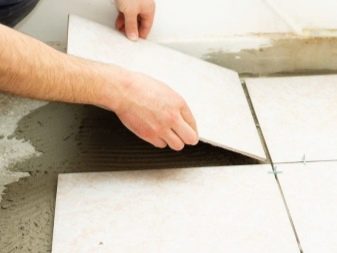
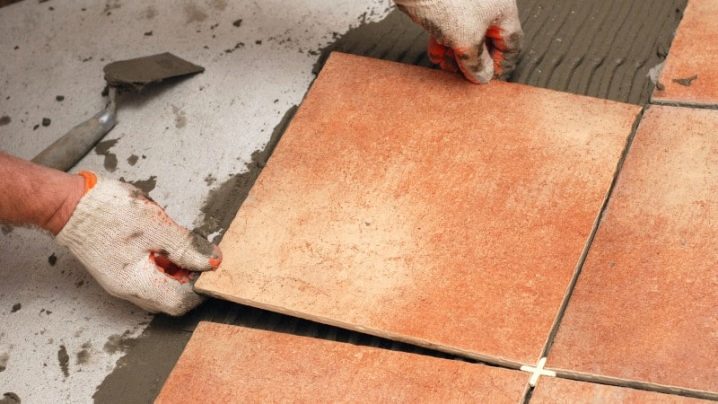
The tile is not easily applied to the surface - it must be gently pressed to the base, slightly moving in different directions, then lay in a place corresponding to the markup.This will eliminate loose fit, due to which the tile will stay better.
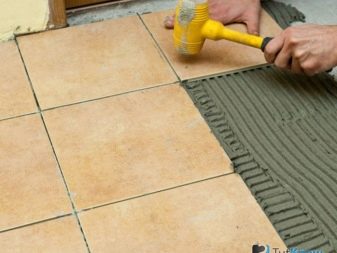
Now it is necessary to take into account an important nuance: pressing the tile to the base, it is impossible to press hard, so as not to break the dies. For example, for the same purpose, the floor tile can be slightly tapped with a rubber mallet in the direction from the center to the edges of the cladding parts.
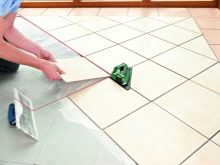
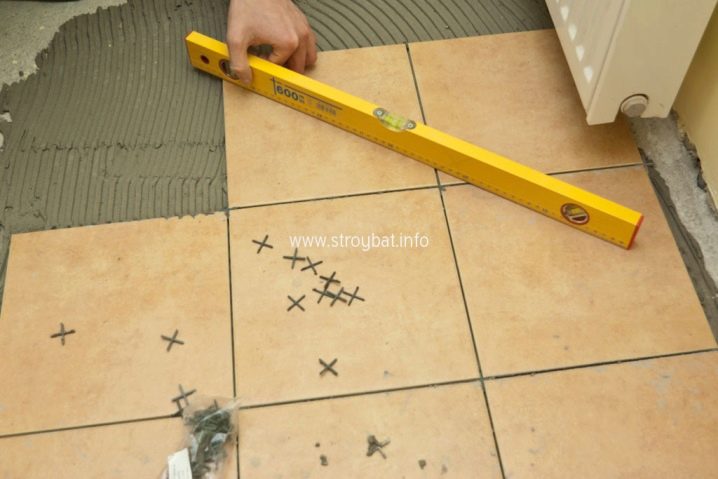
Pressing the tile to the surface, it is necessary to control the direction of the coating. For this, a level is applied to each laid-down fragment and the flatness of the surface is evaluated. If the preparation is done qualitatively, then this process will not show deviations.
If there are irregularities, you will have to tweak the tile, pulling it onto yourself or pressing it into glue more than other parts. As a result of constant monitoring, the surface will be flawless.
If you ignore the alignment, then the protruding areas may split off over time, cause discomfort when walking, and make it difficult to care for the surface.
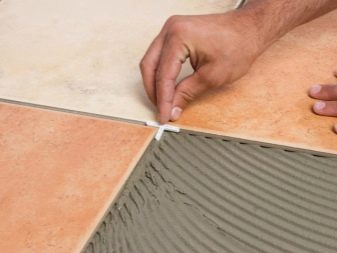
Work with crosses
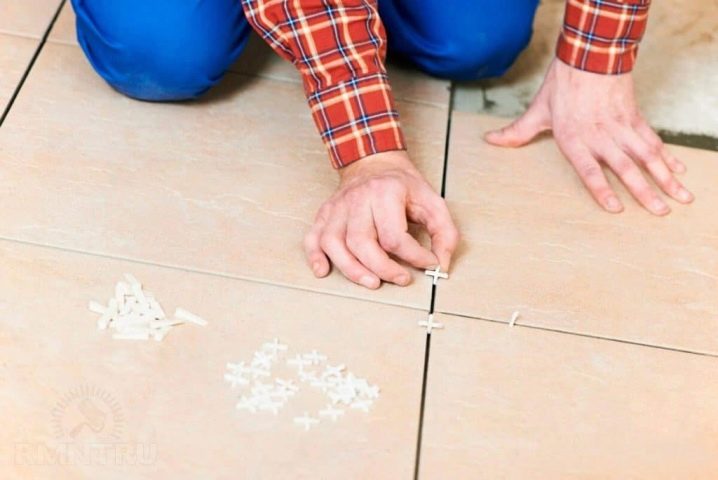
Carrying out facing of a floor, crosses are inserted into each crosshair. This expendable material is disposable and does not accept savings: in each package there are a lot of such items.This material is inexpensive: about 25-40 rubles.
In the process, on each cross gets tile adhesive. Therefore, saving the crosses and removing them for laying the next row is fraught with an increase in the distance between the tiles. In addition, the premature removal of such elements may cause the lining to move. Crosses must be removed after the tile adhesive has completely dried.
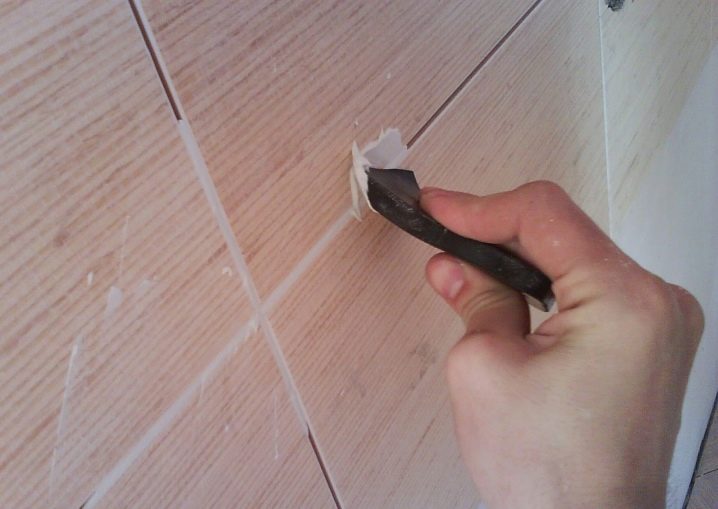
It may seem to a beginner that crosses can be left inside the lining, but their presence will cause poor-quality grouting. Moreover, after removing this material, the voids between the tiles should be cleaned up so that the grout is light and even, without hillocks and pits.
In the process, do not push the crosses too far. Moreover, it is important to note that for identical distances they must be tightly inserted between the dies.
How and what to rub the seams?
Laying the veneer is an exciting process. However, at the end of the work, the surface seems unfinished: it lacks an aesthetic appearance. In this case, use a special mixture called grout.It is a powdered material packed in small bags. The grout is intended for final finishing of the facing fabric and giving the seams an attractive appearance.
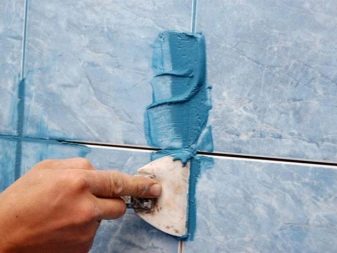
Grout fills the voids between the tiles. It is diluted with water at room temperature in the proportions indicated on the package. If you need a bit of composition, the consistency should resemble a paste or thick cream. It is applied with a rubber spatula, filling all the holes and gaps, removing excess mixture.
If the processing area is large, then it is worth using a special tiller for filling the joints.
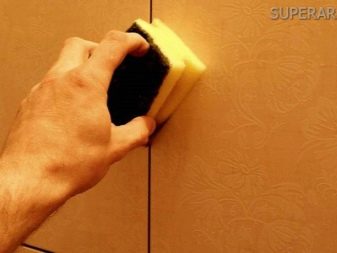
If the grout remains on the surface of the tile, it is removed within half an hour, without touching the seams. Finishing washing can be carried out after solidification of the grout. This is done using a regular sponge or dry flannel rag.
If a liquid grout composition was used in the work, then it is worth waiting a little longer, otherwise the mass from the joints will be erased from the surface along with the excess material. The seams are a sore point of tiling, as they are exposed to moisture and dirt, even after rubbing.
How long does it dry?
The drying time of the glue depends on the type of mixture used, the thickness of the layer and the place of application. The temperature in the room also matters. There is an opinion that grouting can be used after 6–7 hours after laying. In fact, the composition will only have time to grab, but not dry.
Failure to comply with the technology and rush will lead to the fact that the fragments may lag behind the surface. You should not shorten the time interval between drying and mashing the seams, as well as in the case of tile flooring. Here, drying will take twice as long as it takes to dry wall varieties. Walking on the floor is possible not earlier than in several days (ideally - 7 days). If the room is cool, then the time for drying can take even more.
Useful tips
To facing the surface of the floor looked professional, it is necessary to take into account a number of recommendations by experienced craftsmen, ranging from the choice of material and ending with grouting.
When choosing a tile
When choosing a material, it is worth considering its strength class. For example, for a floor it is better to select varieties of at least 3 classes. They are massive, heavy, resistant to mechanical loads, random shocks.The thickness of this material is from 8 to 13 mm. For areas with greater permeability, it is worth acquiring varieties with greater thickness.
It is worth paying attention to the texture. For the floor, it is better to choose a lining with a slight ribbing - this will prevent slipping, although it will complicate wet cleaning of the coating.
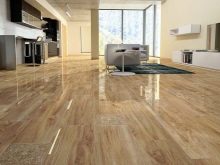
It is undesirable to use a glossy tile for the floor: it gives out any pollution, it can cause a fall (especially if the surface is wet after cleaning).
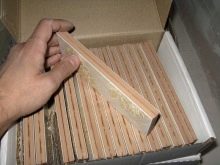
When buying facing material, it is worthwhile to open each pack of tiles and view them for the identity of shades, lengths of the sides, and a pattern. It is necessary to pay attention to the batch number - this will avoid inconsistencies in color and size. To assess the quality, it is necessary to attach two tiles to each other: the fit should be tight without gaps.
It is not necessary to inspect each tile in this way, it is enough to do it selectively. When you purchase should take into account the waste during transportation and installation, so the necessary quantity must be added 10-15%.
The choice of dimension must be made on the basis of the room footage: the larger the room, the larger the parts may be.If you buy a material with a size of 60x60 cm for finishing a small room, the space will visually become smaller. If you want to perform laying in a non-standard way, using a rectangular tile with small inserts, it makes sense to perform the calculation of the material in the store, using the online calculator or the help of a sales assistant. Do not forget to include in the markup borders, plinth and special angles, if they are necessary during installation.
Choosing a finishing material, it is necessary to take into account the manufacturer - this will avoid large flaws in the calibration of the material, which will simplify the fit of each piece. Manufacturers who care about reputation, produce high-quality cladding material, through which you can perform work without much difficulty and leveling.
It would not be superfluous to study reviews about a particular manufacturer. It is worth scrolling through the masters' comments on the work with the lining of the brands you like - this will allow you to understand the complexity of the finish at work, to evaluate its quality and performance.
You should not take for the floor creative varieties of material with a large relief: such tilesIt looks original, but it will quickly get tired every day, but it will not be possible to repair it again.
When preparing the glue
Some tips for choosing glue:
- Glue must be diluted correctly, not forgetting that the life of the composition is small. It is bred in small portions - so it will not have time to dry out in case of slowing down the facing process and constant adjustment.
- Do not use raw materials that have expired. When buying building materials, you need to pay attention to the release date: expired glue does not give a 100% guarantee of high-quality and durable coating.
- You can not mix the solution with hot water, as this will lead to the loss of the properties of the tile adhesive.
- To enhance its characteristics, it is better to buy PVA glue and add it to the composition. Such a correction will add strength to the glue and increase the reliability of adhesion of the tile to the surface to be glued.
- Tile adhesive can be thin and thick. If you need to level the surface in the process of laying, you should use the second option in the work. Polymer additives such raw materials give it strength and allow you to equalize the difference of the order of one centimeter.
- If it is difficult to give preference to a particular brand, you should look at the products of the companies "Eunice" and "Ceresite". The two manufacturers have a good reputation, and this glue is highly appreciated by professional craftsmen.
When laying
Some tips for laying tiles:
- When performing the laying of the floor tile you should not forget to remove the baseboard and door trim from the floor. If it is impossible to remove the trim, then you need to carry out the lining as carefully as possible: so that the tile adhesive does not fall on them.
- It is important to hold the centerline of the room, while determining the centers of opposite sides of the walls.
- Perform laying costs along the guide lines. This is especially important if the parquet lining method is used in the work.
- If in the process of laying the flooring there is a small gap up to the wall, then there is no need to glue a thin strip - you can hide the lack of plinth.
- When facing the space with certain objects, for example, with a fireplace or a bathroom, you need to surround them around the perimeter with whole fragments. If you want to highlight them, then you should choose for this a contrasting tile of a different tone or pattern.
Excess glue trapped on the surface must be removed immediately: after the composition is dry, it will be more difficult to do. If stacking is done on an old tile, then for maximum adhesion, it is worth treating the surface of old ceramics with a sanding machine or sandpaper. After that, the base must be vacuumed, washed, dried and primed. Then it is important to level it with a self-leveling compound.
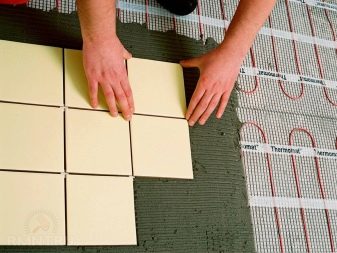
If the installation is carried out on the “warm floor” system, the floor heating must be turned off two days before the start of the finishing works. In the case of such laying, it is important to purchase a special glue with a high content of elastic polymers. The use of this composition will further eliminate the deformation of the base associated with the constant heating. In this case, you can turn on the heating in two or three days after the grouting joints have been processed.
If the glue sticks to the trowel or spatula during the installation process, then the tool can be wetted in water. Do not use a lot of glue, inserting crosses into it: in this case, removing them will be problematic. When laying the floor can not be pressed on the newly laid tile knees - this will change the plane.
In order not to stray with the direction of the tile when laying, it is worth looking at the back side of each fragment: you can rely on the manufacturer’s printed logo. If it is not there, then you can mark it yourself with a simple pencil, for example, on the end before laying.
When grouting
A few tips on grouting:
- If the grout has dried out during the process of sealing the joints, it is not necessary to scrape it with a metal spatula - this will lead to the formation of scratches on the surface. This should be done with a damp sponge.
- If the design is designed to finish the seams with a colored grout, but this color is not on sale, then you should use an ordinary color scheme: it mixes perfectly with white grout, forms a homogeneous mass and allows you to make seams of any tone.
- Selecting the desired color, it is worth taking note: a shade that will like, when drying will be lighter. Therefore, you need to do it a tone two brighter.
- Over time, the seams may fade, lose their former attractiveness and brightness, become dirty. To minimize these troubles, it is necessary to process them with a special spray after the final readiness of styling.
Non-standard techniques
In addition to the classic cladding, installation of the floor can be combined.
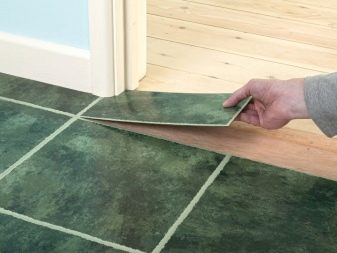
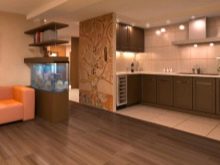
The tile is well combined with other floor coverings. This technique allows you to connect the tile with laminate flooring, parquet flooring and linoleum. With the help of a combination, it is possible to use different materials for different cross-country zones, using tiles in places where people stay more. Such material is resistant to abrasion, it is possible to put furniture on it without damaging the structure.
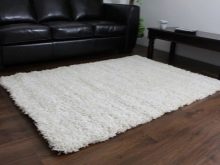
The combination of tiles with linoleum and laminate looks stylish and unusual. It allows you to zone the space into separate functional areas, for example, dividing the living room into a guest and dining space. At the same time, for each section, the coating can be special: for the kitchen, you can perform laying under the carpet with an interesting ornament, for the guest area it is worth choosing a uniform material to decorate the floor with a soft, long-fleeced sheggi carpet.
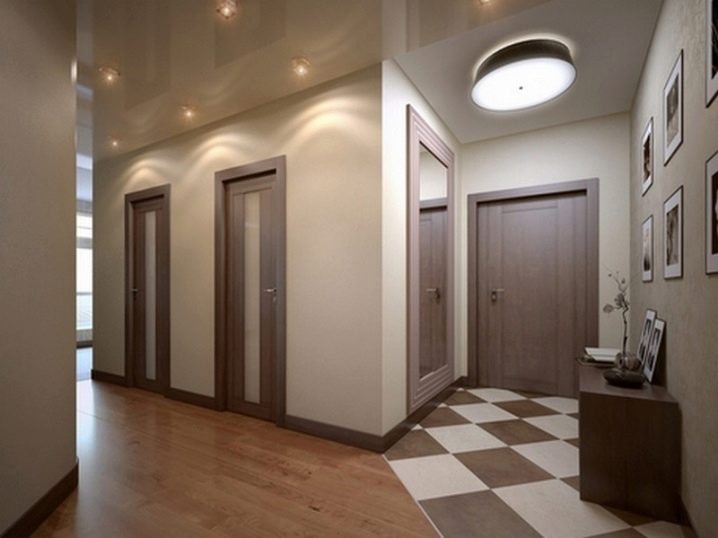
The most relevant combination for the hallway. In this case, the entrance area should be decorated with tiles, and the surface leading to the corridor and other rooms can be made of laminate or parquet.If you perform parquet laying tiles under the tree, you can use linoleum without a pattern, as it is better to soften the mosaic pattern.
If you plan to finish with tiles and laminate, then it should be carried out in dry rooms - under the influence of moisture, the back side of the laminate can swell, which will break the connecting seam of the two materials.
What else to consider?
Choosing a tile for finishing the floor, do not forget about the shade of the coating. Even if the room is spacious, this does not mean that saturated tones are allowed. Gender is not an accent of the room. If the coating is bright, it will draw attention from the interior composition to itself, forming a visual imbalance.
You should try to choose the tone that will be appropriate in any interior., even if over time you want to change the style. You should not repeat the shade of the walls or furniture - styling is done for a long time, wallpaper change more often. It is necessary to exclude tones that initially seem unacceptable.
It is preferable to choose shades that carry a positive: beige, dairy, ivory, brown, coffee colors. Black is unacceptable - it carries a negative. To be in such a room will be difficult, and over time - unbearable.
Beautiful examples
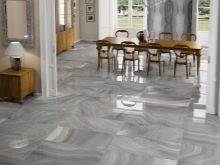
Surface finishing with tiles gives a lot of possibilities for interior design, which can be estimated in the photo gallery presented below:
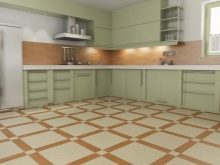
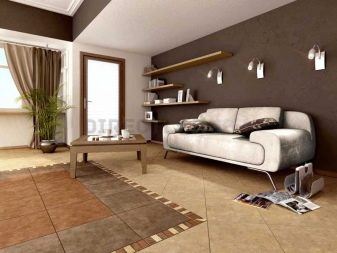
- The original method of zoning space. The tile of a beige and brown scale is involved with performance of an identical pattern in different zones.
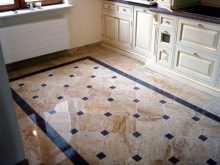
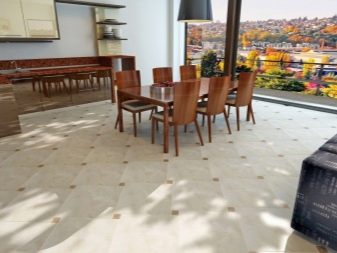
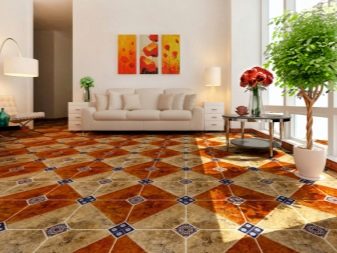
- Combining traditional and diagonal styling makes the floor interesting. The use of the curb and different shades gives the interior expressiveness.
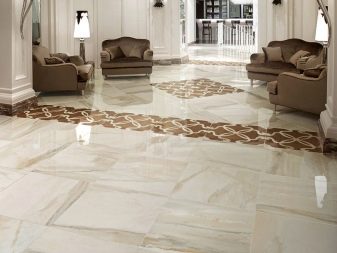
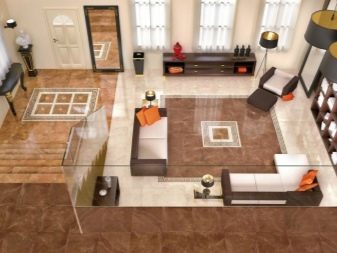
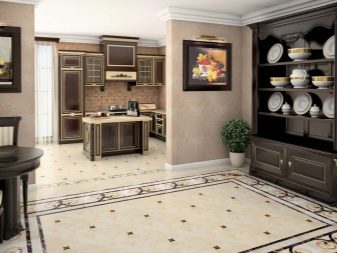
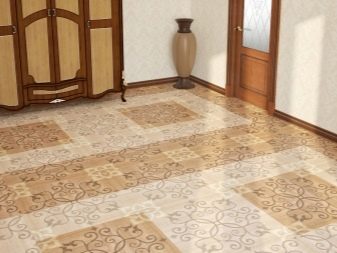
- Imitation of a carpet covering with an original ornament on the edge of the finish looks unusual and adds novelty to the interior composition.
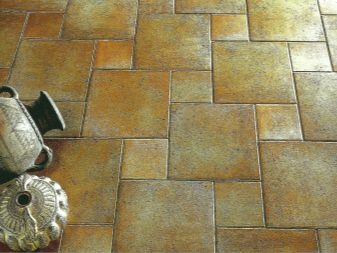
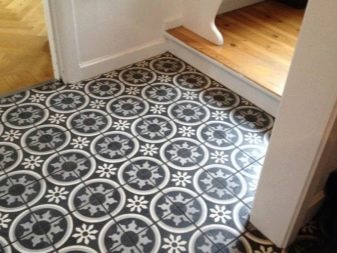
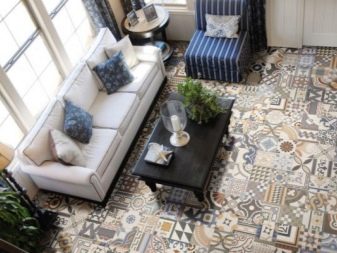
- Facing the floor with patchwork tiles brings characteristic character and special mood to the space.
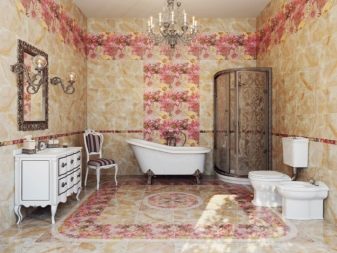
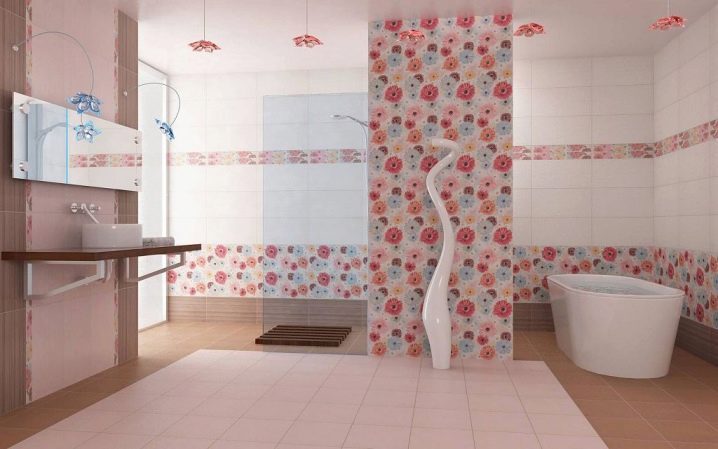
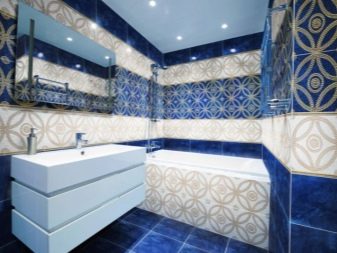
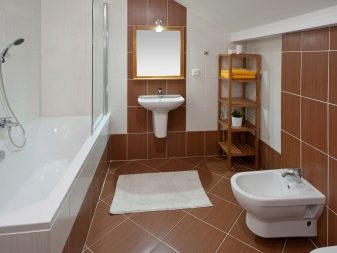
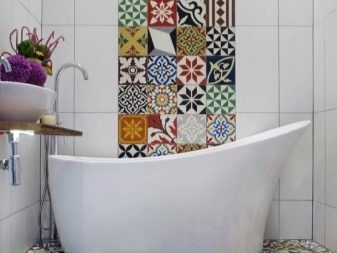
- A patchwork floor is also appropriate in the bathroom. Particularly interesting, it looks, having support in the form of a pair of wall-mounted companion.
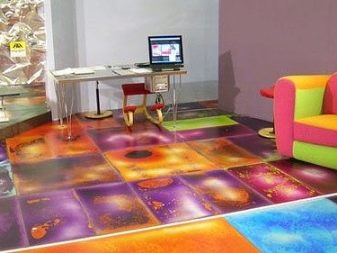
- The use of live tile in the decor of the floor changes the atmosphere. When walking on such a floor lining changes color.
- The modular finish in bright colors looks stylish and makes the pale interior expressive.
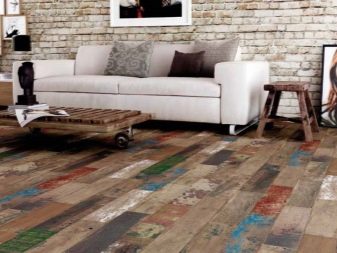
- Designer tile under the multi-colored wood looks stylish and fits well into the style of the loft.
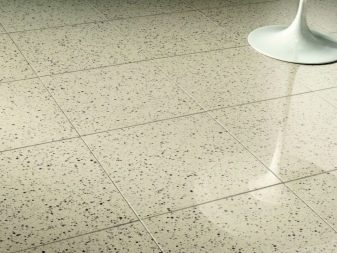
- Practical solution for the hallway.The light tile has a pattern that hides visible dirt and makes the coating original.
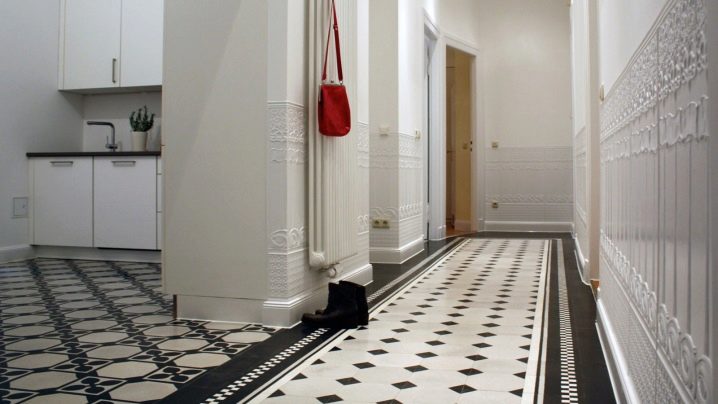
- Successful combination of floor tiles of two related colors. Simple drawing with the support of the border looks harmonious.
For more helpful tips on laying tiles on the floor, see the following video.
