How to glue the tile in the bathroom, if it fell off?
Practically in each house, the bathroom is decorated with ceramic tiles on the walls and tiles on the floor. Sometimes, of course, there are options with a putty for painting and linoleum, but these are extremely impractical options, and any owner tries to fix it as soon as possible, replacing everything that is possible with a tile. But sometimes the tile falls off, and the room loses its appearance. But there is nothing reparable, there is a way out, it will be discussed in the article.
Reasons for unstuck tiles
Before fixing a defect, it is necessary to understand the cause and nature of the defect. You can conditionally divide it into three categories: poor repair, poor quality materials, service life.
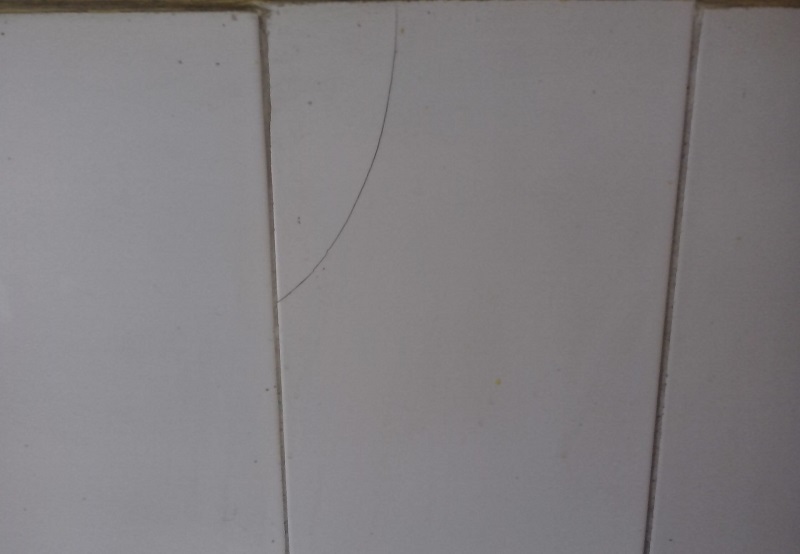
By poor quality or unfair performance of work, we mean a violation of tile laying technology. For example, the master glued the tiles not to the comb, but to the dots, and in an amount less than what is required. With points that are evenly distributed, there will be practically nothing, but sometimes masters chase after money, doing everything quickly and without dedication. Tile glued on 2 - 3 points will fall off after a while, especially if it was a mechanical impact. Such a defect is easily calculated by tapping, there should be no voids in the sound.


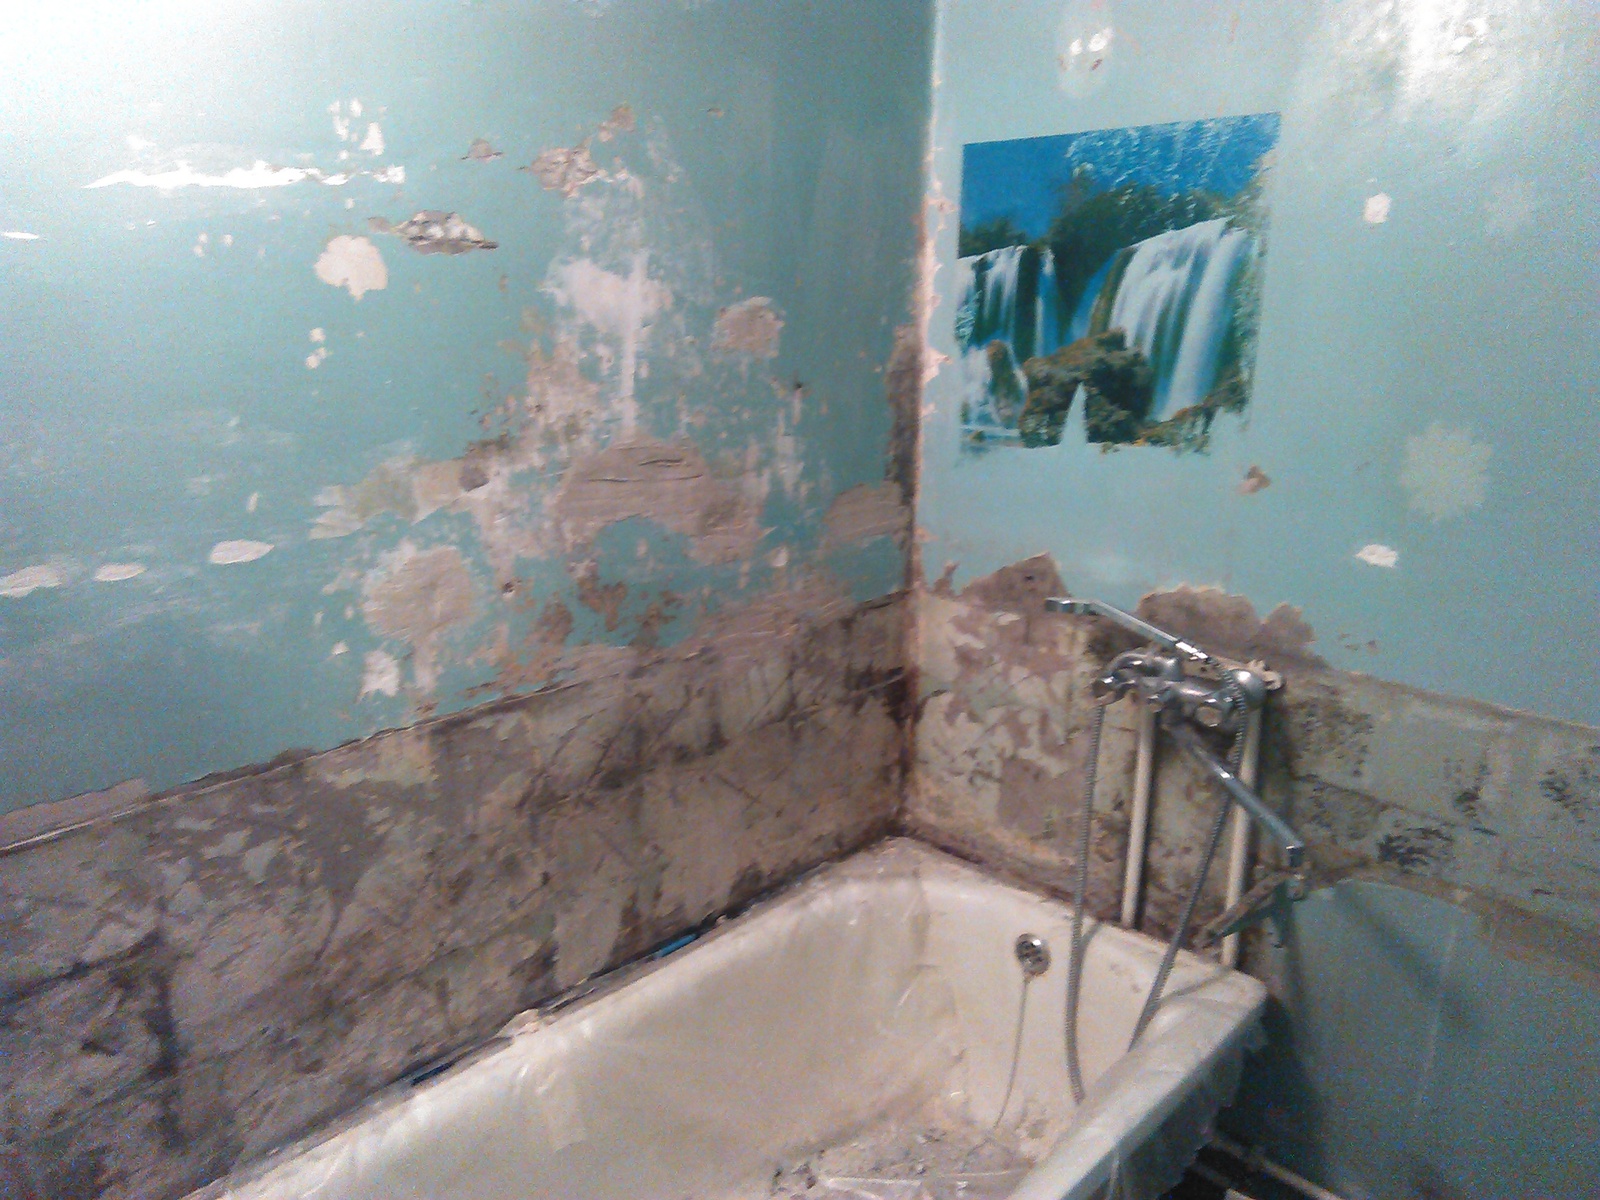
If the tile fell off, and it can be seen that it was glued to the comb (single-level solid glue under it), and the glue remained on the tile, most likely this is due to the fact that the master is inexperienced, the experienced ones do not allow such childish mistakes, and glued the tile to the plaster material (putty). Putty and glue: what is tiled, what is plasterboard, does not have a clutch at all, the question: will it fall off or not, is not worth it. Fall off, the question is - how fast. To eliminate this defect, unfortunately, you have to remove the product until the wall is under it or the putty disappears.
Judging by the statistics, it is better to remove the entire wall of the tile in principle and clean it from the gypsum materials, and then, with the observance of technology, glue it again.
Substandard materials are generally referred to as tile adhesive with expired shelf life, with incorrect storage conditions or with an incorrect ratio of components. Such glue will hold for much less time, if at all. Such a defect is eliminated by removing the entire wall and eliminating the problem material.
In addition, sometimes it happens that the tile itself fails for various reasons. Many people make the space near the fireplace, boiler or other heating systems with a high temperature of work from ordinary tiles and heat-resistant tile glue. The adhesive can withstand the temperature, but the tile begins to crack, so when you buy, pay attention to this factor.
Life time. It is no secret that any material has its own service life, after which the risk of defects increases several times.
There is only one solution - an update by repairing and replacing both the material and the tile, with preliminary cleaning of the surface.
Preparation for tiled work
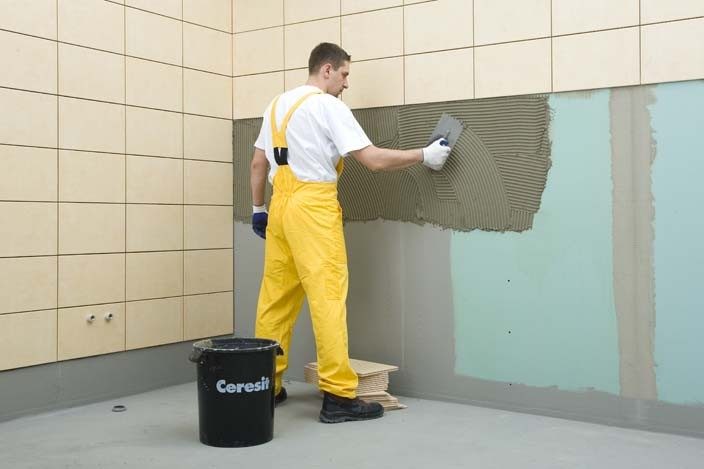
After dismantling the tile in the bathroom, including the floor, it is recommended to waterproof the floor, which overlaps the walls, the overlap is from 20 to 30 cm. Then you need to check the floor level, determine the slope, if there is a drain, and if necessary, bring the floor to the desired level with respect to the plane. The same applies to the walls, only when taking into account the fact that large (more than 2 cm) areas are smeared with tile glue.
After this, it is necessary to check the materials, their shelf life and quantity so that the work is obtained immediately, and not dispersed due to a shortage of materials.
As for wooden houses and structures, the tile is placed on special compounds like elastic glue or liquid nails.
Selection of the necessary tools and materials.
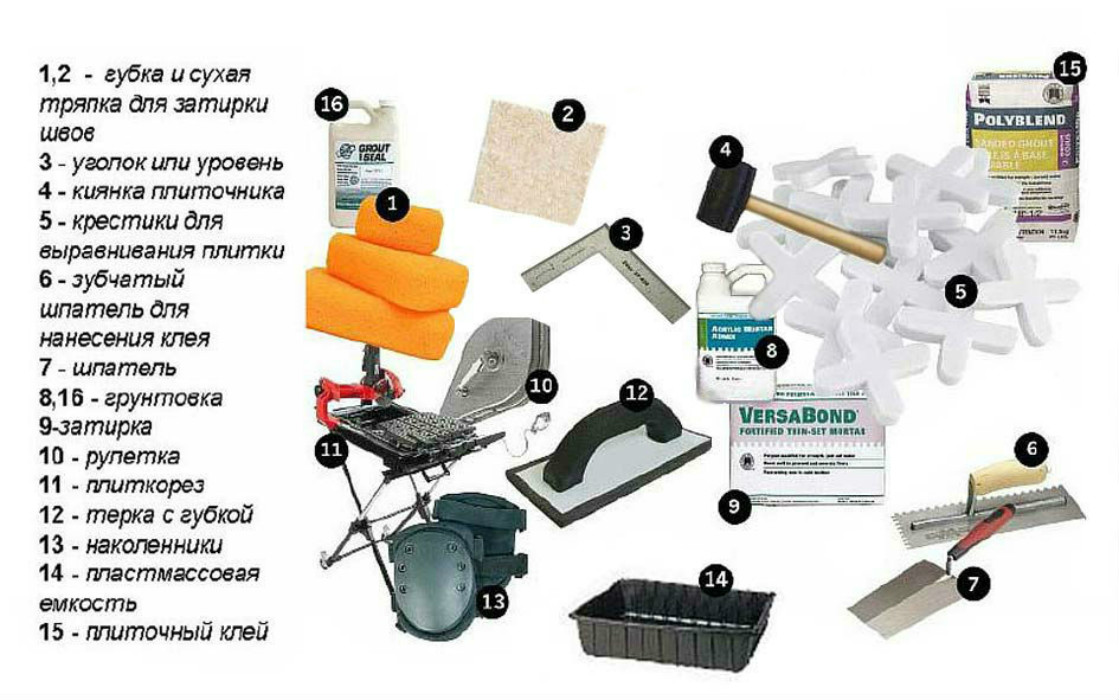
To work on the tile you need not as many tools as it may seem:
- notched trowel, cap (10 cm) and normal (25 cm);
- hammer with rubber topping (mallet);
- steam buckets (for mortar and water);
- rags;
- paint brush;
- crosses and other anchoring materials;
- fugue.
As for the purchase of a new tile, it all depends on the budget, the desire and safety of the previous tile, which can be cleaned of glue. In any case, the old tile will have chips and cracks from falls or physical impacts, so it will have to be replaced. But the restoration of tiled masonry is the same way, which is the same for the old tile (provided it is cleaned) and for the new tile.
The second, which is mandatory for the purchase of materials, is an adhesive component.
Adhesion to the surface depends on its type; there are different types of adhesive component for different types of surface material.
- Bulk materials. Or ordinary tile glue. One of the most popular materials for this type of work. There are several varieties that differ in composition, affect the fixation and setting speed, frost resistance.
- Liquid Nails. Elastic, easy to use, fast option. But this type of material can be glued single fallen off tiles, as it glues, but does not cover the surface with a protective layer.
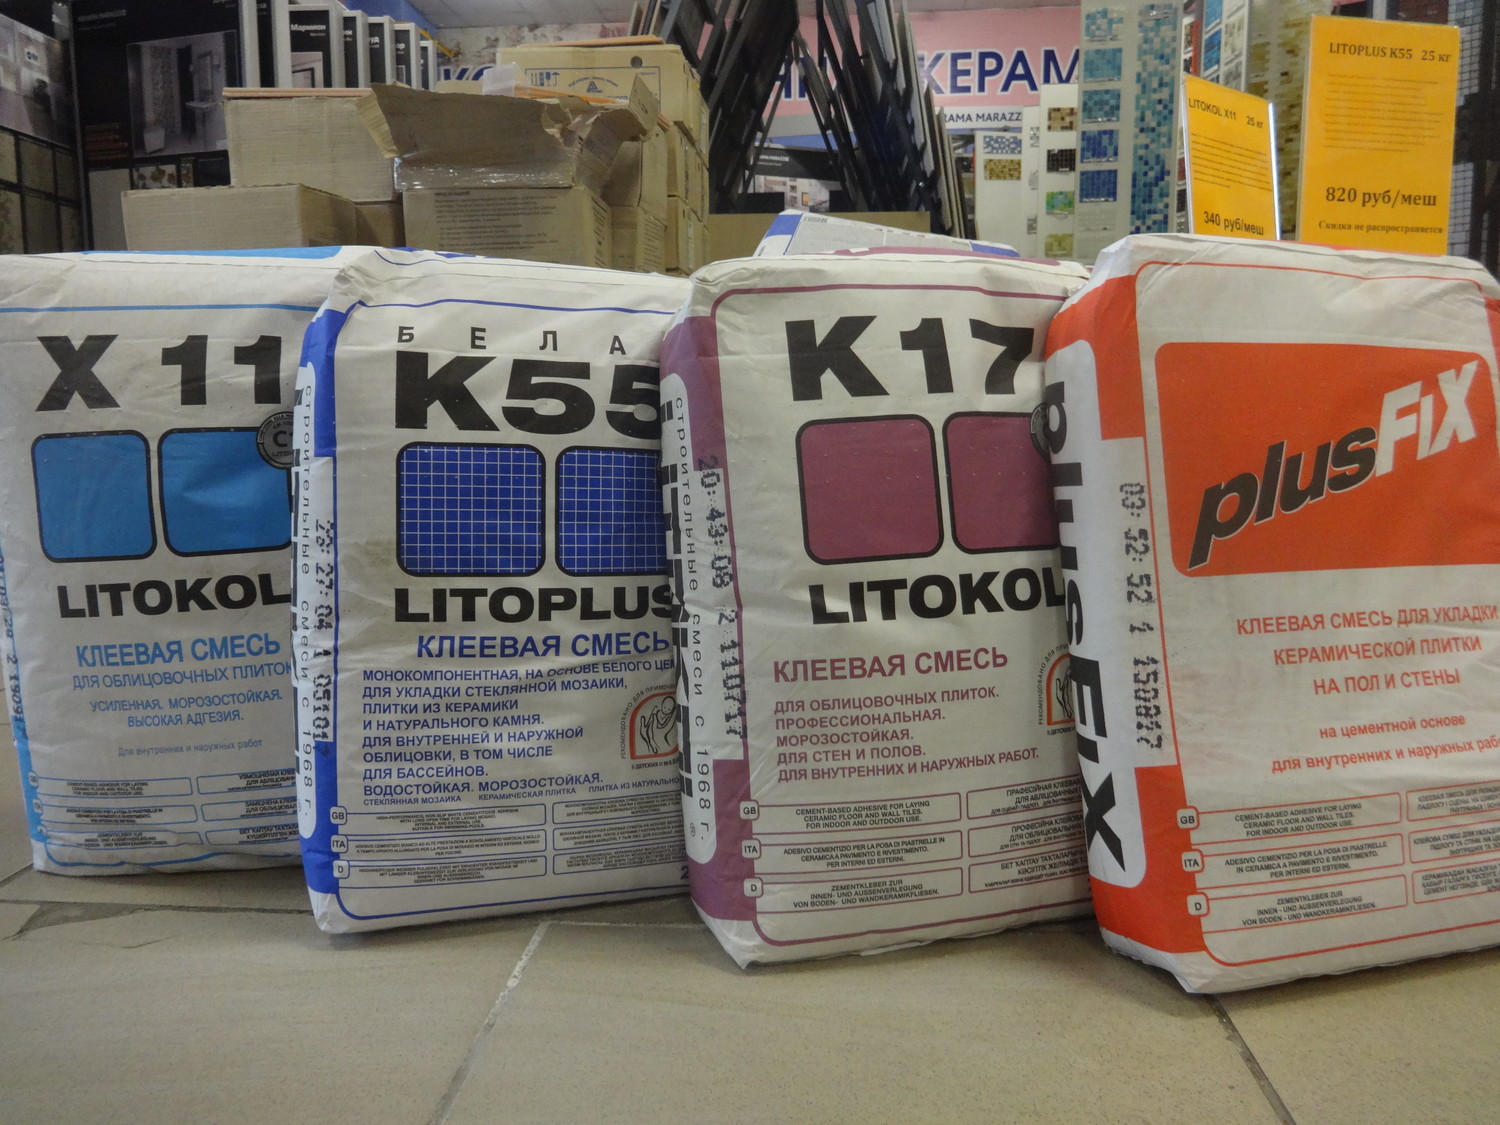

- Mastics. Practically not used in civil engineering.They are highly resistant to compression and deformation. Used in the mining industry and industries with unstable seismic conditions.
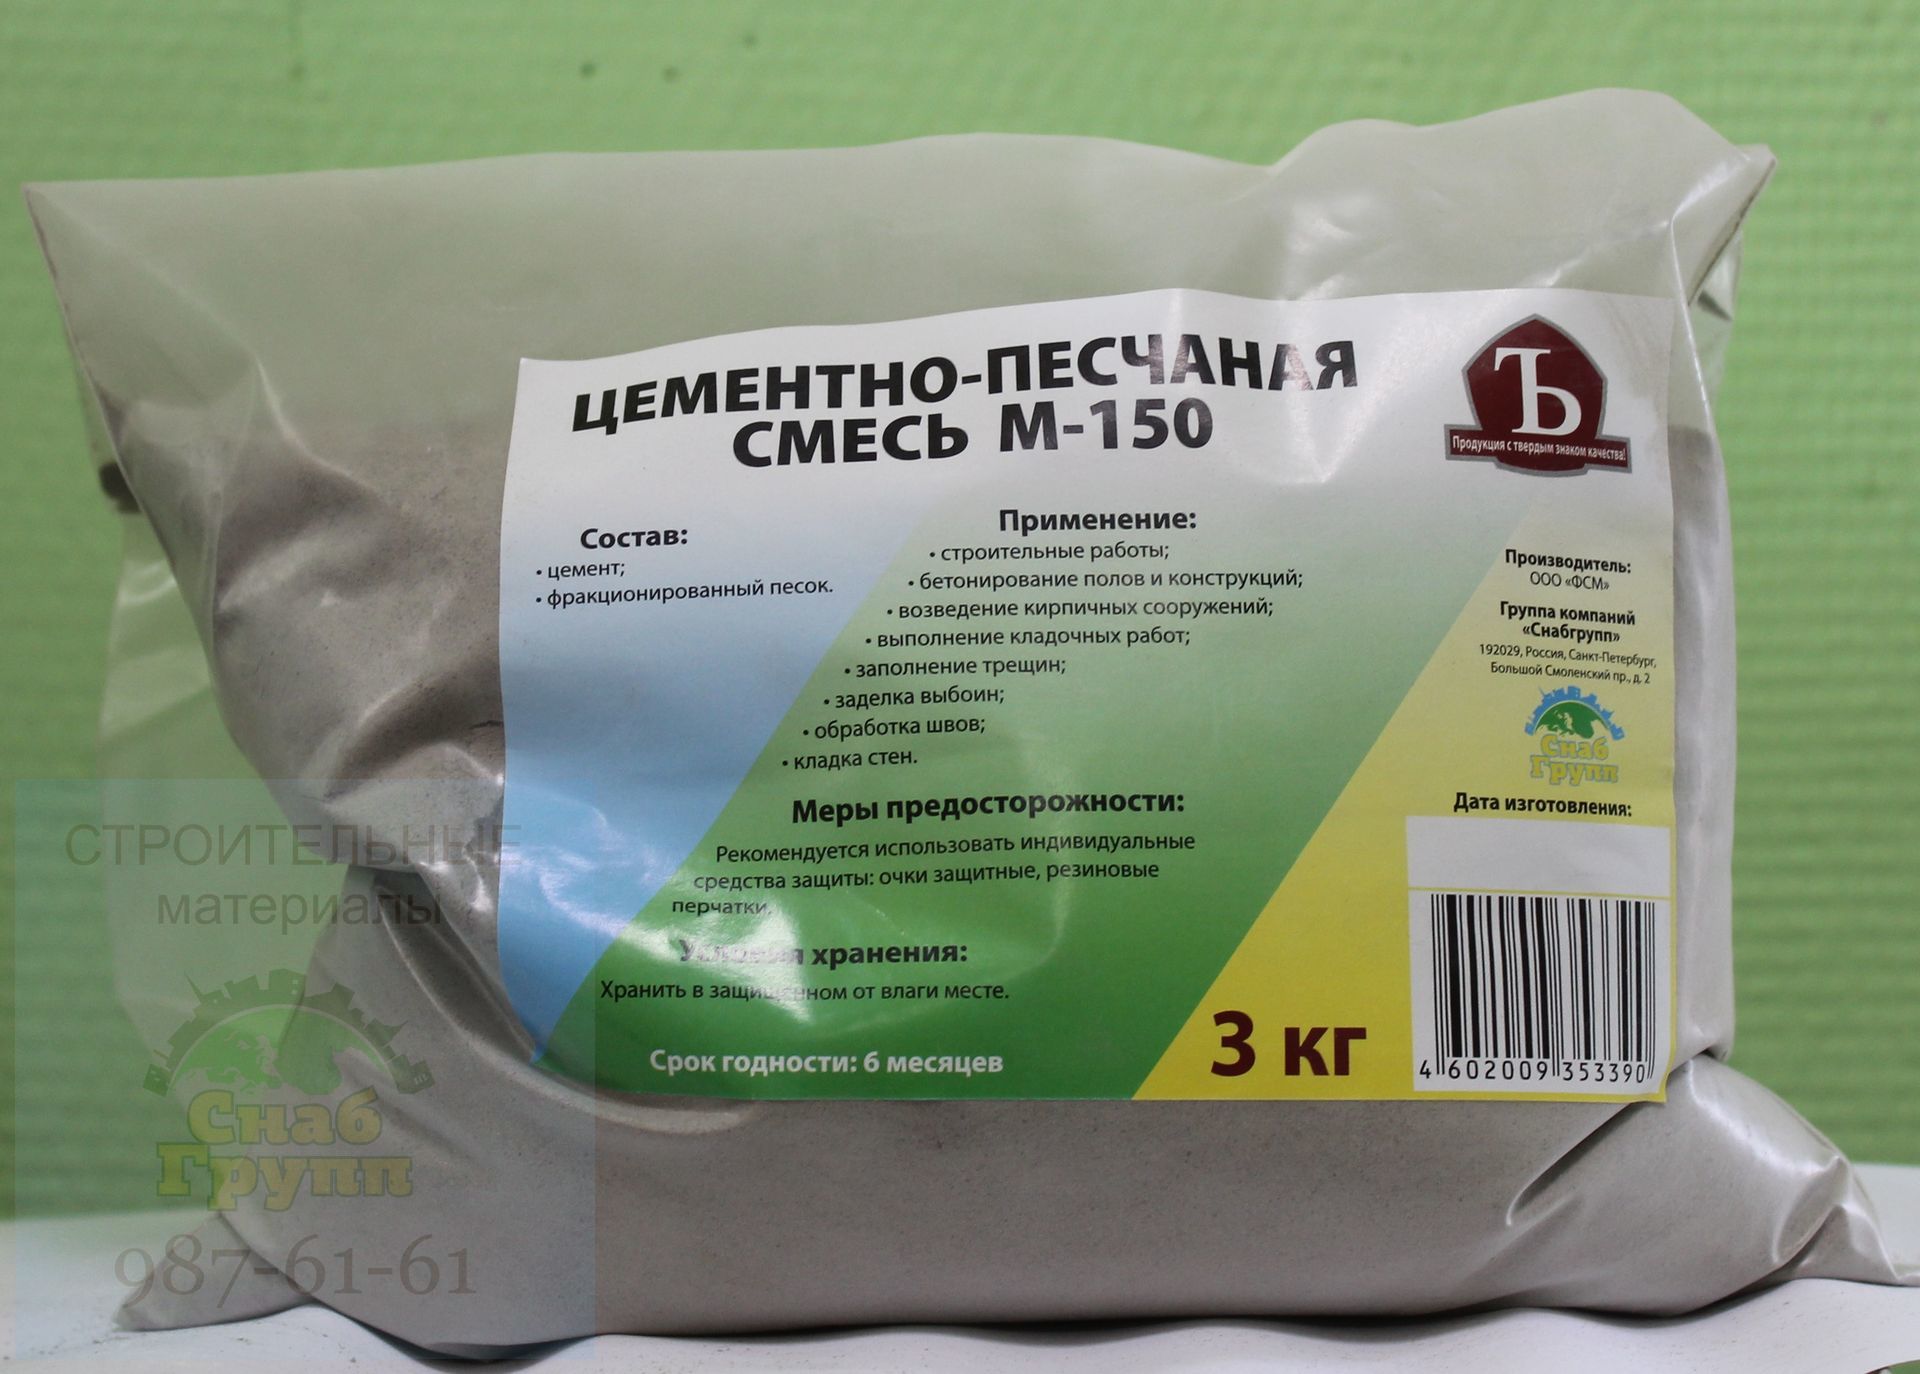
- Cement mortar. Very high strength, low elasticity. Mainly used in outdoor work, in floor tiles.

Restoration and repair
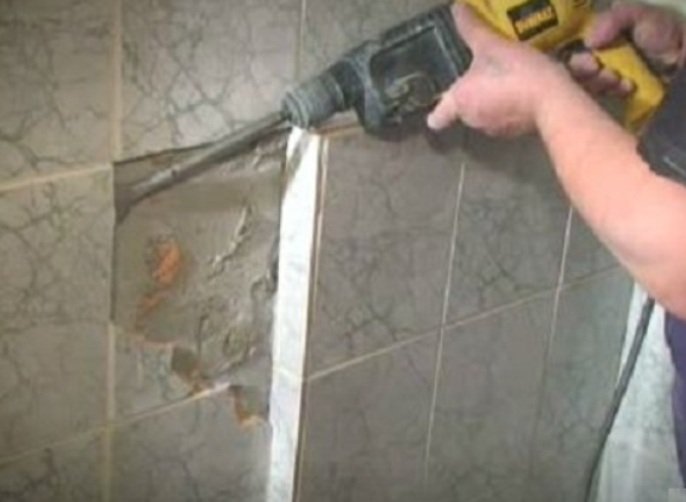
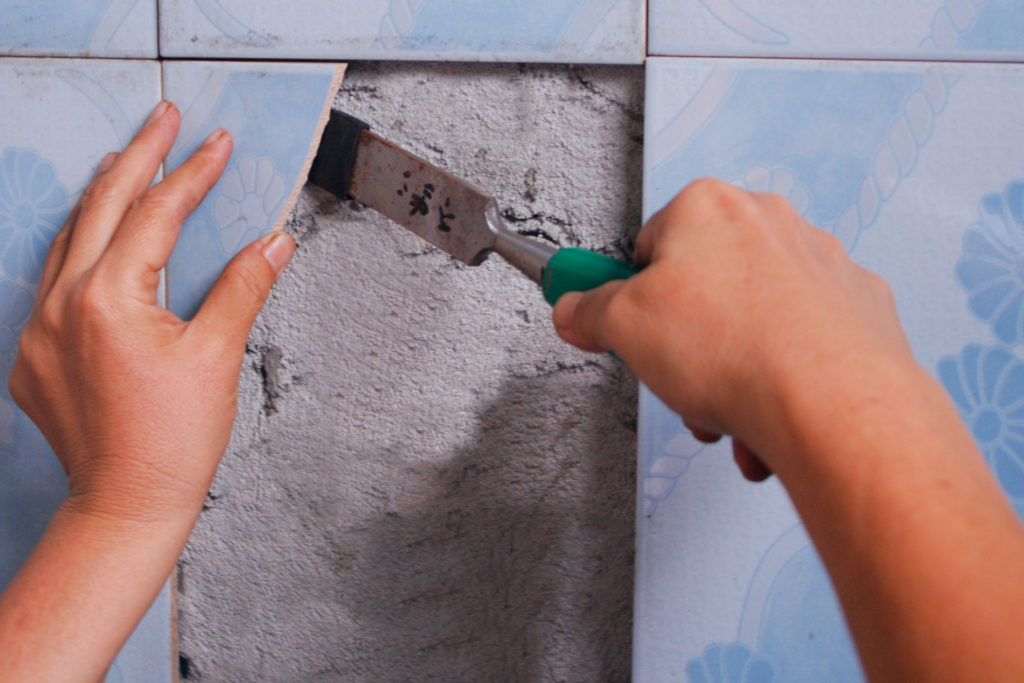
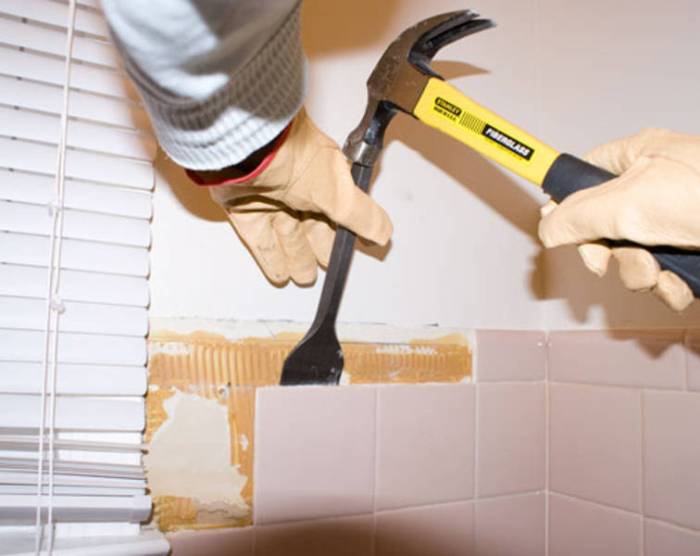
We start with the preparation, which includes: cleaning the surface from old material, tile, insulation. Using a spatula or perforator with a spatula, we clean the surface of old glue or other materials, and then re-run with a spatula, maximally cleaning the surface. In cases where there are still pebbles or part of the old adhesive composition, some people advise soaking in warm water, but the most effective method is still a hammer and a careful repulse of the material.
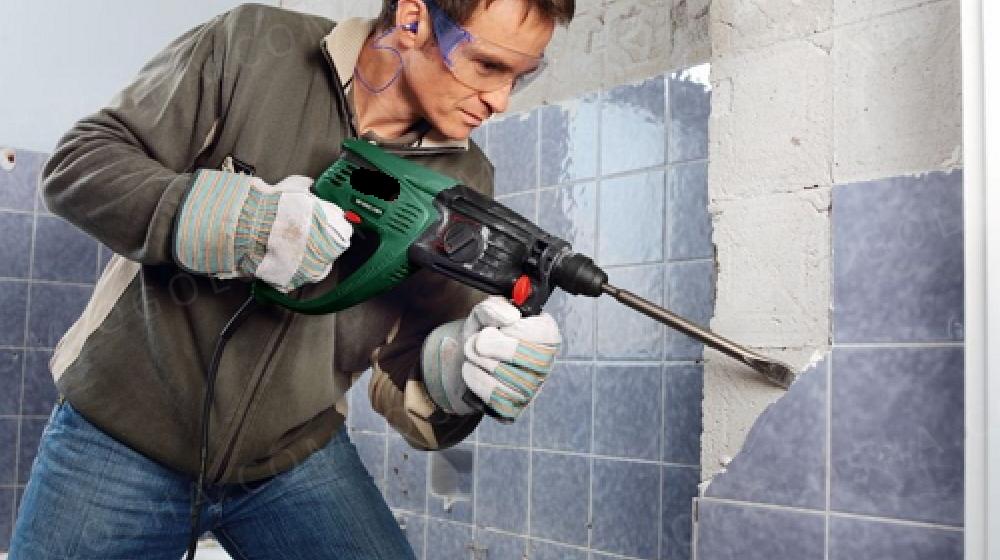
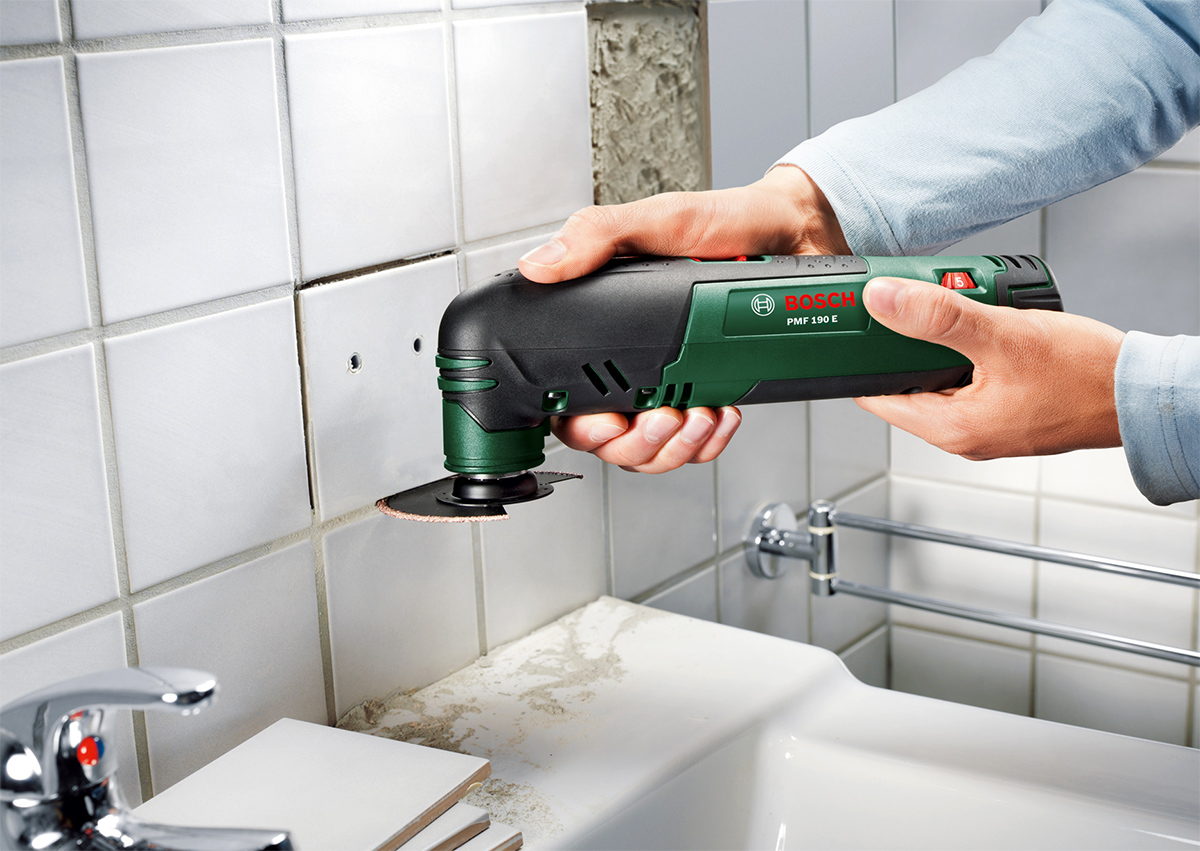
It also happens that the glue or the composition used by the repairmen is non-standard, and it is normal not to remove it with a hammer or a perforator. More precisely, these areas can be spent quite a lot of time. It would be more rational to use a turbine with a special disk, although a regular disk for concrete will do.But it is necessary to use it carefully so as not to damage unnecessary elements, such as wiring, pipes or accidentally cut the partition through.
Also removed almost all types of adhesive material, with the exception of special glue. For example, there was a case when in Soviet times the tile was glued to the glue for helicopter blades. Of course, it turned out to be dismantled only with the help of acids, but the probability that you will fall into such material is practically negated.
After cleaning to a flat surface from the glue, you need to go through the sandpaper, having cleaned it of small elements. As soon as these stages are completed, proceed to the priming. It is recommended to use a deep penetration primer to improve adhesion with the surface and create a protective film. Composition to leave for 24 hours, after which you can proceed to installation.
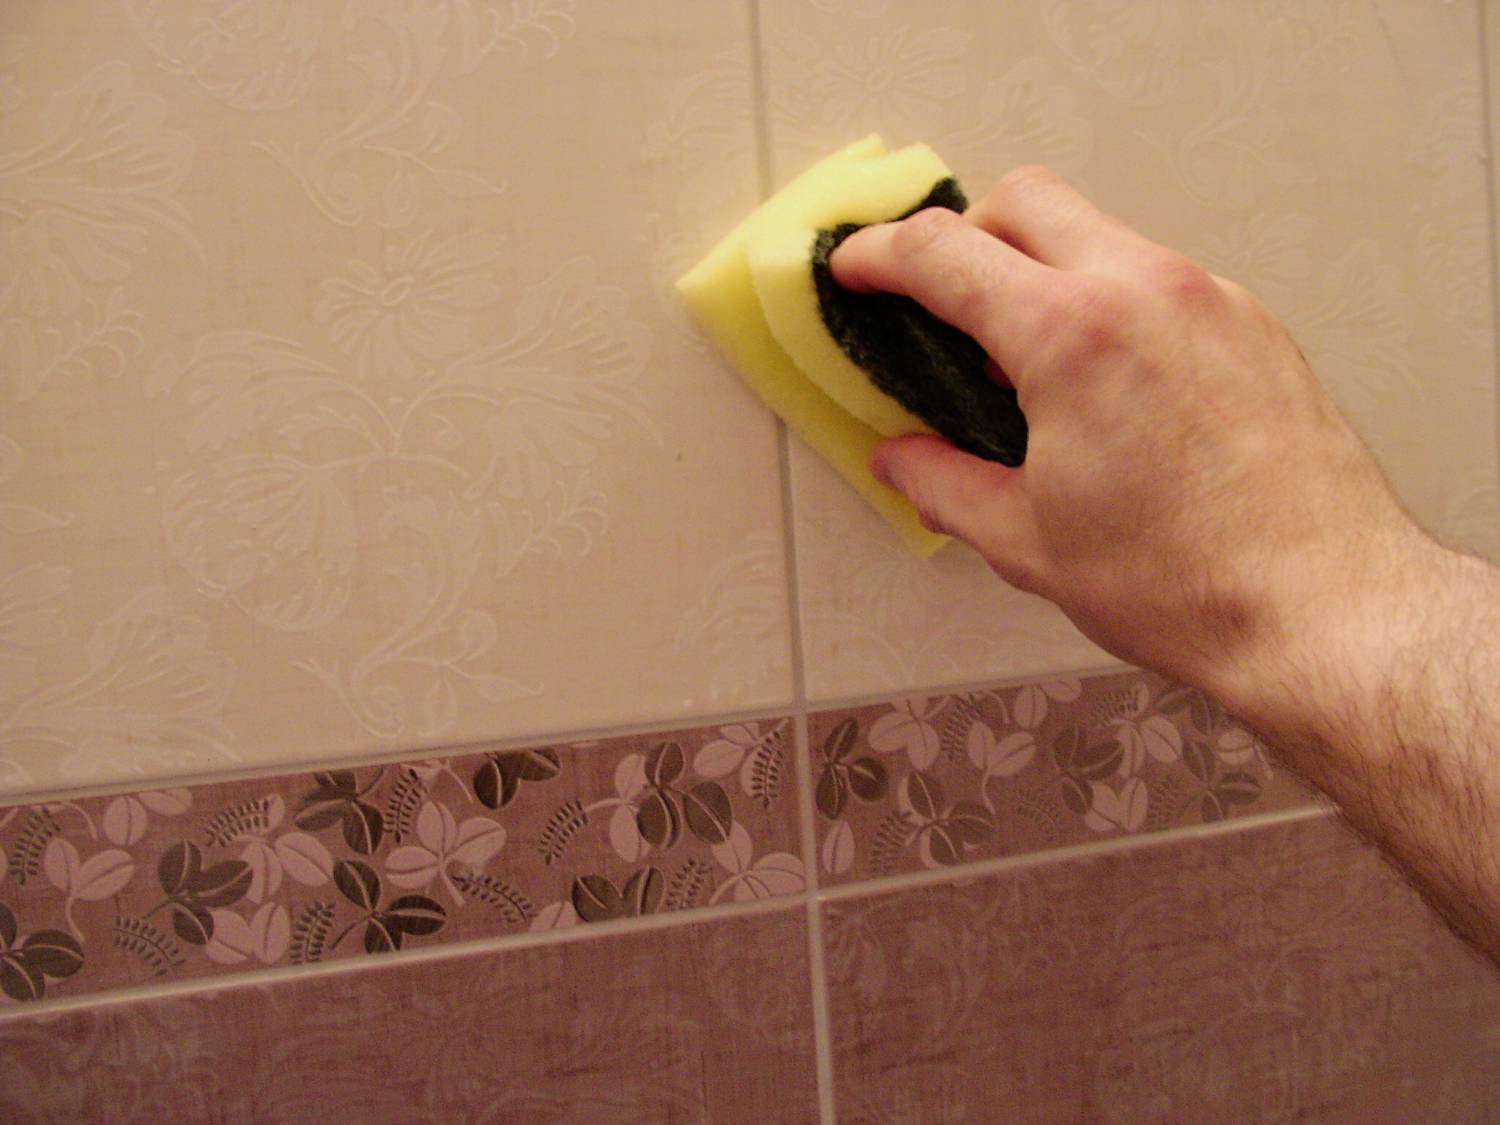
Cleaning the old tile in the bathroom from the composition is done neatly, with a spatula or a turbine, the main thing is not to disturb the special relief of the tile and not to destroy the tile itself. It is polished from the remnants of sandpaper, but you can also use a special nozzle on the DSM (it is worth wearing safety glasses when working on this technology).

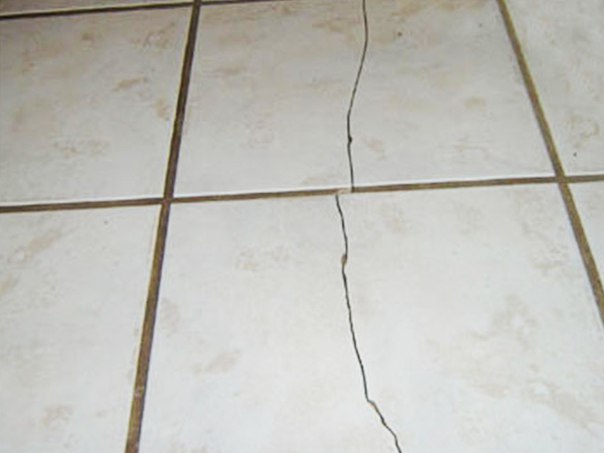
If the tile has departed again, then it is better to contact the master.
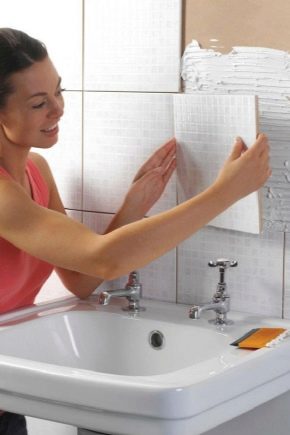
Phased installation:
- Making sure the primer seizes, prepare the adhesive mortar, tile.
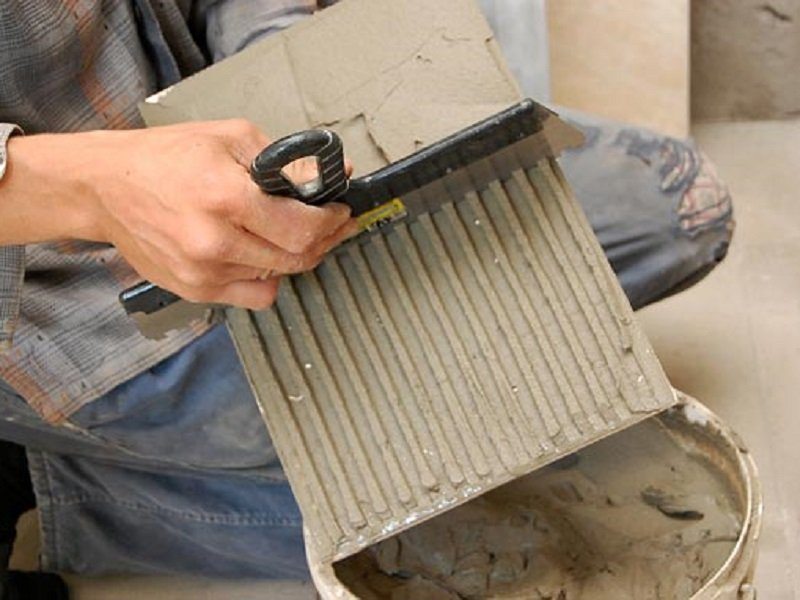
- Using a notched trowel, apply the solution on the tile, apply under the comb. The thickness of the layer should be 3-4 mm.
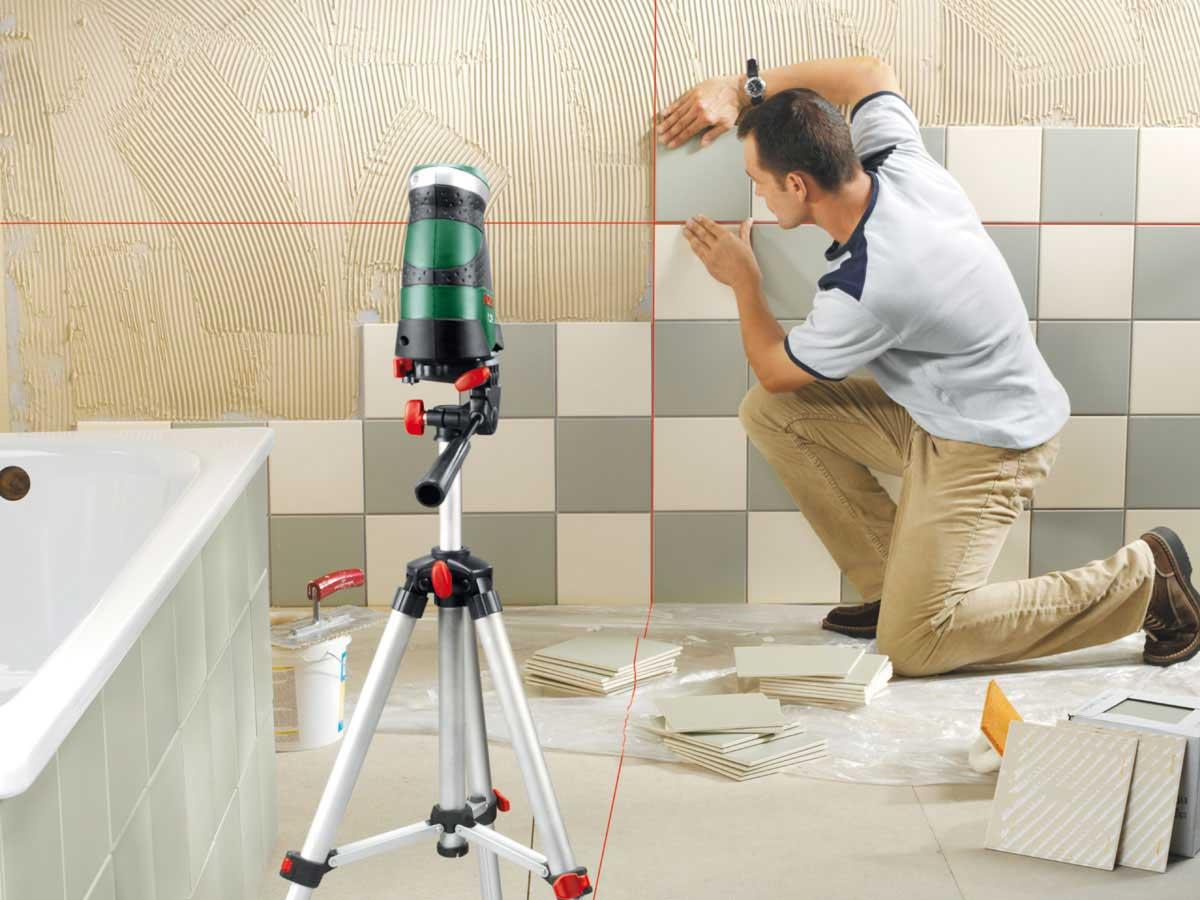
- We spread the first row in a circle (the lowest row) under the level and under the plane. Floor tiles at this point should already be ready, since the level we take from there.
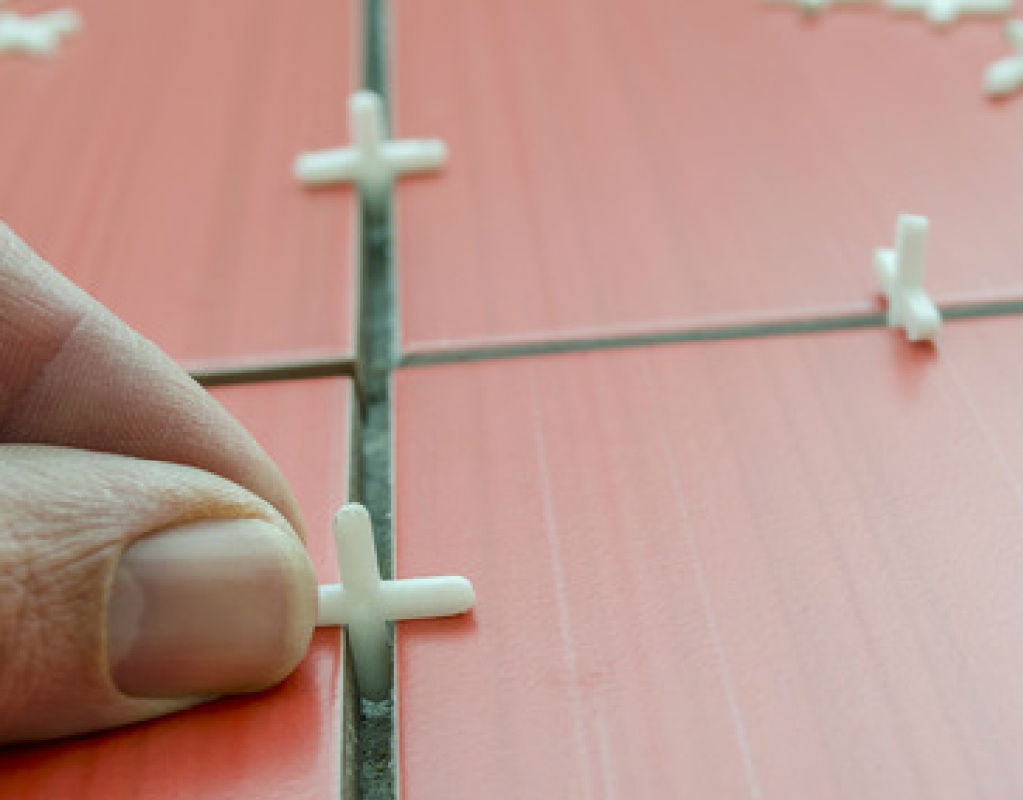
- We insert crosses between the tiles, two pieces in each slot, one should be closer to the top, the second closer to the floor.
- For a day we leave for setting. It is necessary that the tile does not float and retains both its plane and level.
- After the time has expired (24 hours), we start laying the remaining layers, but for better quality it is not recommended to lay out more than 5 rows at a time, because there is a risk that the row floats. Crosses this time insert into the crosshairs.
- When all the material is laid, pick out the crosses and proceed to seal the seams. For this we need a fugue, a plastic spatula and wet cloths. We remove the remnants of the fugue on the tile with this cloth immediately after application.

If everything is done in compliance with the technology and with high-quality materials, the tile will stay even longer than the shelf life of the materials.

How to perform a partial restoration?
The principle is practically no different from conventional laying, but only with the expectation that the adjacent tile should also be checked and, if there are defects, it should be dismantled. When preparing the site for laying tiles it is necessary to be more careful, trying not to damage the adjacent tiles. Fugu is to choose exactly the color available, in order not to create visual discomfort and avoid unnecessary questions about the repair. You can glue the joints of the old tile with a new masking tape before jointing. The rest of the principle of laying tiles is very similar, and there is nothing complicated here.
How to lay a tile, you can see in the next video.


