How to lay tiles on drywall?
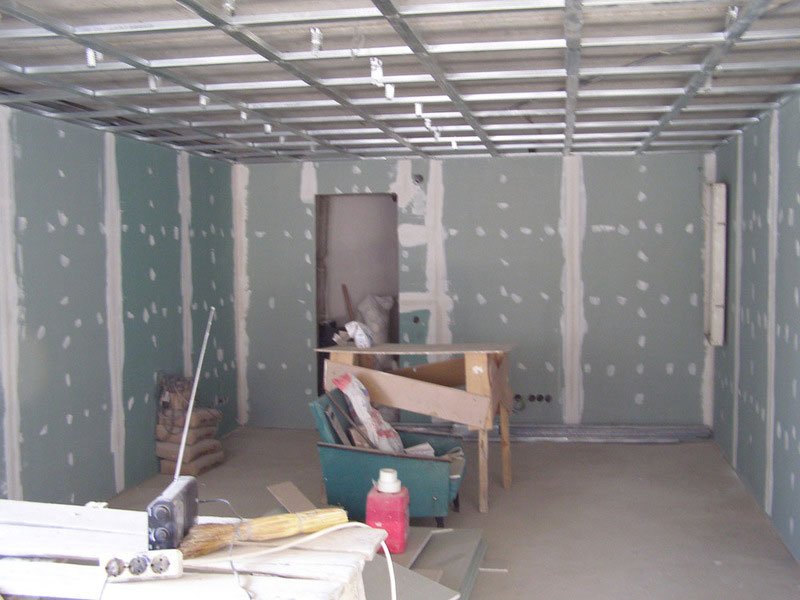
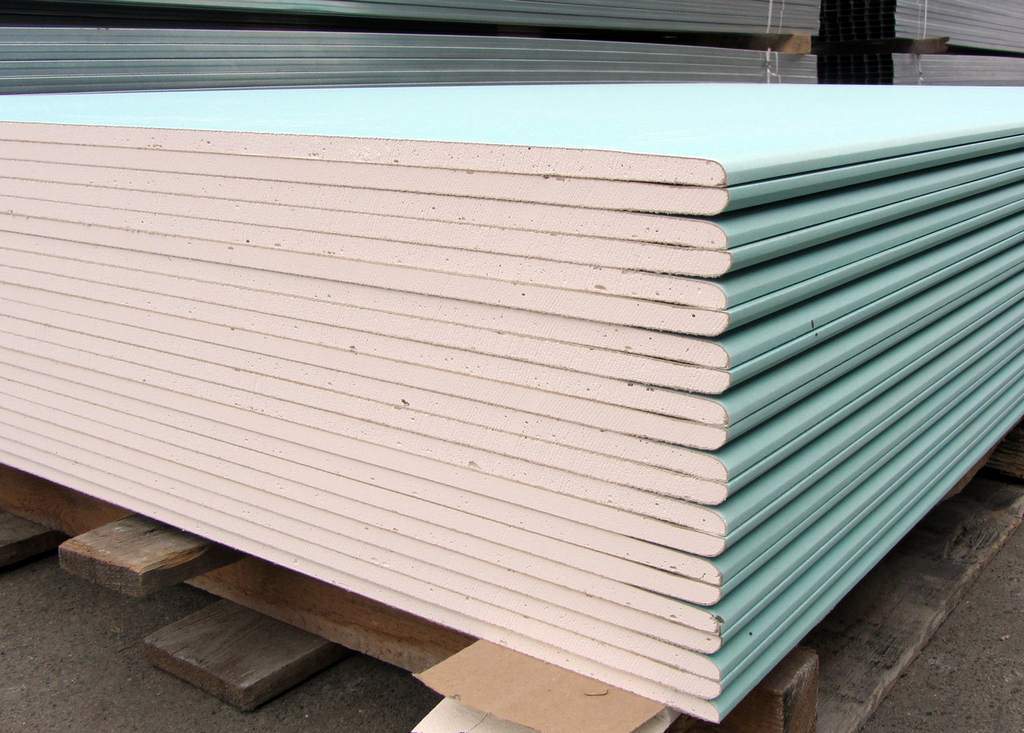
Overhaul is rarely done without the use of drywall sheets. This material is quite practical and has a long life. Sometimes it is difficult to lay ceramic tiles on such a surface. If you understand all the nuances, you can do this procedure yourself in any room of your home.
Special features
Sheets of drywall made it possible not to use in the repair of various mixtures for leveling walls. It is much easier to make a special frame and install the gypsum plasterboard than for hours to work on walls with the help of plaster plaster. Gypsum plasterboard can be covered with clinker, tile and ceramic tiles.
Laying tiles on drywall is a simple task.As a result of such work does not appear a lot of building dirt and dust.
Laying tiles on a plasterboard basis is possible in both residential and commercial premises.
There are certain rules by which even a beginner can easily cope with the work.
These features must be taken into account, otherwise mistakes can not be avoided:
- Laying tiles on drywall requires careful calculations. It is important to observe a clear geometry during installation. Tiling will not tolerate hack-work and negligence.
- When choosing a drywall, be sure to consider the features of the room in which you will make repairs. For facing works in the bathroom or in the kitchen, be sure to choose a gypsum plasterboard with high moisture resistance. Otherwise, a new repair will please you just a short time.
- Carefully treat the construction of the frame under the drywall. All elements must be in the same plane. Each element of the structure requires reliable fixation so that the base is rigid and stable.
- Remember that between the gypsum and adjacent walls, floor or ceiling should remain small gaps.
- Between the vertical beams of the frame should be no more than 40 cm. A longer distance will lead to the fact that drywall will begin to bend during operation, and maybe even at the lining stage.

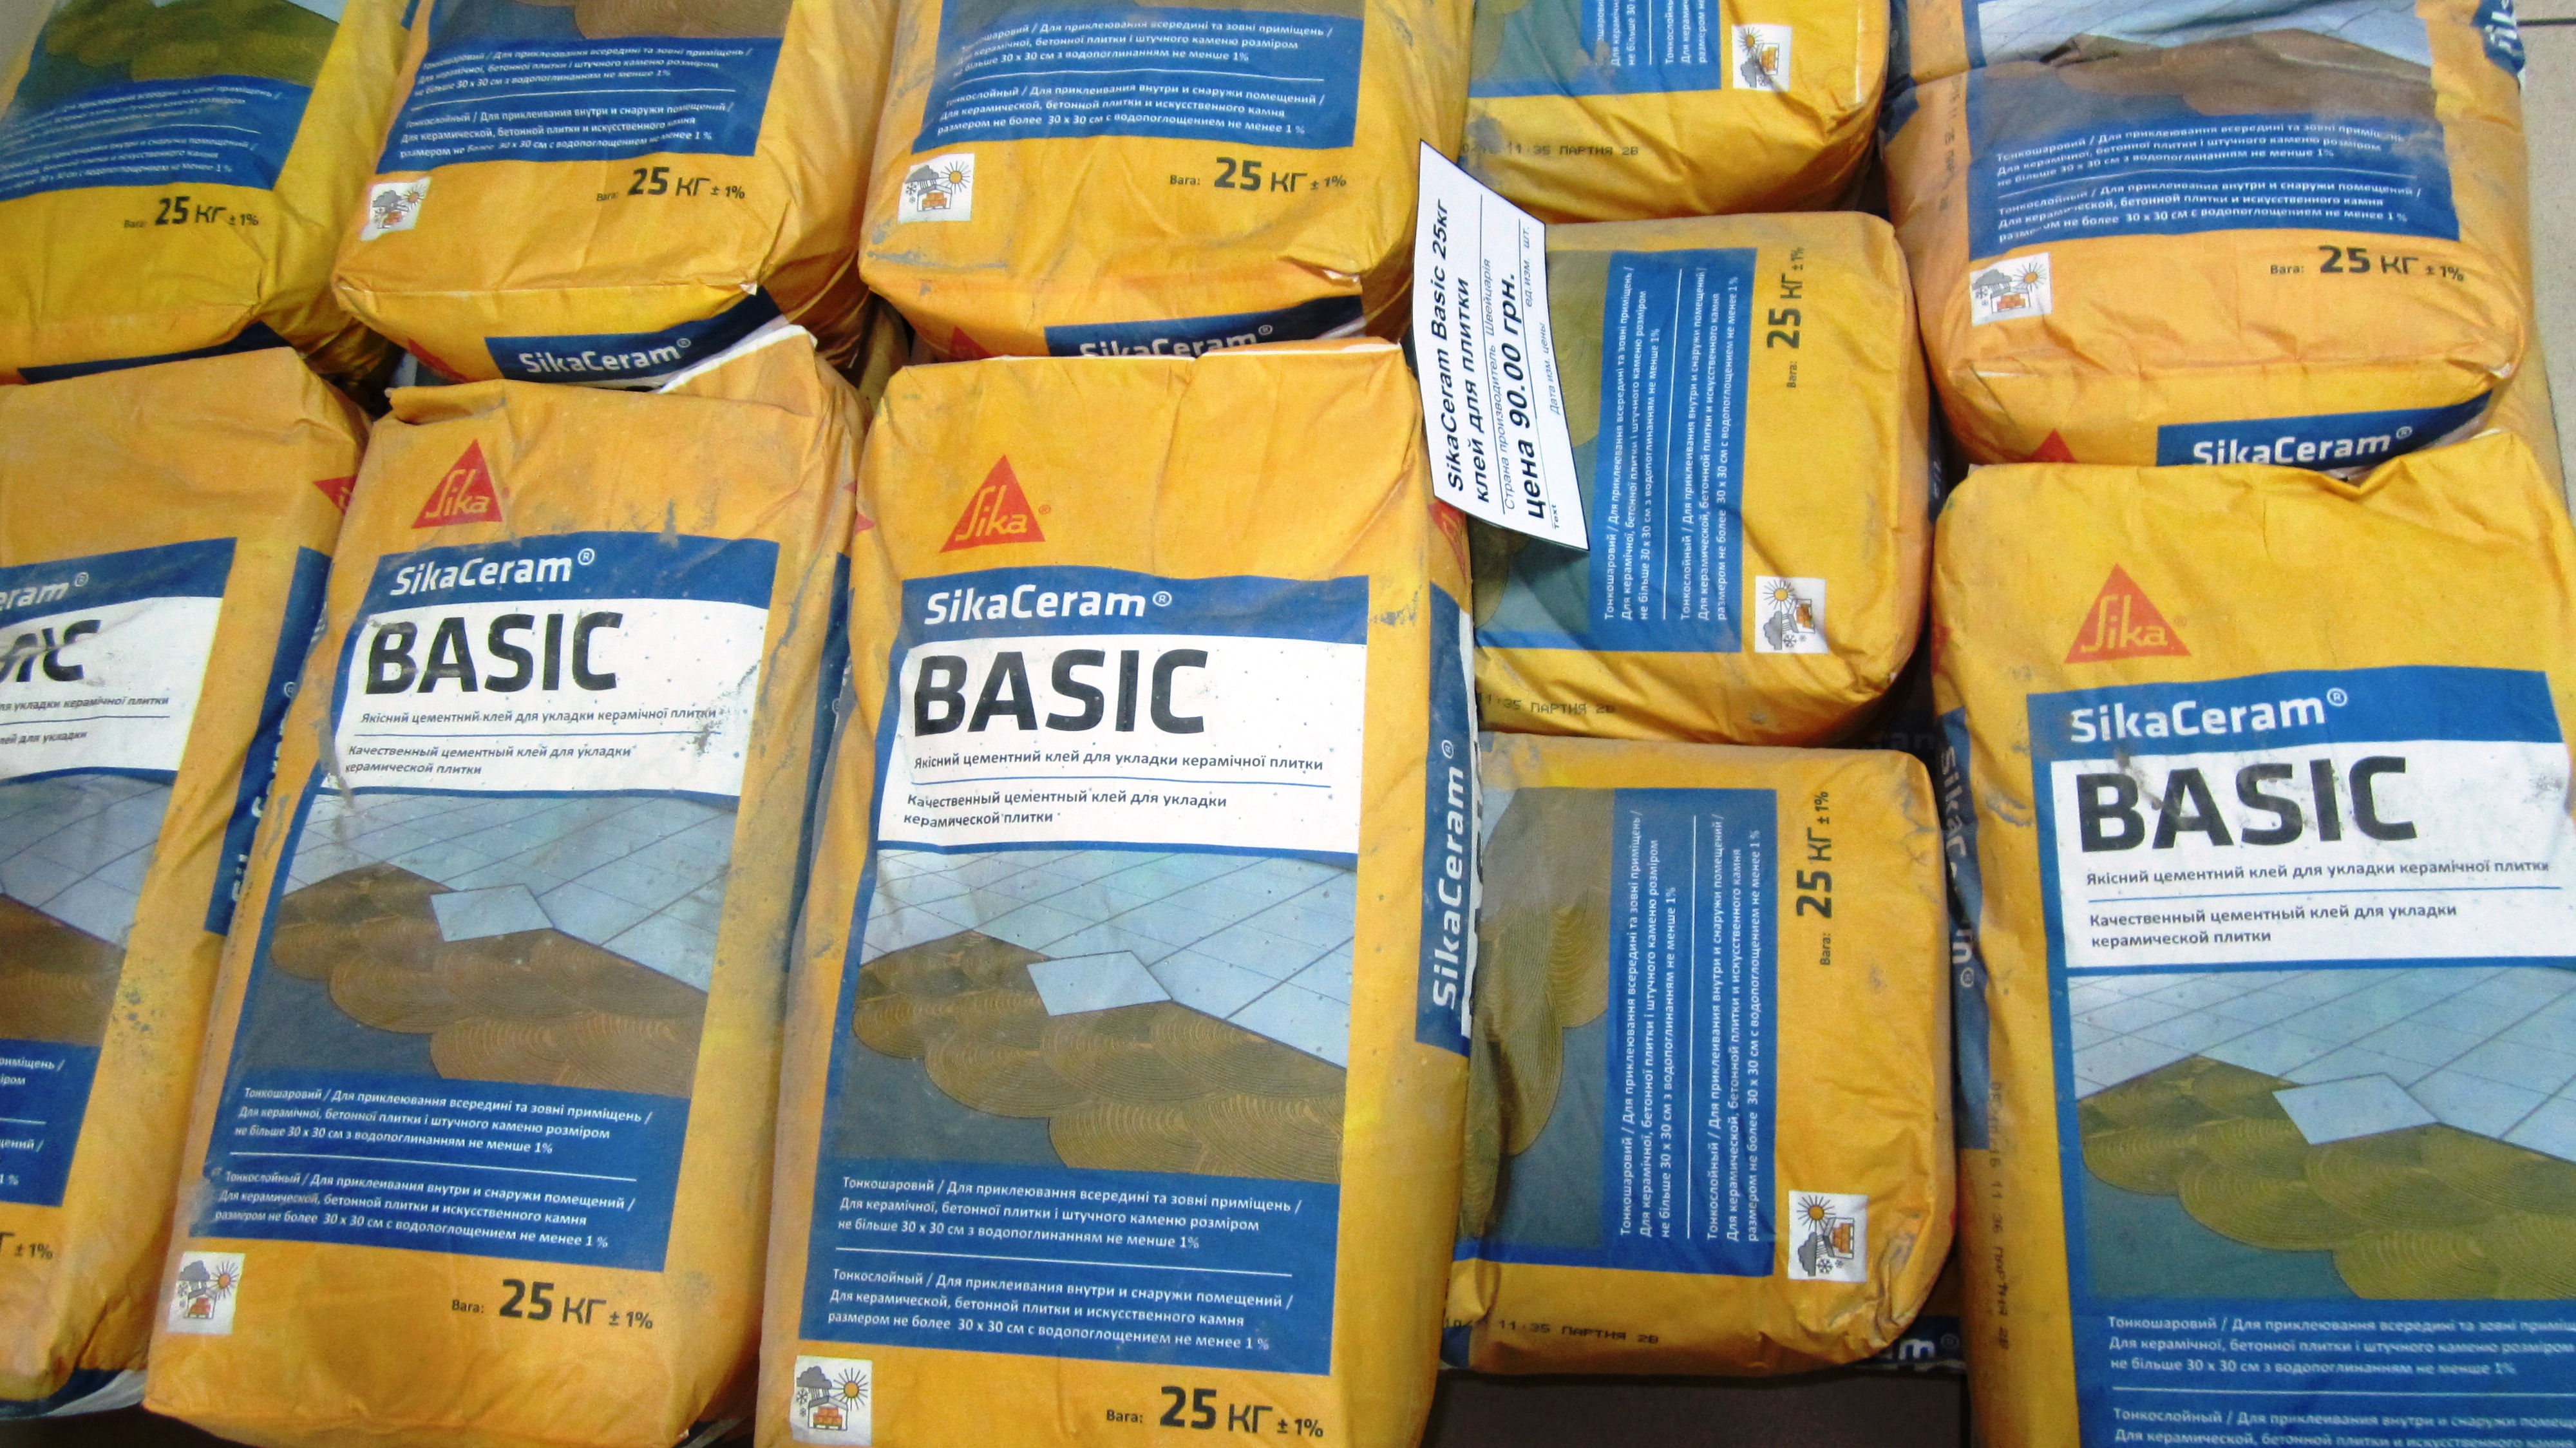
Glue selection
The quality of the work depends on the choice of glue.
The correct frame, good drywall and expensive tiles without the right glue - effort spent in vain. Turn your attention only to reliable manufacturers who have already earned the trust of consumers.


When buying, carefully study the composition of the mixture and the area of use. Good options:
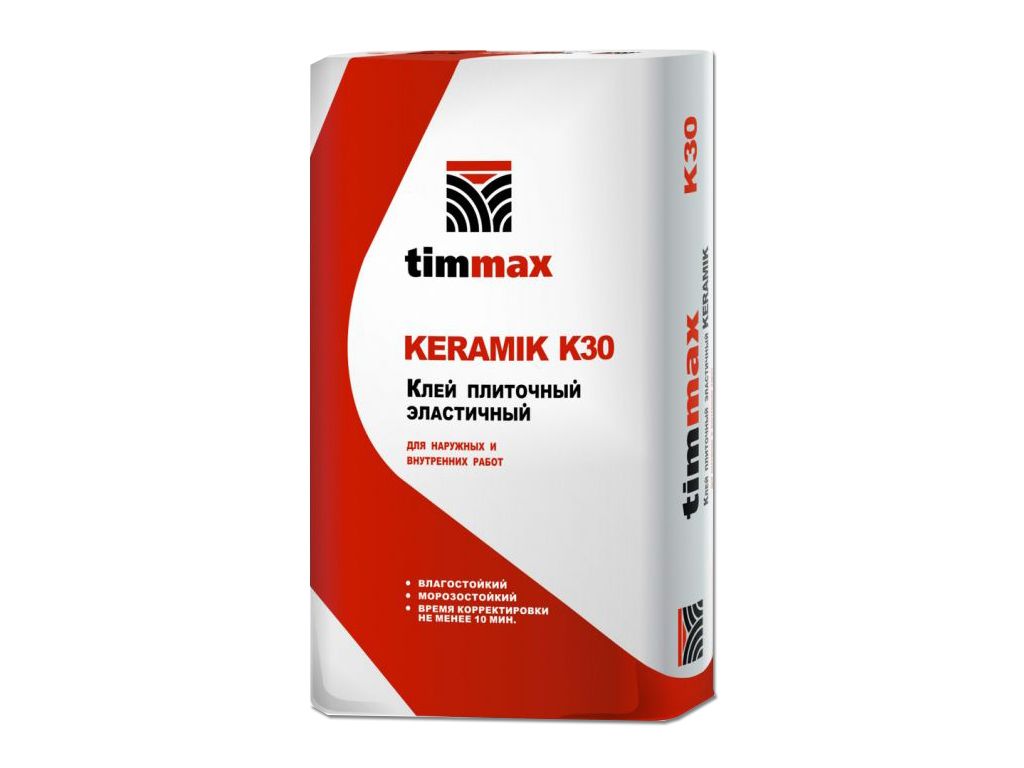
- Cement based mortar. It should be noted that such glue is not accepted to apply for plaster work. If your drywall sheets are covered with cardboard, then this solution is quite suitable. Now rarely use this adhesive.
A mixture of cement and sand firmly attaches the tile to the wall. The use of this tool by beginners is not the best option. If you make a mistake, it will be very difficult to fix it.

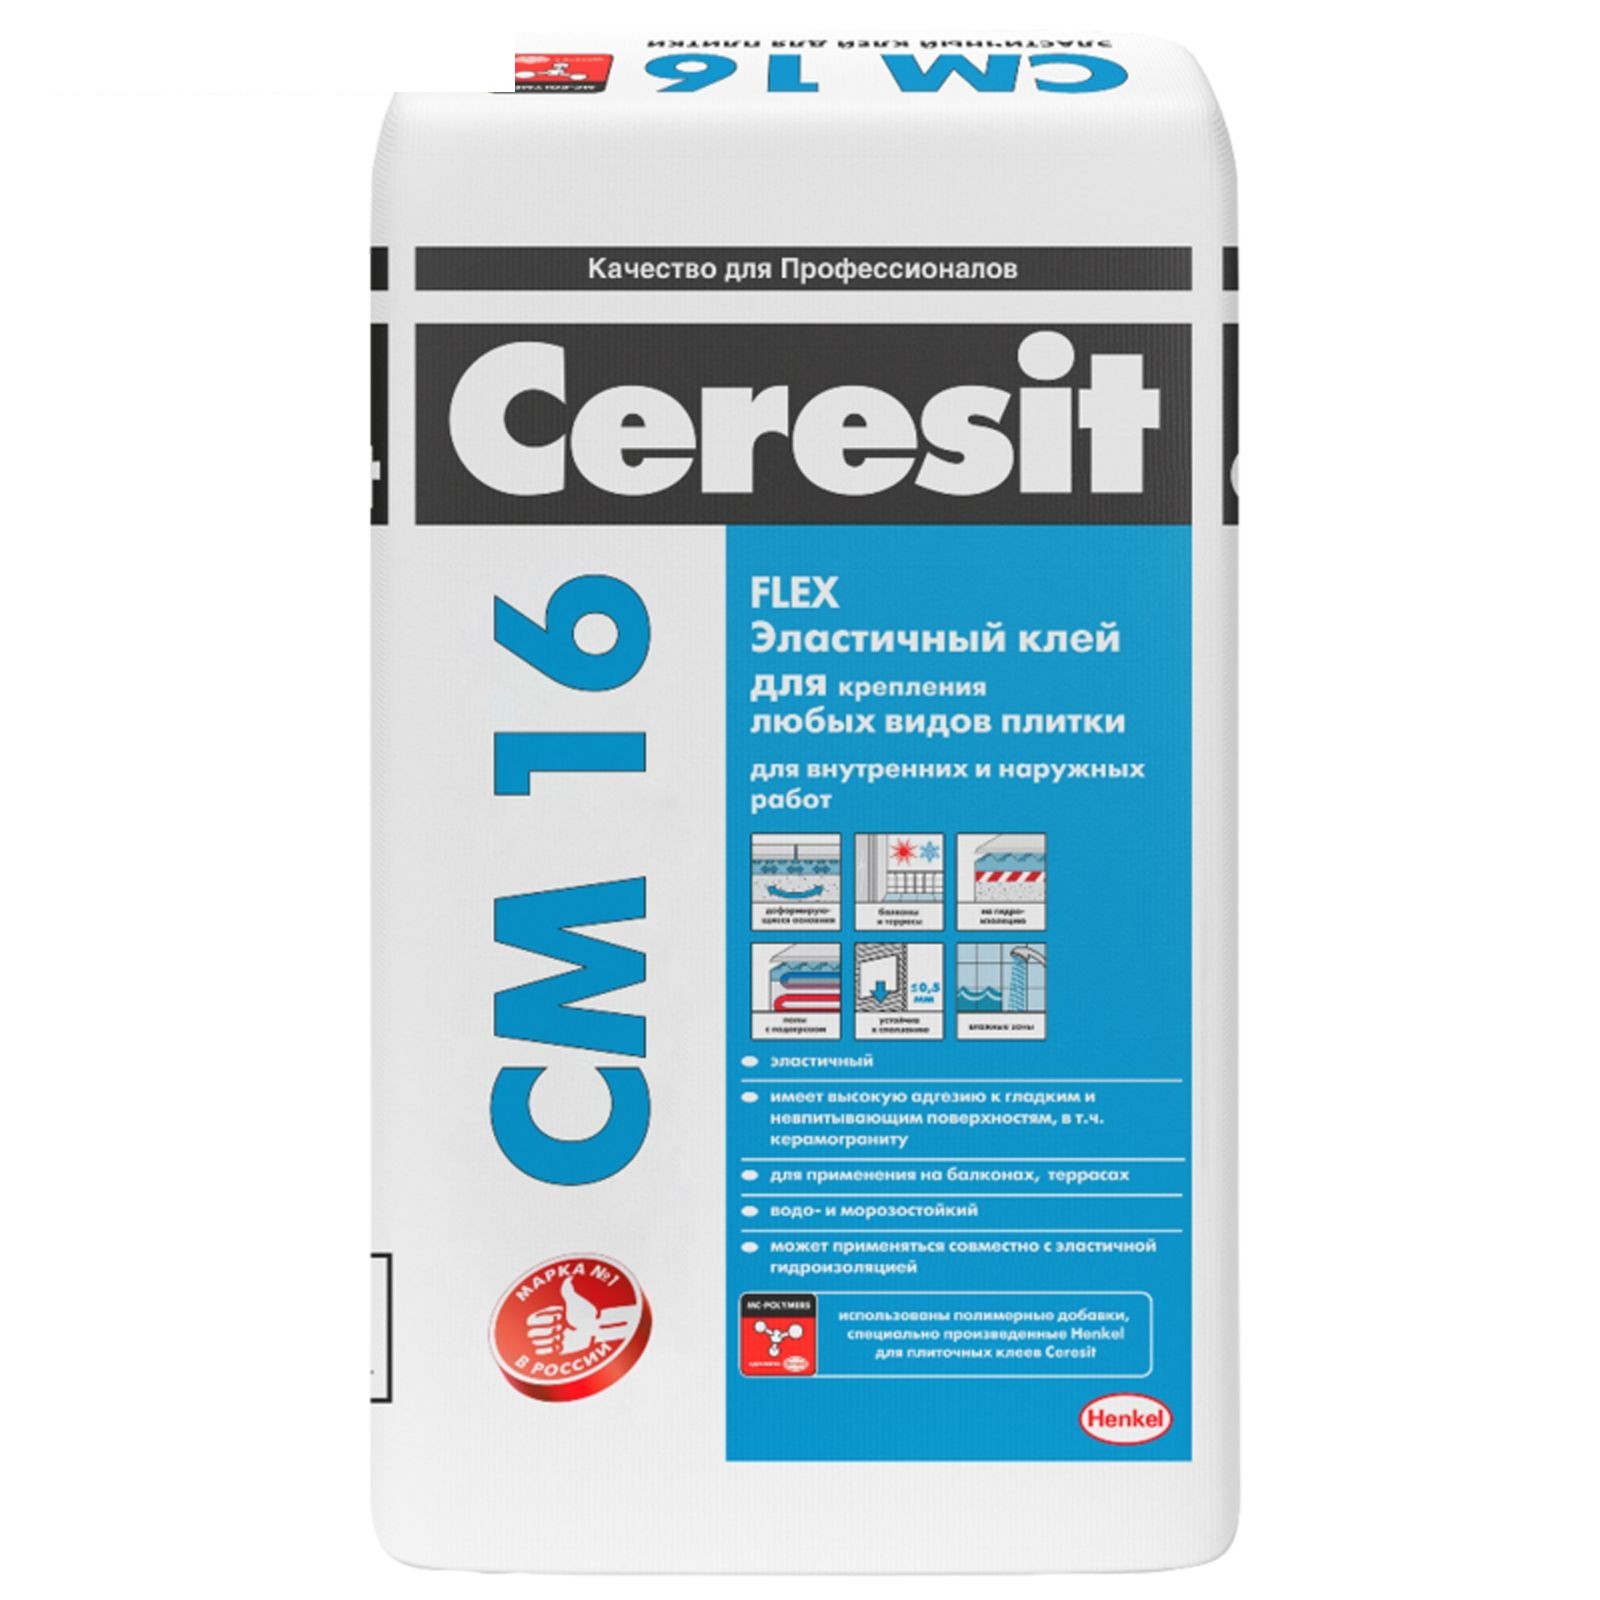
- Elastic tile adhesive. One of the best options for adhesive composition. Available in the form of a finished mixture or dry powder, which must be diluted according to the instructions.A great option for beginners, it is possible to correct the location of the tile already on the surface of the GCR.
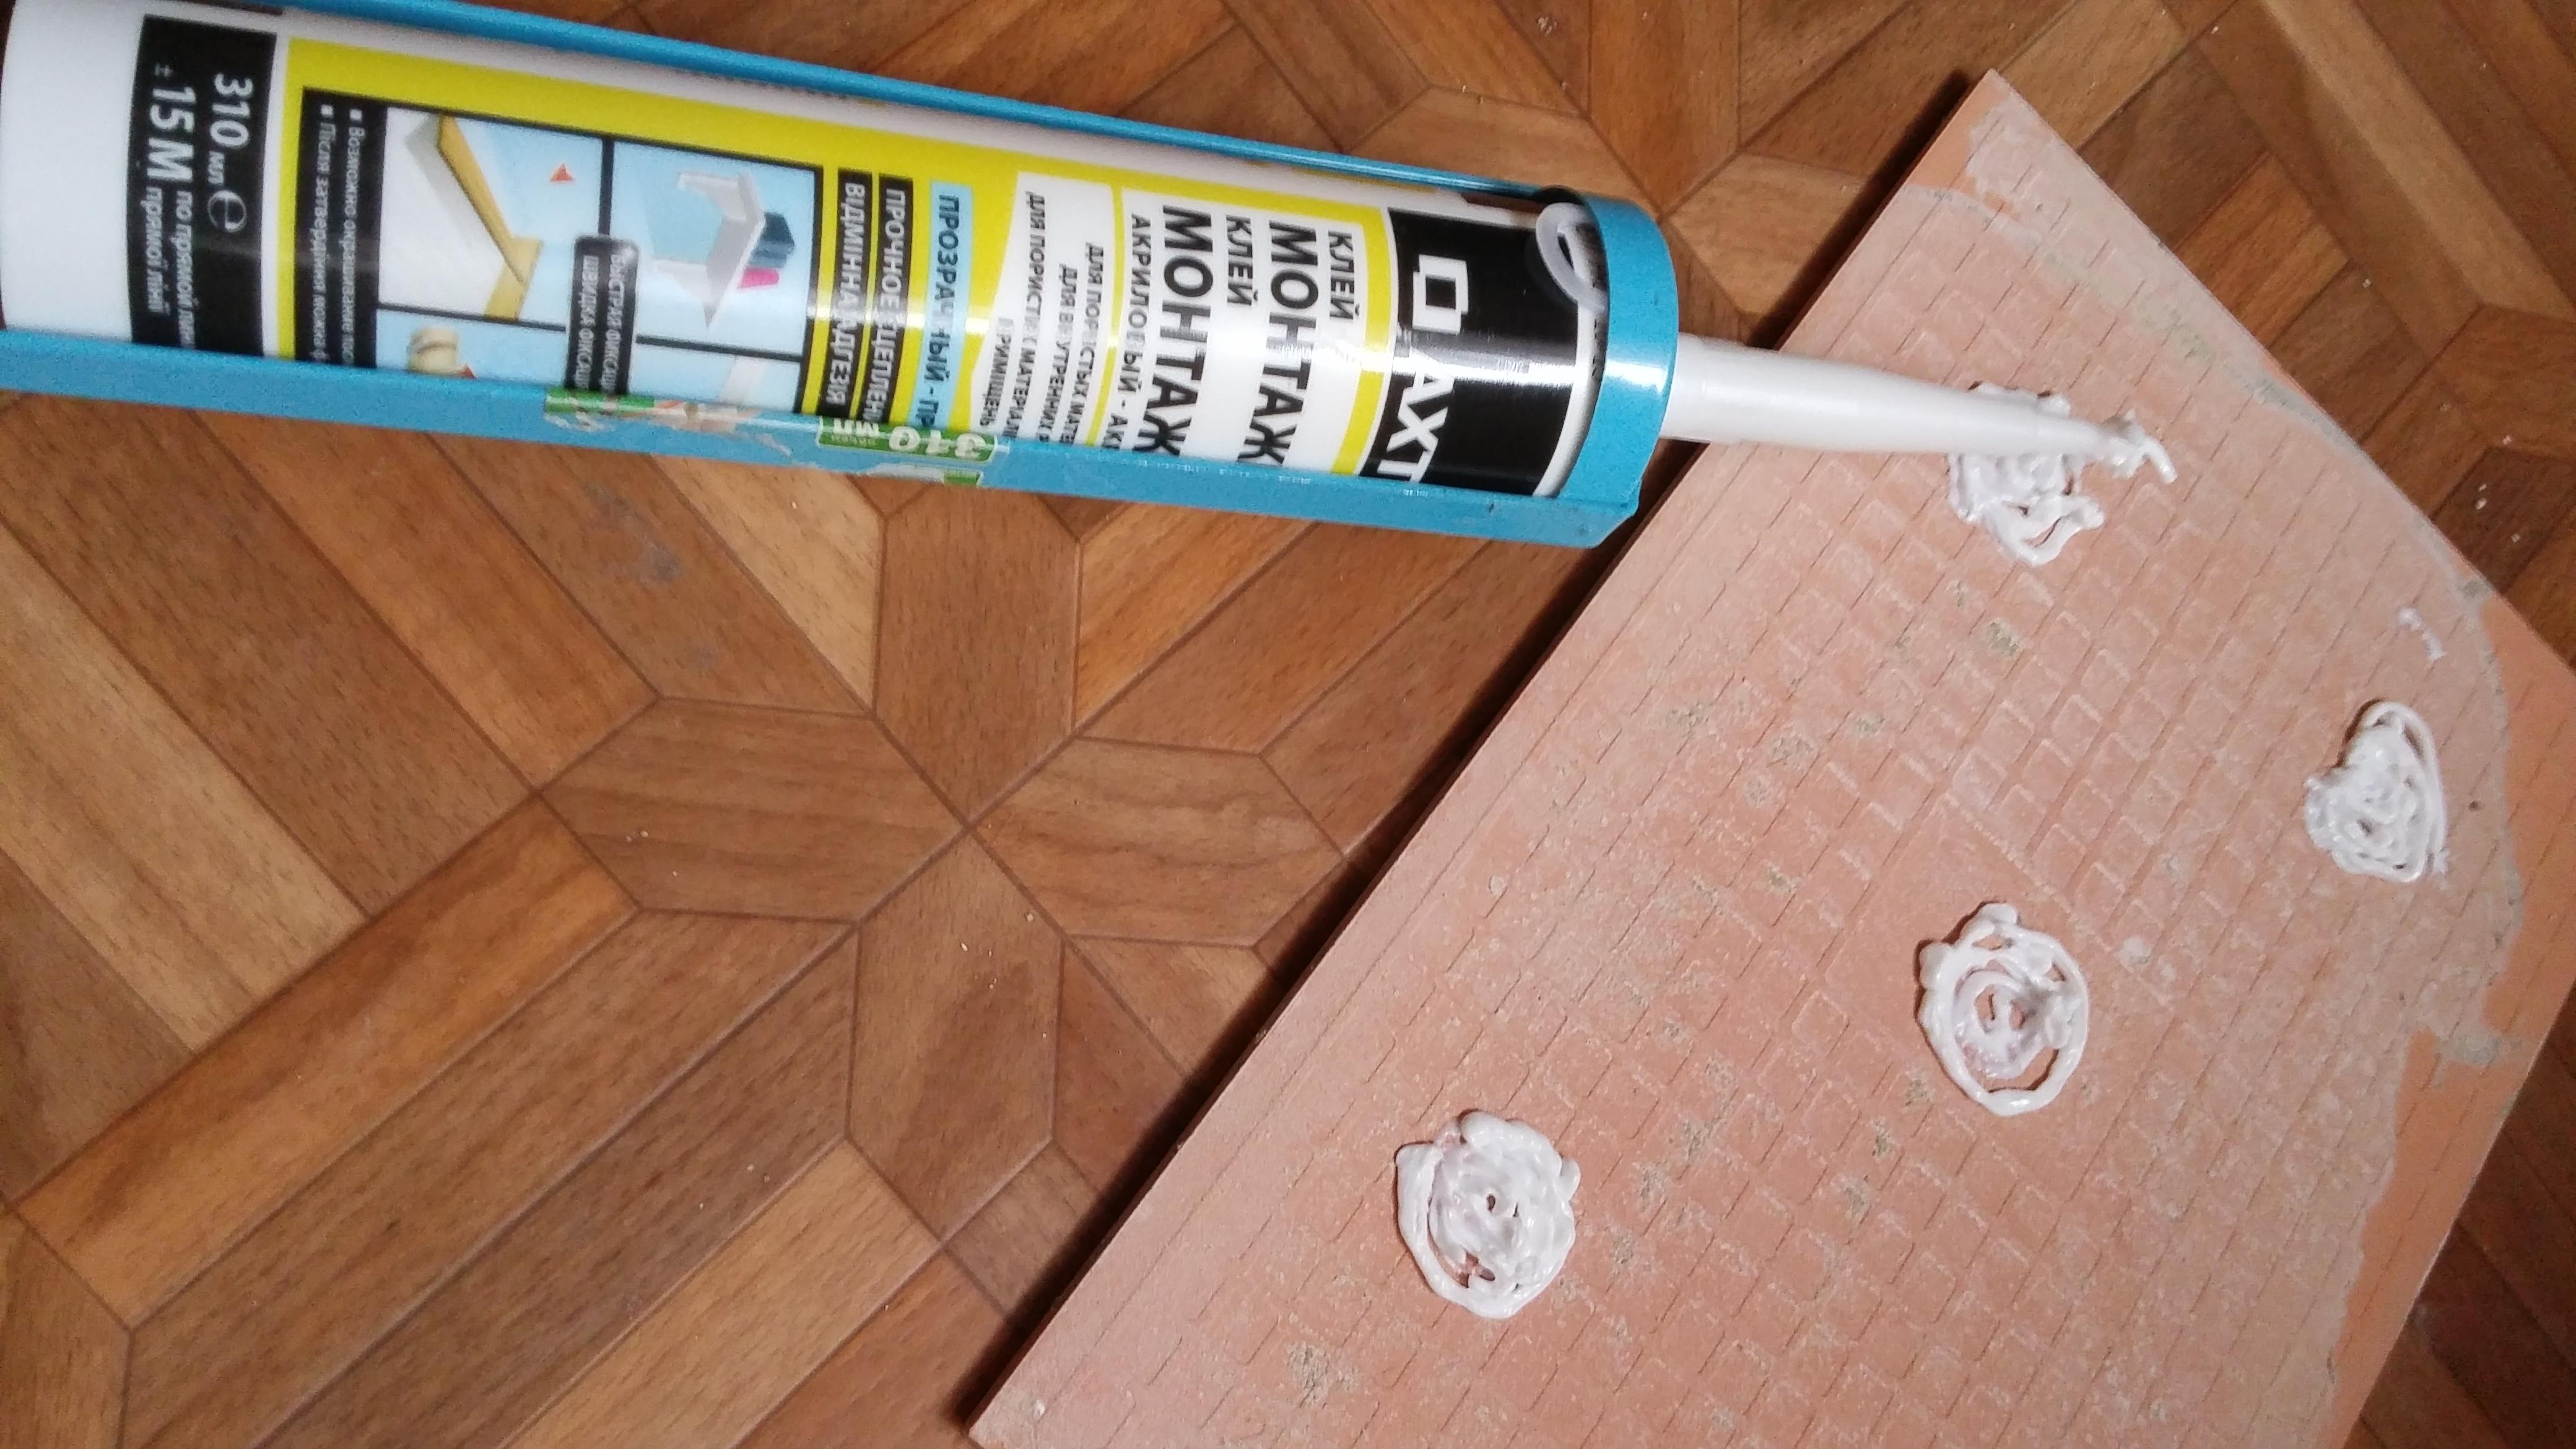
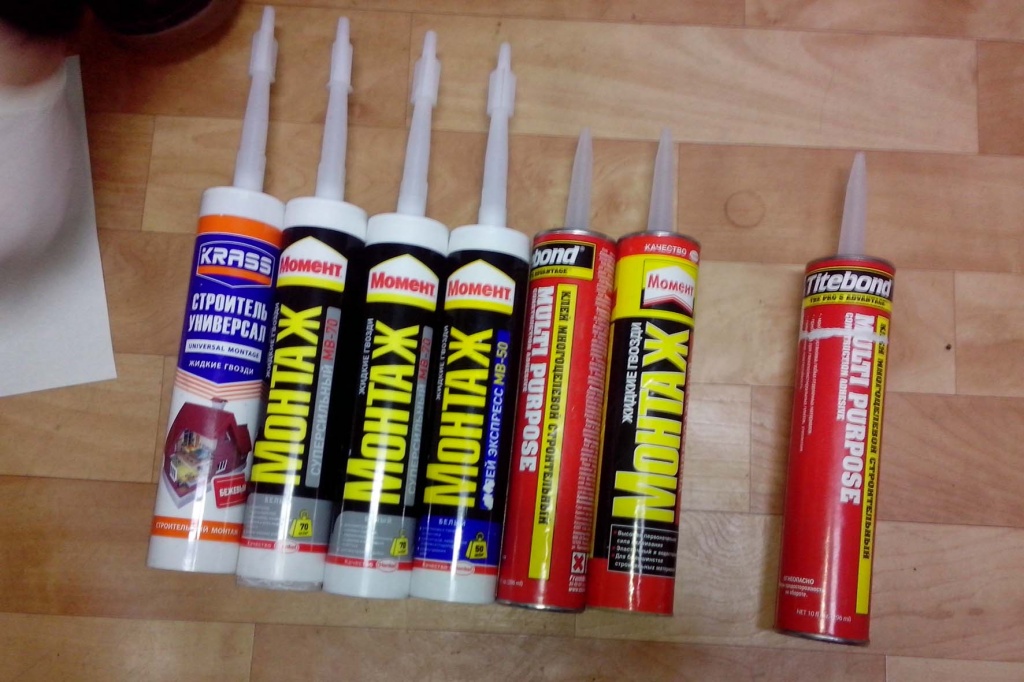
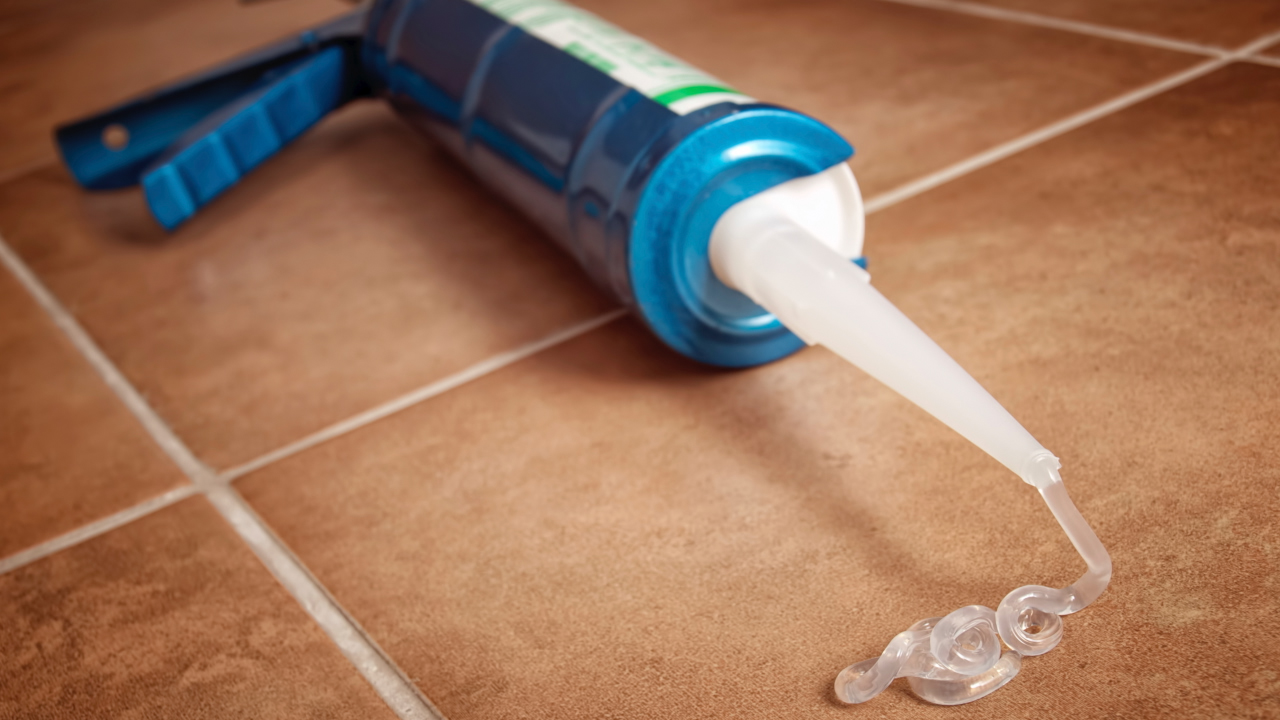
- Liquid nails of different types. One of the most modern compositions. Available in convenient plastic cylinders. For the application will have to get a special gun.
Some believe that such materials can be used to carry out all the work from start to finish.
At the same time, experts urge to use liquid nails for point work, when some elements still lag behind the surface.
Surface preparation
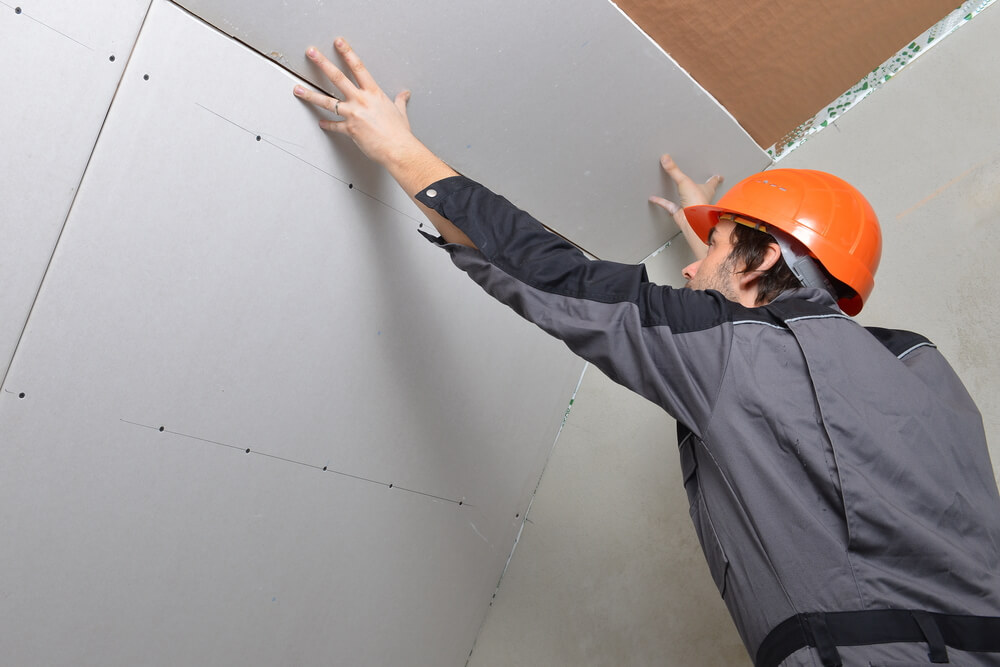
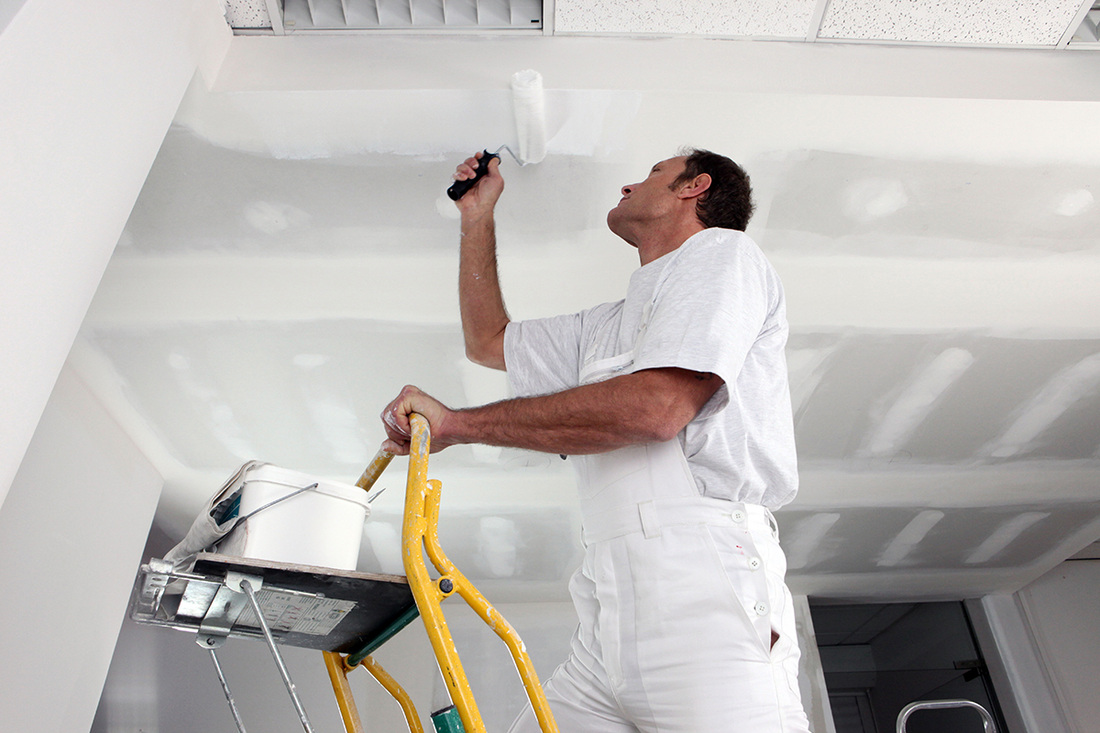
Drywall box requires some preparatory work. This process should be started immediately after laying the sheets on the walls. First of all, make the necessary openings for pipes, sockets and other communications. You will definitely need a primer and a roller with a brush for its application. Primer drywall need in 2 layers to improve adhesion between the material and the solution.

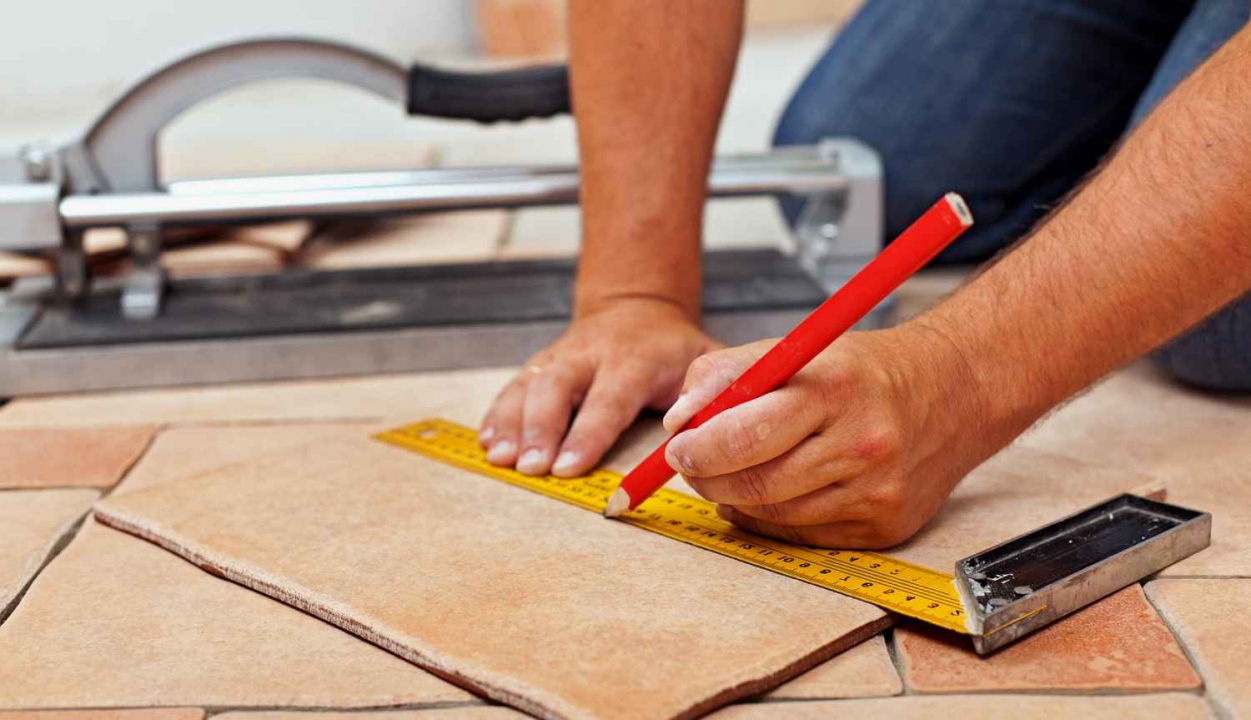
Before starting the preparation of the solution, be sure to determine the place of the first tile. To do this, use a level, pencil and one tile. Place the fragment in a corner and circle the outline.Focus on these contours and level when drawing lines across the wall. You can be helped by a horizontal profile, use it as a guide.
The preparatory work is done as follows:
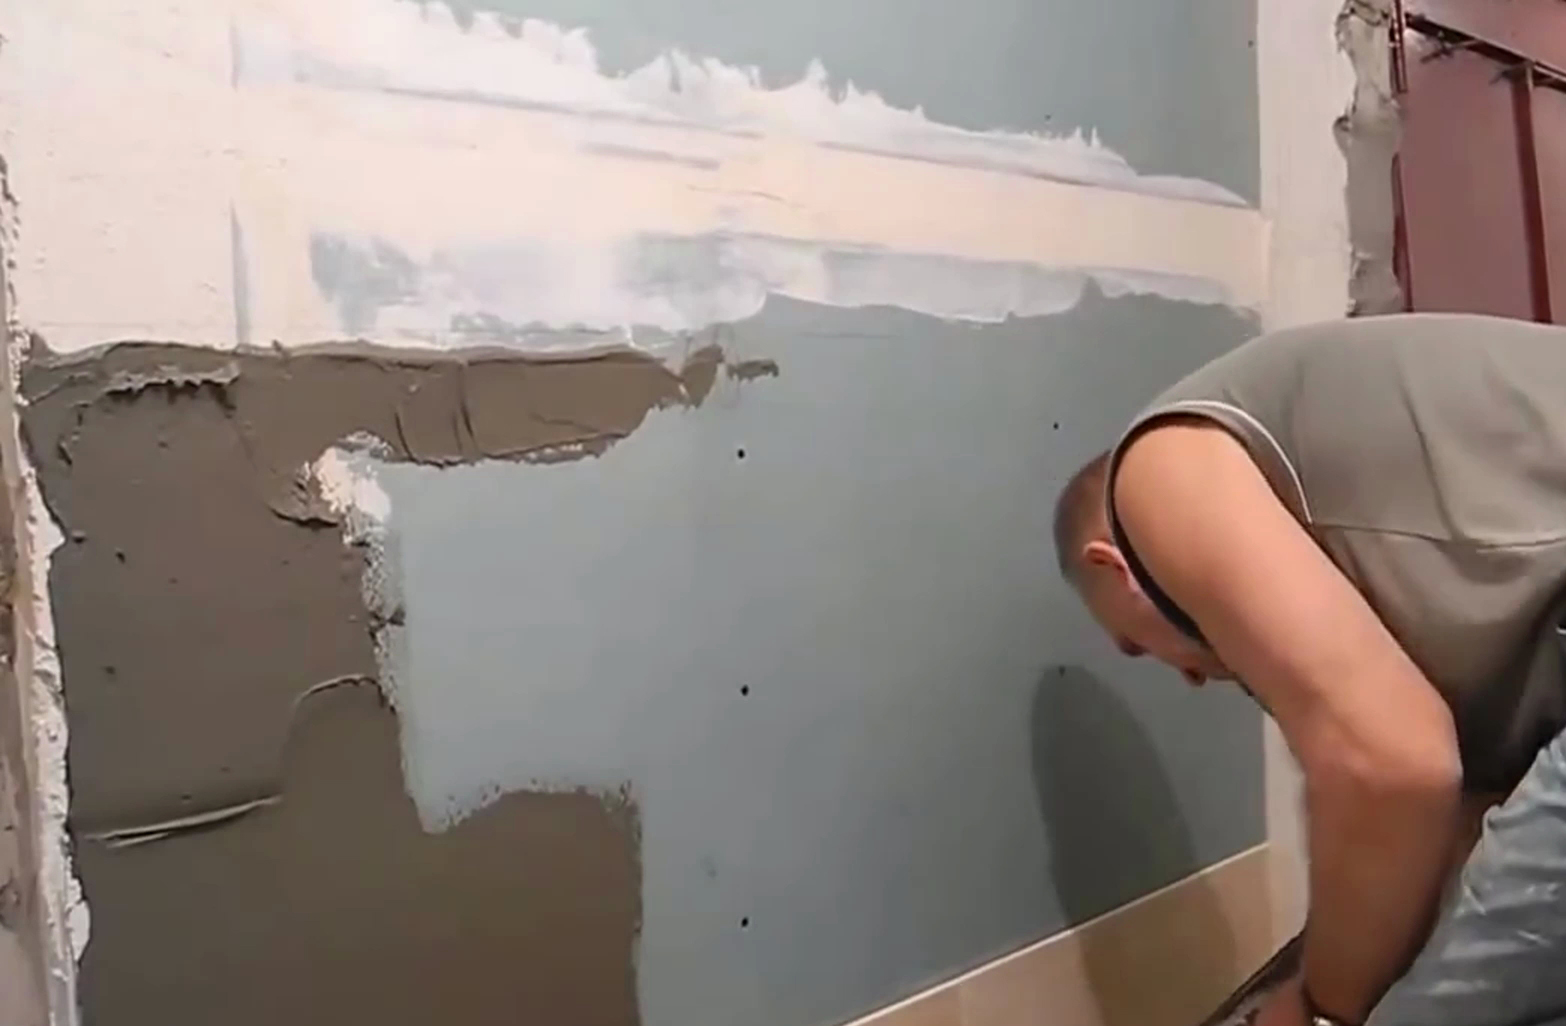
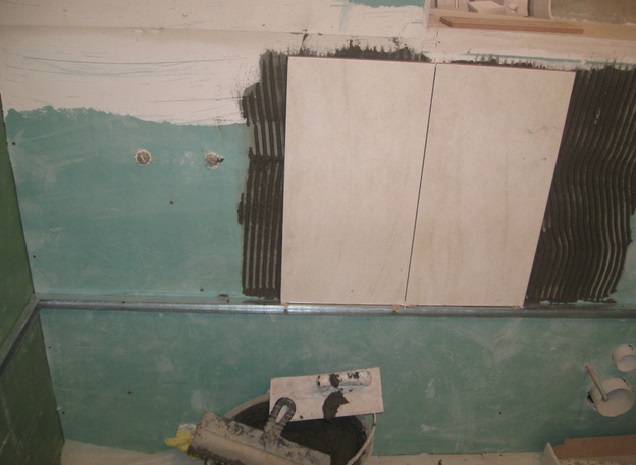
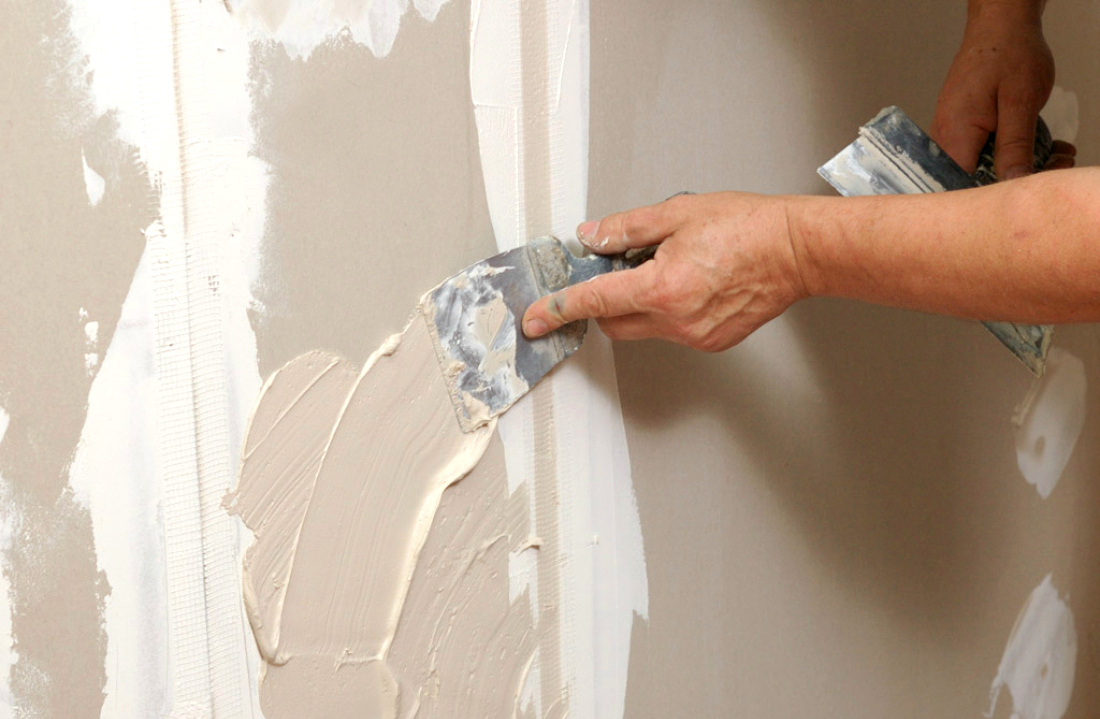
- Processing joints. Sheet joints need to be embroidered. Use the construction knife. The tool should be held at an angle of 45 degrees to the center. Trim each side.
- The seams need to putty. The first layer of the composition should completely close the voids. After that, glue the reinforced tape, this will help avoid the formation of cracks in the future. The tape must be plastered into the surface that you are leveling.
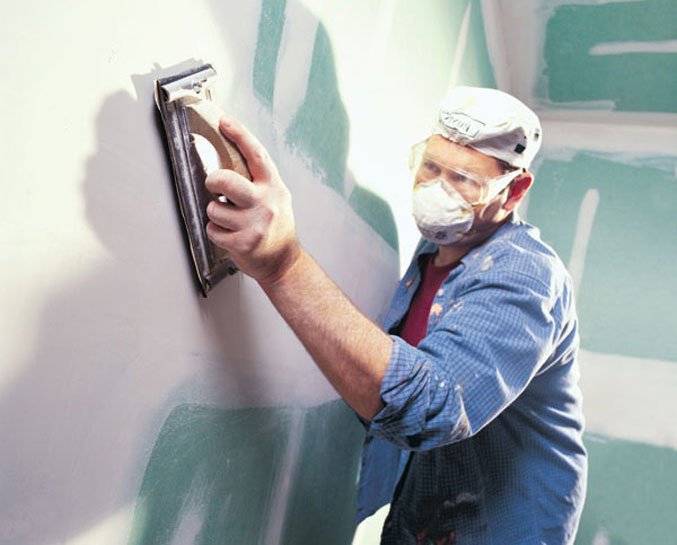
- Grinding. Grind uneven areas if necessary.
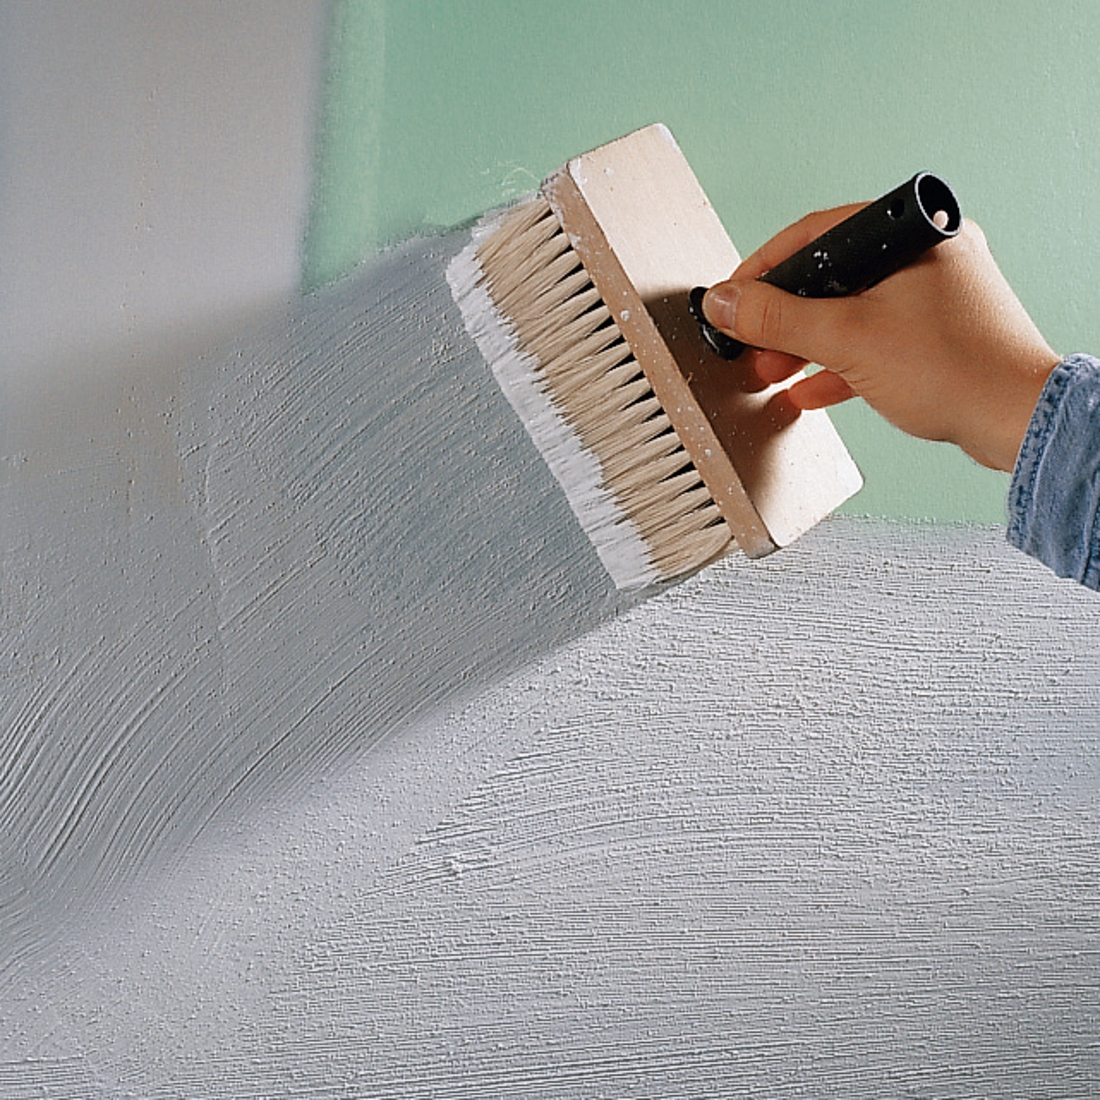
- Primer surface. For priming work, choose products with antiseptics in the composition. To improve the tightness and strength it is necessary to process the surface in 2 layers.
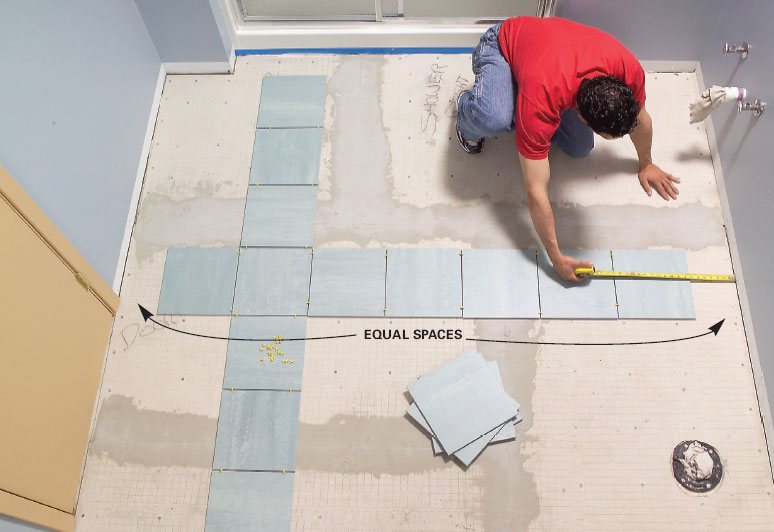
- The choice of layouts tiles. When choosing a scheme, the wall surface area is taken into account. Count the number of horizontal rows of tiles. Next, divide the length of the wall by the width of the tile, taking into account the width of the gaps.

If, as a result of the division, you get a number greater than 0.5 of the width of one tile, start laying from the edge that is better seen. So you can arrange the cropped tiles in an inconspicuous place.If the remainder of the division remains a number that is less than 0.5 of the width of the tile - start laying from the middle of the wall. So cropped tiles will look symmetrical and beautiful.
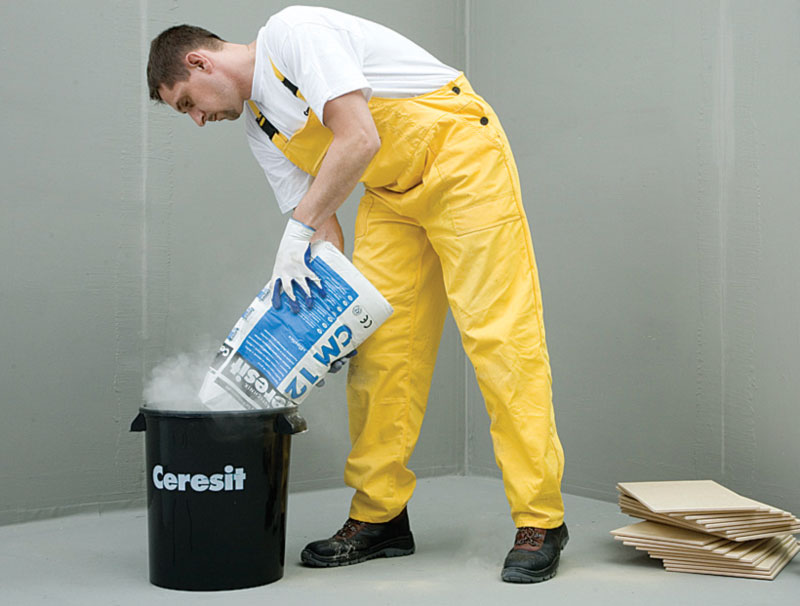
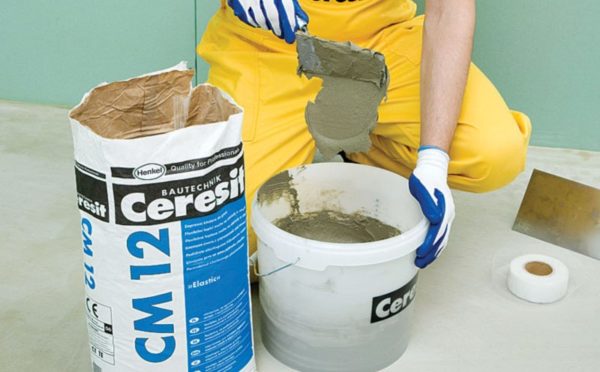
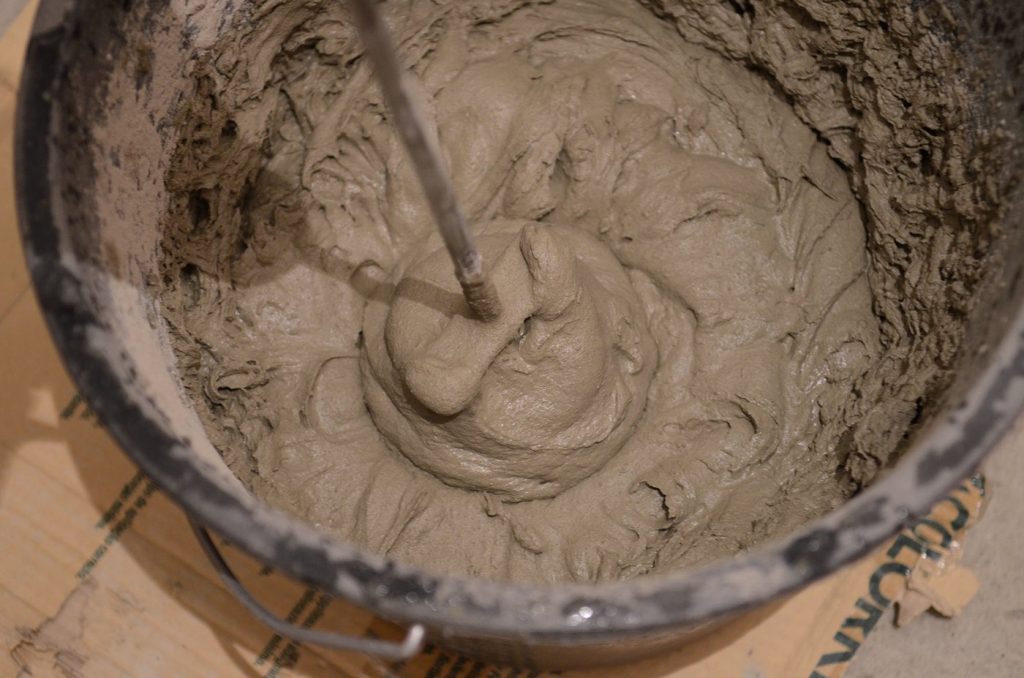
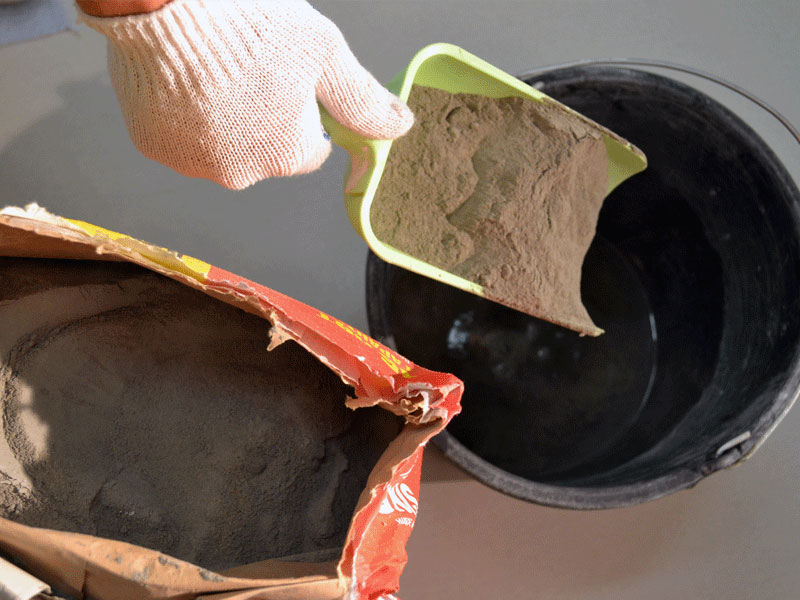
- Preparation of adhesive composition. At this stage, completely follow the instructions of the selected material. Popular dry mixes should be diluted with water in the proportion specified by the manufacturer. First pour the mixture into the container, and then add the liquid.
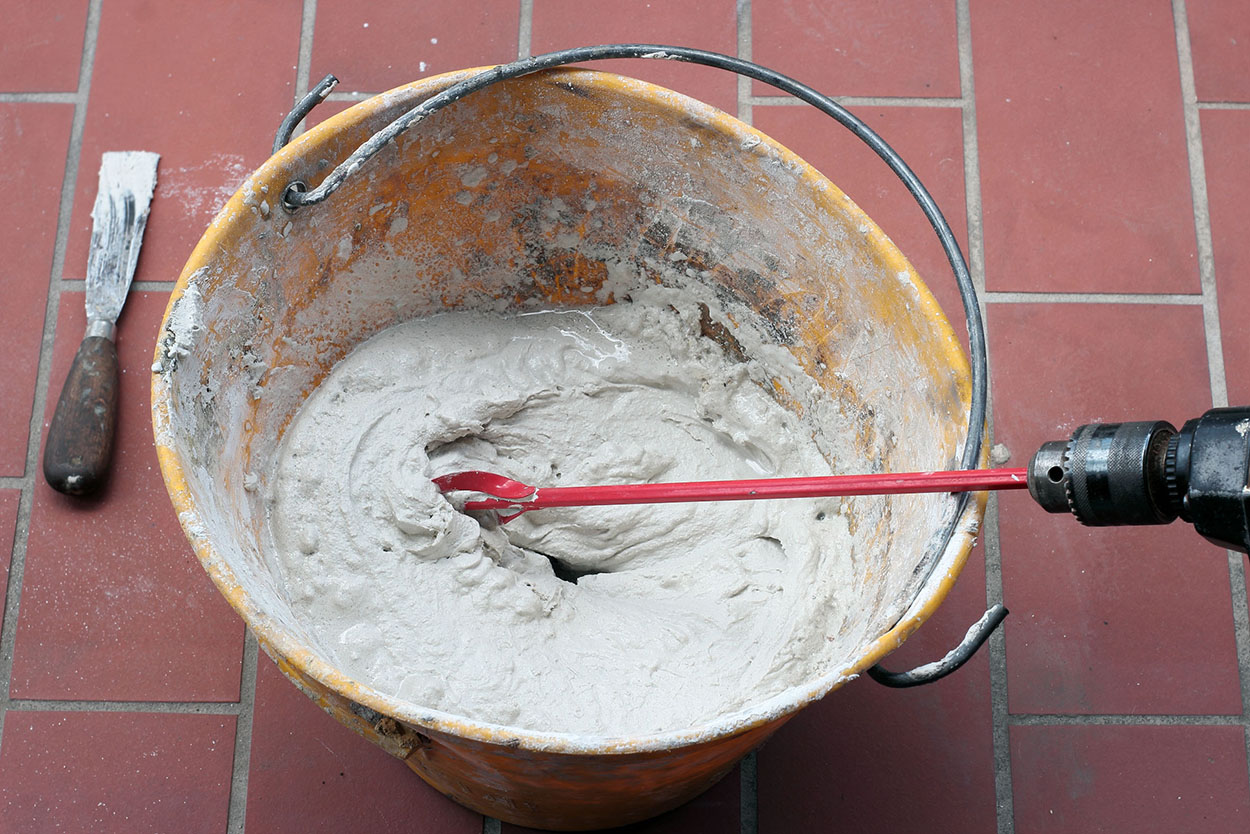
For high-quality mixing of such a mixture, you can use a drill with the appropriate nozzle. You should not mix a lot of solution at once. Wizards with experience recommend breeding as much of the composition as necessary for laying tiles of 1 square meter. m drywall surface.
Tile preparation
Once you have primed drywall, you can proceed to the preparation of the tile. Choose a well-lit place in the apartment, and on the clean floor lay out the elements in accordance with the selected pattern. Use not only basic tiles, but also elements for decoration (borders and the like). To account for clearances, use special crosses.

If you have a computer-designed and printed picture, the display will not take long.Even if you do not have such an assistant sheet, this should not be a reason for rejecting the layout of the drawing. Remember, there is always the possibility that there will be elements of different shades (darker or lighter than the specified one) in the game. Neglecting the preparation of the tile can lead to the fact that these elements will be in prominent places and spoil the impression.
In addition, sorting will help you to find tiles that are not suitable for installation - broken, chipped or with a violation of the decorative glaze. If the damage is not very serious, then these tiles can be used for trimming. Immediately and perform this procedure.

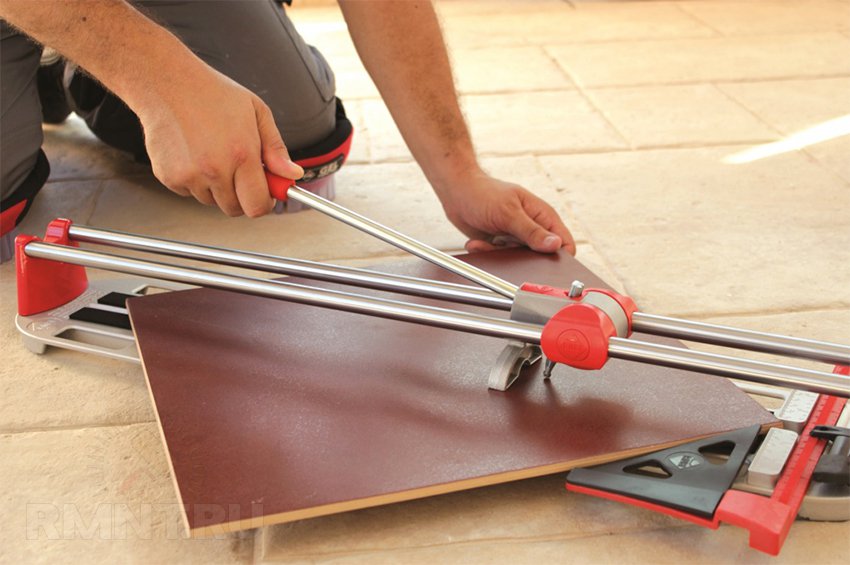
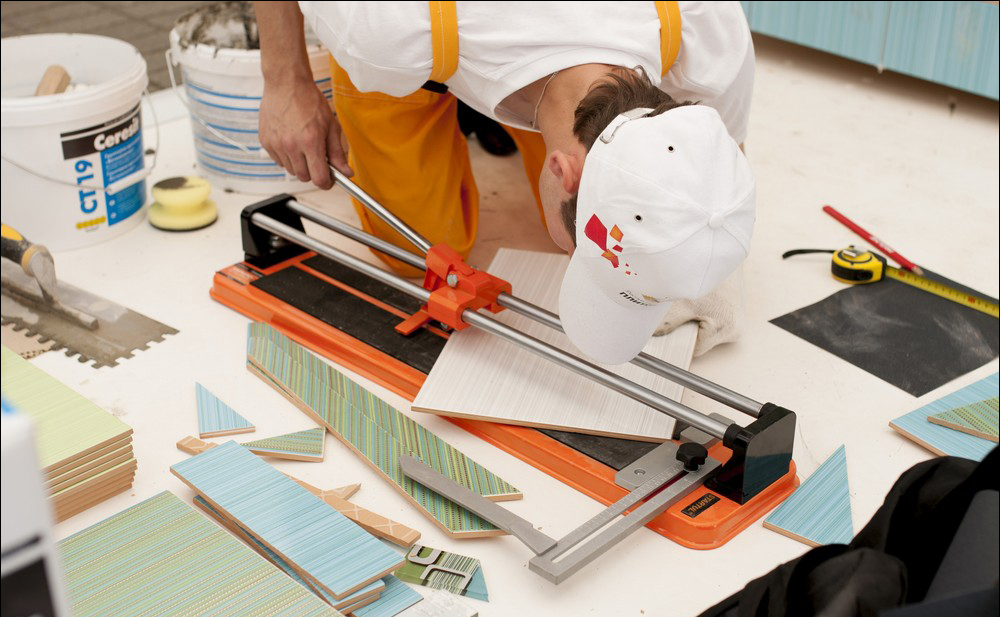
To cut the tiles, all you need is a pencil and a special cutter. Using a pencil, draw a clear line on the front side, repeat it with a chisel. It is important to cut not only the decorative glaze, but also to go deep into the base. To separate, hold the element on opposite sides and lightly strike the edge of any wooden surface (table, beam, etc.). The tile will exactly split along the intended line.
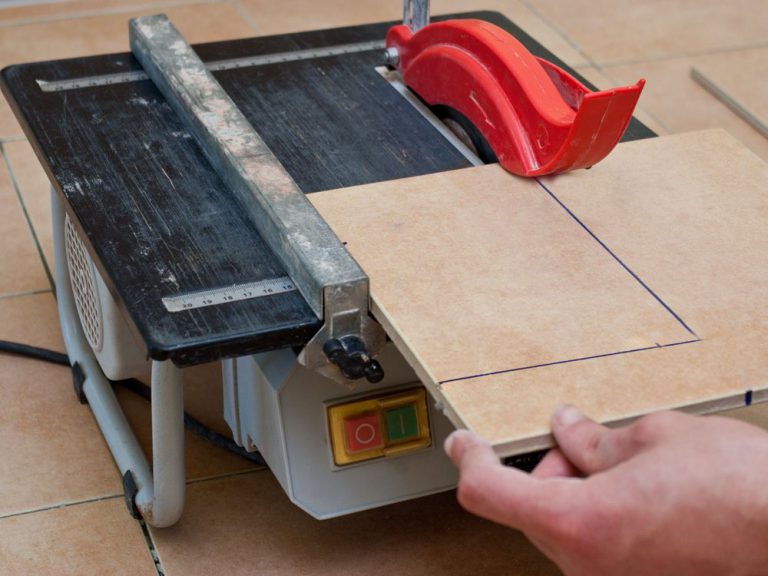

Another option is to cut the tile. Also draw a line with a pencil from the decorative side.Next, use a chisel to cut the surface in such a way as to form a continuous notch with a depth of 2 mm. From the back side hit the tile with a hammer in the central part. You should not make a lot of effort so as not to spoil the element. Finally, take the sandpaper and sand the edge of the part carefully.
After you have made sure that the tiles are tidy and identical, check their smoothness. To do this, apply two elements to each other, evaluate the quality of angles and borders. Lay the element on a flat floor and make sure that it fits snugly over the entire surface.
How to lay yourself?
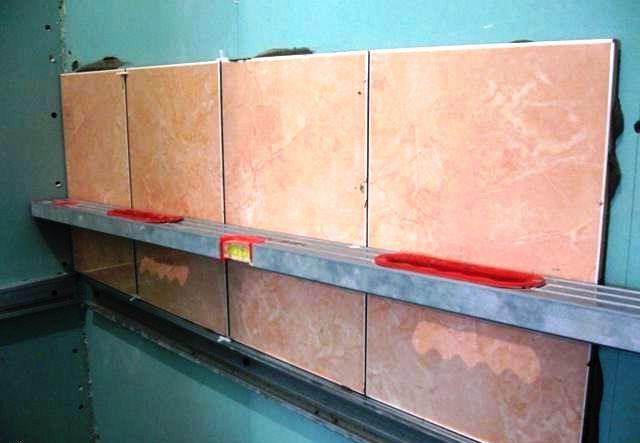
Laying tiles on a plasterboard base starts from the 2nd row. To prevent the tiles from moving, use a wooden batten or metal profile. It is quite possible to properly lay the tile on the plasterboard wall with your own hands.
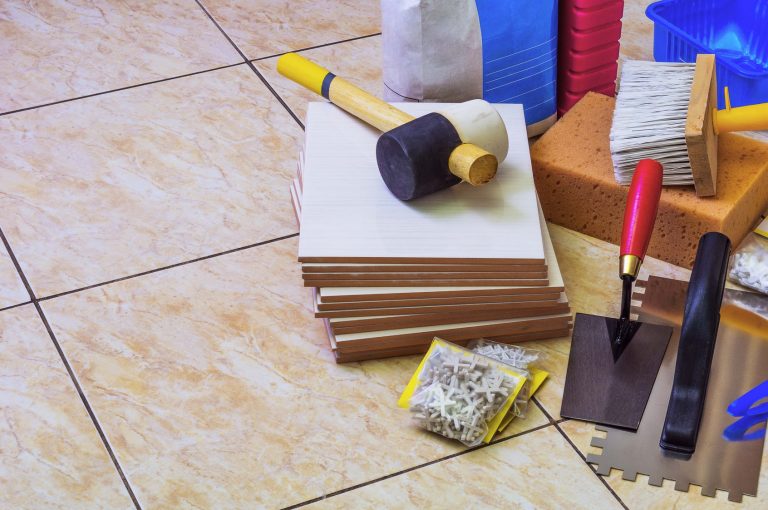
Prepare this tool:
- Spatula (simple and with teeth).
- Rag or sponge.
- Vessel for glue solution.
- Building level.
- SVP (system of alignment of a tile) or plastic crosses for alignment.
- Rubber spatula or grater.
Simple and clear technology:
- Prepare glue, based on the recommendations of the manufacturer.
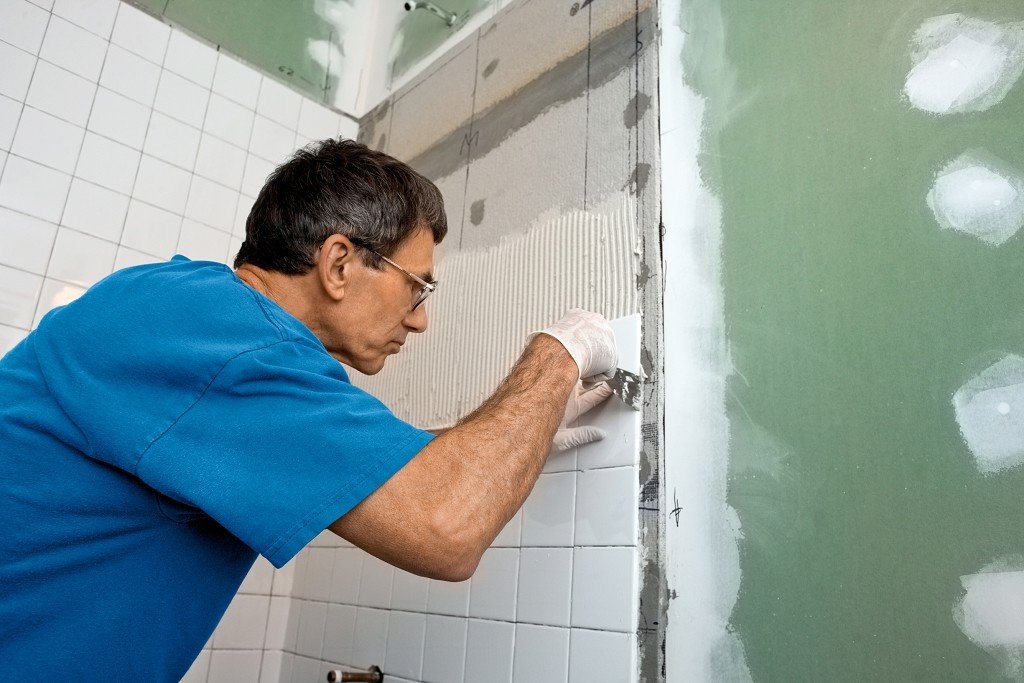
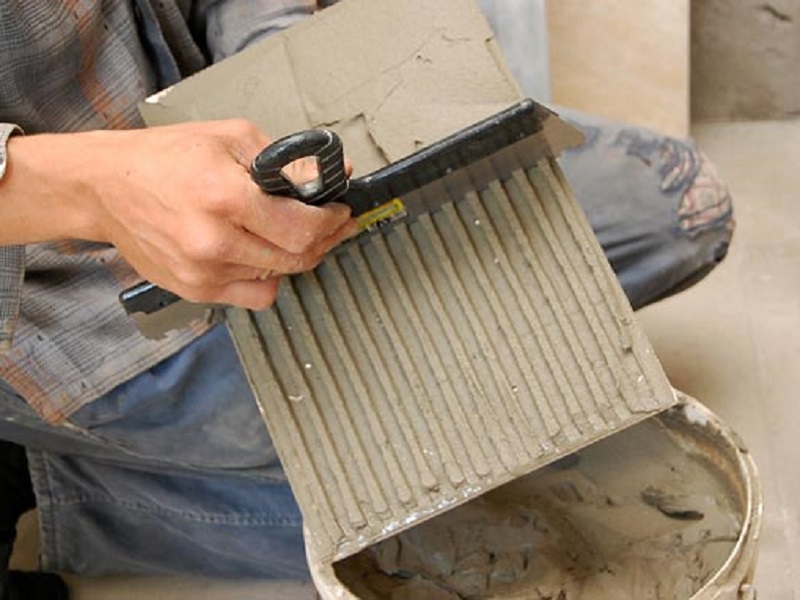
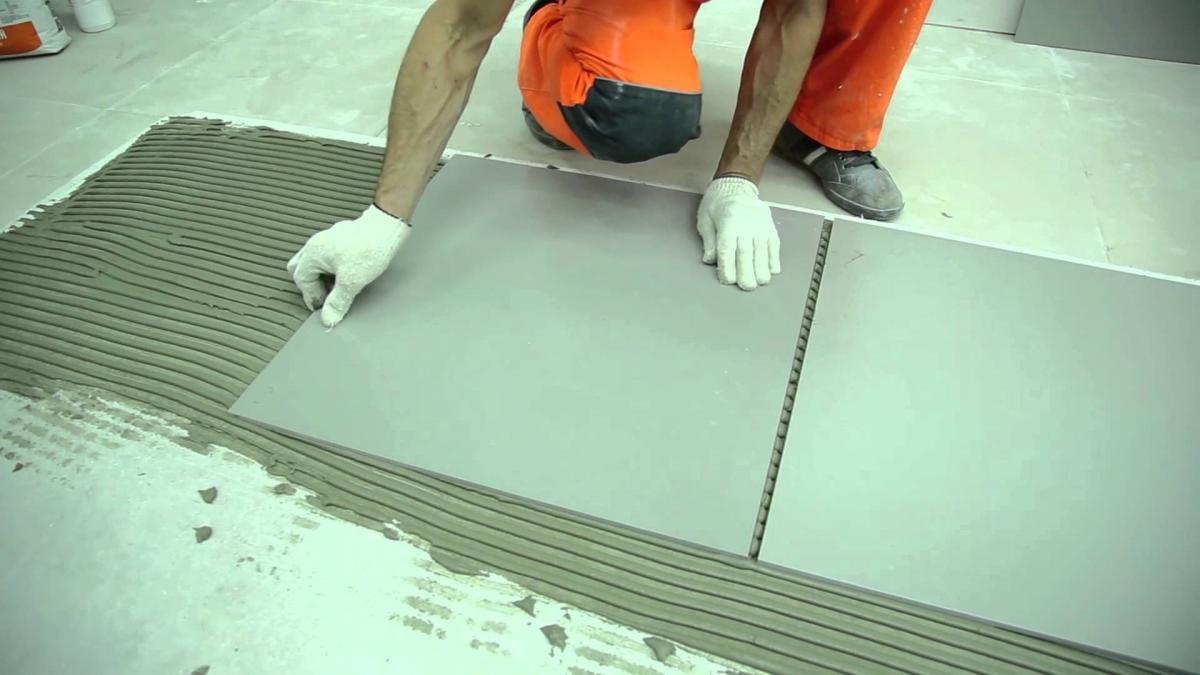
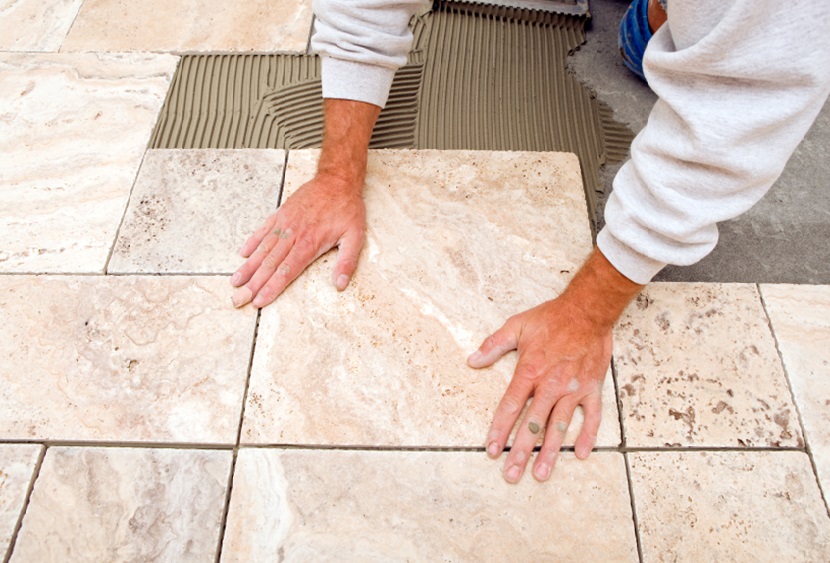
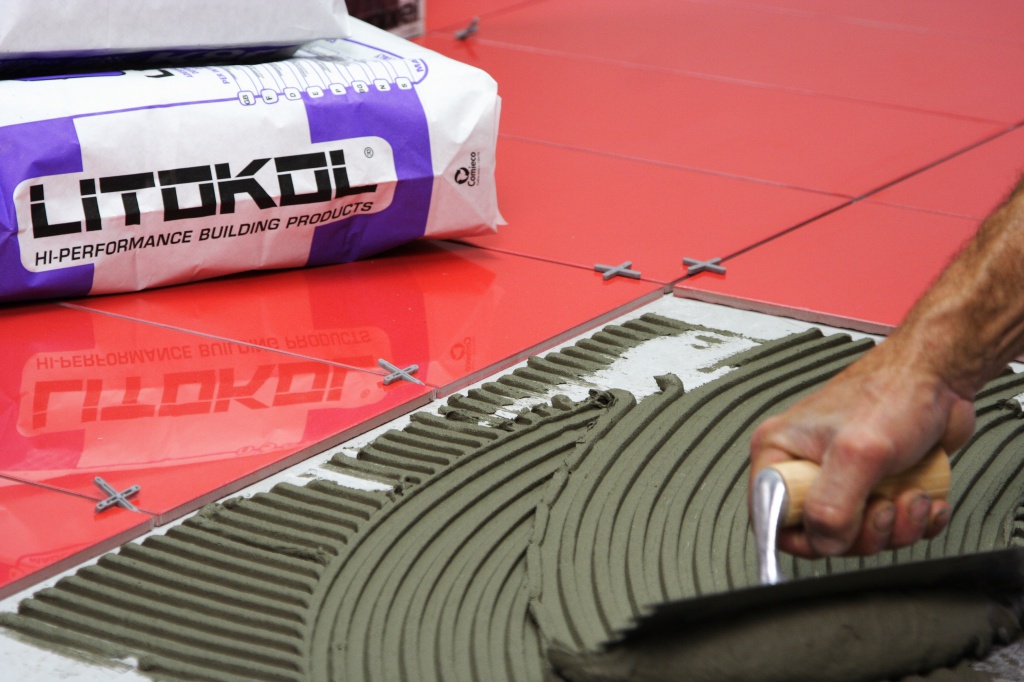
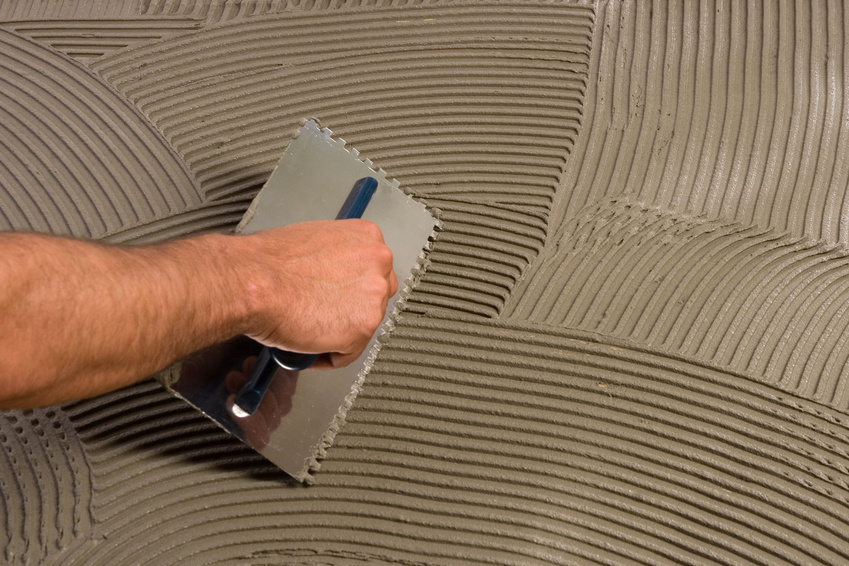
- Gather the solution with a spatula and spread it on the area where you will lay the first tile. Use a notched trowel to smooth the surface.
- The tile should be slightly damp. After wetting, apply a thin layer of glue.
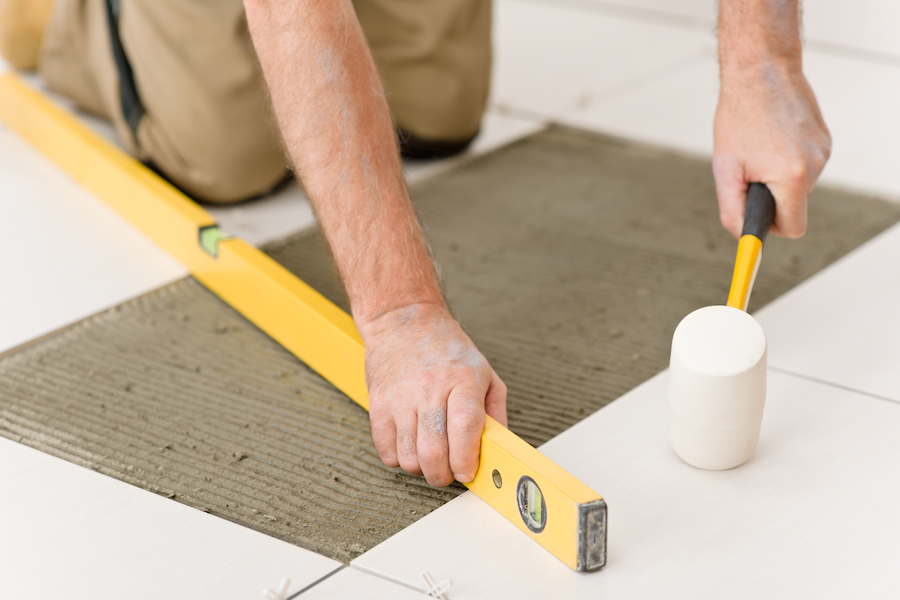
- The surface should be lined according to the markings applied at the early stages. Be sure to double-check accuracy with a level.
- If you have applied too much glue, it will come out after pressing. Immediately remove this glue with a spatula. After the first tile, the optimum thickness of the adhesive solution will become clear.
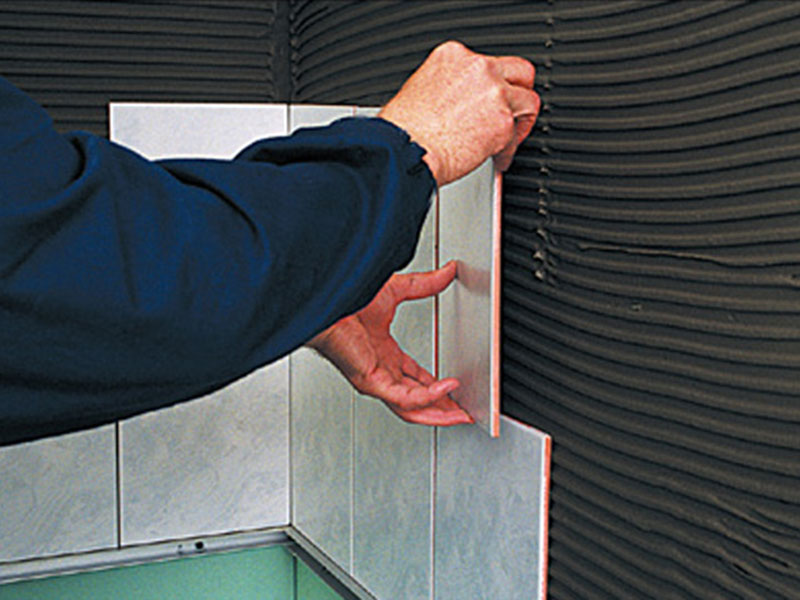
- To fix the second tile you need the same as the first.
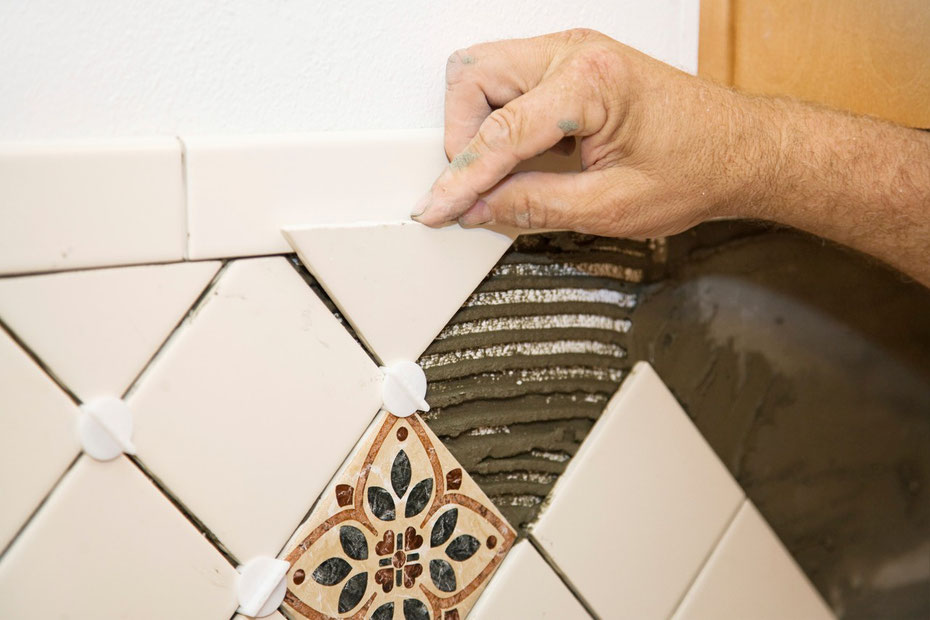
- Immediately place the SVP or crosses between the two elements. They will help you to form a smooth and neat joint.
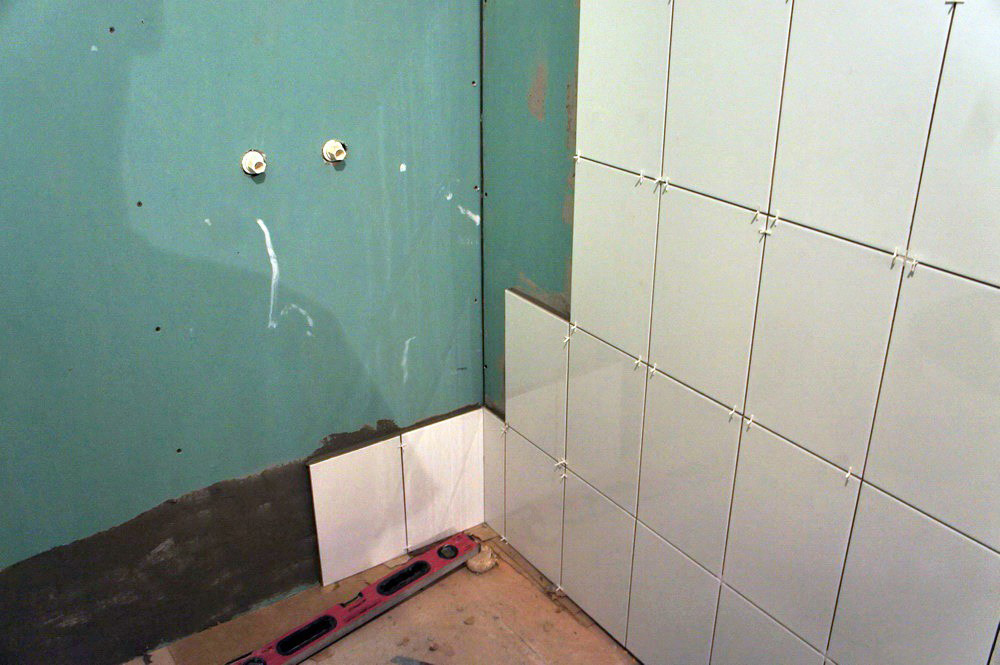
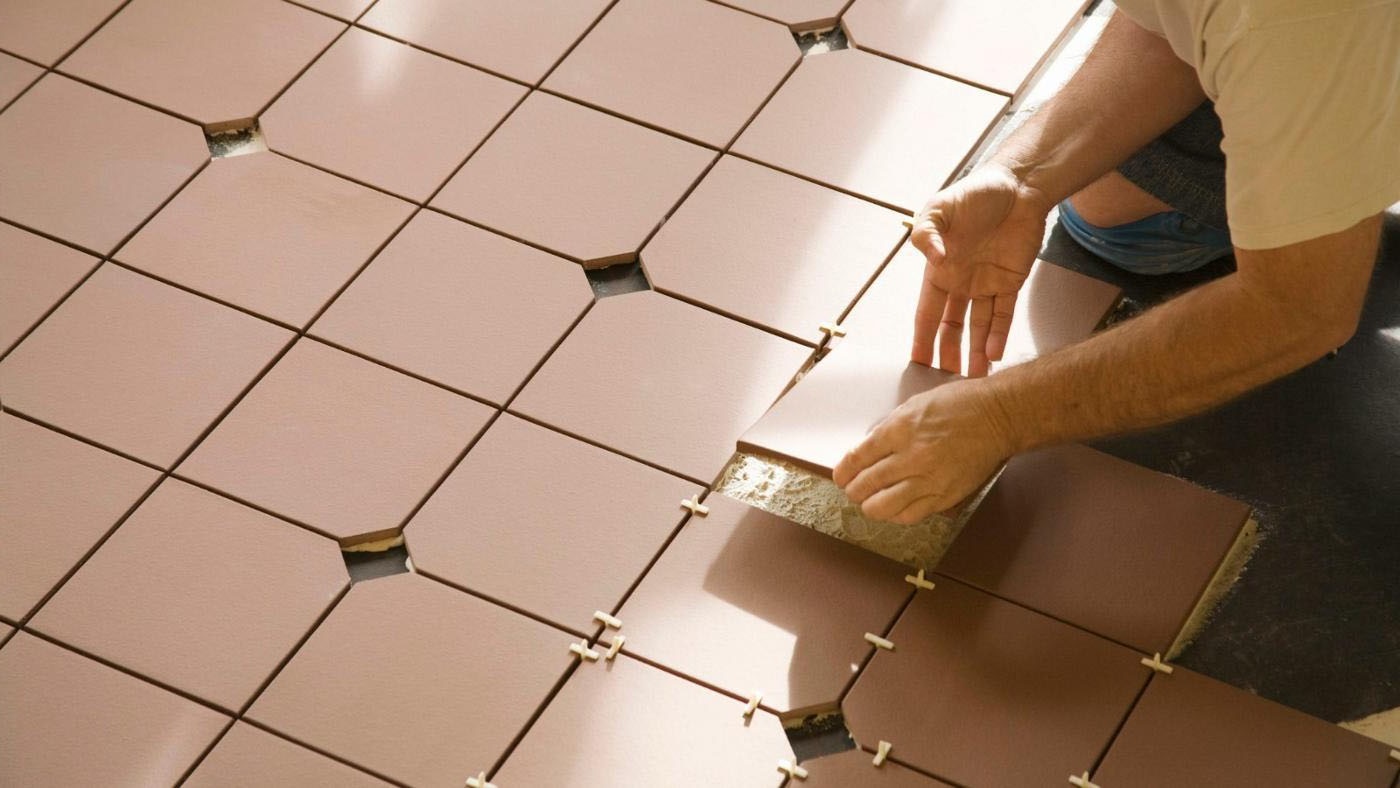
- The tile on the plasterboard surface is laid in rows. After the end of the first immediately go to the second.
- All further facing is made on the same type. The last thing to do is glue the tiles that have been cut. Also, the bottom row must be put after you have the necessary work with the floor.
- If you notice that the glue appears on the decorative part of the tile, then immediately wipe it off with a cloth or sponge.
Leave the surface for several days until the glue is completely dry. Make sure the tile keeps well, and proceed to grouting.
This process goes like this:
- Remove the residual glue and remove the hovercraft or crosses.
- Prepare the grout mastic.
- For drawing use a special grater or the rubber pallet.
- Carefully fill seams with mastic. Remove excess mixture with a sponge or cloth.
At this facing work ends. Now your drywall is decorated with tiles and has an unrivaled look. If necessary, you can additionally use impregnation or sealant, but not earlier than in 2 days.
Useful tips
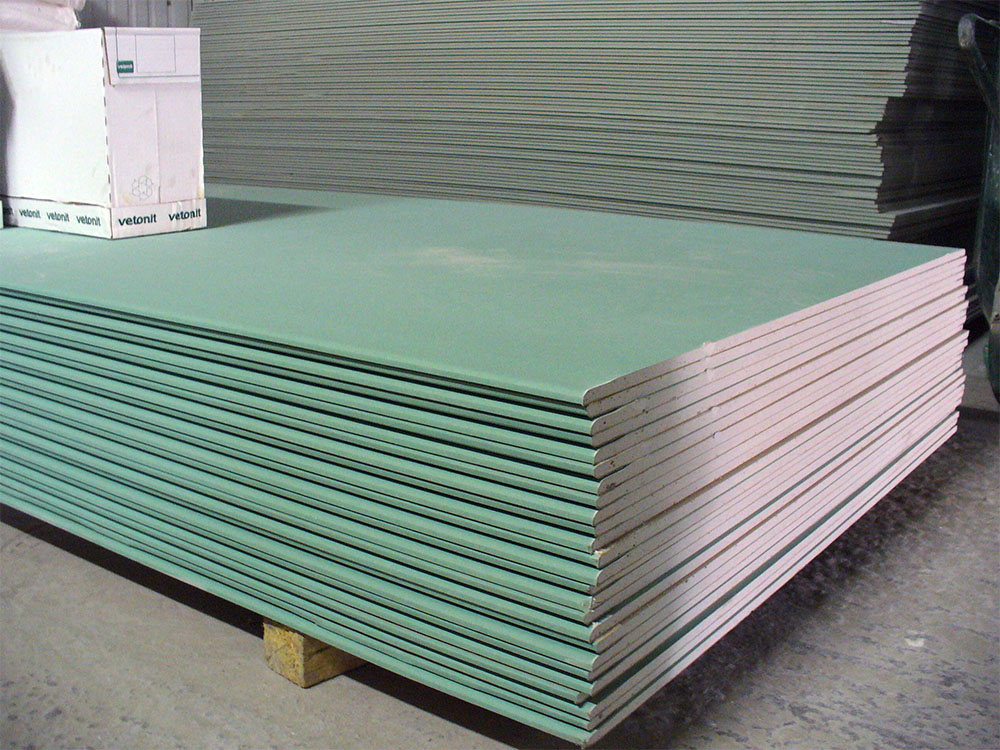
Experts believe that not any drywall is suitable for such works. You should use a special moisture-resistant material - GVLV. If for some reason you do not have such an opportunity, then under the gypsum board place the guide rails in 40 cm steps, the sheets should be fixed on these slats using self-tapping screws or a construction stapler.
In some cases, the slats can be replaced with a polypropylene mesh. It helps to avoid sheet curvature during swelling. Such a net is glued using the usual PVA, and in addition it is fastened with brackets.
Important subtleties during the work:
- The primer should be applied at intervals of 45 minutes.
- Professionals recommend to abandon the roller and brush, it is better to use a serrated grater for applying a primer. Apply the mixture on the sheet surface with a flat side, and evenly distribute the composition with the toothed side.
- Glue should be diluted with water to a thick cream. It is this consistency allows to achieve maximum properties of the adhesive composition.
- Press small tiles against the wall with your hands. If the elements are too large, use a plastic or wood hammer with a special rubber grip.
- Lay tile gradually. Take an hour break every 5 rows. This simple technique will help relieve tension that occurs at the base of the wall.
- After grouting, it is recommended to apply varnish. It will protect the surface from moisture and the formation of dirt.
- Periodically check the cladding plane with a building level or exactly lath. If suddenly waves will form, then you will correct them in time.
- Decorative mosaic should be put on the tile grout, and not on the adhesive solution. Otherwise, you will have to clean the seams of residual glue.
Despite the fact that it is easy to lay tiles on a gypsum board, there are some tricks for facing small rooms and rooms with high ceilings.
Such nuances will help to create high-quality wall cladding in a small room:
- Choose small tiles. You can even stop at the tile-mosaic.
- Take a closer look at the elements of light colors, so the room will look bigger and lighter.
- Prefer tiles with a glossy decorative side.
- Choose the simplest horizontal schemes.
Facing work in a large room will be simplified by following these guidelines:
- Lay tile vertically.
- The decor elements should be located at eye level.
- Cut elements that will be located on the floor.
See how to lay tile on drywall in the video below.


