How to put a tile in the toilet with your own hands?
An integral part of any room is a toilet, and you can not forget about it if you plan to repair. Before the beginning of the working process it is important to decide on the choice of building materials, their quantity and costs. It is not only about high-quality plumbing and sewage systems. You must select the appropriate surface cladding if you want to replace the old one. Tiles are in great demand in this area, as it is one of the most popular types of materials for decorating toilets and bathrooms.
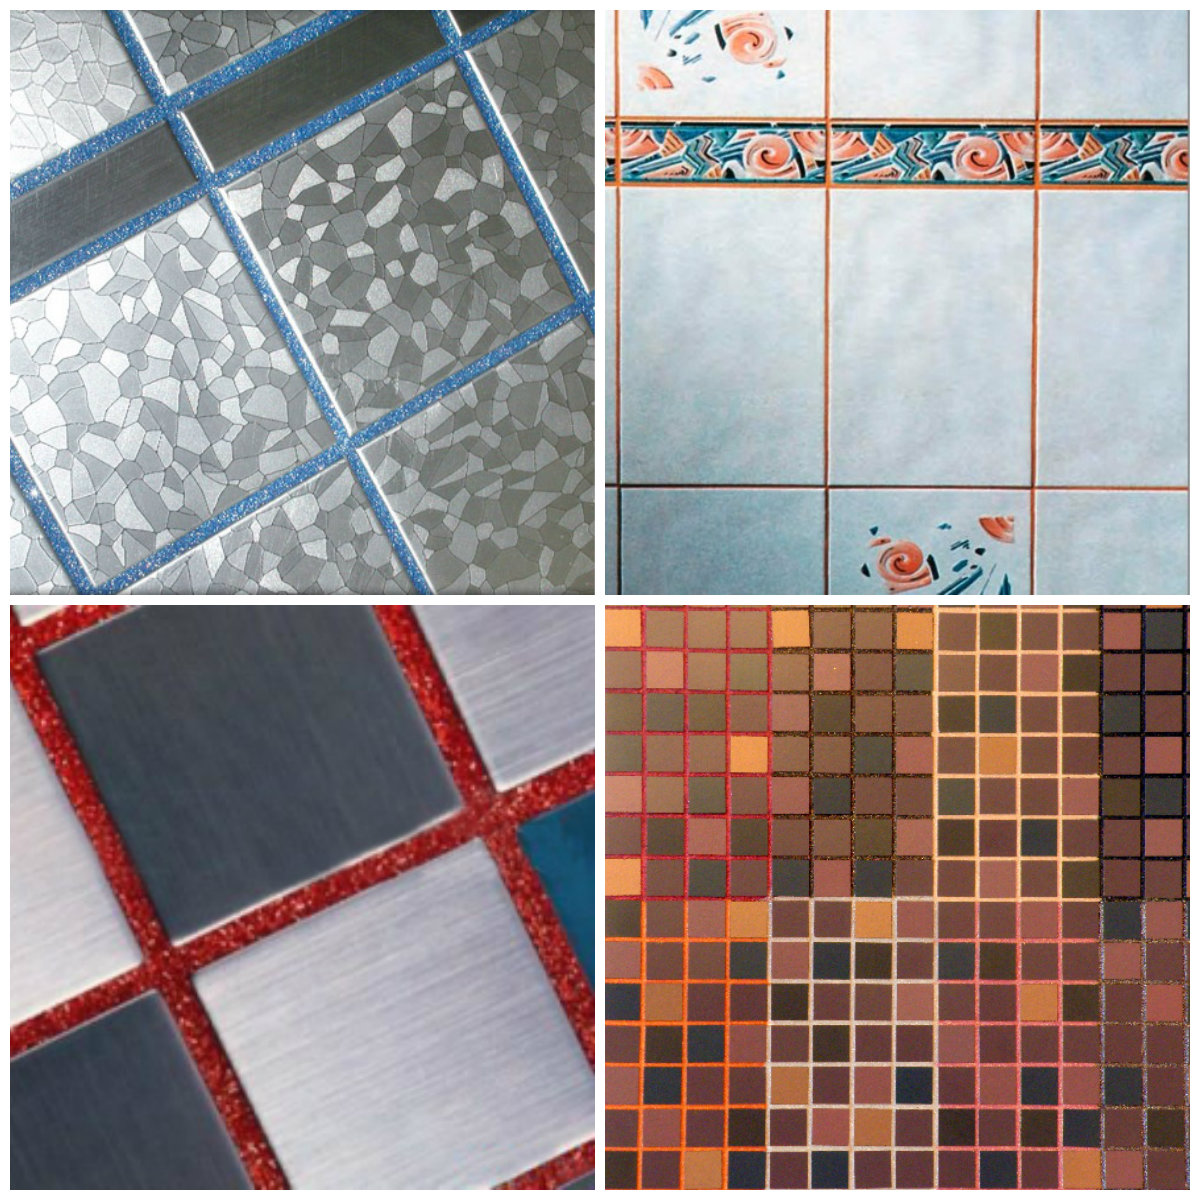
Merits
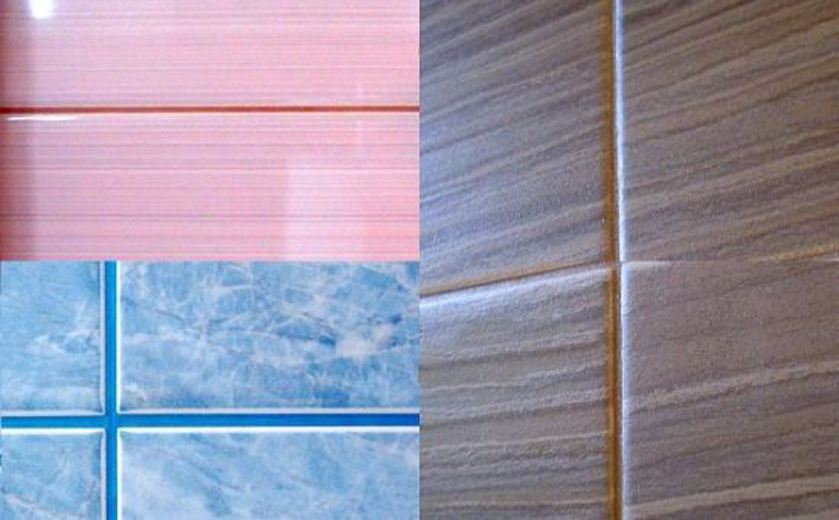
The market offers a huge range of these products from different manufacturers. If you want to choose the right finish option is not difficult. It differs not only in size, but can have a different texture and color, which is especially important if it is purchased with consideration of a particular style.The tile is among strong finishing materials which remain presentable throughout long years.
If you decide to do the installation yourself, you will need to study this issue in detail: This is hard work, where perseverance, patience and compliance are important. Tile coating is durable and withstands heavy weight loads. It is easy to look after such material, it is of great importance for judges of purity. You can choose any shape, texture, type of surface and shade that will match the general appearance of this room, be it compact or spacious. As for the cost, it all depends on the manufacturer you choose (there are more expensive tiles, as well as more affordable options). When purchasing, it is important to carefully study all the performance characteristics of the material and order it with a small margin for further installation.

Special features
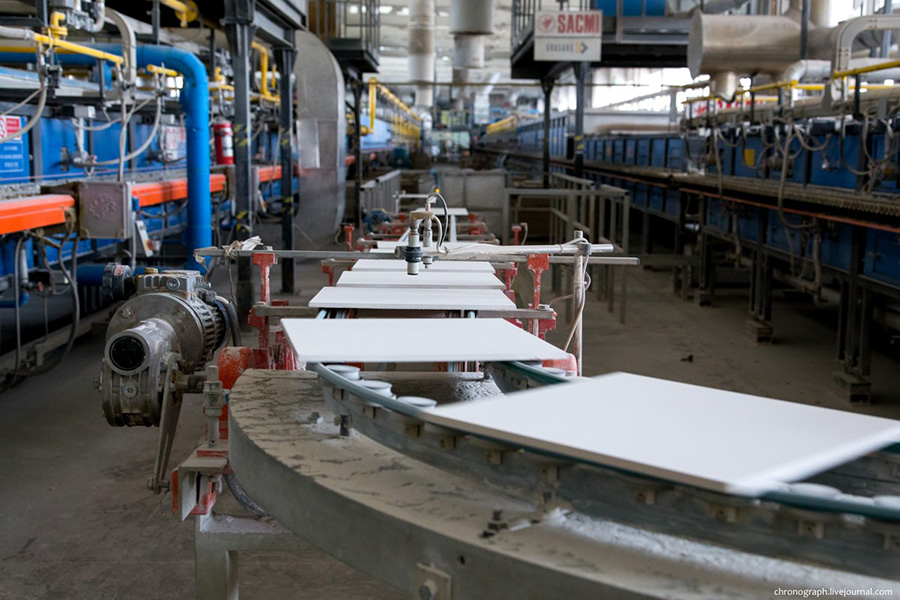
Various materials are used to make this material. The composition may include clay, faience battle, sand and coarse-grained additives that increase the density of products and reduce porosity.The durability of a tile depends on its thickness; it also affects its service life. If you choose high-quality material, you can not worry about the shutter speed, as it is able to carry a large load. Two techniques are used for manufacturing, the first is by dry pressing, and the second is by pushing the material in liquid form through the forms.

Why is it relevant?
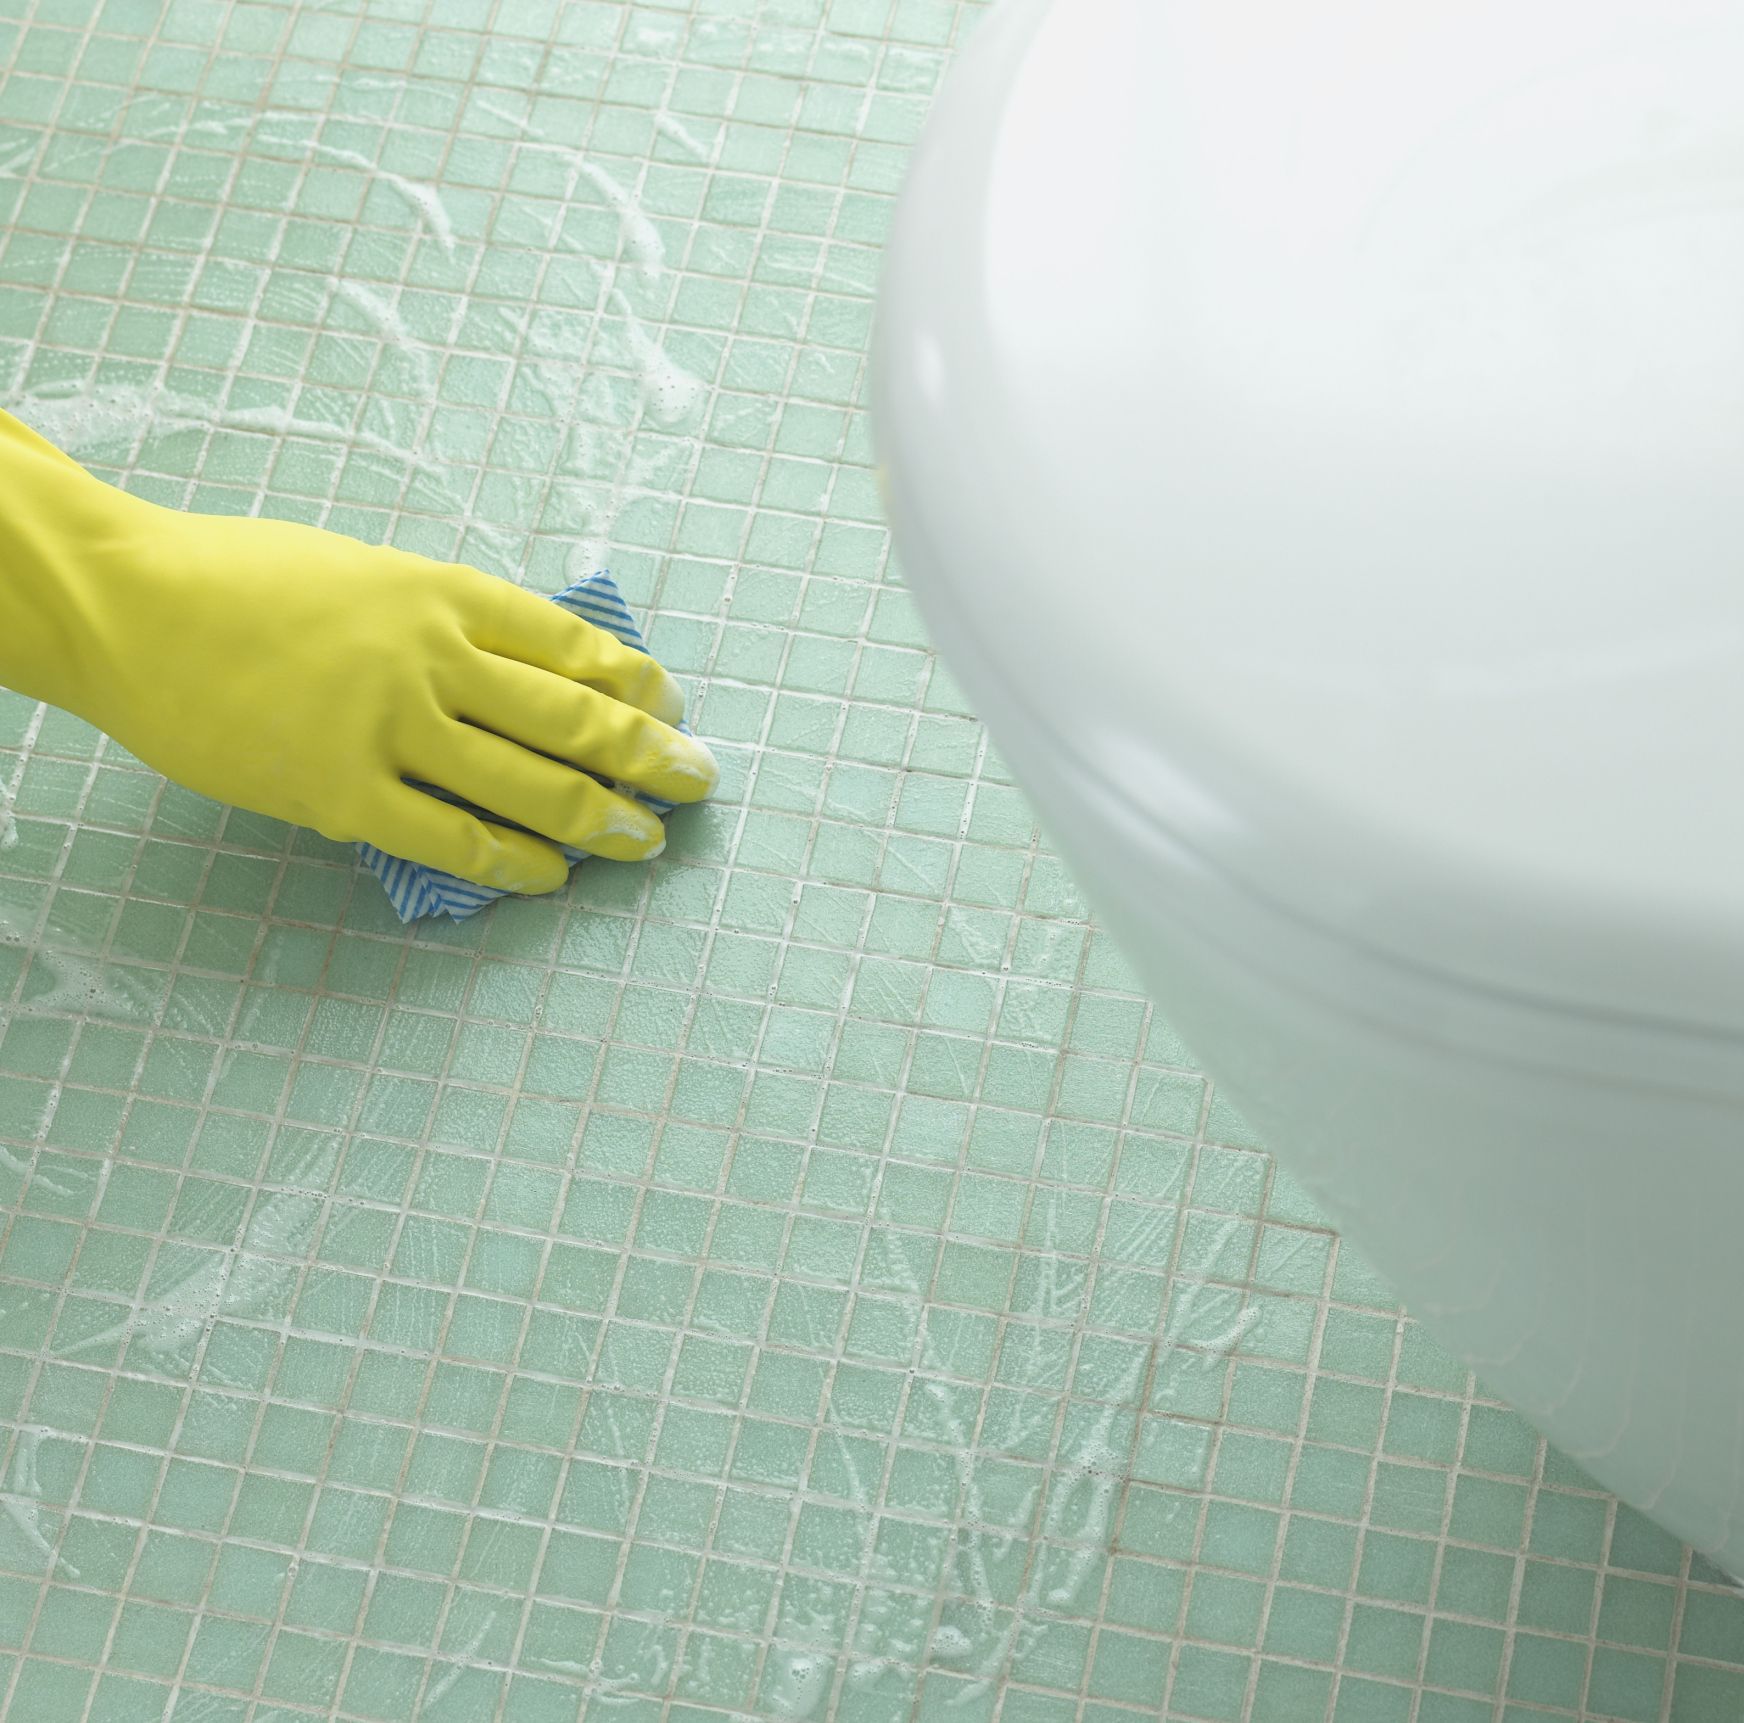
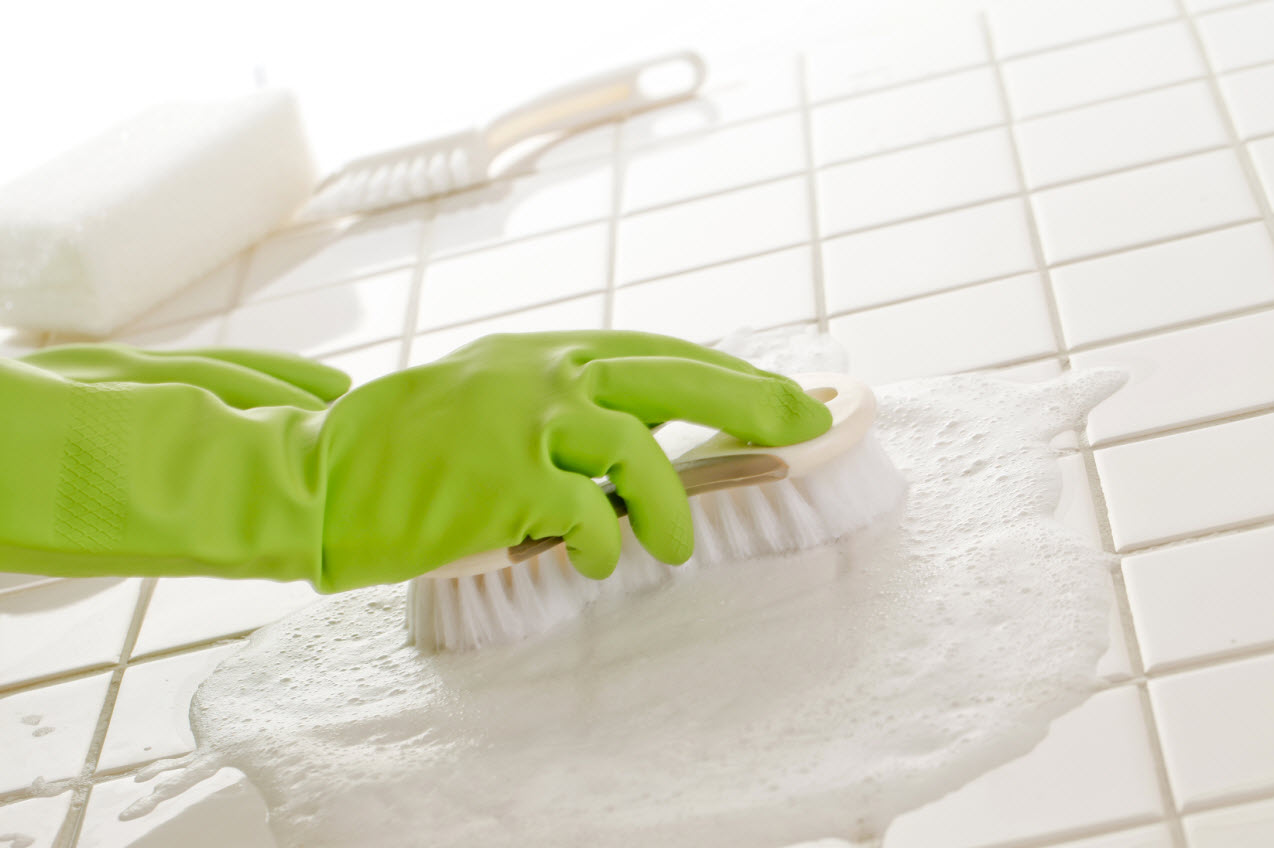
Such raw materials do an excellent job with a number of factors affecting it. The tile possesses the increased resistance to moisture, can keep the properties during temperature drops. It has a weak conduct of electric current, the material belongs to the category of environmentally friendly. Care does not require much effort, it is enough just to carry out regular wet cleaning. In this case, you can use cleaning products, tiles will not suffer from this.
Preparatory work
You have to solve a number of questions before starting work, so that the result will be as you expect. In such cases, many are interested in the answer to the question of what steps should be the first. Since we are talking about finishing, the surface must first be prepared for further work.Clean the walls by removing the remnants of the previous finishing material.
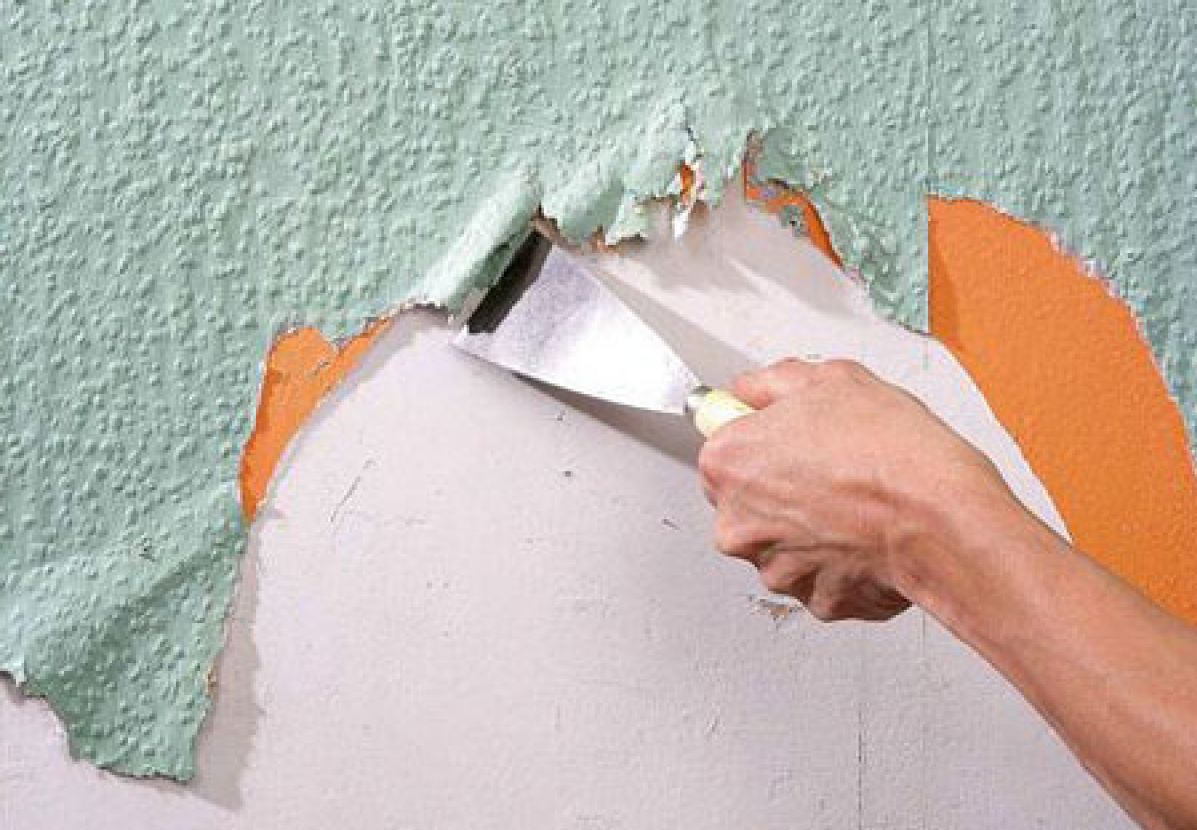
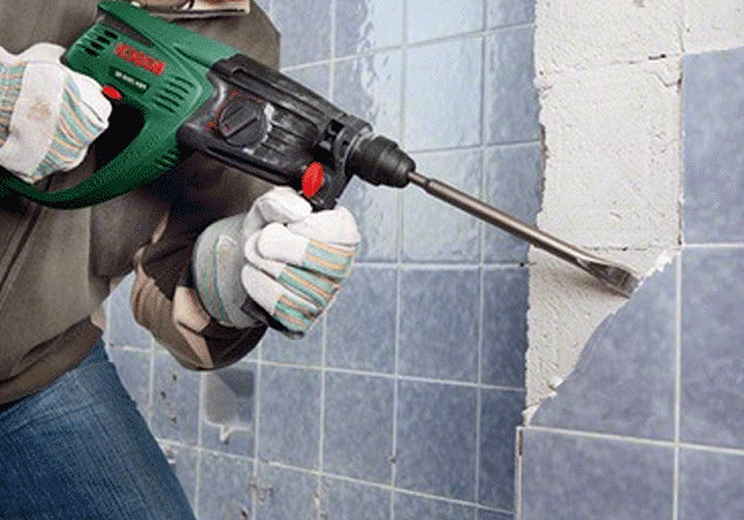
Here in the course goes the punch, which will help to cope with the work much easier and faster than doing everything manually, which is not always possible. If you notice irregularities, you need to deal with this problem. The walls level, eliminate chipping, cracking, cover up all the defects. It is important that the surface is smooth, otherwise the lining risks to turn out to be multi-level. You should not overlook this moment: in the future, to correct the curvature of the wall due to the material will not work.
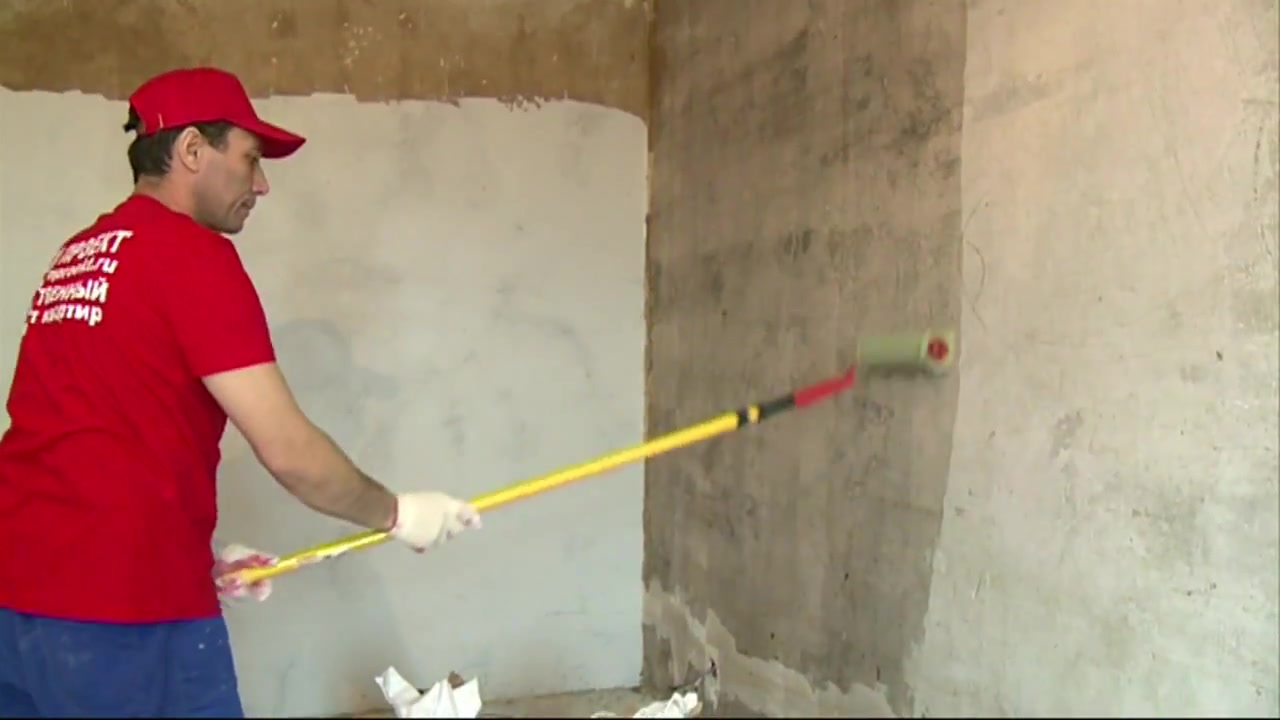
The next step involves the use of a primer, which is treated walls. It is worth using material marked "deep penetration." So grip will be the maximum. After processing the walls, you must wait until the material is completely dry. At this time you can do the preparation of the floor. Apply a building level to determine the bumps, and then get rid of them. This is the surface screed in the toilet.

If you have already come up with a design in which the room will be decorated, need to buy finishing building materialsby choosing the appropriate tile option.Specialists often use a sheet of paper on which they draw a sketch of the planned lining. This will help to correctly calculate the material consumption and avoid defects in the mosaic, if you decide to do something original.
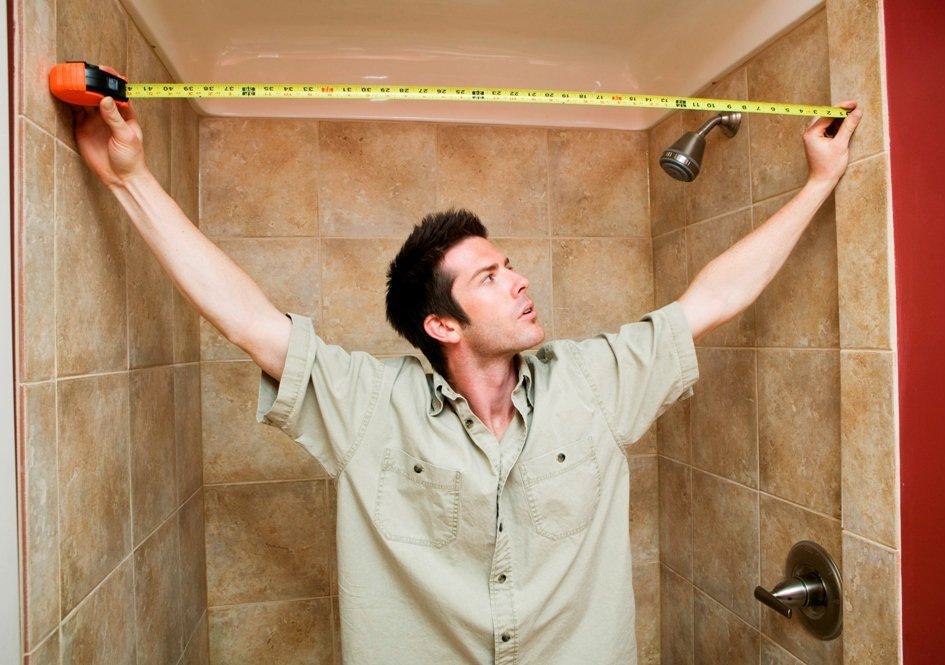
There are several options for laying, each of which has its own characteristics. Among them distinguish traditional, diagonal, modular, masonry with a shift. If you have not worked in this area before and have not done tile finishing, it is recommended to choose the first method, this will make it easier for you to cope with the task. It is necessary to measure all the parameters: you need to know how much tile you need to purchase. Measure the room, take into account the entire perimeter to cover, as well as the amount of work. It is recommended to take a little more material to have a certain stock. So you do not have to run to the store in case of shortage or look for the same species in a hurry.

How to calculate the flow?
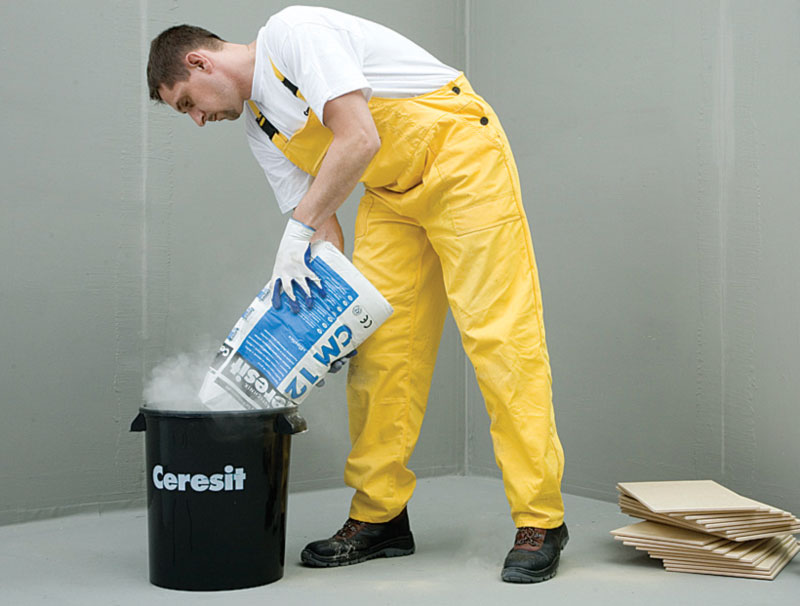
Make it quite simple, following the usual instructions. You will need to measure the width and height of the walls separately, and then multiply them. To account for the cost of trimming add to the result about 5%.Since glue is required to lay the slab, it is important to know the amount you need. Experts say that the material consumption is about 7 kg per 1 square meter, if the layer thickness is 10 mm. Often glue is sold in bags of 25 kg. Be sure to need plastic crosses for interfacial seams. Stock up plaster mixture, which performs the task of grouting for walls, cement (for the floor).


Work order
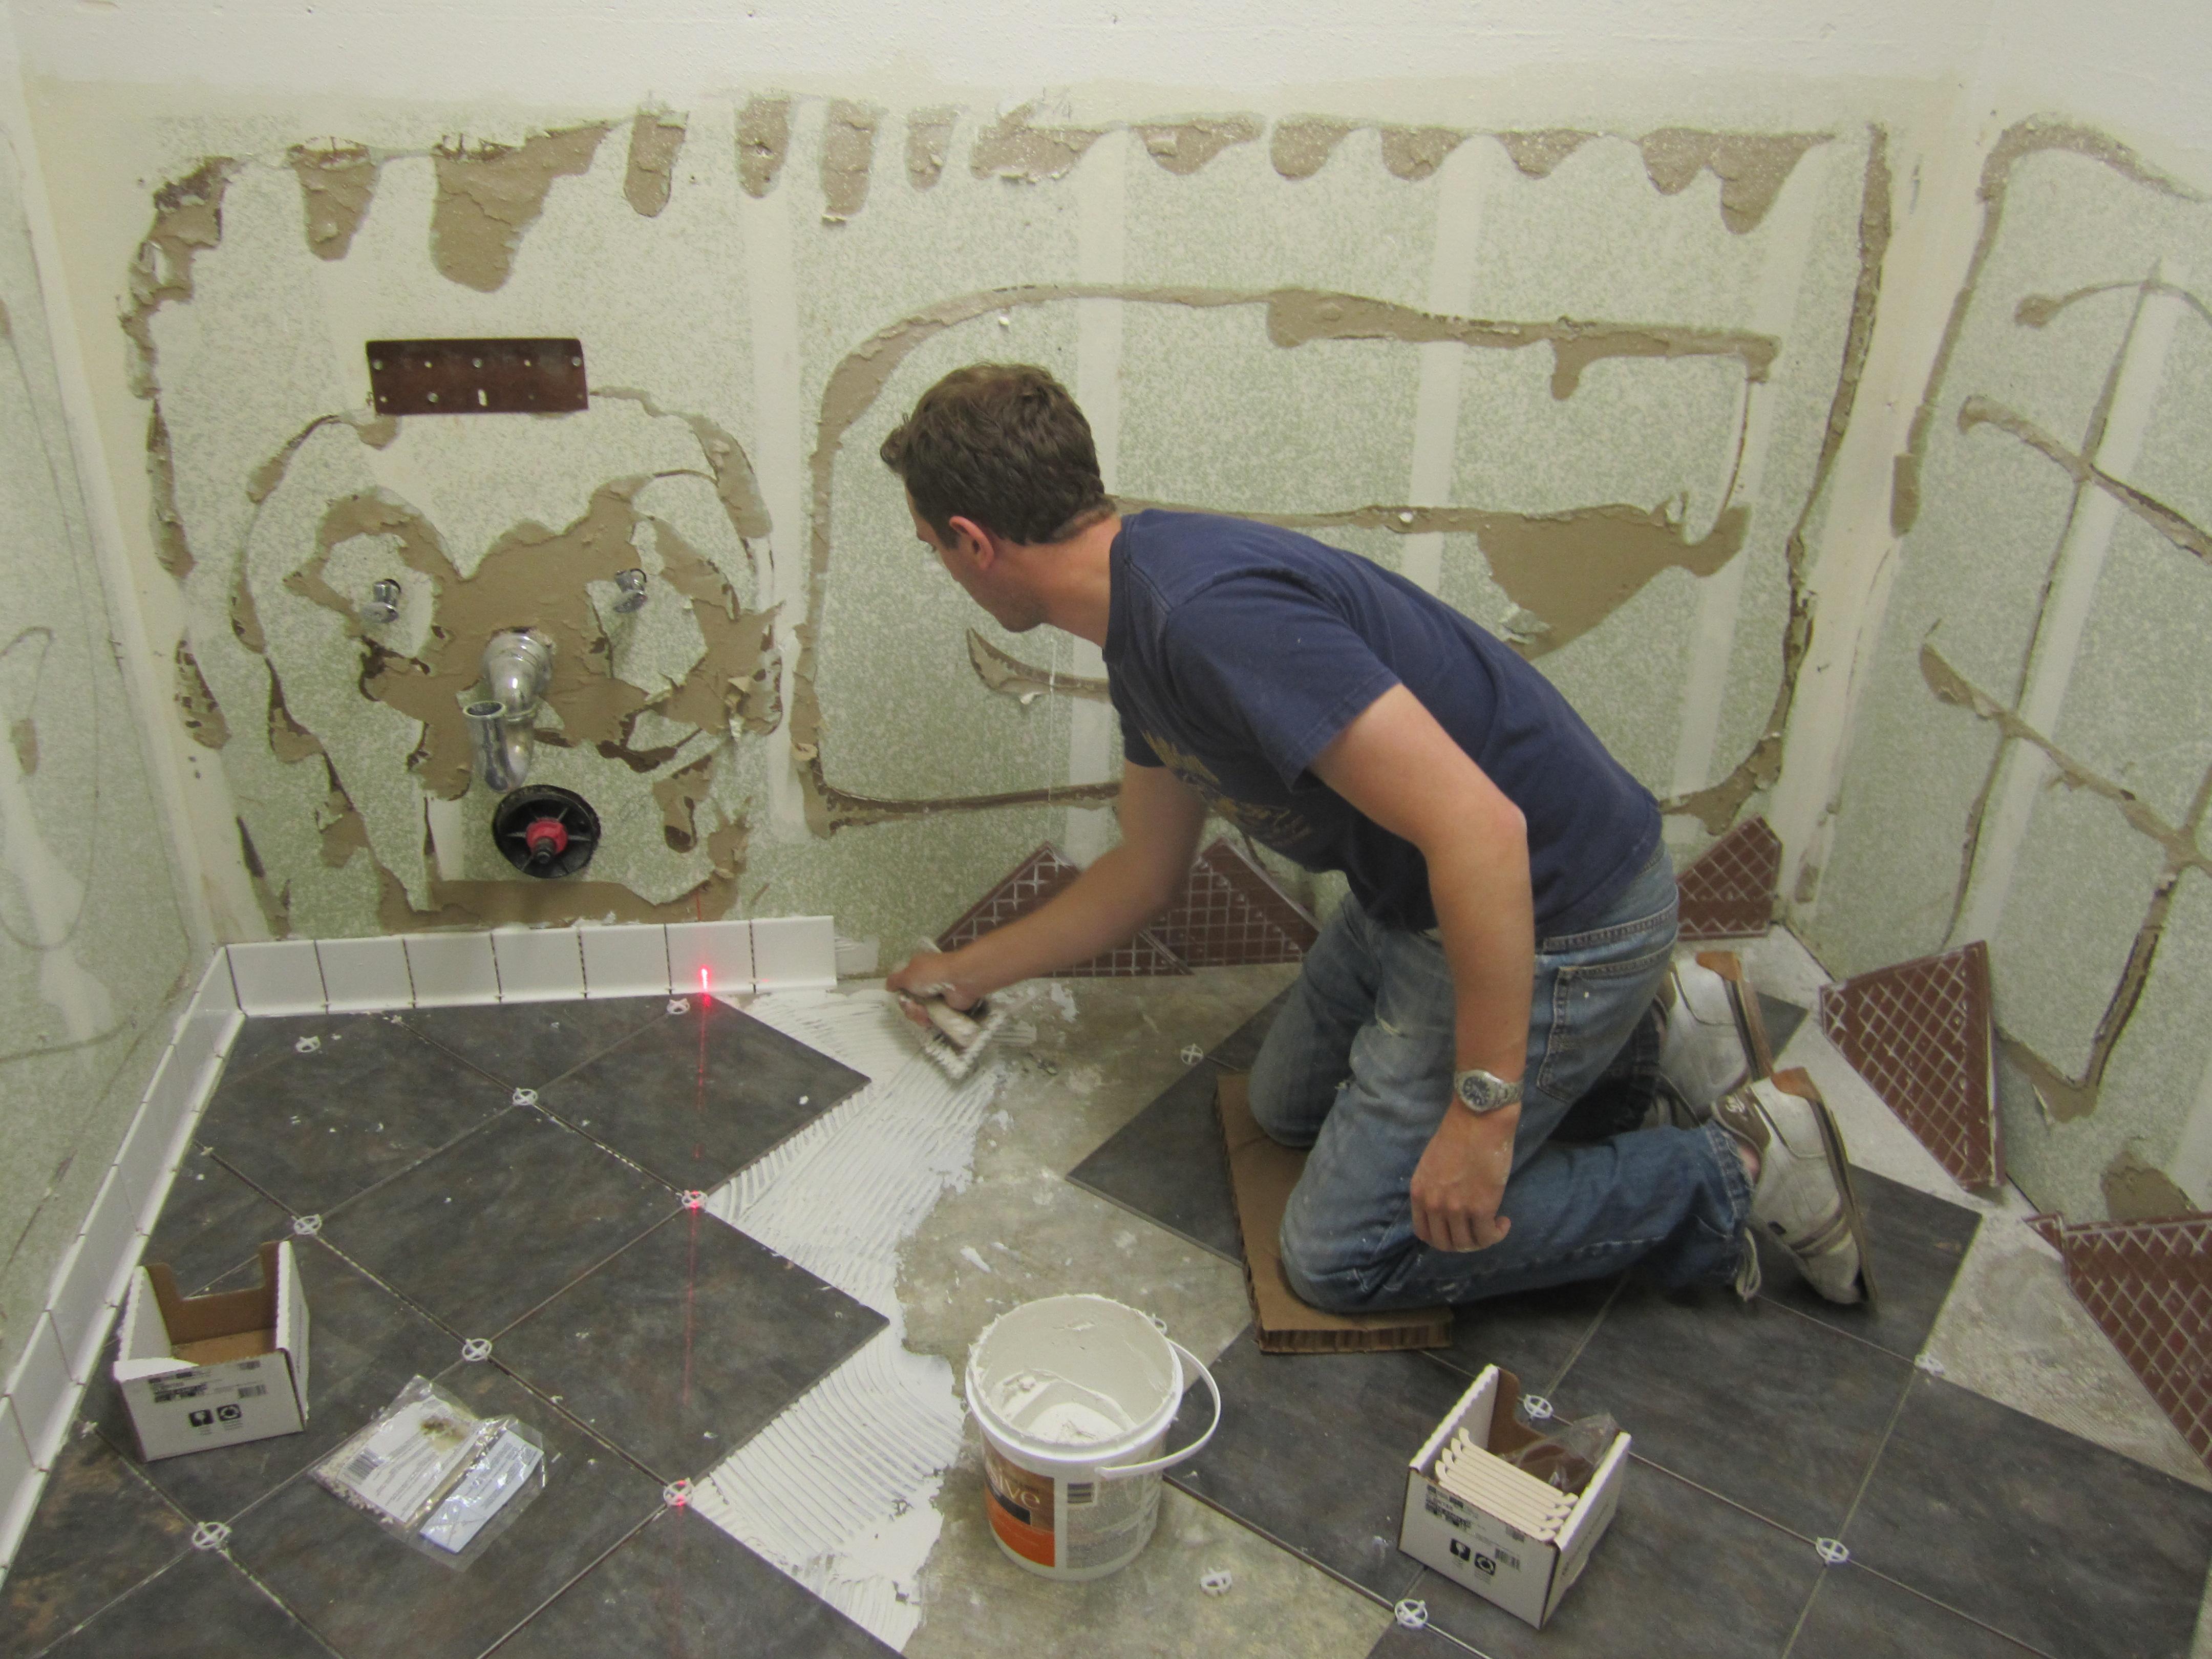
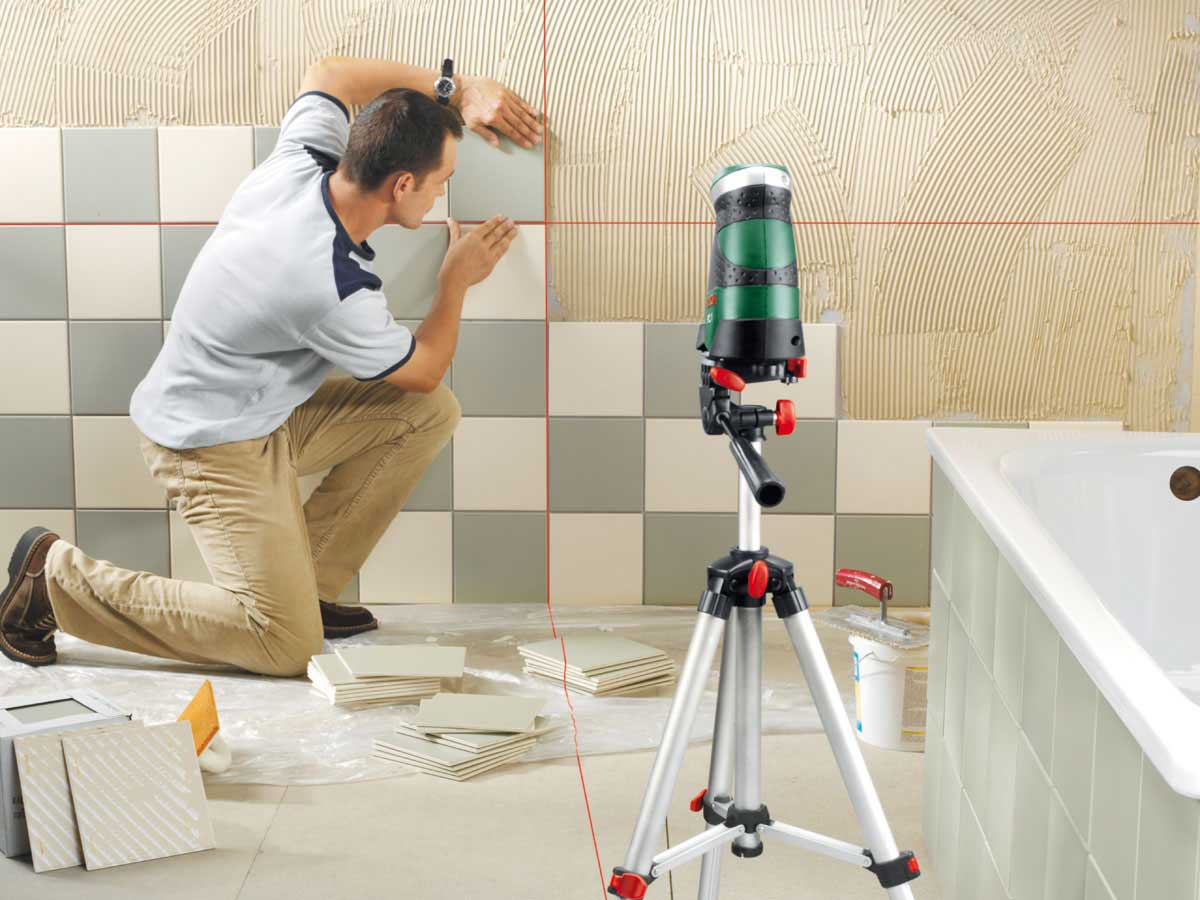
It all starts from the bottom (from the floor). If you are interested in finishing the walls, remember that these are different surfaces. You have to cut a lot of tiles, so stock up on the appropriate tools and equipment. Laying need to start from the door and move to the opposite wall. Whole fragments are used first, small pieces are used in inconspicuous places and along the perimeter. During laying, constantly check how everything looks, keep it horizontal, for this you will need a building level.
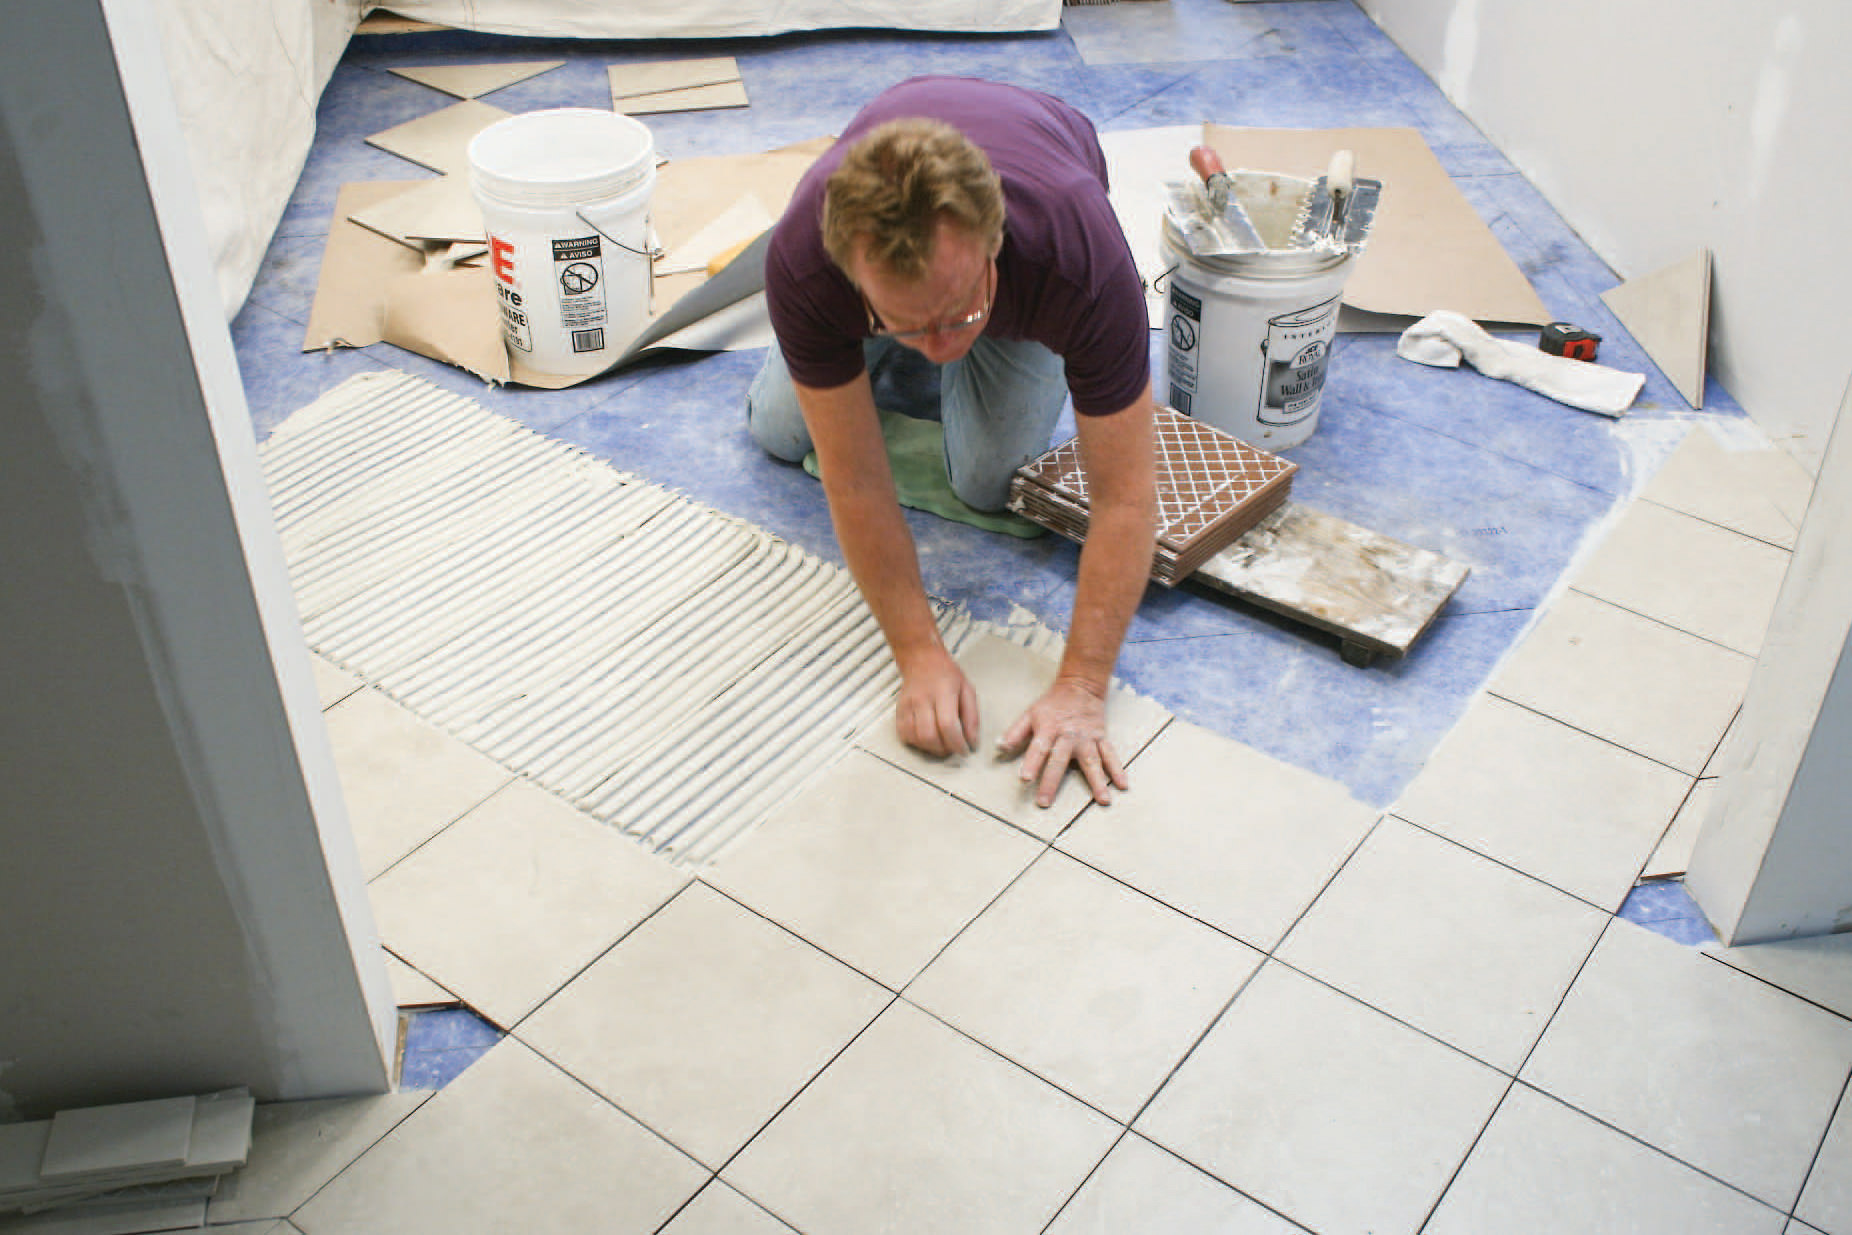
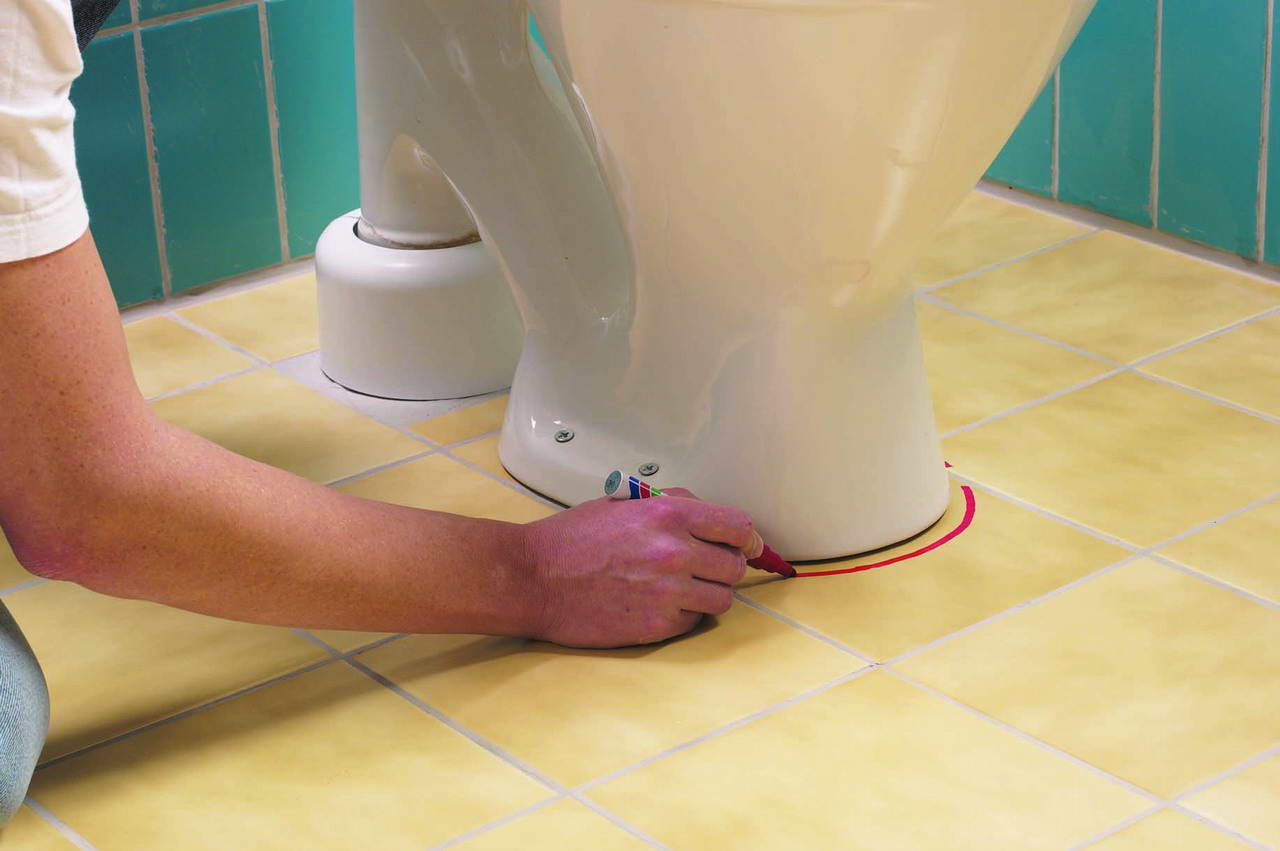
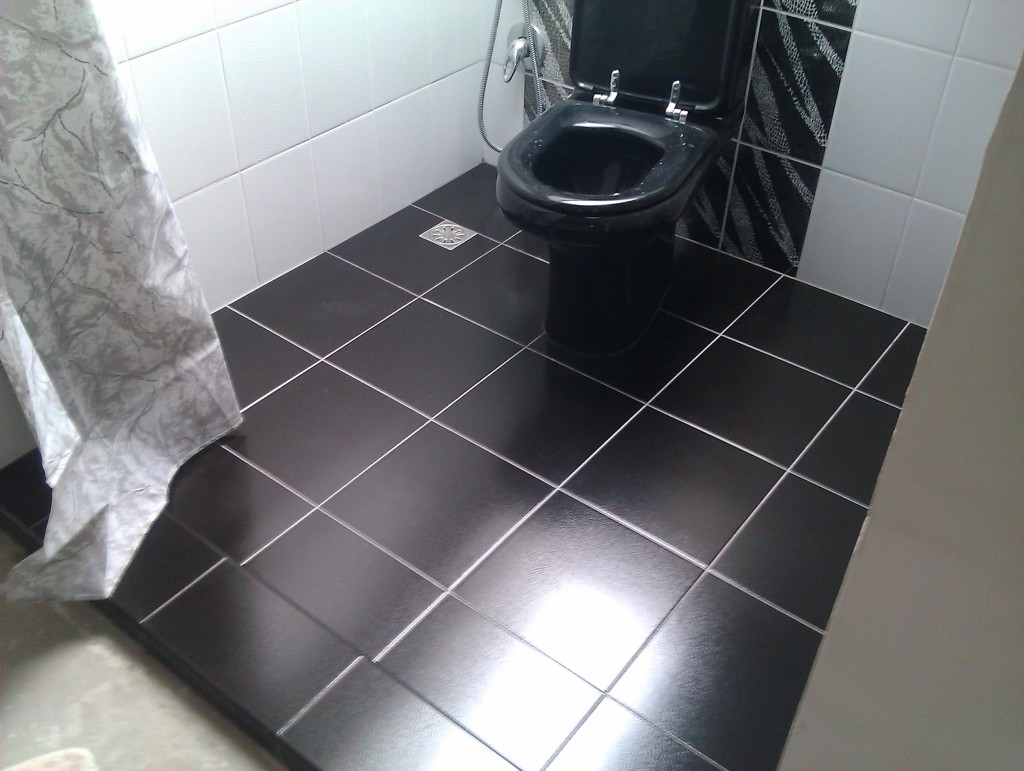
If you are engaged in repair in the habitable room, and the toilet is already mounted in the toilet, there should also be a tile under it, so prepare the appropriate dimensions of the material in advance.Finishing the flooring is a simple process that will not take a lot of effort. However, the pressure of the floor tile is greater than the wall.

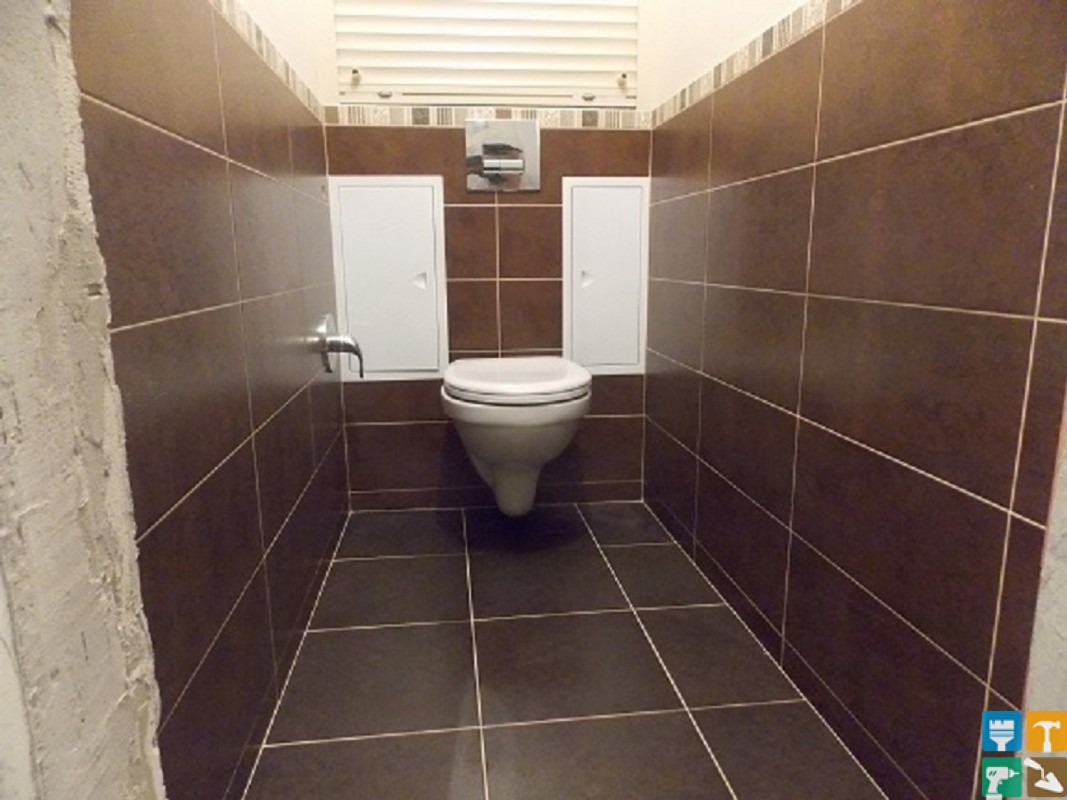
Facing
To knead the adhesive composition, use the following method. In the tank you need to pour water, then pour the mixture there, while constantly stirring with a mixer, which is fixed previously in the drill. Add glue in small portions so as not to damage the device. The end result should not be very liquid, as the material will peel off the wall. Glue for tile consistency should resemble pasta. High density is not welcome, as it will be difficult to stretch the composition on the surface.
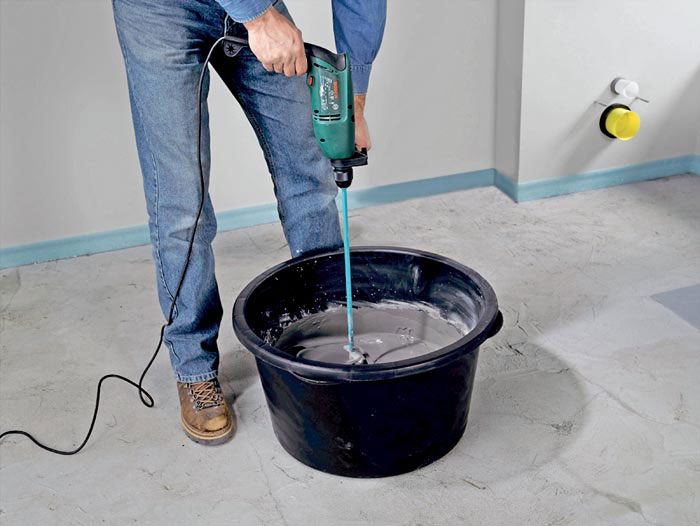
After mixing the adhesive composition, the solution should stand for 15 minutes., then it is re-mixed: it must be homogeneous, lumps are excluded. Once the mixture is ready, you can engage in lining. Start from the bottom of the walls, move to the ceiling or the level where the tile will end. Lay out the first row of tile, then the next, then the third and so on. To make sure everything looks smooth, lay the rail on the floor and use it.
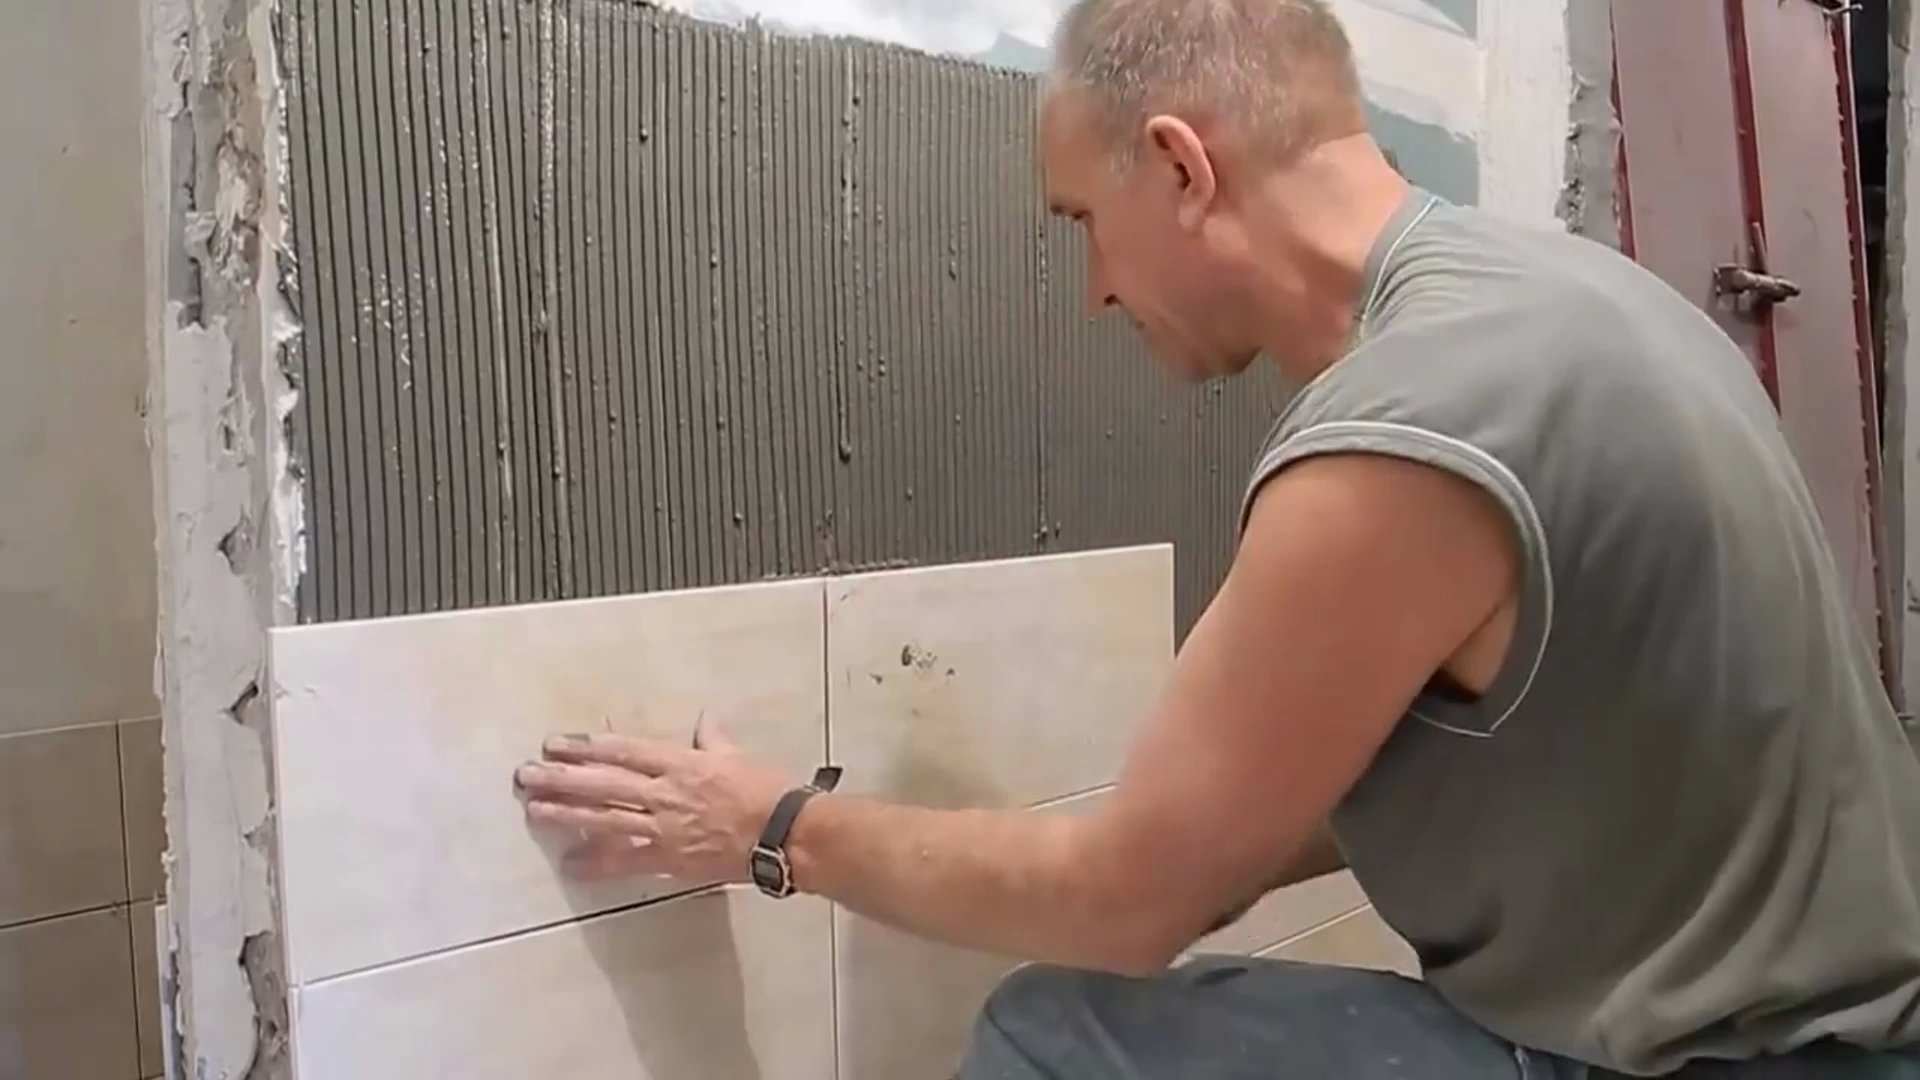
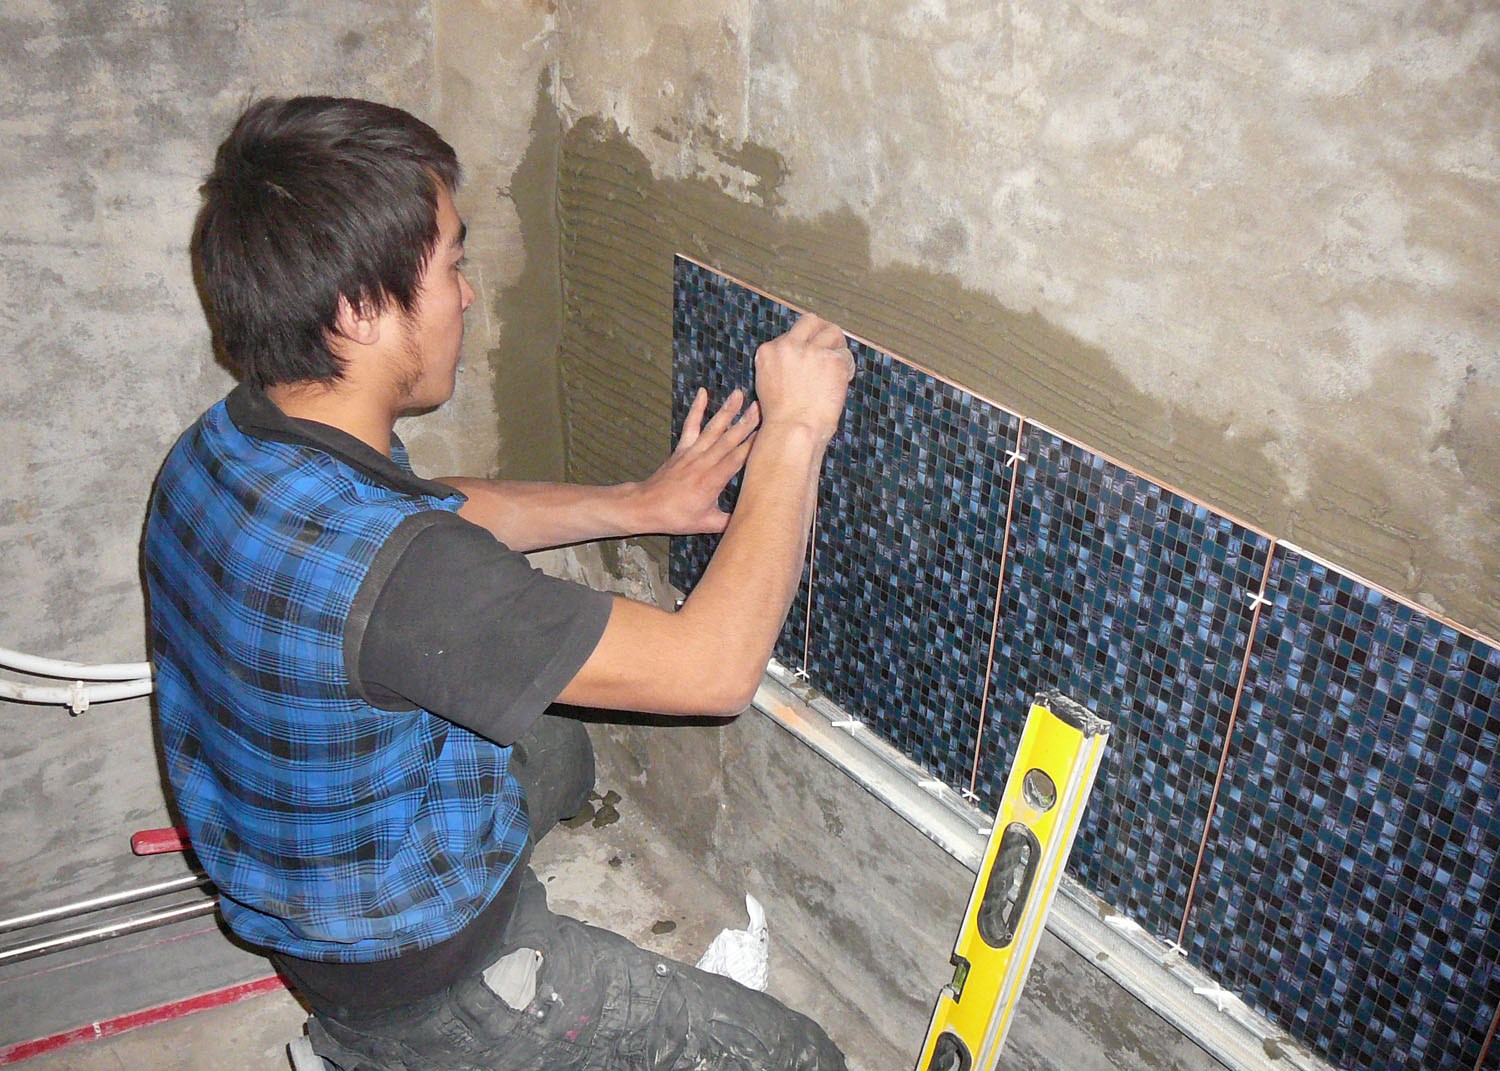
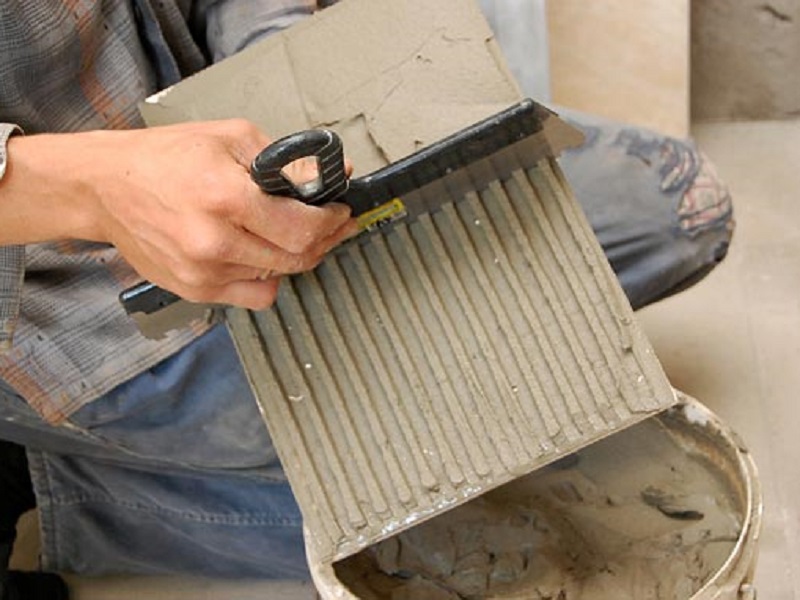
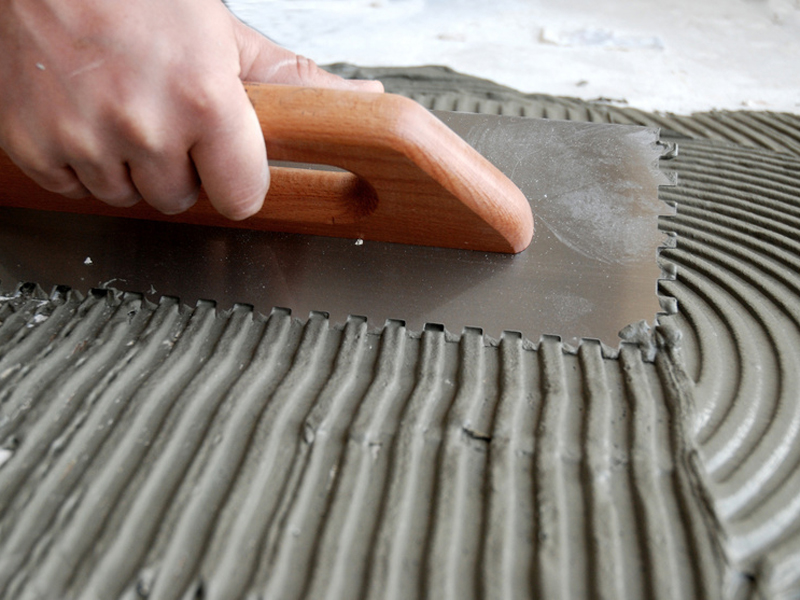
To ensure the horizontality of the next rows use vertical slats, which are attached to the corners of the walls. Hammer nails into them, stretch the nylon thread, which will serve as a proofreader during the laying of the tile. For the application of the adhesive composition, use a notched trowel, which apply the mixture to the bottom surface of the tile. Then the glue is applied to the very surface of the walls. When a tile is applied, it is slightly displaced, then set in place. It is necessary to do this so that the glue is evenly distributed under it.
When performing the first row, insert plastic crosses between the fragments. Their size depends on the size of the tile itself (the bigger it is, the bigger the cross is), the minimum size for wall decoration is 2 mm. This is enough to not notice the drawbacks of the calibration of the material. The seams should not be wide, they are a sore spot of the tile, even if they are treated with a special varnish from above after grouting. When working with crosses, you can not worry about the width of the seam: it will always be identical.

In the process of work, carefully monitor the level of each row of laying horizontally and vertically.At the same time pay attention to each piece of tile. If the whole square does not fit in a row, use a tile cutter to get a piece of the right size. For inexperienced masters, the use of a grinder is recommended, which will facilitate the task. Cut pieces can be used in inconspicuous places where there will be a water supply system, or sanitary equipment.

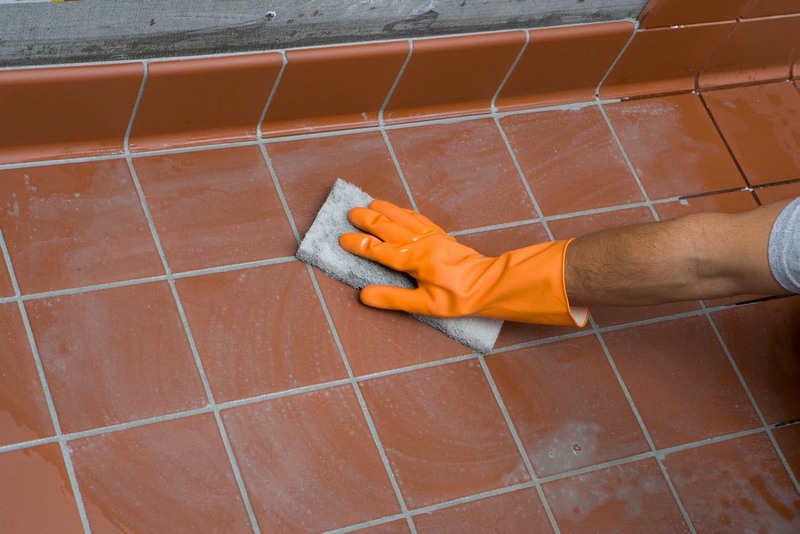
Finishing of the flooring takes place on the same principle as with the walls. Move from the far corner to the door. Level will help to check the horizontal rows of tiles. But there is a slight difference, as the adhesive mixture is applied to the entire surface of the tile, which must be tapped with a wooden hammer after installation. In case of failing, it is necessary to dismantle the tile. Do not wait for the solution to dry, wipe the remaining solution immediately from the surface: then it will not work. After all the fragments are laid, the solution should be allowed to dry. Leave the lining for a day, then proceed to the grouting.


Grout to match is not recommended. Harmonious looks shade, which is different from the lining.Grout fill all the seams, tightly distributing the material in them. Then the remains are wiped with a sponge. To prolong the life of the surface, you can treat it with a special compound that adds shine and protects the material.

Useful recommendations
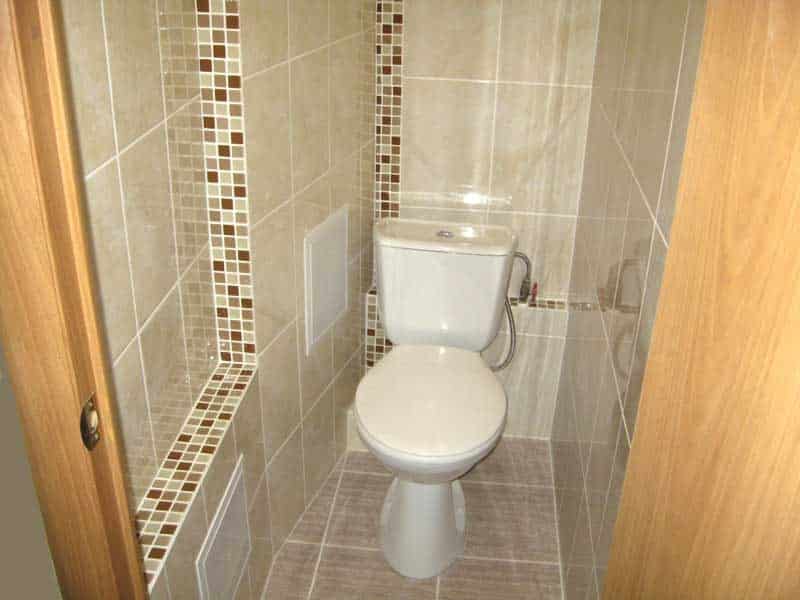
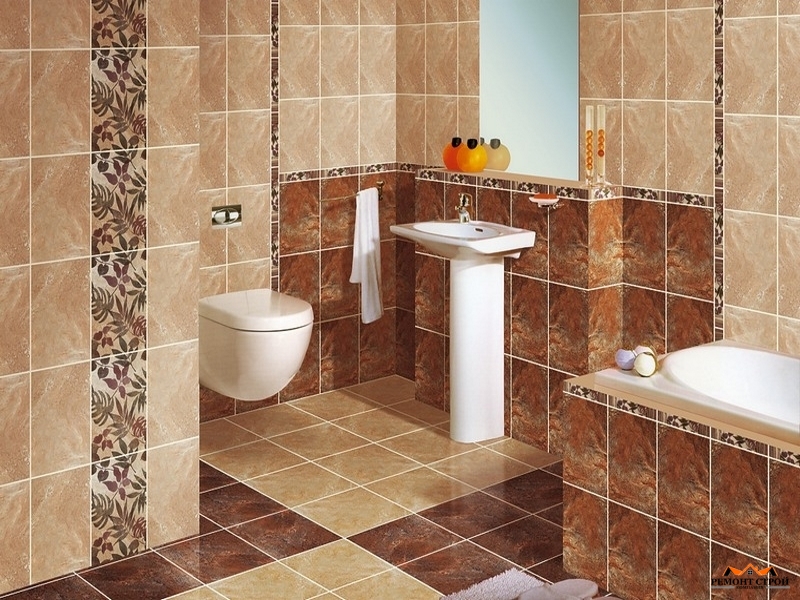
There are some tips, following which, you can do everything at the highest level. If you do not want to spend a lot of time laying tiles, you can choose plain tiles, and for originality you can make the seams contrast. If your bathroom is combined and looks spectacular, it makes no sense to put a bright lining, which will take all the attention. The background can be made low-key, but attractive in its simplicity and accuracy. Choose a neutral version of tile. The color of the floor and wall tiles should not be the same.
It is extremely important to buy products from leading manufacturers.that can give a full description of the product, as well as guarantee the quality and durability of operation. Such products must be certified, which indicates their admission to construction work. One of the simplest techniques often experienced by experienced designers is the installation of a light background tile. In this case, the seams may be contrasting, but monotone base.
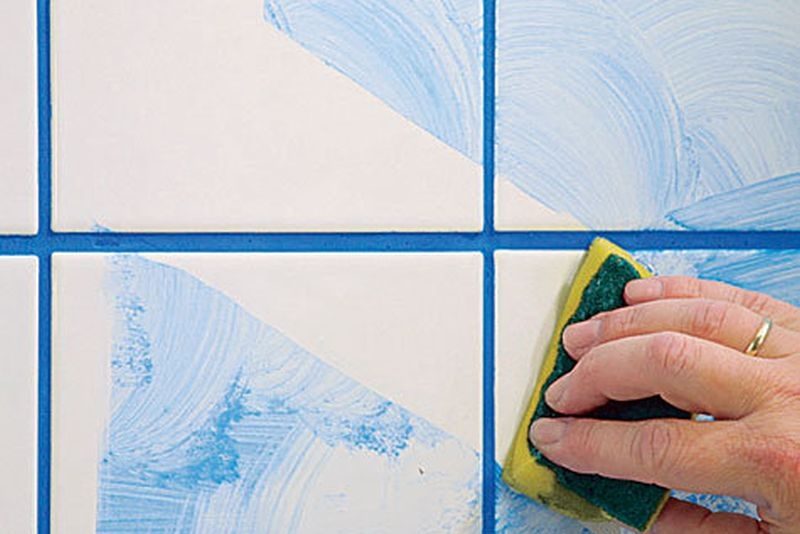
Now let's talk about colored grout, which refers to cheap and simple methods of refining the background tile. You have the opportunity to get a stunning effect, make your toilet presentable and neat. To make sure that the color of the grout looks with the tile itself, do the following procedure. Before repairing, lay tiles on hardboard or drywall and put the seams dry, this will make sure that you have made the right choice and how harmonious everything looks.
Often, many think about how to use squares of different sizes. This is an interesting decision, but it is important to combine and combine everything correctly. Another important fact about the seams is that dark colors better hide dirt and fungus if such a problem arises. The rectangular tile with a facet which traditionally is laid horizontally to imitate brick facing is in great demand. If your bathroom or toilet has narrow walls, unfold the tile and install it vertically, this will visually make the space freer.

Laying tiles with your own hands is simple. This does not require the involvement of specialists.Do not forget to fill before installation. To pour the glue, you need to use cold water. The solution starts to harden immediately. It will be more difficult to straighten the fragment after the glue is grabbed.
How to put the tiles in the toilet with their own hands, see the following video.


