How to rub the seams on the tile?
Repair of the floor is always accompanied by laying the finish. And this should be done so that it is pleasing to the eye, it is practical and has served for a long time in different conditions: in apartments and houses, at enterprises, in shopping centers, offices, various organizations. Here is a decent result of the work. Spent over centuries of technology and long-term experience of builders can successfully solve this problem, to choose the right materials, for example, in rooms with high humidity or high levels of terrain.

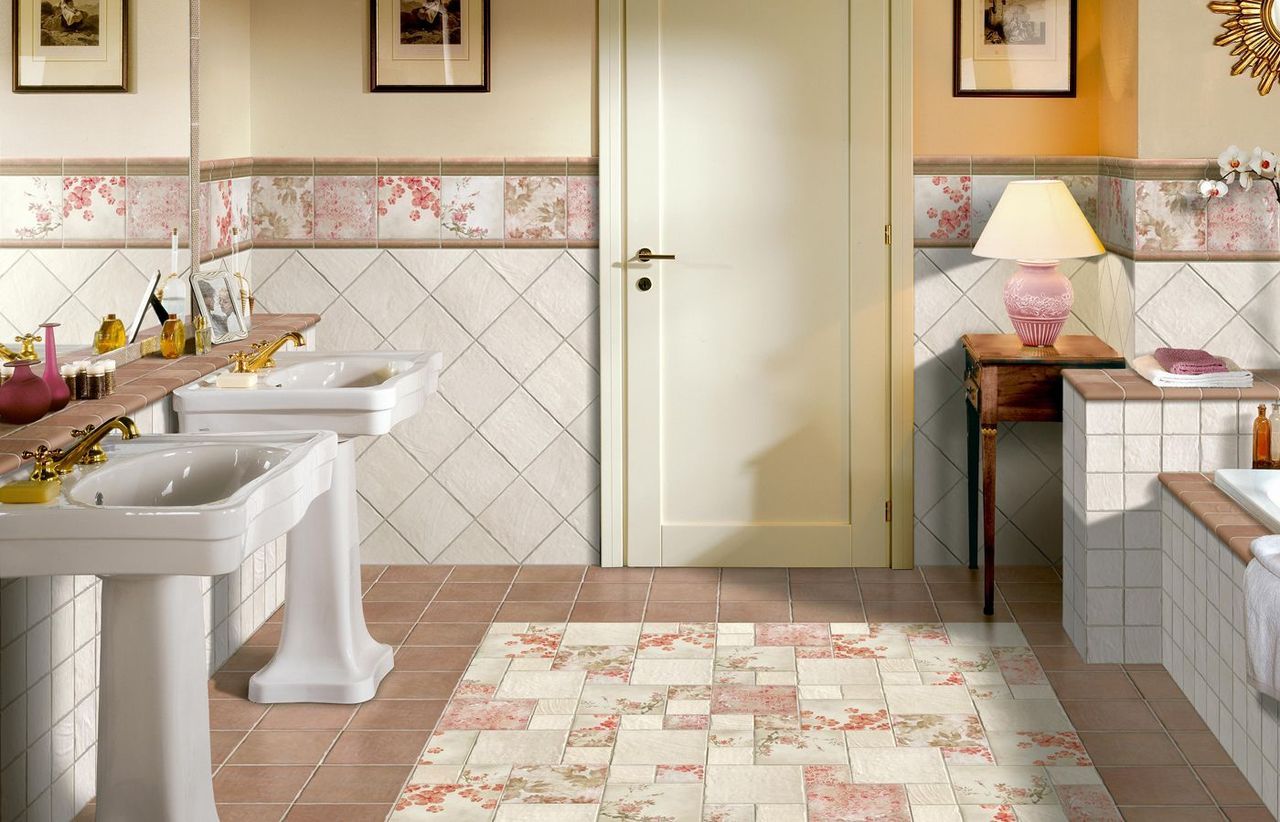
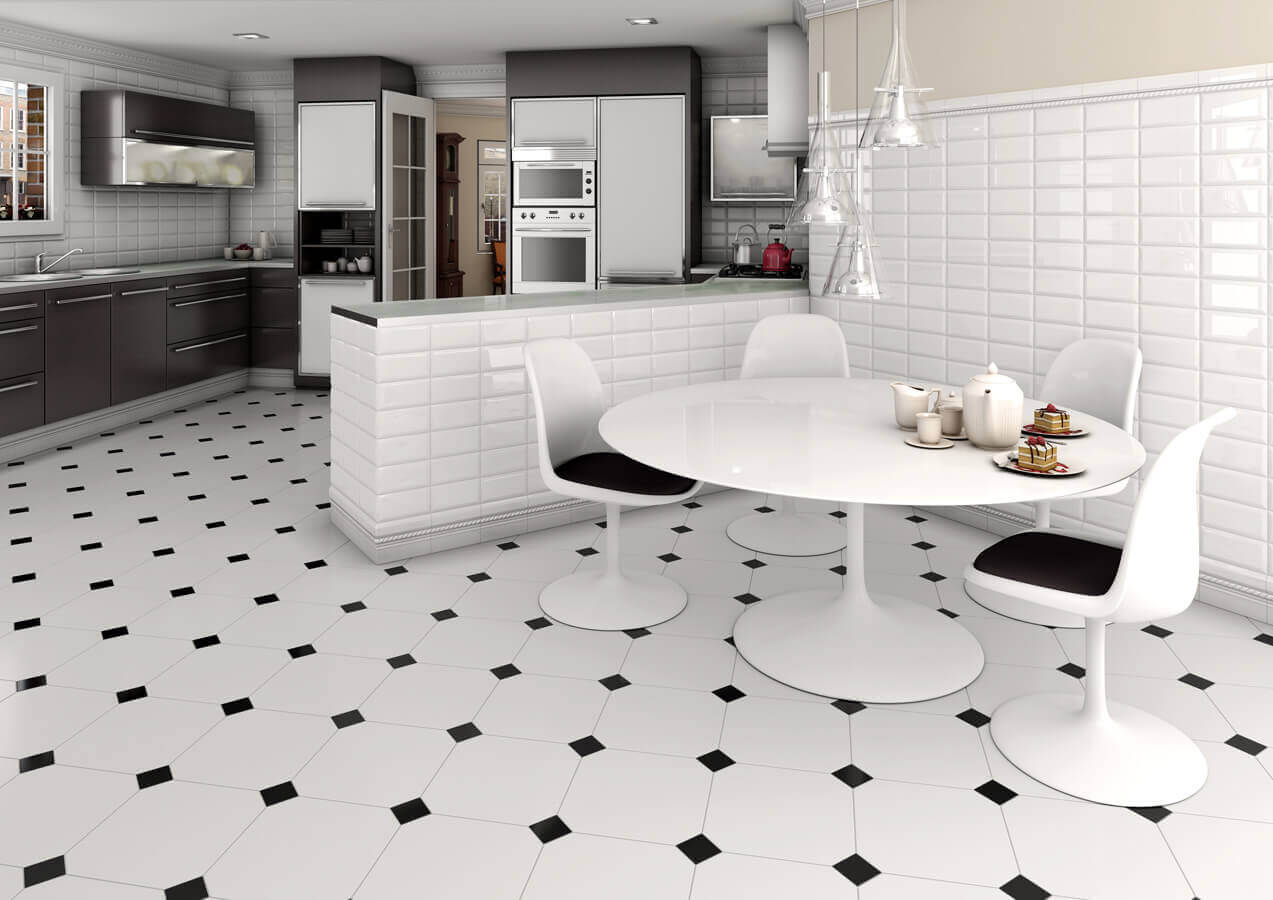
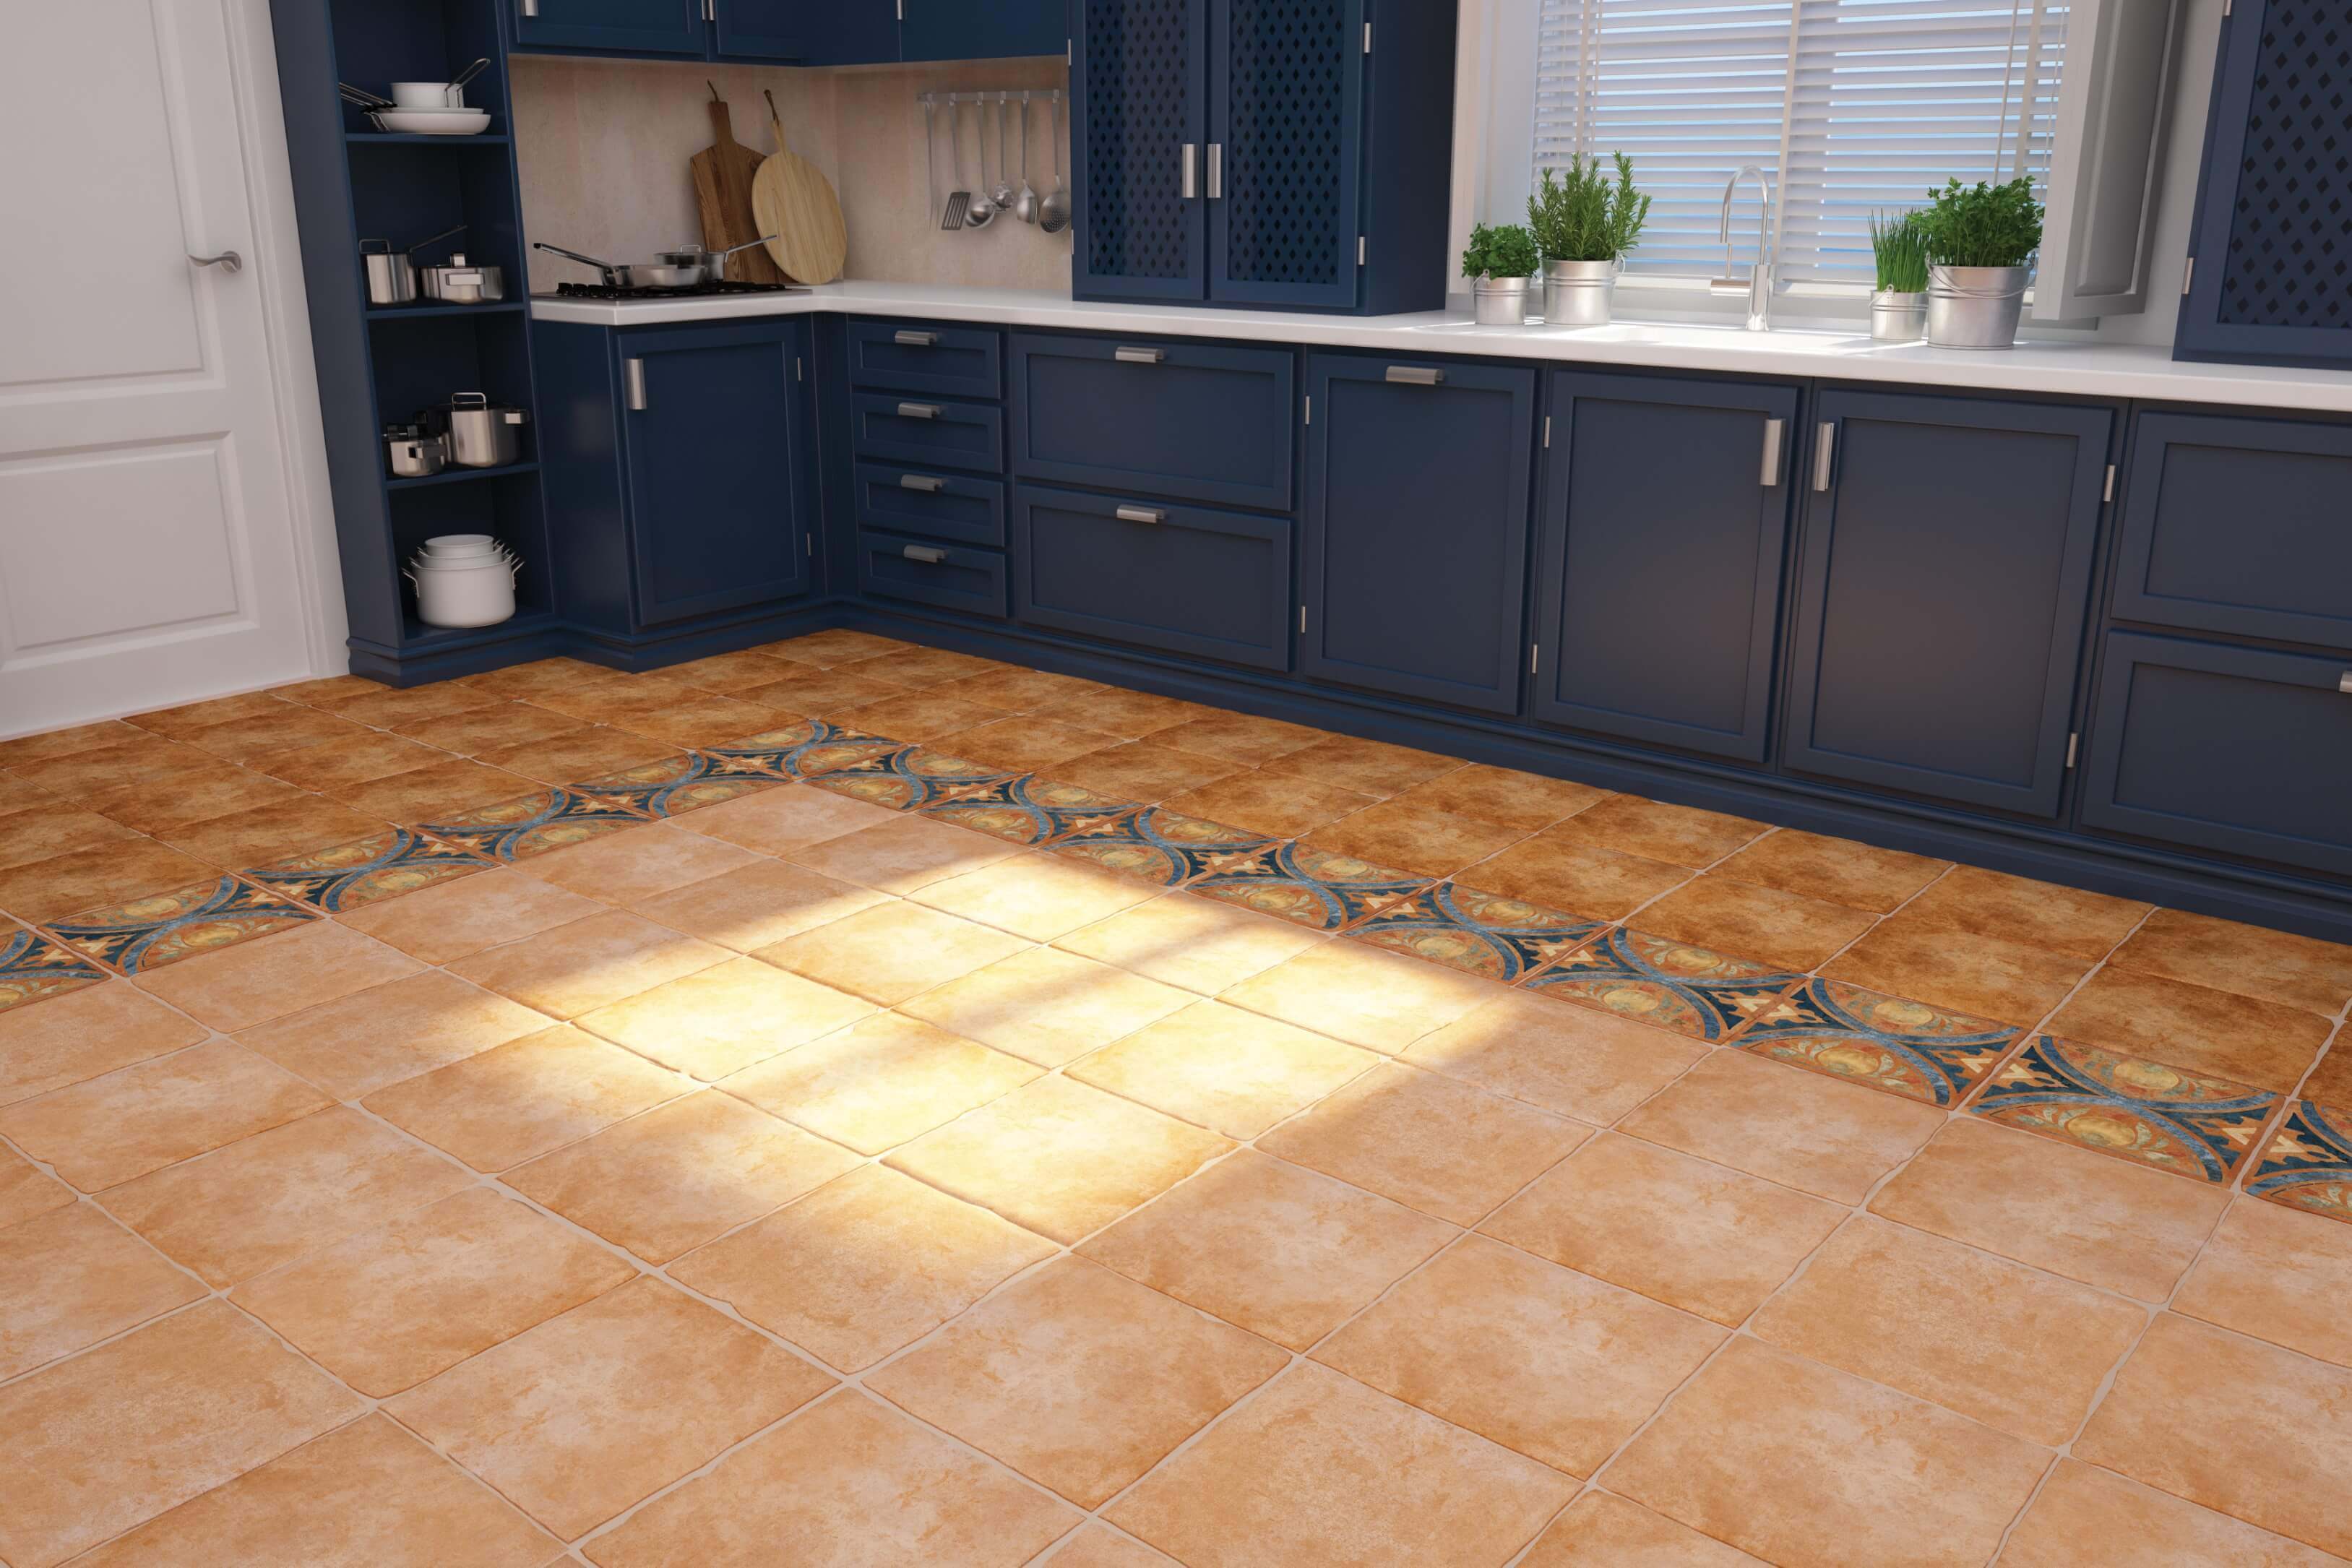
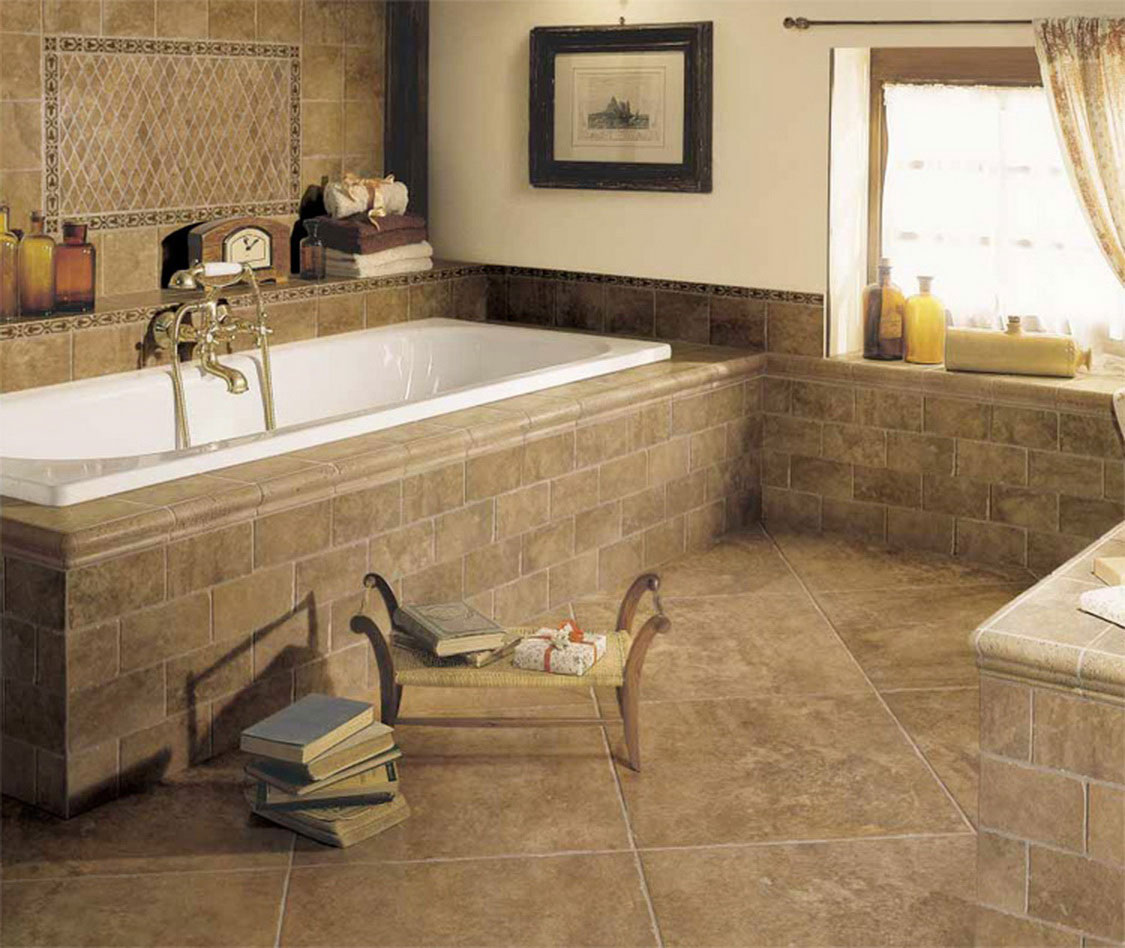
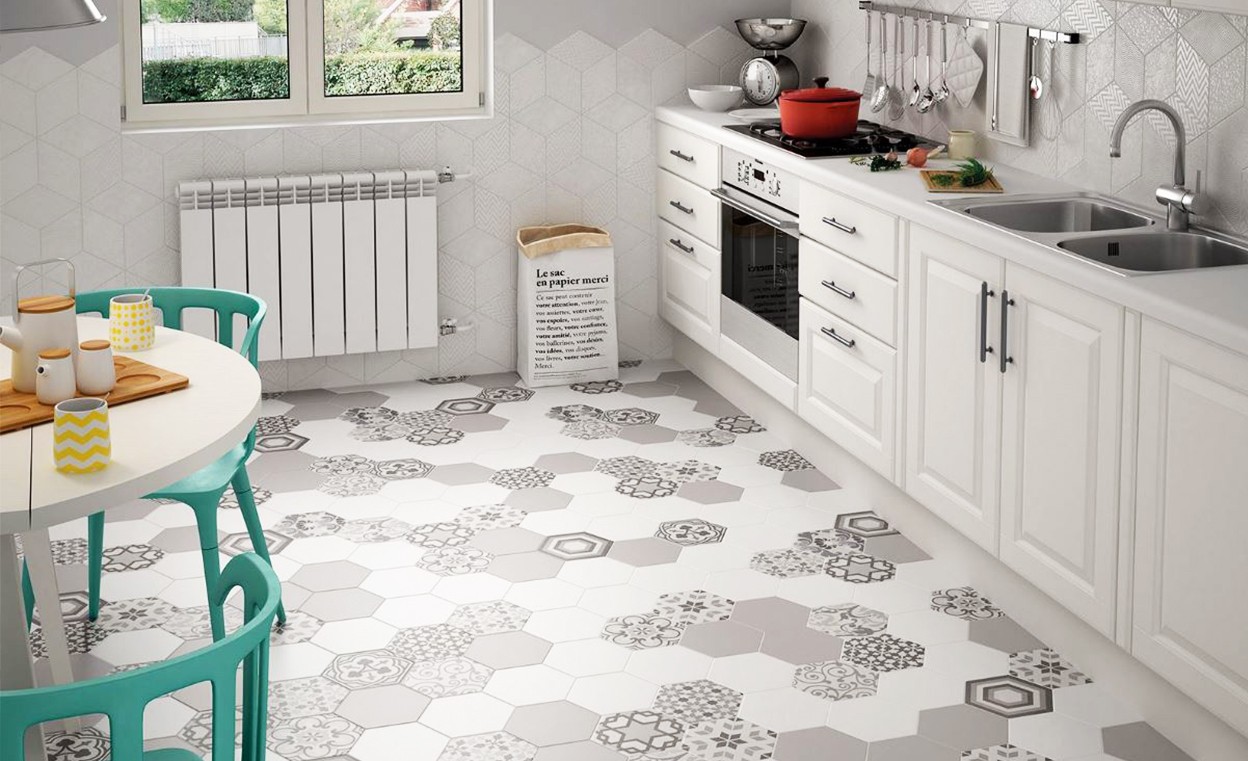
The tile is often used as a finishing decorative coating. not only for the floor, but also for walls, tabletops, other surfaces, for facade works.This is one of the most practical and durable materials. The variety of textures, the richness of the palette of shades, the possibility of combining and creating various effects enable designers to create beautiful and stylish compositions that are stunning.
What is grouting for?
An important component of laying decorative tiles is the tiling of tile joints.
Grout performs the following functions:
- Fills the seams between the tiles, masks irregularities, chips and other minor defects.
- It acts as a waterproofing device, preventing the penetration of water and moisture under the tile and the destruction of the floor and walls.
- Interferes with reproduction of bacteria, formation of a mold, fungus.
- Fastens the entire surface, gives a complete and neat appearance.
- It can act as an element of decor, making a bright contrast to the tile, emphasizing its geometry.

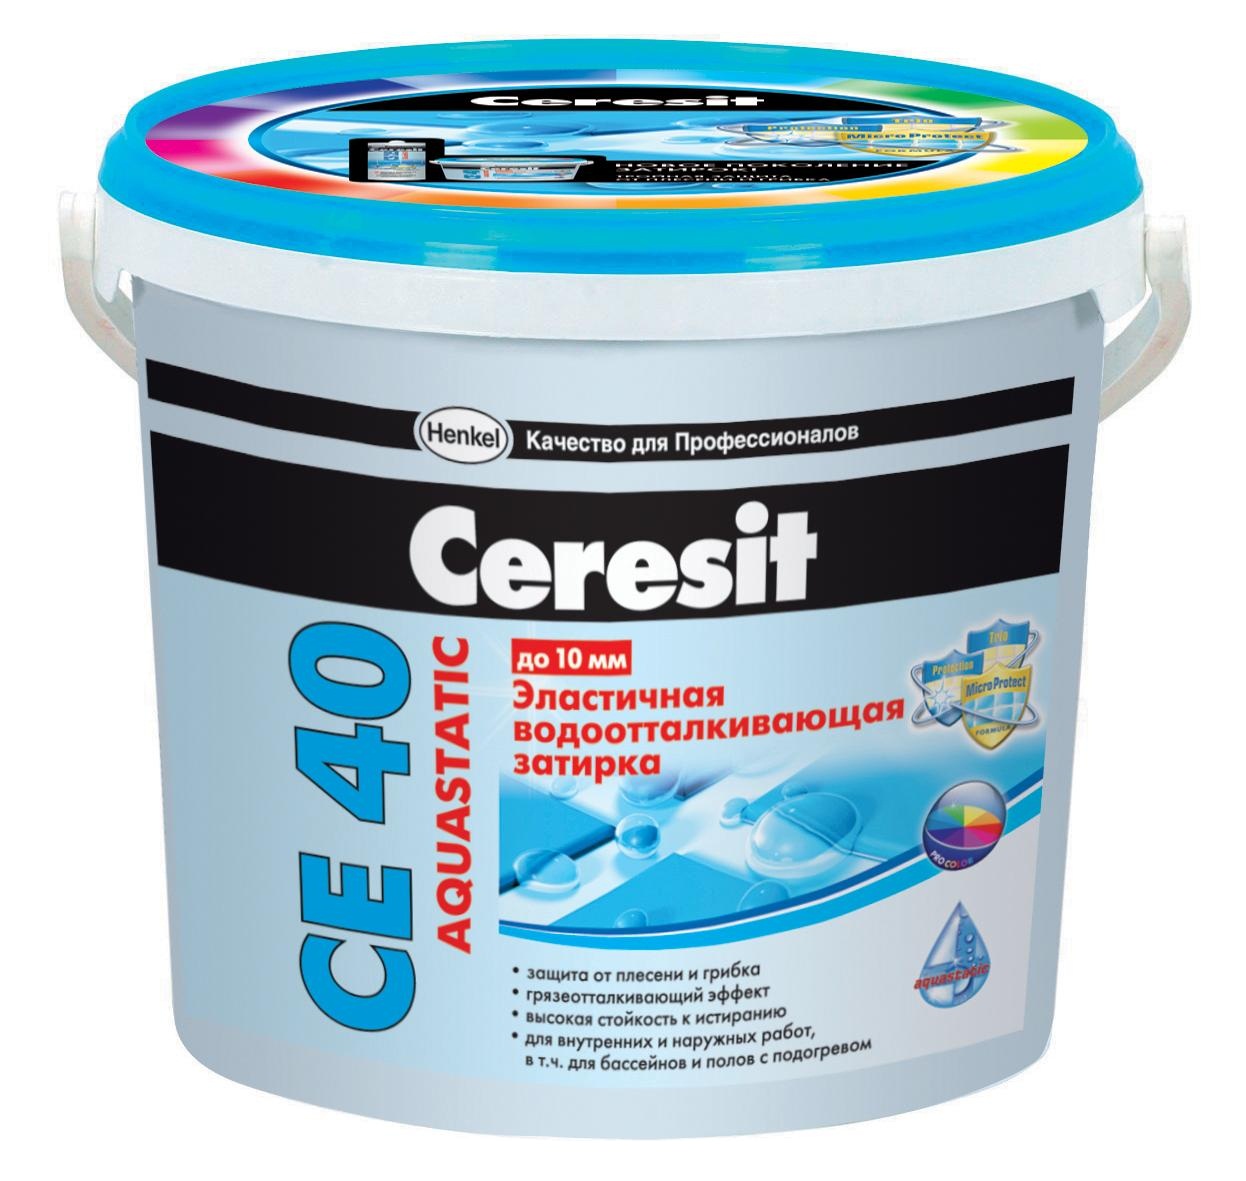
Grout is sold as a dry mix for reconstitution with water or in hermetically sealed jars in the form of a thick paste.
Training
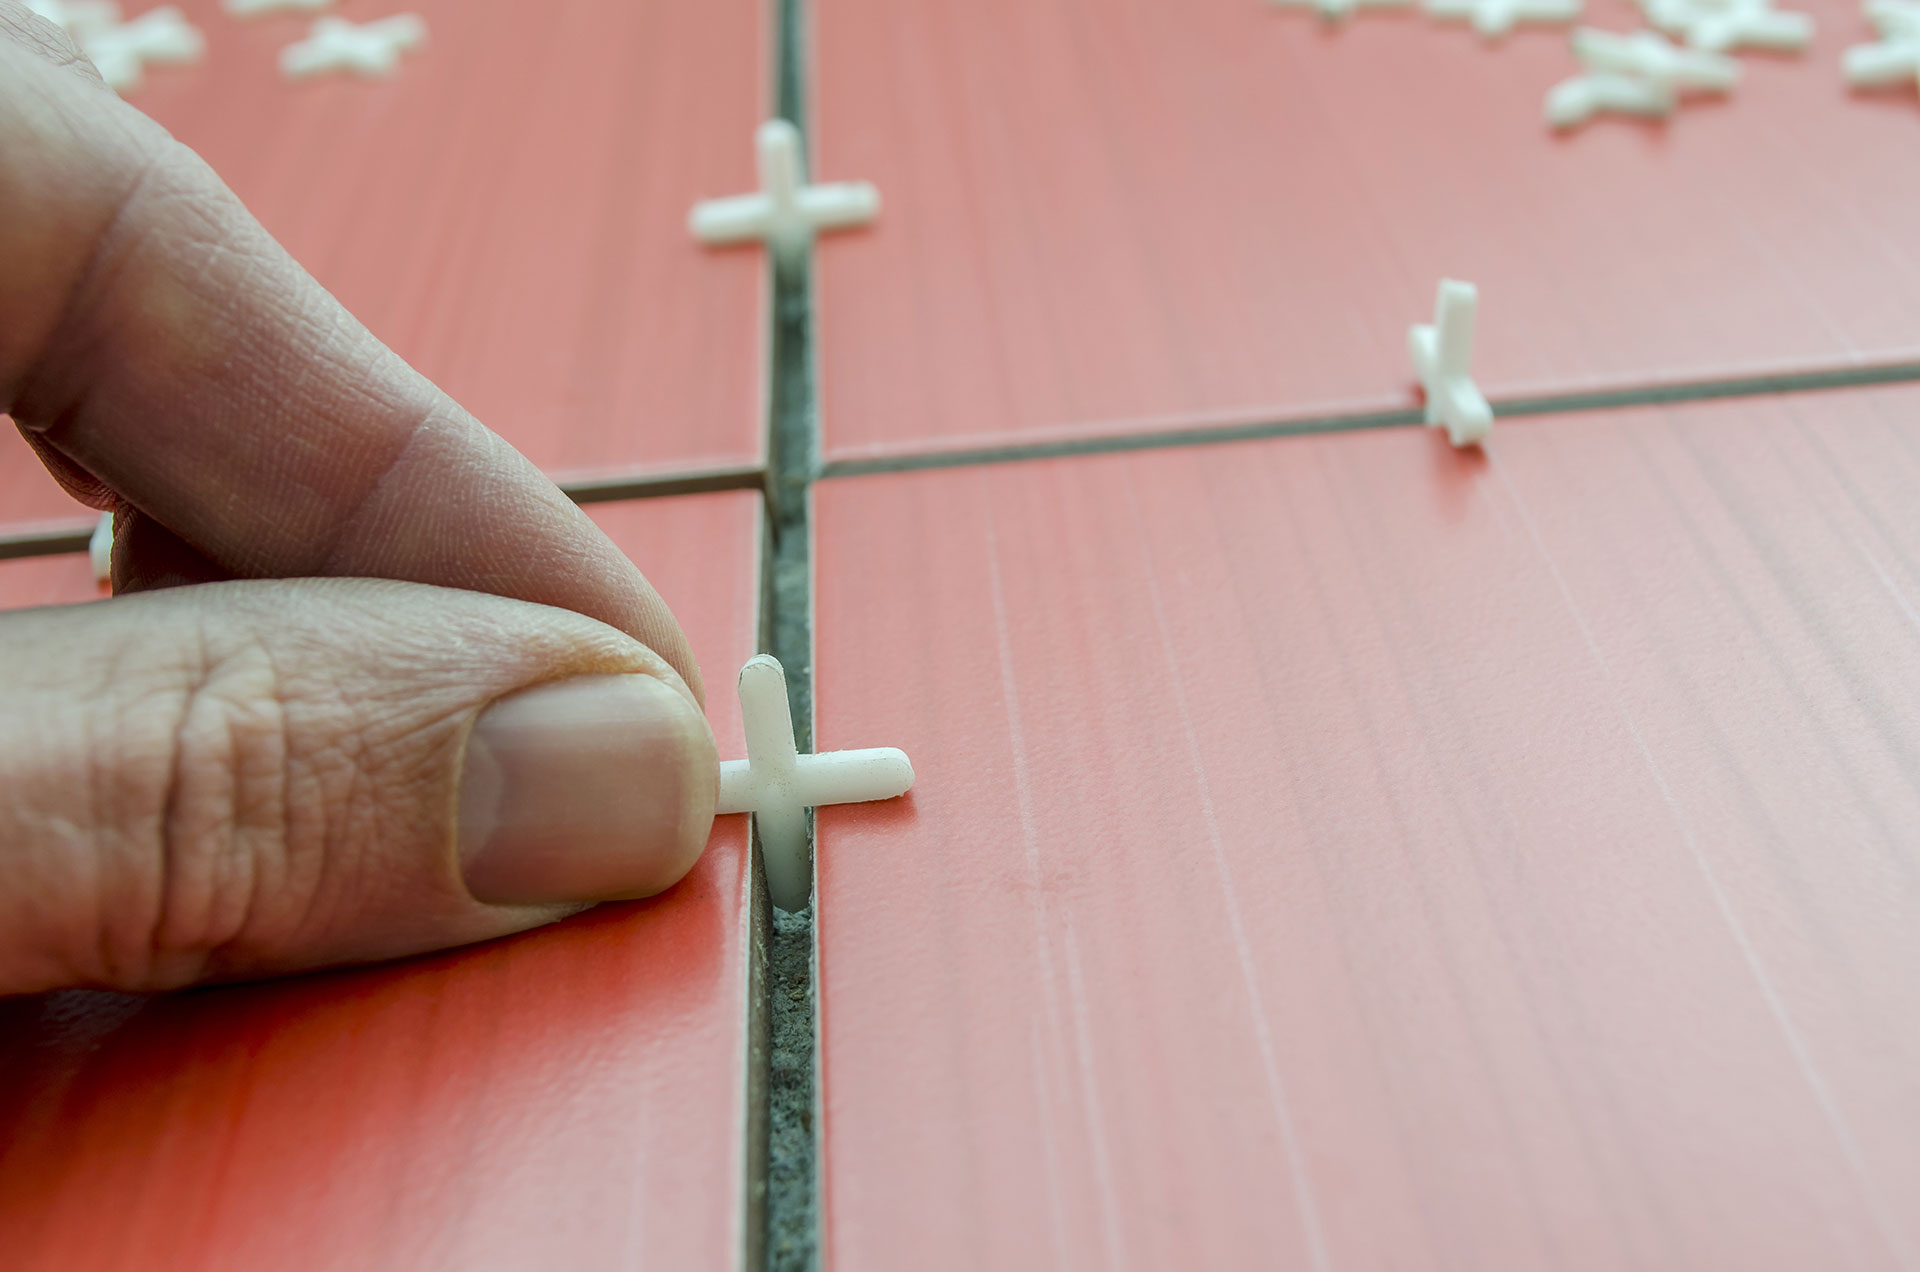
The tile is laid, it is sustained for 7 days - the time after laying, during which the tile glue dries completely, now you can begin to grout.
For this you need:
- Remove the fixing crosses.
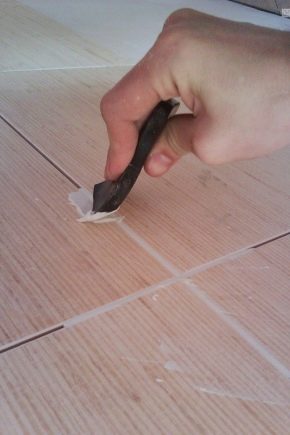
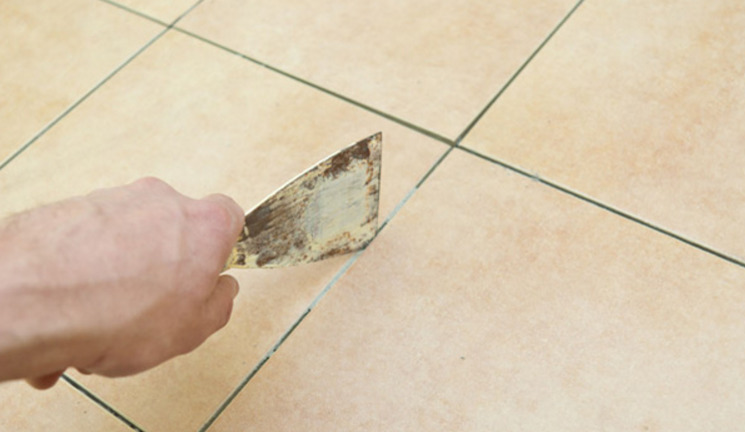
- Clean edges and seams from debris, dirt, dust, tile adhesive residue with a spatula or screwdriver.
- Vacuum and wet clean.
- Dry the surface.
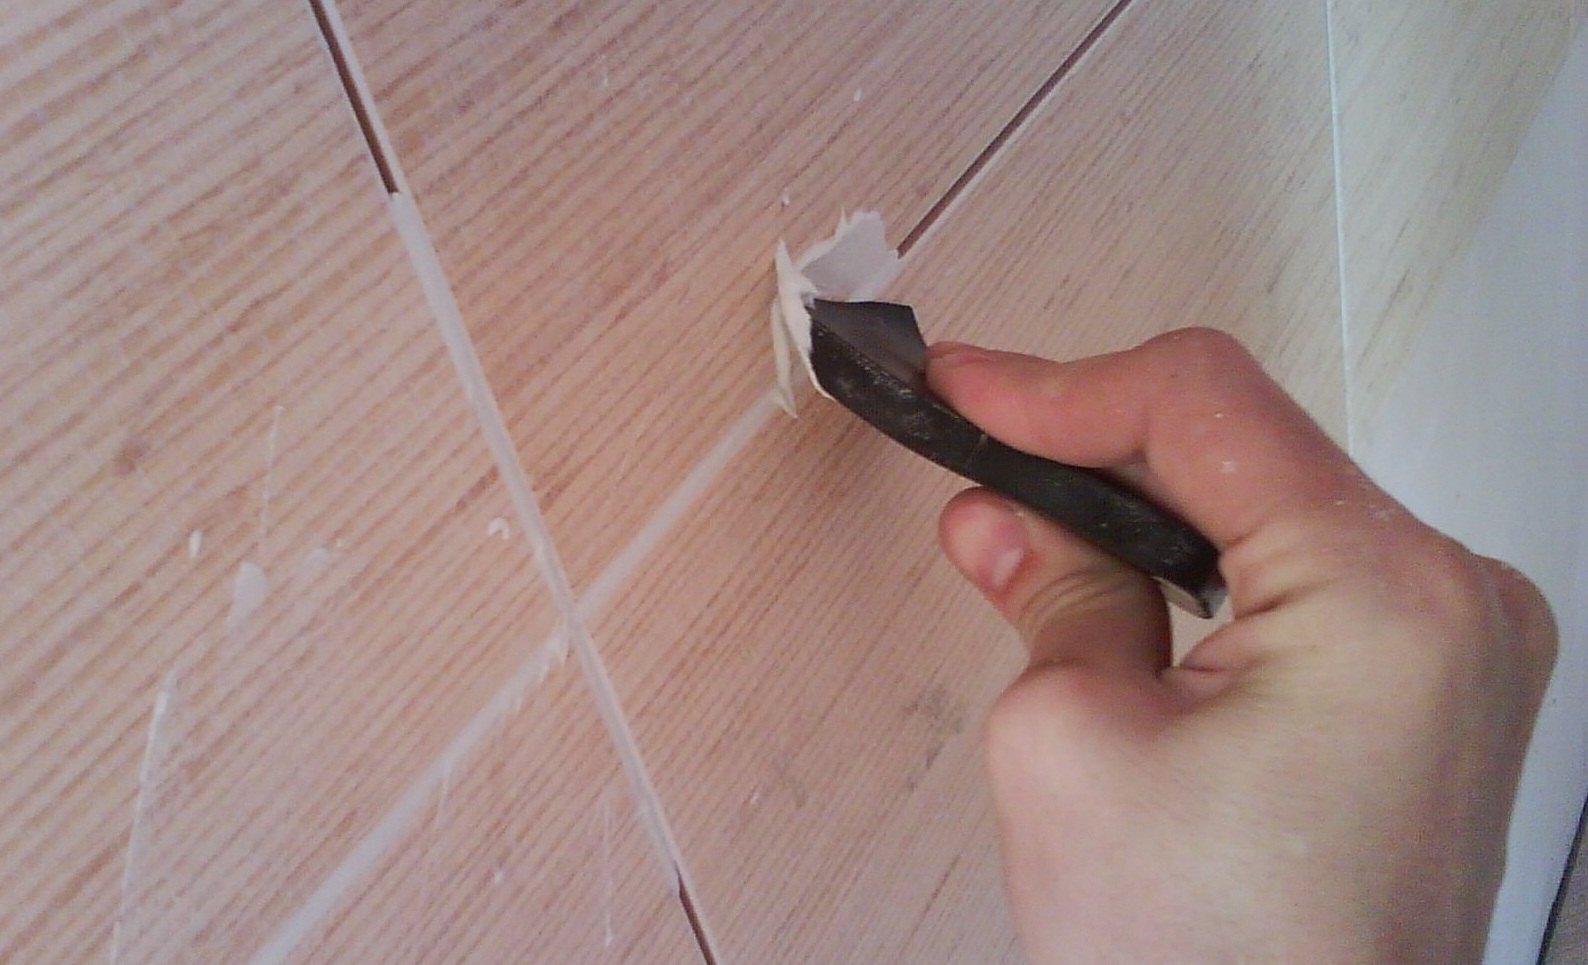
- On the porous clinker tiles must be pasted along the edges of masking tape. Grout badly scrubbed with porous tiles.
An important stage of preparation is the correct choice of grouting and the calculation of material consumption.
The choice of composition
Grout differ in their composition and characteristics, the characteristics of use.
When choosing, consider the following parameters:
- Inter-tile spacing width.
- Humidity level and room temperature.
- The presence of chemically aggressive environments, detergents.
- High permeability, various mechanical loads.
- Exposure to ultraviolet radiation.
- The texture and color of the tile.
Zatirochny mixes divide into several types.
- Cement grout has two subspecies: sand-cement and portland cement. Sand-cement consists of fine-grained sand and cement, of all types it is the most affordable, used for joints more than 5 mm wide. The granular abrasive structure scratches smooth surfaces, therefore it is not compatible with glazed tiles.Cement-sand mixture gradually crumbles, it can absorb moisture, crack. If you need to remove from the seams, these properties will help to easily clean the gaps between the tiles. It is possible to reduce a shovel of a tile, having processed dry seams with hydrophobic impregnations.
The second subspecies contains cement, various plasticizing, polymeric, and drying retarding additives. This grout is used to fill narrower joints, 3-5 mm wide. It is possible to strengthen the waterproofing properties by diluting the powder not with water, but with liquid latex. The properties of the mixture make it possible to use it on glazed types of tiles; plasticizers in the composition make filling the joints easier and more qualitative. Cement grout is recommended for use in dry areas.
This type of paste is not used in conditions of exposure to aggressive chemicals, constant exposure to water, for example, in the production with the use of acids in pools. The finished mixture quickly sets, so it must be used within 2 hours after dilution.
- Furan or epoxy based grout. Furan resin forming the base,mixes with a special hardener and is used mainly in industrial premises with heavy loads and difficult operating conditions.
Epoxy resin and hardener can be combined with sand, coloring pigment, Portland cement.
The cost of such a mixture is higher, but the advantages are obvious:
- Absolute resistance to moisture and water, ultraviolet, easy to clean, does not absorb dirt, does not fade.
- Neutrality to chemical and temperature effects, used in baths, pools, bathrooms.
- Resistance to abrasion and other mechanical loads.
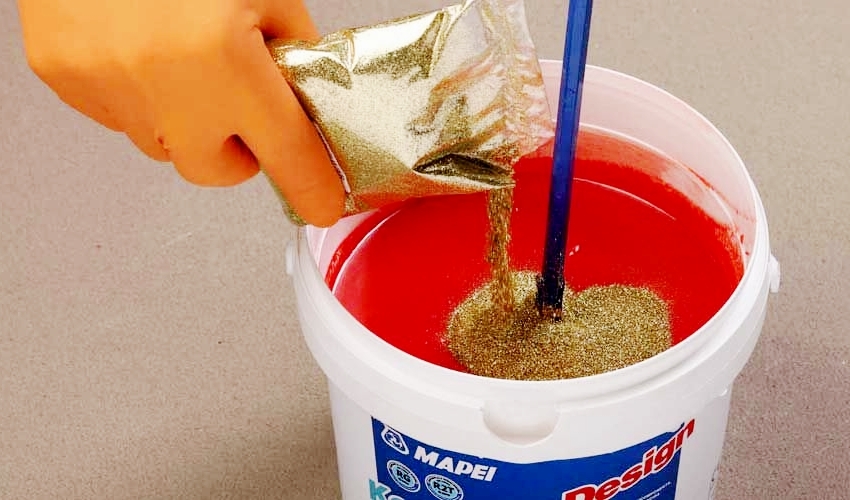
- High decorative. Glitter, silver and gold powder and sand, mother-of-pearl, luminescent compounds are added to the mixture, which allows to achieve various visual effects.
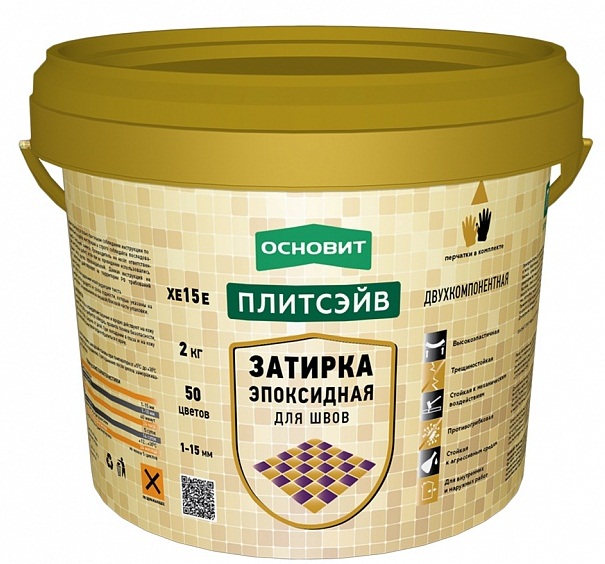
Epoxy grout is mixed immediately before working in small portions, its setting time is from 5 to 20 minutes. This is a viscous material, its application requires quick work and skills.
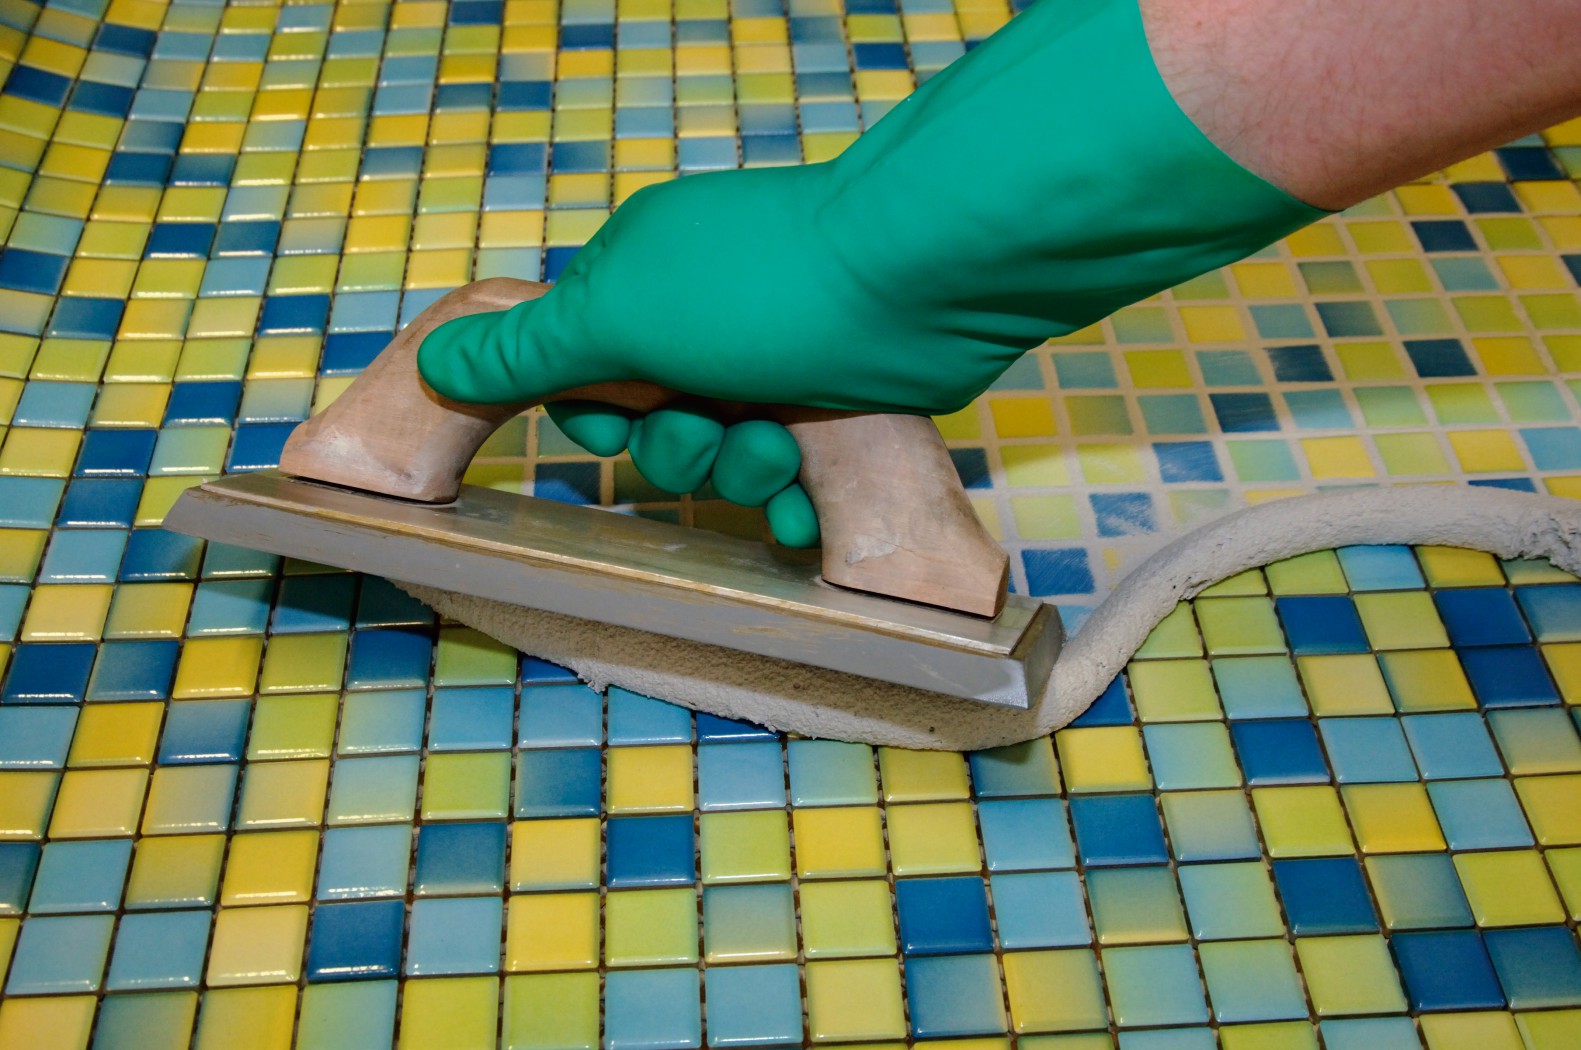
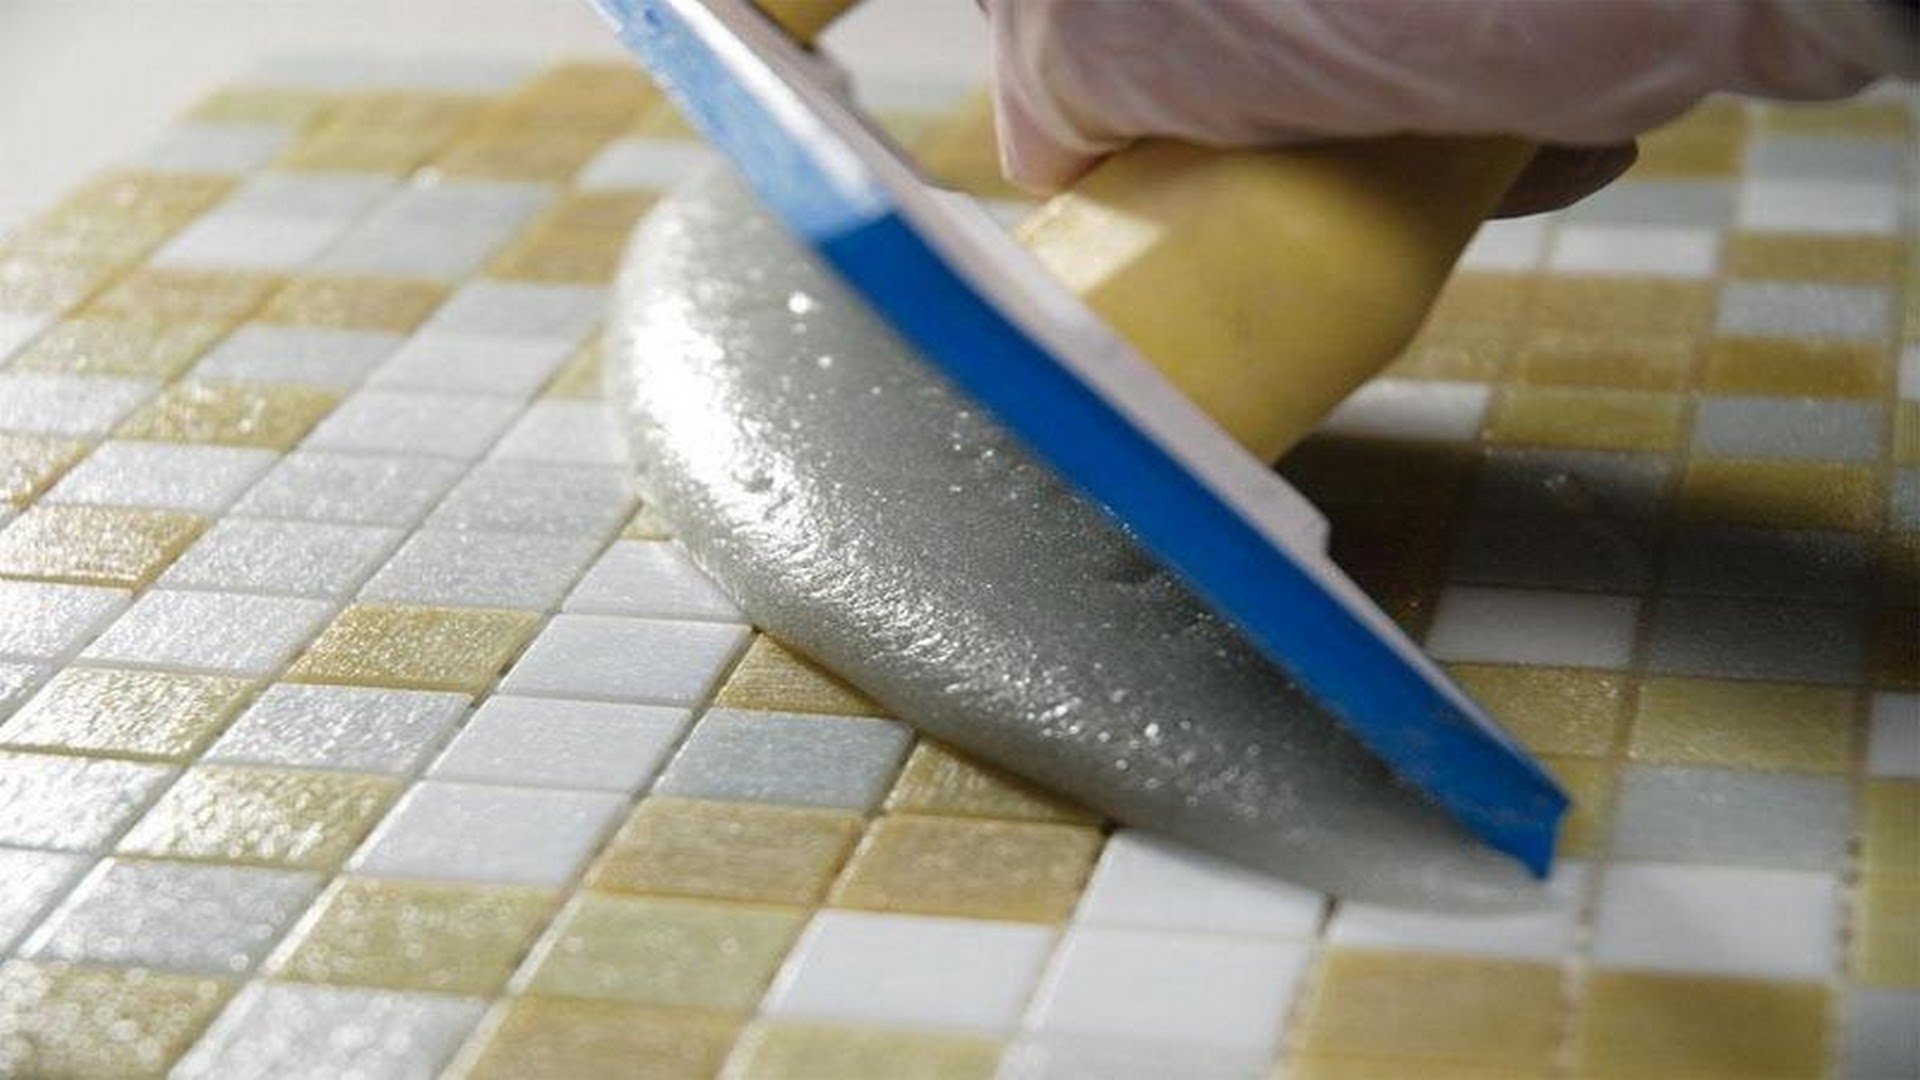
It is recommended for wide seams from 6 mm, bright design decisions, perfectly is suitable for a ceramic and glass mosaic, can be used also for external works.
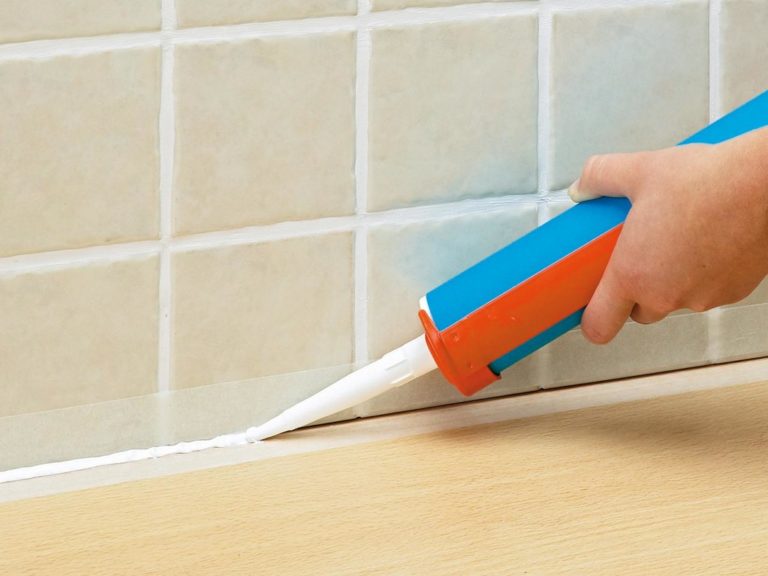
- Polyurethane or polymer. It is sold in finished form and is an aqueous dispersion of polymer resins, to which pigments are added. This mixture is easily applied using a special syringe and tolerates sudden changes in temperature, for example, switching on and off the system of underfloor heating, where the tile is often used as a topcoat due to its heat-conducting properties.
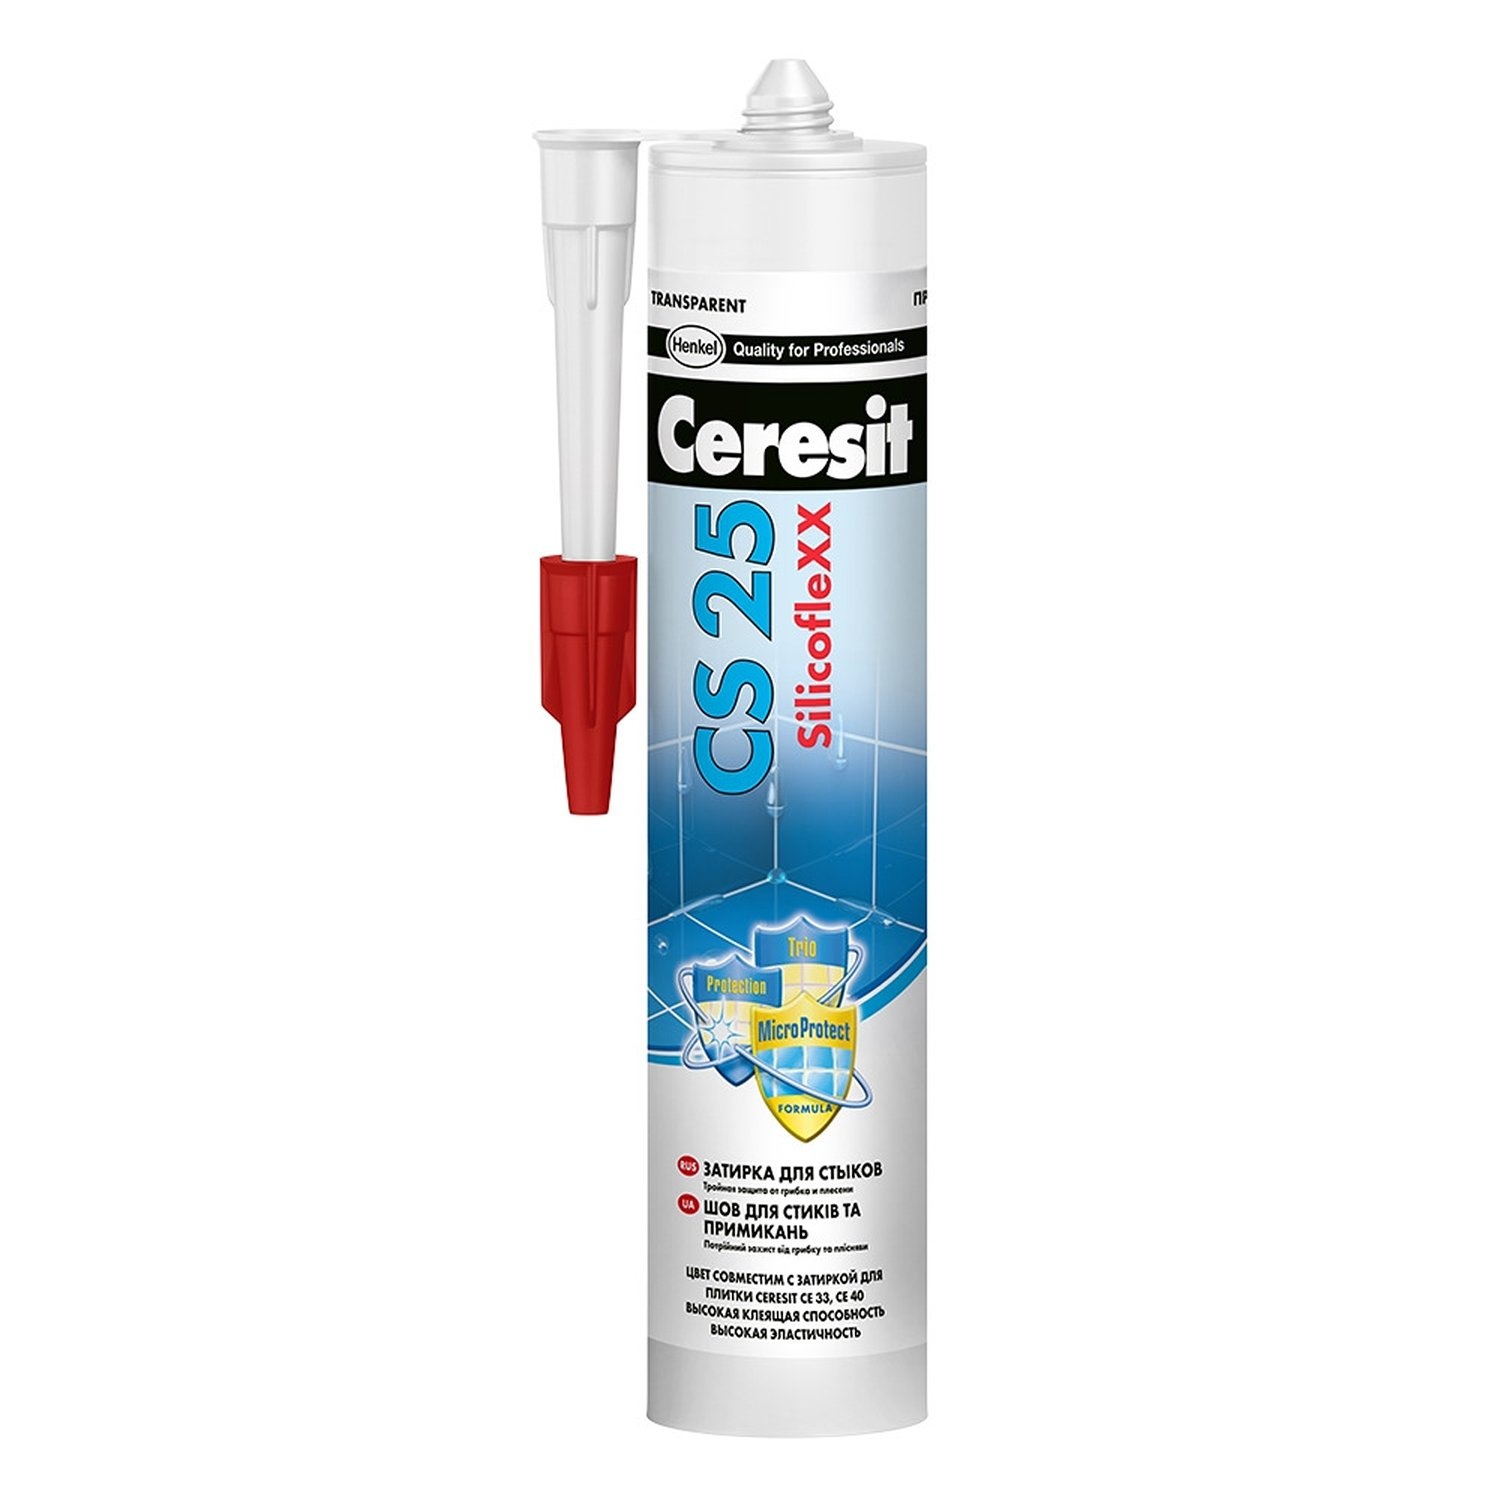
- Silicone sealants used for joints between the sink in the kitchen and tile worktops, laminate and floor tiles. For aquariums and bath edges.
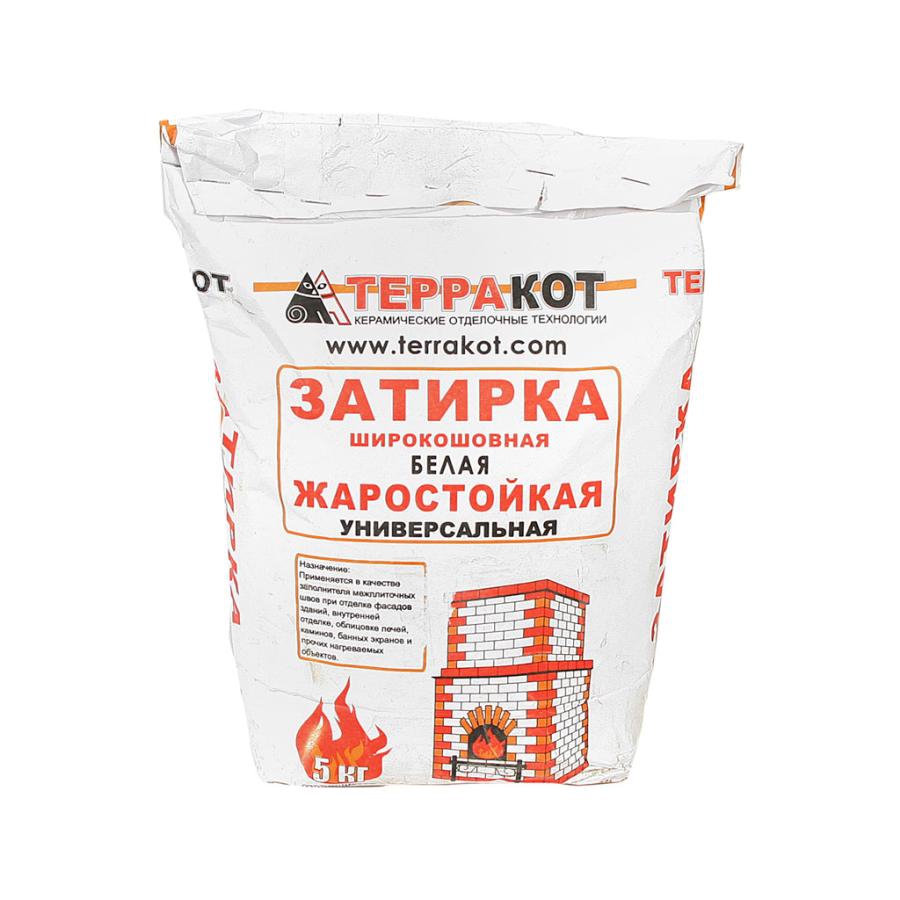
- Special grout with specific properties, for example, heat-resistant mixture of chamotte clay and cement for the manufacture of furnaces.
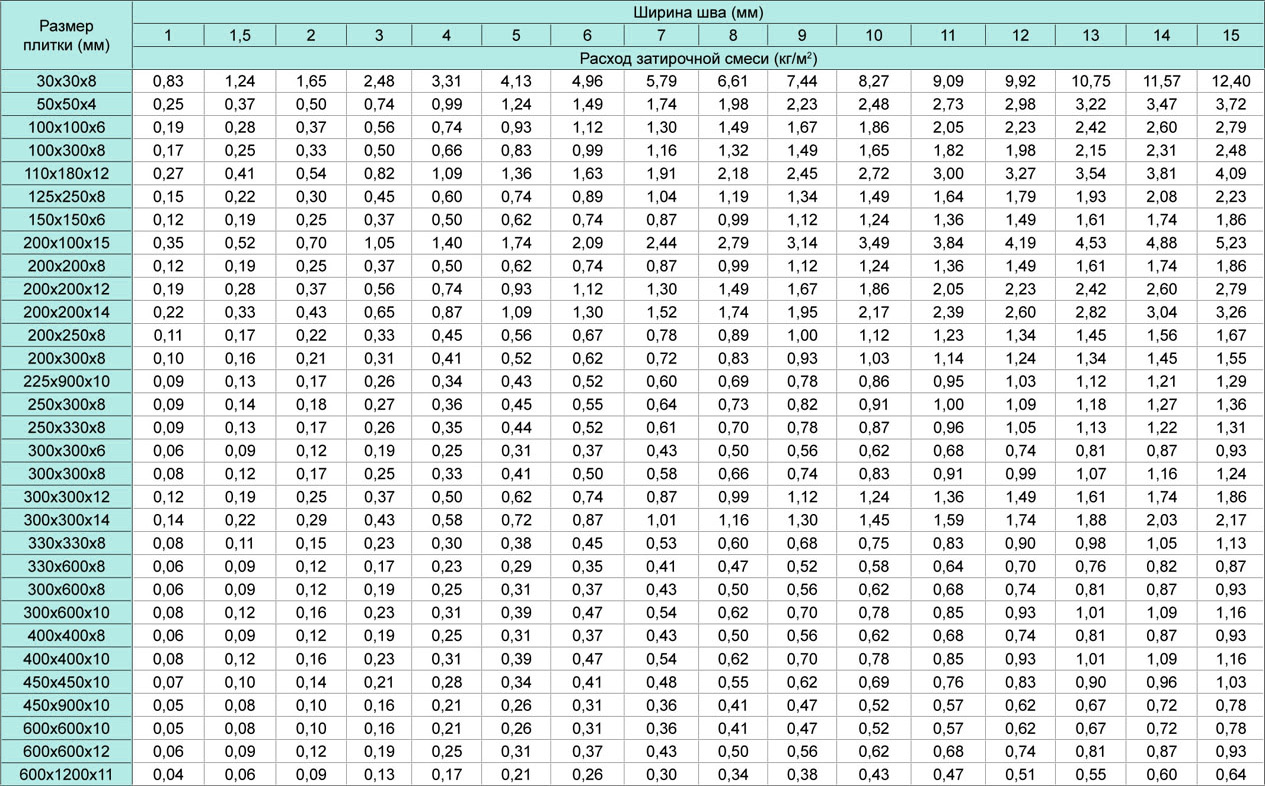
How to calculate the quantity?
The composition is selected, you can go to the store, buy a mixture and rub the seams on the tile. There is a special formula by which the consumption of the trowel in kilograms per 1 m2 is calculated.
Consumption (kg / m2) = (A + B) / (A + B) x H x D x Coef. x 10%

In this formula:
- A - tile length, mm.
- B - width, mm.
- H - thickness, mm.
- D - weld width, mm.
- Coefficient - the density coefficient of the trowelled mixture. Equal to 1.5-1.8.
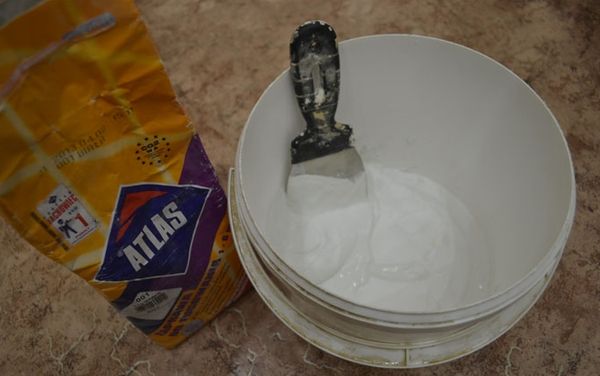
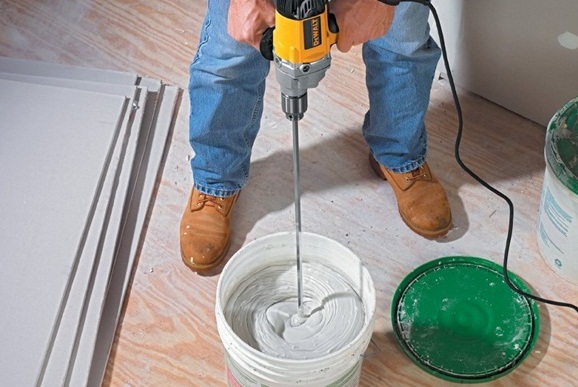
Preparation of the mixture
For dilution of the solution of dry powder requires a small clean container and a drill with a mixer nozzle.Mix the mixture with water or liquid latex strictly according to the instructions on the packaging of a particular grout. Usually they take about 200-300 ml of water per 1 kg of dry ingredients. Gradually add water, mix, then add another portion, so gradually prepare the entire mixture. The consistency of it should resemble sour cream. If water is poured above the norm, too liquid mixture will crack, and very thick will not fill the entire seam, and voids will remain.
Mixer thoroughly mix the composition until a homogeneous mass. Color pigment or various decorative additives can be mixed into epoxy and polymeric according to the customer’s or designer’s plan.
It is better to dilute the first batch in a small amount in order to check the flow rate, the quality of the mixture, the setting speed. If you purchased a ready-made grout, you need to postpone part of the finished paste in another smaller container, tightly closing the lid of the factory can. It’s impossible to keep a ready solution for a long time, since it becomes covered with a film and loses its properties. Then you can not use it. It is recommended to dilute the portion so as to wipe 1.5 m2.
Before rubbing the joints are moistened, rubbing with a wet sponge, it is not necessary to treat the surface with a primer.
Subtleties of the process
Moisture that is applied to the gaps between the seams provides better adhesion when applying the mixture. For glazed tile types, this procedure is optional.
In the rooms of permanent use (in the toilet, bathroom, kitchen), you can start mashing the joints 1 day after laying the tiles, so as not to torment the residents for a week. In other rooms, you must wait 7 days, and only then do the grout. Before the main work, the treatment of the intervals with antifungal composition is necessary. After treatment, the composition dries within 24 hours.
Epoxy mixture is chemically aggressive, to work with it, the necessary means of protection. Epoxy putty need to close the seams very quickly and deftly, otherwise it will harden and become useless.
To apply polymer paste, you need a syringe that you can do with your own hands. To do this, take a tight plastic bag and cut off its corner so that you get a small hole to exit the polymer. Then put a little mix and squeeze, filling the inter-tile seams.


What is needed?
For the work should prepare the following tool:
- A clean, small container in which a portion of the solution is kneaded can be used a tray.
- Mixing drill for thorough mixing.
- A basin of warm clean water to wet the seams before work.
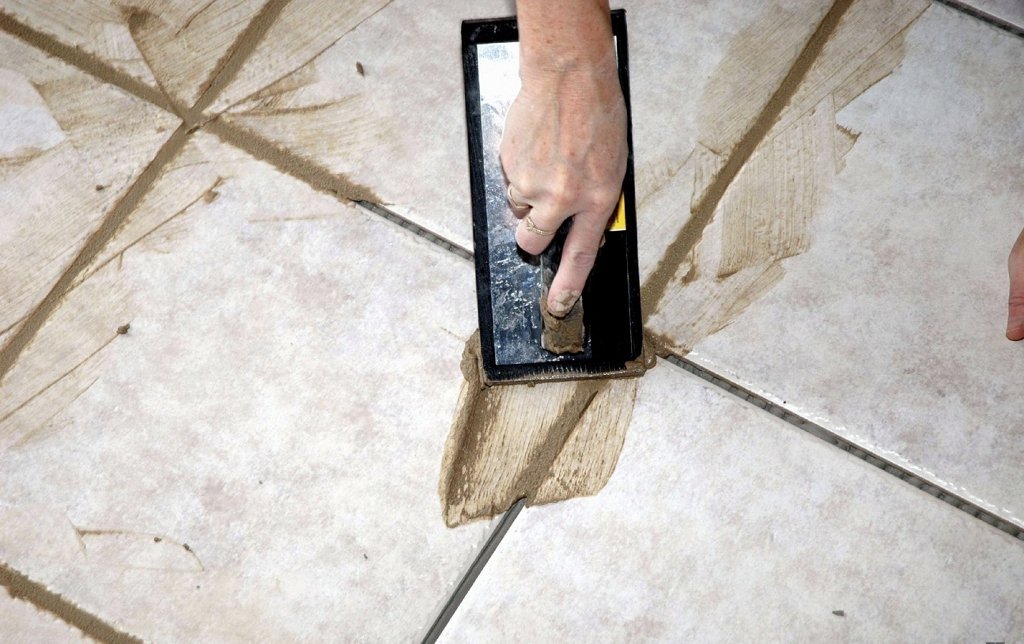
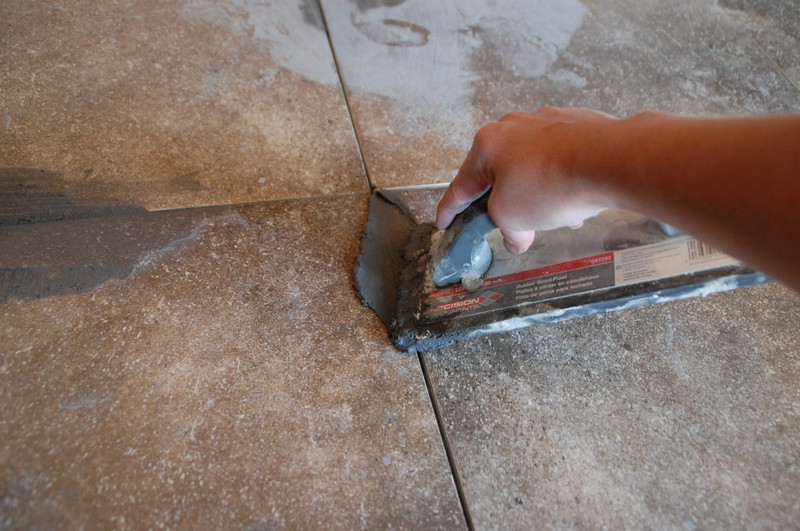
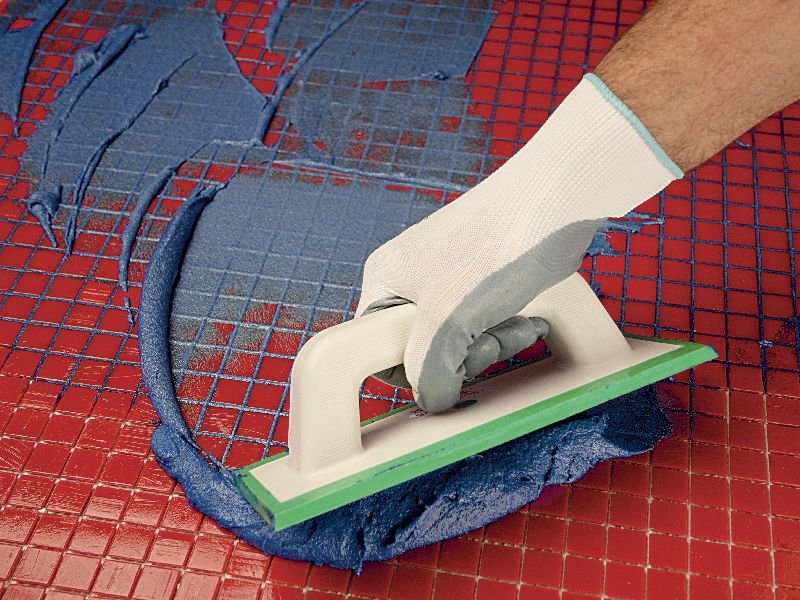
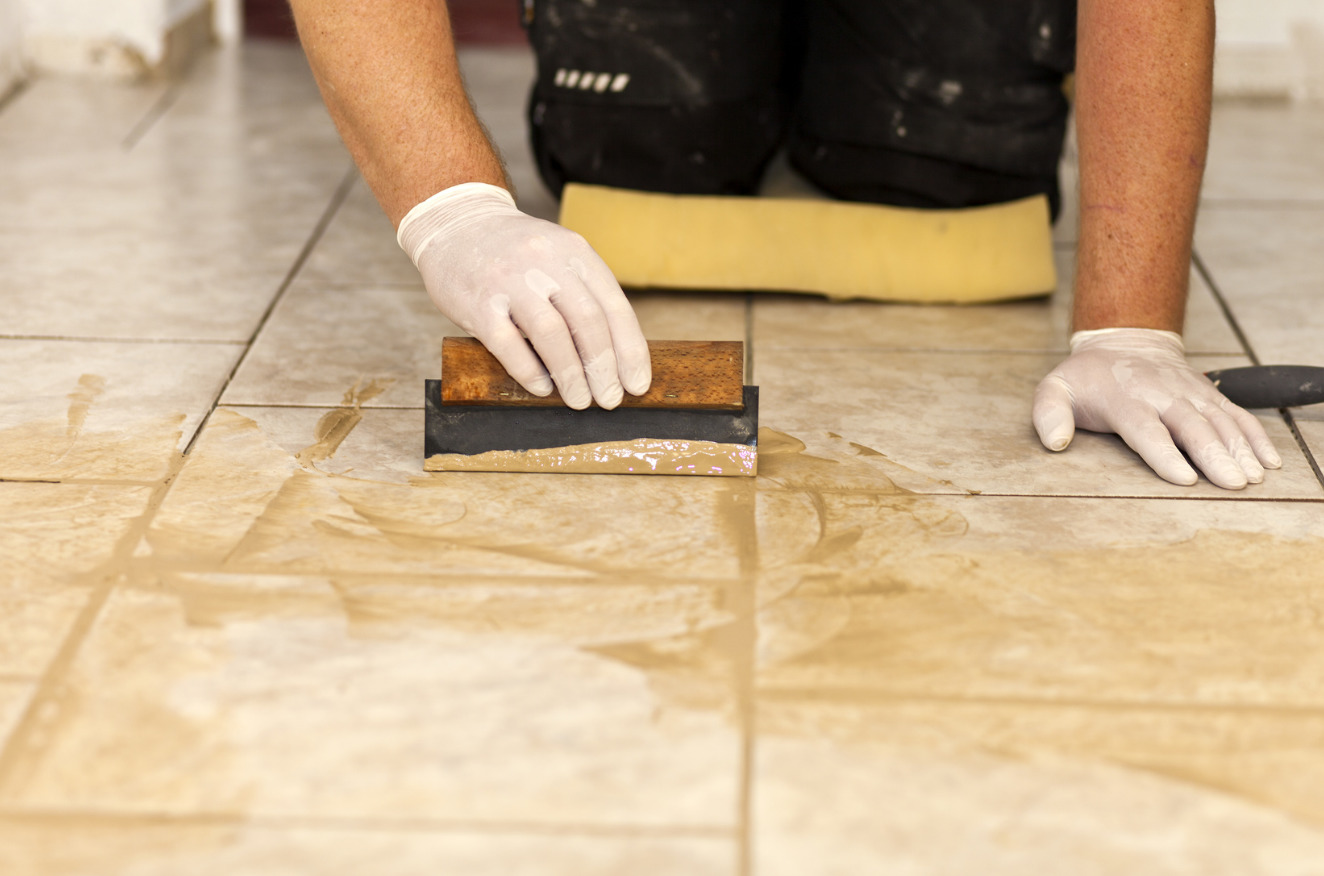
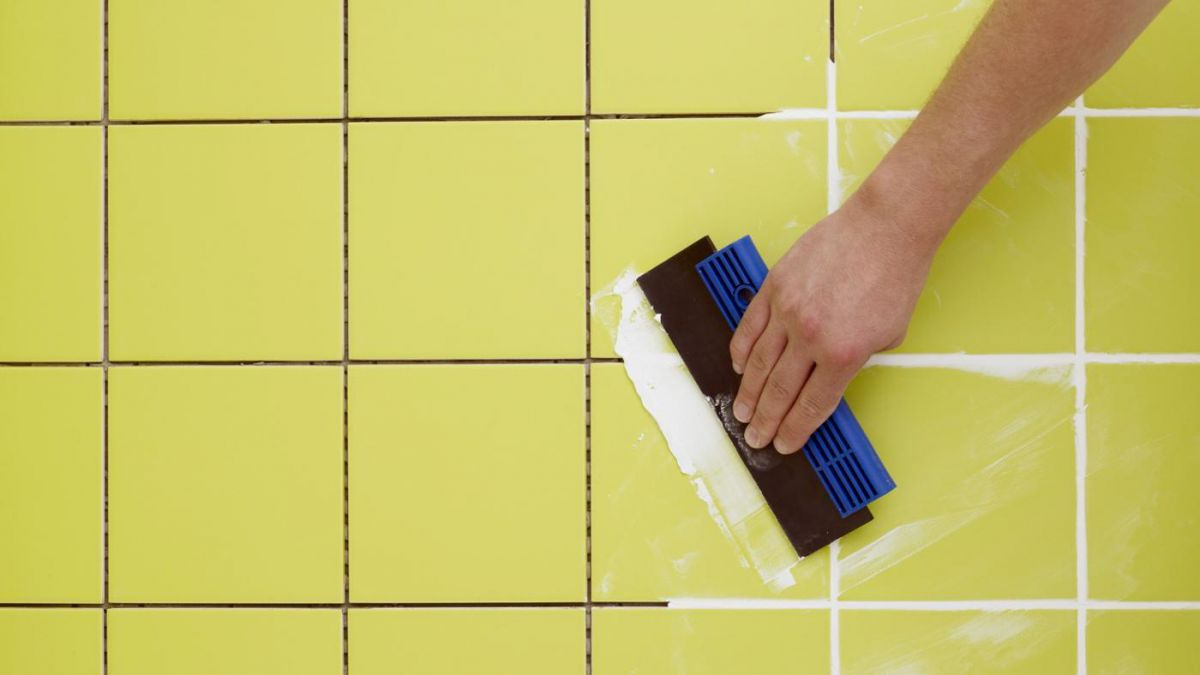
- Rubber spatula, which fill the gaps, or trowel grater.
- Large hard sponge, paint brush for wetting and sweeping debris and dust.
- Clean rag, preferably soft.
- Individual chemical protective equipment: respirator, goggles and rubber gloves.
- A piece of electrical cable with a diameter slightly less than the width of the seam or a special former to give the seams a beautiful shape.
- For polyurethane compounds in the kit is a special tool for cleaning the tiles and sponge.


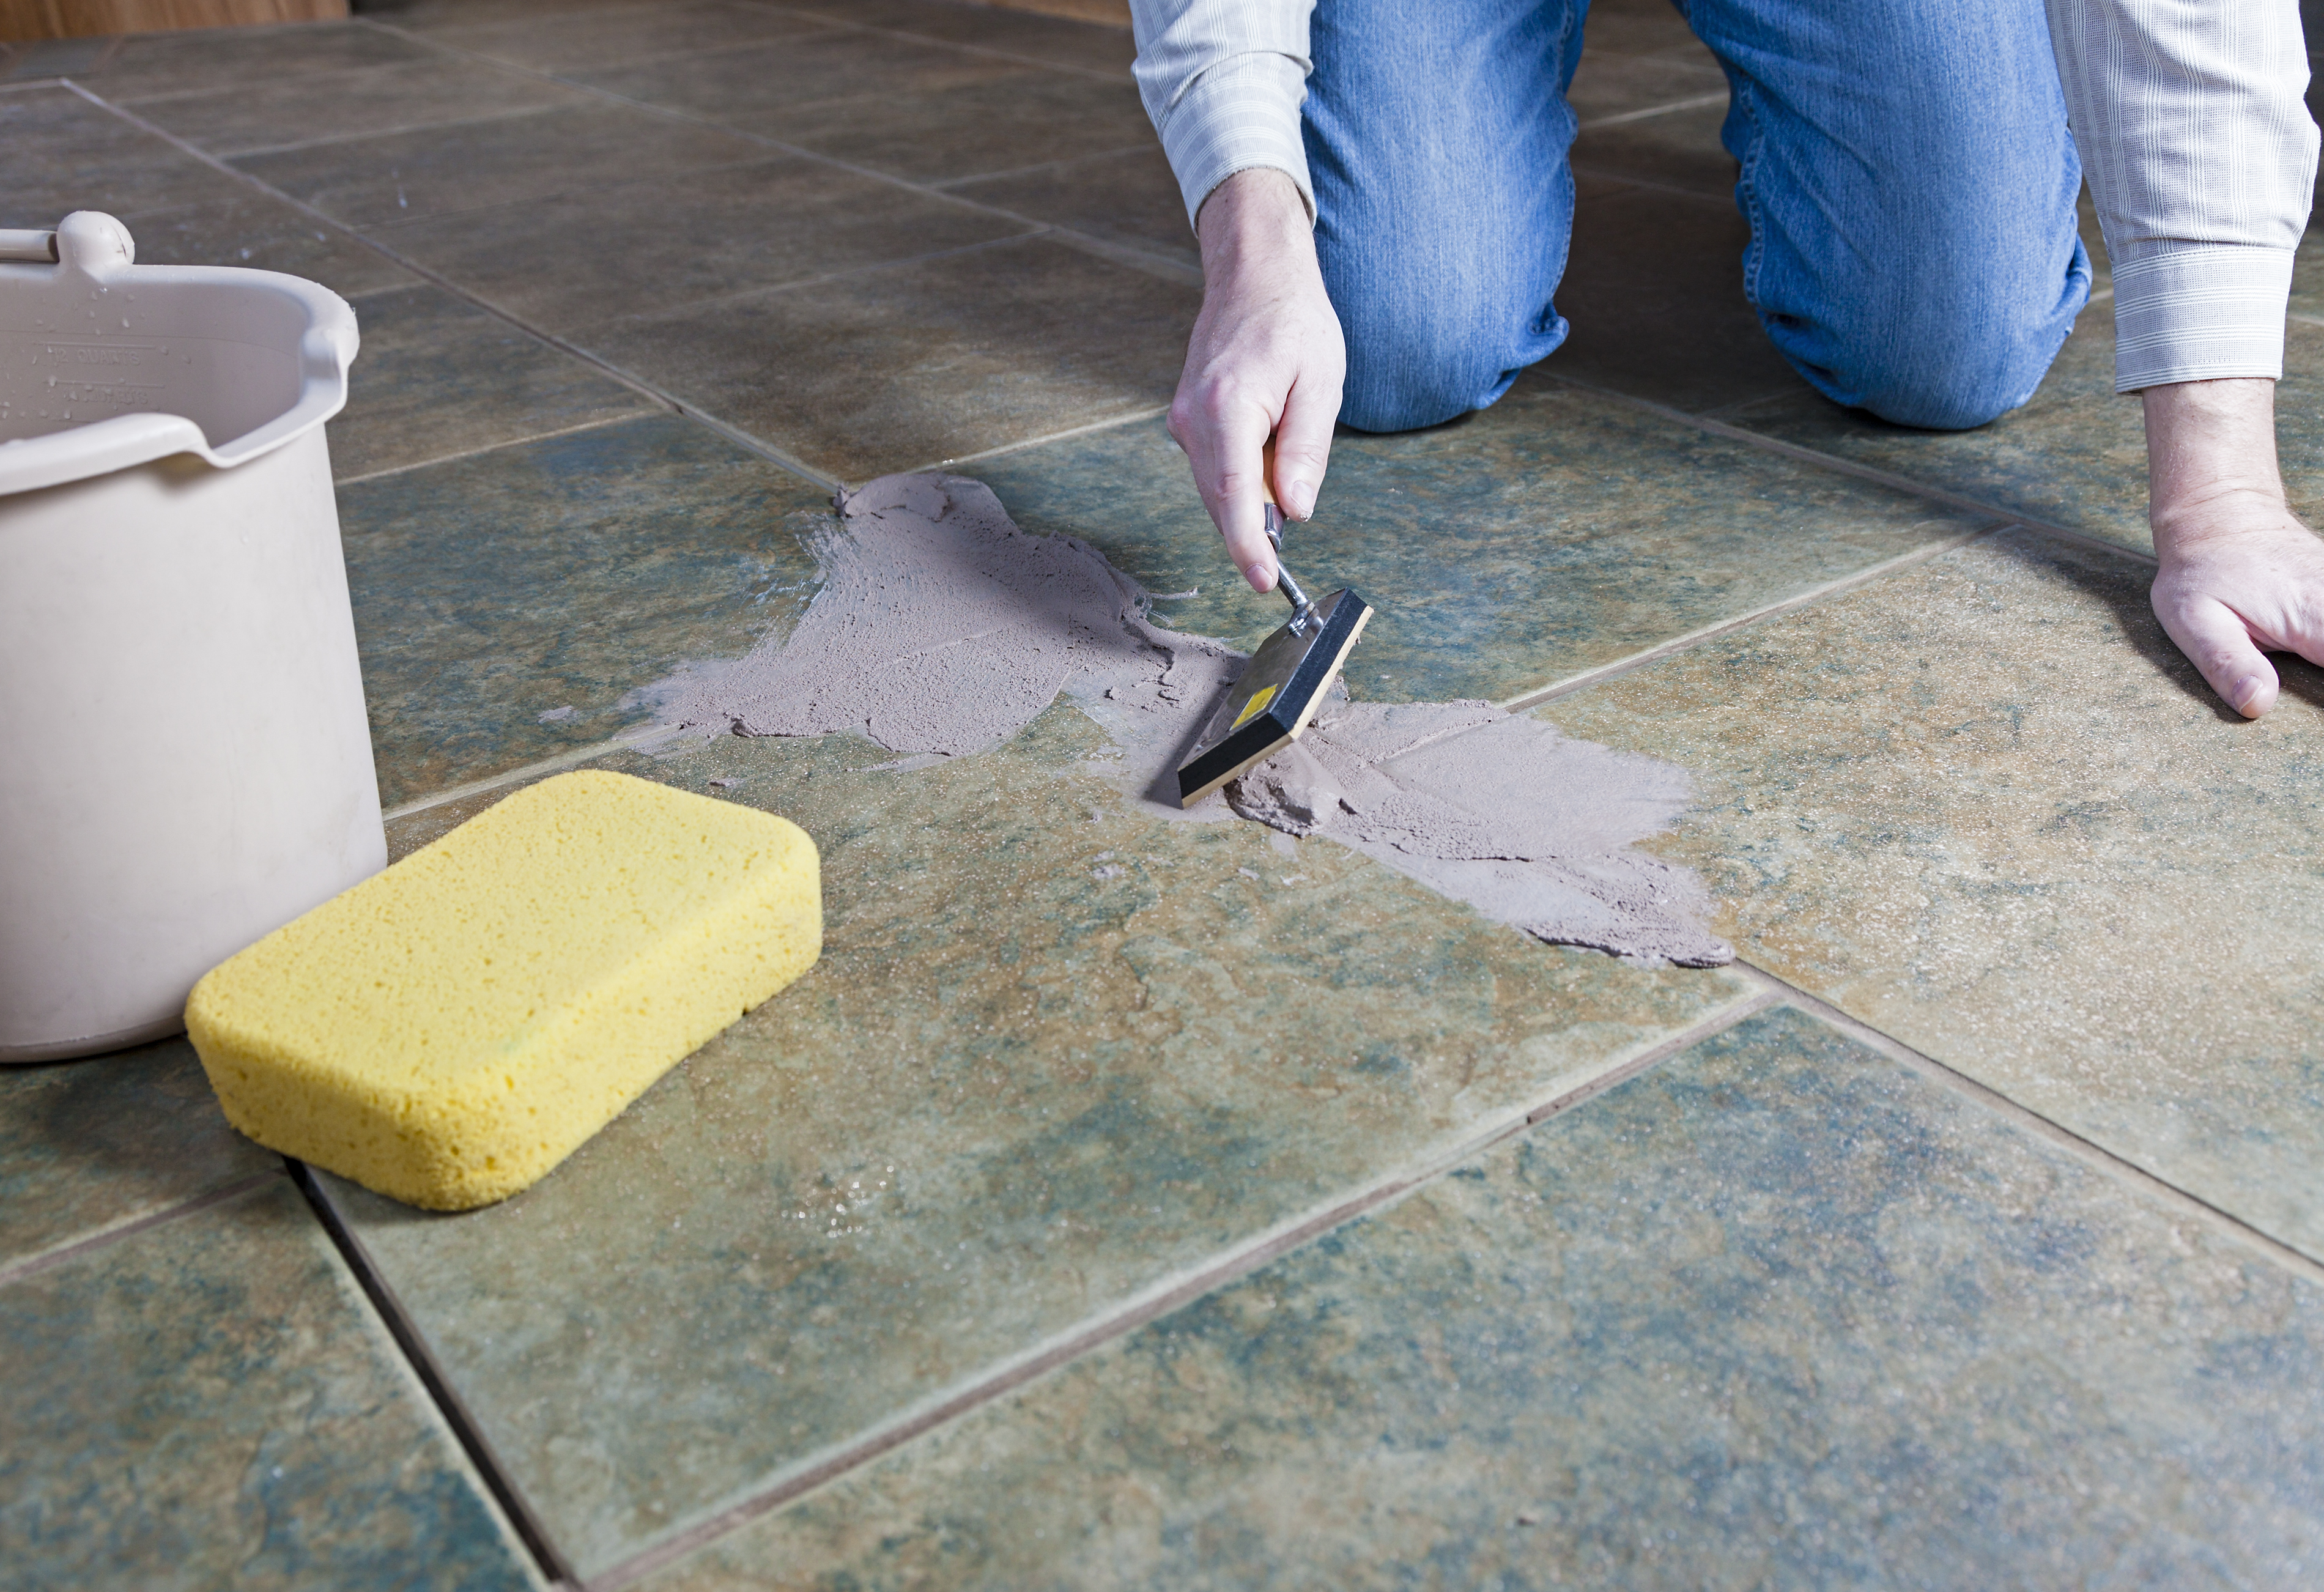
Application Guide
To properly fug the floor and walls, you need to know the basic rules.
They are suitable for cement mixtures and polyurethane:
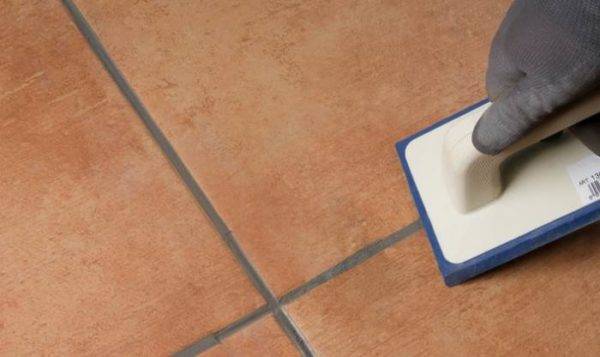
- Movement while rubbing does not go along the edge of the tile, but across, perpendicular to the seam, on the wall a horizontal strip is first made and then vertical.
- Dilute or collect the finished pasta in small portions, covering an area of approximately 1.5 m2.
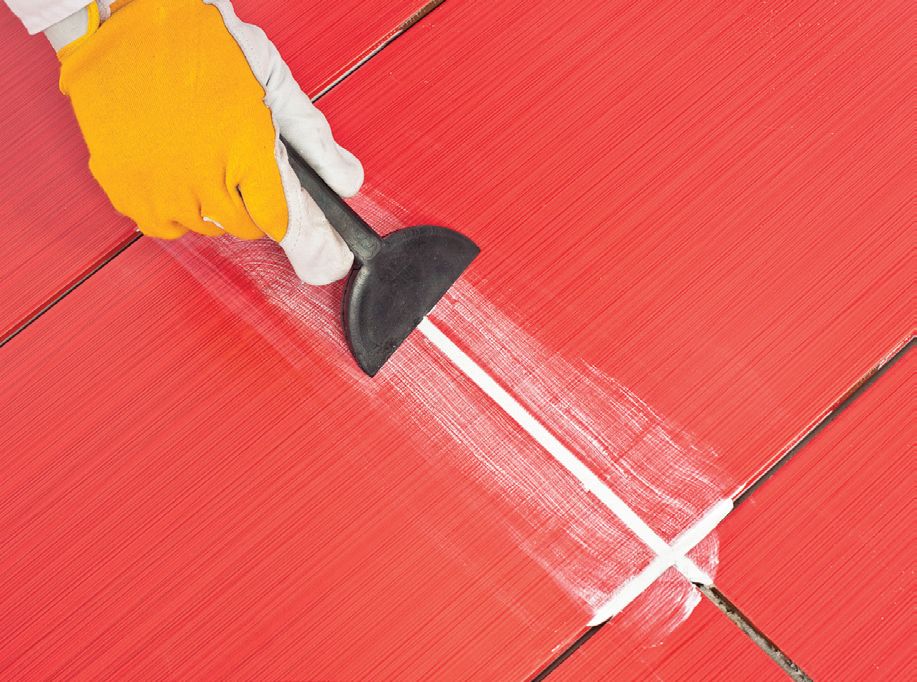
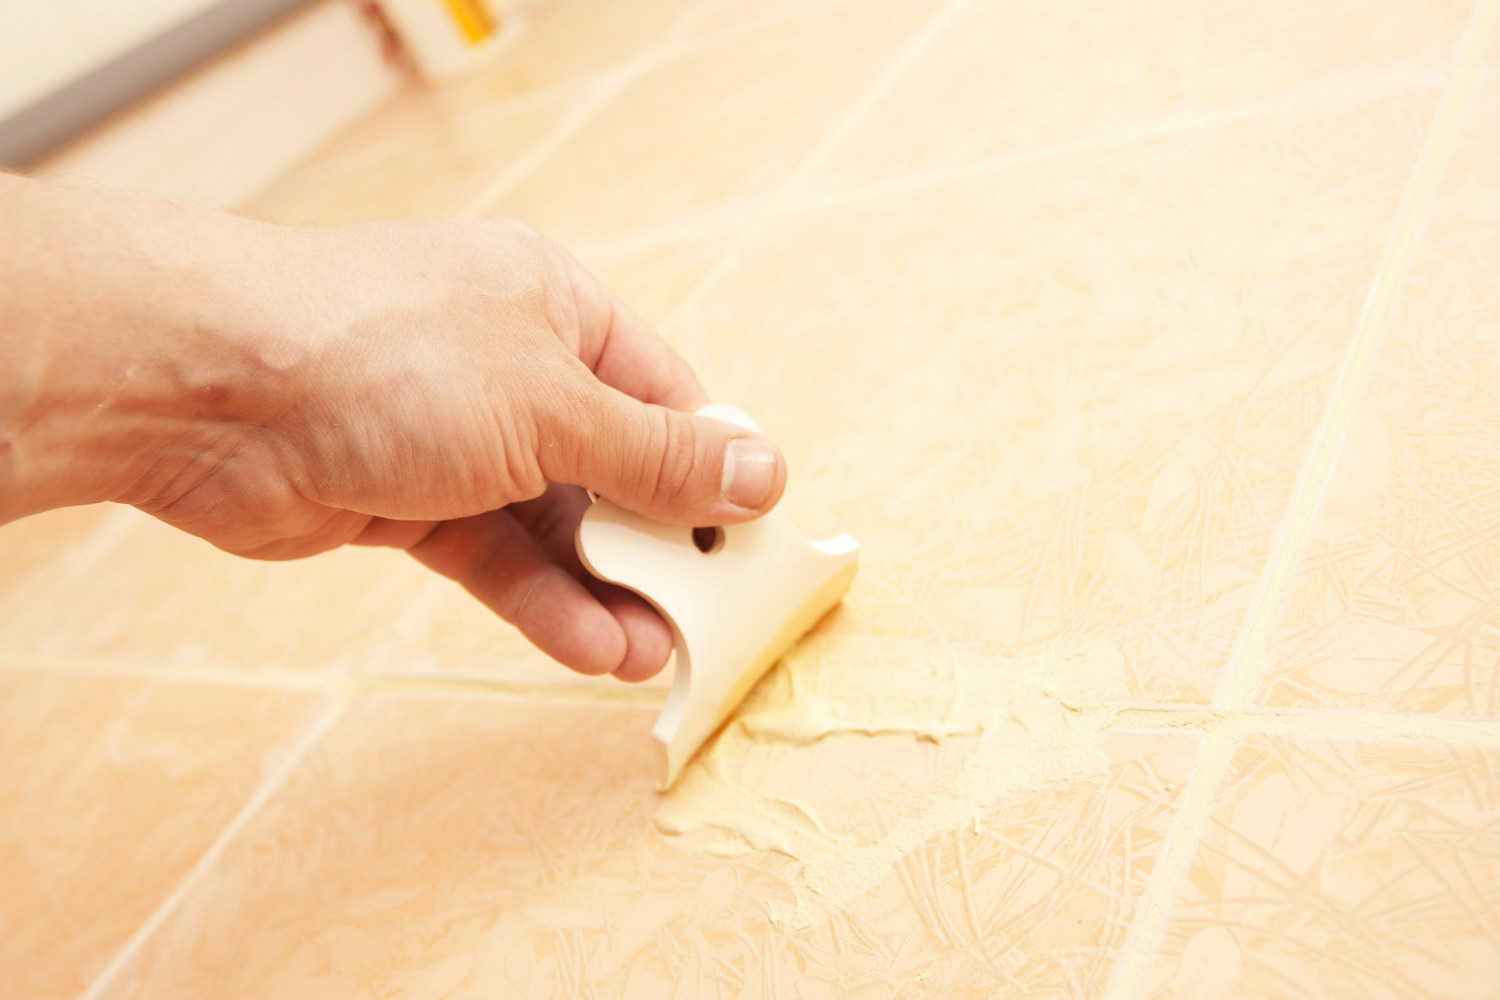
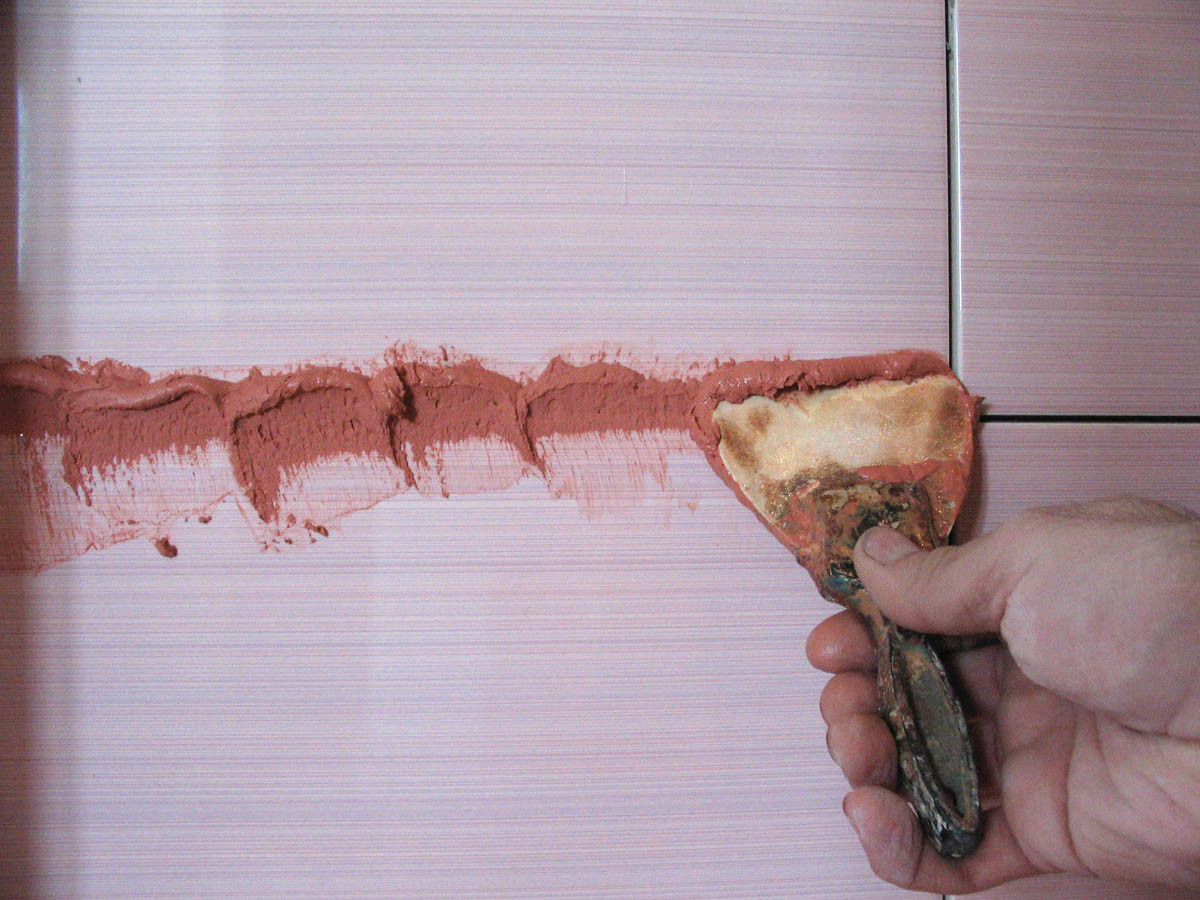
- Apply a lump of the mixture on the gap area and push more paste into the seam to fill all voids and cover the corners as much as possible. When the entire gap is full, the spatula will begin to meet a certain resistance.
- Do not forget to wet the edges, keep the trowel at an angle of 30-40 degrees to the tile.
- Conduct along the seam 3-4 times, carefully rubbing the grout, then the mixture will fill the entire gap.
- Excess solution must be removed immediately with a spatula.
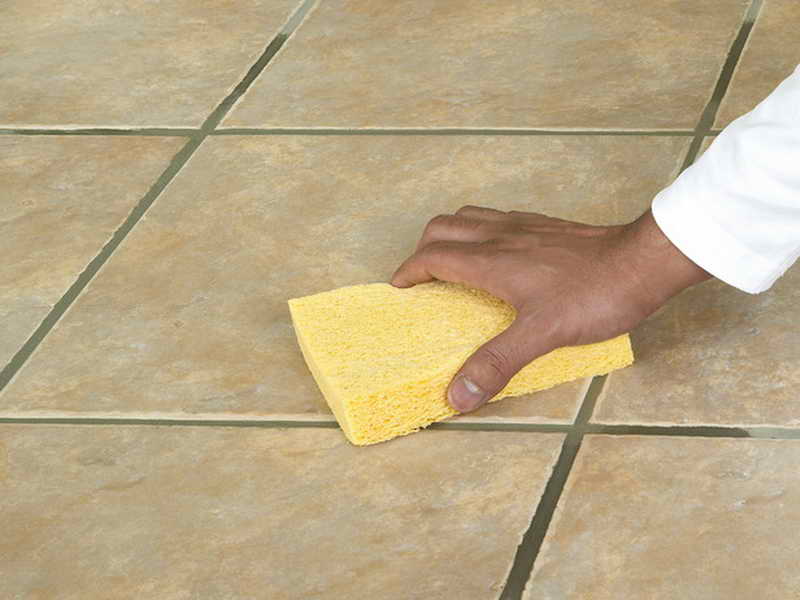
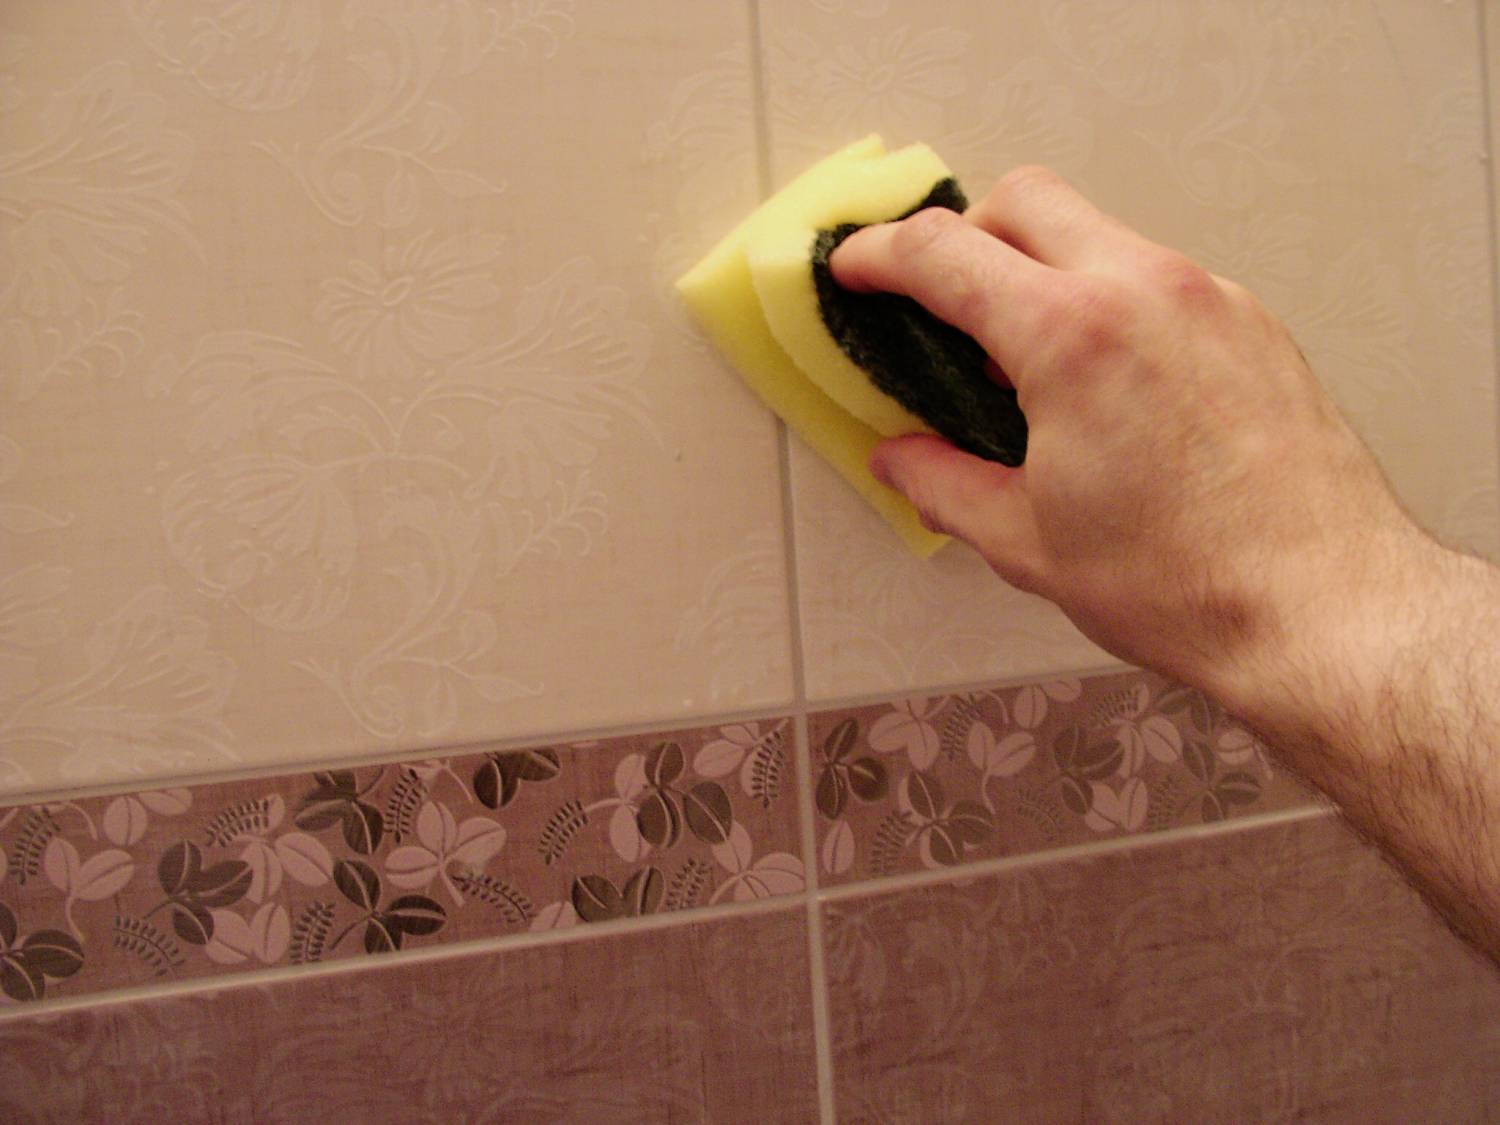
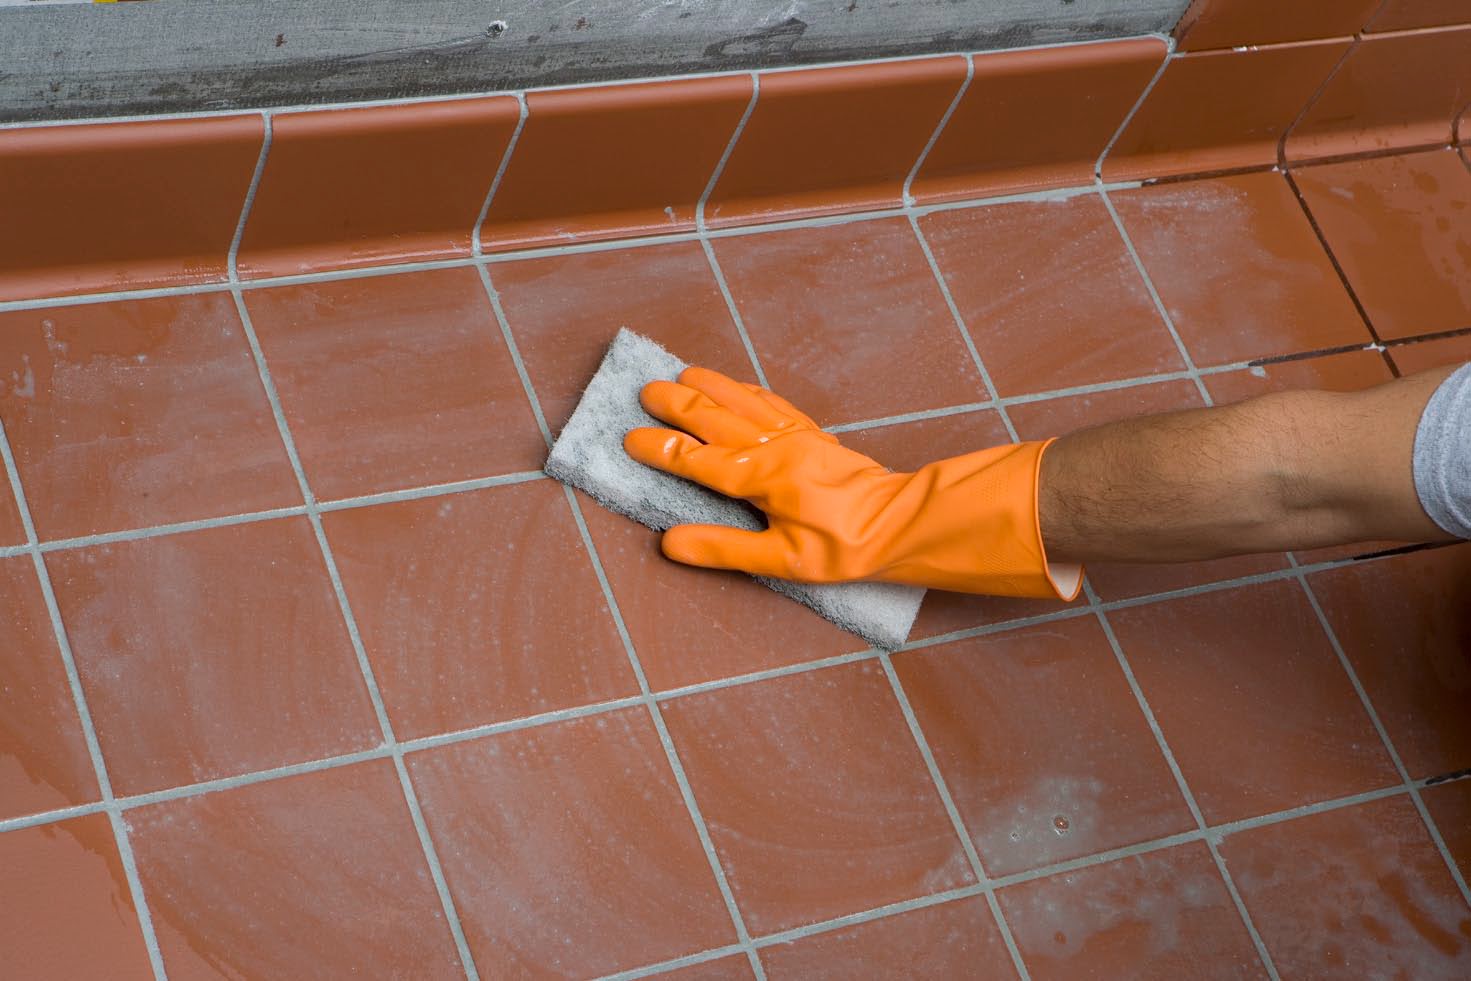
After 5-15 minutes, the seams will dry out a bit, but they will not harden completely, then you can level the seams with a stiff sponge, evenly pressing on it so that the grout layer is below the total level of the tile by 0.2-0.3 mm. It is not necessary to moisten the sponge too much so that dark spots do not appear on the surface of the seams. Against the background of a brighter pitch, they look sloppy and can ruin the whole look of the finished tile. Rinse the sponge is necessary after each formed seam. You can give the seam a neat appearance with a shaper or a piece of cable.
With a special sponge, it is necessary to wash off the stains, the remnants of the mortar from the tile, after solidification this will be much more difficult to do.Special detergents are used to remove excess polyurethane grout. After a day the surface is completely dry and harden. You can wash the tiles clean with any detergent.
It is more difficult to rub epoxy paste, as it is more viscous and hardens quickly. If you do not have time to remove the remnants, will have to cut them with a knife. It is recommended to entrust the application of such pastes to experienced professionals. If you decide to apply yourself, you can first practice on a small area, test the mixture during setting and prepare all the auxiliary cleaners at once.
After complete drying of the grout, it is treated with various impregnations to improve the performance properties. Impregnations increase the water-repellent properties of joints, strengthen them, prevent the appearance of mold and fungus, improve the overall look. Impregnation can be applied with a thin brush.
Useful tips
Skilled craftsmen give valuable recommendations for correct correction of errors and flaws in the performance of work, as well as for successfully overcoming difficult places and achieving a brilliant result.
In the corners and various hard-to-reach places, the joints should be rubbed with a special small spatula. The gaps between the bathroom, sink, shower and tiles are recommended to be smeared with silicone sealant for reliability and better waterproofing. So that the silicone does not stain the tile, the edge is protected with masking tape. Apply sealant and align the seam with a wet spatula. Then remove excess silicone, and peel off the masking tape.
To achieve a glossy beautiful gloss on the tile, you can prepare your own solution of the following ingredients:
- Toothpaste.
- Lemon juice.
- Detergent for dishes.
- Ammonia.
- Salt.
- Mustard powder.
- Table vinegar 6%.


30 minutes after jointing, one or several components are taken, mixed and diluted with water. Then wet a soft sponge in the solution and rub the tile surface. At the slightest turbidity of the solution should be replaced, take a new clean portion. Then additionally rubbed with a dry cloth after complete drying. Can be sprayed on the tile cleaner for glass and mirrors.
Cracking grout can begin at any stage, even in the process of applying the mixture.Such deformation of the solidifying joints is most often encountered when using cement mortar.
There are several causes of cracking:
- Dilution and mixing of the trowel mixture was not carried out according to the instructions, the proportion of ingredients was violated.
- Hot water entering the freezing surface.
- The solution is very liquid, added a lot of water.
- The base of the floor under the tile is not rigid enough, for example, wooden.

In this case, an urgent need to correct the situation, otherwise the entire gap will crumble over time. You can clear the gap and renew the seam, but the cracks will appear again. Experienced masters recommend rubbing dry powder into cracked rubbing joint. Add dry ingredients to the remaining portion, mix quickly.
In order to prevent destruction, when preparing the composition it is necessary to achieve uniformity, the viscosity should be medium. After mixing the solution, wait for 5 minutes, then re-mix thoroughly. Do not open windows and air vents for airing; use hot water when wetting.
It is important to carefully read the instructions, to comply with the specified proportions.
If the tile is to be replaced or the seam has darkened, it is necessary to clean the gaps.You can mechanize the process: there is a special professional machine for strapping.
At observance of technology and the correct use of devices beautiful smooth seams will turn out, and the decorative covering will be pleasing to the eye very long.
For information on how to properly rub the seams on the tile, see the video below.


