Repair the floor in the apartment with their own hands
Floors are traditionally experiencing the greatest mechanical stress. There is nothing surprising that sooner or later any floor needs repair. First of all, it is necessary to comply with all the requirements of the technology; it does not matter if it is a major overhaul of a wooden floor or a cosmetic “patching” of a concrete screed.

Types of repair
New buildings do not particularly need repairing floors, which cannot be said about houses that are more than 10 years old.
Variants of repairing floors can be very different, most often found:
- Redecorating the floor.
- Overhaul.
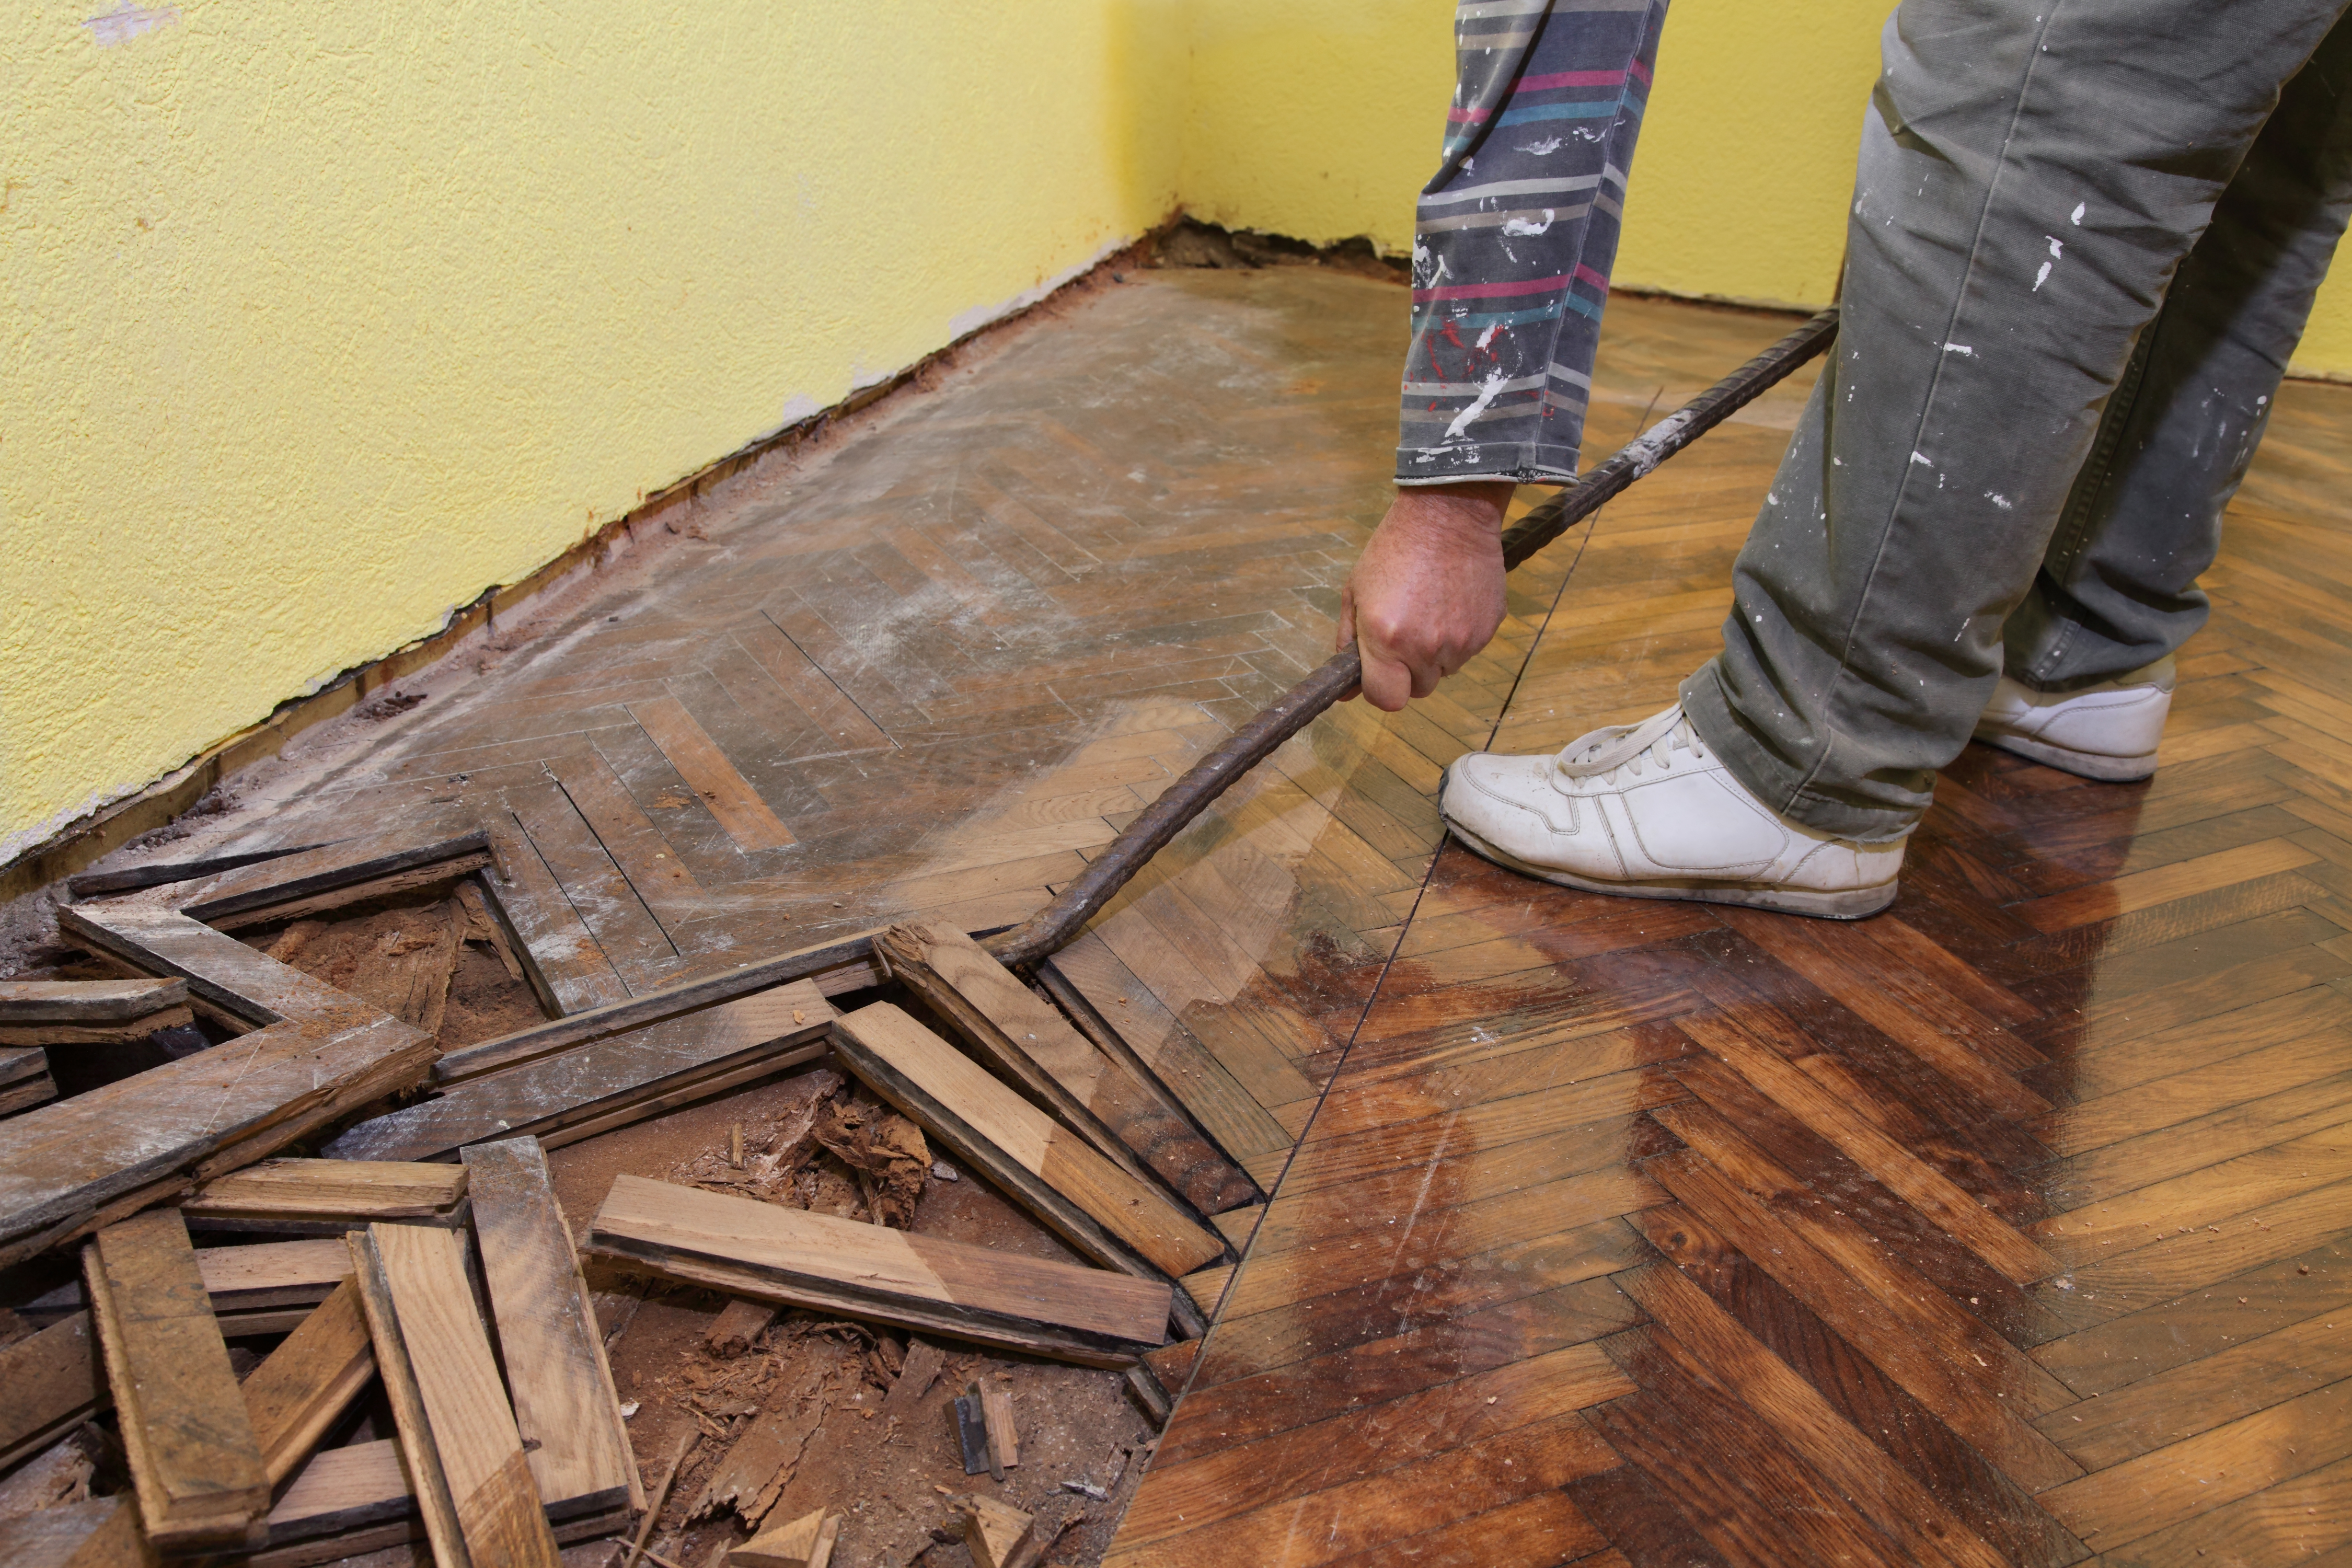
The first type of repair is a partial replacement of the boards, if the floor is wooden. This may be the restoration of fragments of the floor in the apartment. Such operations can be done even with furniture in the room, they are simple, everyone can do them.
If the floors need to be redone completely, major repairs are done.
From the premises without fail:
- all items are deleted;
- boards are dismantled;
- logs are removed, dust and dirt are removed;
- old waterproofing is cut off.
The easiest way to carry out such work in a panel house, when below the old lags is a floor plate. The task in this case: removing all the wooden structures and the old waterproofing, go to the interfloor reinforced concrete slab.
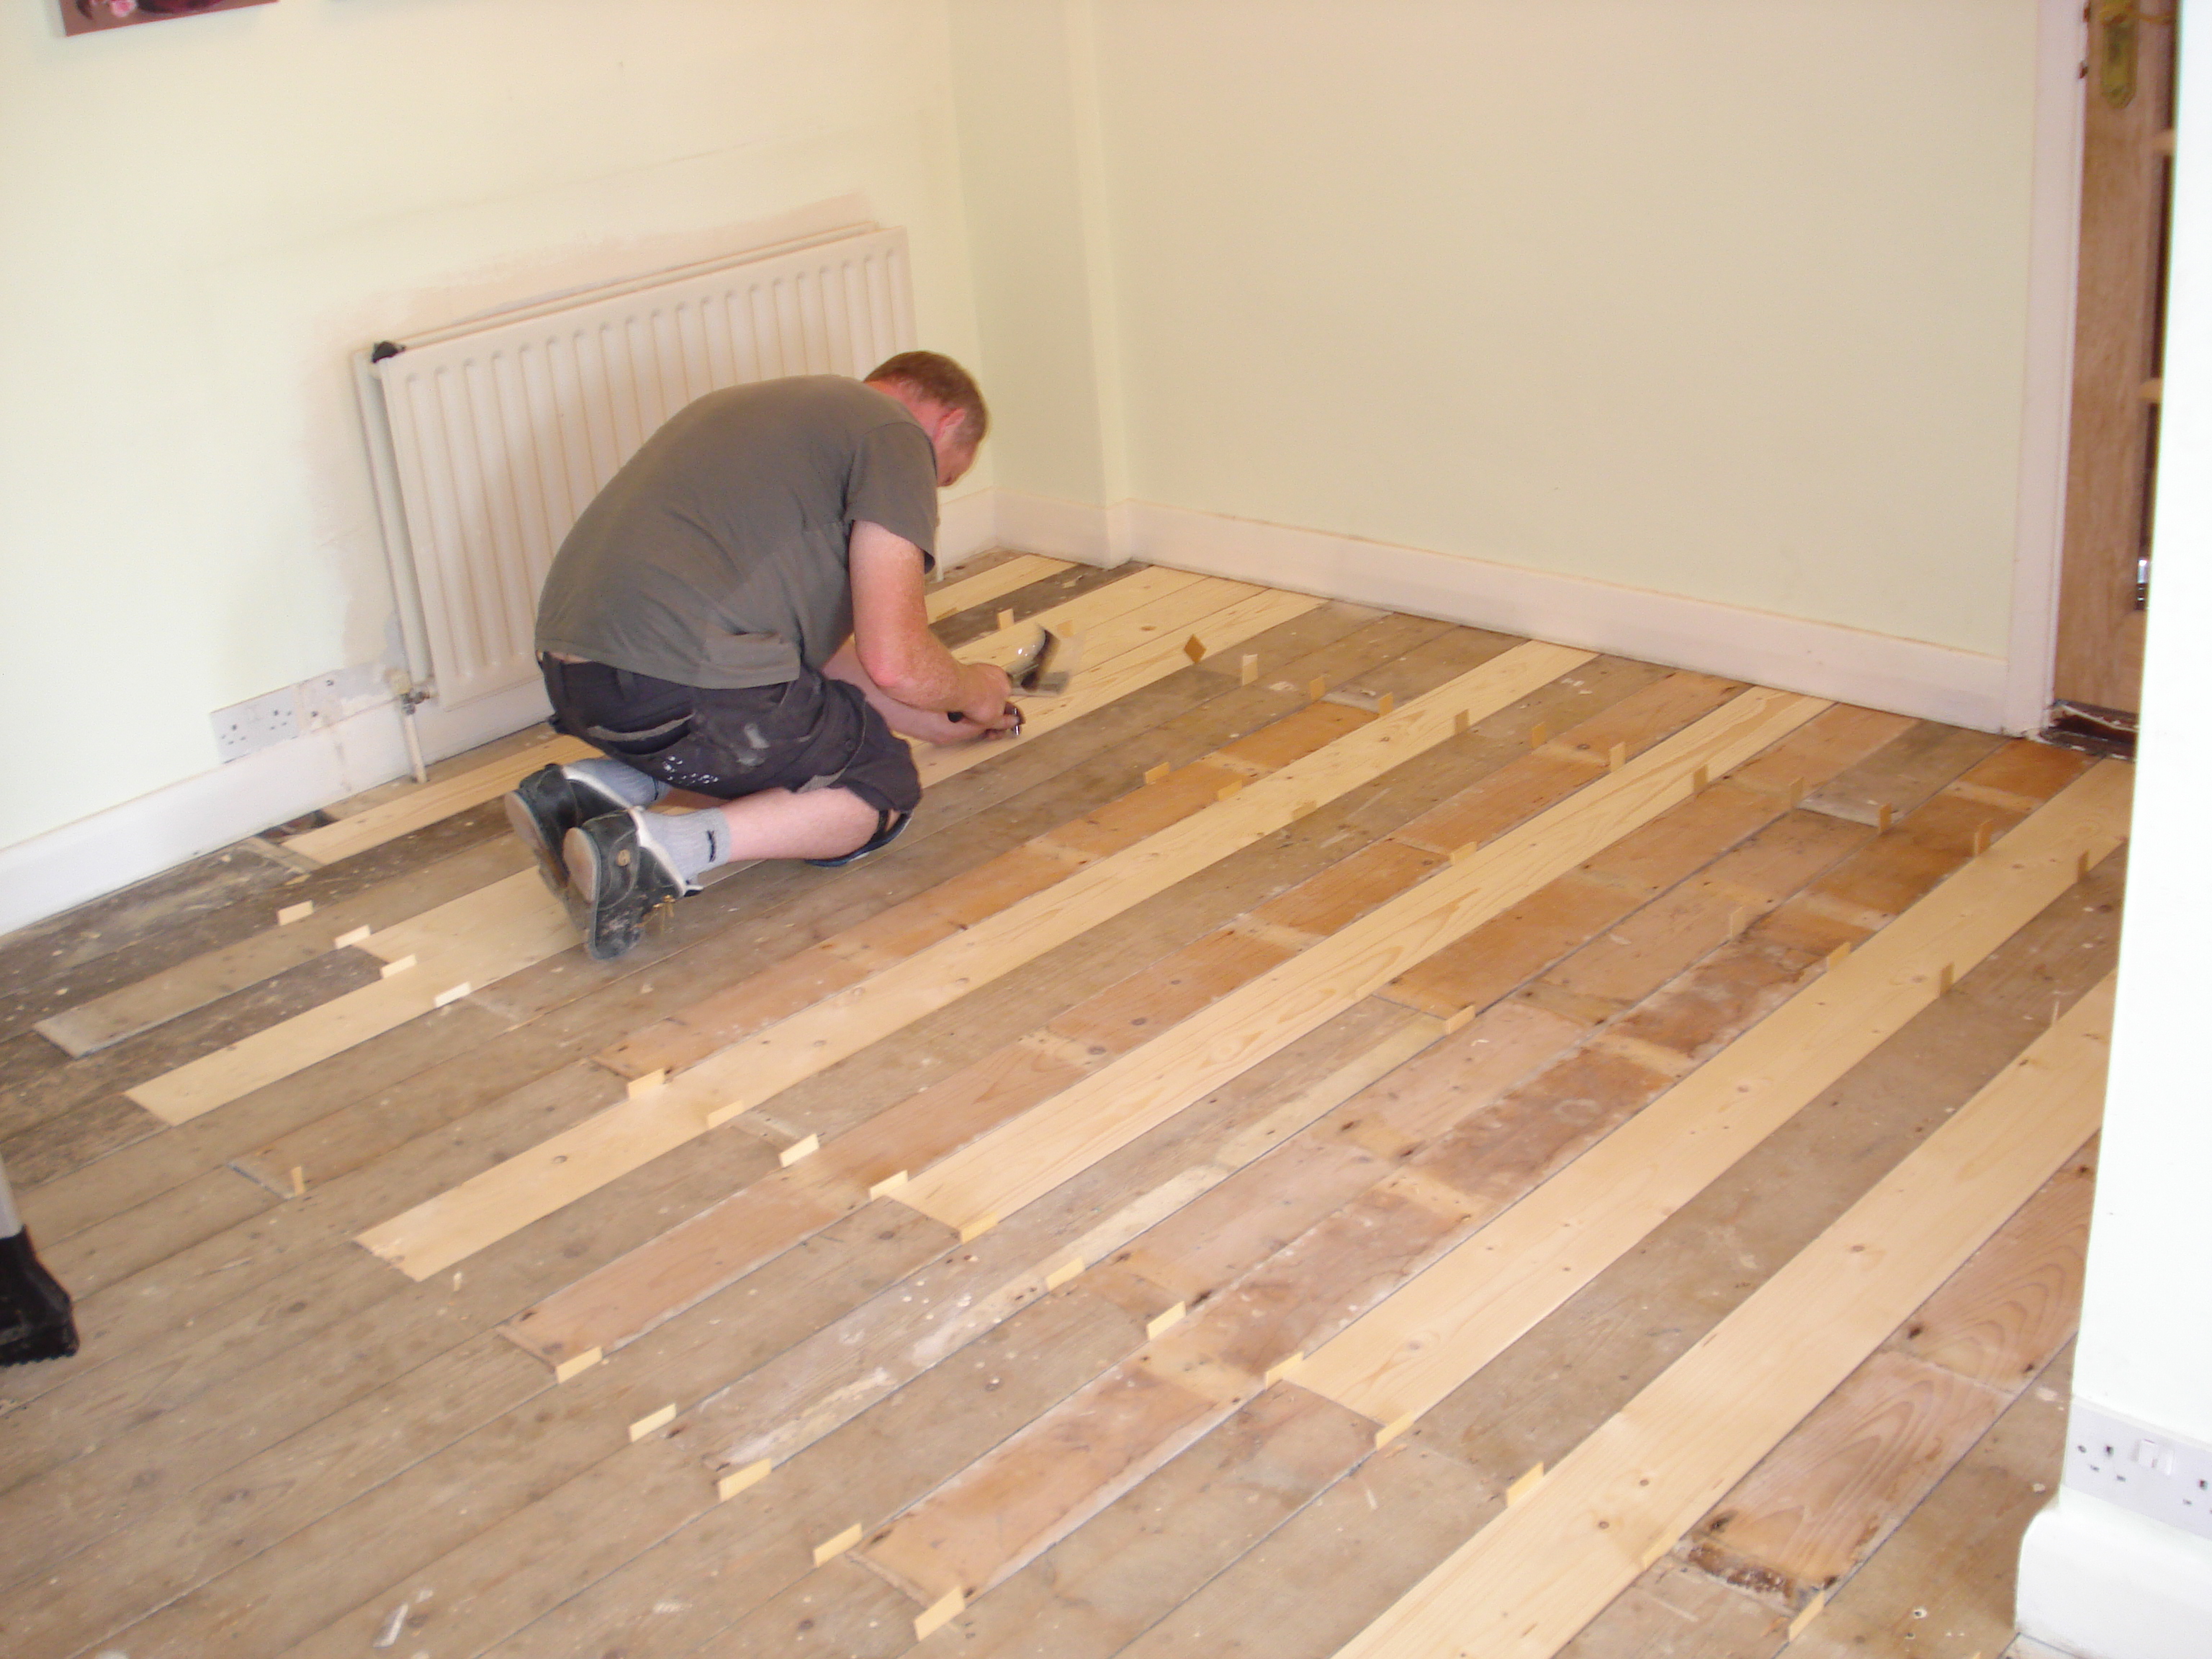
After the floors have been disassembled, all the wooden elements are checked, the material that replaces the boards and lags that have become unusable is harvested from the new boards and beams.
Then the whole process starts in the reverse order:
- covered with a new waterproofing;
- lags are mounted;
- pre-prepared boards are put in place.

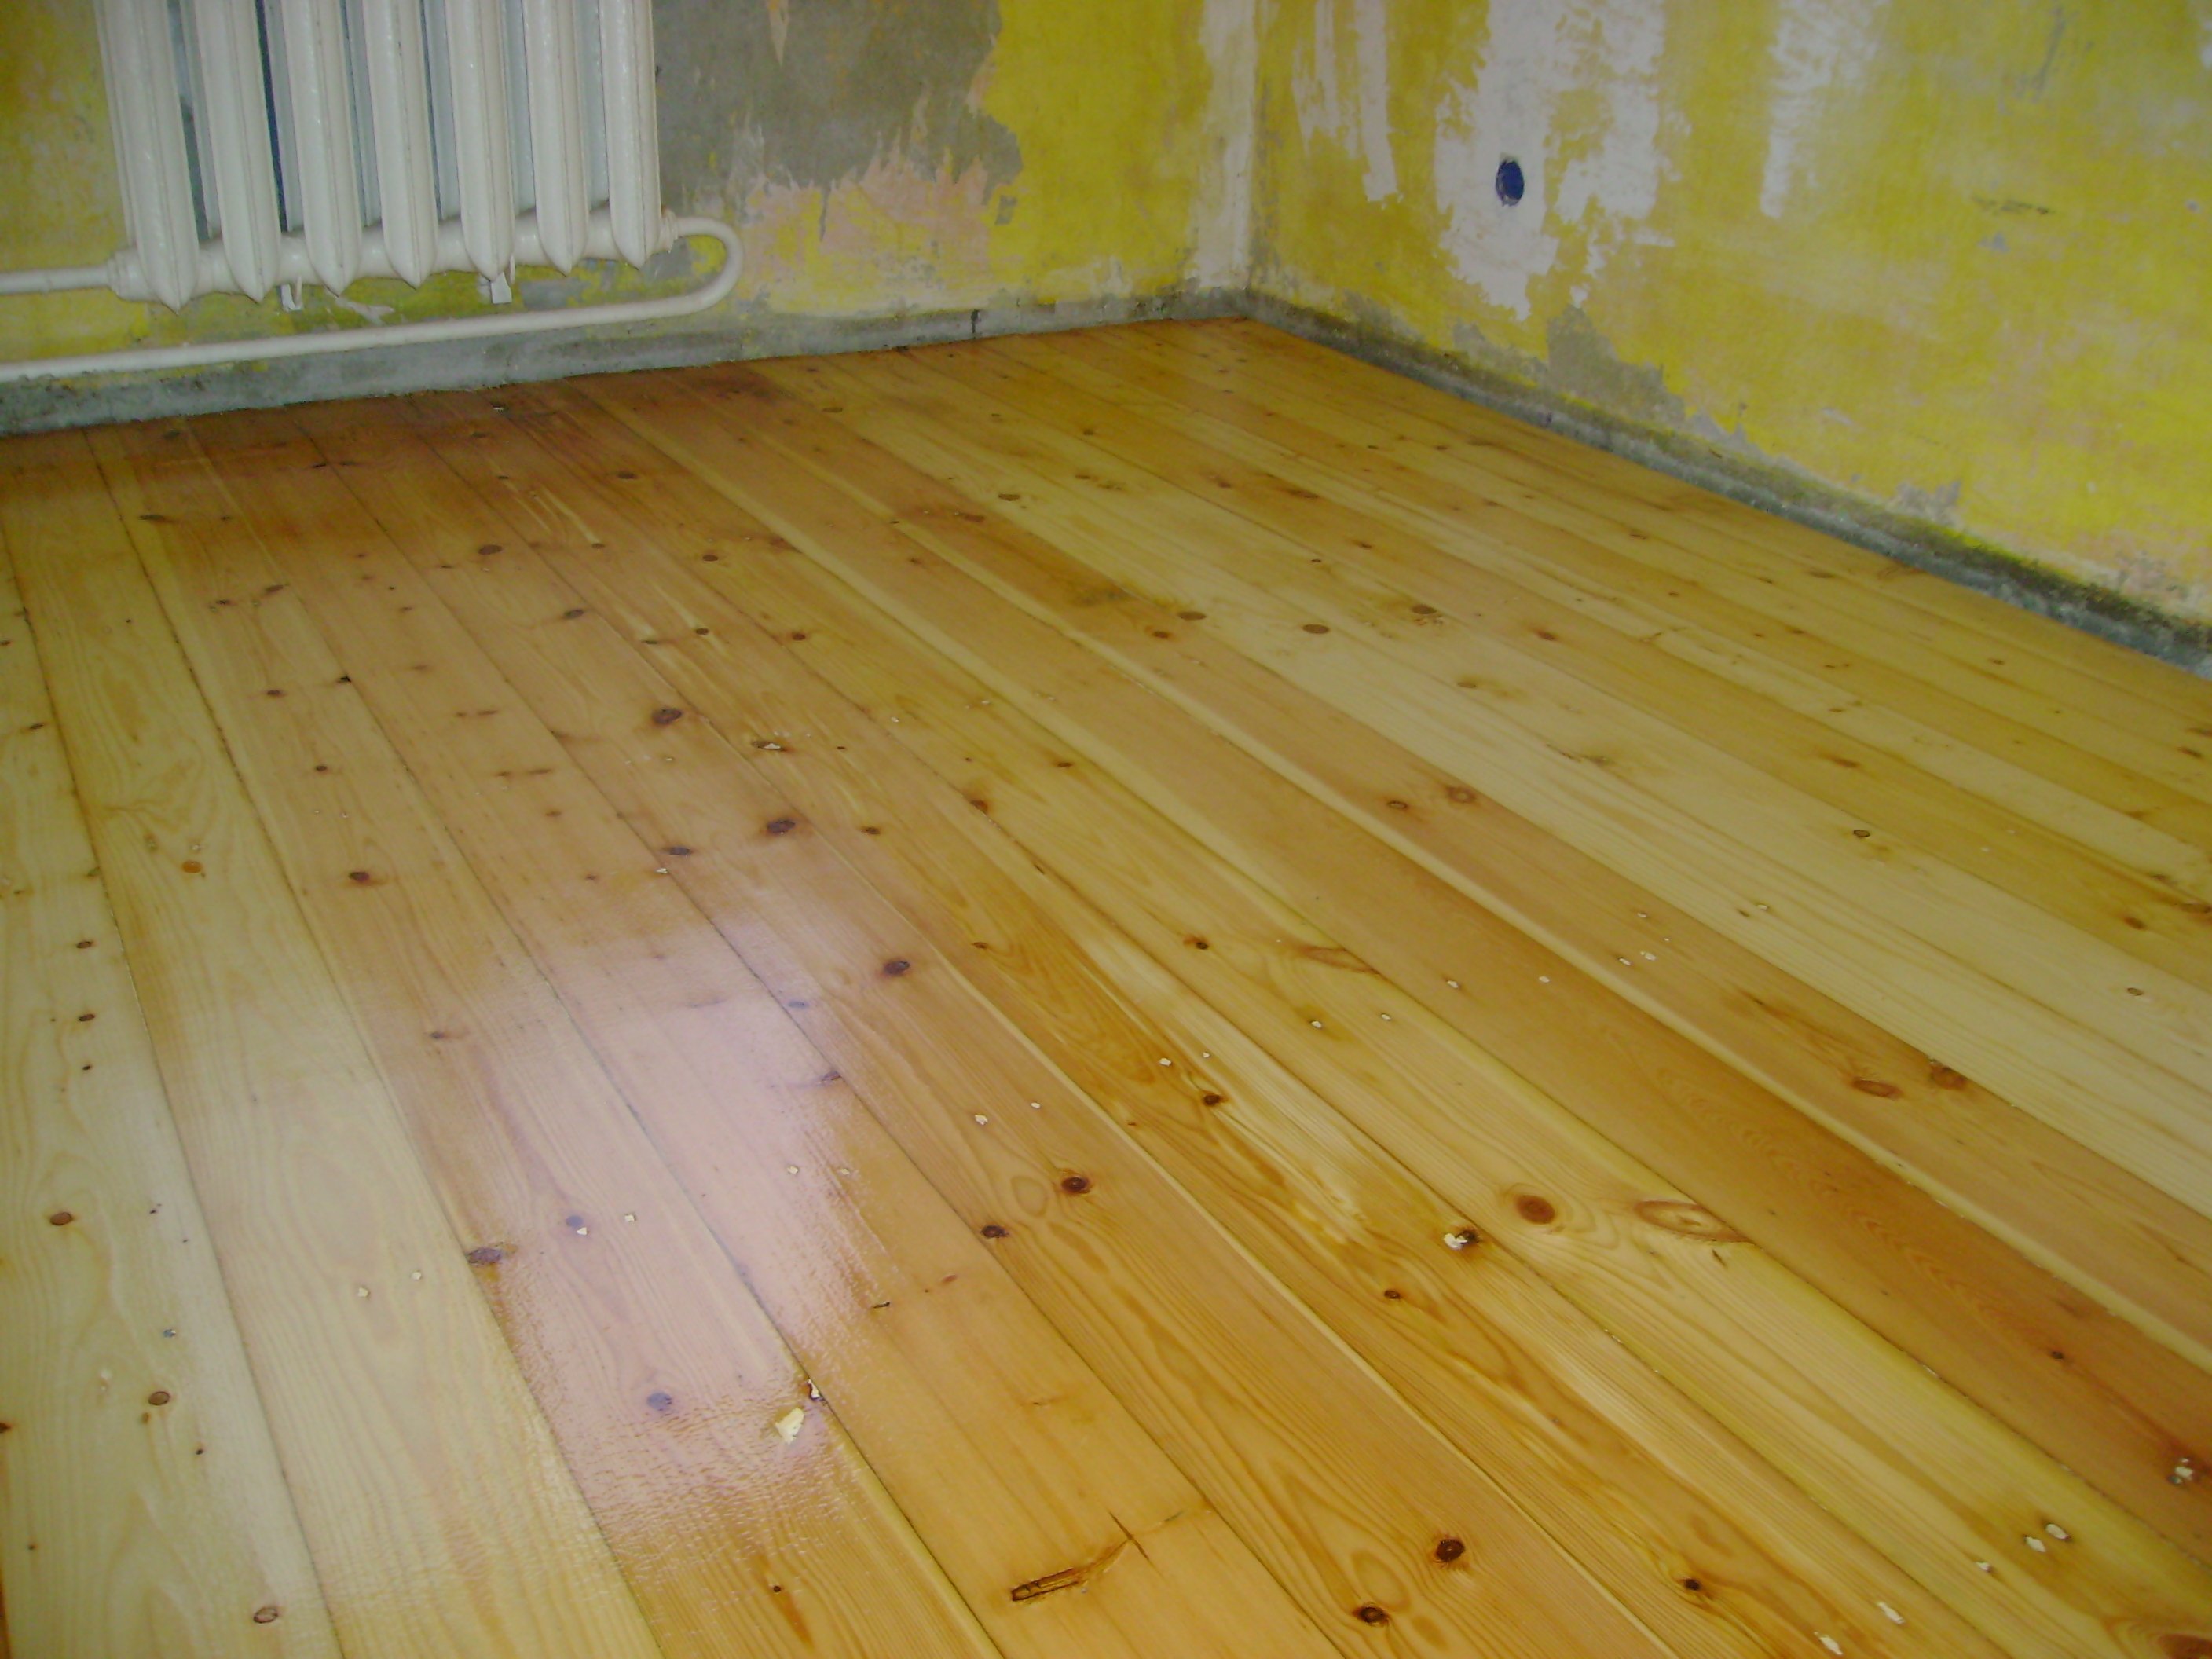
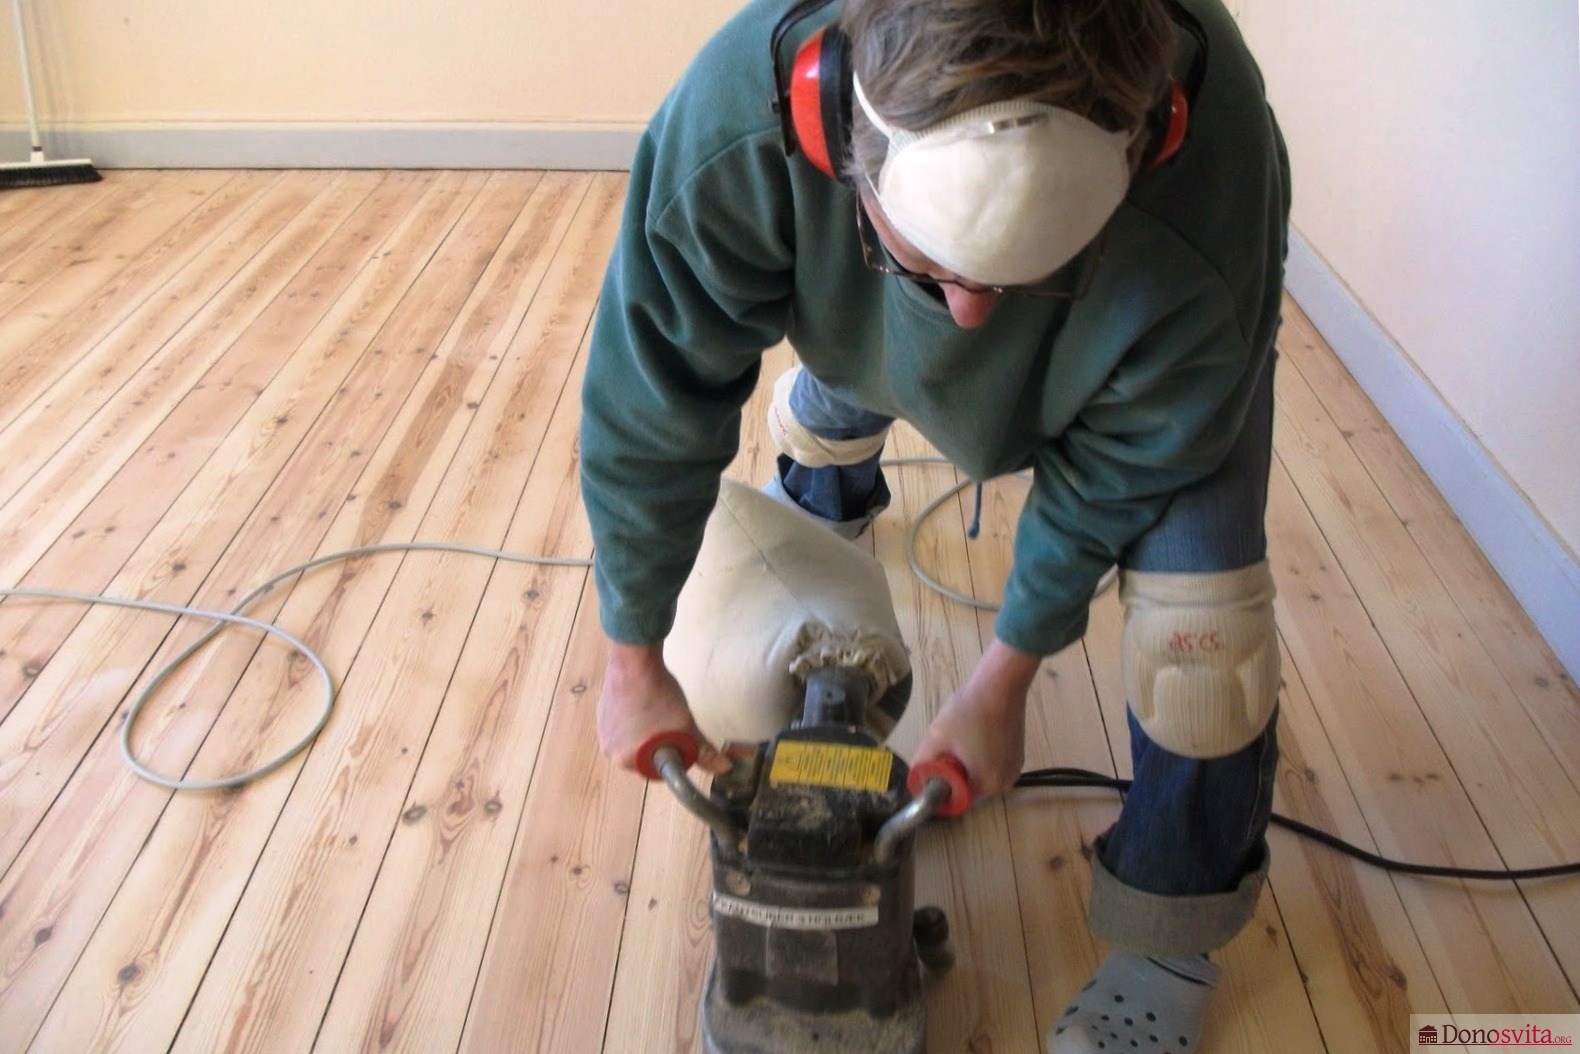
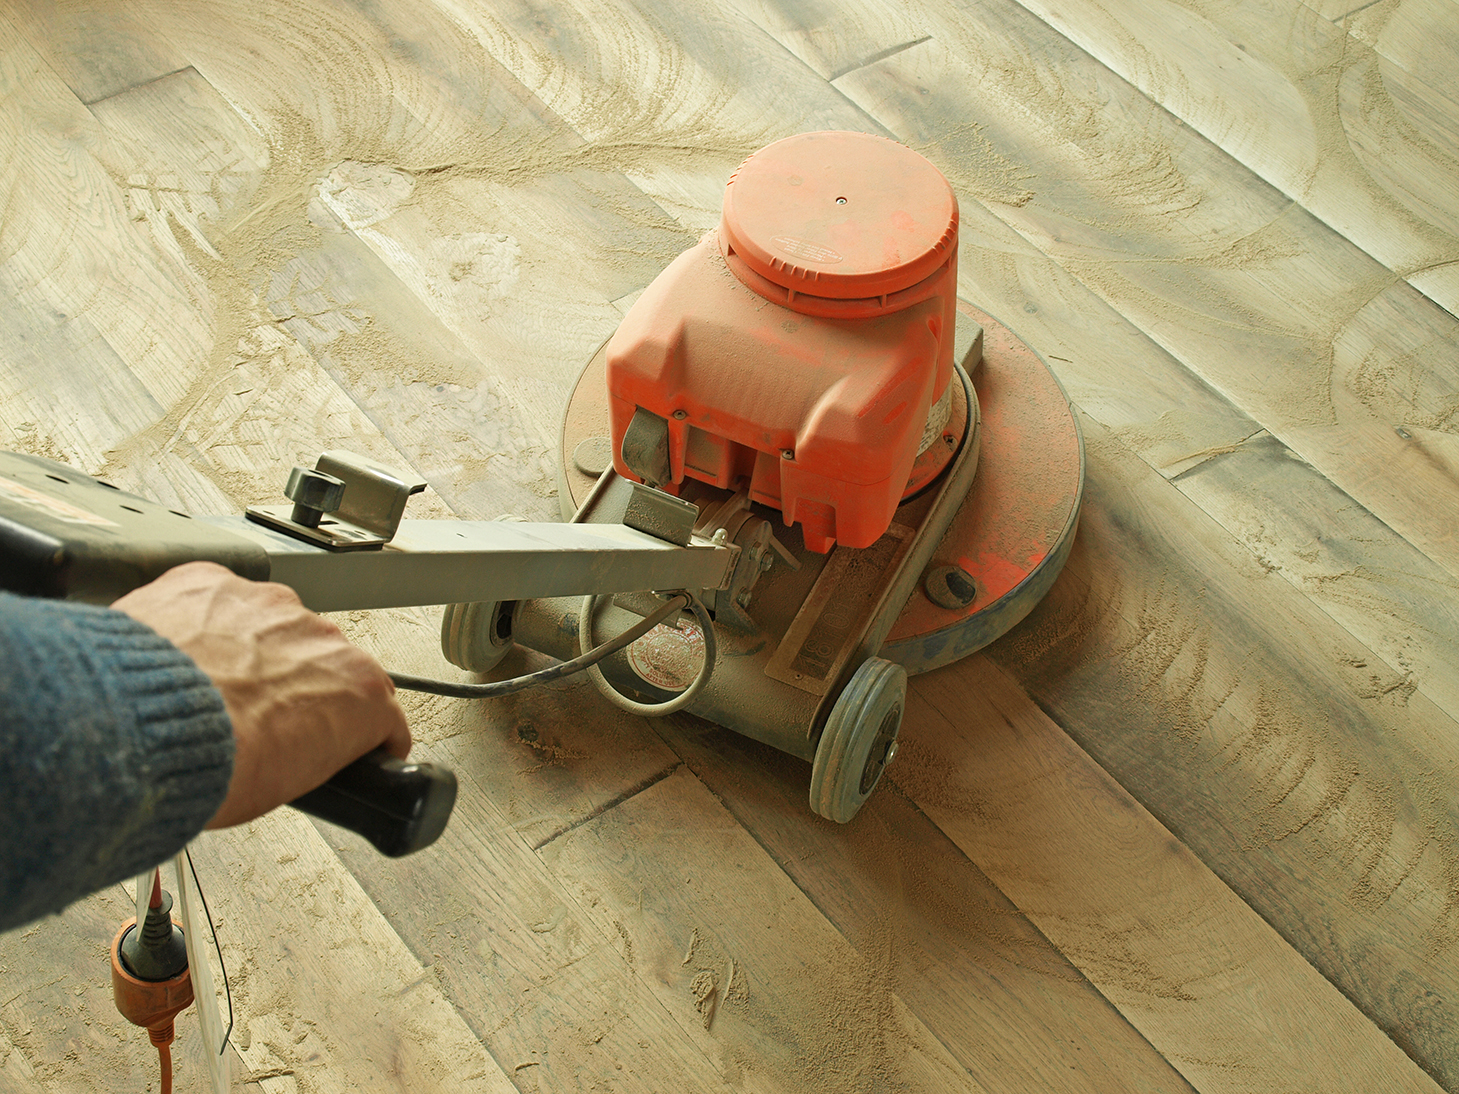
If there are gaps between the boards, they are plugged with chips, which are pre-coated with white glue. The remains of chips are cut by a chisel, the floor is processed by a grinding machine. Separate areas manually rubbed with sandpaper.
Then the garbage is removed, the surface of the floor is varnished in 2-3 layers. Each layer should dry for a certain amount of time.
In the toilet and bathroom on the floor there is a screed.If redecoration of the floor is required, the cracks on the screed are embroidered and sealed with a starting mortar on a cement or plaster base.
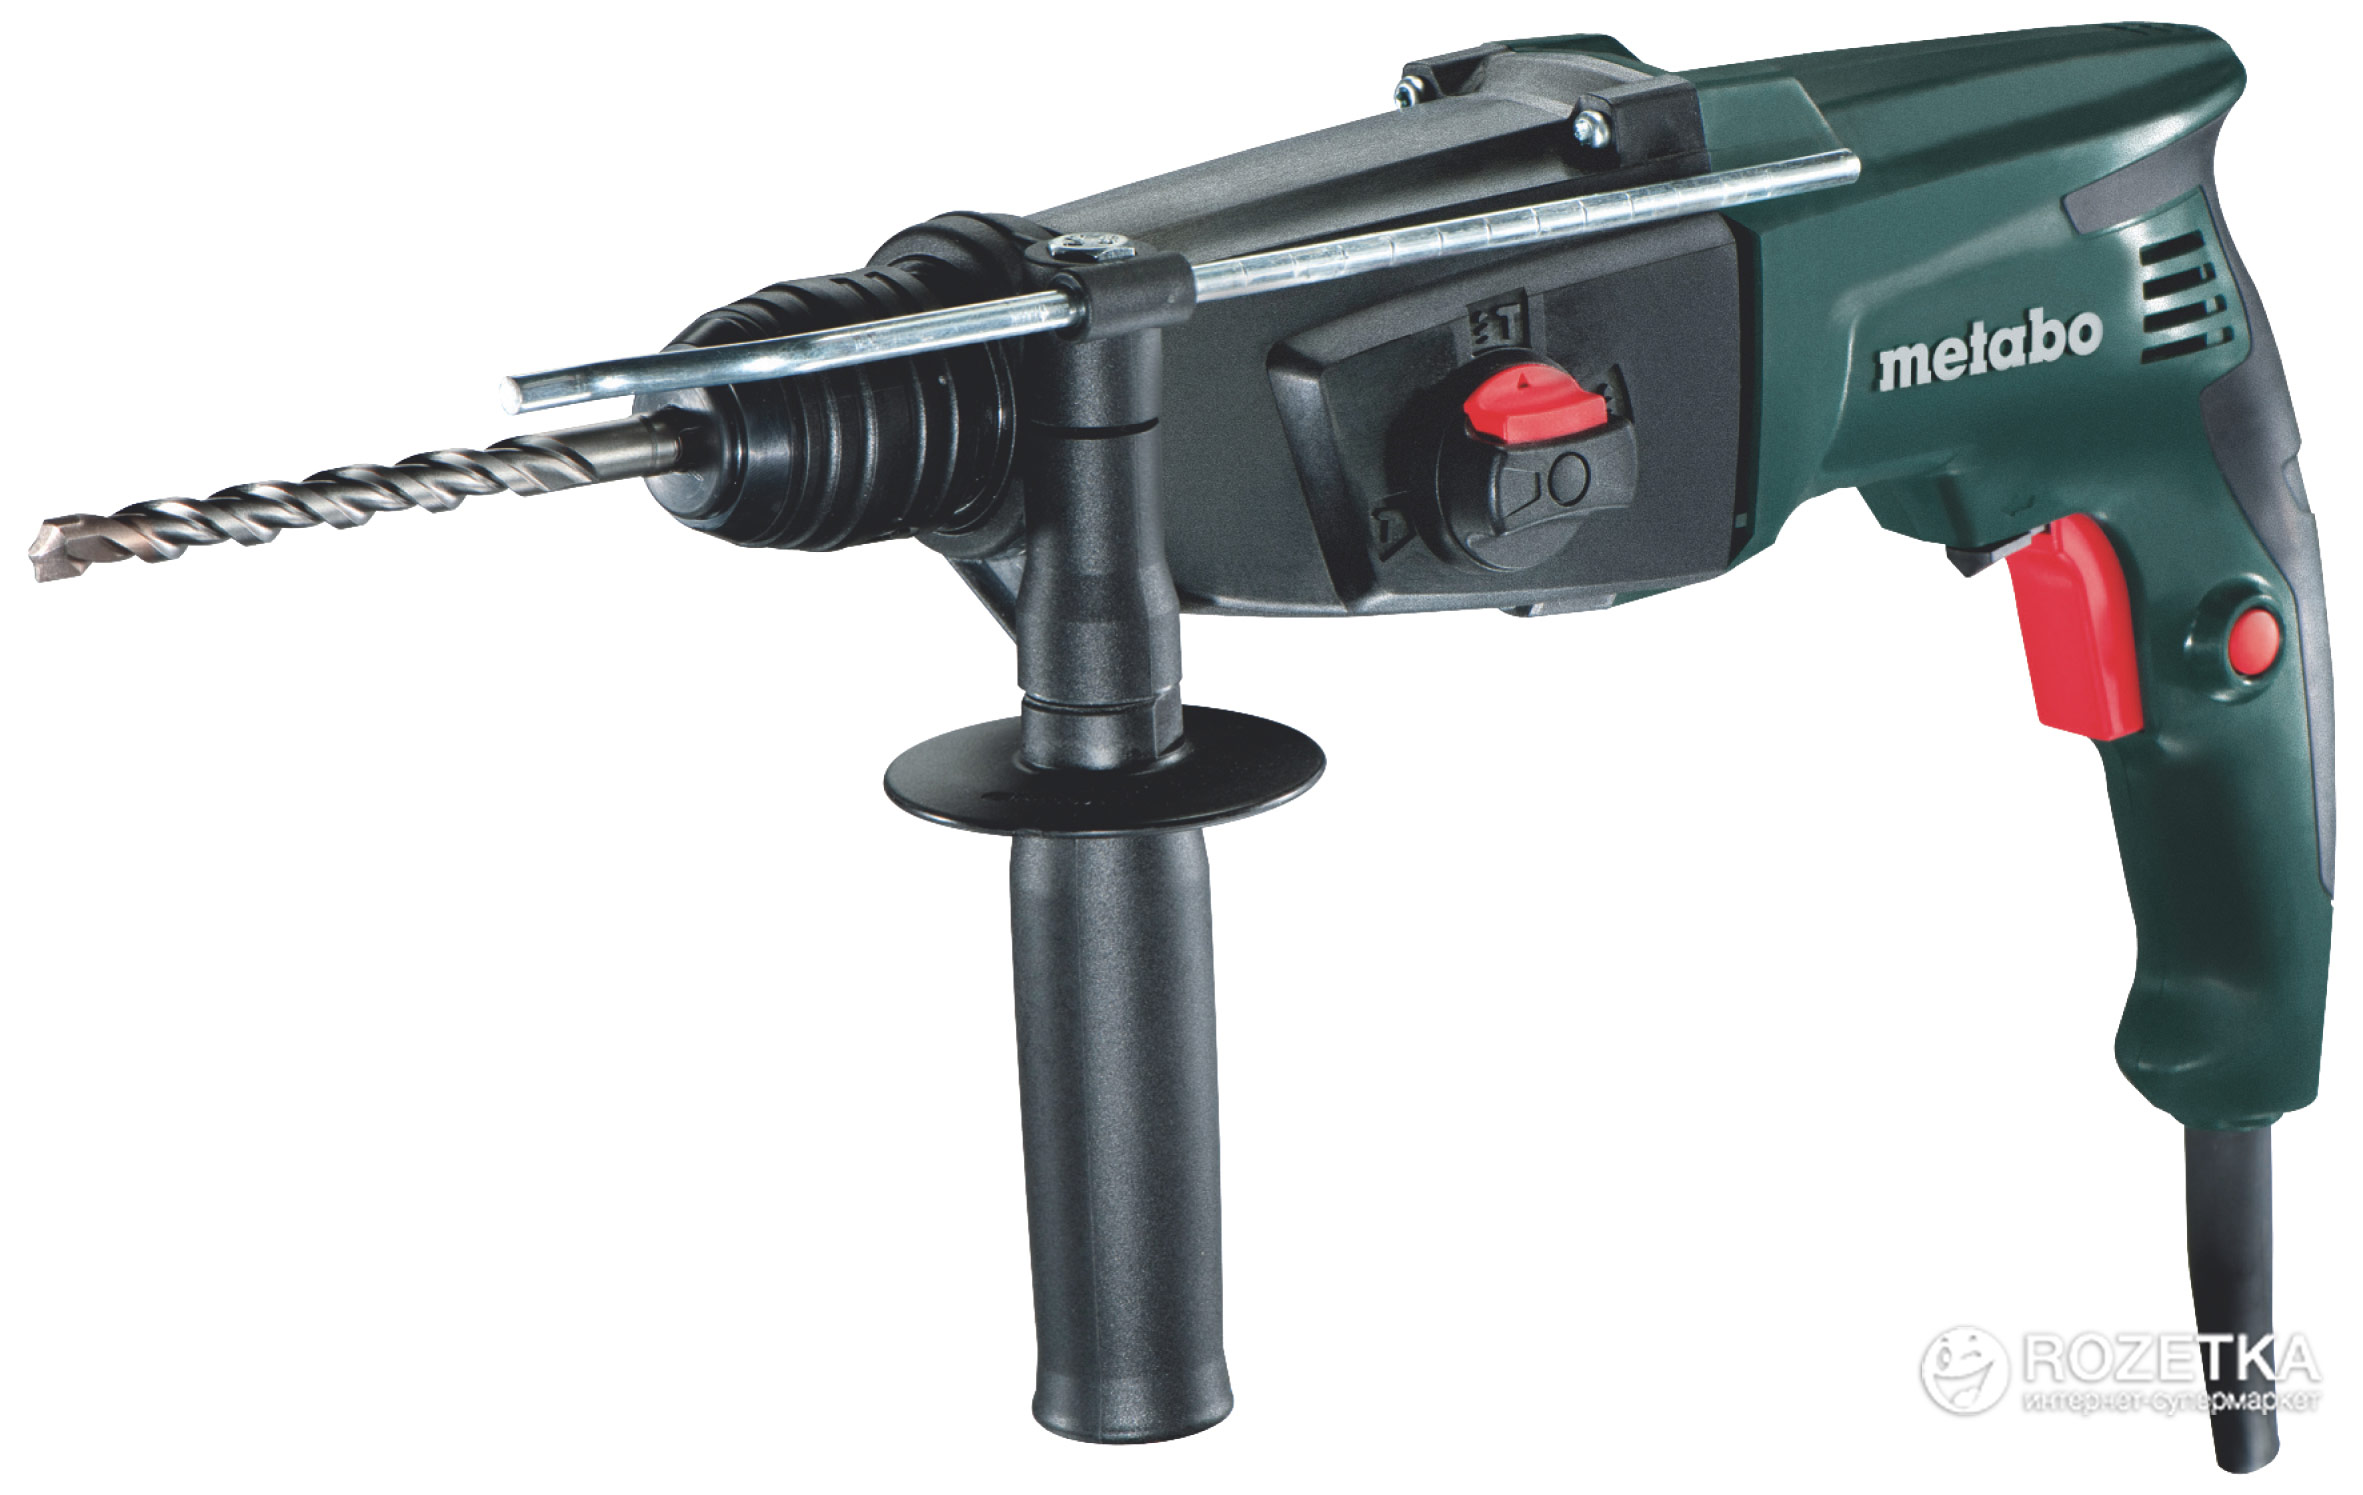
During overhaul, the entire screed is removed using a perforator; metal guides, "beacons" (using a level) are put, a new tie is poured. You can do such simple work with your own hands; a large construction qualification is not required here.
Defect detection
The floors in the house always have special requirements, they must meet the following standards:
- sanitary;
- operational;
- aesthetic;
- constructive.
It is important to check the floors in time, this will make it possible to timely eliminate the defects that have arisen:
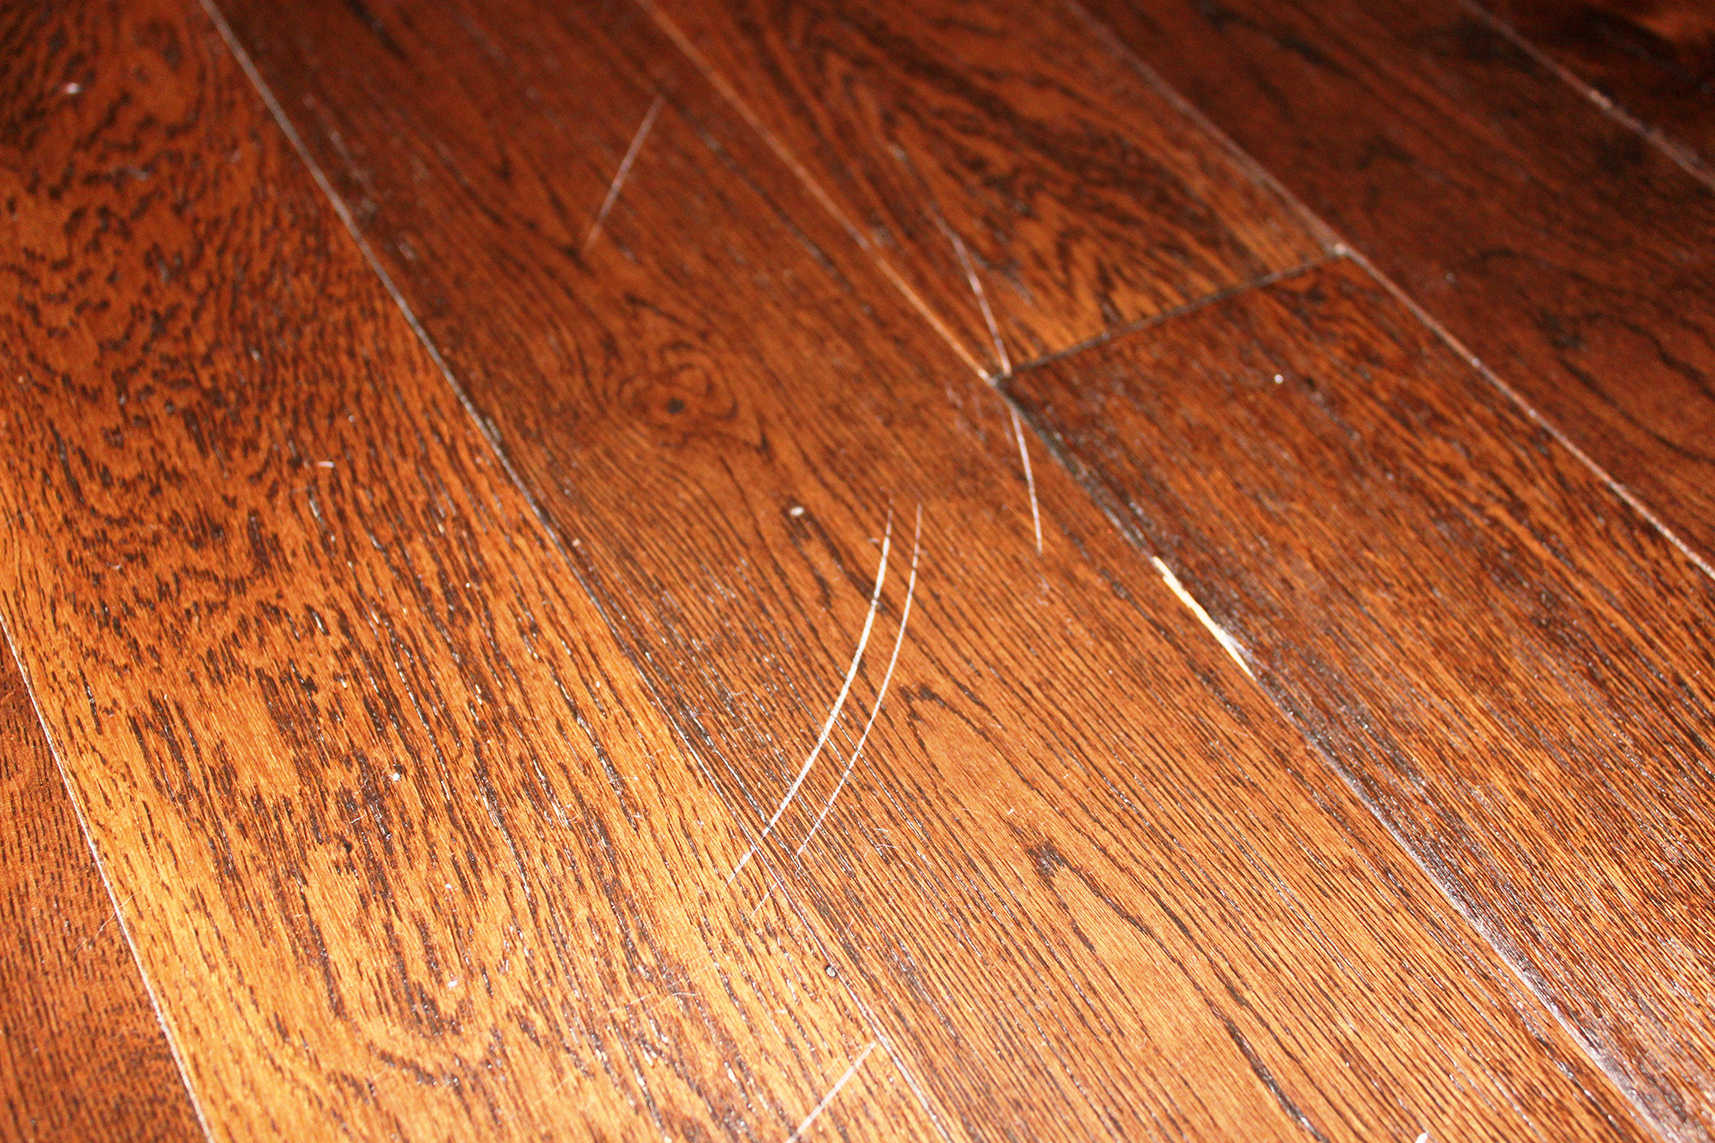
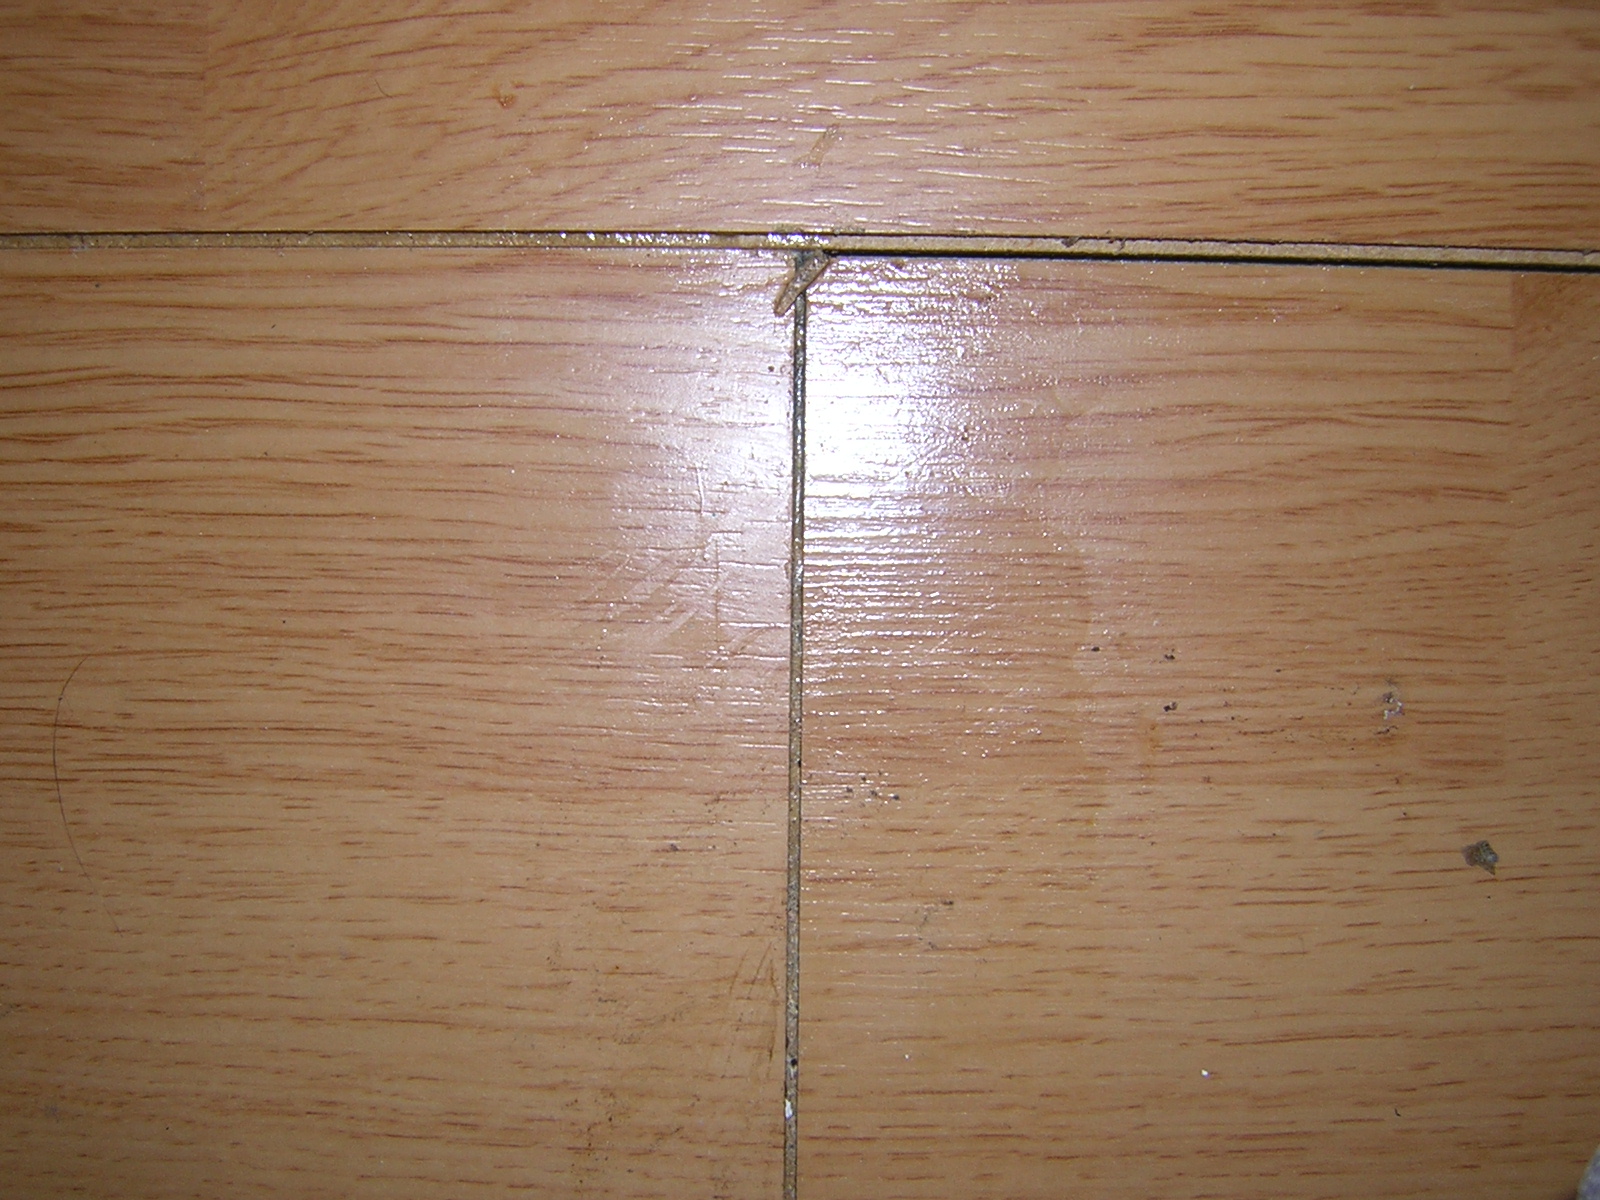
- damage to the paint and varnish layer;
- clogging gaps and vents;
- abrasion and decay of the boards;
- floor drawdown
- material cracking;
- cracks and chips;
- shrinkage and breakage.
If the floor is a curve, then you can immediately determine without special tools that the lags under the boards have become unusable, they should be changed.
When the floor is swinging - this indicates that the lags are badly damaged, in this case it follows:
- dismantling the boards, check them;
- removing old lags, put new ones in their place.
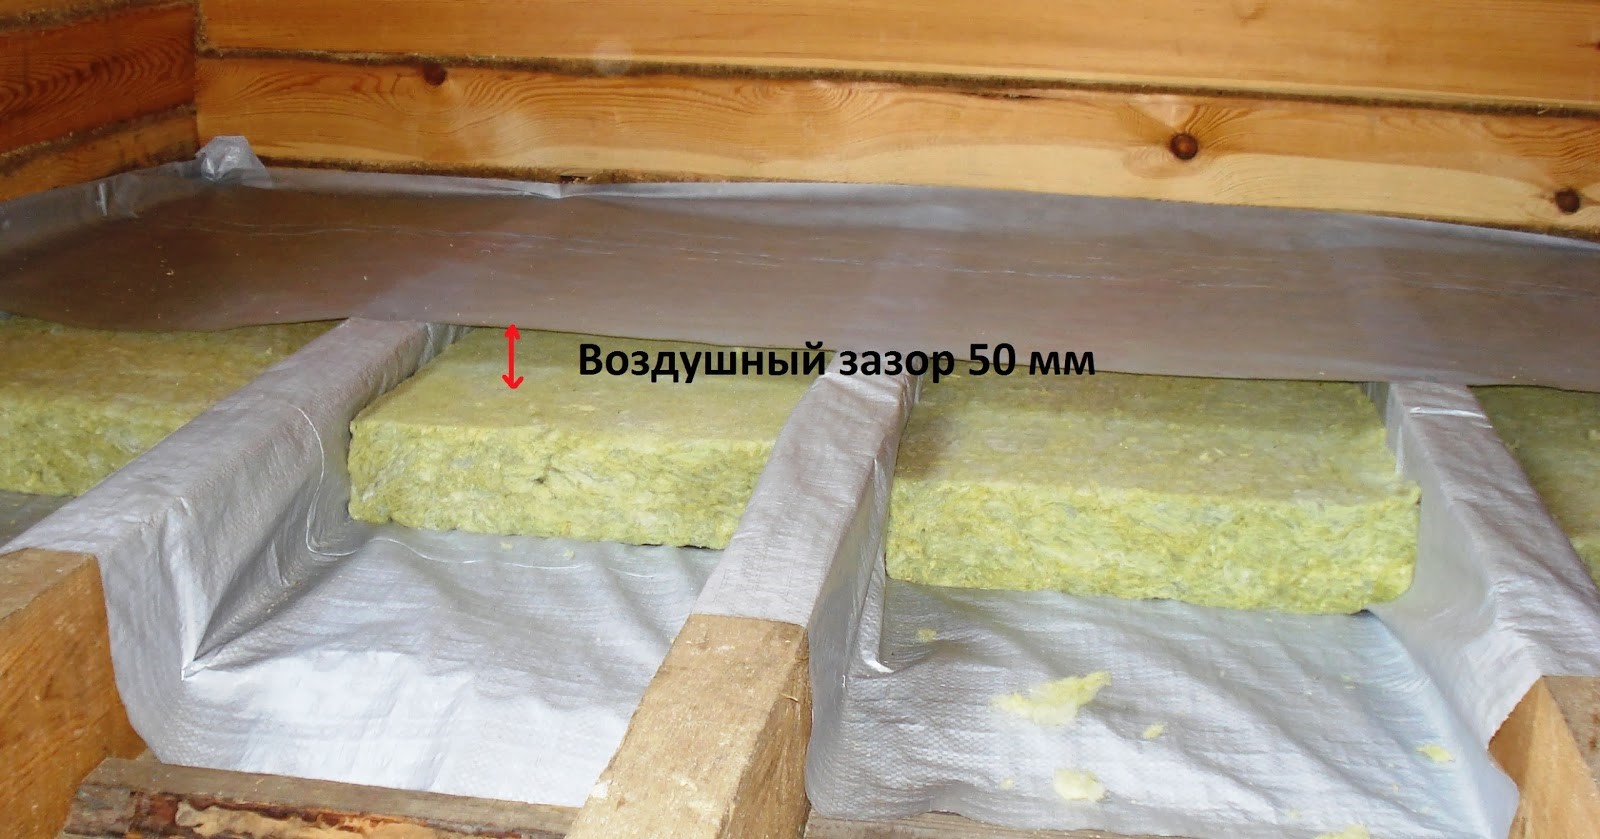
The ultimate goal of repairing the floor with your own hands is to remove all defects. When installing a new floor, it is important to take into account that there is a natural air exchange between floors and lags, its presence will ensure that the floor will last for a long time and will not deteriorate from the inside.
The floors of the first floors are most at risk, they experience increased vibration. With poor waterproofing, the inside of the floor is covered with mold, for several years the wooden structures become completely useless.

In a wooden house, such problems are quite common, so it is necessary to do a routine inspection and tapping of boards at least once a year. If the sound is heard too hard at the beats, then it means that there is a cavity in the tree: a section of the board or beam has become unusable. If there are cracks more than three millimeters between the boards, then this is a sure sign that the floor is deformed, lags are damaged, measures should be taken.
In the "Khrushchev" and panel houses built in the 70s of the last century one can often observe the lag of synthetic plates from the floor.The reason is accumulated dust and dirt that falls on the concrete base; provokes a similar phenomenon very often the presence of high humidity.
Also often found warping corners of synthetic tiles. This is explained by the fact that the floor is traditionally an area of increased mechanical loads. Sooner or later, the material begins to crumble, fray and deteriorate.
Also, the cause of defects on the floor surface can be:
- rearrangement of furniture;
- drop heavy metal objects on the floor;
- high humidity in the room.
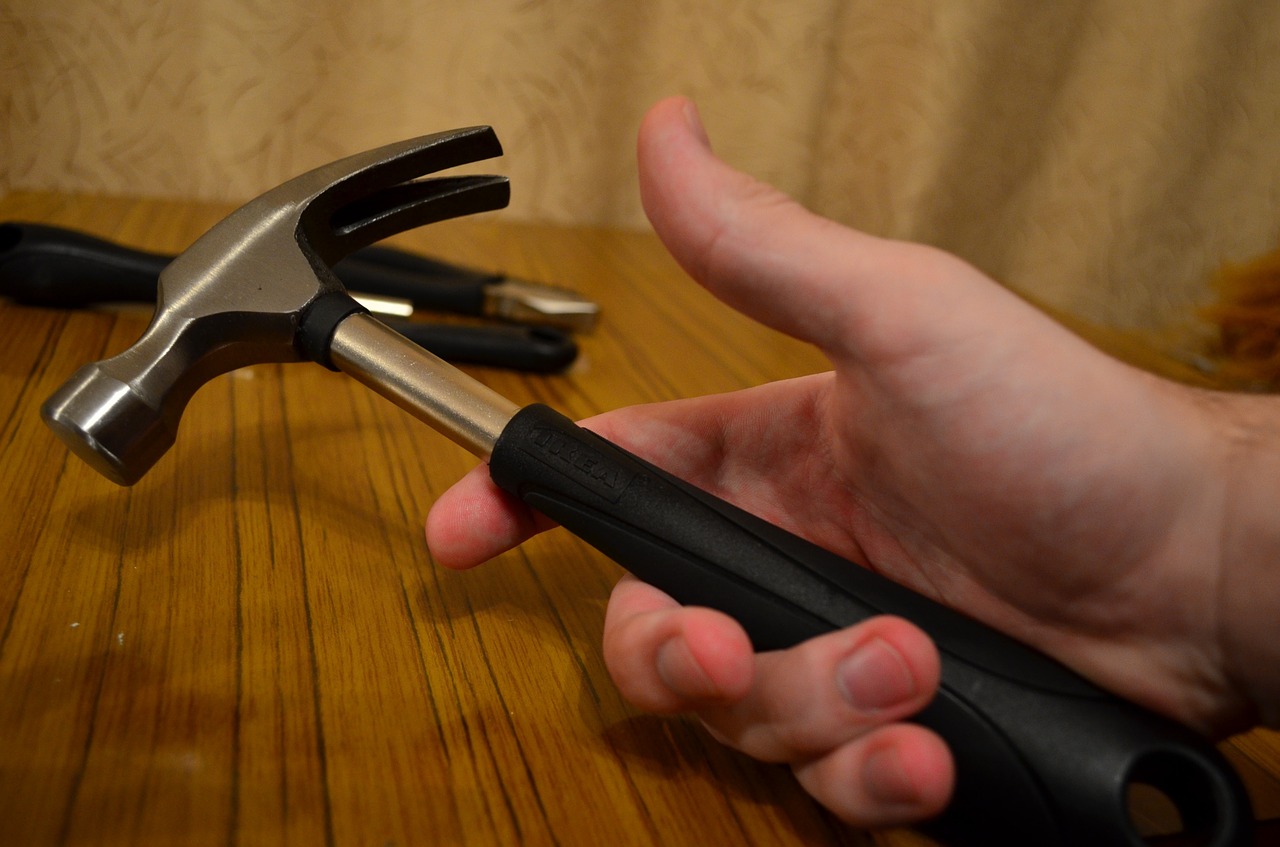
Determine the damaged areas is not difficult. Should take a hammer, knock on the screed. If a dull sound occurs, then this is a sure sign: there is a cavity in this place.
How to replace the floors?
The easiest way to rewrite the wooden floors in Khrushchev, when you need to replace some boards or logs. The deadline for this is small, just a few days
It can be more extensive floor repair when necessary:
- remove linoleum and the entire screed (if the floor is concrete);
- remove boards, logs and waterproofing;
- knock down the tiles and clean the old screed.

You can change the wooden floors with your own hands, sometimes the amount of work is large, so you need to invite assistants.
Any floor resembles in its design a layer cake; technological requirements include installation:
- thermal insulation;
- waterproofing.
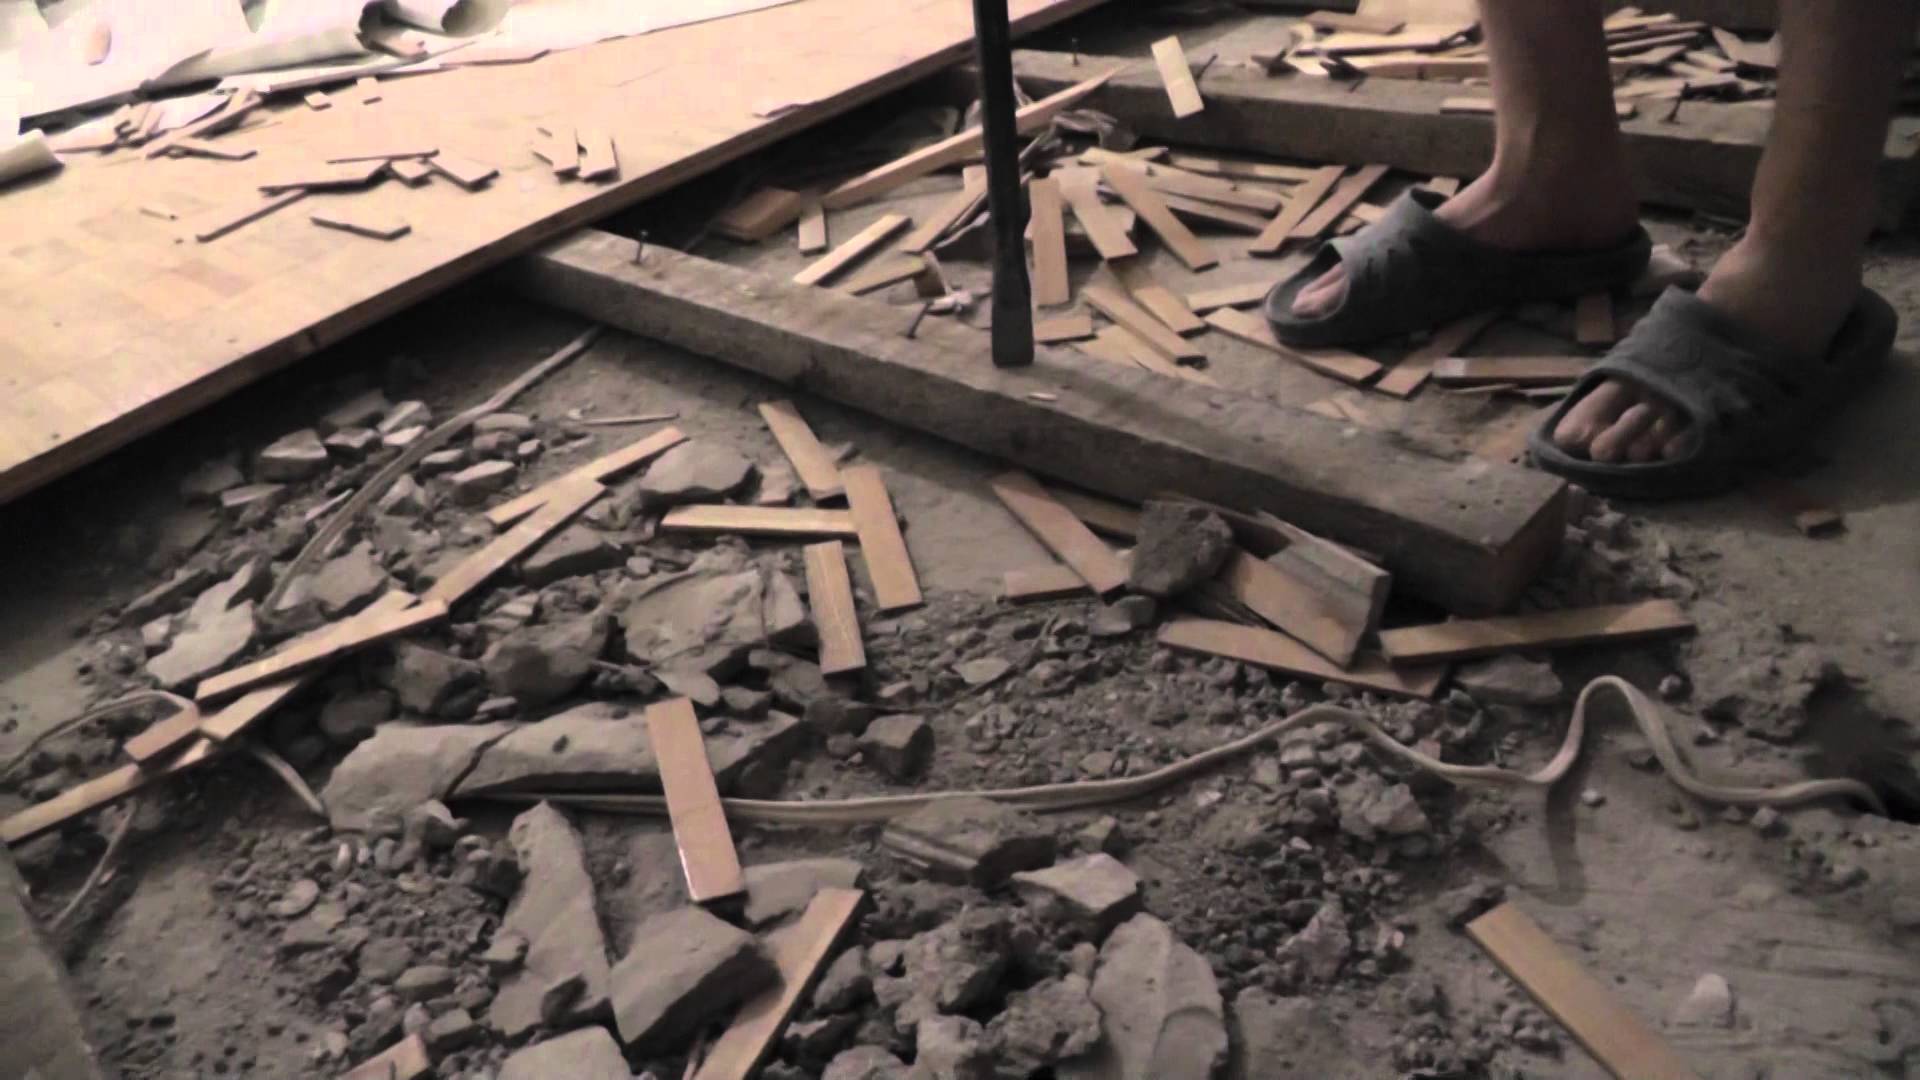
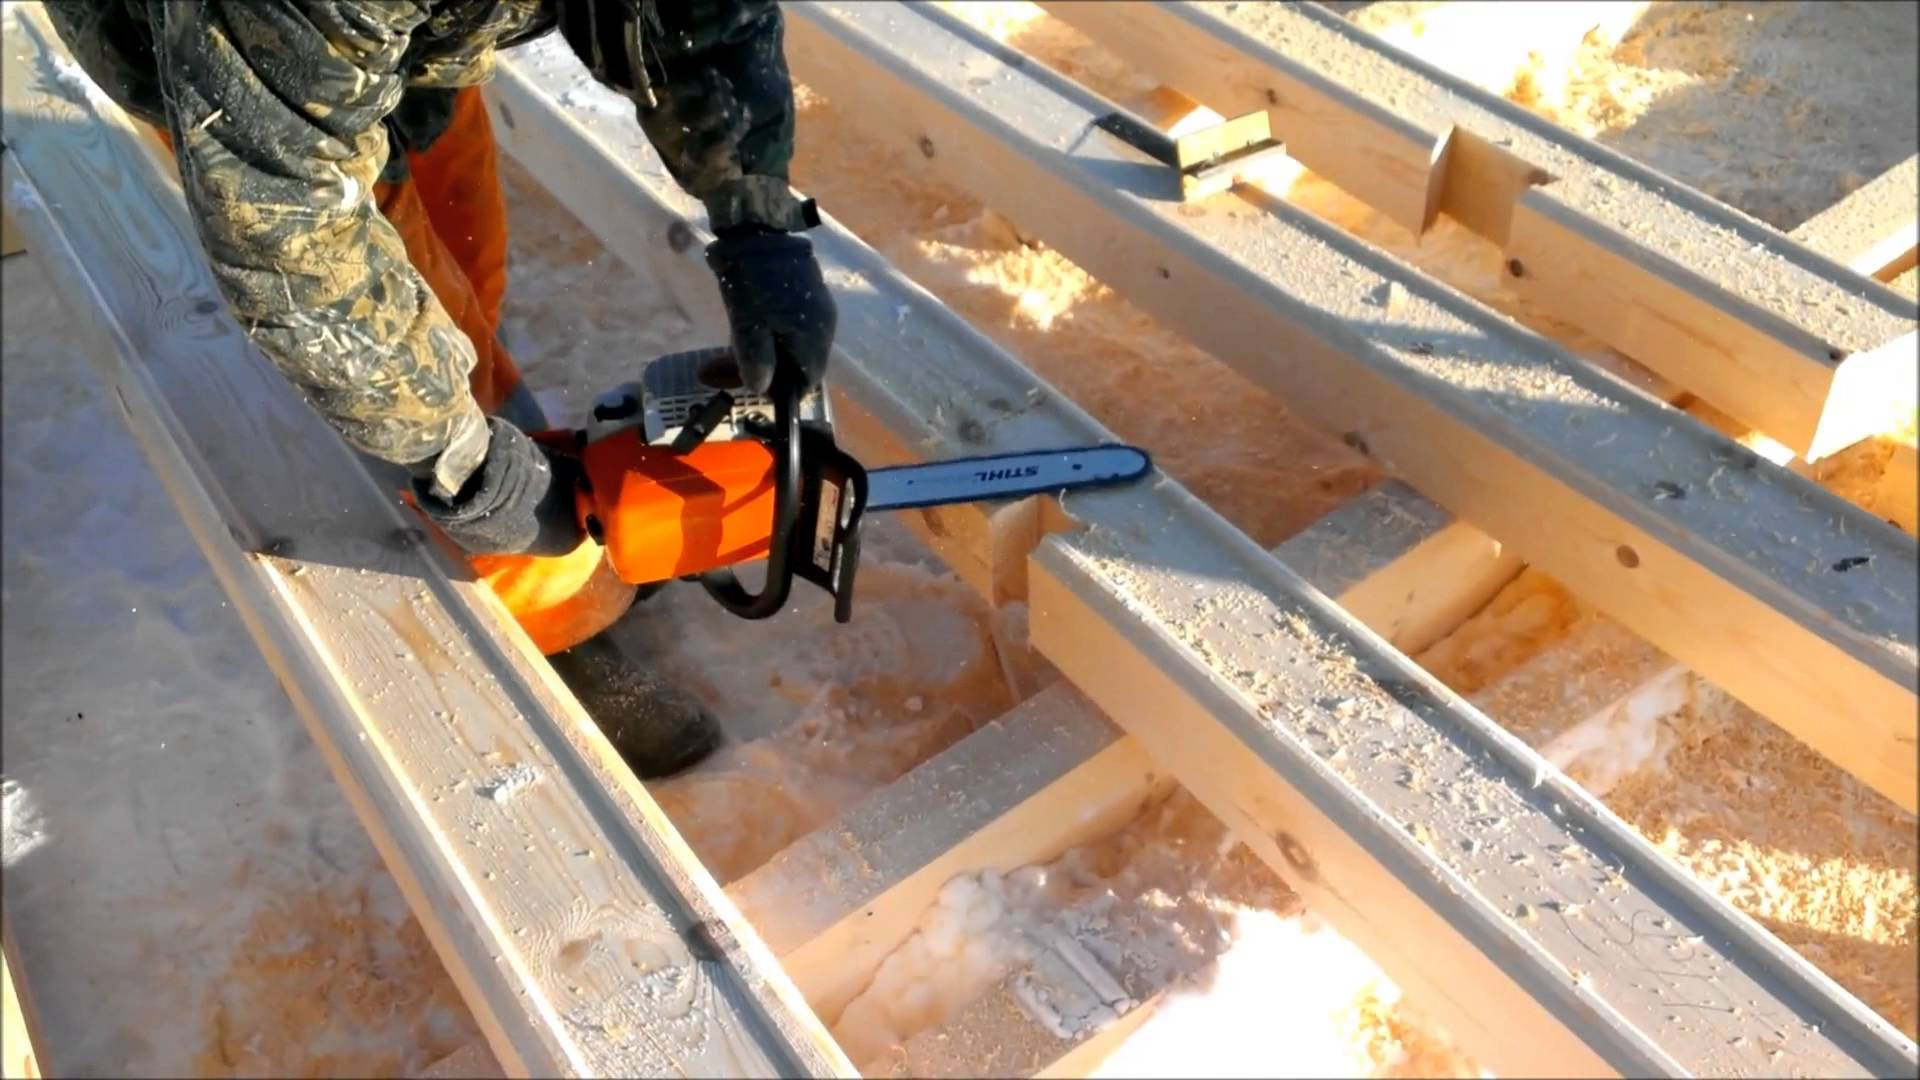
The bulk of the work is the dismantling of the old floor, which is gradually dismantled. Rooms with wooden floors, located on the ground floor, more than others suffer from high humidity.
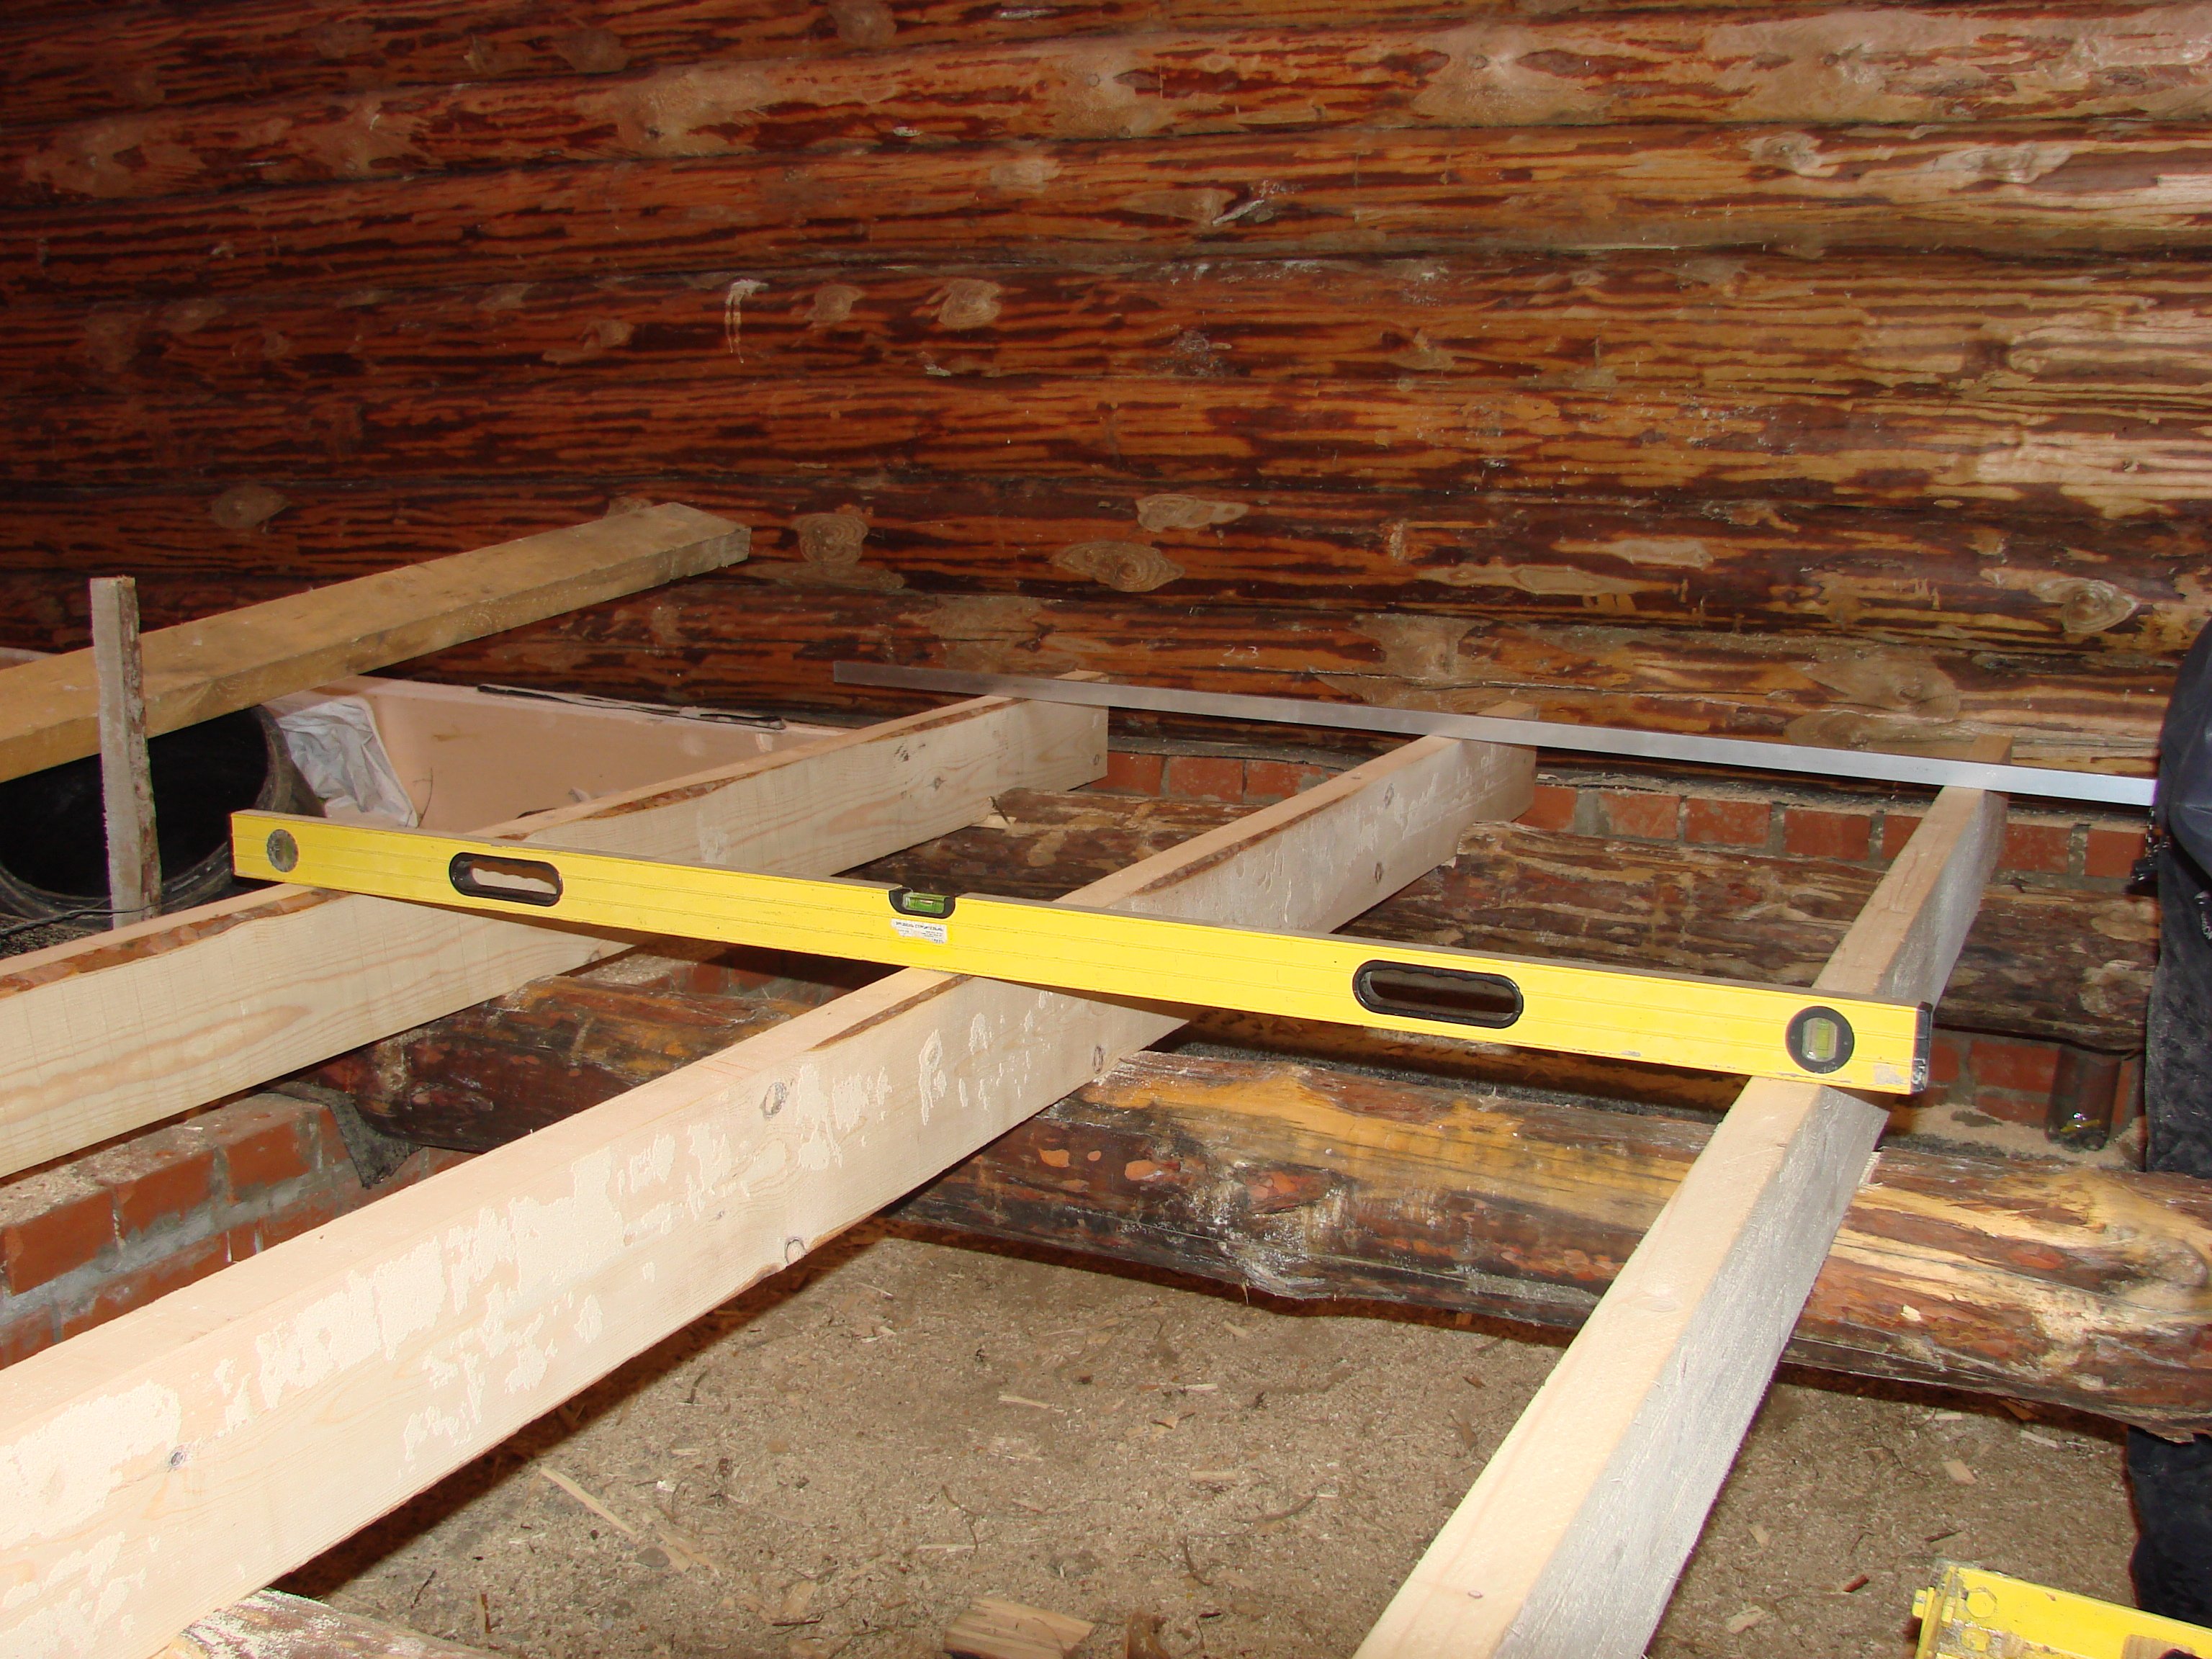
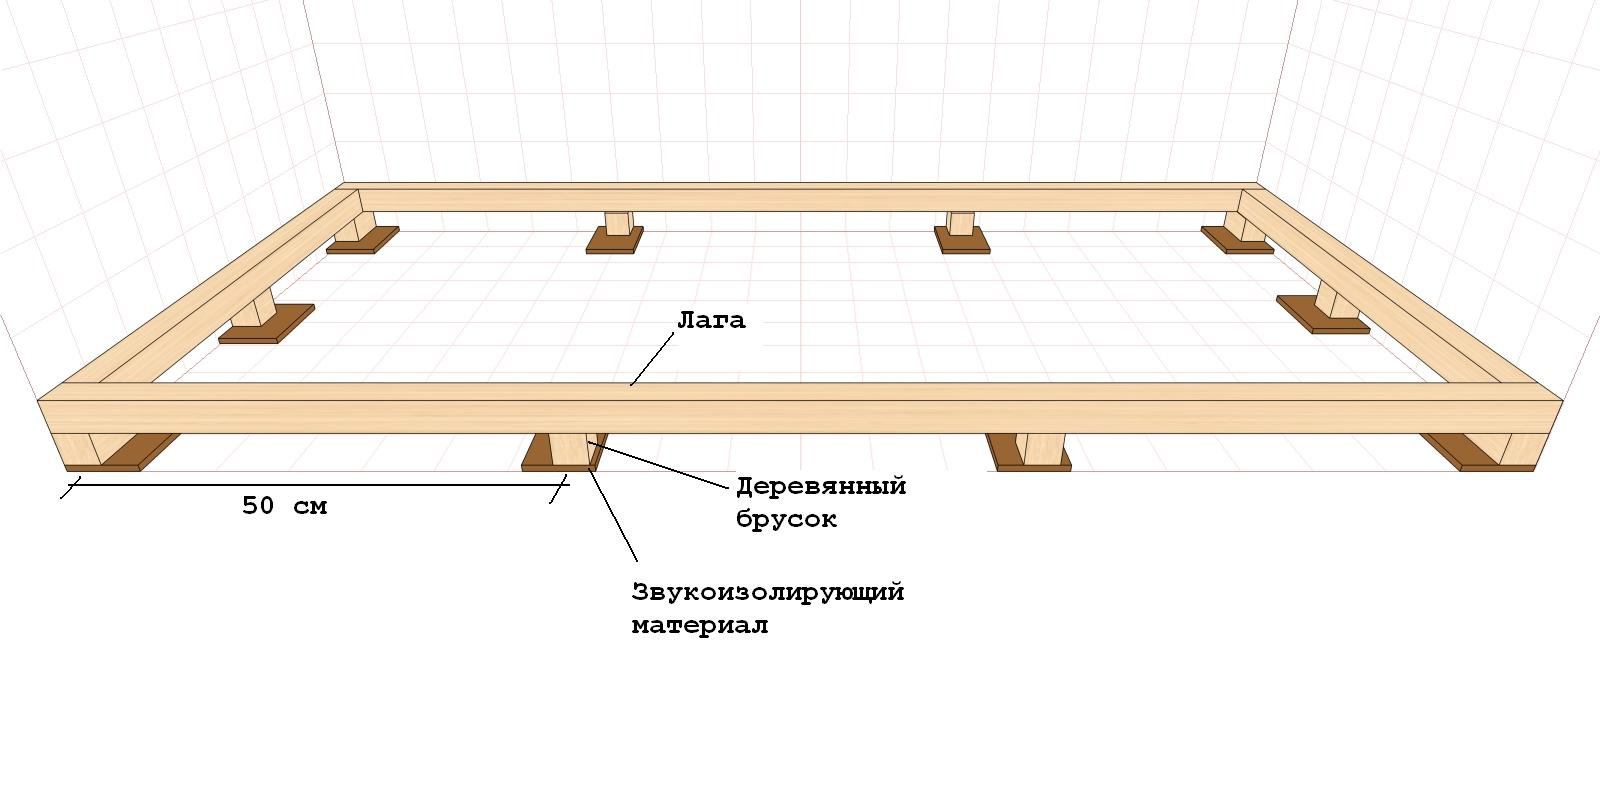
The very replacement of the lag occurs according to the following algorithm:
- using the water level is the top point horizontally;
- markings are made;
- along the wall on the intended markings fixed timber;
- Lags are mounted on polymer wedges or special twisted bolts;
- The timber is fixed in the coupler using anchors;
- the studs are passed through the bar and secured to the base;
- further, the height can be adjusted with the help of a nut, which makes it possible to position the logs at the desired level;
- the remains of the studs are cut off.

Between the boards and the floor a natural space is formed, which is caused by the height of the lag; it should be properly purged.In the lags in this case cuts are made that provide the necessary flow of air.
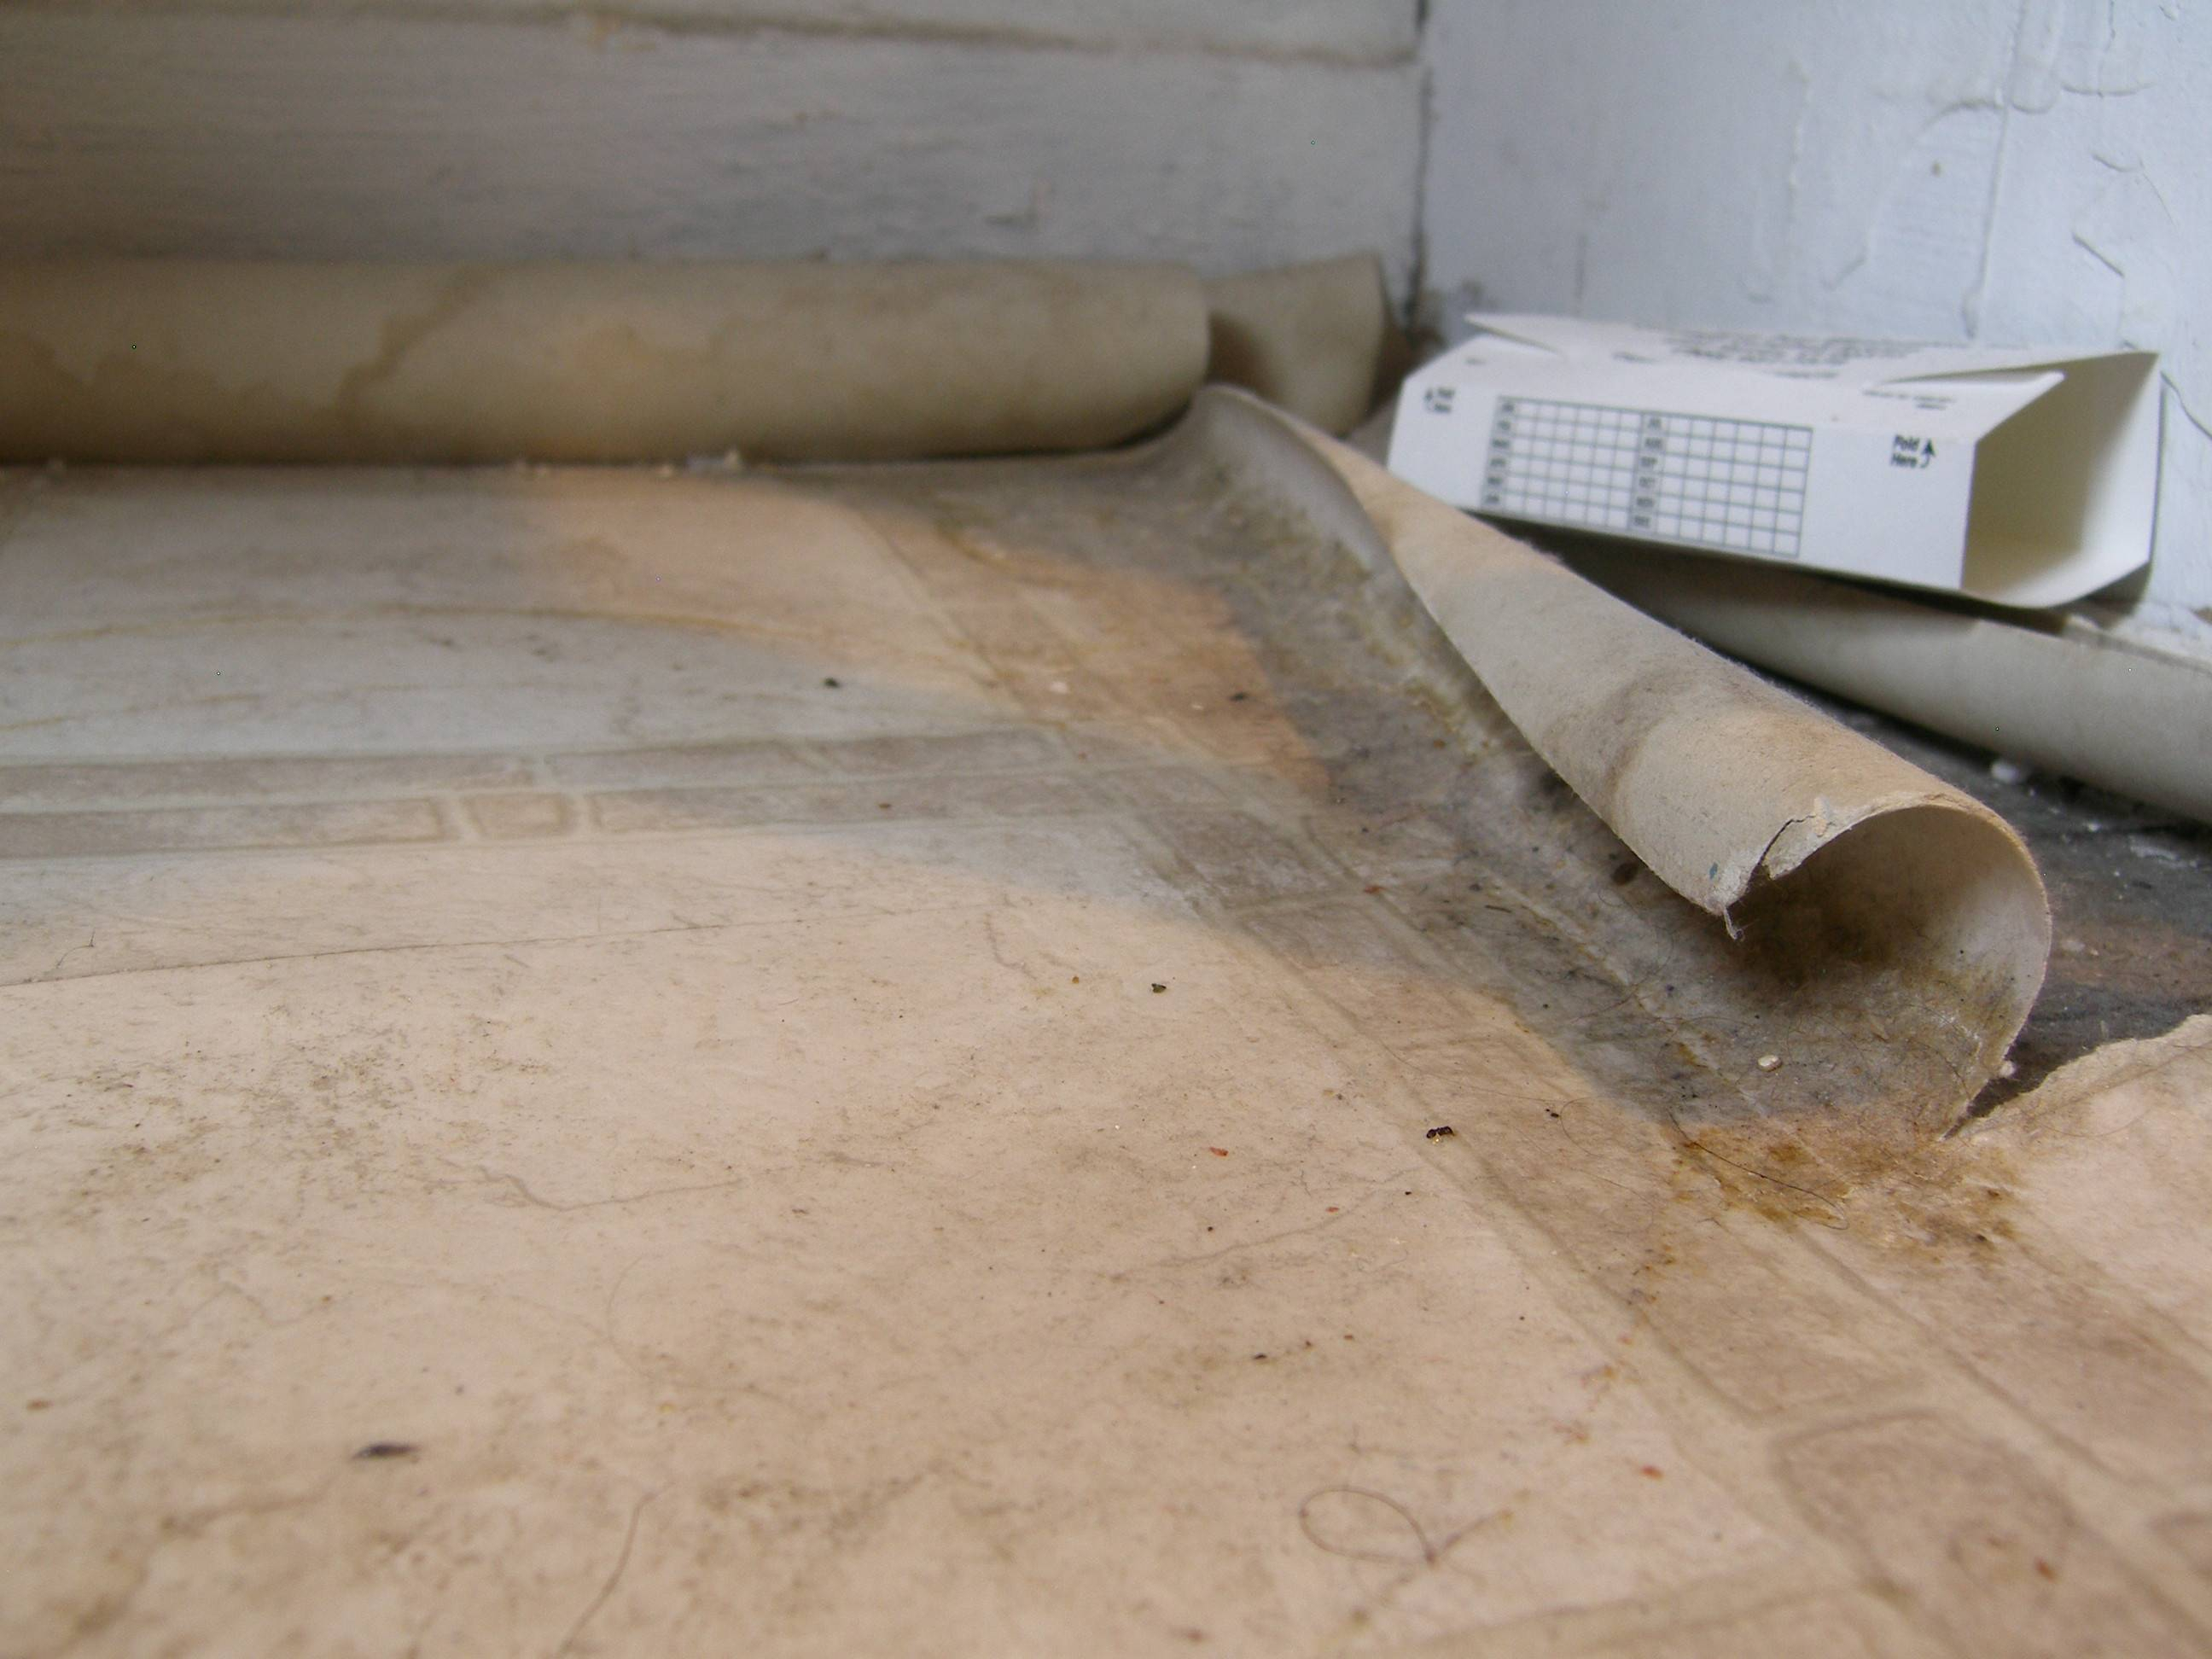
Remove old cover
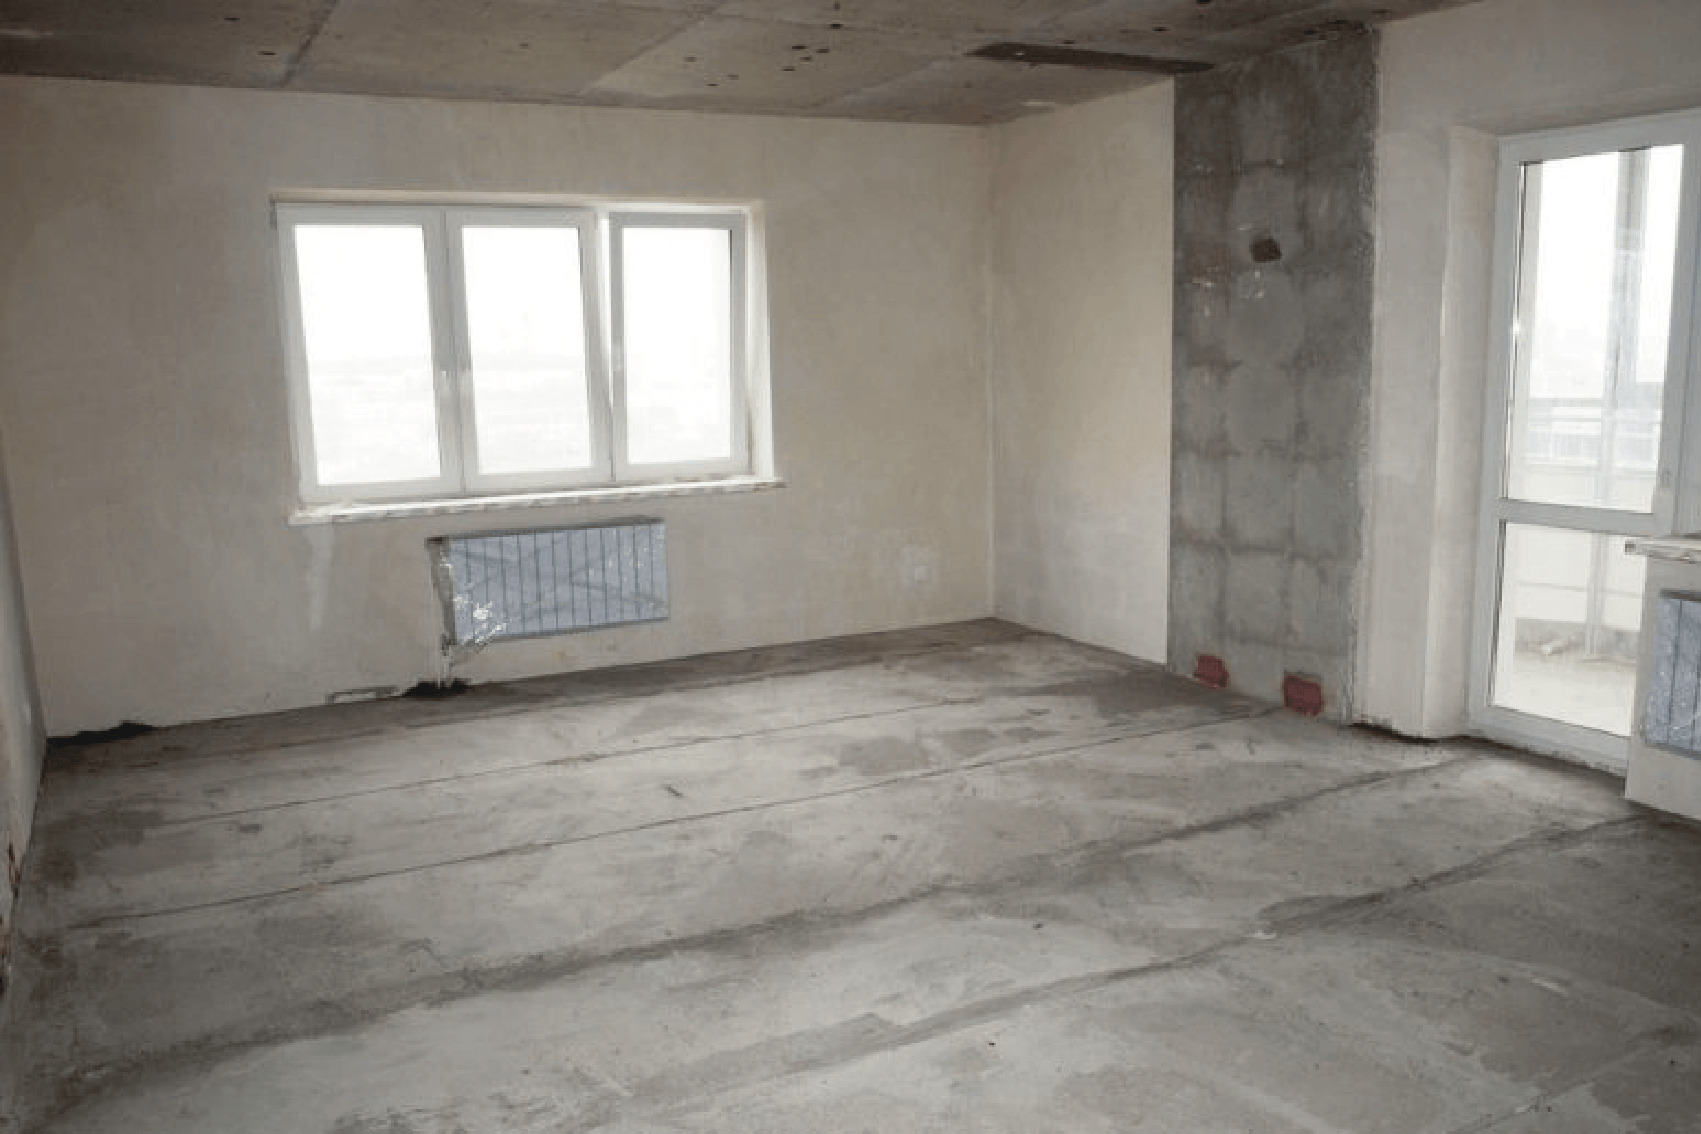
If the repair takes place in a new building, then the dismantling of the floor is not needed, the majority of apartments in our time are rented by builders without decoration If there is a question about putting in order the floor in the old house, then removing the floor is the primary task.
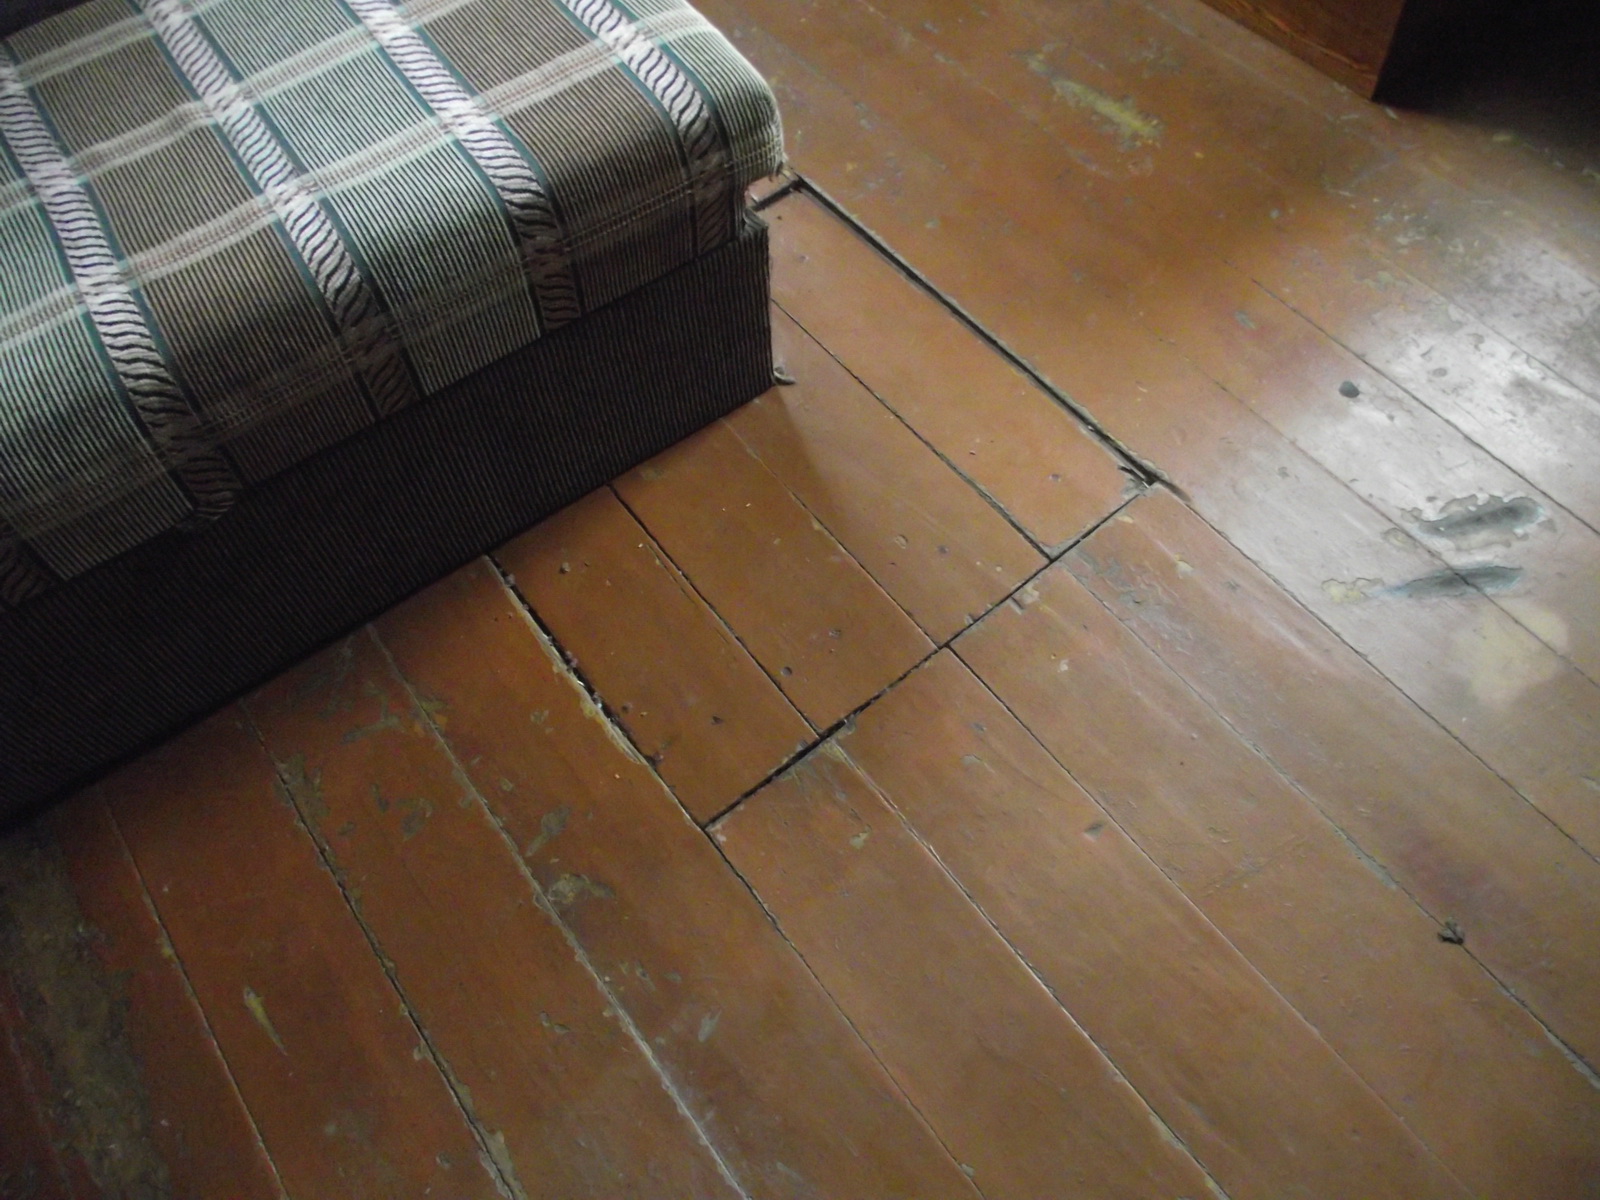
Most questions arise regarding the plank floor.
Defects that are found on such coverage:
- decay of the board;
- damage to insulation and waterproofing.

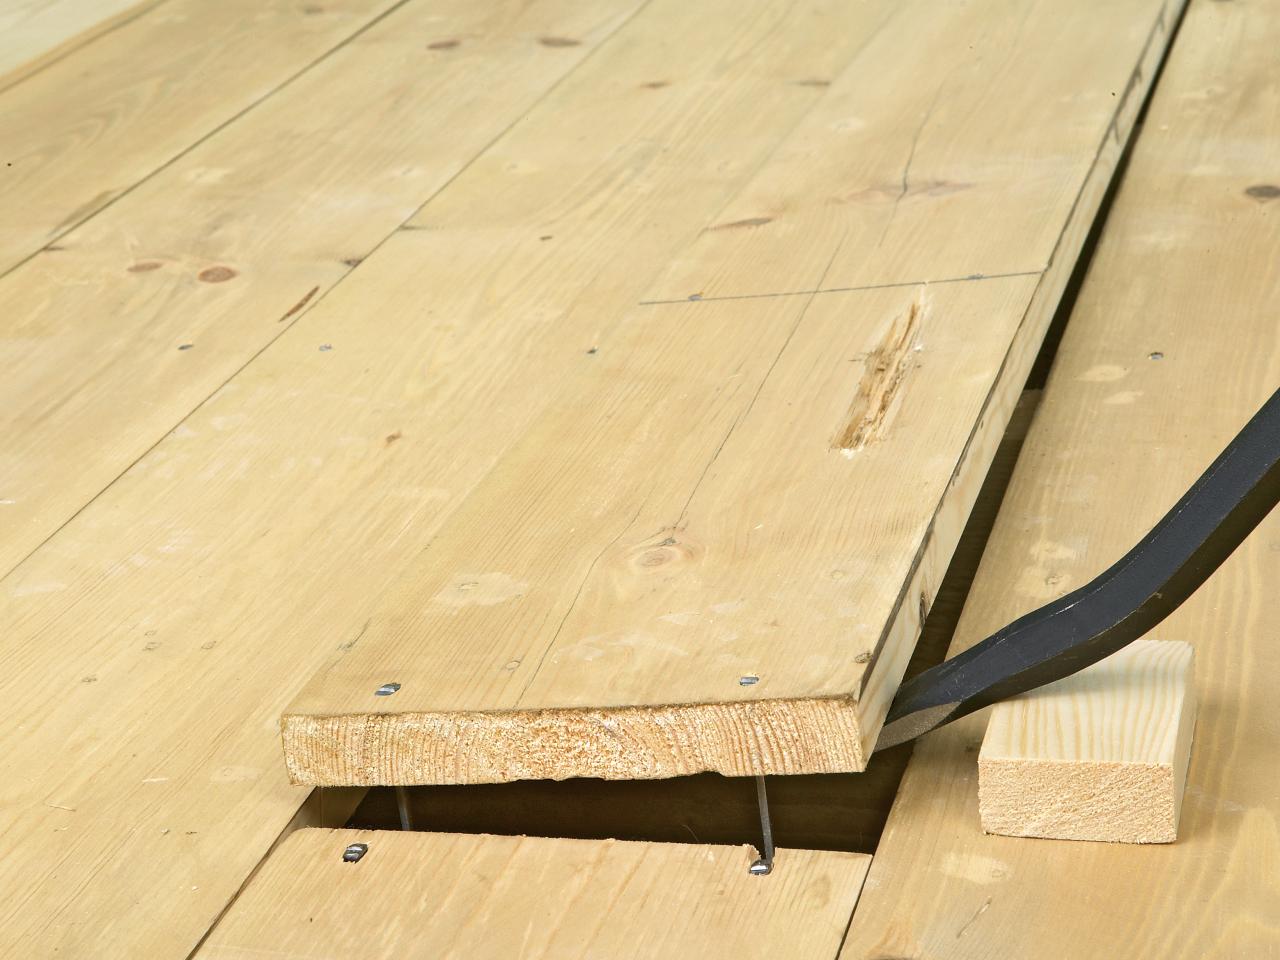
Dismantling a material such as linoleum is the simplest task. First of all, skirting boards should be removed, under which the edges of the old coating are located. Fixing the edge, you can remove the linoleum or carpet in minutes. Remains of old glue are scraped off with a chisel. The remains of linoleum are cleaned using a spatula, sometimes used acetone or other solvent.
Parquet is also easy to dismantle with a nail catcher and a hammer.
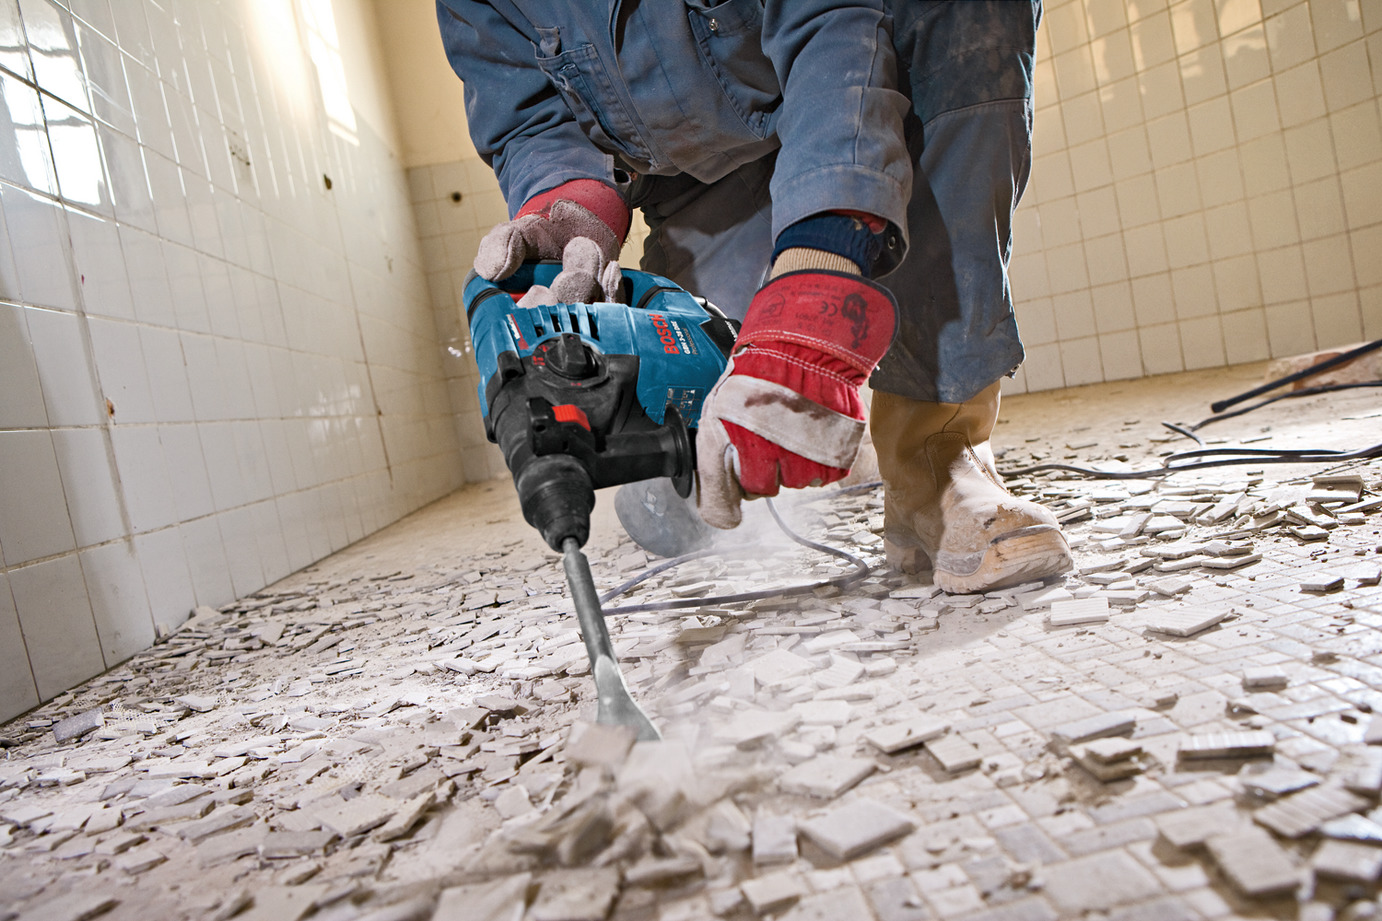
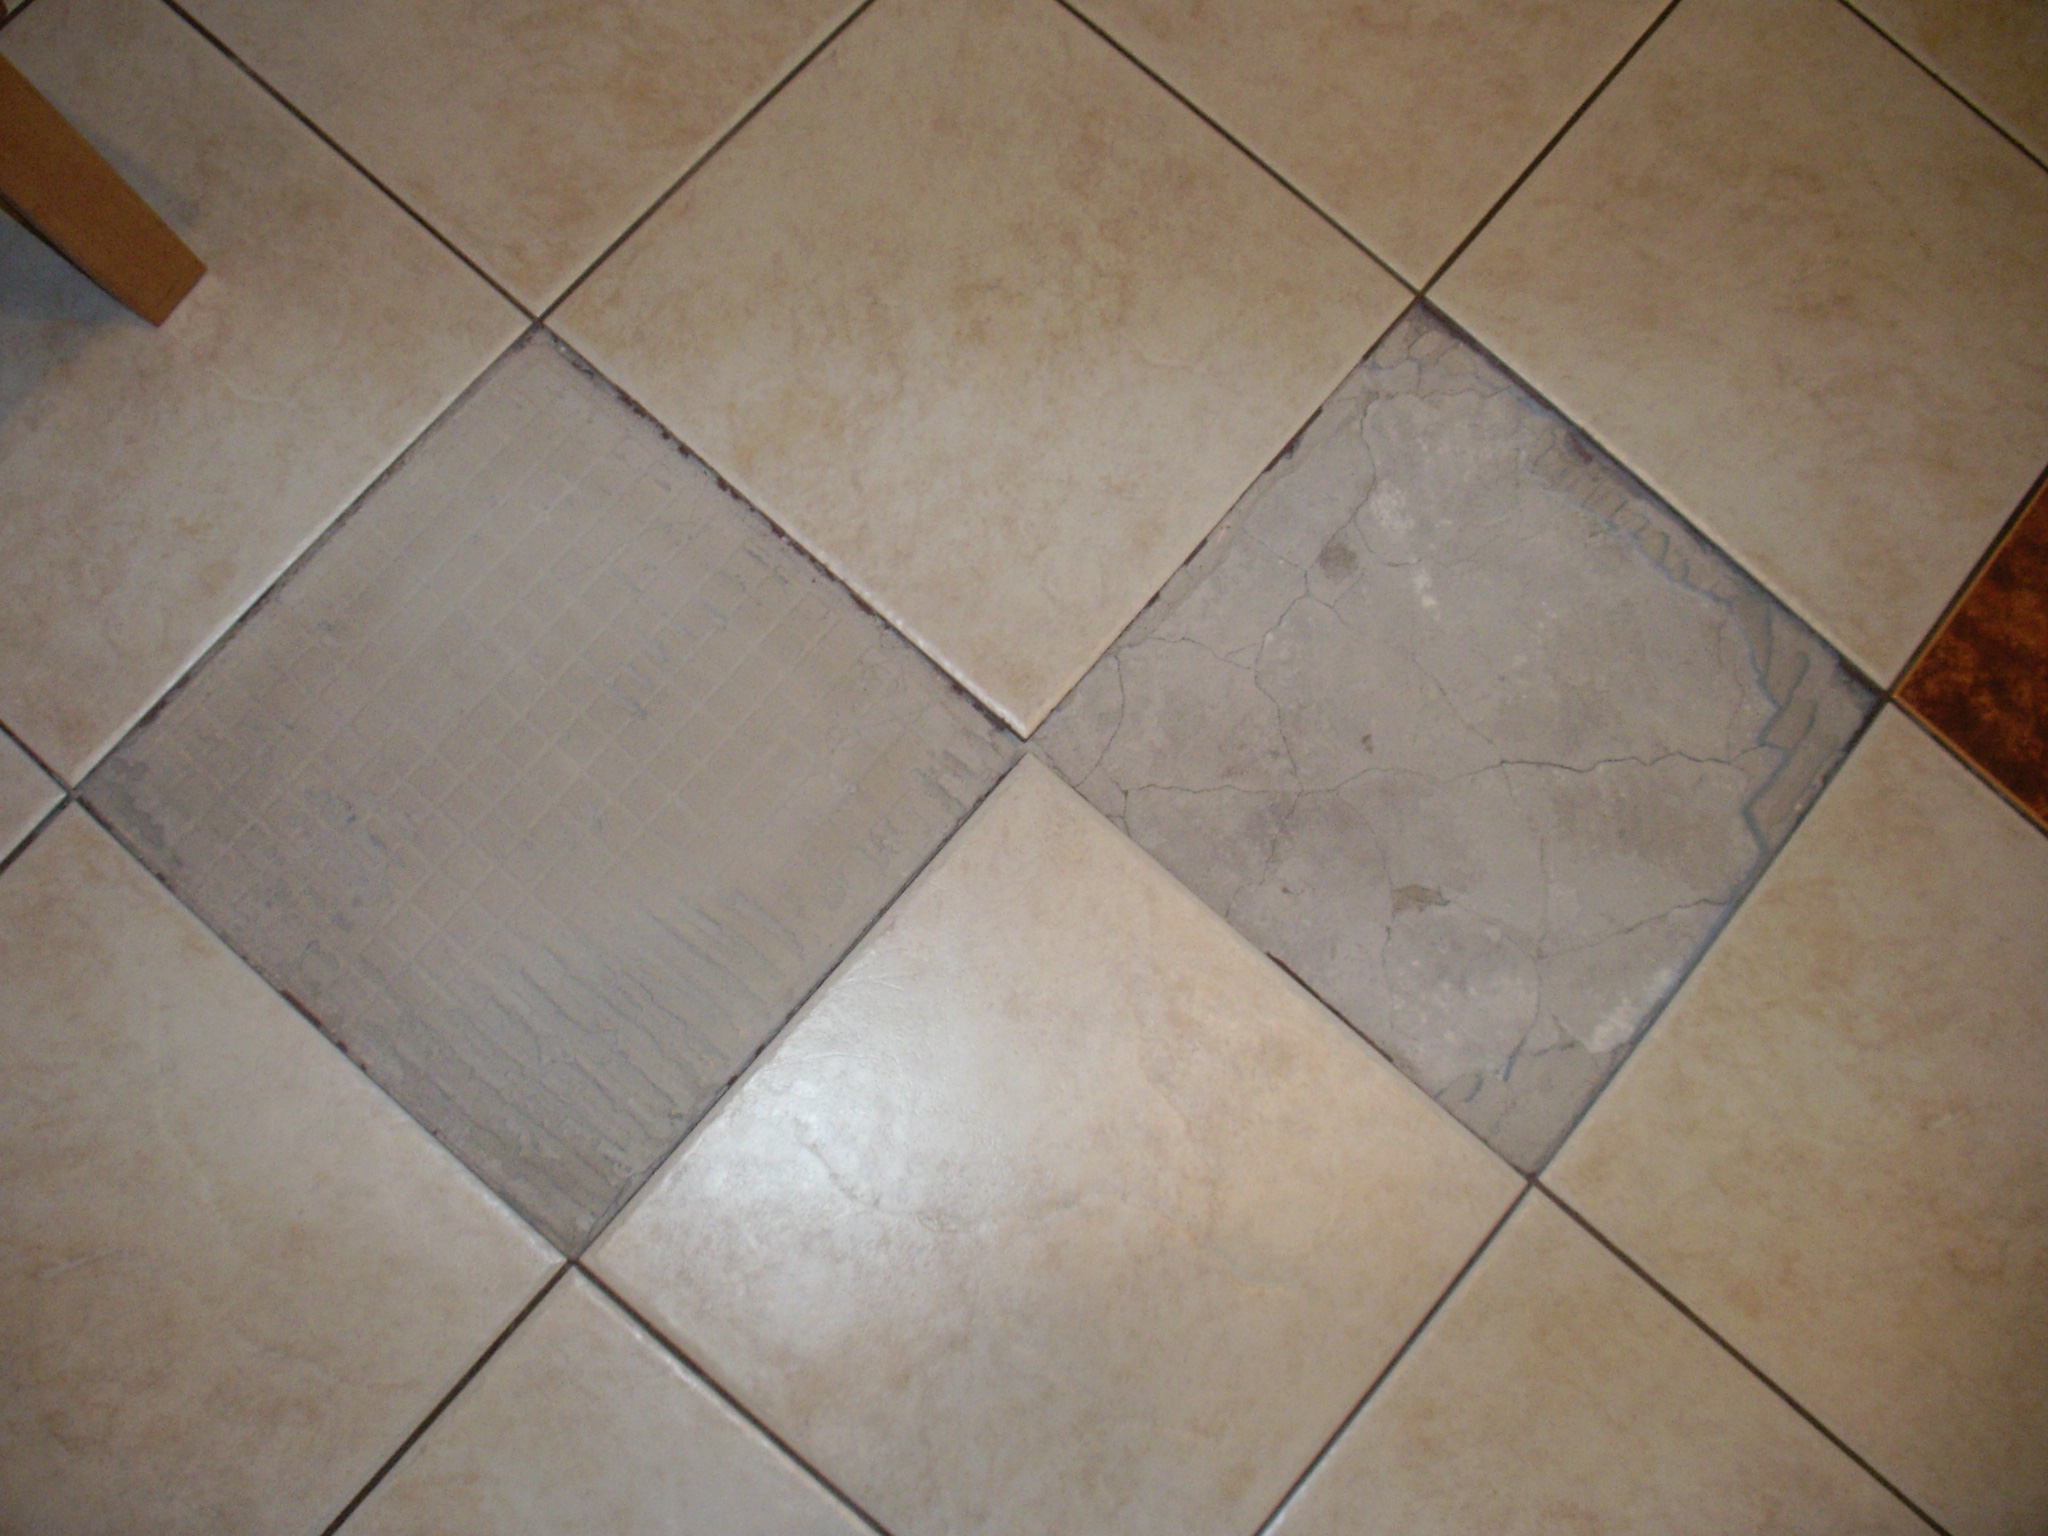
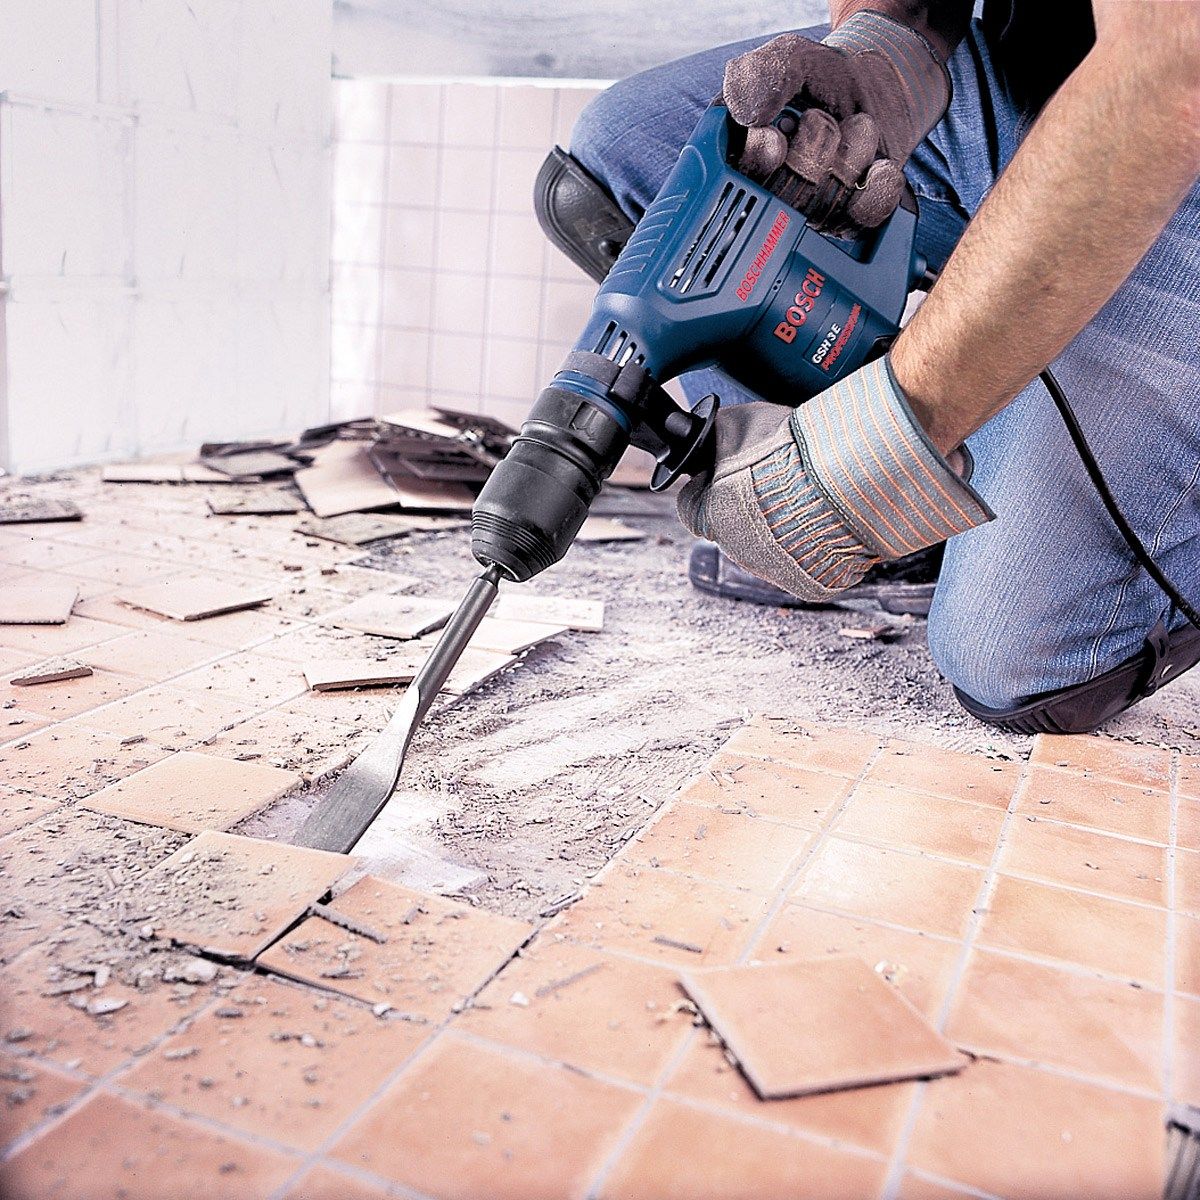
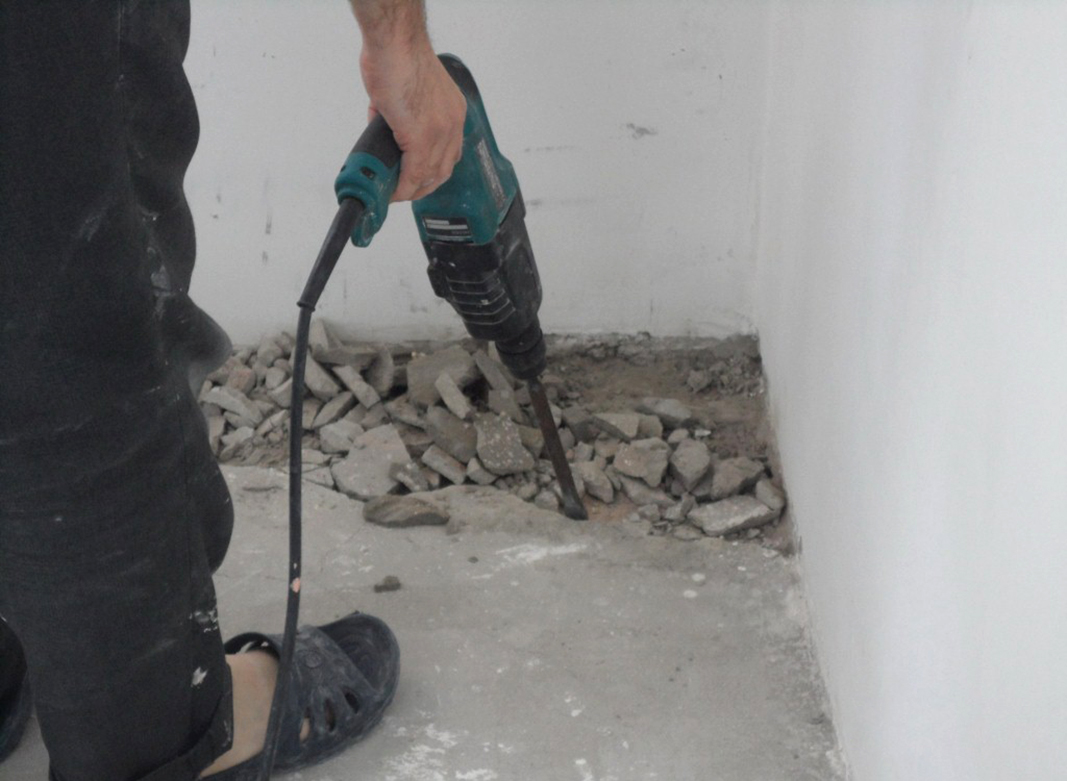
Dismantling the tile is a more complicated operation: the adhesive composition to which the tile is mounted is very durable.In the hardware store you can hire a small punch, and clear the plane of the dried-up remnants of tile glue.
It is imperative that during the work it is recommended to observe safety precautions using
- mask;
- gloves;
- glasses;
- respirator.

With use of the punch any coupler understands.
Evaluation and preparation of the base
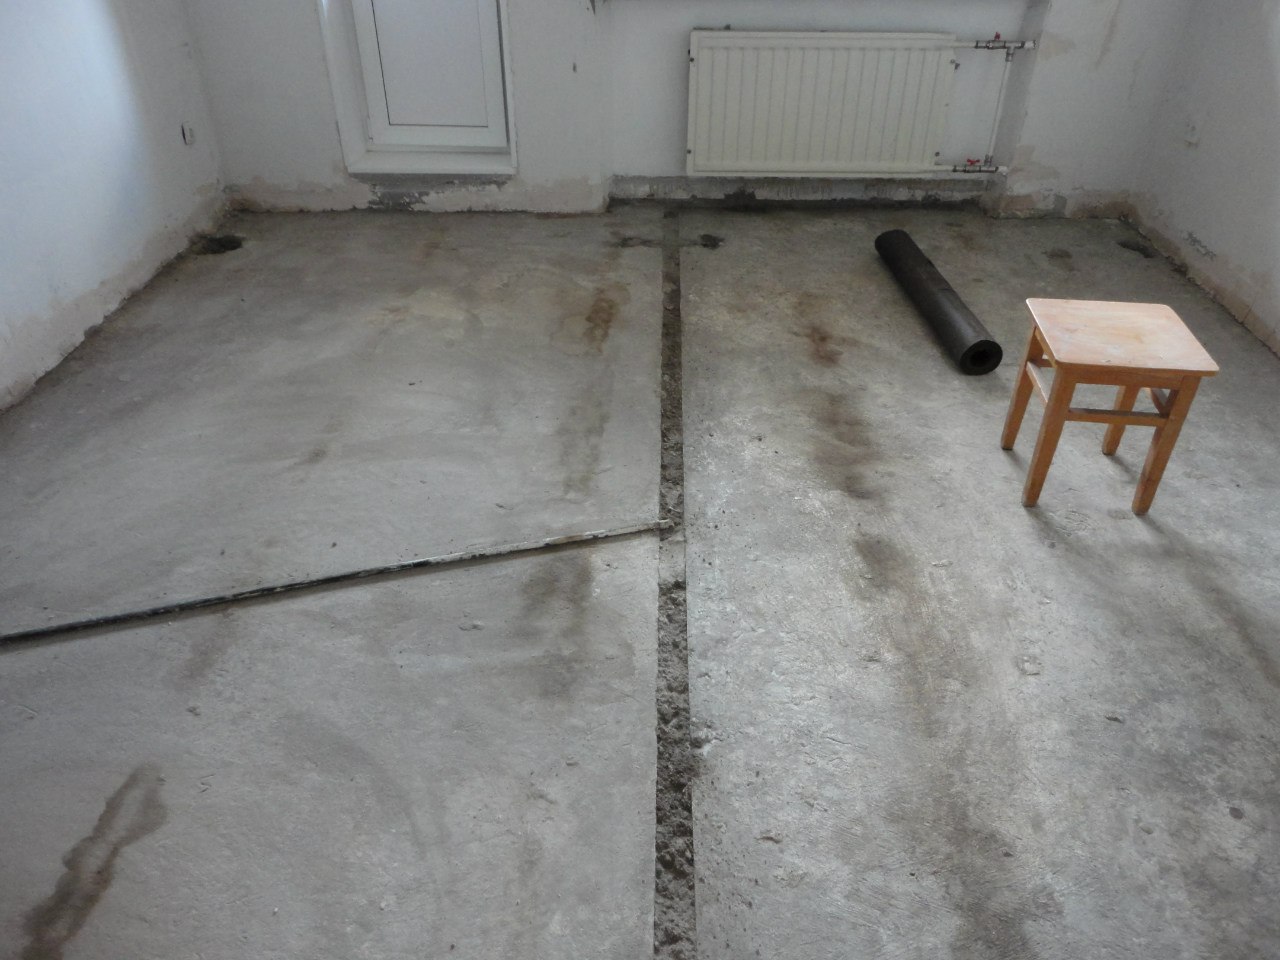
Preparation of the base of any gender is an important step; the quality of the base depends on the durability of the coating. The most inexpensive and durable base is a concrete screed, which is made if there are drops of more than 1 cm in a standard room of 4 x 5 meters.
The reasons:
- is inexpensive;
- has good strength.
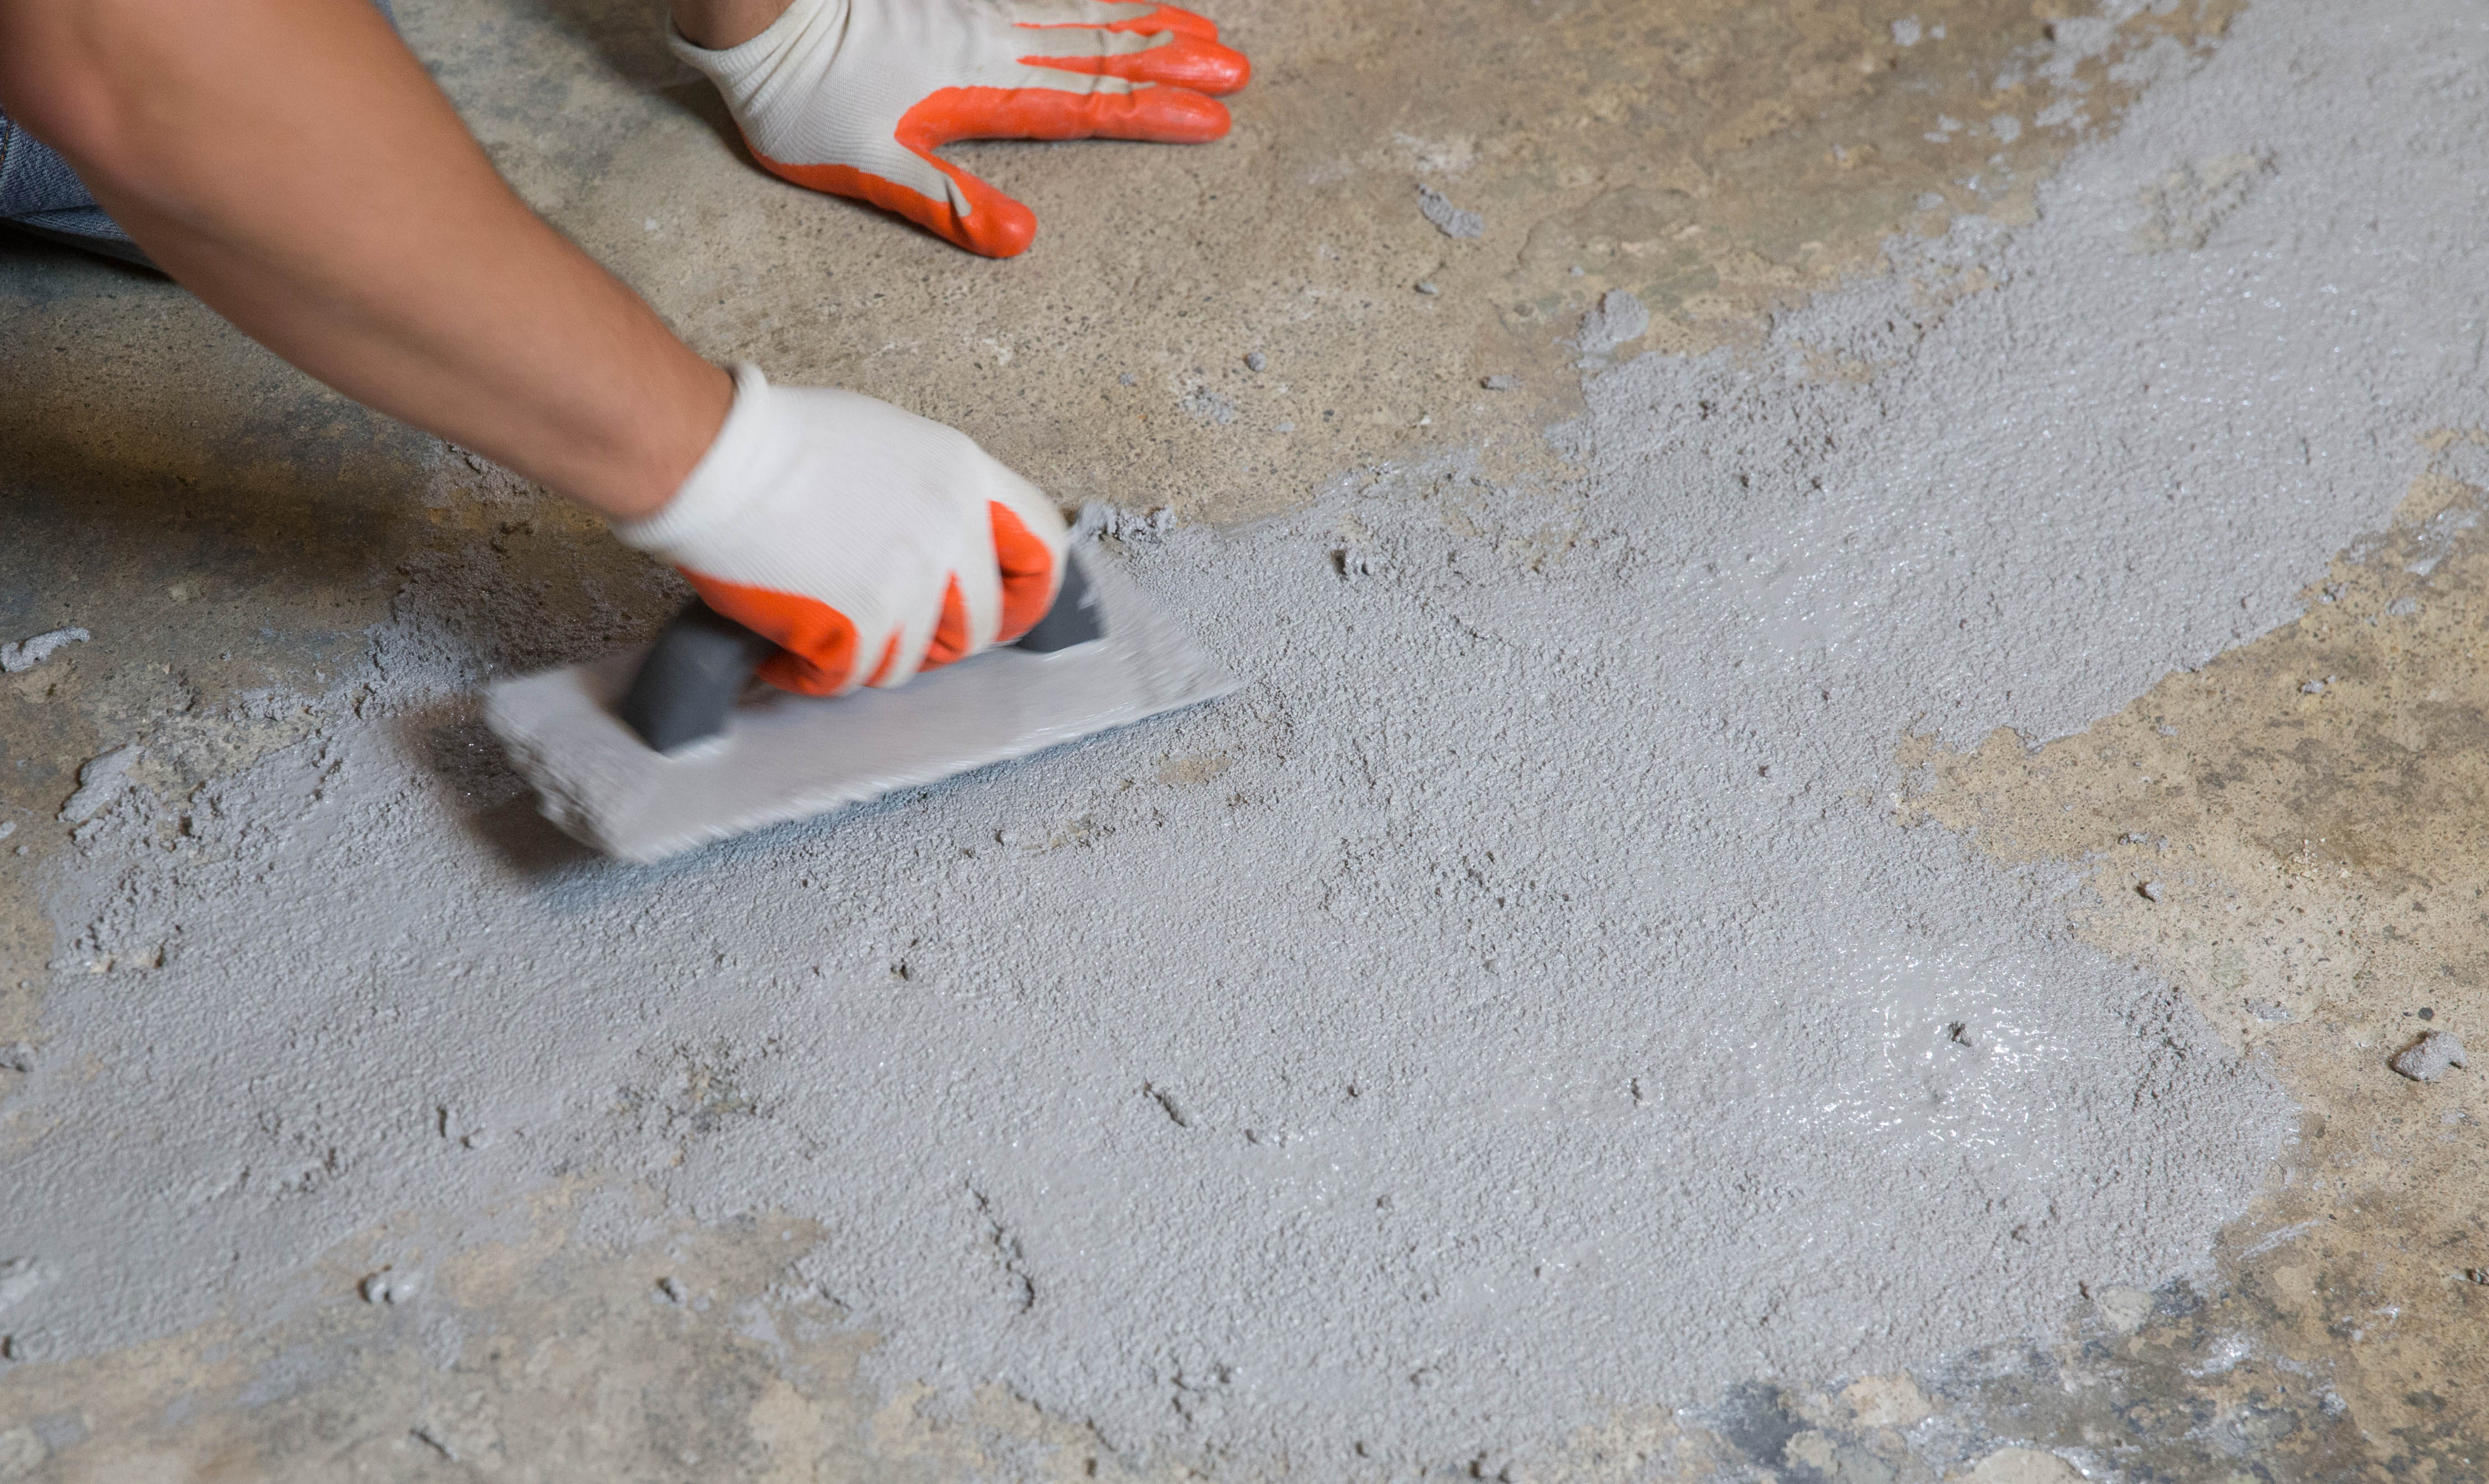
Preparation of the concrete base has its own characteristics. The plate must be completely cleaned of dirt and deposits, for this purpose, use a grinding machine. Excavations and cracks are sealed with starting putty.
Required tools:
- sanding machine;
- industrial vacuum cleaner;
- perforator.


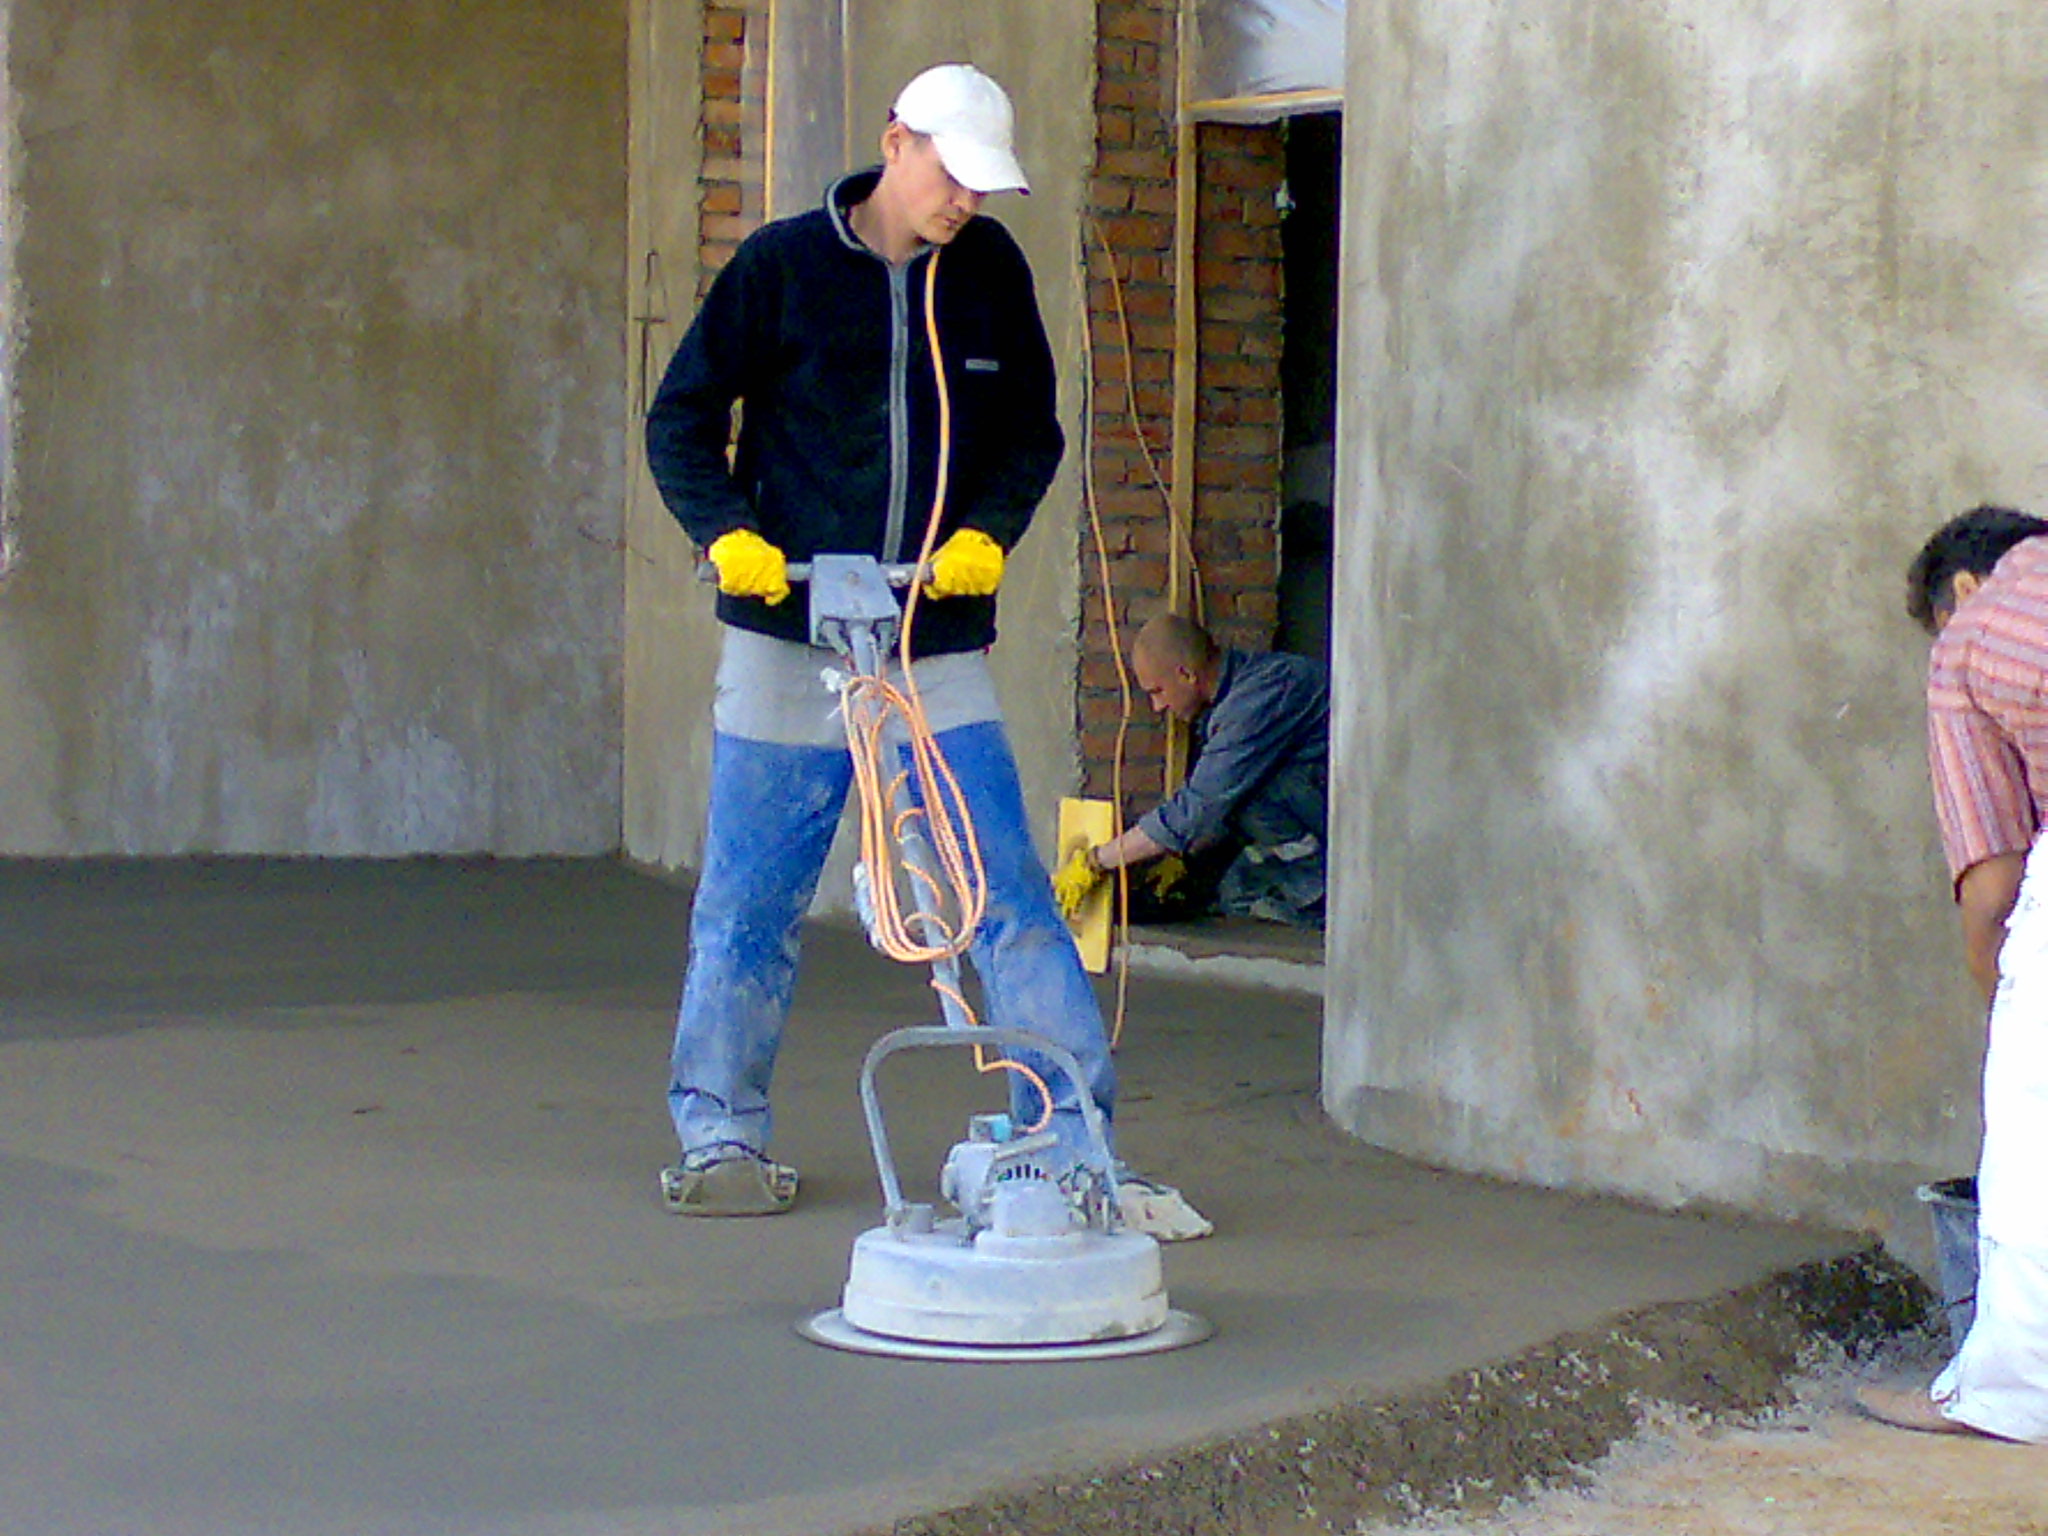
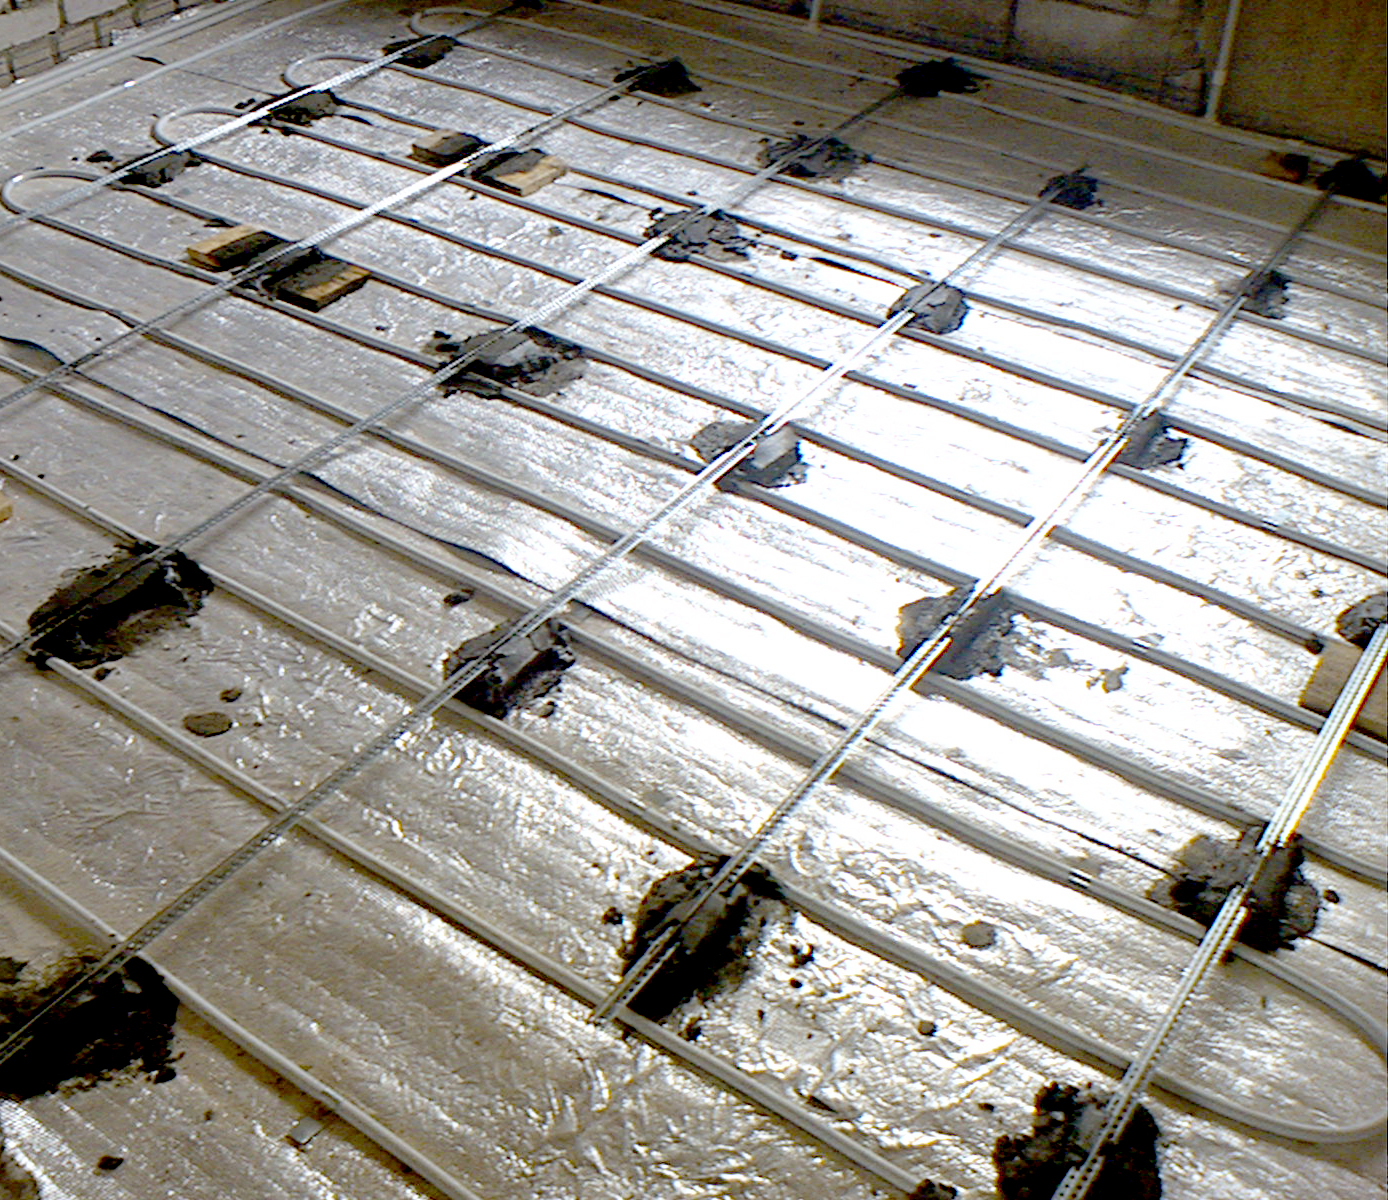
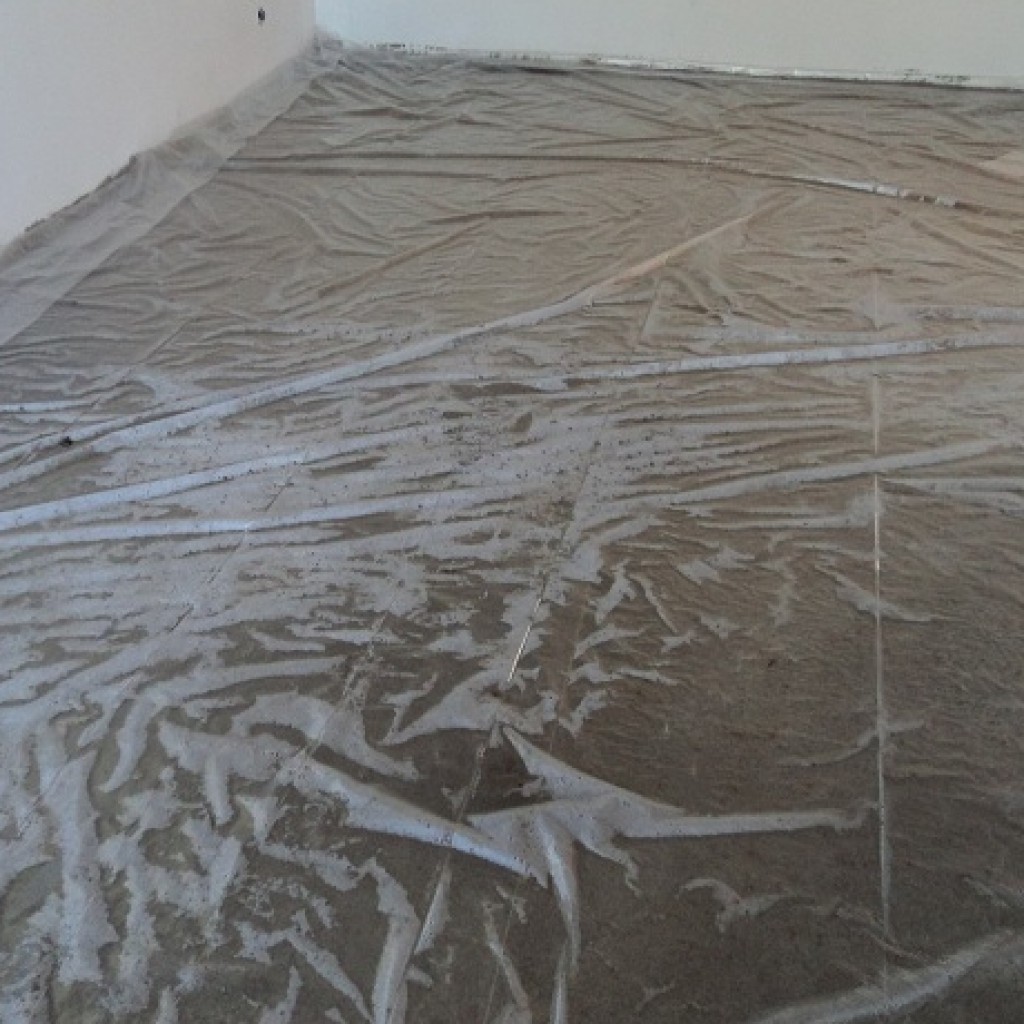
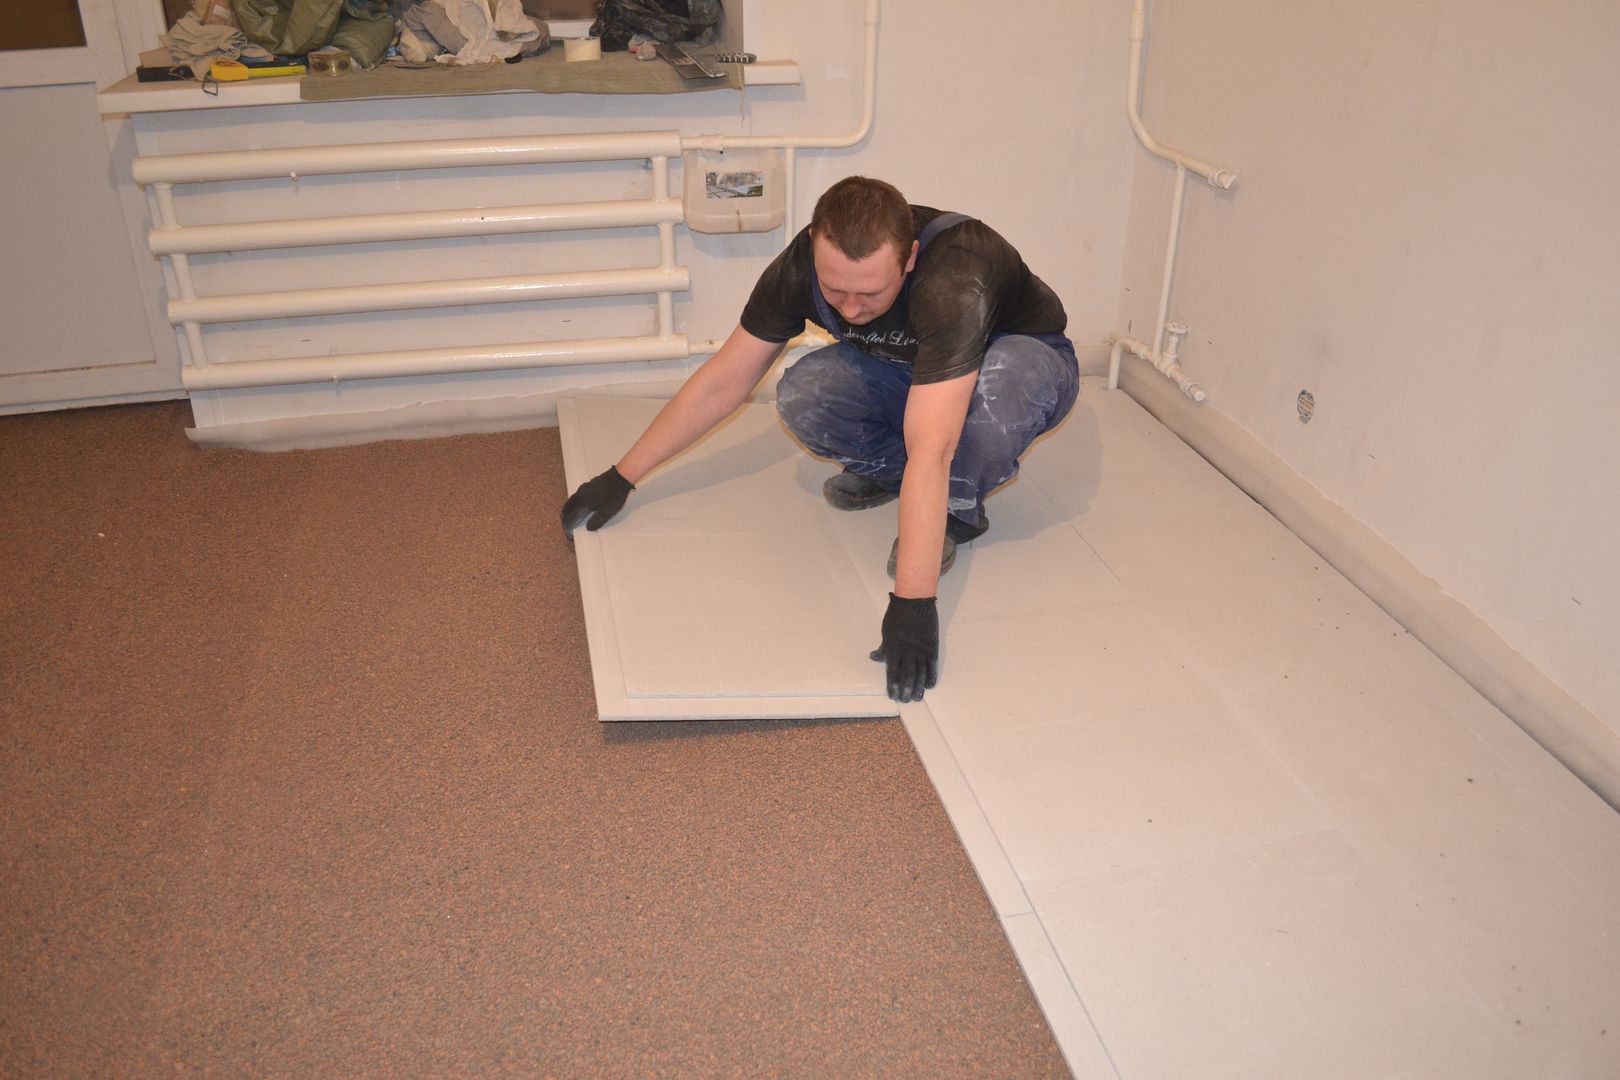
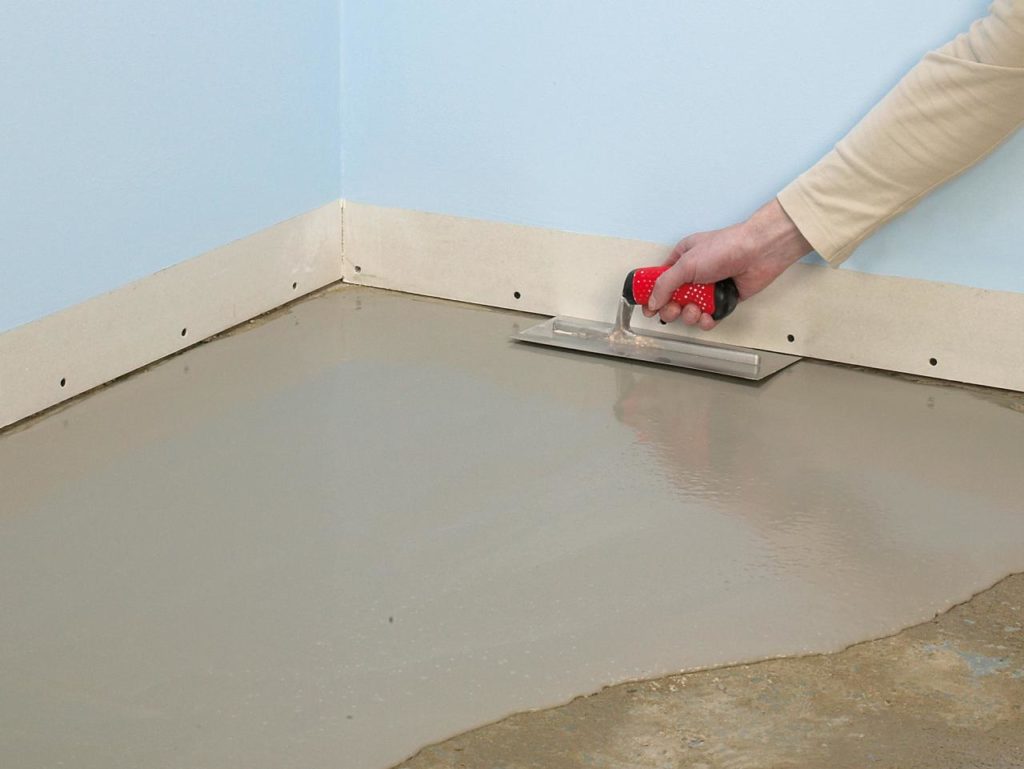
Then put waterproofing, roofing material and plastic film. The film is sold in rolls, so its strips are usually 1.5–2 meters wide.The strips should be mounted overlap with a gap of 12 cm. Then the joints are glued with tape or a damper tape.
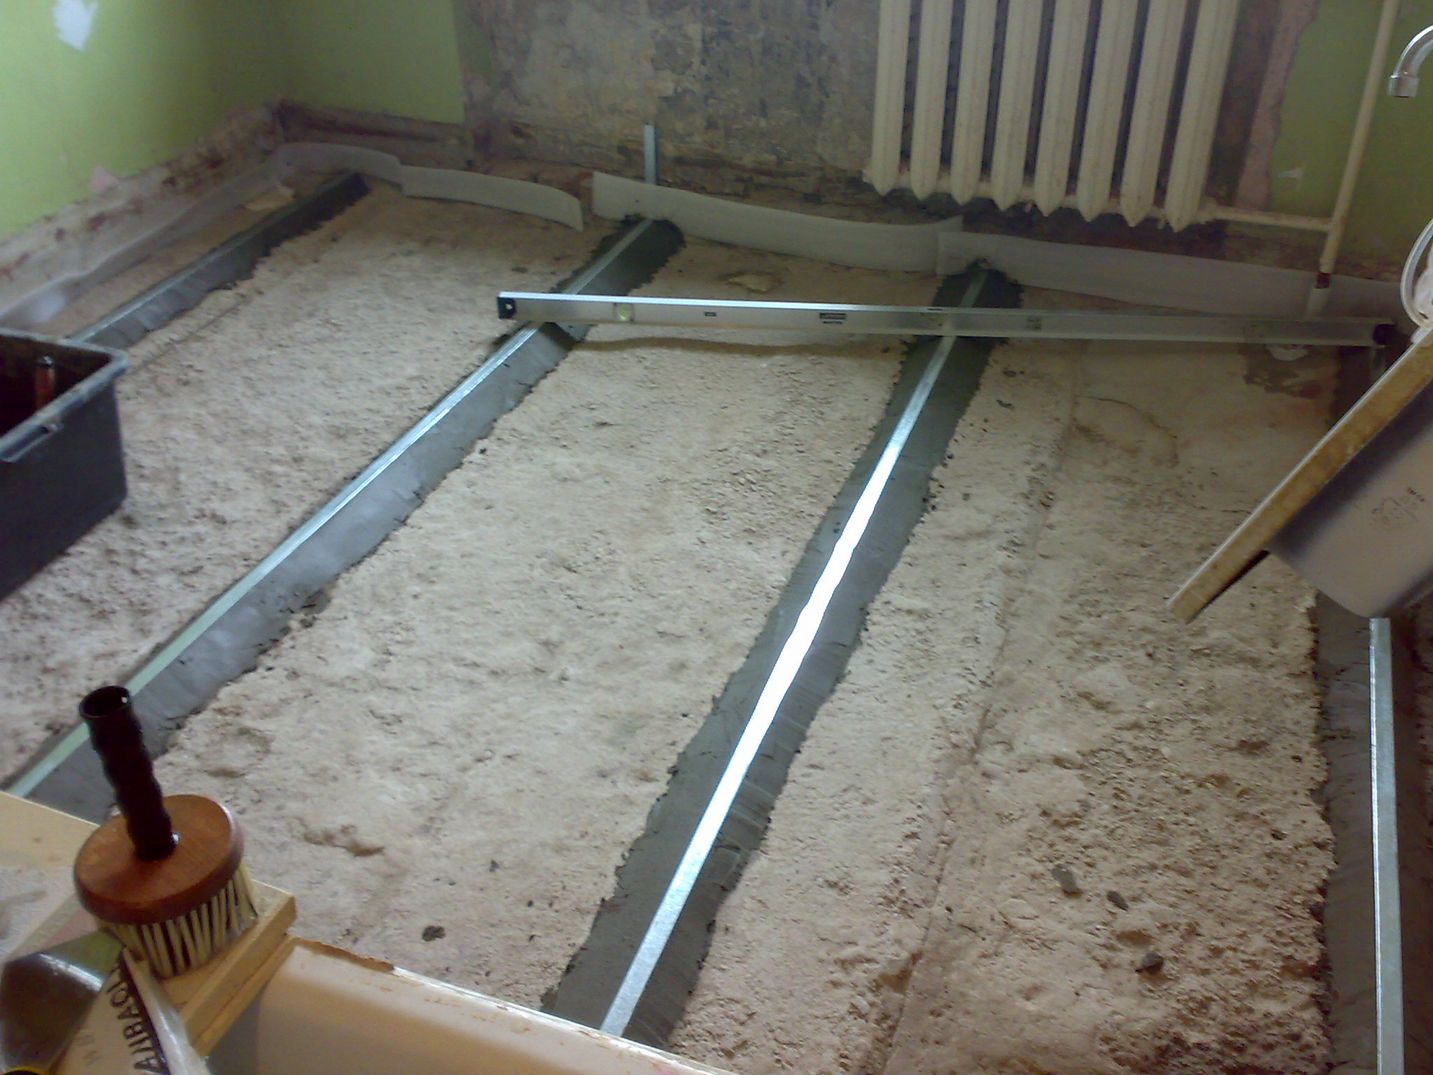
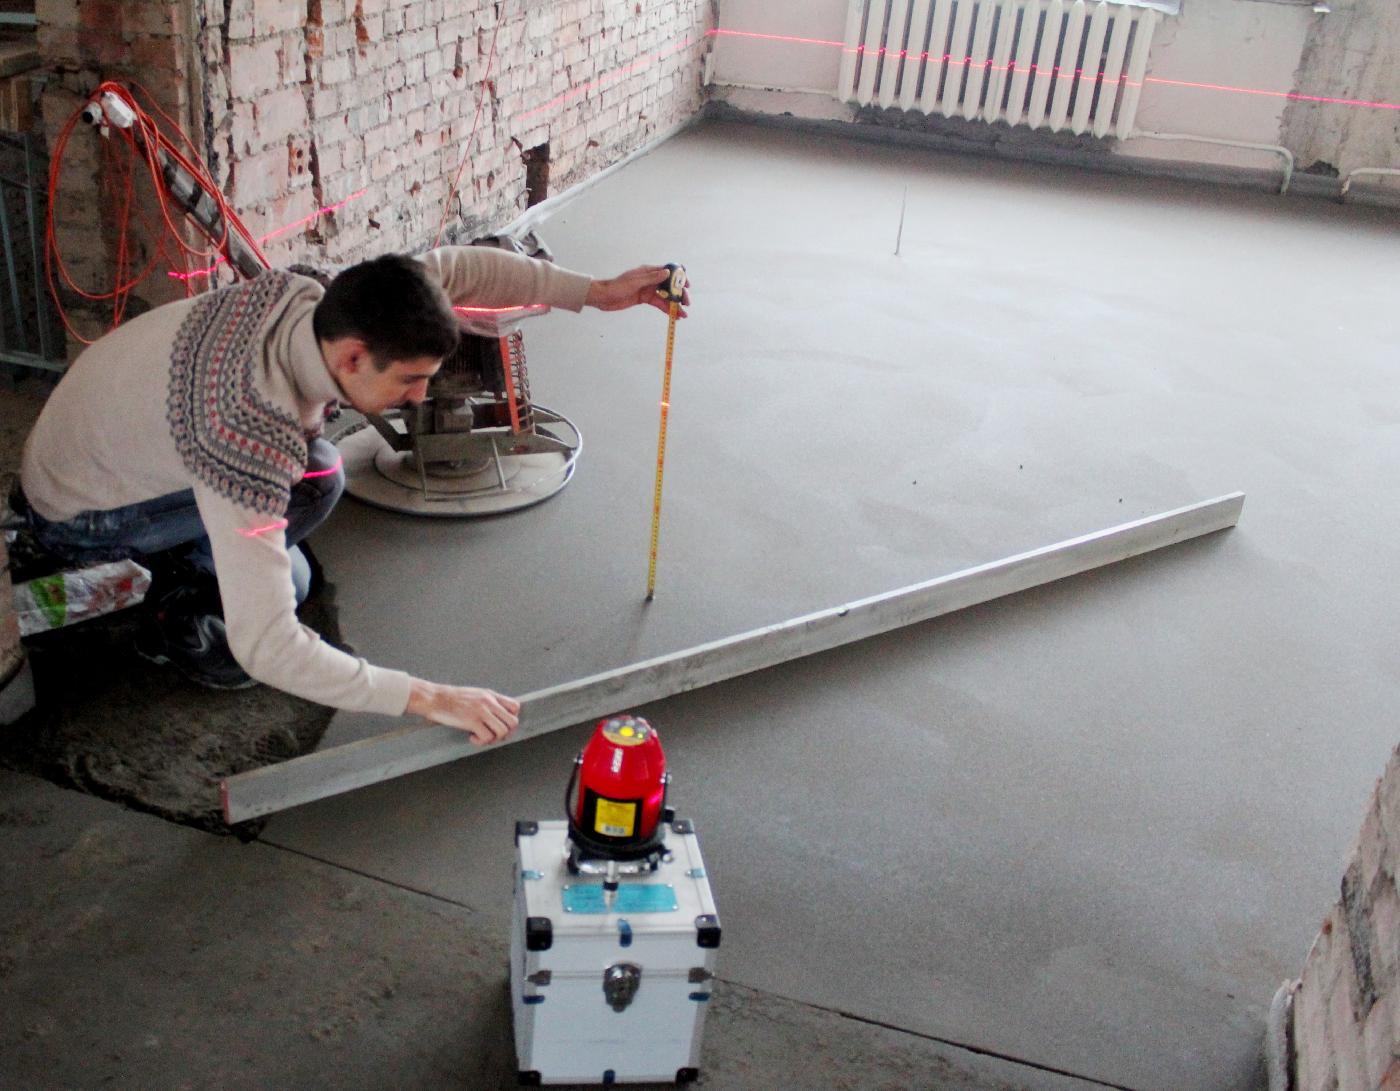
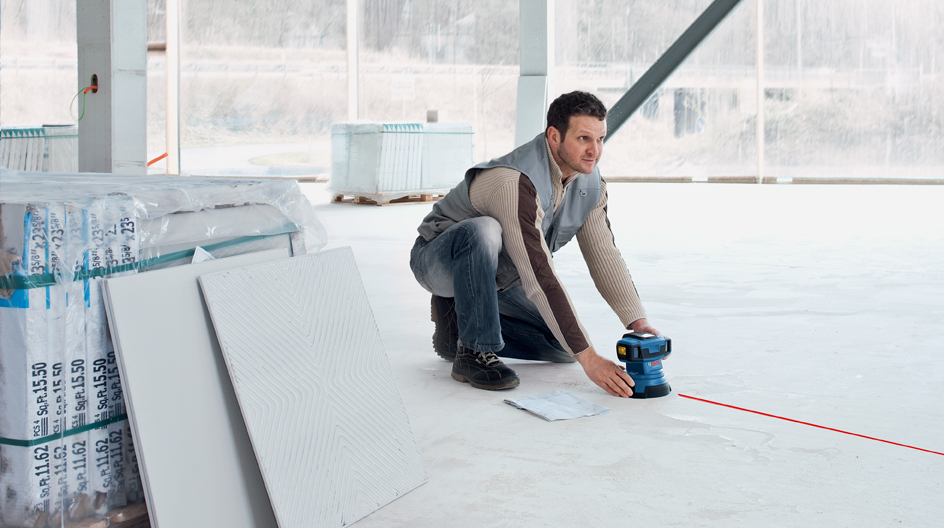
Metal guides, "beacons" are mounted, and water and two-meter levels are used. The installation technology of beacons is simple, but it requires concentration; if the guides are set incorrectly, the floor will be curved.
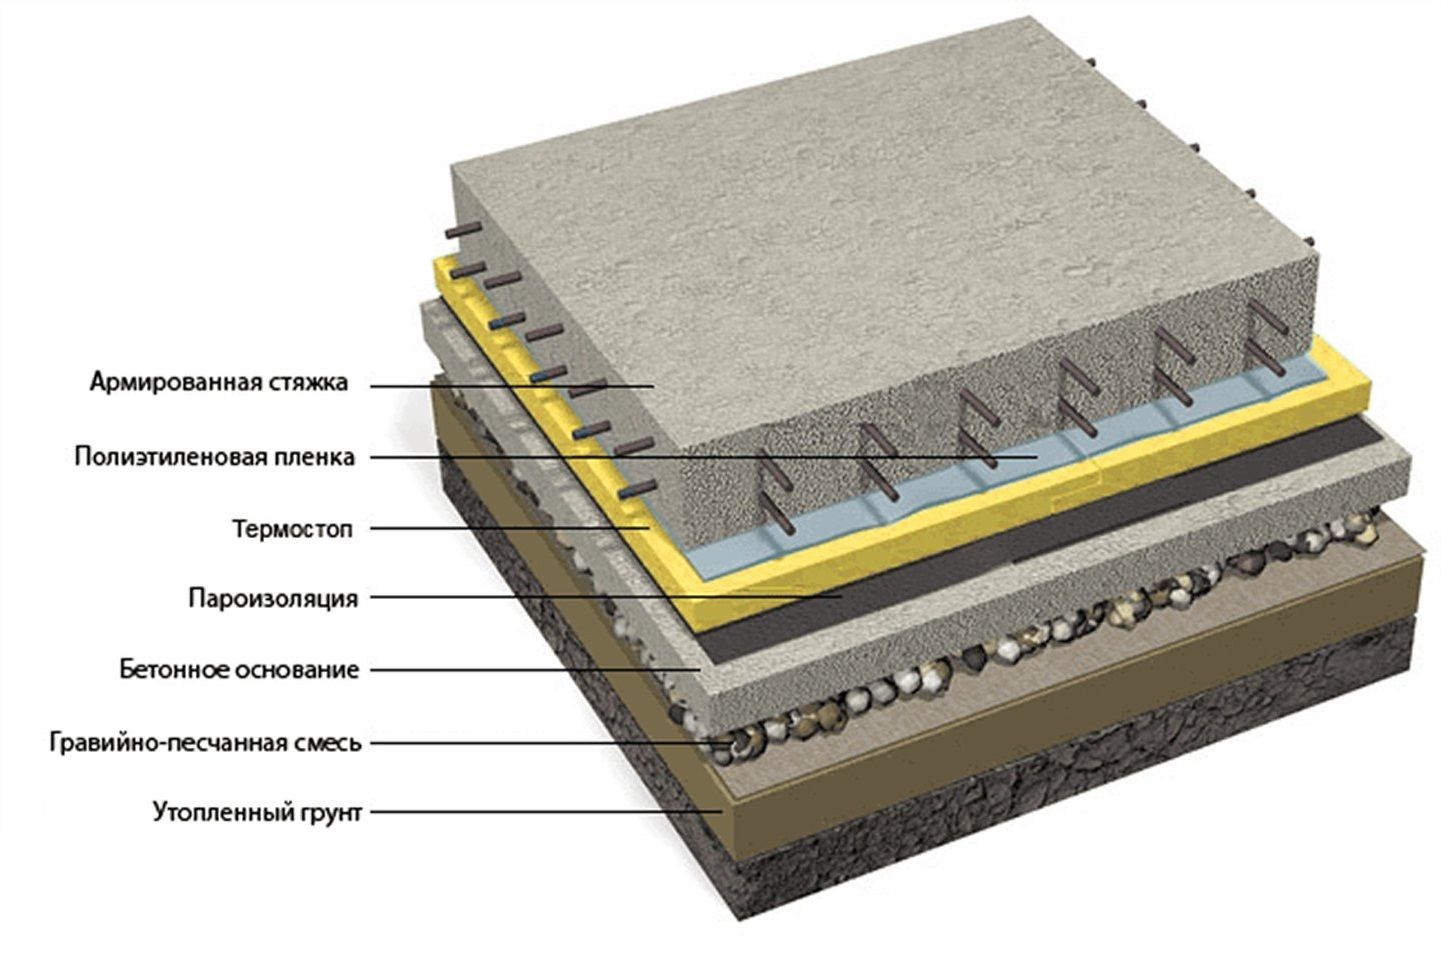

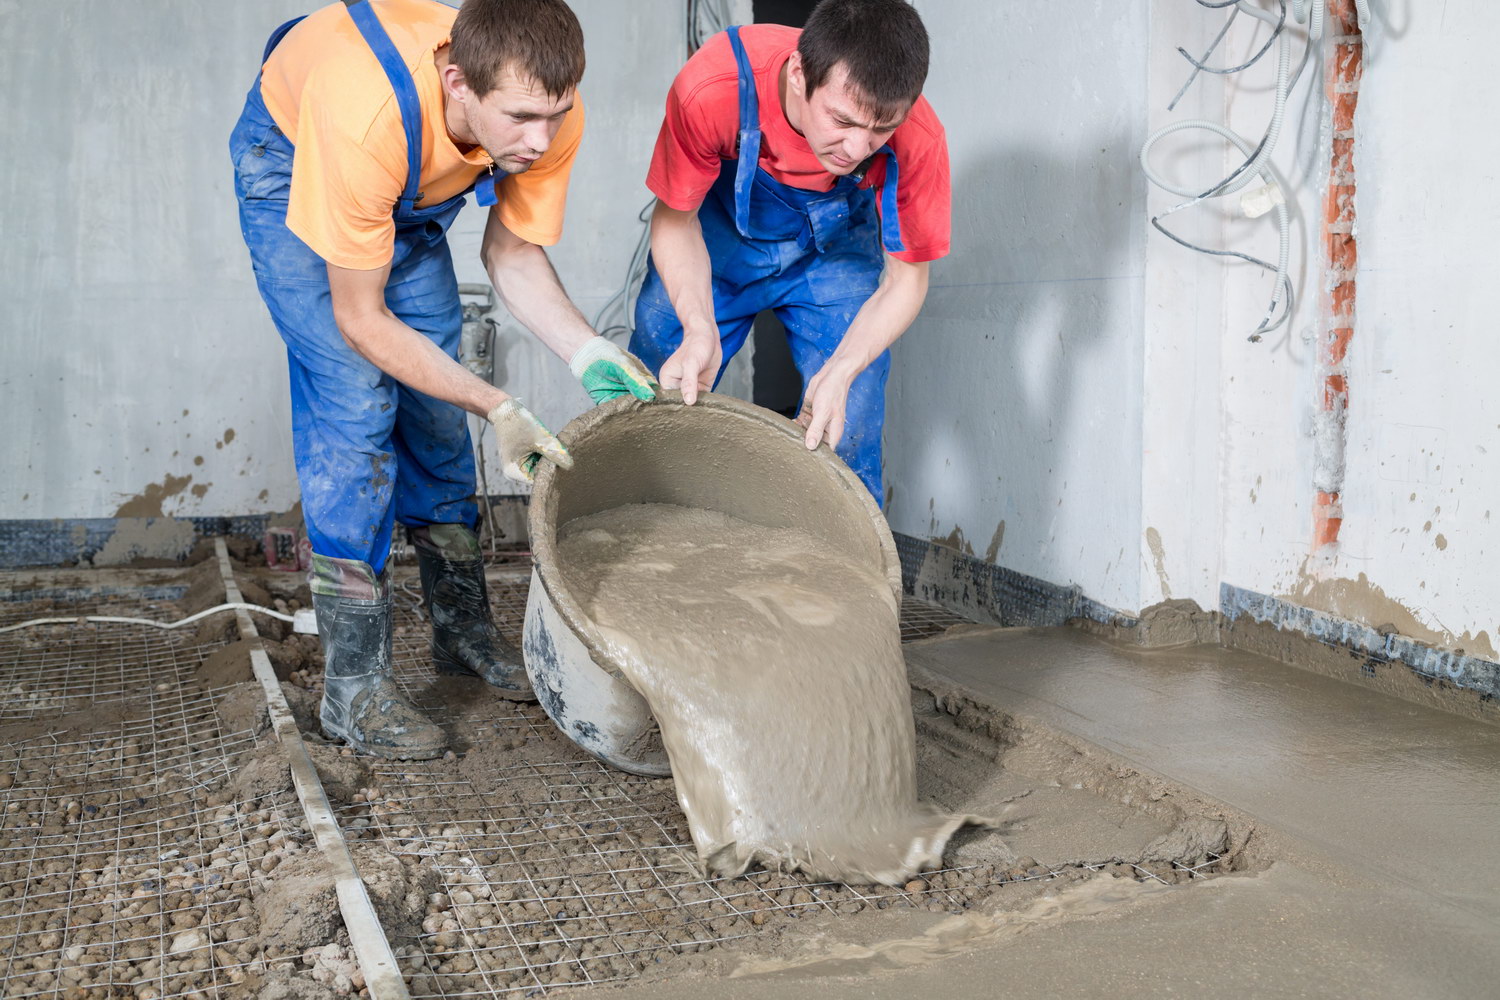
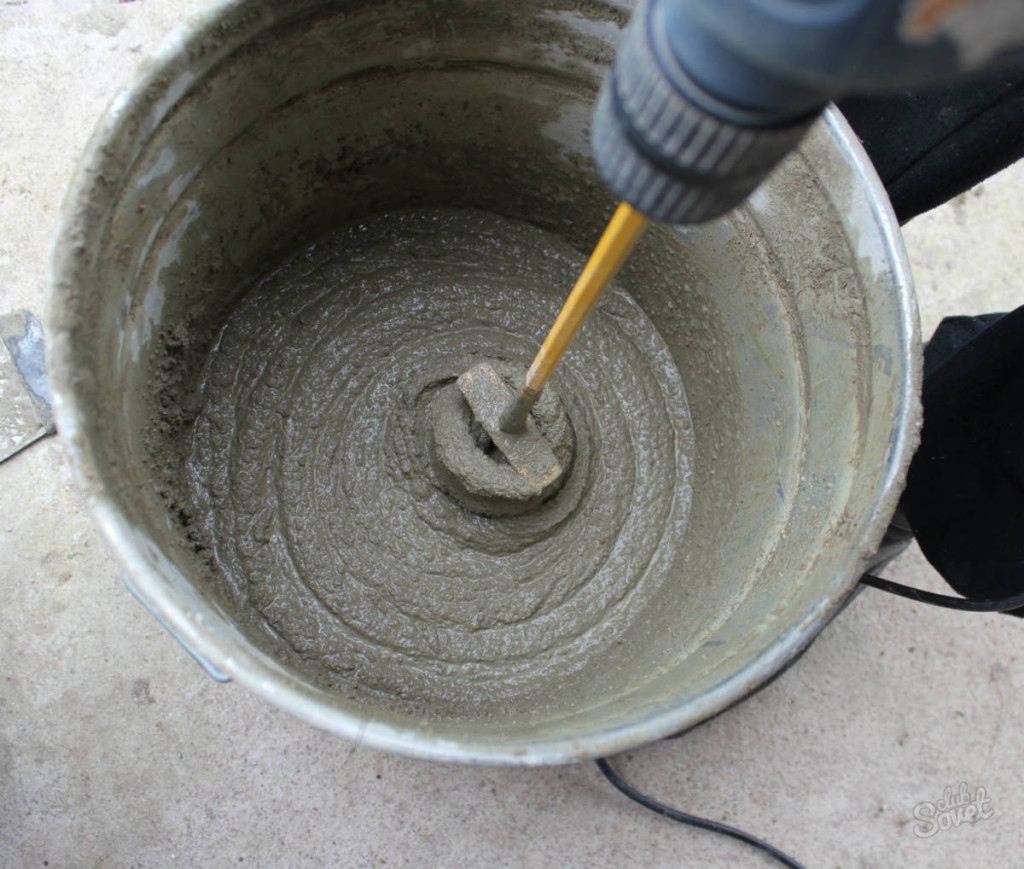
Preparing cement-sand mixture, which can be bought at the hardware store.
The brand of cement in this case should not be below 200. The moisture content of the mixture is allowed no more than 4%. The mixture is poured under the upper level of the lighthouses.
Important details:
- the distance between the beacons does not exceed two meters;
- lighthouses must be set using a two-meter level;
- during the drying of the screed (no more than 5 days), it is covered with PVC film;
- works can be carried out at a temperature not lower than five degrees Celsius.
When preparing a wooden floor base, it is often necessary to replace beams that have served their time. Before applying, for example, a self-leveling floor, the wood flooring must necessarily be rough.
For these purposes is used:
- sandpaper;
- chisel.
The differences in floor height when laying laminate should not exceed two millimeters, based on 2 x 2 meters of area
The foundation of the floor is often made of wood-based panels:
- DSP;
- Hardboard;
- gypsum fiber;
- gypsum concrete.
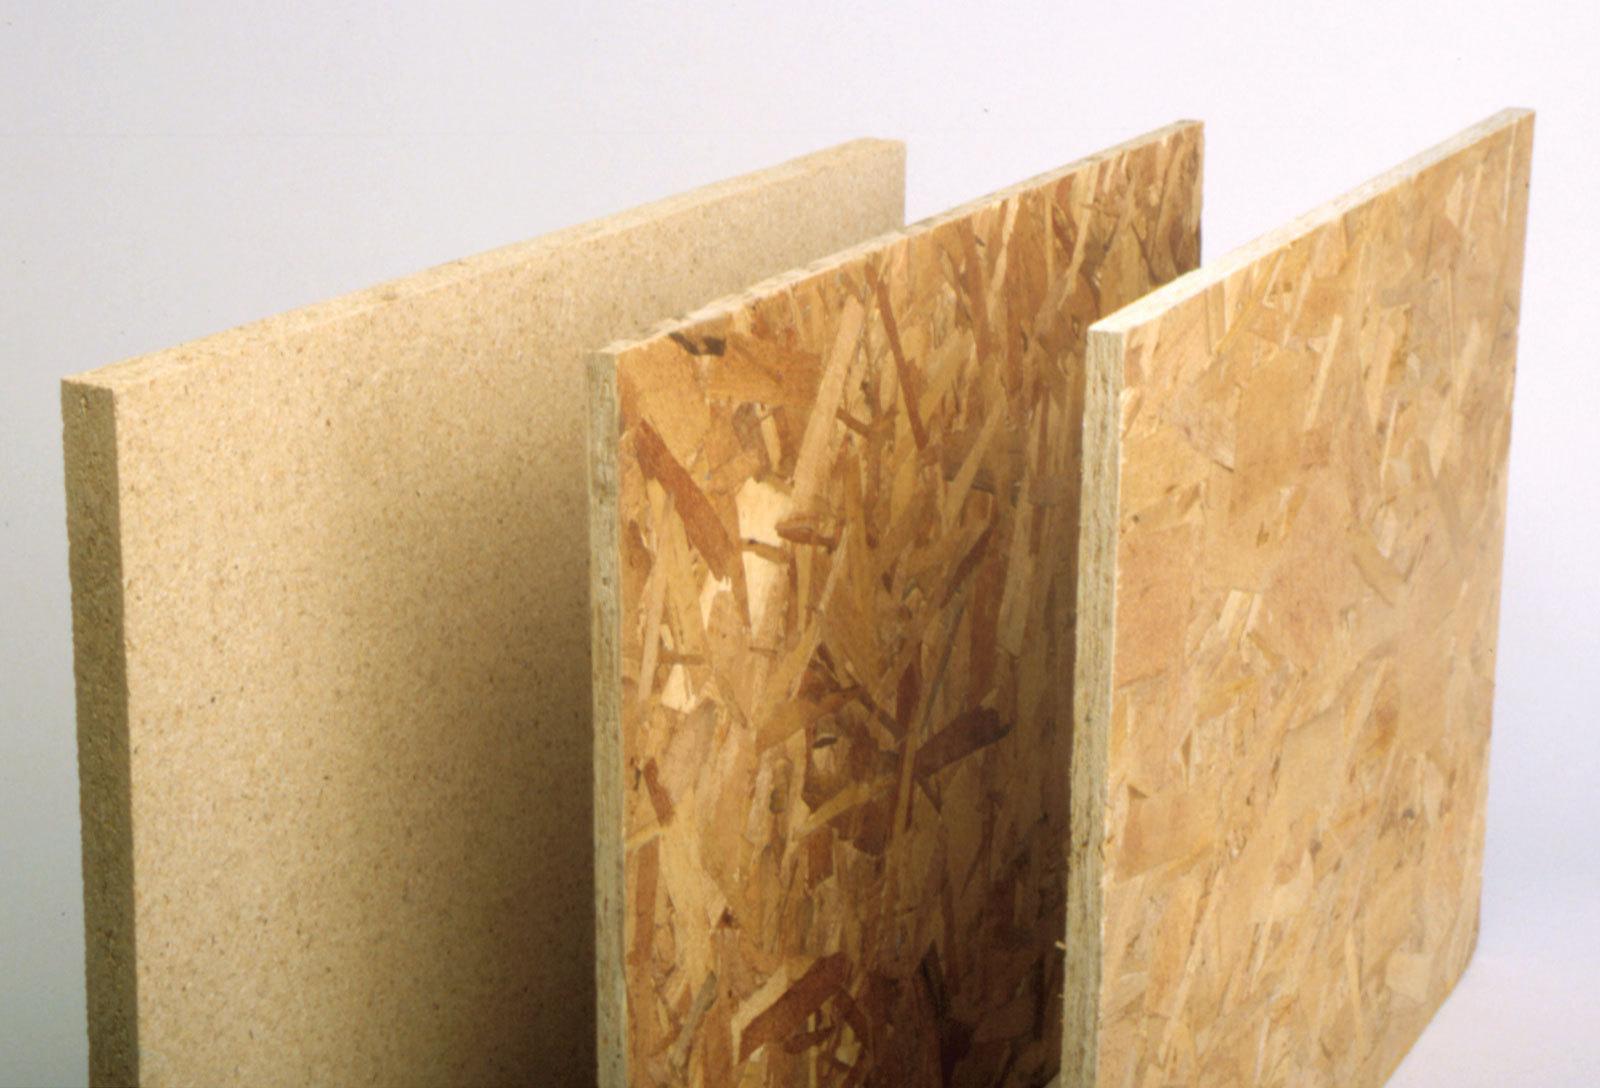
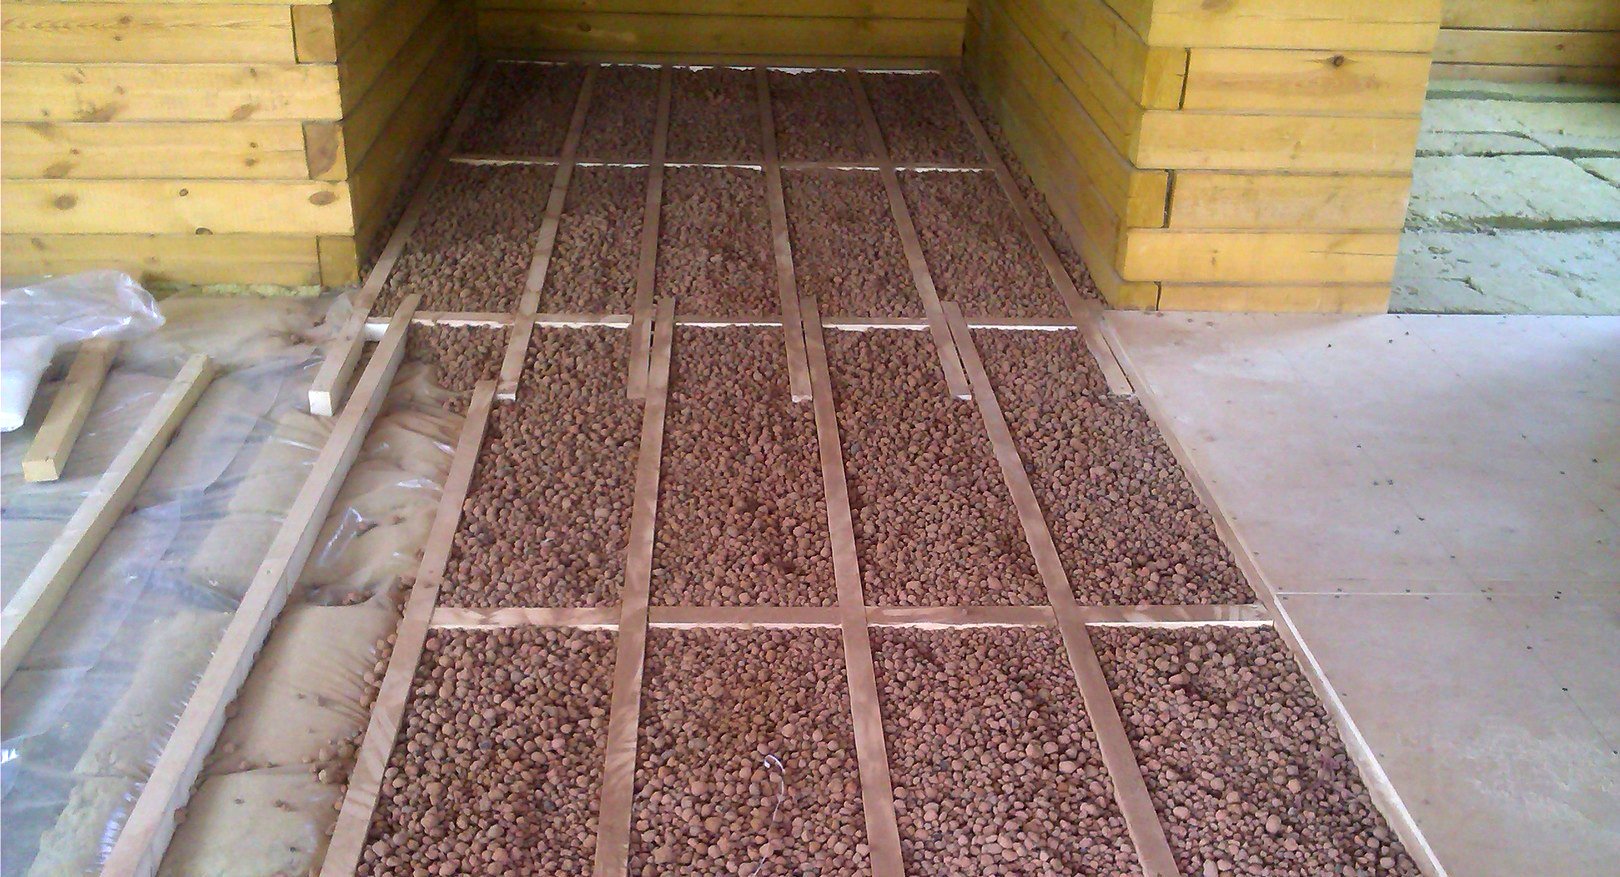
The strength of these materials do not meet the requirements, they are subject to excessive deformation. It is much more rational to install slabs made of expanded clay.
When installing the parquet, the moisture content of the base should be no more than five percent.
Installation
To cover the floor, you need a rather large amount of money, if you do this work yourself, you will be able to save money.
First you should prepare:
- buy a cement-based screed mix at any hardware store;
- to purchase waterproofing in rolls;
- prepare the necessary tools and containers.

You can make the mixture for the screed yourself, for this you will need:
- sifted sand - 4 shares;
- cement 400 - 1 share.
Water is added to the dry mixture in small portions, the substance is stirred. After the completion of the screed filling, a pause of three days is taken.
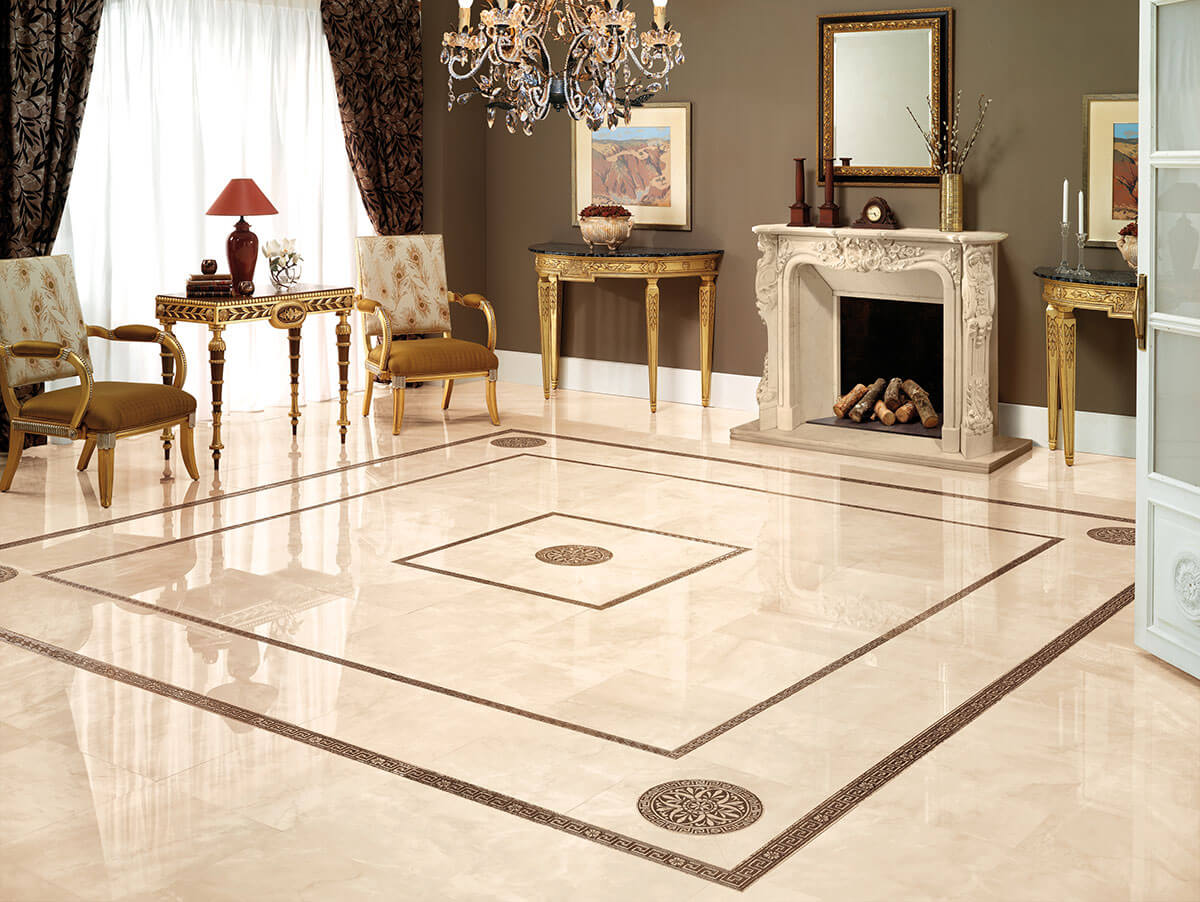
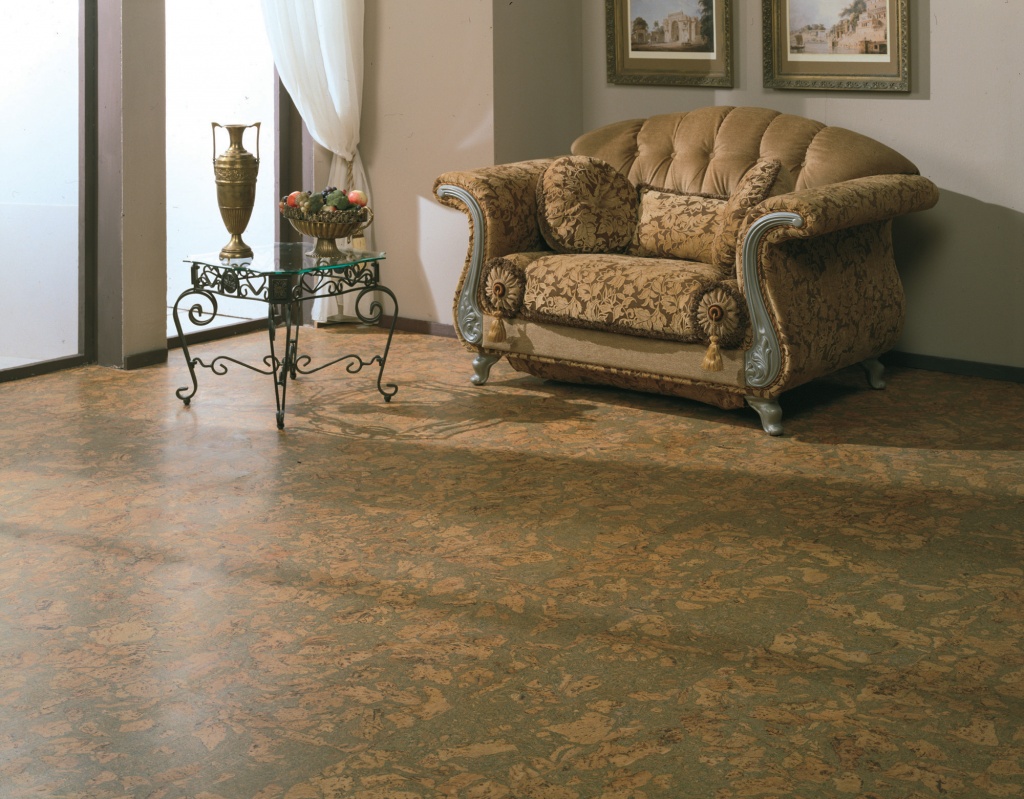
On the finished screed can be laid almost any coating:
- tile;
- parquet;
- linoleum;
- cork;
- wooden floor (if you put pre-lags).
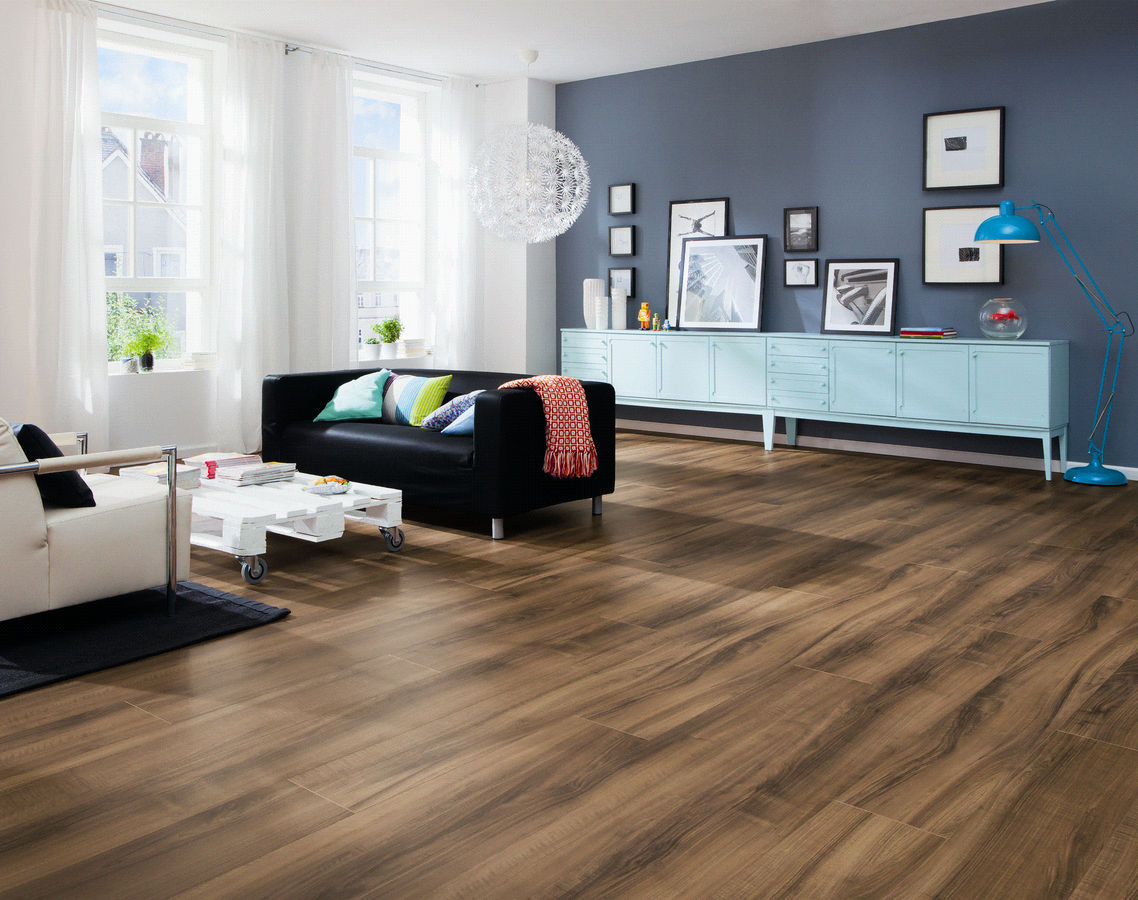
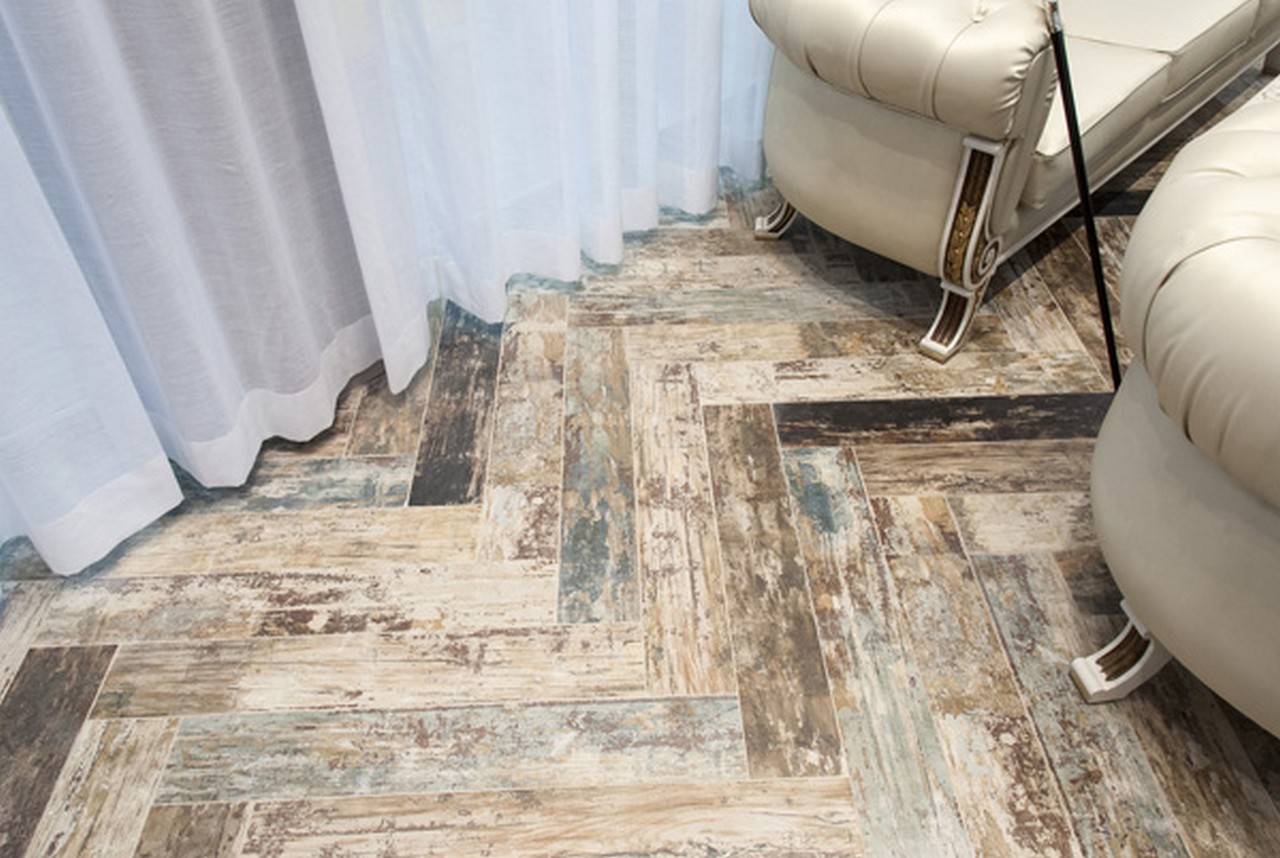
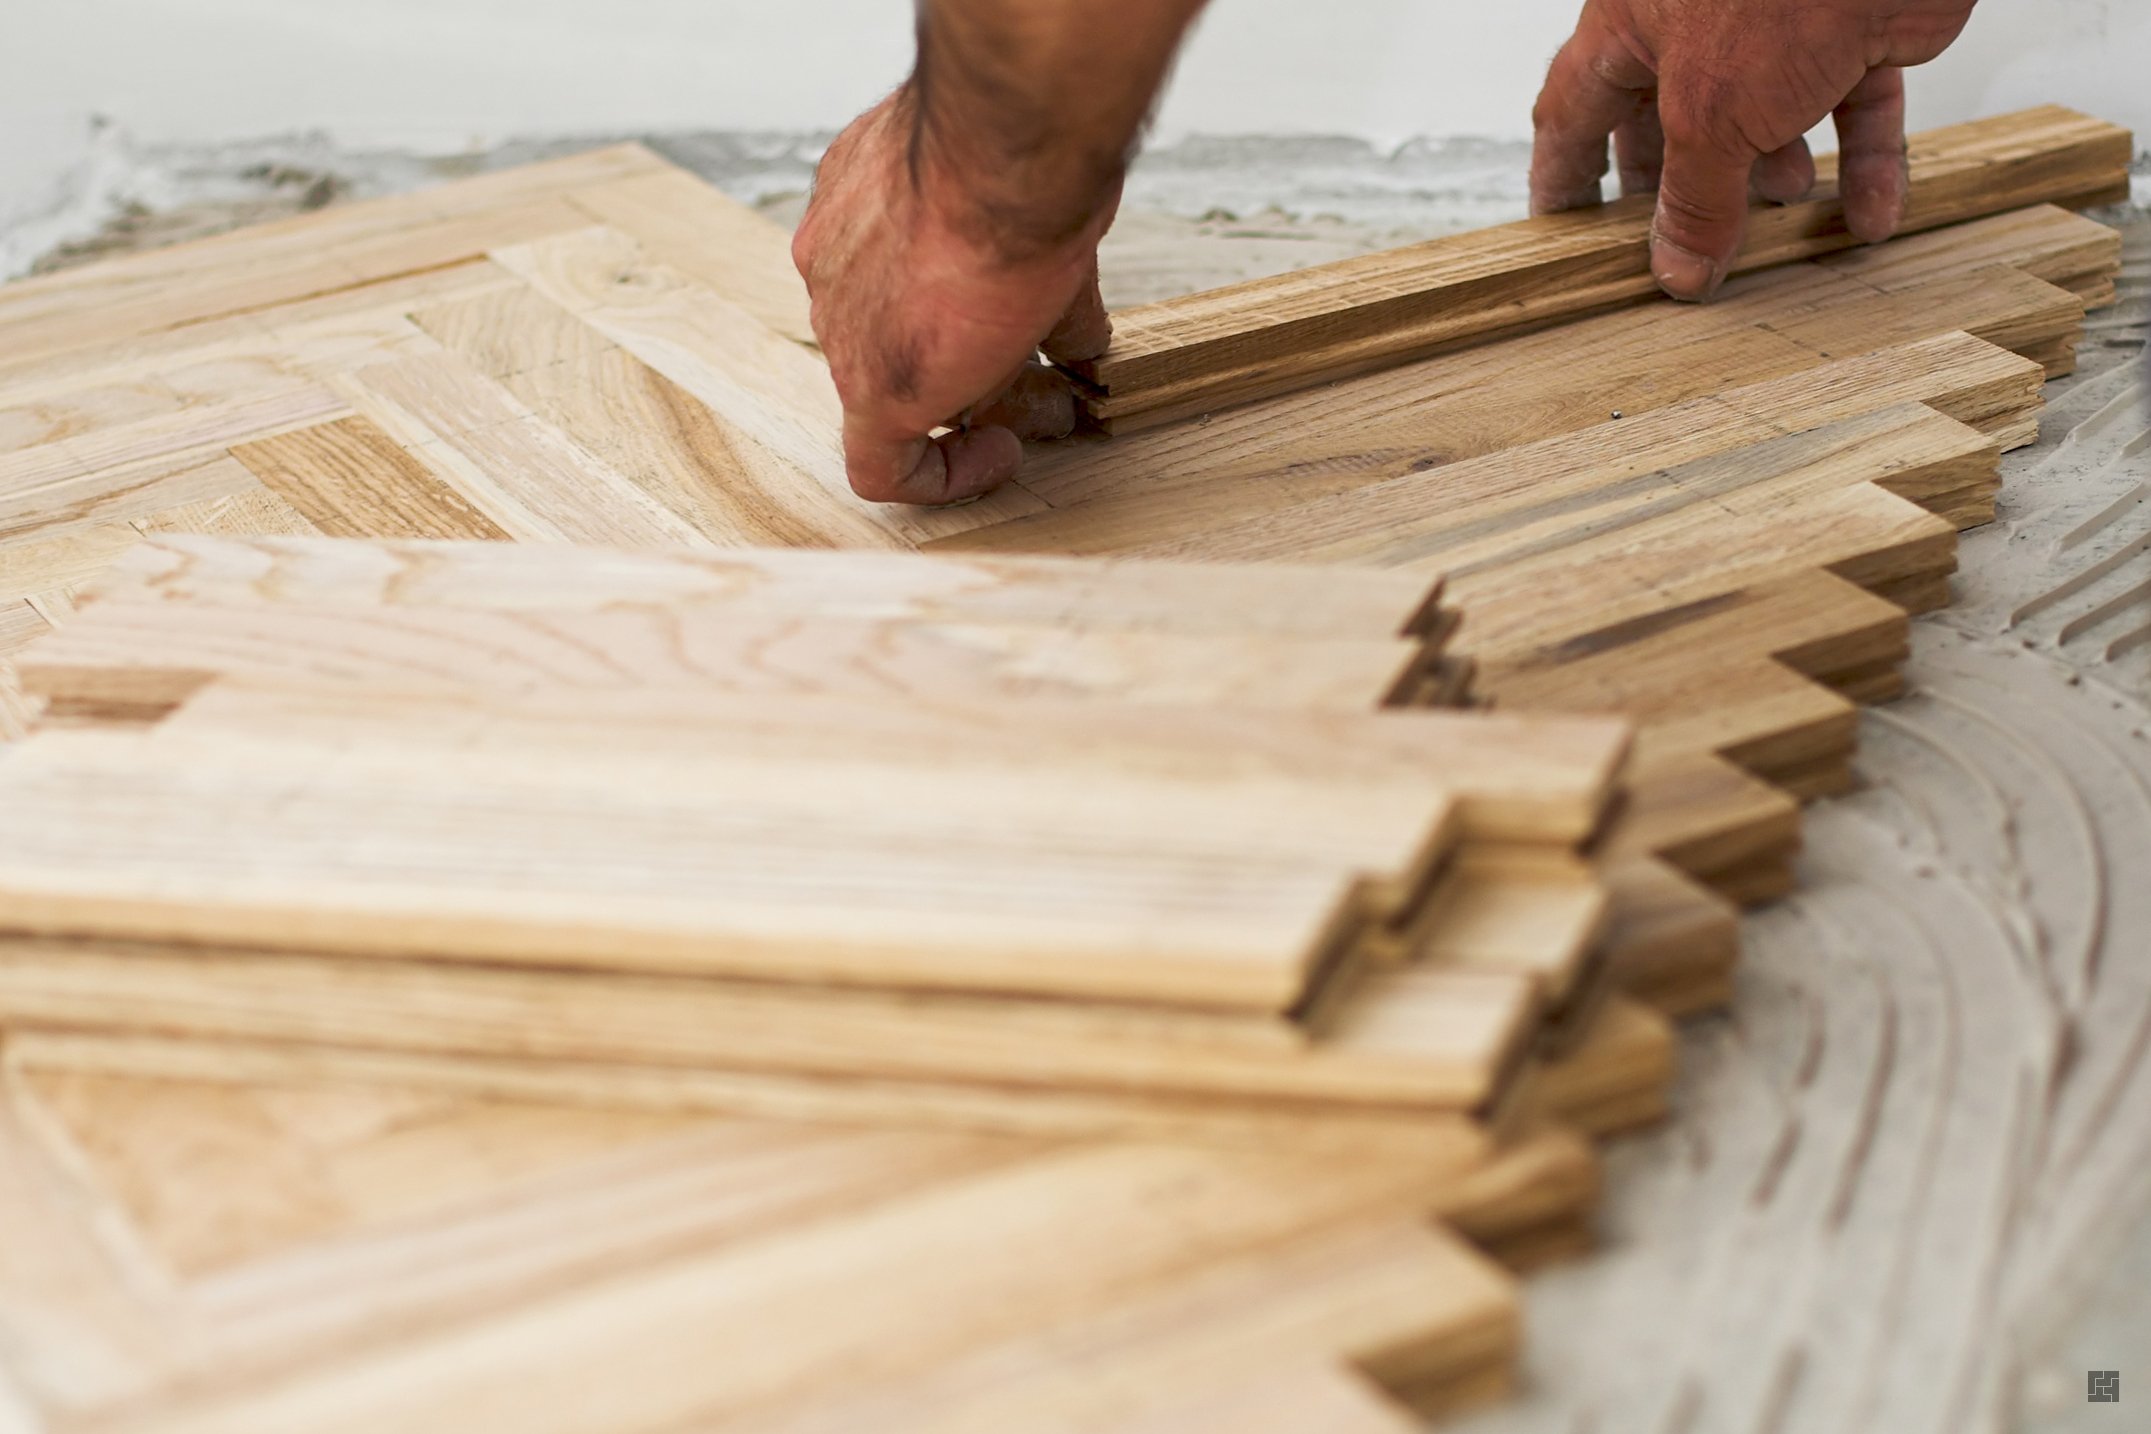
The most popular wood materials are:
- parquet;
- batten.
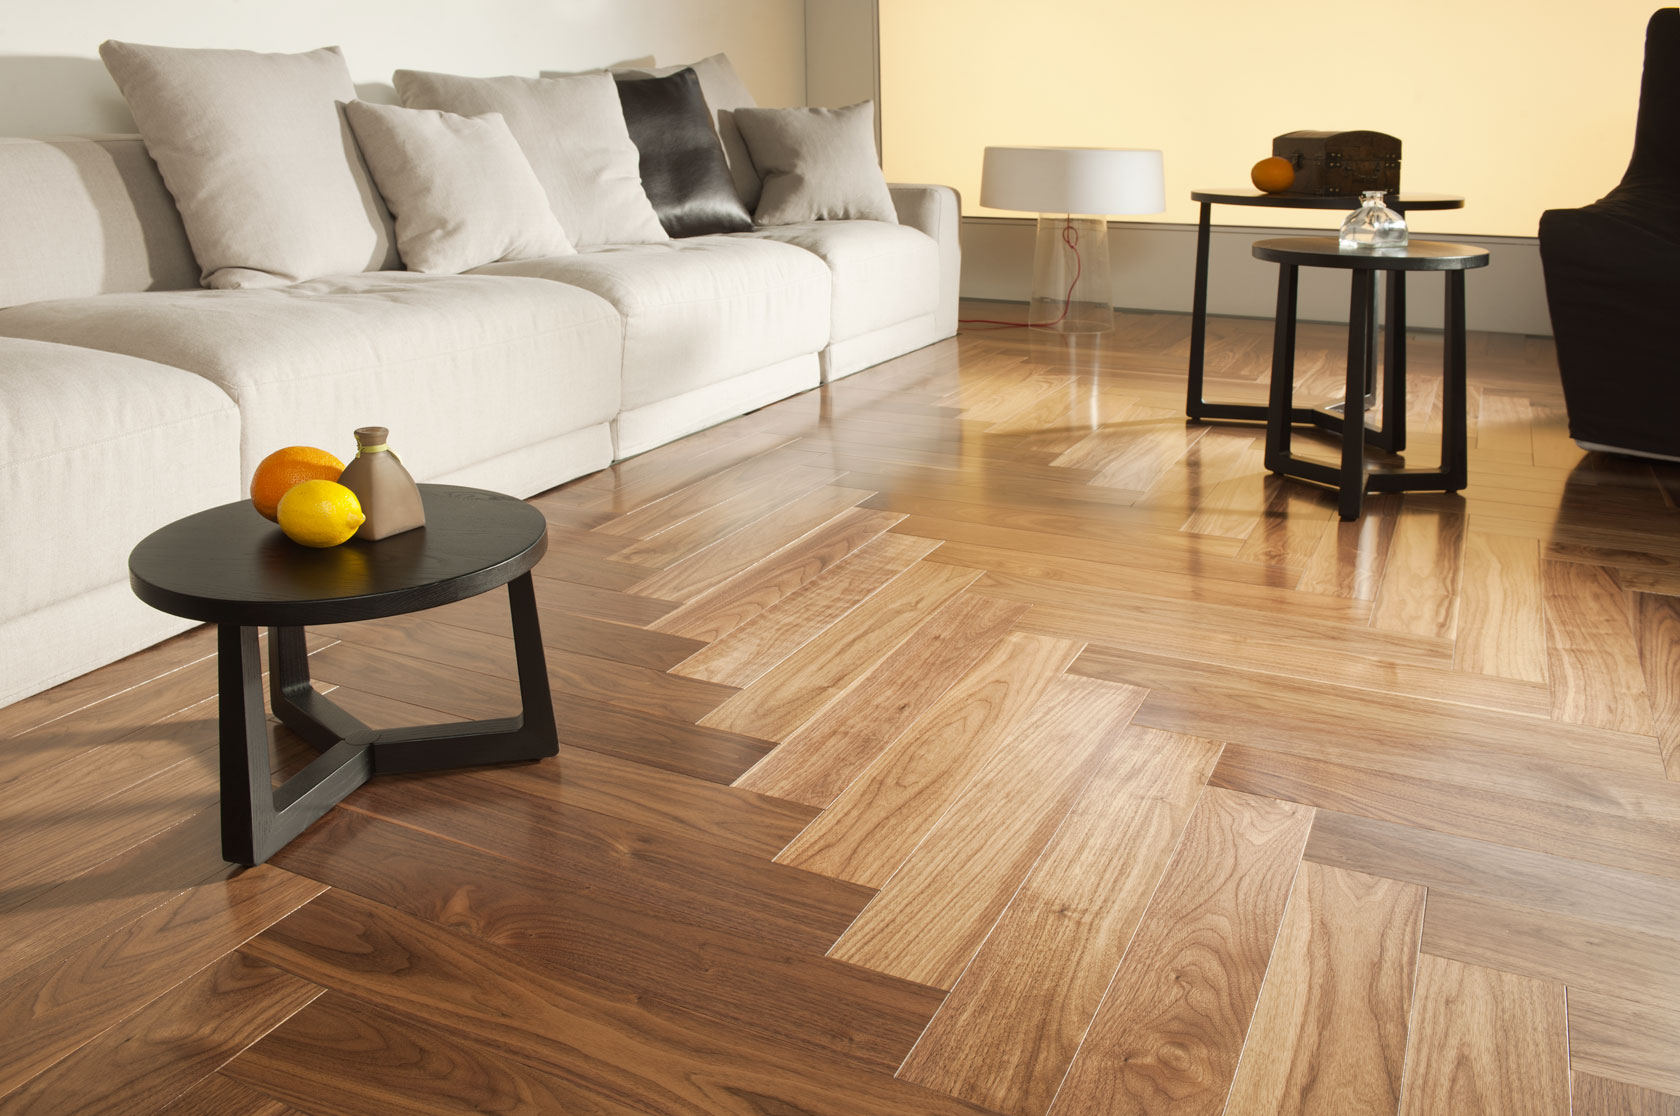
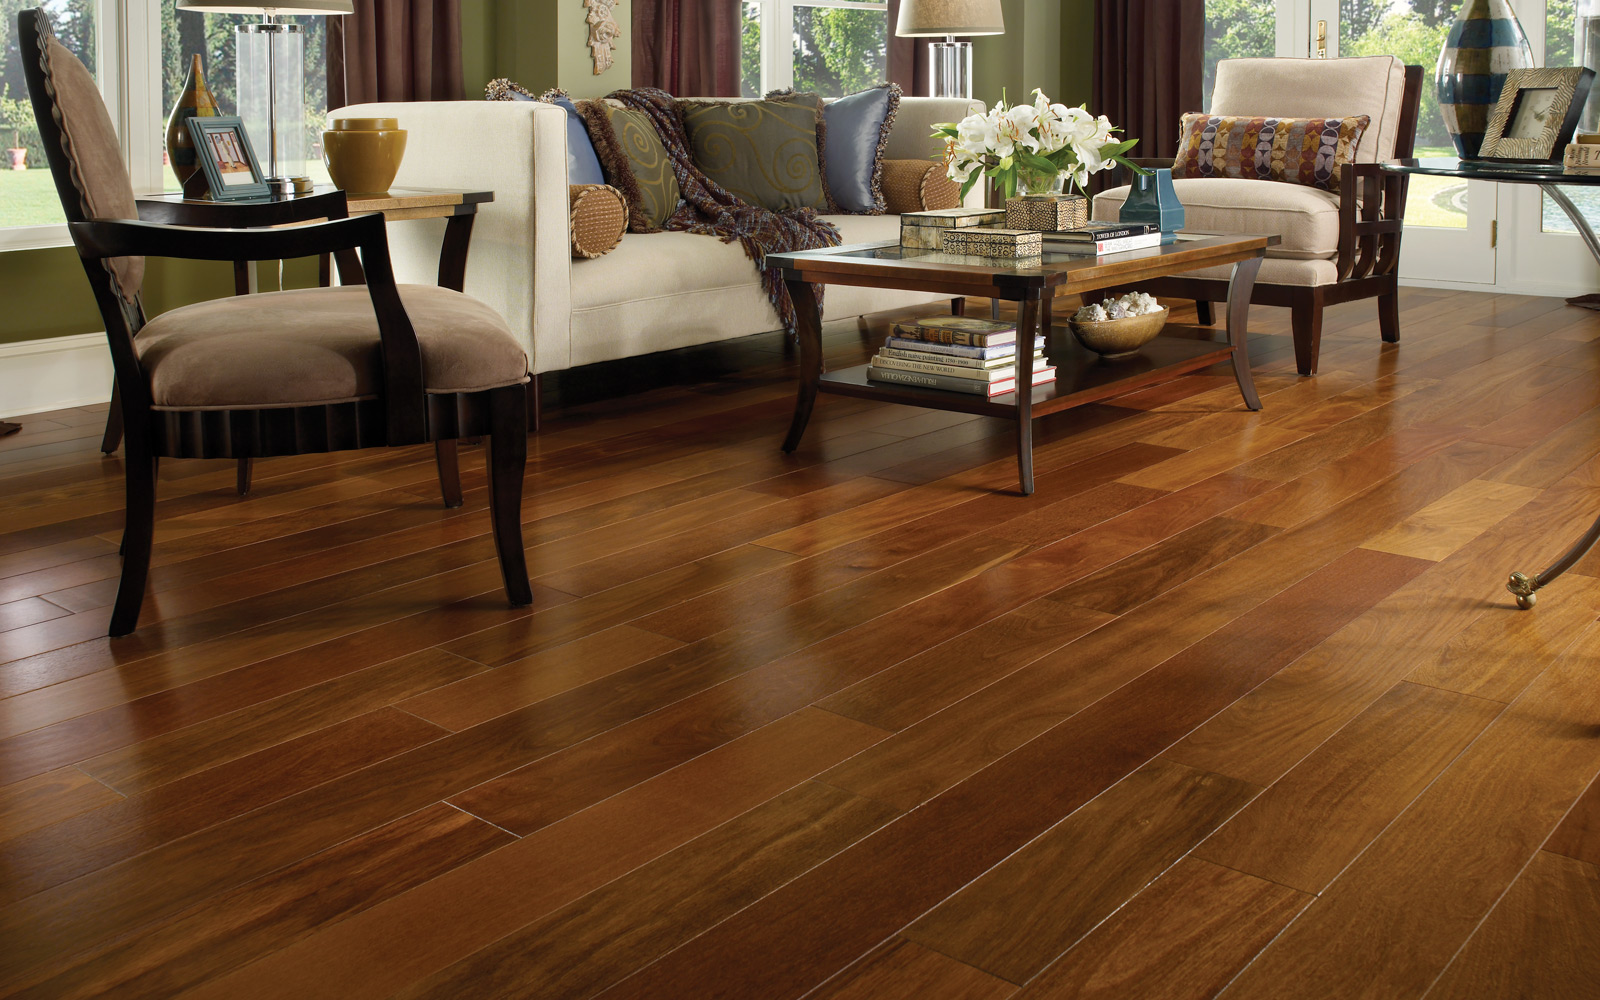
Wood is now the most demanded type of flooring, no modern materials can replace it.
After the old boards are removed, you should check the logs - if they are rotten, then they must be replaced. Between the lags should fill the clay or lay the grooves of the foam, technical wool.
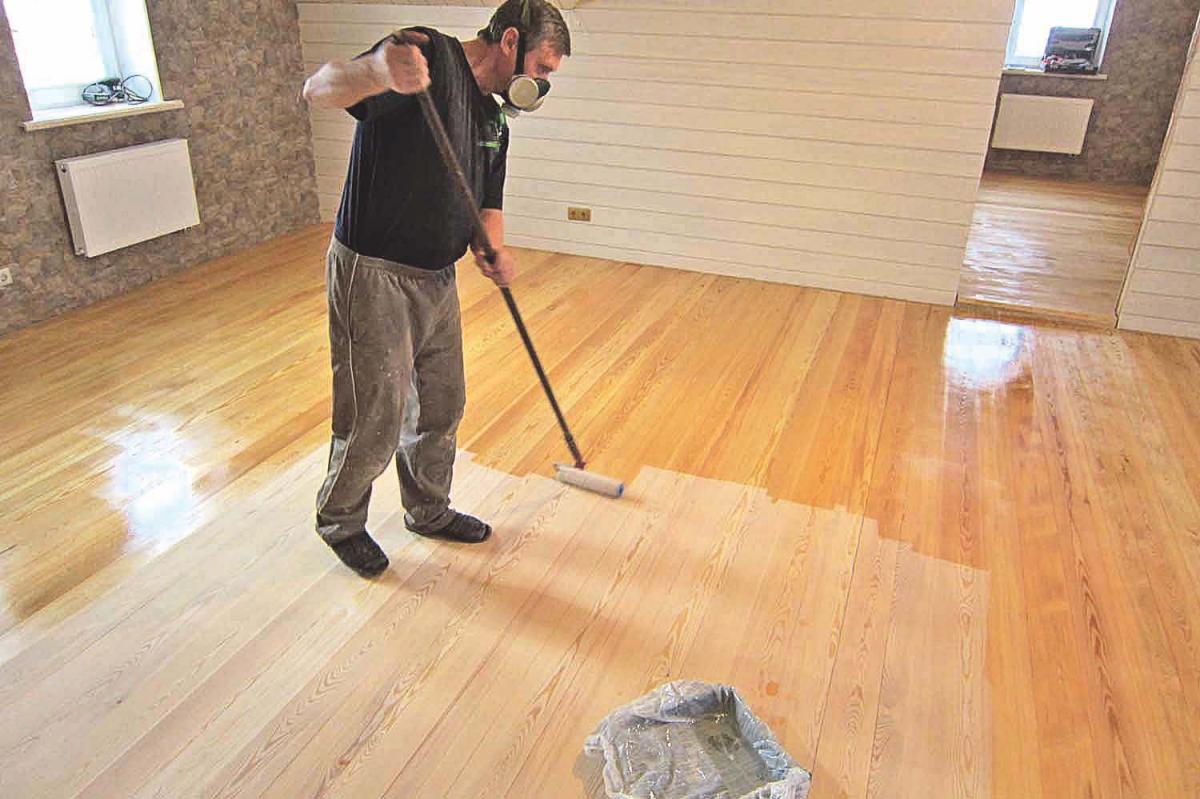
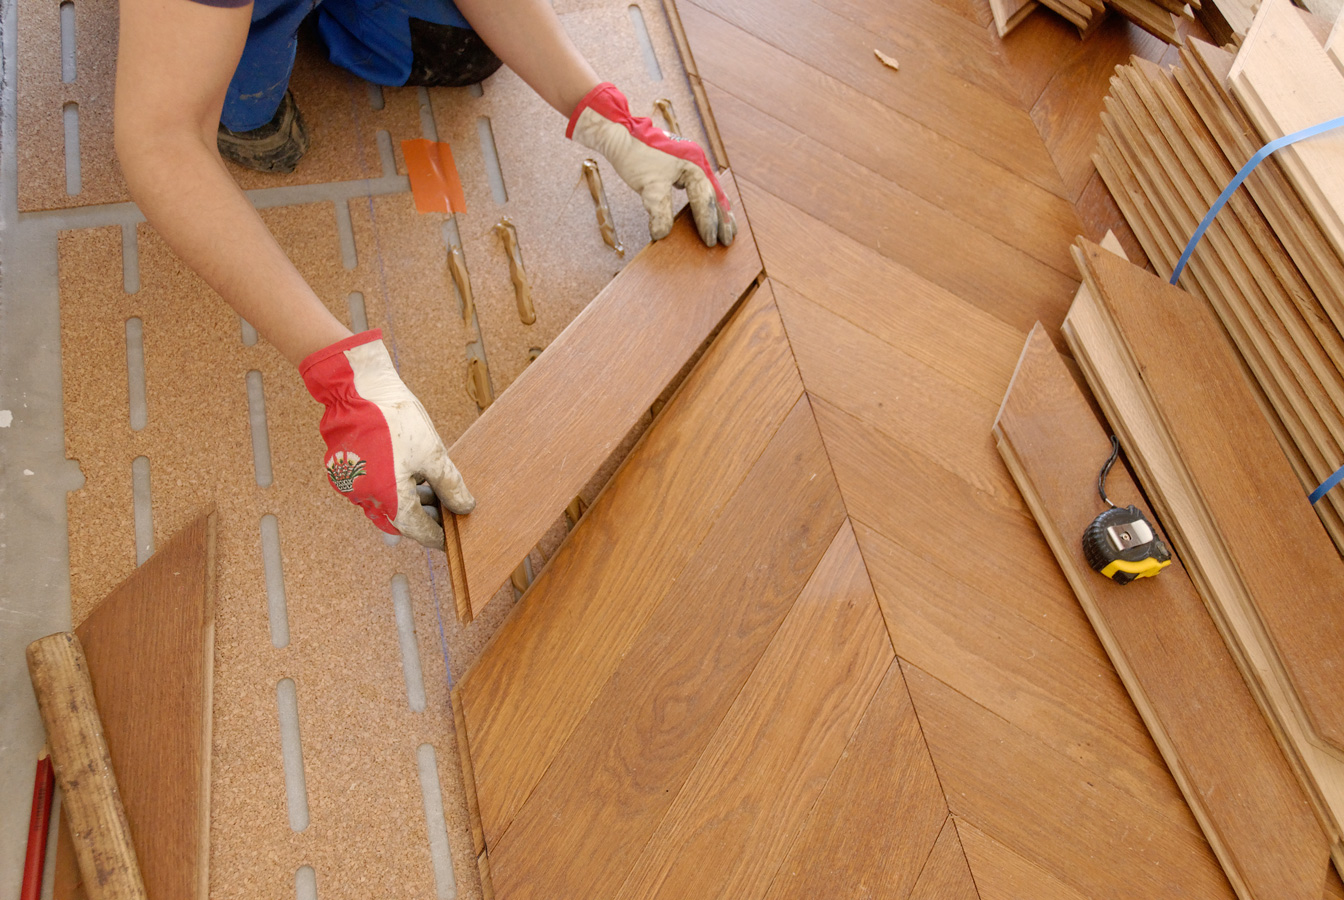
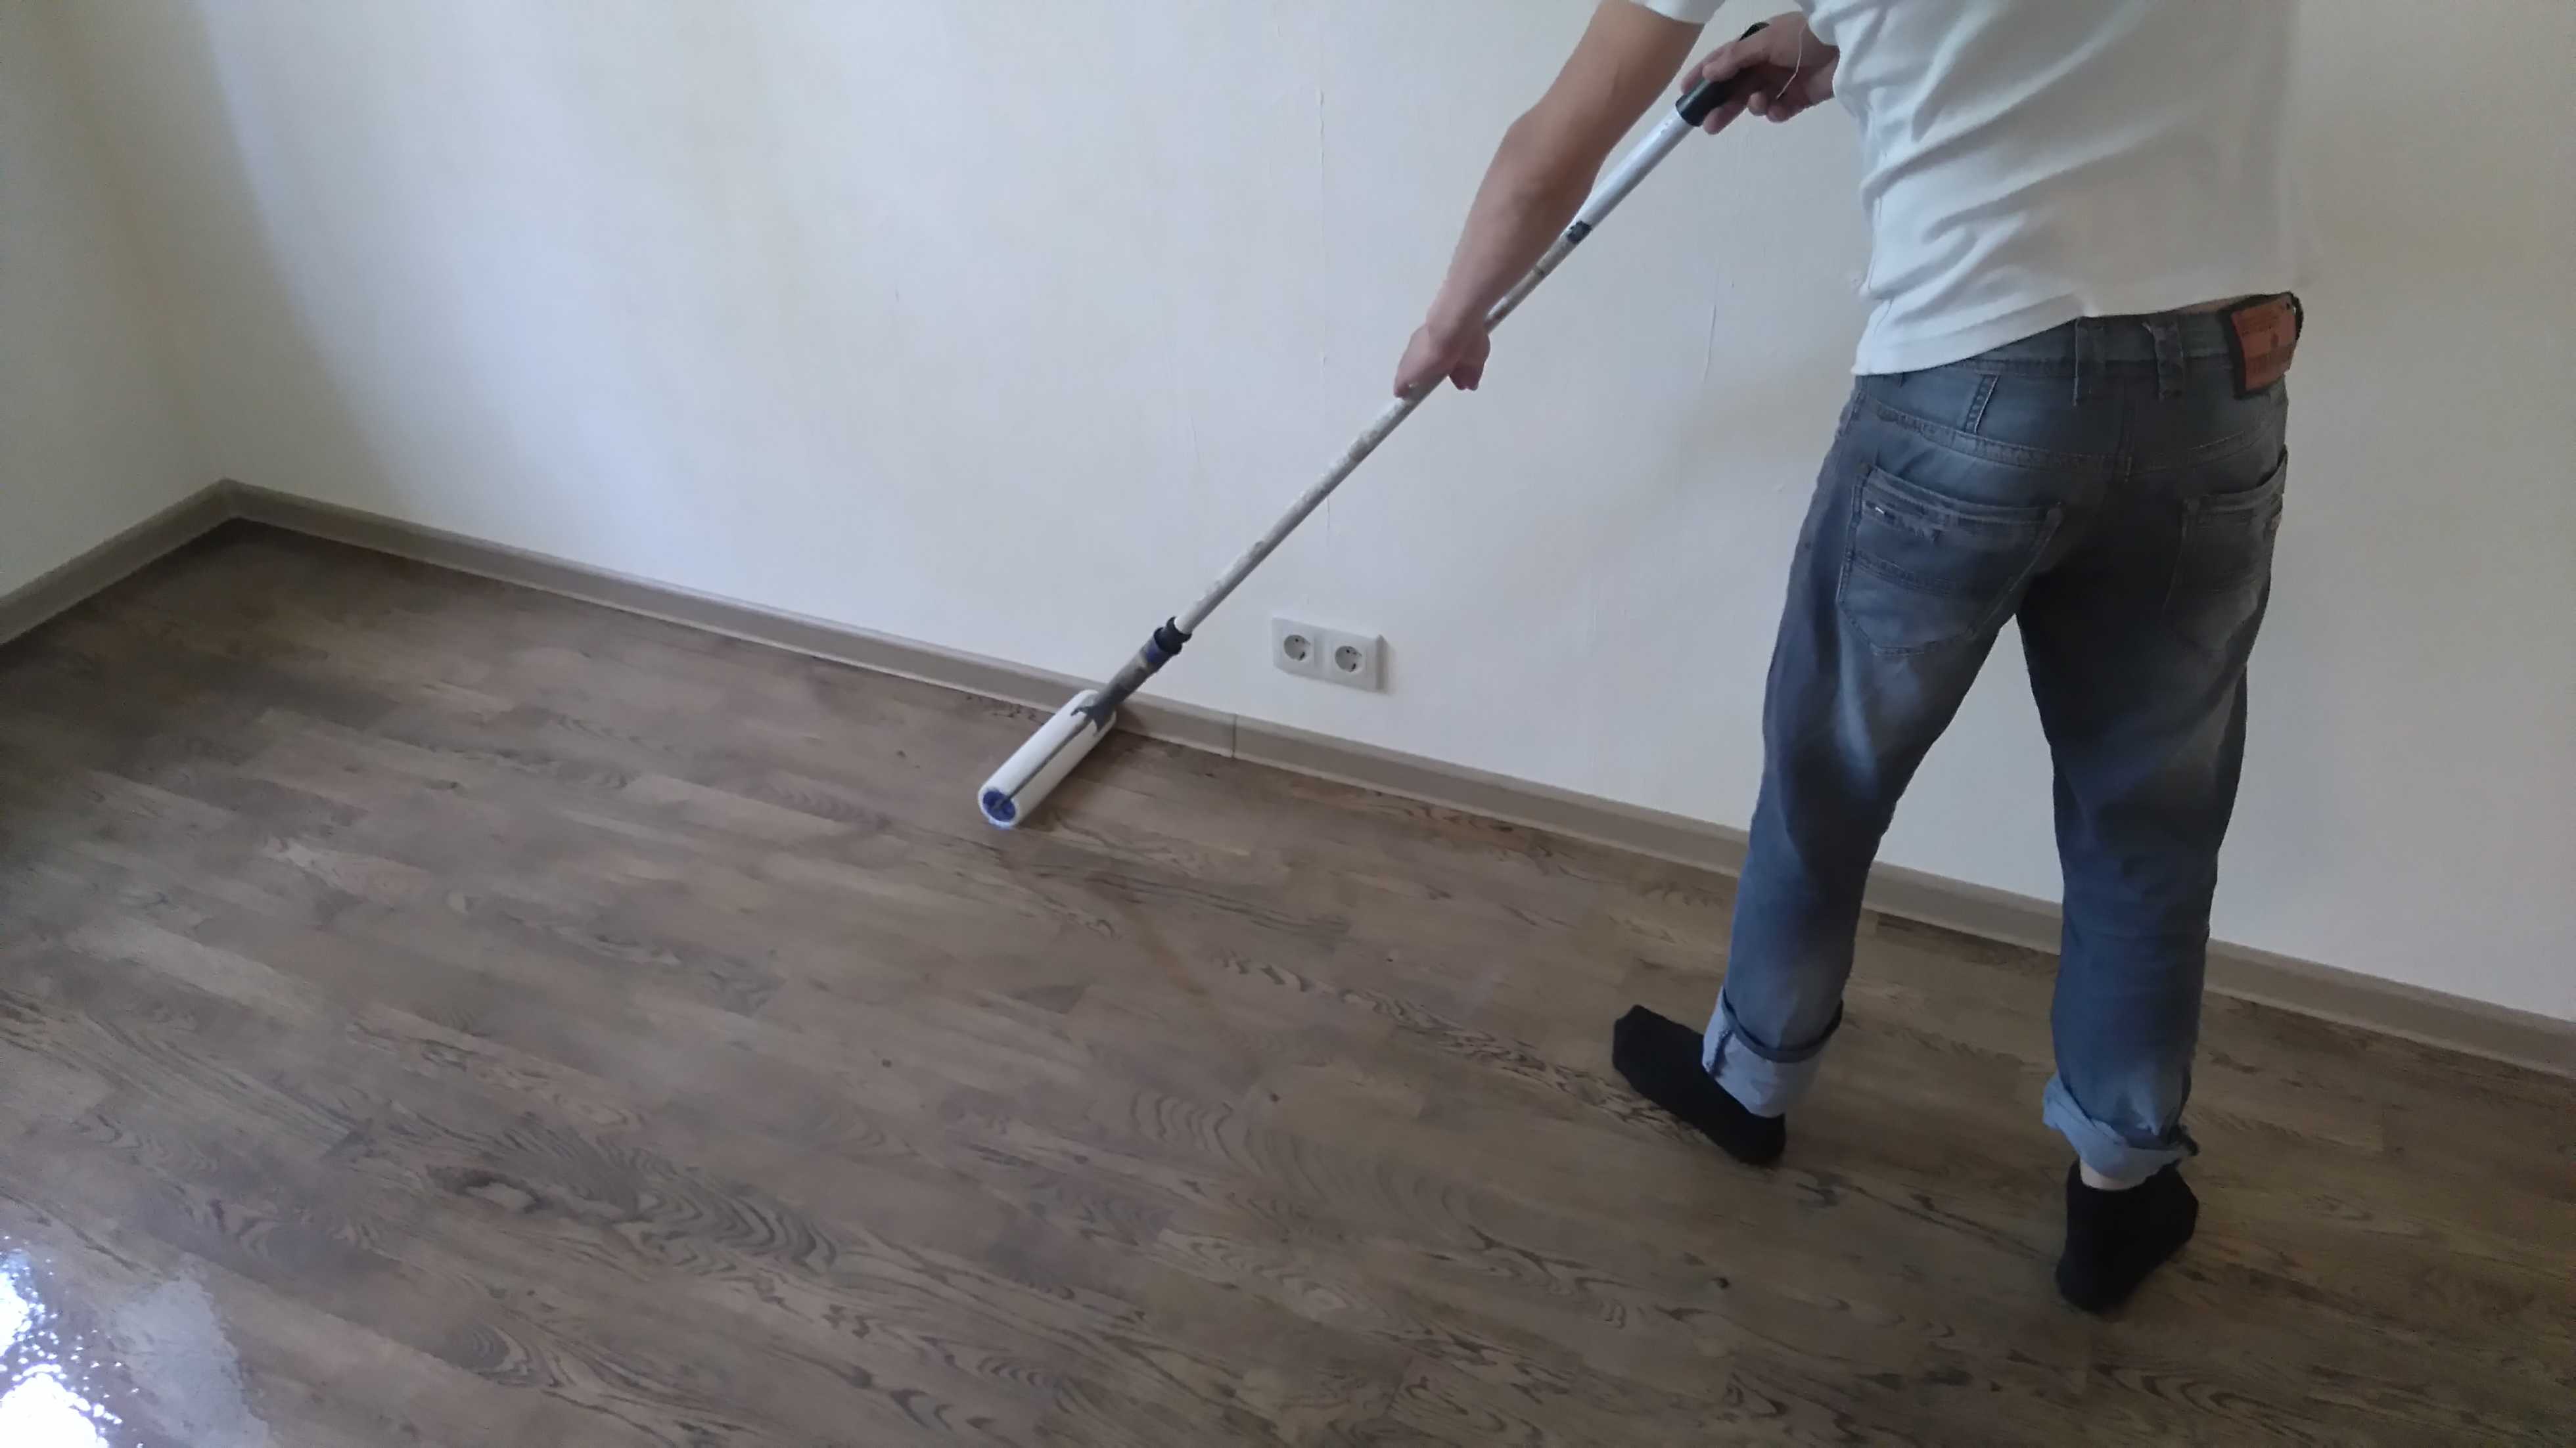
After the heater is laid, the screed is made. When everything is ready, you can lay the boards. The main condition for the installation of wooden boards: they should not be in contact, at the same time the gap between them should not exceed two millimeters. The installation process starts from the opposite wall of the door. After the flooring is done, you should proceed to surface treatment with the chipper.
Then begins painting, is used with:
- paint;
- primer;
- stain;
- varnish
Installation of the floor is technically not difficult, it is important to strictly follow all the requirements of technology.

How to lift?
To raise the floor to a level of 15-20 centimeters,it will be necessary to put on a given height of the lag. You can do this work yourself. The concrete bars are attached to the concrete with special anchors. The distance between the guides is made from 50 to 100 cm. All the bars are set relative to the marks that are made using the water level.
After the bars are installed, they should be checked by a two-meter level.
It is never possible to put the bars ideally right away, they will have to be adjusted in height with the help of chips and planks. The error is allowed no more than 5 millimeters between different corners of a room of 20 square meters. m
After installation, the boards begin to warm the floor: technical wool or foam is laid in the cavity between the structures. An effective and inexpensive means is also expanded clay, which is often impregnated with a liquid cement mortar, which is why its thermal insulation performance will only improve.
On the logs, the floor can be raised to the desired height, modern apartments are now made with high ceilings, there will be enough “space for maneuver”.
You can lay sheets of chipboard or board. Be sure to leave a gap of 1-2 mm, otherwise when walking a creak will be heard.
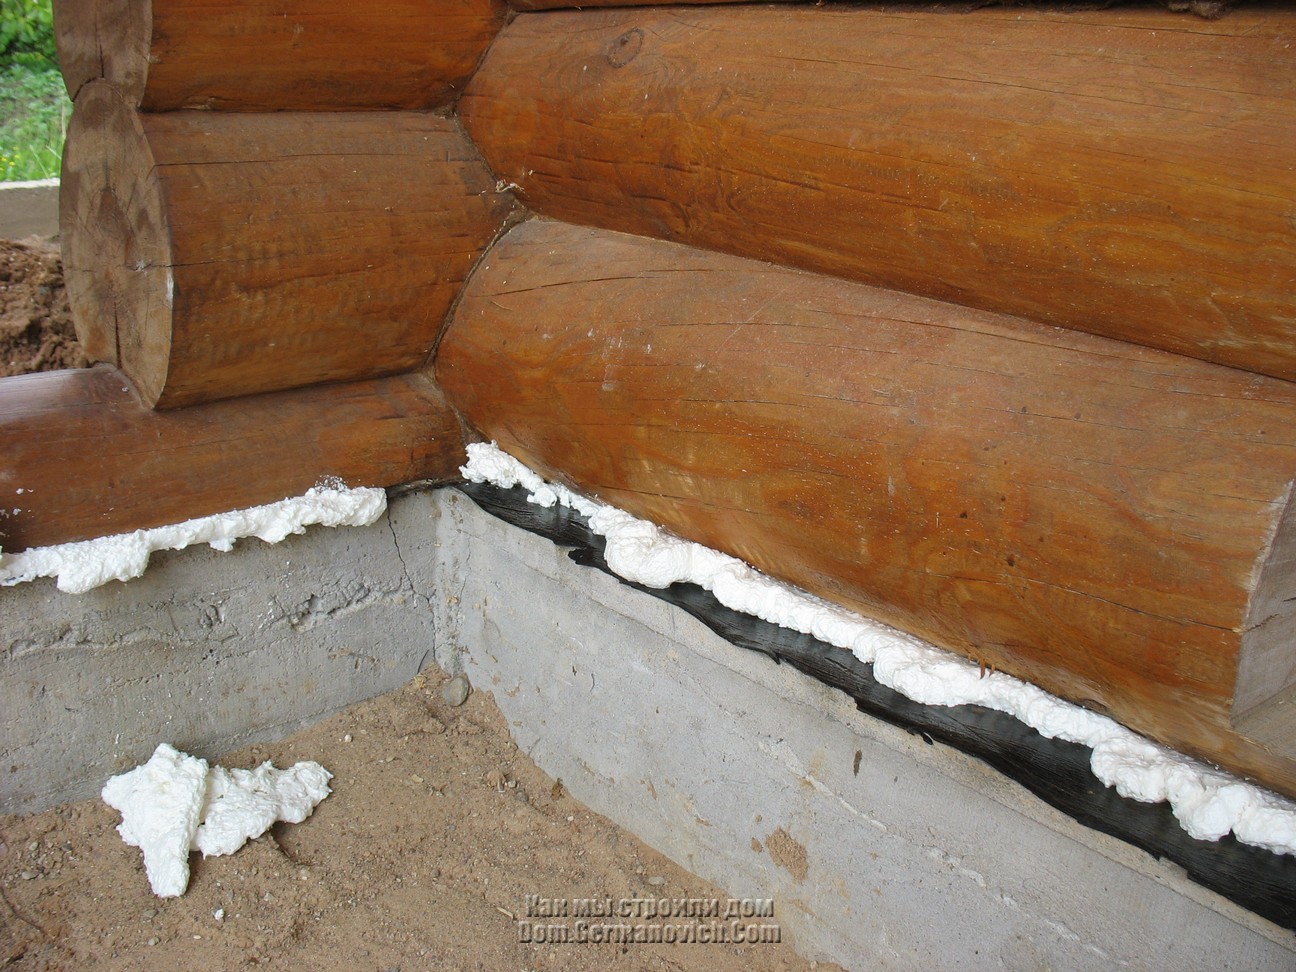
It is important to maintain air exchange in the space between the screed and the boards; this will be an insurance against the appearance of excessive condensate in these areas. Along the perimeter of the walls, it is required to seal up all the joints and gaps; for this purpose, the installation foam is usually used.
How to repair a rough coating?
When buying apartments in new buildings, you can often come across the concept: rough finish. Housing with a rough finish is cheaper by 20 percent, so additional funds are needed to equip an apartment.
Rough finish is directly related to construction technology. The most "heavy" in this regard apartments, which are made for state employees or under the mortgage.
With monolithic houses things are better, in such buildings questions usually arise about the floors in the bathroom and in the kitchen. A rough finish is needed, the new house always shrinks, so you should wait a year, only then do a “clean” repair.
It often happens that a house gives a draft unevenly, in this case the appearance of gaps between the plates is inevitable. Before you make a rough coupler, you should lay waterproofing and insulation.
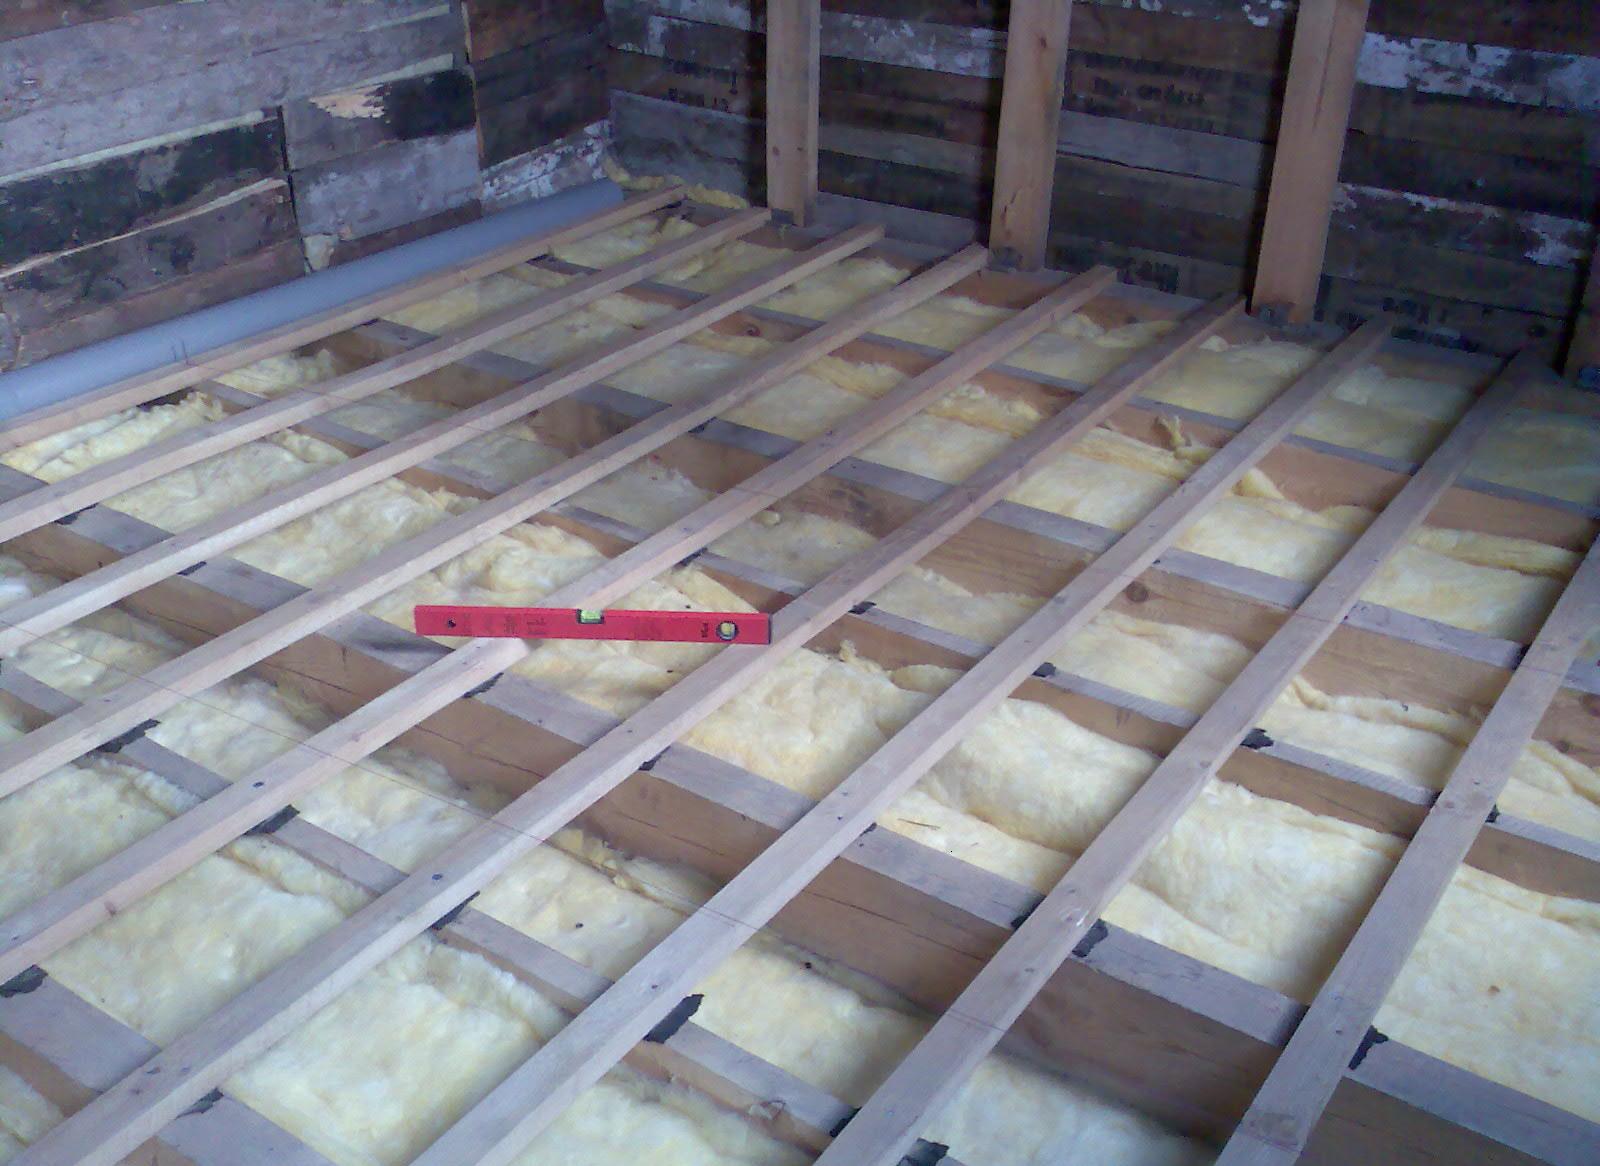
Rough floor in private homes - this is the basis for finishing coverage.The most common is the rough floor on the logs. Lags are made from timber, installed in specially prepared notches of crowns. The distance between them and the wall is no more than three millimeters. If the logs are too long, then they are strengthened from below by columns made of bricks. The step between the lags does not exceed 50 cm.
When installing a chipboard subfloor, the sheet must be at least two centimeters thick.
Lags are fastened with screws. The joints between the sheets are made over the lags, between which insulation is laid; Sawdust or wood chips are suitable for this purpose.
It is permissible to lay the draft floor of plywood directly on the concrete screed, the distance between the sheets can reach 8 mm. The gap between walls and sheets is 16 mm. The mounting of the sheets takes place in a staggered manner, the sheets are numbered, a scheme-plan of how they will be arranged is drawn up.
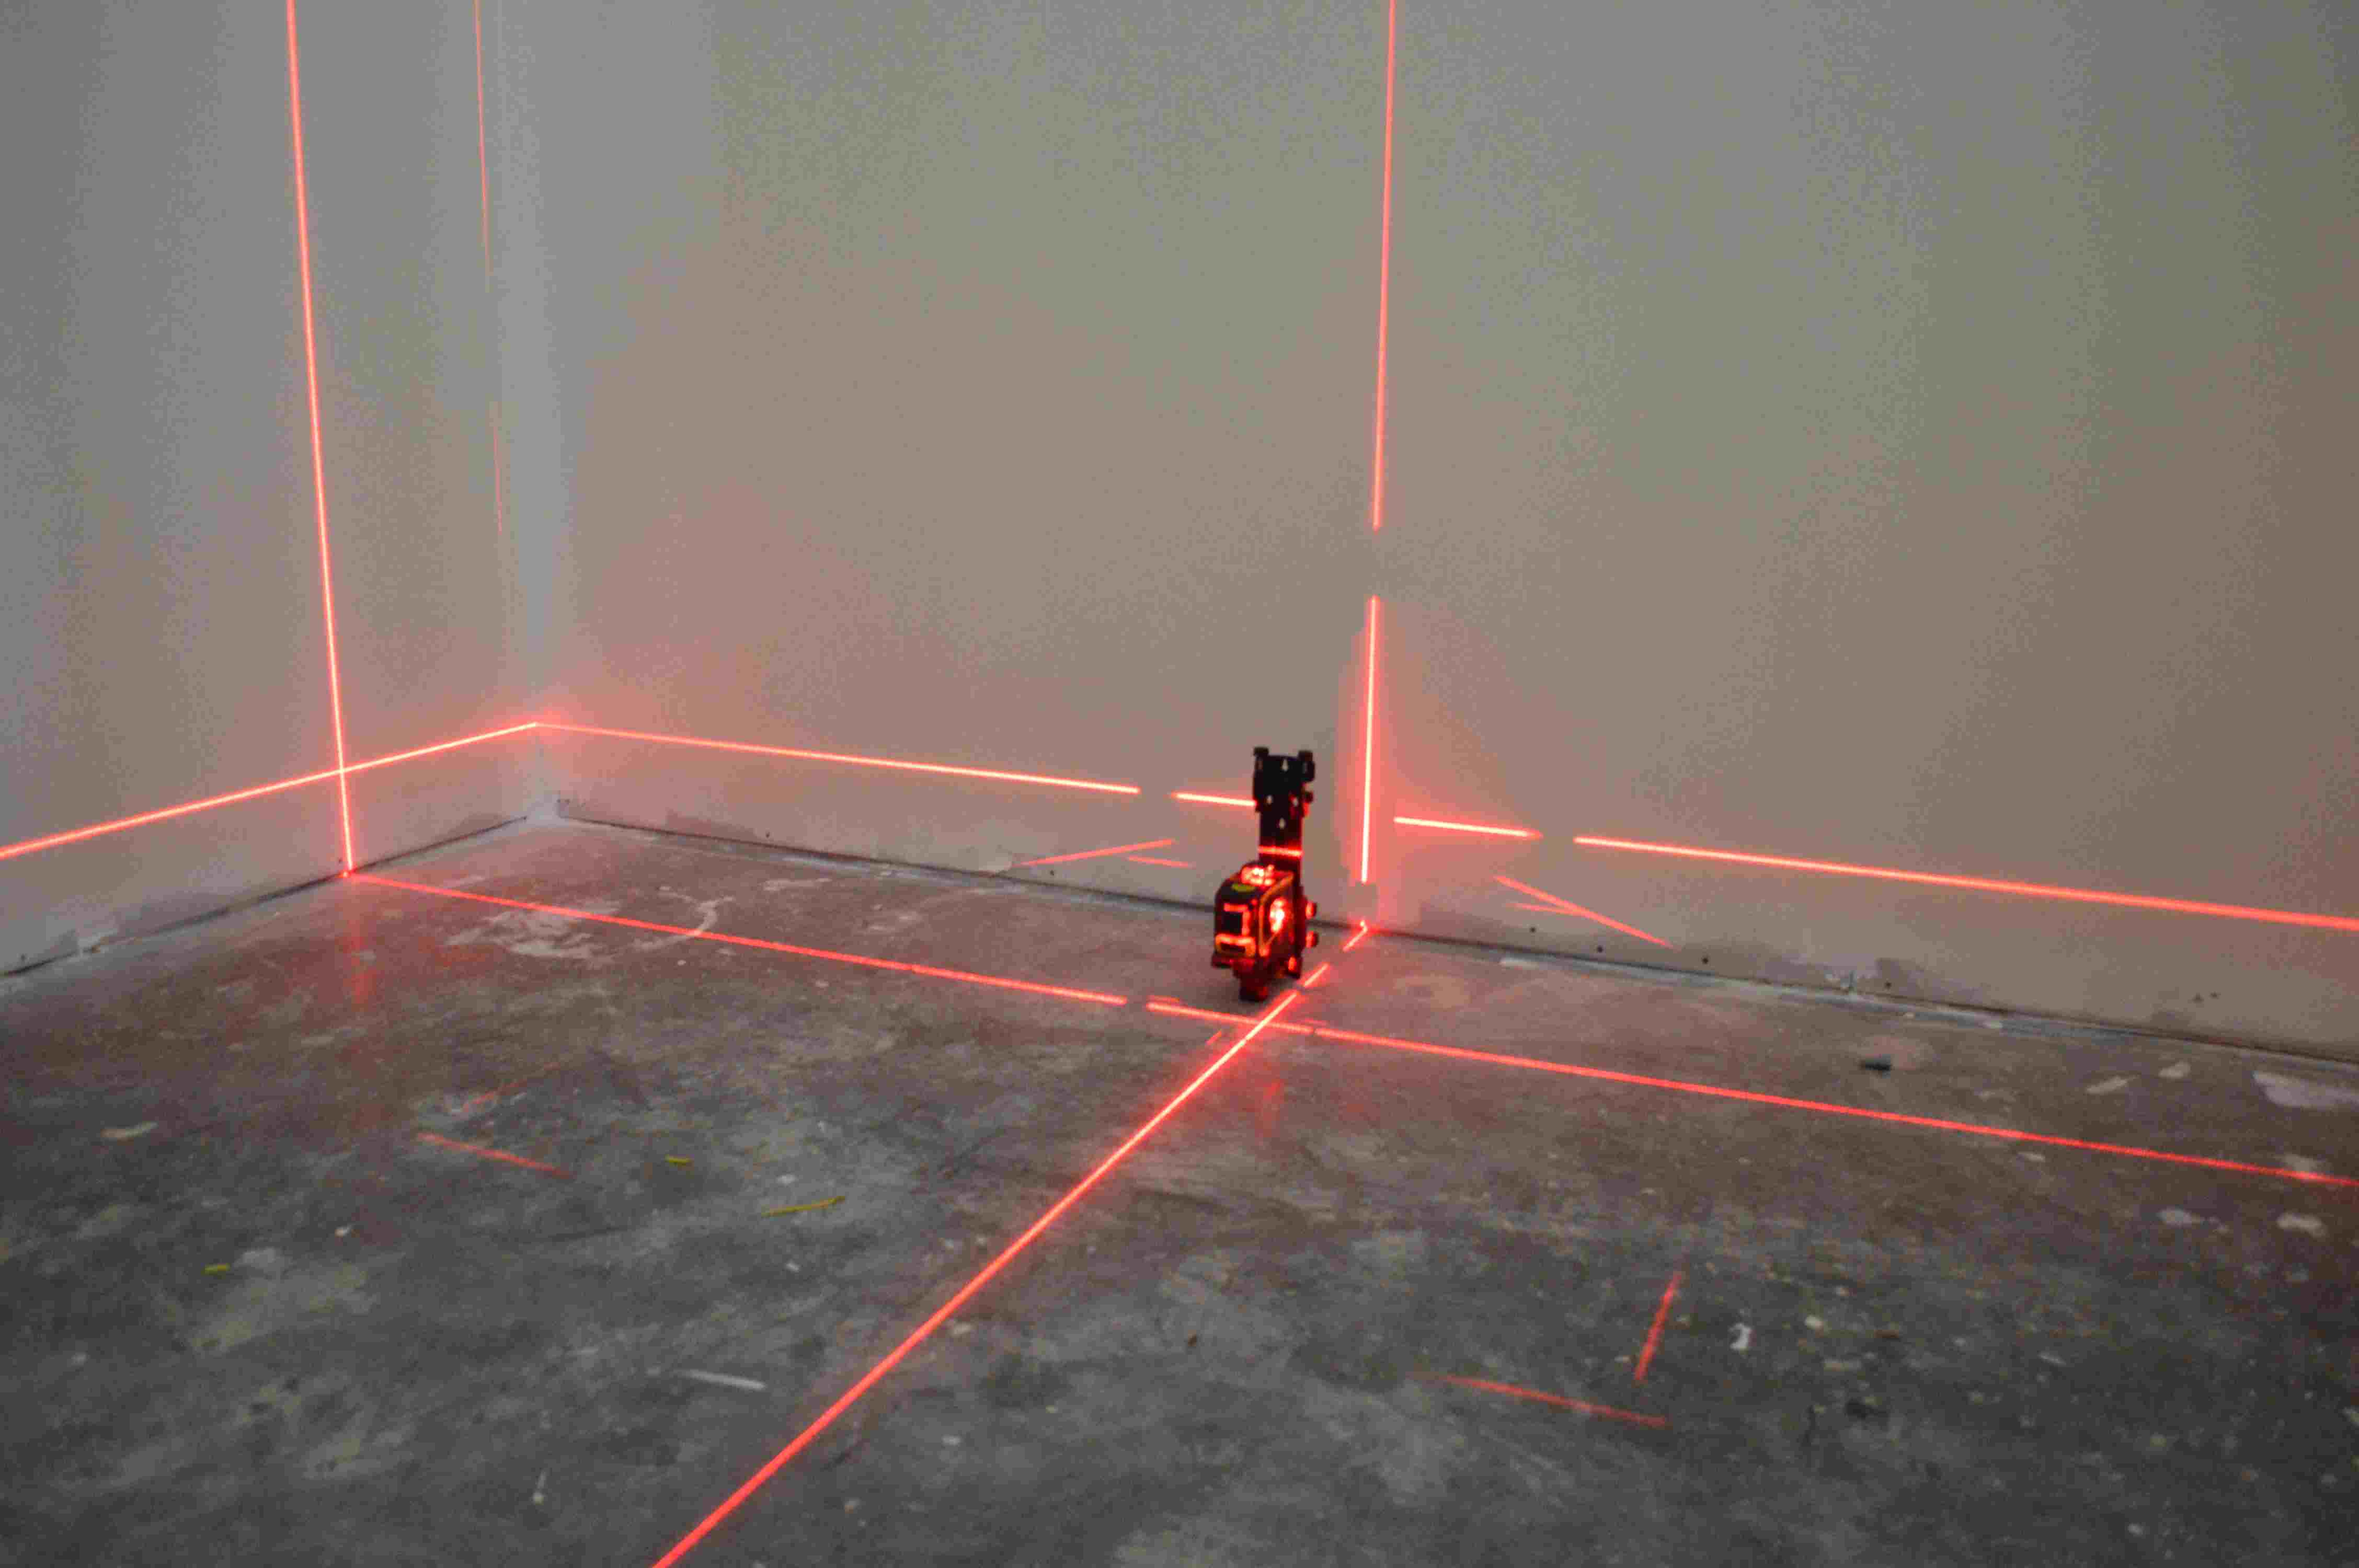
When working should use a two-meter level. At the beginning of installation using a water or laser level on the walls, it is recommended to put down marks on which the floor will align.
Plywood is permissible to lay even on the old wooden flooring.Such operations are allowed if the old floor is in good condition. If there are damaged boards, then they should be replaced. The thickness of the plywood can be 10 mm category IV, a similar material is inexpensive and durable.
If there are large drops, then small logs are made of wooden slats.
Mini-logs with the help of the level are put on the old floor, the slats are screwed, sheets of chipboard or plywood are put on them.
The draft floor is a substrate for the finishing floor. As far as a smooth draft floor is, so will the finish cover. It is not recommended to save too much on the material when installing a subfloor.
Paintwork
Before painting the floor must be prepared.
This will require:
- putty;
- linseed oil;
- wood primer;
- solvent "White spirit".

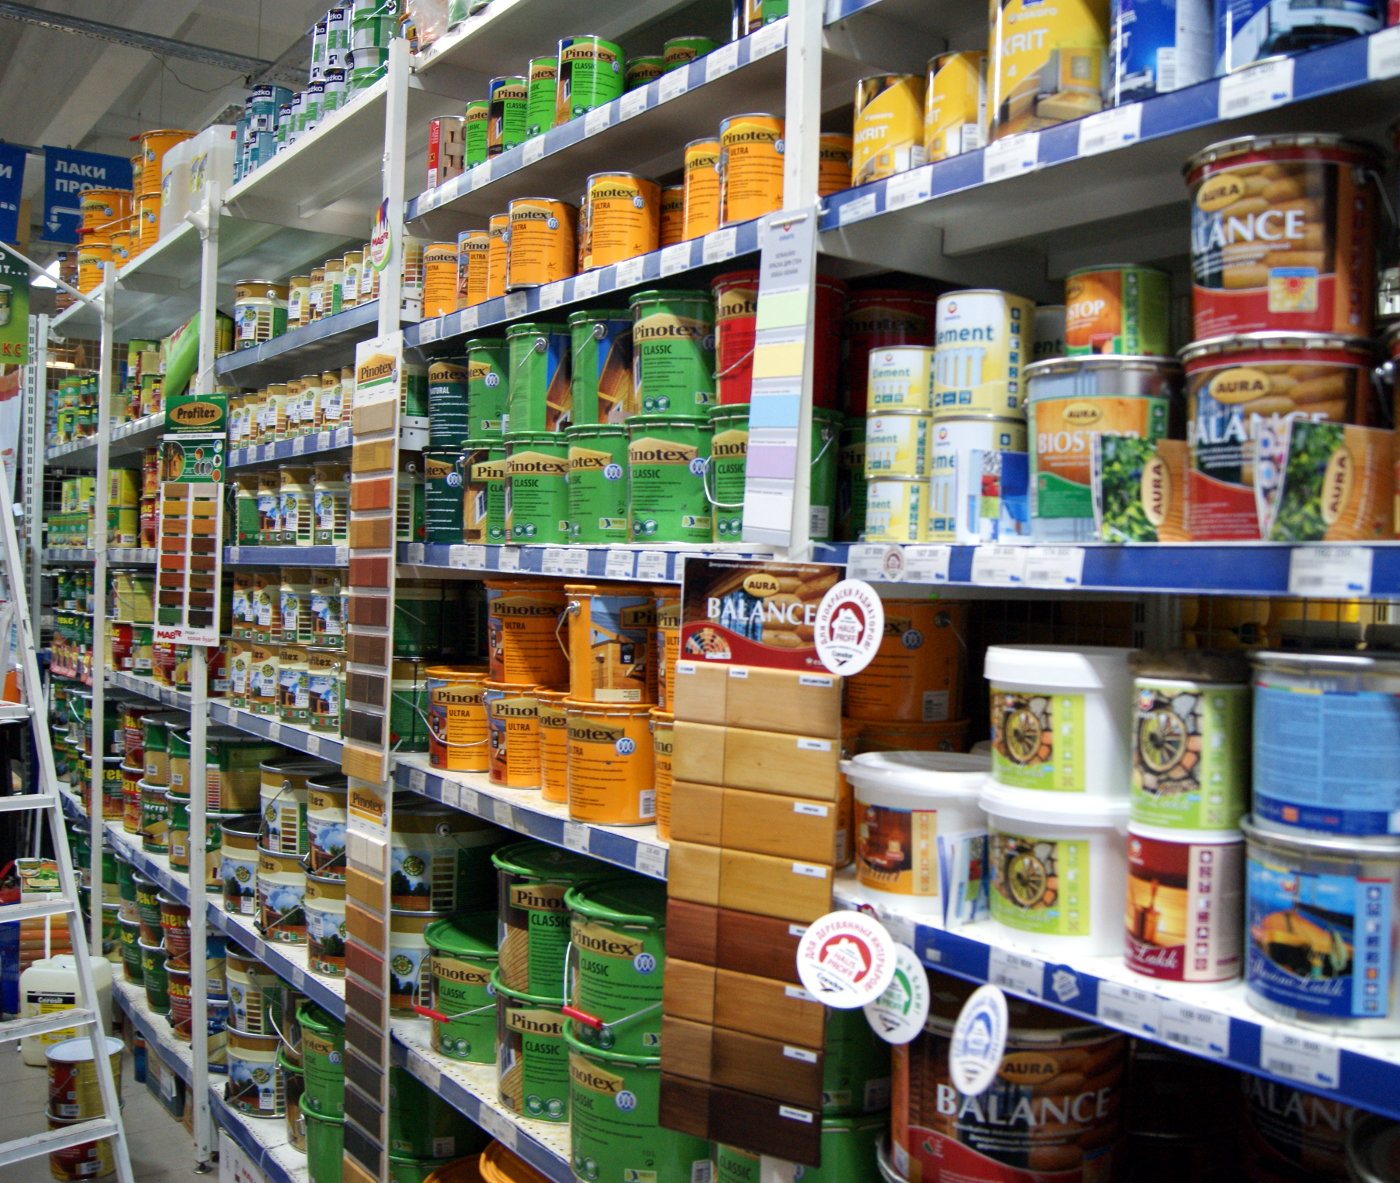
The choice of paint is also important.
First of all, you should consider:
- what is the humidity in the room;
- what material the floor is made of;
- how big is the intensity of the load on the floor.
Usually for the floor using oil paint, which has good resistance. Unfortunately, this paint dries for a long time, but it is inexpensive.
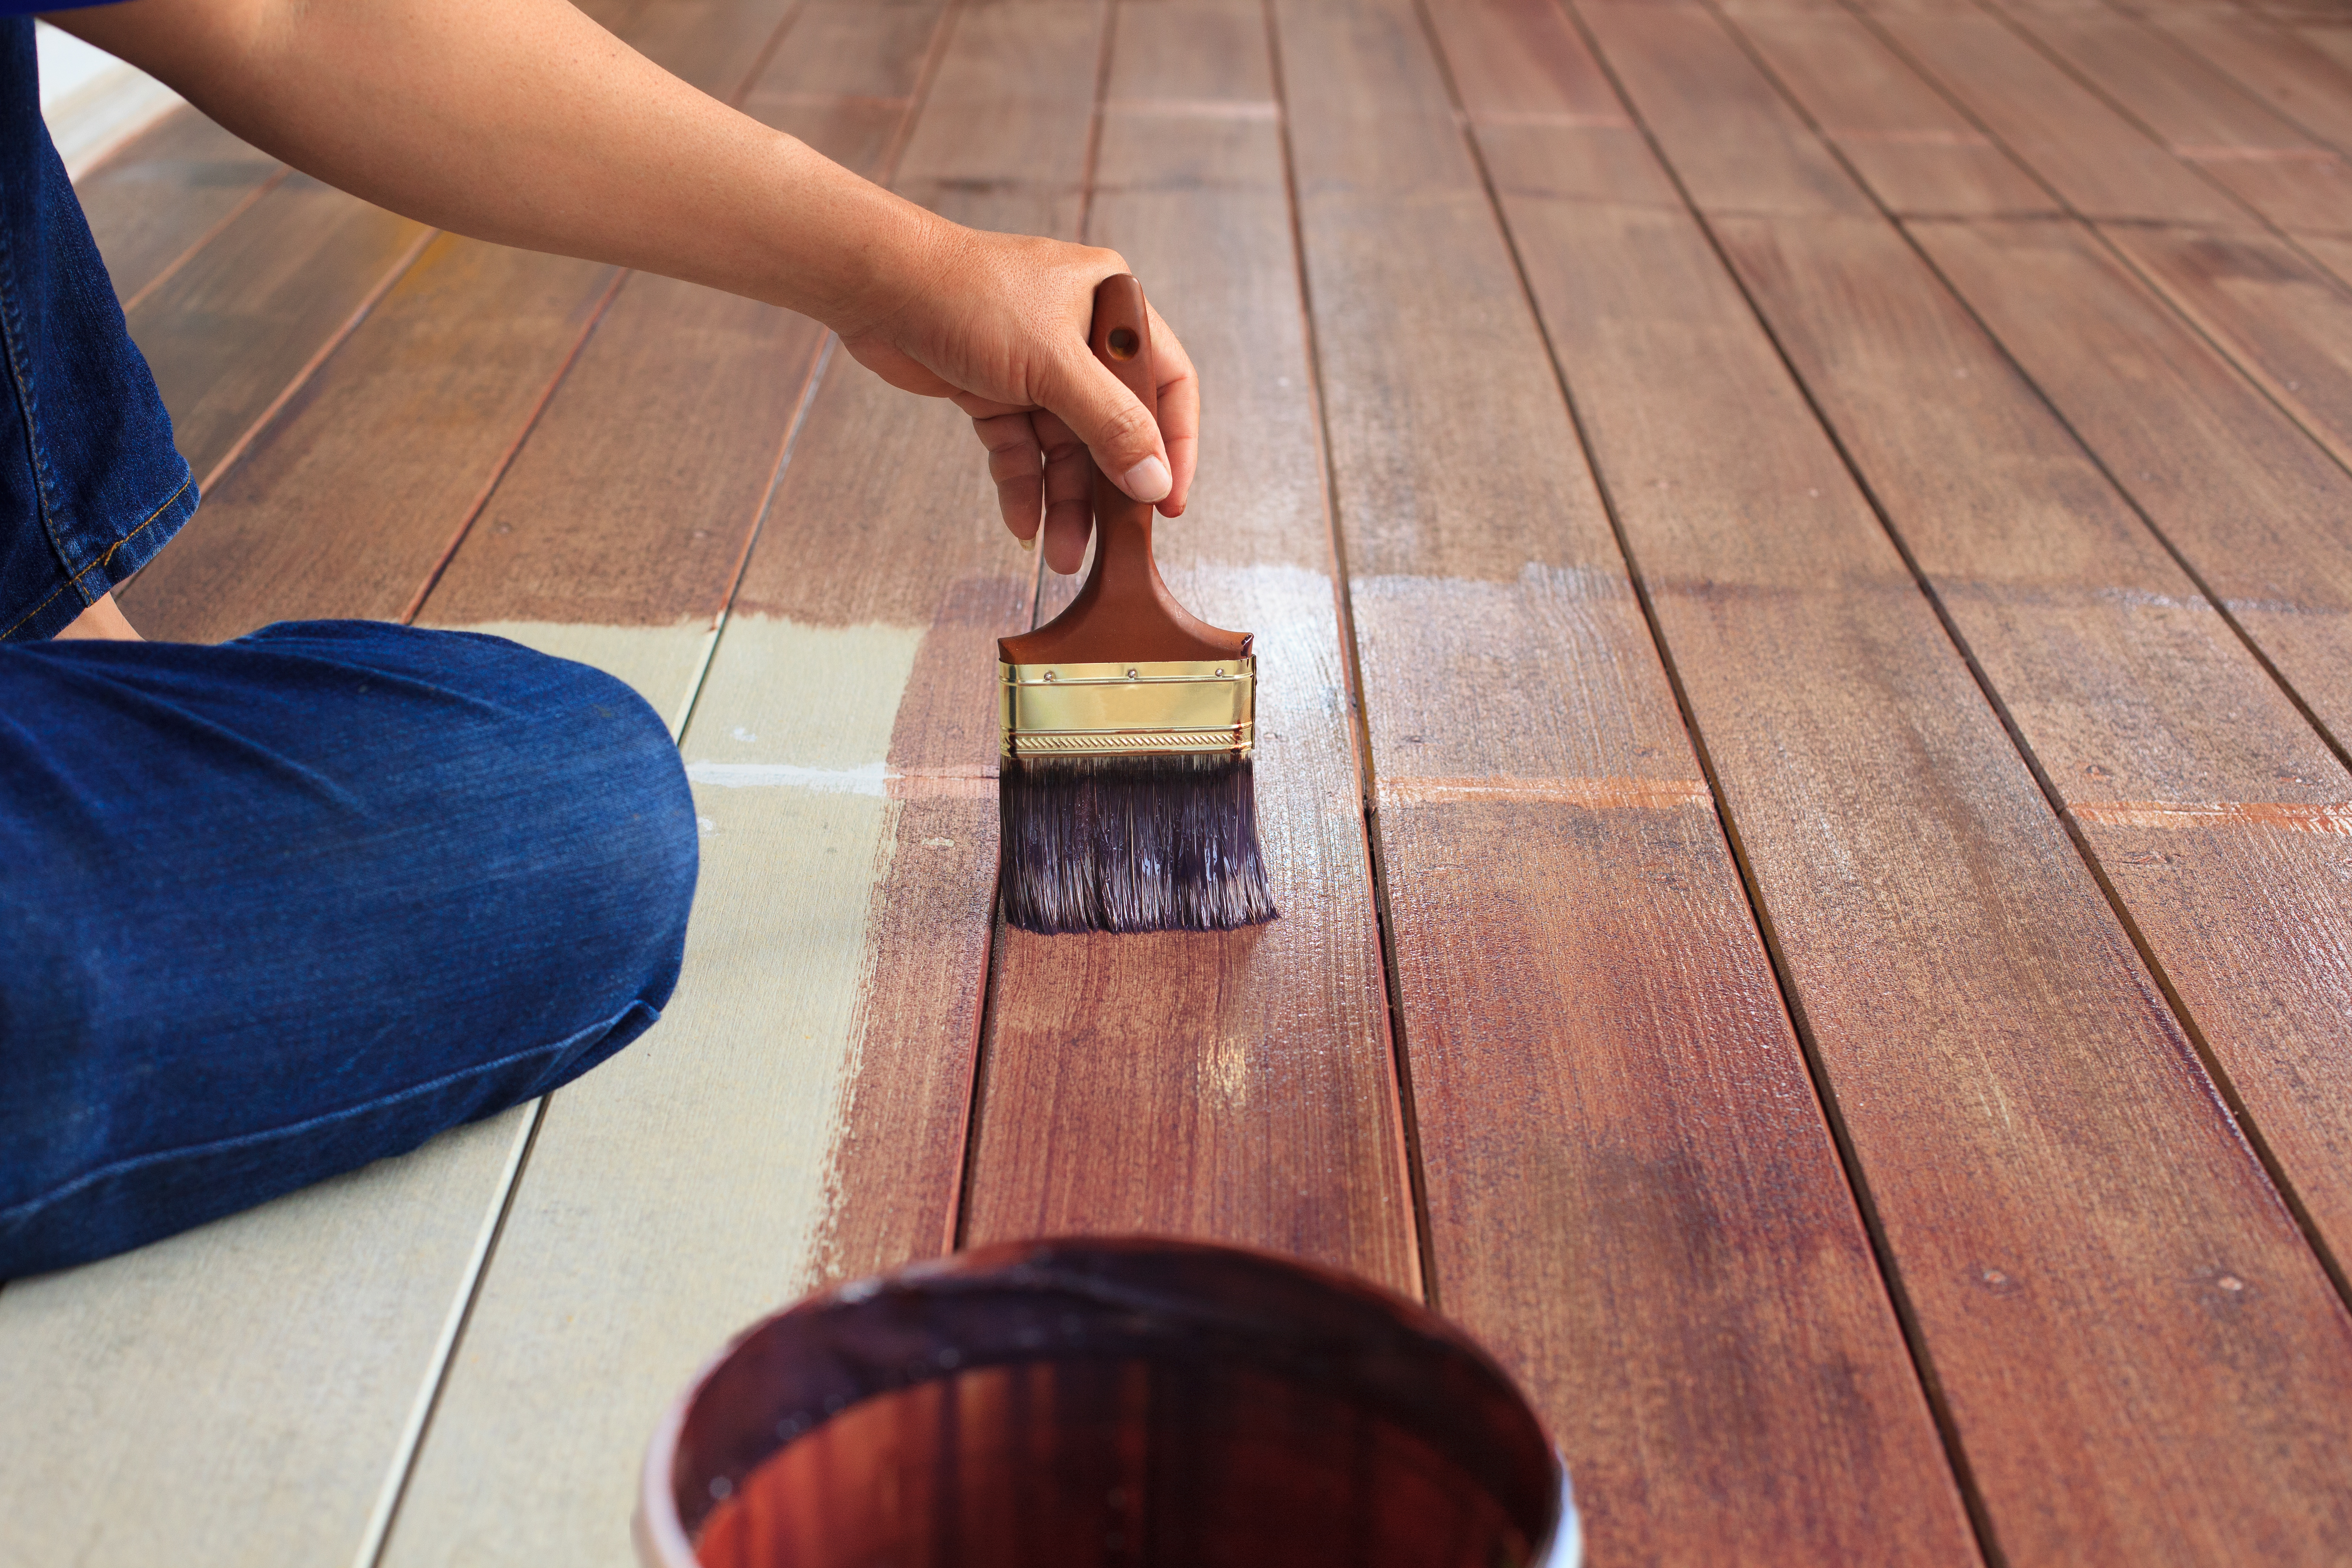
Enamel is also often used for painting floors, it dries faster, the price for this paint is quite acceptable.
On the containers with paints they write the consumption rate, so it will be easy to understand: how much color is needed approximately. On average, one meter of square need about 200-260 grams of paint (if painted in one layer). If you need to paint the surface in two layers, then this figure should be multiplied by a factor of 1.9.
When buying paint, be sure to check the numbers and numbers of the released batch, they must match.
Before starting work, the floor should be thoroughly cleaned with a grinder. Must not be:
- old paint;
- any irregularities;
- cracks.
All gaps should be sealed with wood chips and white glue. After completion of the preparatory work the floor is treated with hot linseed oil, as well as a primer.
Primer layers must be at least two.
Useful tips
- when painting the container must be thoroughly shaken;
- should work in a respirator, glasses and special clothing;
- It is recommended to begin work from the perimeter, having painted it, go to the middle of the room, using a roller;
- plinths at the joints must be plastered and then painted over; if there are “burrs” at the joints, they are rubbed with sandpaper;
- after the first application of a layer, some time passes, the paint dries out, and then the floor is painted a second time;
- along the perimeter of the room should be glued masking tape so that the paint does not fall on the walls.
As you can see, the technology is simple, you can paint the floor yourself.
How to make a new floor in the apartment, see the following video.


