Lighthouses for floor screed: installation features
Properly leveled floor in the room is very important in the repair of housing, it depends on the integrity of the clean flooring - laminate, parquet or tile. Not the last role is played by the peculiarities of installation of beacons for floor screed. There are several varieties of them and each one has its own tricks.

Special features
In order for the floor finish to look perfect, without wrinkles, cracks and irregularities, it is necessary to make a preliminary alignment of its surface. Most often, a screed is used for this - a special mixture that is evenly distributed over the entire surface of the room. It’s hard to take even a few square meters under one level, so you have to put special rigid guides - beacons.
Lighthouses are required only in some cases.for example, when using a self-leveling floor, they are not needed, since the mixture itself, which has leveling properties, spreads evenly over the entire surface. But for the concrete and cement-sand screed, their presence is simply necessary. The minimum layer thickness for such solutions is 3 cm, and at the lowest points it can be more than 10 cm, so you have to use beacons.
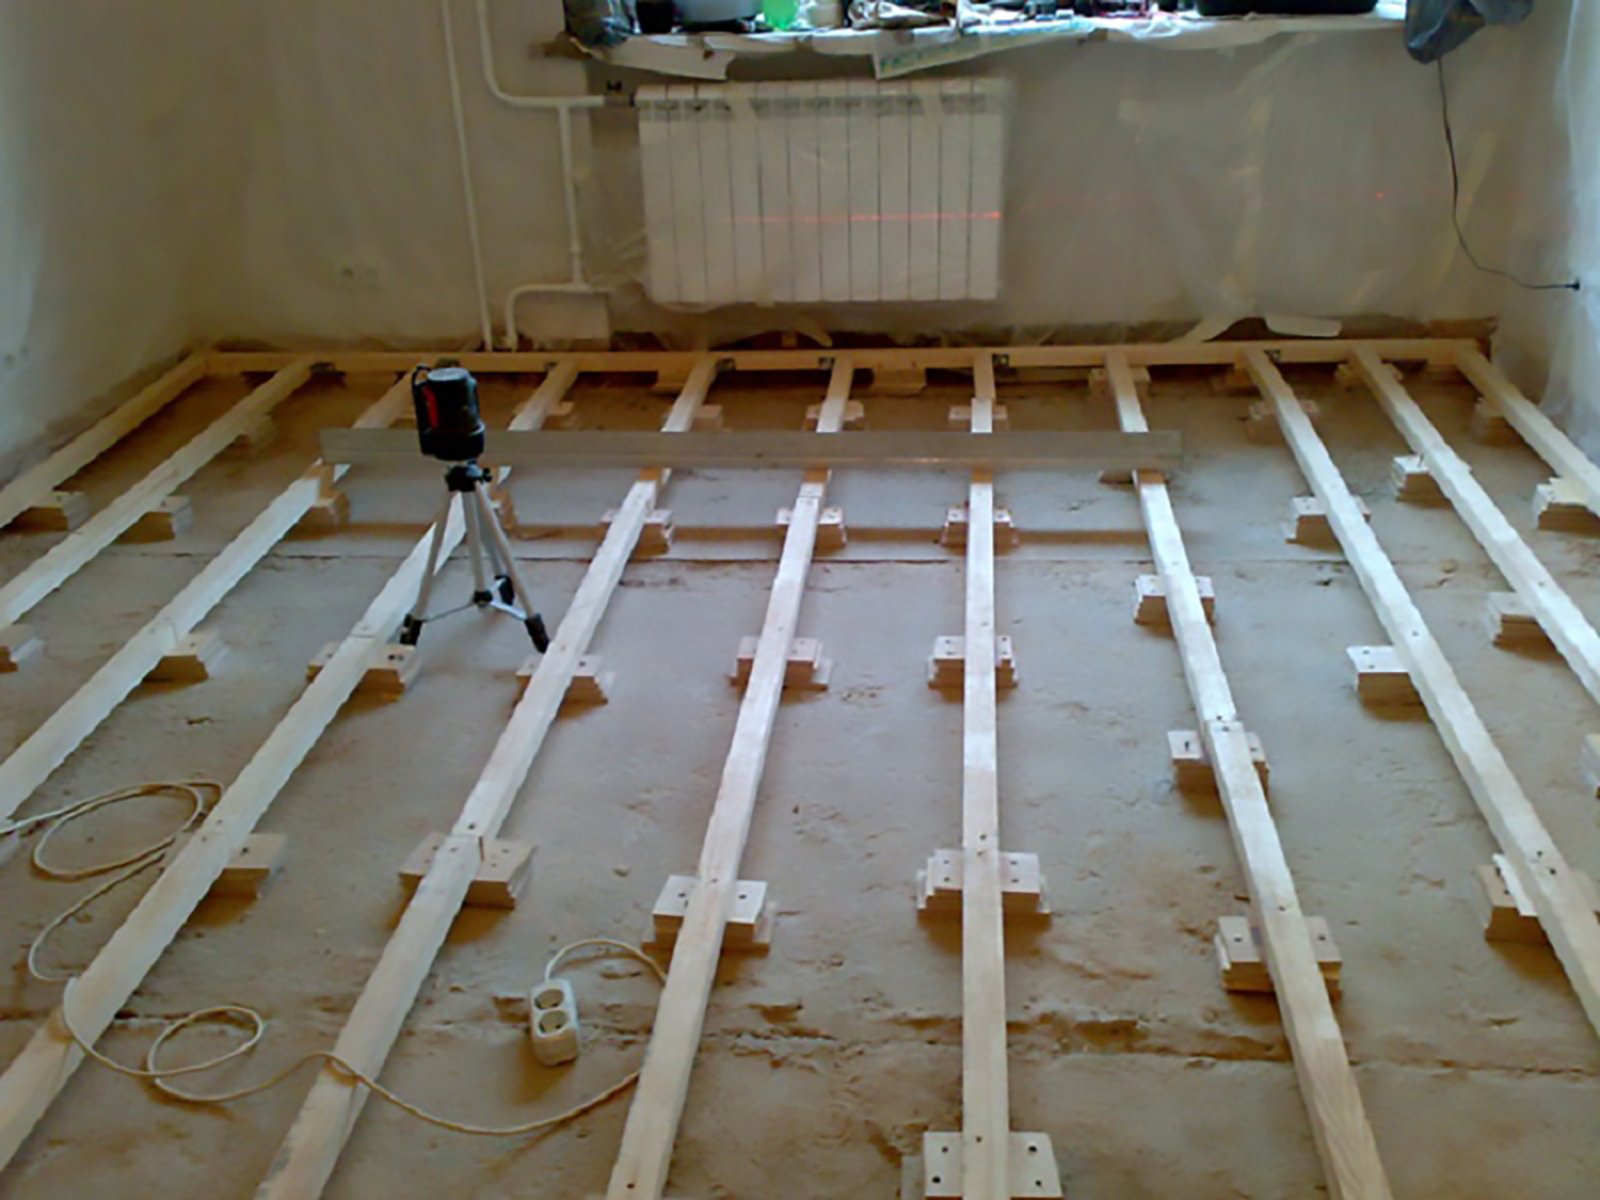
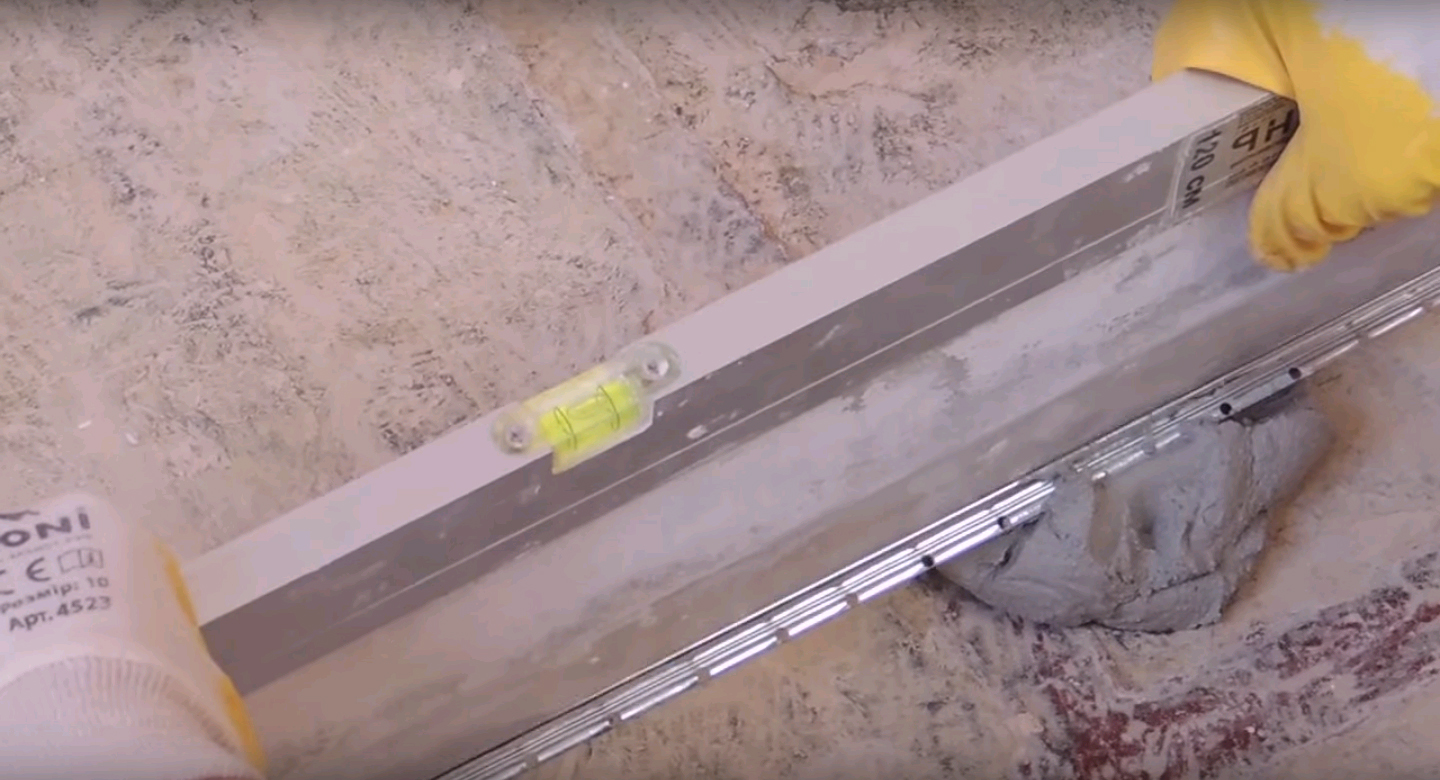
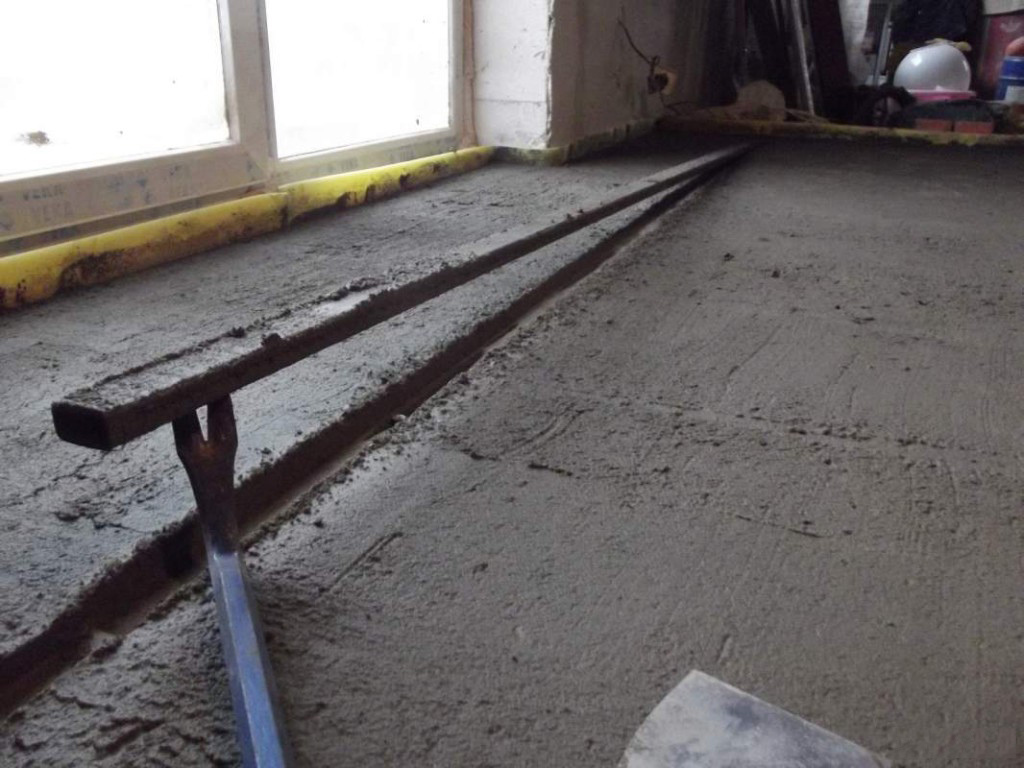
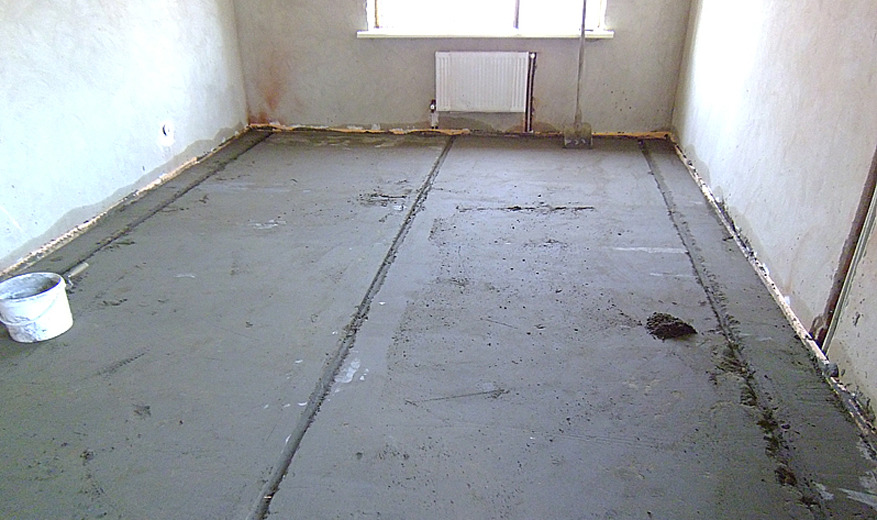
Metal beacons look like hollow tubes, profiles or corners. You can mount them on cement mortar, plaster plaster or screws. Some make them from strong and even wooden beams or from the same mortar. The main condition is to observe the ideal horizontal level over the entire floor surface in the room. After the lighthouses are installed and rigidly fixed, proceed to pouring the screed.
Kinds
There are several types of beacons for leveling floor screeds, but they are all divided into 2 groups:
- Dotted - placed only in certain points of the room, easier to install. They require a lot of experience when pouring the screed itself, they can also be used for local areas in the room.
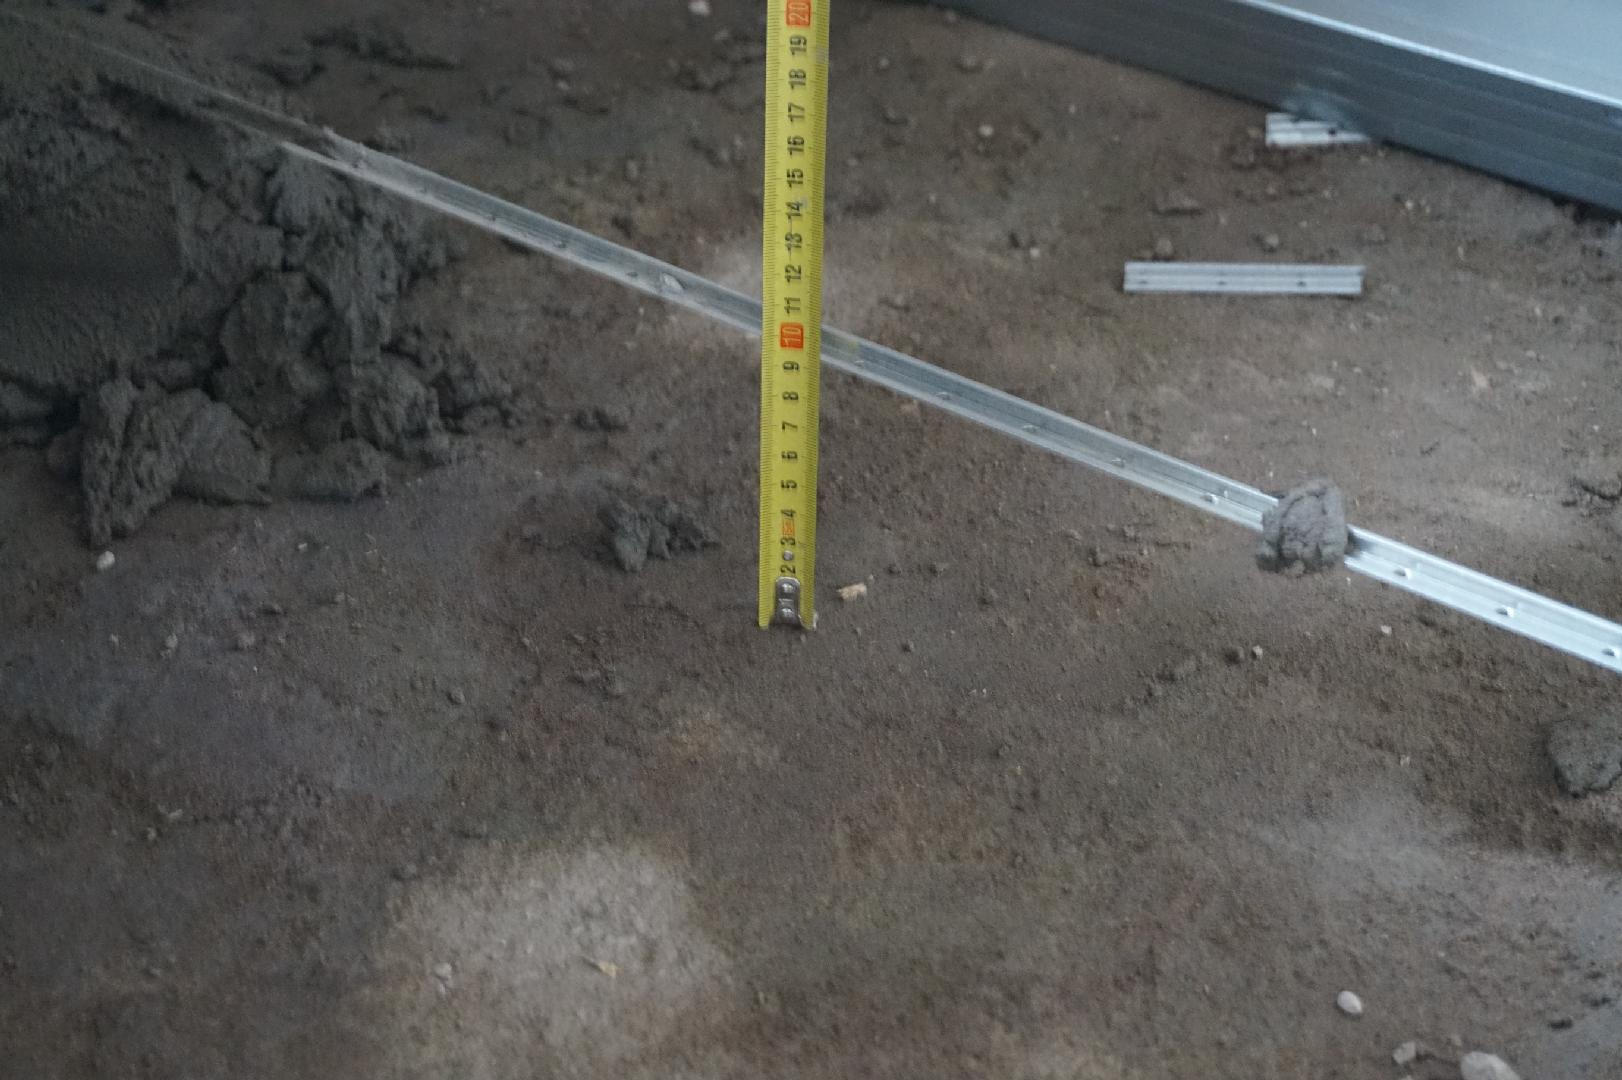
- Linear in the form of long metal corners, profiles or tubes are installed throughout the entire length of the room. They are more difficult to mount, but when pouring it will be easier, even a novice master will be able to hold it.
The group of point beacons includes the following varieties:
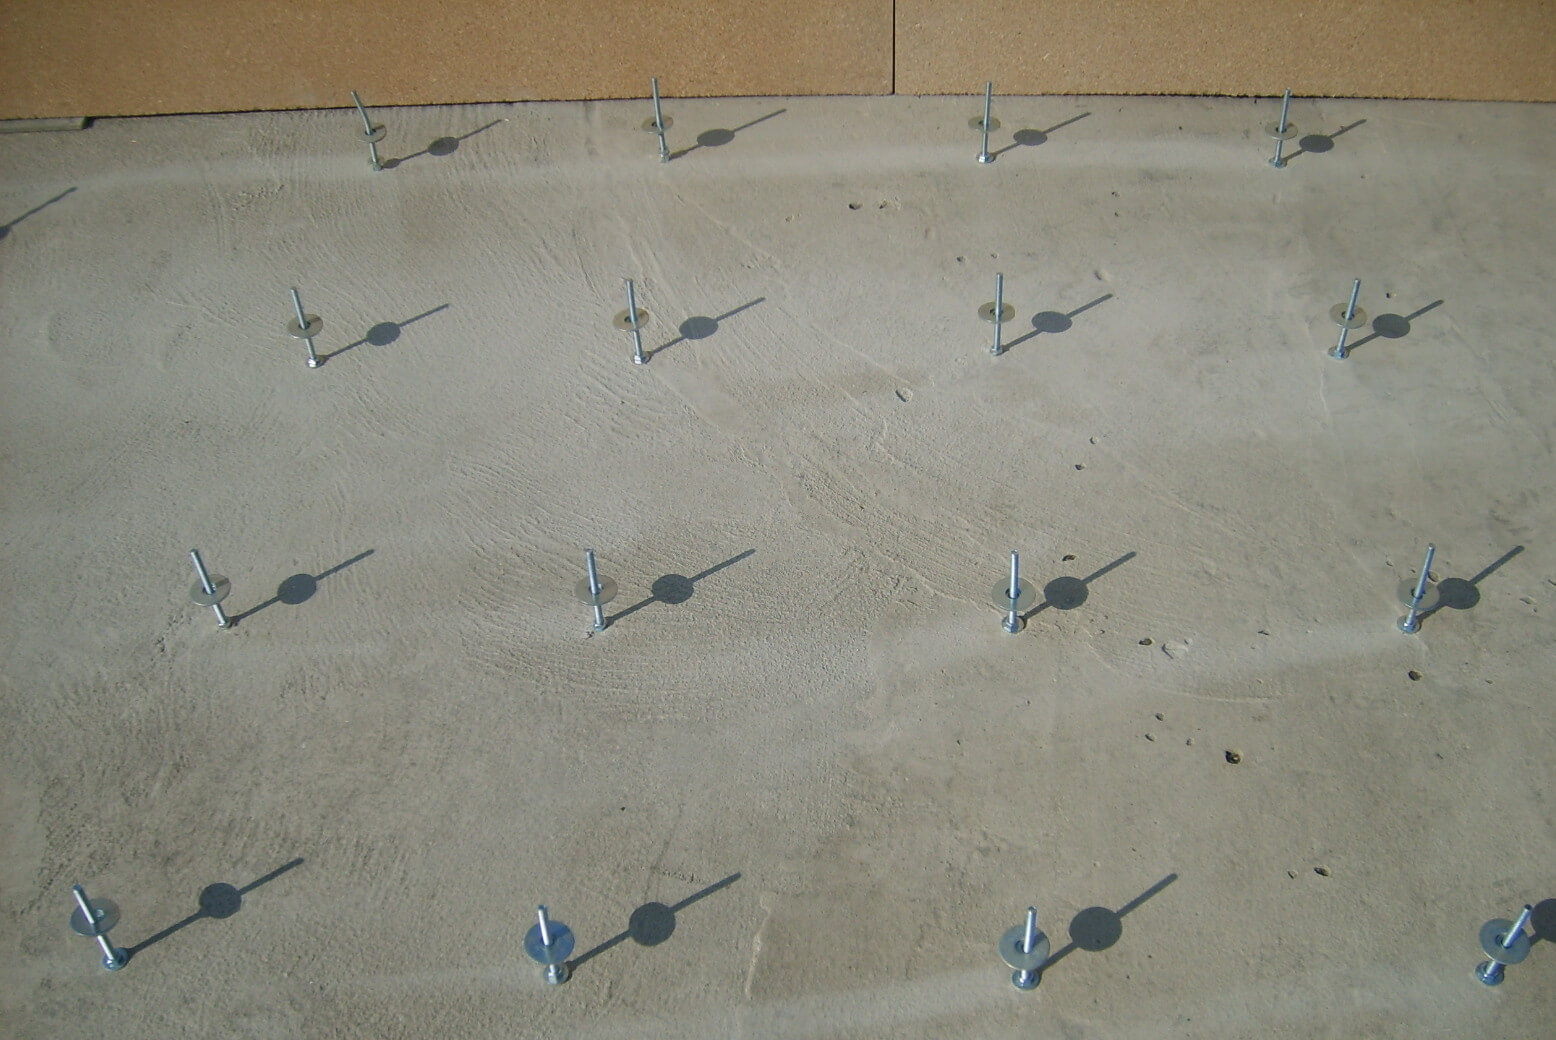
- Reverse beacons used for various types of screeds and self-leveling compounds. The frames look like height-adjustable tripods with a rod in the center that is screwed into the floor surface. There is a scale on the thread, with the help of it the required height is set, at the top there is a flat table for placing rules on it.
The reference beacons are placed on the floor in a staggered manner, then they are regulated under a common horizontal level. The mixture is poured and leveled at the bottom scale of each frame. After pouring, they are removed. This method requires highly skilled work of the master, and the metal beacons themselves are not cheap.
There is a more budget version of plastic reper with vertical ruler with a millimeter scale and a self-adhesive sole. Some make homemade portable reper.


- Studs on the basis of dowel-nails. You can apply those used for the installation of drywall sheets. Before installation, parallel rows of holes are made on the floor surface at a distance of up to 1 m between the guides and 10-15 cm shorter than the length of the rule between the rows. After that, the dowel-nails are screwed and adjusted horizontally.
- Point beacons from the solution made in the form of cone-shaped heaps at a distance, which can then capture the rule. The top of each cone is cut off on a horizontal level so that small straight surfaces are formed, then the tie is aligned on them. The material for beacons from a solution can be different, the main thing is that the mixture dries quickly and is as hard as possible.

Linear beacons come in several forms:
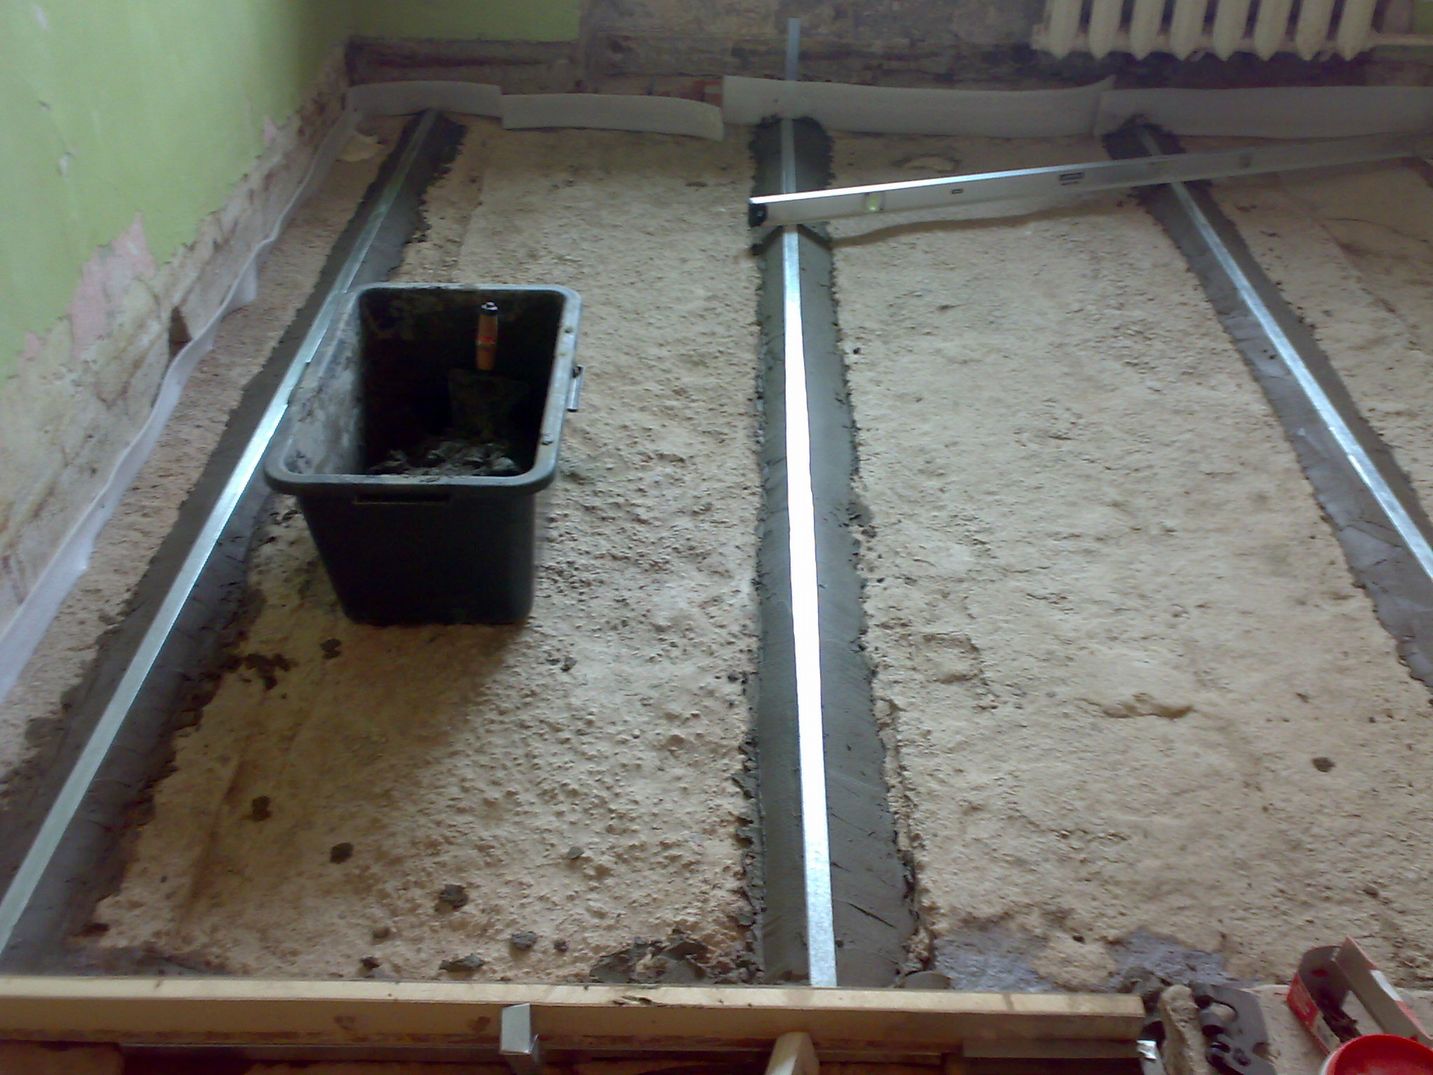
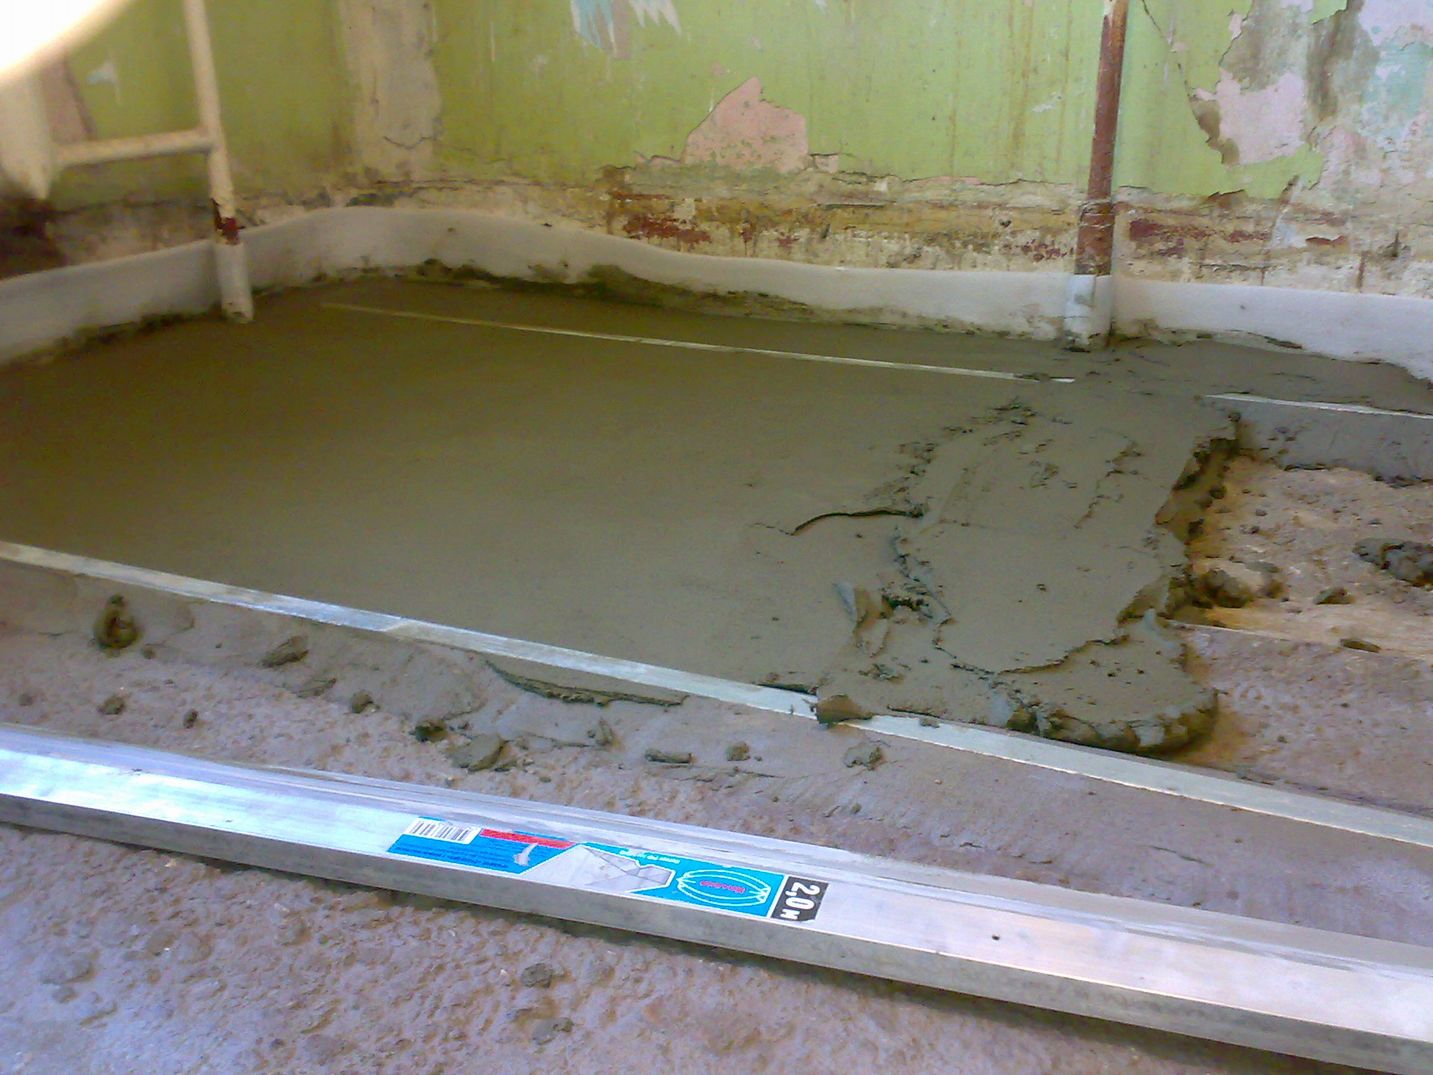
- The most common of them with a significant thickness of the layer - profile. They are best used if there are large level drops. The most commonly used U-shaped metal profiles, as well as for installation of plasterboard sheets. They are mounted in the entire width of the room, at a distance slightly shorter than the rule, with the help of screws or on a mixture of "Rotband", another quick-hardening putty mixture.

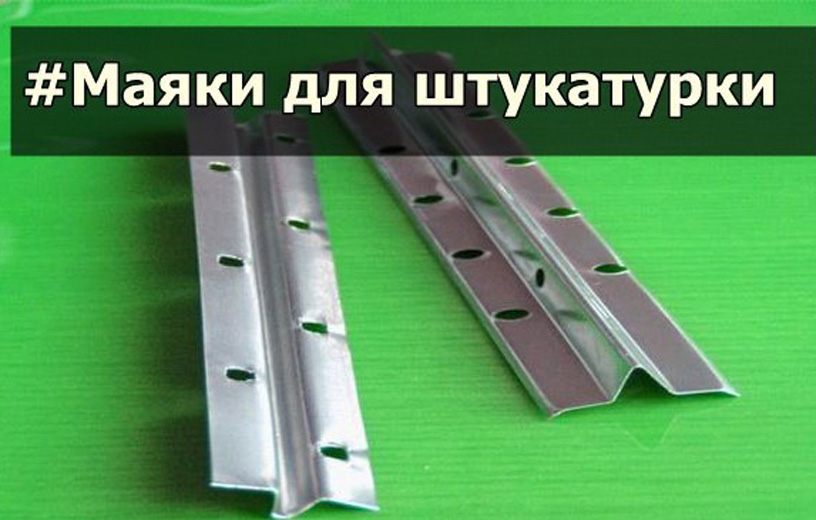
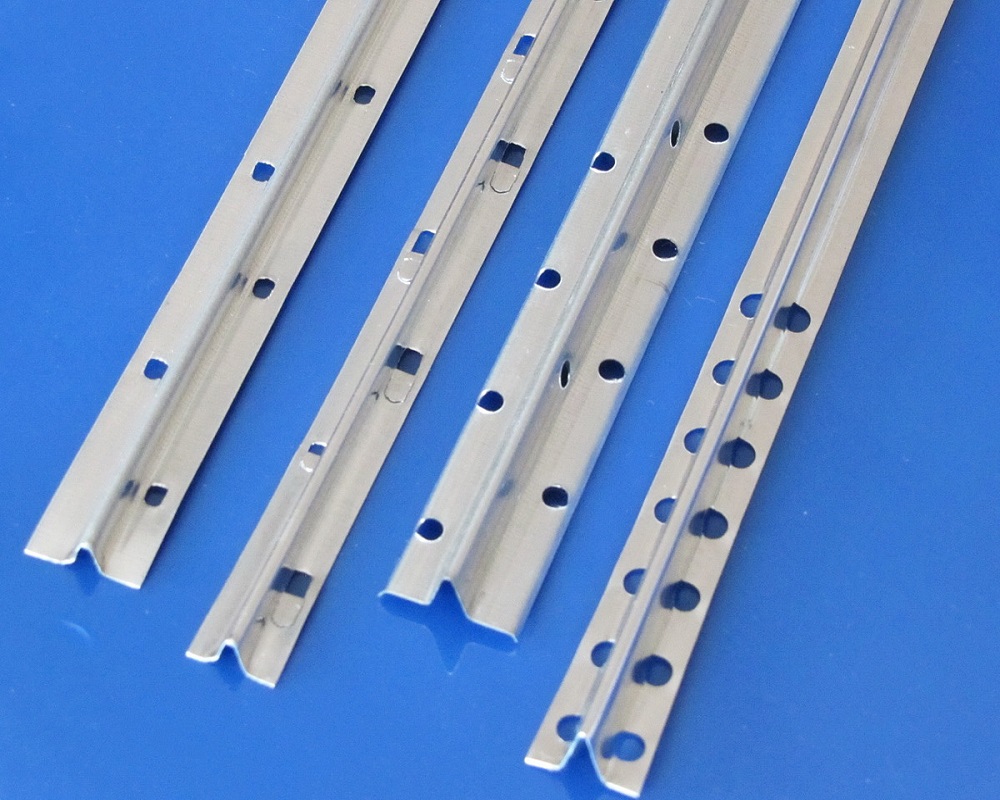
- Instead of profiles, they are often used as floor screed guides. plaster beacons. These are T-shaped perforated profiles, which can be fixed to the floor with the help of wedges or plaster putty mixtures, for example, of the same “Rotband”. Their disadvantage is that they do not have sufficient rigidity; for large layers of the tie it is better not to use such beacons.
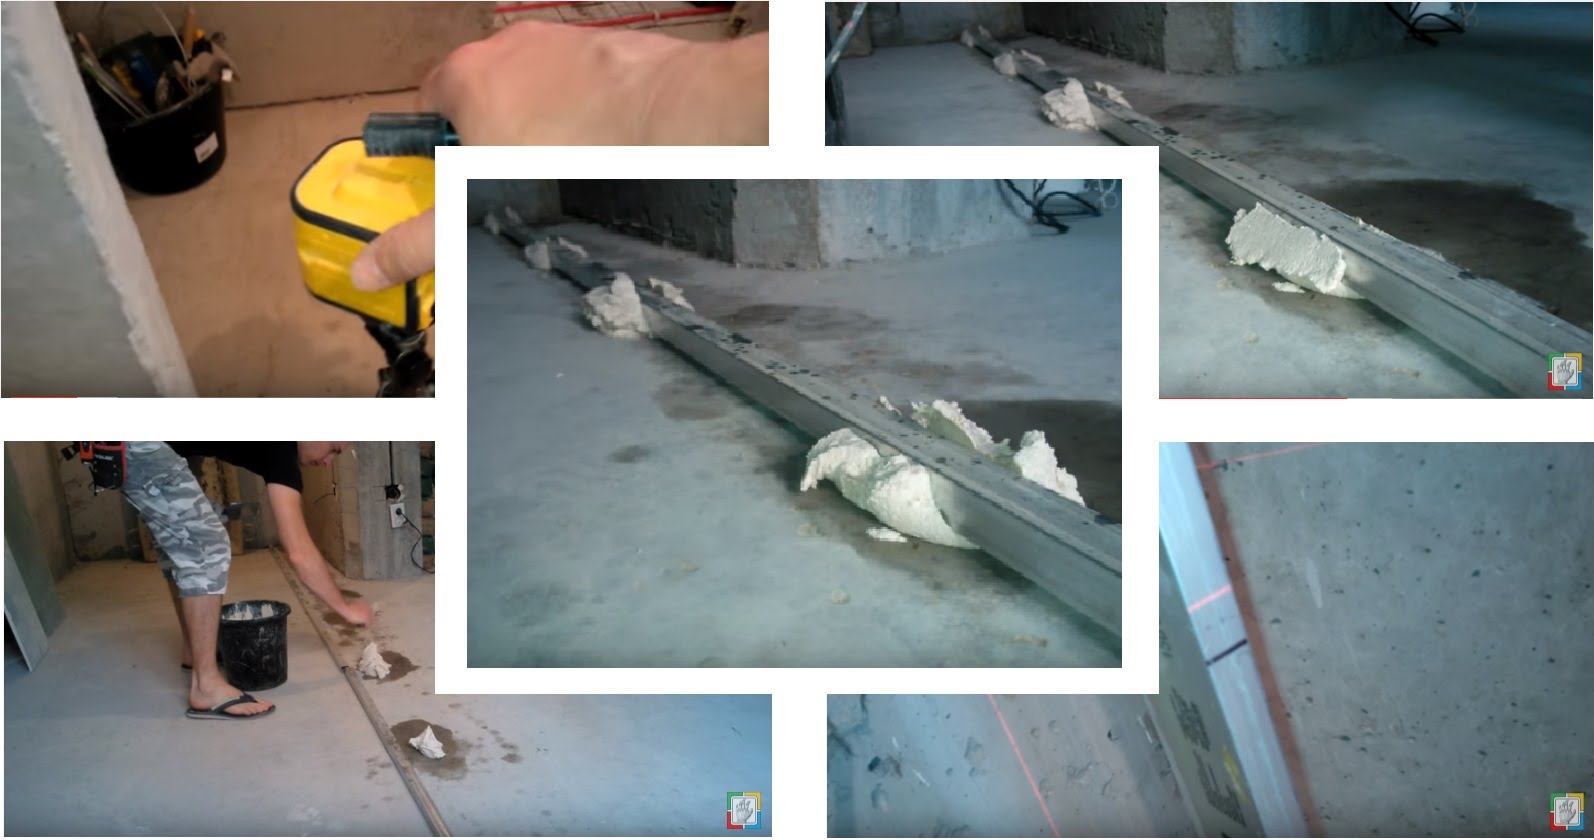
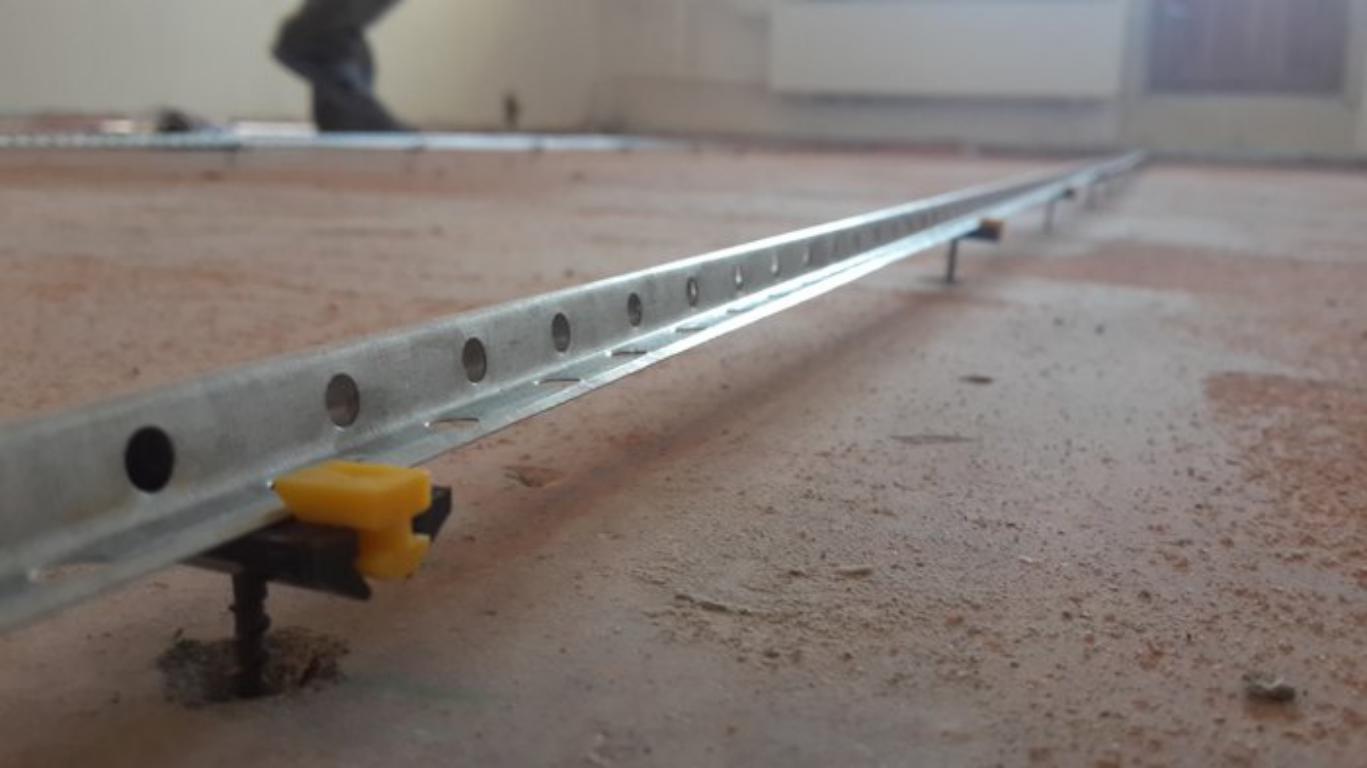
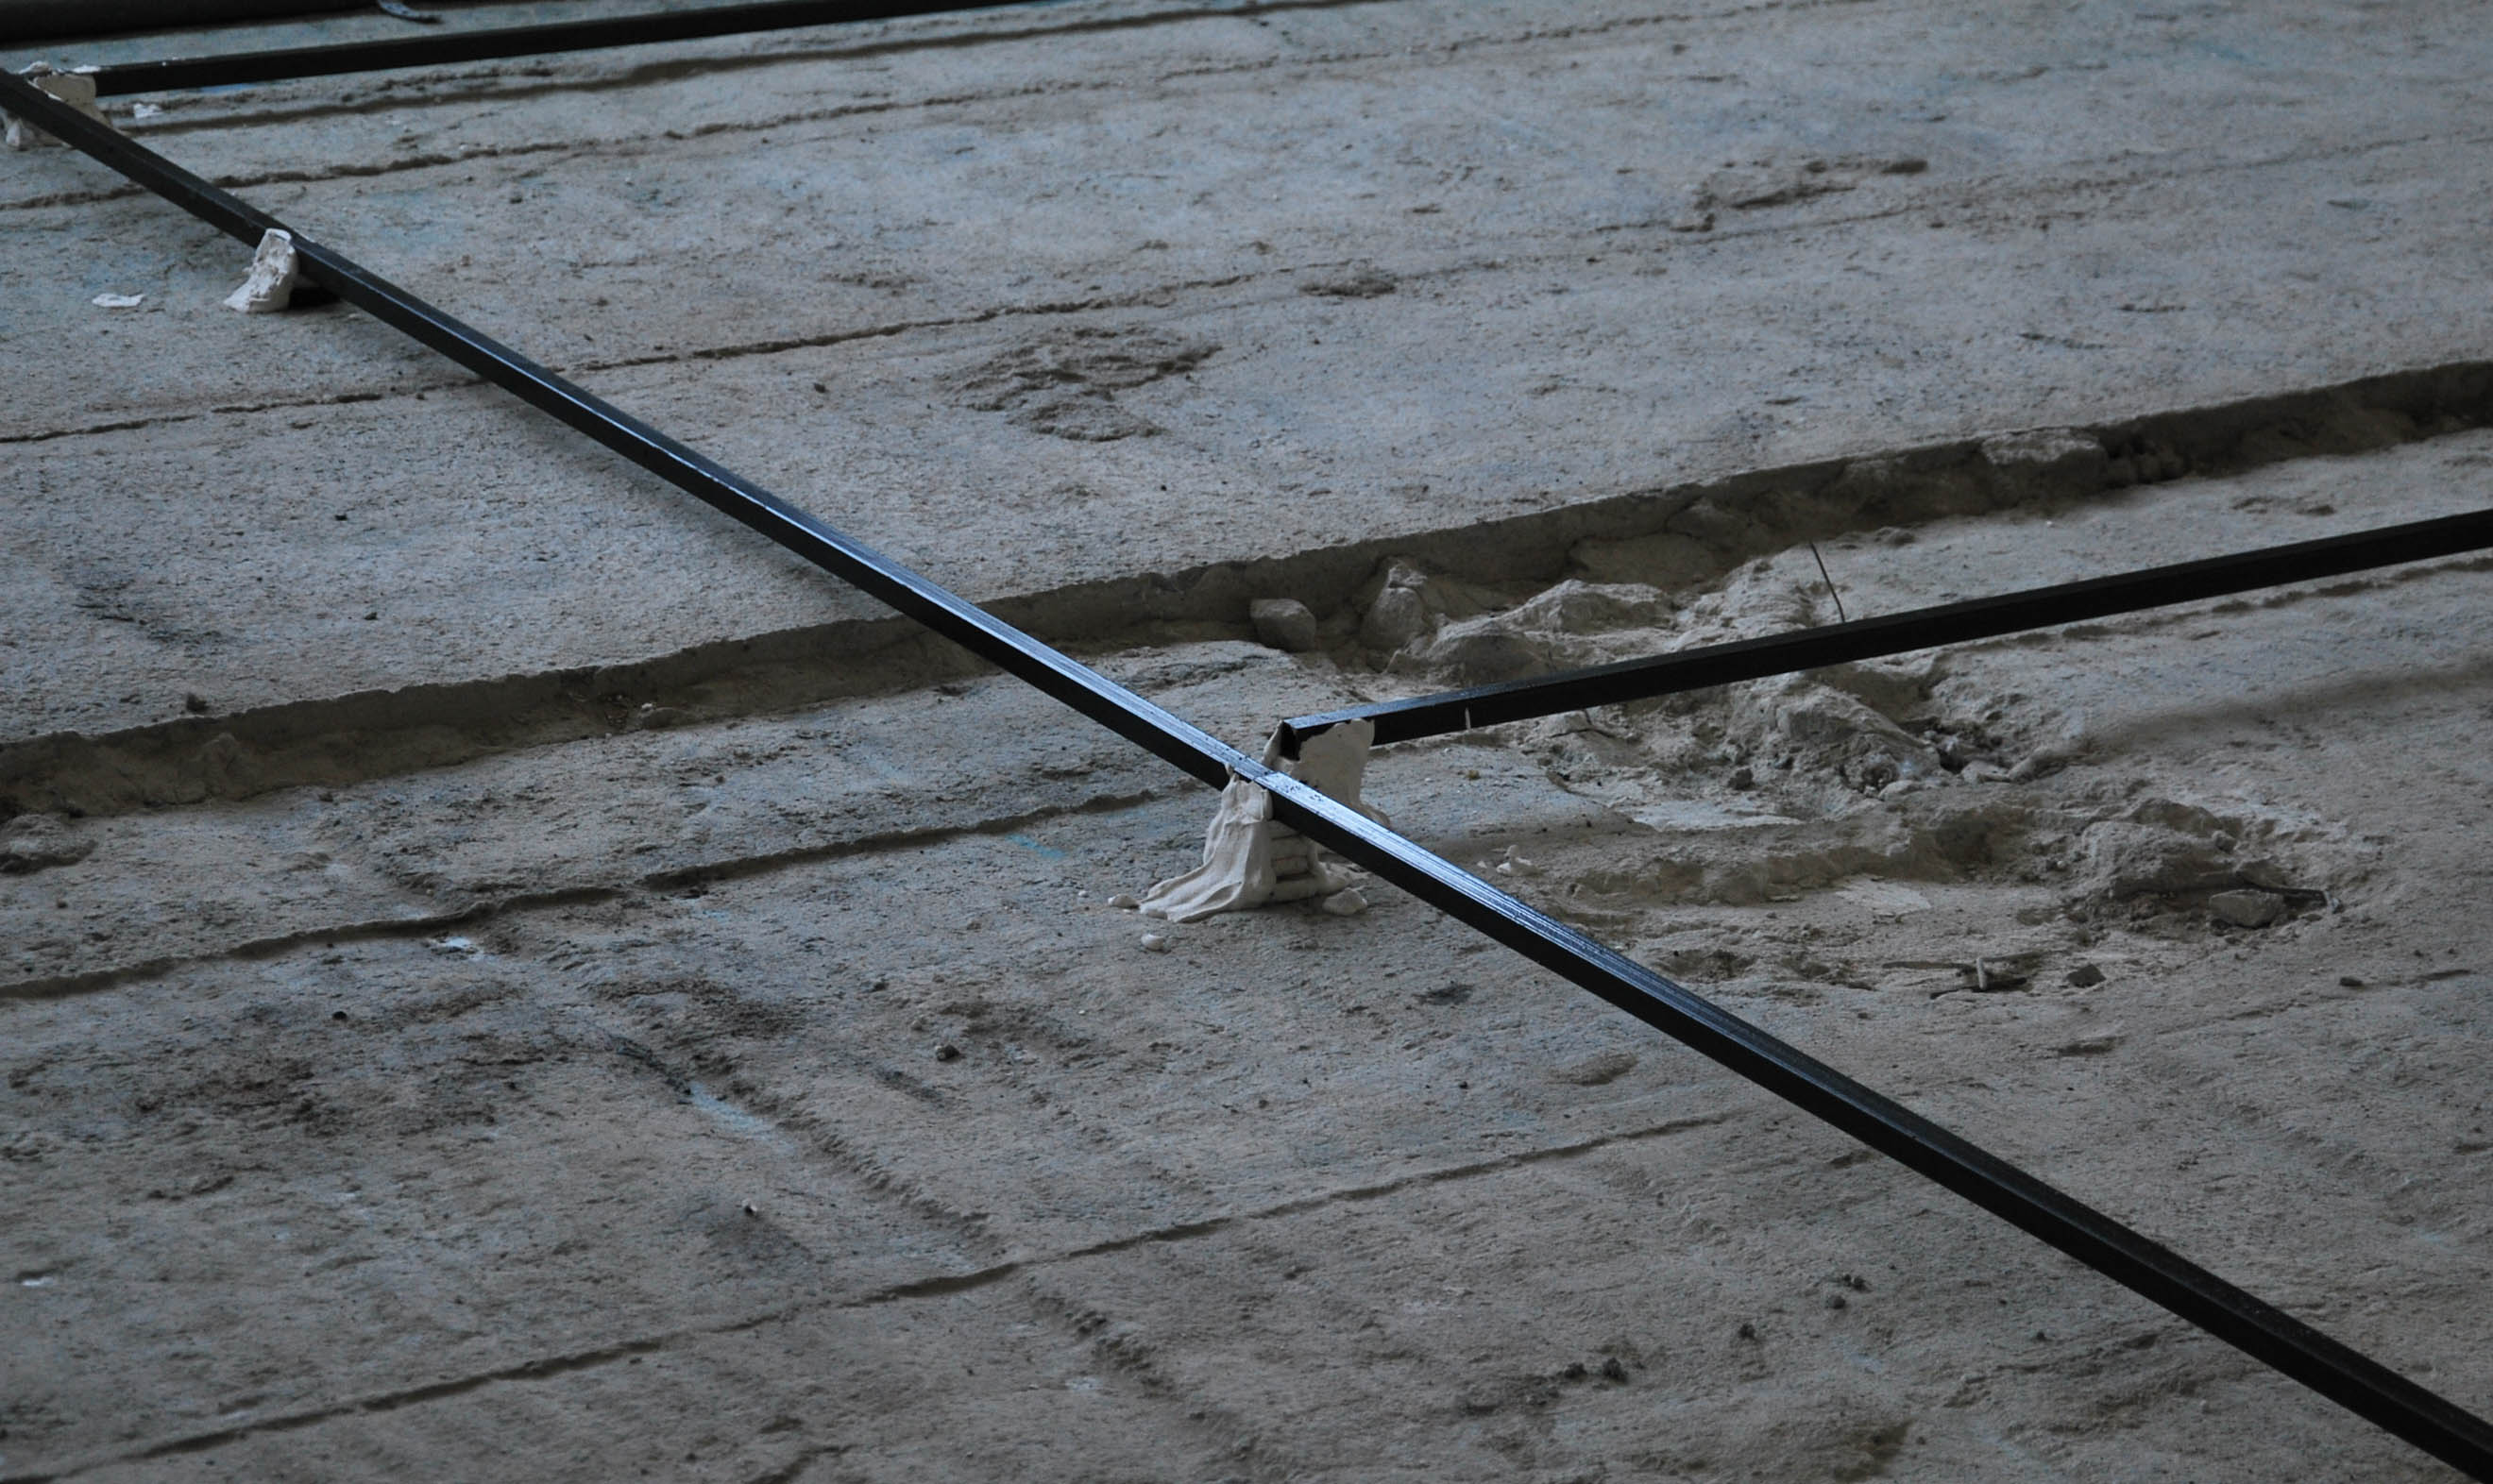
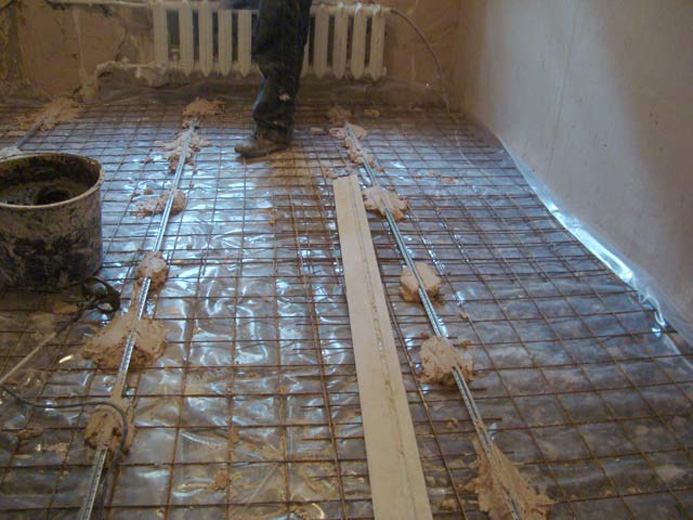
- Tubular lighthouses good to use for reliable screed with thick layers. They are hollow rectangular or round in cross-section profiles. Such guides are installed in the same way as the previous versions.
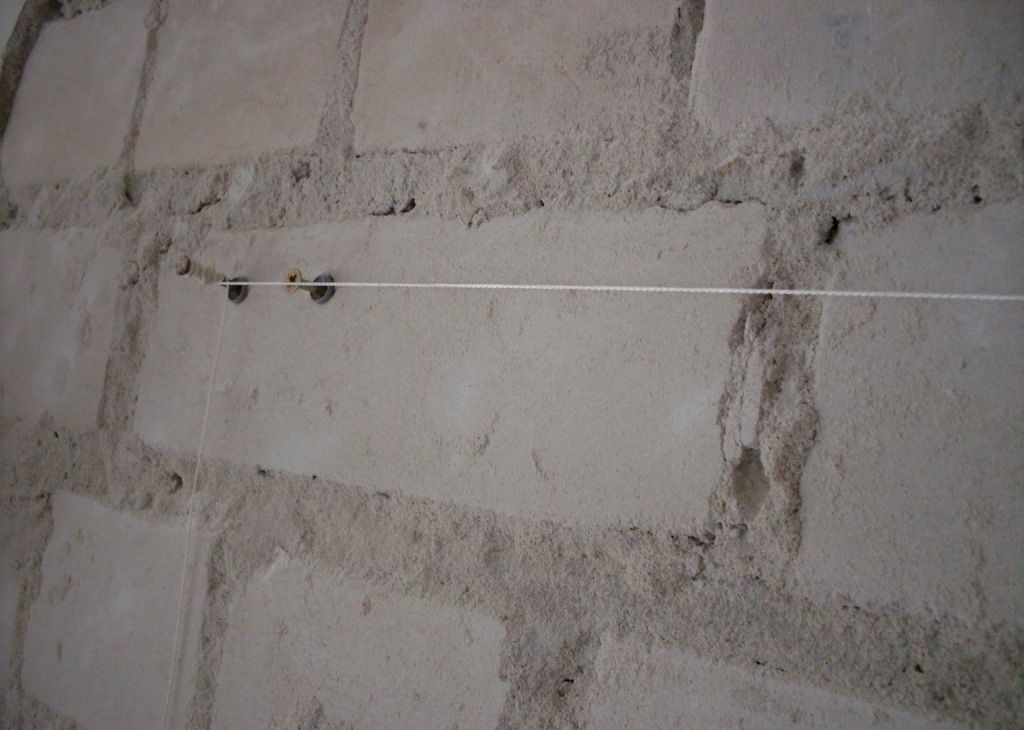
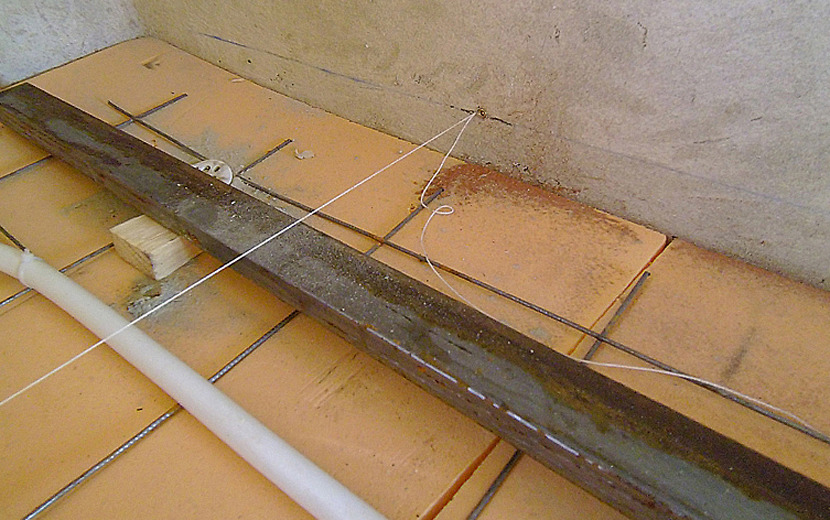
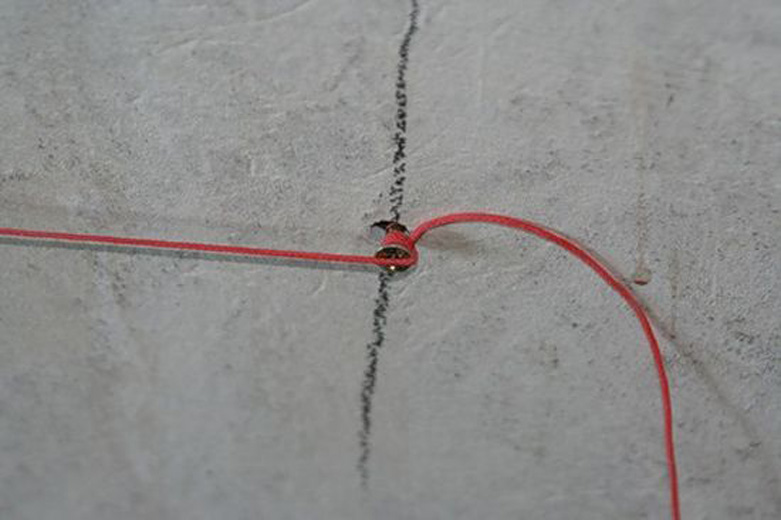
- String beacons most often used for plaster walls, but they have found their use in leveling the floor with a screed. The main detail here is a metal fishing line, which is tightened on special adjustable metal eccentrics fixed on the floor. The stiffness they have for aligning the rule is not very high, but this method will save on many metal profiles or tubes.
If the house has a supply of even bars and I want to save money, then you can make beacons of them. They are attached to anchors or screws of suitable length.The advantage of low cost and ease of processing wood. But there are also disadvantages: the tree can be deformed, it is difficult to find ideally smooth guides.

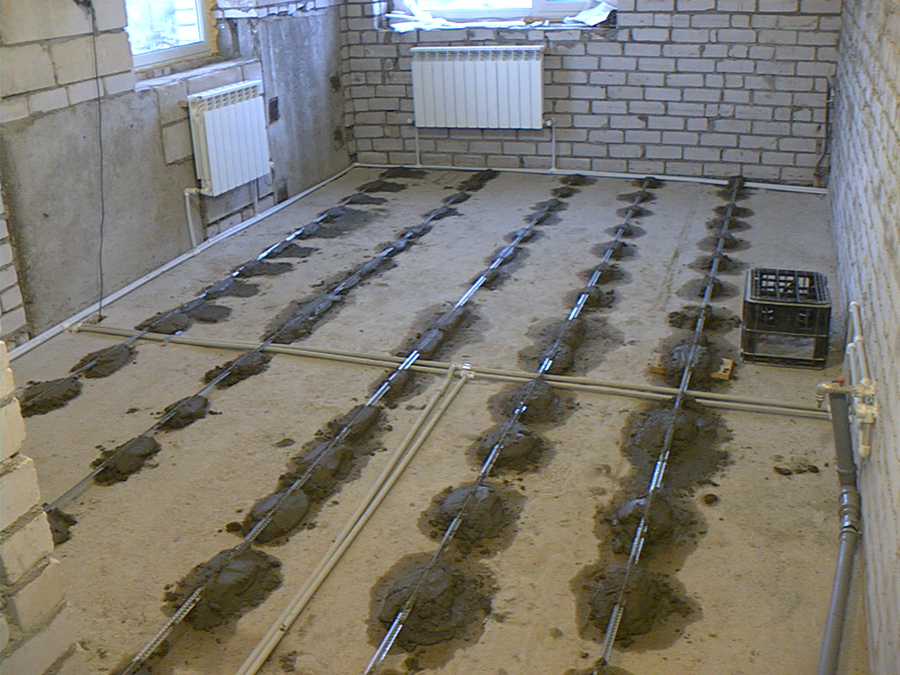
Linear beacons, as well as point ones, can be made from mortar; for this purpose, along the entire length of the room, hillocks are made of cement or gypsum mixture under the horizontal level. For dry screed options beacons are used in the form of metal profiles. They do not need to be firmly fixed on the floor, it is enough to set a horizontal level on them and walk along the top of the filled mixture with a leveling pad.
Dimensions
It is best that the tie beacons are solid, the entire width of the room. If their length is not enough along, then you can change the installation across the premises.
Also it is worth remembering the standard sizes of different types of profiles:
- T-shaped stucco beacons 10x26 or 6x21 mm have a length of 2.7-3 m;
- guides, rack, ceiling can be 2.75, 3, 4 and 4.5 m;
- curved profiles can reach a length of 6 m.

Tubular beacons with a rectangular or round profile come in different lengths, depending on the destination, but more often it does not exceed 6 m.
Which is better to choose?
It is advisable to fill the floor with insignificant drops of up to 3 cm under the profile perforated plaster beacons, those used for walls. Their advantages are that they are cheaper than metal profiles for gypsum plasterboard or profile tubes, very light and easy to cut with scissors for metal. The standard dimensions of their cross section are 10x26 or 6x21 mm, the most common length is 3 m.

Fixed plaster perforated beacons can be on a quick-hardening plaster mix, metal or plastic fasteners. The best of them are ears, which are thin metal plates with a hole in the middle and small curved ears. To the floor, such fasteners are mounted on ordinary dowels-screws. The advantage of beacon mounts is that there is practically no gap between the floor and the beacon, which saves on the screed solution.
To perform screed with high differences, when you need a layer of more than 3 cm, it is best to use metal profiles for gypsum boards. The required length and width of the guides are selected, then they are cut and mounted under the level for mortar or screws.Their surface is smooth enough to guide them by the rule.
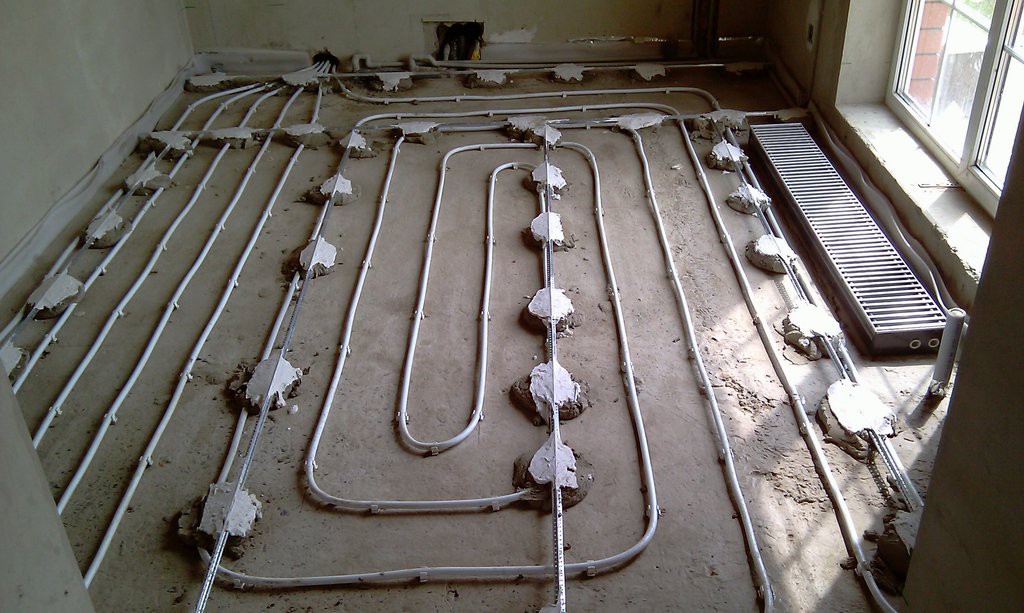
If the width of the poured floor is large, it requires several layers of insulation, protection from steam and moisture, then the best option is to use profile pipes installed on cement or gypsum putty mixtures. The design turns out durable, tough, allows you to pour the floor screed on top of the foam plastics, mineral wool, polyurethane foam, foam plastic and other insulating materials.
How to install?
You can make beacons for the screed and then pour a flat floor under them with your own hands:
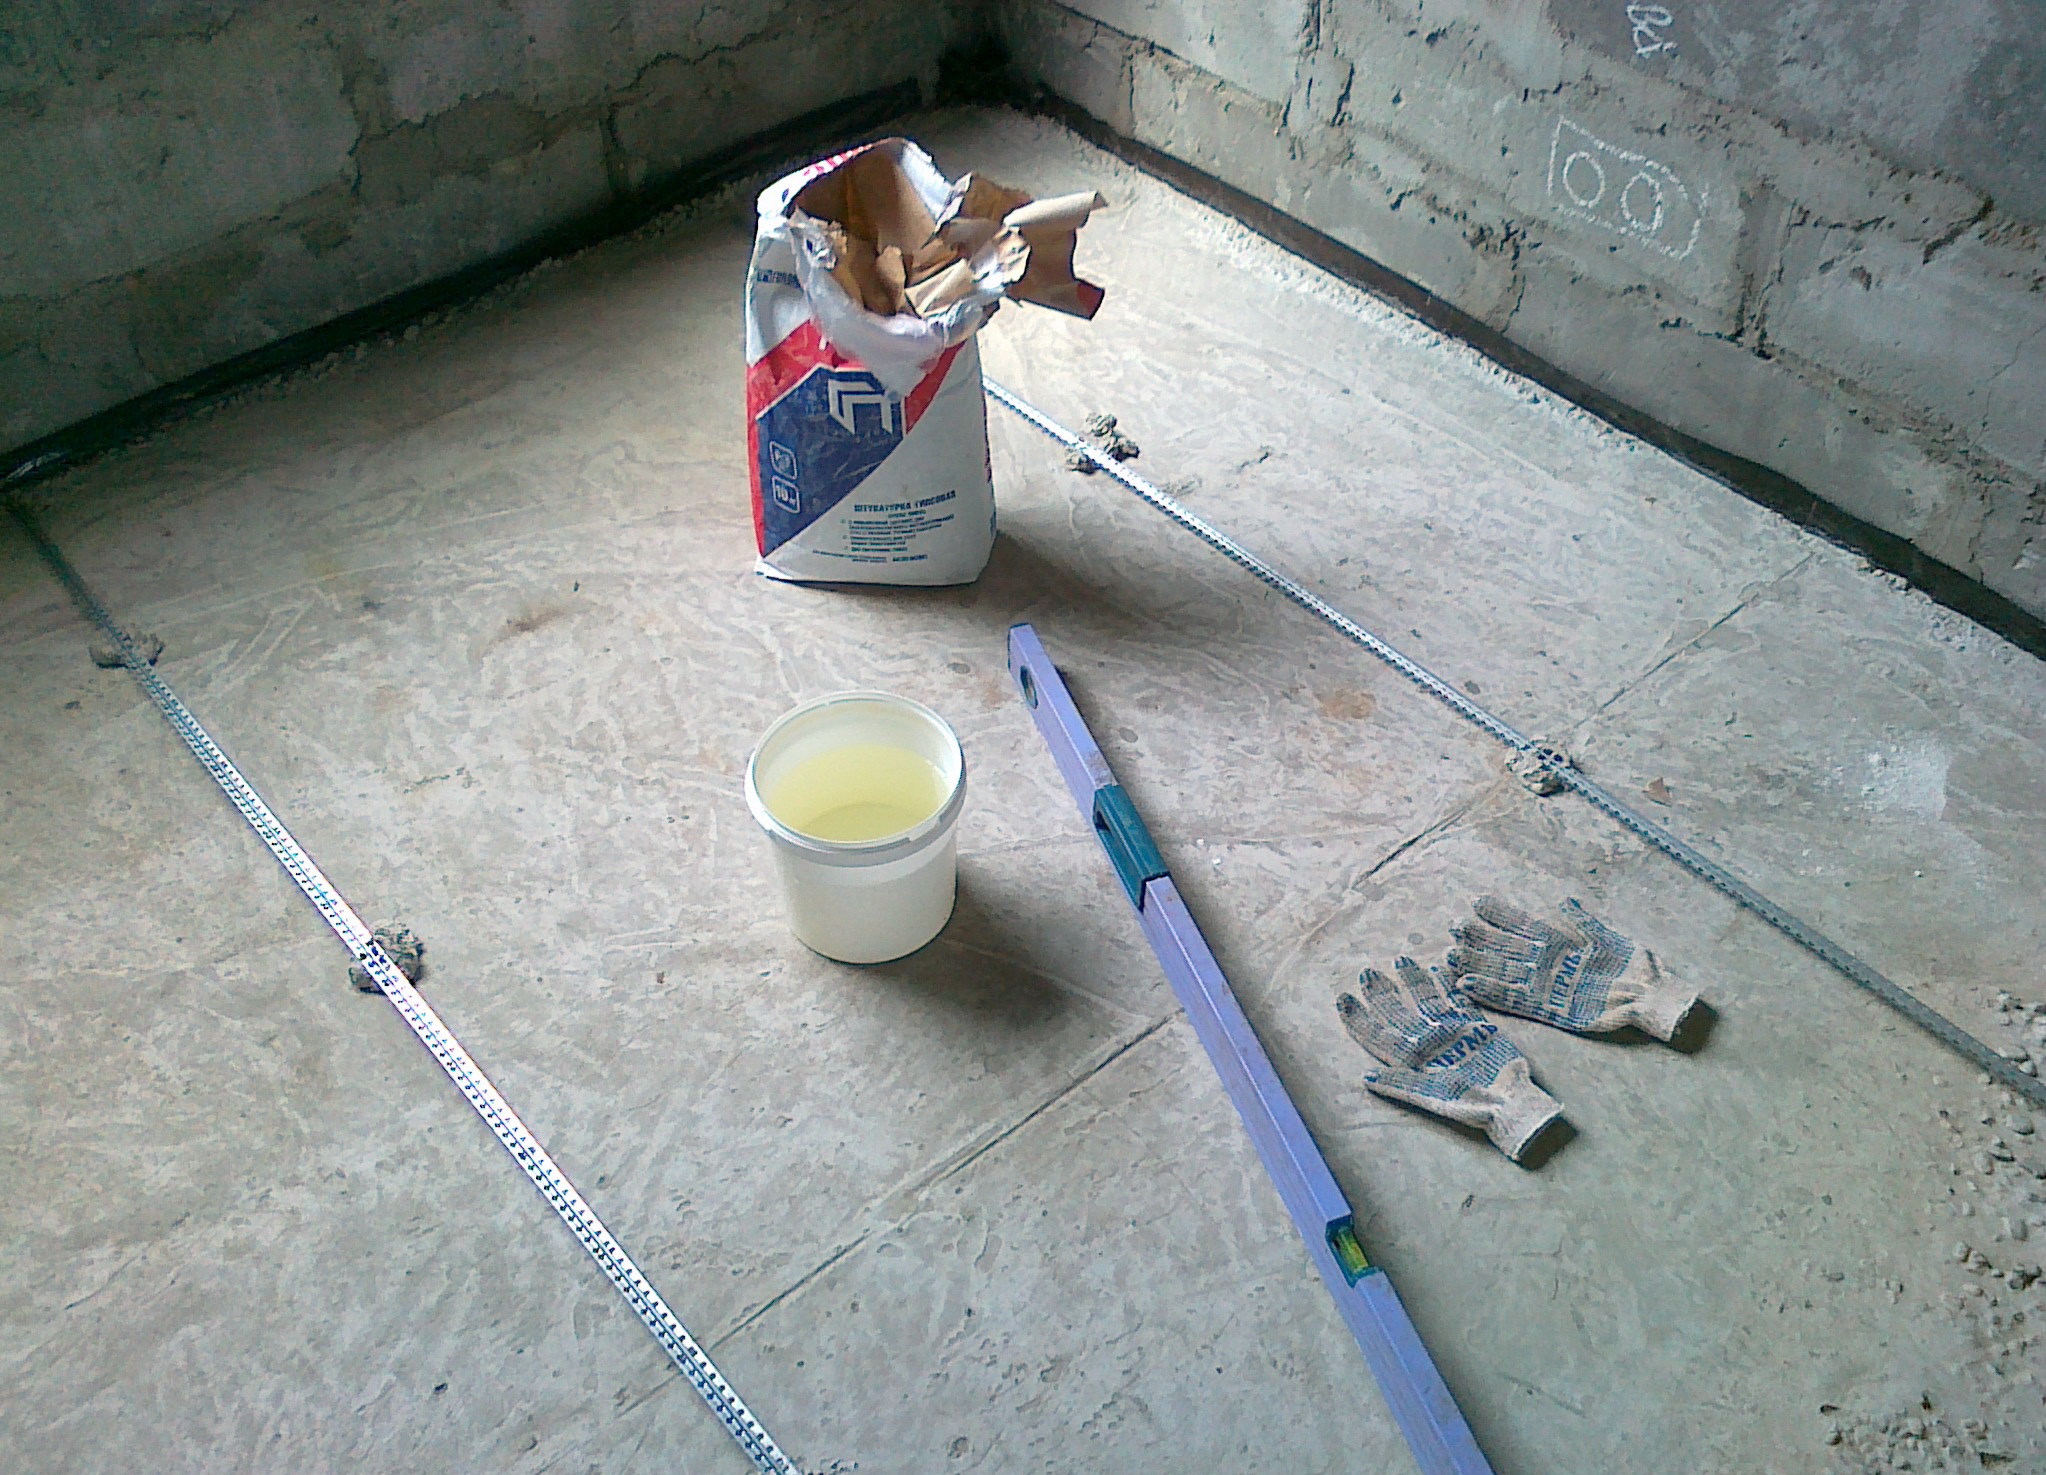
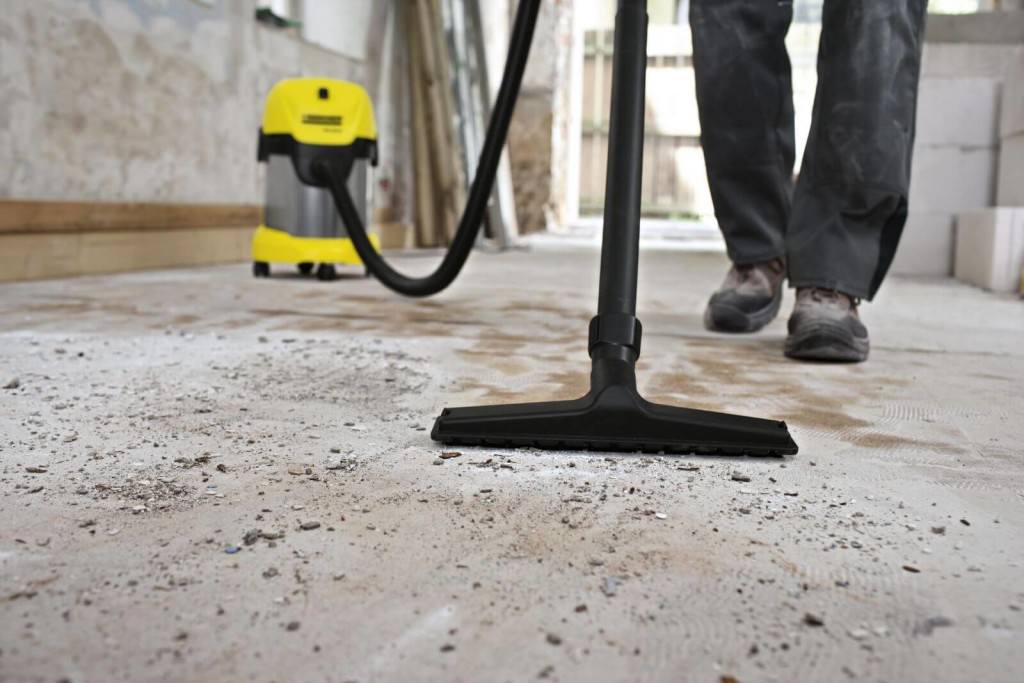
- The process begins with the preparatory work. Initially, the entire surface of the room is cleaned of dust and debris, if there is an old plinth, then it is removed and the places where it was, are cleaned. Then cracks are embedded in the floor, various materials can be used, a suitable option, for example, an epoxy primer.
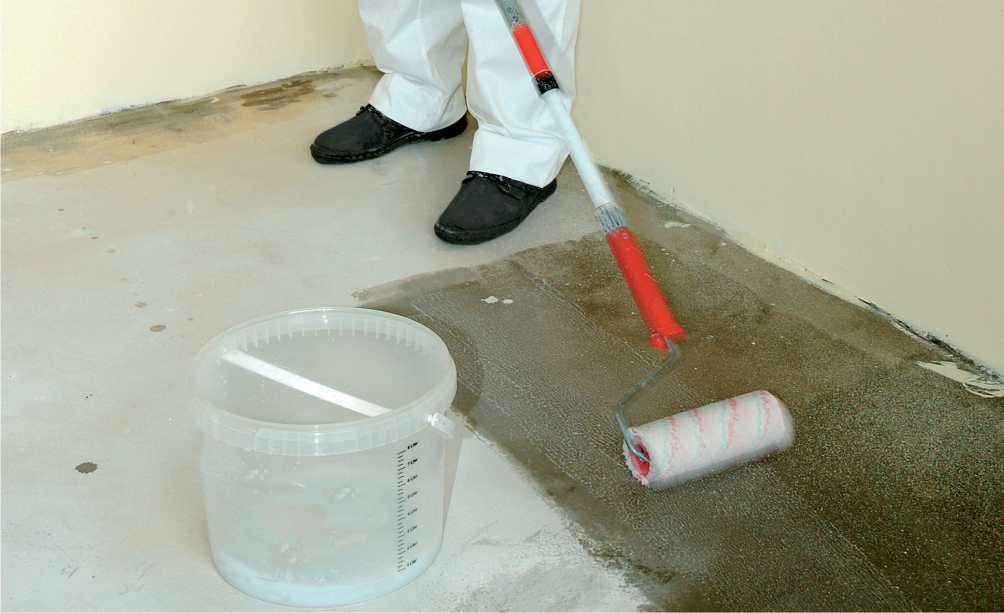
- After cleaning, the surface should be primed. There is a huge amount of it, it is best to use acrylic, alkyd or polymer, consumption per 1 square meter. m is about 200-300 ml. For application you need to take a fleecy roller on a long handle.The primer dries quickly, just wait 10-15 minutes.
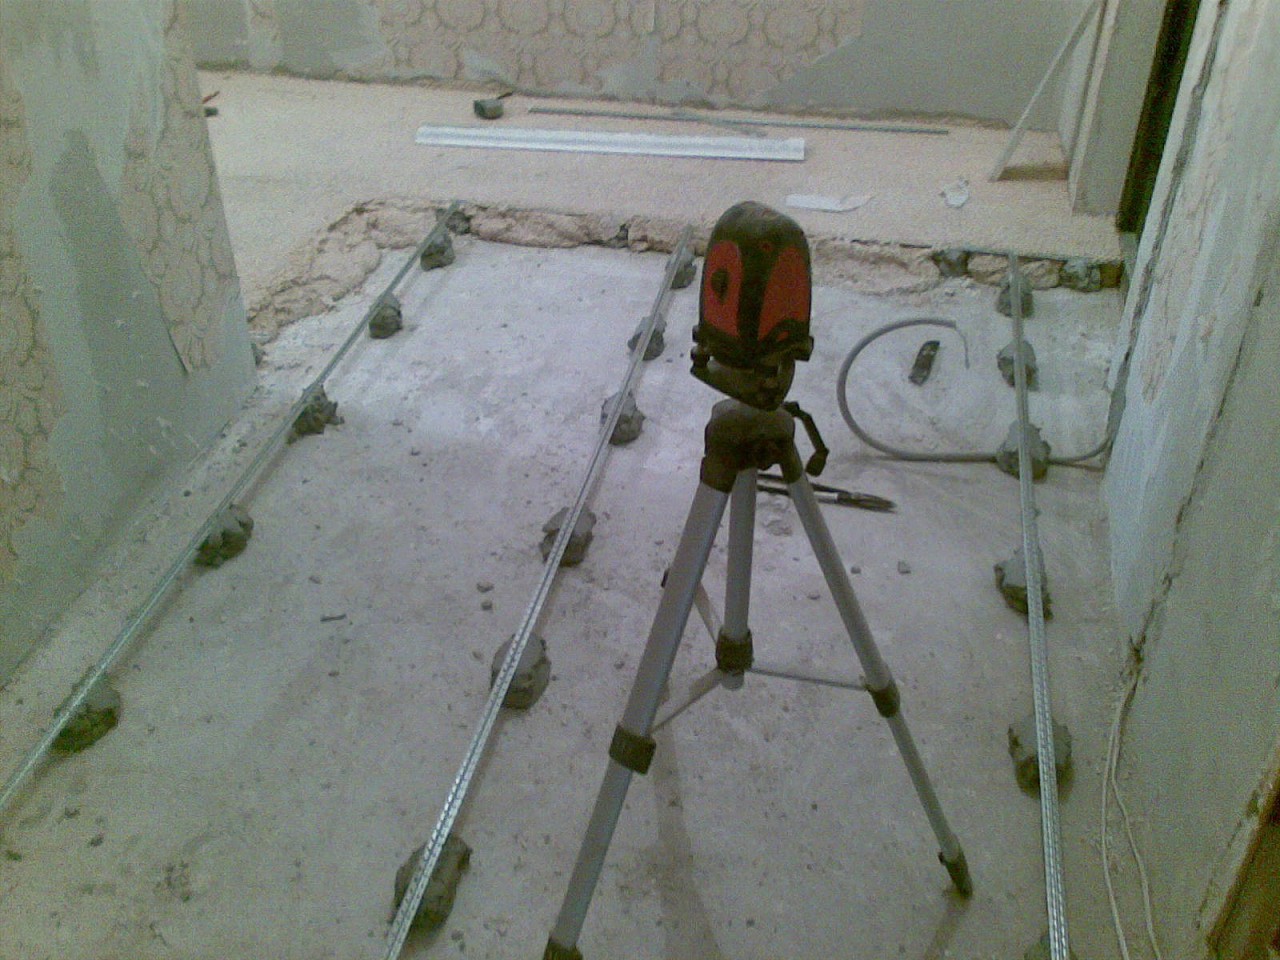
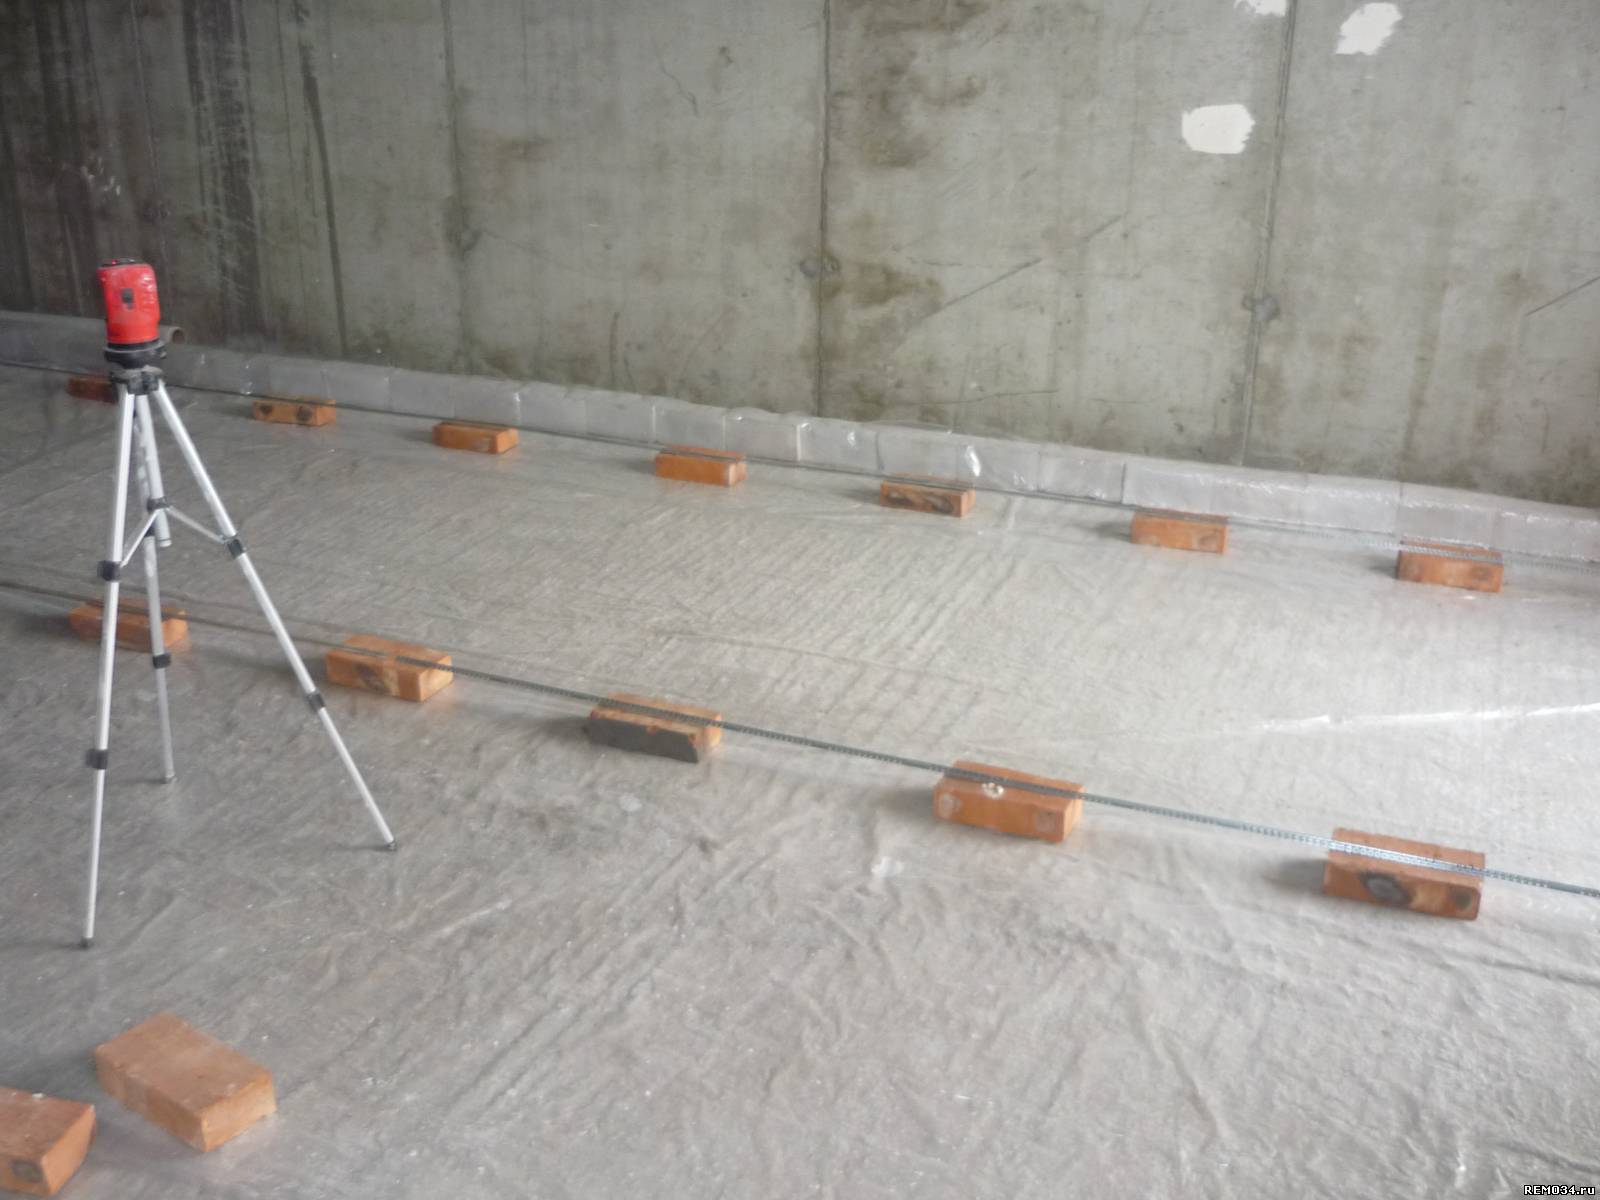
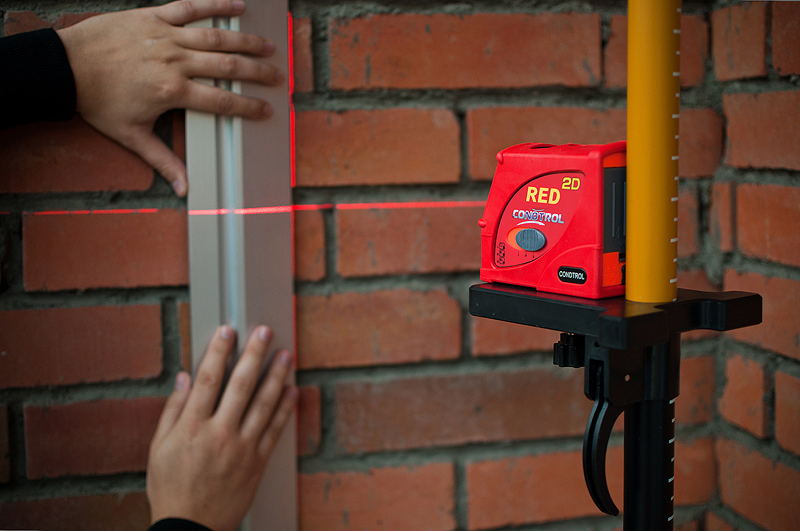
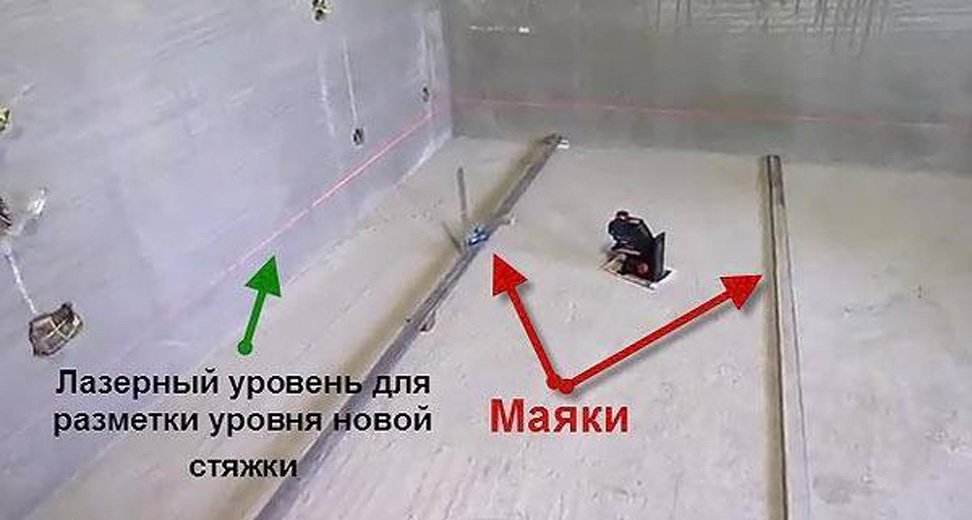
- Next, the most important process of installing beacons is marking the horizontal level. There are several reliable ways to set up flat walls on walls, linear beacons, or ramps. It is very convenient to make it a laser level, which, although it has a high cost, is very easy to use even for a novice specialist.
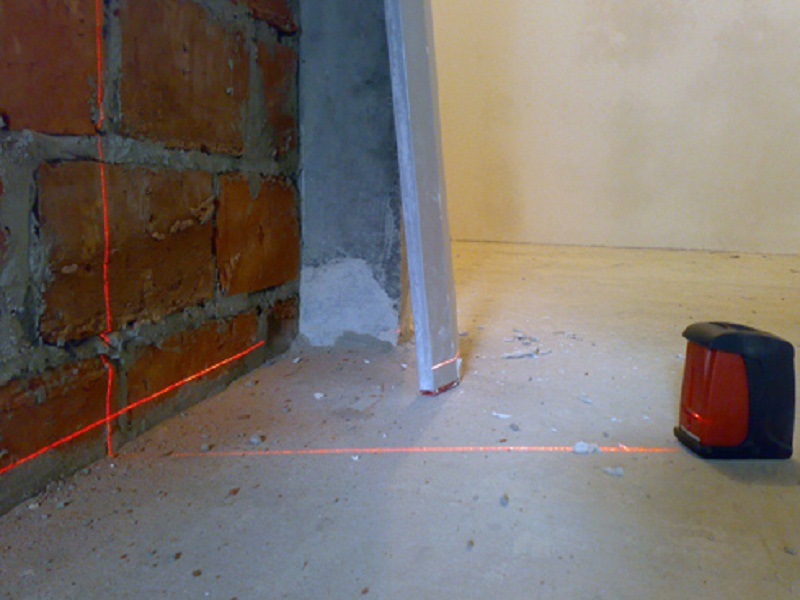
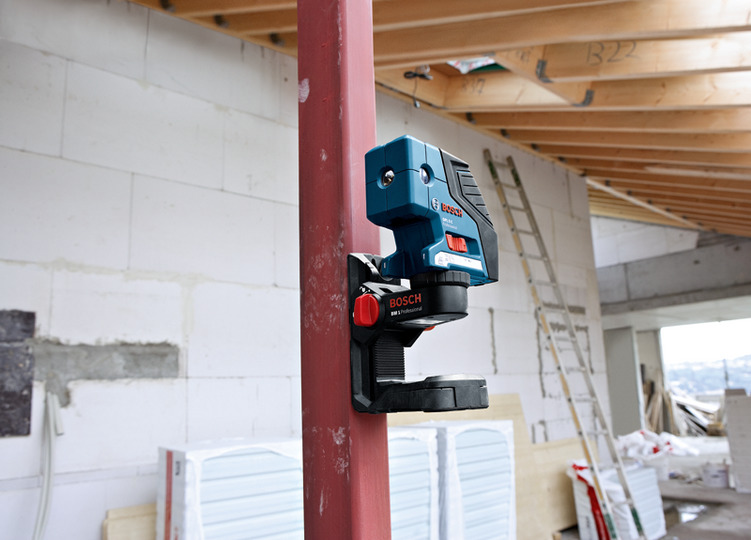
The laser level has a body and a holder on which it is fixed in the form of a tripod or tripod, the height can be changed. Before marking it is necessary to install it on a flat surface and adjust, many models are equipped with an audible signal, which works if the device is uneven. After the level is turned on, the necessary marks on the walls are marked with the help of a roulette and a pencil on its bright beams or guides are adjusted in height. You need to have it so that on the way the rays do not have unnecessary obstacles.
Without any problems you can set the horizontal and without a laser. To do this, it is enough to take a building level 1.5–2 m long, as long as it captures the distance between the lighthouses.For convenience, you can use the cord attached to the walls on the screws and stretched the entire length of the room.
- If the installation of beacons is done on self-tapping screws, before mounting the guide screws are adjustable in level, screwed or unscrewed as necessary. Only after all the mounts have been checked, and they lie in the same plane, are the beacons installed on them.

- It is convenient to install beacons on cement or gypsum mixes due to the fact that no additional fasteners are required, metal pipes or profiles are easily lowered to the desired height and then checked by level. Before such work, it is necessary to prepare in advance the container for mixing the mortar and spatula or trowel. It is important to remember that gypsum mixes dry up very quickly, so you need to arrange and adjust the height guides as quickly as possible.
- There is also a combination of mounting beacons on the floor, when both screws and mortar are used. First, the installation lines of the profiles are laid out, self-tapping screws are screwed in and adjusted in height. Then beacons are applied to them, each of them in several places at a distance of 0.5 m is smeared with a solution.
- When installing a heated floor, it is worthwhile to include in the height of future beacons not only the layer necessary for alignment, but also the width of the insulation materials. If the screed is poured onto the mesh, sheets of foam plastic or mineral wool, the guide profiles must be raised.

Do I need to clean up after?
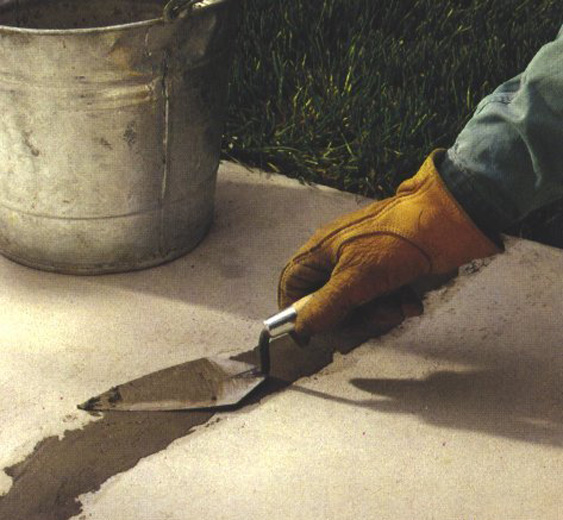
Since metal profiles or plaster beacons are made of metal, they tend to rust over time. Even in a dry environment, material can oxidize, form rusty stains or cracks. Therefore, thin profiled beacons are best removed after pouring, when the mixture has not yet had time to dry and become extremely durable. In T-shaped beacons, their top face is clearly visible over the tie, you can pull them out with a spatula corner. If the floor is already dry enough and the solution is grabbed, then you will have to remove the lighthouse with a pickaxe or chisel with a hammer.

After removing the plaster beacons in the flat floor are grooveswhich are easy to level using the same mortar used for the screed. Fill up the cracks after removing the profiles can be plaster plaster. Dot beacons, bench markers in the form of metal tripods are easy to remove from the fresh screed thanks to sharp legs with a smooth surface. Also immediately after pouring, you need to remove the plastic reper.
Tubular beacons remove from flooded screed is quite difficult. Usually such thick guides are left in the finished floor, plus they additionally reinforce the concrete layer.
How to install beacons for floor screed, see below in the video.


