Subtleties repair floor screed
Flat floor - a prerequisite for the repair of the apartment. It is important to keep it in good condition and after repair. If the floor has undergone deformation, it is necessary to find out and eliminate its cause, repair the floor screed.
Special features
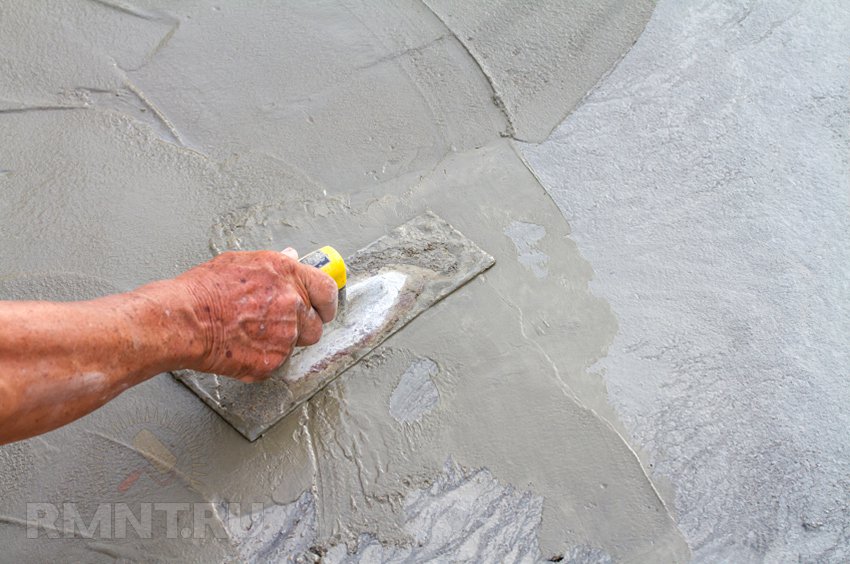
A screed floor, even if it was made exactly in accordance with the competent instructions, eventually becomes useless. This is not surprising, because she is experiencing enormous loads from the weight of the floor covering, furniture, movement of people and other dynamic influences. Therefore, to eliminate the complete loss of its operational properties, it is periodically necessary to repair the floor screed.
To get an idea of the degree of deformation of the surface, you must first remove the old coating, clean the floor from debris, dust and dirt. Next, you should determine the type of deformation and repair, which will need to be done.
One of the following options may occur:
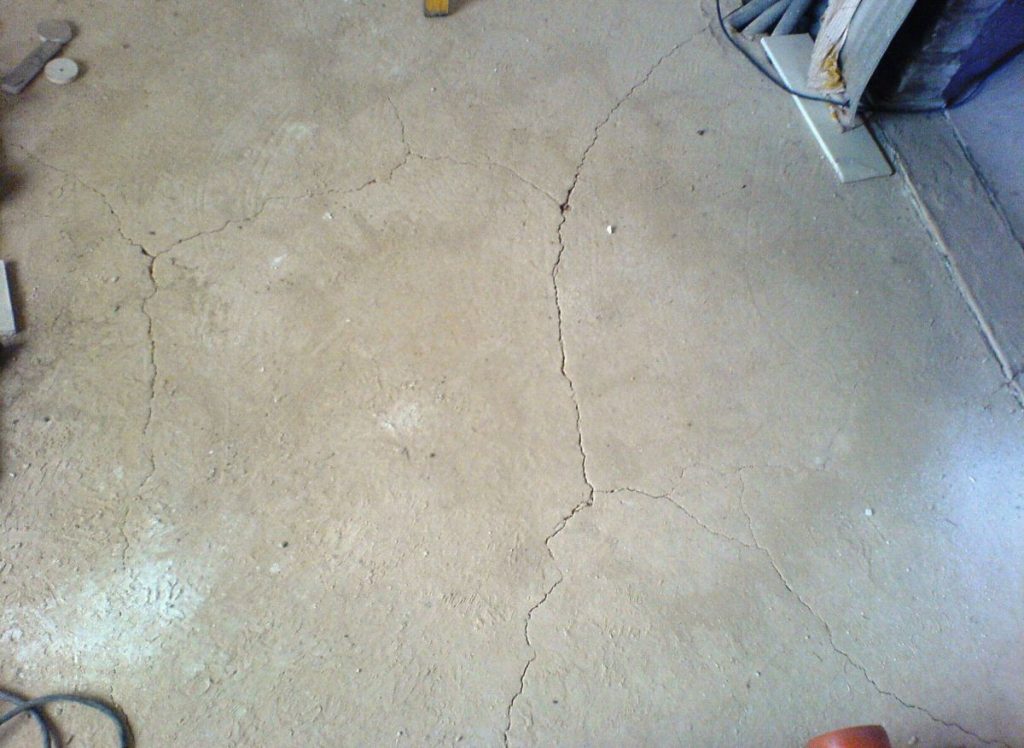
- Smooth surface has small pits and some cracks, increased level of dust formation. These damages are not terrible, they are easily eliminated with minimal loss of time and money.
- The screed exfoliates, the surface is quite deeply cracked in some places. This type of deformation is subject to repair, but it will be necessary to use special construction mixtures.
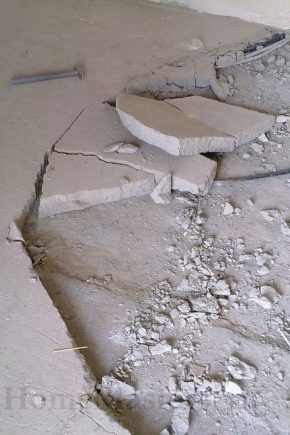
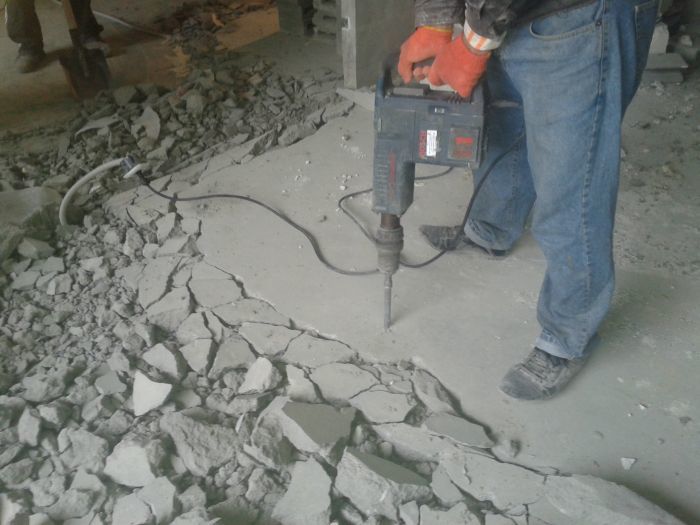
- The surface is significantly curved, the floor is covered with deep cracks. Repair damage to such a force is available only to professionals with appropriate skills and techniques.
Before proceeding with the repair, you should pay attention to some procedures that will tell you exactly which way to eliminate the defects will work in each particular case. It is necessary:
- identify the cause of the strain;
- to identify the presence or absence of expansion joints (if not, then you must do the laying);
- determine the method of pouring the cement mixture and the type of base on which the floor was laid;
- find out whether the concrete is peeled off by tapping the surface with a hammer.
These recommendations must be implemented to avoid the reappearance of defects within a month or two after repair. If the work is done poorly, there is a risk of the return of cracks, potholes and “coiling” concrete.
Types of damage
Before starting to repair the floor screed, it is necessary to determine the type of damage itself. This can be done by removing the floor covering. A visual assessment of defects will help identify the specific type of damage, which will allow you to quickly select the necessary tools and begin repairs.
The main types of damage include:
- delamination of the screed (fully or partially) from the base of the floor;
- irregularities, potholes, cracks and pits on the surface;
- excessive dust formation, which means weakening of the screed material.
Causes of defects can be very diverse. It is necessary to pay special attention to them in order to avoid similar mistakes in the future and further destruction of the screed.
The most common reasons are:
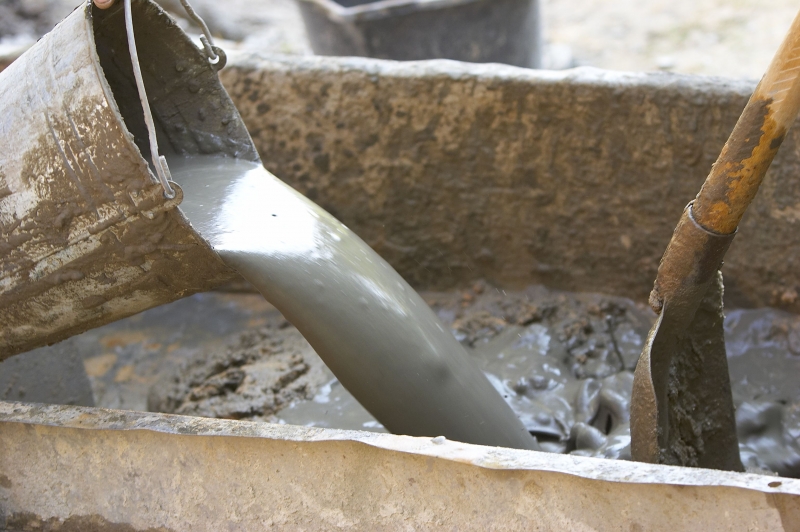
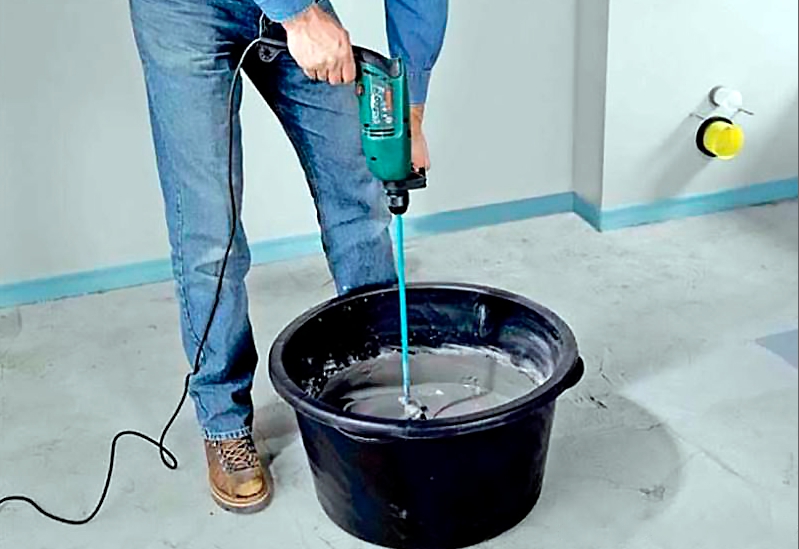
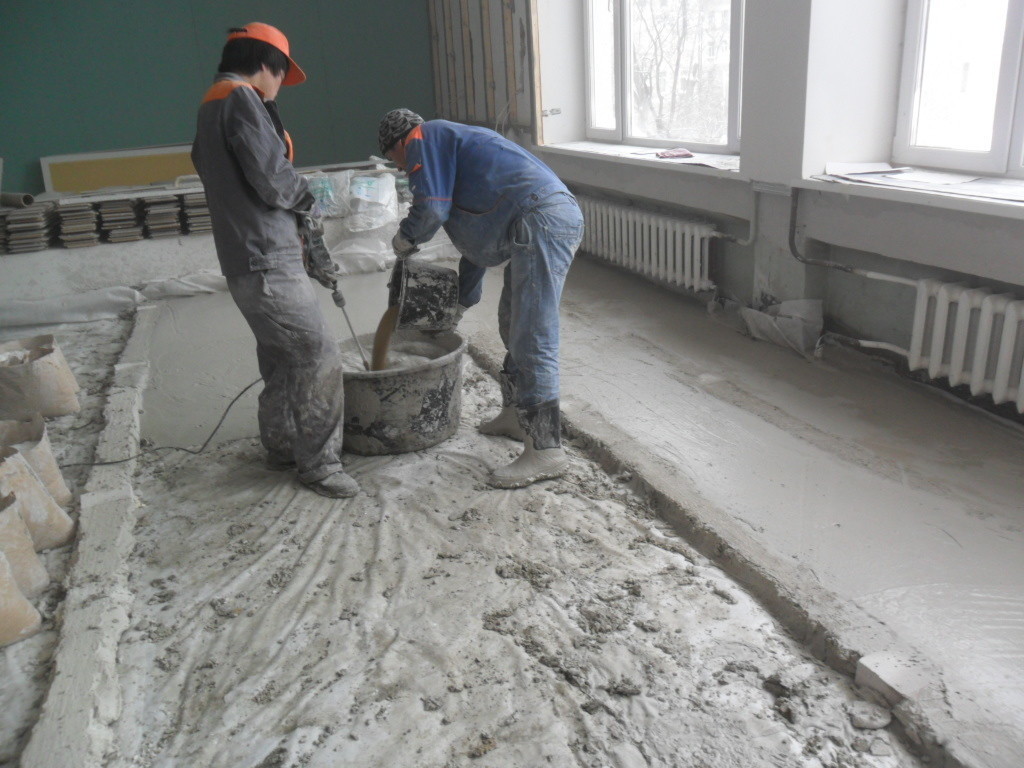
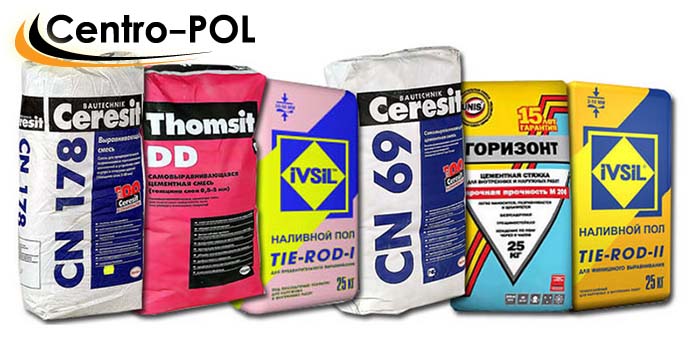
- Violation of batch technology. Most often this occurs when using the finished mixture. It is recommended to strictly follow the manufacturer's instructions, as incorrect proportions lead to a deterioration in the quality of the mixture. Also, do not knead the solution manually - for this purpose it is better to use a special nozzle on an electric drill or a construction mixer so that the existing substances are stirred evenly.
- Quick drying. When working with concrete, it should always be remembered that its durability and strength depend directly on contact with water. The cement floor should not dry too quickly, periodically it needs to be sprayed with a small amount of water and covered with polyethylene so that the top layer does not become dry before the concrete has completely cured.
- Excessive amount of water in solution. Excessive water in the concrete mix, first, deforms the concrete itself and reduces the strength of the screed. Too much water eventually causes the screed to crack and the surface becomes loose. To avoid this, after the concrete has dried, the screed must be covered with a deep penetration primer, which will entail new costs and increase the repair period.
Most often, the defects appear in the cement screed, when using semi-dry mixtures and gypsum compounds, the probability of cracking is significantly reduced.
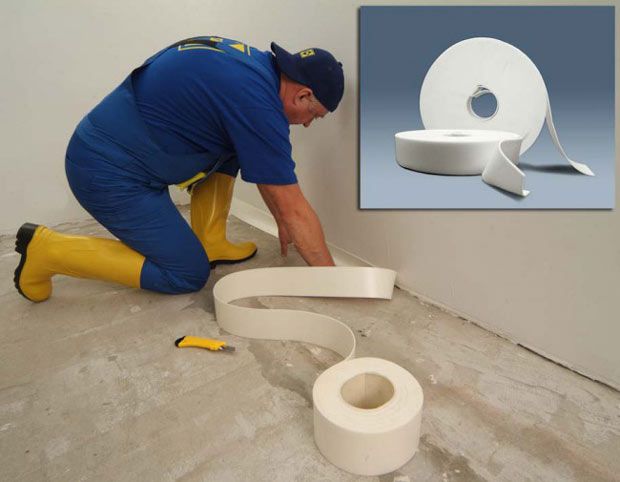
- Lack of deformation seams. Incorrectly laid expansion joints or their complete absence most often causes the surface to crack. The wall seam is recommended to be filled with an elastic material like polypropylene. It is located in the thickness of the screed, and this reduces the effect of the load on the walls on it. Intermediate seams divide the coupler into equal parts, passing through half of its thickness.
- No damping tape. Especially important is the presence of edge tape when pouring screed for underfloor heating. Concrete when heated tends to expand, thereby creating additional pressure on the walls. Thus, the absence of a pressure-compensating tape can cause the destruction not only of the screed, but also of the walls themselves.
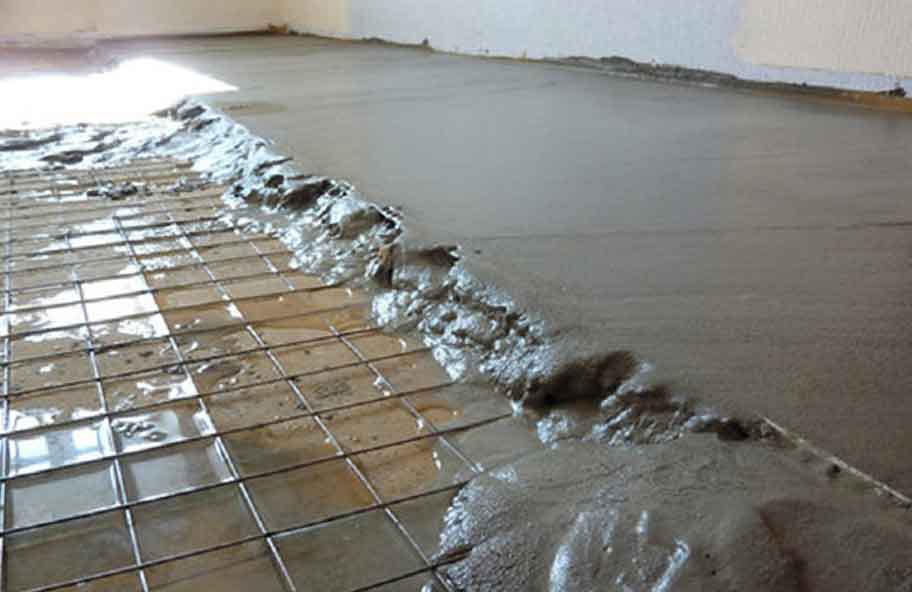
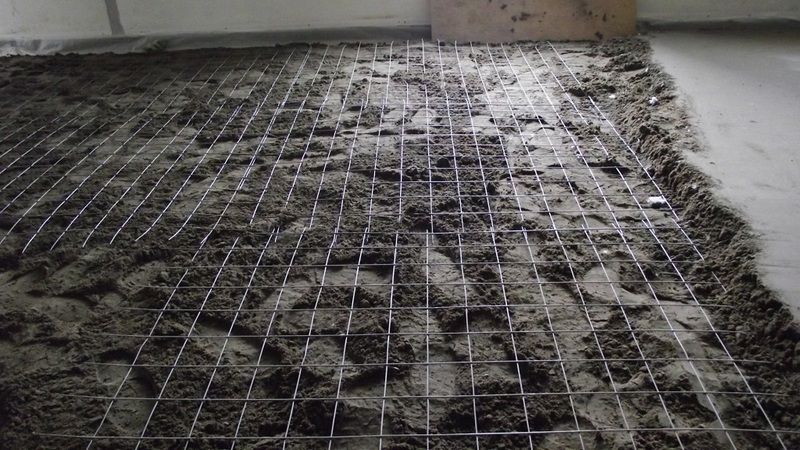
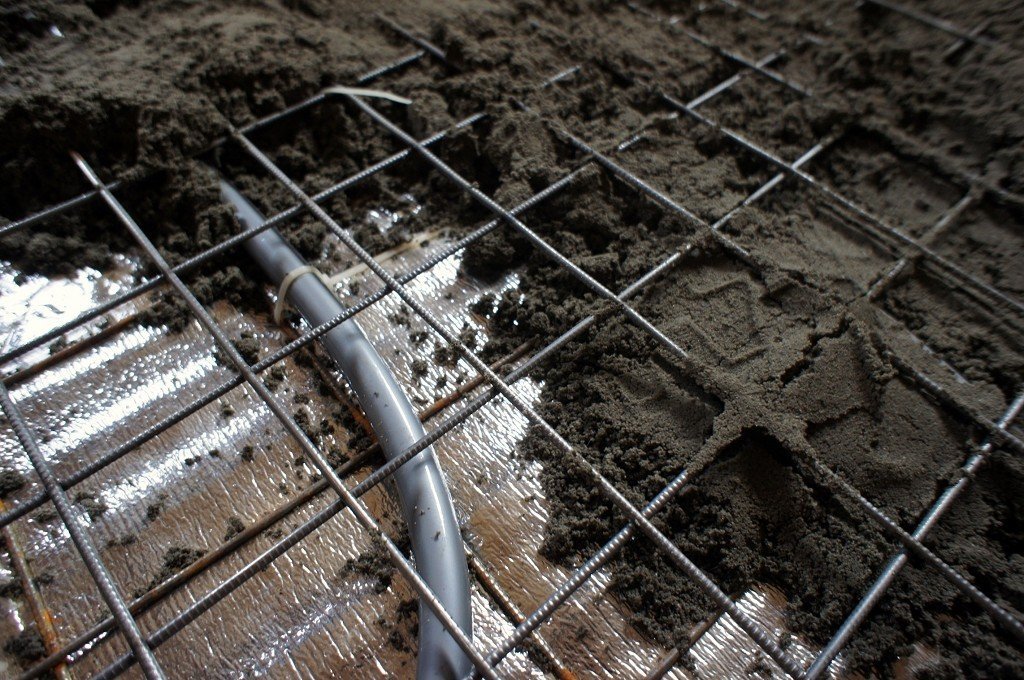
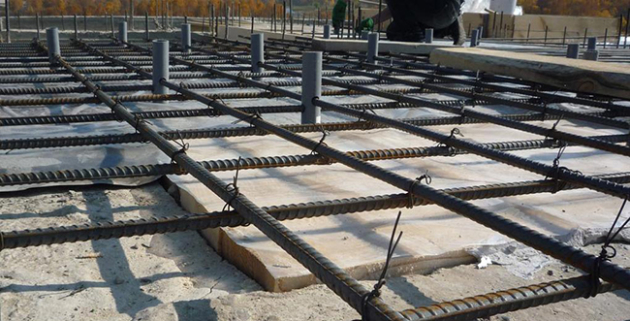
- Poor reinforcement. The main rule when installing fittings - its location in the concrete, and not under the screed.
There are many other factors that lead to the destruction of the screed.Most often it is a poor quality mortar, poor quality cement mixture used in construction, violation of the pouring stages. Detachment of the screed can be caused by local shock loads, improper preparation of the surface for pouring concrete.
Whatever the error, you should not disregard the revealed deformation of the screed. A small repair at the initial stage of destruction will allow you to keep the floor intact and save a significant amount on its subsequent recovery.
How to repair cracks?
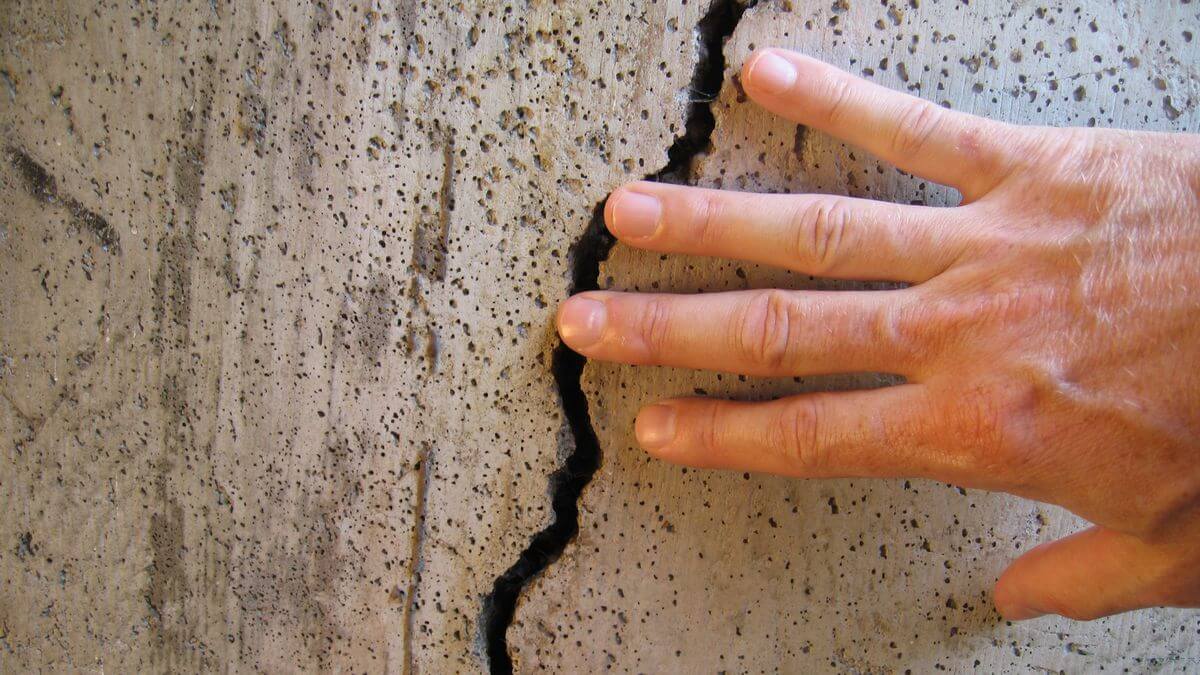
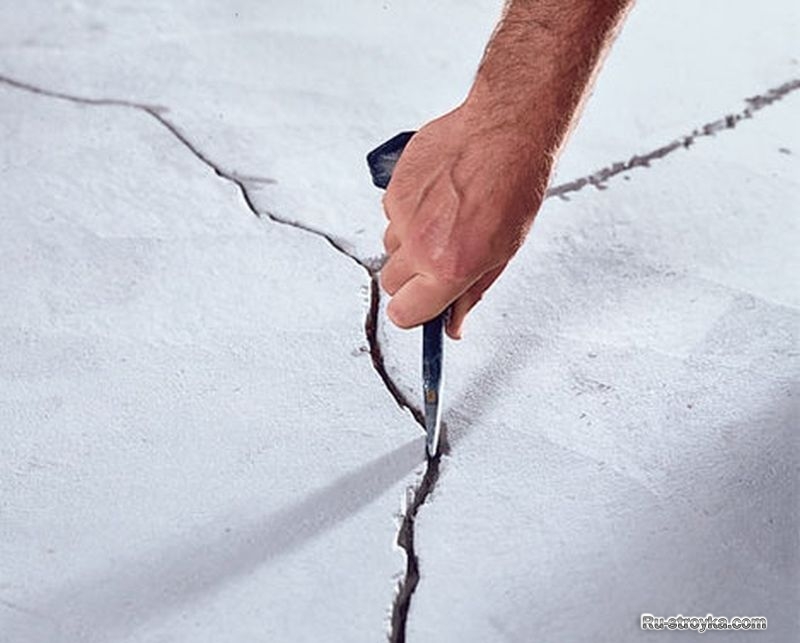
The above types of deformation lead to the fact that the screed begins to crack. This is bad because over time even the smallest dimples expand, because of them they have to do major overhaul of the floor. Cracks - one of the most severe types of destruction, requiring urgent removal, therefore, they must be removed in a timely manner. Cracks are small and deep.
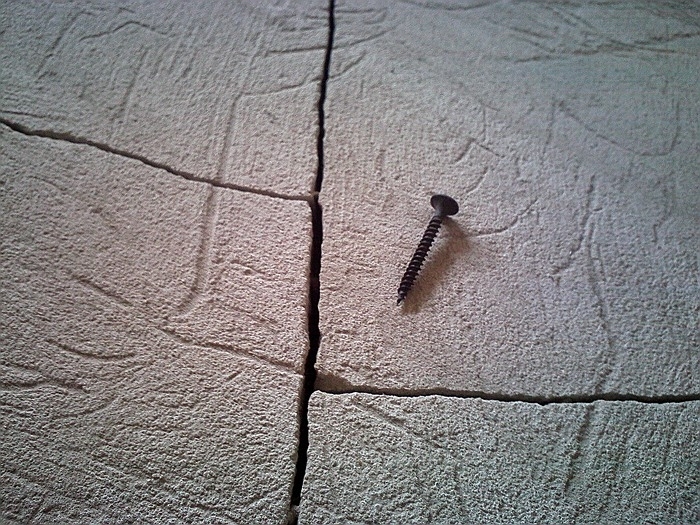
Cracks of small diameter are considered damage up to 2 mm wide.
Repair the screed with your own hands as follows:
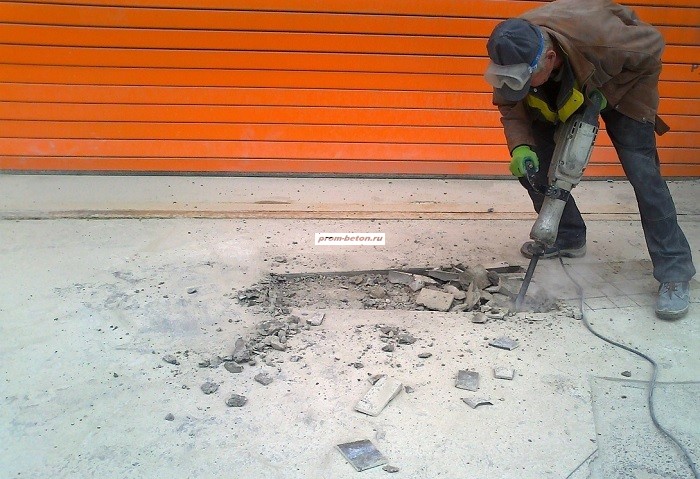
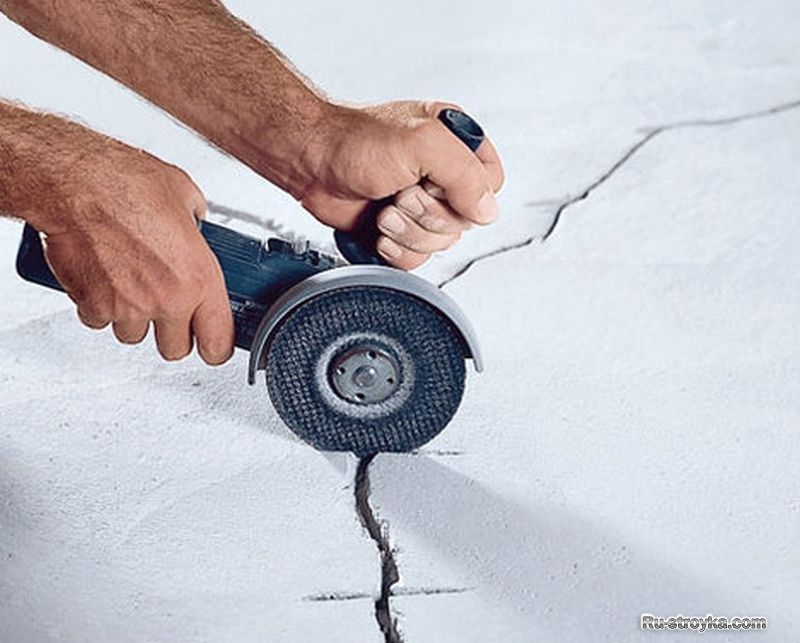
- With the help of the grinder to expand and deepen the crack. Particular attention should be paid to the fact that after the expansion of the edge, the cracks should not crumble, but should be absolutely hard.If you can not use the grinder, you must stock up with a hammer and chisel.
- After the expansion of the crack must be cleaned. For this purpose only the construction vacuum cleaner is used.
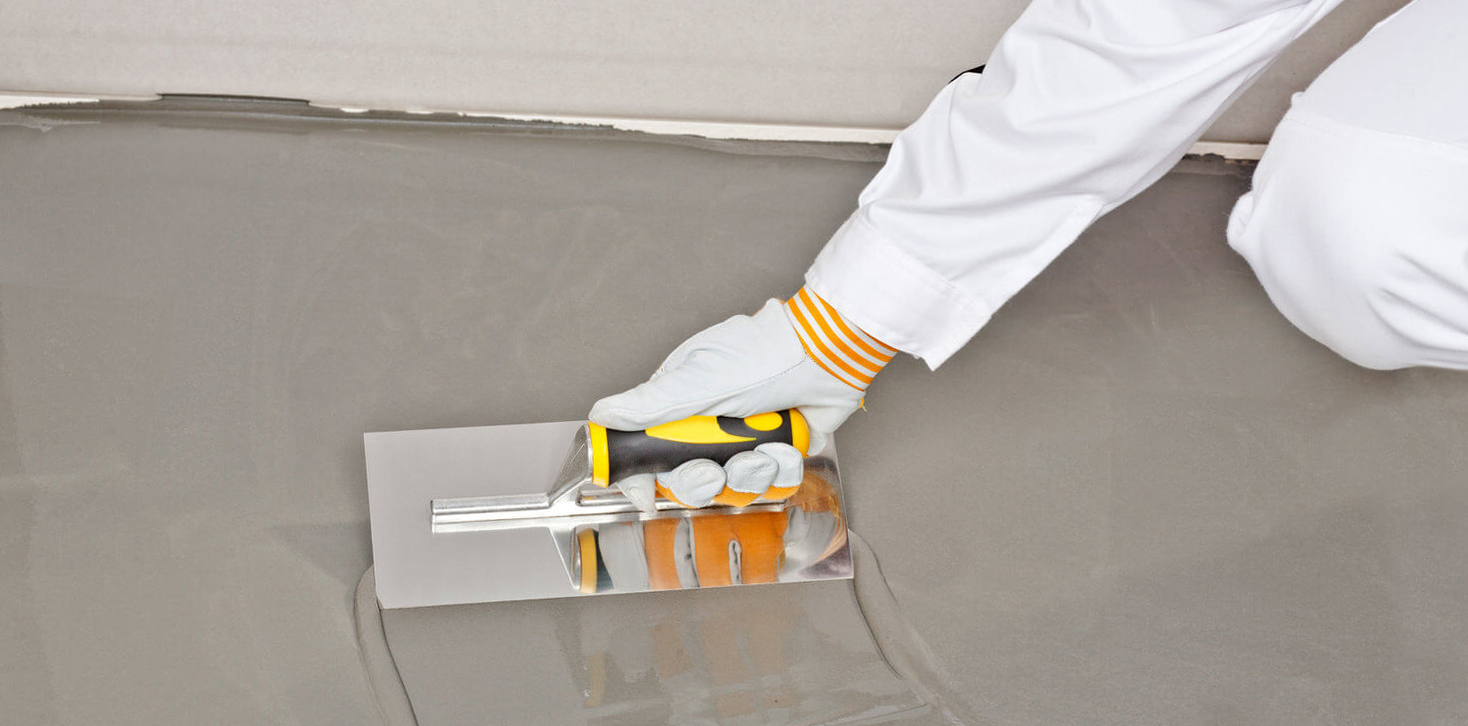
- Cleaned areas are coated with epoxy primer. This should be done several times until the mixture is completely absorbed into the concrete.
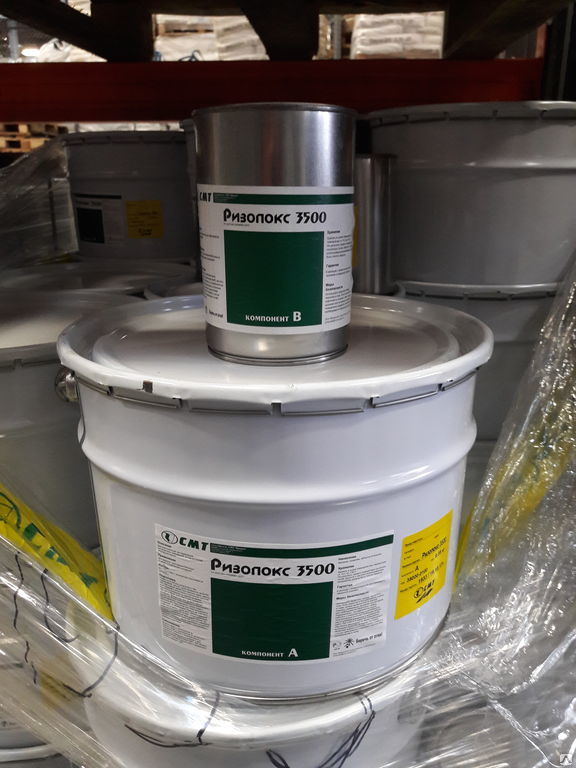
- After the primer is completely dry, the damaged areas are filled with a mixture of Rizopox 3500 and quartz sand. The mixture should fill the crack just above the surface.
- After the mixture hardens, the repaired areas are sanded and cleaned.


To seal very small cracks, you can refuse to buy ready-made mixtures and use the usual tile adhesive or mixture for self-leveling floor. However, it must be borne in mind that this method is unacceptable in the repair of screed in rooms with high humidity.
Repair minor damage takes a small amount of time and eliminates the need for special tools.
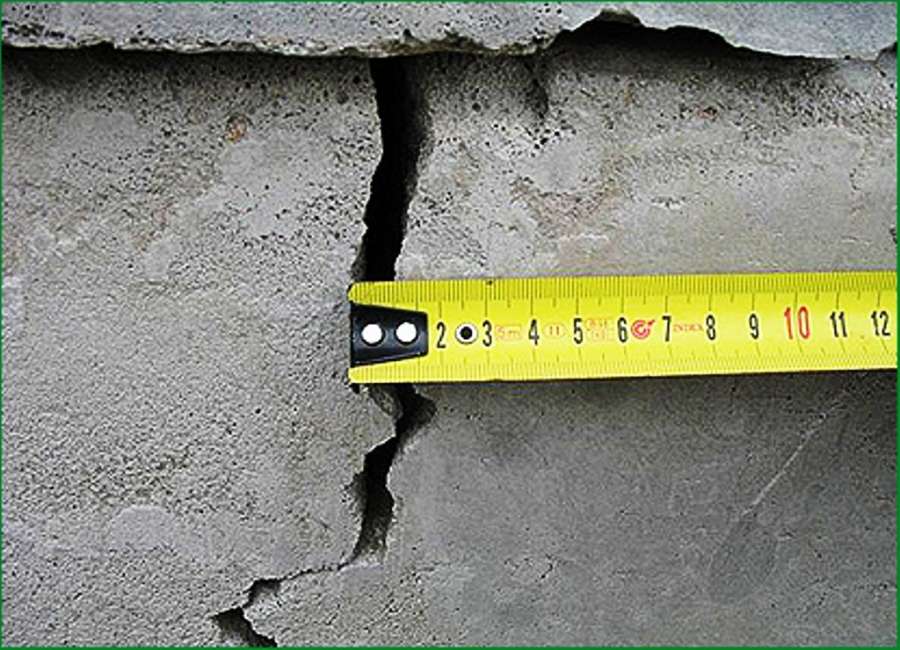
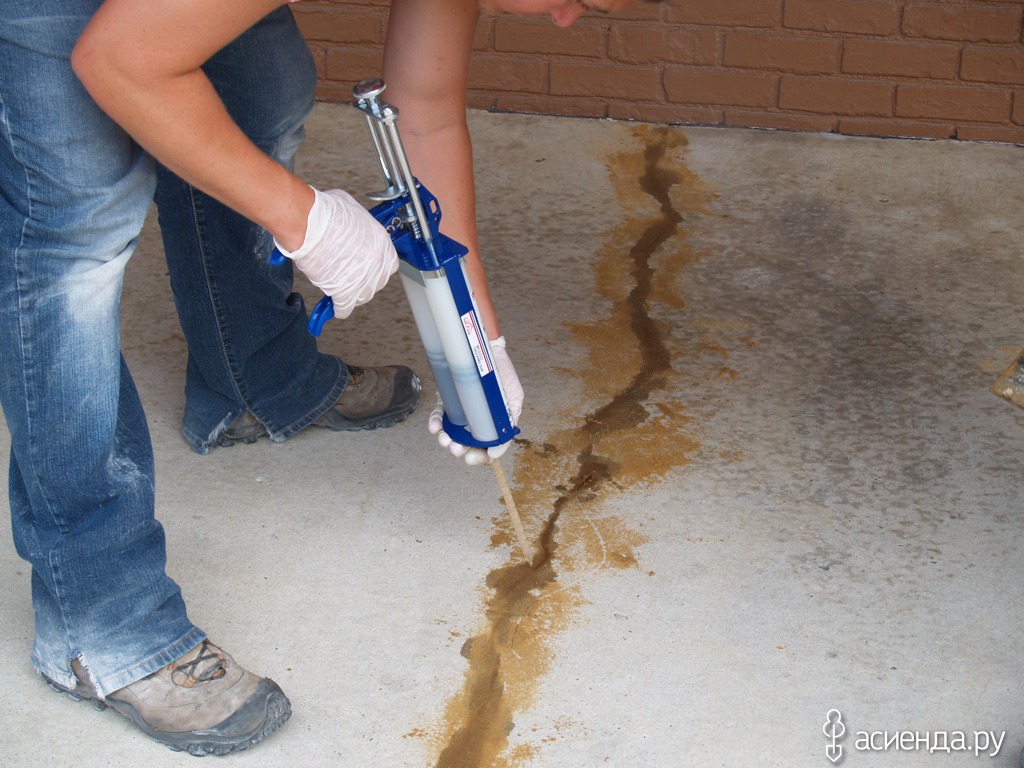
If large cracks — more than 2 mm wide — have formed in the screed, the repair process will proceed as follows:
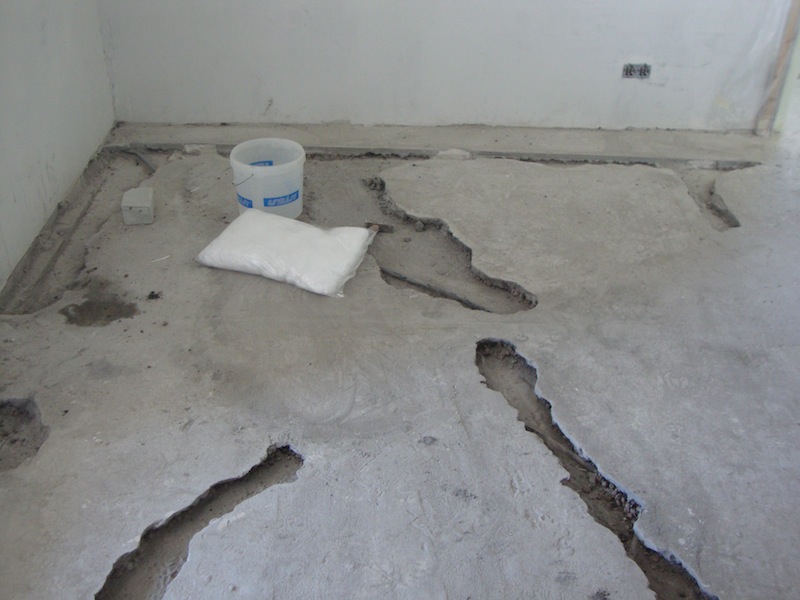
- As in the first case, the cracks must be cut to the full depth.
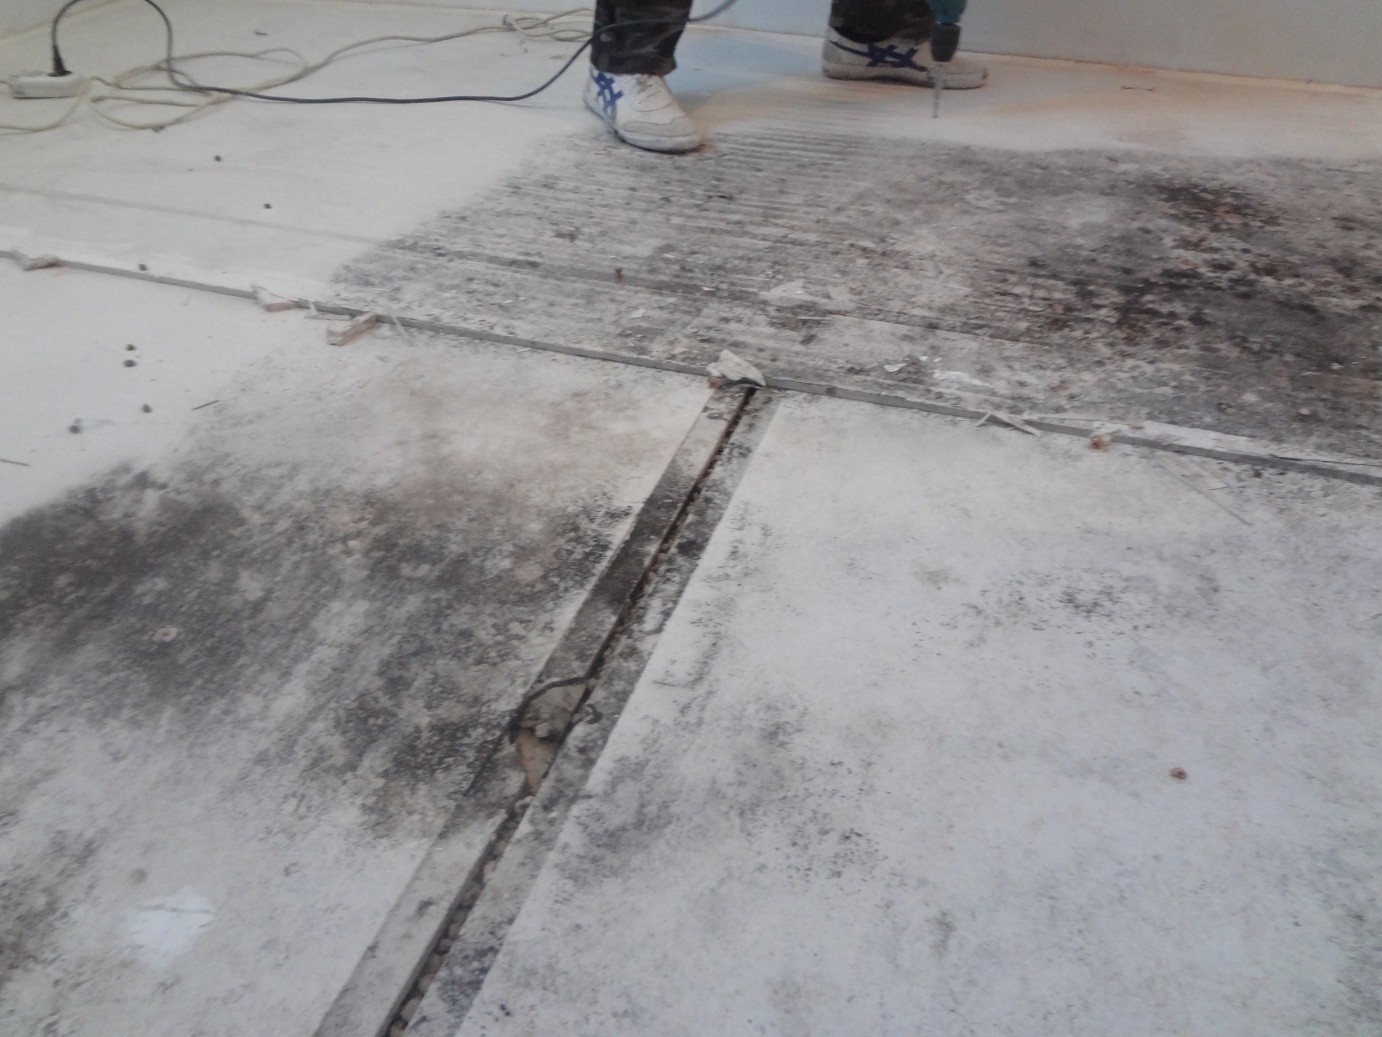
- After the crack has widened across it, several strobes should be made.
- Small repair seams (1.5 cm long) are made along the strobe with an interval of 2 cm.
- The prepared grooves should be cleaned with a construction vacuum cleaner, primed and left to dry.
- After the primer has dried, repair joints will need to be filled with pieces of reinforcement, metal straps or wire.
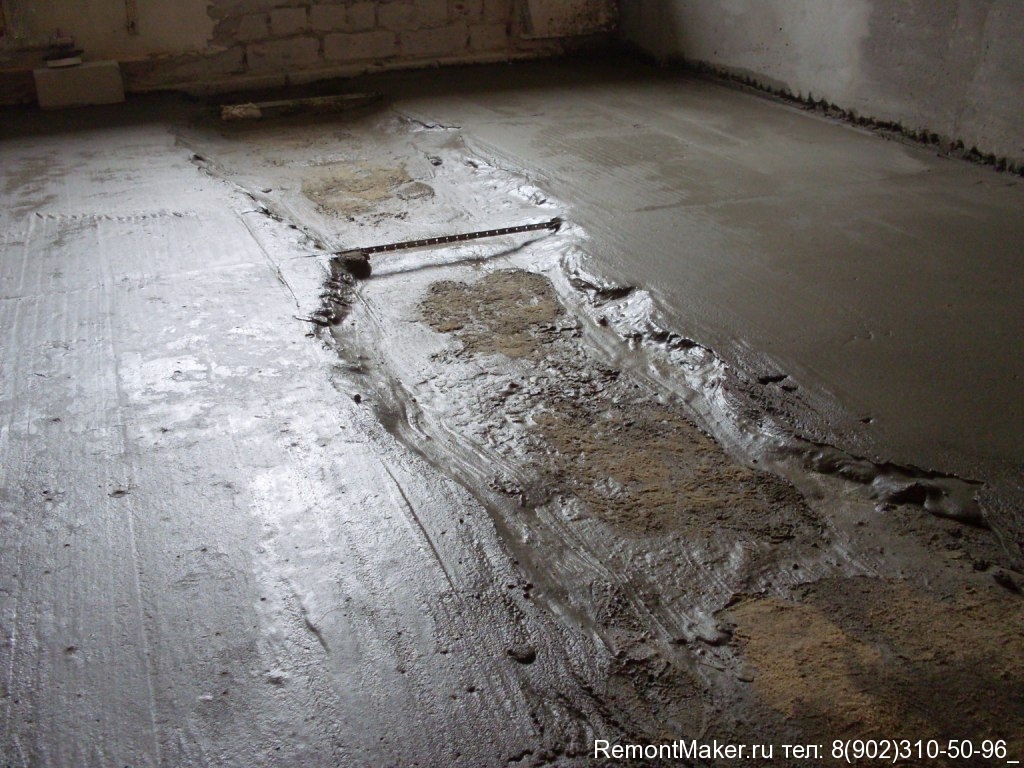
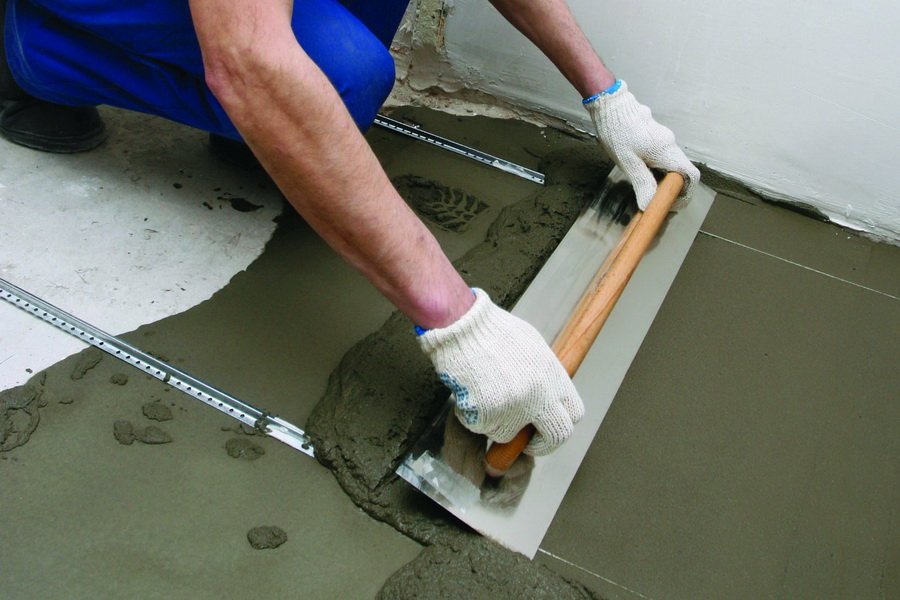
- Next, the cavity is filled with a liquid mortar from a mixture of sand and cement. The surface is leveled with a lath and polished after drying.

Reinforcement of the screed helps protect it from stress and prolongs its life. There is also a little trick to help find out if cracks widen over time or not. To do this, it is necessary to glue a paper strip to the edges; if it breaks after a while, the predictions are disappointing. If the piece of paper remains the same as it was, then everything is in order. But this method requires a large amount of time.

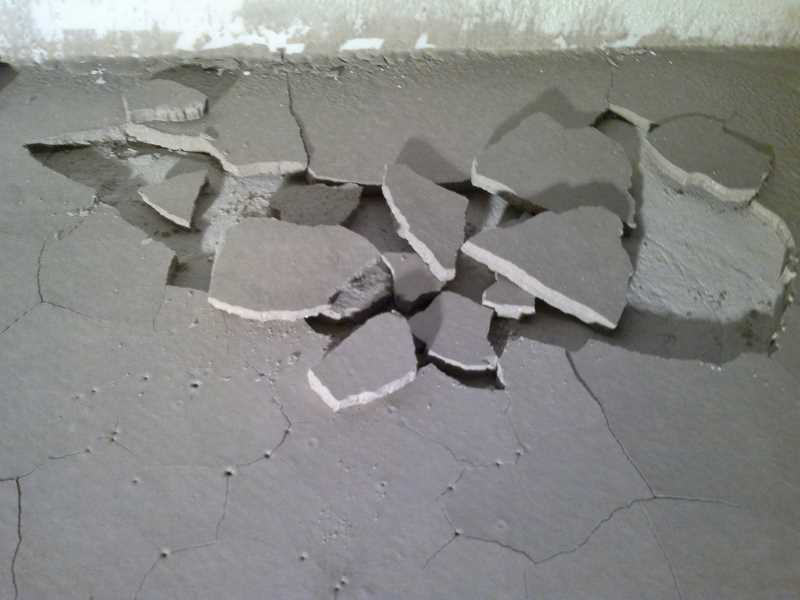
Elimination of exfoliation
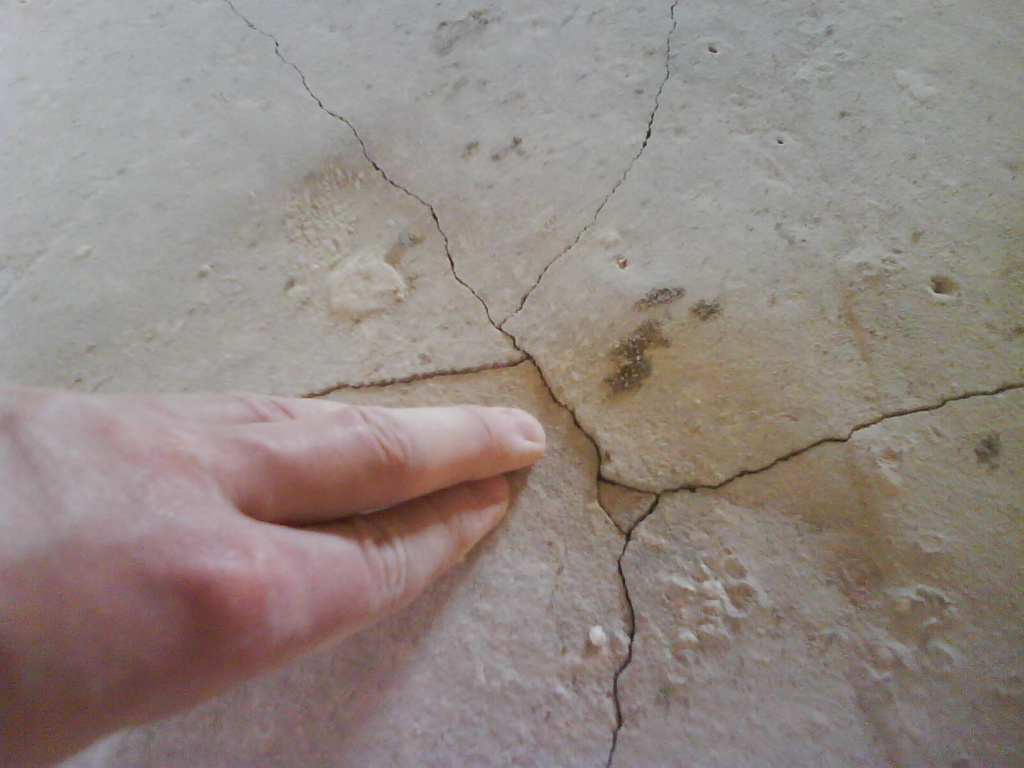
As mentioned above, the cause of the detachment of concrete in some places is an uneven distribution of loads.Identify exactly where the areas affected by mechanical stress, can be by ear. For this, it is best to arm yourself with a small hammer and gently tap the entire surface. Repair works need those places where the sound will be deaf, especially if they are marked with cracks, and the concrete begins to crumble.
Elimination of exfoliation occurs as follows:
- After identifying areas in need of repair, it is necessary to select their boundaries using chalk or marker.
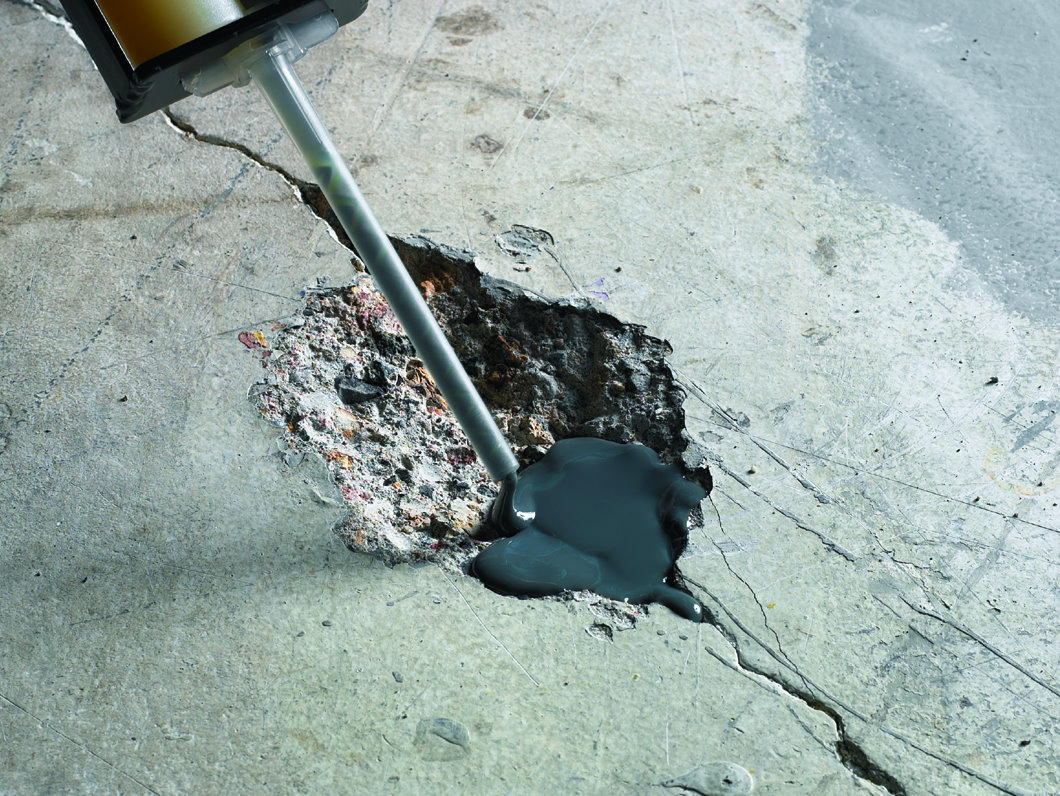
- Inside the damage zone in the screed, holes must be made with a diameter of not more than 20 mm. The distance between the holes should be 25-30 cm.
- The epoxy solution is brought to a liquid consistency, and then poured into a building syringe.
- Use the syringe to pour the solution into the holes. The essence of this method lies in the fact that the composition will displace the air mass accumulated between the concrete and the base, fill the space and interlock the screed and the overlap between them.
If the air is not completely out of the cavity from the first time, the procedure must be repeated.
A day after it should be ensured that the entire surface is reanimated.If this operation was successful, you can proceed to the floor covering. Make sure the solution is completely dry. To accelerate, you can use the building hairdryer.
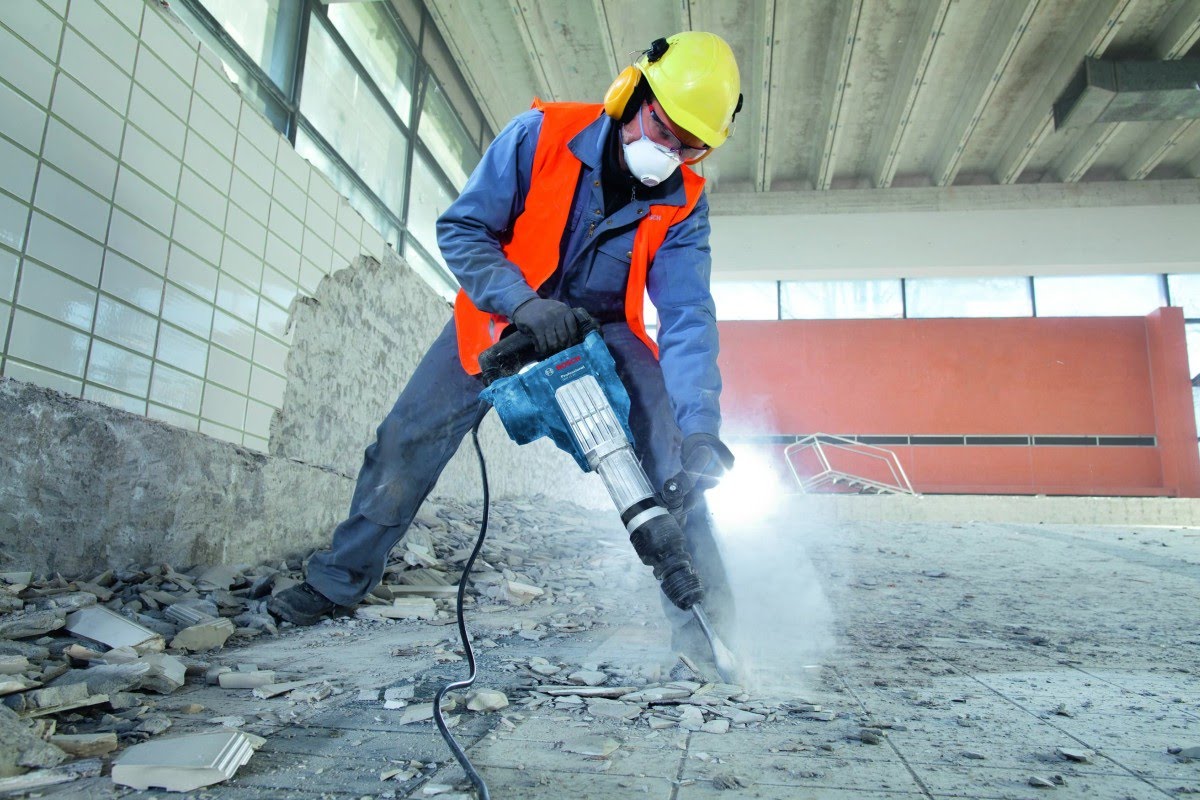
It is very important to remember: if at the stage of diagnosis it was revealed that more than 1/3 of the area was peeled off, then we will have to dismantle the screed completely, since such reinforcement works will not help in this case.
How to strengthen?
Strengthening a weak screed is a preventative maintenance method. Conducting some simple manipulations will eliminate the need to remove the coupler to the ground, as well as protect it from destruction and delay the need for urgent repairs.
To strengthen the screed, it is necessary to punch holes with a hole punch 20 mm in diameter to the base. The distance between the holes should be 25 cm. Best of all, if the upper part is two times wider in diameter than the hole itself. After all the grooves are drilled, they need to be cleaned.
At the end of the preparatory work, it is necessary to equip with scrap of reinforcement with a diameter of 12 mm. Reinforcement rods will need to be degreased and shortened in length equal to the depth of the holes.
When strengthening can not do without a special epoxy concrete mix, which is called "Rizopoks 3500". It can also be used for other repairs associated with the destruction of the screed. The diluted mixture must be mixed with quartz sand, and then poured into the holes formed in the floor. After filling the holes, insert pieces of reinforcement into them, and then cover them with liquid and the top of the hole.
The result of this work will be to strengthen the screed by strengthening it with metal reinforcement. This method can be applied not only to strengthen the weakened screed, but also as a preventive measure when installing a new screed. Reinforcement during installation will prevent the formation of cracks and dents and will make the floor wear-resistant.

Useful recommendations
Strengthening the screed can be done with the help of special compounds penetrating deep into and improving the properties of concrete. They extend the life of the screed, the need to dismantle the coating in the future disappears. Before applying such tools should be thoroughly grinding the surface.
A small repair of the cement screed is justified in the event of damage to no more than ⅓ of the area. If the deformation has undergone a large floor area, then it is best to replace the old tie with a new one.
Repair burst, cracked screed - quite simple with proper approach and preparation of the event. You can do it yourself, but this should be done in a timely manner to avoid unpleasant consequences. The main thing is to correctly determine the cause of the destruction and take appropriate measures.
See the next video for more details on screed repair.


