Moisture-resistant rabbet chipboard for the floor: types and characteristics
On the market there are constantly a lot of building materials with which you can significantly ease your work and achieve remarkable results. Over time, various products become more sophisticated, reliable, high-quality. Moisture resistant tongue-and-groove chipboard for a floor is very popular.

This article describes the types and characteristics of such materials, the technology of installation work.
Special features
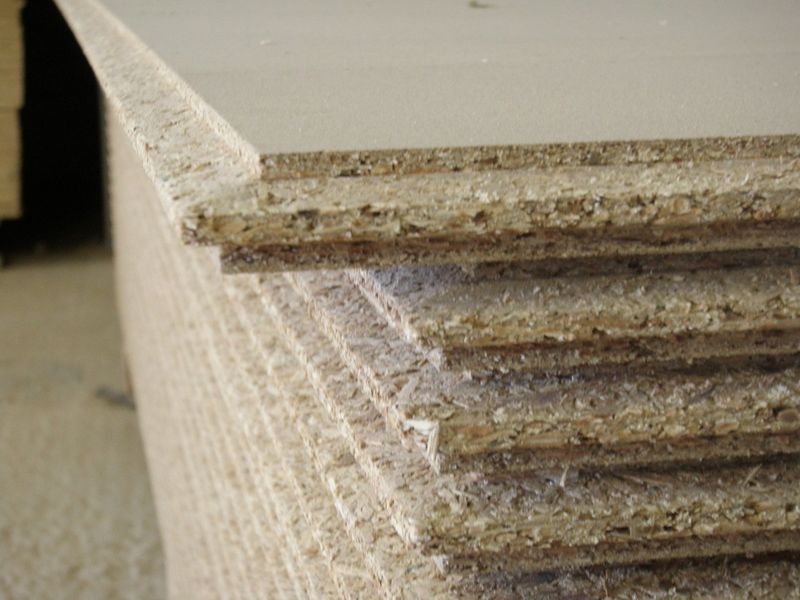
Grooved chipboard is created by pressing. It can be used not only for the floor, but also for the roof, walls, ceiling. Such material is acquired in order to equip draft floors.
It allows you to make even the most difficult surfaces even, prepare the bases before applying finishing coatings.
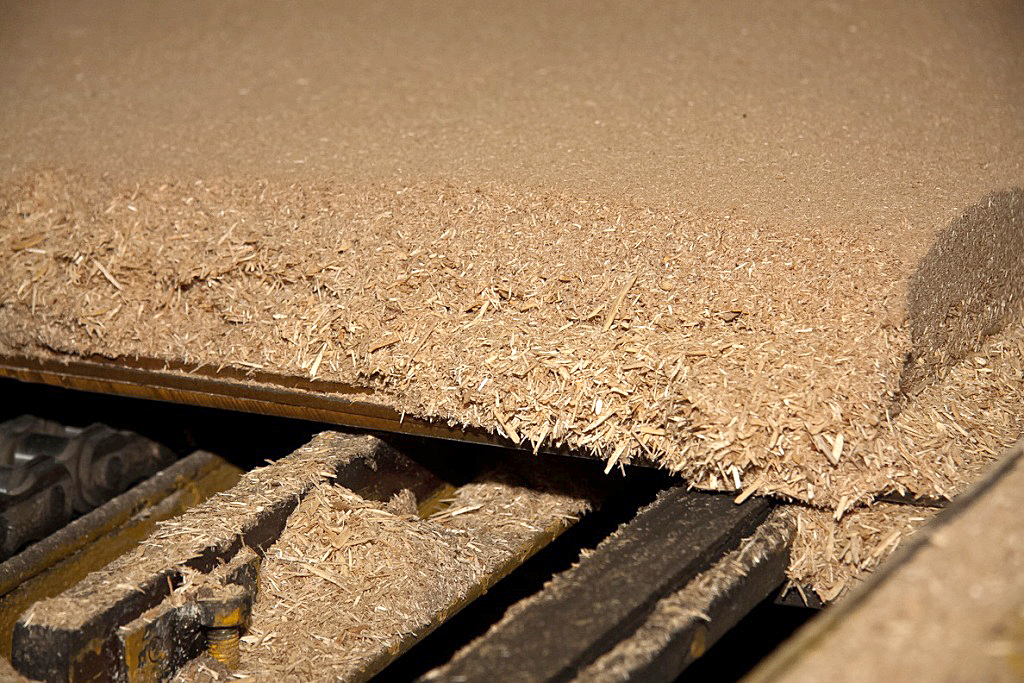
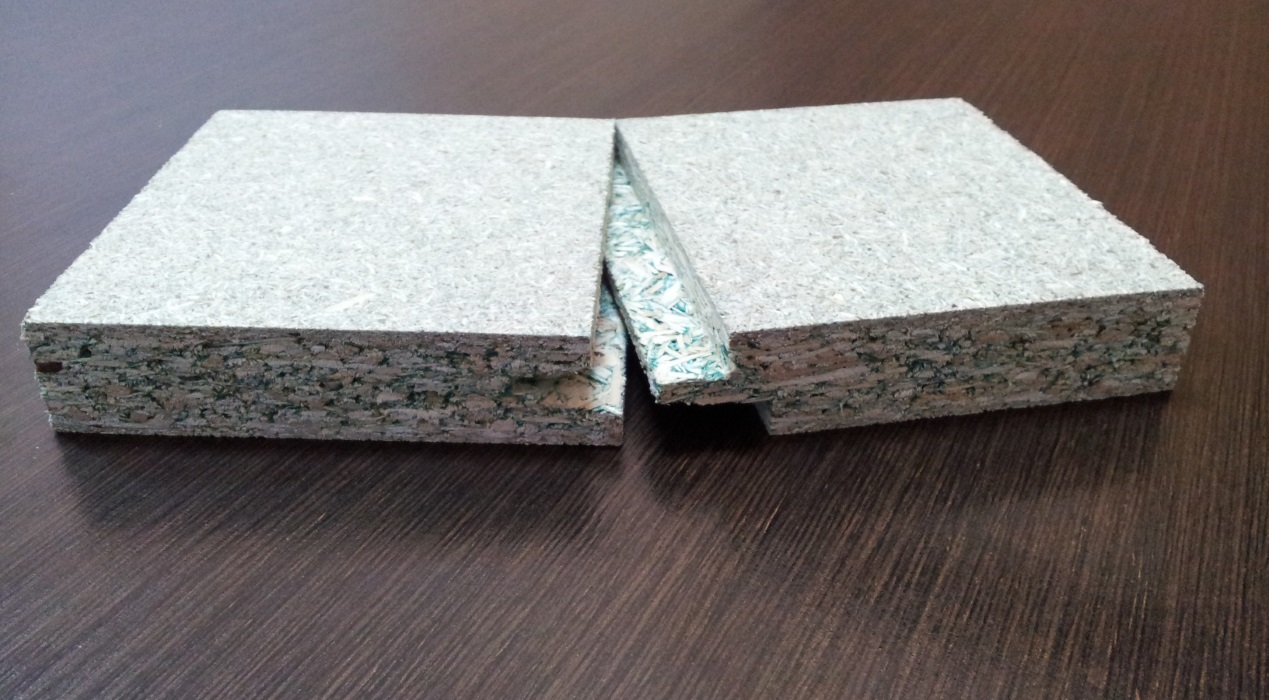
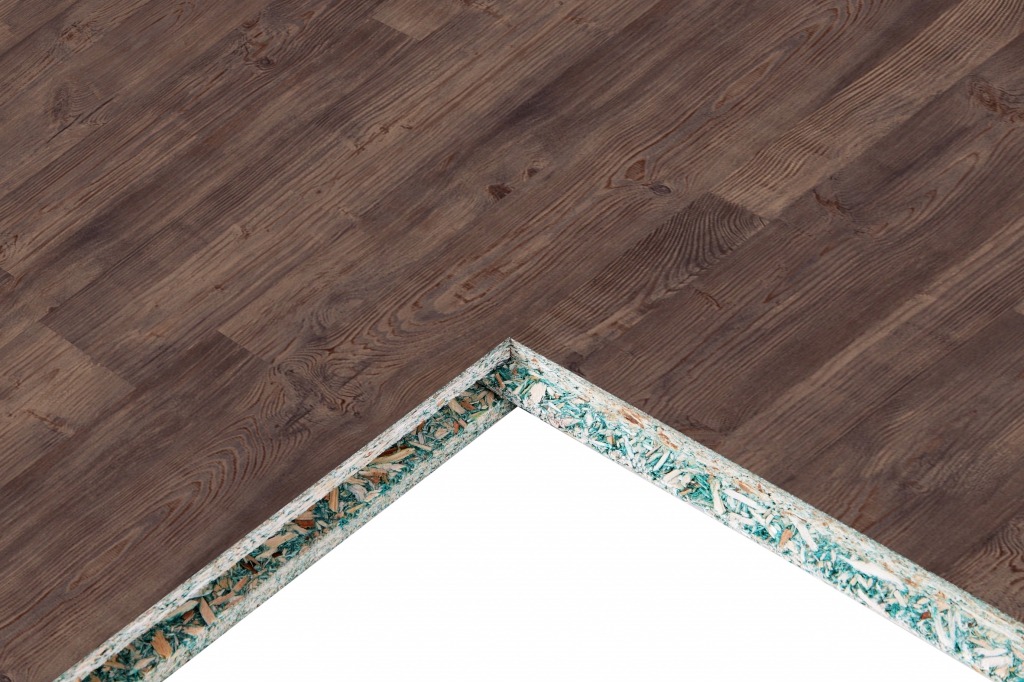
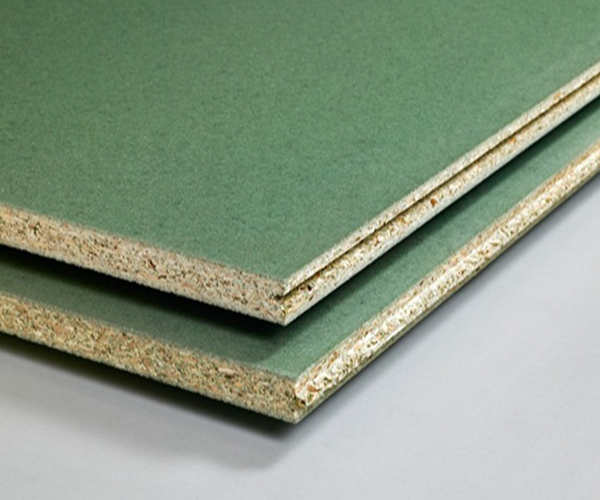
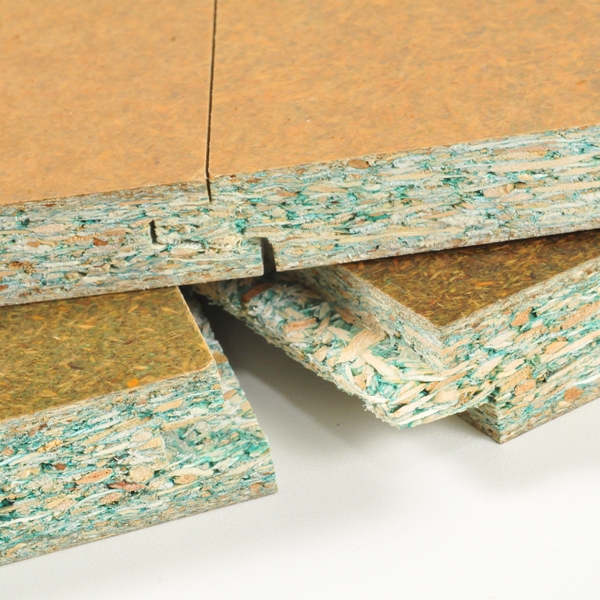
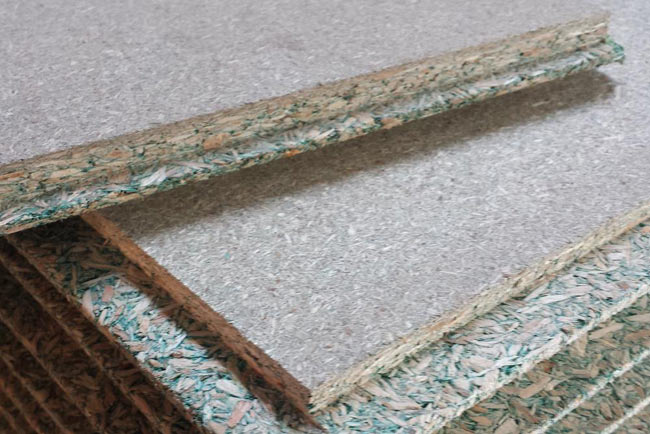
There are green blotches in moisture-proof materials: if you want to understand whether a plate is different in this property, just look at the cut.
Thanks to the dowels, the load is distributed as evenly as possible. Such a connection prevents possible damage to the finish coatings.
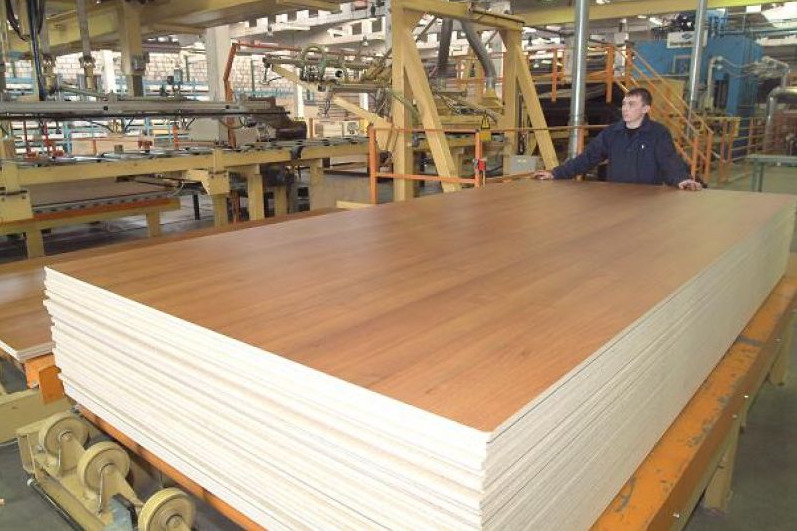
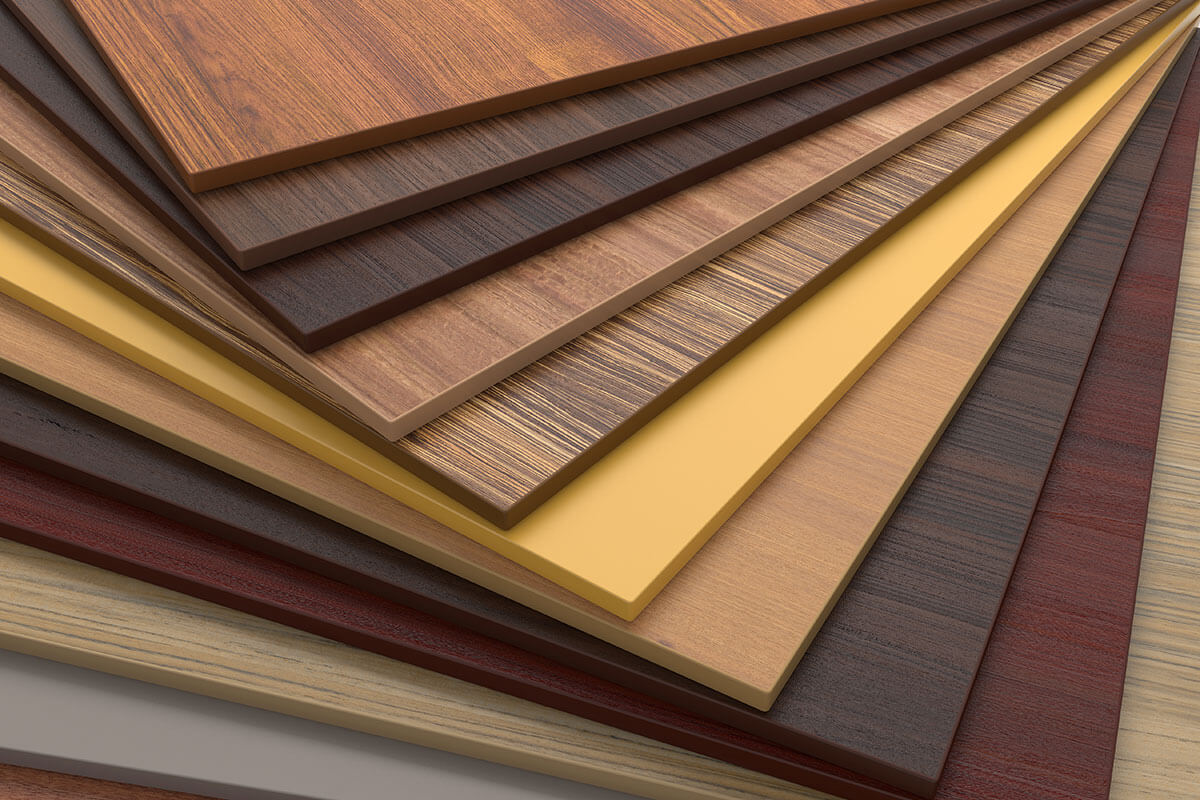
Laminated chipboard is also popular. A special film made of cellulose or PVC is applied to such particle boards; they are also treated with a special varnish that additionally protects the surface.
The main advantages
Such building materials have a lot of advantages. The most important advantages include the following:
- Ease of installation, assembly. The plates are fully processed: this means that the dowels and grooves are all the way around. Due to this, installation work is carried out very quickly and with maximum convenience. If you get a moisture resistant tongue-and-groove chipboard, you will not have to use dirty cement-sand screeds to level the floor.It will be necessary to prepare only the usual tools that even beginner masters have.
When working with such materials, you can do without any special skills.
- Environmental friendliness. For the production of plates used wood chips, which add melanin and paraffin. Such materials are suitable even for such premises where sanitary requirements are increased. They are absolutely safe for human health. For safety and environmental friendliness, such plates are even better than plywood or OSB.
The following nuances are very important:
- Durability. Grooved chipboard is resistant to mold. Such materials do not rot, they are very resistant to aggressive environment.
- Resistant to liquid. If the plates are exposed to moisture during the day, they will swell only by ten percent. This result is impressive - other building materials show much worse performance. The plates are not deformed by moisture, which is also a very important advantage of them.
- Dimensions. Such materials are lightweight and compact. They can carry even one person.
- Increased strength. This chipboard is very dense, it is not afraid of even very strong loads. In this regard, such materials are better than many analogues.
- Acceptable price. The cost of such plates is rather low, so many people choose them for the subfloor.
Minuses
However, these materials have some drawbacks:
- Wood chipboards should not be acquired if the surface is curved.
- Materials are impregnated with formaldehyde resins, they are toxic. When buying a moisture resistant chipboard, make sure that it is safe. Examine the instructions for use: there must be stated exactly how many harmful substances contained in the material. Some chipboard can not be used for the production of furniture and in areas where people are often.
- In cases where the resin is small, it is necessary to further isolate the material from external influences.
- The chipboard is a little like a wooden surface, it does not have an aesthetic appearance, so it is better to use it in the implementation of hidden works.

Species
We can distinguish the standard dimensions of moisture-resistant plates: thickness - 22, 16, 12 mm, width - 90 and 60 cm, length - 244 and 183 cm.
Such materials are classified according to the following criteria:
- resistance to fire, high temperatures;
- the content of harmful substances;
- structure (coarse, fine-grained, common material);
- pressing method (extrusion or flat pressure);
- number of layers;
- degree of resistance to fluid;
- the degree of processing of the material (whether grinding or not);
- physical and mechanical properties;
- density;
- appearance (there are stains, chips and other defects).
Choosing the appropriate option, pay attention to the reviews of a particular building material. So it turns out as much as possible to learn about the specific chipboard and quickly decide what is right in your case.
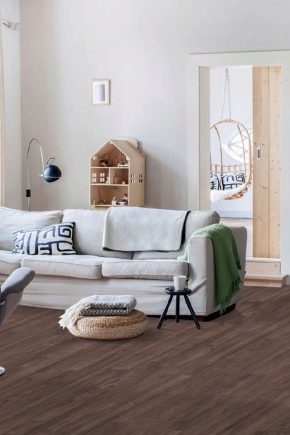
Spheres of use
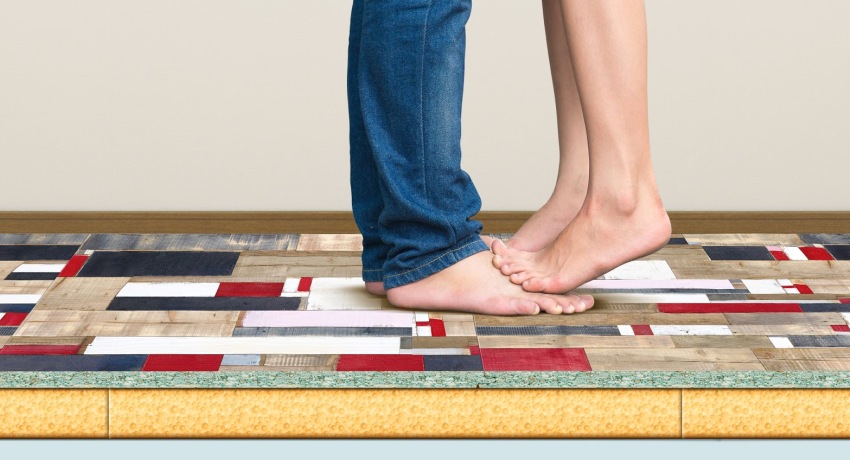
Moisture resistant wood chipboards for the floor are suitable for leveling the floor before finishing, installation of "floating", subfloor.
With their help, create and special designs that need to be reinforced (podiums, treadmills, courts). Such plates are used to provide sound and heat insulation.

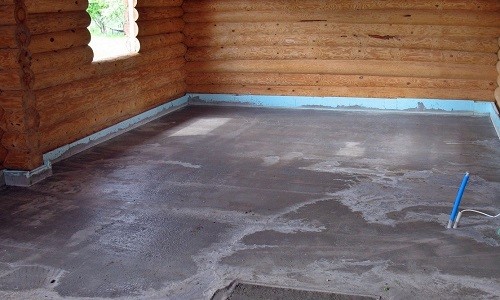
Concrete floor
First you need to prepare a chipboard assembly scheme. Find out the size of the room and calculate how many products you will need for the installation work.In the drawing, place the chipboard in a staggered manner; leave a small distance (15 mm) between the slabs and walls. Highlight the plates that will need to be cut.
If you are going to install a subfloor from moisture-proof chipboard, you will need to take care of the preparation of the surface of concrete. Expose beacons and fill the concrete screed. Ensure that the surface is not tilted. It can deviate by 2 mm, not more. When the screed is dry, use a primer - it will protect the subfloor from mold and moisture.
Then lay a film of polyethylene, close the joints using adhesive tape. To make the base as smooth as possible, use a foil backing. Put it under the chipboard flooring - the foil should be pressed against the flooring. Such a substrate will not let moisture from the concrete surface, it will keep the chipboard warm.
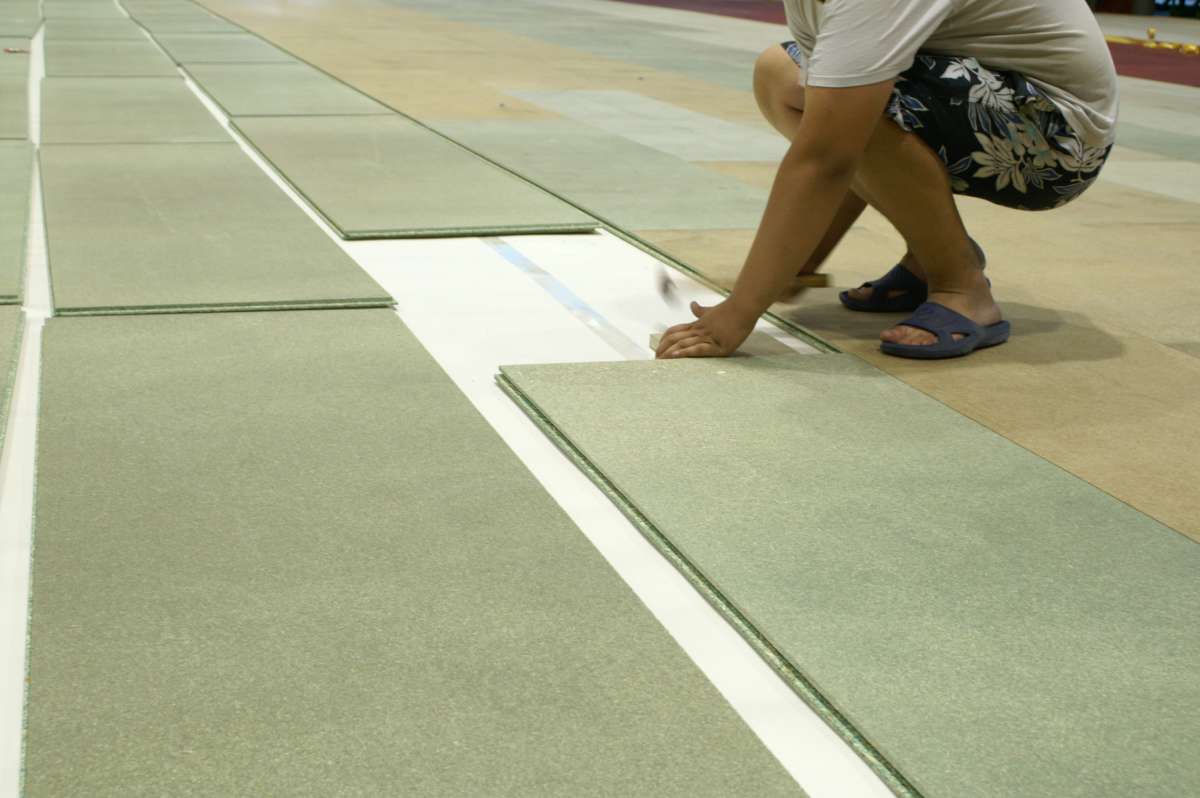
When the concrete base is prepared, install the chipboard, using the “floating floor” technology. DSP need to start laying from the wall, which is opposite to the door.

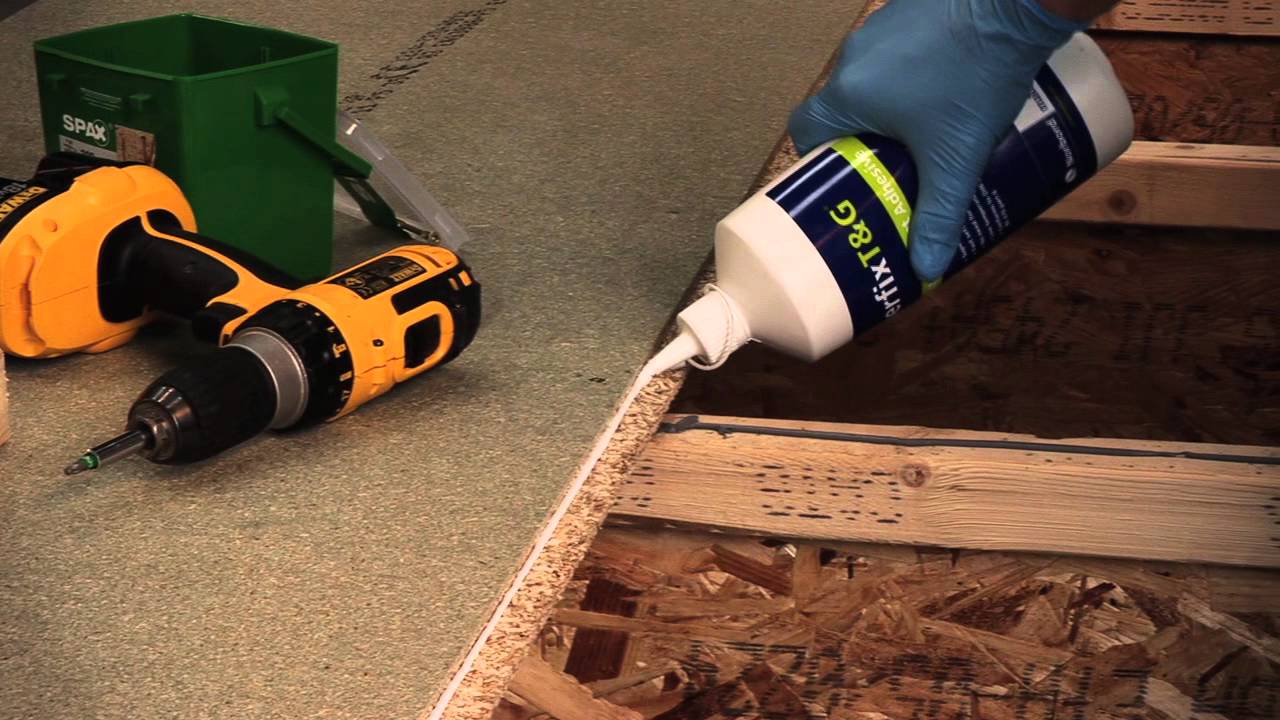
If you are going to start the installation work, take a waterproof glue and apply it on the chipboard chisel.The first row will have to be near the wall (the distance between it and the floor covering is 15 mm). It must be squeezed with wedges that are located between the chipboard and the wall.
Put another row, displacing it on half the slab (the joints should not coincide). At the end and at the beginning of a row, place half of the slab - you will need to apply glue or mastic on the ends. Then stack chipboard in staggered order.
When finished, squeeze all the plates from 4 sides using wedges. The glue must dry completely. When this happens, remove the wedges and close the gap against the wall using the plinth. It will need to be attached to the wall.
After completion of the installation work, apply varnish or drying oil to the moisture-resistant wood-chipboard floor.

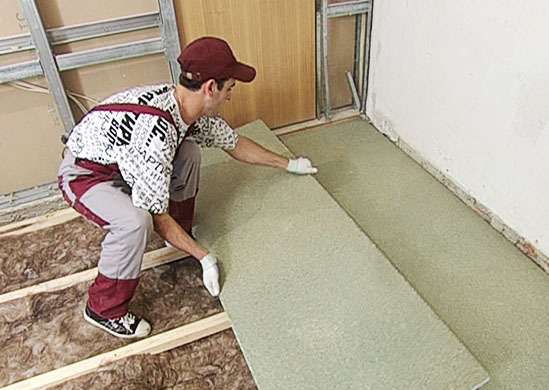
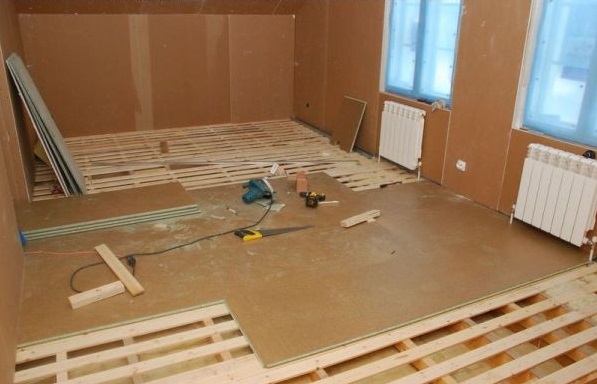
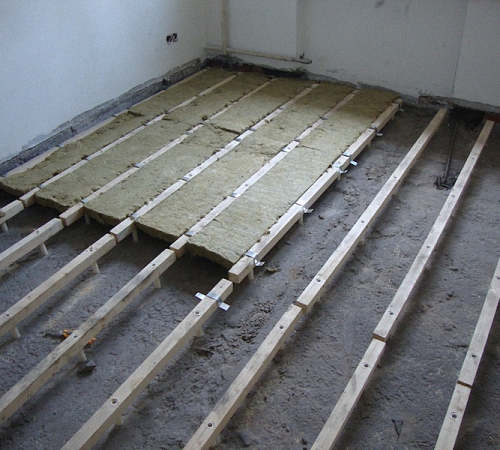
On the logs
When planning to assemble a floor of fluid resistant chipboard on logs, prepare a diagram where it will be indicated how the plates and logs should be placed.
Docking sheets should be provided so that the flooring does not sag. If you are going to mount the rough floor on the logs, you need to take care of the surface warming.
To prevent insulation from moisture from concrete, cover the concrete floor using a waterproofing film. Focusing on the drawing, install beams on it so that the chipboard joints coincide with the lags.To make the frame as rigid as possible, place the jumpers between the lags. They can be attached using screws.
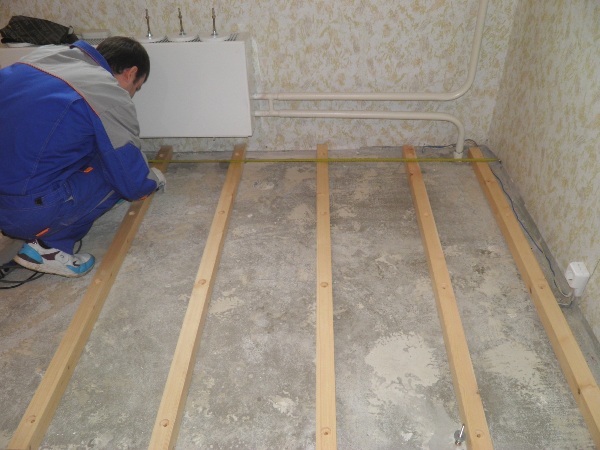
Check whether the assembled structure is horizontal - the floor should not deviate. Heat insulation and the frame itself cover with vapor barrier film. To attach it to the jumpers and lags, use a stapler. Before installation work, take the PVA glue or mastic and apply the selected product on the grooved joint.
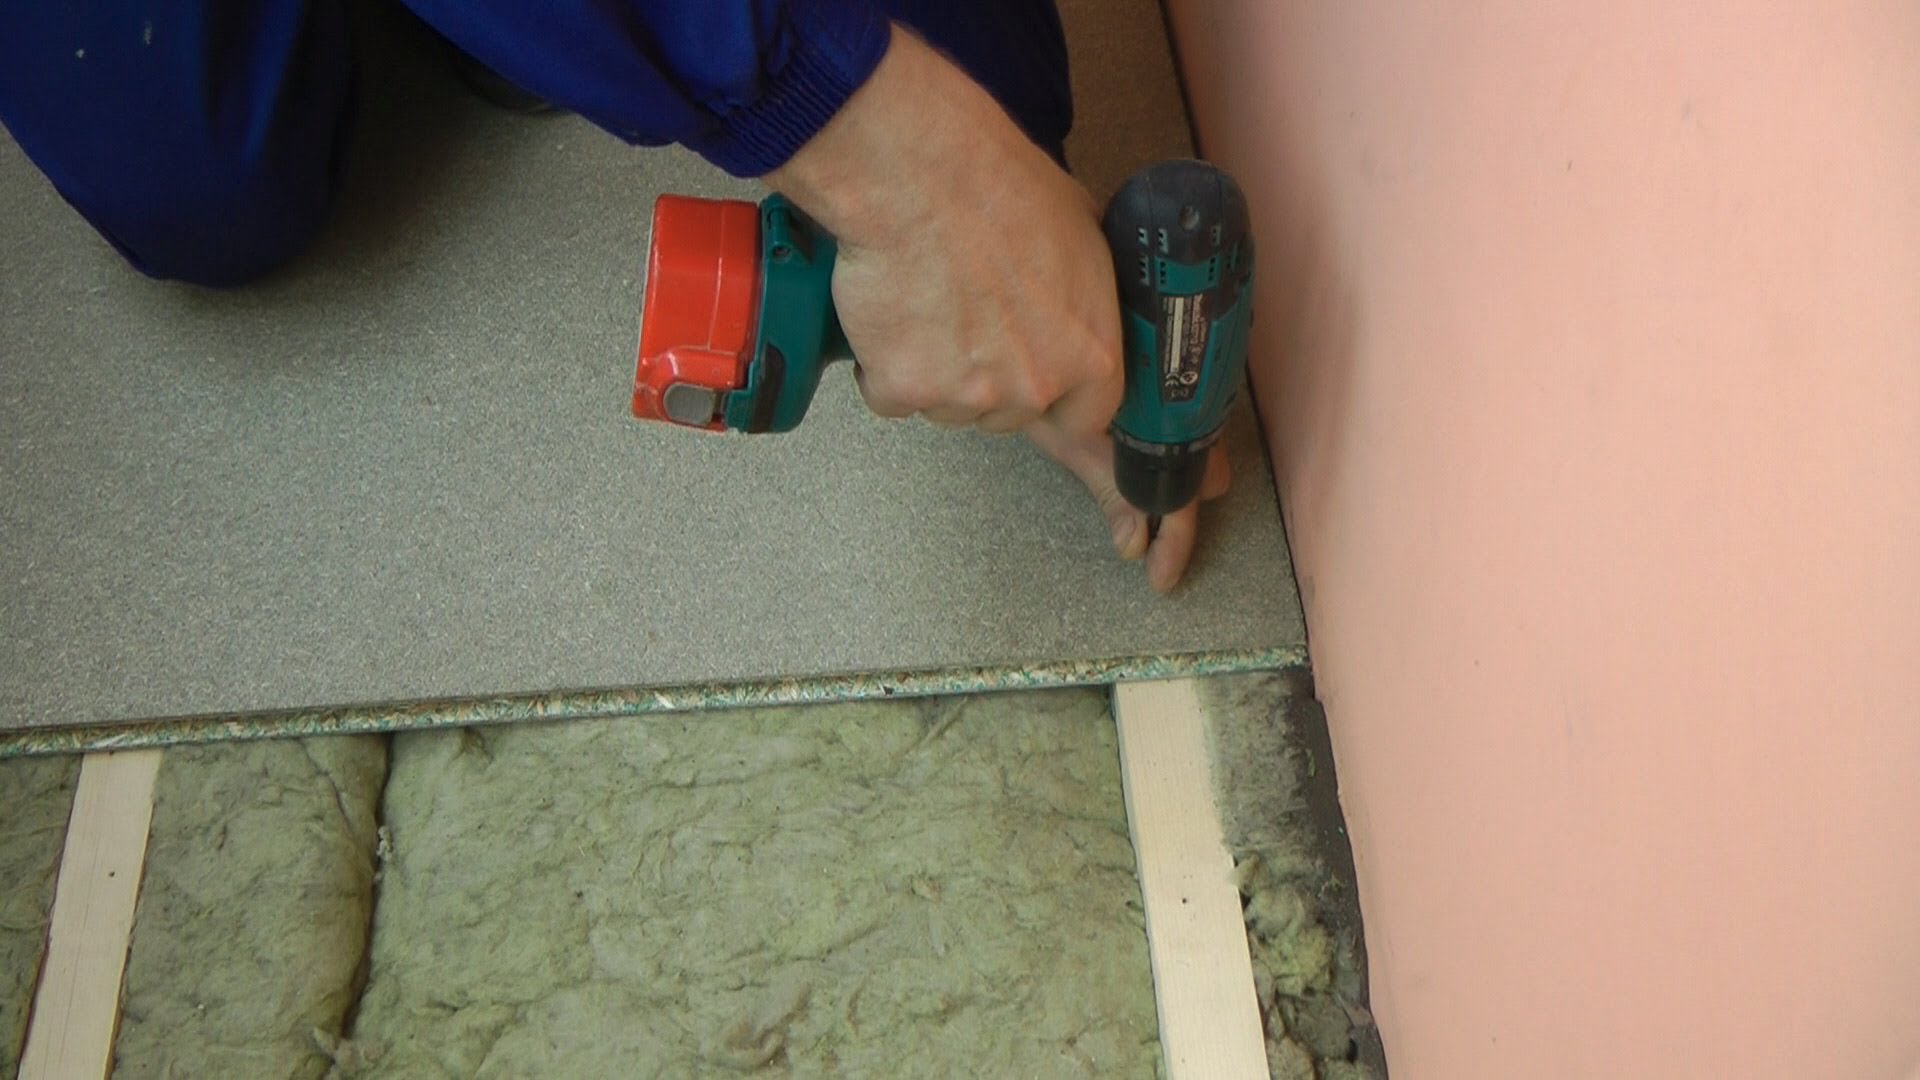
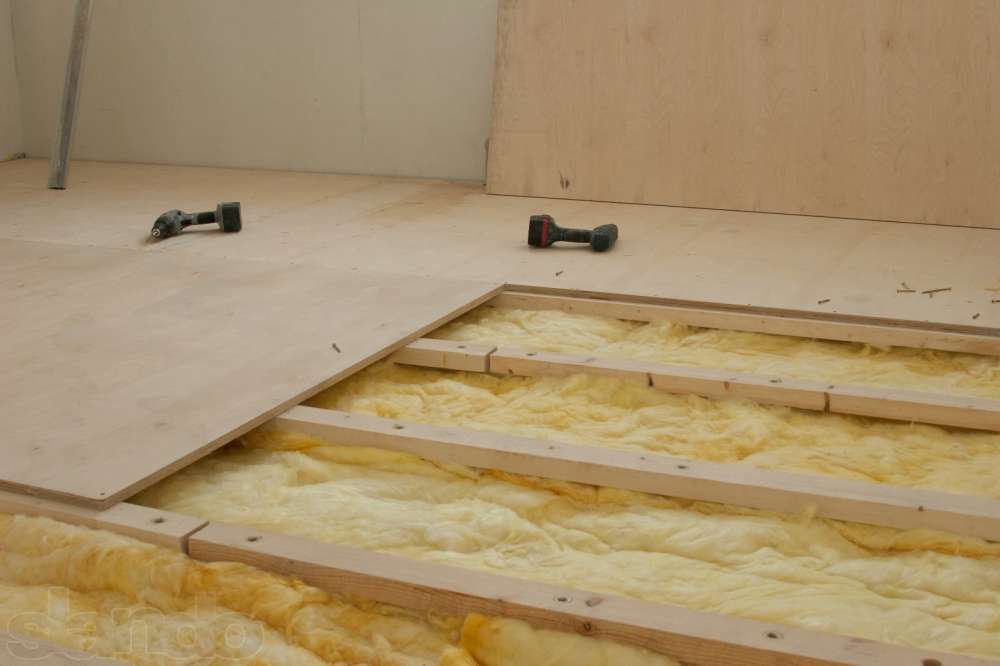
Put the first row of chipboard against the wall (do not forget to leave a free space of 15 mm). Put on the lag joints chipboard. Attach the logs to the plates using screws. Chipboard in the next rows will need to be laid in a staggered manner.
If you mount the floor on the logs that are left over from the previous flooring, and the distance between them is more than 400 mm, you will have to pre-lay the dry edging board. Its thickness is 50 mm. The pitch should not exceed 400 mm.
Attach the sheathing using screws. Under it should be located covered with insulation film, which is located between the lags. Lay the chipboard on the crate and fix them using screws.
For more information about the installation of chipboard for logs, see the following video.
Base of wood
On wood, moisture-resistant chipboard is used both as a substrate for various floor coverings, and as a finished floor. If you are going to carry out installation work, prepare the surface of the tree.
Check the logs behind the boards. They should not be defects, rot. Take an antiseptic and apply it on the beams. Using wedges, pull off the old floor racks - there should be no gaps between them. To secure the rails at the lag, use screws.
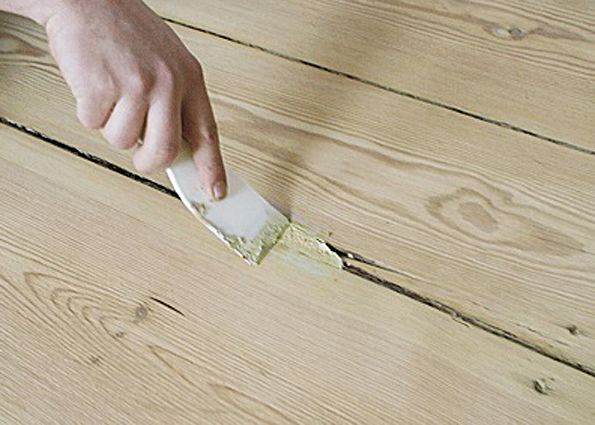
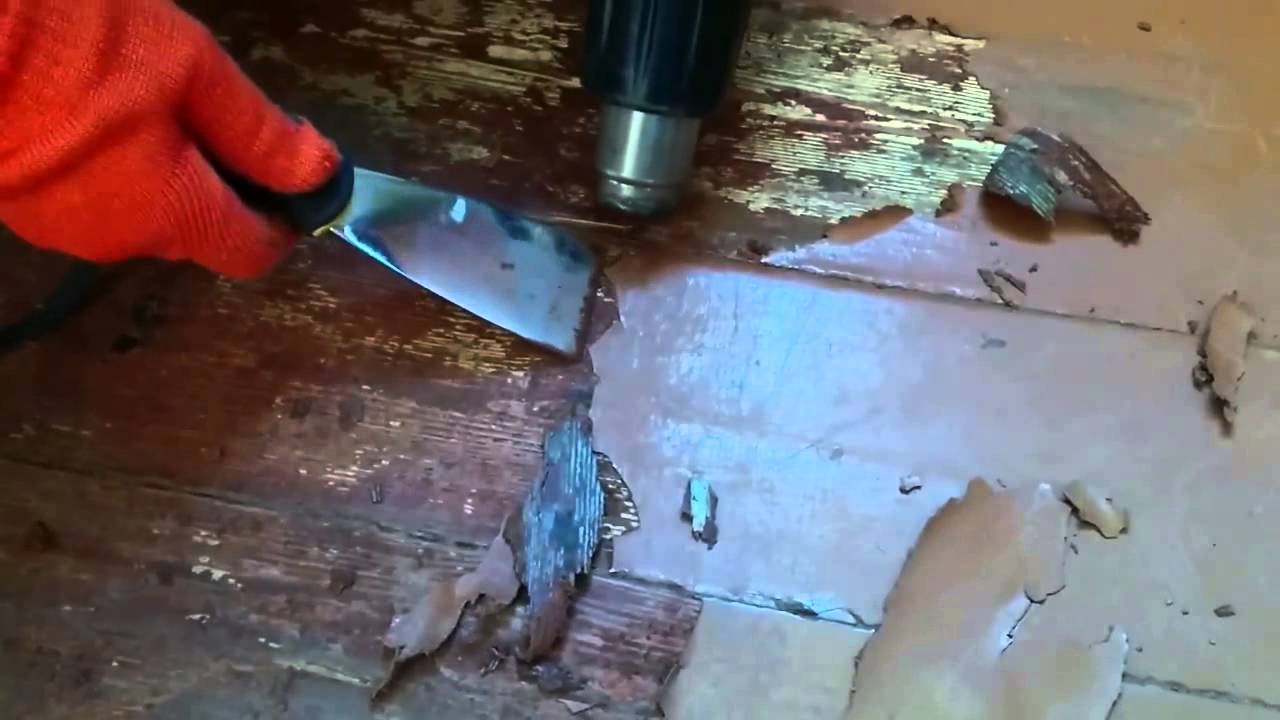
Remove old paint from the floor. Check whether the wooden surface deviates - the floor should be even. With the help of silicone sealant it will be possible to get rid of cracks in the base. To prevent mold, treat the wood surface with a primer.
Jute substrate on wood will help to preserve air exchange between the surface and chipboard.
Carrying out the installation of moisture-resistant chipboard on a tree, guided by the above recommendations.


