What should be the minimum distance between pipes for floor heating?
Warm water floors are gaining more and more popularity. Proper installation of these floors ensures efficient heating at a low level of operating costs. To obtain a quality result when equipping a heated floor can only be subject to the rules of the project and installation, one of the fundamental moments of which is the distance between the pipes in the individual heating system.
Design features
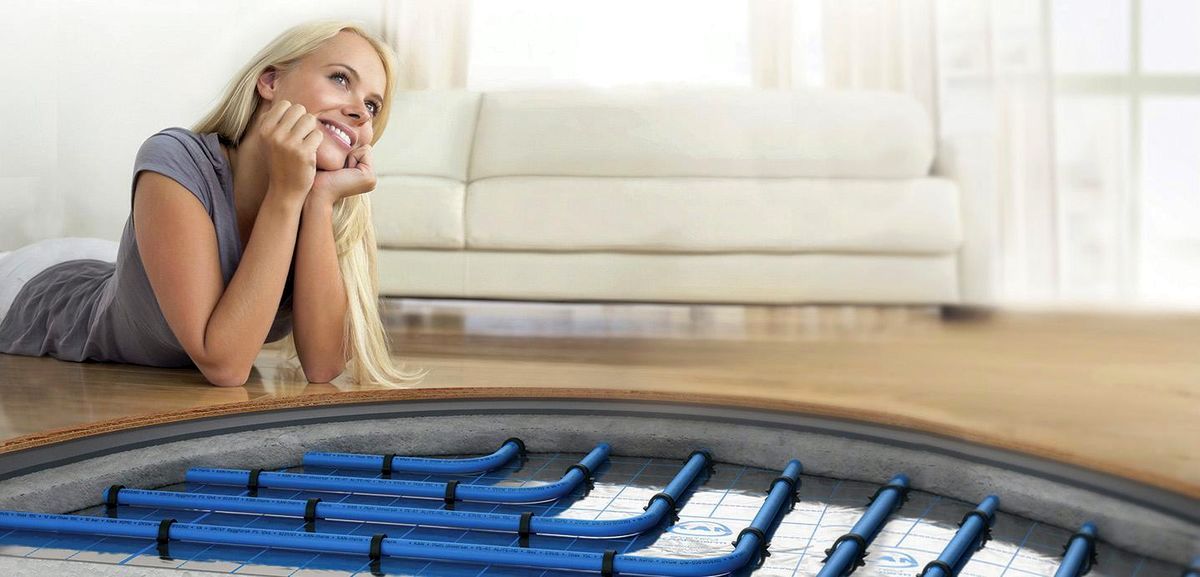
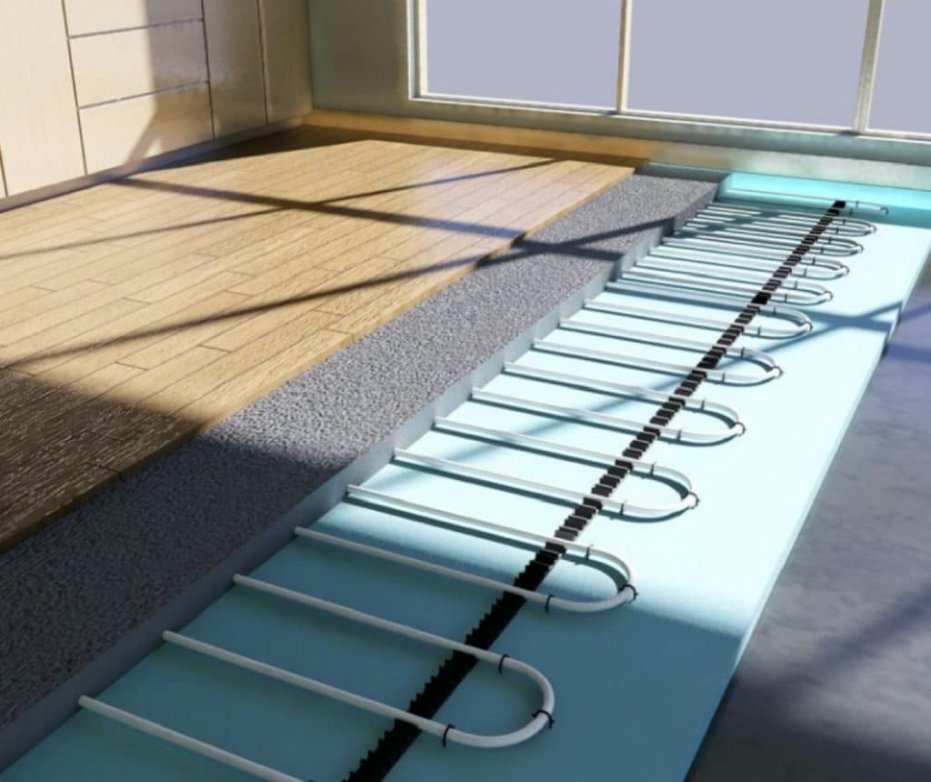
The traditional view of a heated floor is a concrete screed, inside which there is a system of plastic or metal pipes with hot water. The screed should be higher than pipes with a diameter of 16-18 mm by 3 centimeters. This method is also called "wet."
Another type of floor heating design is called "light", it is made of polystyrene or wood.Light systems are characterized by smaller thickness and weight, they are used in places where it is not possible to pour a thick concrete screed.
Before choosing a suitable floor heating design, you should take into account the premises, Where such a device is not recommended to install:
- In apartment buildings with a common heating system. In this case, the installation of a water floor system is possible only with permission from the owners of the house, which is very problematic.

- In public areas. Heat losses in public places are so great that every expediency in installing an economical underfloor heating is lost, since its use will be expensive and there will be no effect.

- Installing underfloor heating as the sole source of heating. Such a plot is possible only if the high requirements of thermal insulation of the international standard are met, otherwise the heat will not be stored. Therefore, the design is used in conjunction with radiators or in the presence of batteries.
The most important component on which the quality and functionality of the entire device depends is isolation.The task of preserving heat can be safely entrusted to the foam or glass wool, these materials must have a density of at least 30 kg / m3.
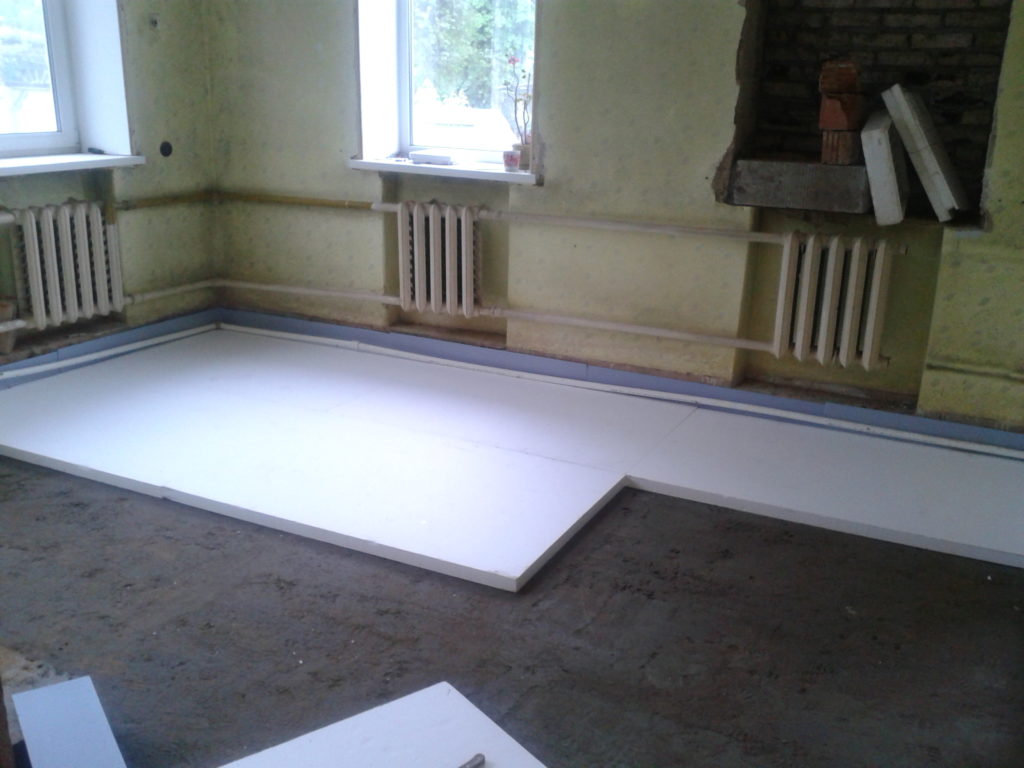

You can also use insulation mats to unwind to the surface of the future underfloor heating.
In addition to insulation, the construction of a heated floor includes:
- reinforcing mesh;

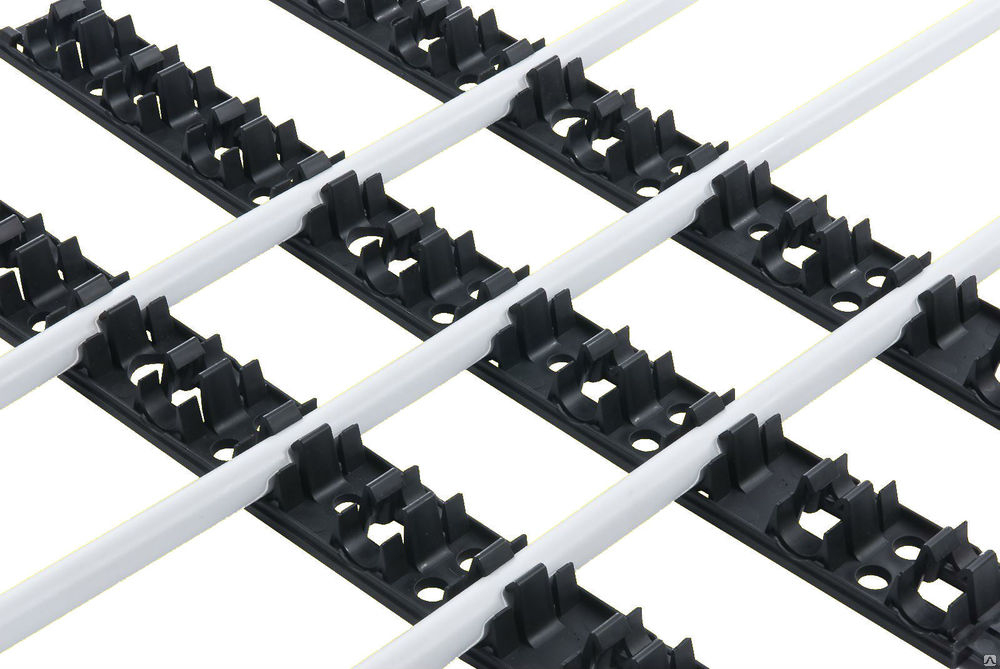
- fasteners;
- pipelines;
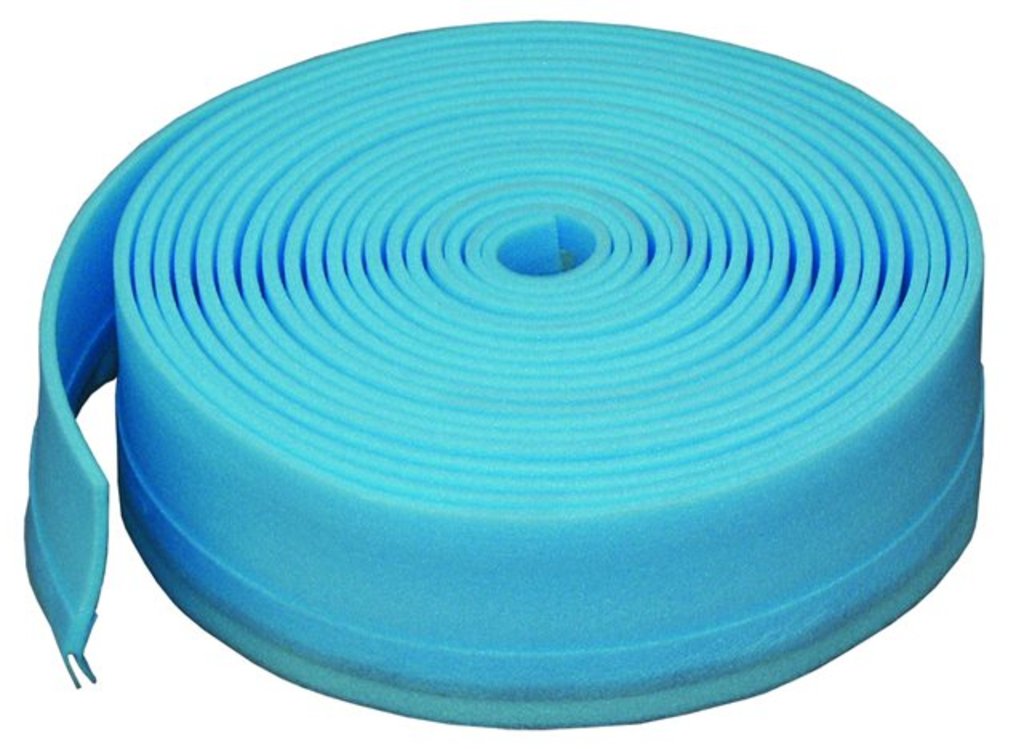
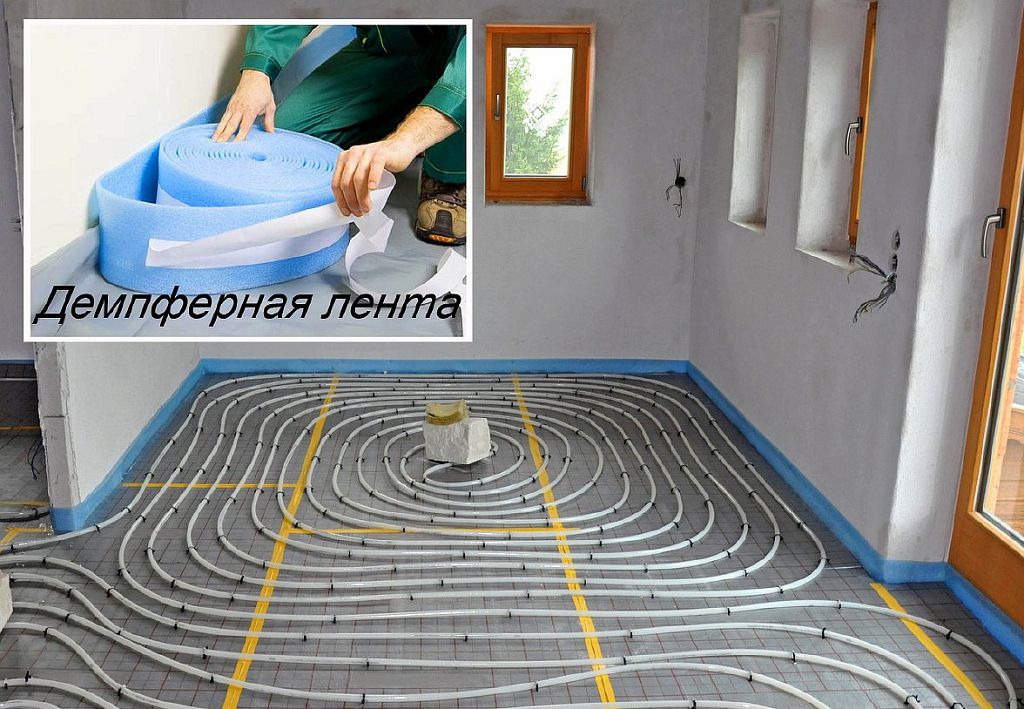
- damping tape;
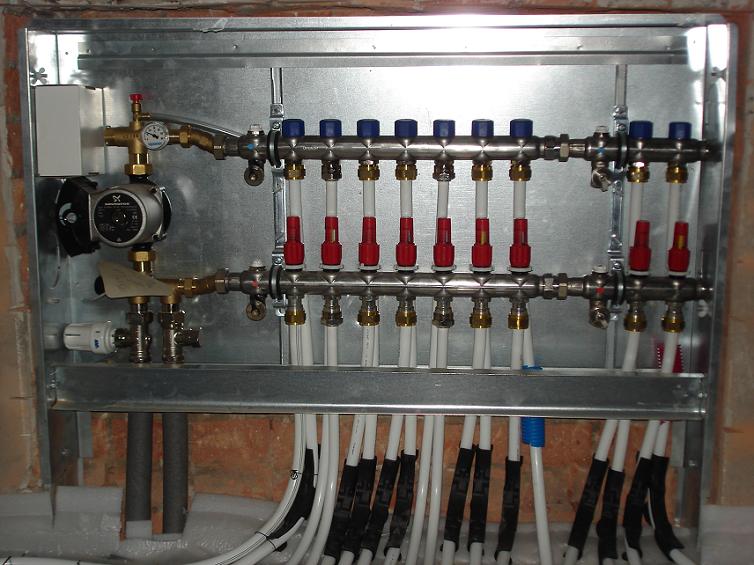
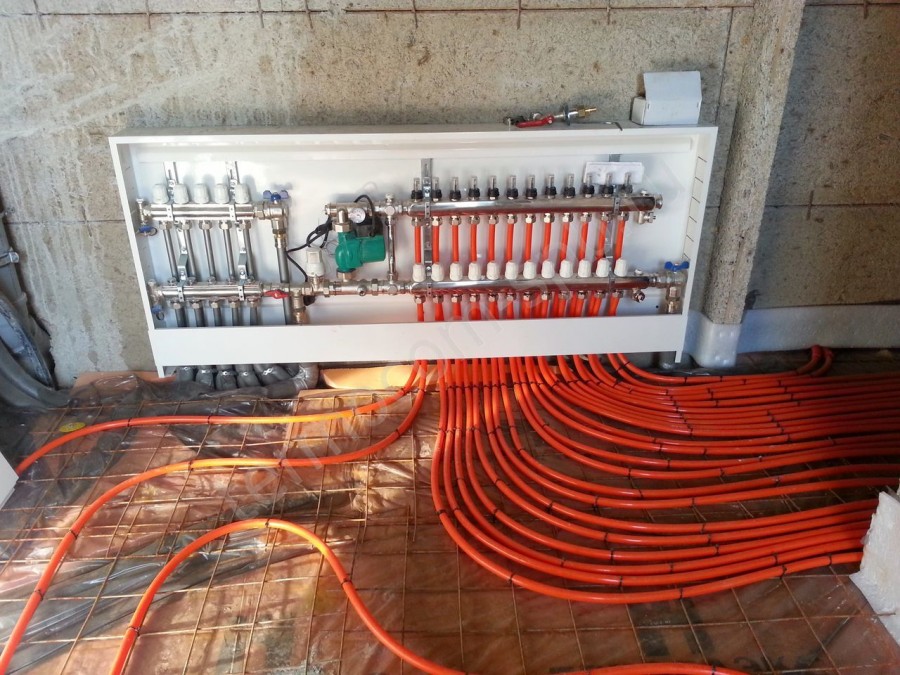
- cabinet for accommodating a collector with all components of the equipment from which the wiring is carried out.
Styling methods
Depending on the number of pipes to be connected to the collector, there are two-pipe and one-pipe heating systems.

A two-pipe system is more flexible and more technological than a single-pipe one, but the second one has the following characteristics:
- steady hydrodynamics;
- ease of installation;
- profitability of work.
Which system to choose in each particular case depends on the needs of the owner and his financial capabilities.
You can also identify four ways of laying a warm floor, which depend on the materials used: concrete, polystyrene or wood (modules or slats).
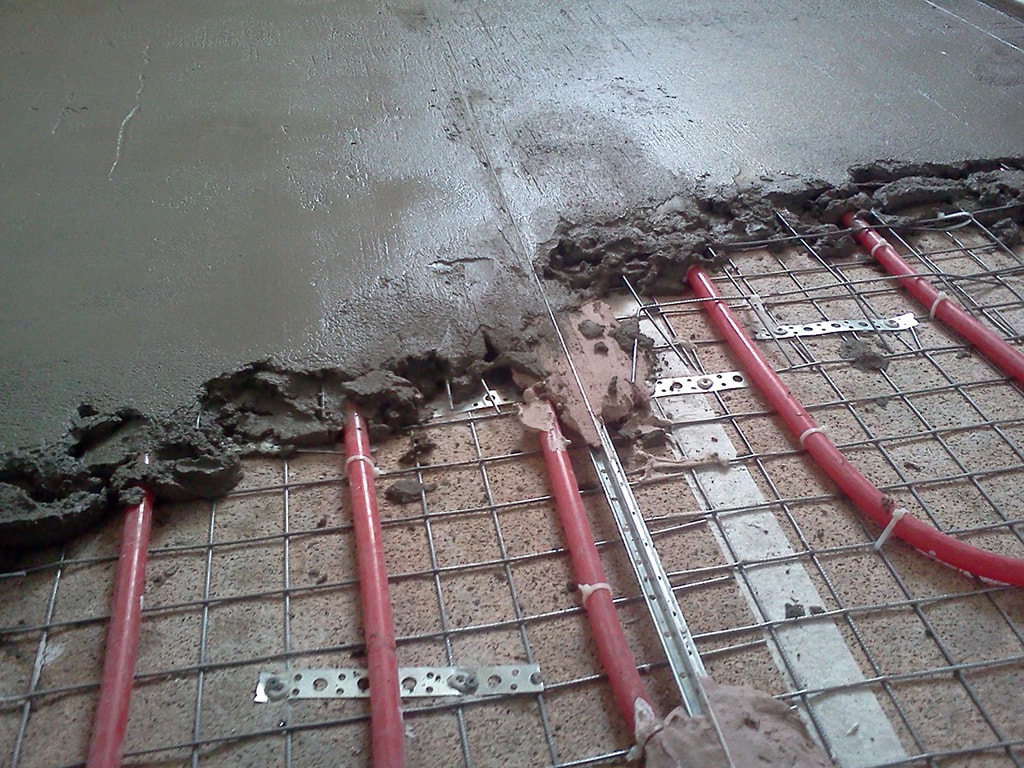
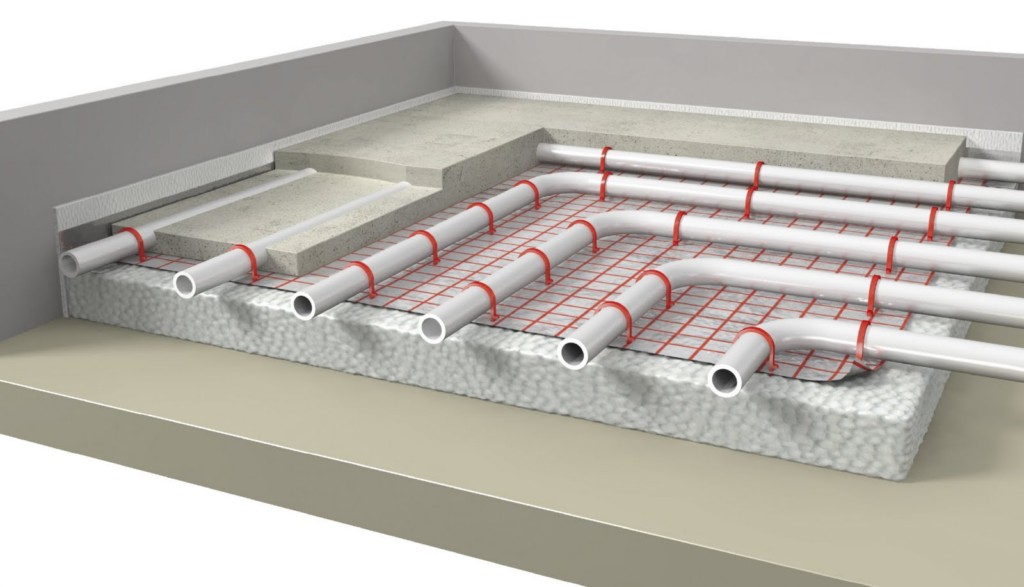
Concrete way
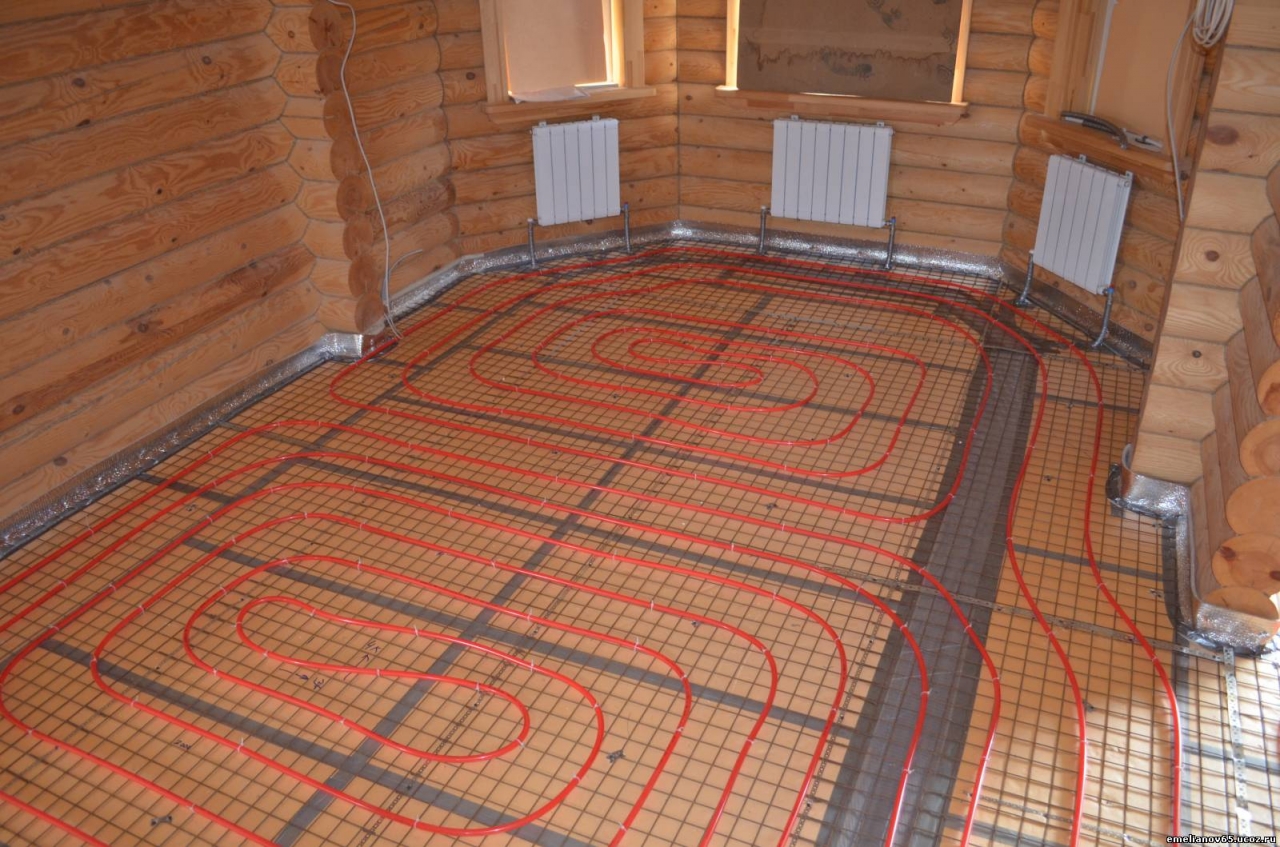
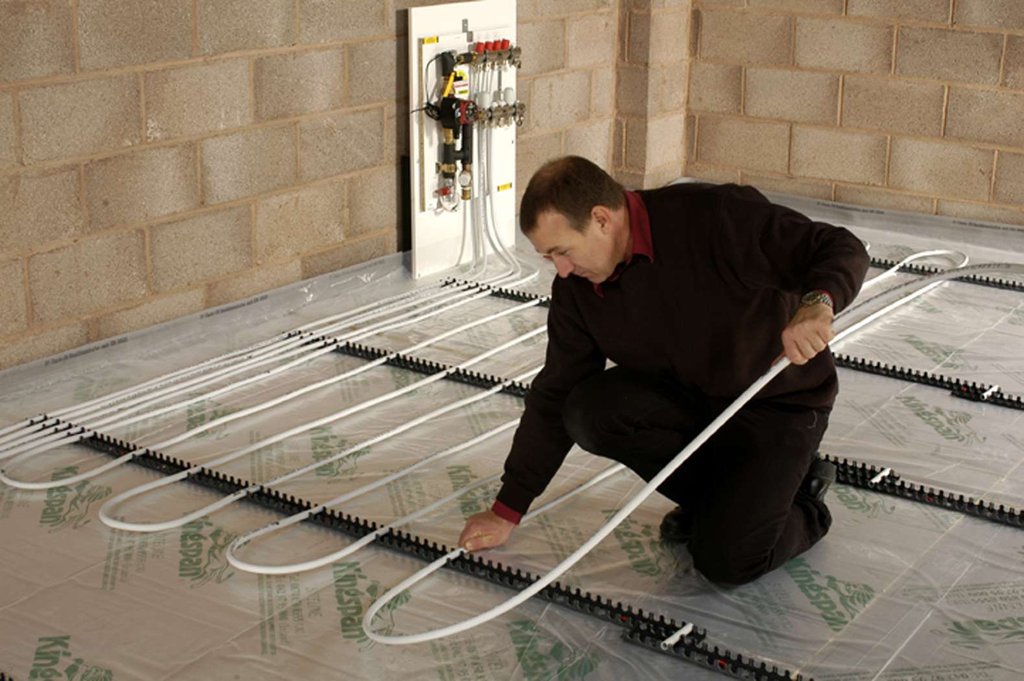
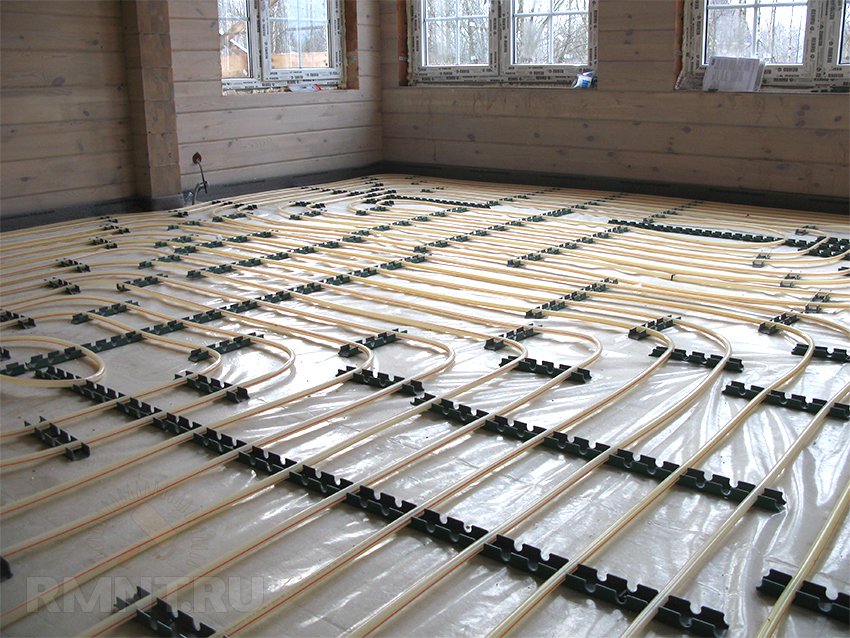
For successful pouring of concrete screed reinforced mesh with cross section is used.4–5 mm. The grid is laid on the insulating layer. Then pipes are fastened to it with the help of plastic clamps. The pipe is laid according to a pre-selected design scheme.
In the premises of a large area laying is carried out in separate parts. In this case, the collector must make the connection the required number of times. After the pipeline has been laid, testing is required. The tests consist in supplying maximum water pressure in order to identify possible leaks. The duration of the verification process should be at least a day and with a pressure of 5 atmospheres.

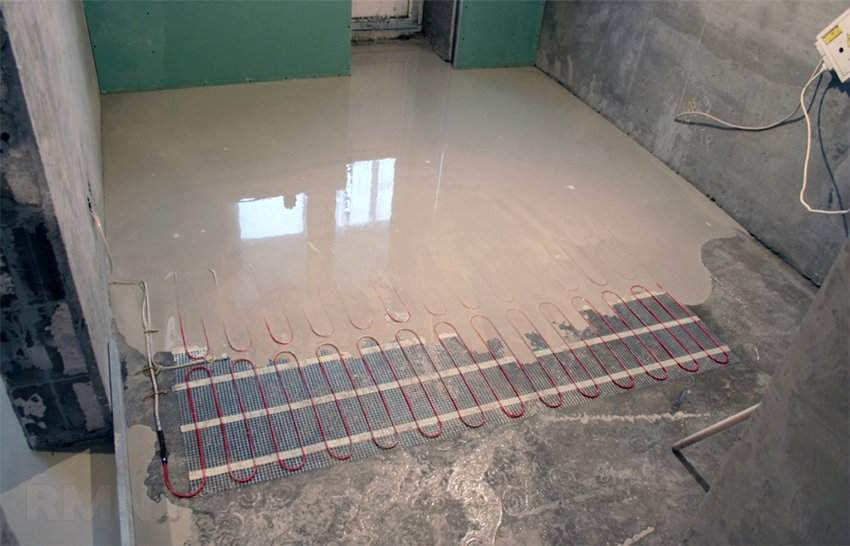
After a successful test of strength, a concrete screed is cast. The tie is diluted from a special mixture (cement and sand), following the exact instructions. During all work in the pipes, the working pressure of the water is maintained, but it should not be hot. This is followed by a drying process (usually it lasts 28-30 days) and a finishing floor covering.
Polystyrene method
With a polystyrene system, installation work takes significantly less time than with a concrete method. Also, the approach does not apply to "dirty" work, which can not fail to please the owners of the premises or workers who are to be post-repair cleaning.

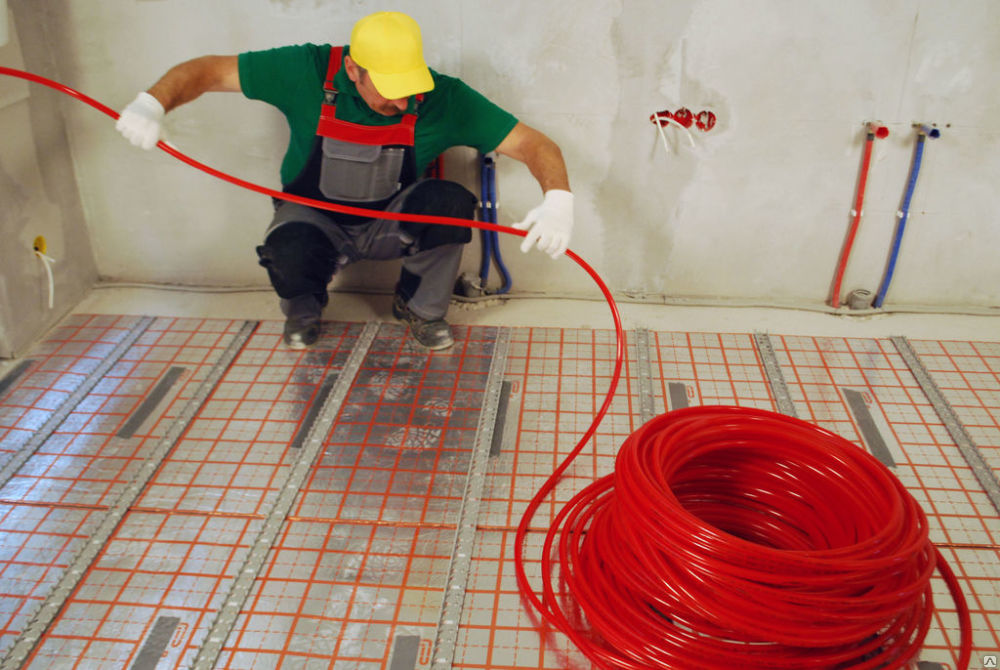
Polystyrene method is applicable to any base floor. Heat insulating plates, with aluminum plates pre-installed in them, are deepened into polystyrene to the floor surface coverage level of 80%. After that, the pipes are installed in the construction in the recesses specially reserved for them. Then, tests are performed during the day and proceed to the finish coating.
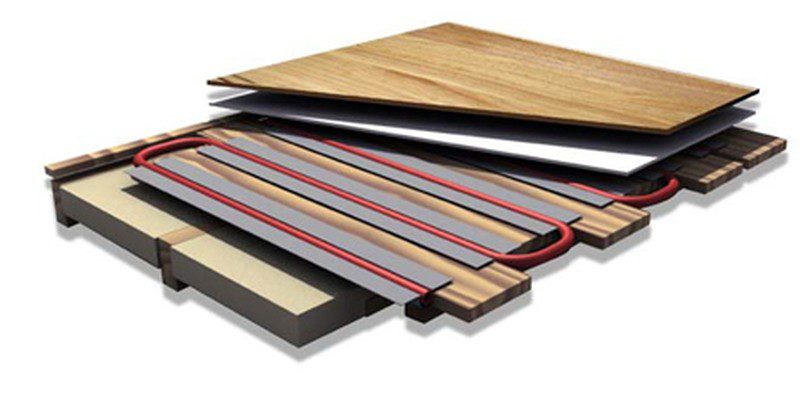
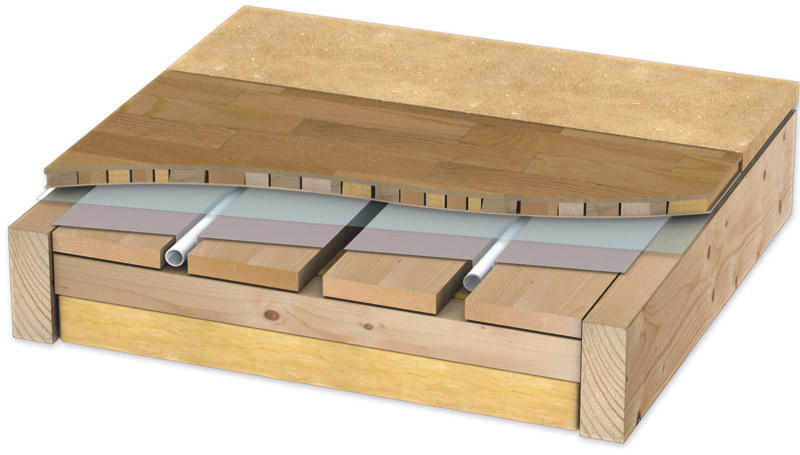
Wooden modular system
The wooden system has the same program of action as for the polystyrene method, but at the same time modular chipboard plates are laid on the heat-insulating layer, in which holes for pipes are made in advance. The pipes are fixed with aluminum plates and deepened to 80% of the floor surface. Tests are made, and the finish covering is laid.

The wooden modular system is quite simple to install, but it requires careful drawing, taking into account all the nuances, otherwise the entire structure will be broken even with the slightest discrepancy between the plates.
Wooden rack system
The wooden system of slats is used for arranging a heated floor on the second floor of wooden houses. Laying scheme corresponds to the modular type, but only instead of the modules are taken slats with a width of 20 mm and a thickness of not more than 30 mm.The insulating layer is used thinner than in other systems.
All ways of laying the warm floor have their own characteristics that must be considered when choosing a material. The most common and practical way to concrete screed.
Calculate the minimum distance
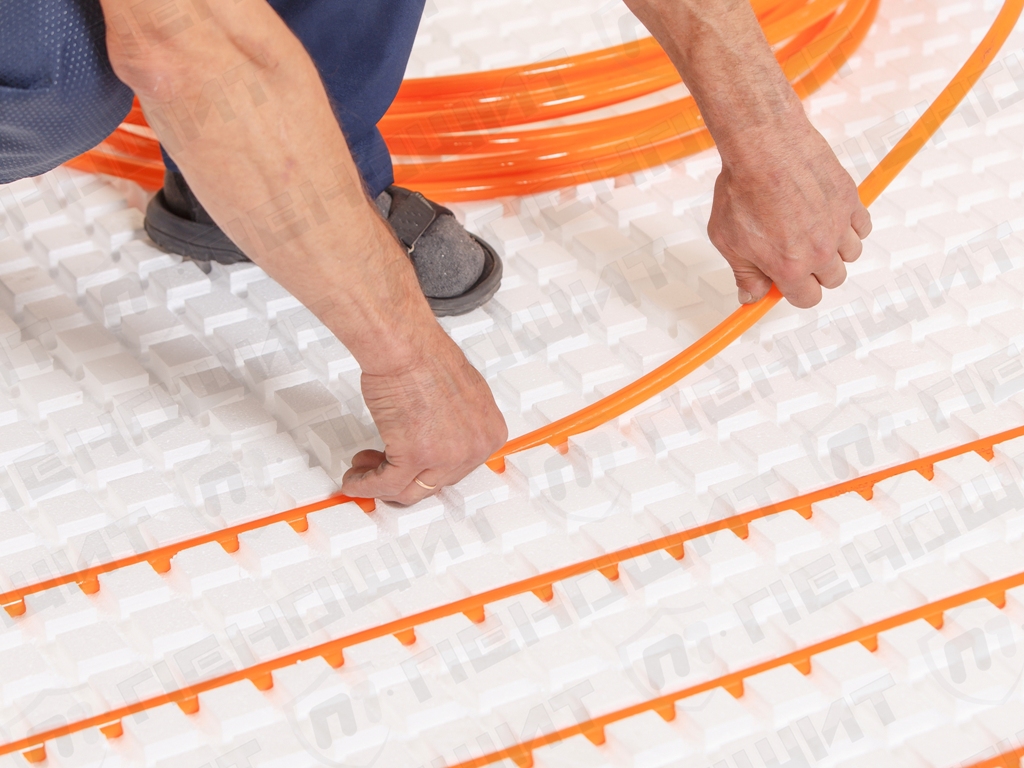
To prevent overheating or insufficient heating, it is important to choose the right distance at which heat carriers should be fixed. Its calculation is directly related to the diameter of the pipe. The pipes are laid on heat-insulating mats, which are located on polyethylene insulating surfaces, with an interval from 150 to 300 mm. For the most common pipes with a diameter of 16 mm, the preferred pitch values are 150 mm, for a pipe diameter of 20 mm - 200 mm.
The optimal step in terms of heat load of 48-50 W / m² is 300 mm. For bathrooms, where the temperature indicators of the heated floor need to be fixed at a constant value, it is necessary to make an interval of 150 mm. Also, this step is relevant for loads of 80 W / m². In spacious rooms with high ceilings, it is better to lay pipes at intervals of 200 or 250 mm.
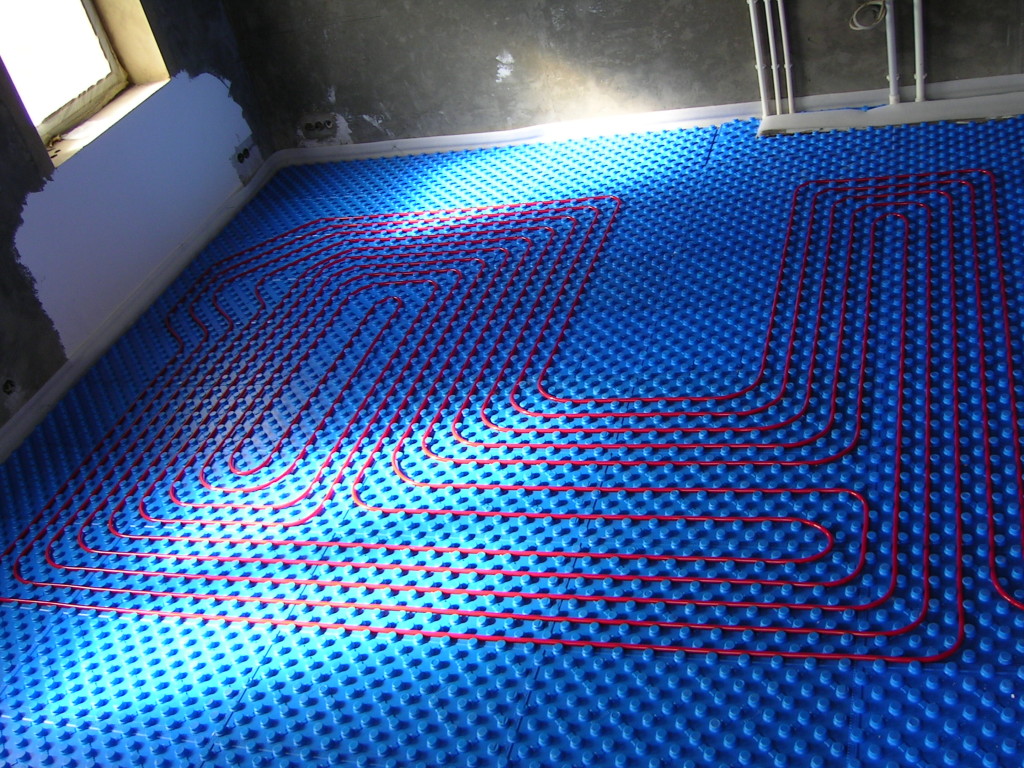
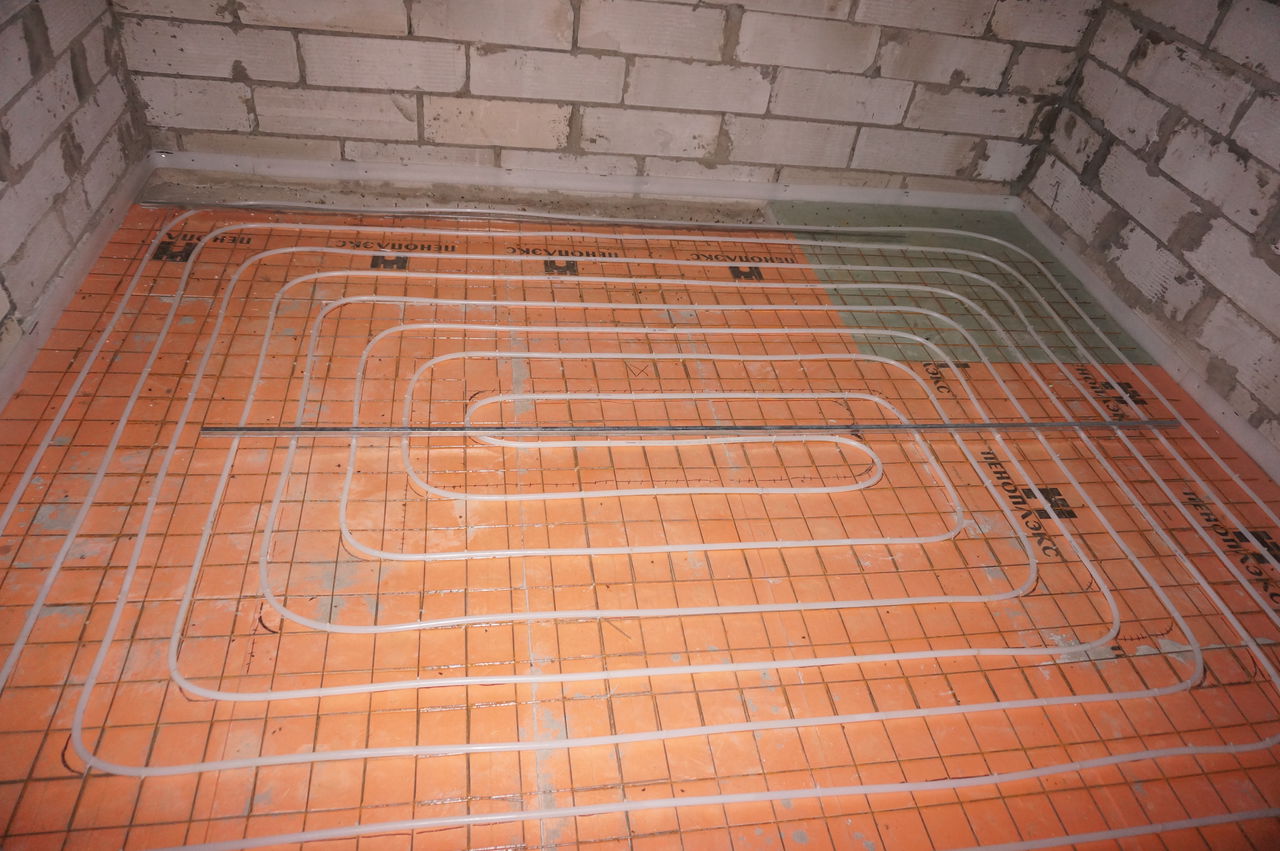
The calculation of the minimum distance between the pipes depends on how they are laid: serpentine, double serpentine or snail.Coil is most popular in rooms where it will be necessary to use several temperature regimes. Laying this method is looped. In the double coil, the feed and return circuits are placed side by side, or must be overlapped along the entire perimeter of the room, and when the pipes are arranged with a cochlea, parallel. To facilitate the pipe-laying process, you can use a special decoiler, which simplifies the pipe roller, and a professional tool.
Pipe laying scheme
The quality of the heating of the future underfloor heating and the uniform distribution of heat depend on how the water pipe is located in the room. As mentioned above, there are several schemes for laying pipes in a floor heating system.
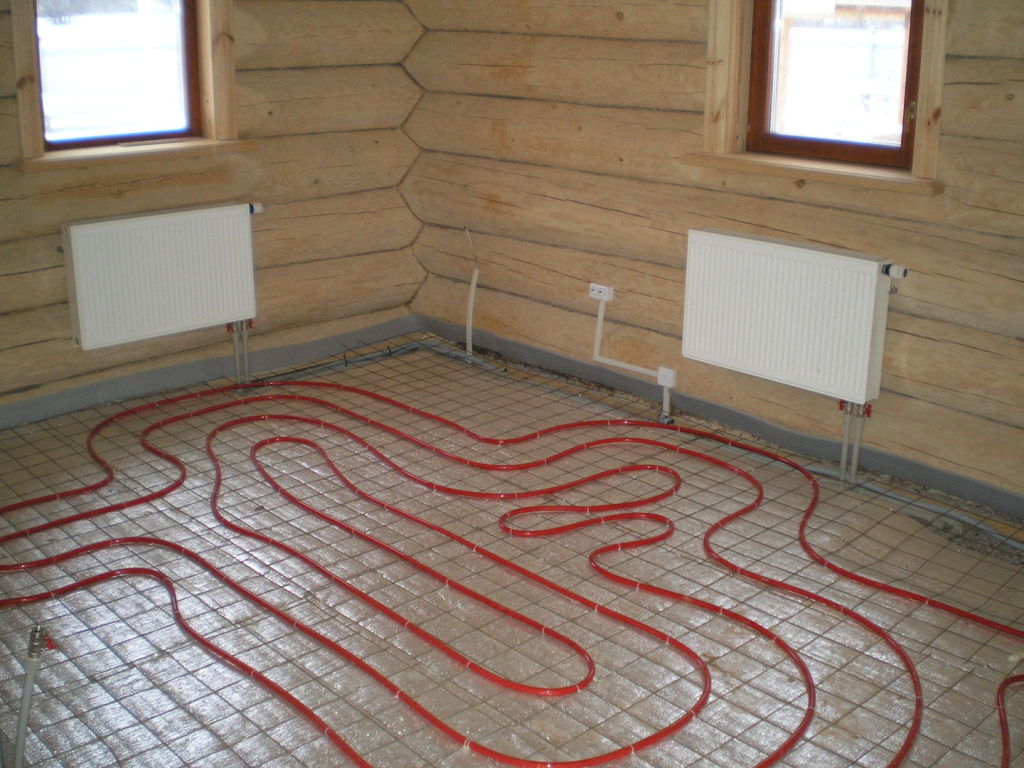
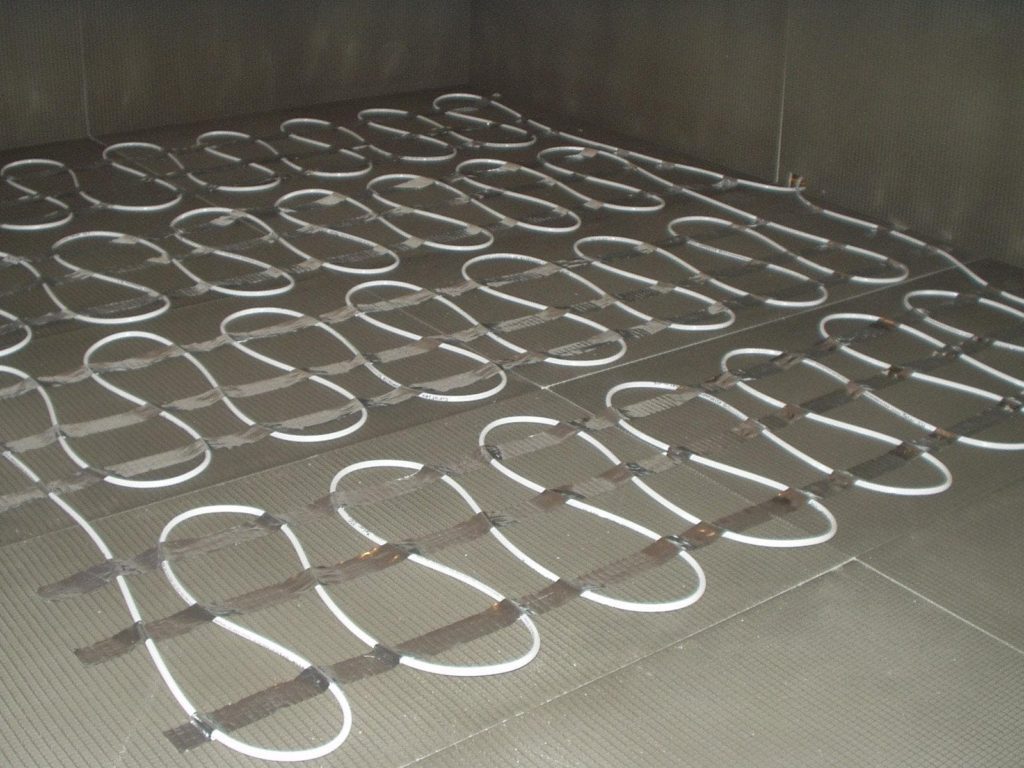
Snake or serpentine circuit
In this scheme, the pipe layout has a loop-like shape, and the pipe can be bent up to 180 degrees. The snake can be decomposed using special brackets, but it is impossible to create excessive pressure on the pipe, as it will expand from hot water during operation. The scheme is applicable in rooms with a linear angle and spacious rooms where it is necessary to create different temperature conditions.Minus coil is a possible uneven heating of the surface.
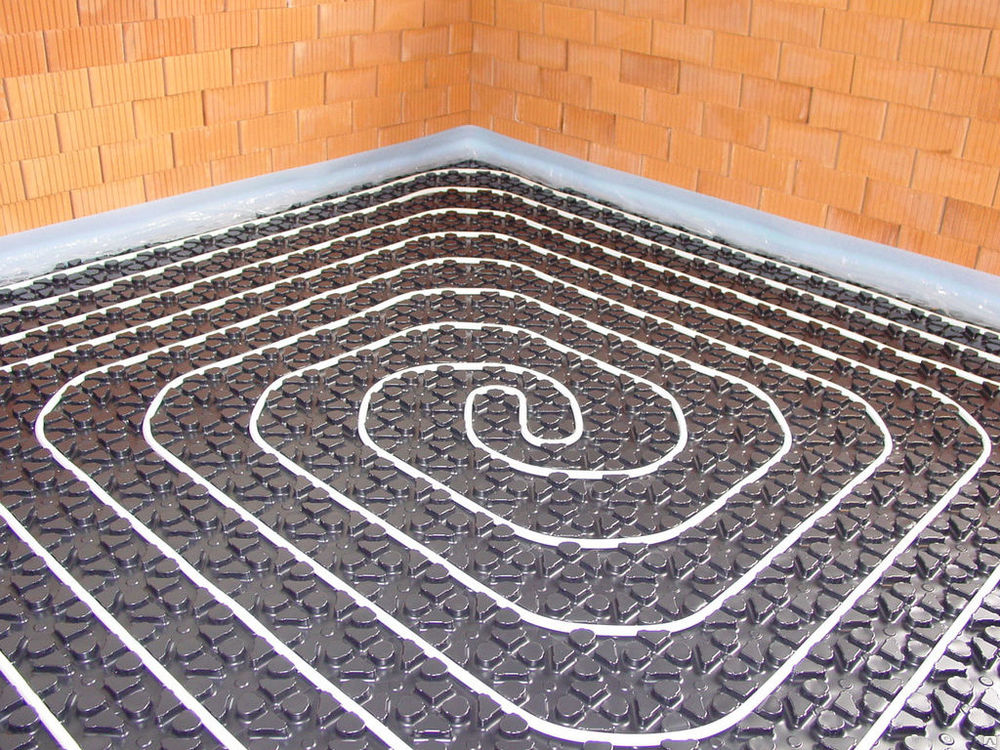
Scheme snail or shell
Spiral pipe laying is considered fairly simple. It is produced as a concrete screed, and in the presence of propylene materials. This system is also applicable to expanded polystyrene.
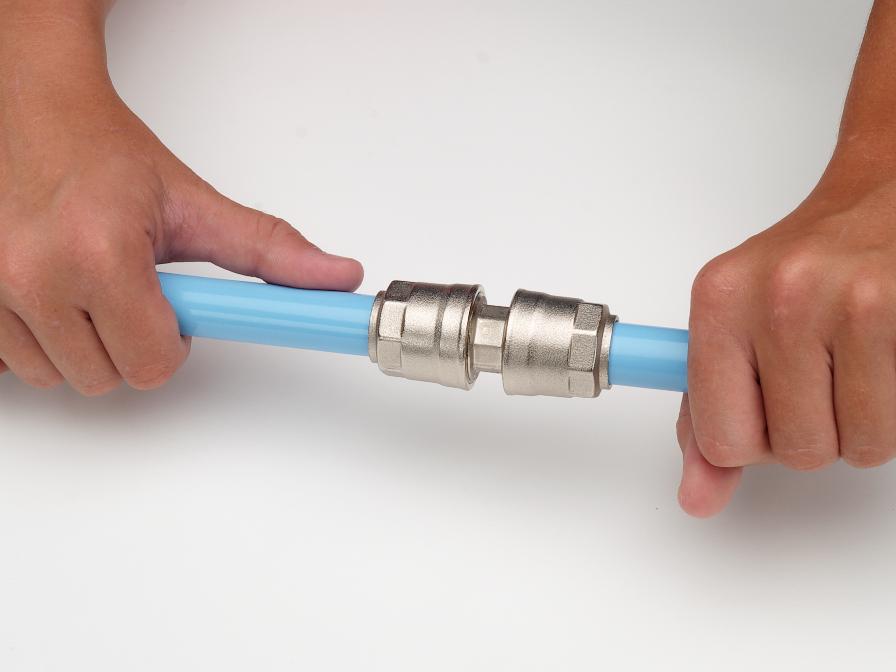
The pipes can be connected to each other with hose clamps, while the return pipe should be located next to the hot water pipeline, the temperature of which is much lower. This method has the disadvantage only when improper installation (with a big step) in the form of the formation of cold zones.
The nuances of editing
During laying the warm floor and its components with their own hands there are various unpleasant surprises, which are better to foresee.
Most often the following nuances of installation of a heat-insulated floor which need to be taken into account occur:
- if rigid pipes are used for arranging the floor, and the distance between them reaches one meter, then when installing more bending materials, one should strictly follow the step corresponding to the diameter of the pipe;
- it is easy to get increased stiffness: you need to drive fixing fasteners (screws, dowels) into the floor;
- when using polypropylene materials it is necessary to consider their density;
- the likelihood of the system increasing the joints in the joints of metal-plastic pipes, their number must be minimized;
- a flat surface will help to correctly and easily lay the components and pour the screed;
- pipes should be laid only in the previously prepared grooves in the structure;
- you should not save on the material, even if it is a small mount - the overall quality of the future underfloor heating depends on any detail.

Professional Tips
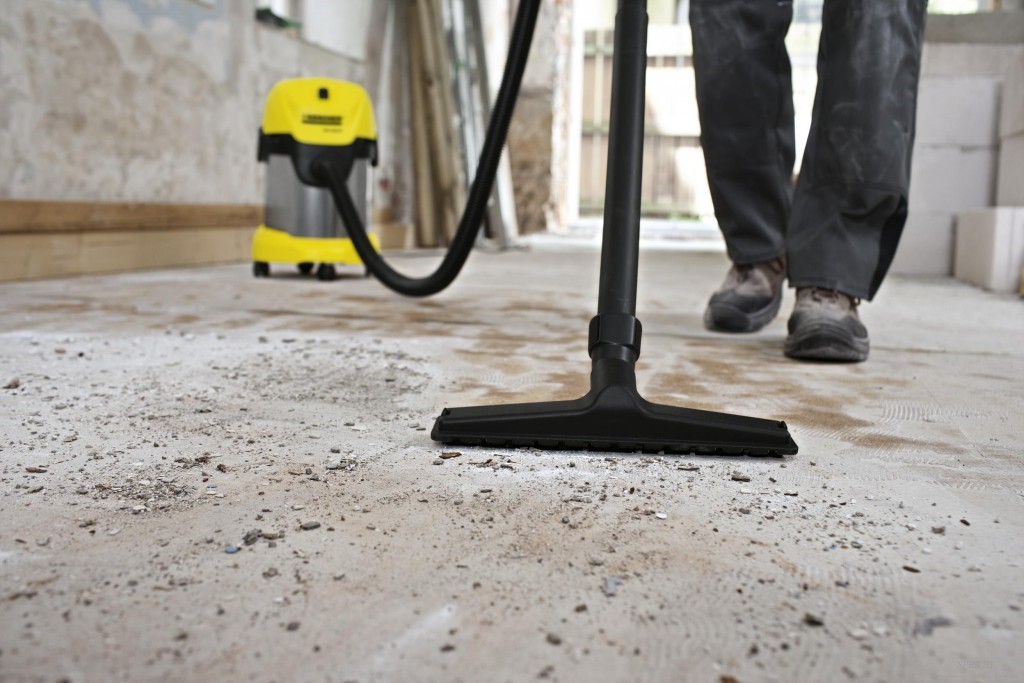
Before installing the waterproofing fabric, it is necessary to clean the surface well and remove all debris. Also, the presence of chips and cracks is not allowed - they must be sealed before starting work.
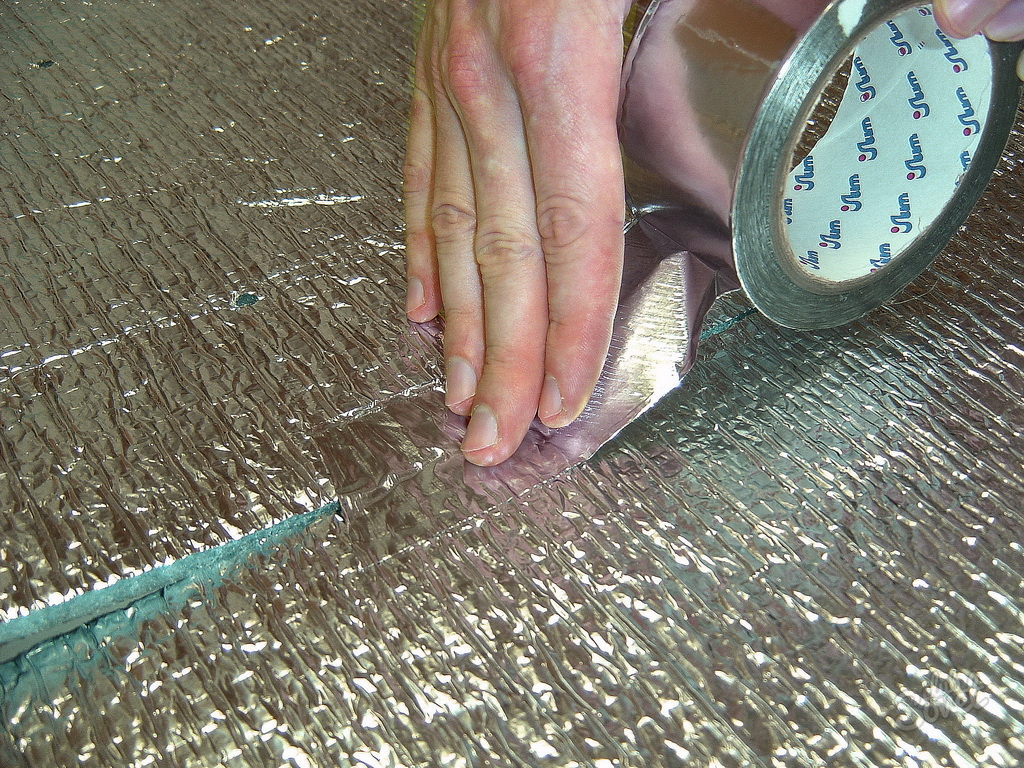
Insulation must be either butt-mounted or overlapped. Joints should be sealed with a wide tape. In the areas where the walls fit, you can also leave some insulation, which will later be covered with a screed. The entire draft floor must be covered with insulating material.
When installing a heated floor, it is not recommended to place the pipes in the places where furniture will continue to be in order to avoid overheating of these sections.
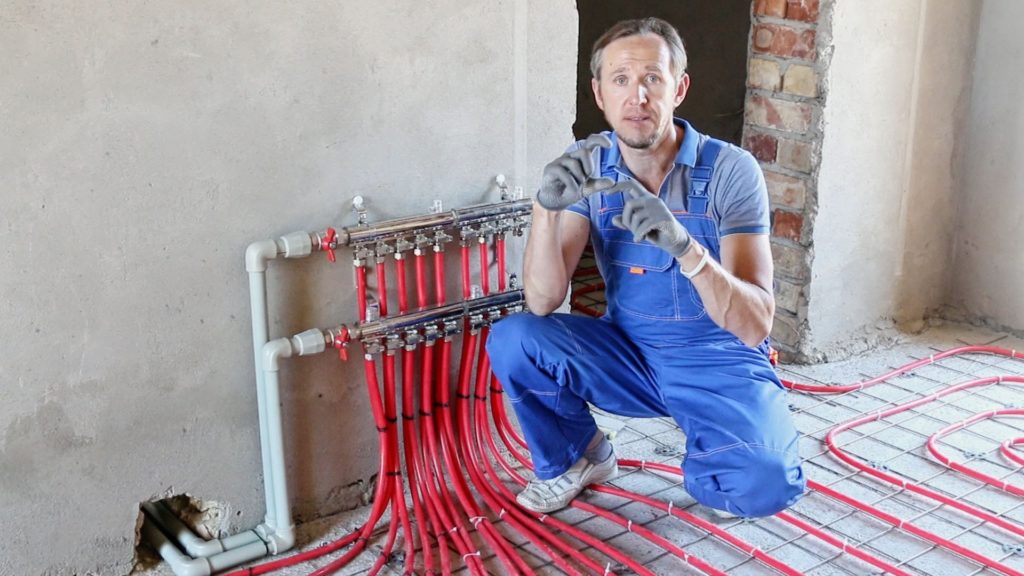
The pipe mounting strips are installed at the same distance (50-70 cm), perpendicular to the wall where the collector will be placed.
The collector is mounted before the pipes are laid. When installing it, you must make sure that the surface can withstand the necessary loads: the weight of the equipment itself and all connecting elements.
To prevent the formation of cracks in large rooms, professionals divide the area of the surface to be processed into segments using a damping tape. The supply pipe is only connected from the collector.
It is imperative to test the finished pipeline design. The test is carried out under a pressure of at least 5 atmospheres and a period of at least one day. At the time of pouring the screed system is turned off.

Even with self-installation of a warm water floor, there are works that are best left to a specialist. For example, the connection of the collector after the boiler pump and in front of other radiators should be carried out only by professionals. It is also better to entrust the installation of thermostats to a specialist.
The warm water floor system is not cheap, but it will also serve (if properly installed) guaranteed for up to 50 years.Therefore, you should not save on materials and work on its installation: it is better to give preference to higher quality materials and services to obtain the corresponding result.
Installation of water heated floor you can see in this video.


