How to pour concrete floor in the garage?
Concrete remains a popular type of garage flooring, due to its relative ease of installation and low cost. Of course, you can stay on a simple earthen cover, but it does not provide protection against adverse weather conditions, does not retain heat inside the garage, does not have durability. In this case, there is no waterproofing. For a quality coating that will last for many years, it is necessary to perform all the steps of pouring concrete from preparing the foundation pit to finishing.
Special features
Concrete pavement in the garage can be further painted, trimmed with wood or tile, or left in its original form. Concrete can be poured independently with their own hands, without the help of experts from the outside.
This material is fully suitable for the floor, among the necessary criteria to which it meets, are particularly relevant:
- wear resistance;
- moisture resistance;
- strength;
- resistance to chemicals;
- refractoriness;
- durability.
The floor in the garage is constantly subjected to heavy loads and mechanical stress, therefore the criterion of resistance to wear is particularly important. The surface should not be deformed or cracked, even if it is subjected to significant weight loads or temperature changes. When washing the car, you must be sure that the surface will not deteriorate from moisture.
The surface of the floor periodically needs wet cleaning, therefore the indicator of resistance to moisture is important. Since it is easy to accidentally spill oil or gasoline in the garage, the base should not react to chemicals.
Before pouring the concrete floor, it is advisable to pay attention to the following points:
- groundwater level;
- the presence of a slope;
- the possibility of flooding the garage from rain or snow.
To simplify the process of pouring the floor and to achieve uniform load across the surface, it is necessary to completely cover the floor surface with concrete at once. This forms a solid monolithic slab.
Filling can be performed by 1 person, however, for solidity and better results, it is preferable to do it together or even three. The thickness of all layers depends on the weight of the car, the number and weight of items that will be stored in the garage.

Advantages and disadvantages
If you concreted garage floor, it will have the following advantages:
- weather resistance, including temperature drop;
- moisture resistant;
- long service life;
- ease of care.
The high thickness of the concrete causes good strength and durability. This design is universal: by and large, you can do without staining, although if you want you can perform different surface finishes. You can also achieve the smoothness of the concrete floor and polish it to the formation of shine. By the cost of concrete floor is quite affordable.
In comparison with other types of coating, pouring concrete floor needs special skills and the use of special tools. Therefore, this process can be called time-consuming.
Filling should not be carried out in winter: at low temperatures, the concrete will freeze and not harden.

This coating will not last long. Since concrete has the ability to accumulate various substances (oils, gasoline), there is a release of unpleasant odors that are not easy to remove. Dust accumulates on its surface, which is more difficult to remove than from other floor coverings.
Calculation of the necessary materials
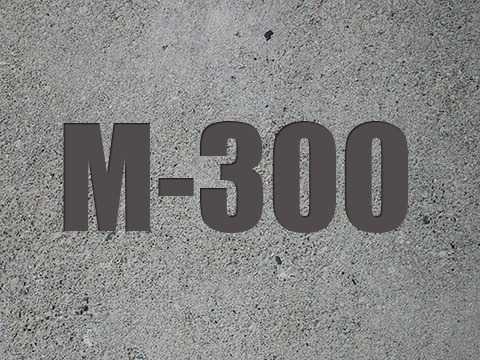
To calculate the required amount of concrete, you need to multiply the surface area of the garage to the height of the concrete fill. In order for the concrete coating to last a long time, its height must be at least 10 cm. When calculating the amount of concrete needed, it is worth considering the need to create a material reserve of about 10-12%. To improve the quality characteristics of concrete, for the mixture acquire special additives that increase the resistance to harmful substances and increase the wear resistance of the coating. For example, for concrete grades from M300 to M550, you can purchase the additive "Elastobeton", which improves adhesion.

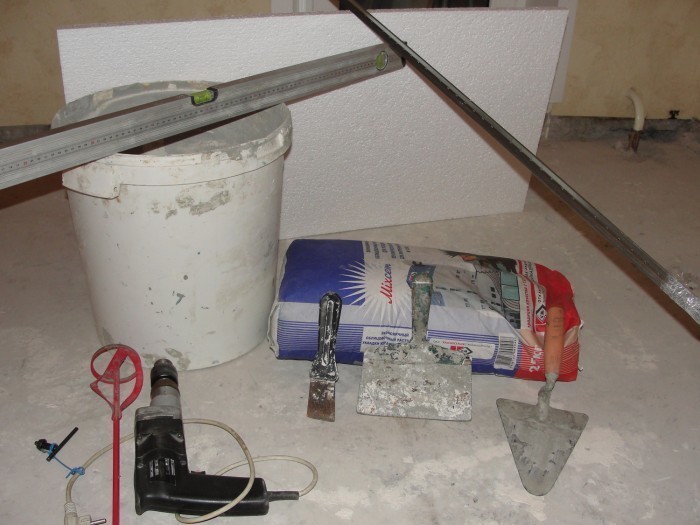
Instruments
For the installation will need the following tools:
- shovel;
- concrete mixer;
- reinforcing material;
- beacons to determine the evenness of the floor;
- the rule by which spilled concrete is distributed over the surface;
- vibrating machine or needle roller (to remove air bubbles).

Concrete pavement is slightly more difficult to make than other types of coatings (for example, rubber).
Training
Before pouring the concrete, it is necessary to prepare the ground with high quality. This process is especially necessary if the garage is located on a slope (you need to get a flat and solid monolithic slab). Preparation consists in leveling and strengthening the surface.
It consists of the following stages:
- removal of fertile soil and compaction of the remaining;
- laying a layer of rubble;
- laying a layer of sand;
- surface waterproofing.

It is possible to use gravel instead of rubble, but rubble is better because it does not have rounded edges (this ensures good tamping).
First you need to clean the surface of debris and remove the layer of soil. This takes into account the required distance from the base of the soil to the final result. If there is a lot of loose soil, it should be removed completely, and instead of it, more rubble should be laid. A layer of rubble should be at least 15 cm (allowed up to 80 cm, the best option is 30-45 cm).
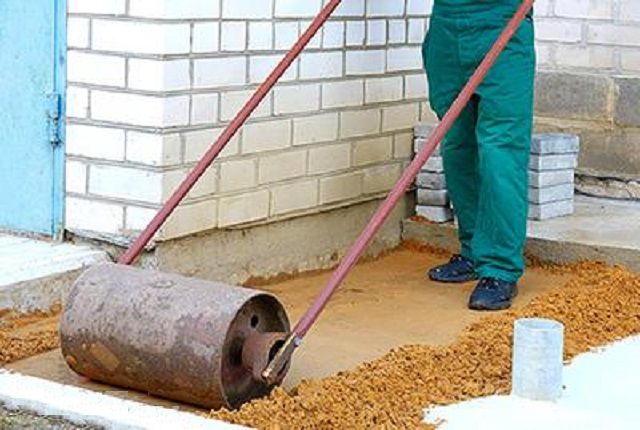
A layer of sand about 2-5 cm thick (optimally 10 cm) is laid on the layer of rubble. It is necessary to tamp the layer and pour water moderately. To continue the work, it is necessary to wait for the base to dry (approximately 1-2 days). Sand is suitable without clay. Before use, it is sometimes advised to sift it.
It is necessary to ensure that the layers fit smoothly. Tolerances up to 2 cm.

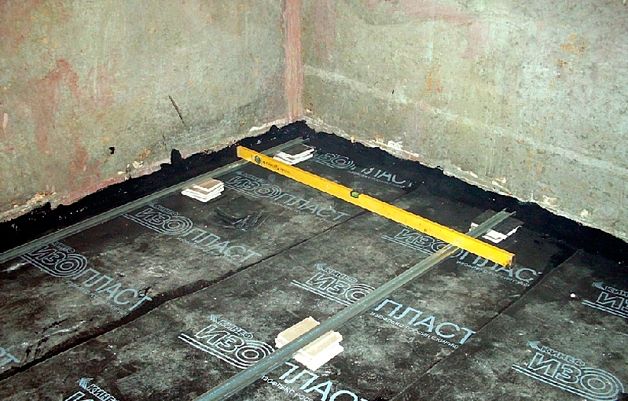
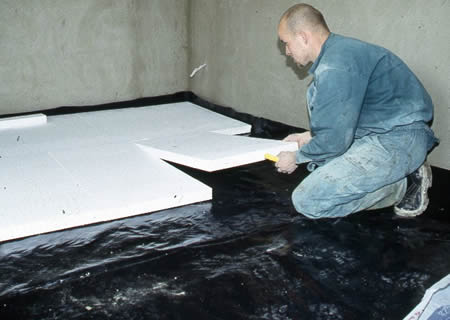
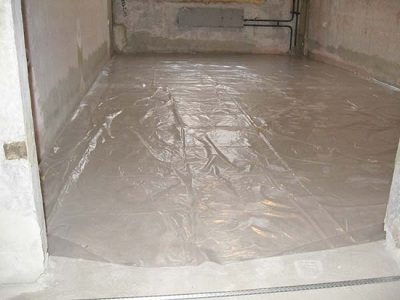
For waterproofing use plastic wrap that overlaps and finds on the walls at the edges. Instead of a polyethylene film, ruberoid, membranes and other means of sealing are used. You can use ordinary clay. In this case, it is necessary to apply the clay in a liquid state on the cleaned soil, and after it dries, start laying layers of rubble and sand.

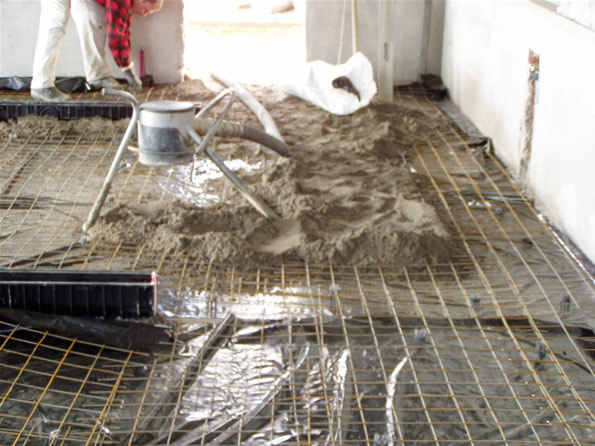
Subtlety fill
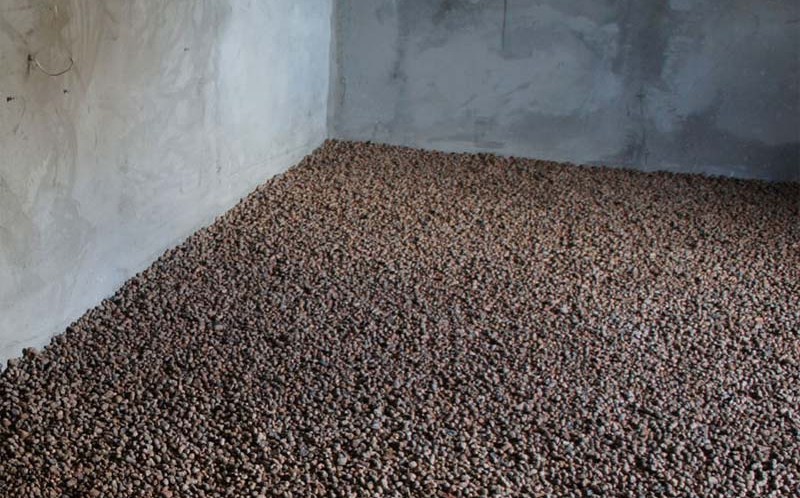
After the preparatory activities, you can proceed directly to the pouring of concrete. It is important to correctly perform this procedure: the quality of the coating and the appearance of the floor depend on it. The process consists of metal mesh reinforcement (allows you to reinforce a concrete base) and the pouring itself. If the garage is a heated room, after reinforcement it is necessary to conduct thermal insulation.Thermal insulation of a concrete floor is made with the help of expanded clay, penoplex and other materials.
Advantages of claydite:
- resistance to temperature changes;
- low cost;
- ease of self use.

The disadvantages of claydite are:
- fragility;
- moisture absorption;
- the need for a thick layer for good heat retention.
The disadvantages of Penoplex are the increased cost and destruction of the material under the influence of chemicals.
At the same time, he has advantages:
- high density;
- moisture resistance;
- ease of use;
- no toxicity.

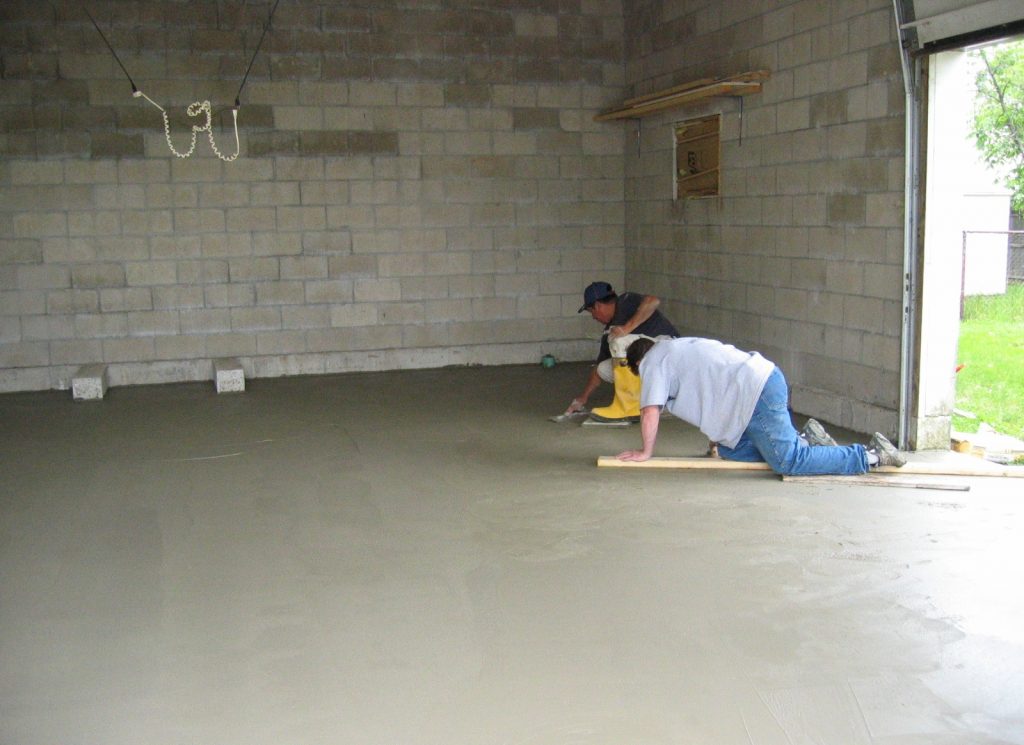
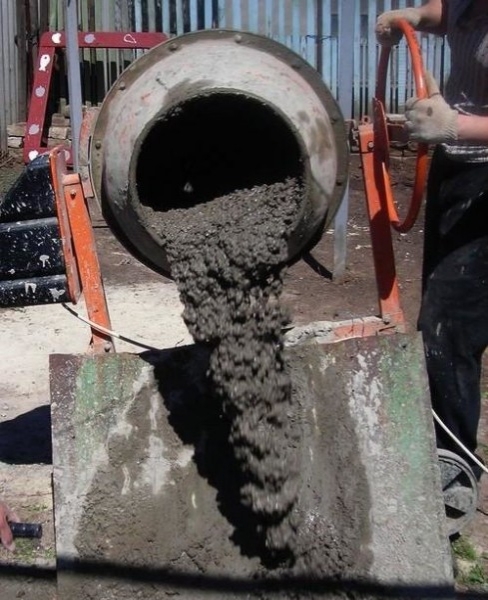
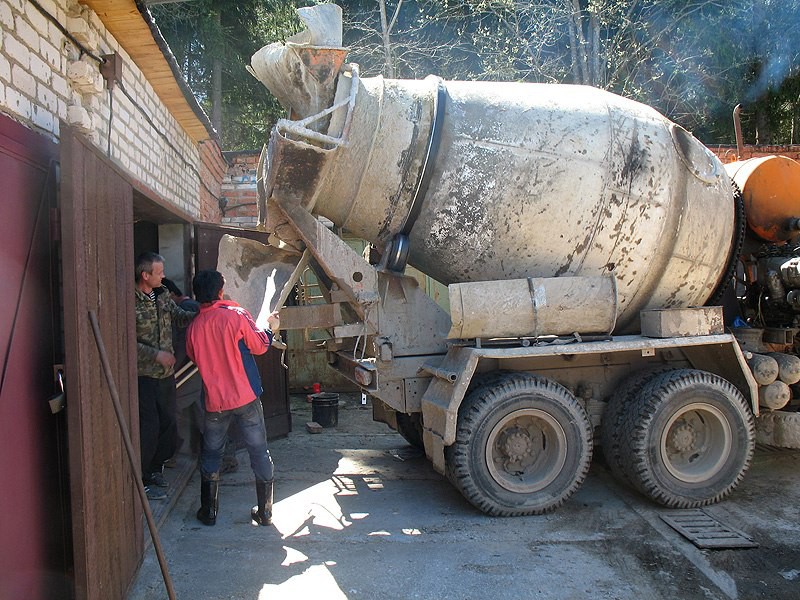
For reinforcement it is necessary to use steel reinforcing mesh, the size of the cells of which is not less than 10x10 cm. Steel wires are used to connect the parts of the mesh. Such a grid should act as a holding element, it will not allow the surface to collapse or crack. Fiberglass fittings are also suitable for the reinforcement of the floor of the garage, plastic screeds are used to join it. You can independently prepare the concrete, using a concrete mixer, but this is a long process, it will take a whole day to fill the floor.You can order ready-made concrete, which will only need to be evenly distributed over the entire area of the garage, although this method will increase costs.
With self-casting one person will be quite difficult to handle. This is due to the fact that it will require the preparation of a large amount of concrete, which will take a lot of time.
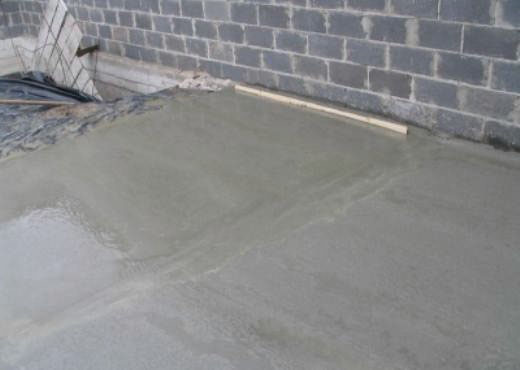
At the same time, concrete must be poured to form a monolithic slab immediately, not by parts. If you do not do it immediately, then the surface will quickly begin to crack. It is advisable to call someone to help or contact specialists.


It is better to use a low-speed concrete mixer. With its help, you can get a uniform consistency, which contributes to increasing the strength of the finished coating. It will not allow air bubbles to form in concrete, unlike a high-speed concrete mixer. You can purchase a factory-made mixture of concrete, which must be diluted with water before use. Due to the fiberglass in its composition provides an even and durable concrete pavement. Optionally, you can add to the mixture of the reinforcer.
For concreting it is better to use cement of a grade not lower than M300. From ready mixes choose the M150 brand. Before pouring concrete, it is necessary to consider the level of the floor slope and the finding of gaps. A slope is necessary to ensure that water flows evenly without remaining on the floor surface. Most often such a slope is made in the direction of the gate, it is approximately 2 cm. The gaps should be located within 0.5 cm from the walls.
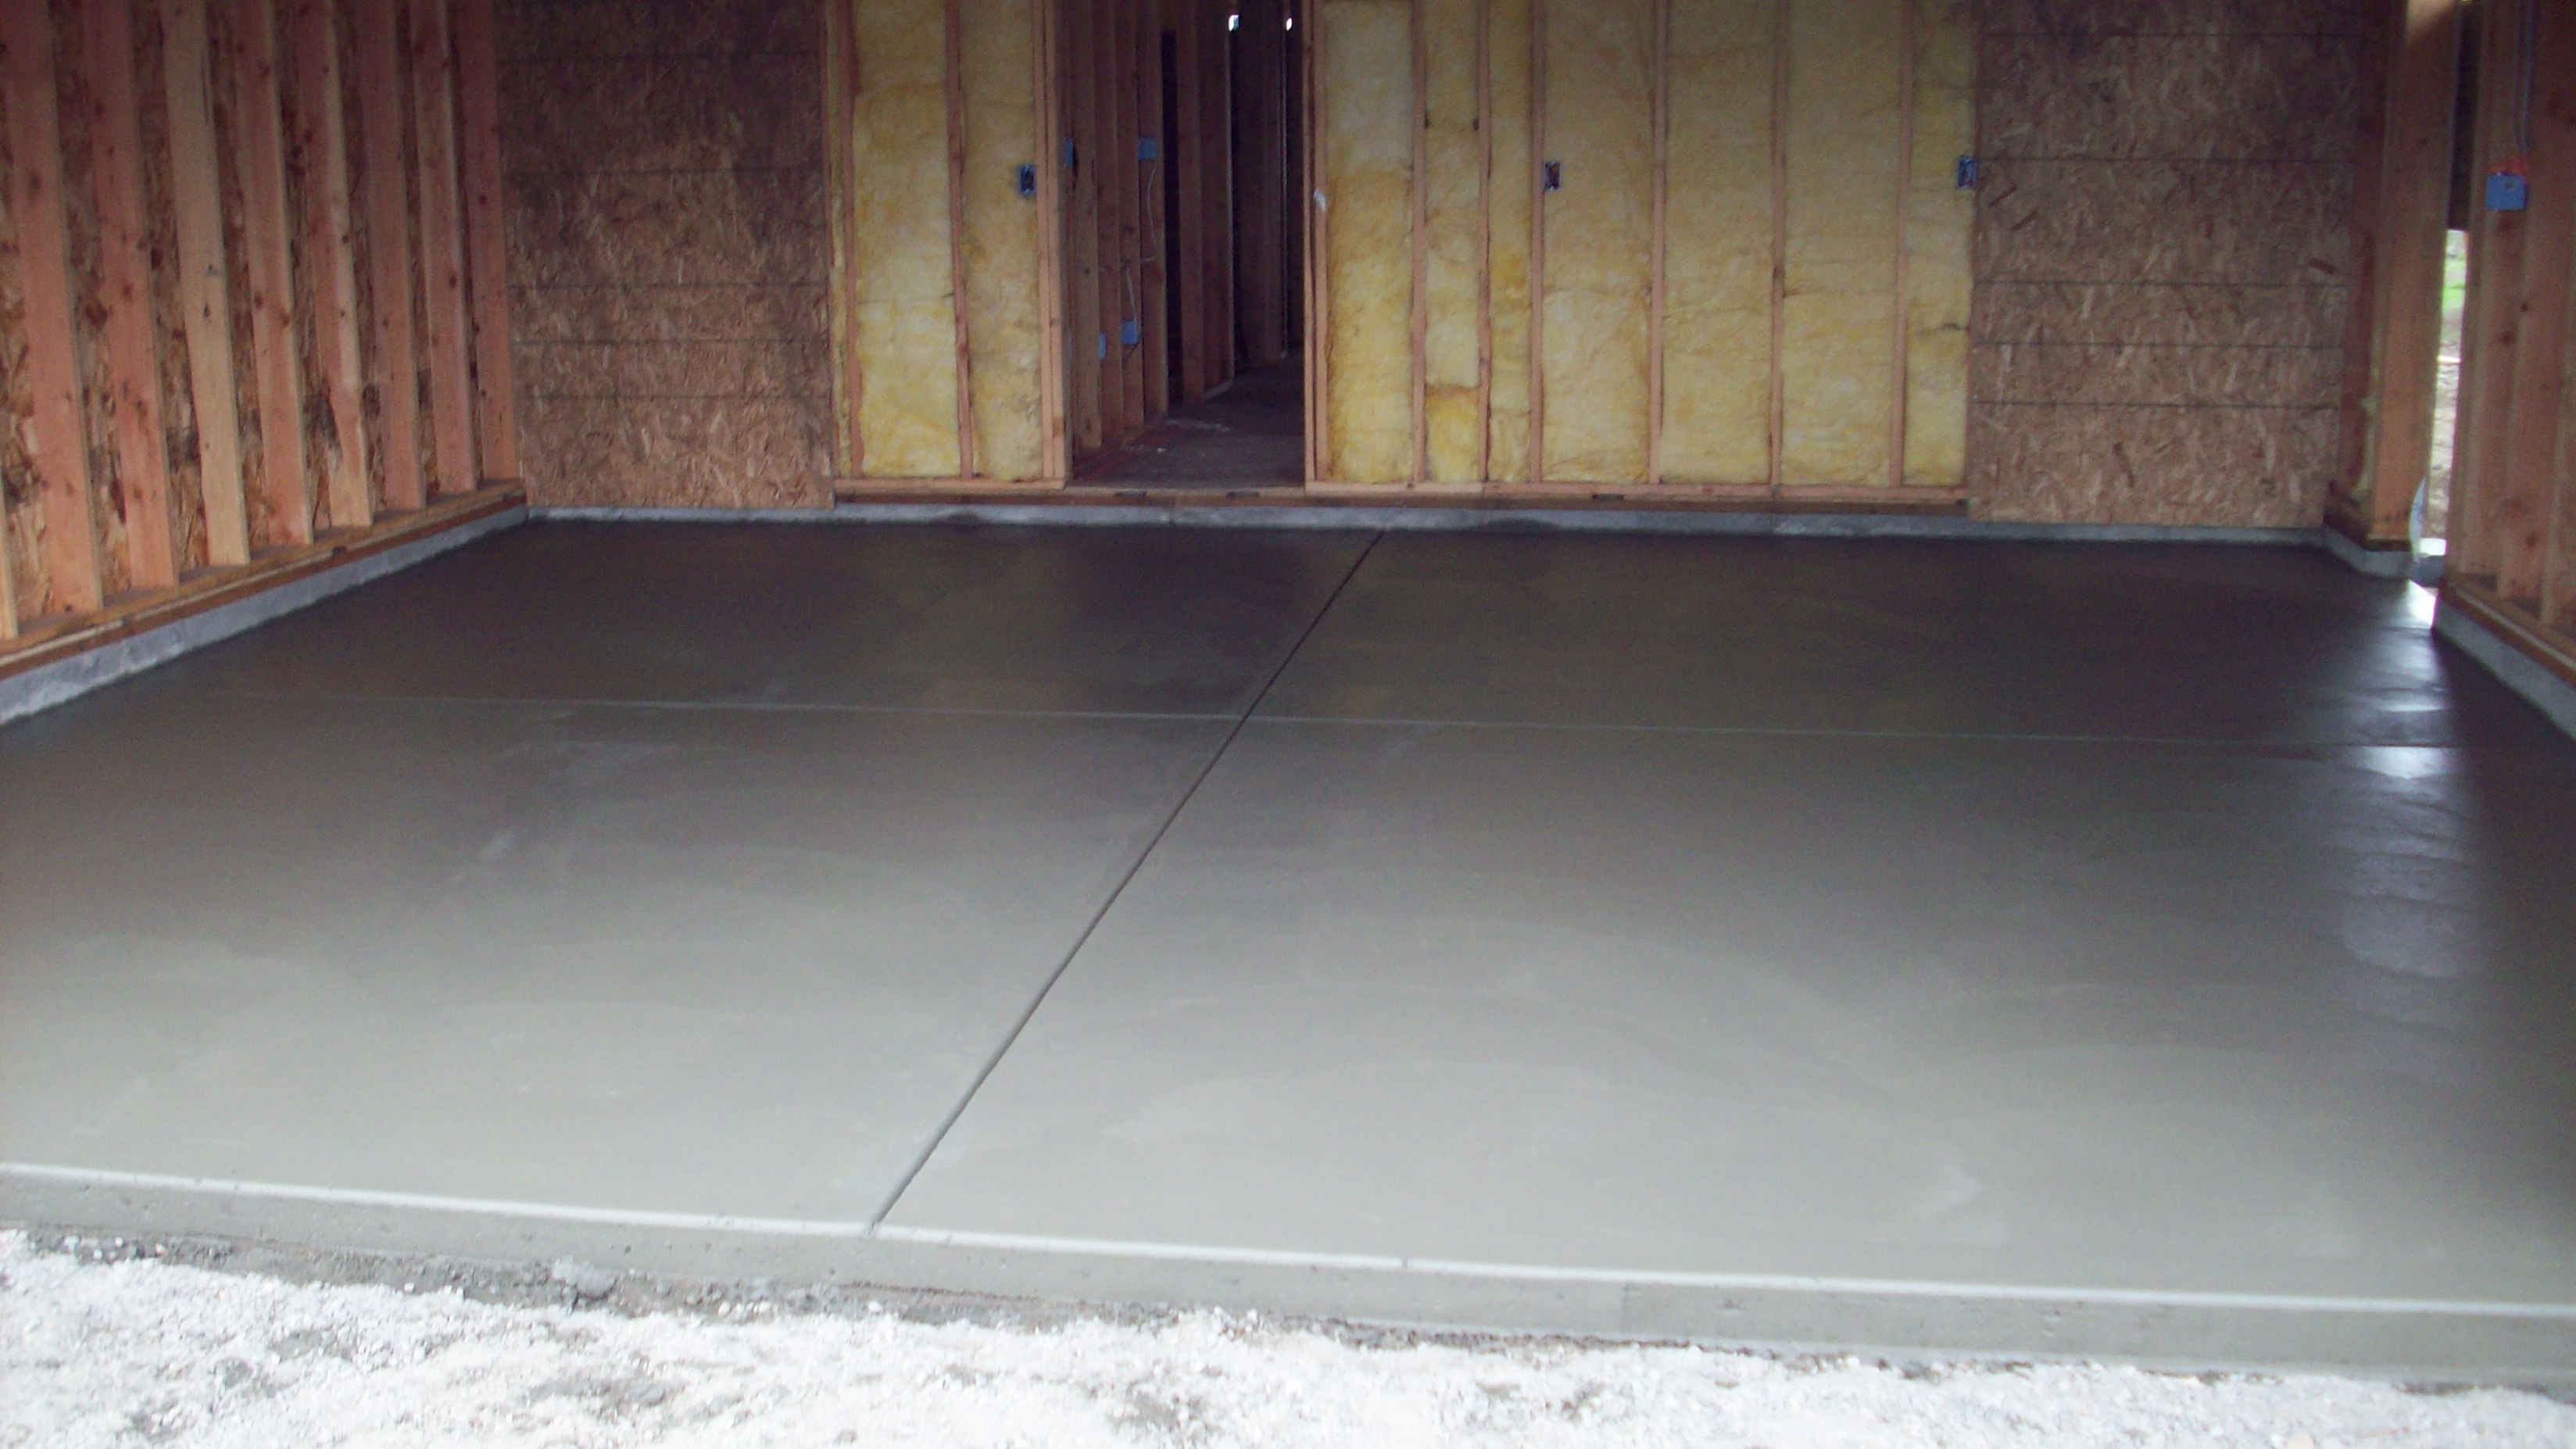
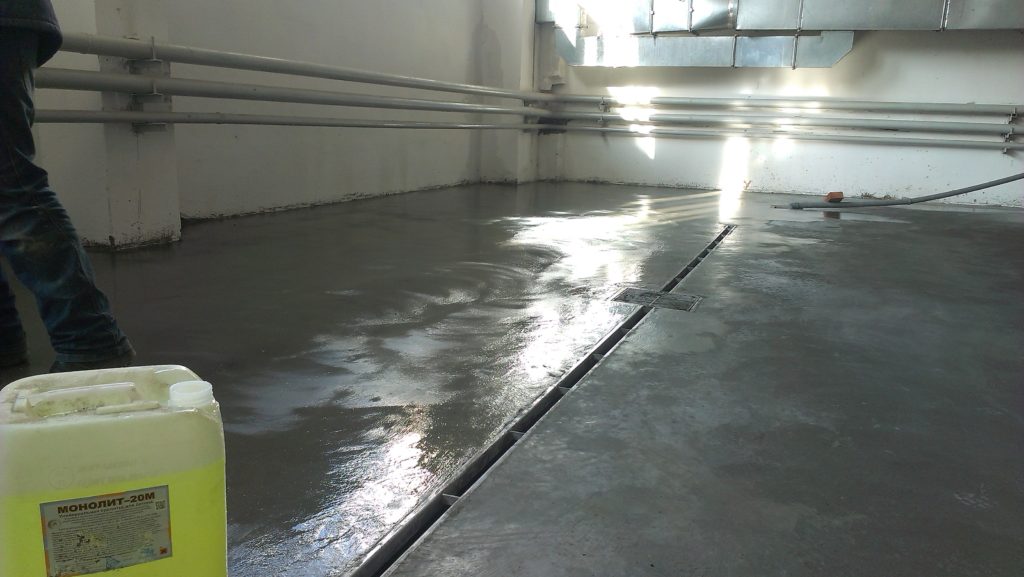
Pouring the concrete floor begins after the installation of lighthouses. Lighthouses serve as an indicator of evenness of coverage. They are placed around the perimeter of the room (along the walls and in the center), secured with galvanized profiles. Lighthouses can be fixed with a reinforcing mesh by welding, but this is not at all necessary.
In the role of beacons can be applied strips or pipes or purchase ready-made materials. Lighthouses begin to set up from the far wall of the garage to the exit. If air bubbles occur, they must be removed with a needle roller or vibrator if available. A special rule is to level the concrete based on the level of the lighthouses. All actions are performed in the direction from the far corner of the room to the exit.
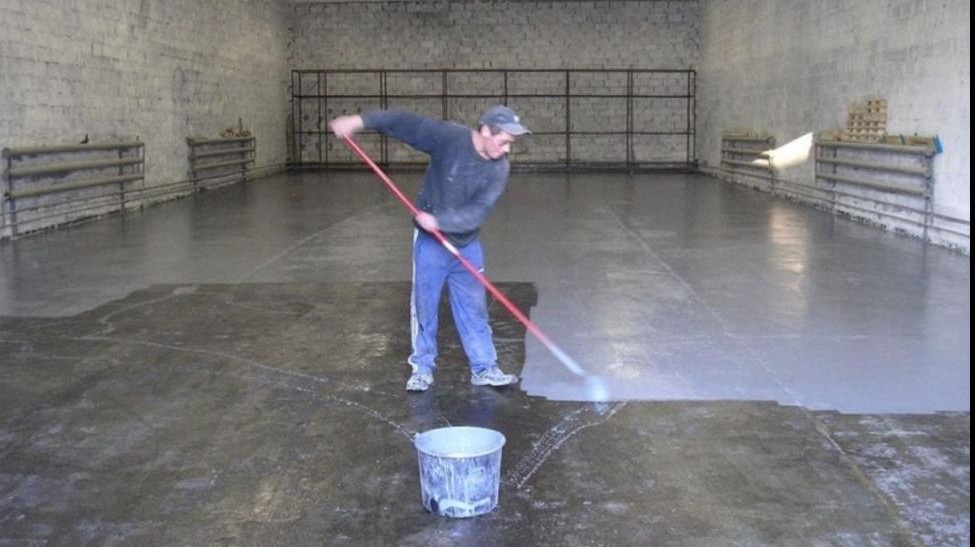
After concreting the floor, it is necessary to water the surface with water and cover it with plastic wrap. This will increase the strength of concrete, and the film will not allow water to evaporate quickly.For high-quality work it is necessary not to remove the film for two weeks, and preferably about a month (this will cause the interaction of cement with water).

Watering with water will ensure uniform drying of all layers of concrete. If it is not done, only the top layer of the coating will harden. Over time, this will cause the surface to crack.
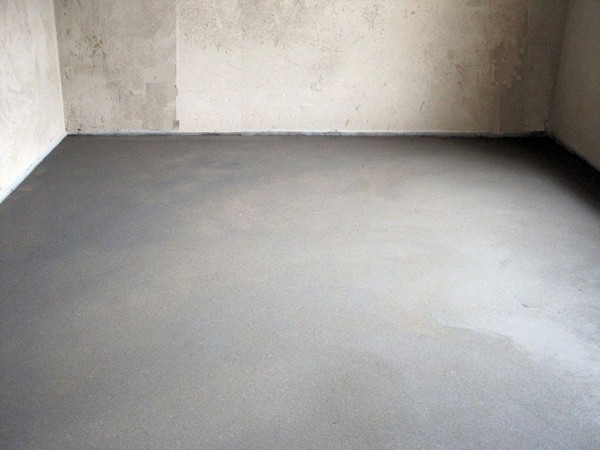
A day after pouring the concrete it is necessary to remove the beacons, the resulting space should be filled with a solution. Ready concrete floor will be difficult to remove dust because of the characteristic features of the structure of the coating.

Concrete flooring options are varied.
To do this, you can use:
- ceramic or tile;
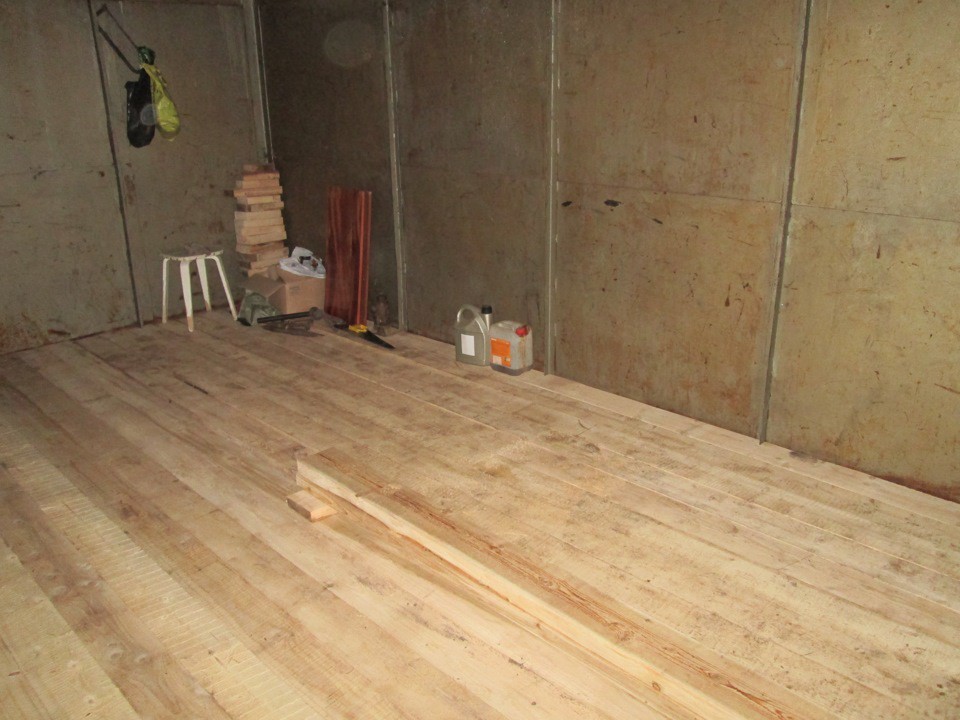
- tree;
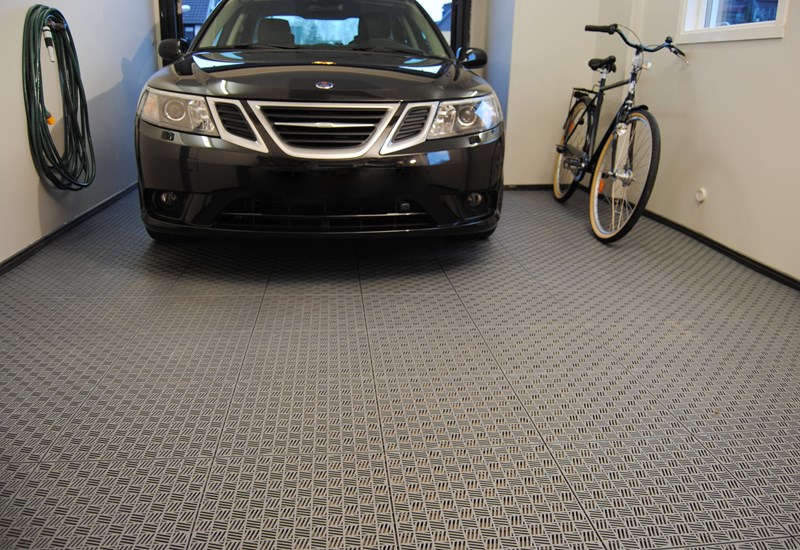
- rubber;
- staining.
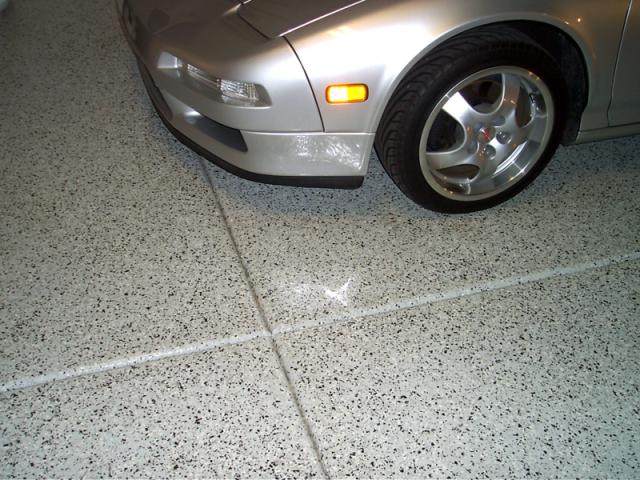

The latter method is used more often. Consider it in detail.
Painting
Coloring concrete does not lose its popularity. Due to this, on the modern market a wide range of coloring materials are presented, which are characterized by a rich selection of colors and textures. When choosing a paint, it is necessary to pay great attention to the parameter of resistance to stress and mechanical damage. The main property of the paint is a protective function.For a concrete floor, acrylic or epoxy paint and varnish compounds work best with this function.
Before applying the paint, it is necessary to clean the concrete surface from dust, dirt, make sure that it is even and free from defects. For better adhesion, it is preferable to perform surface treatment with a deep penetration primer. It will strengthen the base and forms a film on the surface that promotes maximum adhesion of paint to the base.
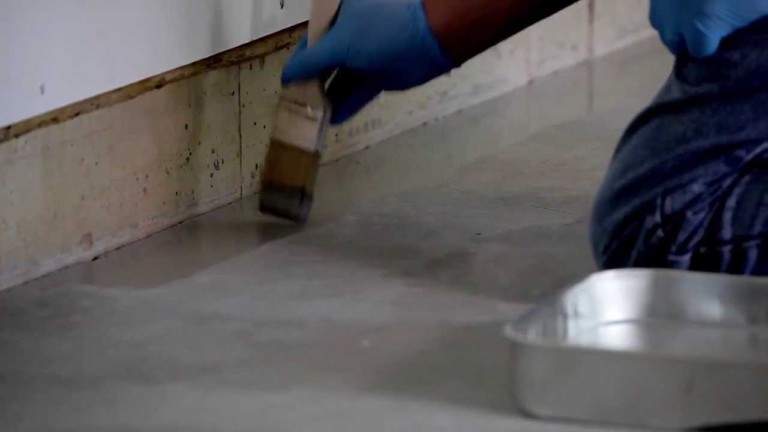
The composition is purchased taking into account the type of surface (especially for concrete).
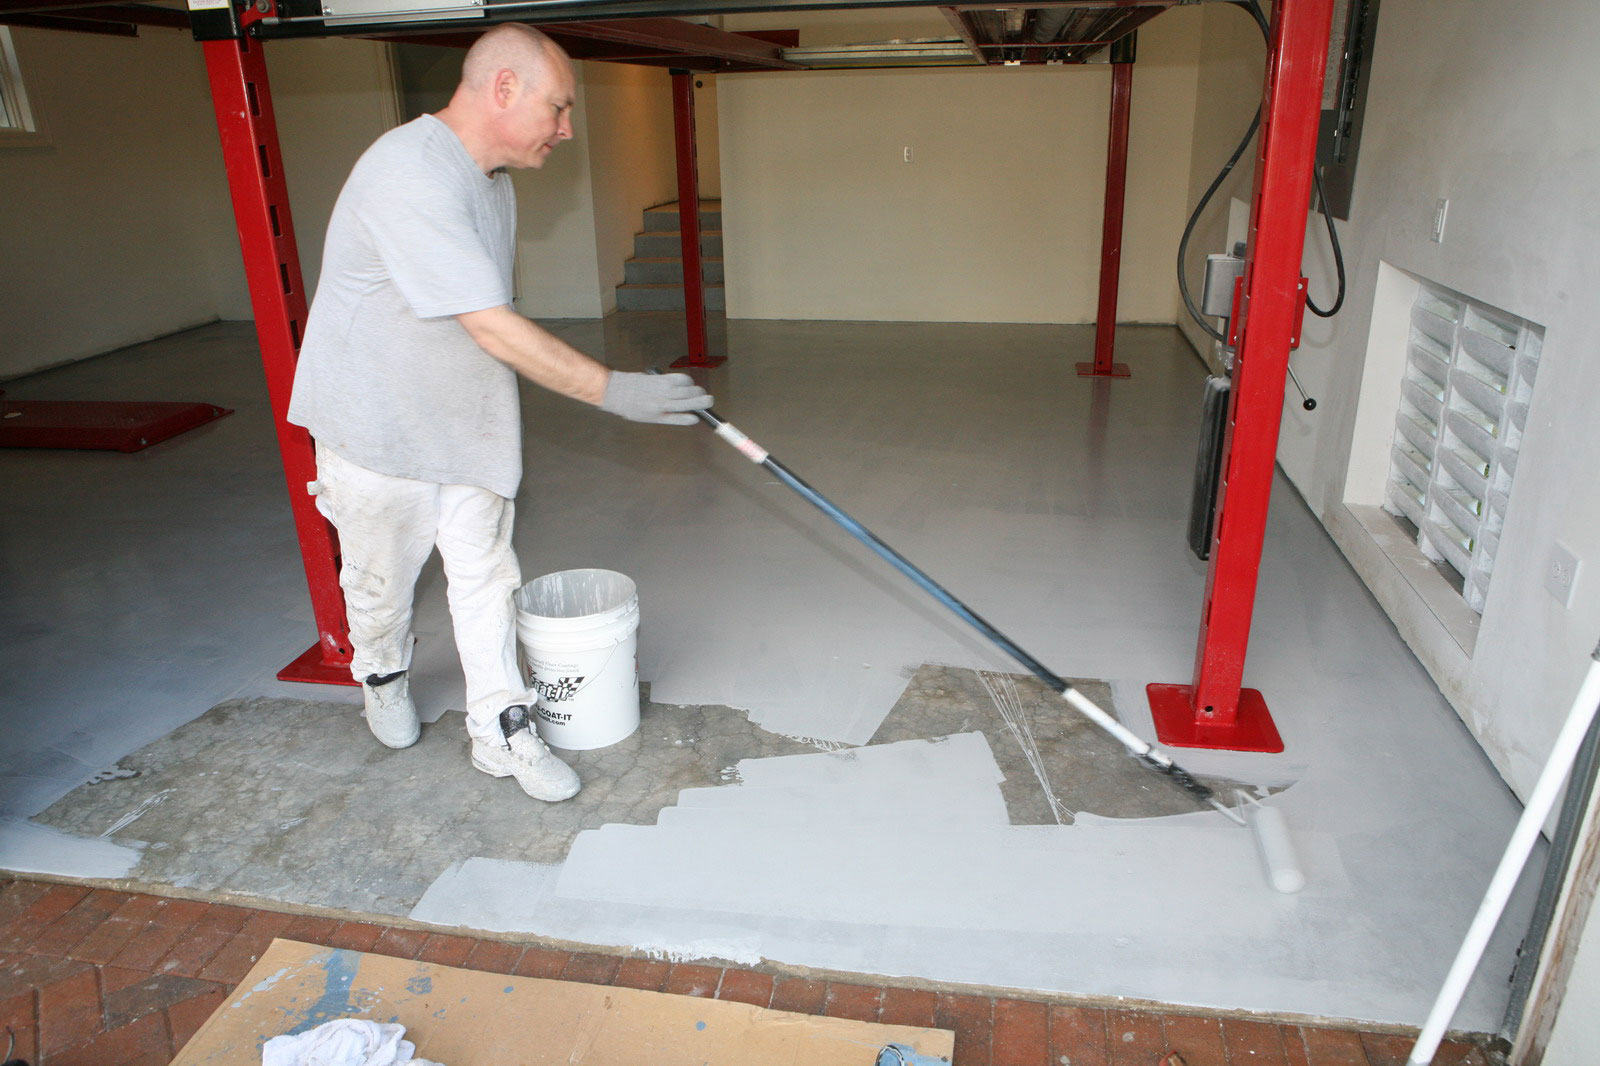
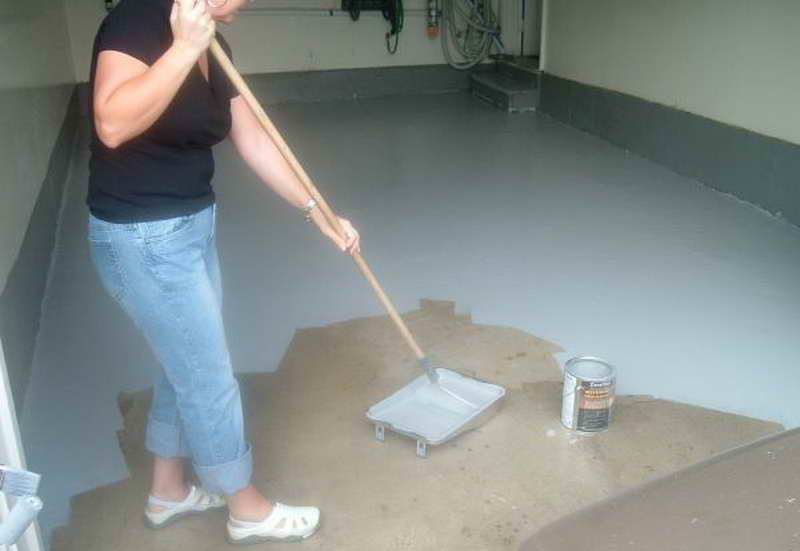
The dye is applied by roller or spray. It is better to paint the surface twice. Apply a new layer only after complete drying of the previous one. Masters advise to give the layer two days for complete drying. It is necessary to paint the walls and 20 cm from the floor.
If we compare acrylic, epoxy and polyurethane paints on the properties and parameters of wear resistance, we can conclude that epoxy coatings are better suited for the garage. They have better resistance to mechanical damage and are more adapted to high loads. Covering concrete with paint protects the floor and transforms it.Paint color should be selected in accordance with the overall design, based on the fact that contamination should not be noticeable.
Painting in a cold room should not be: it can badly fix.
Useful recommendations
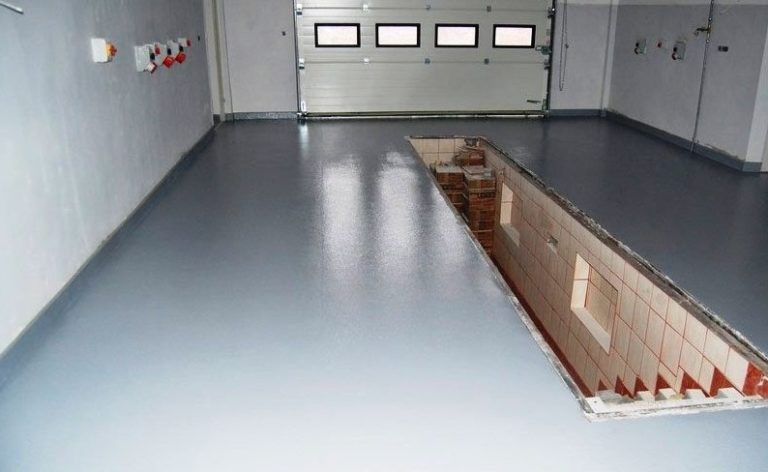
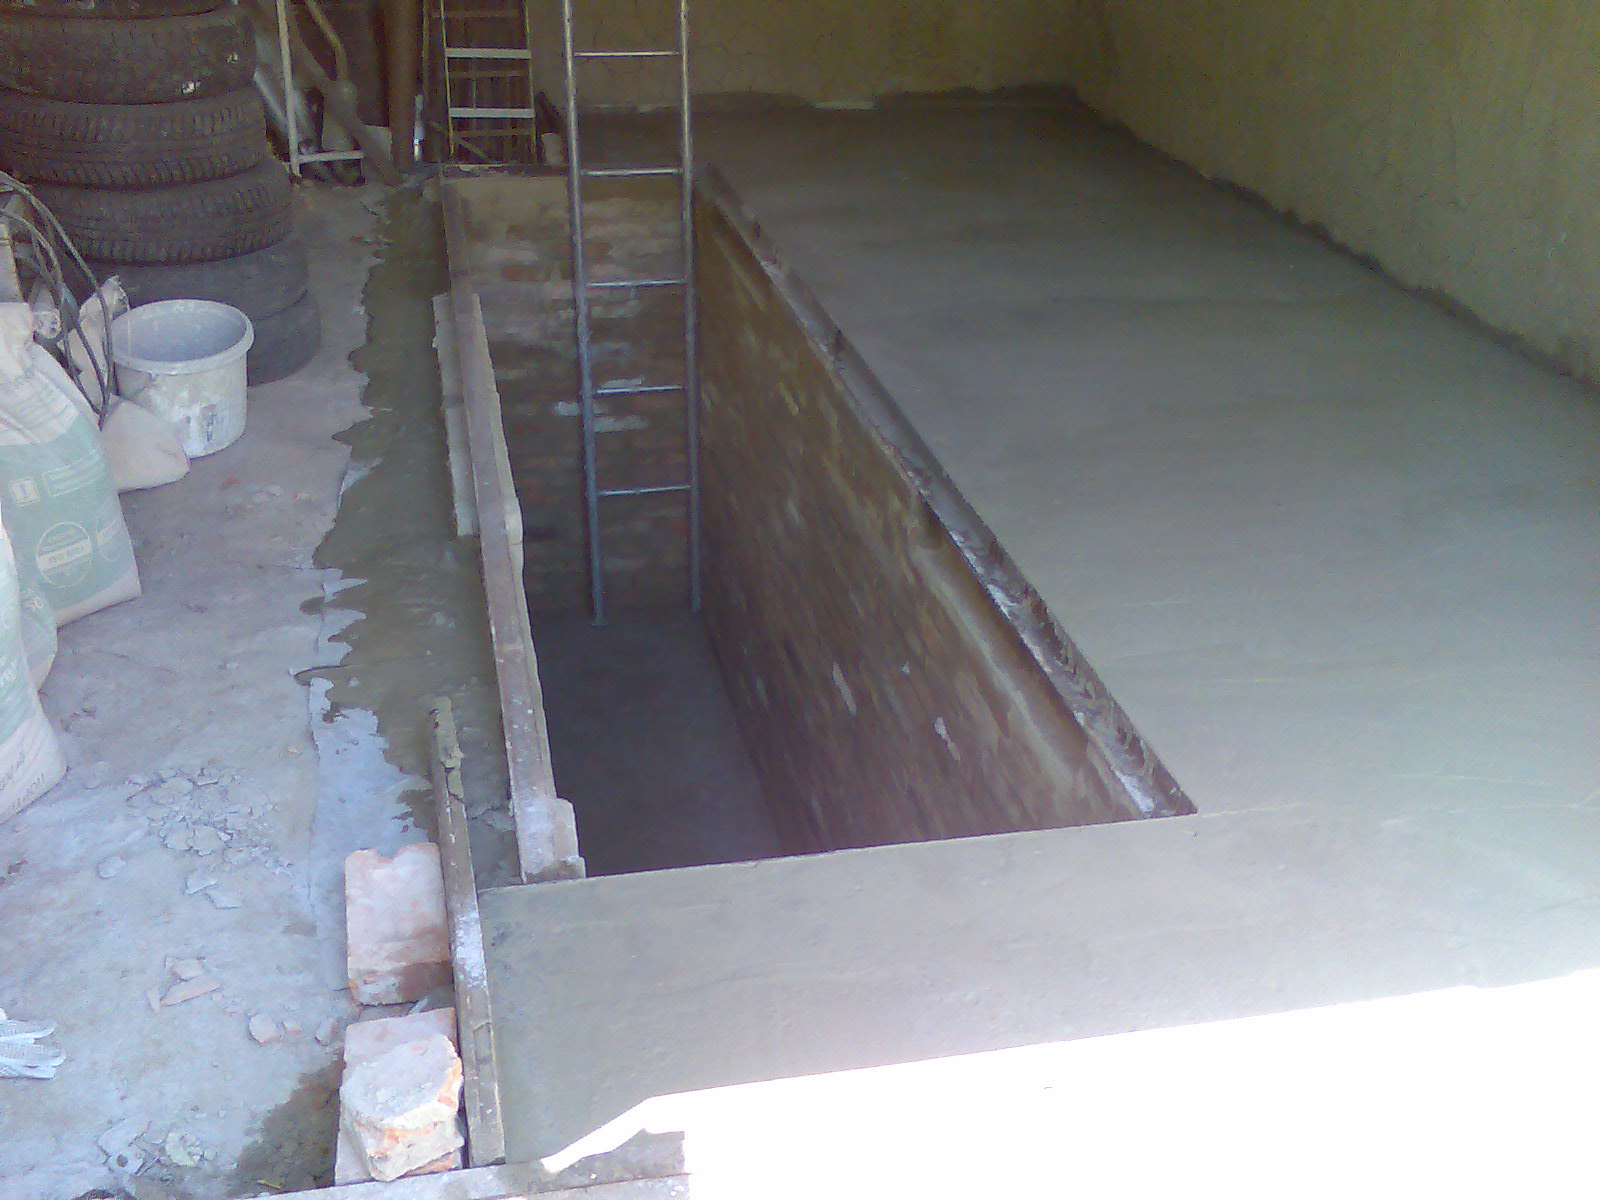
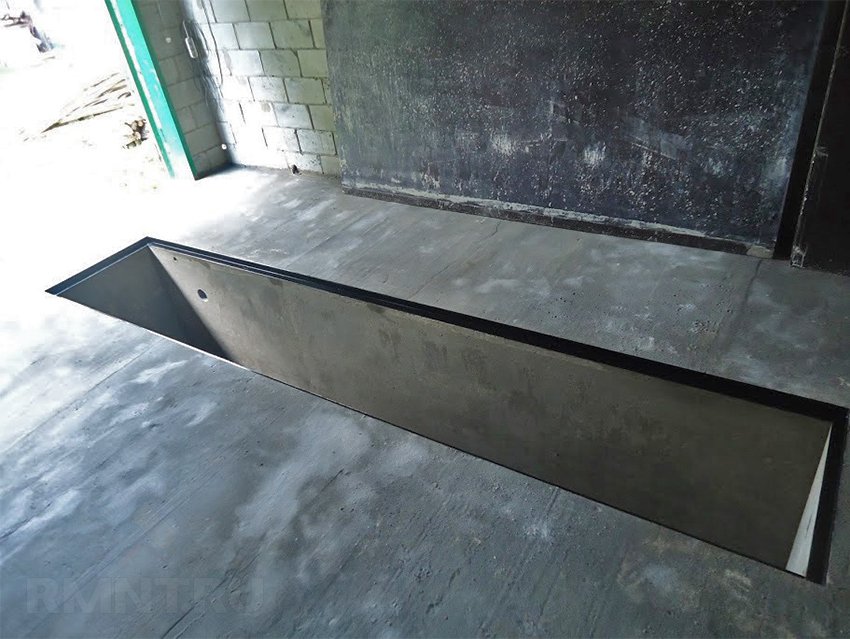
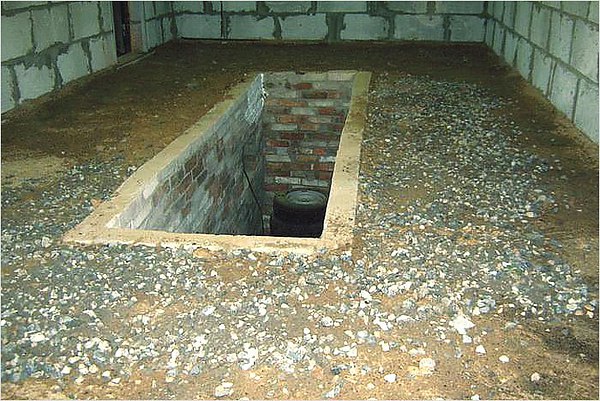
If the garage provides for the presence of a viewing pit, the corresponding pit should be dug at the stage of soil preparation. For the convenience and ease of arranging the future inspection pit, it is better to use special equipment, no need to dig by hand. This option is available until the walls and ceiling of the garage have been erected.
Factors requiring attention during the construction of the inspection pit are:
- dimensions of the car, the distance between the wheels of the car;
- the dimensions of the garage itself (there should be enough space for the car itself and some maneuvers);
- height and physique of the owner of the garage (nothing should prevent the inspection and repair of the car).

When calculating the depth of the pit, it is necessary to remember about laying a layer of rubble and sand. To prevent debris and water from entering the inspection pit, the height of the pit walls should be approximately 5 cm (including all layers).
In advance, you need to know about the level of groundwater. If their level passes above 2.5 m, it is not recommended to build a viewing pit. It will always be flooded with water, and even waterproofing will not help.
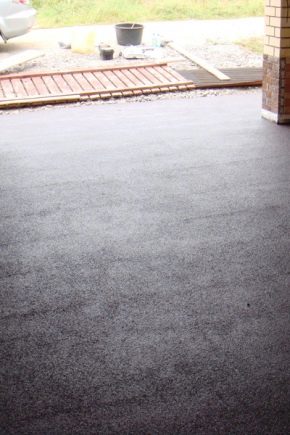
Of great importance is the entrance to the garage. It is strengthened, reinforced and concreted. The entrance to the garage is usually inclined. It can be subjected to painting or other type of coating. When painting it is necessary to process the walls up to 2 cm from the base, paying attention to the joints with the floor.
How to pour concrete floor in the garage, see the following video.


