Beautiful ideas for decorating two-level plasterboard ceilings with backlighting
Choosing the design of the ceiling, pay attention to the two-level design of plasterboard with light. Multistage forms allow you to get away from stamping and transform any room. The advantage of options with two tiers over the rest is that a ceiling with too many levels is more difficult to make technically and more costly for materials.
Advantages of drywall ceilings
Builders finishers often use drywall sheets to create new structures and structures. The reasons for such popularity of the material lie in the relatively low cost and ease of use.
There are also a number of advantages over other building materials:
- GKL installation does not take a lot of time.
- Additional insulation (especially important in apartment buildings).
- GCR can create a variety of forms.
- Gypsum sheets can easily fix uneven surfaces, while you can avoid the long process of leveling walls and ceilings with plaster.
- GKL sheet has a small mass, which facilitates its transportation and installation.

Do it yourself
The finished look of a two-level, plasterboard ceiling with backlighting can scare a novice builder by its complexity. But in fact, to mount a simple construction of drywall under the force of any man. Below is an approximate procedure.
- Plan. If you decide to do the repair yourself, then at the first stage draw a sketch of the desired ceiling, while taking into account the overall interior design. After the sketch, you need to make an exact engineering calculation with a detailed plan, on which the installation sites of the frame and fasteners for plasterboard sheets are applied, the connection points of all the lamps are marked.
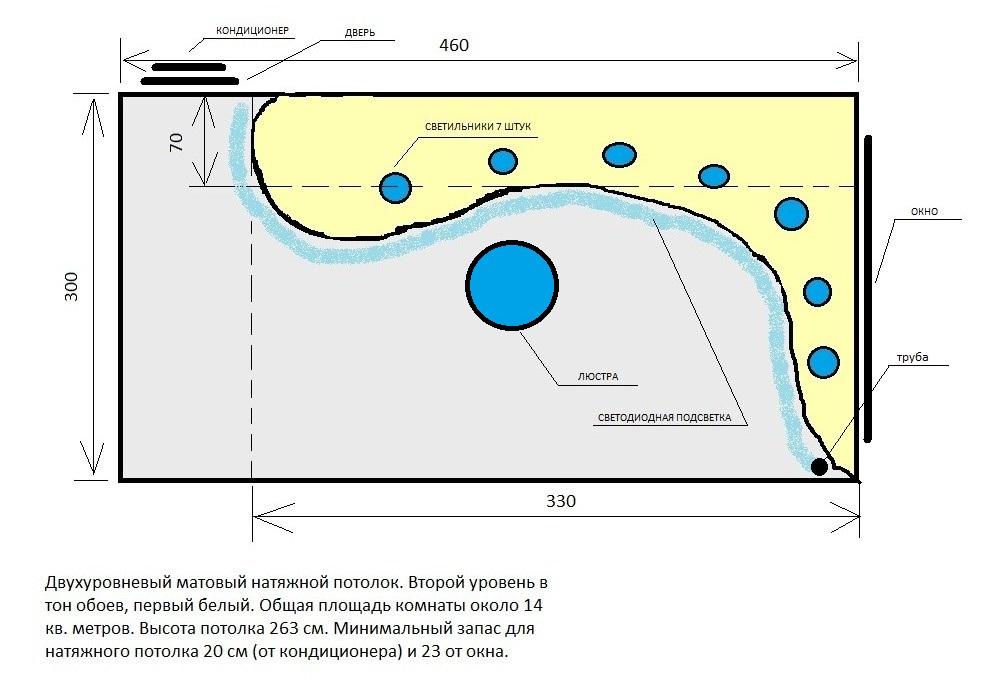
Consider the calculation of the load and the selection of electrical components and wires with particular meticulousness; if difficulties arise, it is better to invite a professional electrician.
For installation in plasterboard designs, choose small and not heavy fixtures, preferably, if they have their own mount.
- Marking on the surface of the ceiling. Prepare the ceiling surface: remove the lagging layers of old coatings (plaster, paint, ceiling tile), close the cracks with plaster. It is better to free the room from furniture and other things, but if this is not possible, cover all surfaces with a film to protect it from construction dust. The markup will require a construction level, and even better if it is a laser tool. On the walls there is a lower level of the ceiling, along which all the elements from the gypsum board will be aligned.

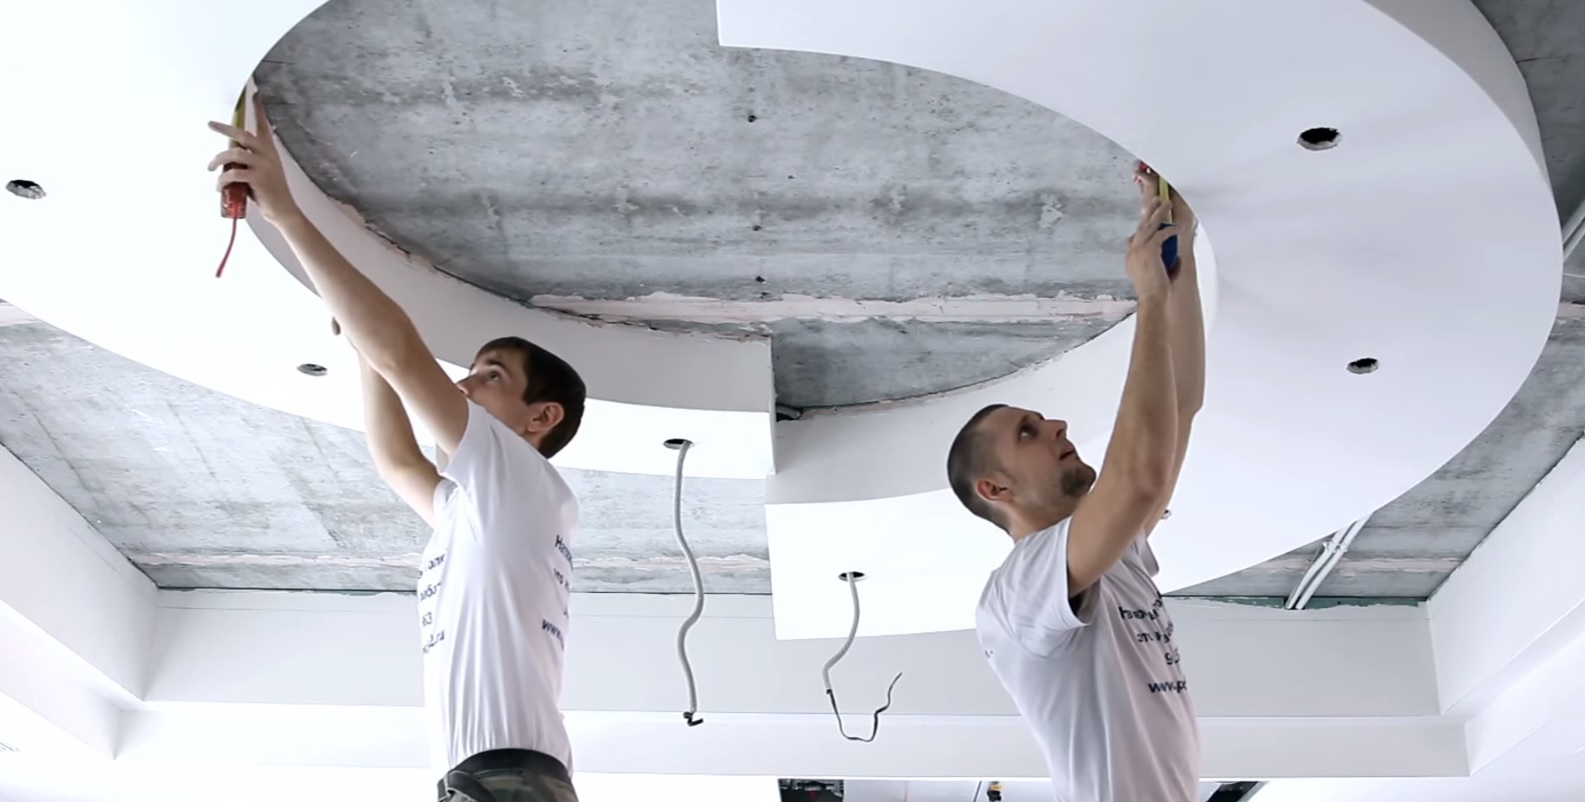
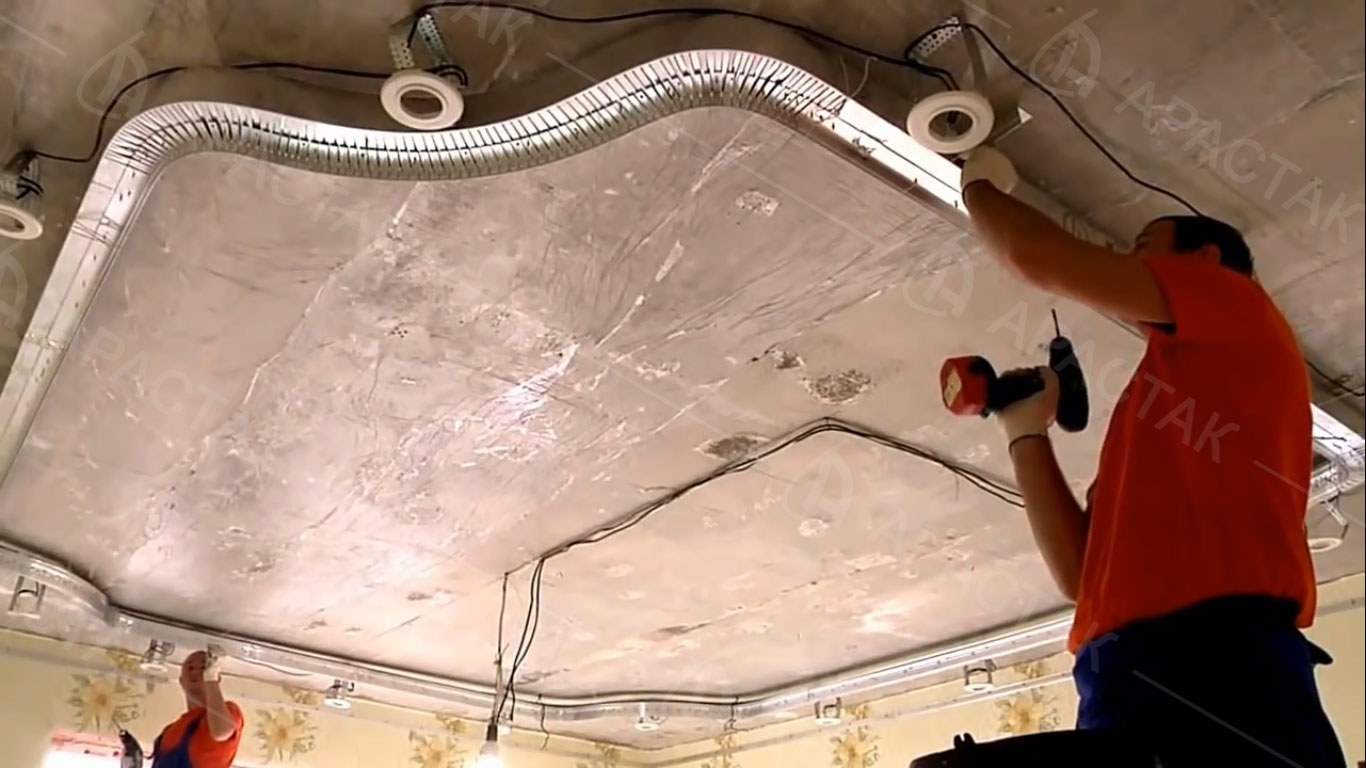
- Mounting the frame for GCR. A guide profile is fastened along the perimeter of the ceiling (it is designated as UD). To the guides are mounted carrier profiles (CD). Additional stability throughout the frame will provide direct suspensions that serve as fastening profiles to the ceiling plate.
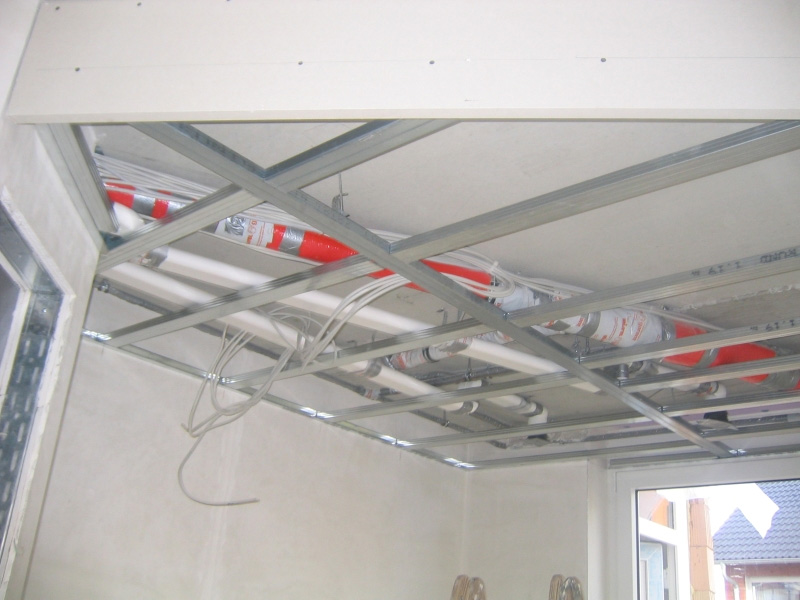
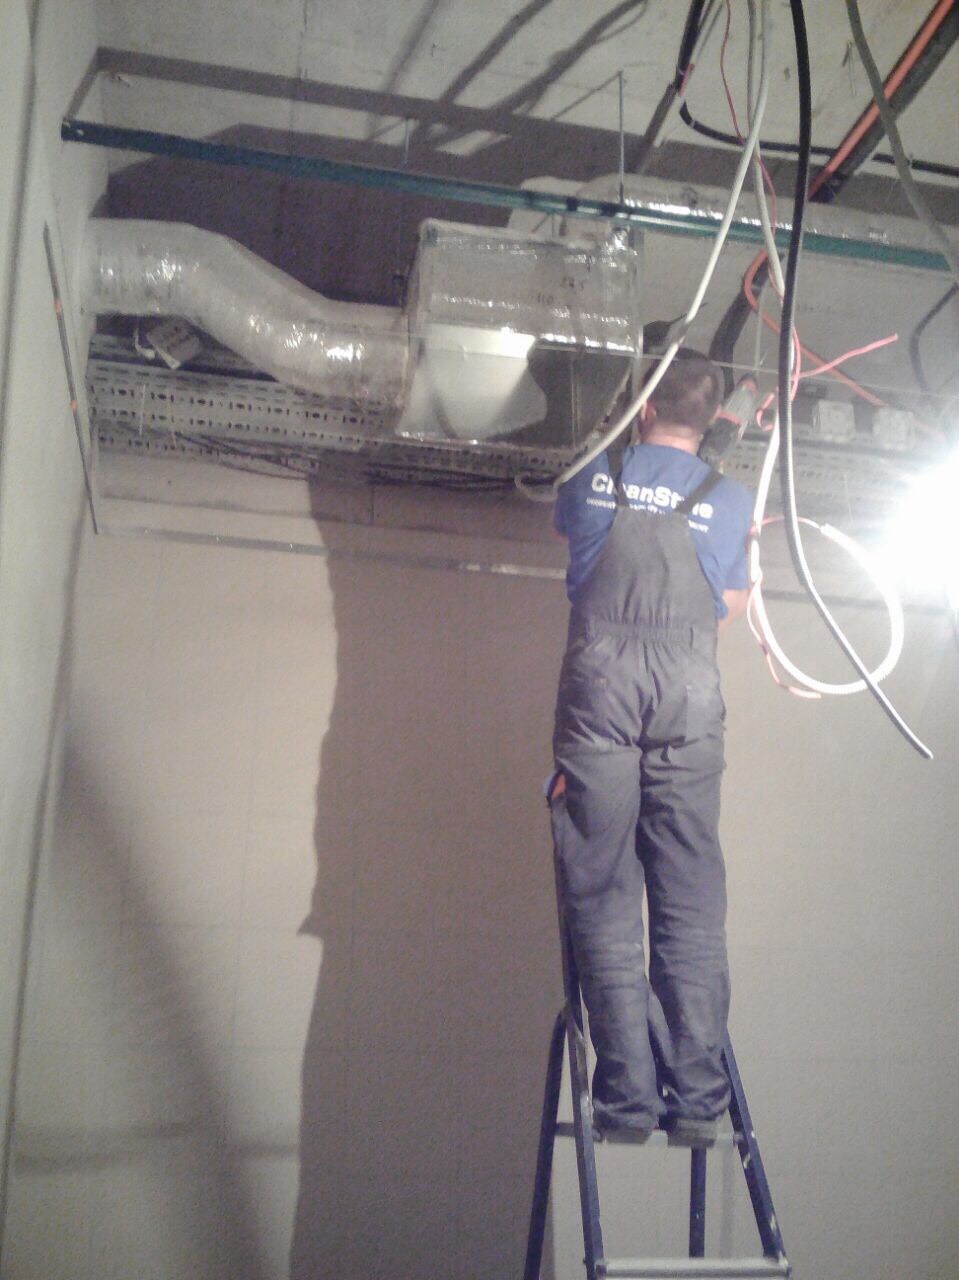
- Electrical wiring. Working with electricity is very dangerous, so follow the safety rules:
- Calculate the load on the wires with a margin;
- Lay the wires in flexible non-flammable PVC pipes;
- Do not touch the frame parts with bare wire edges.
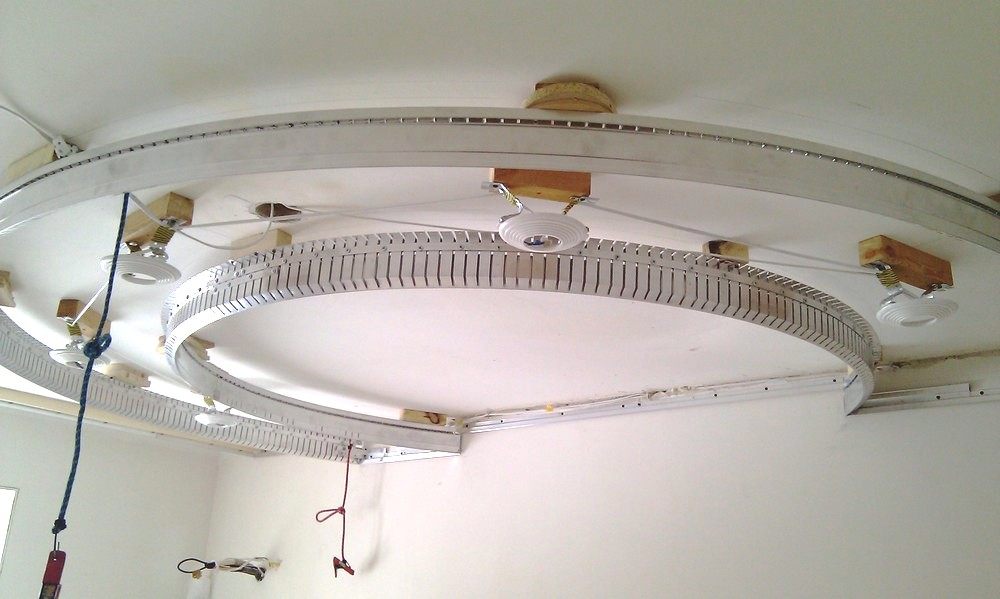
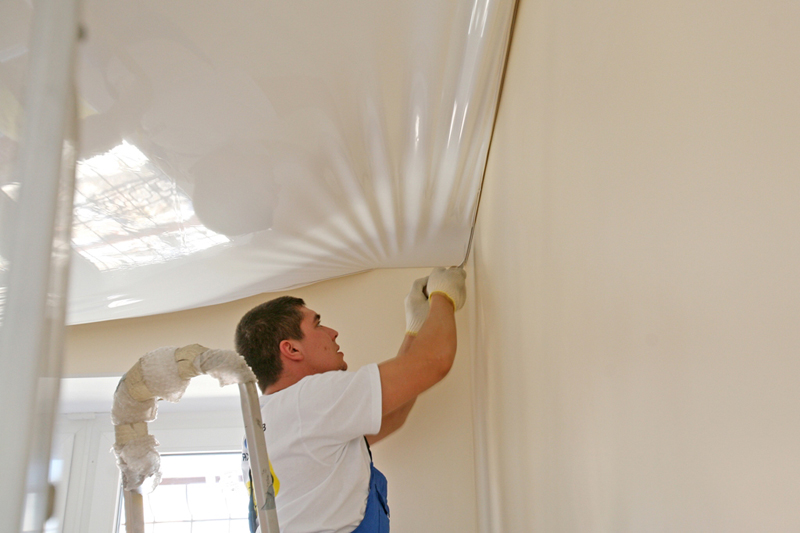
- Mounting drywall sheets. Prepared elements of gypsum boards according to the general design are fastened to CD profiles with self-tapping screws (note that they must be designed to work with gypsum boards).
- Final works:
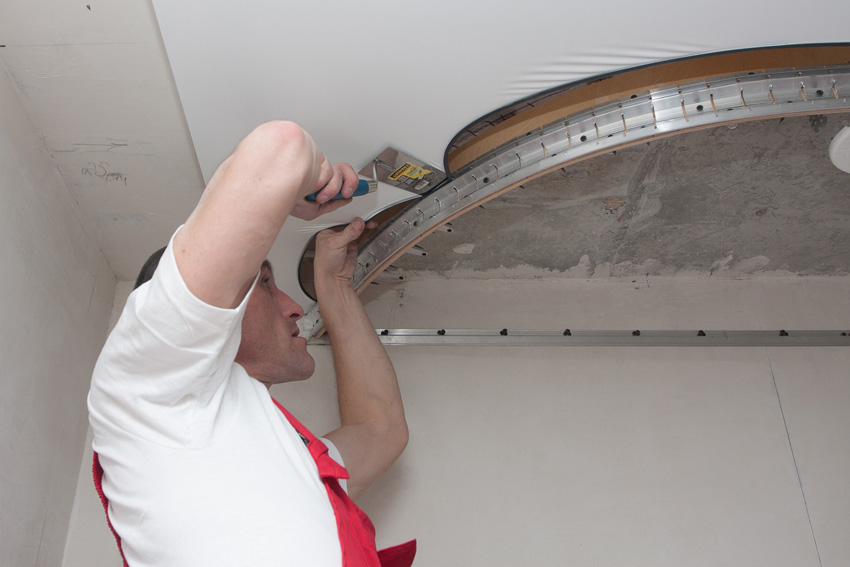
- The joint of plasterboard elements is closed with reinforced tape, which will hide the seams and give strength. Or you can putty all joints.
- Priming and painting the entire surface of the plasterboard.
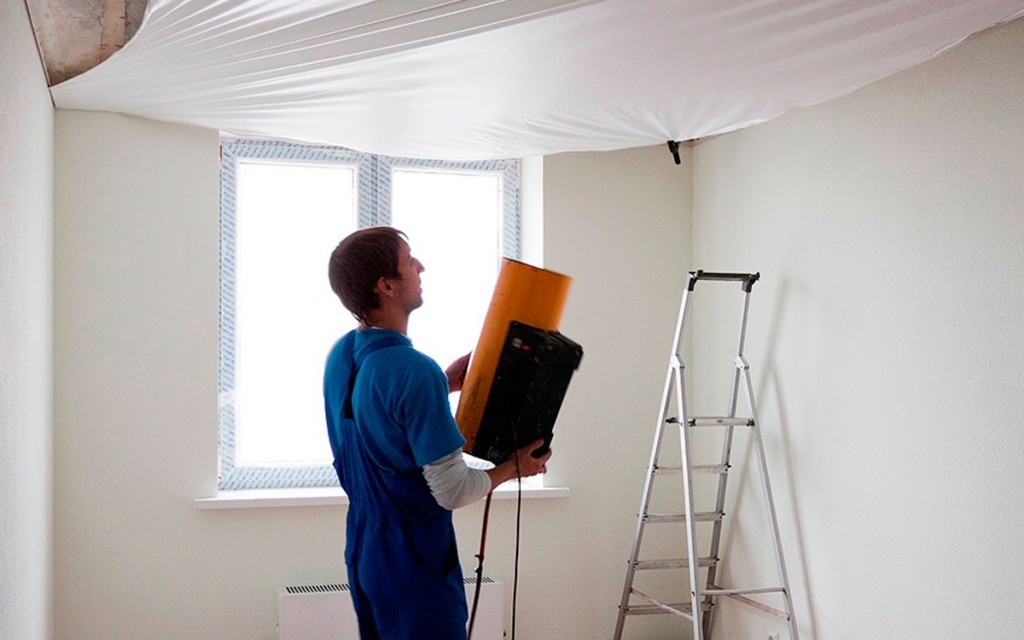
- Installing stretch ceiling (if provided by the sketch).
- Installation of external fixtures.

If you plan to turn to a professional repair team, then pay attention not only to the cost of work, but also to reputation, reviews, recommendations. The cost of such works can vary greatly, depending on the region, but the average price can be considered 600-800 rubles. / sq. m, taking into account the cost of materials.
If you do not take into account the materials, then on average for working with a plasterboard ceiling will have to pay about 300 rubles. / sq. m

The choice of lighting
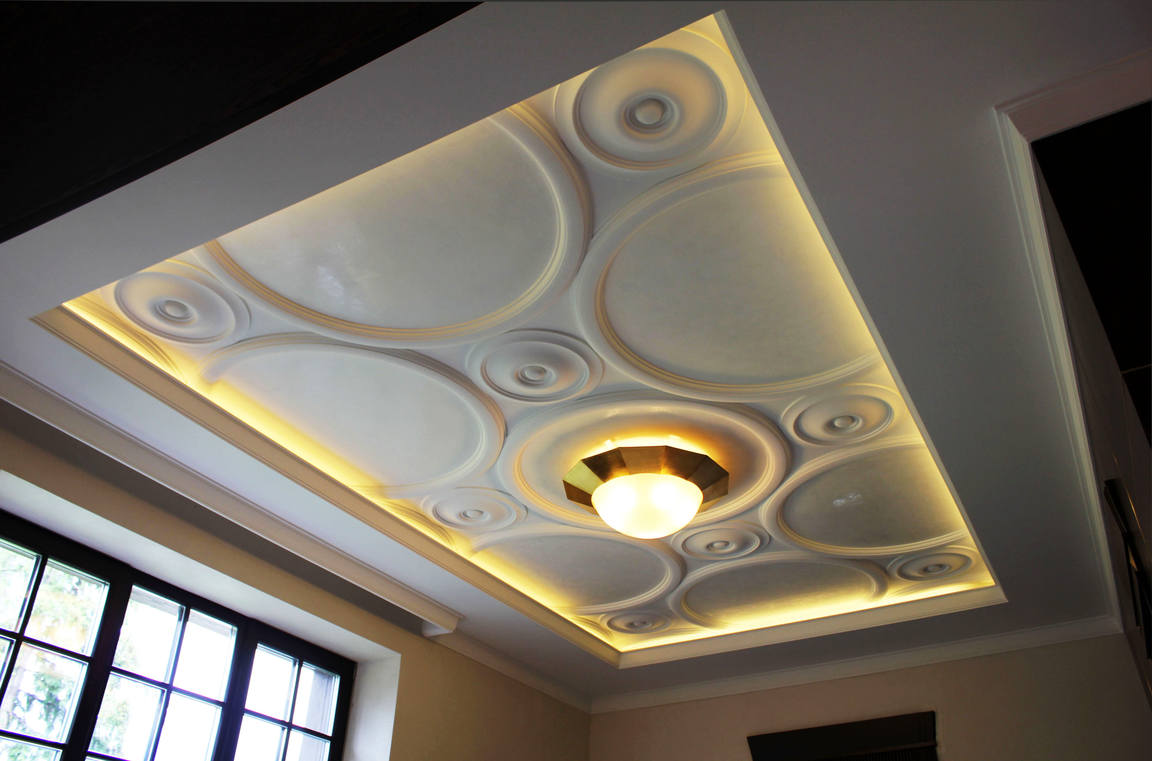
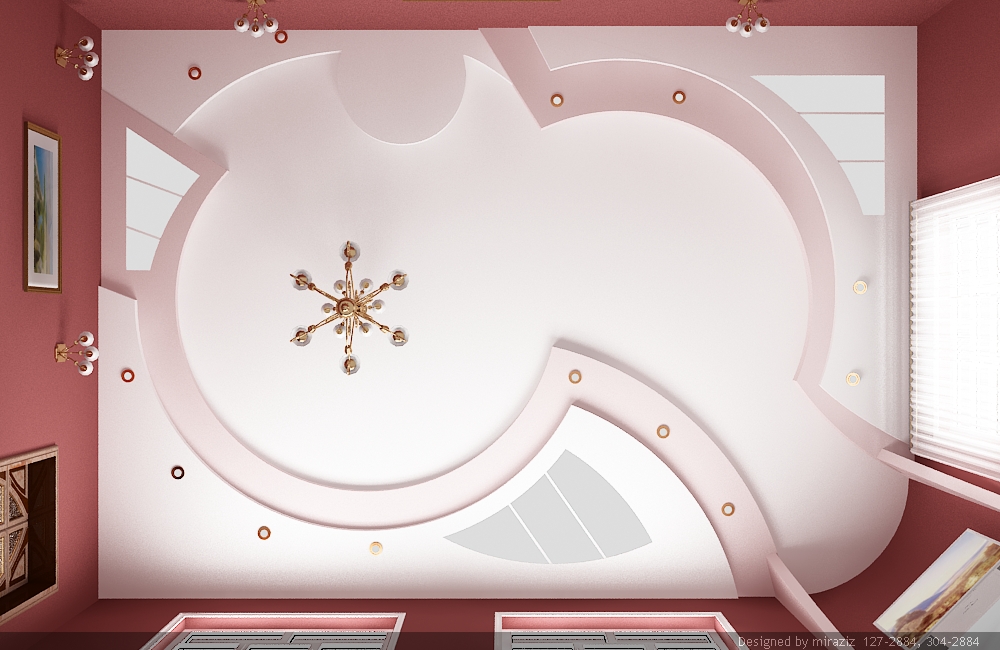
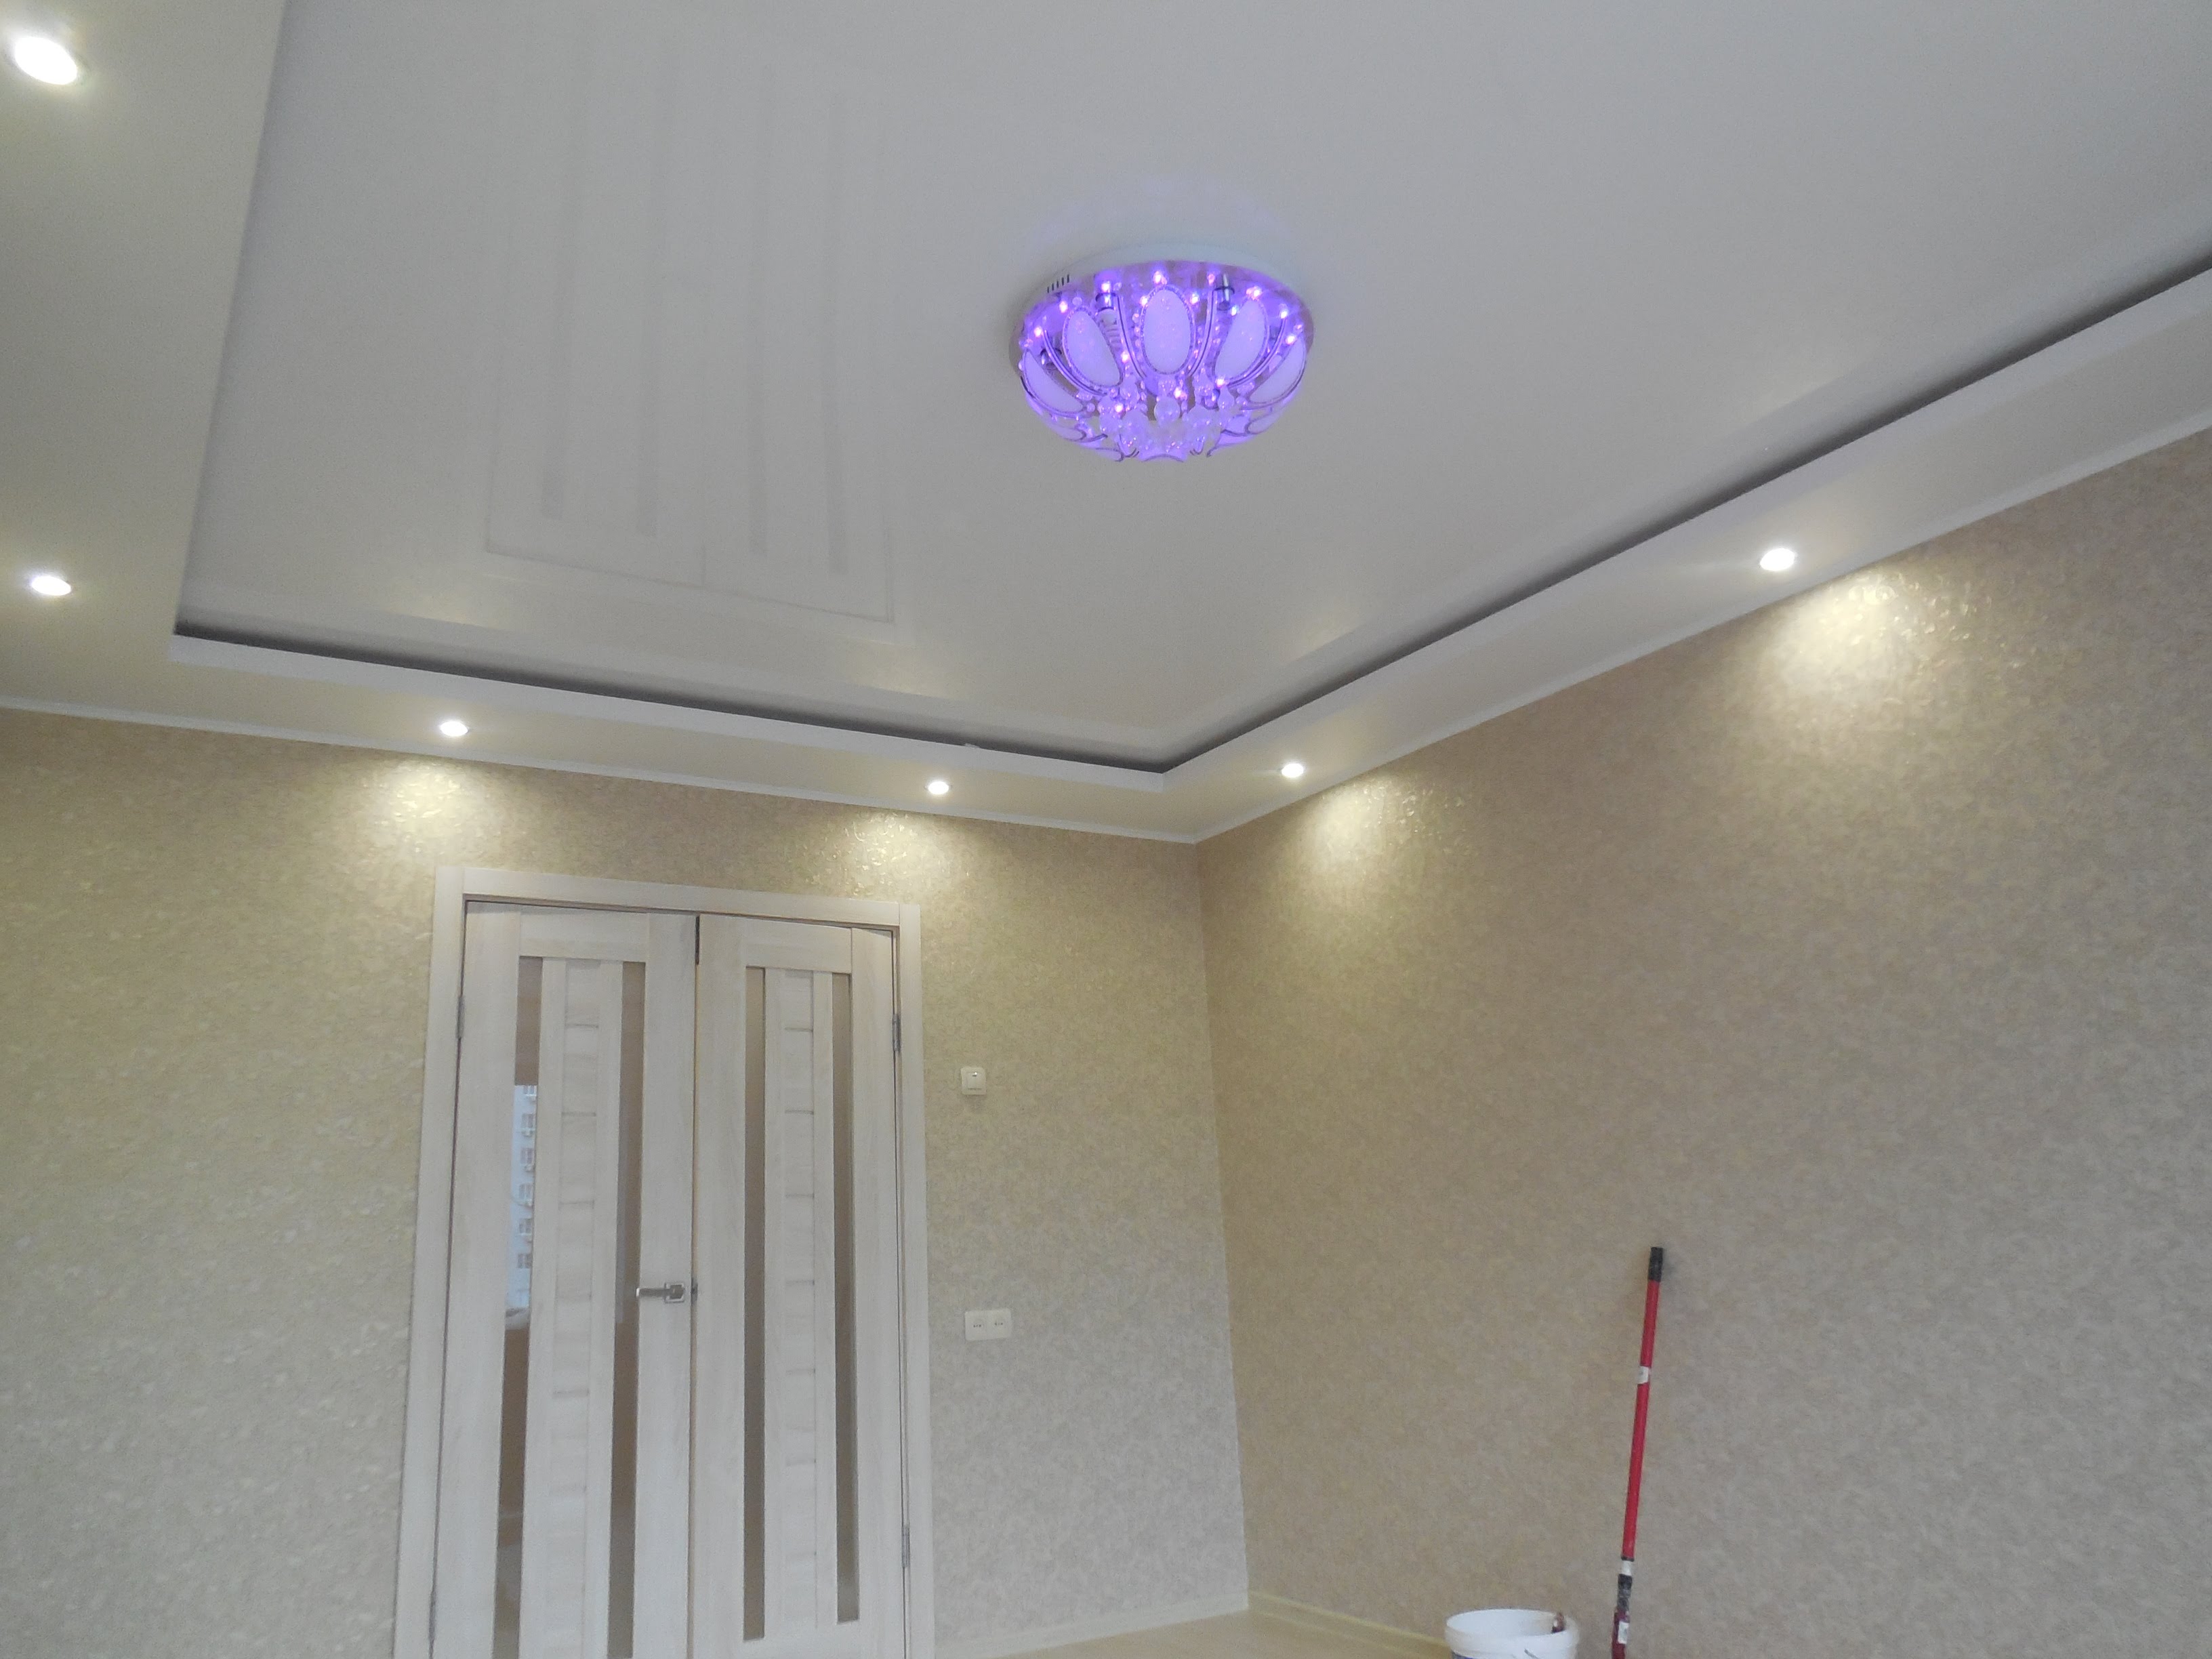
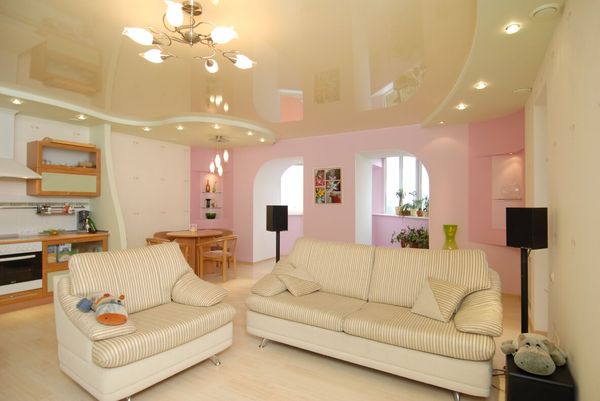
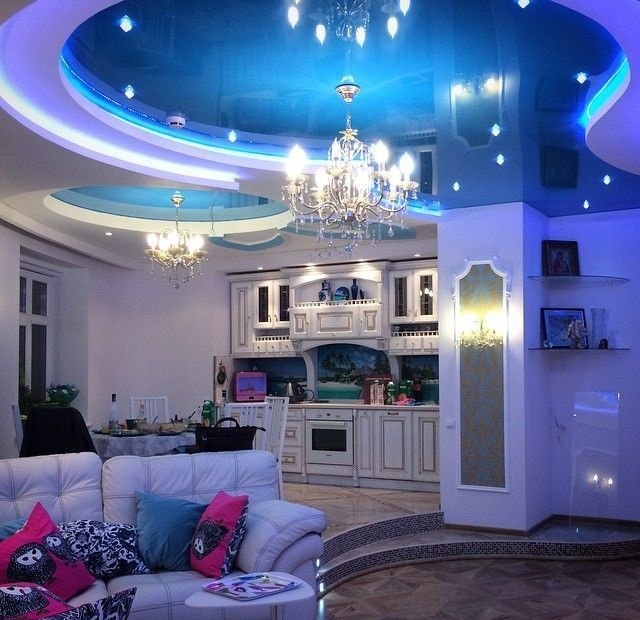
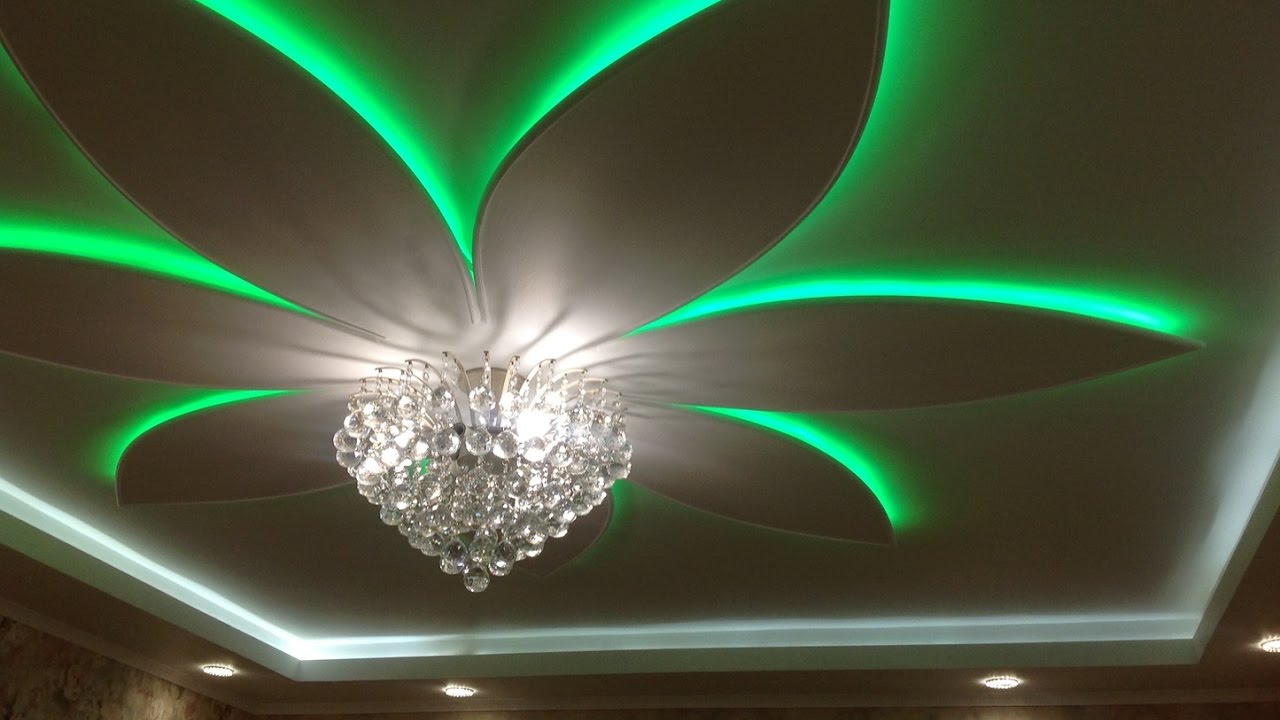
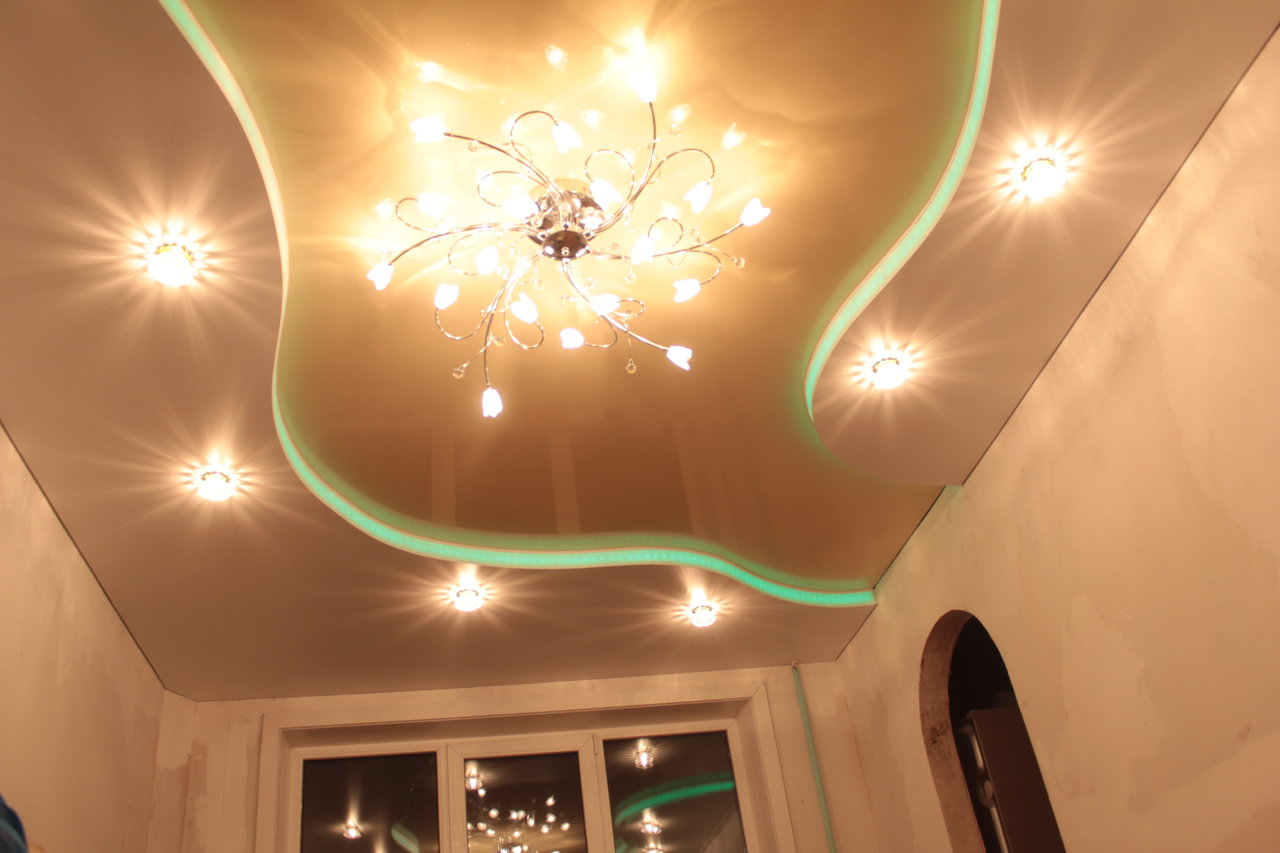
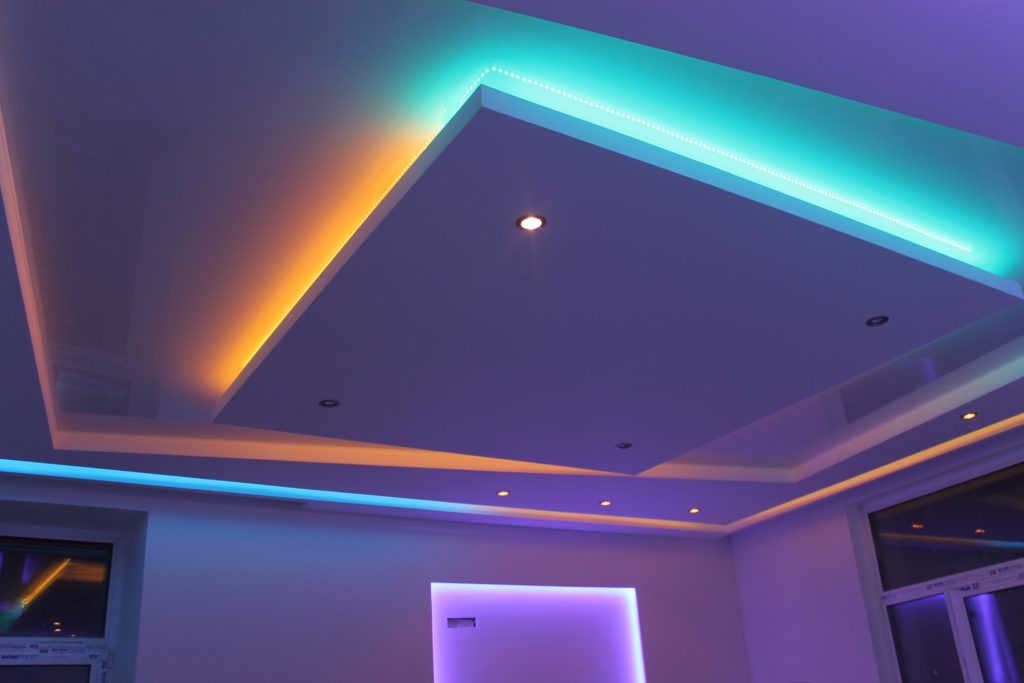
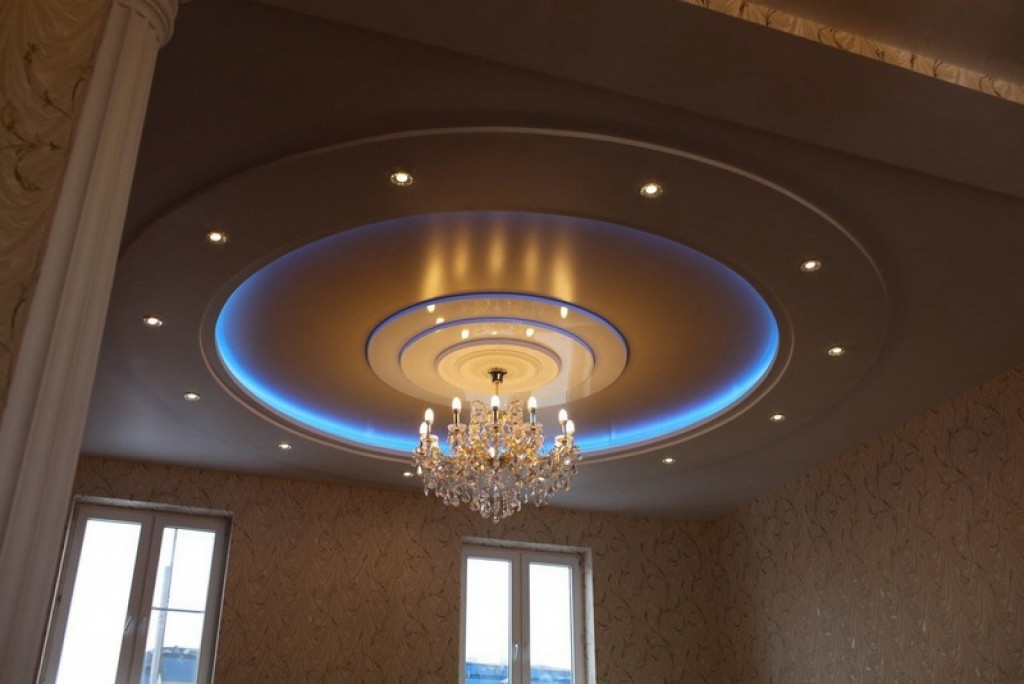
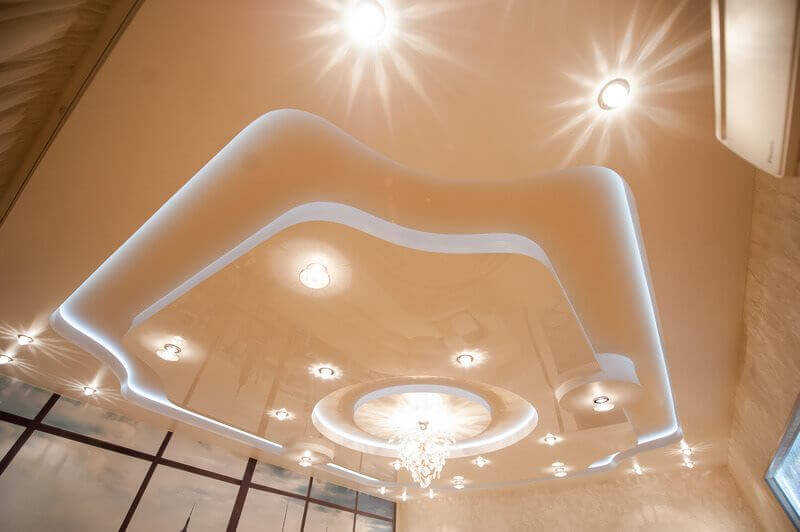
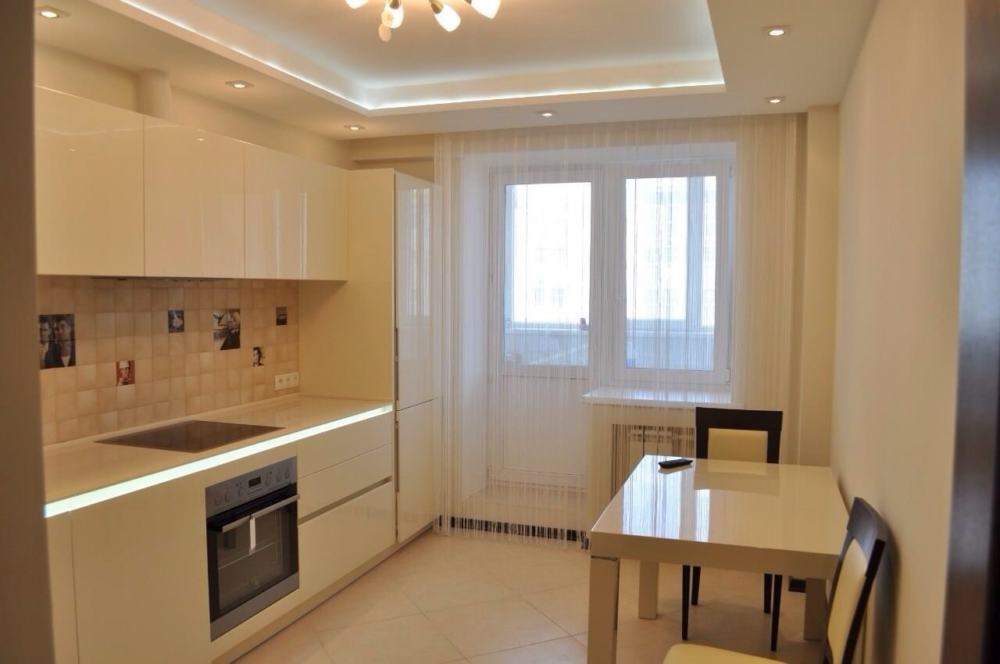
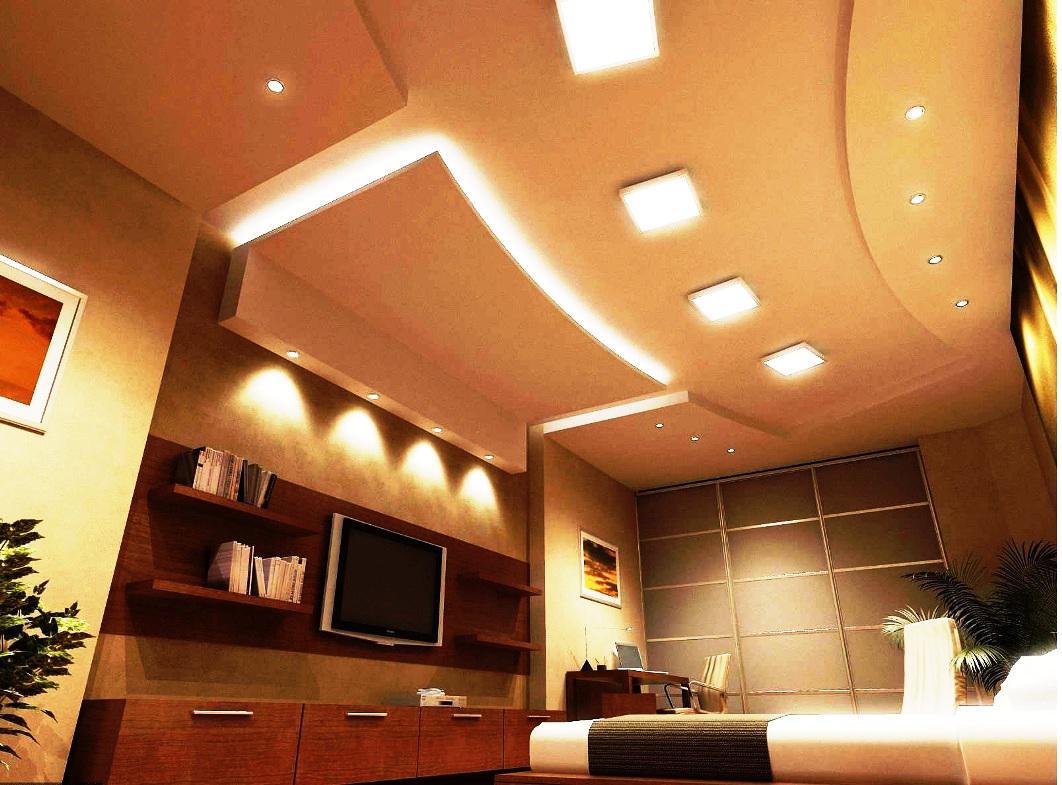
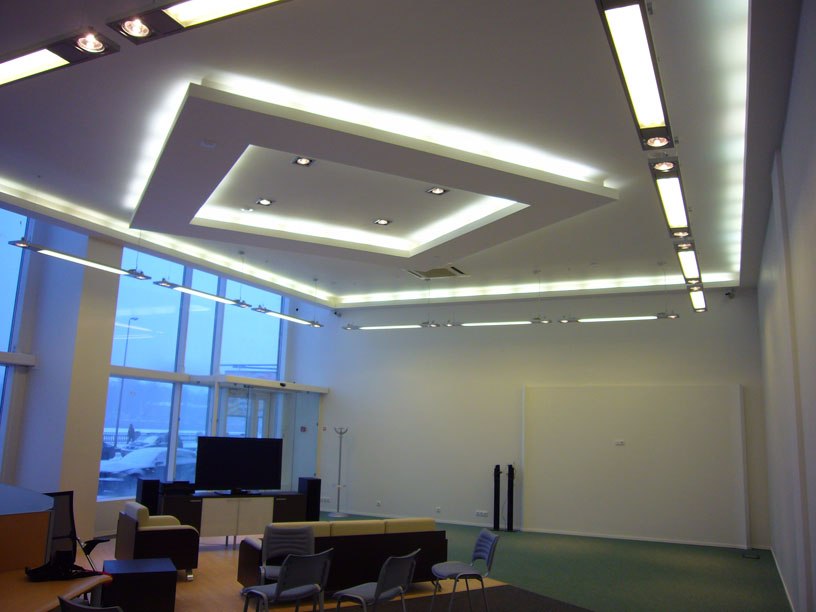
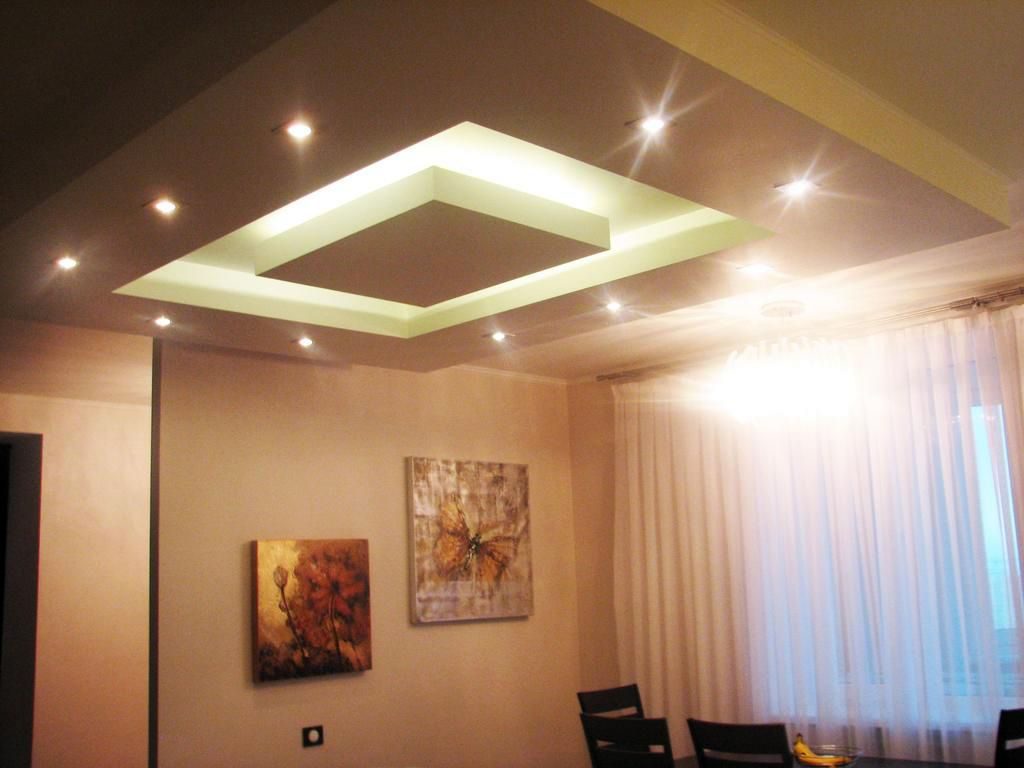
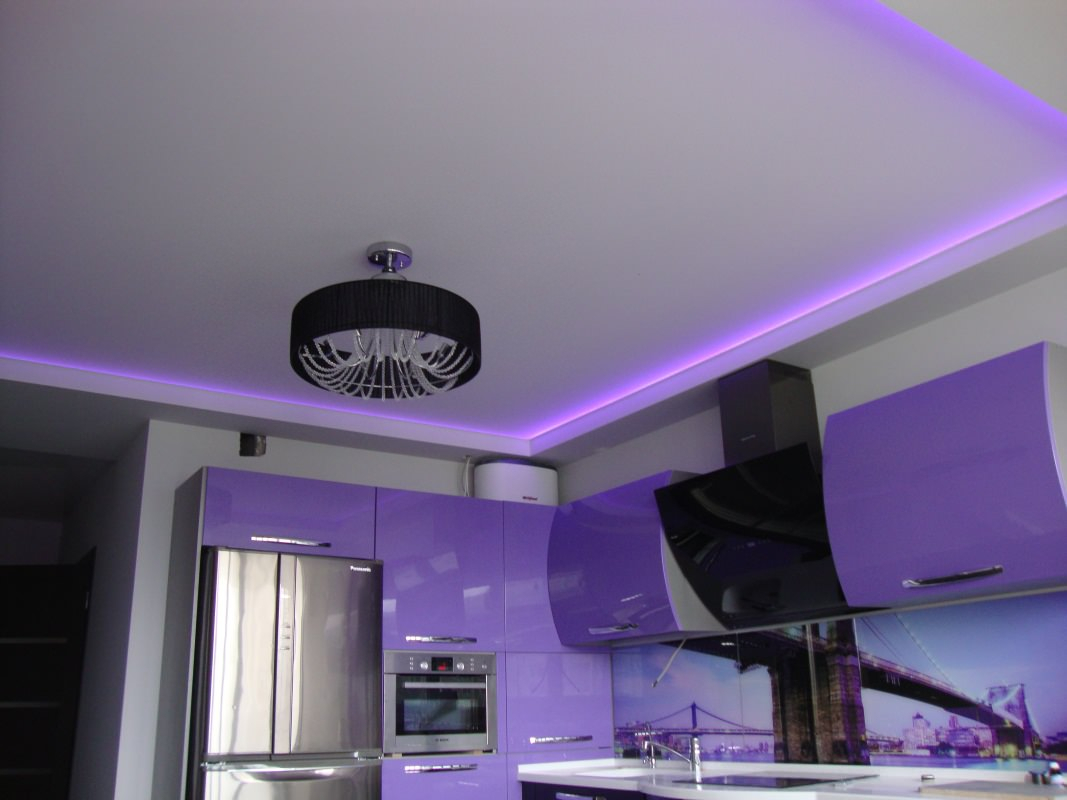
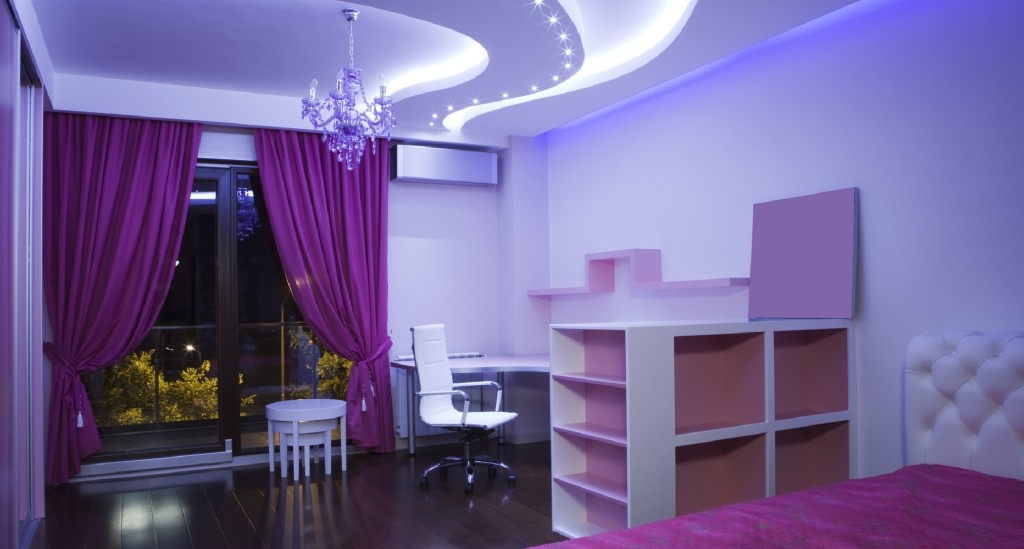
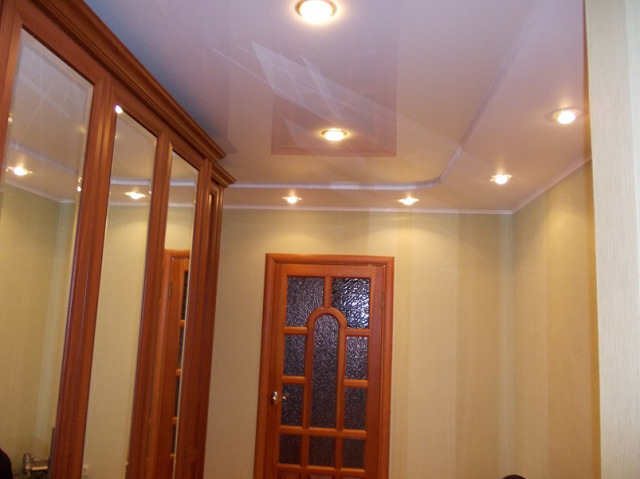
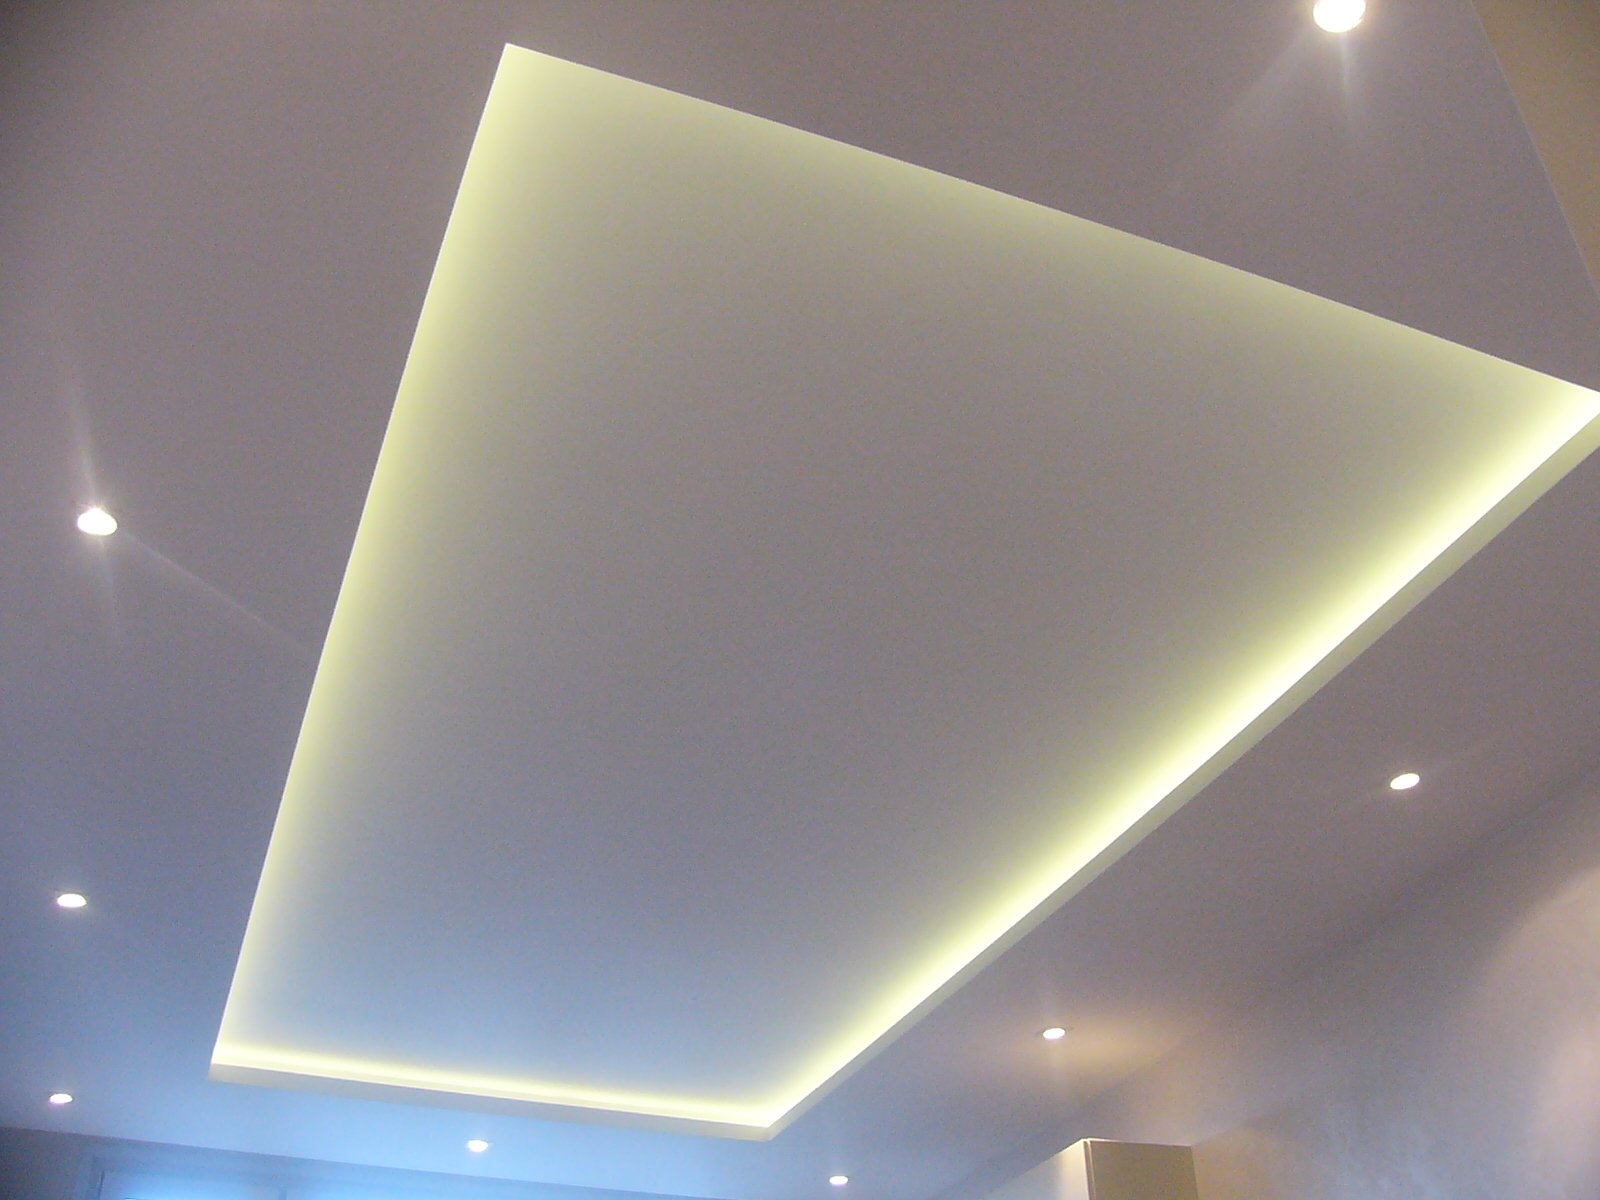
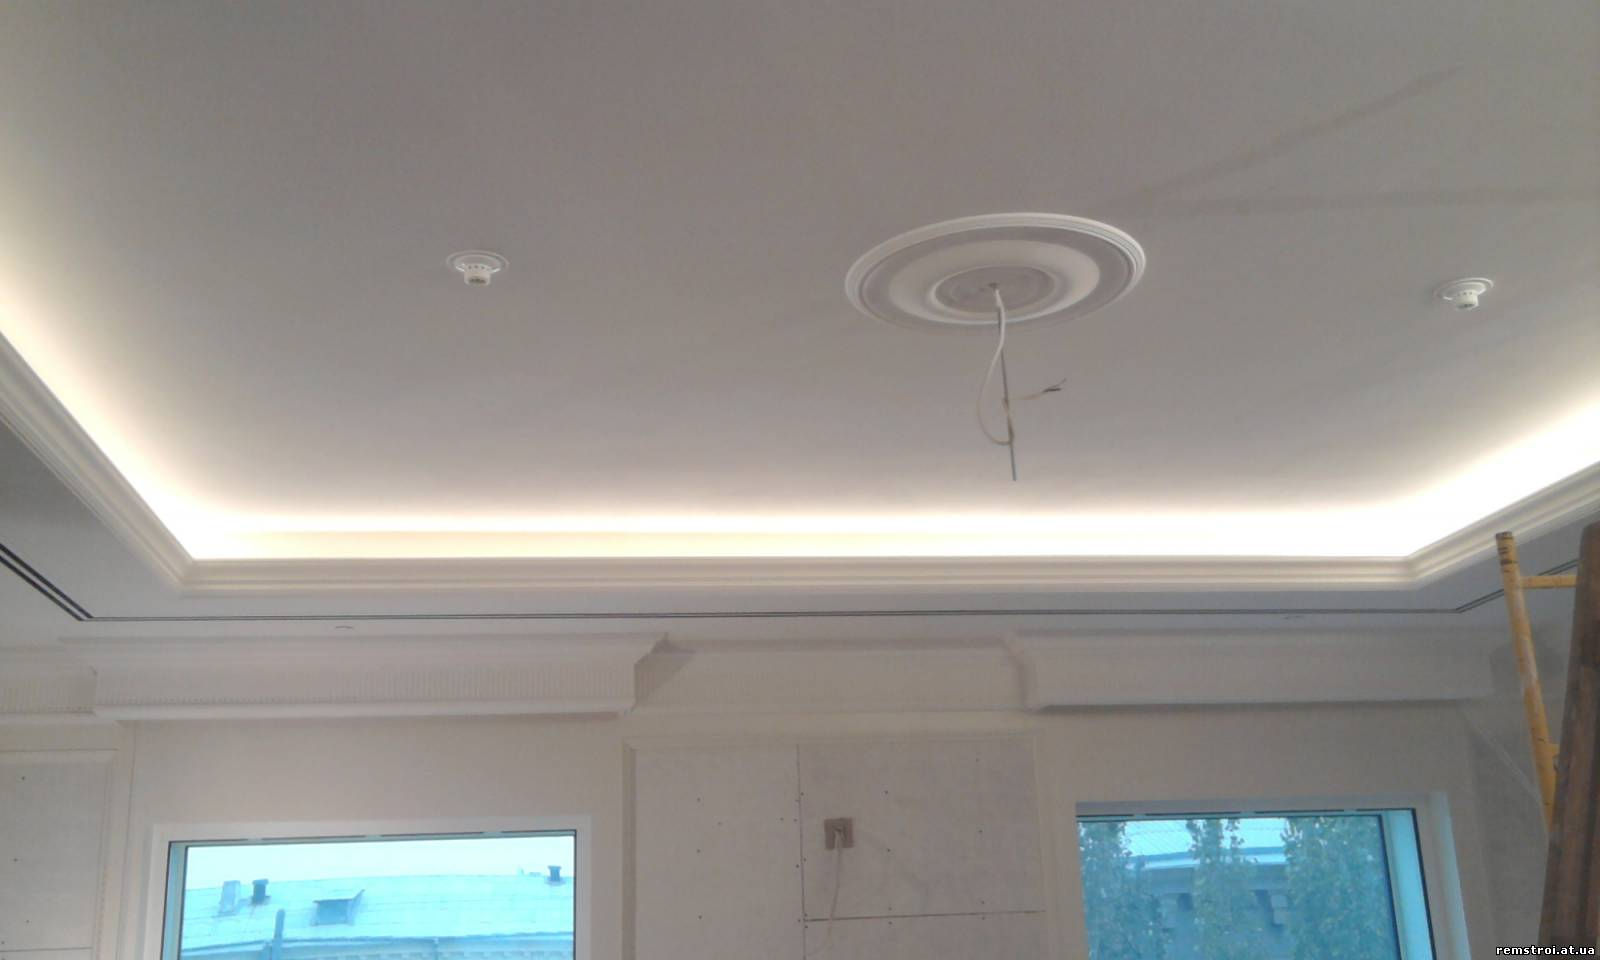
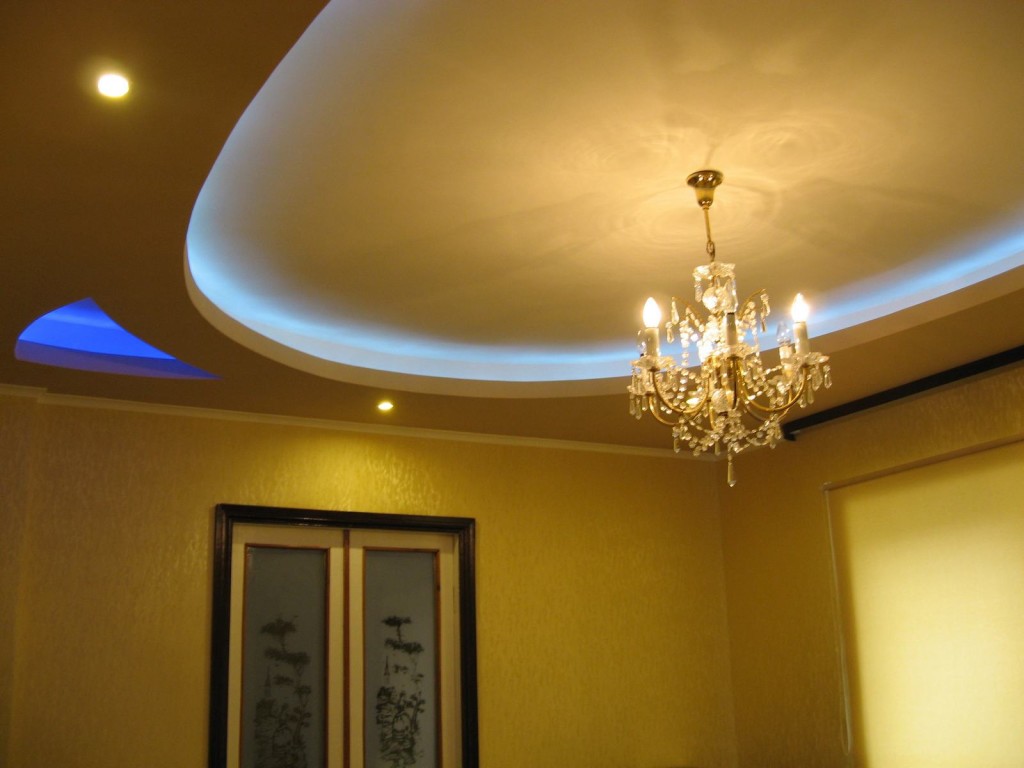
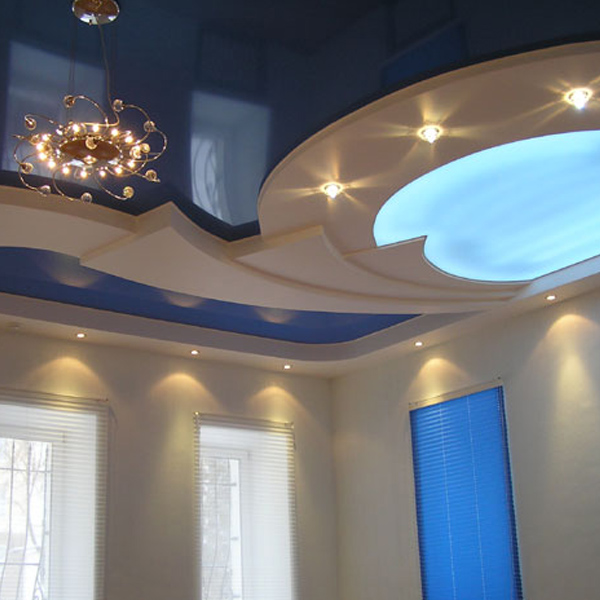
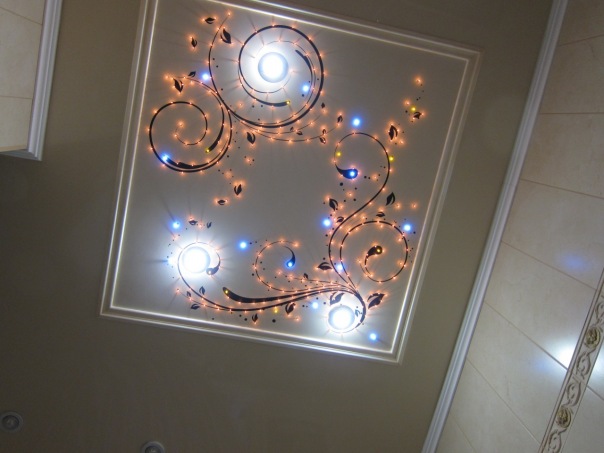
For double level ceilings, a combination lighting is an excellent option.The sources of external light can be either a chandelier or spotlights (or all together), and the hidden light will be a diode tape that illuminates the lower tier of the ceiling structure. LEDs can not act as the main lighting, as they give little light, but are an excellent decorative element.
Types of bunk structures
To make it easier for you to make a choice, let's try to conditionally classify two-level gypsum ceilings according to various criteria.
To begin with, we will designate options, depending on the complexity of engineering and construction works:
- The ceiling of the room is used as one of the tiers (this is advisable only with a perfectly aligned surface).
- The combination of drywall construction and tensioning elements.
- All levels of the future structures are made of drywall.
The second and third options are often used because they allow to solve a number of problems:
- Leaving the need to align the ceiling surface.
- Suspended structures allow you to hide wiring and other utilities.
Plasterboard constructions are allowed to be used in a variety of areas, except for those where there is high humidity (bathroom).
The next sign for the classification of ceilings is the purpose of the room:
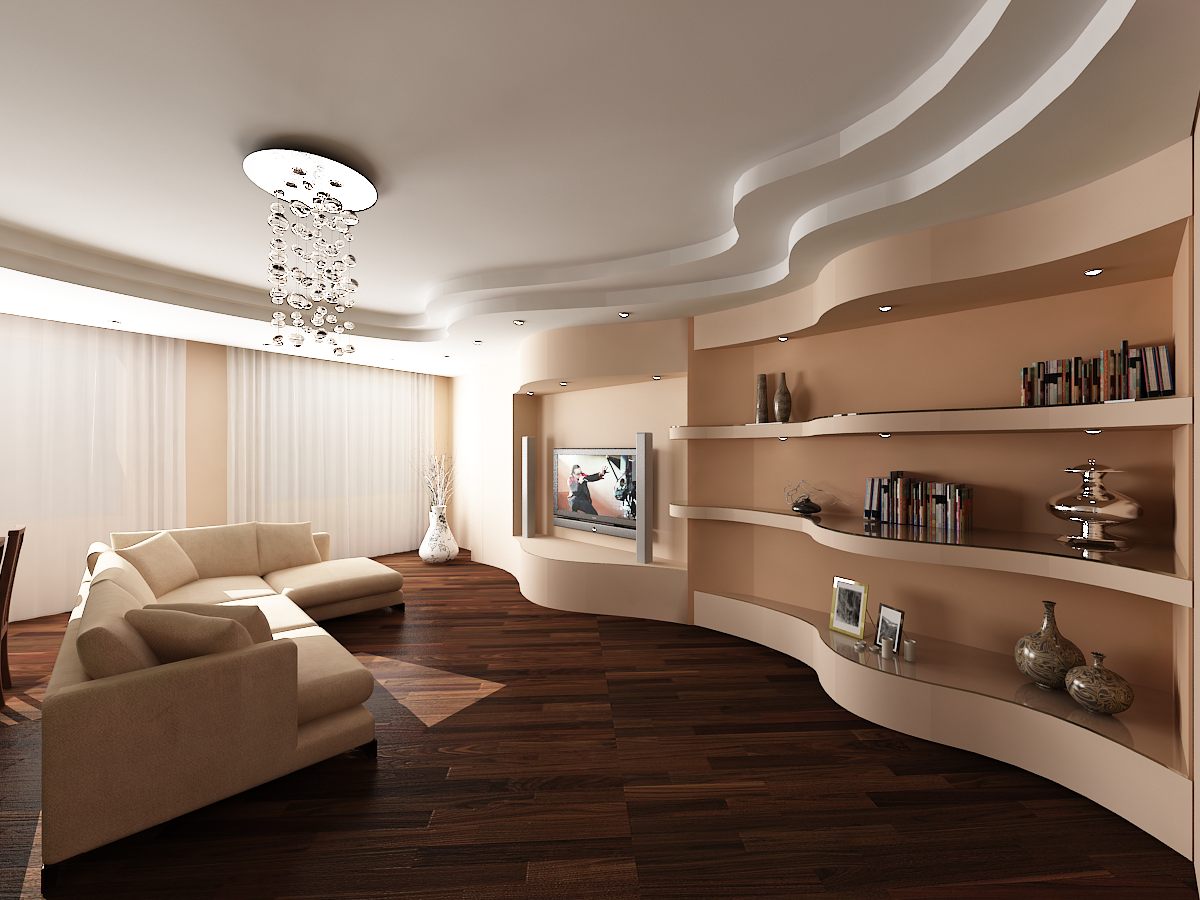
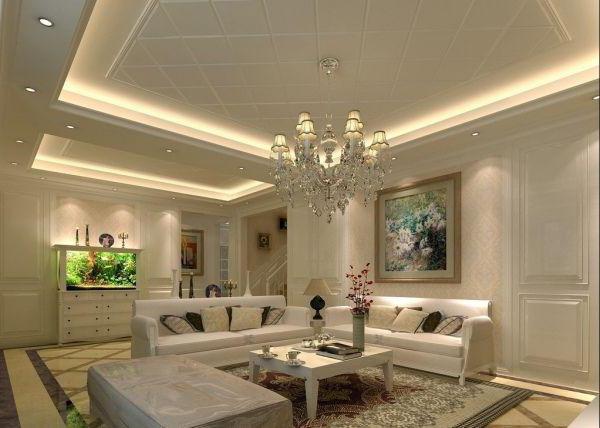
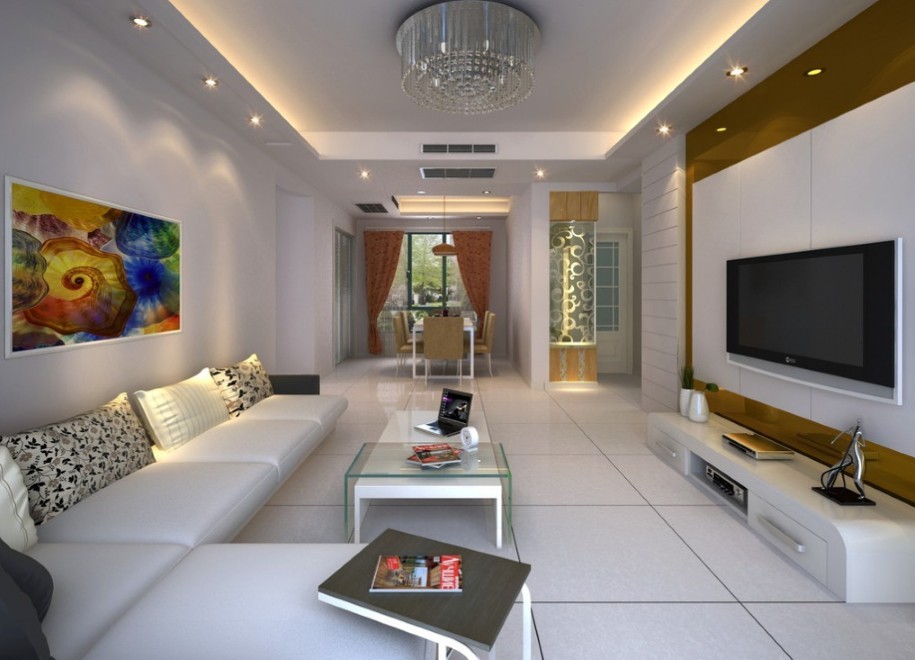
- In the living rooms, as a rule, they dine, receive guests, relax, watch movies. It is desirable to zone the room using different forms of light and ceiling designs.
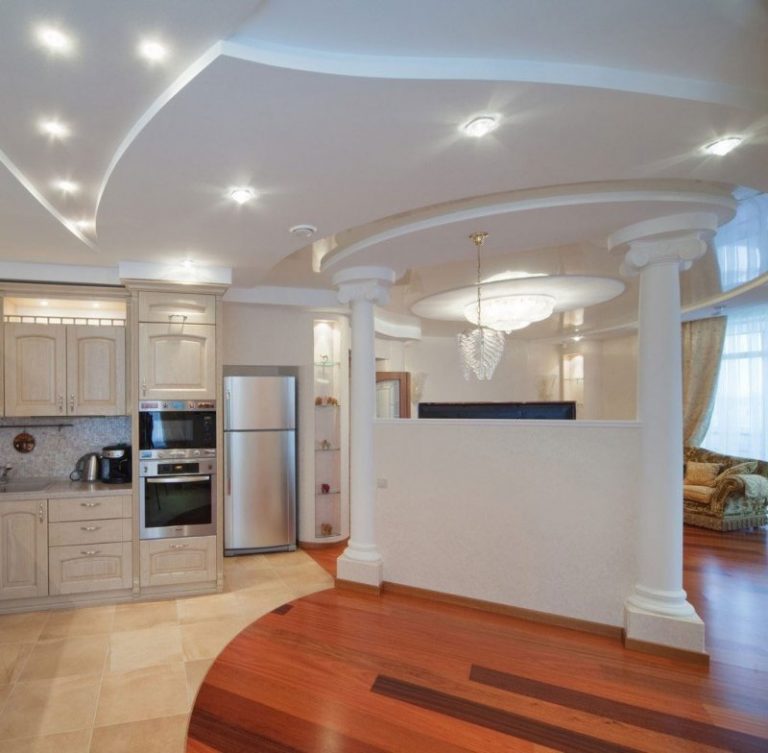

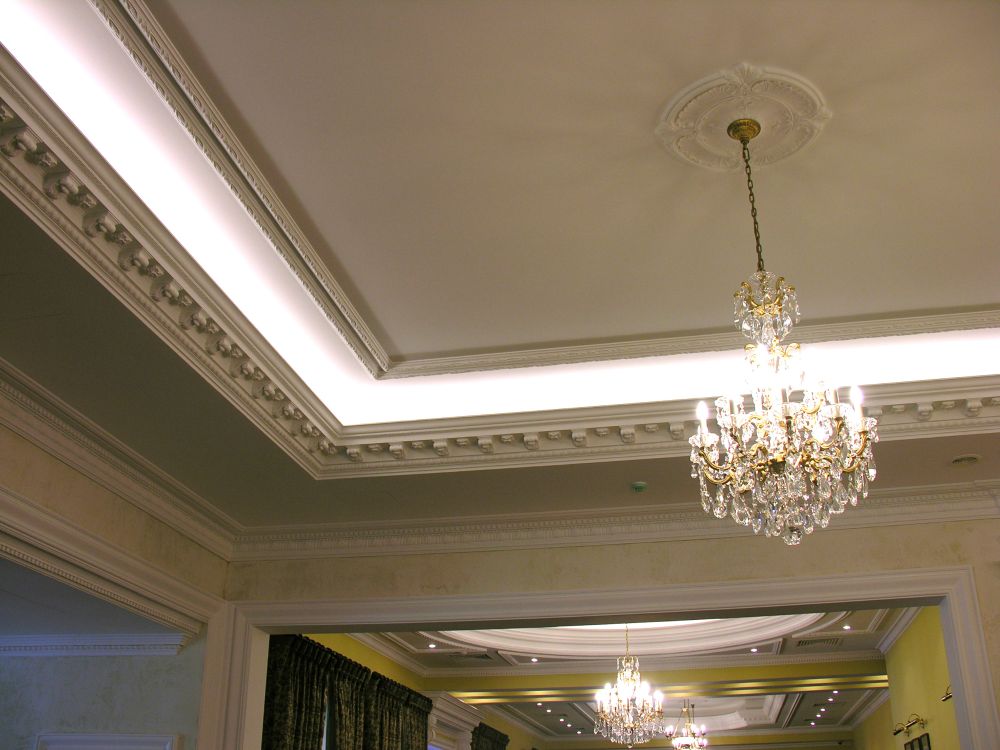
Sometimes, if the overall design allows, the ceiling of the living room is decorated with a beautiful chandelier or stucco. If the area of the living room allows, and the ceiling height reaches 3 meters and above, it is permissible to add more complex structures in the center.

- The office (office) is performed, as a rule, in strict forms and not screaming colors, and therefore the ceiling should correspond to the general style of the room.
- The kitchen in the apartments often serves as a living room as a reception for guests, so the ceiling with multi-level lighting will be very useful. In addition, LED lighting, which consumes a minimum of electricity, can be very convenient as a light night illumination.

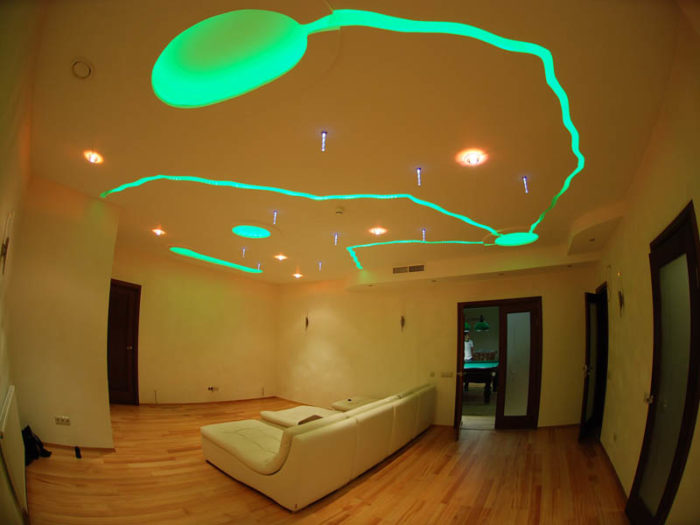
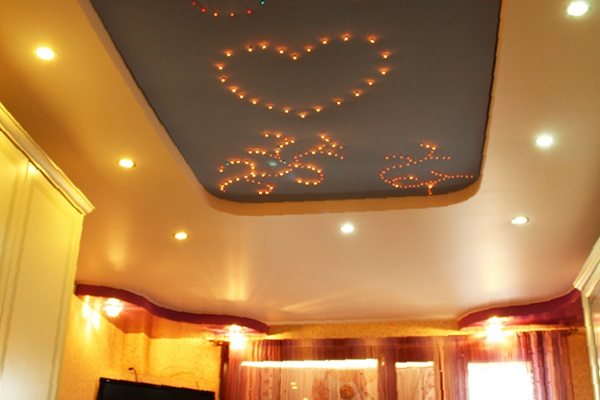
- Making a child's room is always a very interesting task.where you can give vent to fantasy. Two-level constructions allow implementing more complex ideas than single-level ones. And here, as in the kitchen, the LED strips in the ceiling, brought out in a separate switch, will serve as a night lamp for small crumbs, who are often afraid to sleep in the dark.
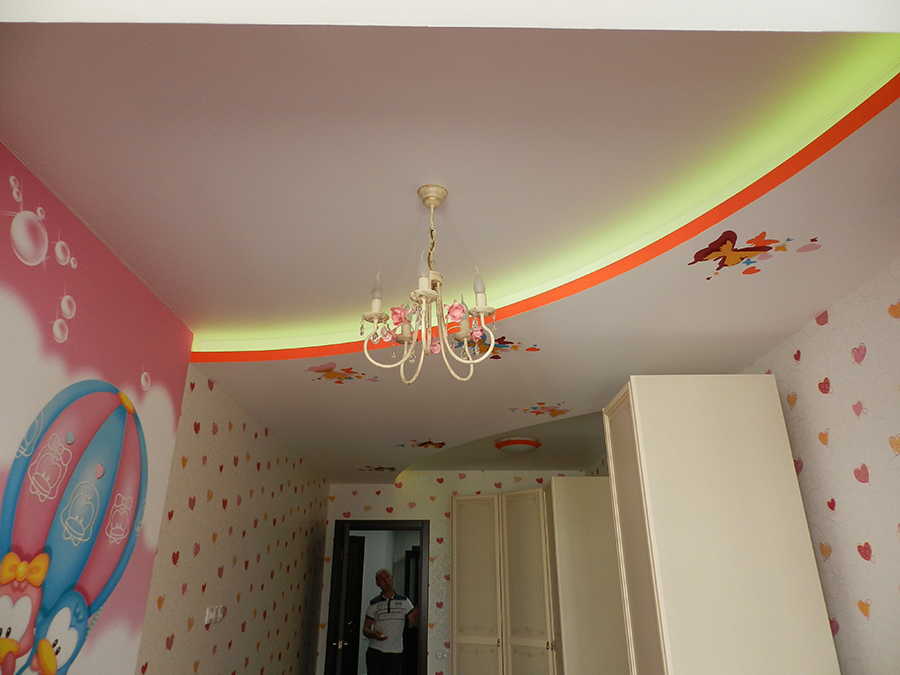
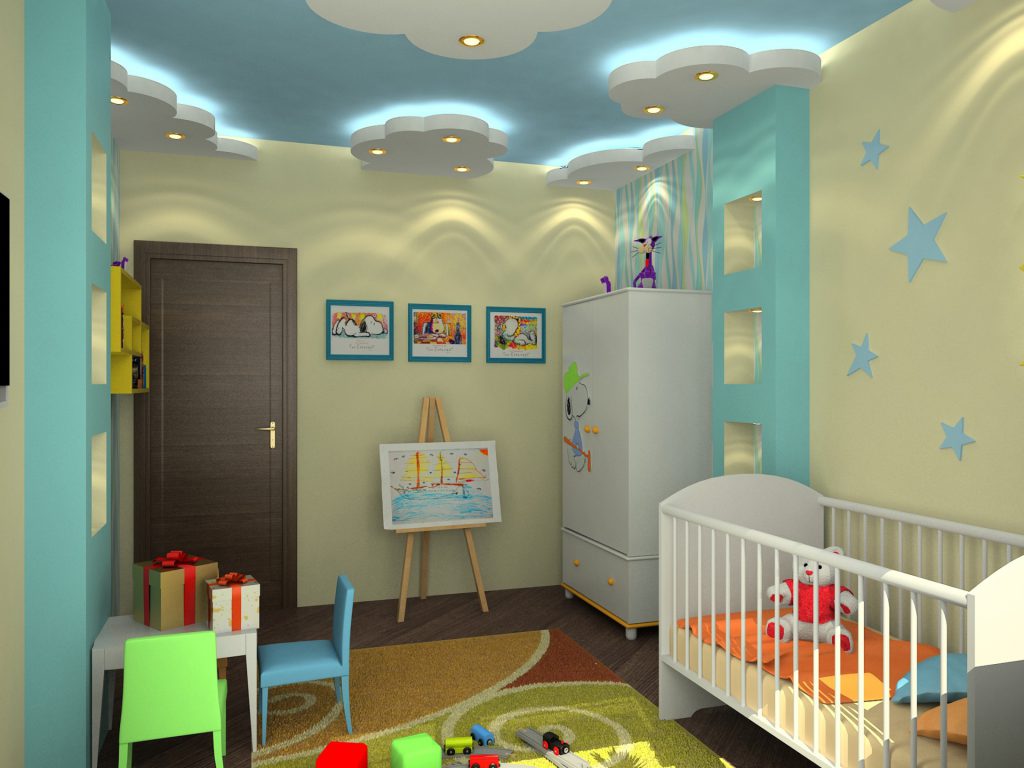

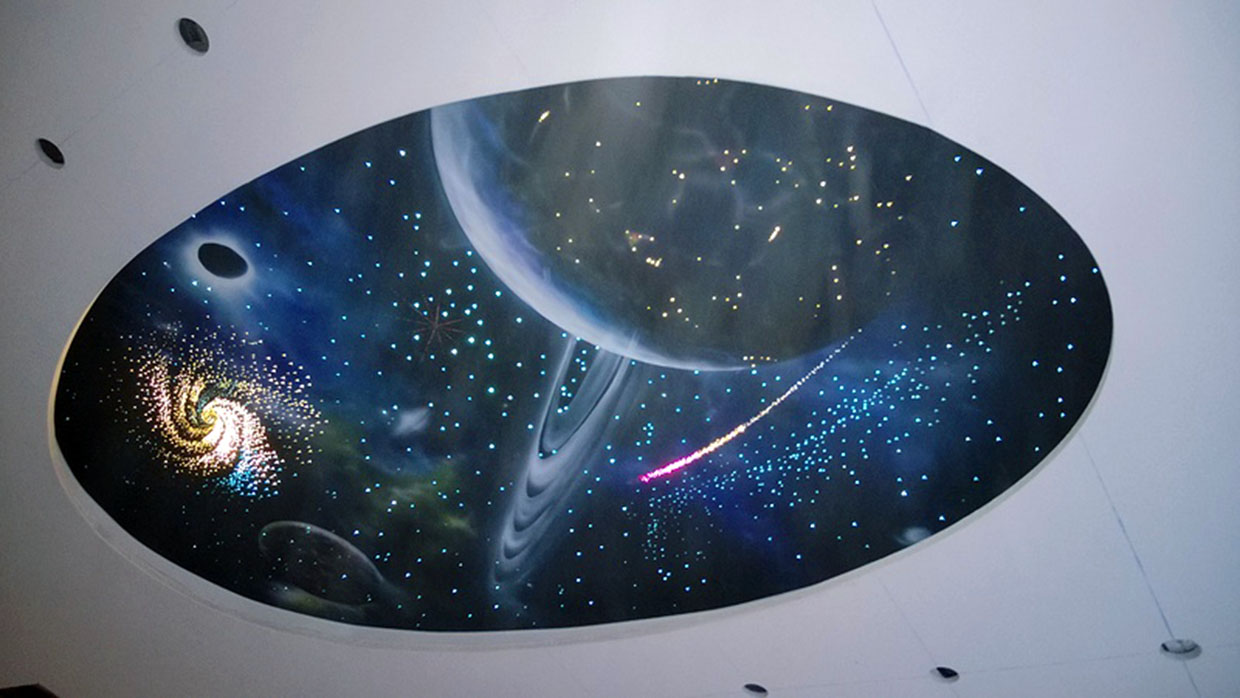
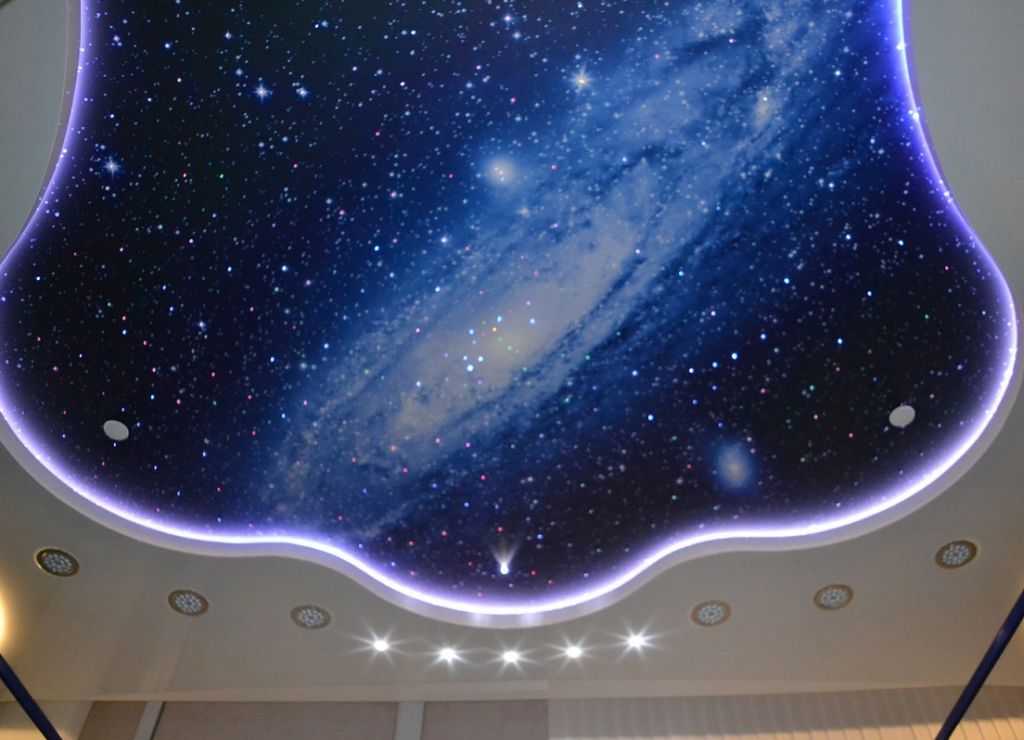
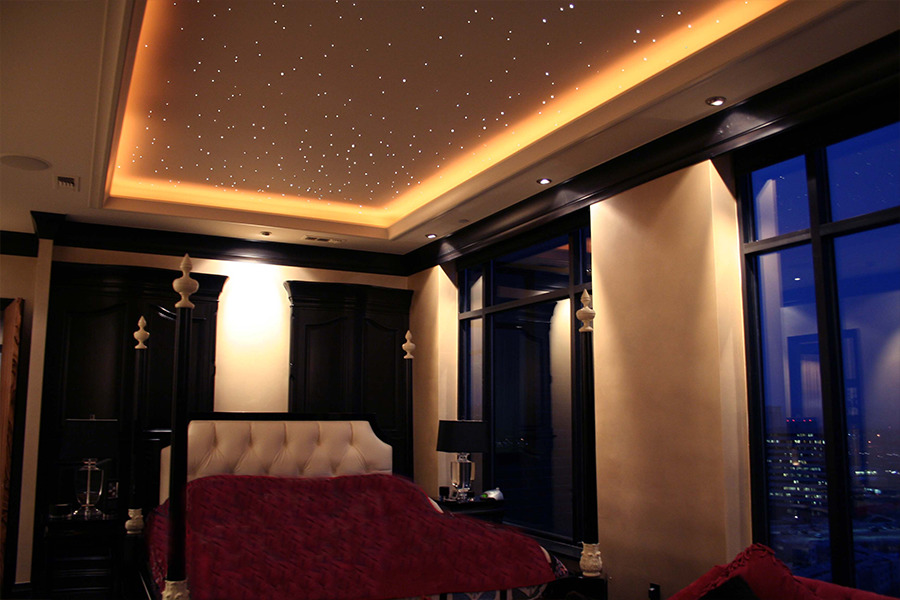
With the help of diodes you can recreate the starry sky: it will be not only beautiful, but also informative. Little lovers of the Star Wars saga will be delighted.

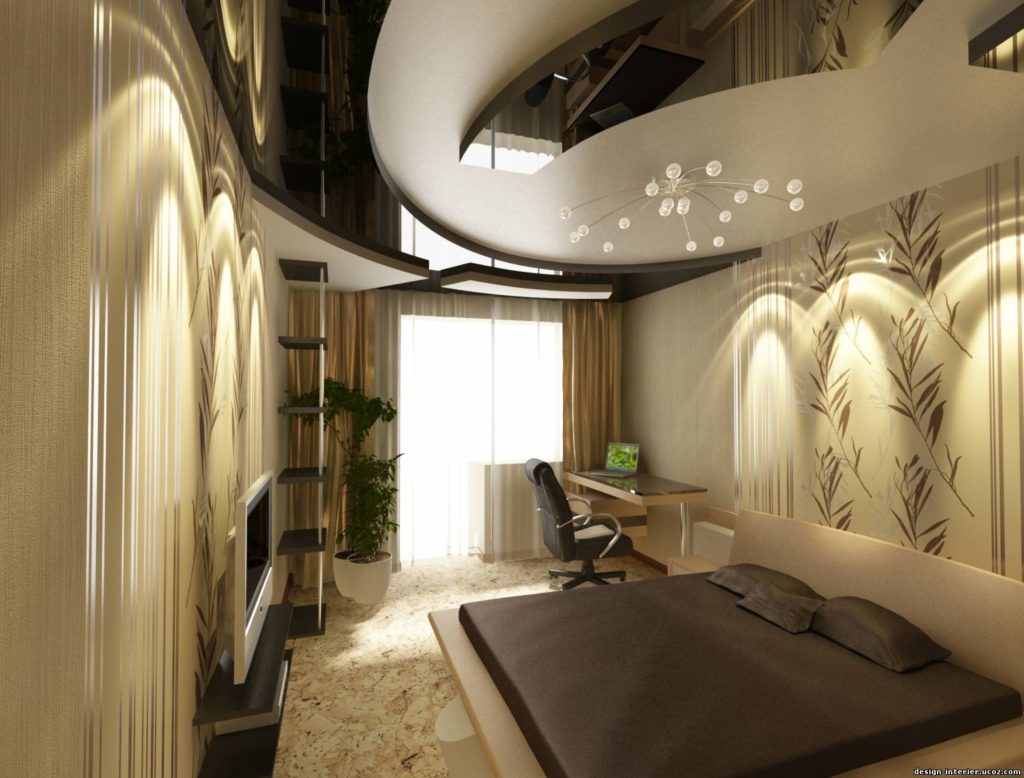
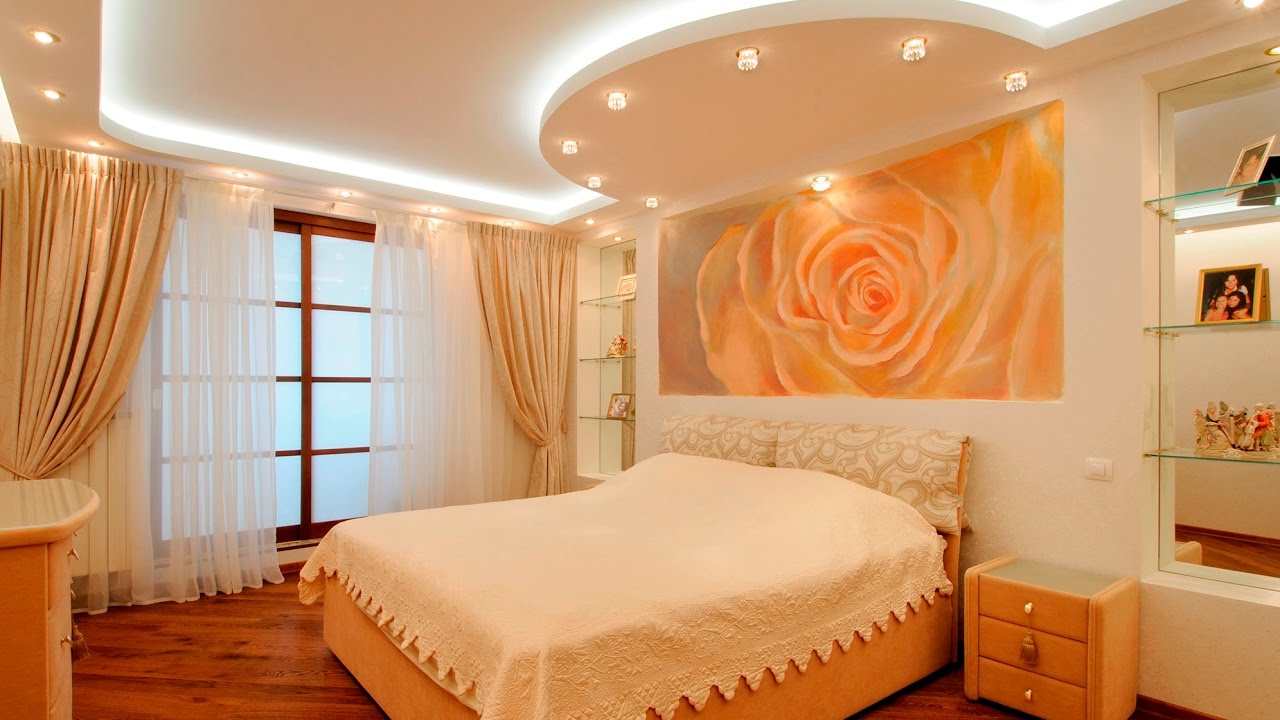
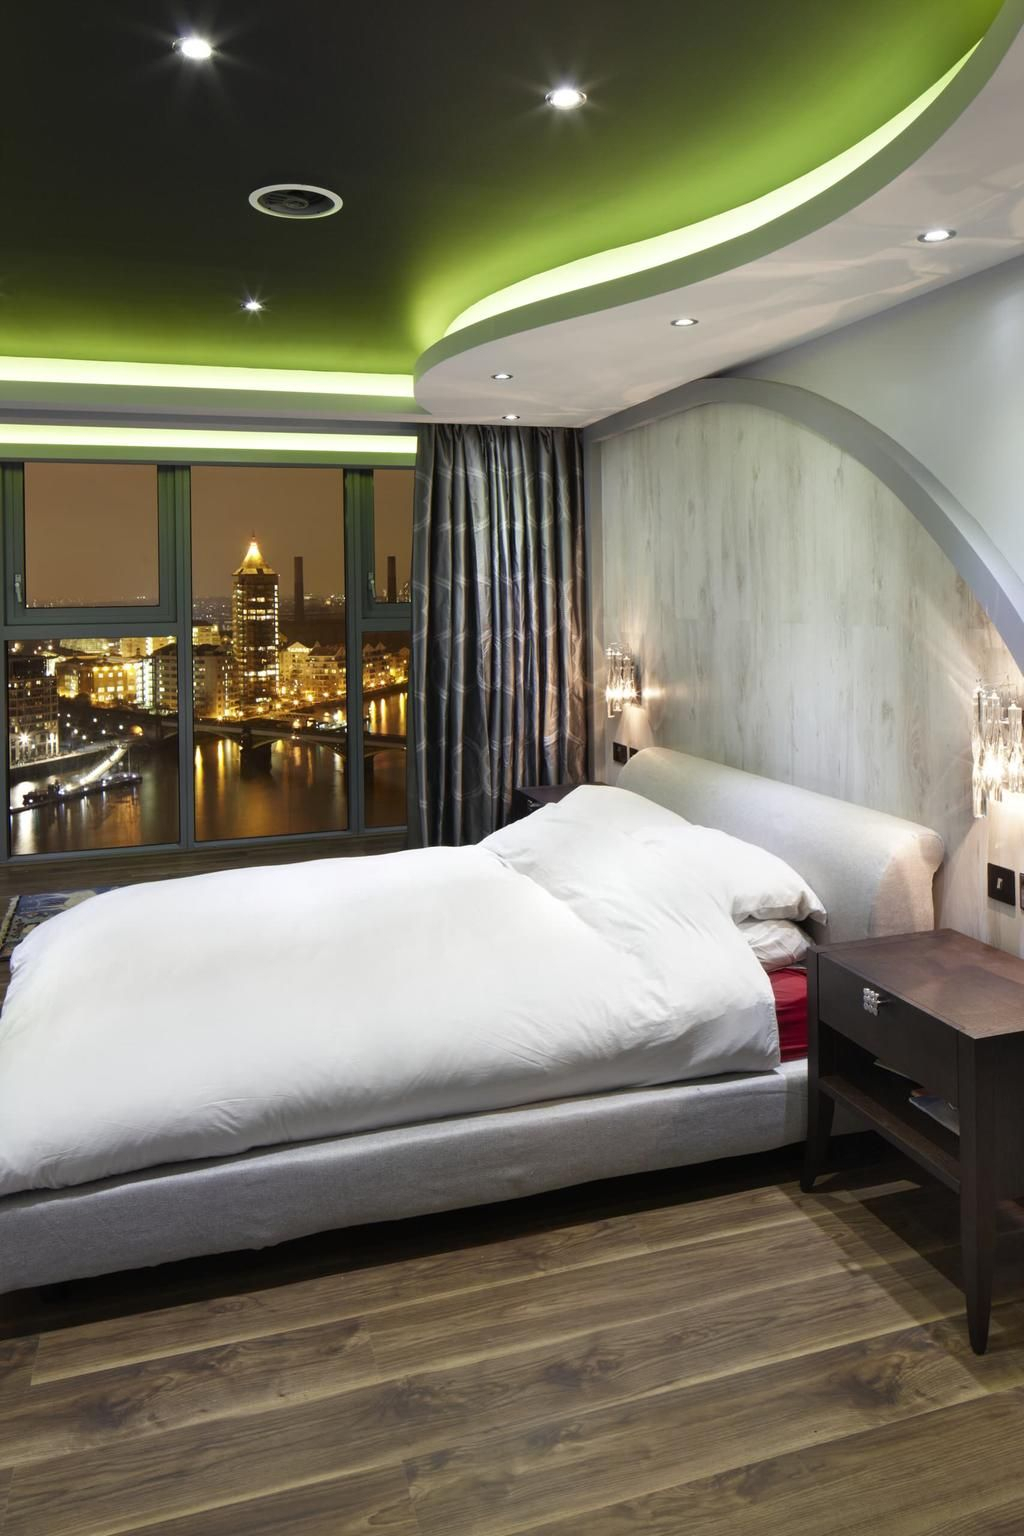
- The key subject of the bedroom is a bed, its location can be accentuated by one of the tiers of the ceiling.
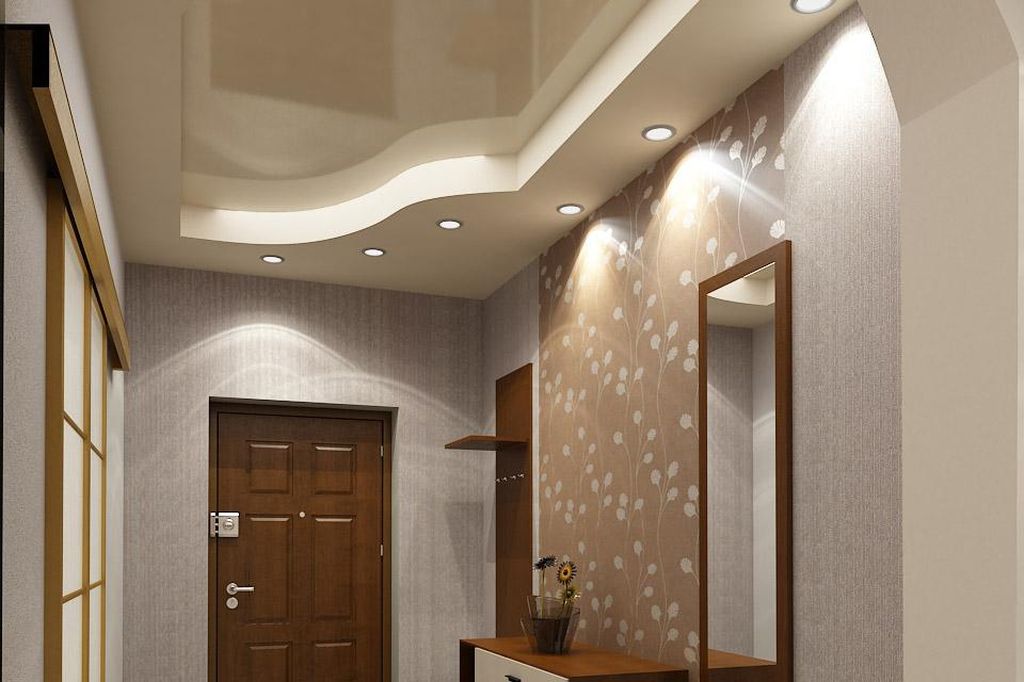
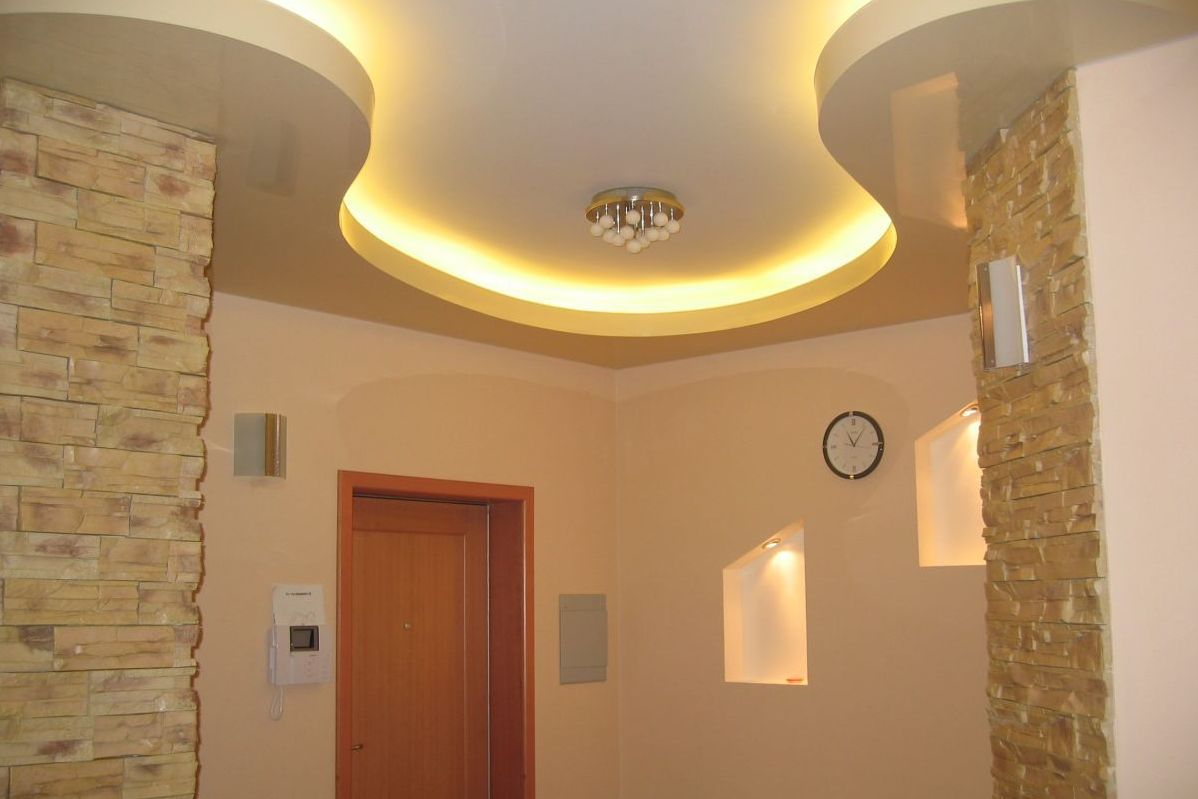
- The hall and the corridor do not need strong lighting, here it is enough to insert a few spotlights, and the diode tape placed along the way will ideally emphasize the overall picture.
- For the hallway area lighting should be more in the place where the wardrobe with clothes and a mirror will be placed.

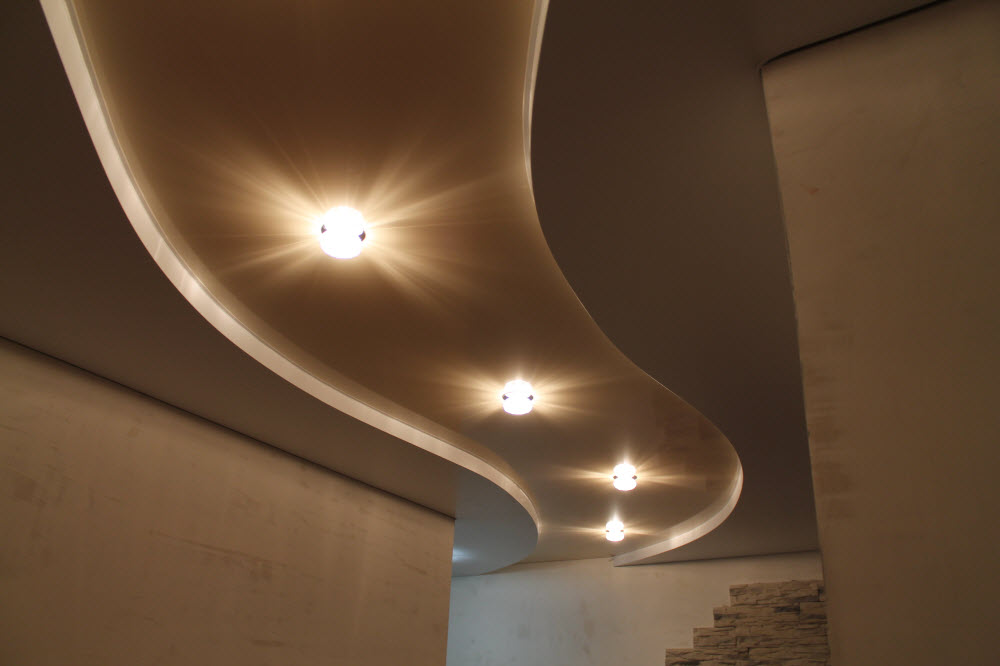
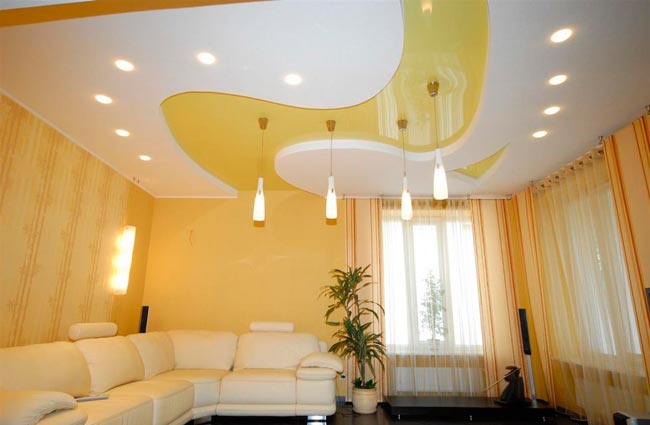
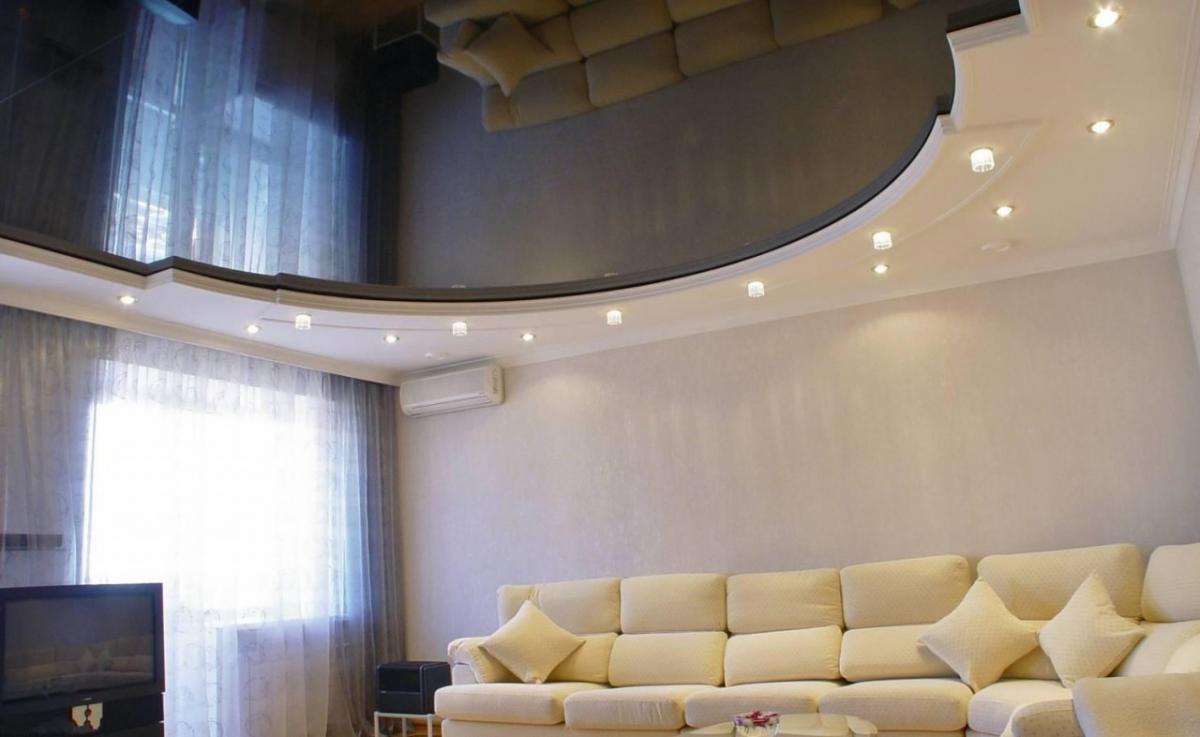
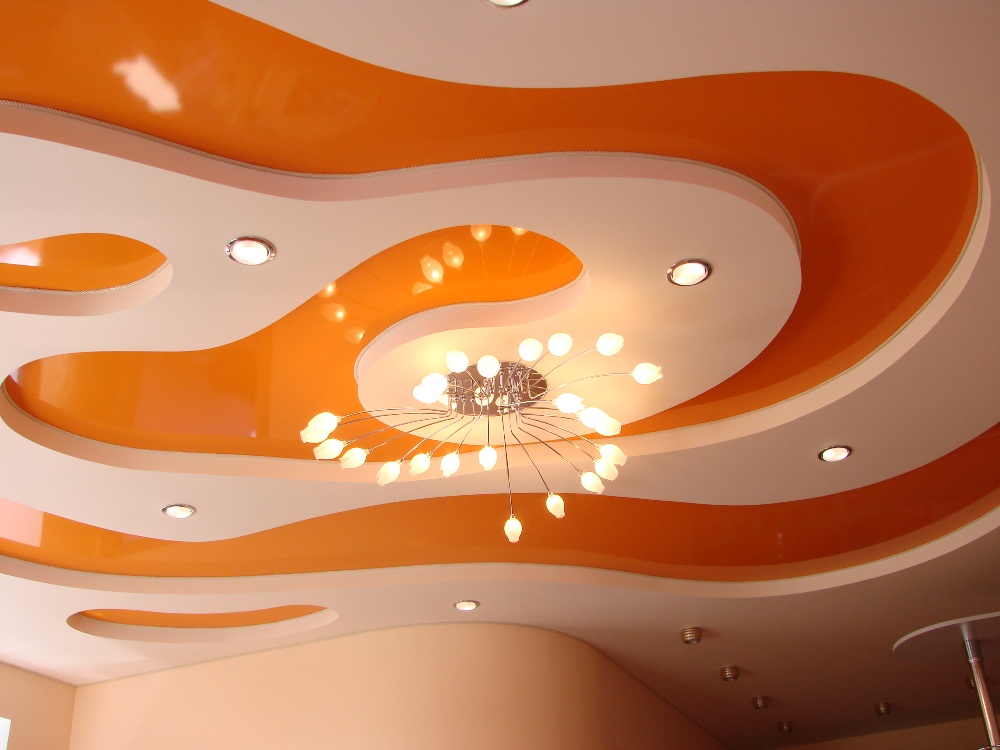
According to geometrical parameters, two-level ceilings are rectangular and curvilinear, with symmetrical and chaotic patterns. The simplest and most common option is when the ceiling surface itself serves as the upper tier, and a second tier is made around the perimeter, which is subsequently highlighted by LED tape.
This option is suitable for novice builders to understand the principle of installation and not to spoil the design.
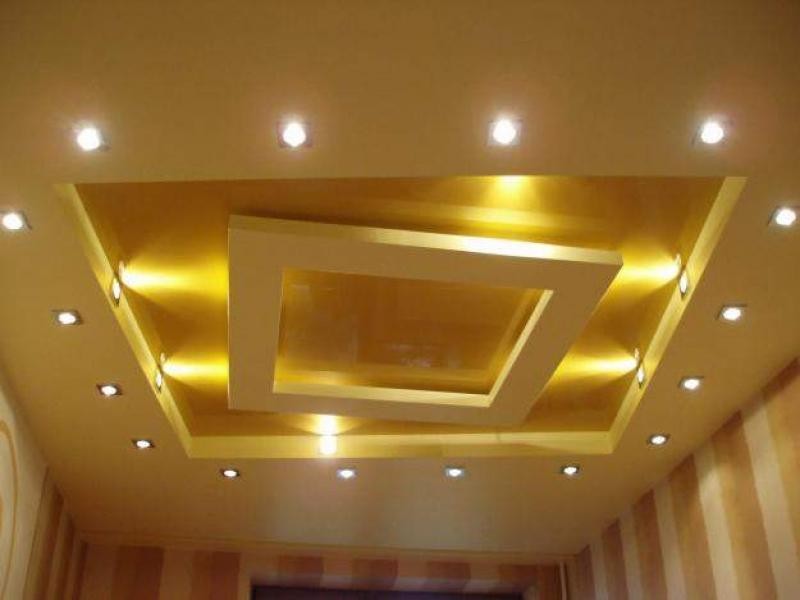

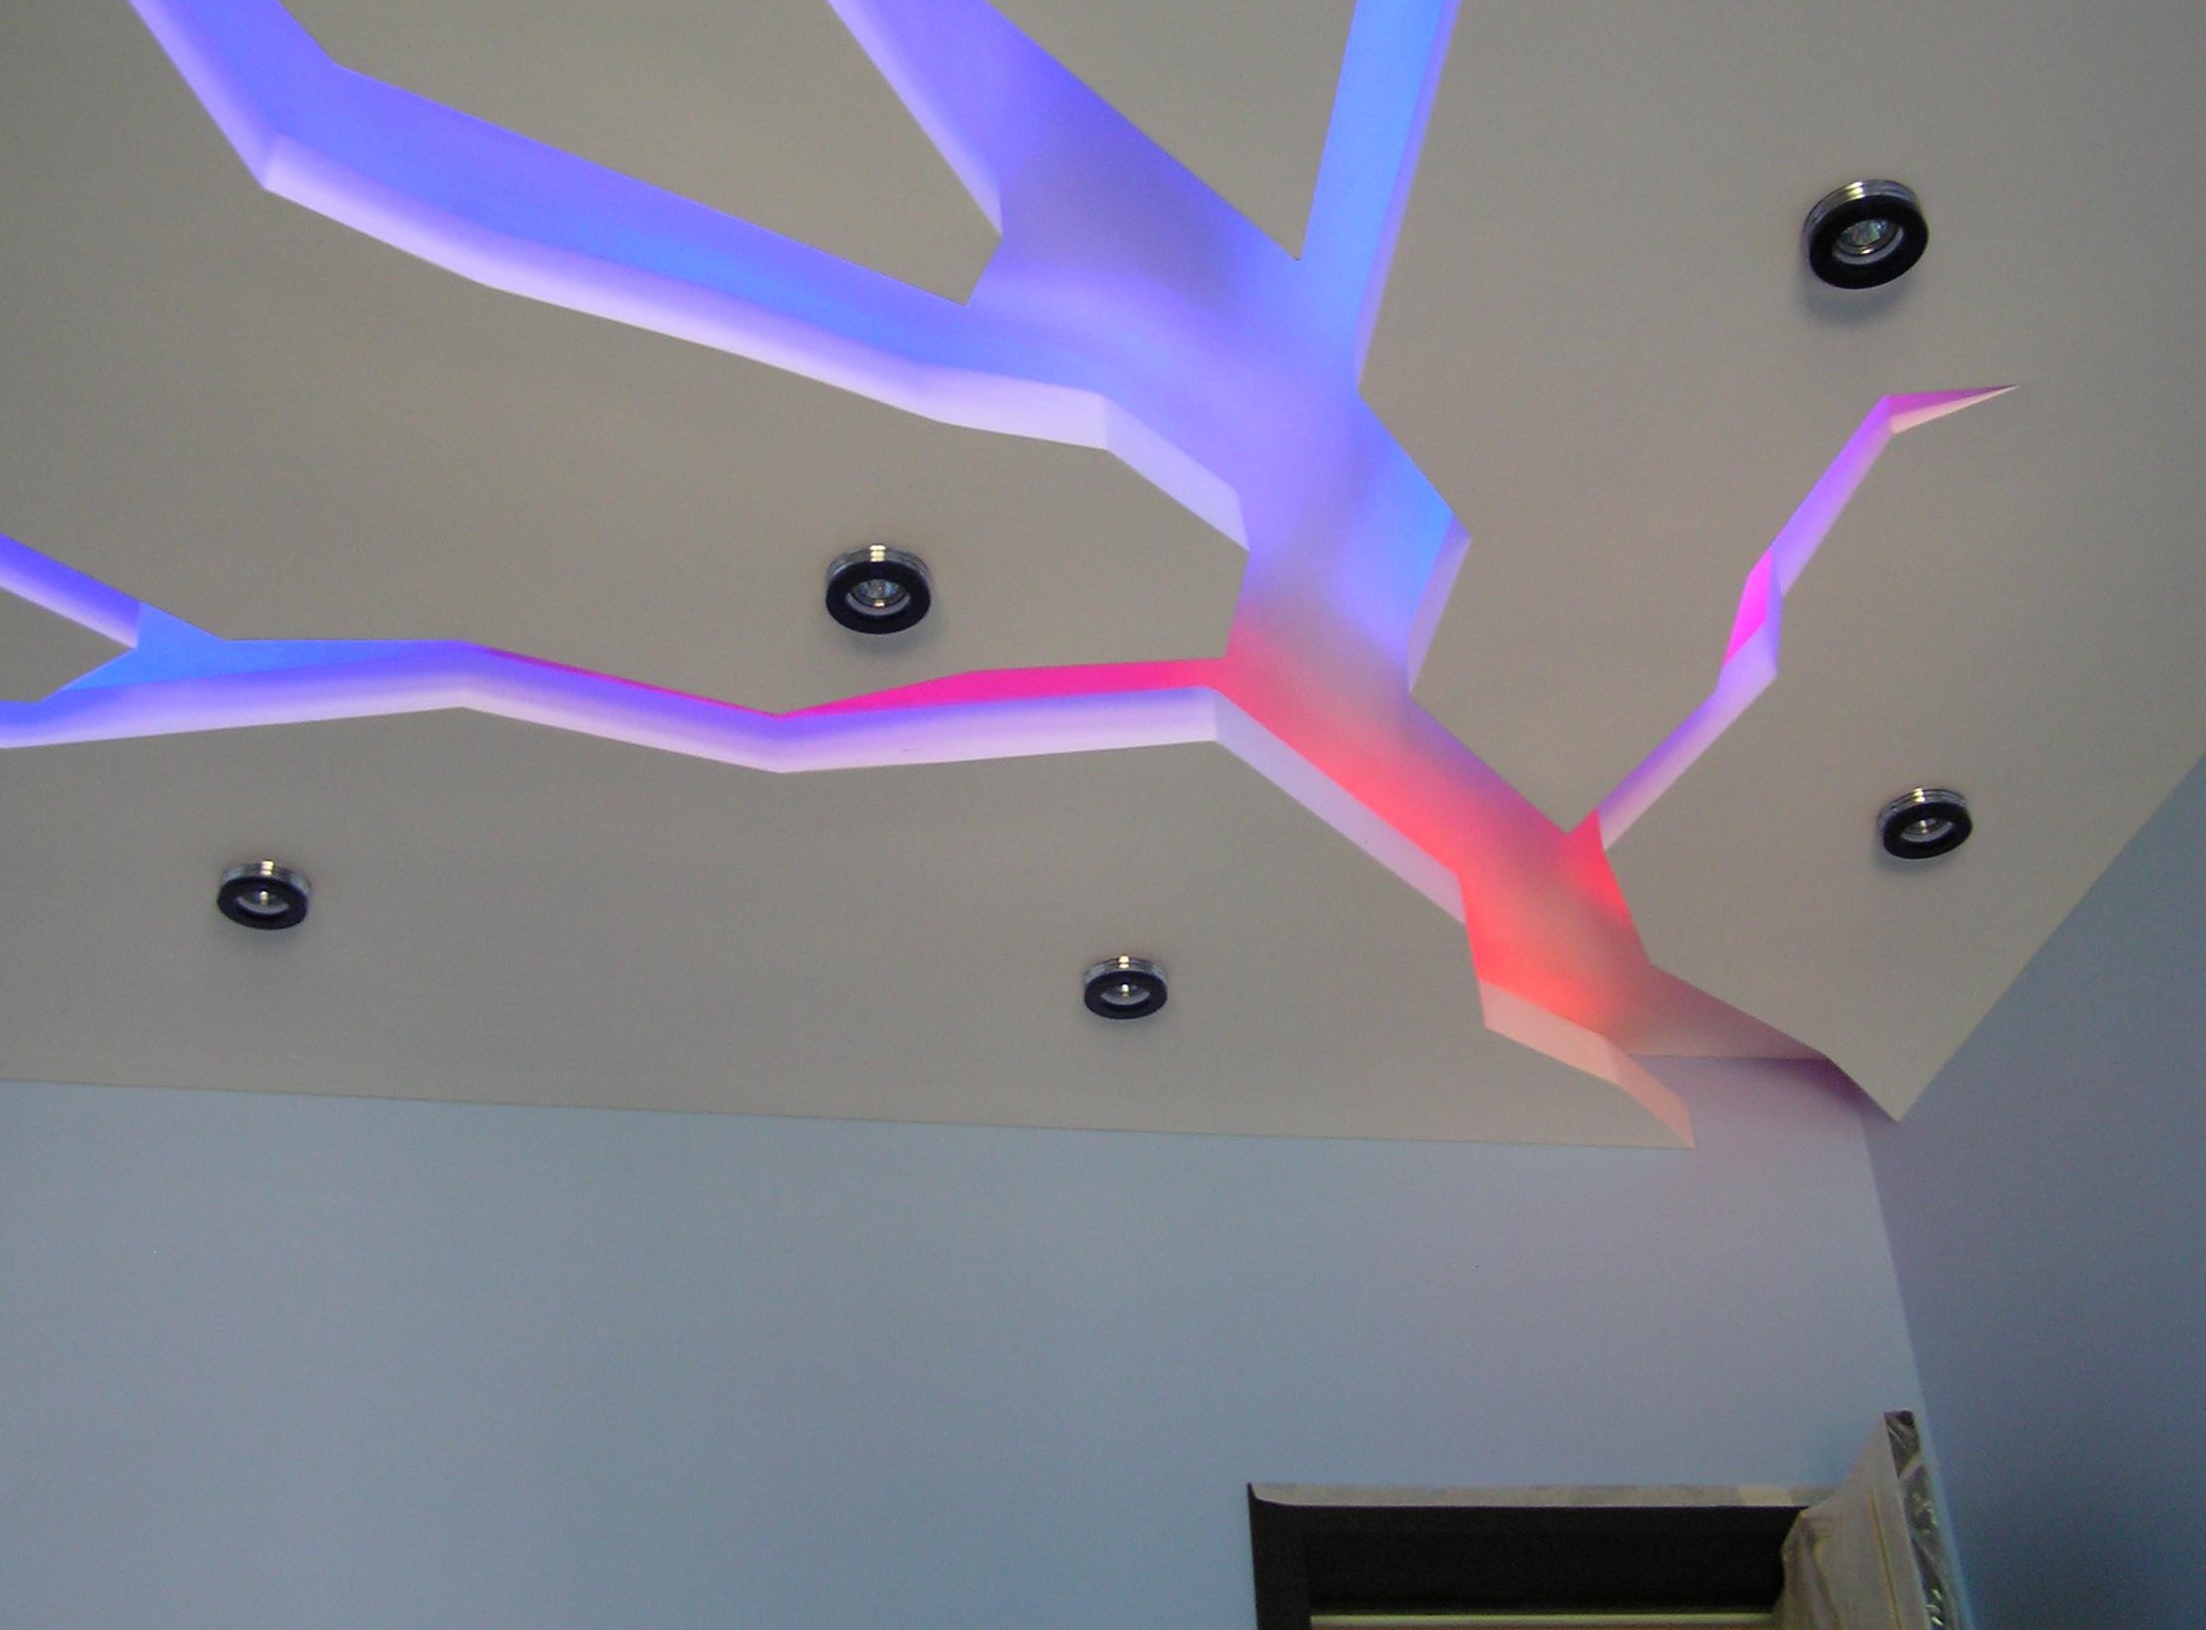
If the overall design of the room allows, you can add curved elements (in manufacturing it is a bit more complicated).
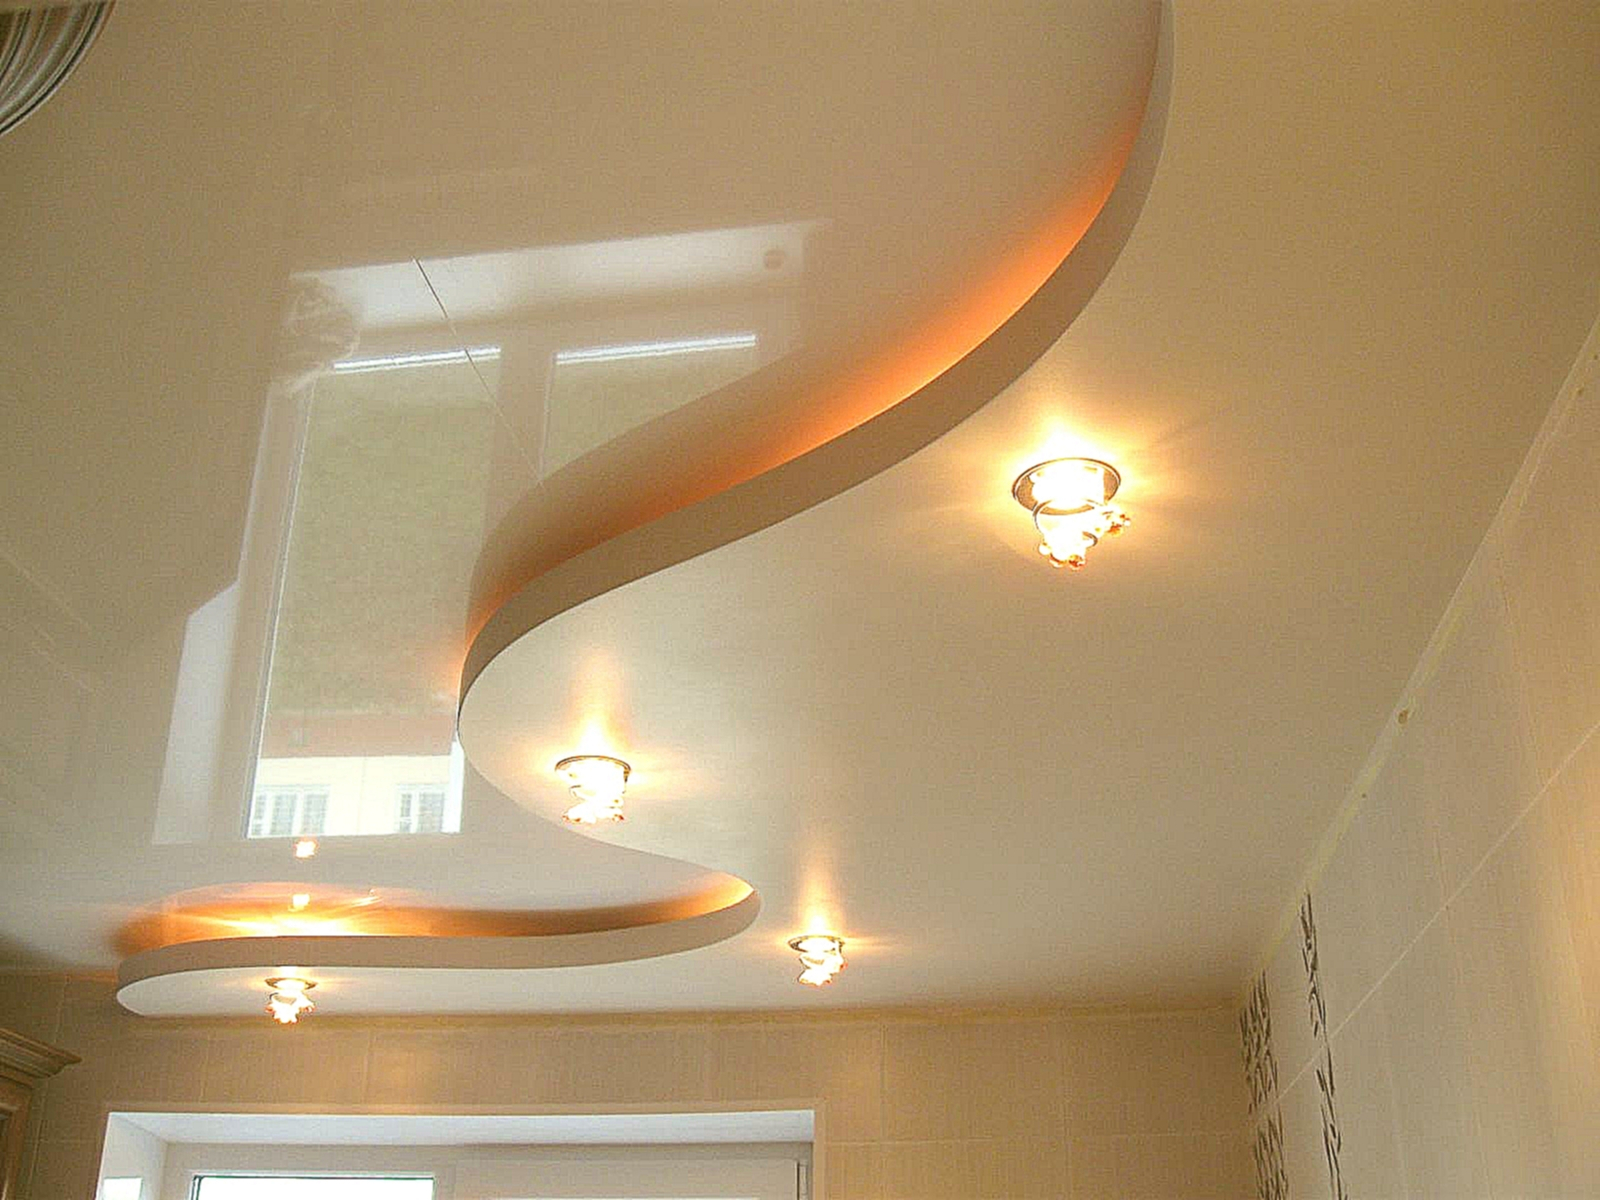
If you want something unusual, then drywall will allow you to realize the most daring design fantasies.
Useful tips:
- Bunk structures are very rarely installed in small apartments due to the low ceiling height. But if there is a great desire, then you can make the ceiling tile at the top tier, and the second tier - of plasterboard. And do not plan to embed spotlights in the HL, limit yourself to a diode tape, in this case you will save a few centimeters in height.
- If you doubt the overall design of the sketch, made by yourself, it is better to contact the designers of the construction company. For a small fee you will adjust the details.
- When planning and direct installation of the ceiling, it is necessary to provide access to electrical wiring in several places.
- To carry out curvilinear forms of sheets of drywall need to moisten and only then bend.
To learn how to install a two-level plasterboard ceiling with a subgrid, see the following video.


