How to make a hanger in the hallway with your own hands?
The hallway is a room in which people prepare to go out and meet guests. This characteristic defines this room as a place in which people constantly undress and dress. Naturally, the outer clothing should be stored here.
In a room made in the style of minimalism, only hangers are used. In addition, they do not take up too much space, which means that even in a small room there will be a place for this structure. In large rooms, a wardrobe and many other additional pieces of furniture are usually installed, but it is impossible to hang a hanger in the hallway.

There is a huge variety of models of these products. Most of them are inexpensive. The price allows even people who have material wealth below the average to buy a really good coat hanger for their hallway. But it is more interesting and economical to do it yourself.
Corner Hangers
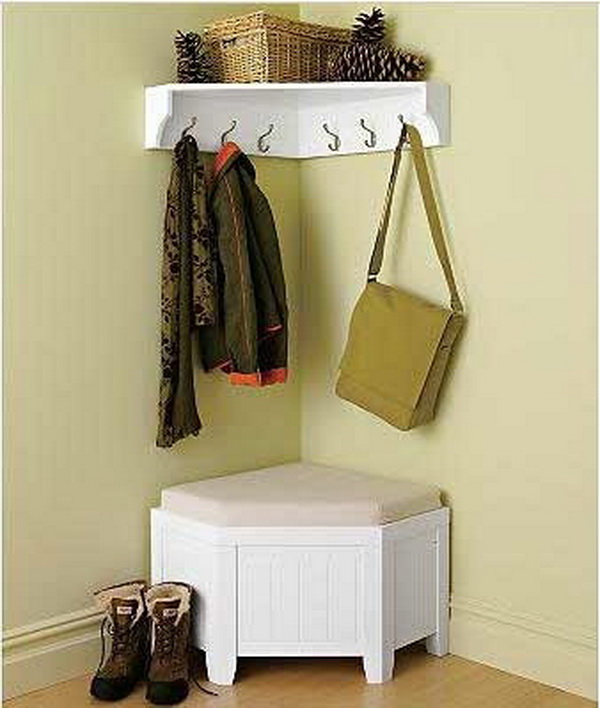
Many users choose the corner hangers. Due to the great popularity, it is worthwhile to separately consider all the positive and negative features of these structures. Corner hanger takes up very little space. In addition, it is usually installed in the corner, which allows you to put it even in the smallest hallways.
Usually, corner hangers have a huge amount of hooks and can hold a lot of clothes and hats, you can also hang bags on them. If you make a similar hanger for a large family, then it will be quite easy for everyone to take a couple of hooks and everyone will be able to place their belongings very conveniently, without mess and fuss.

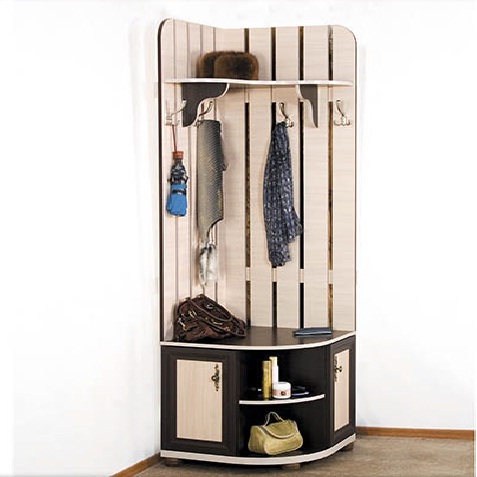
Corner hangers are often very functional. In the upper part of the design, you can add an additional shelf or another row of hooks for storing hats. All this construction can be made independently from different materials.

Outdoor
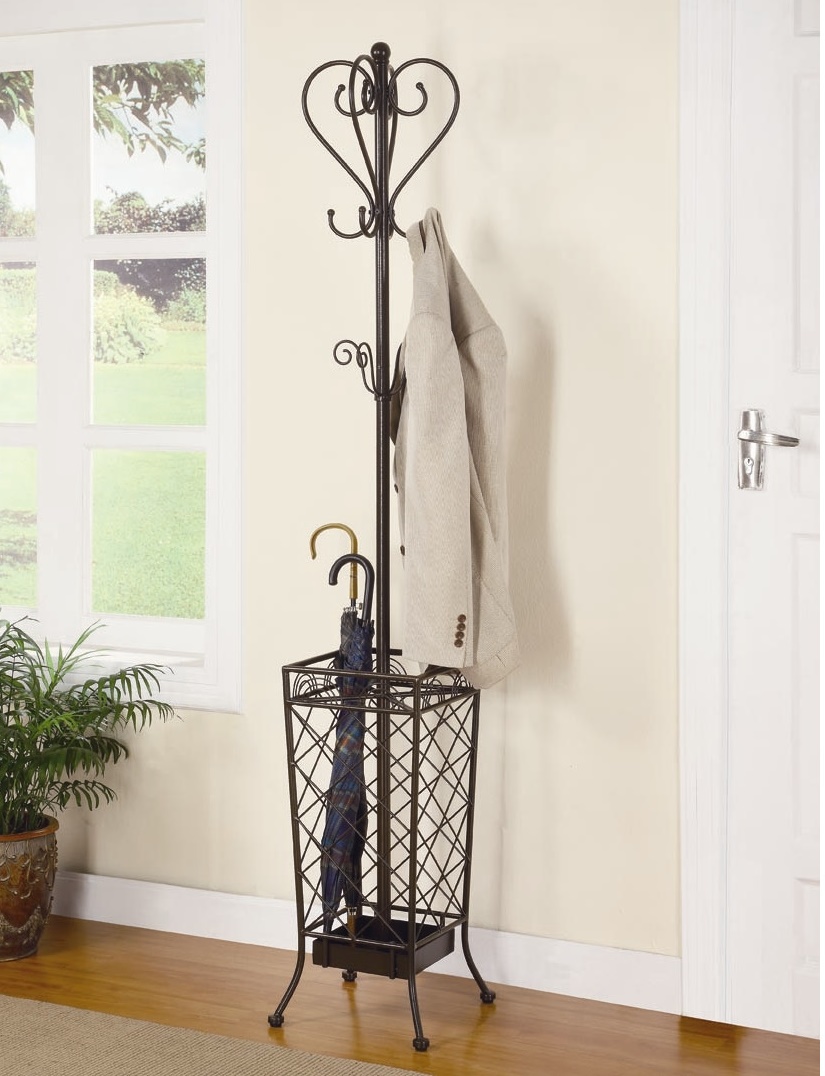
In addition to wall hangers, often used outdoor. They have a longer history than the first option. Previously, they were installed both in rich houses and in the houses of the poor, naturally, while differing among themselves in construction, materials and design.
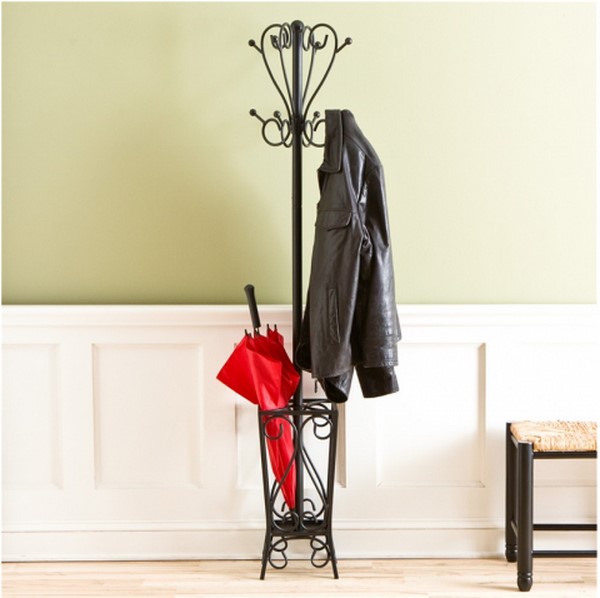
The main problem with such outdoor furniture is that they can turn over quite easily if they fail to pull on clothes. All manufacturers deal with this issue differently. Some try to make the coat hanger very heavy so that it is stable. Others are more attentive to the base, trying to expand it so that the hanger stands on a larger area.
If you make this piece of furniture yourself, then you can attach a small tangent fastening to the wall.
It best fixes the hanger in one position.

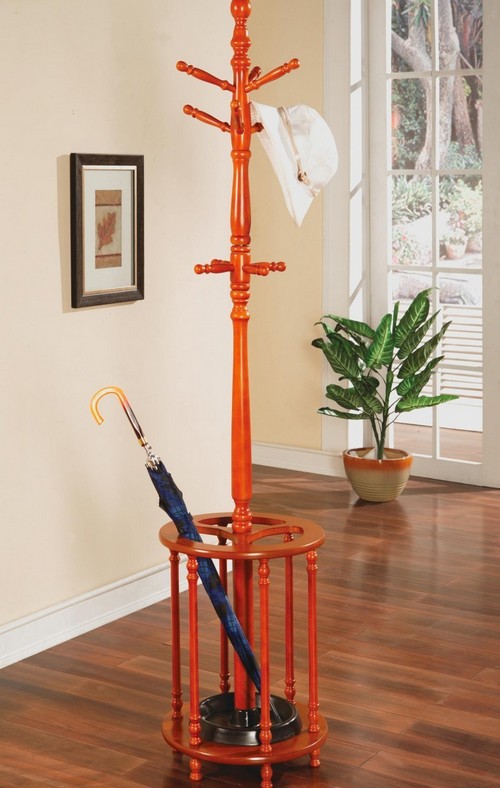
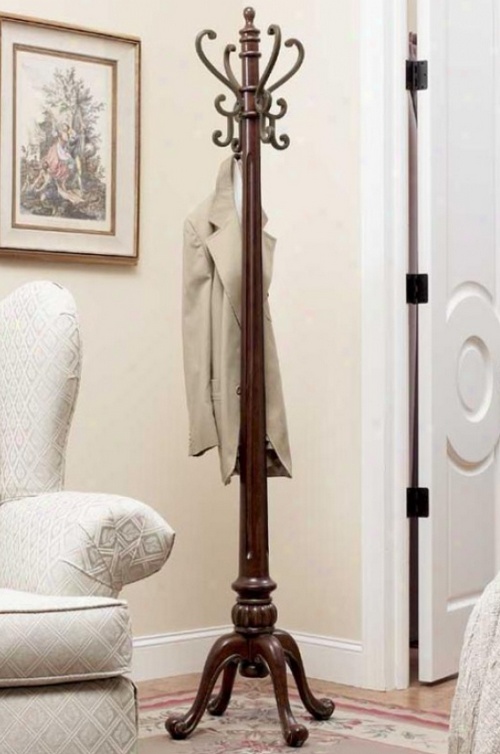
Usually in one floor hanger there are hooks of various shapes. Some of them are quite thick and large in order to quickly hook a bag or things behind the hood. Others can be very small, so that you can hang jackets for a thin small loop.
The classic option is a simple stand with a variety of hooks. It is in most cases metallic and may have some special features in the design. You can make such a piece of furniture and wood, as well as metal, if you have welding skills.
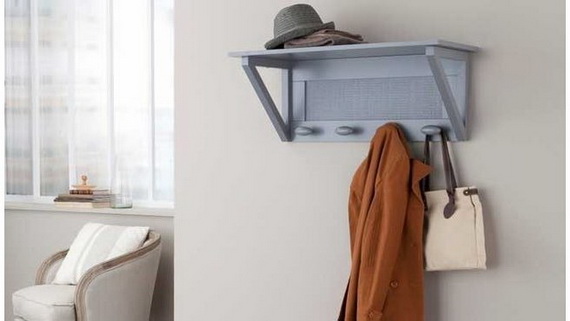
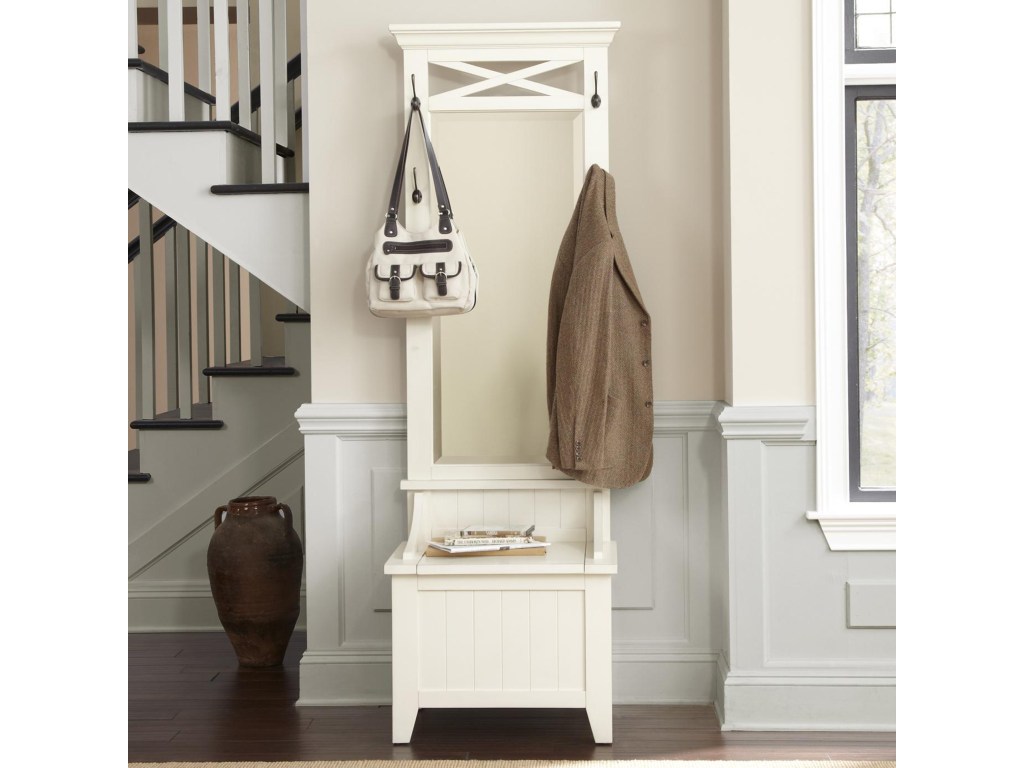
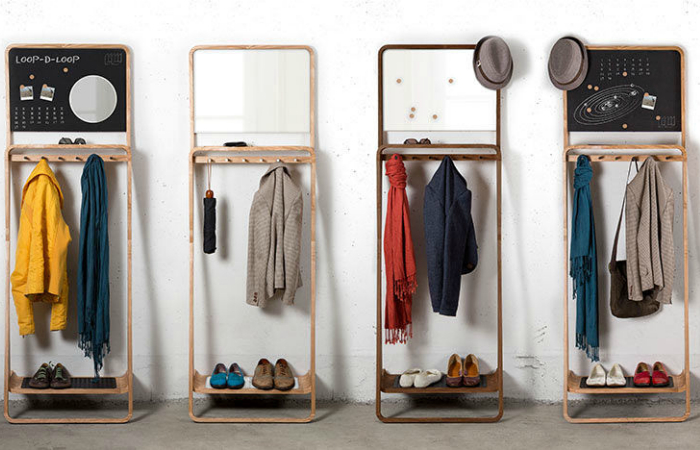
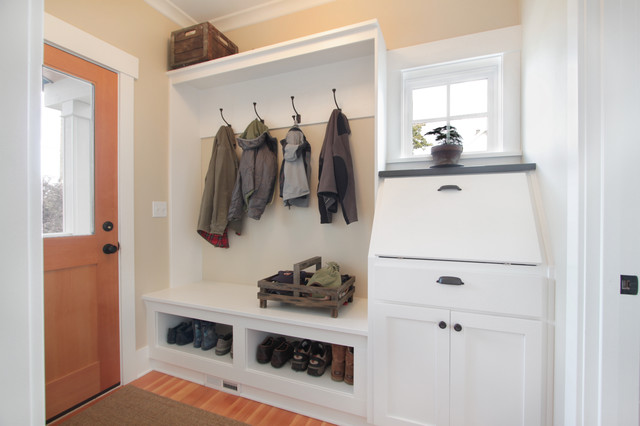
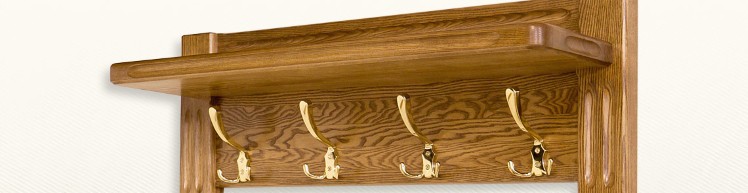
Wall mounted
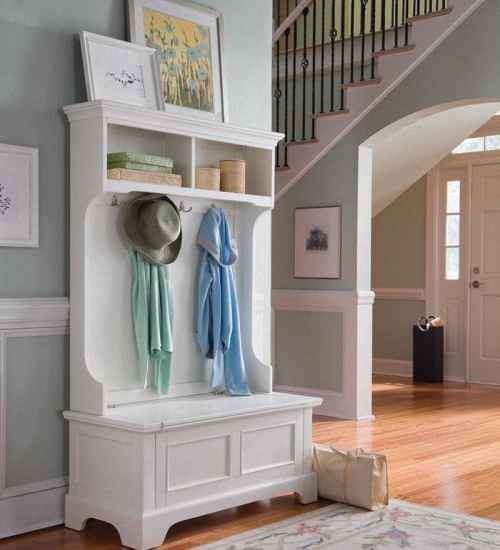
Many perceive wall hangers only as a rather cumbersome structure. This is the case when the panel is firmly attached to the wall, and the hooks are already placed on top. In such a situation, it would be good to add a bedside table and a seat for shoes in the bottom. But such furniture is quite difficult to make yourself.
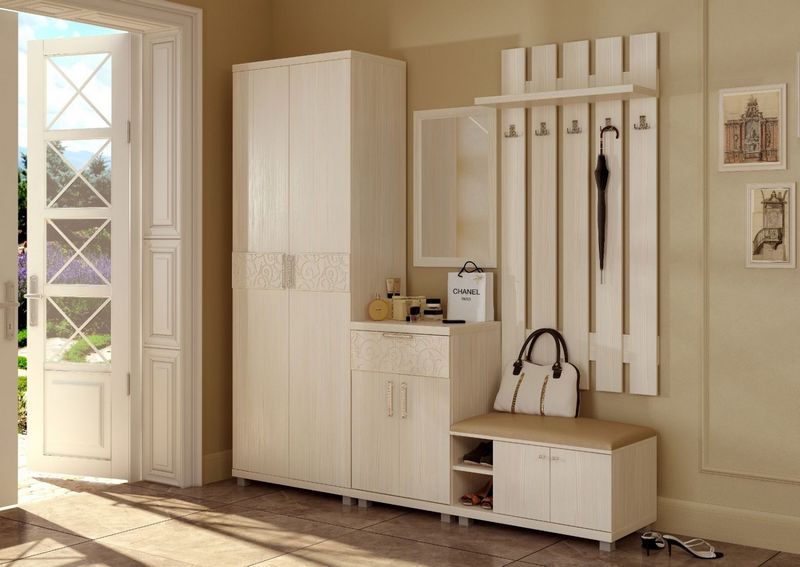
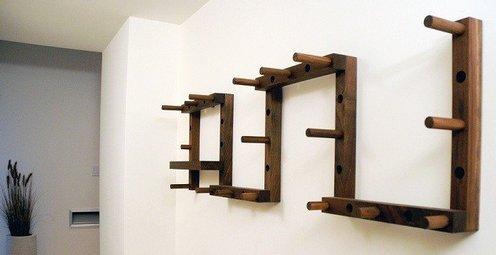
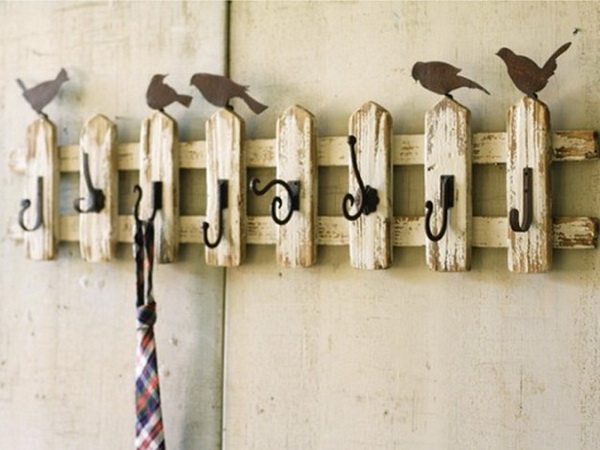
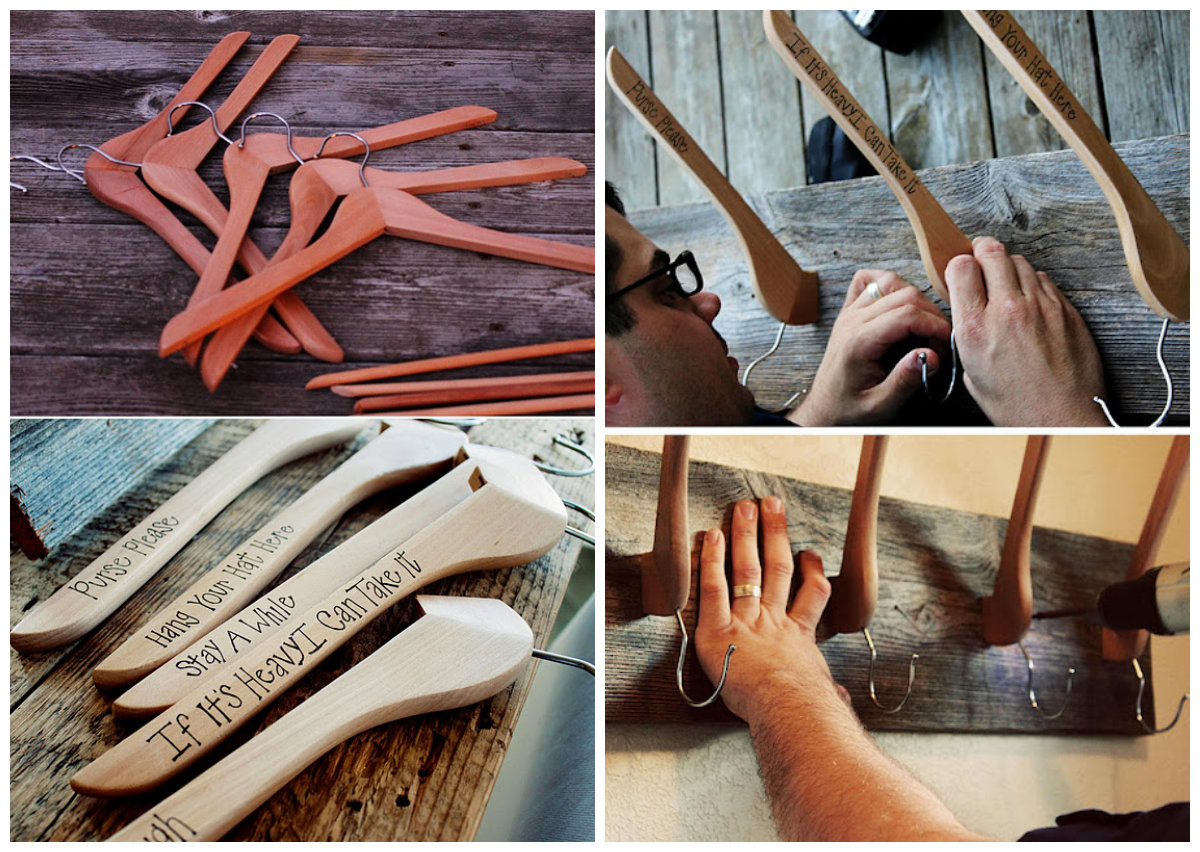
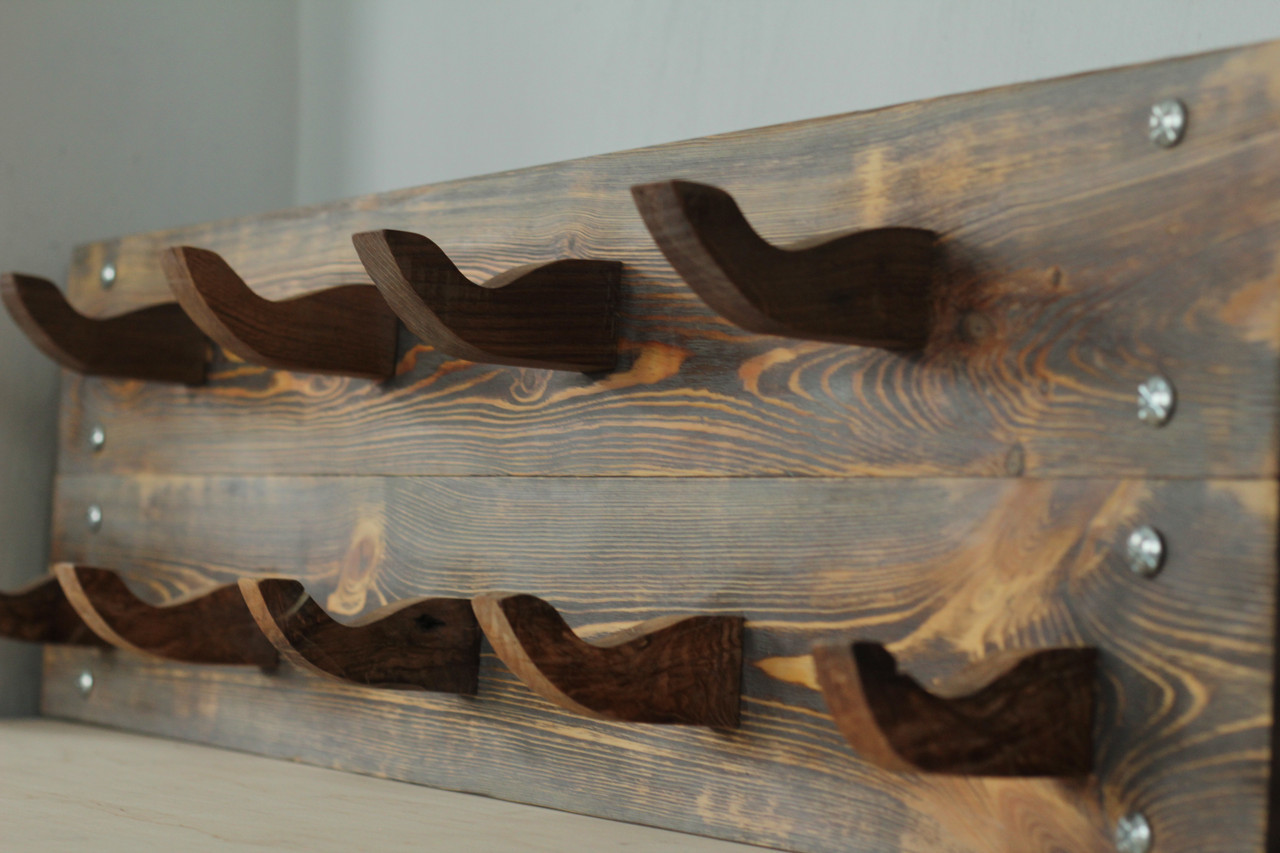
However, there are other wall hangers that help support the concept of minimalism in the hallway. Sometimes this room is so small that you only want to use very small furniture. In such a situation, very small wall hangers can be used. They are just one small plate of the original form, which is attached at a certain height, with hooks along it.
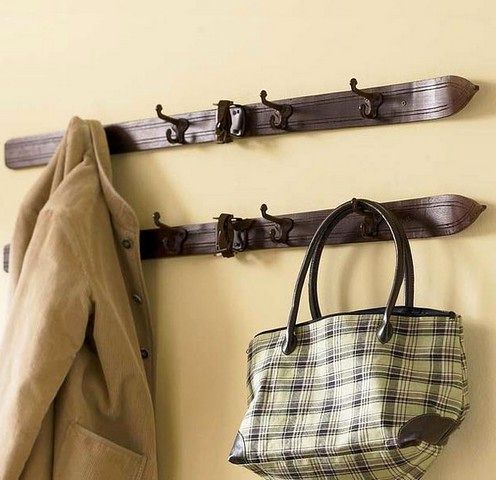
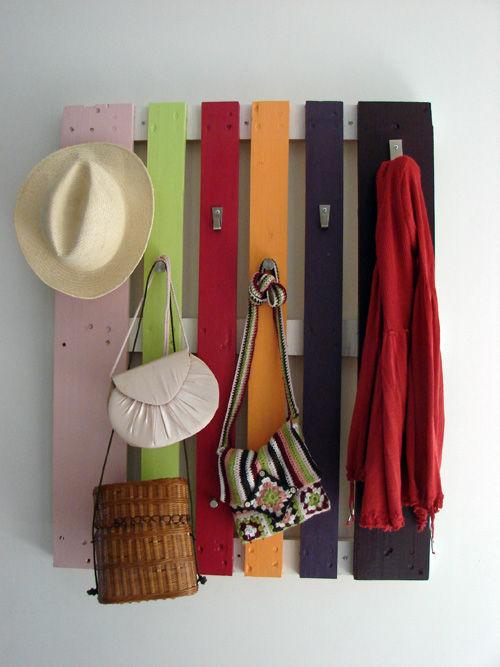
Not necessarily they should go in one line. Hooks can be located at different levels or even to depict some figure. Sometimes this model is played up very creatively. You can simply hang the branches of trees and varnish them. Such a hanger will certainly give exclusivity to your hallway. There are absolutely no limits, except for your imagination.
Manufacturing
Making things for the house with your own hands is always a pleasant and interesting activity that allows you to decorate the interior of your room and give it coziness and comfort. If you do not have enough experience to create furniture, try to make a coat rack first. It will take you quite a bit of time, but you will be able to decorate your apartment on your own.
Wood selection
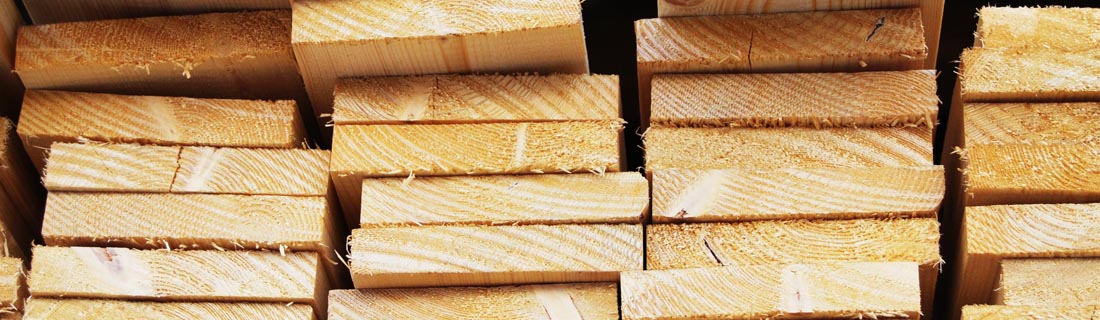
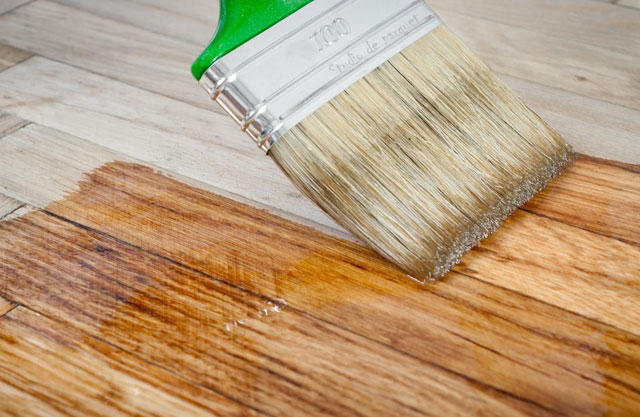
First of all, you need to choose wood for your product. When choosing a wooden board, be sure to remember that wood may have some drawbacks. In particular, coniferous woods after some time after application of varnish may appear to tend to yellowing, as well as decrease strength. Pay attention to the presence of knots on the board, which make it difficult to work the wood, and also to an unnatural color, which indicates that the wood is rotten.
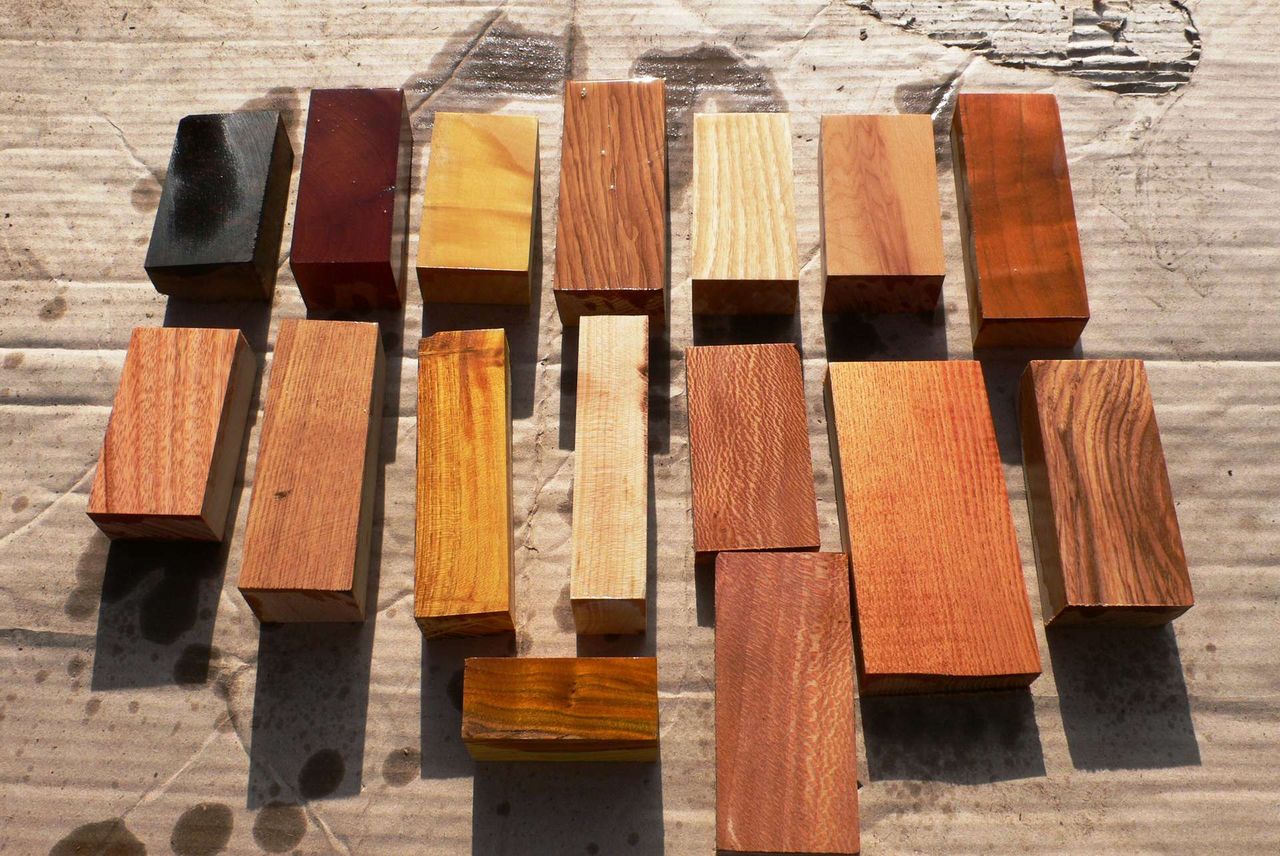
For the manufacture of hangers with their own hands, you should choose a board having a width of 3 cm.
In order to protect the wood from decay, use special antiseptics. It should be remembered that the decrease in the strength of wood is largely influenced by high humidity.
Walkthrough:
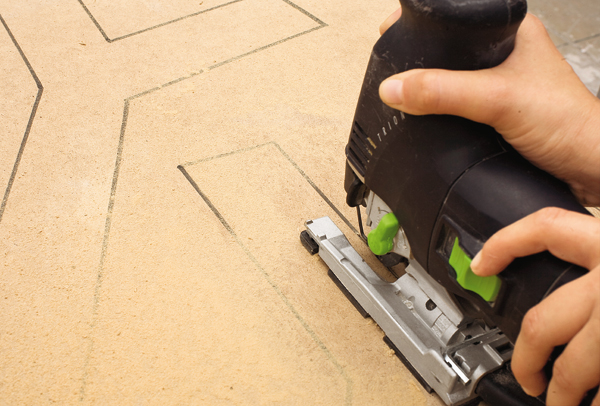
- The manufacture of the hanger should begin with creating a stencil for the panel on which you will fix the hooks. Come up with any shape for your product, and then carefully draw a pattern on a piece of paper. Note that the stencil should not exceed the size of the board.
- After cutting out the template, attach it to the wooden board and circle around the contour with a pencil.
- Give shape to the hanger with a saw, after which you can proceed to grinding.
- The board should be moistened with water and allowed to dry. Sanding wood is carried out along the fibers with a slight pressure on the tool.
- For a smooth overlay varnish, the edges of the surface should be rounded off with the help of a boss. It must be directed at a 45 degree angle. Currently, in the building stores you can see thin steel wire rolled up in a skein, which is intended for sanding wood. However, its disadvantage is that after processing in the wood there remain the smallest particles of steel, on which rust may later appear.
- To appreciate the work on the hanger with your own hands, you need to wear a nylon stocking on your hand and hold it over the treated surface.In the case of irregularities on the stocking will remain inhibited.
- You can decorate the product with the help of burning, if you or your family members are able to do it. Otherwise, the finished picture can be purchased at the store. It is best to glue it to the hanger with special glue, as nailing will deprive the design of aesthetics and grace.
- Then the product must be varnished and wait for it to dry. To achieve the desired color, the procedure of applying varnish on the hanger, repeat at least 3 times.
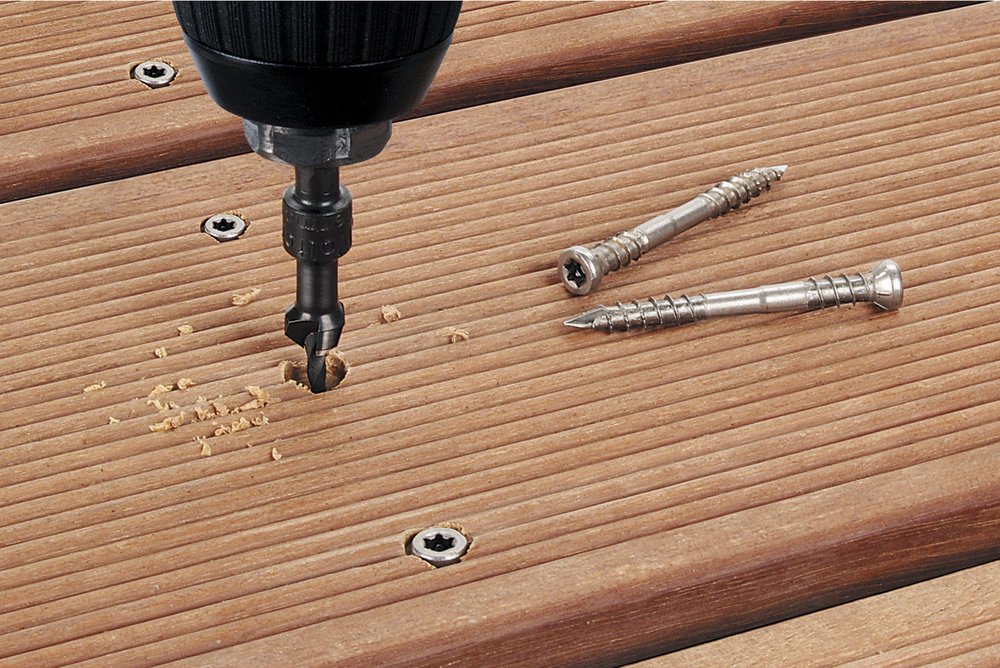
- After processing, proceed to the hooks, which can be wooden or metal. Metal hooks can be purchased at the store and nailed to the base. Wooden can be done independently. On the hanger itself, you also need to drill holes in the place where the hooks are attached, and then, brushing the dowels with glue, insert them into these holes.
When the hanger is ready, you can install it anywhere in the apartment: in the room, hallway or corridor. Making the hooks thicker, you can even hang heavy objects on them, in particular, tools for the garden.
Of forks
If you want to somehow decorate the hallway and do something creative and unusualwith your own hands, feel free to embody your ideas. The idea is very interesting, especially if you want to make a hanger from forks. At first glance it may seem that this is not entirely possible, but you are mistaken.
To create an unusual hanger, we need:
- table forks;
- board;
- self-tapping screws;
- screwdriver;
- spray paint;
- drill;
- pliers;
- varnish;
- brush.

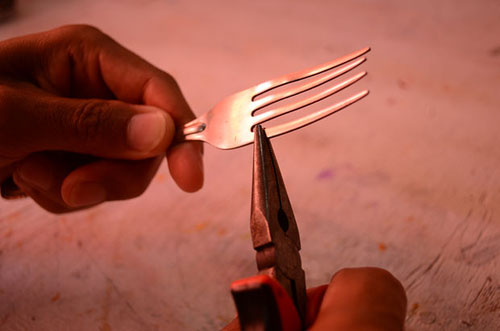
First of all, we will need to bend the plugs in a certain way. We do not touch the two extreme teeth of the fork, we only bend them slightly for the convenience of further work. And two teeth in the middle of the bend with pliers in two parallel arc. If an equal arc does not work out - nothing terrible, it will only give your hanger originality. You will also need to slightly bend the handle of the fork. Bending should be done approximately in the middle of the handle. This can be easily done by hand.
Such actions are carried out on each of the forks. By the way, you can choose absolutely any number of forks on your coat hanger. Just do not forget to choose a suitable length board.
To fix the forks on the board, you need to drill small holes in the screws for them.The hole should be located slightly below the bottom edge of the bent teeth in the ring.
Next, prepare our board. If it is a little uneven, we will have to cut off the ugly edges and sand them with sandpaper to even out the surface. To give the board some form, we grind off the corners. After that we varnish the board. It is advisable to do this on the balcony or on the street. Apply lacquer with a brush in one direction and leave to dry completely. If desired, the board can be painted in a color that fits to the interior of your hallway. After the varnish on the board has dried, we can attach the forks. Forks are screwed with screws using a screwdriver or screwdriver. After fixing the legs forks slightly bend upwards.
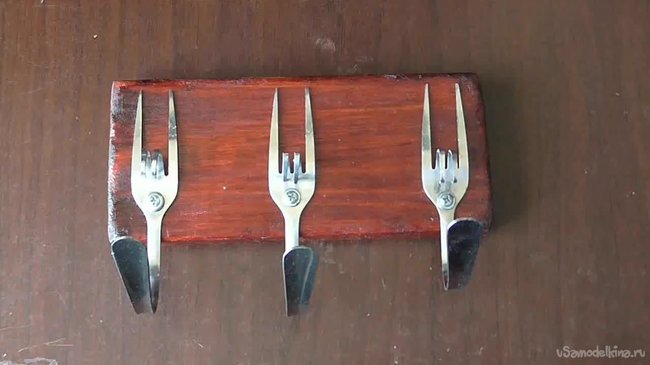
Our hanger forks ready. It remains only to drill two holes through which the hanger will be attached to the wall.
To learn how to make a wall wooden hanger in the hallway with your own hands, see the next video.


