How to glue skirting on the ceiling?
Today, the baseboard is often glued to the ceiling. It is not difficult to fasten it at all, and the ceiling covering with a plinth looks more stylish. But you need to gash it, properly dock and stick. This repair does not take you much time.
Special features
Ceiling plinths, they are also fillets, baguettes and moldings, are used for:
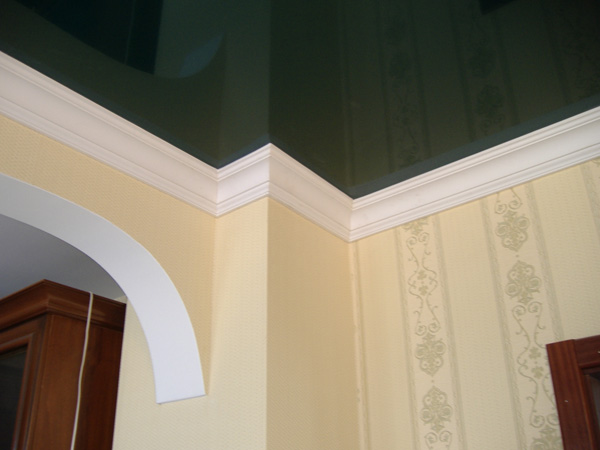
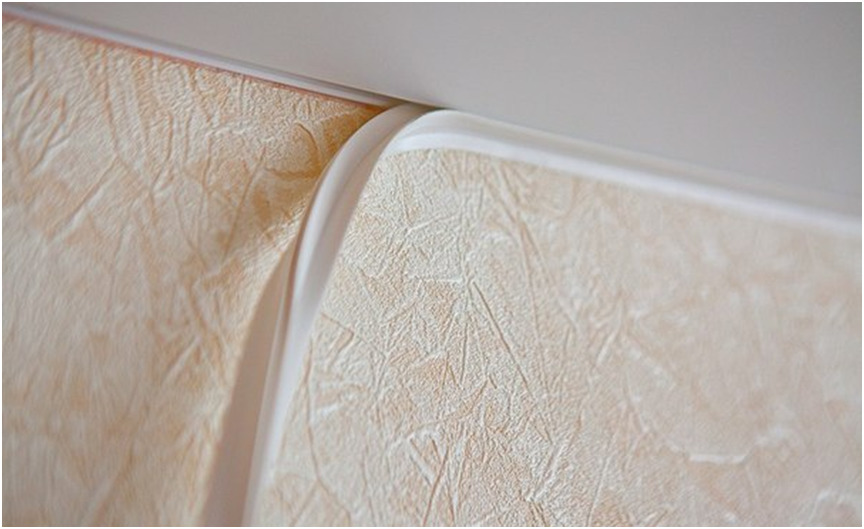
- concealment of defects in the connection of the wall and ceiling. After all, it is much easier to glue a fillet than to level the corners;
- decor beveled wallpaper lines;
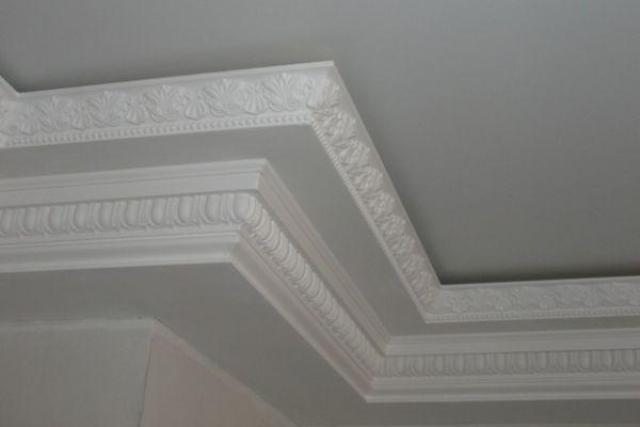
- smoothing the corners in order to transform the room;
- hide wires and other communications.


Modern skirtings are made of various materials, but regardless of this, the length is standard for all types - two meters, therefore, with a greater distance of the curb, you need to dock the slats.
Gluing the ceiling plinths is not at all as simple as it may seem at first glance. If you do not take into account the peculiarities of the material, the adhesive composition, the accurate cutting of the slats is not made, the result can be deplorable.: the parts will fall off, crevices will appear in the joints, uneven corners will cut the eye. It is easy to glue on straight sections, difficulties for beginners, as a rule, take place when working with corners.
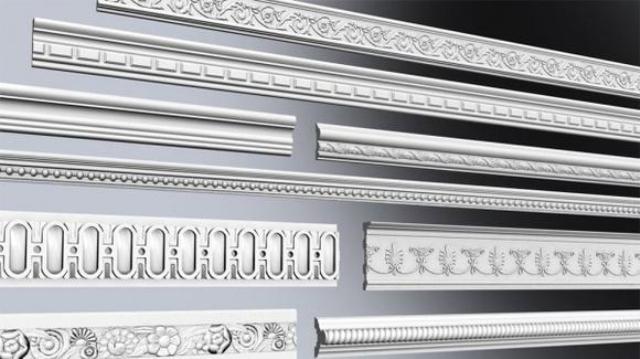
Kinds
Today the market of baseboards is full of proposals from low-cost foam plastic to luxury wood.
Foam plinths easy, they are distinguished by ease of installation. Their price is low, but its domain structure is a disadvantage of foam plastic. For his cutting fit a simple knife. However, it should not be blunt, otherwise, instead of cutting it will push through the foam, round particles will break out. When installing, you must be careful, because you can rub the surface by pressing hard with your finger. After gluing, the foam must be puttyed and painted so that grooves do not remain on the surface, which will gradually become dirty with dust. This material is soft, so wash it will not succeed.
Polystyrene foam baseboards usually a bit more expensive than foam. They are lighter and more flexible, have a smoother surface. It is also necessary to cut it with a sharply sharpened knife. Painting can not do, but just cover the joints. Also, expanded polystyrene is stronger - it is impossible to wrinkle its surface with ordinary pressure. They wash the plinth easily with ordinary water.
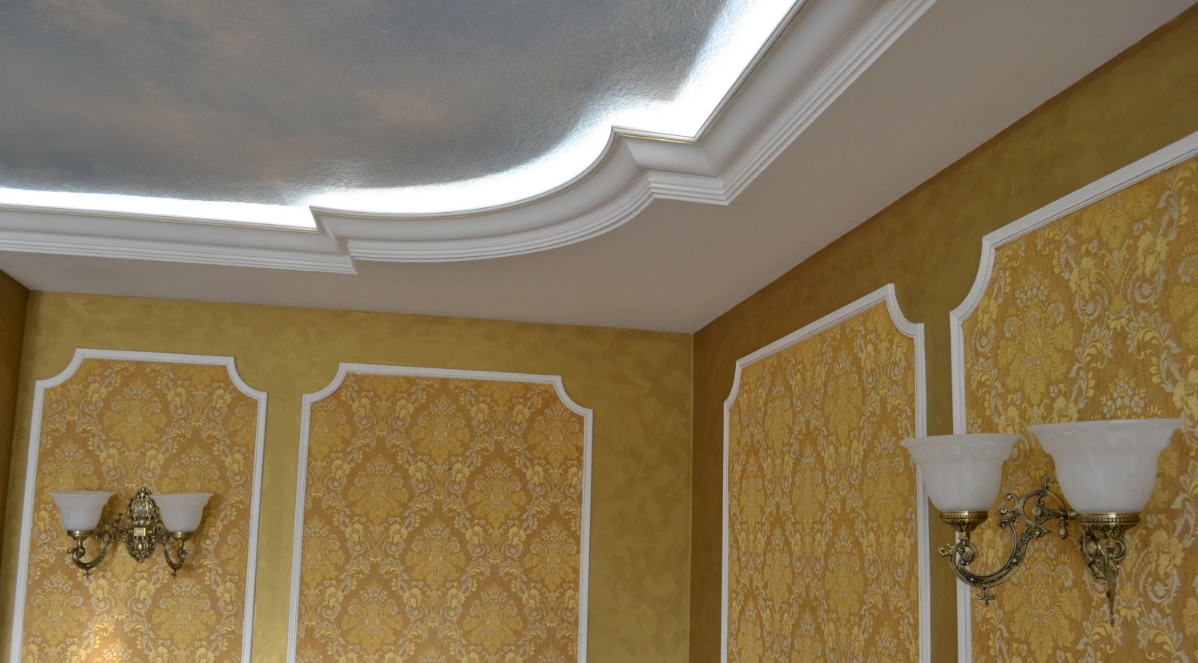
This material is quite flexible - the plinth with a length of 2 meters is bent at a right angle, which is great for framing drywall on the ceiling.

Modern manufacturers make baguettes of duropolymer - the same polystyrene foam, further processed under increased pressure. Thanks to this treatment increases its strength.
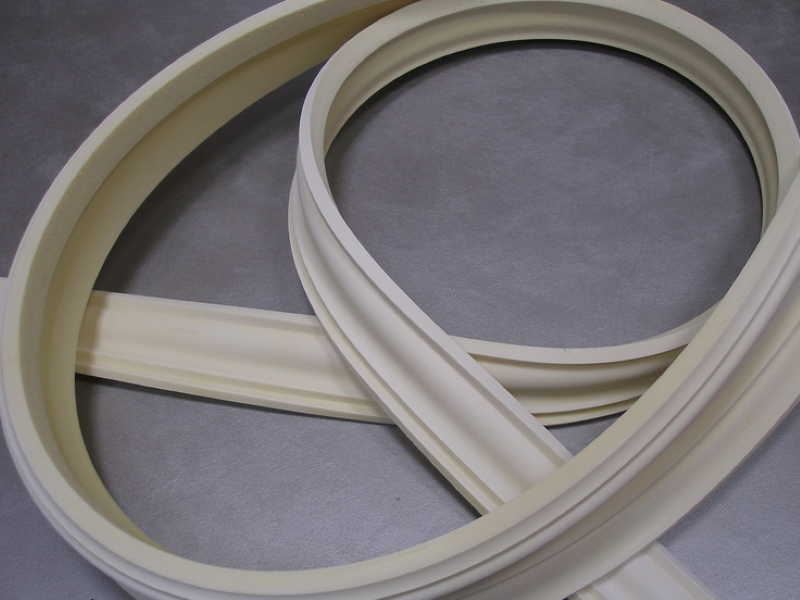
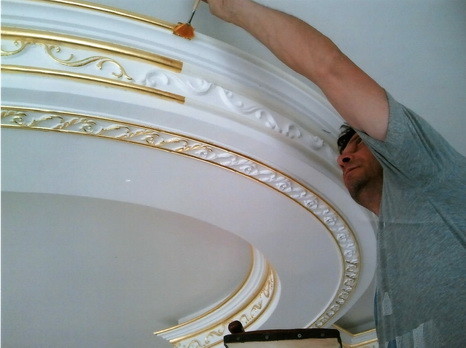
Polyurethane plinths differ in special durability. They do not create dust, easy to clean and undemanding to care. In addition, they are permissible to use in high humidity, that is, in bathrooms, kitchens. This type of fillets is painted without any problems. But its main advantage is flexibility. We must try very hard to break such a plinth, besides, it does not crumble. Flexibility is very important when framing curved plasterboard structures.Also, polyurethane is perfectly glued to many types of glue.
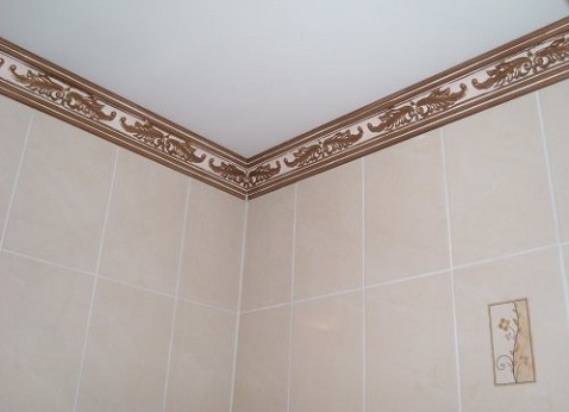
PVC Plinth There are a variety of shapes, textures and colors. They have such advantages as lightness, durability and various prices. However, they do not bend, as a result of which they are more demanding on the surface. It should be perfectly smooth. You will need a hacksaw for cutting, because here a simple knife is indispensable.


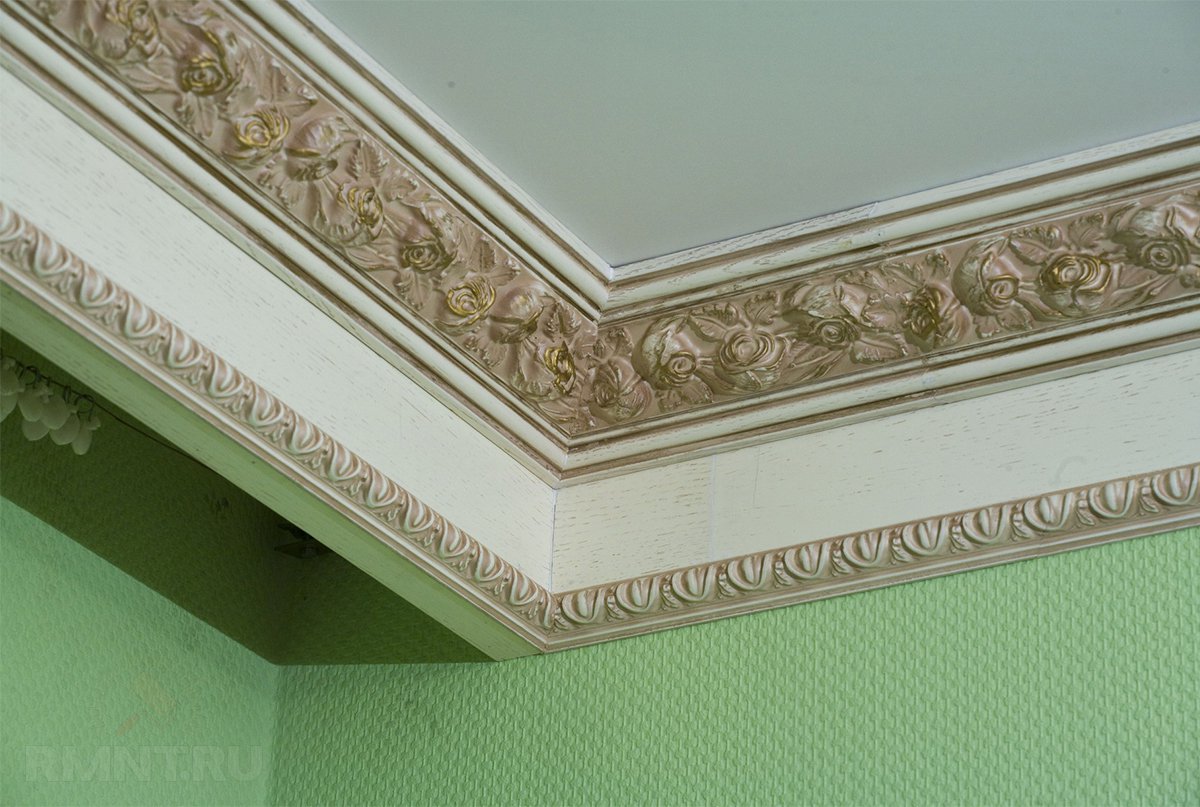
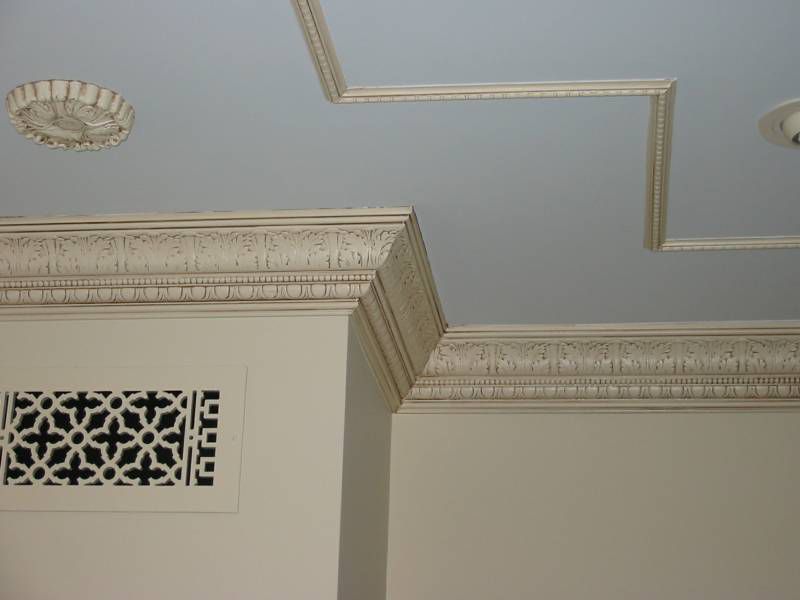
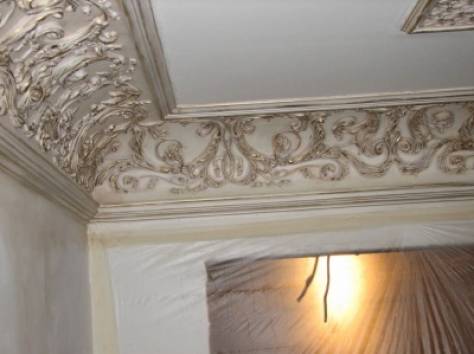
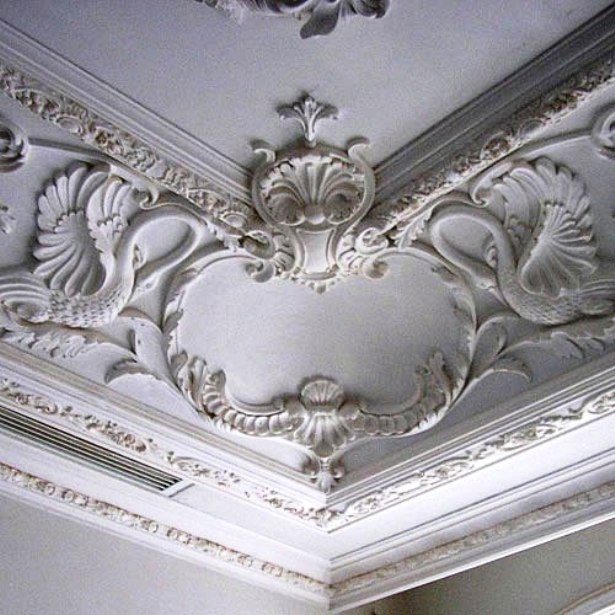
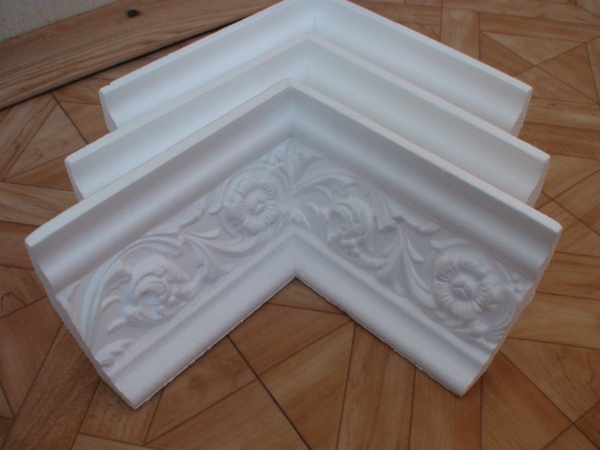
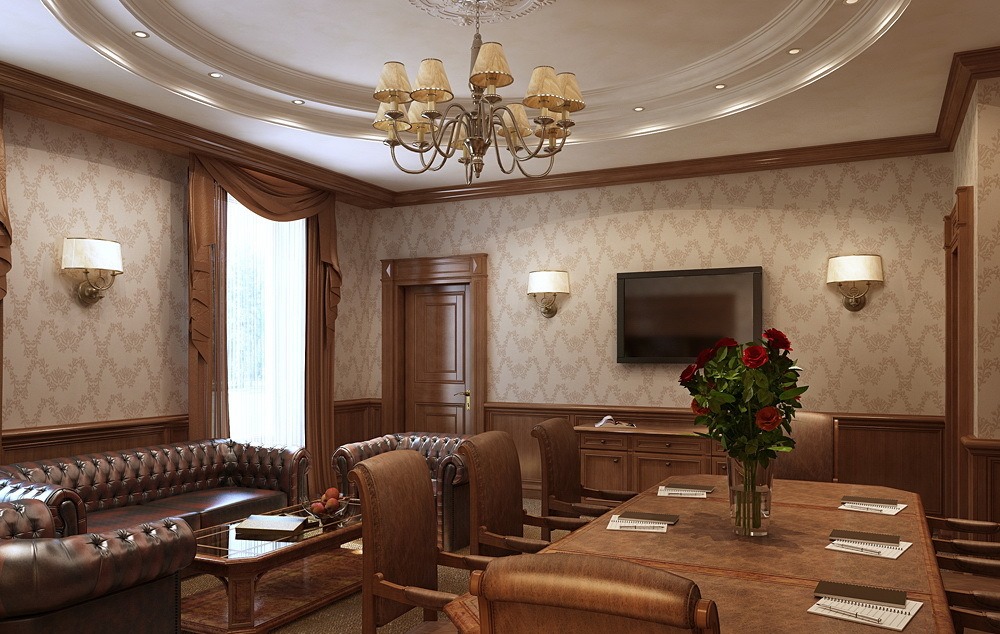
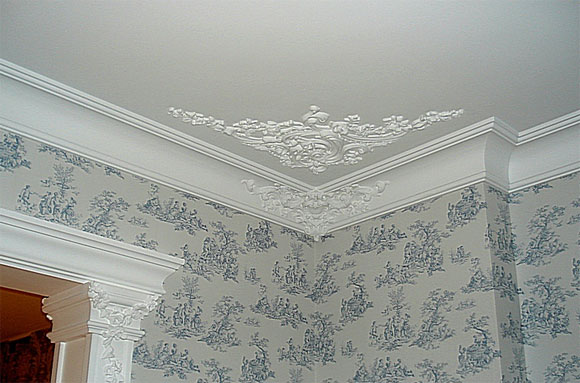
Gypsum plinths - A good option for classic interiors, since gypsum is very plastic and any sophisticated decorative surfaces are made from it. They are also durable and environmentally friendly. The disadvantages include fragility and high price.
Wooden plinths much more expensive and more difficult to assemble the previous species. However, the appearance is much more solid and richer. Docking them is much more difficult: you will have to cut with a hacksaw with small teeth, and then make a fit using a file. It is impossible to make a mistake in this, since the putty will not help.
Attaching them to the ceiling is also more problematic: glue will not stand the tree alone, so you must first drill holes for fasteners, after which the fillet itself must be fixed. There is another drawback - the tree is rotting, and if there is a danger of flooding by the neighbors, then it is better to choose a plastic border.

Glue selection
Selecting fillets, you can prisupat to the selection of adhesive composition. First of all, pay attention to the glue recommended by the manufacturer. However, it is necessary to choose it also taking into account the presence or absence of wallpaper.
Today there are various types of adhesives. The following tasks are suitable for our tasks:
- Universal substances - these are viscous transparent solutions, solidifying for a long time.
The most running are called "Titanium". The range of application of this glue is extensive, it is suitable for fillets. It is transparent and has no color, there are no fillers in the composition. The adhesive composition is formed by polymers. Well suited to the foam. Moderately toxic and safe for the skin.

Another representative class wagon - "Eco-naset". It is generally similar to "Titan." The problem with these adhesives is the inconvenience associated with a long fixing time. Here can come to the rescue "Moment". It has similar characteristics, but freezes immediately. The disadvantage of this glue is its price.


- Liquid Nails - quite convenient practical composition, produced in the form of tubes for building pistols. Many professionals prefer liquid nails. There are acrylic and neopropylene liquid nails. The first emit a faint smell, safe for health, and unsuitable for work in the cold. The second is perfect for rooms and rooms with high humidity. The room temperature when working with neopropylene does not play any role.
Professionals do not recommend using liquid nails for gluing skirting plastics from polyfoam and polystyrene.

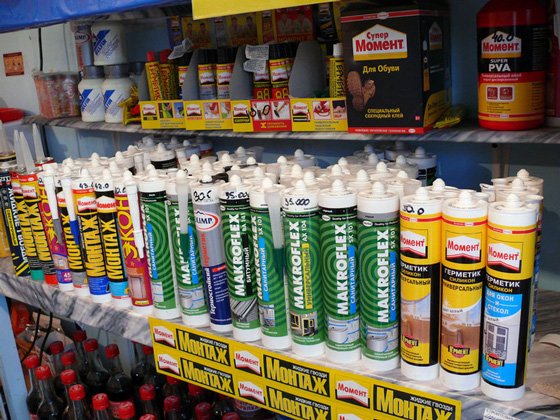

- Acrylic Sealant - a universal option, suitable even for uneven walls, because the gap can be sealed with the same sealant.


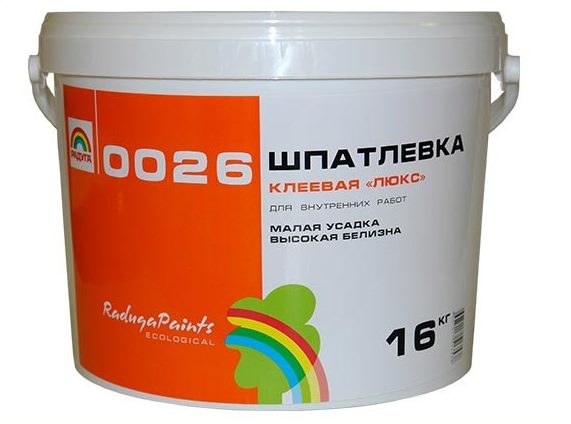
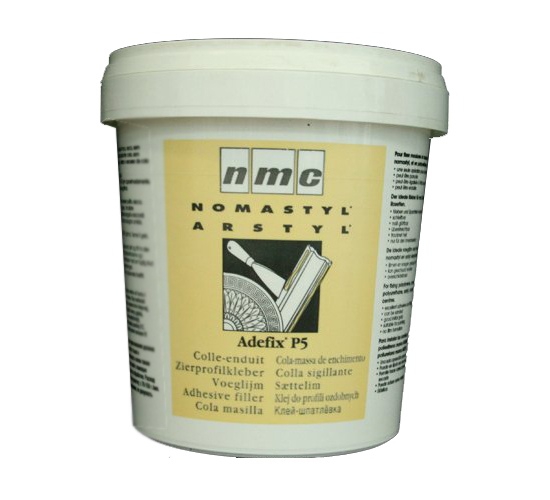
- Glue putty - homemade composition of dry putty, PVA and water. The process of manufacturing such glue begins with the fact that the putty is poured into the container together with the PVA glue in a ratio of 4 to 1, that is, 4 parts of the putty and 1 part of the PVA glue. After that, everything is mixed with a gradual uniform pouring of water. As a result, a mixture is formed, homogeneous and thick in consistency. Then for about ten minutes, this mixture is infused and stirred again. After two hours, the solution is ready.The main thing is to make sure that there are no clots in it and it is completely homogeneous.
Training
Galtels are often glued on top of the wallpaper, in this case it is necessary to ensure the reliability of their sticking and adjust it to the standards. Then you need to do the preparation of the surface. It should not be moisture, fat spots, it should be clean. It is necessary to inspect and check it for the presence of mechanical defects and irregularities, cut out all defects. If they are, then it is necessary to do everything to eliminate them, otherwise the slats will not press and the baseboards will twist.
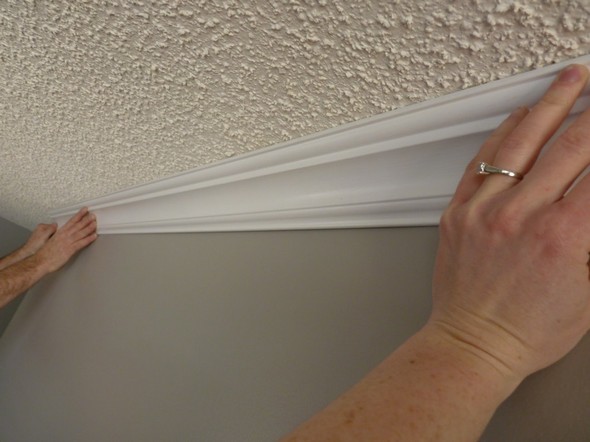
One of the issues is trimming the baseboard from the end. Each strip of the fillet should be docked with the neighboring room in the corner at exactly 45 degrees angle. To solve this problem you will need a block. He has cuts at different angles - from 45 to 90 degrees. It is necessary to insert the molding in the miter box at an angle of 45 degrees and cut off with a knife, then smooth out the ends. The lower edge of the fillet should be firmly pressed against the moth, and the upper part should be held by hand. First you need to do cutting corners, and only then do fit the footage.

By the way, the mash can not be bought in a hardware store, but can be made independently from improvised means, since it is a very primitive tool. You just need to hammer a couple of boards at the right angle and make a cut in the right place. Having made such barrels, you will be able to cut the slats right on the weight, pressing the strap to the boards.
If the corner is cut incorrectly, it is necessary to cut it again, so the plank will become shorter, that is, there will be a gap in the ceiling. In order to facilitate the entire process, you can buy special corners, which are placed on top right on the docking site. However, they are quite expensive.

So, the following tools are needed:
- hacksaw, stationery or construction knife will help to kill the material;
- pencil and ruler;
- miter box;
- brush, spatula and container for mixing (when using putty);
- rags and brushes to moisten the ceiling when applying putty;
- stepladder or any other stand.

How to glue?
The baseboards are glued in two ways: on top of the wallpaper or before the wallpaper is glued onto the leveled primed surface. The second method is a priority, but more labor-intensive.When replacing the wallpaper in the second case, it will not be necessary to re-engage the installation of the fillet. Also, if the walls are uneven, then it will be much more difficult to plug holes. So it is better to do the gluing of wallpaper only after installing the ceiling plinths.
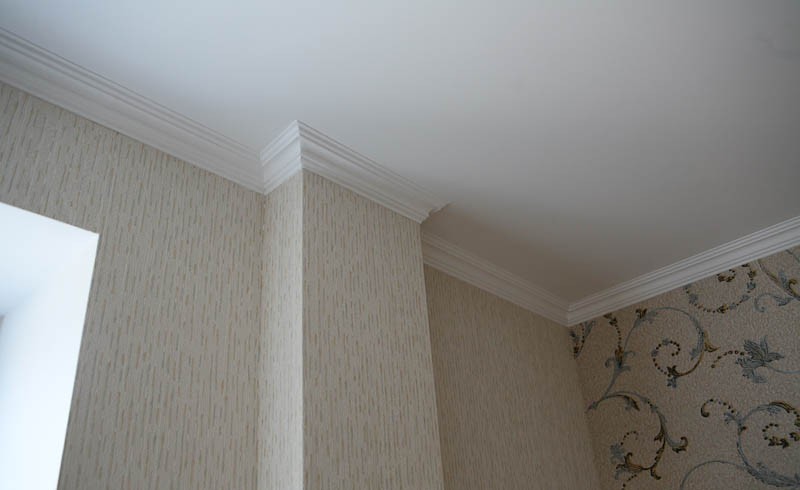
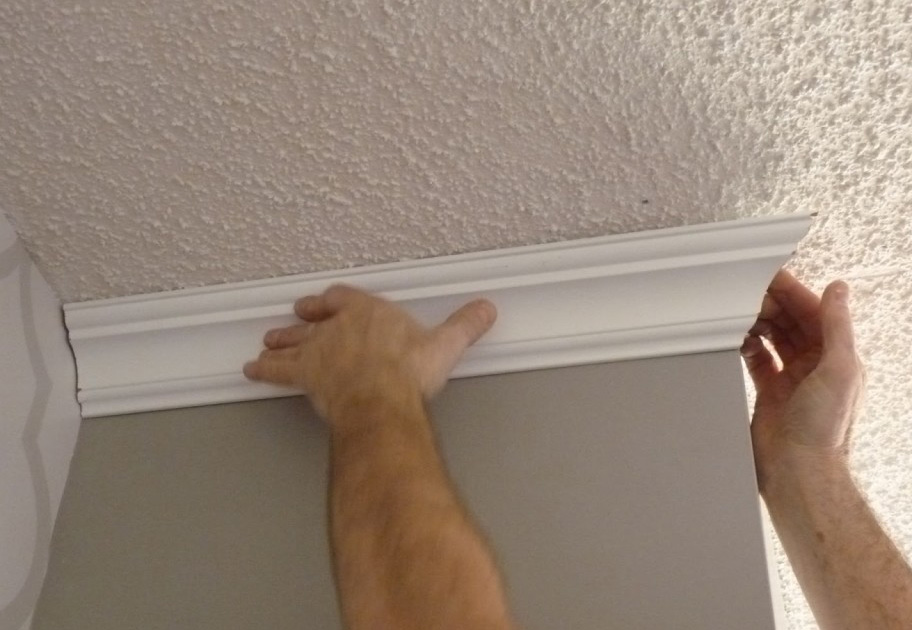
First you need to choose a place for sticking the first element. It is preferable to start from the corners, and then proceed to the perimeter. There will be no problems with straight sections around the perimeter if everything is in order in the corners.

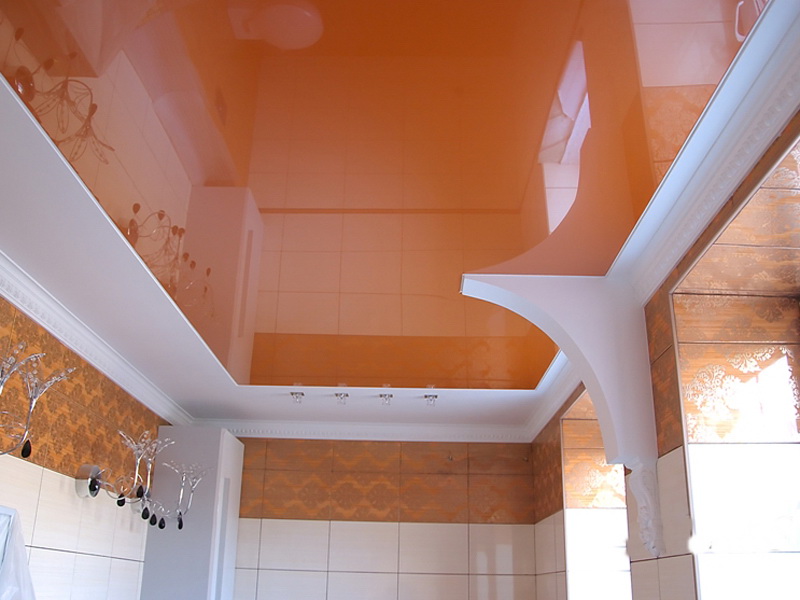
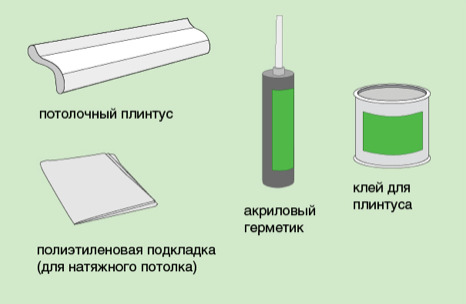
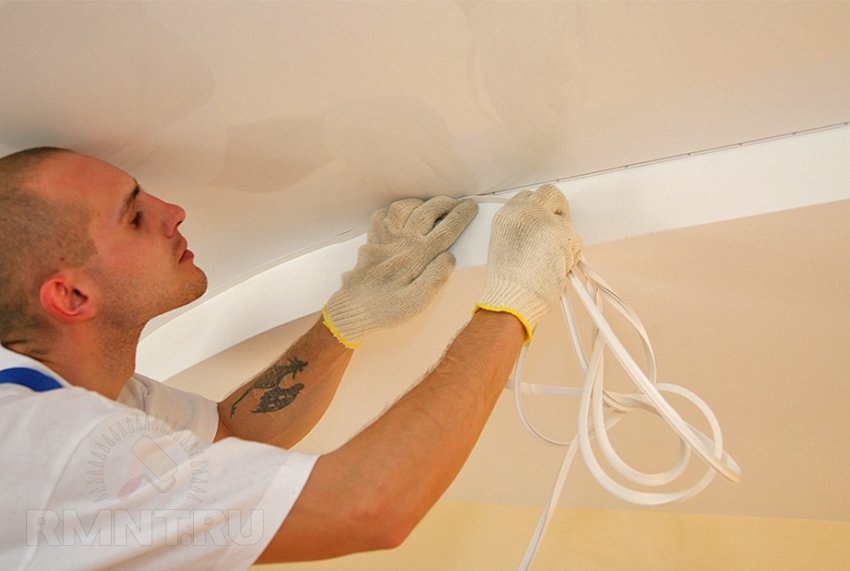
If you have a tension cloth installed, then the plinth should be glued only to the walls. Cloth before this, it is desirable to close the plastic.
The rest of the process is the same as described above. However, when selecting plinths, it is necessary to focus on the specifics of fastening the canvas. The main requirement for baguettes installed in a room with stretch ceilings is that the lower part is much wider than the top. Wooden plinths paired with a stretch cloth excluded, because surface damage is possible.
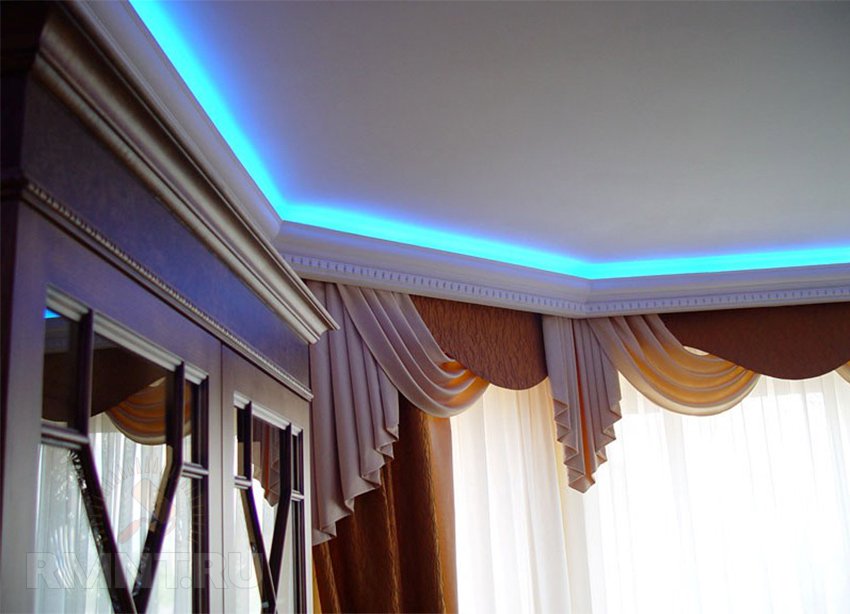
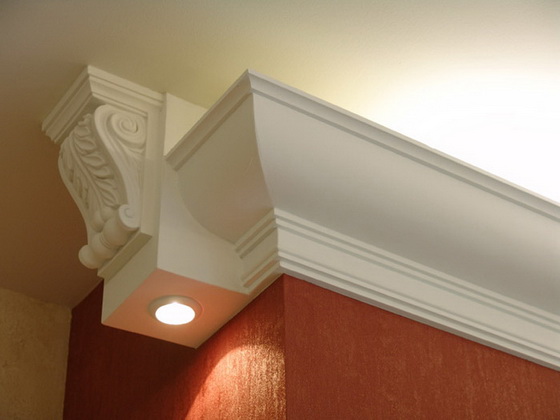
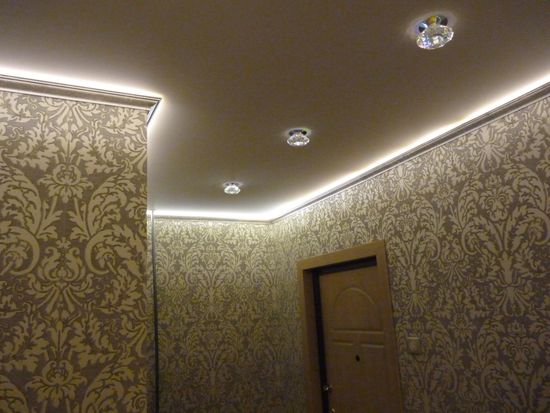
If you are going to install a backlight in the ceiling plinth, then the main thing before sticking the plinth is to lay the wire, otherwise there are no differences.

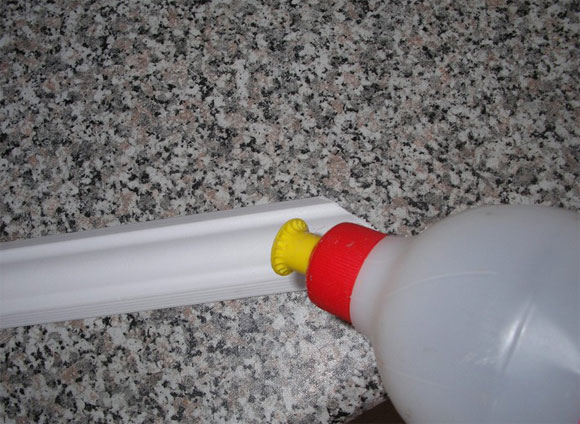
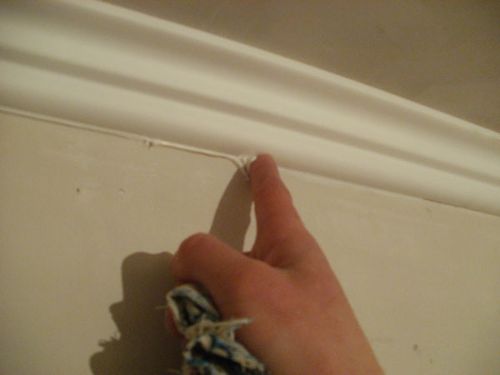
By sticking need to go, making sure to keep your hands clean, so as not to stain white skirting. A thin strip of glue is applied with a gun or trowel on the back side of the fillet, the one that will be pressed against the ceiling and wall. In the version with a stretch ceiling, it is applied only on the lower, adjacent to the wall.
After directly sticking plinth, you need to wait a while, then press it to the right place. A piece of glue will come out from under the strip; it must be removed with a dry cloth. To glue the trimmed fragment of the plinth, it is necessary to use it so that it duplicates the cut profile. It is necessary to repeat this technology to the end.
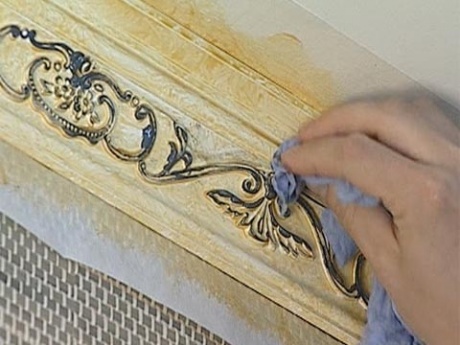
After sticking can be found gaps and holes between the slats. They are removed with white sealant.. Perhaps you have not done whitewashing and painting the ceiling, in this case it is necessary to run putty on the glued planks. It is necessary to smear the strips with paint, and after they dry, remove the excess with small sandpaper or a sponge for plaster. After that, the ceiling will merge with the slats into a single whole and the gaps are guaranteed to disappear.

Also, after gluing and removing defects, you can paint the plinth. Painting on the whole is optional, but for greater visual appeal, it is still worth doing. And if the plinth is white, then it is necessary to paint, otherwise over time it will gradually acquire a shade of unpleasant yellowness. For this purpose, water-based, latex and acrylic dyes are commonly used. Or you can use nitro paint, but in this case, the surface of the slats will have to be primed.
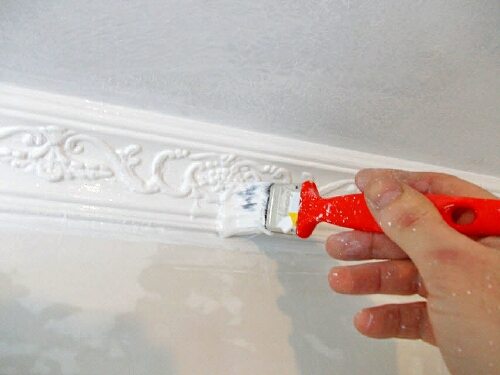
It is better not to paint the moldings immediately after installation, but somewhere in a day.
Plinth sticker is not a very complicated process. Even a non-professional master can attach it. The main thing is good to seal and connect the joints.
Detailed master class on pokleyka ceiling plinth, see the following video.
Tips and tricks
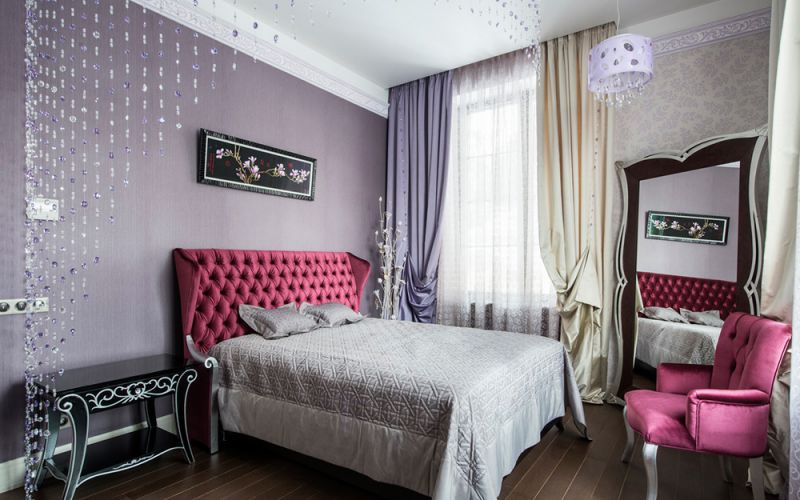
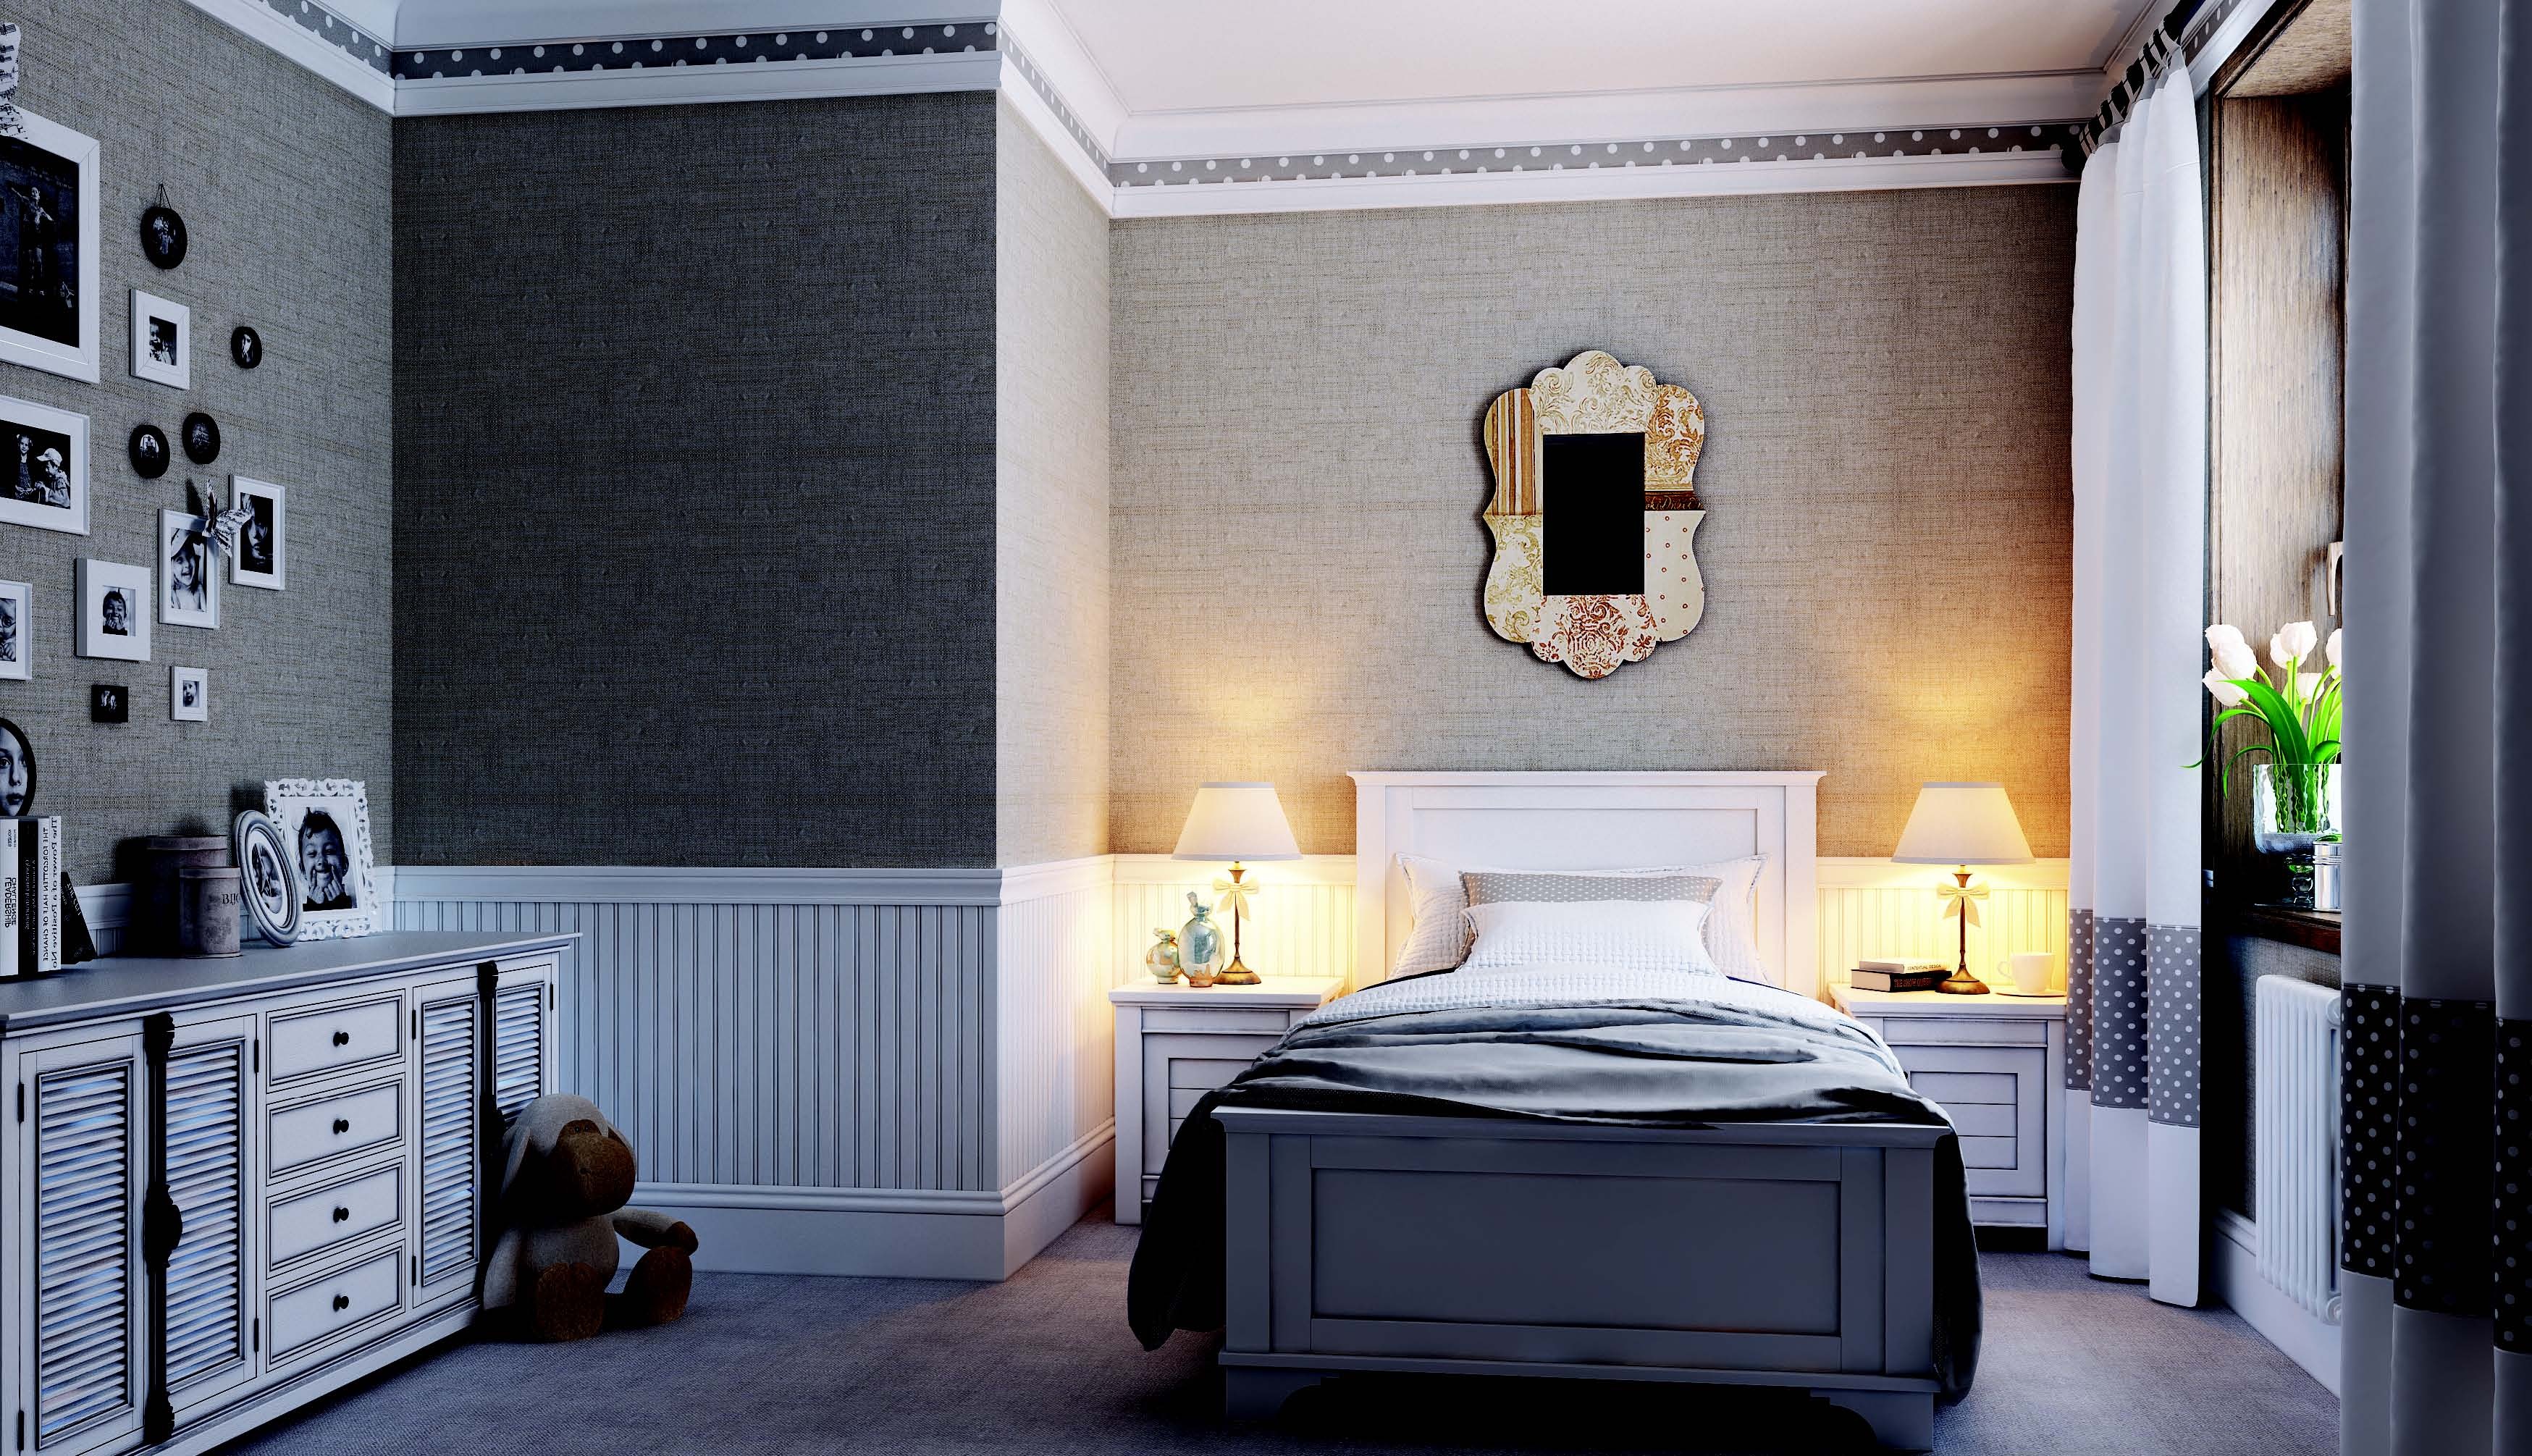
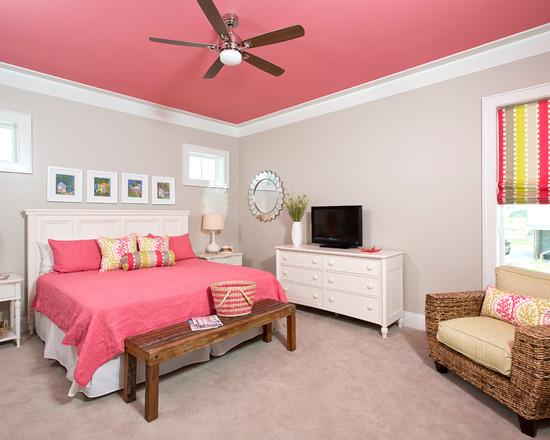
When choosing the material, size and shape of the fillet, you must first of all focus on the general appearance of the room. It is desirable to combine elements of an interior rather each other, avoiding frankly cutting eyes of contrast of colors and styles. The shape of the fillet and the elements of its decor should fit the idea of the design, on the basis of which the room is decorated.
It is undesirable to purchase classic-style baseboards with elegant stucco for a room with a modern design or on the contrary, to install a modest nondescript molding on a two-level ceiling in a room decorated with wallpaper with sophisticated pompous patterns and lush classical furniture.
When choosing finishing options, financial opportunities play a huge role. However, due attention should be paid to the installation process of the fillets, otherwise any expensive products will only spoil the interior with a sloppy look.
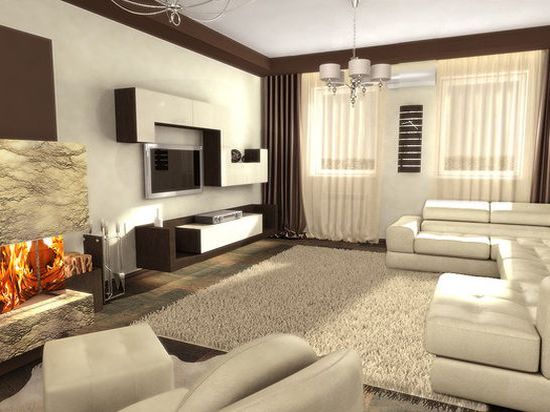
It is necessary to consider the size of the room itself, the height of the ceilings. For a large room fit wide shafts. For rooms with ceilings below 3 meters such fillets are not suitablesince they will reduce the visible size of the room. The width of the fillets is from 2 to 7 centimeters.

Cutting baguettes, you need to pay attention to the edges - usually the upper and lower sides have different thickness. Plank, outstanding at the angle of the baguette, it is preferable to fix after marking and processing the adjacent corner of the next fragment.
In order for glue not to hit the ceiling, you need not to overdo it with its quantity. If the budget is not minimal, then pay attention to the decorative corners.It will save you time and nerves and give a highlight to the room, if you pick them up with taste.
For stretch ceilings the slats should be wide. Since the upper part will not be glued, the bar will be held solely on the glue on the side.
We figured out the process in stages and in detail, now everything will be clear and novice. The main thing is to carefully select and calculate the materials, and then carefully carry out all the work.