How to putty plasterboard ceiling?
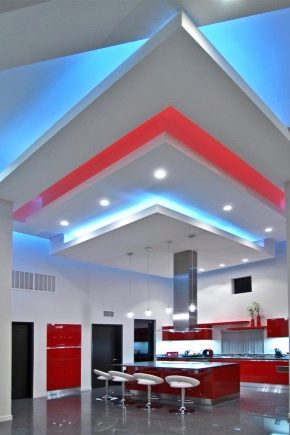
Drywall is a versatile material for leveling various surfaces. Today it is very often used for arranging ceilings. Mandatory process after installation is the alignment of the base with special solutions. It is necessary in the event that the ceiling is planning to paint or glue wallpaper on it. To eliminate the appearance of cracks, it is important to follow a certain sequence of operations, as well as use quality solutions.
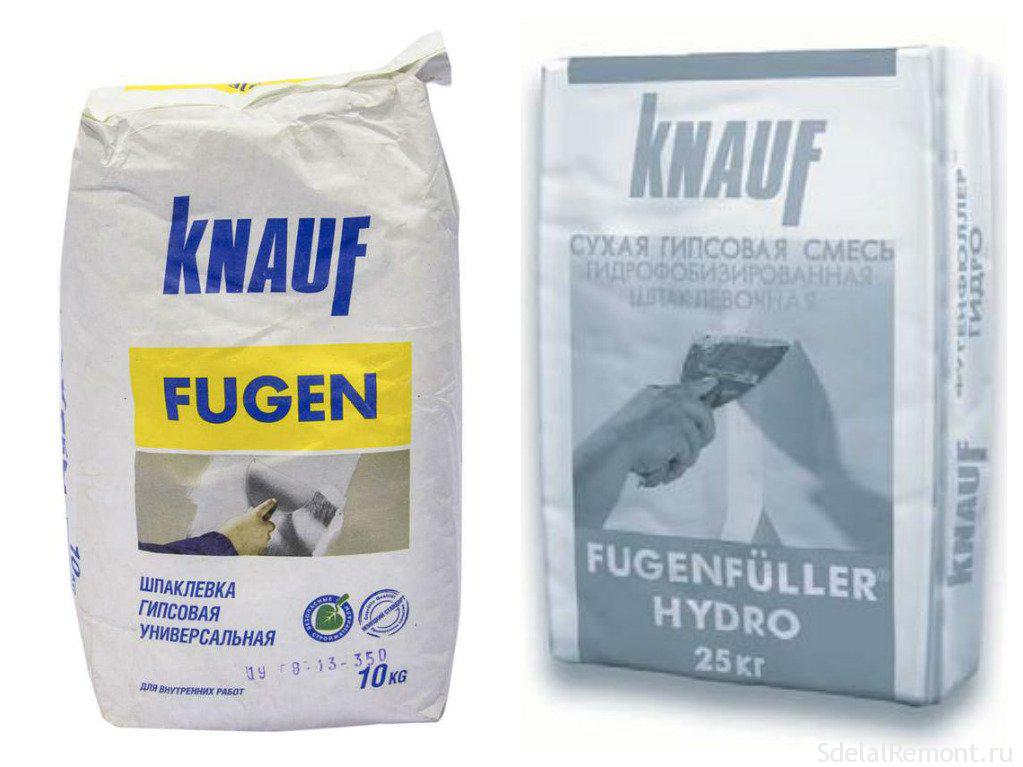
We select putty
Drywall consists of pressed gypsum, which is held by a special paper frame.Therefore, putty gypsum ceilings should only compositions, which can well mate with such substances. Today there are several types of putties.
Depending on the composition, the following types of products can be distinguished:
- Plaster mixes. Solutions are durable and environmentally friendly. But gypsum absorbs moisture very well, so they are not suitable for ceilings in the bathroom or in the kitchen. It is advisable to use them in dry rooms with minimal temperature differences.
- Cement putty. A great alternative to plasterboard ceilings. After drying, the layer of plaster calmly withstands high humidity without cracking. Therefore, they can be applied in the bathroom, where special microclimatic conditions.
- Polymer formulations. Materials are obtained from various components with the addition of polymers. These substances drastically change the physical characteristics. Experts recommend using them to form finishing screeds, as they lie down evenly and form an even layer. With the help of polymer putty it is easy to organize the ceiling for painting.

Another gradation mixes for drywall is the level of readiness.
The most popular are dry solutions that need to be further mixed with water. On the market today there are ready-made putties that can be immediately applied to gypsum surfaces after purchase.
When purchasing such mixtures, it is important to pay attention to their intended purpose. Today solutions are used for starting and finishing leveling. Starting putties differ coarse-grained structure of the granules, which does not allow to obtain a perfectly smooth base.
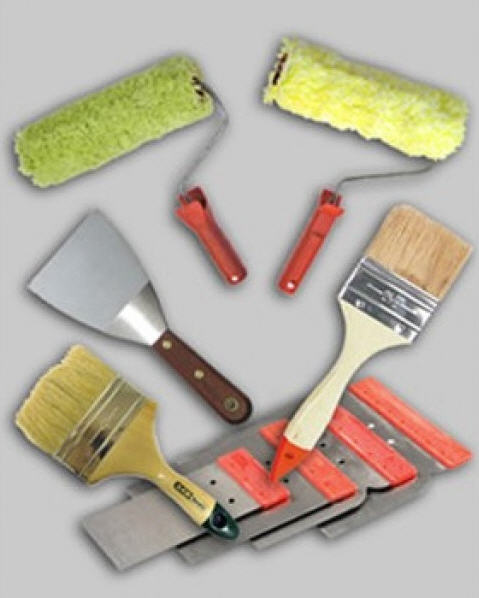
Instruments
You can finish the suspended ceiling with your own hands without having a certain experience.
To simplify this task, you should stock a set of auxiliary tools:
- Mixing tank and construction mixer. Power tools will be needed if the amount of work is large and you need to quickly prepare a high-quality solution. When the room is small, mixing can be done manually.
- Wide paint brush and spatulas. The size of the last tool is selected individually. You need to have several types of spatulas, as they will be needed in certain parts of the ceiling.
- Abrasive mesh and float several sizes.Used for leveling surfaces after hardening of the solution.
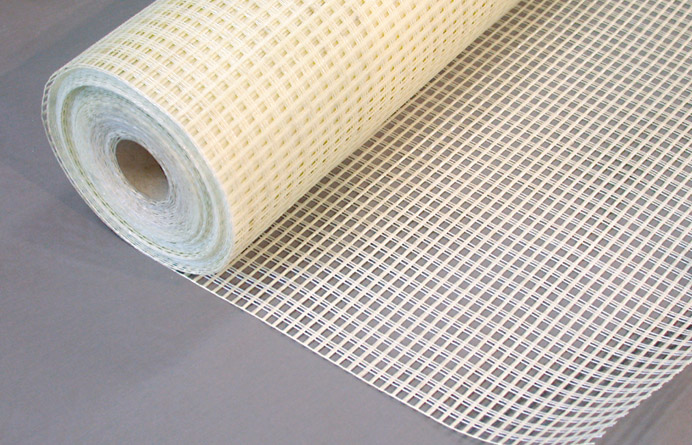
- Paint mesh. The main purpose of the product is masking and fixing the seams.

Surface preparation
Before starting work on the ceiling, it is desirable to maximally free the room from furniture and unnecessary things. In the process of puttying there can be a lot of dirt, which will then be difficult to clean.
Begin the preparation of the ceiling with the fitting of screws. The fasteners must be screwed in so that their heads do not protrude above the surface of the drywall. You can check it by touch. If such defects are present, then using a manual screwdriver screws are screwed into the depth of the material.
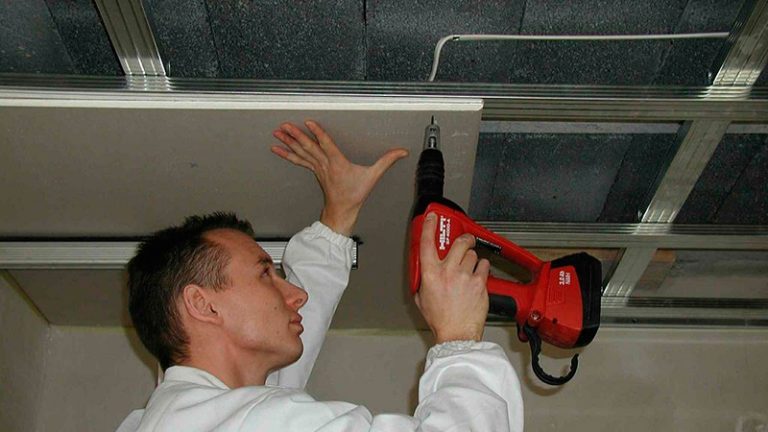
Do not form too deep a hole, as this can lead to the breakthrough of the frame or its curvature. It is necessary that the head only slightly deepened relative to the upper plane.
Sometimes during installation it happens that the screw presses the sheet strongly, and in this place a small depression forms. It is possible to correct this defect by twisting the fasteners to a new place, but only with less effort. When everything is ready, all the holes in the locations of the screws are sealed with mortar.It is applied to the grooves with a spatula, performing movements crosswise.
The next step is to align the seams between the sheets.
This process is simple and involves several sequential operations:
- Initially, all dust is removed from the surface of the ceiling using a regular brush. If the arrangement used drywall without a factory edge, the joints are cut at an angle of 45 degrees. When the bevels are still present, you should check that the paper does not peel off at the ends. If such a phenomenon is present, it should be carefully cut off with a clerical knife.
- After that, with the help of a painting knife along the seam, several thin cuts should be formed. They are needed for better adhesion of the solution with gypsum.
- At this stage, the entire ceiling is primed with special solutions. Do not use alkyd formulations for this, as they damage the structure of the paper, and it loses its original strength. It is necessary to use only high-quality specialized fluids intended for gypsum.

- The preparation is completed by grinding the frozen solution in the locations of fasteners.This step is important, as the number of applied putty layers and the quality of the surface depend on it.
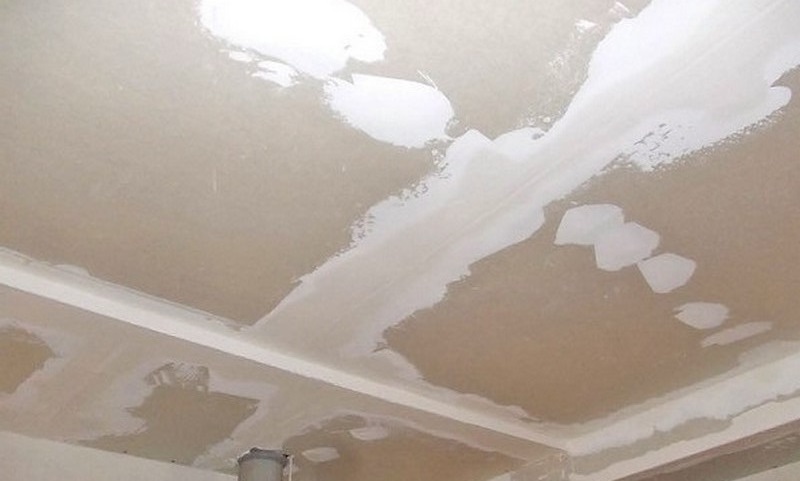
Seam sealing
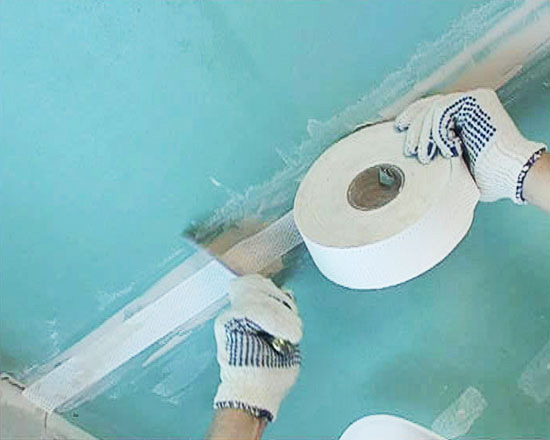
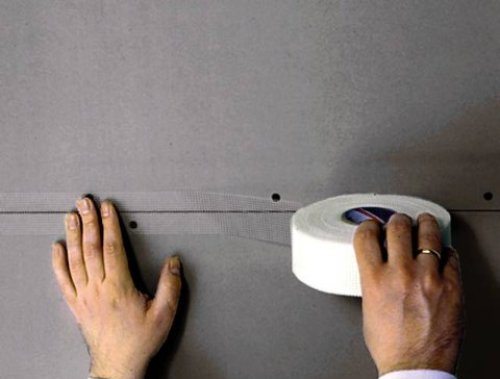
Ceiling putty start with this step. To get a solid system, all the joints between the sheets should be further reinforced with a serpy-net. You can buy it in specialized stores, you only need to select the desired cell size.
The technology of filling the seams is quite simple and consists of the following steps:
- Filling the joints with a small amount of solution. It is important that the mixture does not completely fill the fossa, as it will be difficult to attach the reinforcement tape.
- Serpyanka mount. Position it along the seam so that it is strictly in the center. To fix the mesh, the material is slightly pressed into the solution. It is important not to bend the grid too much so as not to get an arc.
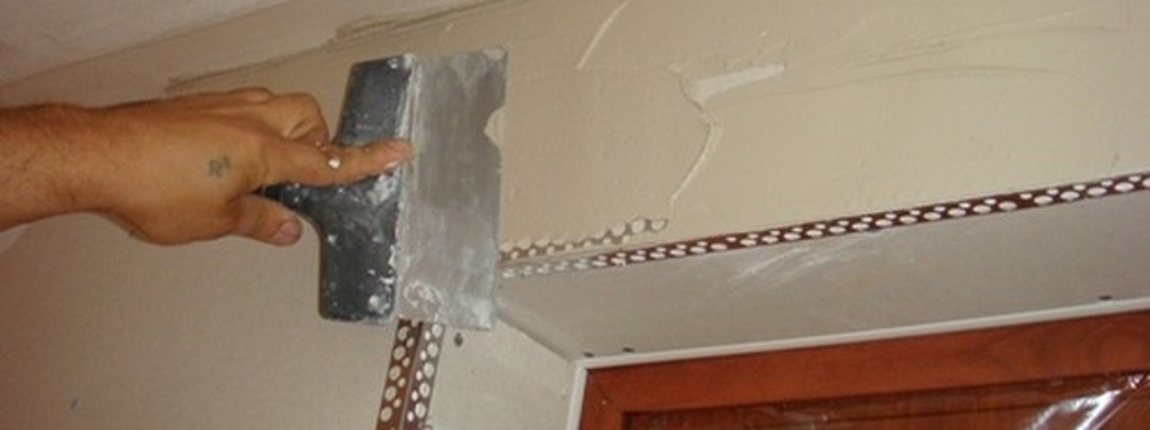
- Alignment After fixing the serpyanka, another layer of plaster should be applied to close it. This allows you to achieve a relatively flat surface. All work is carried out with a wide spatula, which covers the width of the seam and the applied mesh.
When applying putty it is desirable to give each layer a little dry.Thus it is possible to evenly distribute the next portion of the mixture.
We strengthen the corners
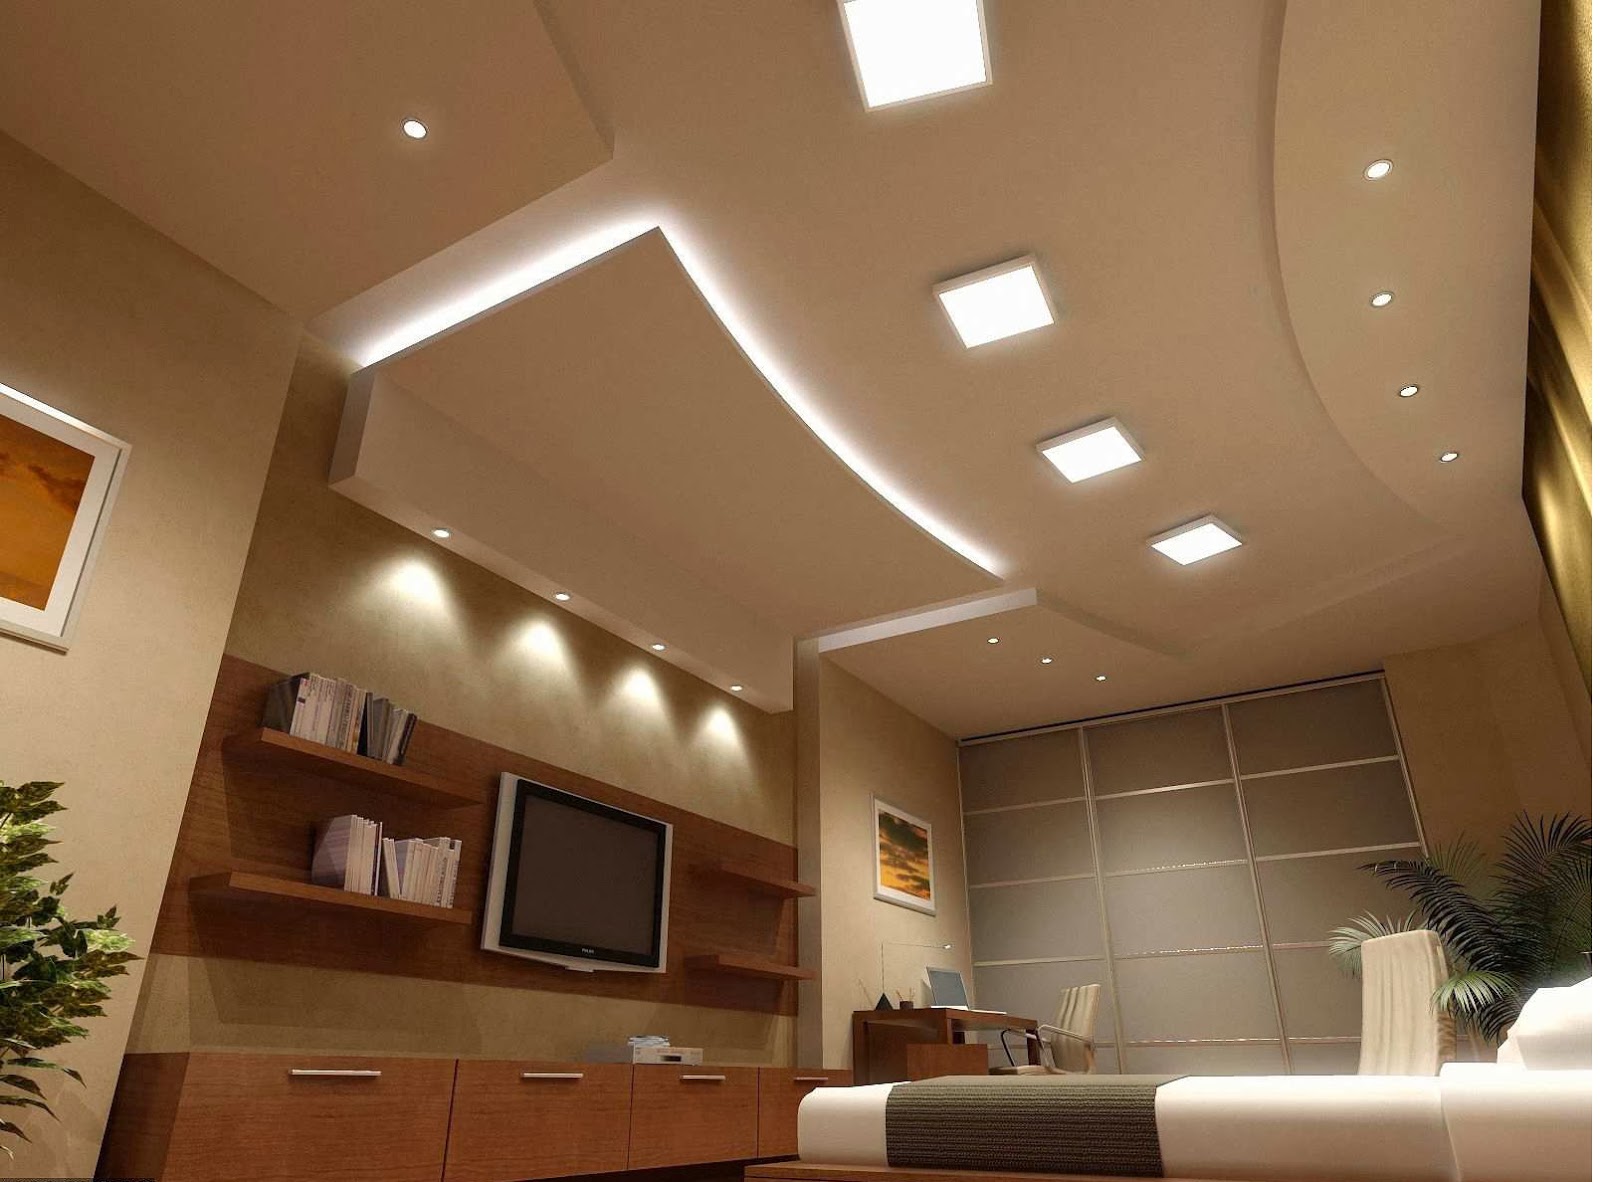
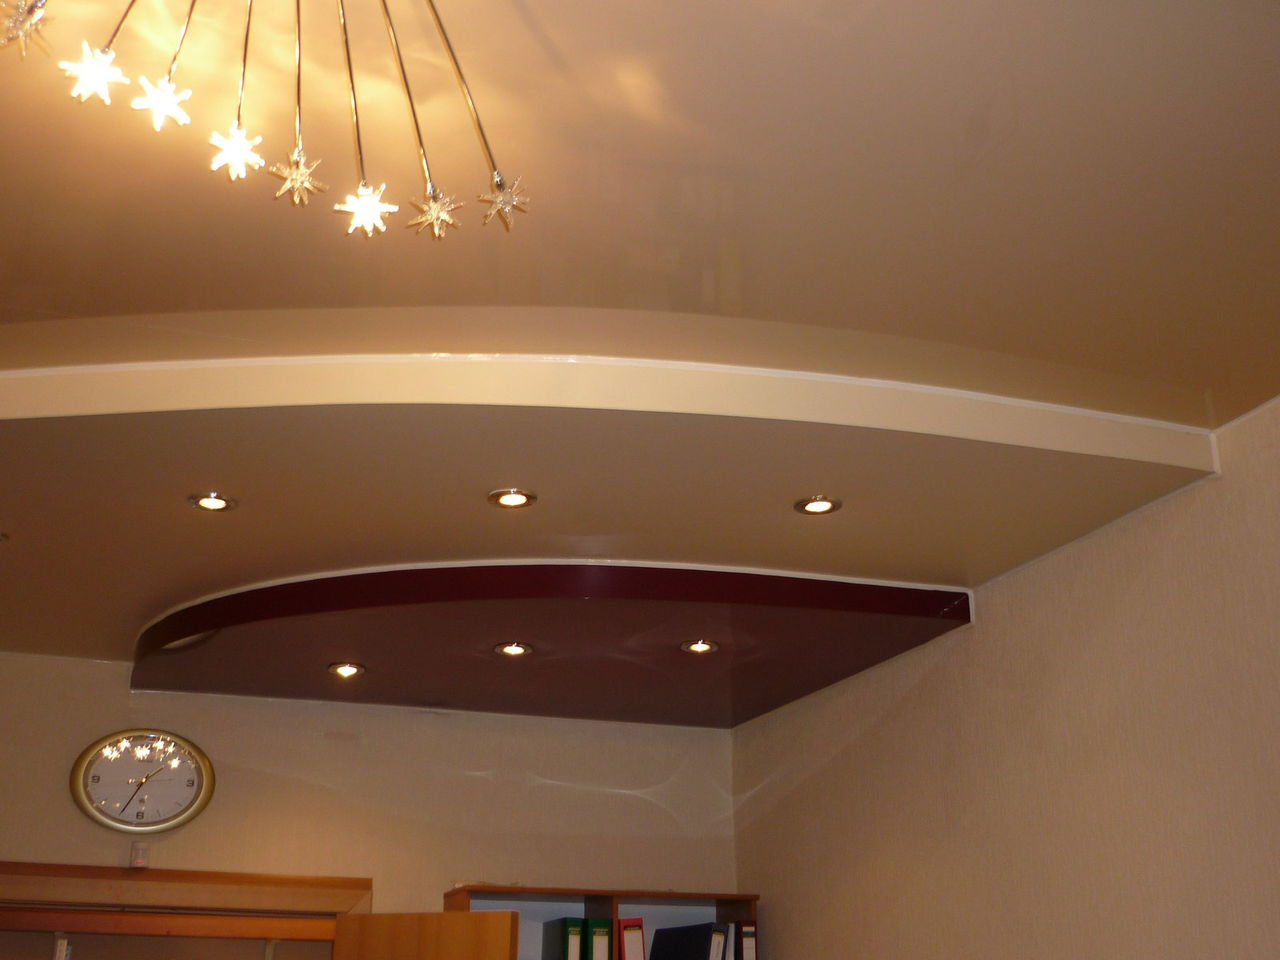
Gypsum ceilings have not only one plane. Today, multi-layer boxes, which form the decorative surface, have become particularly popular. These structures are characterized by the presence of internal and external angles, which it is desirable to strengthen. Depending on the type of angle, such operations are performed differently.
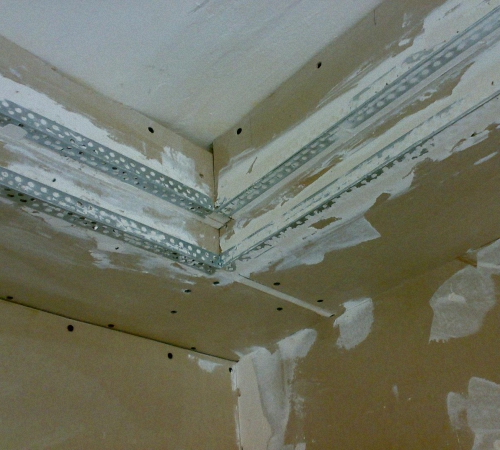
Internal
For such systems, perforated corners are used, along the edges of which a serpyanka net is attached. She allows to connect sheets among themselves, having received at the same time a rectangular joint.
The inner corner is fixed to the surface with a small amount of solution. Then, using the same mixture, the serpyanka is also fixed, aligning it with the base of the sheet. After that, using an angular spatula putty putty and align the angle with the level.
External
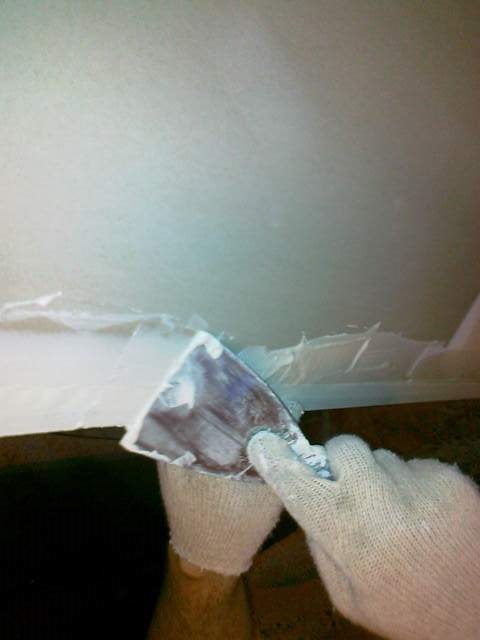
Corners of this type are slightly lighter to fix. Initially, a small amount of the solution is applied to the end of the sheet. After that, an aluminum and plastic construction is pressed into it. When it is level, remove the rest of the mixture with a spatula.
To achieve a perfectly flat angle, putty in several layers. In addition, each of them must dry out so that you can control the quality of the coating in the next step.
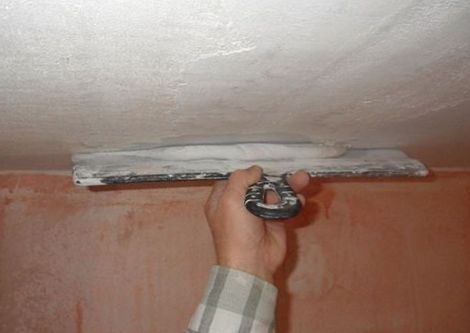
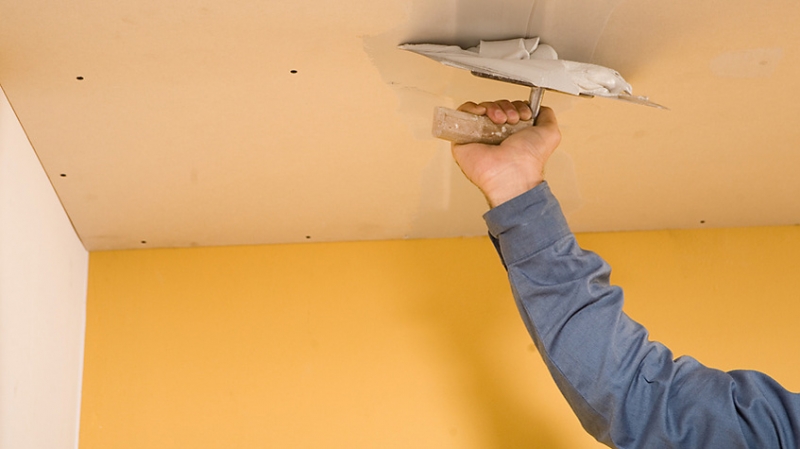
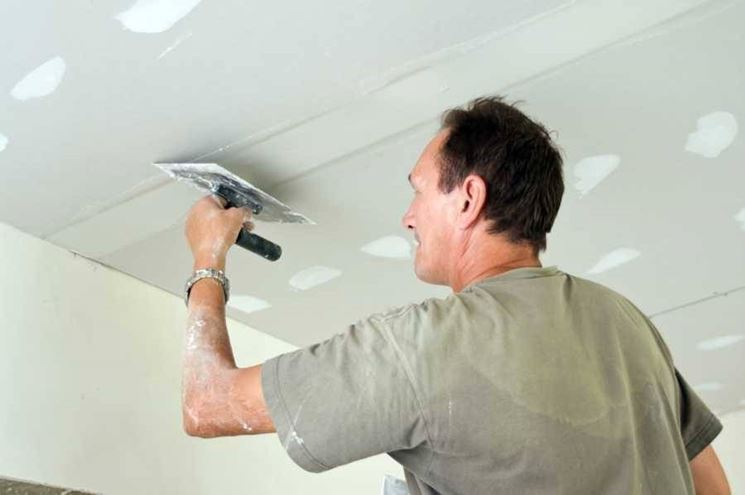
Finishing putty
This stage is the final, as it allows to get an already beautiful and smooth surface.
Finishing involves the following operations:
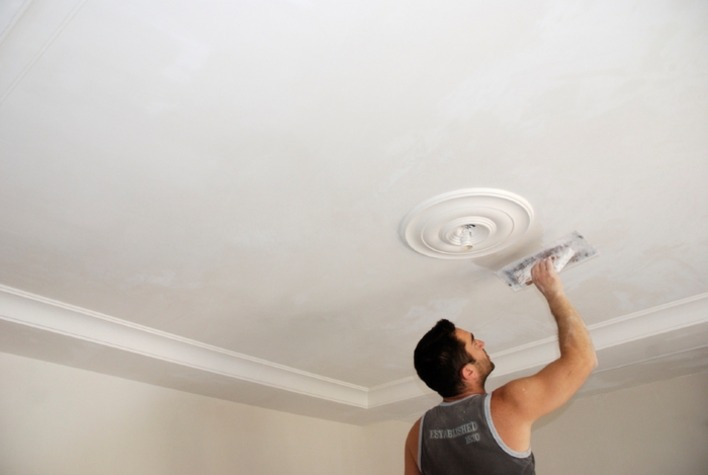
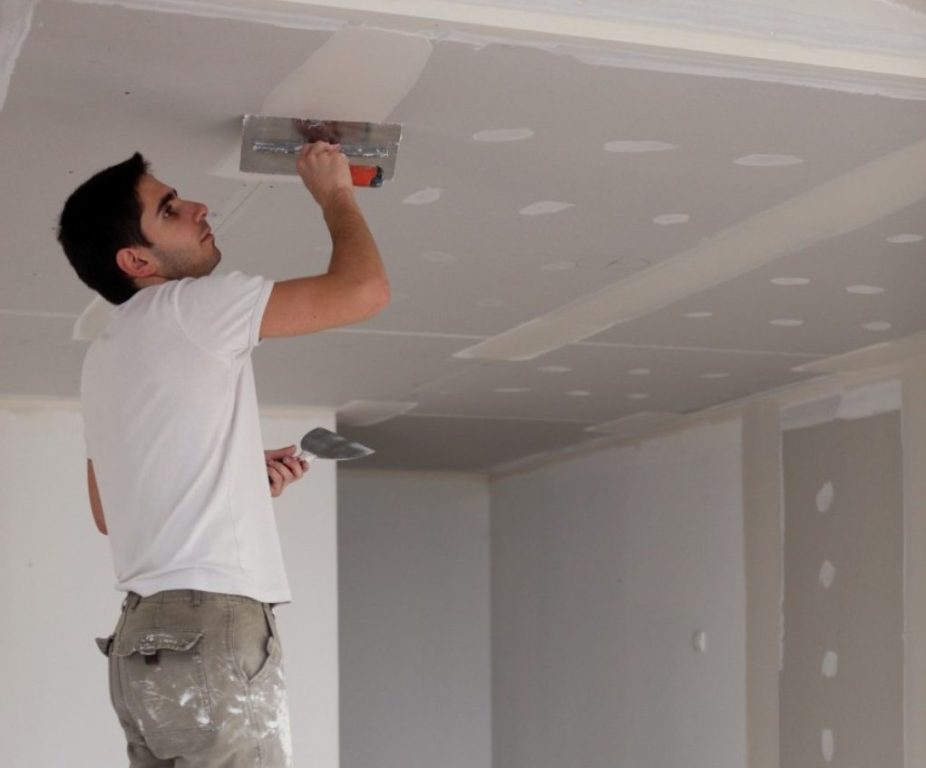
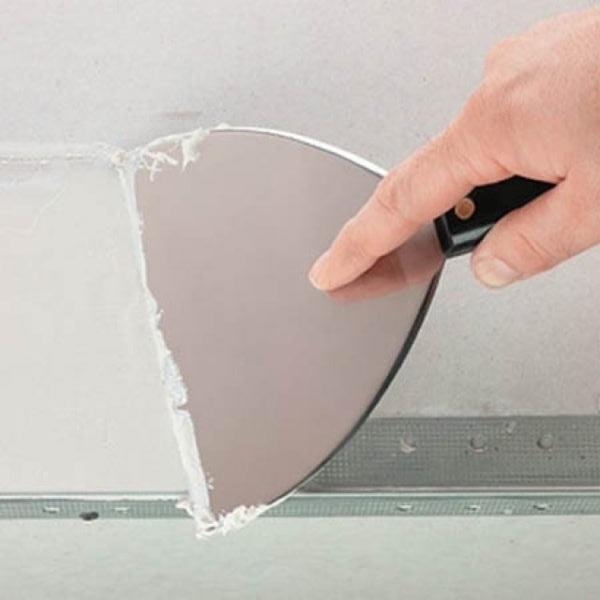
- Using a wide spatula, you should evenly stretch the mixture over the ceiling. It is important that the thickness of the solution does not exceed 2-3 mm. In another case, this may lead to cracks or falling out of the putty.
- Before applying the solution to a new area, clean the spatula. The surface is also formed by stretching the material in a thin layer.
- If you have not achieved the optimal effect, you can try to put on top of the starting material another layer of putty. Such restoration operations are carried out with time, when the ceiling turns yellow from adverse factors.
The quality of the alignment depends on the angle at which the spatula moves. The best indicator is a value of 15 degrees.
This will allow to achieve a uniform coating without forming a web of several layers. All work on the alignment of the ceiling is desirable to carry out in a room where the temperature varies from +5 to +30 degrees.
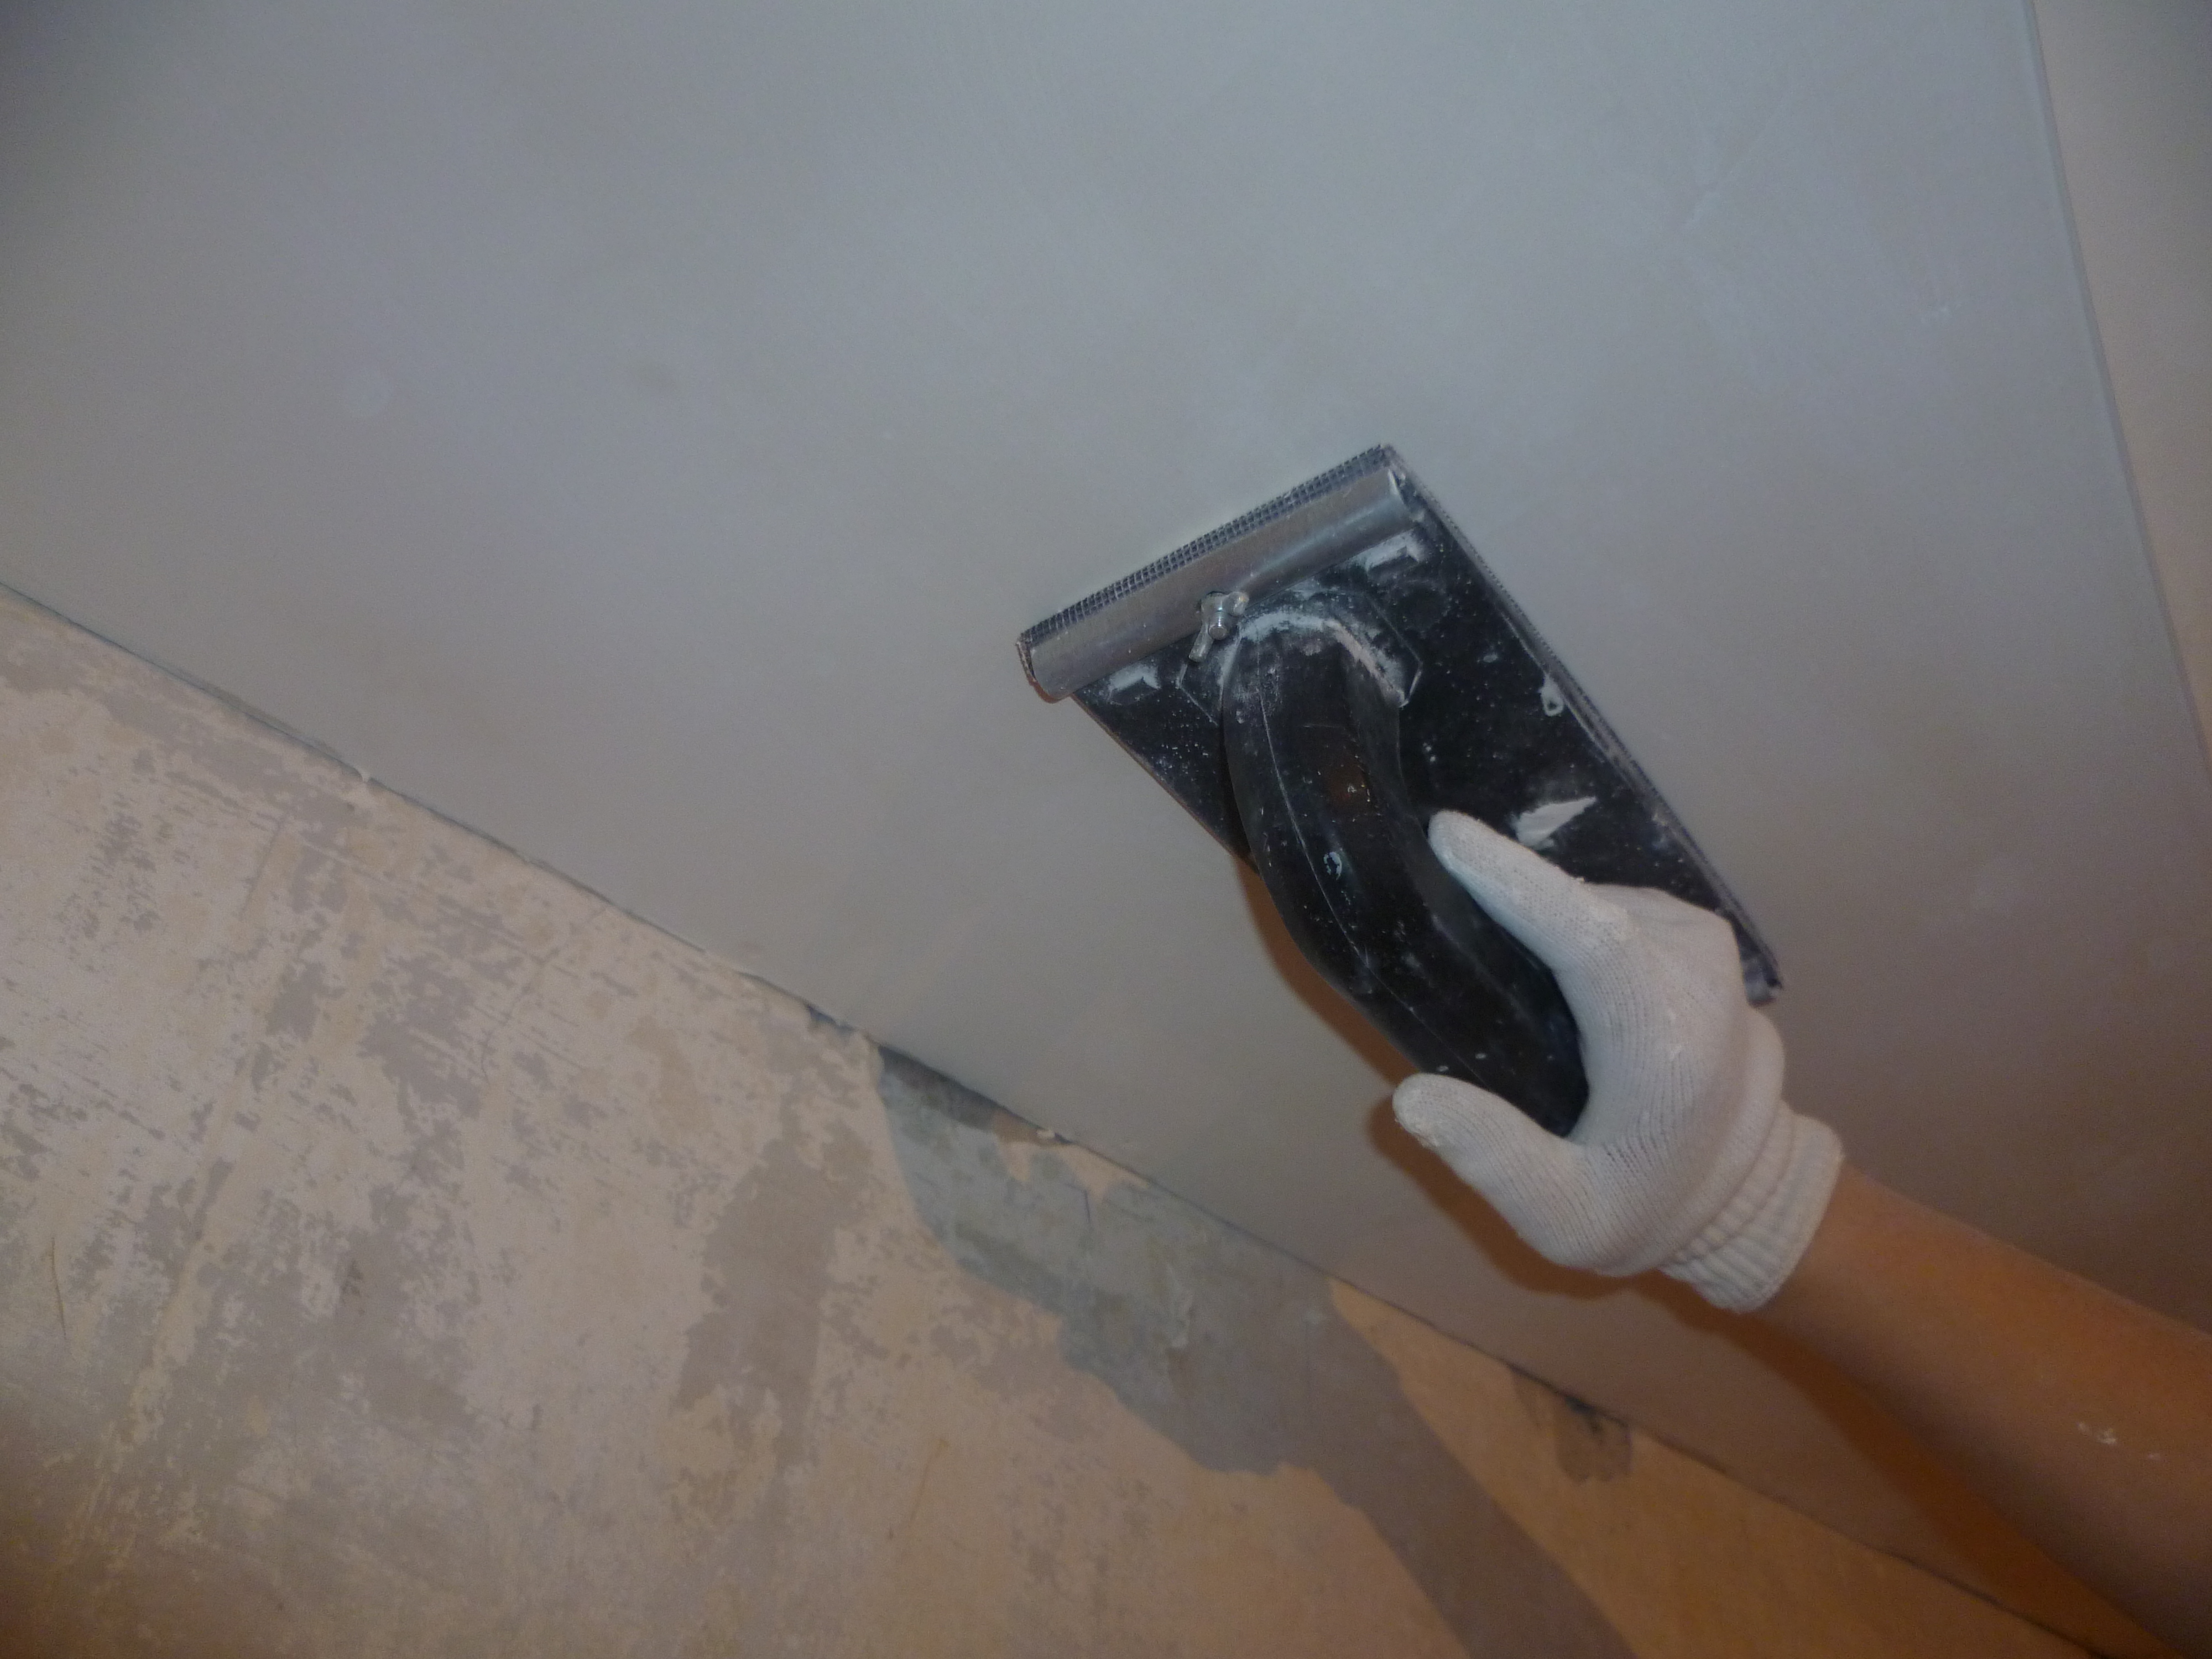
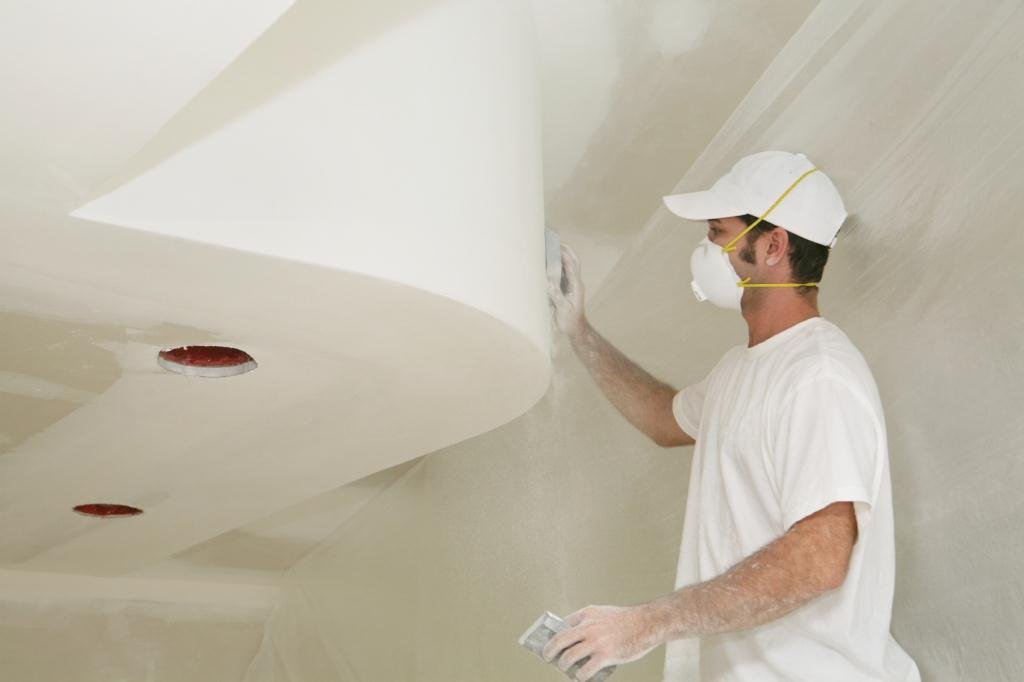
Drying putty should only in a relatively damp room without exposure to direct sunlight. Too rapid evaporation of water will lead to the formation of small cracks, from which it will be possible to get rid of only the new putty. When the screed is dry, it should be sanded. This is done using a grater and fine sandpaper.
Putting a plasterboard ceiling is a time-consuming and lengthy procedure, requiring compliance with all the rules and the choice of only high-quality mortars.
For more information on how to properly putty ceiling plasterboard, see the following video.


