Armstrong ceiling mounting details

Armstrong's tiled ceiling is the most popular suspension system. He is valued in offices and in private apartments for his many advantages, but he also has his drawbacks. Further, all the details of installing an Armstrong ceiling will be discussed and tips and recommendations on the use of this coating will be given.
System features
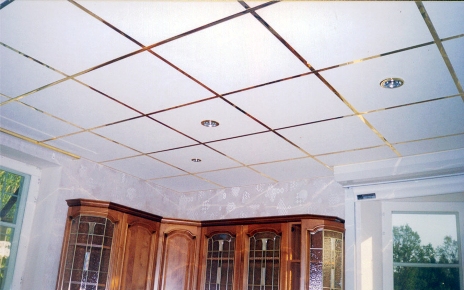
The exact name of this type of coating is a tile-cellular false ceiling. In our country, it is traditionally called Armstrong by the name of an American manufacturing company. It was this company that more than 150 years ago began to produce natural fiber plates among a variety of other building materials. Similar slabs today are used for mounting Armstrong ceilings. Although the device and technology of installation of such suspension systems have changed somewhat, but the name remains as a household name.

Armstrong Tiled Cellular Ceilings are frame systems of metal profiles., suspensions that are attached to the concrete base and mineral plates that are directly coated. Material for them is obtained from mineral wool with the addition of polymers, starch, latex and cellulose. The color of the plates is predominantly white, but decorative coatings may have other colors. The frame parts are made of light metals: aluminum and stainless steel.


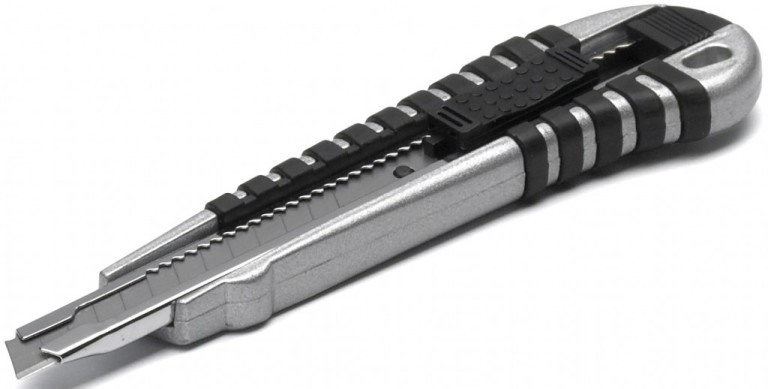
The mass of one mineral plate can be from 1 to 3 kg, the load per 1 square meter. m. obtained from 2.7 to 8 kg. Products are predominantly white in color, they are rather fragile, are exposed to moisture and high temperatures, so they are stored in reliable moisture-proof packaging. Such plates are cut with an ordinary painting knife. There are more durable options, made on the basis of latex and plastic, these require a more solid tool to machine.
The advantages of Armstrong type ceiling coverings are as follows:
- the ease of the whole structure and ease of installation;
- the ability to hide all the irregularities and defects of the ceiling;
- safety and environmental friendliness of the material;
- the possibility of easy replacement of plates with defects;
- good noise protection.
Suspended ceilings after installation form voids, which usually hide electrical cables and other communications. If repair or installation of new wiring is required, then it is easy to get close to it by removing several plates, then they are simply put in place.

Ceilings of this type have their disadvantages:
- since they are installed at some distance from the ceiling, they take the height from the room; it is not recommended to install the Armstrong system in too low rooms;
- mineral plates are rather fragile, they are afraid of water, so that in rooms with high humidity it is better not to mount them;
- Armstrong ceilings are sensitive to temperature extremes.
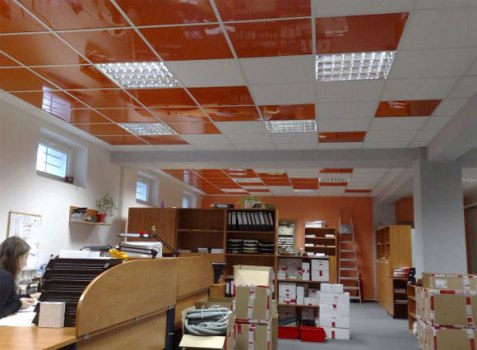
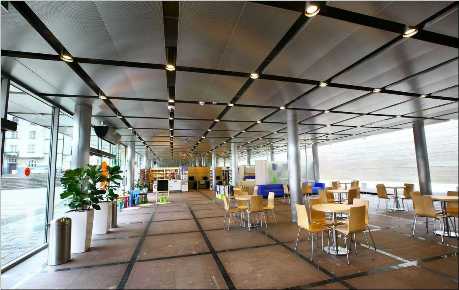
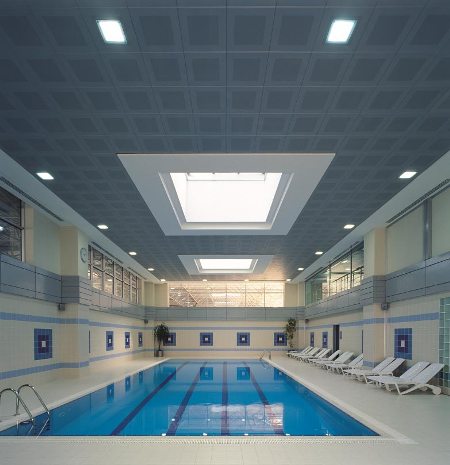
Usually based on these drawbacks, certain places are selected where Armstrong ceilings are installed. The leaders here are offices, institutions, corridors in various buildings. But often the owners of apartments in the repair do in themselves such coverage, most often in the hallways. In rooms where there may be high humidity, for example, in kitchens, the problem is also easily solved - special types of Armstrong coatings are put: hygienic with protection against steam, sticking of fat and functional, moisture resistant.

How to calculate the amount of materials?
To calculate the amount of materials to install Armstrong suspended ceilings, you generally need to know what parts they are assembled from.
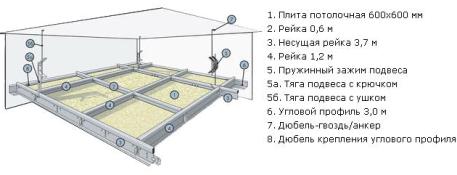
For installation, you need standard products with dimensions:
- mineral plate - dimensions 600x600 mm - this is the European standard, there is also an American version of 610x610 mm, but it practically does not occur here;
- corner profiles on the walls - length 3 m;
- main guides - length 3.7 m;
- transverse guides 1.2 m;
- transverse guides 0.6 m;
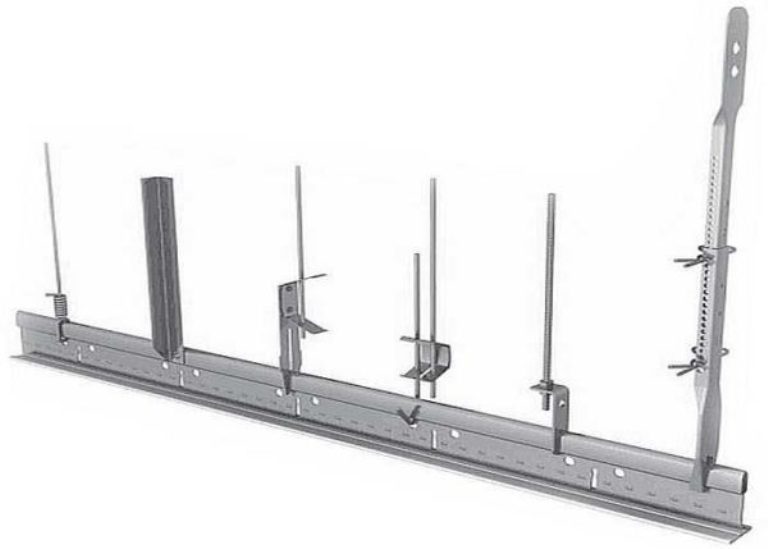
- height-adjustable hangers for fastening to the ceiling.

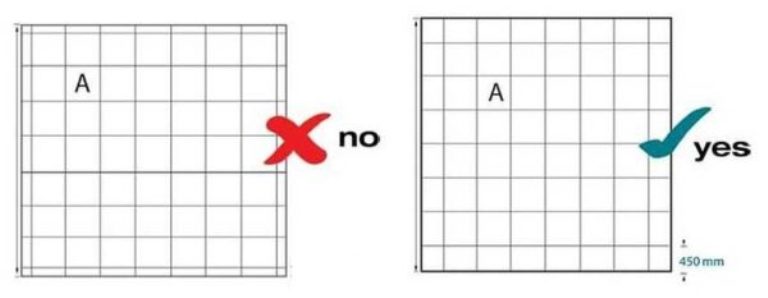
Next, we calculate the area of the room and its perimeter. It is worth noting that we must take into account possible overlaps, columns, and other internal superstructures.
Based on the area (S) and perimeter (P), the number of necessary elements is calculated by the formulas:
- mineral plate - 2.78xS;
- corner profiles on the walls - P / 3;
- main guides - 0.23xS;
- transverse guides - 1.4xS;
- the number of suspensions is 0.7xS.
Calculate the number of materials for mounting ceilings on the area and the perimeter of the room can be and on numerous tables and online calculators available on the websites of construction subjects.
In these calculations, the number of whole parts is rounded up.But you have to understand that only with a visual picture you can imagine how it is actually more convenient and more beautiful to cut off the plates and profiles in the room. For example, for 1 m2 you need approximately 2.78 pieces of standard Armstrong boards, rounded up. But it is clear that in practice they will be cut off with maximum savings in order to use as little as possible trimming. Therefore, it is best to calculate the norms of materials, using the drawing with the lattice of the future frame.
Additional elements
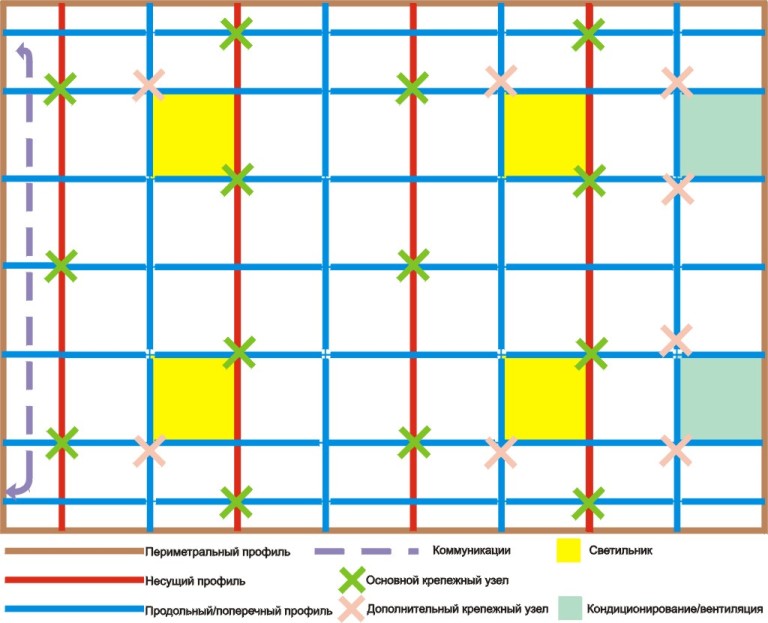
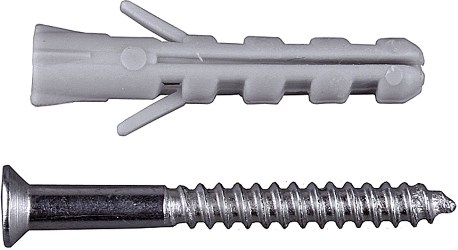
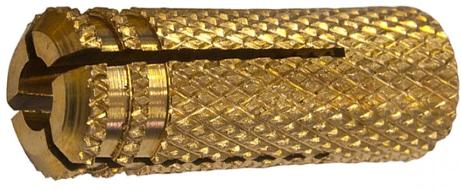
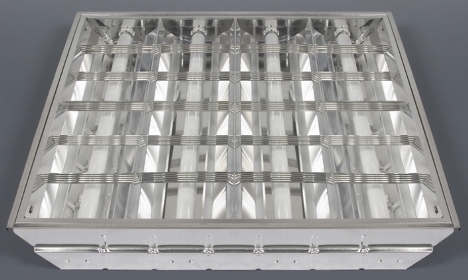
As additional elements to the frame of Armstrong ceilings, fastening units are used, on which suspensions are fixed to the concrete floor. For them, a conventional screw with a dowel or a collet can be taken. One more additional components are the lamps. For such a design, they can be standard, with dimensions of 600x600 mm and simply inserted into the frame instead of the usual plate. The number of lighting devices and the frequency of their insertion depends on the design and the desired level of lighting in the room.

Additional components for Armstrong ceilings can be decorative plates with patterns or squares with circular cutouts in the middle for recessed spotlights.

Preparatory work
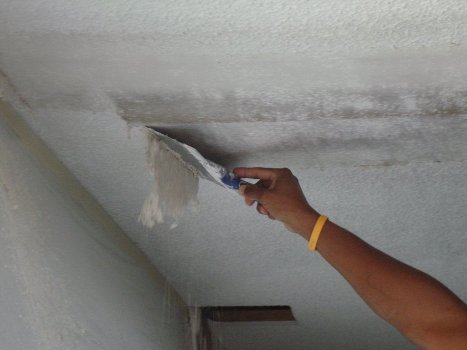
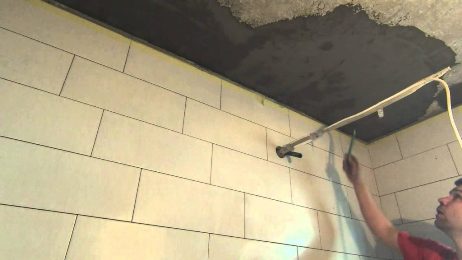
The next point on the Armstrong ceiling installation chart is surface preparation. This type of finish visually hides all the defects of the old ceiling, but it is not protected from mechanical damage. Therefore, first of all, it is necessary to remove the old coating - plaster or whitewash, which can peel off and fall on the mineral plates. If the existing material is held tightly to the ceiling, then you can not remove it.
If the ceiling is leaking, you need to waterproof it.as Armstrong ceiling tiles are afraid of moisture. Even if they are functional and moisture-proof, this will not save the future ceiling from large leaks. As a waterproofing material, you can use bitumen, waterproof polymer plaster or latex mastic. The first option is cheaper, the last two, though more expensive, but more effective and harmless for residential premises. Existing seams, cracks and crevices need to be repaired with alabaster or gypsum putty.
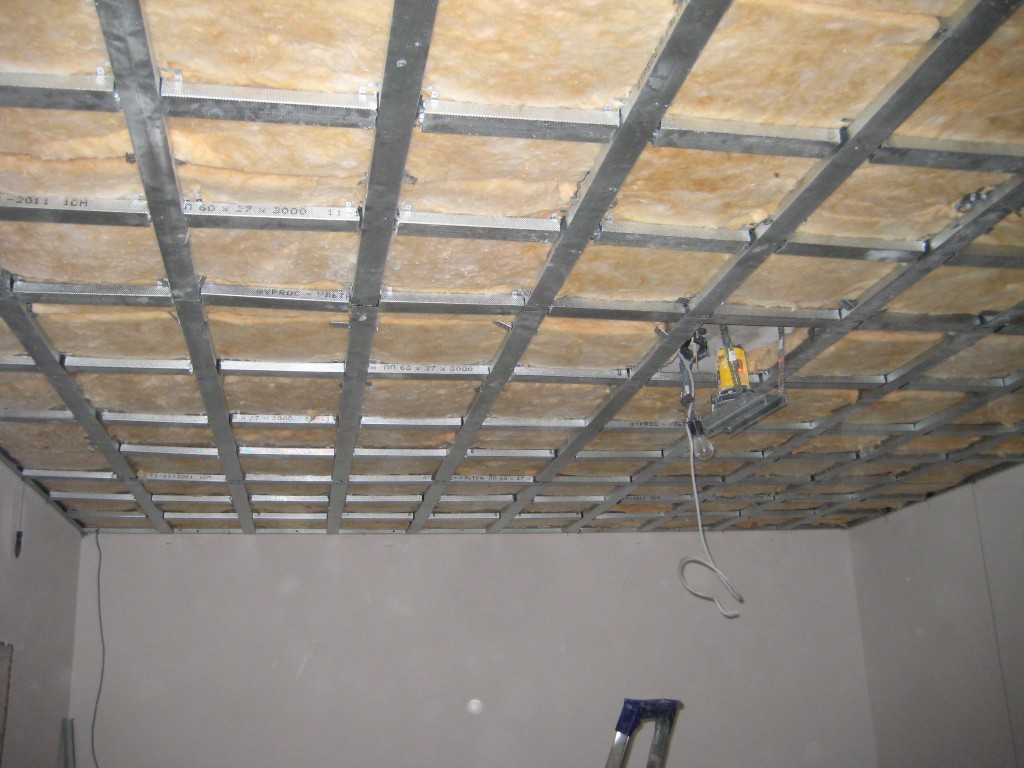
Armstrong's ceiling construction technology allows the frame to be placed 15–25 cm from the floor slab. This means that thermal insulation can be placed in free space.To do this, use a variety of insulating materials: foam, mineral wool, polystyrene foam. They can be attached to the old ceiling on an adhesive base, screws or use a frame made of a rigid metal profile, wooden slats. Also at this stage the necessary electrical wiring is laid.
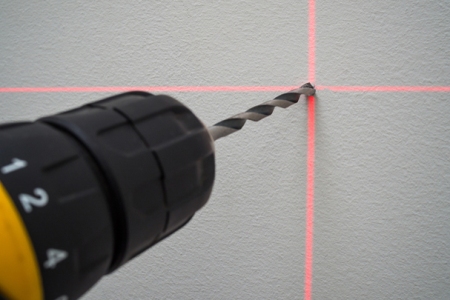
Next, Armstrong's installation instructions include markup. A line is drawn along the walls along which the corner profiles of the future structure will be fixed. Marking can be done using a laser or a normal level from the lowest angle in the room. On the ceiling are marked mounting points evropodvesov. It will also be useful to draw all the lines along which the transverse and longitudinal guides will run. After that, you can start the installation.
Installation
Armstrong do-it-yourself installation is very easy, 10-15 square meters. m coverage can be set in 1 day.
For the assembly will need the following tools:
- laser or bubble level;
- roulette;
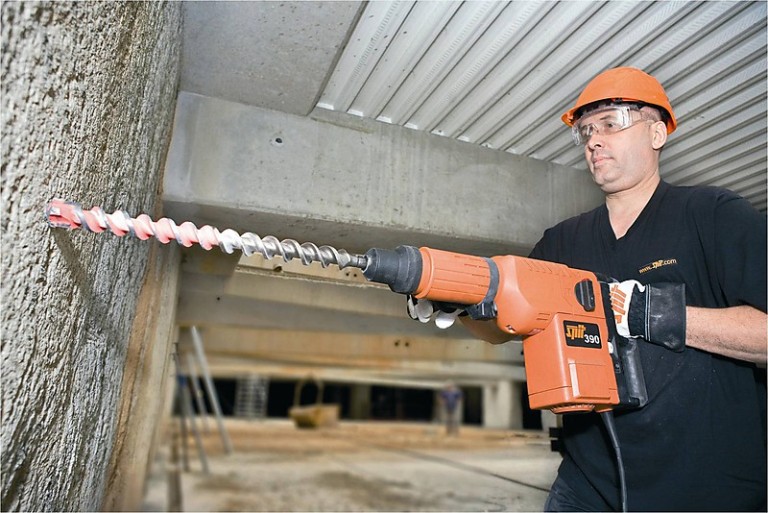
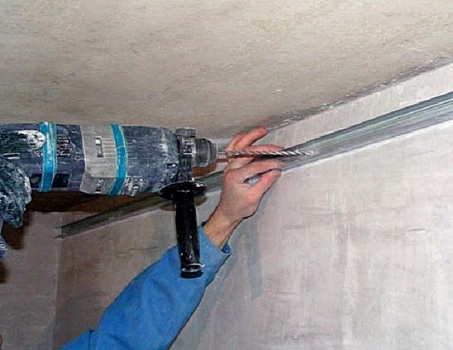
- drill or hammer drill with a concrete drill;
- Phillips screwdriver or screwdriver;
- shears for metal or grinder for cutting profiles;
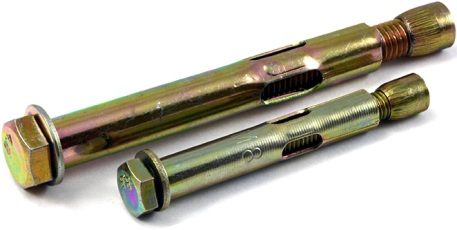
- screws or anchor bolts.


Elements of such ceilings are good because they are universal, the details of any company are identical and are a designer of guides and adjustable suspensions with the same fixings. All profiles, except angular for walls, do not need self-tapping screws or screws; they are connected using their own fastening system. Therefore, to mount them, do not need extra tools and materials.
Installation begins with the fastening of the corner rails around the perimeter. It is necessary to fix them with shelves down so that the top edge goes exactly along the previously marked line. Self-tapping screws with dowels or anchor bolts are used, a pitch of 50 cm. In the corners, at the joints of the profiles, they are slightly cut and bent.
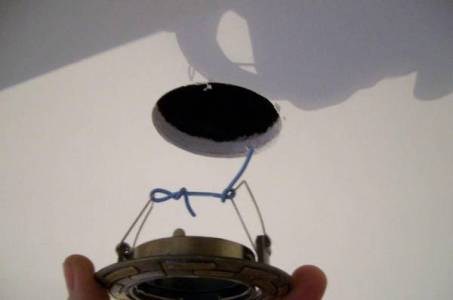
Then it is necessary to screw the fastening units into the old ceiling and hang all the metal suspensions on them by the upper hinges. Layout of fasteners should be such that the maximum distance between them does not exceed 1.2 m, and from any wall - 0.6 m. In places where heavier elements are placed: lamps, fans, split systems, additional suspensions should be fixed at some offset from the place of the future device .
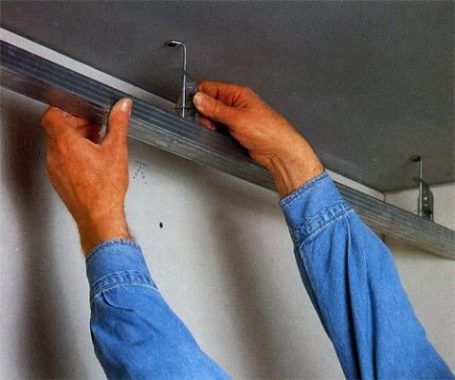
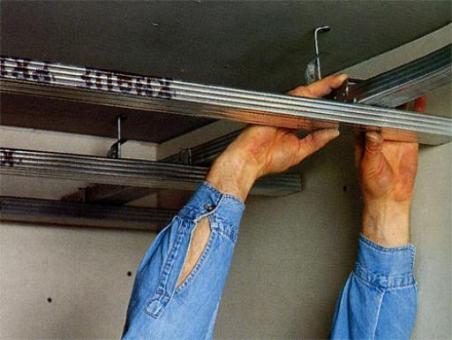
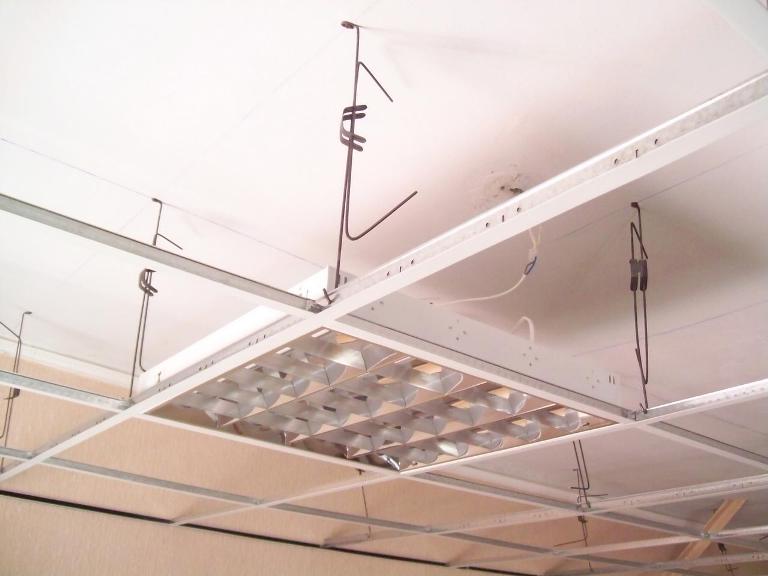
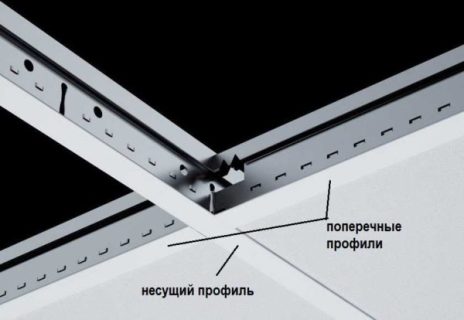
Then it is necessary to assemble the main guides that are attached to the hooks of the suspensions in special holes and hung on the shelves of the corner profiles along the perimeter. If the length of one guide is not enough for a room, then you can increase it from two identical ones. As a connector, use a lock on the end of the rail. After collecting all the profiles, they are adjusted horizontally with a butterfly clamp on each hanger.
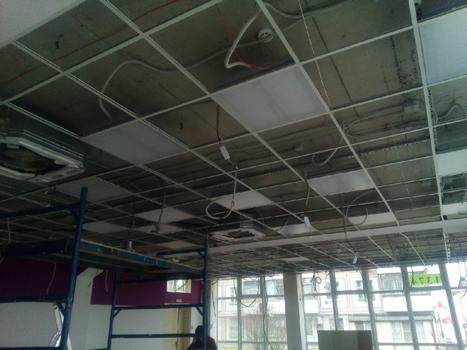
Next, you need to collect the longitudinal and transverse slats. All of them have standard mounts that are inserted into slots on the side of the guides. After complete installation of the frame, its horizontal level is checked again for reliability.
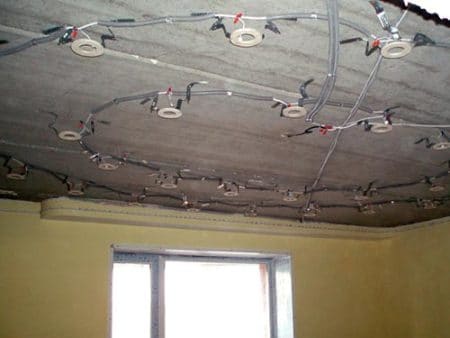
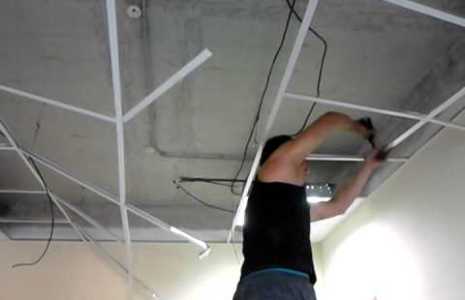
Before installing the mineral plates, you must first install lights and other built-in elements. This makes it easier to stretch the necessary wires and ventilation hoses through the free cells. When all electrical appliances are in place and connected, then proceed to fixing the plates themselves.

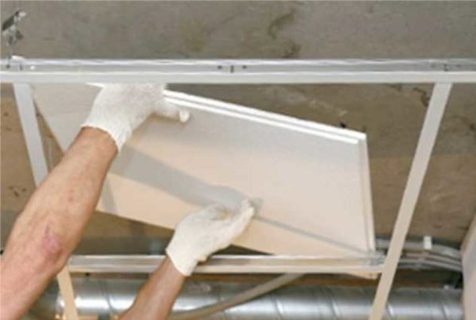
Deaf mineral plates are inserted into the cell diagonally, lifting and turning to carefully lay them on the profiles. It should not be too much pressure on them from the bottom, they should fit without effort.
During the subsequent repair, installation of new lamps, fans, laying of cables or decorative panels, the laid plates are simply easily removed from the cells, and after work they are also placed in their place.
Tips and tricks
It is worth remembering that different options for finishing materials can be used for various institutions. For entertainment, schools, clubs, cinemas is to pick up Armstrong acoustic ceilings with high sound insulation. And for canteens, cafes and restaurants, hygienic plates are specially made from stained fat and a couple of materials. Moisture-resistant elements with latex content installed in pools, baths, laundries.

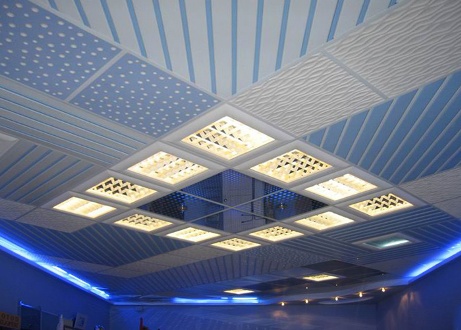
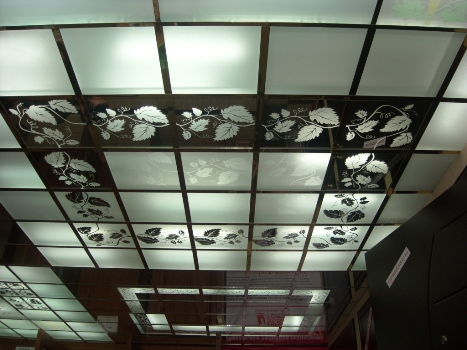
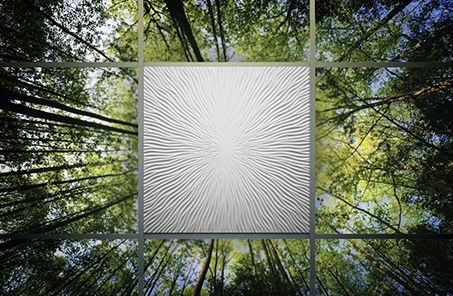
A separate type of Armstrong ceilings are decorative slabs. Usually they do not have some useful physical properties, as described above, but perform an aesthetic function. Some of them are an excellent option for design art. There are mineral plates with embossed on the surface three-dimensional pattern, with different textures, reflecting light, glossy or matte, under the texture of different wood species. So when repairing, you can show imagination.

Depending on the height to which the Armstrong ceiling frame is lowered, it is necessary to choose the correct euro suspension. Different companies offer several options: standard adjustable from 120 to 150 mm, shortened from 75 mm and extended to 500 mm. If you only need fine finish smooth ceiling without drops, then a fairly short version. And if, for example, it is necessary to hide the ventilation pipes under the suspended ceiling, then it is better to acquire long fixtures that can lower the frame to a sufficient level.
In wide spaces, the main transverse guides are easily extended using locks at the ends. It is also easy to cut them to the desired length. As a frame for the perimeter, you can use suitable angular metal profiles.
For simplicity of the subsequent assembly, it is best to pre-create a scheme containing perimeter, carrier, transverse and longitudinal profiles, laying of communications, the location of ventilation, lamps and blind plates, basic and additional fasteners. Different elements denote different colors. As a result, from the picture you can immediately easily calculate the consumption of all materials and the sequence of their installation.
When replacing and repairing Armstrong ceilings, the rules for dismantling are as follows: first, blind plates are removed, then they are disconnected from the power supply and lamps and other built-in appliances are removed. Then it is necessary to remove the longitudinal and transverse profiles and lastly the bearing guides. After that, suspensions with hooks and corner profiles are removed.

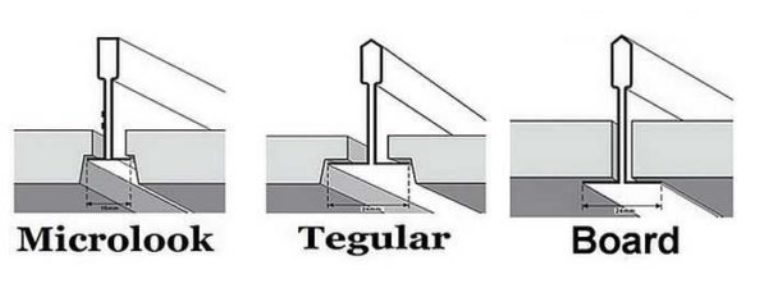
The width of the metal profiles of Armstrong ceiling frames can be 1.5 or 2.4 cm. In order to securely fix the mineral plates on them, it is necessary to choose the type of their edges correctly.
Currently there are 3 types:
- Boards with an edge like Board are universal and reliably fall on any profile.
- Tegular variations with a stepped edge can only be attached to guides 2.4 cm wide.
- Microlook stepped plates lie on 1.5 cm thin profiles.
Armstrong ceiling tiles have a standard size of 600x600 mm, 1200x600 varieties were previously produced, but they have not proven themselves in terms of safety and the possibility of coating collapse, so they are not used now. In the USA, the standard for plates of 610x610 mm is applied, it is rarely found in Europe, but it is still worthwhile to carefully examine the marking with dimensions when buying, in order not to get the American version that does not match the metal fastening system.
The Armstrong ceiling installation workshop is presented in the next video.


