How to make a ceiling of plastic panels?
Making ceiling surfaces takes a long time during repair work. In the living room ceilings are made of more expensive materials. For the kitchen, bathroom, hallway and loggia is ideal installation of the ceiling base of PVC panels, which are very popular in recent times.
Special features
Comparatively new materials in the construction market are plastic panels. Attractive colors, relatively low cost, ease of installation and ease of use have earned the trust of this material among many buyers.
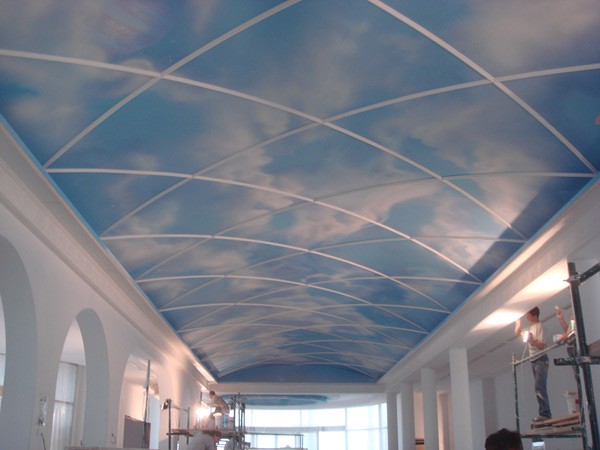
The color solutions of PVC panels are so diverse that the ceiling made of them can become an ornament in a house or apartment. There are white (monotonous) panels, checkered and colored, with elements of nature.Depending on which ceiling bases the material will be mounted on, selection of its shade or pattern is made.
According to its characteristics, ceilings made of PVC panels belong to the type of suspended. For installation, a frame is first made, and panel structures are attached to it.
The advantages of this material include the following positions:
- having great water resistance, it is very well washed;
- there is no mold or mildew on this coating;
- material is easy to install;
- useful life reaches more than 10 years;
- the price of the material is low (the cost of the work, including the purchase of additional fasteners, will be less than any other finish of the ceiling base).


The negative point is the lack of pores in it: the panels do not “breathe”.
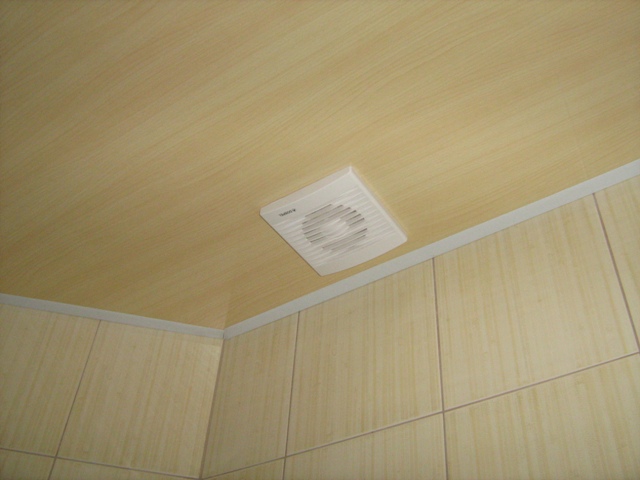
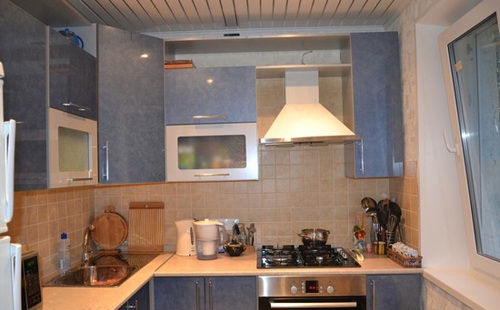
When installing a polyvinyl chloride ceiling in the kitchen or in the bathroom, care must be taken to ensure that ventilation is available: ventilation grilles should be installed to prevent condensation from accumulating behind the panels. Any room where there will be a suspended ceiling of such material should be well ventilated.
To purchase quality material, it can be checked by compression. If damage is not revealed, then the panel is durable. It is better to take rigid PVC panels on the ceiling bases in order to avoid further sagging of the structure.
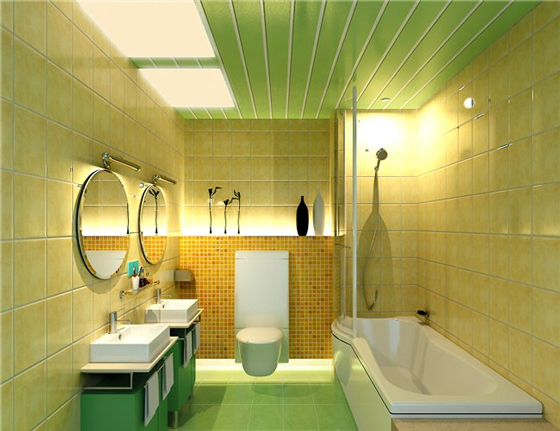
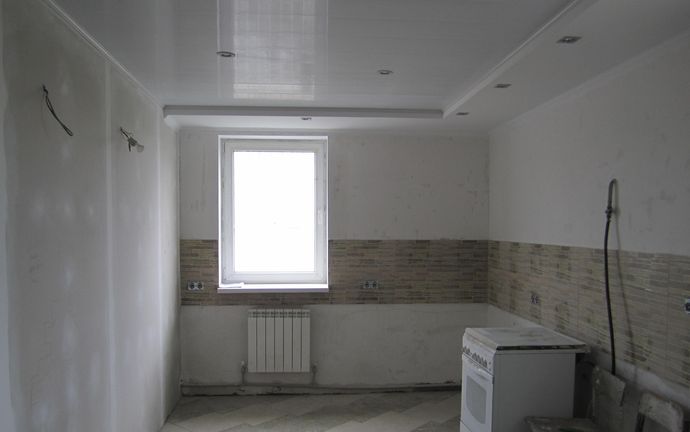
For a visual increase in the volume of the kitchen or bathroom, light panels should be fixed to the ceiling, and wider sheets will hide the seams.

It is important to know that the ceiling base when installing the frame and PVC plates on it will be lower, and the height in the room, respectively, will slightly decrease. But the laying of communications is done in a hidden way, which does not affect the appearance of the coating.
The process of installation and installation of plastic panels on the ceiling under the force of each person. You do not need to be an expert in this field, because it is enough to have a standard set of tools at home and carefully read the installation instructions.

Kinds
Plastic panels are ceiling and wall structures.
For walls use more durable materials. Since the ceiling must be smooth (not deformed by the weight of the panels), a material is made lighter for it than for walls.It is not recommended to cover the ceilings with panels intended for walls.
According to the external characteristics of PVC panels are:
- matte;
- glossy and rough;
- mirror slats.

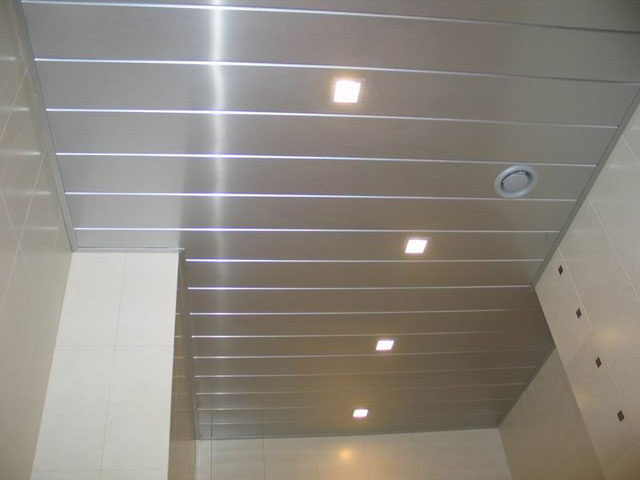
Matt and rough panels require the use of high power lamps for lighting when installed on the ceiling. Glossy materials due to the brilliance, on the contrary, visually increase the floor space.
Polyvinyl chloride (PVC) profile differs in size and thickness. The following dimensions are considered as standard: thickness is 5-12 mm, length is 3-6 m, width is 25 cm. There are some non-standard sizes that are made to order. The length of the canvas can be 6-7 meters, and width - 40-50 centimeters.
Material can be:
- seamless;
- lath;
- sheet profile.
The most convenient assembly is rack structures. Such panels are securely interconnected by means of a lock, called "European". The width of these structures varies from 10 to 12 cm.
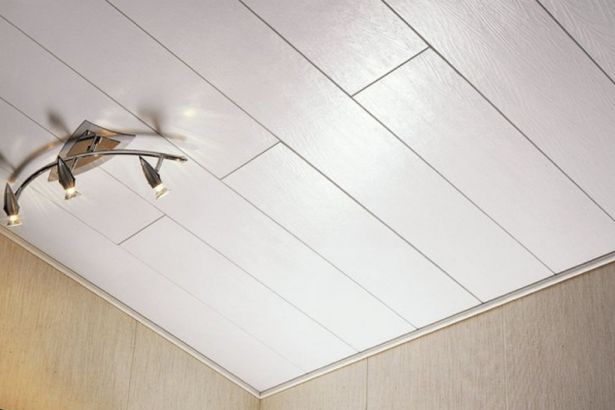
The seamless ceiling after collection looks like one canvas, because the panels are tightly adjacent to each other, and their joints are not visible. Reiki (panels) for such ceilings are more expensive, and the sheet version is used much less.

The device of the ceiling panels is no different from the design for the walls: The profile consists of two plastic sheets connected by stiffening ribs. On the back there is a large mounting shelf at one end, and a narrow fastening shelf at the other. The mounting part is attached to the frame, and the smaller shelf is designed to connect the panels together.
Before buying rails (panels) you need to calculate the area of the ceiling in the room or premises where the installation will be carried out. After counting, the results should be added 10-12% of the number of panels that will go to trim.
Required tools
For work on the assembly of the frame and fastening of PVC panels on the ceiling base You will need the following tools:
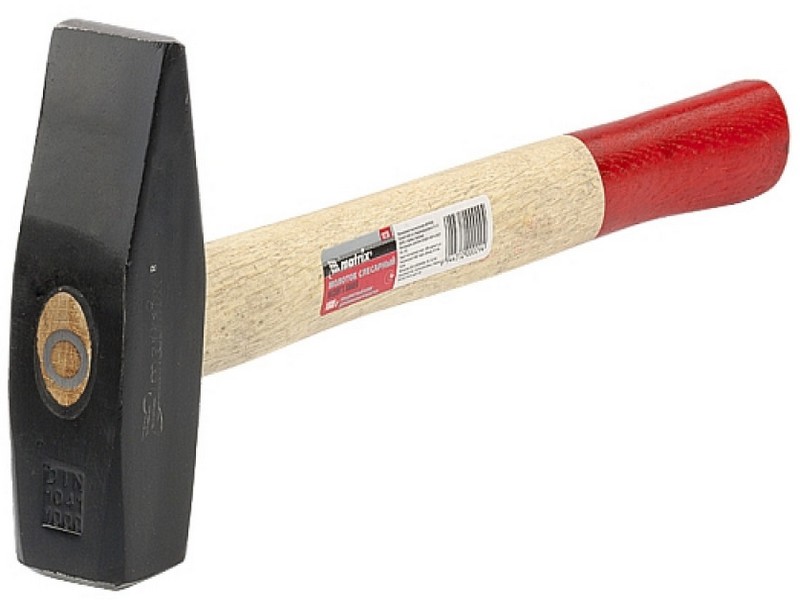
- hammer;
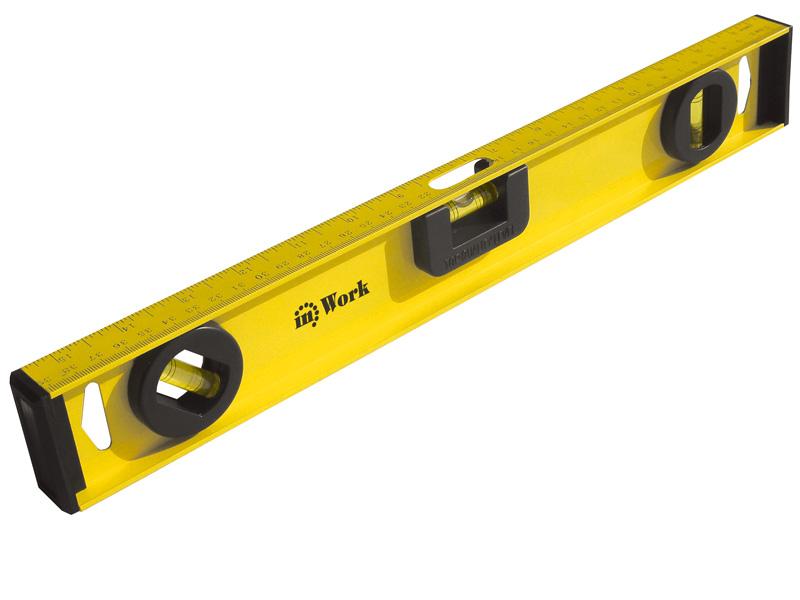
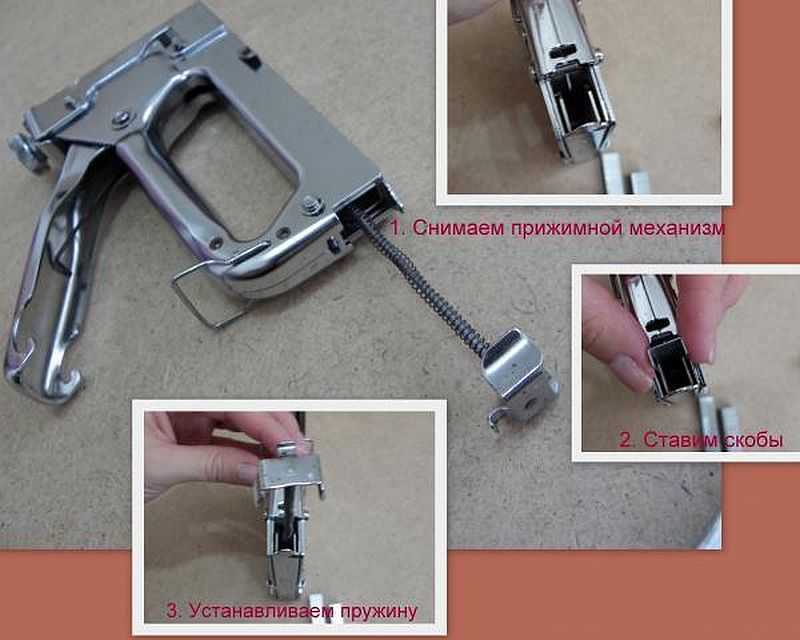
- construction level and stapler;
- hacksaw;
- perforator and drills to it;
- screwdriver with nozzles;


- ruler and tape measure, glue;
- pencil or marker for marking;
- electric jigsaw (for trimming panels);
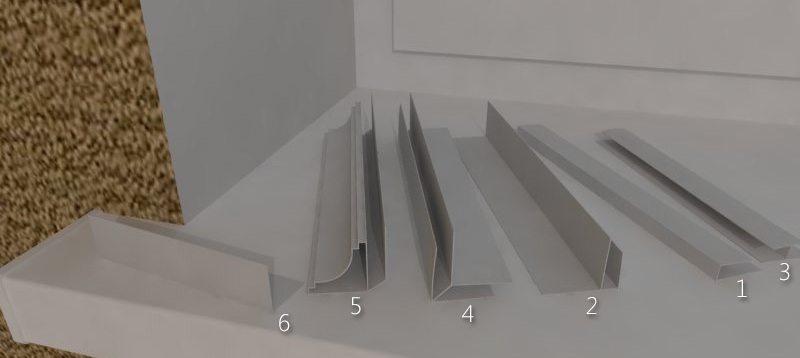
- plastic baseboards and profiles;
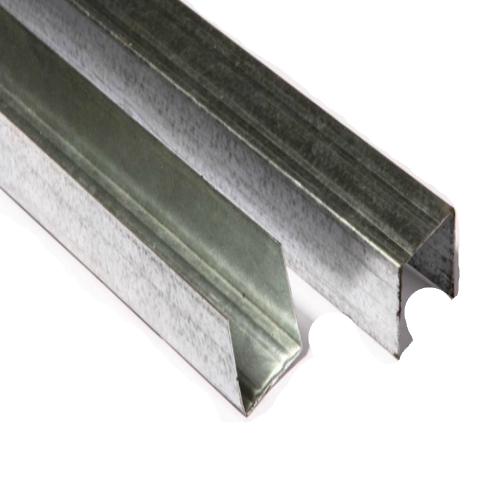
- frame steel rail and galvanized profiles;


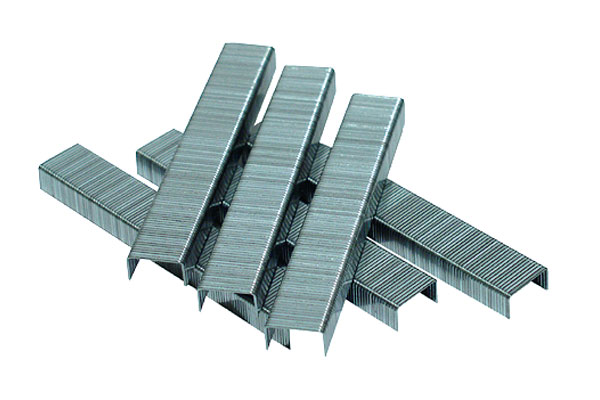
- screws for metal and wood, wood screws, staples;
- plastic dowels and nails for metal;
- protective glasses;
- PVC slats (panels);
- step ladder.
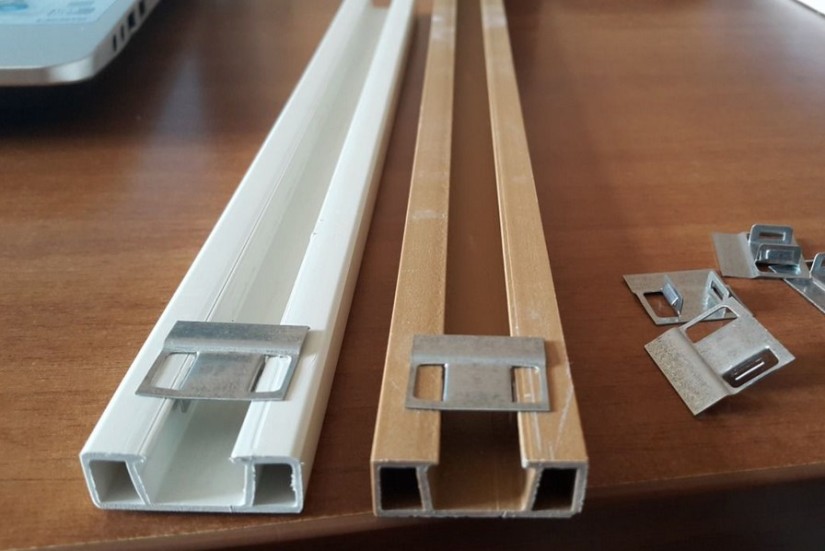
Plastic profile (molding) in the form of the letter "P" is used around the perimeter of the room - it removes the edges of the panels. You can use for these purposes and ceiling plinth. The crate is performed with a metal profile or a wooden bar. In rooms where the humidity is elevated (bathroom or kitchen), it is better not to use timber.
When the decision is made to install a panel ceiling in the living room, then a wooden plinth or parallel bars will do. When using wood components, it is better to treat them with antiseptic solutions before installation. Fastening the panels to the ceiling is produced both with screws and metal clips.


Technology works
The panels can be fixed to the ceiling without a frame; for this, the ceiling base must be very even. The start profile is fixed on the ceiling and the slats (panels), pre-cut to size, are inserted into it. They are fastened through 40-50 cm. Depending on what the base, choose and fasteners. For example, if the ceiling is wooden, you can use staples.
Liquid nails are also used for fixing the panels, however, the ceiling of them is mounted once and, in the case of dismantling, it is simply removed. Further use of such material will be impossible.
When it comes to the concrete ceiling, it is best to pre-make a frame on it, since the screws will not work. In this case, it will also be very difficult to drill holes into the concrete under the dowels.
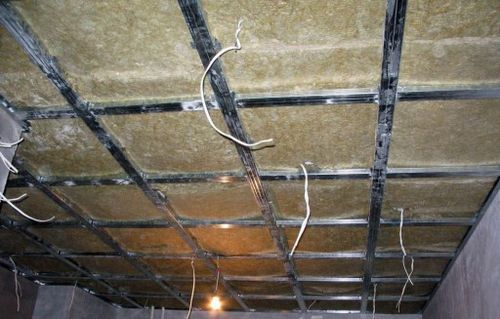
A batten (frame) is made in situations where uneven ceiling bases are obtained and there is a need to fix light sources to the ceiling.

First you need to calculate the distance between the ceiling and the panels. When the installation of fixtures (built-in) is planned, the ceiling should be from the panels at a distance of 12-15 cm. The wiring will not be visible and will completely disappear under the slats. Preliminary in panels it is necessary to cut holes for lamps. After installation, the space between the ceiling and the panels will remain empty (hollow) and can be filled with heat and sound insulating materials.
Before installing the frame, all old materials that covered the ceiling should be removed.
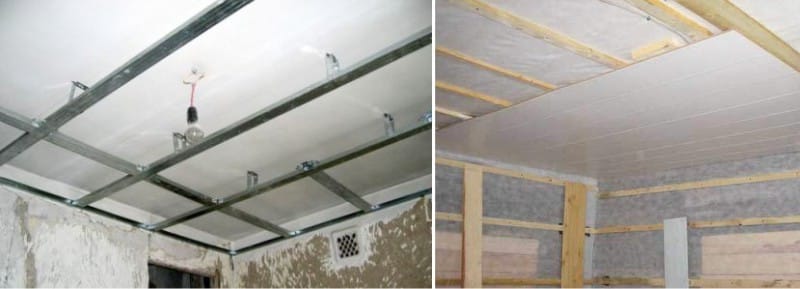
Frame
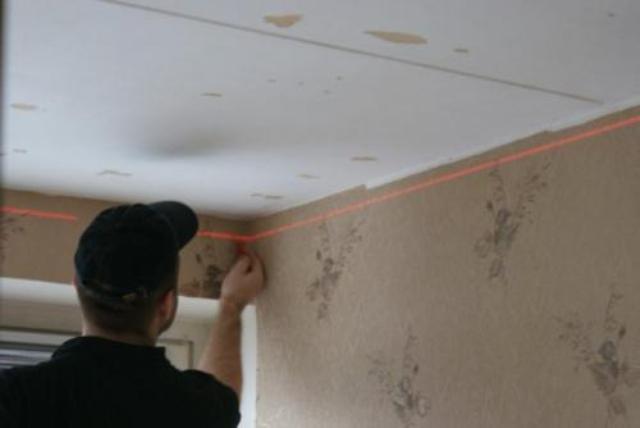
In order to make the crate correctly (to assemble the frame), it is necessary to mark the ceiling base. The methods and methods of how the frames are installed on the ceilings in rooms of different purposes, do not differ among themselves.

With the help of a tape measure, measurements are made of all the corners of the room where the PVC ceiling will be mounted.Find the lowest point of the room and fix it with a marker or pencil. On this wall measure down 40-50 mm and draw a horizontal line. On the opposite side of the room, kitchen or bathroom, draw the same line at the appropriate height. In the same way, measurements are made on all four sides of the room.
If a point is lower, then it should be aligned with the other points. and lines on other walls. Thus, a square is created around the perimeter, which should be located at the same height from the floor, which will be the basis for the frame.
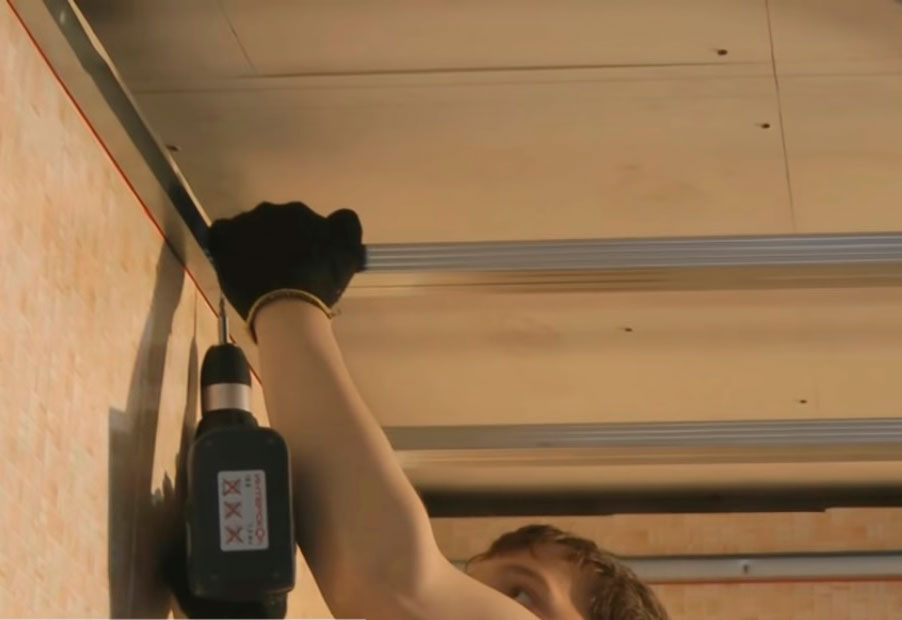
Then at a distance of 40-45 cm from each other, holes are drilled with a perforator - they should be located exactly along the lines drawn. After that, the dowels are inserted into these holes and the guide rails are fastened strictly parallel to each other - plastic panels will be attached to them later. In this way, a frame (lathing) is created for mounting the ceiling.
Plastic guides are equipped with clips, which should, when they are fixed on the ceiling, be perpendicular to the panels. If they are installed incorrectly, then the fasteners between the panels being laid on the ceiling will not close, and further work will be suspended.On a wooden ceiling mount frame carried out in a similar way.
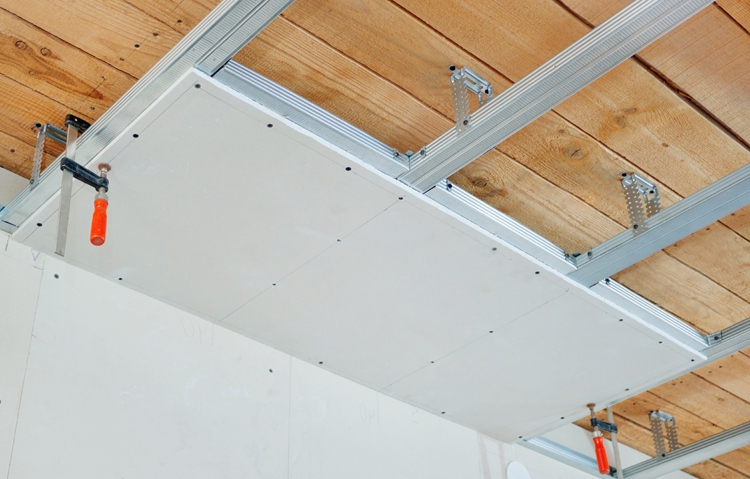
Horizontal lines are drawn on opposite walls of the room. They are drilled holes at a distance of 10-15 cm from each other and insert dowels in them. Wooden bars are installed towards the wall and fastened with screws. After that, the assembly of guide lines is carried out with the help of hangers: the guides on the frame are fixed with corners. For this the best option would be to use a construction stapler and brackets for fasteners.
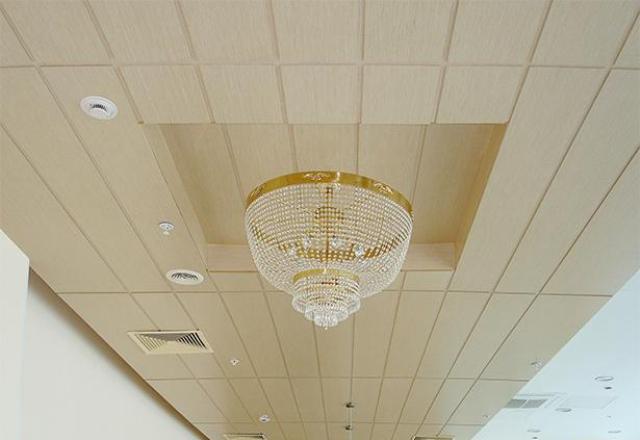
If you plan to install a chandelier on the ceiling or a large number of lighting structures, then the frame must be made stronger. For this, the number of guide rails is increased, and the distance between them must be reduced. Such a moment should not be forgotten when mounting the frame of a metal profile.
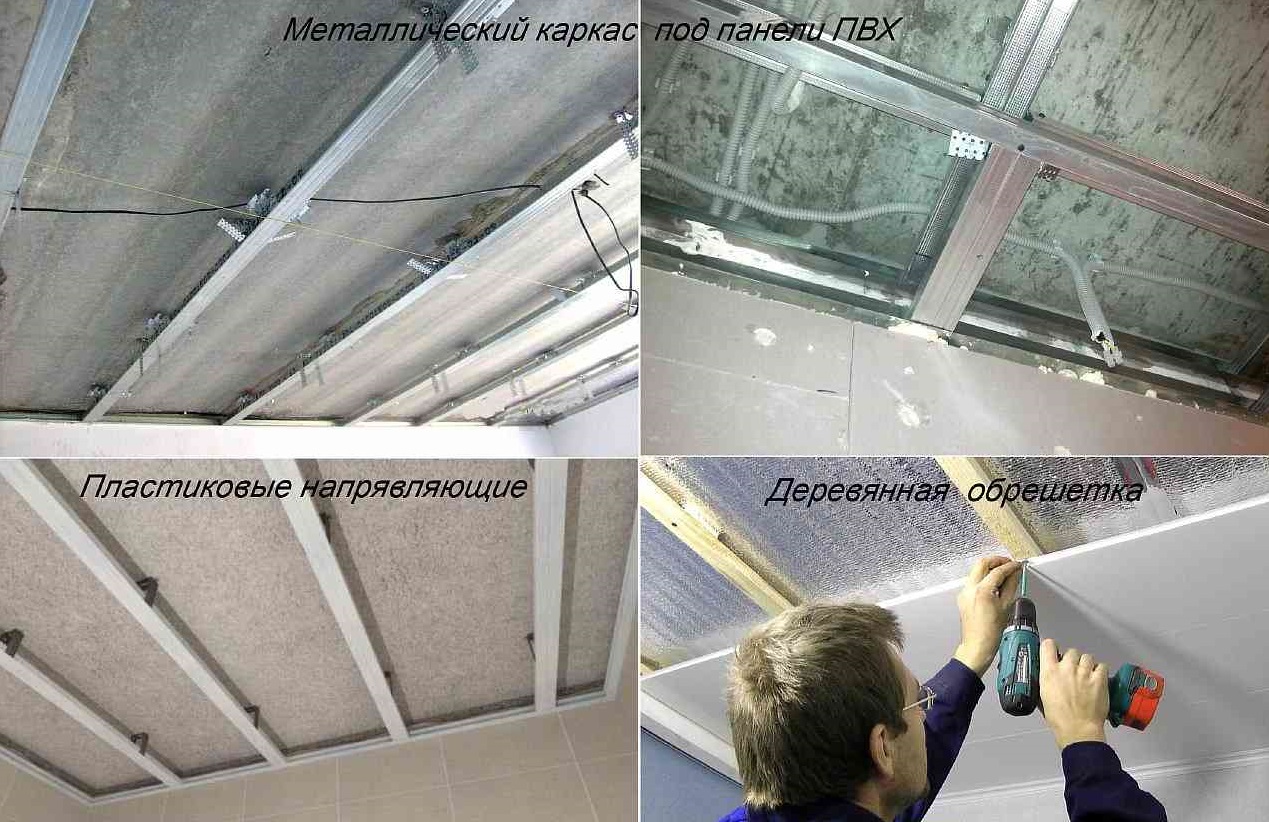
The metal profile is set using the starting U-shaped designit is attached at the very beginning along the perimeter of the ceiling base. Guides with perforation are placed into it. After that, metal guides are fixed with screws to the ceiling with a step of 80-90 cm.This frame is much stronger than wood and plastic, but at the cost of its installation will cost more.
After collecting the frame, the installation of electrical wiring is carried out in cases when there are already lighting devices (fixtures) on the ceiling. It is recommended to place it in a corrugated sleeve in order to avoid moisture exposure during evaporation. Attach the wiring to the ceiling with glue or liquid nails.
Installation
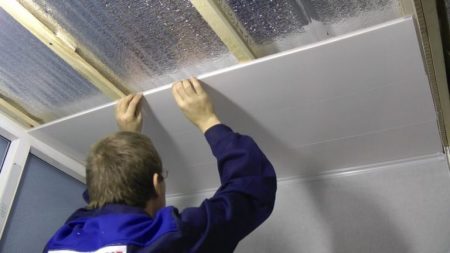
After installing the frame with your own hands it remains to sheathe the ceiling with plastic panels. How to perform the installation will tell step by step instructions.
At the very beginning it is necessary to attach the first installation profile: with the help of screws it is fixed to the guide rails. It is installed in the area of fixing the start and finish panels. After this, the elements are prepared by cutting them of the required length.
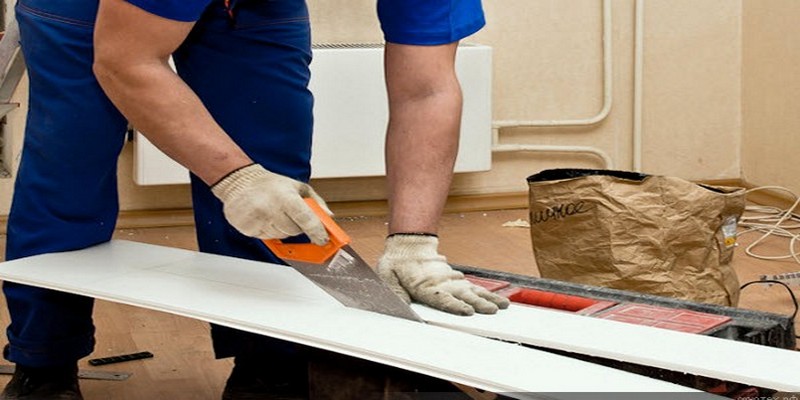
Cut slats need a little shorter than the length or width of the roomwhere they are laid on the ceiling. If the panels are made to coincide in size with the dimensions of the room, then it will be impossible to fill them into the installation profile or plinth.It is best to produce a few pieces of cutting, and adjust the size according to the contours of the ceiling. Work is carried out by an electrofret saw or "Bulgarian". When the material is prepared, you can begin to mount it to the ceiling.
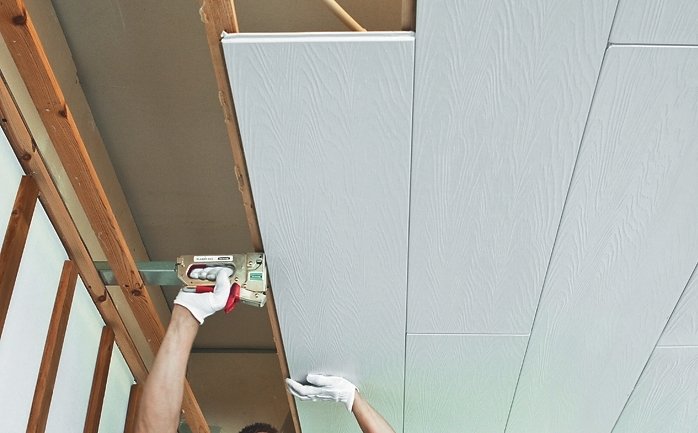
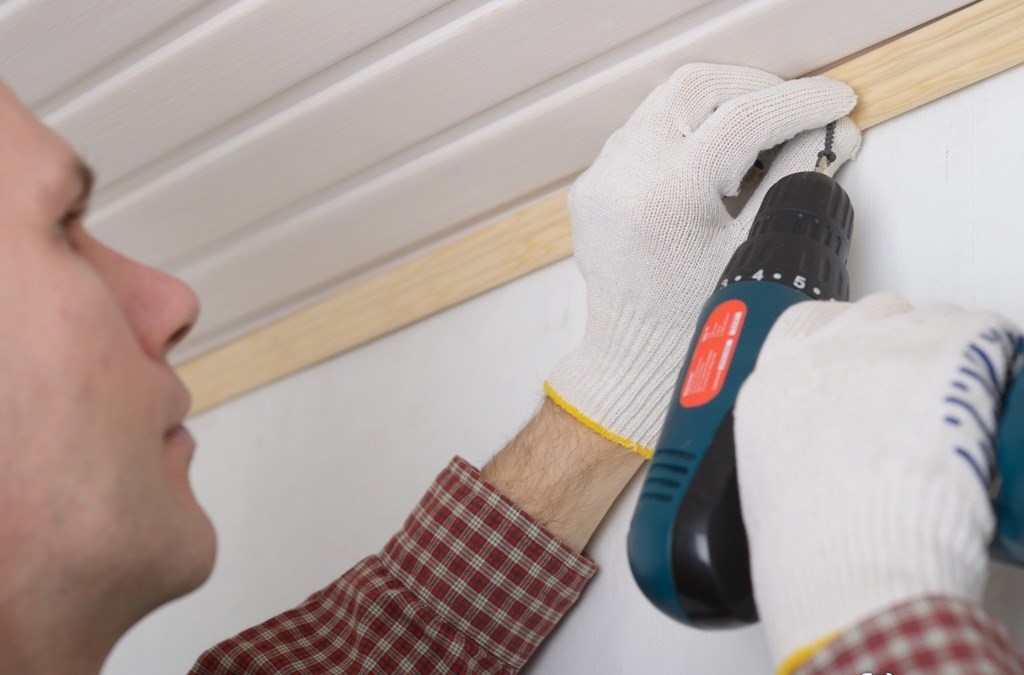
PVC start-up panel is inserted into the installation profile. The first panel should be mounted in such a way that it is pressed tightly against the wall. The installed rail is fastened to the wall with screws. The following plastic material must be inserted into the groove on the side of the mounting shelf and docked with the first starting rail. The design should be fixed with screws, as the previous part.
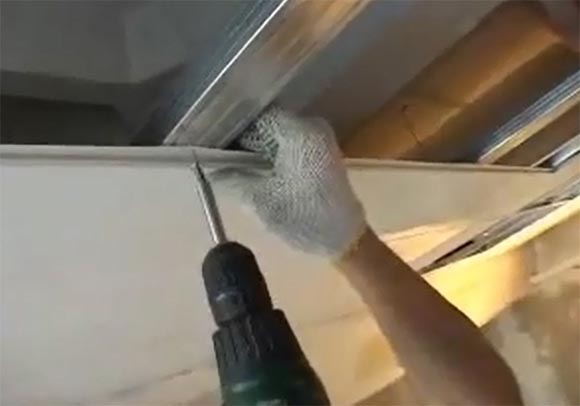
For reliable fixing it is necessary to fasten every detail. The next rail should be inserted in such a way that it covers the place where the screw or bracket was screwed in when attaching the previous rail. So the whole ceiling is paneled.
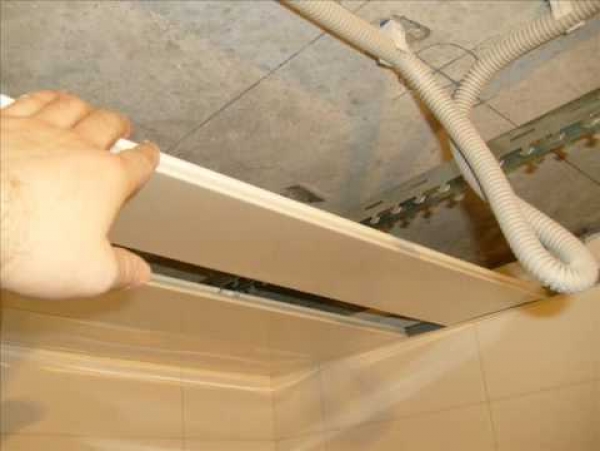
It is necessary to connect materials among themselves accurately. Panels need to be very tightly joined to each other, so that there are no gaps and gaps. For better docking of the rails, a rubber mallet is used between them - they push materials towards each other without causing damage to them.Hemming the last PVC panel is much more difficult than the previous parts. It is also worth noting that in very rare cases it is not clipped.
Usually such an element does not fit the remaining gap between the ceiling base and the rest of the structure. Such a piece of panel is cut out carefully, having measured the distance of the ceiling from two sides, usually it differs by several centimeters. When installing, you need to ensure that the entire skin is not damaged, try to squeeze the last fragment tightly and evenly into the overall structure.

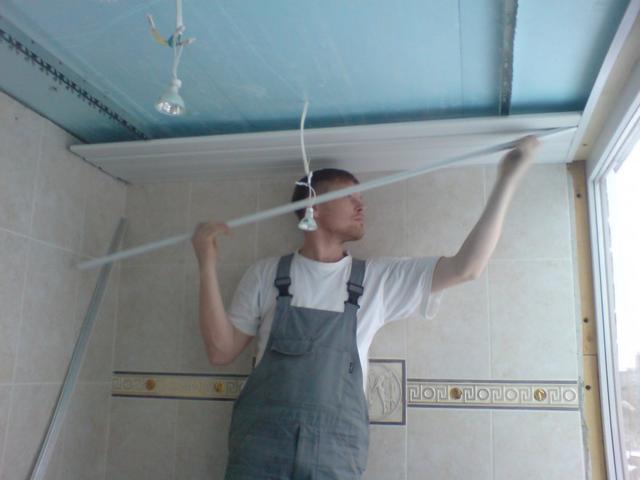
On the ceiling in advance you need to glue the plastic baseboard or starting profile. The panel is again trimmed to 5 mm and squeezed into the prepared slot. You can not reduce the size of the rail, then it should be fixed to the penultimate panel all the way to the ceiling base, and stick on top of the plinth.
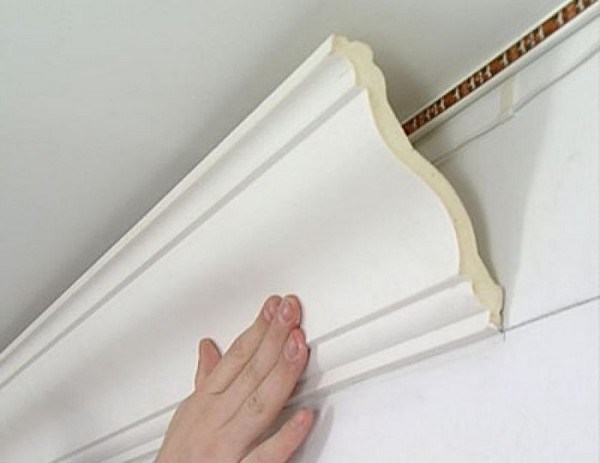
Then it is necessary to close the entire structure with a ceiling plinth - it is glued to the ceiling with liquid nails. Since the trim panel is often shorter or narrower due to trimming, it goes deeper into the molding. In order to avoid a gap in the ceiling, the space should be sealed with white acrylic.
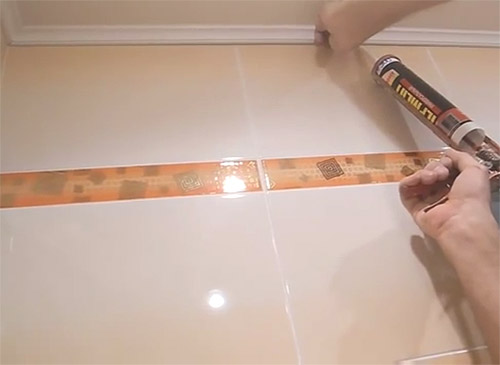
If materials of foreign manufacturers are purchased, then additional operations for processing the finished structure are not needed. If after installation there are recesses or irregularities, then their correction is made with acrylic sealant - they fill the joints, corner pieces and the junction of the ceiling with plastic plinths. In this case, the seams are aligned, and the excess liquid is removed immediately with a soft sponge or spatula. As a result of the installation work, a completely new appearance of the ceiling is obtained, the lining of which may be different in color.
After that, you can finish the walls with any material, attach lamps to the ceiling and start cleaning building scraps.
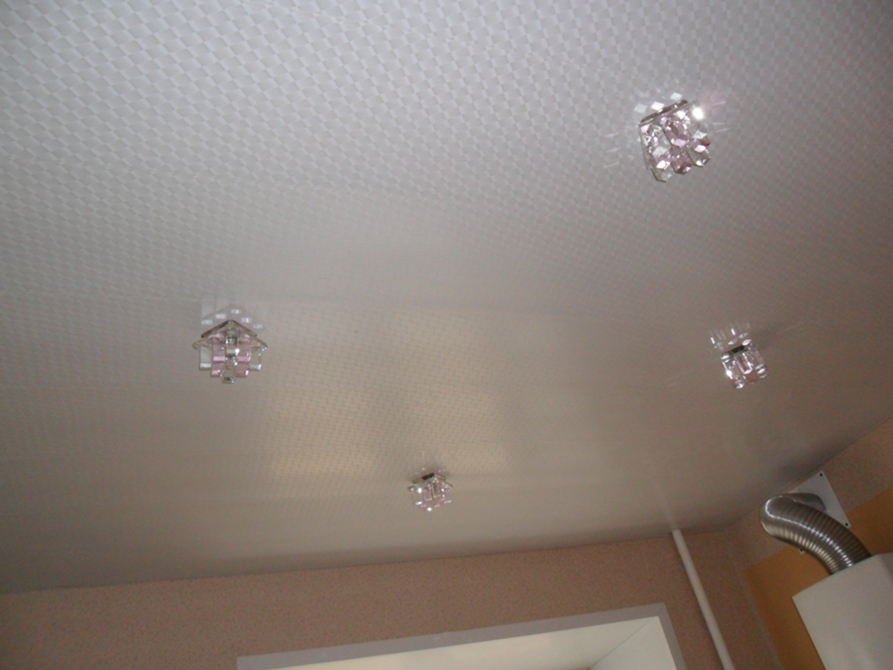
Lighting
For plastic ceiling panels, lamps with a specific type of lamp are used:
- halogen;
- fluorescent;
- LED;
- incandescent bulbs.

To install them pre-make the scheme. So that the lighting in the room is good, the lamps are installed at a distance of no more than 1 m from each other. It is necessary to calculate where the electrical wiring will go, and how many lighting devices will be needed, and how long the cable will have to be used.
For plastic, you must choose a fire wireWhich is fixed in places where lighting devices will be located. With the help of clamps and clips on the frame, a loop of 10-15 cm long wire is fastened and pulled down through the panels. This stage of work is carried out during the installation of the ceiling covering.
Lamps are fixed to 220 V lamps, and they can also be built into devices with a step-down transformer within 12 V. For standard voltage, ordinary lamps are used. At low voltage in the lamps put LED or halogen light sources.
Bathroom or kitchen should be illuminated by a separate machine. In the event of a short circuit, the emergency mechanism will work and the electricity supply will stop. From the electrical panel after the automaton the current is fed to the transformer, and from it to the lamps. For high-quality light sources, the distance from the transformer to the lamp should not exceed 2 meters. Up to four luminaires can be connected to one transformer.
When installing lamps on lighting in 220V, the lamp housing must be insulated. In the process of operation, the lamps become hot, and the plastic concentrated on the ceiling can warp from their heating.
In the bathroom you need to pick up lamps with a high degree of protection so that when a water jet hits the lamp, the electrical wiring will not close.

Tips and tricks
Masters involved in installing plastic panels are advised to purchase materials from Italian manufacturers for the repair of ceiling foundations. For the price, such slats will be significantly higher than domestic products, but their strength differs by 1.5-2 times.
It is best to install the PVC panels in a pair with an assistant, because stitching the ceiling with panels or gluing baseboards will be much easier together.
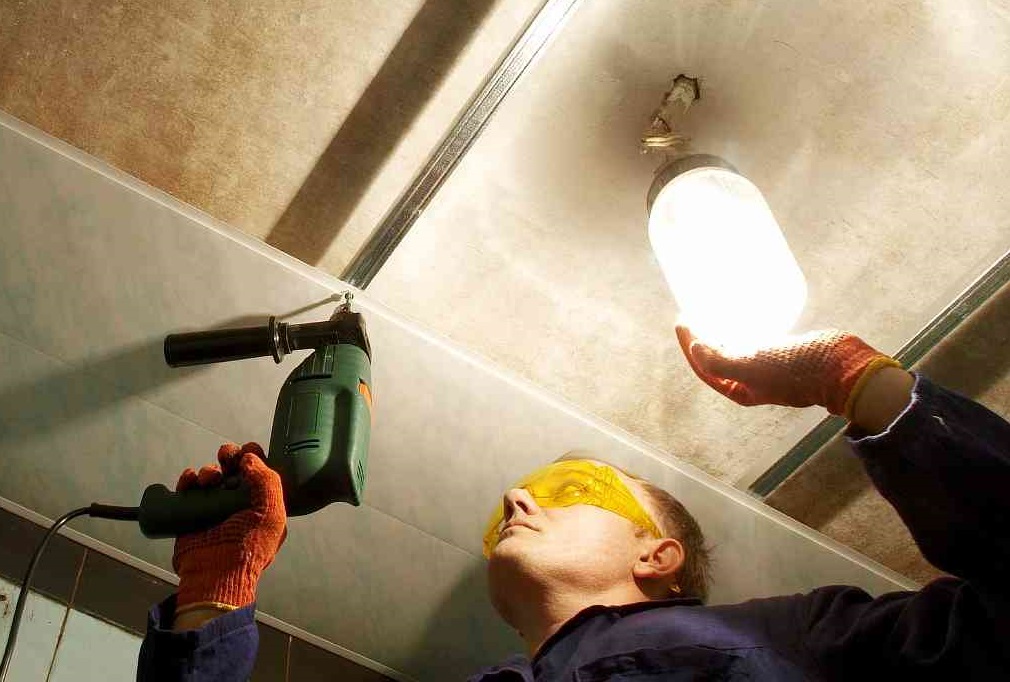
Experts recommend to always wear safety glasses when cutting and drilling panels. For work it is better to use a hand saw or a hacksaw.
When attaching ceiling skirtings, glue is best applied not only to them, but also narrow strips to the walls - this will help to fix the material better and fill the voids under it.
It is very necessary to hammer nails into the panel very carefully, because this creates dents that cannot be leveled.
To clean the ceiling surfaces from contamination, you should not resort to cleaning agents, because the most reliable way is to clean the surfaces with soapy water.
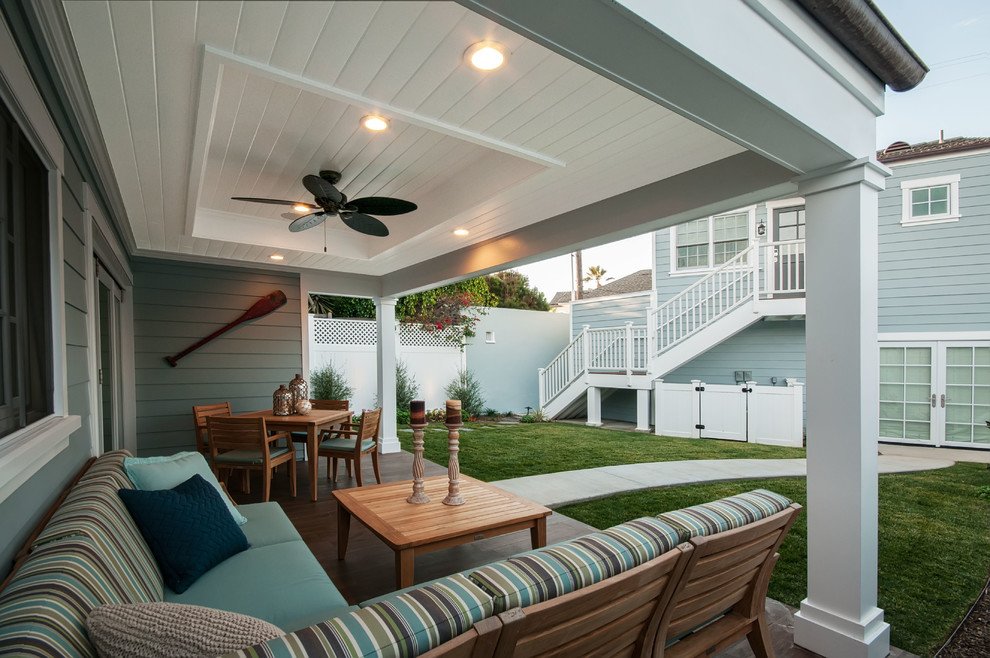
Beautiful examples in the interior
You can create different styles of rooms from PVC panels.
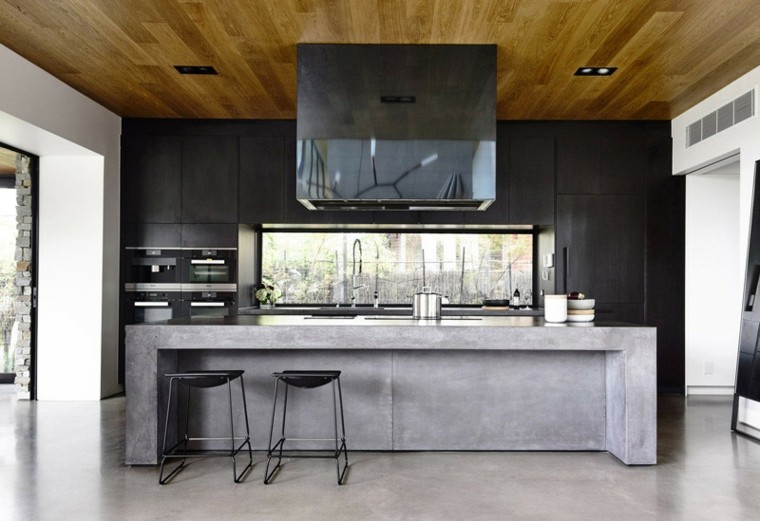
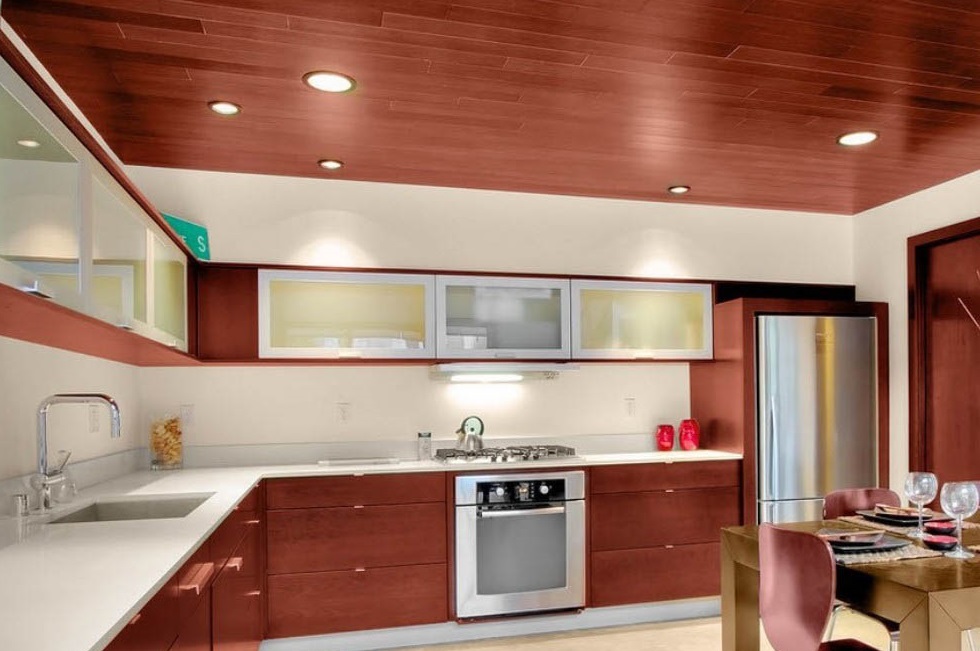
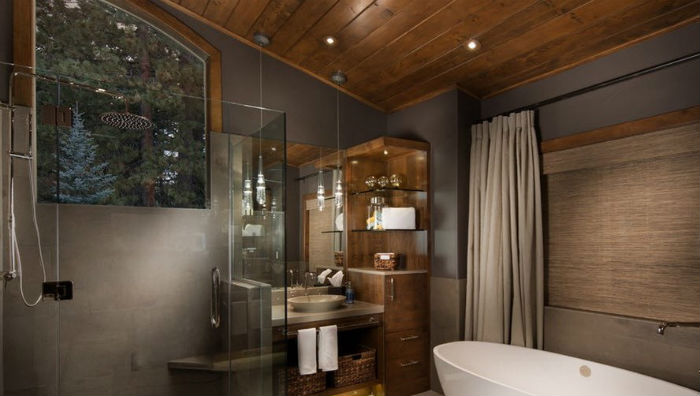
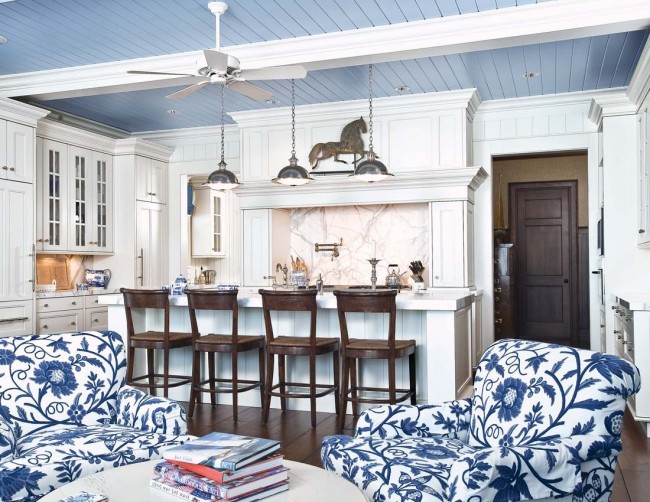
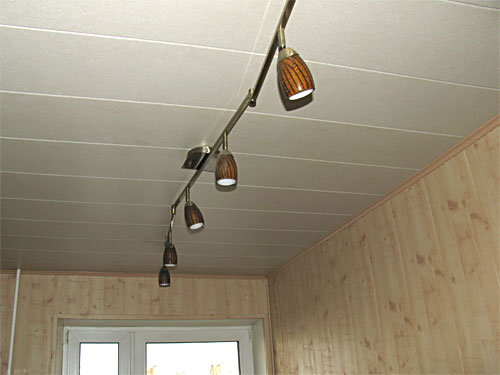
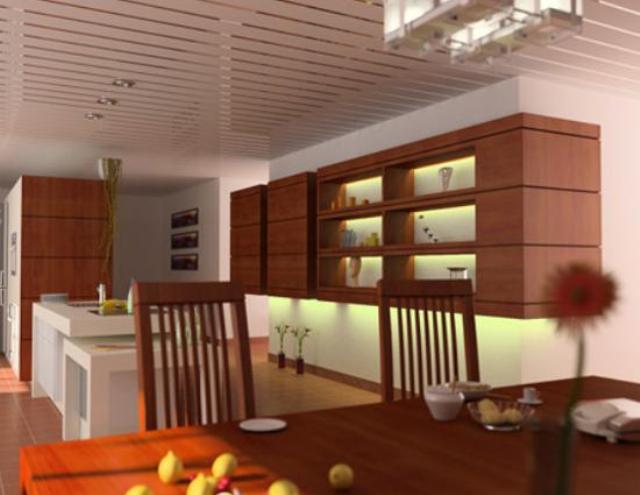
Country-style panels reflect the rural landscape well. The coloring of the material "under the tree" and simple furniture allow you to recreate a picture of the life of rural residents. Such an interior is considered fashionable today.
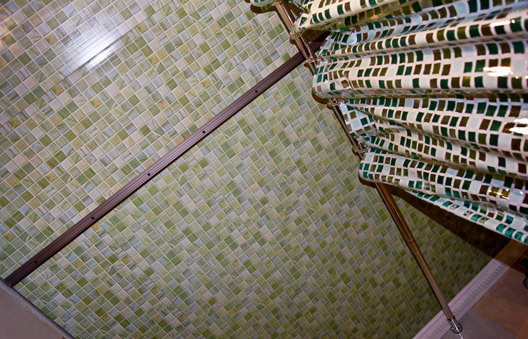
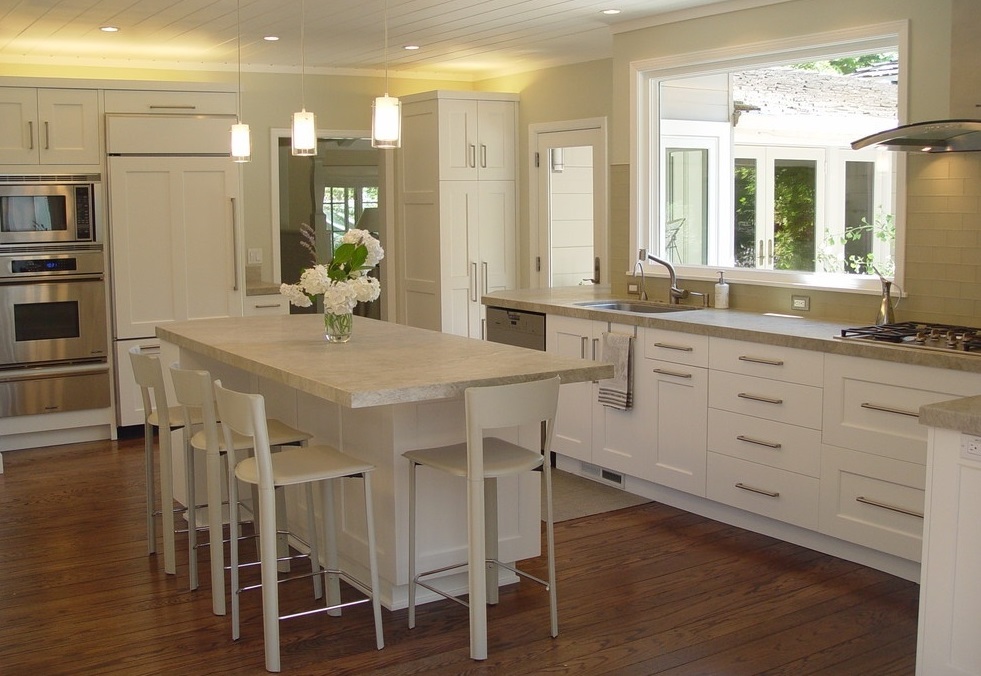
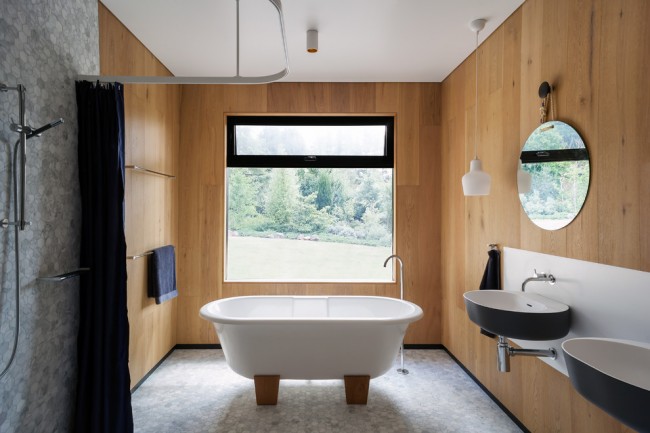
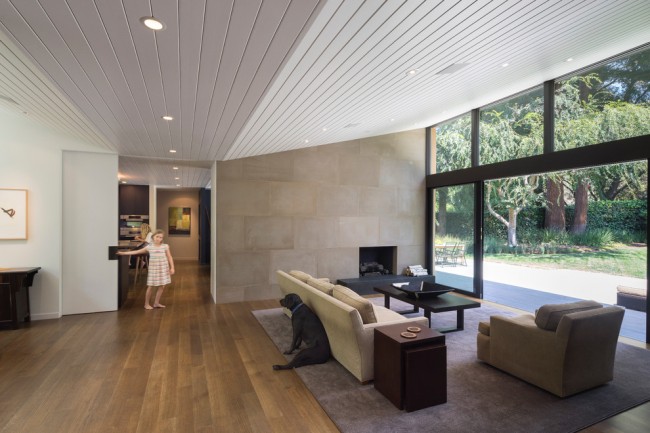
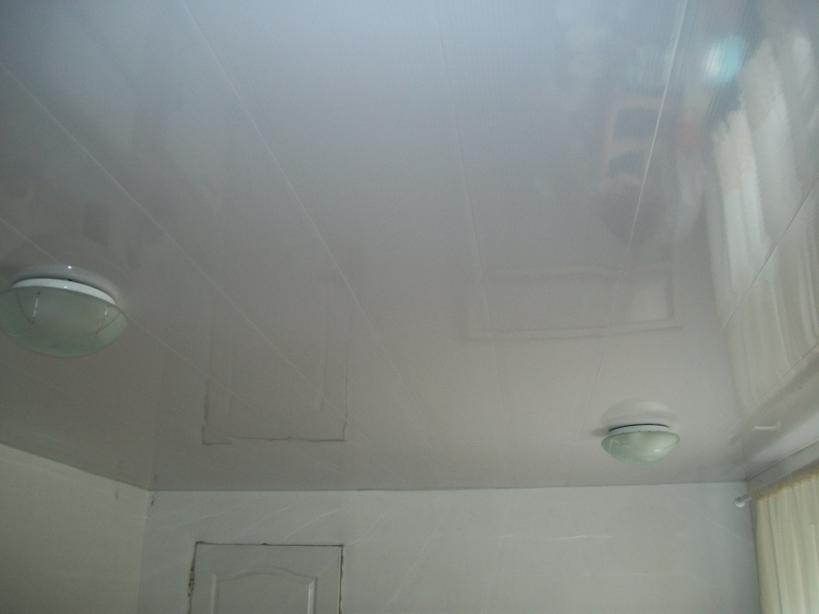
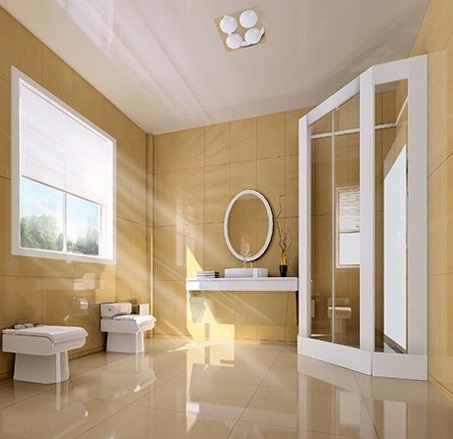
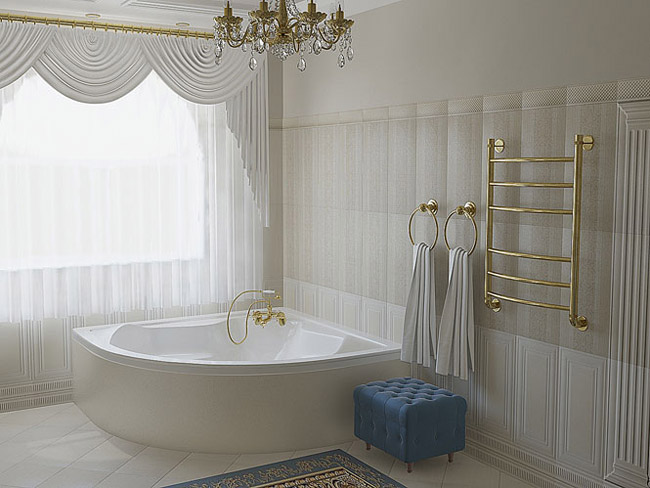
To create a strict environment using the style of minimalism. Its distinguishing characteristic is the presence of strict lines and restrained color shades. In this case, the furniture in the room should be as small as possible. The use of narrow plastic slats in combination with glass elements will allow everyone to create a cozy interior for the room, for example, in the bathroom.
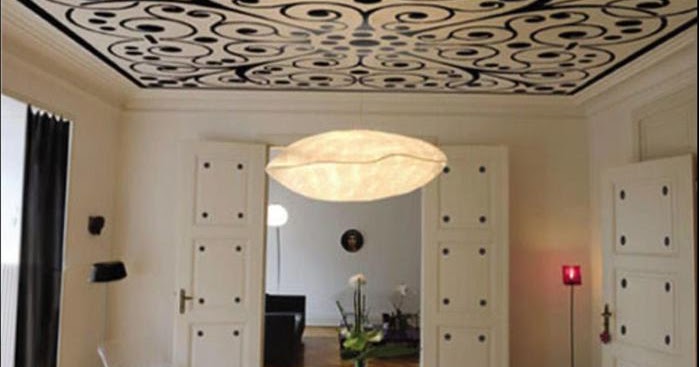
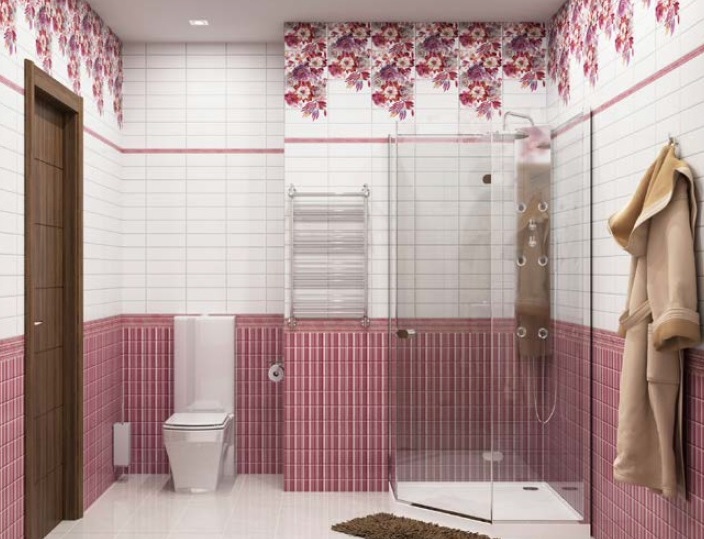
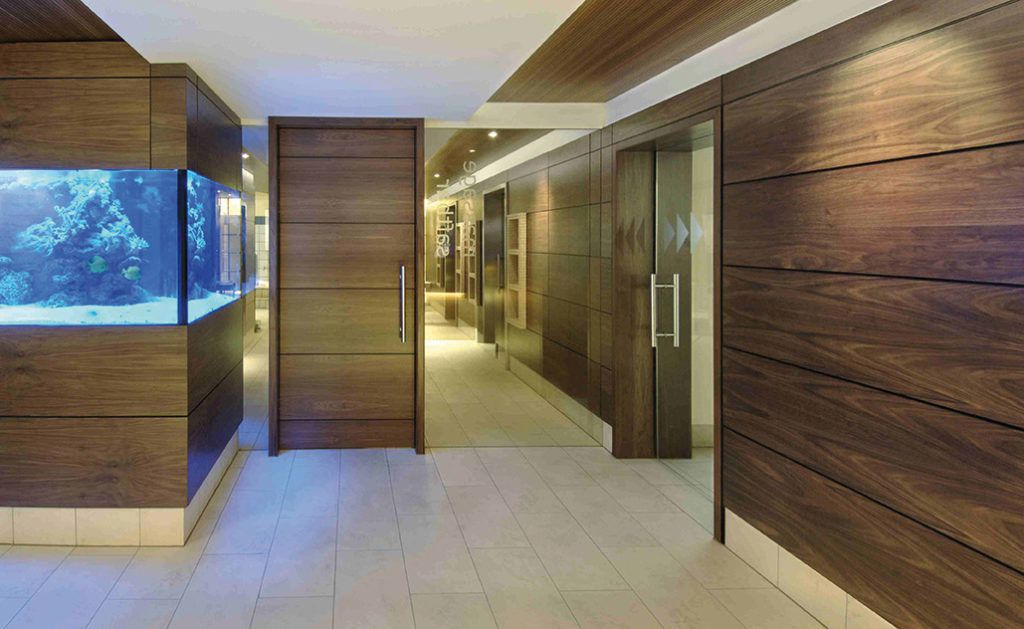
PVC panels are used for the interior in the style of Provence. Plain furniture and various shades of slats with pictures of nature and colors help to create a comfortable and relaxing atmosphere in the room.
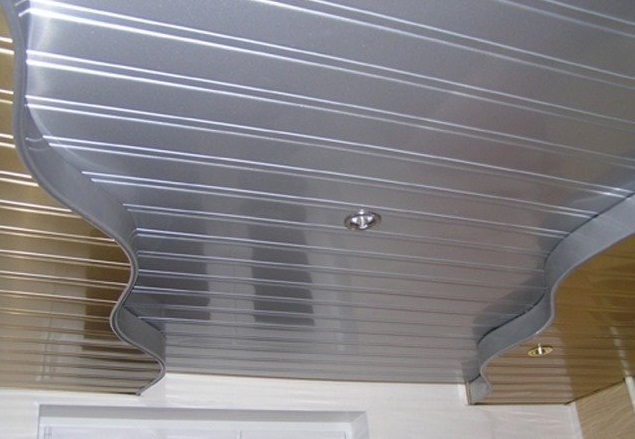
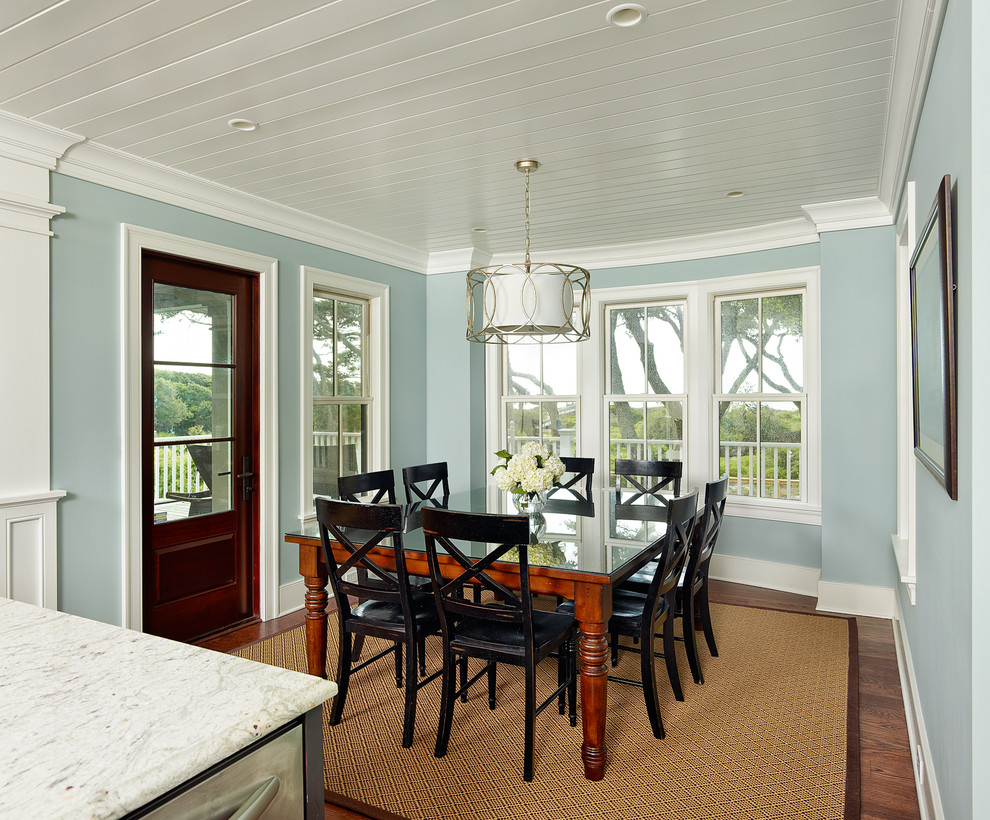
By combining the colors and shades of the panels, you can create a variety of patterns on the ceiling,make it beautiful and unique for many years.
For information on how to install plastic panels on the ceiling, see the following video.


