How to make a suspended ceiling with your own hands?
Not everyone can boast of beautiful, even ceiling in the apartment or house. Many are faced with the problem of leveling old concrete ceilings. One of the best alignment options is a suspended ceiling. It is worth noting that the design and installation of a suspended ceiling is highly complex, therefore, before you begin to perform this work, you should thoroughly prepare.
However, if for plastering the ceiling you need to have the skills to do this work, then anyone who knows how to use a drill, a screwdriver, an electric jigsaw can install a suspended ceiling.
Special features
For a start, let's deal with the concept of "false ceiling". From the name it is clear that it represents a certain frame-structure, which is installed on a conventional ceiling covering with the help of special materials. It performs different functions, the main one is decorative.
In addition, suspended ceilings can serve as sound insulation, additional insulation.
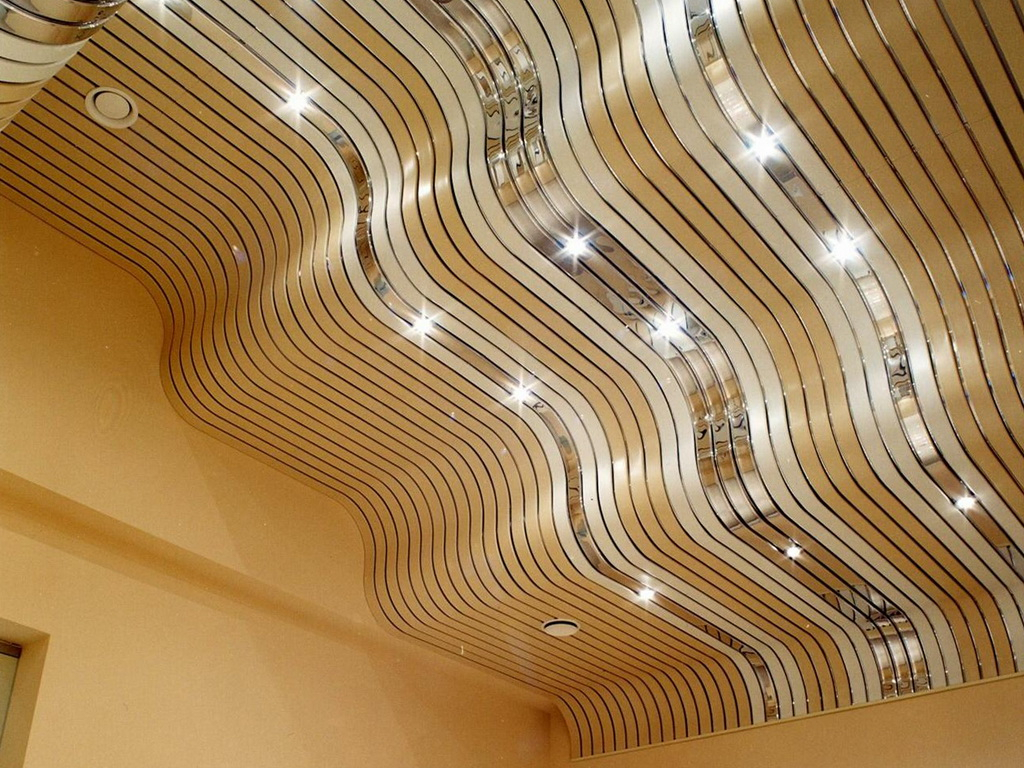
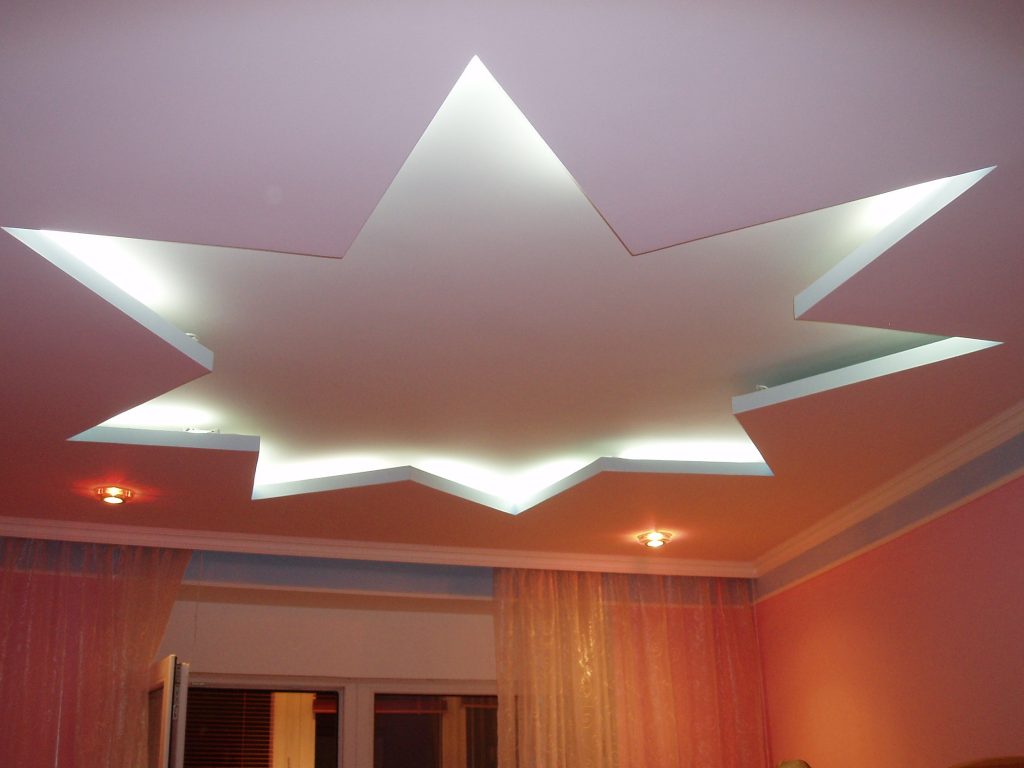
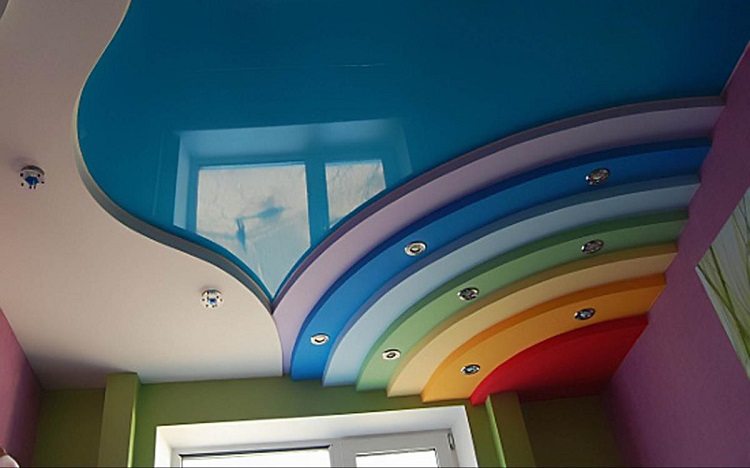
Suspended construction can change the overall appearance of the ceiling, to embody design ideas. Creating a suspended ceiling is one of the easiest and most inexpensive ways to level the ceiling, which can be done without the help of specialists. Another advantage of this design is the ability to create stunning multi-tiered, shaped ceilings that can be favorably emphasized by various backlighting options.
The ceiling can hide obvious flaws (unevenness, cracks, pipes, etc.), get rid of noise (especially important for people who prefer not to hear noisy neighbors, fussing pets or neighbors' children), it does not darken over time, is not covered with cracks, unlike conventional coatings.
Despite the fact that the procedure for installing a suspended ceiling is rather complicated and time consuming, many people prefer to install the suspended ceiling themselves. It is really possible to do it yourself, knowing the nuances. Before you begin, you should evaluate how appropriate it is to install a suspended ceiling. You should take into account such factors as the occurrence of condensation under the structure, the probability of the appearance of rodents, insects in the space between a regular and a suspended ceiling.
You should also understand that installing such a ceiling will visually reduce the height of the room.
If you have no doubts about the correctness of the choice, then you can begin preparing for installation.
To get started is to get acquainted with the varieties of this design. Suspended ceiling is a system of suspensions and profiles that are installed on a regular ceiling. Then the material is attached to the created structure, which will be the ceiling. To date, there is a wide variety of materials that differ in structure, design, texture and color, so you can create these masterpieces.
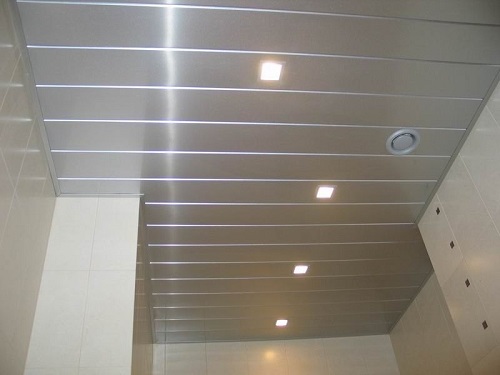
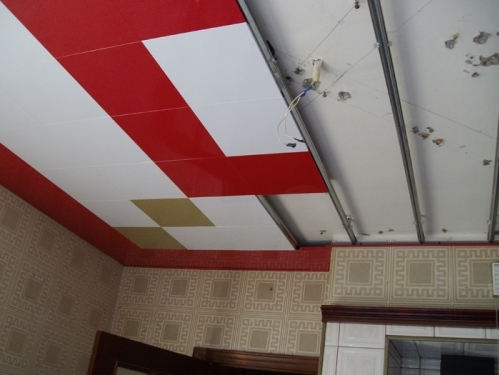
Most often, to create a false ceiling, plasterboards, plastic panels, lining of wood, tiles and other materials are used. There are several varieties of suspended ceiling. He is rack, cassette, solid, lattice, hemming. Most of the suspended ceilings are mounted on a structure mounted from wooden slats, metal.
Advantages and disadvantages
Suspended ceilings have a number of advantages and disadvantages. Before starting a repair, you should familiarize yourself with them in order to be ready for the result.
The advantages of suspended ceilings include:
- Quick and affordable way to hide the cons of the main ceiling. This item is especially relevant for those who wish to give a good view of the ceiling in old rooms with problem areas, for example, with the presence of deep cracks, cavities due to the partial absence of plaster layers. Installing a suspended ceiling will help save on the dismantling and re-installation of the plaster layer.
- Availability and variety of materials. For installation, you can choose the material, based on the quality, cost, texture, color, own preferences.
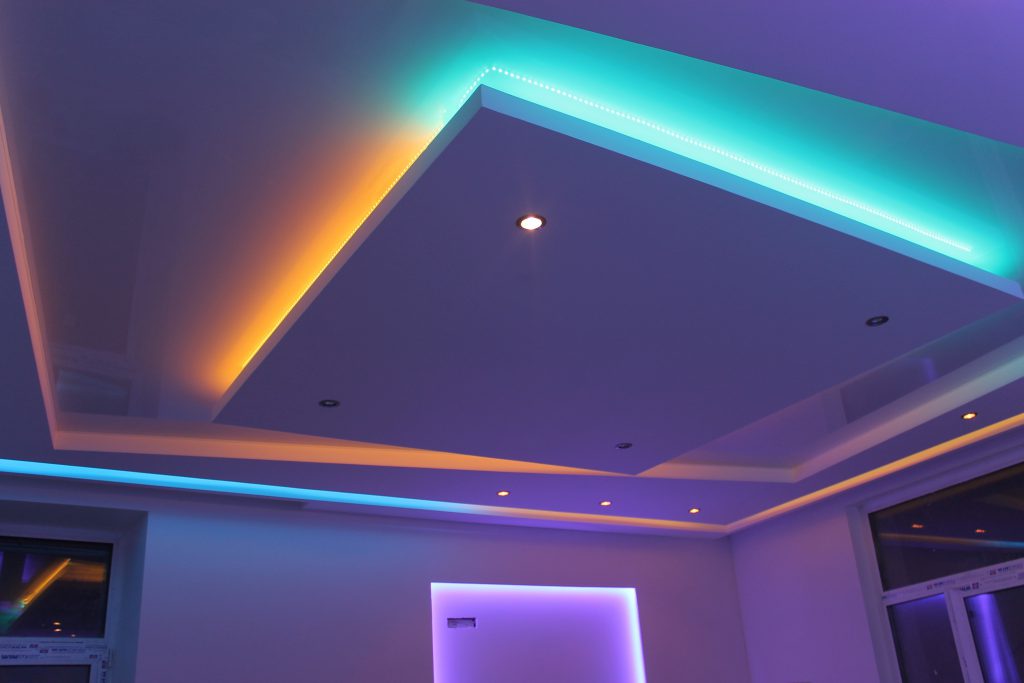
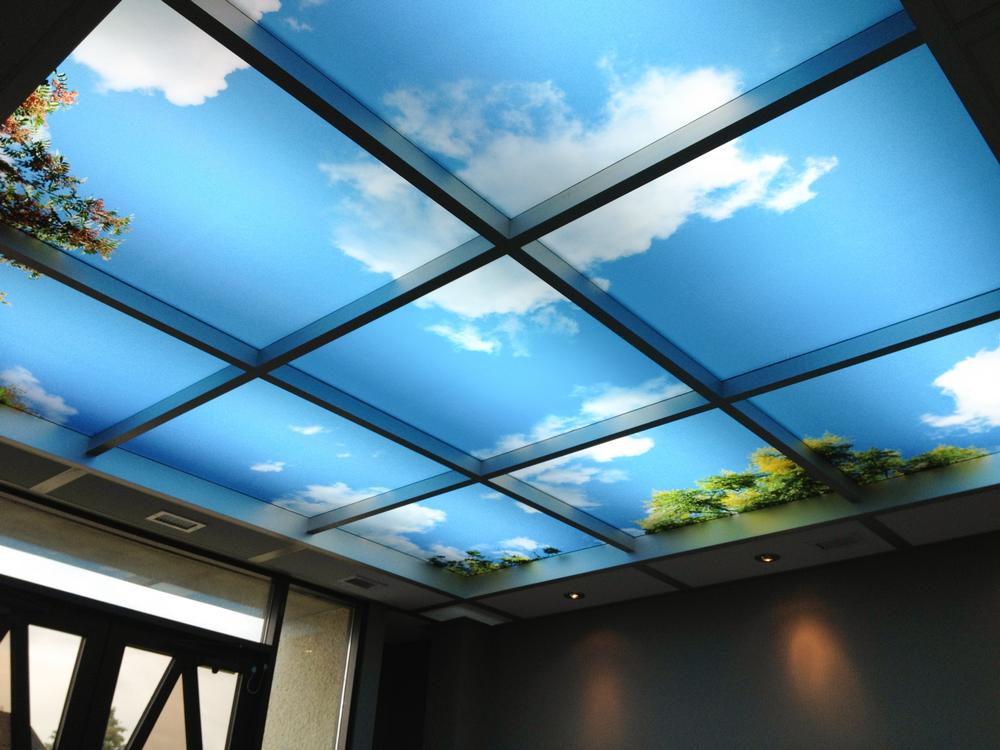
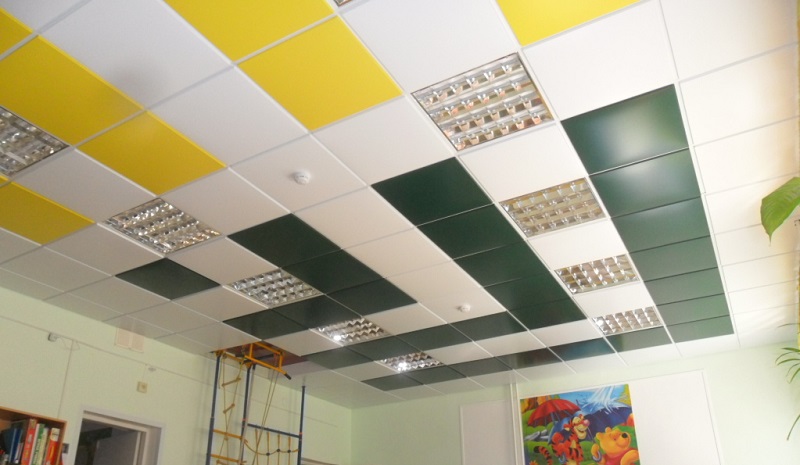
- No restrictions on color solutions, texture. Suspended ceilings allow to embody different ideas of designers, turning the coating into a unique element of the apartment. Skillful use of the backlight will help highlight important details.
- Easy to operate. The complexity of care depends on the selected materials. Most of them repel dust, do not let moisture. For washing you can use ordinary detergents.
- Installing such a ceiling helps to hide wires and other elements of communication systems (alarm, ventilation, wiring, etc.), increasing the attractiveness of the ceiling.
- Simple complete or partial disassembly when necessary.
- Long operational term at observance of service regulations. The suspended ceiling can last from 15 years with proper installation and proper maintenance.
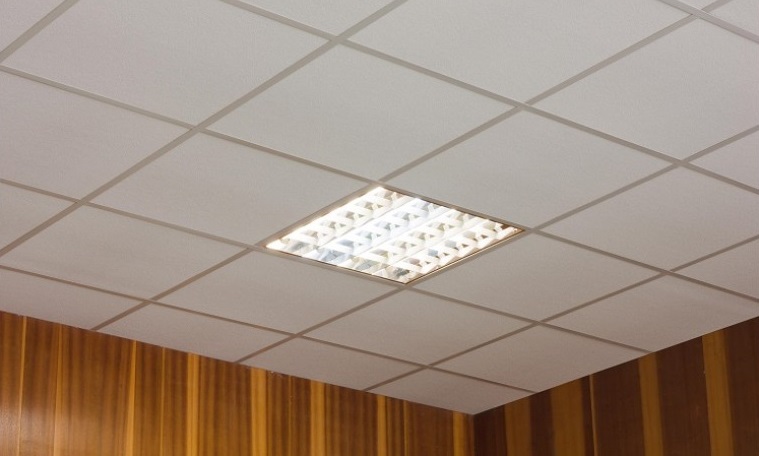
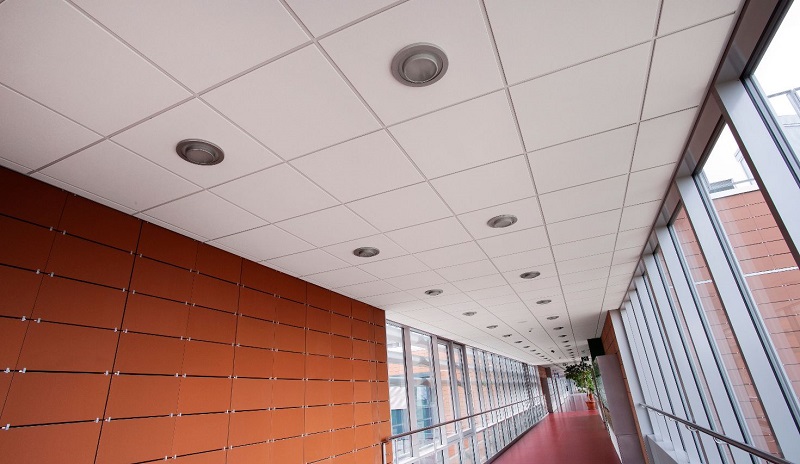
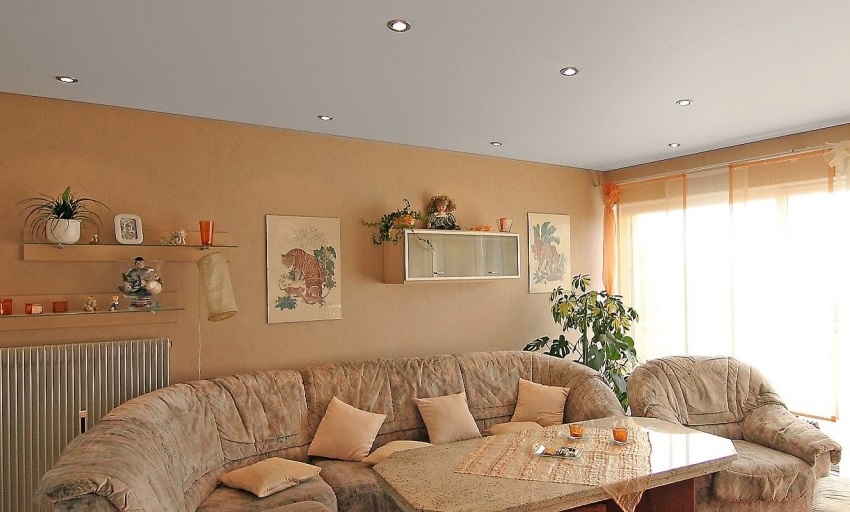
- The ability to install additional lighting fixtures mounted in the ceiling.
- Sound insulation to prevent the penetration of noise from neighbors.
- Heat preservation, fire safety, resistance to temperature changes.

There are also a number of shortcomings that can affect the decision to install this design:
- Change the height of the apartment.A slight change in the height of the ceiling becomes a significant problem for small spaces.
- Rather high cost in comparison with the maintenance of a usual ceiling. In assessing this item should take into account the difference in care. Regular ceiling is required to periodically put in order, using whitewash, paint. The worse the condition of the ceiling, the harder it is to bring it into a normal view.
The suspended ceiling is durable and does not require constant maintenance.

- Dependence on external conditions. Most suspended ceilings do not tolerate high humidity, in case of water penetration into the structure, partial or full reconstruction of the ceiling elements will be required.
- Favorable conditions for rodent insect breeding. In some private and multi-storey buildings cockroaches, mice, rats can start. If they fall into the space between a regular and a false ceiling, it will be difficult for you to get rid of them.
Materials and tools
From the choice of materials depends on the future result. Therefore, it is worth paying special attention to the selection of elements for creating a suspended ceiling.
To install it you will need:
- Aluminum profile of two types. The guide is needed for fasteners around the perimeter of the room, it serves as a frame for other elements. Ceiling profile is used for further installation of external material of the ceiling on it.
It is desirable to use the elements of a set of profiles from one manufacturer.
- Drywall The choice of drywall depends on the type of room, you should consider the characteristics of the operating conditions of the ceiling. For rooms with high humidity it is recommended to choose green color plasterboard. This type of drywall has a water-repellent ability, so it does not lose its shape and quality when in contact with moisture.
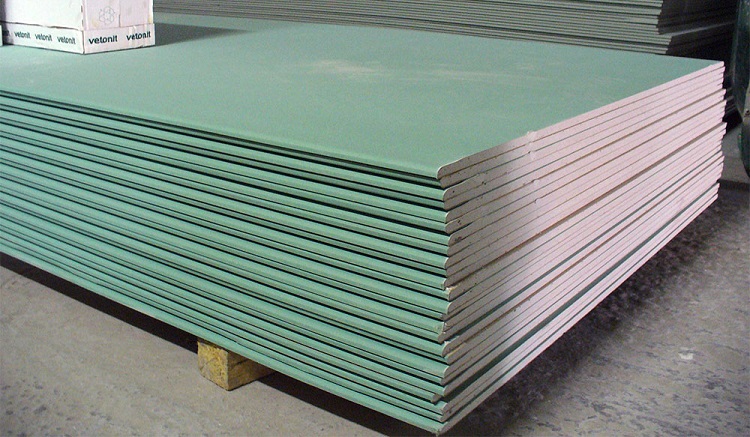
For living rooms, you can take gray sheets with a thickness of 8-10 mm. Do not choose thick materials, the thicker the sheet, the greater its weight, and, therefore, will need additional elements for its installation.
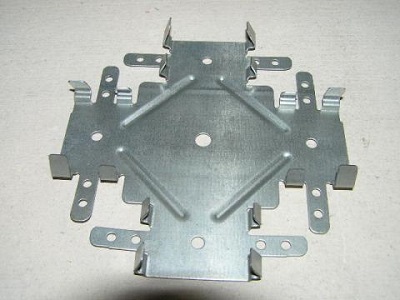
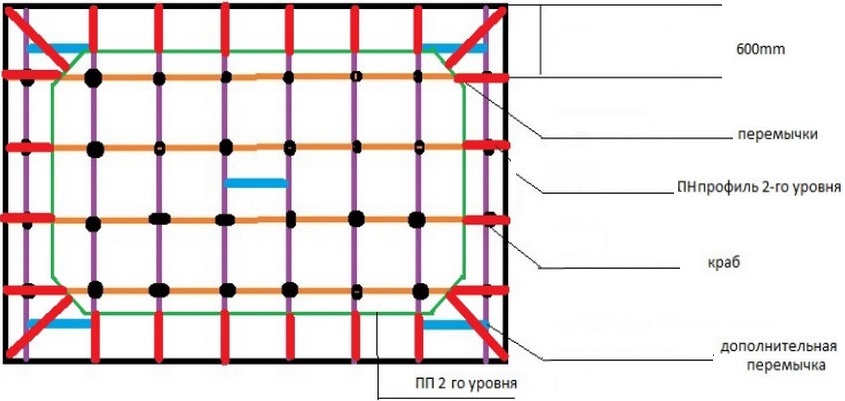
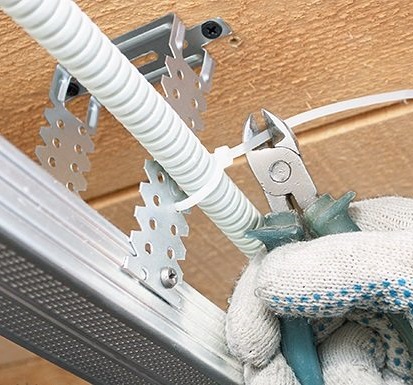
- Fasteners. Without them, the installation of a suspended ceiling. Fasteners are needed for fastening profiles and external materials. For fastening profiles you need direct suspensions, crabs, extension cords.
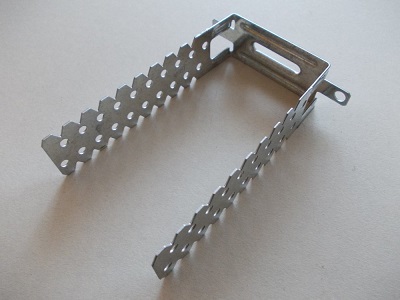
To mount the suspensions, you will need dowels 8x10 mm, galvanized screws 4.2 x51 mm. To install the plasterboard sheets, 25 mm self-tapping screws are needed.
In addition to materials, you need to prepare the following tools:
- pencil;
- roulette;
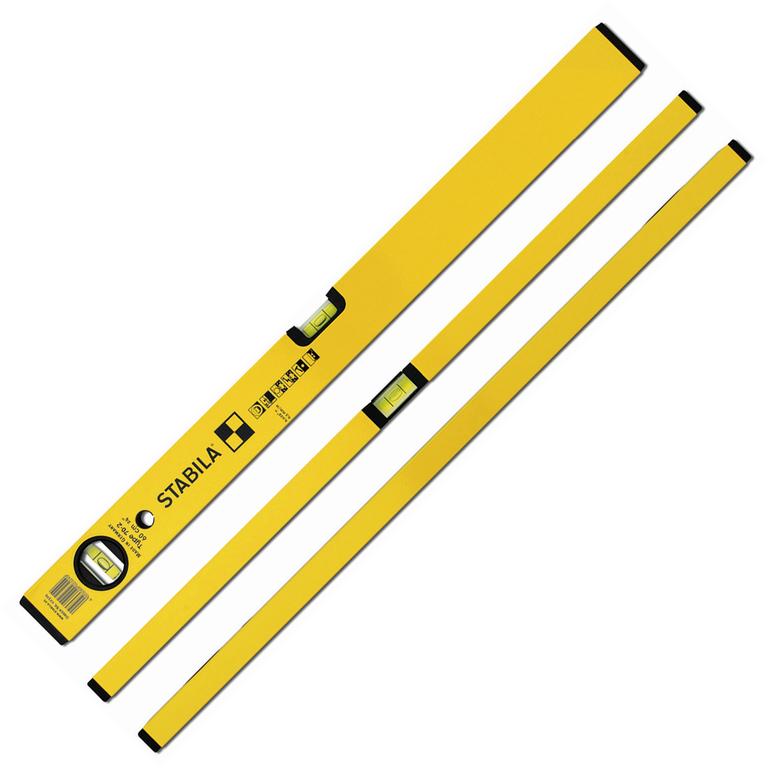
- building level to determine the marking line for the profile and drywall, usually 2.5 m;


- painting thread;
- electric drill or screwdriver;
- drill with a drill;


- construction knife;
- Bulgarian for carving on metal;
- scissors for carving on metal.


After installing the suspended ceiling, you will need materials to complete the finish:
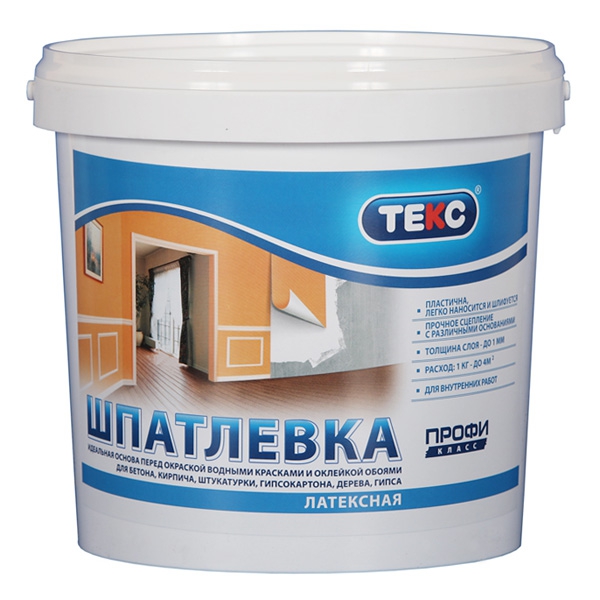
- putty for filling seams, gaps, irregularities;
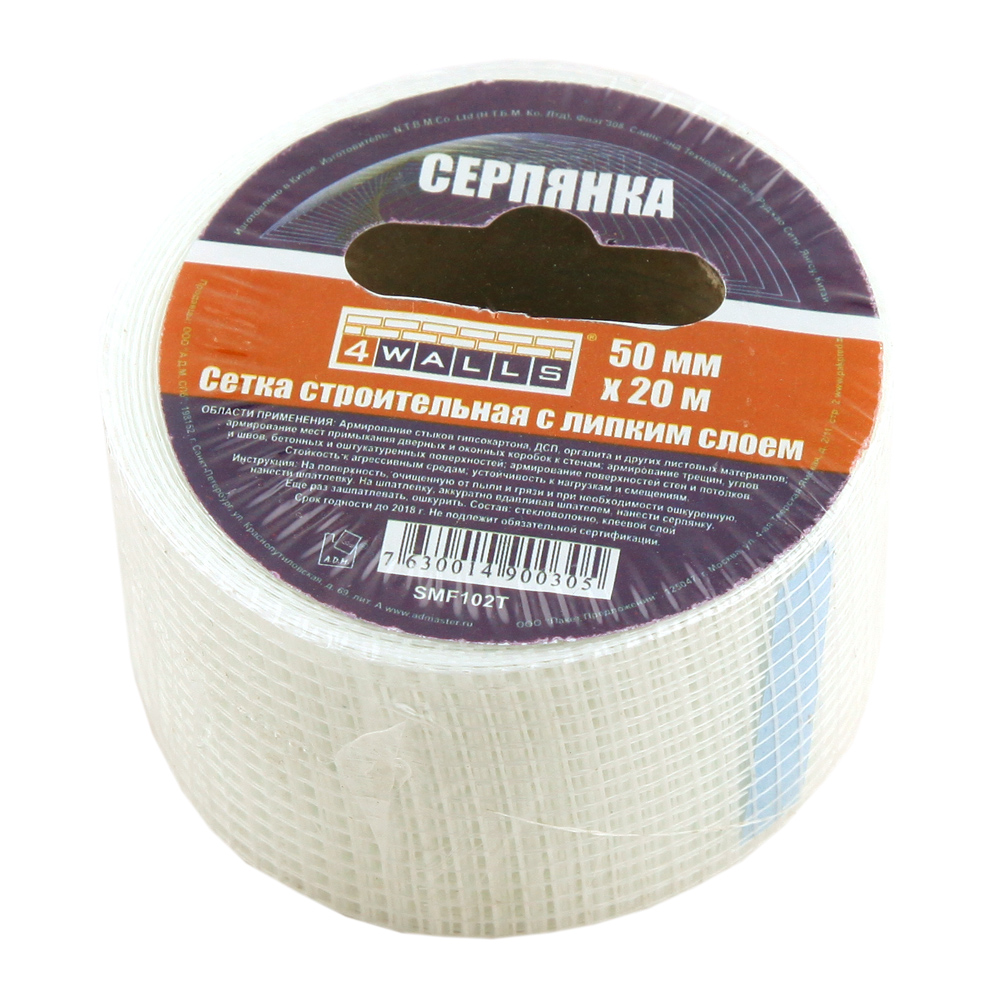
- serpyanka;
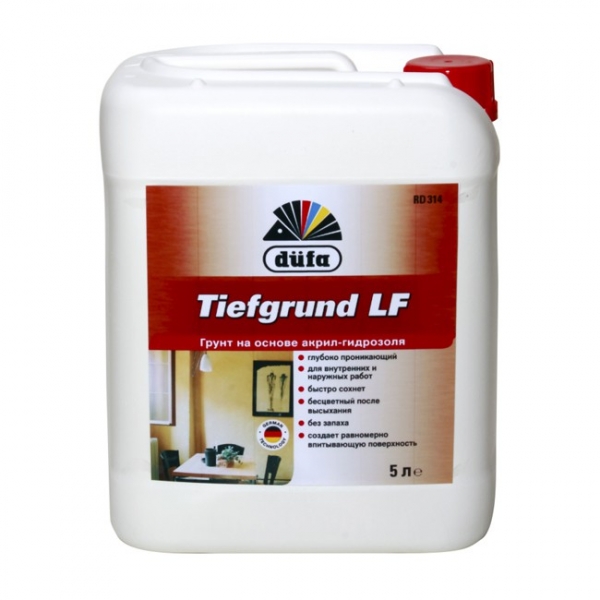
- acrylic based primer;
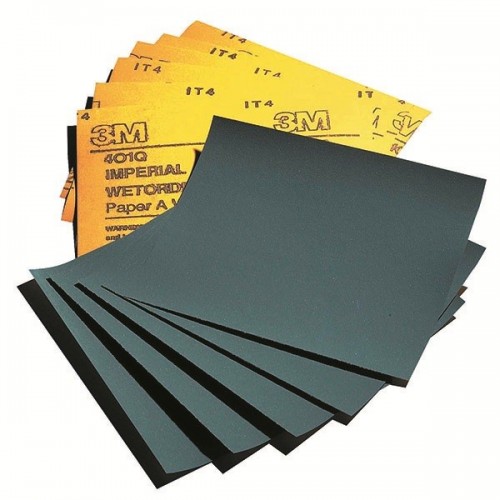
- fine sandpaper;
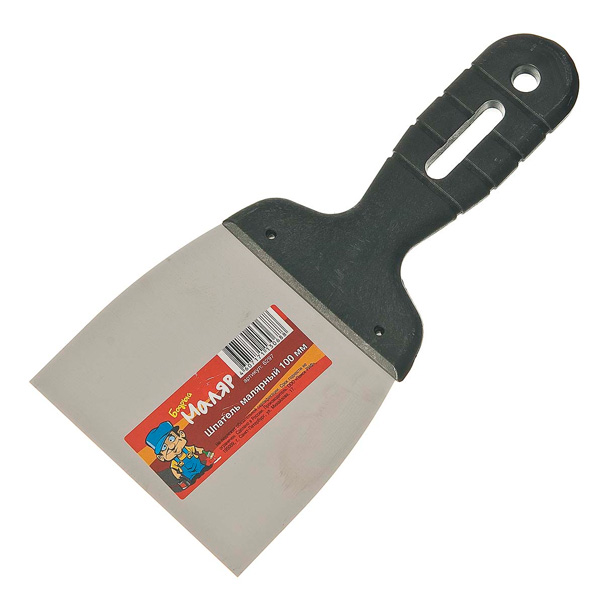
- medium spatula;
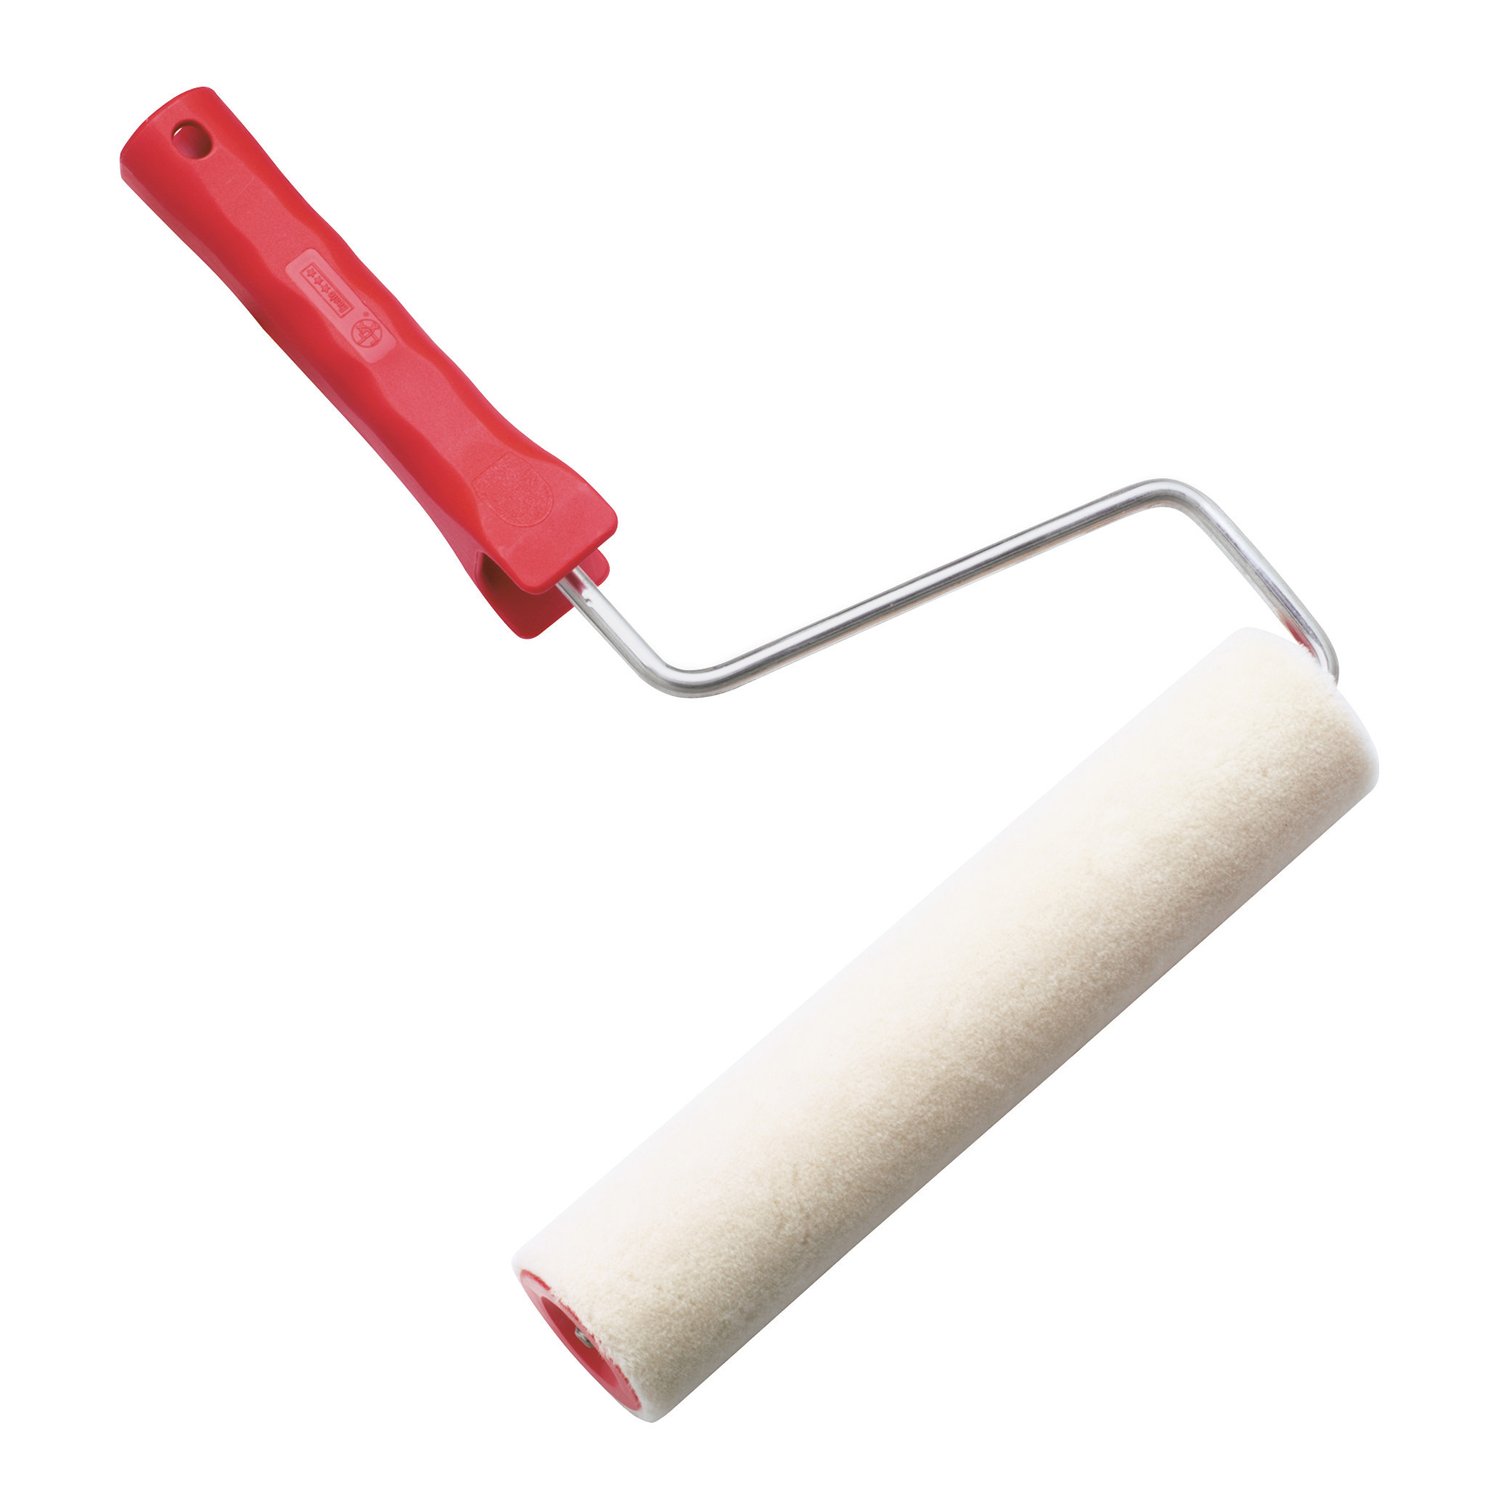
- paint brush or roller for painting;
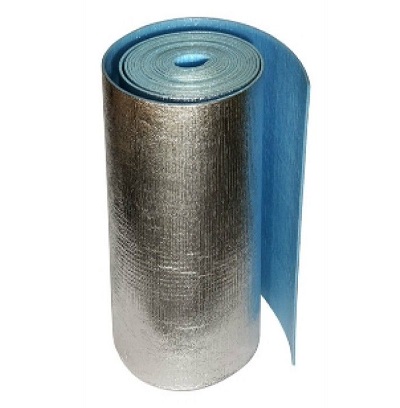
- material for sound and heat insulation;
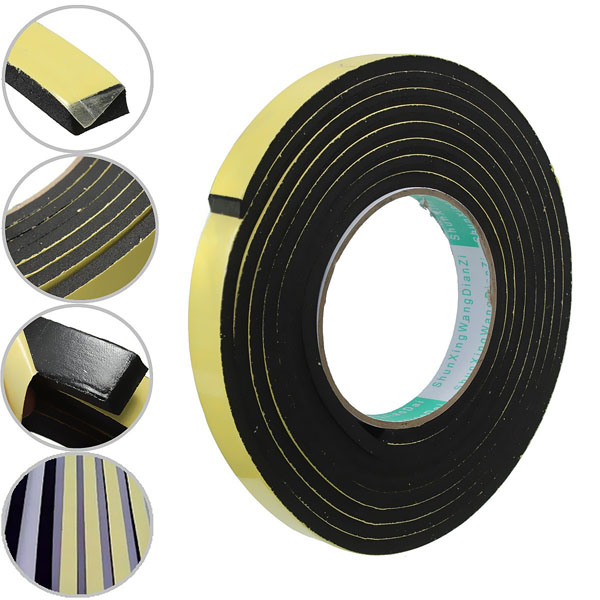
- porous sealing tape to ensure that the ceiling touches the base as tightly as possible.
Payment
The amount of materials required is influenced by the size of the ceiling area:
- The number of guides depends on the perimeter of the room, to calculate you need to know the width and length of the room.
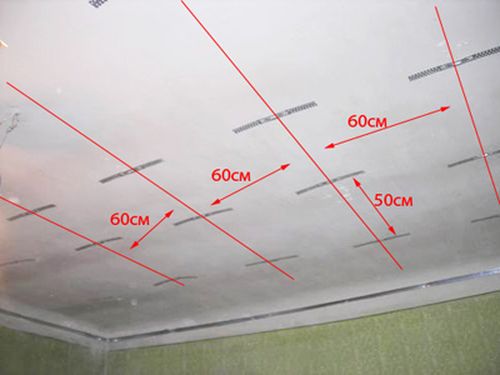
- The ceiling profile is installed along the entire length every 60 cm.
- Drywall should cover the entire ceiling area, to calculate the number of sheets, the ceiling area should be divided into 1 sheet area (about 3 sq. M).
- The number of fasteners depends on the number of connections expected.
Device design
Not a single job, all the more so complicated and responsible, takes place without preliminary planning and exact conformity of the technology. Before you start installing a suspended ceiling, you should carry out a design drawing on paper and purchase components.
The markup must be competent and accurate, so that in the future it would not be necessary to redo all the work from scratch.
To create a drawing, it is necessary to measure the length and width of the room as accurately as possible. To begin with, a horizontal line is drawn at a distance of 10-15 cm from the ceiling level. The exact height depends on the type of luminaire chosen (overhead, recessed, etc.). At this stage, you must determine the degree of curvature of your ceiling to take this into account when installing a suspended ceiling. This is a mandatory stage of work.
After calculating the height and perimeter of the ceiling, you should draw longitudinal and transverse lines along the perimeter with a step of 60 cm. You should get even squares. The suspensions will be attached on the longitudinal lines, they are marked by dots every 60 cm.
Installation
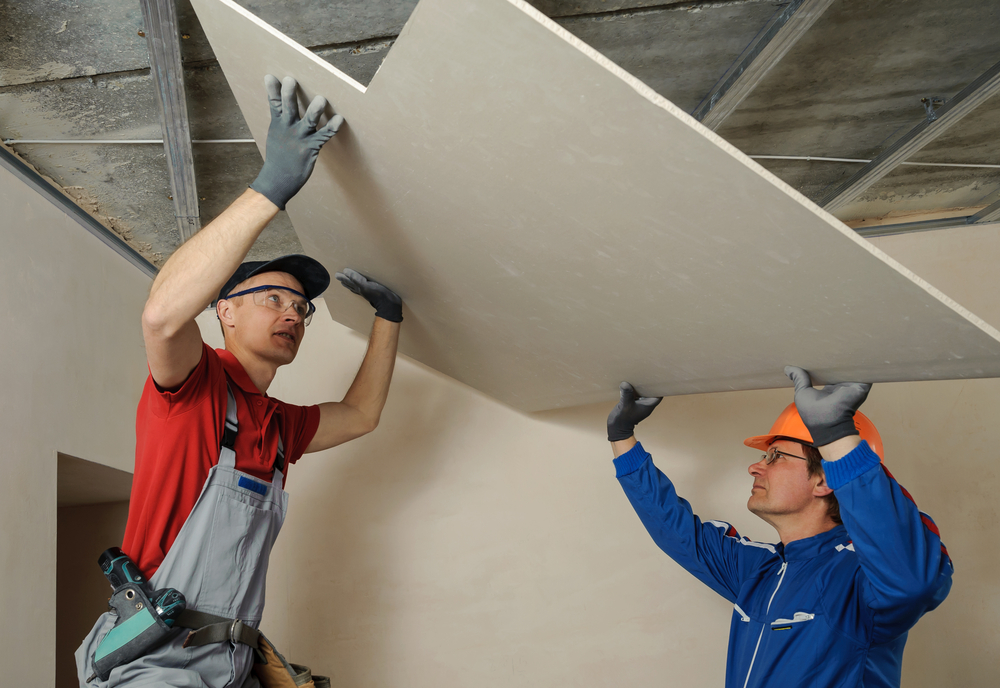
Installing a suspended ceiling with your own hands does not imply working alone.To do the job you will need one or more assistants.
It is worth starting with a simple single-level ceiling.
First stage
The first step is to prepare the room. You must remove all the excess from the room so that nothing interferes with the work. Check the walls carefully, align them if necessary. Make all the necessary communications so that you don’t have to do it after installing the ceiling.
If there are gaps in the ceiling, they need to be repaired. Make sure the ceiling surface is dry, if necessary, let the room dry out.
Marking work
Before starting the installation of the ceiling, you should think about the placement of the lighting fixtures. The level of the ceiling will depend on the type chosen. In the presence of spot lighting, the ceiling should be lowered by 3-4 mm below the height of the luminaires; for a surface source, it is required to reduce the level by 5-10 cm.
If the main ceiling was not flat, the lowest point should be determined. That it will be the countdown for the markup. If you choose any other point, then the suspended ceiling will be tilted.
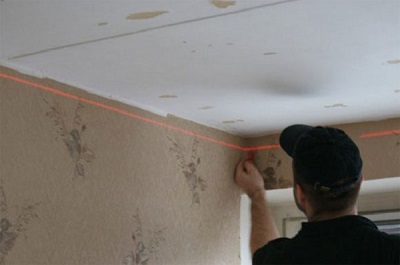
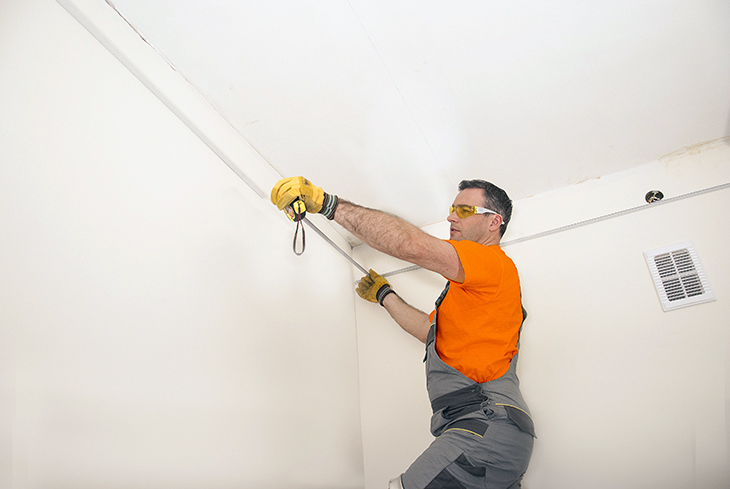
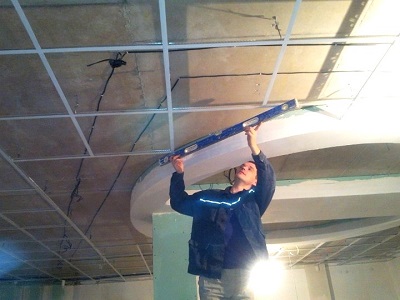
After marking, a flat horizontal line is drawn along the entire perimeter.This can be done with a rule or a long level.
Fasteners basics
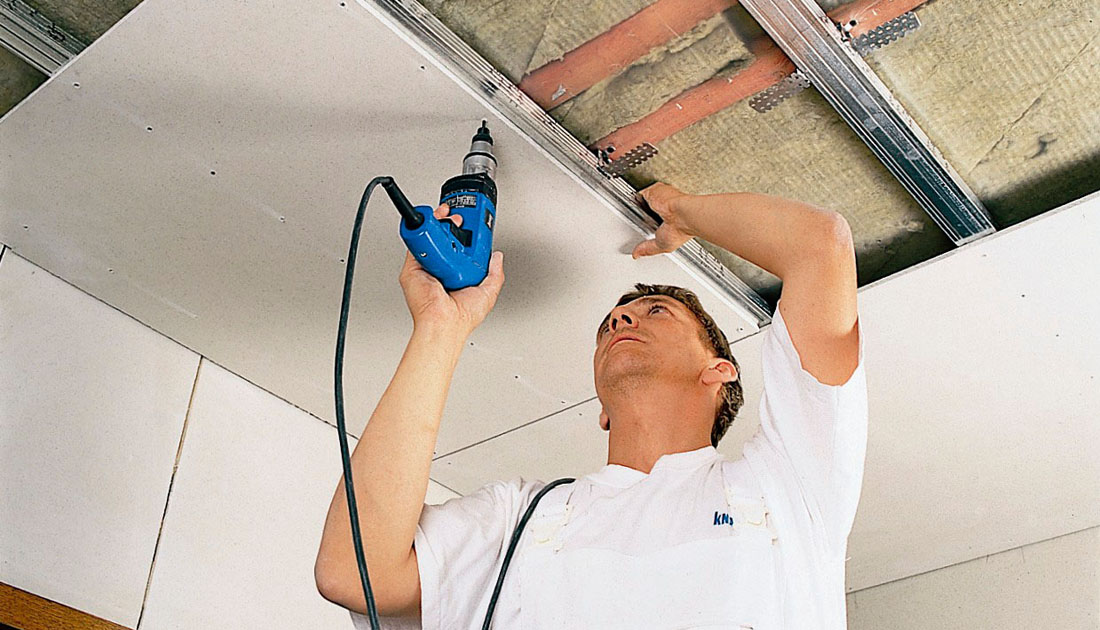
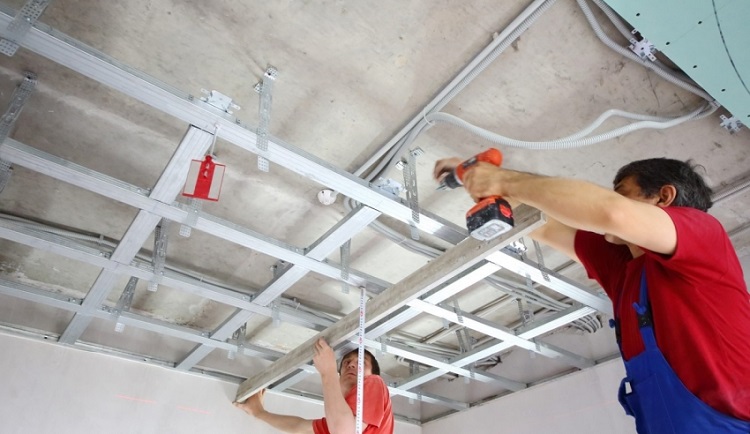
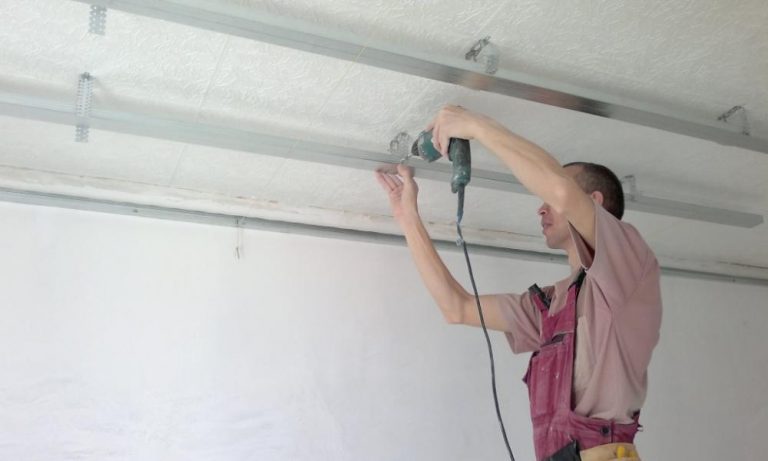
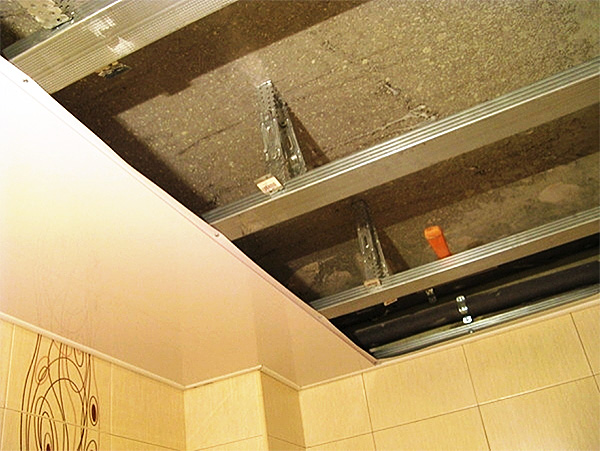
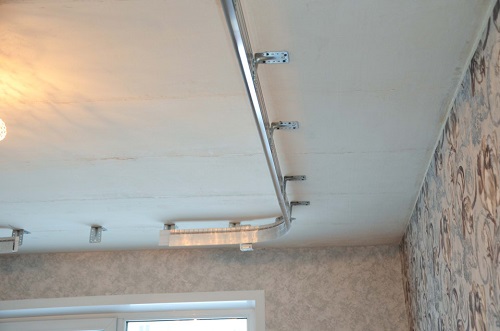
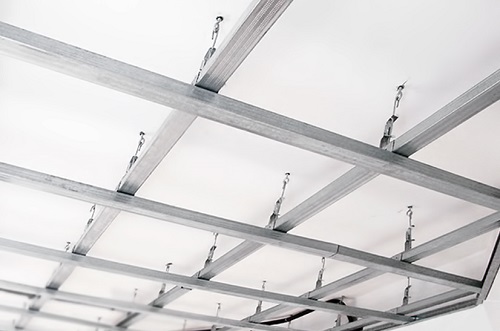
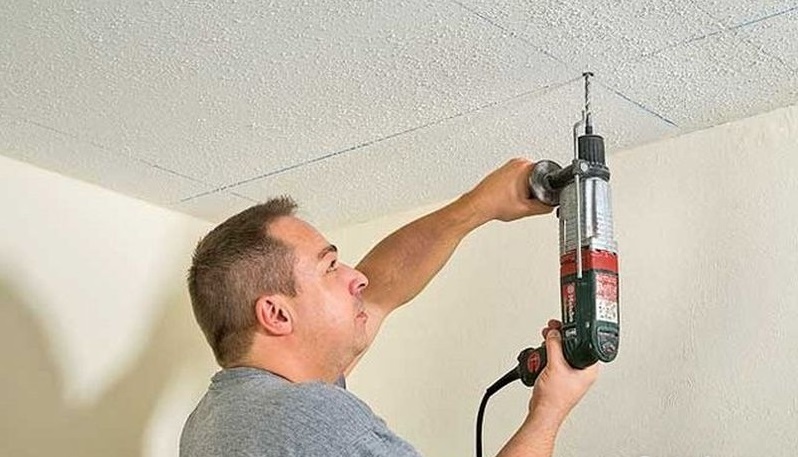
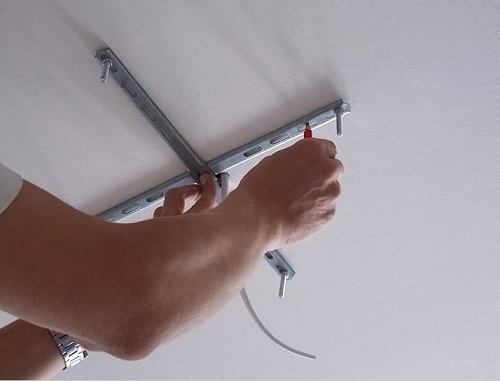
According to the markup with an interval of 35-40 cm, you need to drill holes. Then you can begin to assemble the ceiling structure. At the same time, the guide profile is applied first, plastic dowels are inserted into the drilled holes. Screws are screwed into the dowel, preferably for wood.
Please note that the strength of the suspended ceiling is directly related to the quality of fasteners, so you need to drill deep enough holes. The depth to be drilled is usually from 40 to 80 mm.
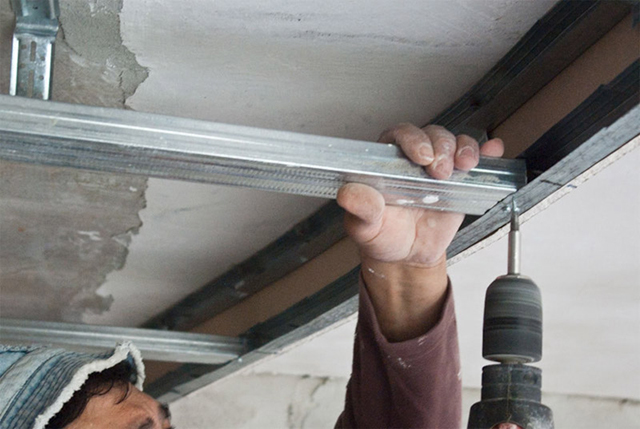
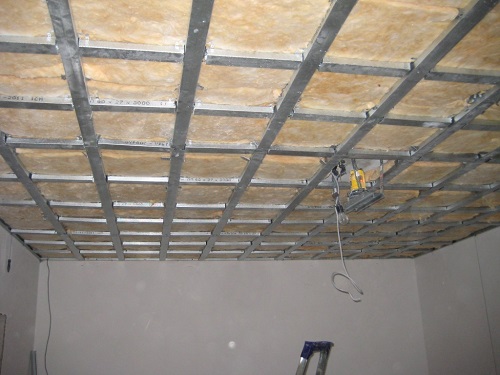
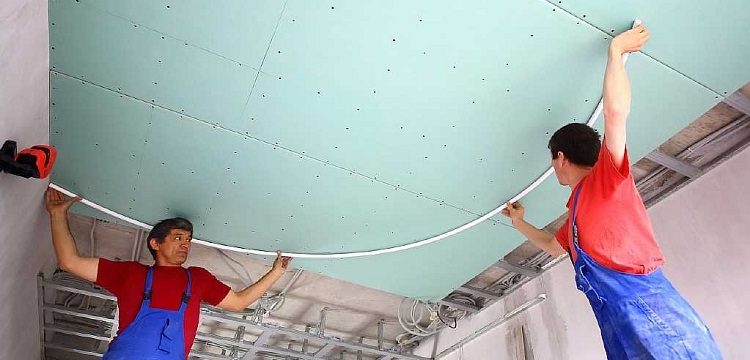
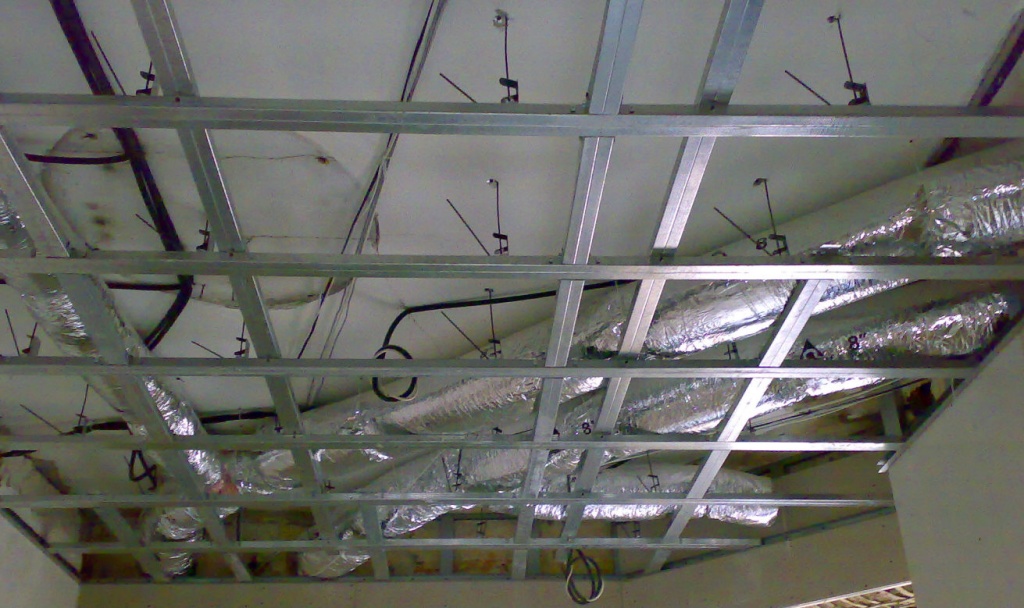
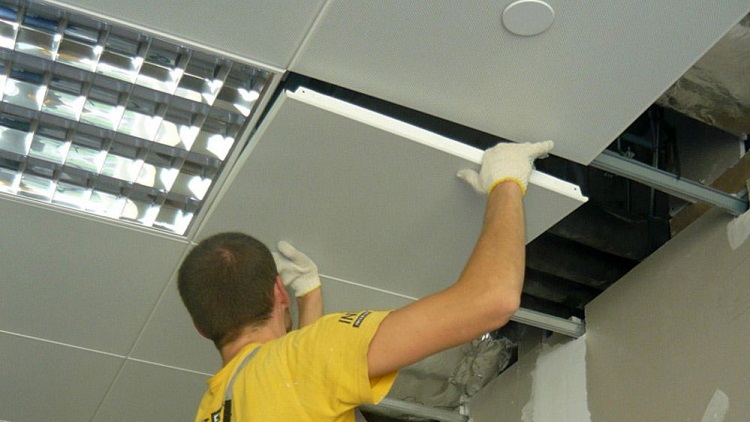
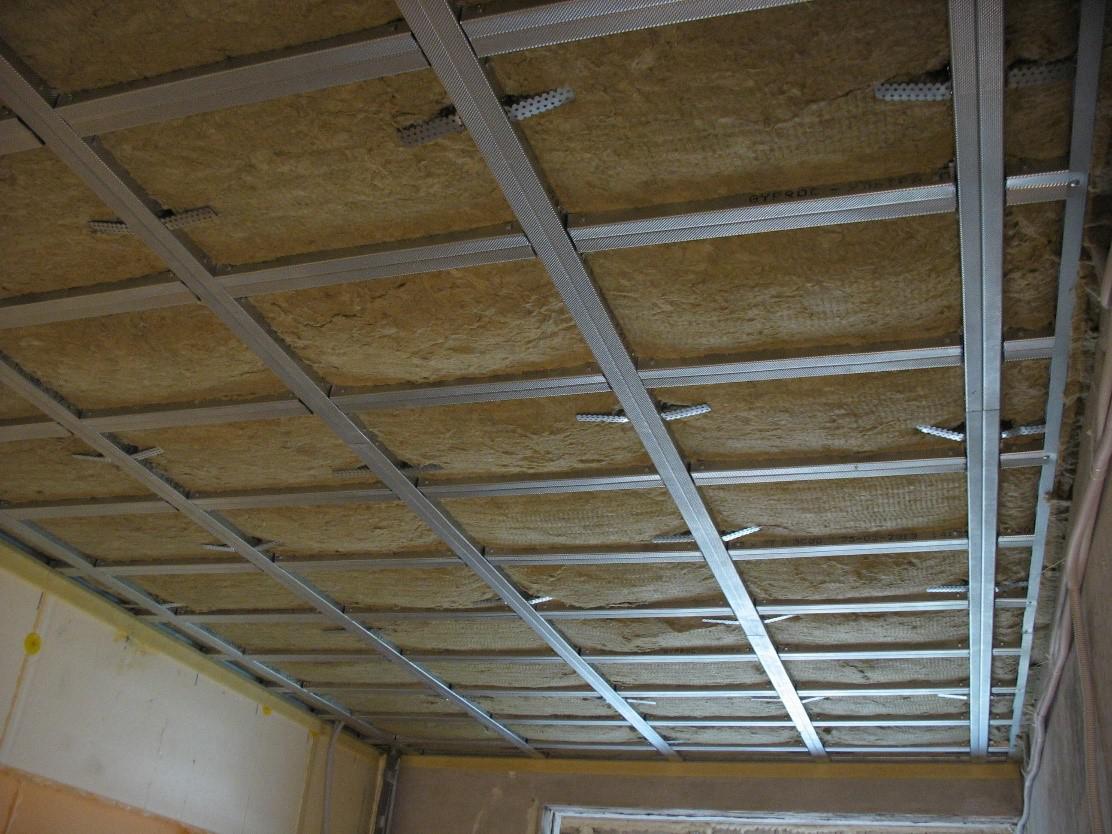
After the installation of the guide profiles is completed, the rack-mount (ceiling) profiles should be installed along the entire length and width of the ceiling part. They are placed every 60 cm, their ends should be on the side guide profiles. It should be noted that for simplicity and durability of the base, the length of the rack profiles should not exceed 2.5 m. In general, their length should correspond to the width of the room minus 1 cm due to the lateral guide profiles.
Rack-mount profiles are inserted into the center of the risok-marks, then they are fastened with screws with a press washer to fix the mount.Suspensions are used every 40 cm to avoid sagging the ceiling, they ensure the reliability and rigidity of the structure.
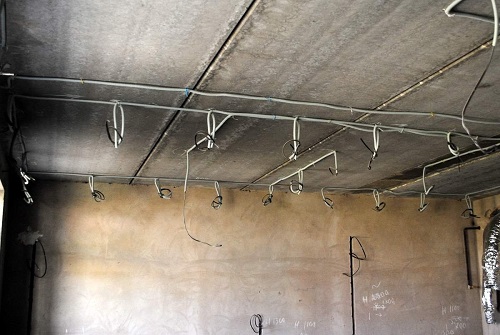
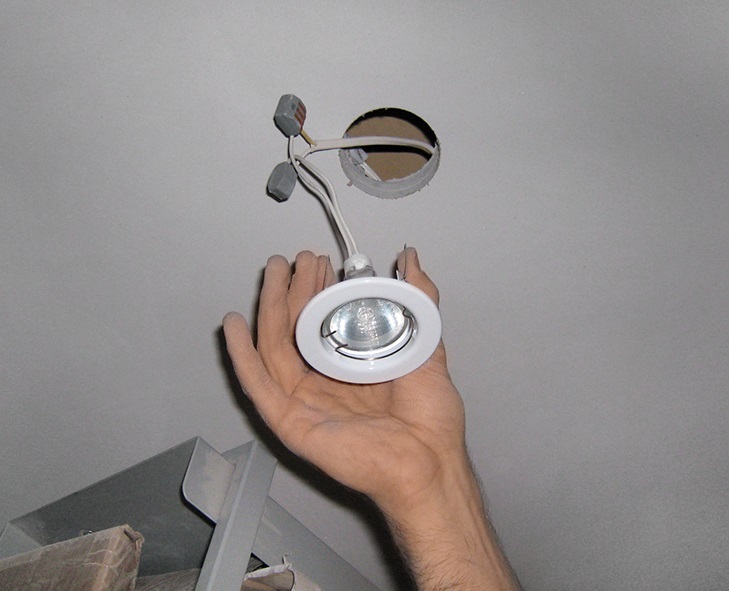
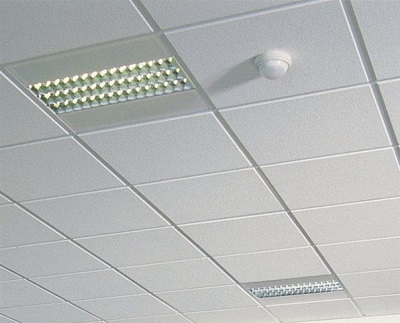
Laying wiring, preparing the installation of the chandelier
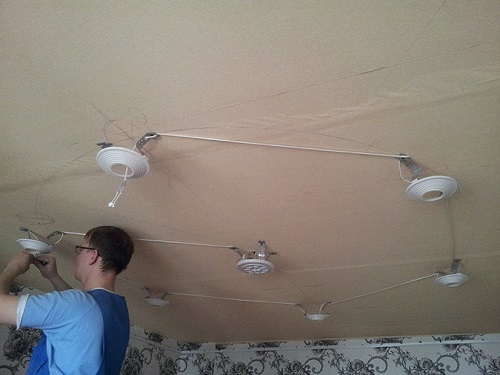
Preparation for the installation of lighting fixtures depends on their type. If you chose a spotlight, you will need to drill holes in the right places in drywall. Please note that the hole should not fall into the profile. If you plan to install a chandelier, you will need additional fasteners to the ceiling or to the ceiling base.
In order to avoid sagging, additional suspensions and fixtures in the place of installation of the chandelier are needed.
All wiring must be hidden in a corrugated PVC.
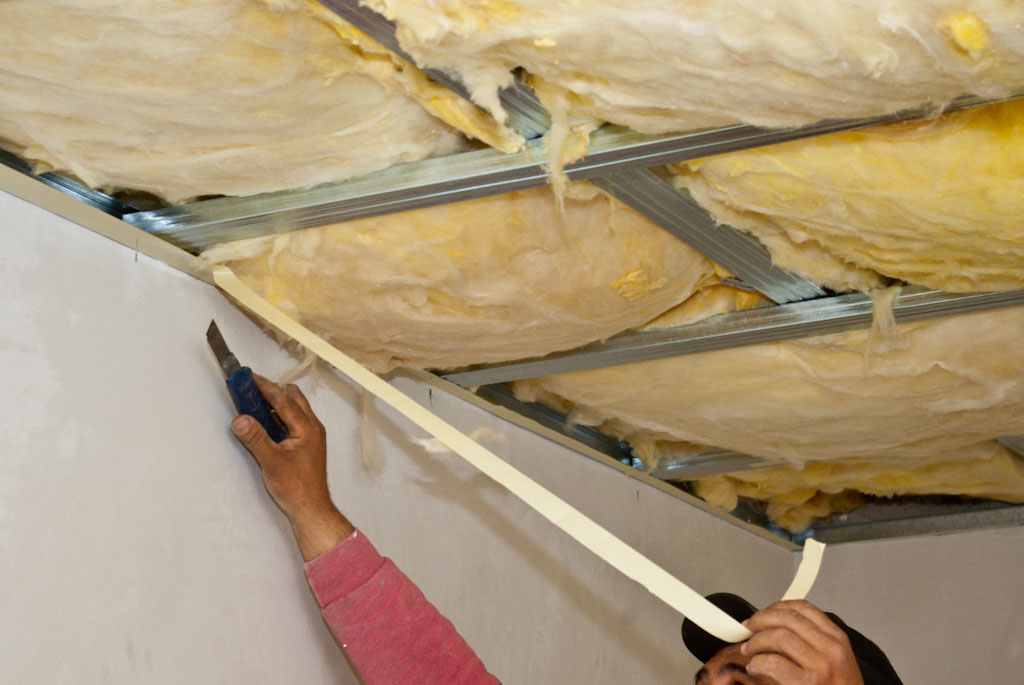
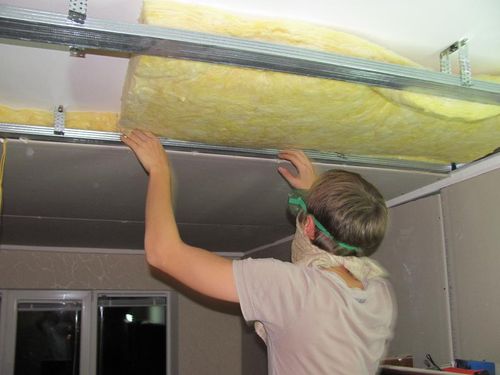
Laying insulation
If you want to increase sound insulation and insulate the ceiling, you will need to lay insulation over the frame. Insulation is attached to the main ceiling with the help of dowels with a mushroom-shaped cap.
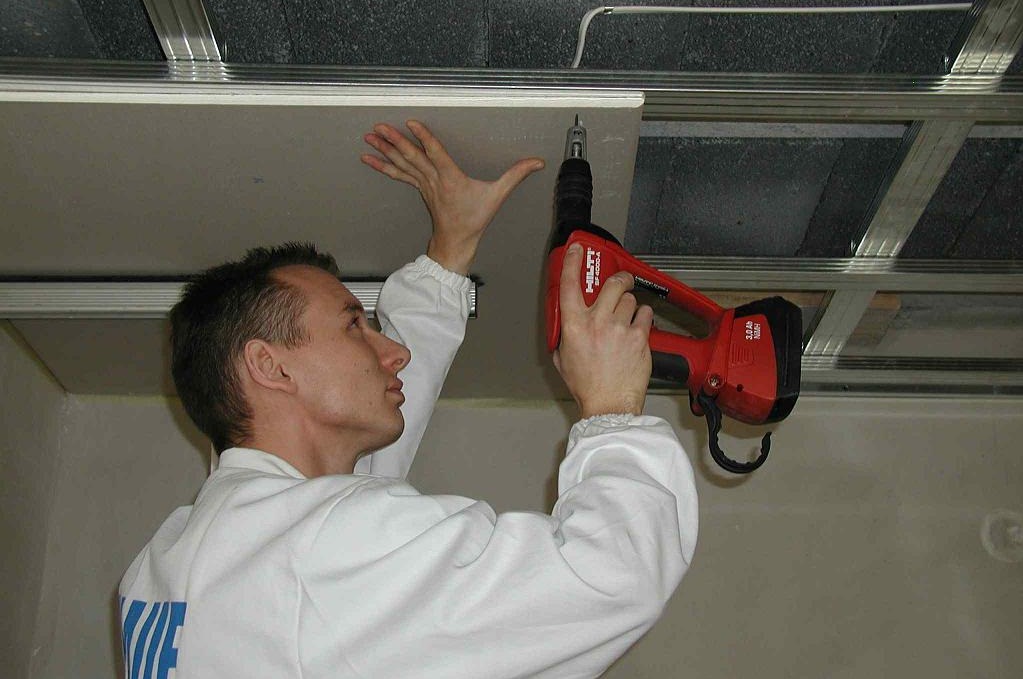
Drywall fasteners
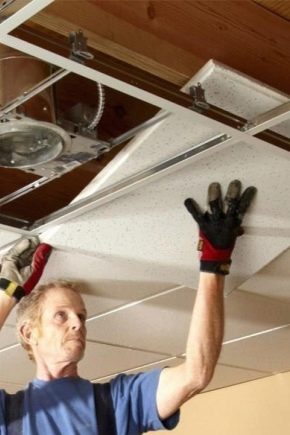
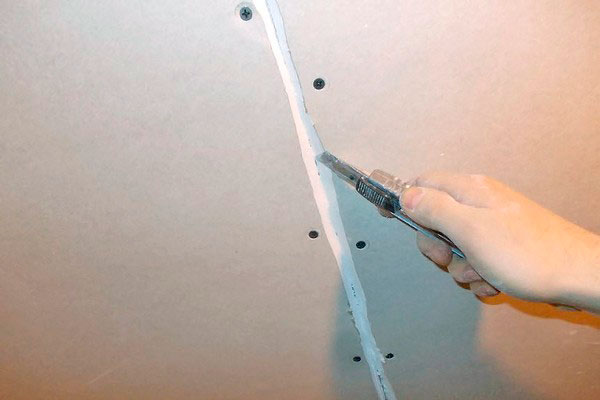
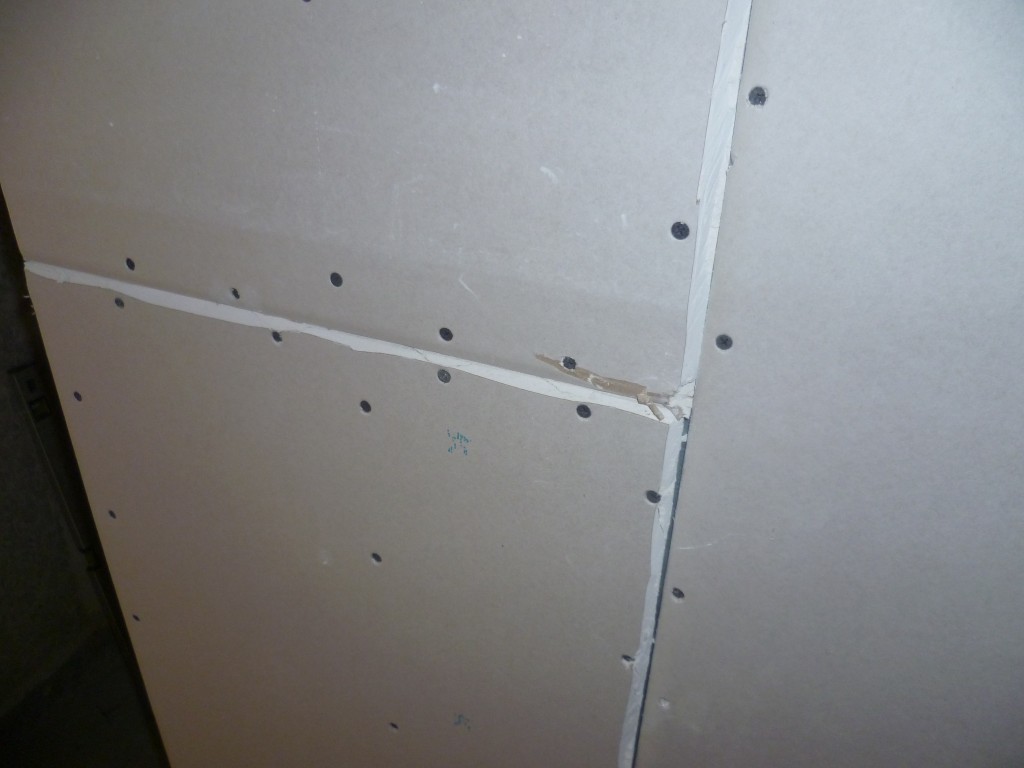
Before you start fixing, you need to cut panels from plasterboard to cover the ceiling area, for this you must strictly follow the step by step instructions. First of all, marked by a pencil line, then cut with a construction knife along marked lines.
Drywall fastened with screws to the profile, the distance between the screws - 20-30 cm, this indent must be. The edges of two sheets can be assembled closely, or leave a small gap between them (up to 5 mm). The heads of the screws should be drowned in the sheet by 1-2 mm, then they are covered with a putty.
Then they can be hidden in bead, cover with curtains, etc. If the heads remain uncovered, then over time they will rust and damage the aesthetic appearance of the ceiling. All the cracks are filled with putty, and at the joints serpyanka glues with the help of "Perlfix".
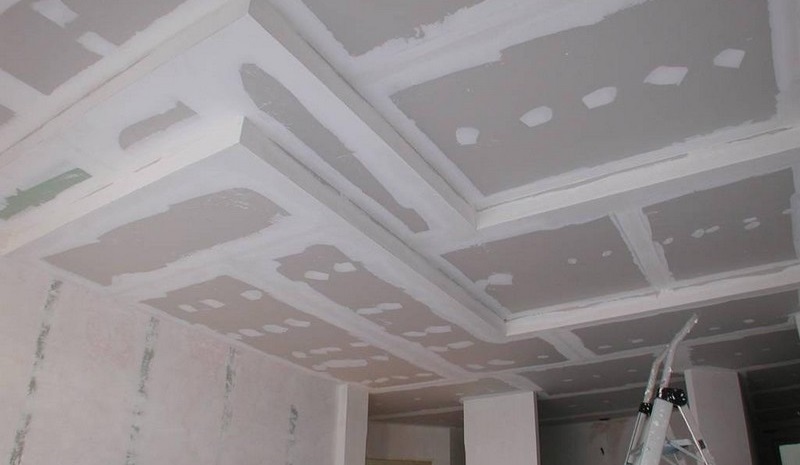
As you can see, it is not at all difficult to assemble a hinged ceiling with your own hands, if the assembly occurs in strict accordance with our recommendations.
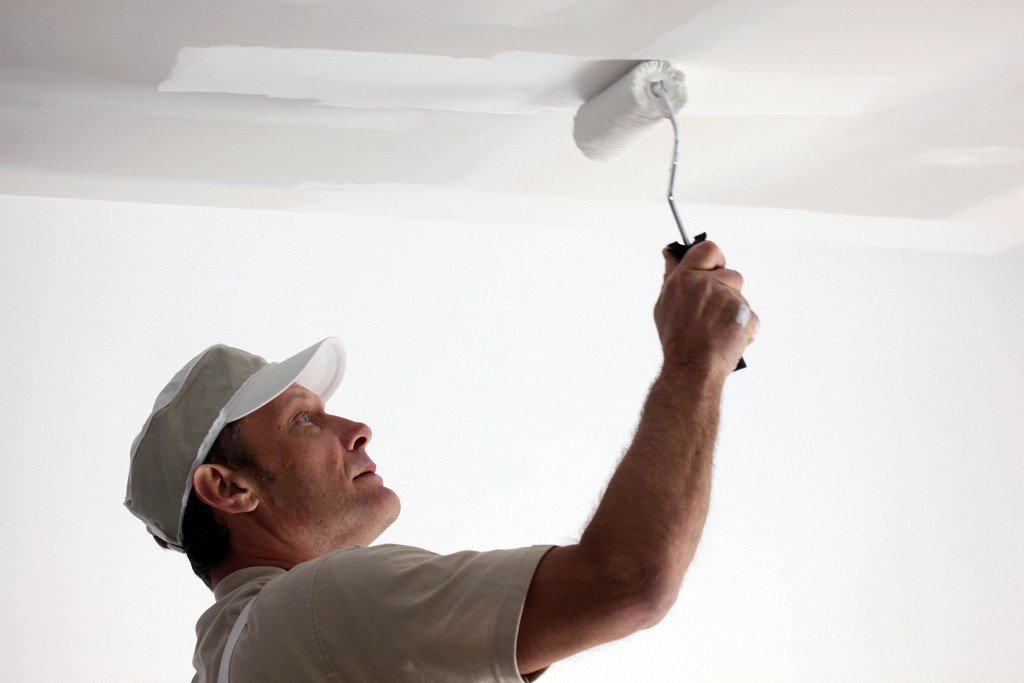
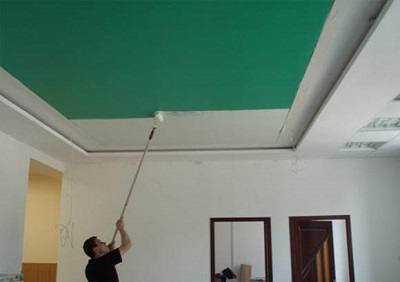
Decorative work
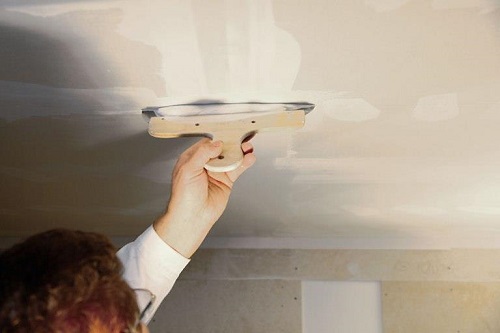
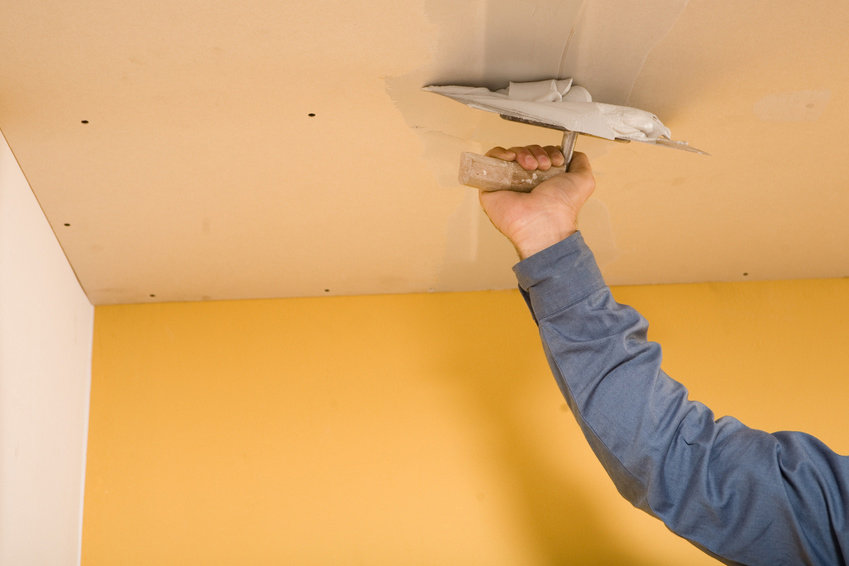
After the installation of the suspended ceiling is completed, the next phase begins - decorative trim. Now it can be pasted over with wallpaper, painted, covered with panels of plastic, wood, etc. As in the previous stage of work, you can do the necessary finishing with your own hands to give the surface absolute flatness and smoothness. Despite what material is chosen for the finishing coating, you need to carefully remove the seams formed at the joints of the drywall sheets.
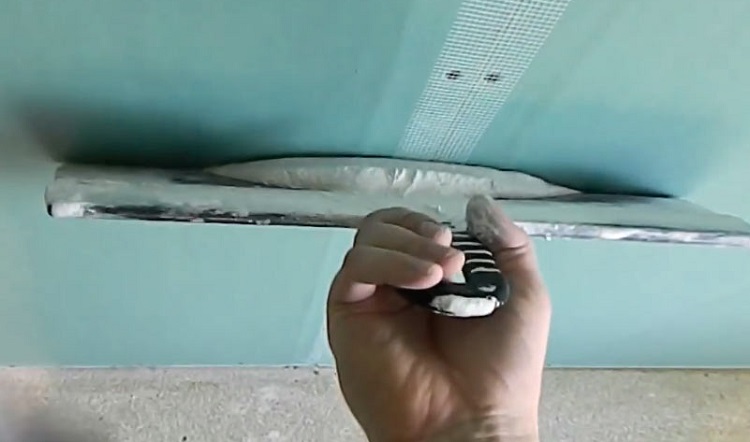
To do this, use a primer. The primer is applied to the butt joints, then you need to wait until it is completely dry. After that, with the help of putty, the surface is leveled, any seams, joints, and pits from the self-tapping screws are completely filled. After the complete curing of the putty, the serpyank is treated, it is needed for more durable gluing of problem areas.
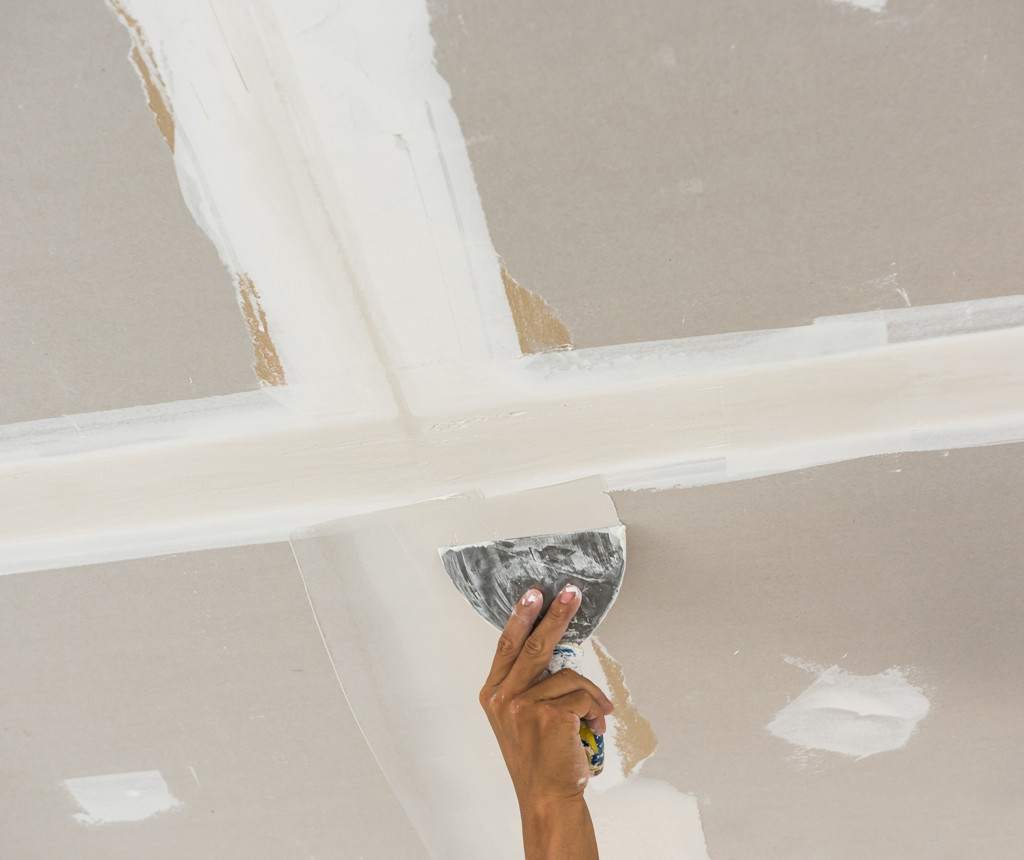
Serpyanka tape, due to the porosity of the surface, improves the quality of drying of a further layer of putty. The areas on which the serpyanka has been glued are again plastered with putty after the material has dried.
Sometimes when performing installation work, problems may arise due to damage to parts of the drywall, for example, a gap appeared in some place in the upper paper layer. This hole should be sealed so as not to spoil the aesthetic appearance of the finished coating. In the place of problematic irregularities, a serpyanka can be stuck, after which it dries to give the surface an even look with putty.
At the stage of installation of gypsum sheets, the places of the seams should be left rounded. The drywall manufacturers thought this out, so the edges of the sheets are rounded. It is much easier to seal the seams, which are round holes, and not the ditches due to a more convenient filling with putty.After sizing serpyanka and putty putty should not appear irregularities on the surface, their level should strictly correspond to the level of drywall, the edges of which are narrowed in thickness for the treatment of seams with finishing materials.
Special attention should be paid to the seams formed at the joints of sheets of drywall, cut by you when working. The ends of such sheets will have the usual thickness, if a serpyanka is glued without special treatment, then a small tubercle will appear at the site of the seam. To avoid this situation, chamfer should be removed from the end of the sheet.
In other words, you need to strip a sheet of drywall at an angle of 45 degrees in those places where it had to be cut to the dimensions of the ceiling. To do this, you can use a construction knife or a special plane. Then on the place of the joints there will appear small depressions, which can be easily filled with serpyanka, putty up to the level of drywall. After drying of the draft layer can be applied to the final putty.
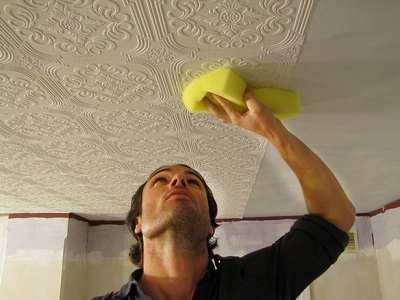
Preparation for the next stage is completed, you can proceed to the decoration. Now you can do the painting of the surface, pasting it with wallpaper, facing decorative tiles, panels.
Manufacturers
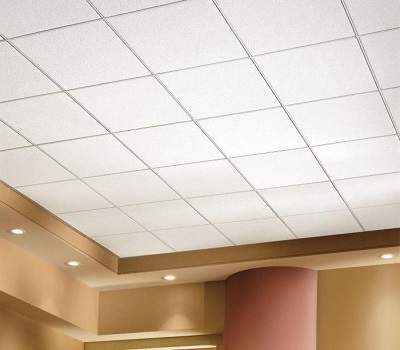
To date, many companies are engaged in the production of materials for the creation of suspended ceilings. One of the leading manufacturers of ceiling tiles are Armstrong, Selotex, Saint-Gobain, Cesal, Albes. Products of different companies are characterized by different properties.
Armstrong, Celotex, Saint-Gobain ceiling plates are made using mineral fiber and cellulose, therefore they are quite durable. But such ceilings can be deformed after impact, they need to be installed very carefully. Materials for the ceiling of "Saint-Gobain" softer, they are quite resistant to external influences. Soft ceilings are easier to transport and install, they are not prone to deformation.
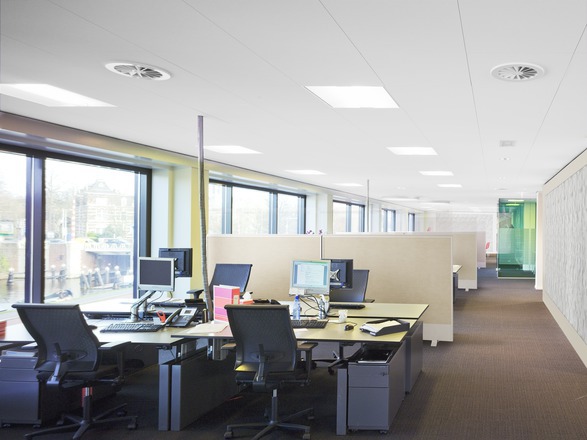
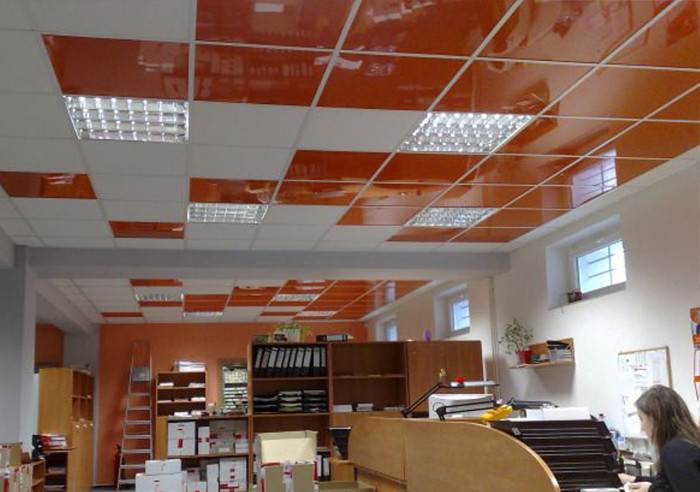
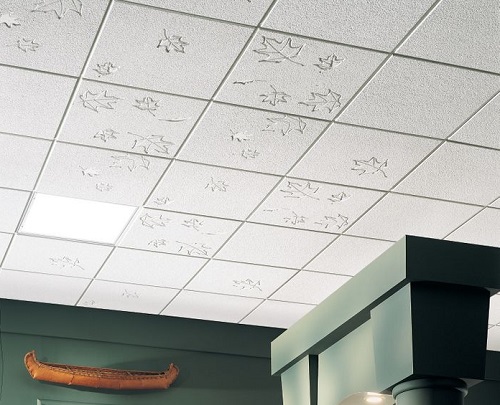
The color range and texture of materials varies widely, companies present a large assortment so that everyone can choose the best option for decorating their premises. The white color is considered to be the classic version; it is often used to decorate office ceilings.
Manufacturing companies produce ceiling plates with curly elements, roughness. Such ceilings can be favorably emphasized using the correct lighting.Statistics show that most buyers choose the classic white color, so the main part of the manufacturers produces white materials.
It should be noted that such surfaces can be painted, giving them other shades.

Trying to meet the needs of all customers, manufacturers produce different groups of materials that differ in function, quality and price. Large companies divide products into groups, giving recommendations on the area of destination.
For example, the well-known company Armstrong produces suspended ceiling materials of four main areas, each of which has an additional classification (according to smoothness, color, pattern type, etc.).
Their products are divided into the following categories:
- "Basis";
- Prima;
- "Functional";
- "Exclusive / Designer".
Each of these groups has its own characteristics. Group "Basis" is considered the cheapest and easiest. These ceilings are made of simple materials, they are not water resistant. Such plates should not be hung in rooms with high humidity to avoid the formation of swelling on the ceiling, sagging.
Prima Group is designed for the climate of Central and Eastern Europe.These products tolerate high humidity, retaining their original shape. They are a bit more expensive than the base ones, yet they are in great demand.
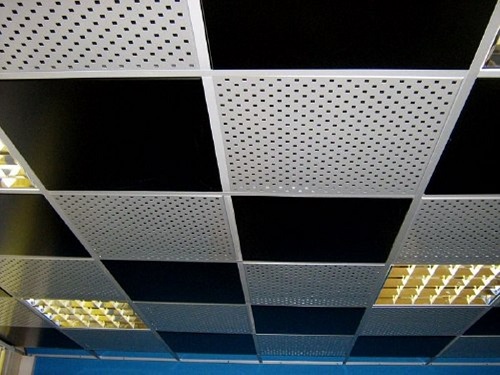
The group "Functional ceilings" is designed for installation in places with certain conditions, they have additional properties. For example, improved sound insulation properties due to the presence of microperforation or looseness of the structure. Special hygienic ceilings are also available, which can be mounted in hospitals and child care facilities. Such models are characterized by the presence of a special vinyl film, which kills bacteria well.
Functional also includes models with high moisture resistance, capable of absorbing moisture, while not losing properties. Naturally, such materials are significantly more expensive than conventional ones.
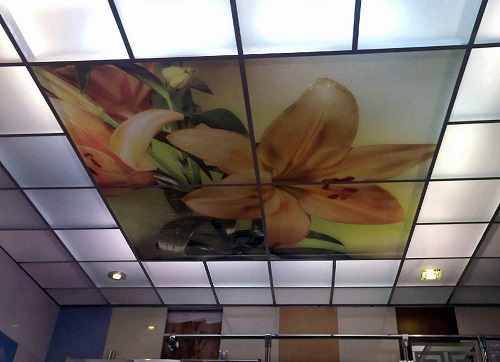
The group "Designer" is an elite model developed by designers. They are of high quality and unique appearance.
Tips and tricks
Installing a suspended ceiling covering and its decoration do not require certain skills, it can be done by anyone.These procedures are characterized by medium complexity, when performing work important accuracy and accuracy.
If you follow a few tips and recommendations, you can significantly simplify the work and spend the minimum amount of time creating and installing the ceiling:
- Choose quality materials. It is better to pay a little more expensive than soon again to get to work. Do not forget that this design refers to a durable, well-made ceiling can last for many years without reconstructions. It does not have to be cleaned every month.
- Catching up with the amount of materials, you can use special programs on the Internet. You will significantly reduce the time to count using correctly measured ceiling length and width.

- Before installation, be sure to sketch out the exact layout.
- Go to the preparation stage seriously so that you do not have to interrupt the process of searching for materials or repeated measurements. As they say, measure seven times - cut one.
- Do not rush to install drywall, let it lie horizontally for a while.
- To ensure sound insulation should use mineral wool.
- To prevent the loss of the properties of drywall should work with him in dry areas.
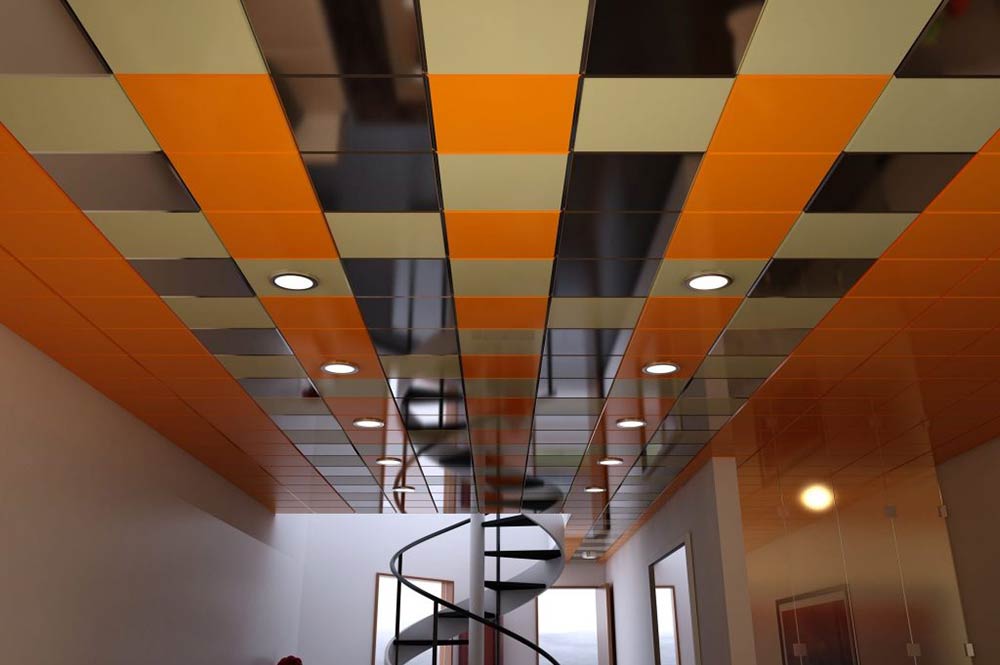
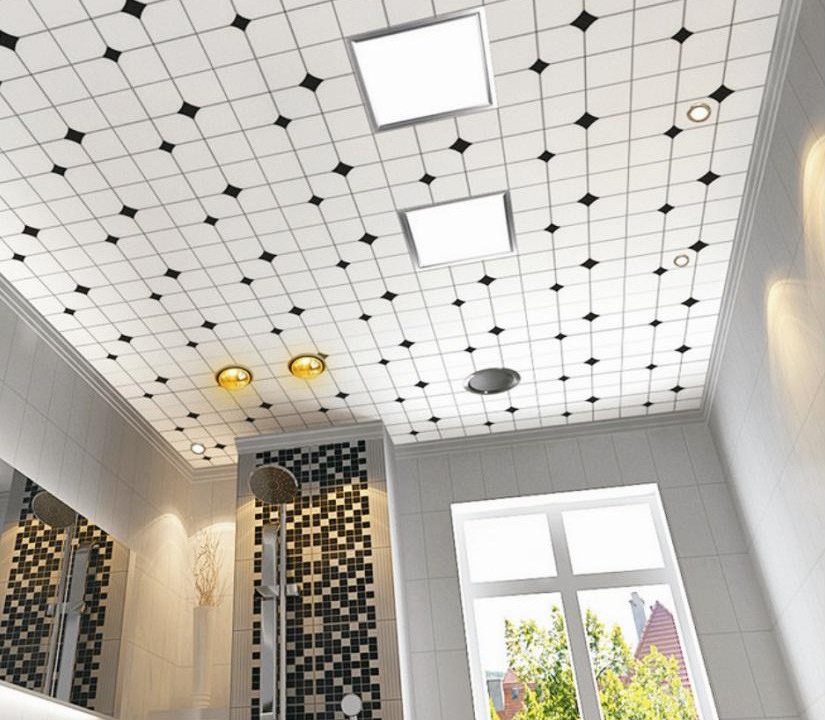
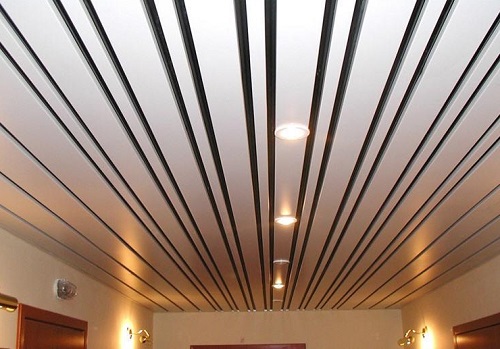
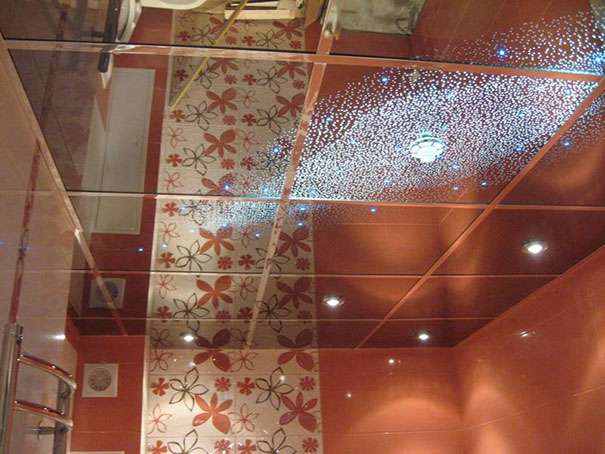
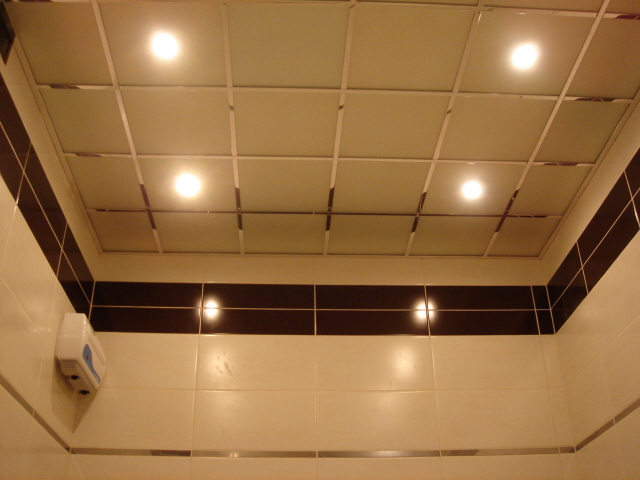
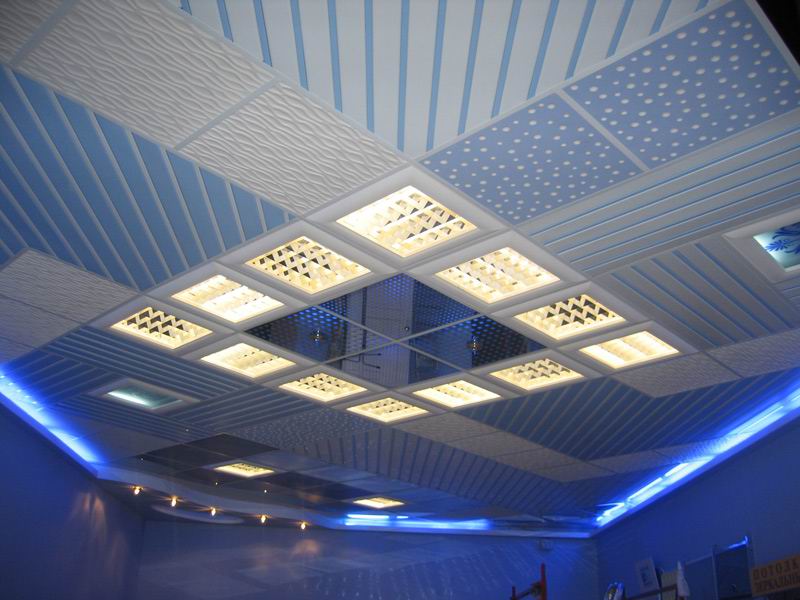
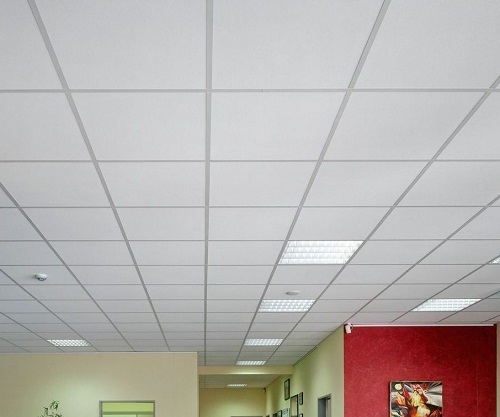
Beautiful examples in the interior
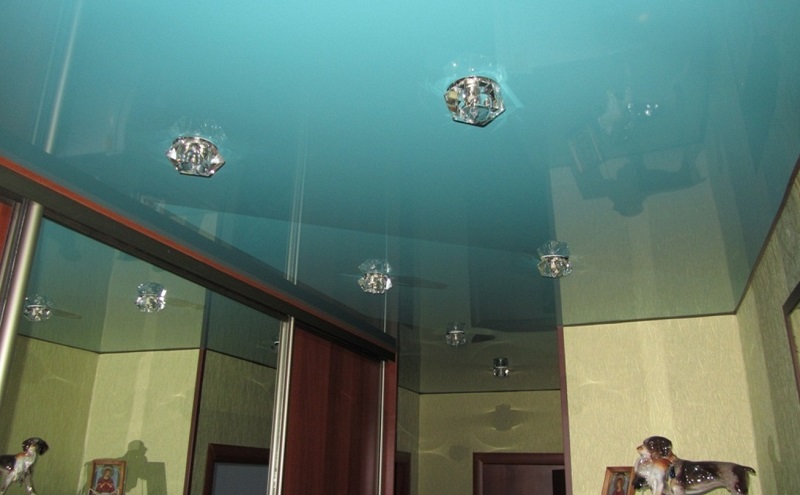
Glossy stretch ceiling looks very stylish. It adds room shine and chic.
Satin ceiling coverings are distinguished by their originality. Come up with a fun design and start to make it happen.
Multi-level suspended ceiling has long been a leader. You can create different designs with your own hands.
You can find out how to install the Armstrong suspended ceiling from the video below.


