How to properly restore the bath liquid acrylic?
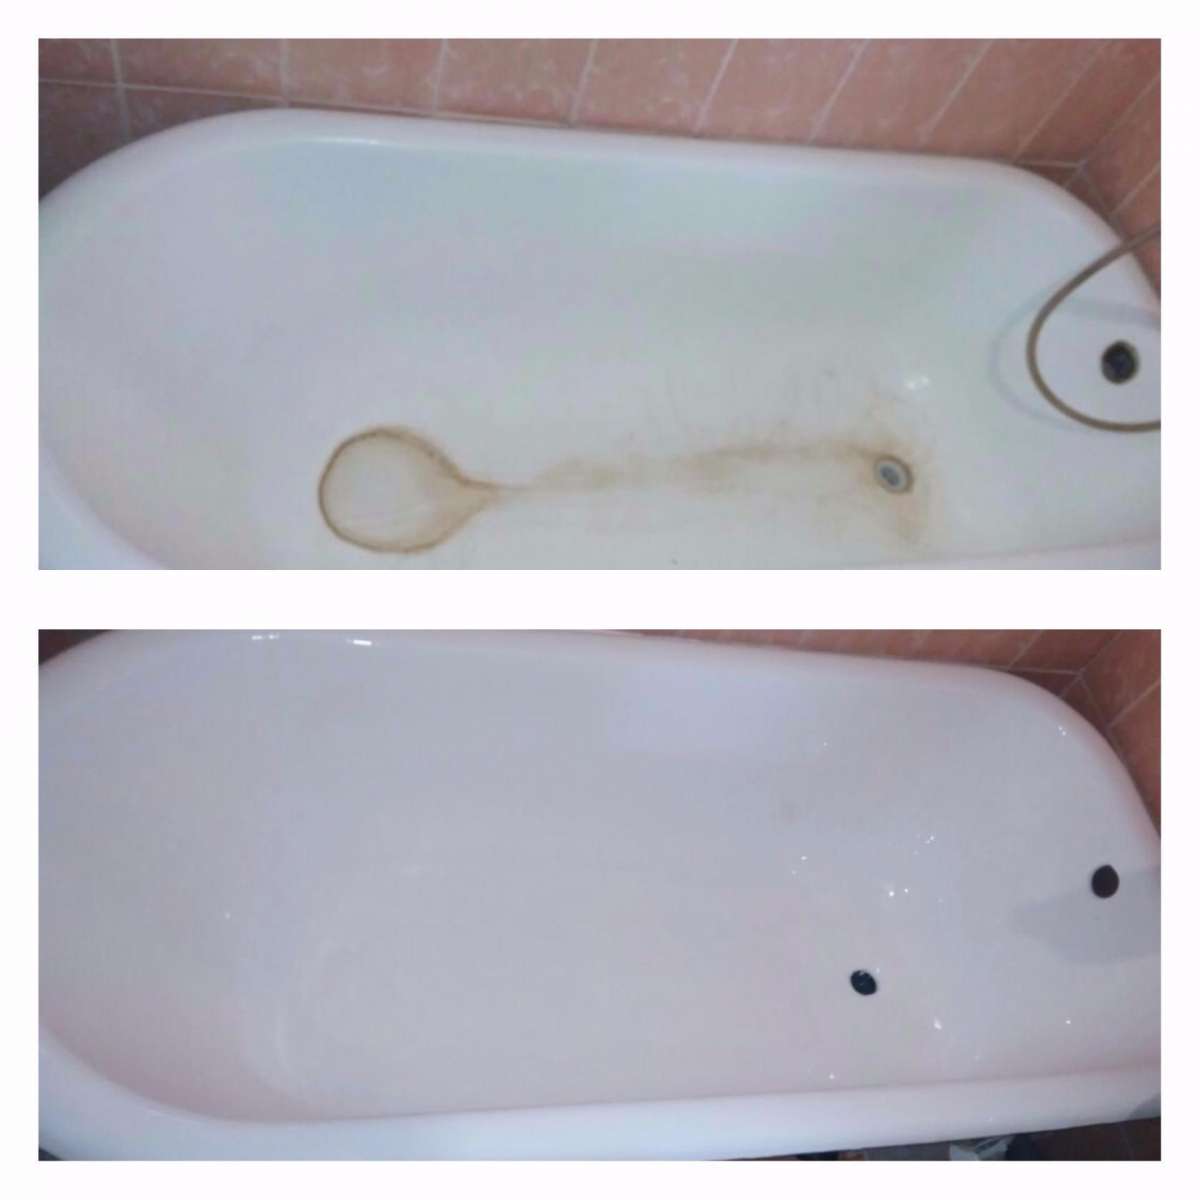
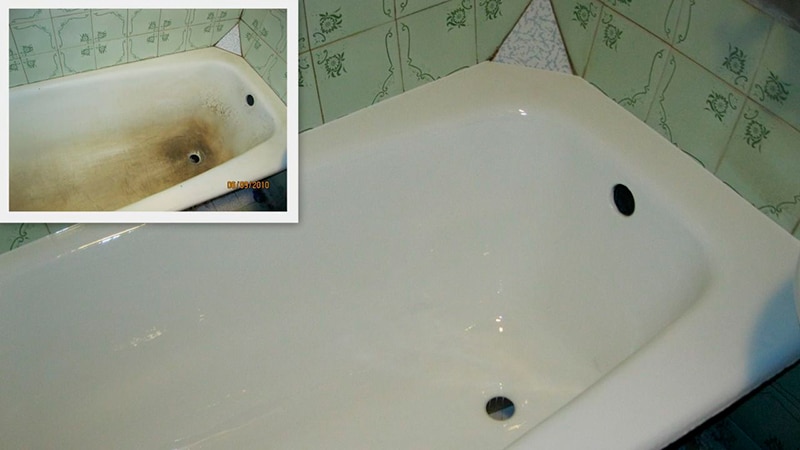
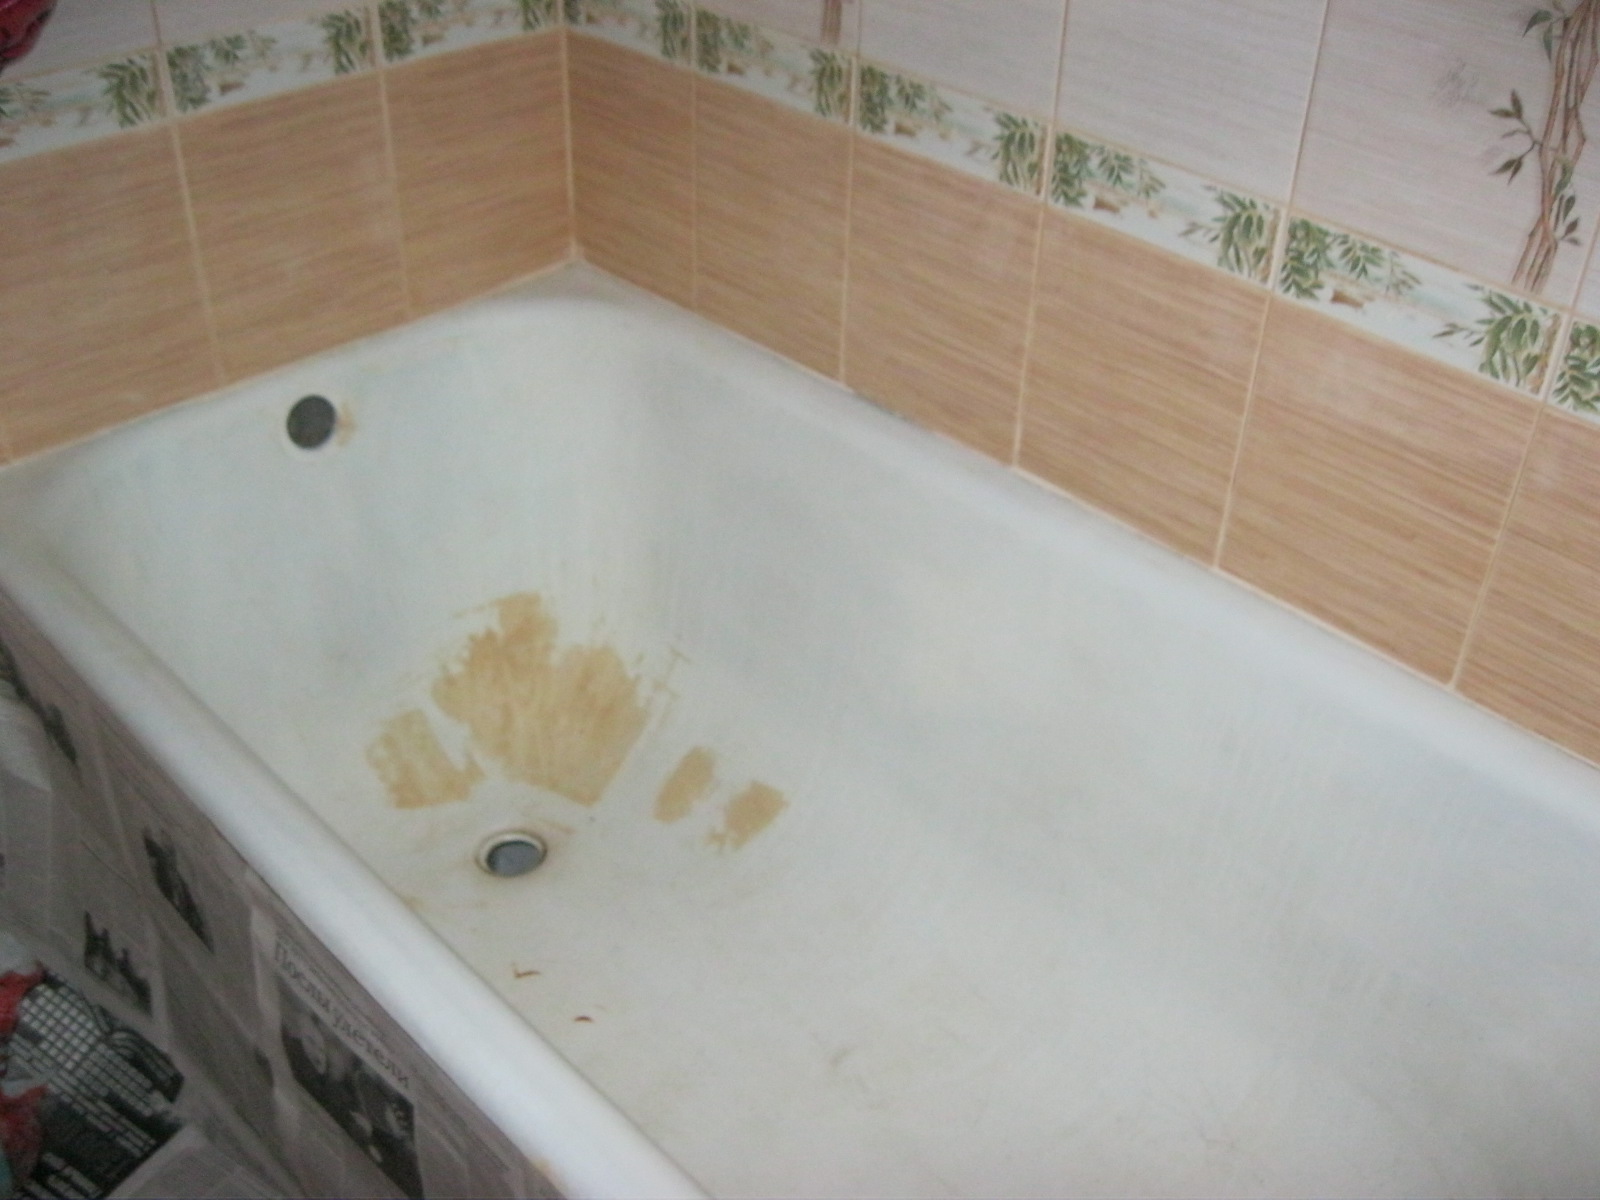
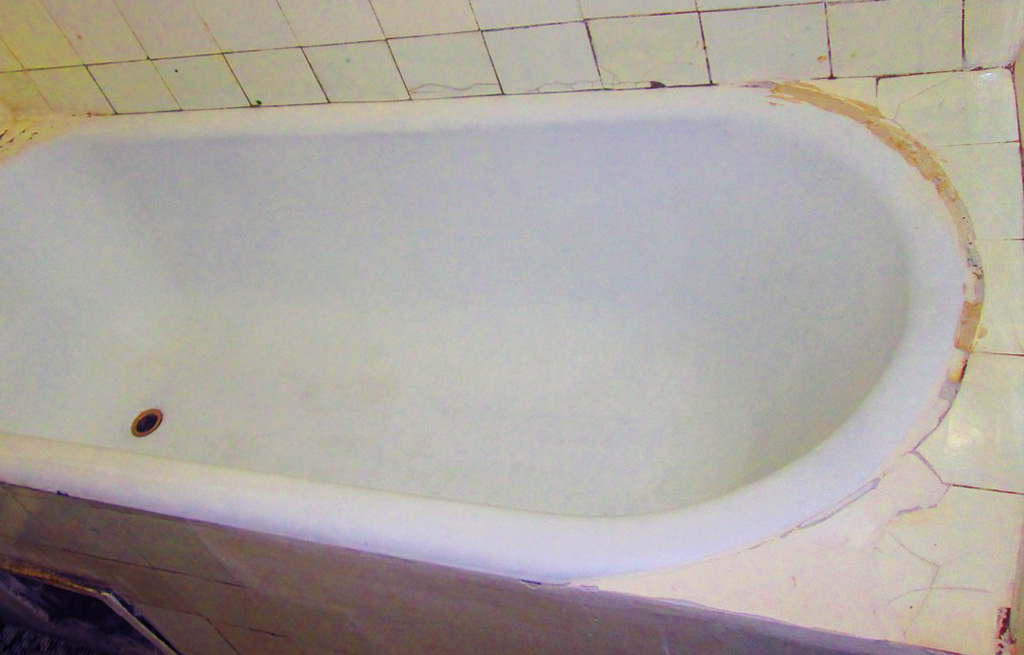
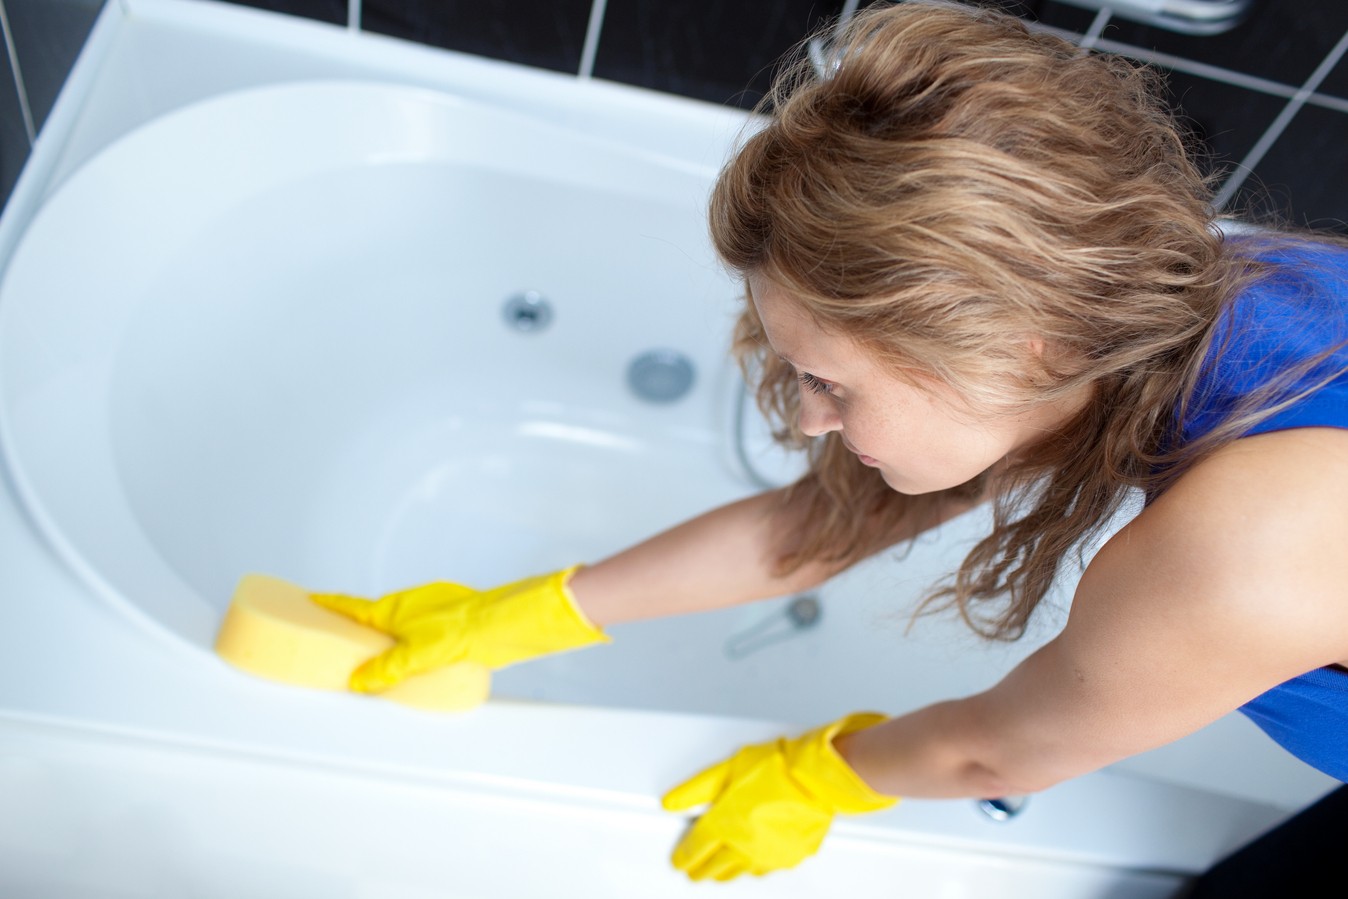
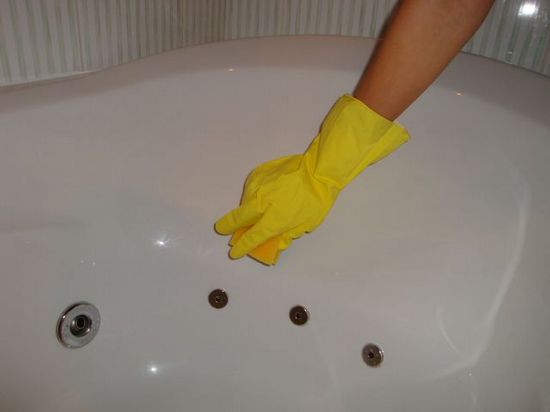
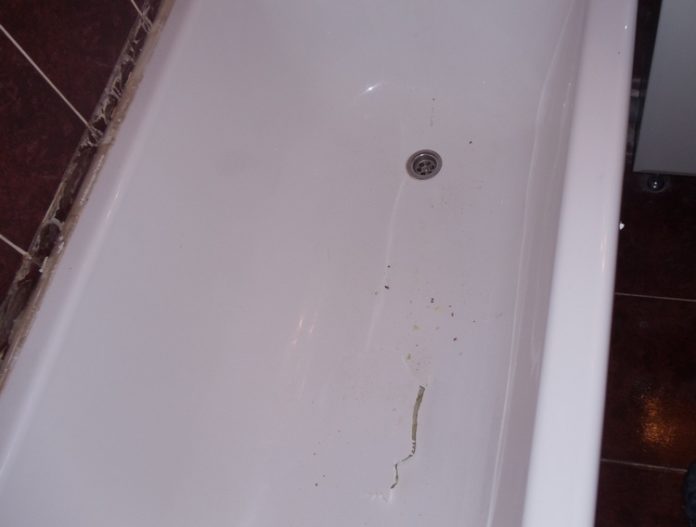
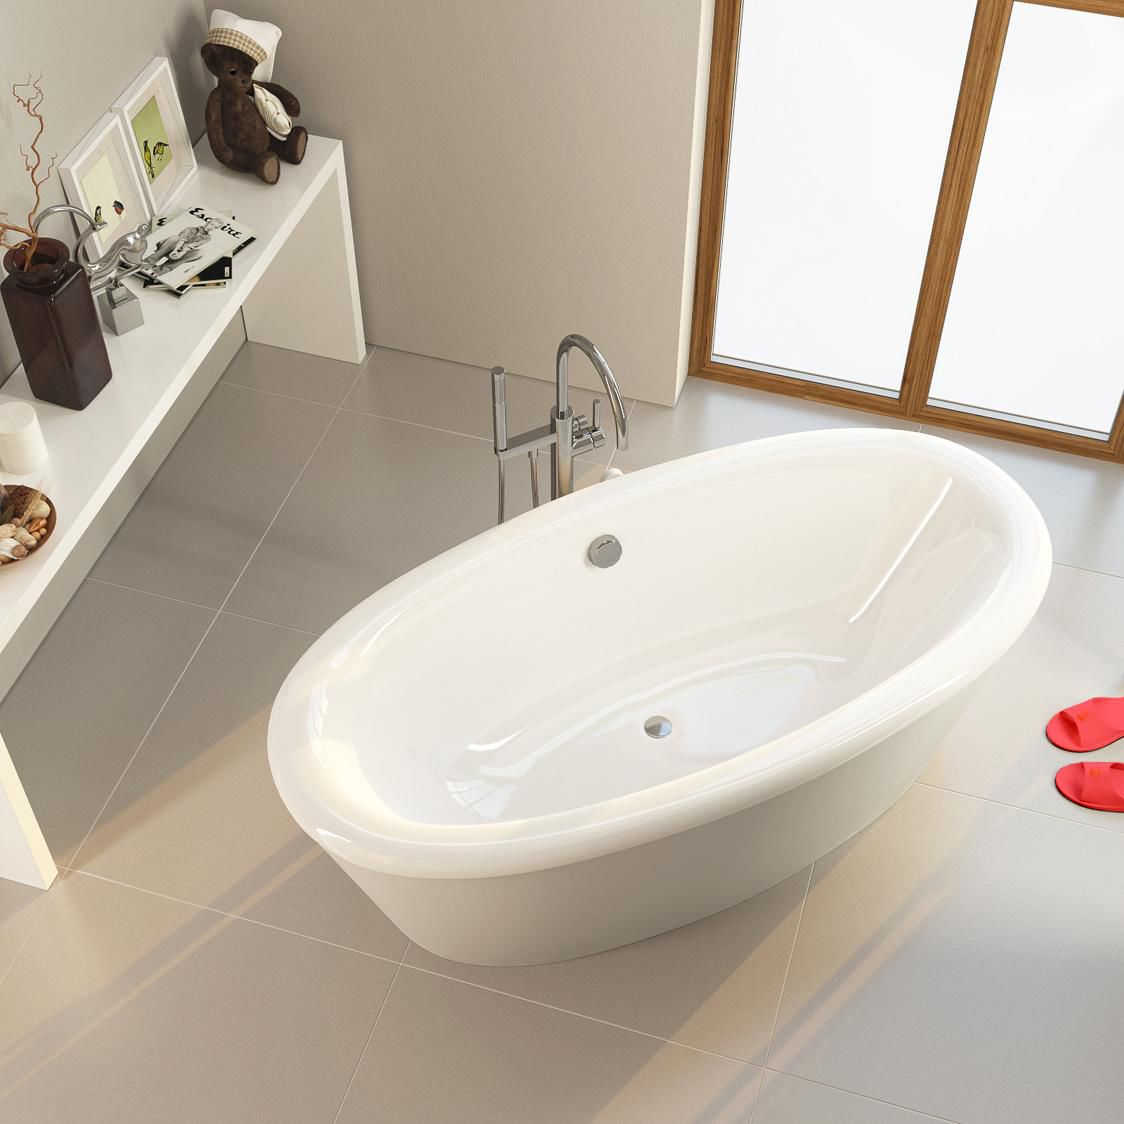
A bath in a modern apartment is one of those places that is used daily by all family members for personal hygiene. The snow-white shine of this irreplaceable sanitary object gives us a feeling of comfort, warmth and, most importantly, cleanliness. However, in the course of many years of regular use of the surfaces of any enamel or acrylic baths, over time, they lose their original aesthetic and hygienic characteristics: their original white color changes, wear and tear appear, chipping, scratches, cracks, dents. The inner surface of the font, which previously had smoothness and brilliance, turns into a rough and dull one, it becomes increasingly difficult to remove dirt, soap and limescale, and mold and pathogens develop in spalls and cracks - a rather unpleasant sight.
But even in this case, all is not lost! Knowledgeable people believe that you should not rush to dismantle and throw away the old bath in order to buy a new one in return. You can restore the outer covering of this item at home and on your own. From an economic point of view, the cost of such a restoration of the old bath will cost you several times cheaper than the cost of buying and installing a new font.
Material Features
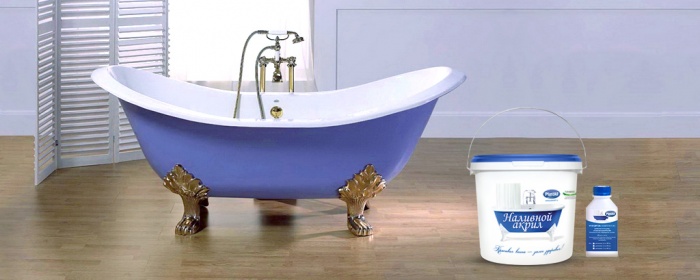
To solve the problem of restoring a worn or damaged surface of iron and metal baths, so-called liquid acrylic is used - a polymeric material produced from acrylic and methacrylic acids with the addition of certain polymeric components to their composition. Polymethylacrylates have been produced by the chemical industry for more than half a century, and they were originally created as the main composition for the production of organic glass. Today, various components are added to this composition, thanks to which the production of acrylic sanitary ware and facing material has become possible. Acrylic materials today have firmly conquered their niche in the market and gained increased popularity by the fact that their products are very lightweight,durable to use and easy to handle.
The restoration of the inner surface of the old bath can be done in various ways., for example, with the use of special coatings, but the service life of such a restoration is not long. The most resistant results during operation can be obtained if the old font is repaired with liquid acrylic: this material has an increased adhesive ability to metal surfaces and cast-iron bases, and also creates a durable working layer when applied, which is 2 to 8 millimeters thick.
Using the acrylic composition, restoration work on the restoration of the bath surface can be carried out without fear of damaging the bathroom tile. In the process, acrylic does not emit harmful components into the atmosphere with a strong odor, quickly polymerizes under the influence of air, and special tools and additional components will not be needed to work with this material. The finished acrylic composition contains the base and curing agents. The surface of the bath after treatment with liquid acrylic becomes resistant to mechanical and chemical influences, and most importantly - has an anti-slip effect,what is its feature and distinctive feature in comparison with other materials.
Advantages and disadvantages
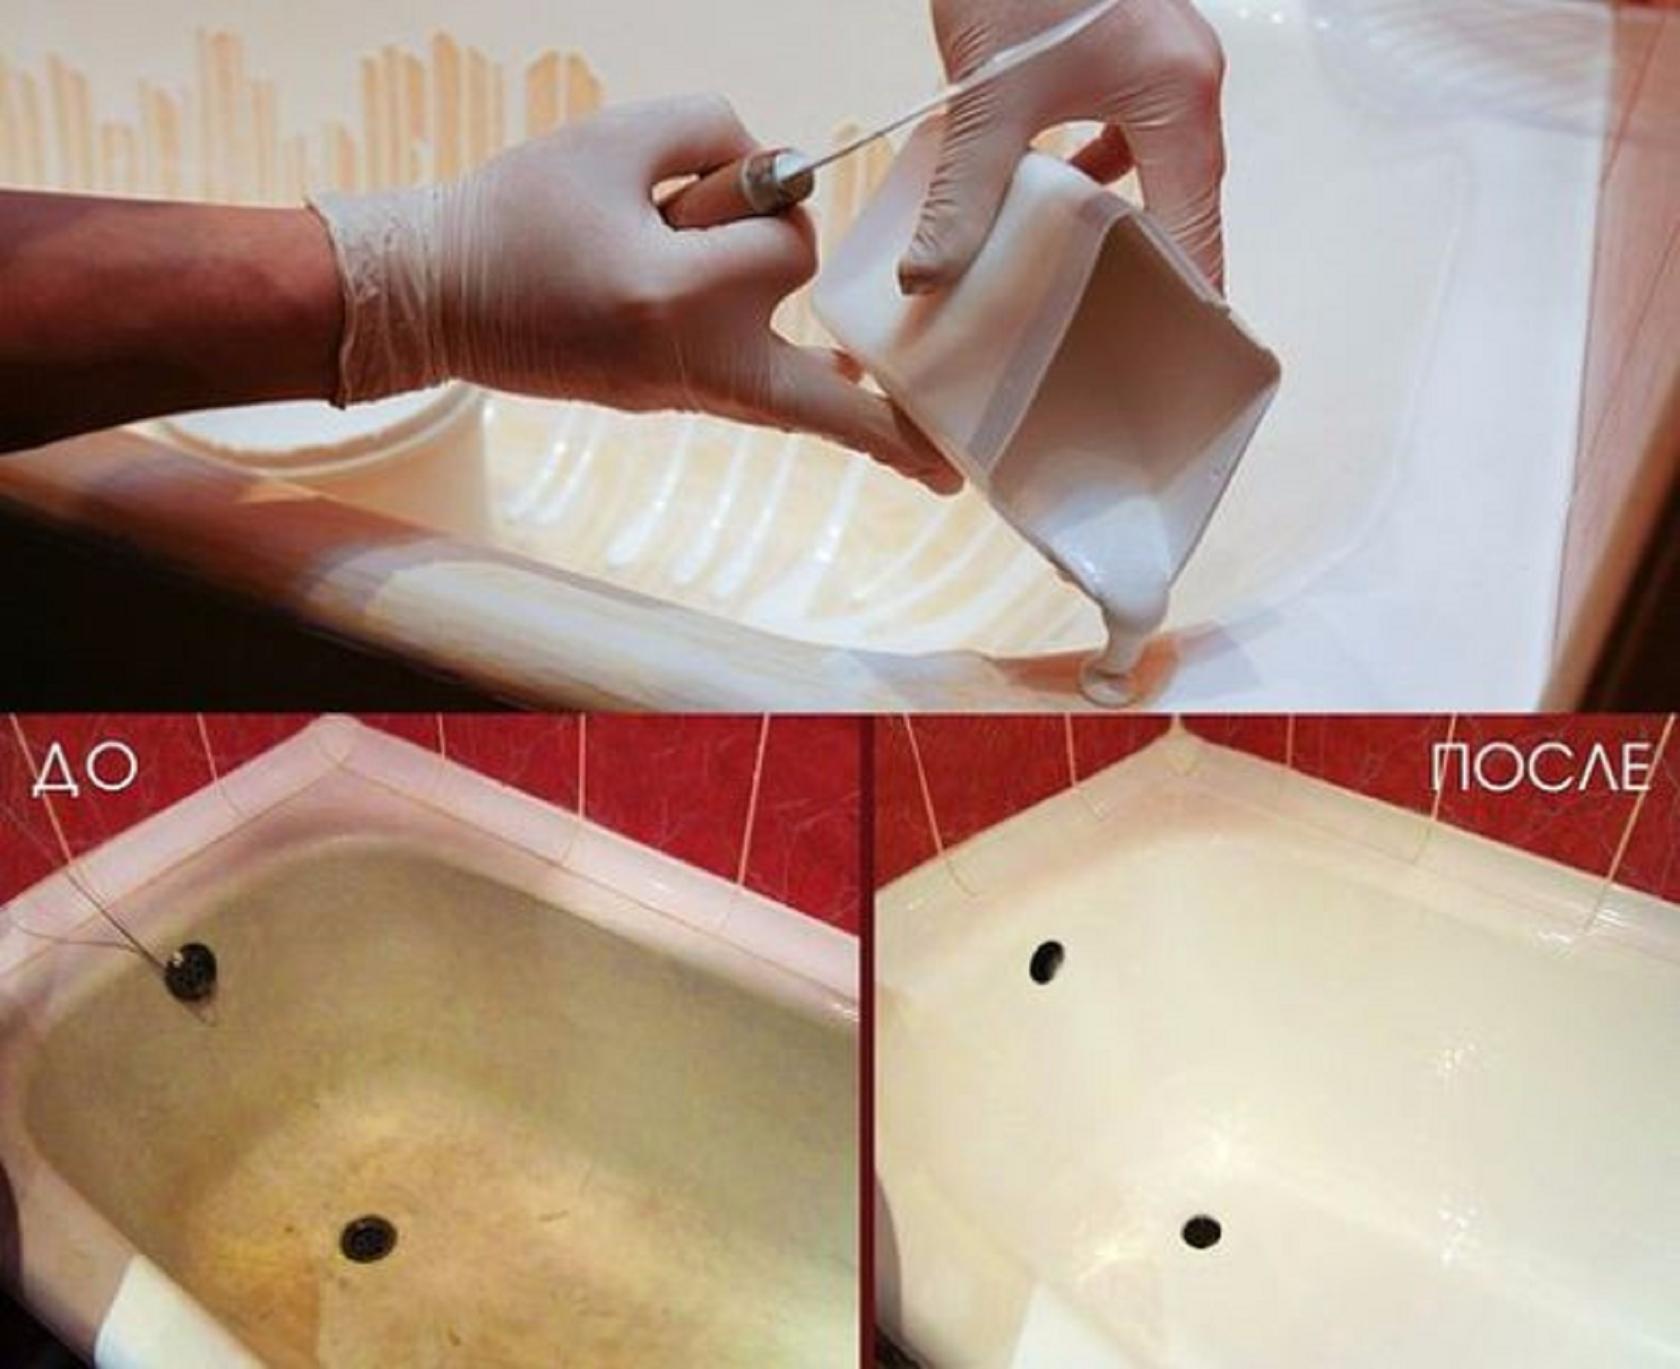
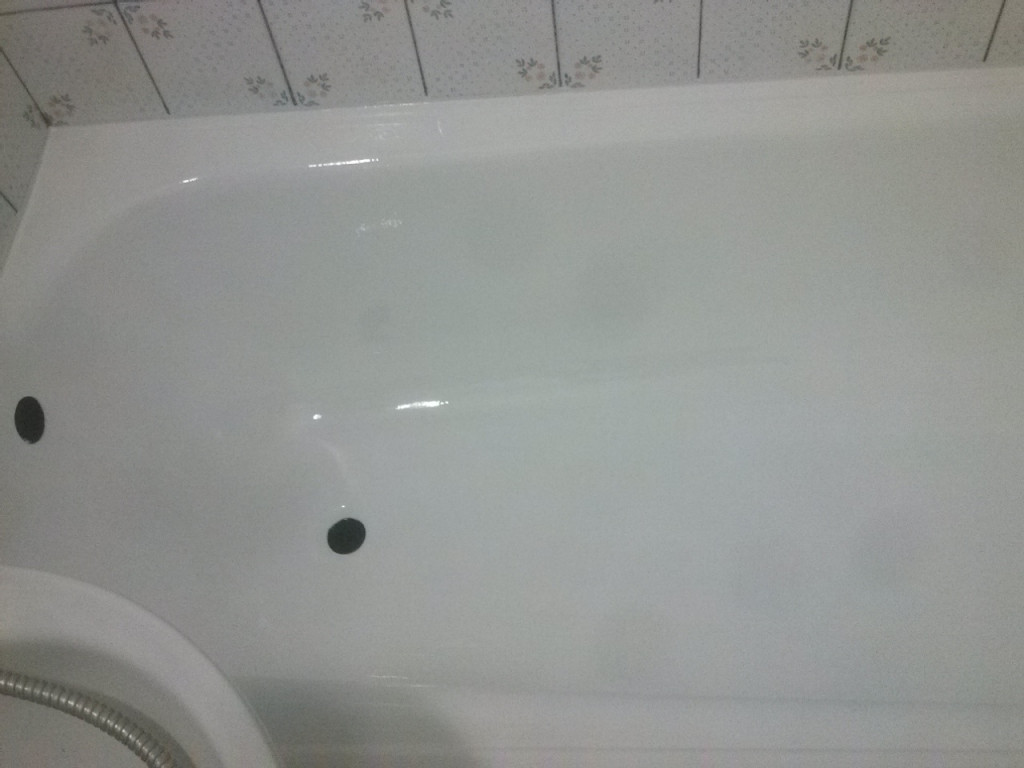
The renewal of the old bath with a liquid acrylic composition is becoming more and more popular among the population. This inexpensive material wins the love of consumers by the fact that its use provides an even and smooth coating that retains its original appearance for quite a long time. Any crack present on the original surface is filled with liquid material and leveled. Acrylic polymer has the property of low conductivity of heat, as a result of which the water in the bath treated with this material retains its heat much longer than in a conventional enameled font.
People using acrylic-coated baths say that they feel much more comfortable in it: Acrylic absorbs sounds, and the surface keeps it warm and smooth to the touch. The treatment of the surface of the old bath with an acrylic compound simplifies the further procedure of caring for it: you no longer need to use expensive and complex aggressive compositions for cleaning - just wipe the surface of the bath with a cloth or sponge moistened with a conventional soap detergent.Those who decided to restore the surface of the bath independently at home with the help of liquid acrylic, note that this option of restoration from an economic point of view fully justified itself and extended the service life of sanitary products for many years: from 10 to 15 years.
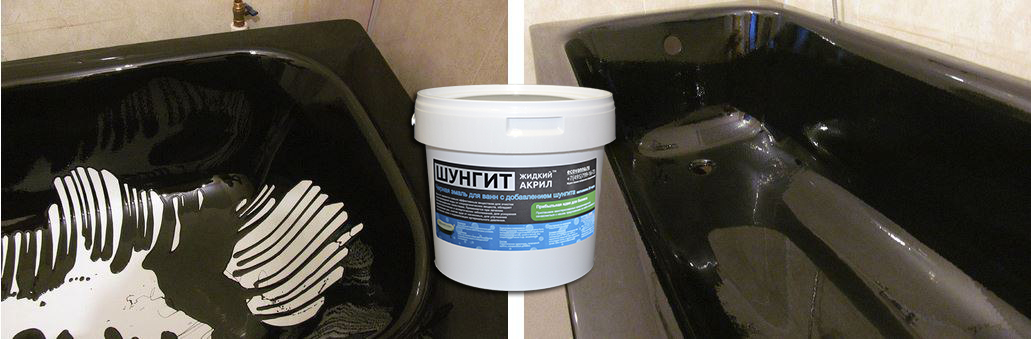
Modern acrylic compositions can be made in almost any color. This can be done by adding tinting paste to the basic composition of acrylic when preparing the working solution. This is another advantage of the polymer material, which makes it easy to match the color of the updated bath with the overall design concept of your bathroom as a whole.
Before you decide to upgrade your bath with liquid acrylic, you must consider some of the disadvantages of the method.
- In spite of the fact that it is not necessary to dismantle the bowl of the bath, at the time of restoration all drainage devices will have to be removed, and then, after the work is completed, be put in place.
- If the bowl of the bathroom had the original factory defects, then, spreading over the surface, the acrylic composition will repeat their outlines.
- The time of complete polymerization of the material can be significant.Advertising information promises consumers that after 36 hours, the bath surface will be fully operational, although practice shows that, depending on the layer thickness, acrylic curing can take up to 96 hours, that is, four days.

- The result of the restoration largely depends on the quality of the material and the professionalism of the person who will perform the entire scope of work. If during the restoration errors were made associated with the violation of the process technology, the strength and solidity of the polymer coating can be very quickly broken.
- To speed up the polymerization process, unknowing people use heating devices that do not comply with the process technology and damage polymer bonds, destroying the strength of the resulting acrylic layer.
- The acrylic composition applied in violation of the technology is very difficult to remove from the surface to be repaired in order to correct the errors and start all over again. This is due to the high adhesiveness of the material.
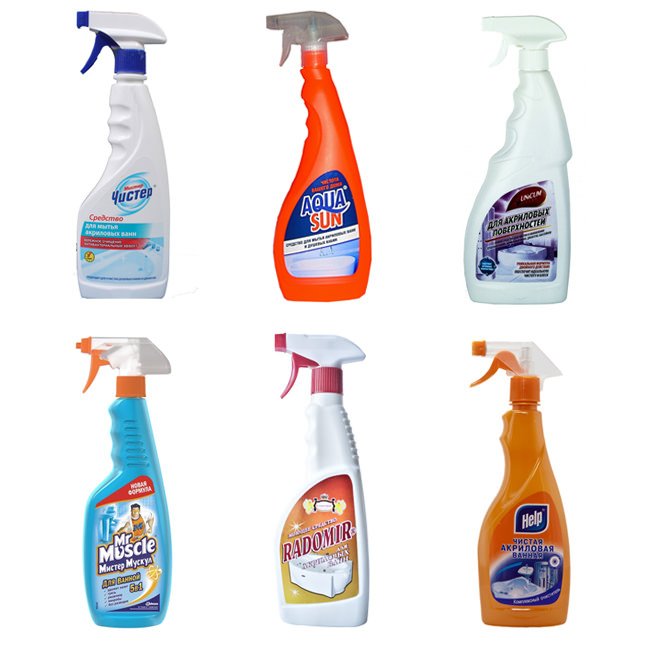
In the process of making acrylic liquid mixture, some manufacturers may add components to its composition, which, from their point of view, improve the quality of the material, but in practice it turns out that such additives do not lead to positive results upon completion of work.Therefore, to perform the restoration work it is best to use proven and well-known brands of acrylic, whose manufacturers have a good reputation in the market for their products.
What material is better?
Baths made of metal or cast iron, as a rule, are initially coated with enamel in the factory, so if necessary, the restoration of their internal surfaces raises the question of what method would be better: enameling or coating with liquid acrylic. Enameling bath, like any other method, has its own advantages and disadvantages. Let's compare these methods.
The advantages of enameling include the following points:
- low cost of materials for the restoration work;
- the enamel coating is resistant to a large number of chemical detergent compositions;
- the possibility of applying several layers of enamel without removing the previous layer;
- terms of readiness of work are minimal.
The disadvantages of enameling the inner surface of the bath are the following:
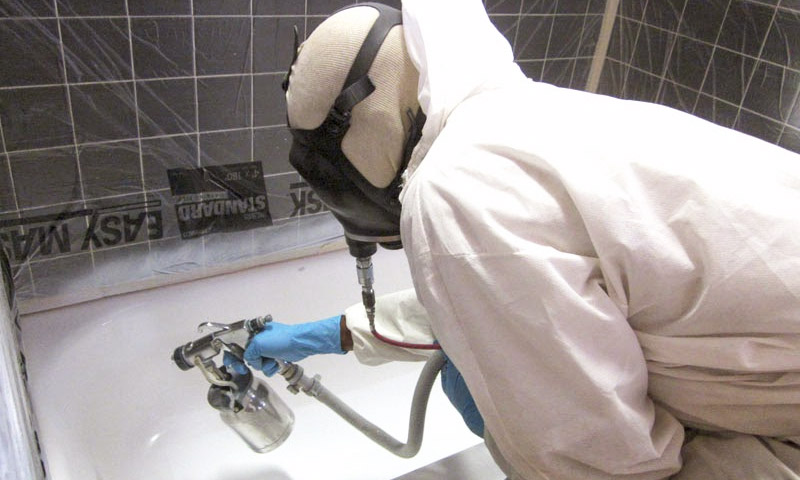
- restoration requires special measures to protect the respiratory tract and skin: materials for enameling work have a persistent and very strong odor,therefore, you will need to purchase special protective equipment for the organs of vision (industrial goggles) and respiration (respirator or gas mask);
- enamel coating is sensitive to detergents containing oxalic acid and abrasives;
- after the restoration of the bathroom, it is necessary to use it with caution: the enamel is afraid of any, even the most minor, mechanical damage (at the site of such an impact, a coating crack or chip is formed);
- The enamel coating has a high proportion of hygroscopicity due to the porous structure of the material, so the dirt is quickly absorbed into the enamel layers and is very difficult to remove from there;
- the life of the enamel coating does not exceed a five-year period, even if all care measures are taken and regular care is taken.
If we compare the reviews of specialists performing restoration work and consumer preferences regarding these two methods of performing restoration work and their end results, then it becomes obvious that the acrylic composition is more beneficial, environmentally friendly and durable.
How to prepare the surface?
Before you start the restoration of a cast-iron or metal bath, It is imperative to make certain preparations.
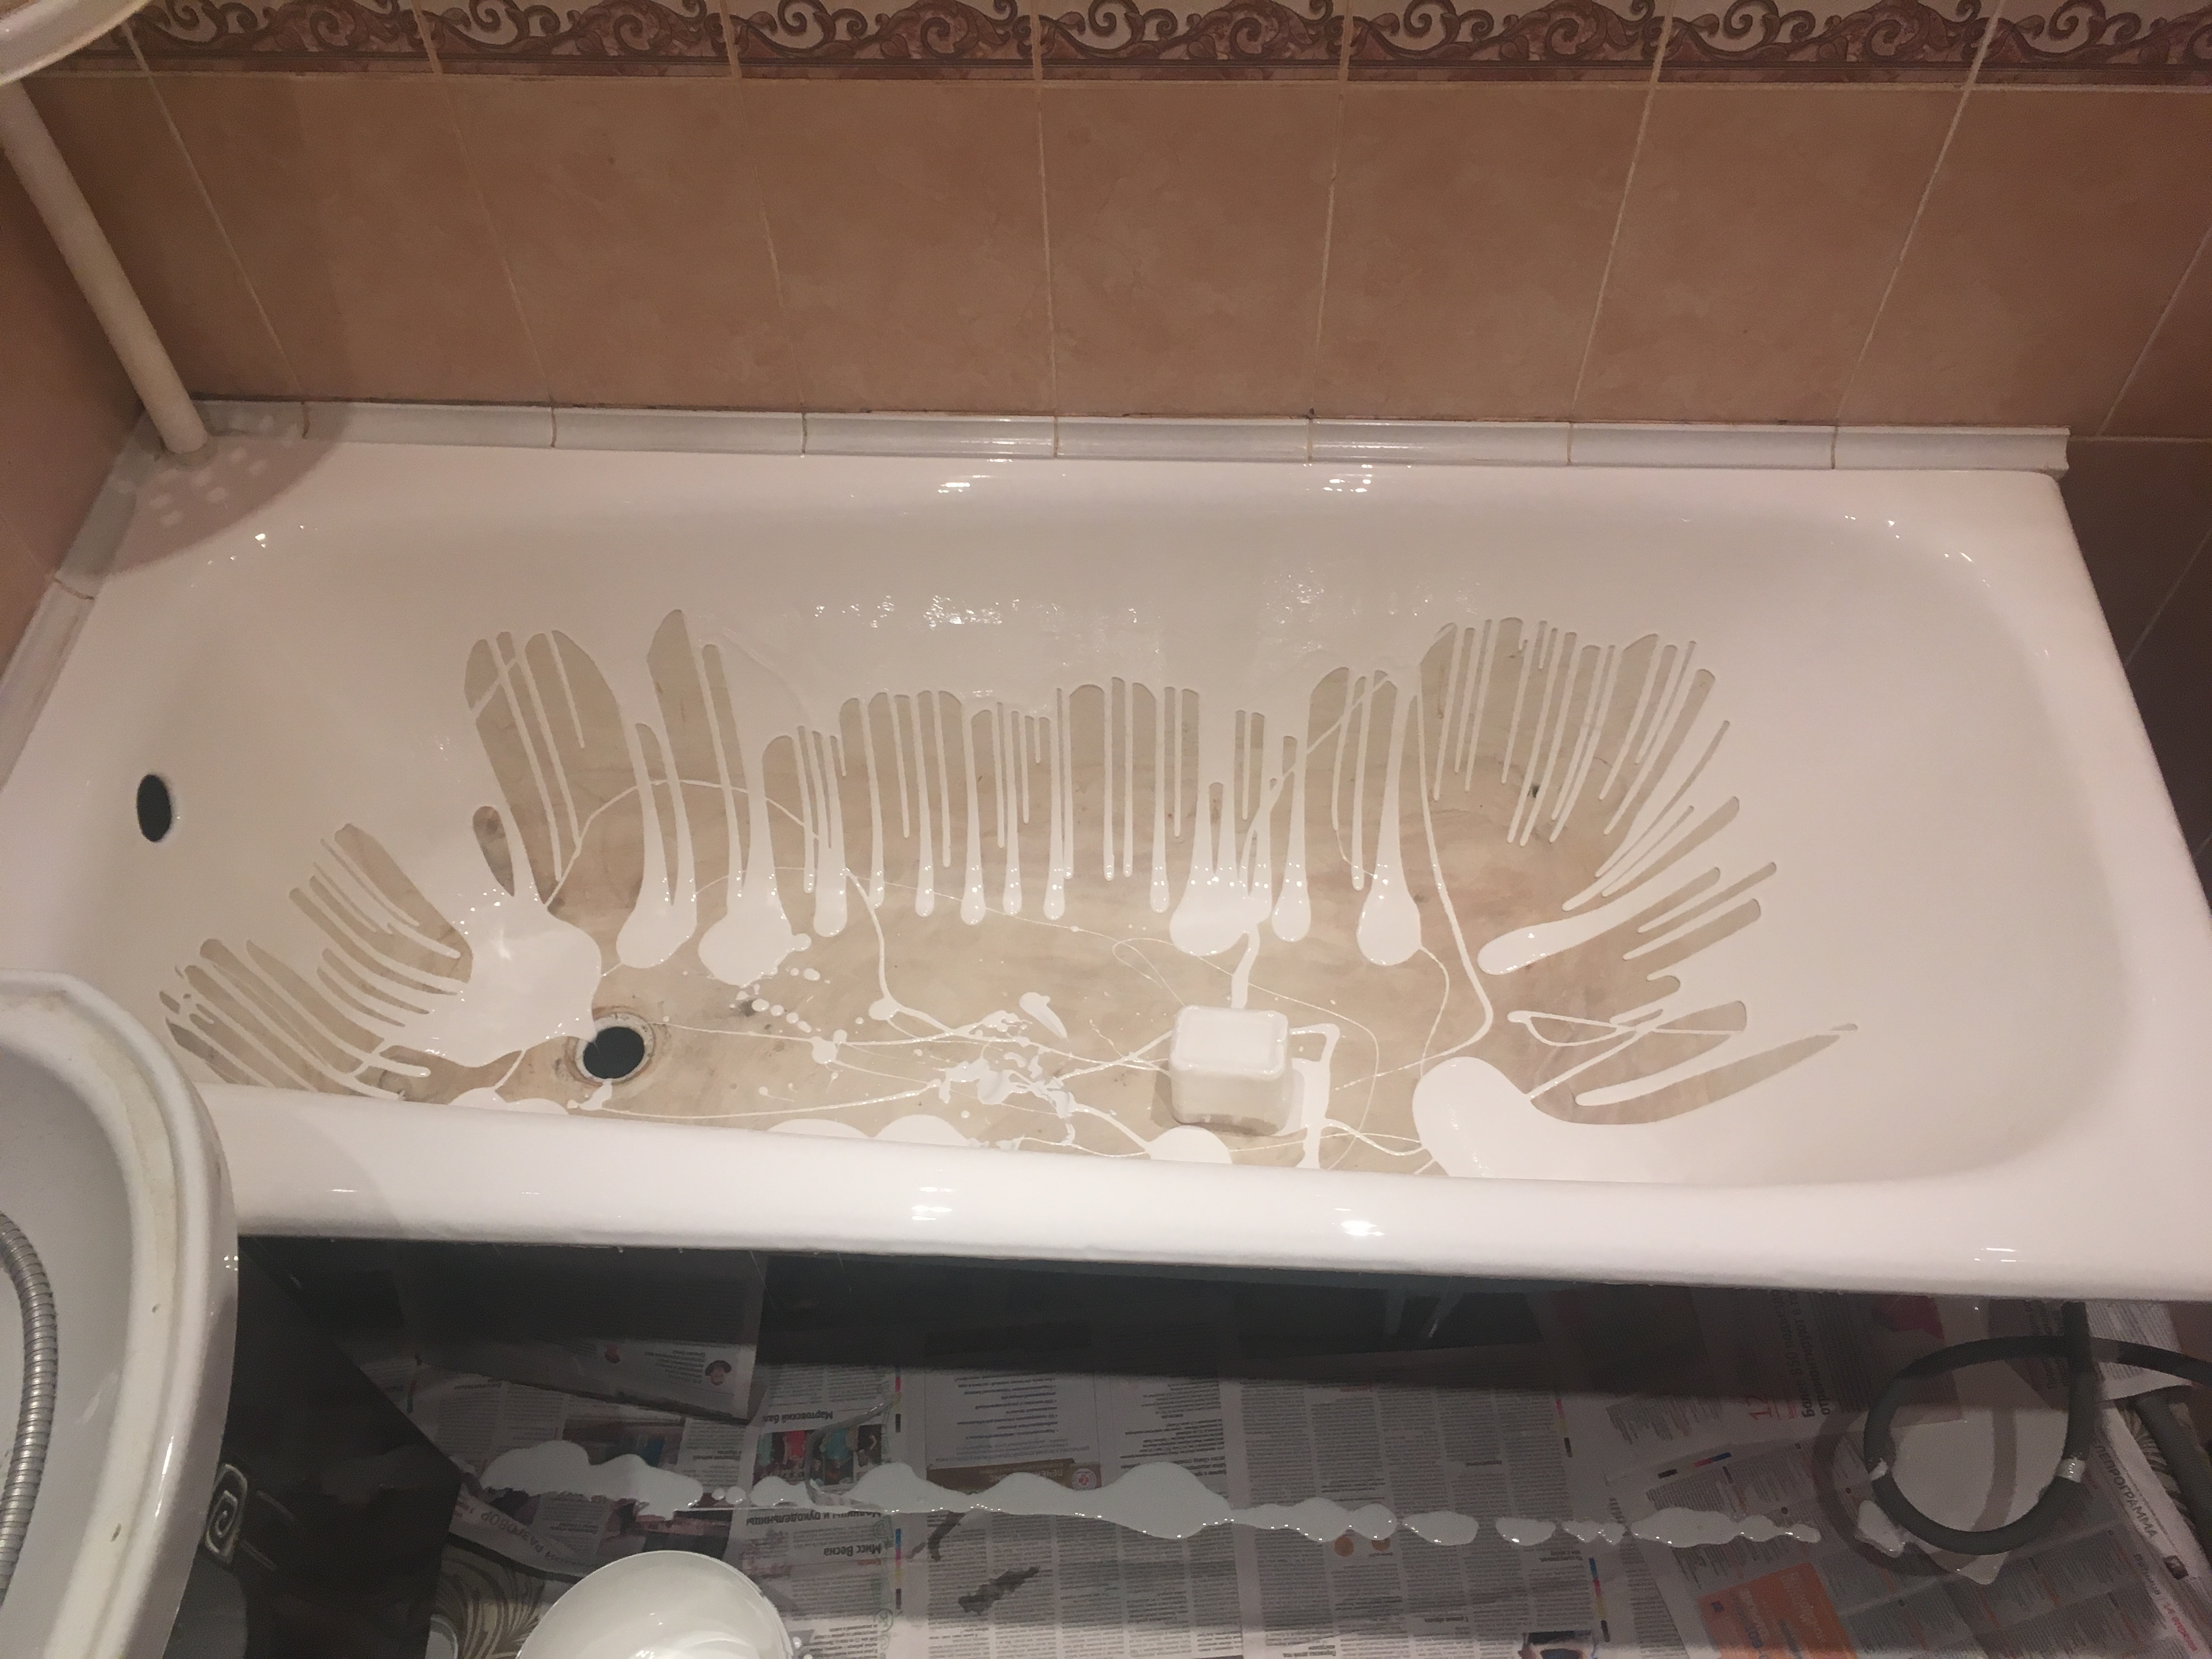
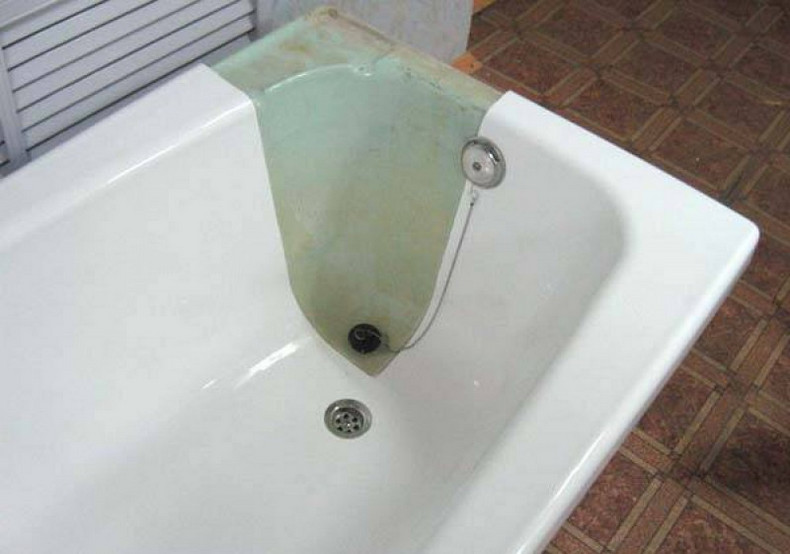
- Disconnect all plumbing fixtures, but leave water drains. Later, it will also need to be removed, and under the drain hole of the bath to put a container for collecting acrylic material, which will flow there in the course of the work. If the bath has a tiled lining, then you can not dismantle the drain from it, but seal it with tape, and put the cut-out bottom from the polyester disposable cup up to collect excess acrylic.
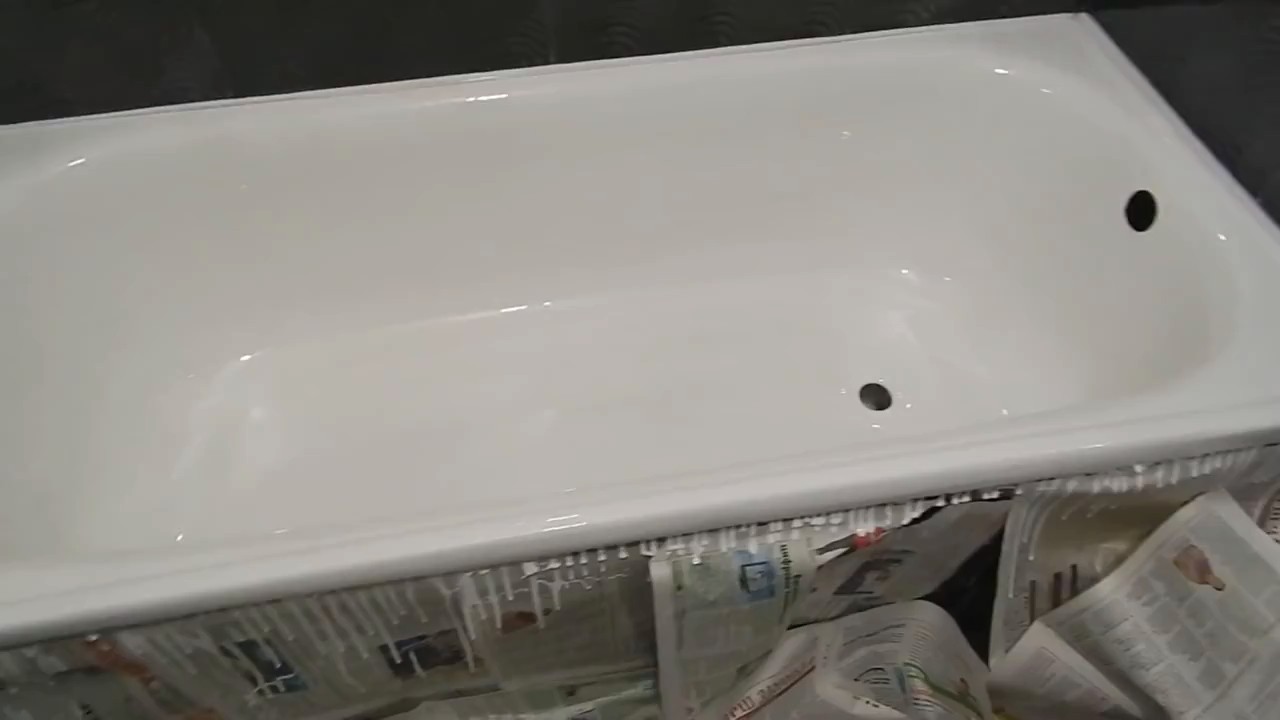
- Tile on the wall must be protected with a wide strip of masking tape, and the floor around the bath must be covered with plastic or newspaper sheets.

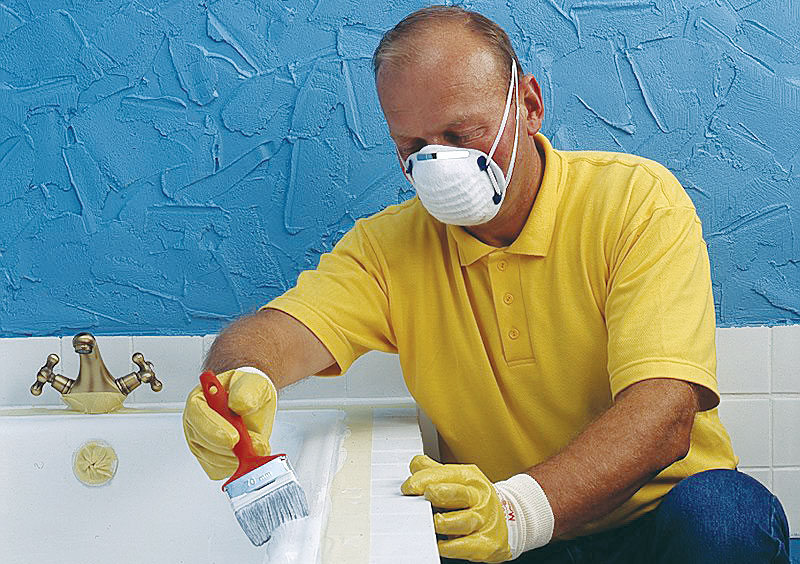
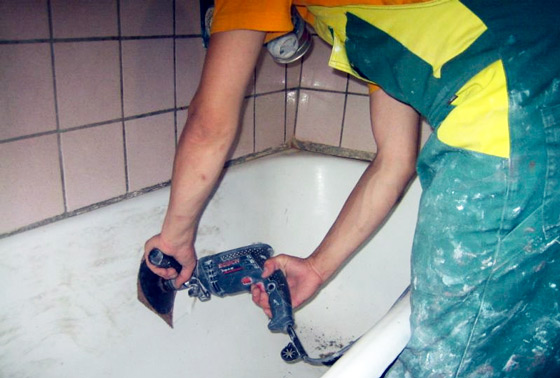
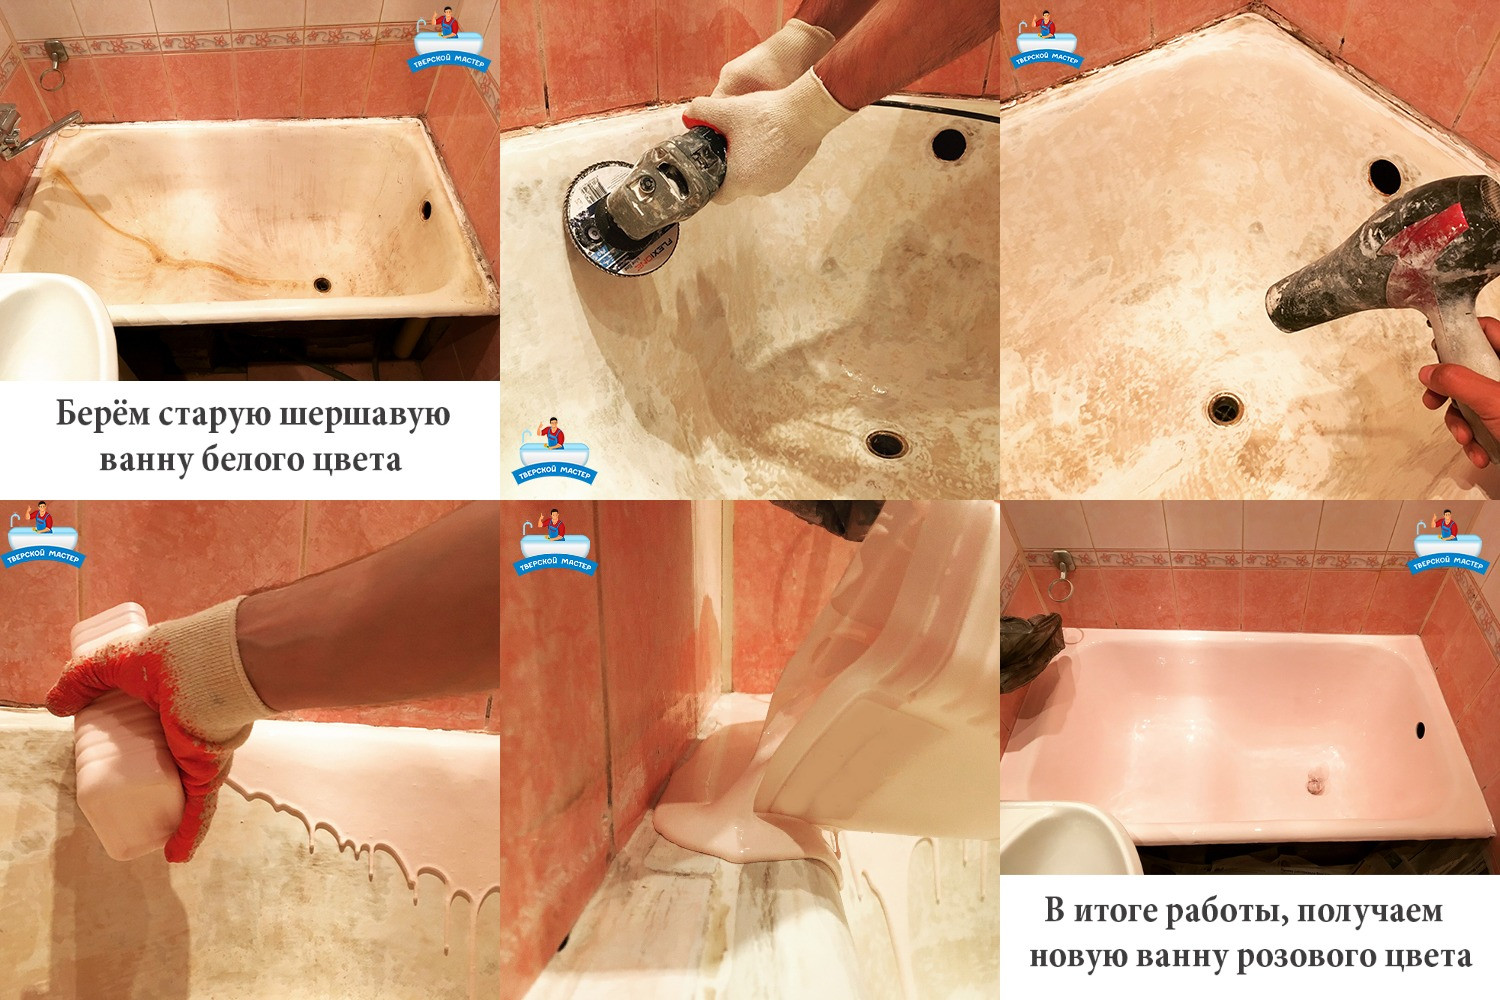
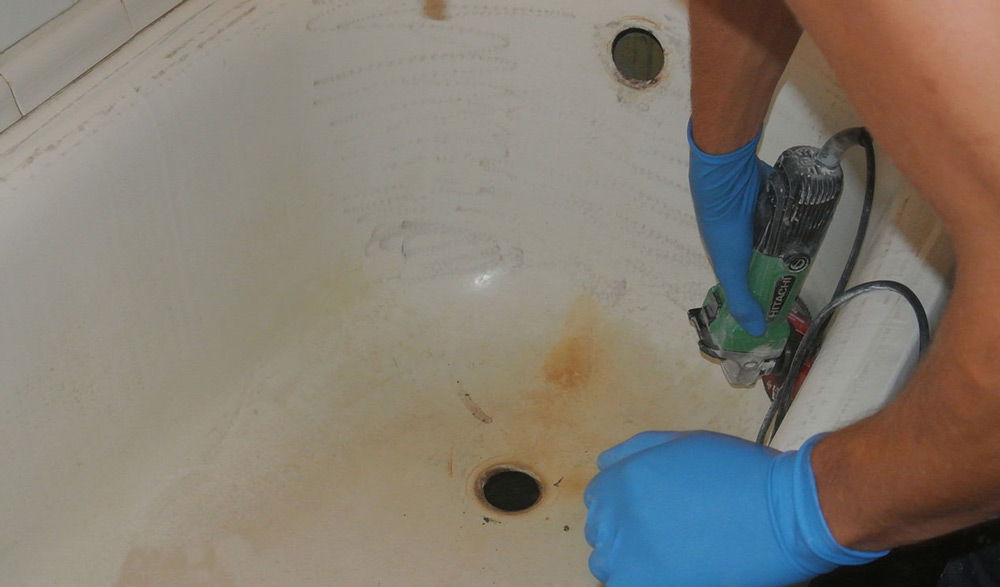
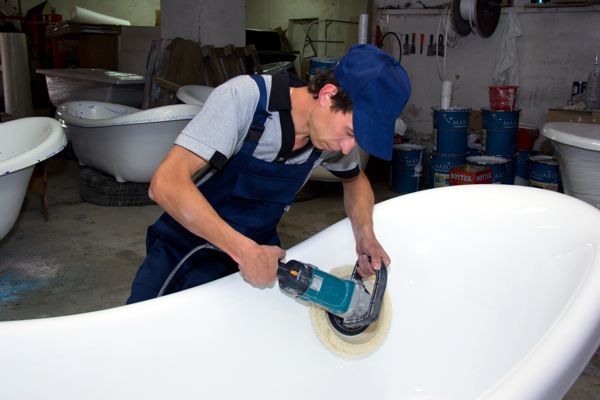
Further actions will be to prepare the surface of the bath, which must be properly cleaned with emery paper and dried. In the case when the bath surface has chips and cracks, as well as deep scratches, all the old enamel coating will have to be completely cleaned. To facilitate this task, it is most convenient to use a grinding machine or an electric drill with a range of abrasive materials. As a rule, when performing such works a large amount of fine dust is formed, therefore, the surface should be cleaned in a respirator and protective glasses.
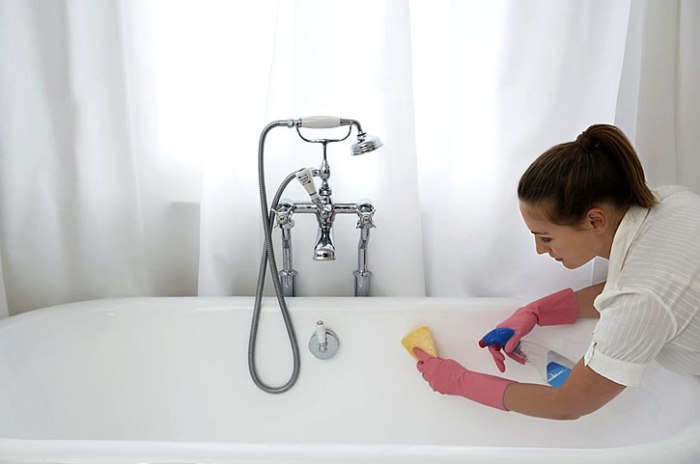
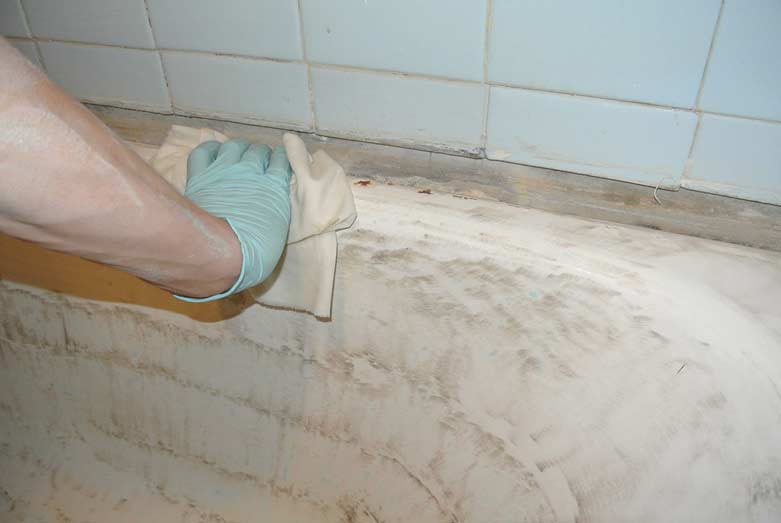
After the surface of the bowl has been cleaned, all the dust and fragments of the old material should be removed and the walls of the bath should be washed with a damp sponge. Now the surfaces should be allowed to dry and only after that they should be treated with a solvent to remove residual fatty contaminants. If for some reason it is not possible to use the solvent, it can be replaced with a thick paste made from ordinary baking soda. After treatment, the soda will need to be completely rinsed with hot water.
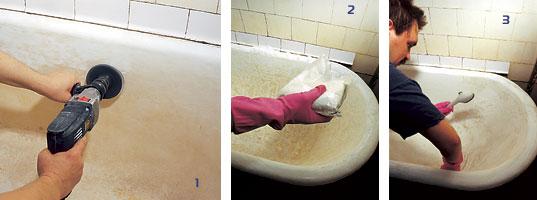
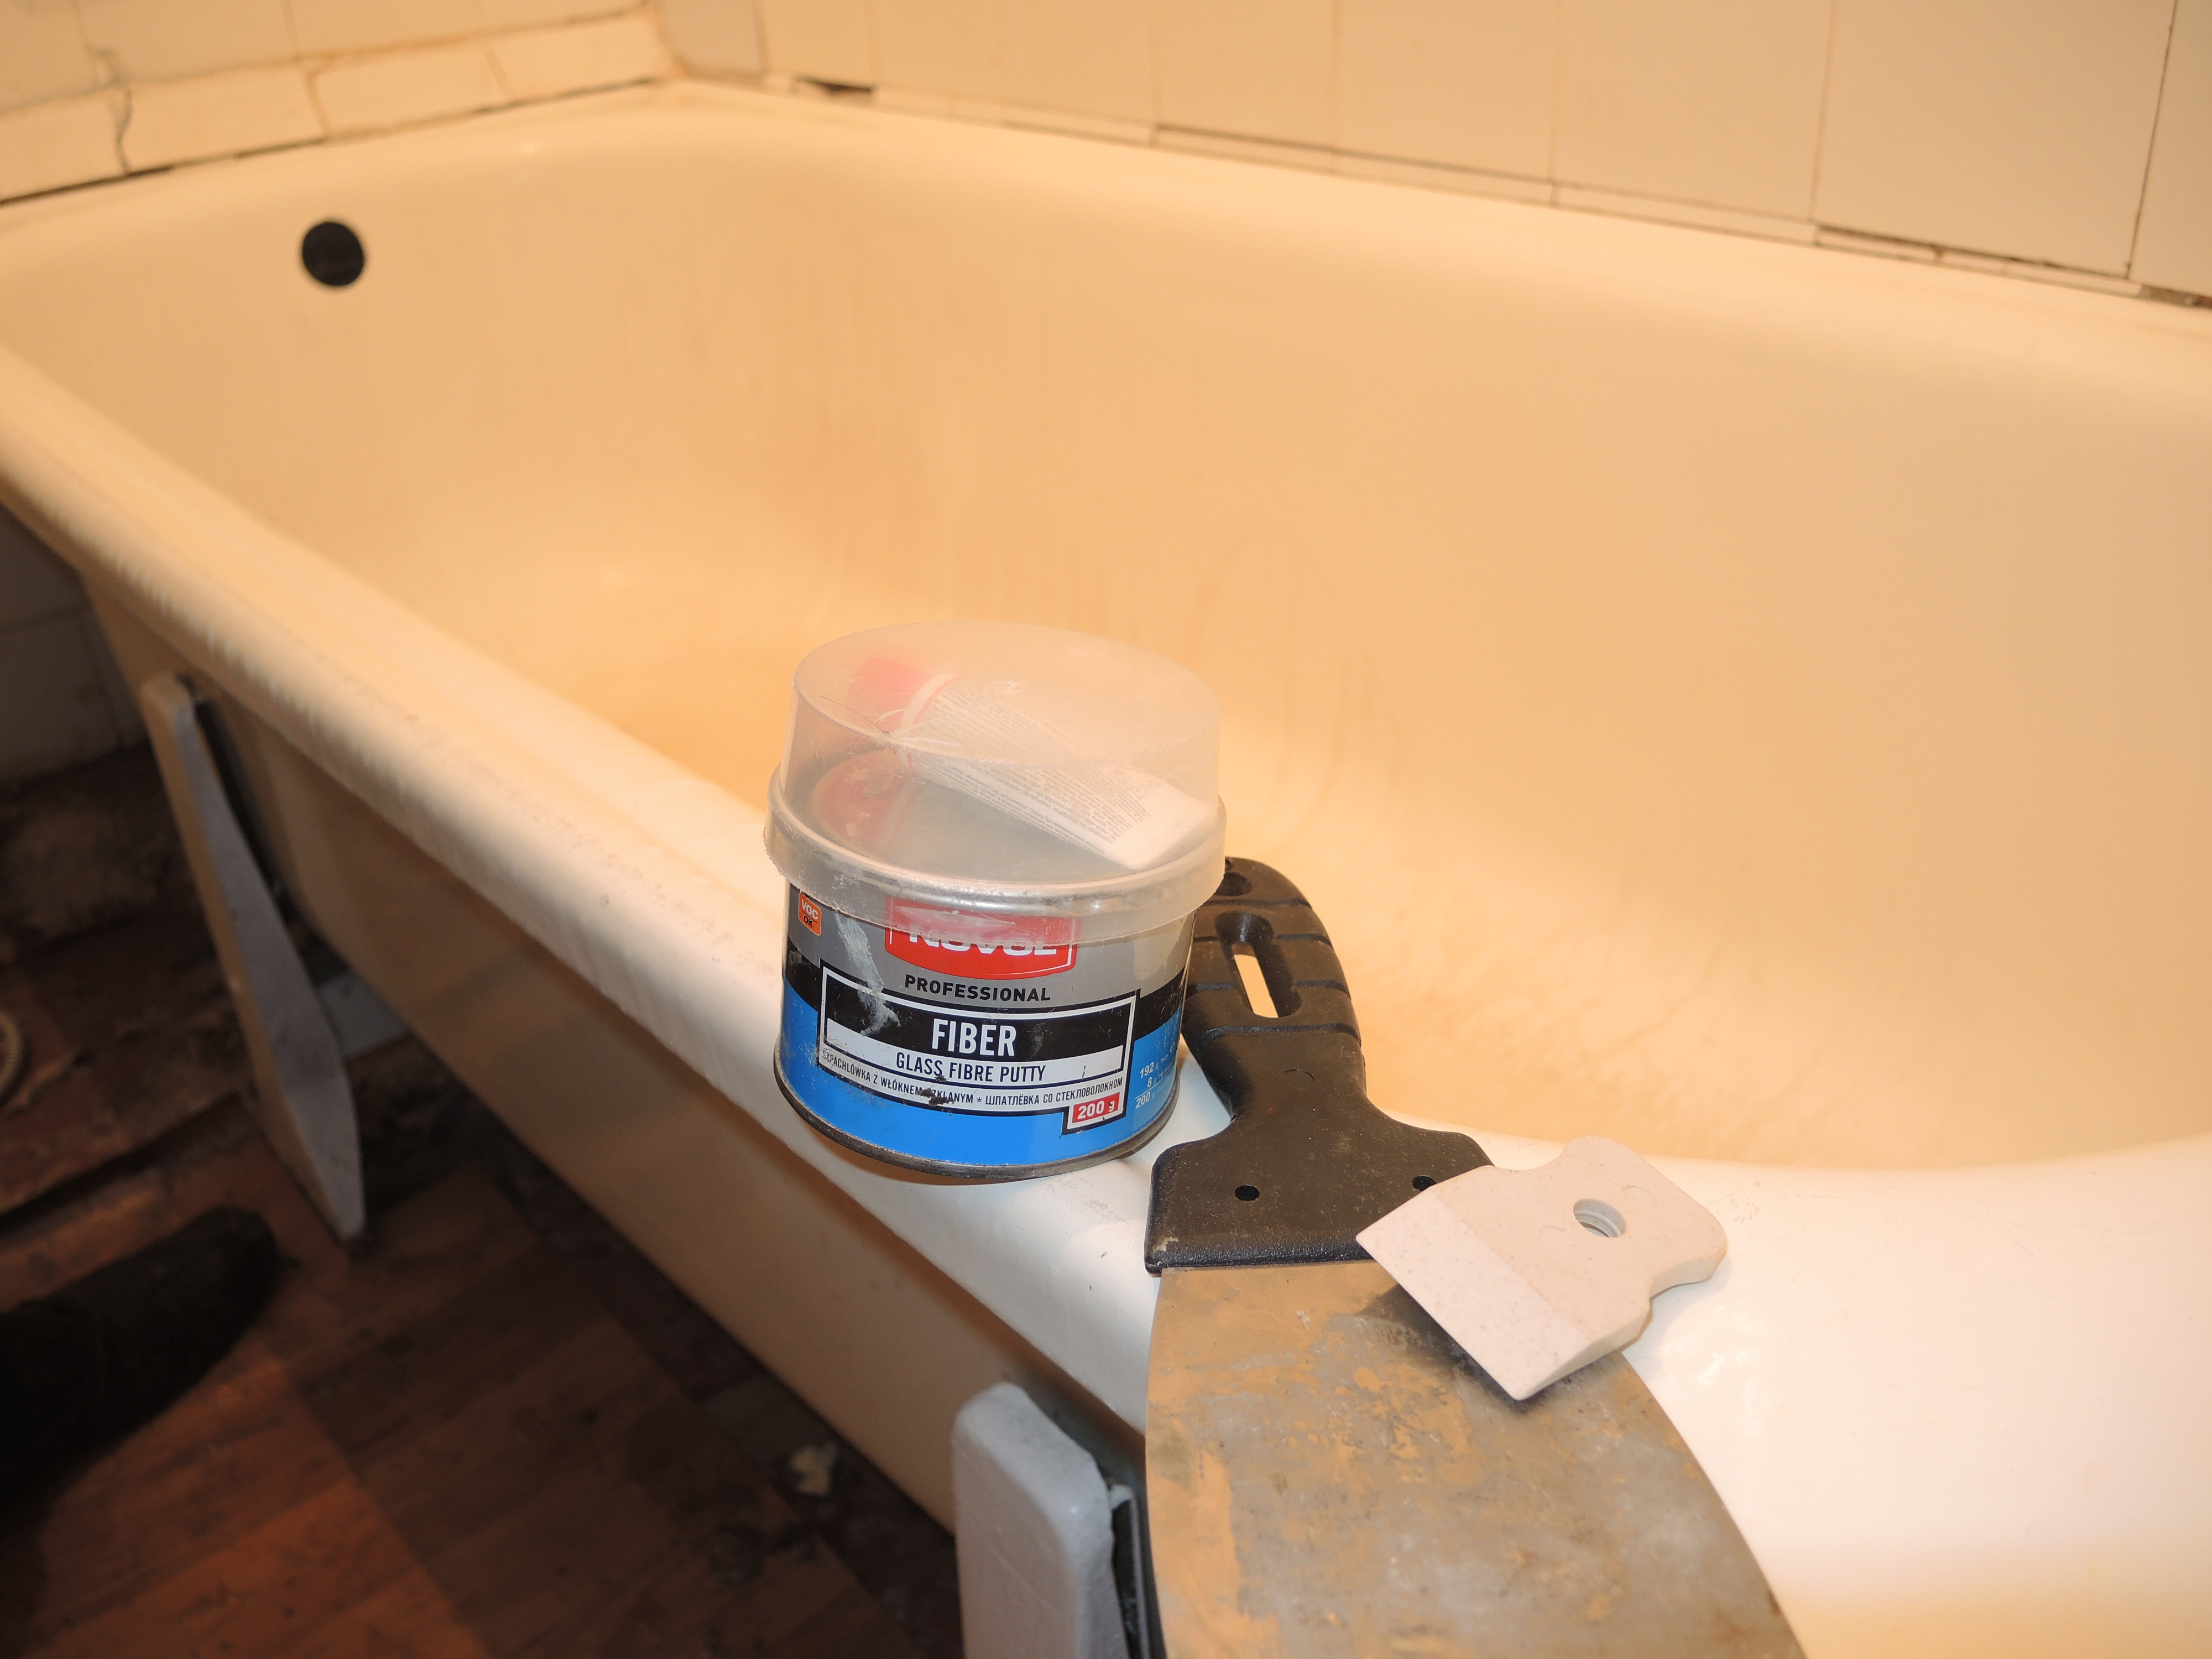
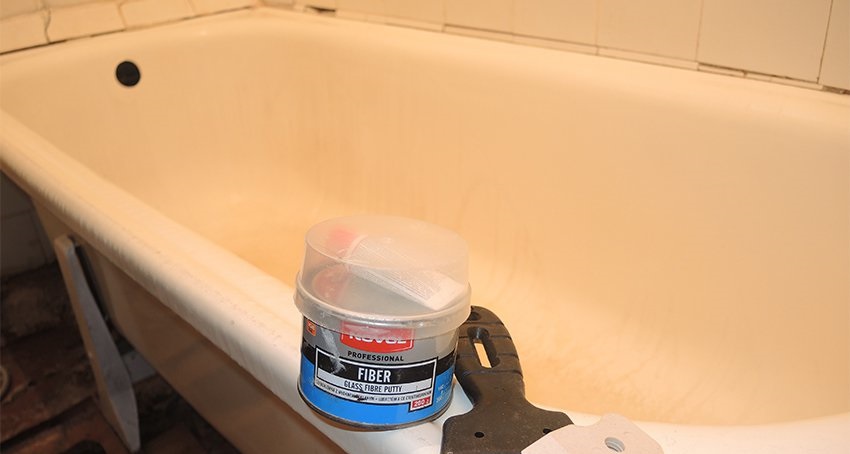
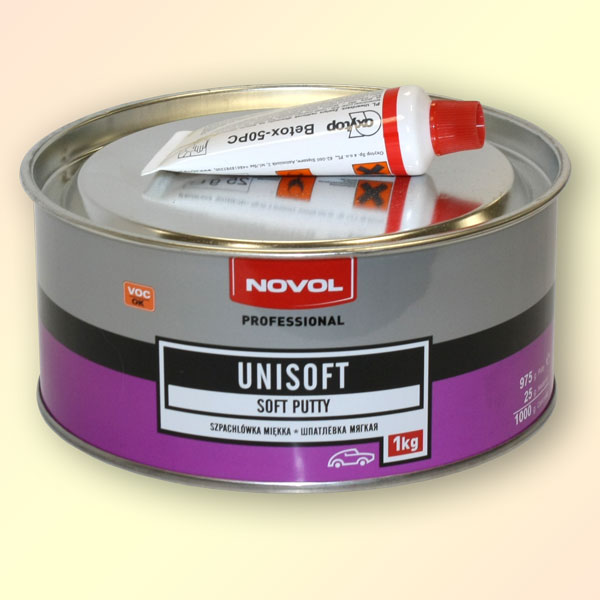
Upon completion of the degreasing process, all cracks and chips present on the surfaces of the bath should be treated with a car putty and wait until it is completely dry. Automotive putty is used for the reason that its solidification time is much shorter than that of other types of putty, and its adhesiveness with metal is rather high.
Since the restoration with liquid acrylic is carried out at a certain temperature of the treated surface, it will be necessary to take hot water in the bath and wait at least 15 minutes until the walls of the font get warm. Then the water is drained, and the moisture is quickly removed from the surface of the bowl using fabrics that do not leave a nap.Now you need to quickly remove the drain plumbing, and the bath is ready to be covered with liquid acrylic.
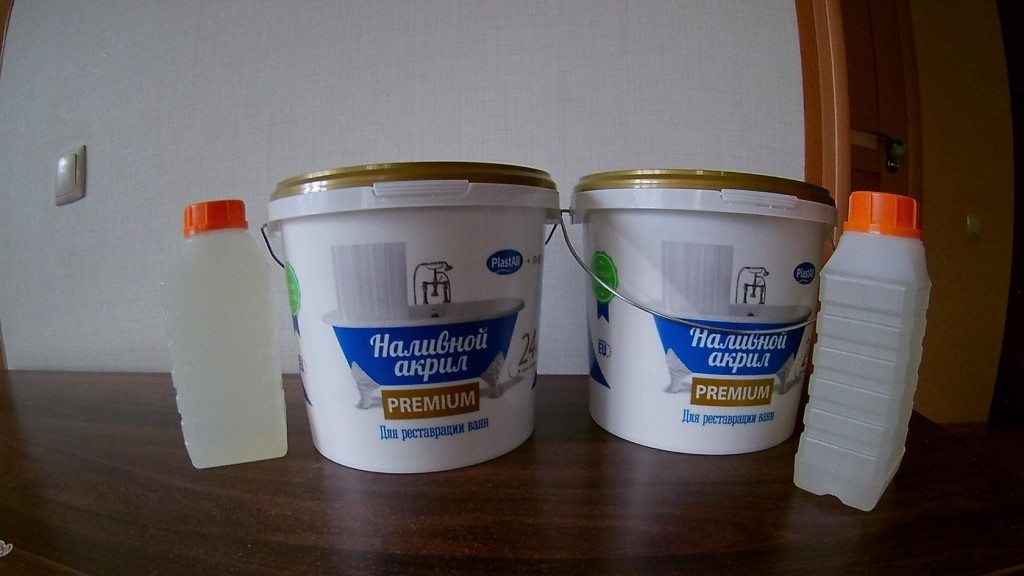
How to prepare the composition?
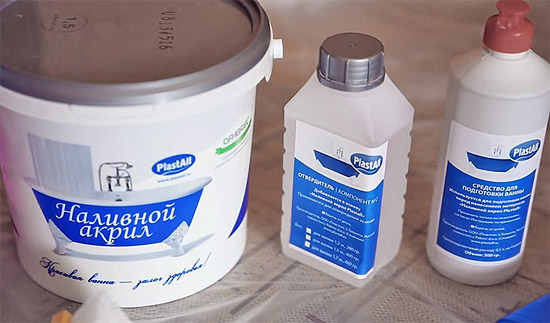
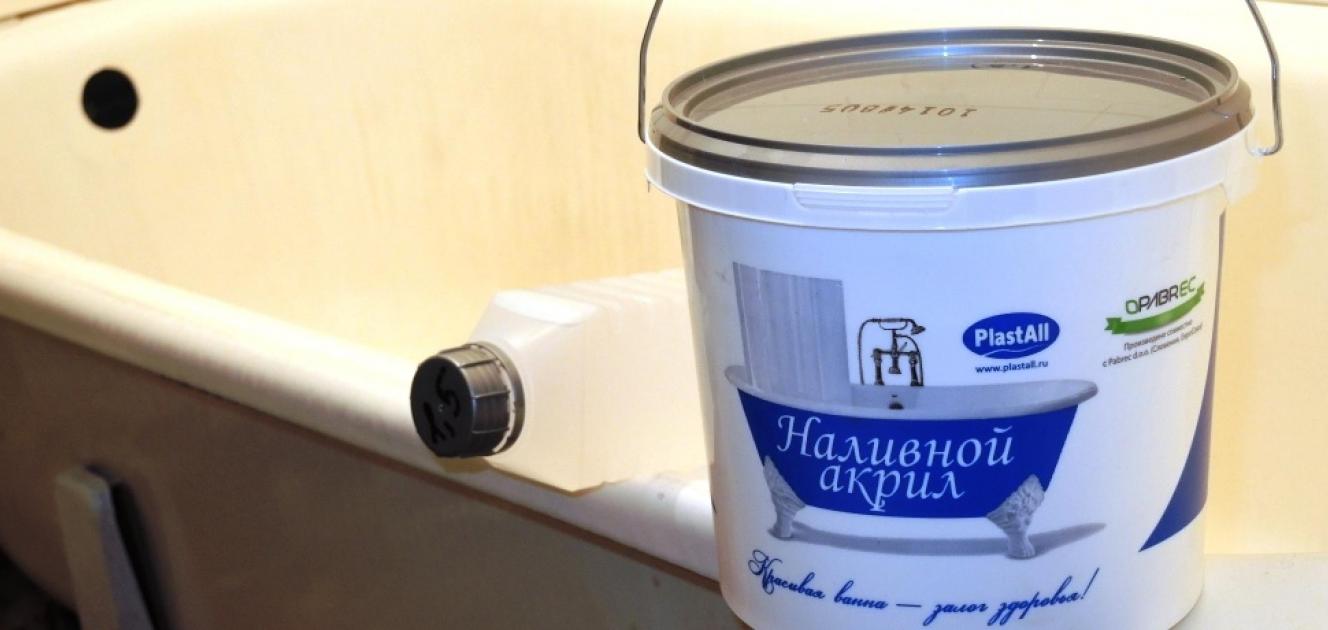
Liquid acrylic is a two-component polymer composition consisting of a base and a hardener. It is possible to connect the base and the hardener only in the case when the bath surface to be restored is fully prepared for the coating with acrylics. It is impossible to mix components in advance, as the mixture obtained is suitable for application in a limited period of time, which is only 45-50 minutes. At the end of this period in the mixture begins the process of polymerization, and the whole composition literally becomes thick before the eyes, its fluidity necessary for the performance of work is lost. After polymerization, the composition for application to the surface is unsuitable.
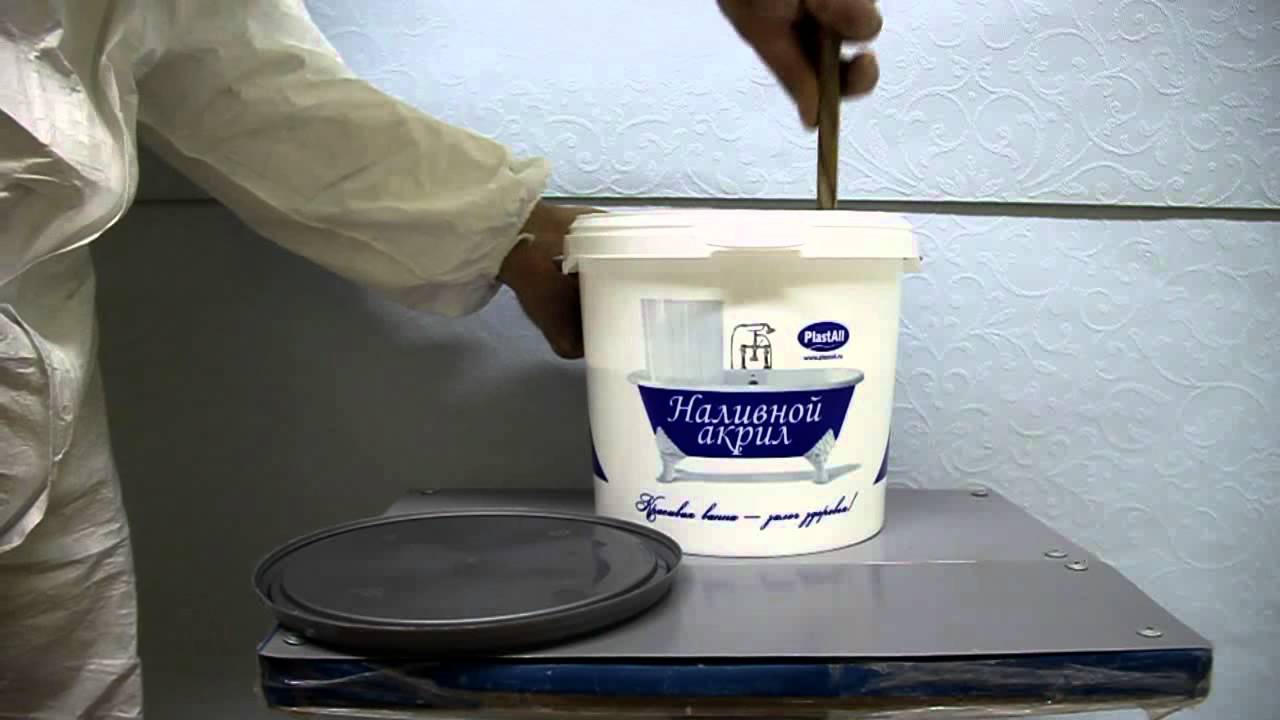
Mix the base and hardener that make up the liquid acrylic, best of all with a smooth wooden stick, constantly remembering that the uniformity of the composition will largely determine the final quality of the restoration works. If the volume of the composition is large, then to speed up the process of making the mixture, you can use a special nozzle fixed in the chuck of an electric drill.When mixing the components of liquid acrylic with an electric drill, it is important to take into account the fact that you need to work with a tool only at low speeds, otherwise the entire composition will spray around you on the walls and ceiling.

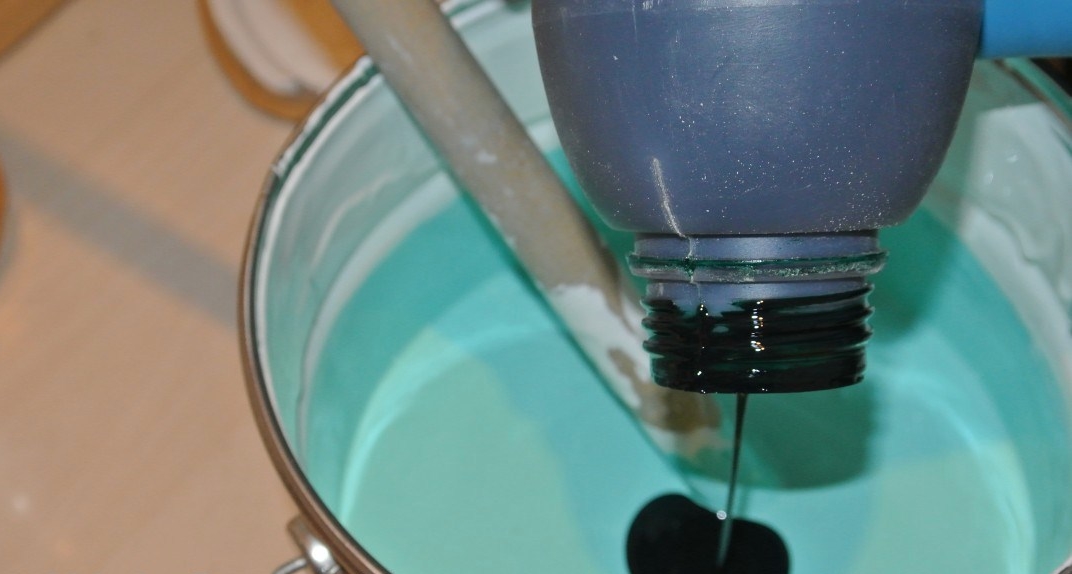
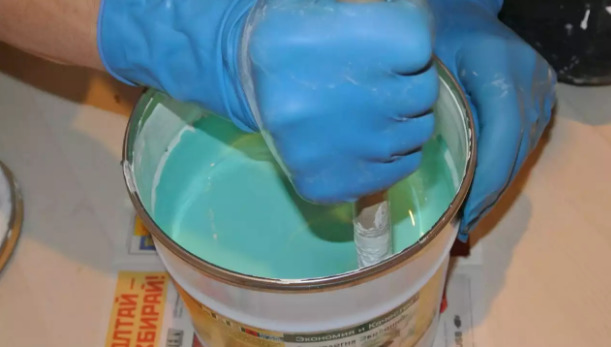
Acrylic composition should be mixed in the packaging in which it was placed by the manufacturer, gradually adding a hardener, part by part, and only at the very end of the mixing process - tinting paste is added. In the process of work, it is imperative that you strictly follow the instructions of the manufacturer indicated on the container capacity of the material, since each mixture has its own nuances for use.
Liquid acrylic can be made in color. For this there are special tinting additives of various colors. When adding a tinting shade it is necessary to take into account that its maximum volume should not exceed 3 percent of the total volume of acrylic mixture. If you increase the percentage in the direction of increasing the content of the tinting composition - this will reduce the strength of the acrylic material after the polymerization process, since the balanced balance of ingredients will be broken and the polymer bonds will not be formed sufficiently strong.For liquid acrylic, you can use only additives specially created for this purpose. If you add a tinting pigment containing a solvent to the polymer, it will cause you to spoil all the material and it will be unsuitable for work.
Coating process
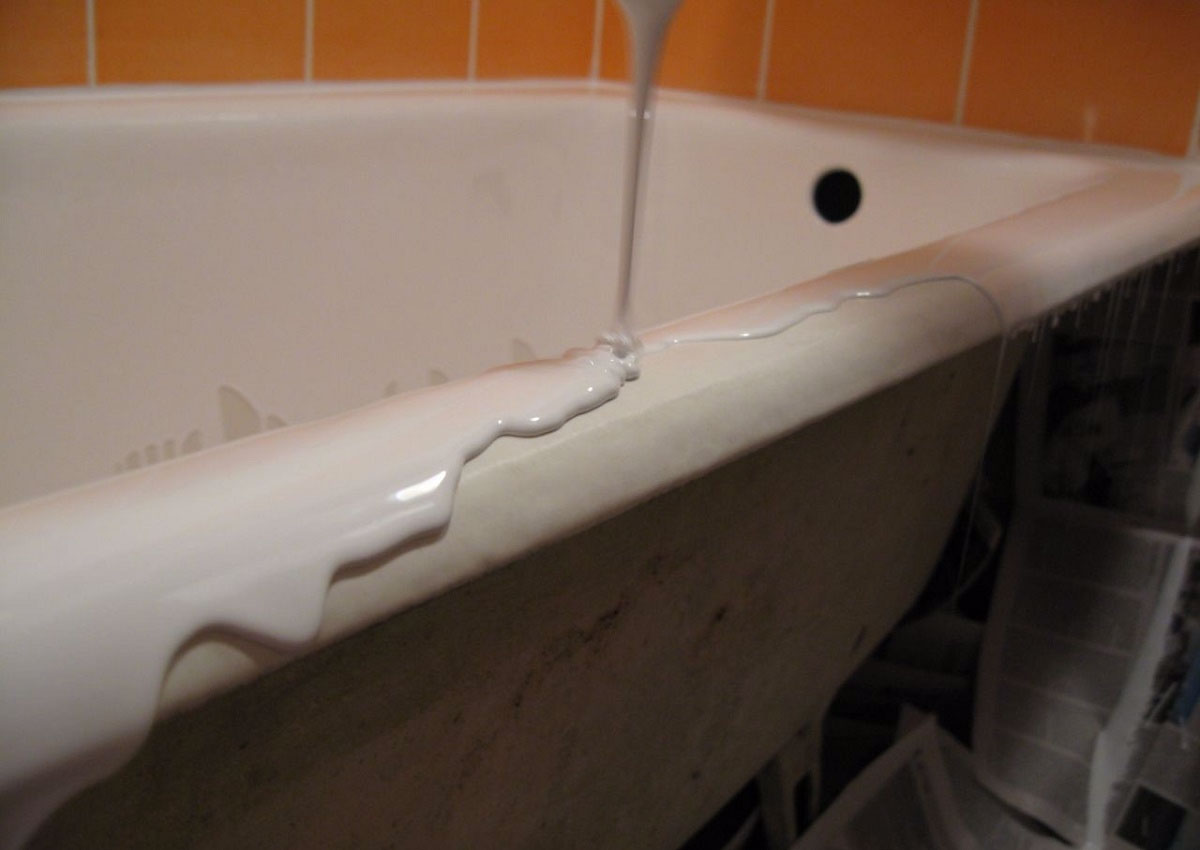
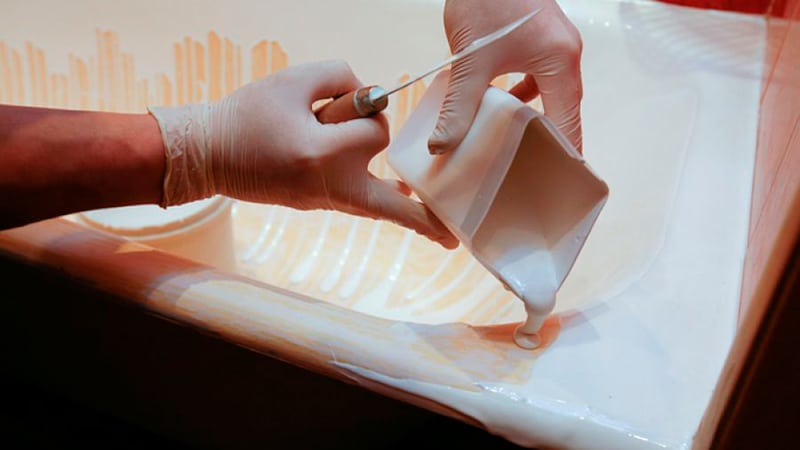
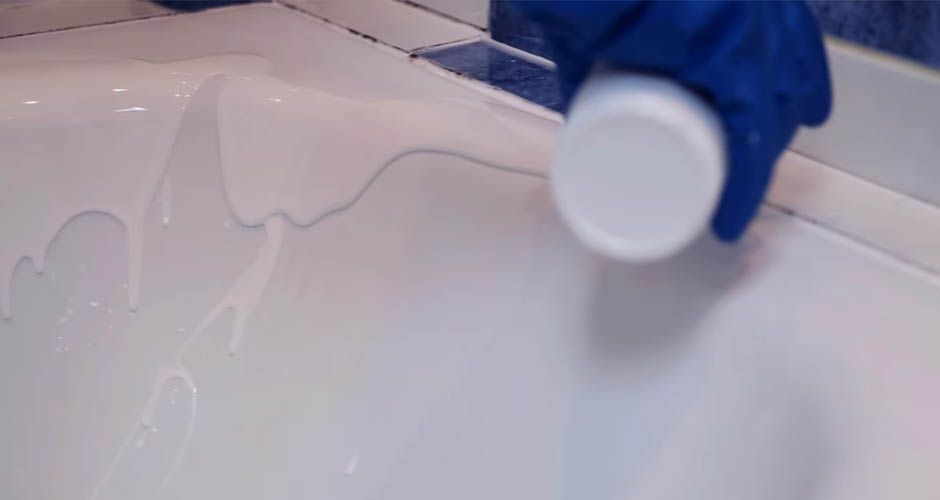
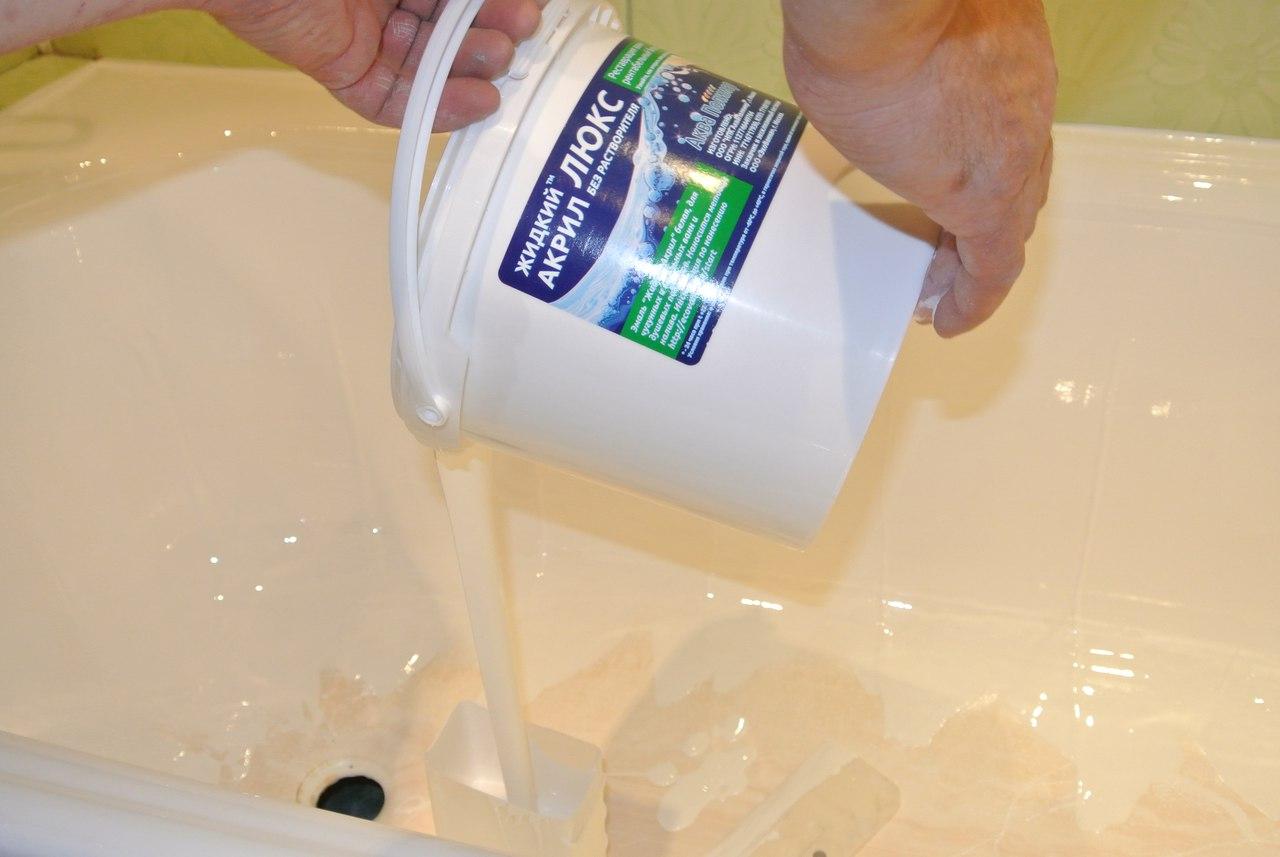
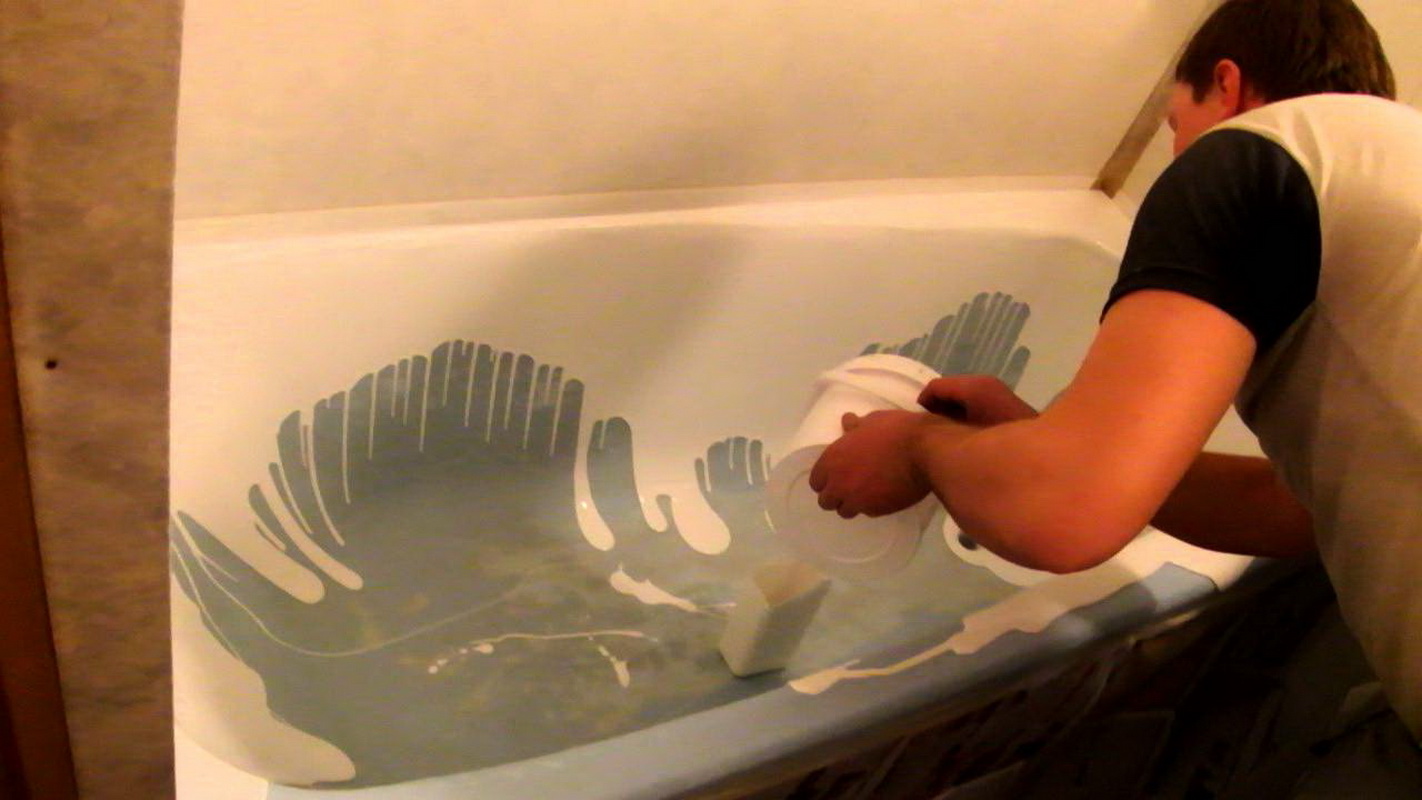
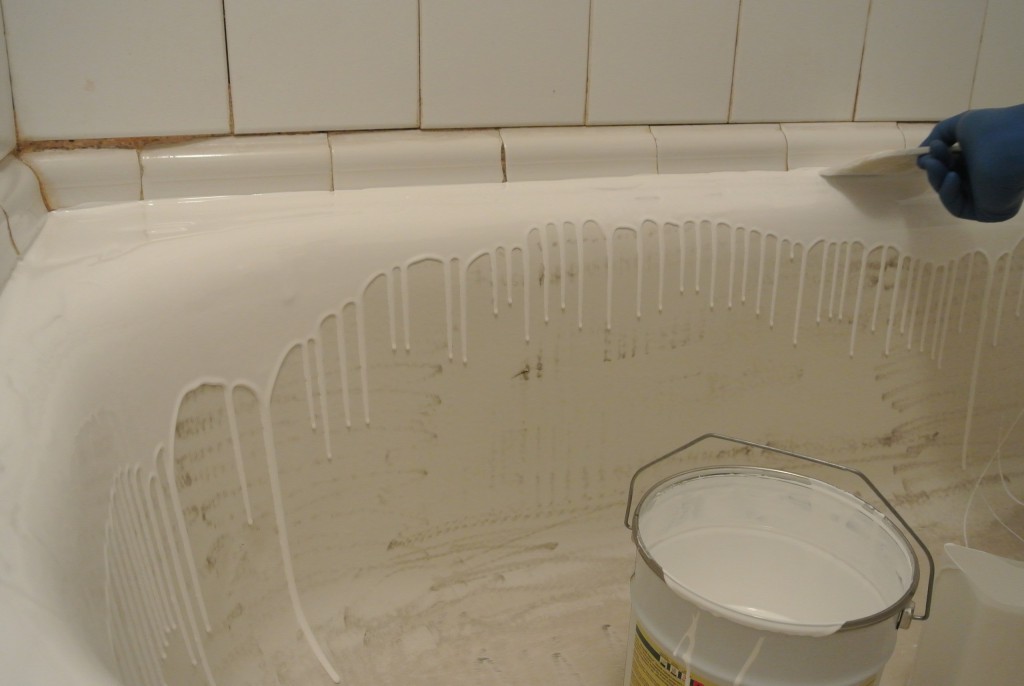
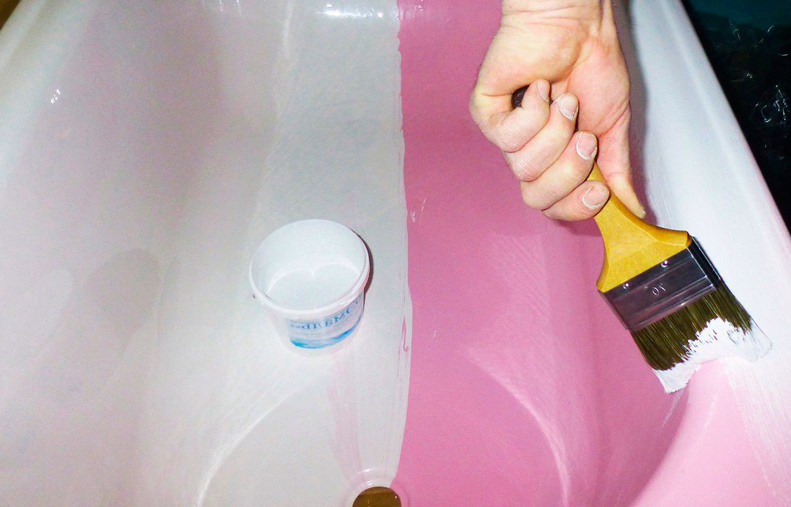
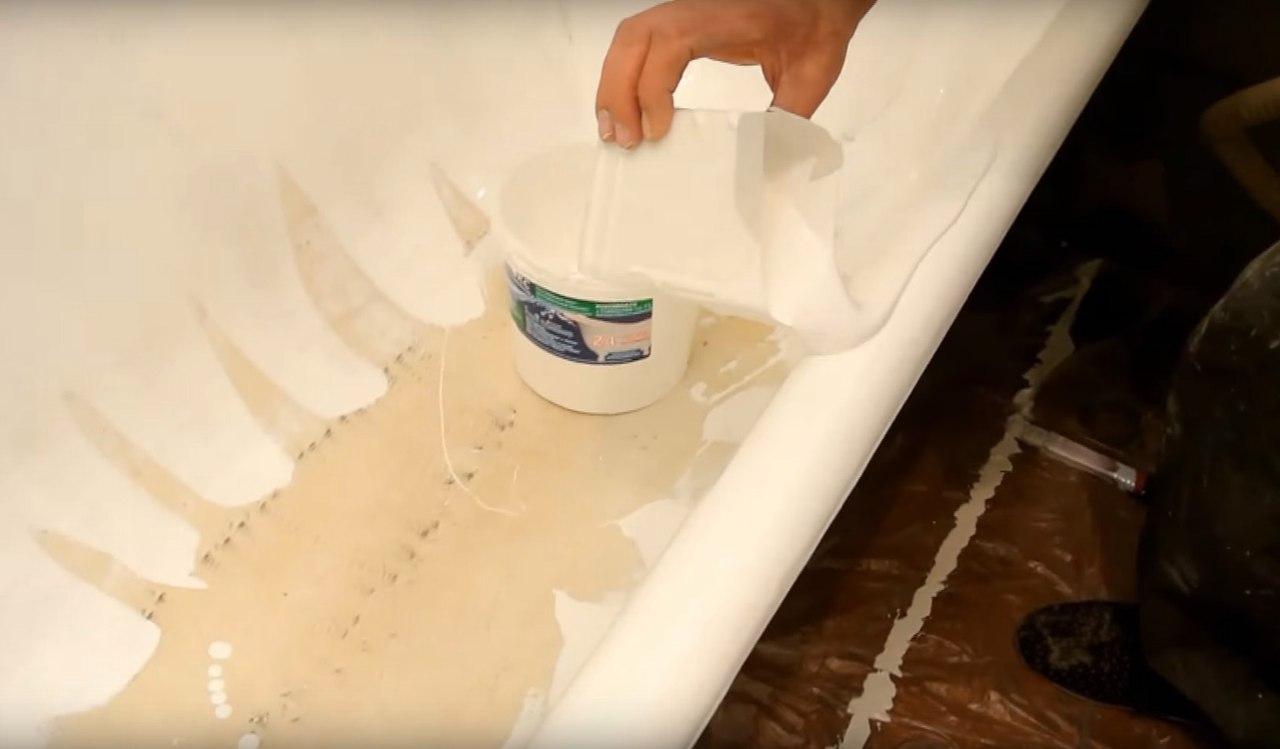
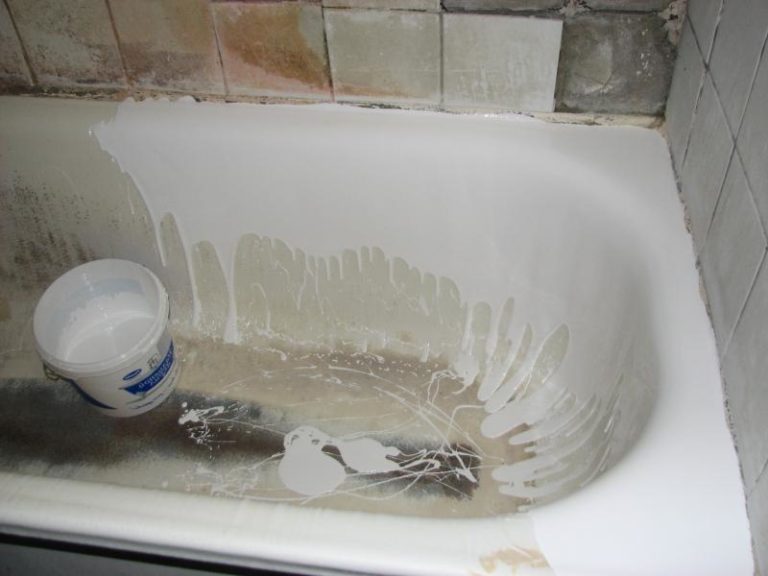
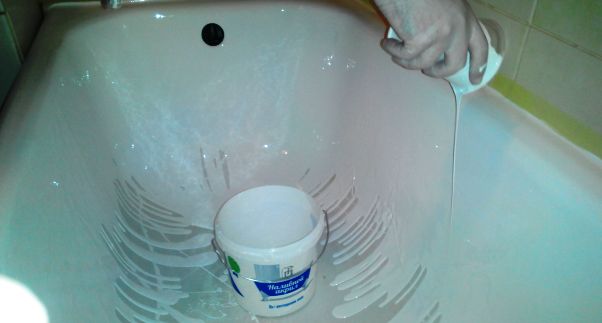
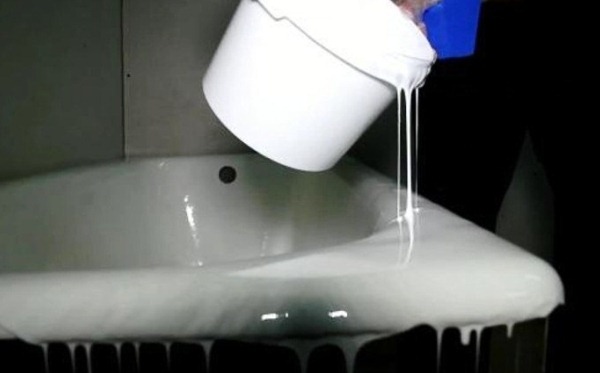
Before the start of the work, the acrylic composition must be kept for a certain period of time (usually this time is 15–20 minutes), which is indicated in the instructions for the material, and only then can the restoration be started. The process of applying liquid acrylic to the surface of the bath consists in that the walls of the bowl are covered from top to bottom with the prepared mixture, and then the filling is leveled with a spatula, and the streams that have appeared are removed. To do this, the composition is poured into a container with a small spout or in a deep volumetric glass with high walls.
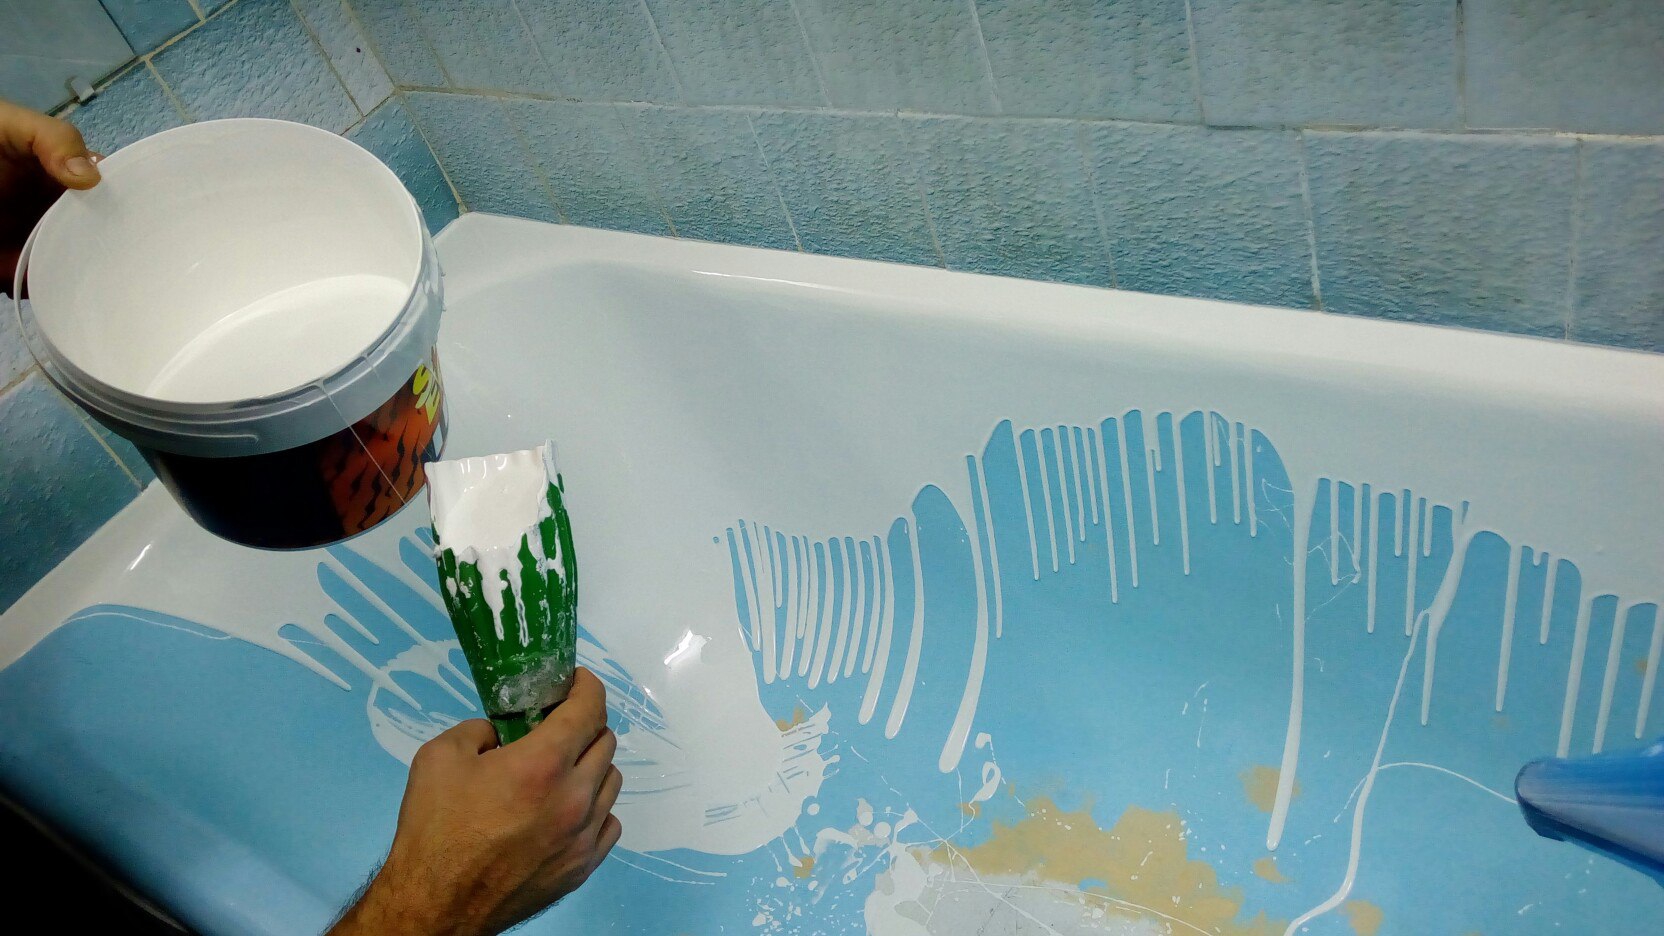
Experts advise to collect in a tank for pouring acrylic a sufficient amount of material. This is necessary in order to cover as much surface area as possible with a single pass. The fact is that excess acrylic will flow through the drain hole in the bath, and when you repeat the passage of the same area, volumetric smudges and nodules may form on the treated surface,which is quite difficult to subsequently smooth with a spatula without damaging the resulting layer.
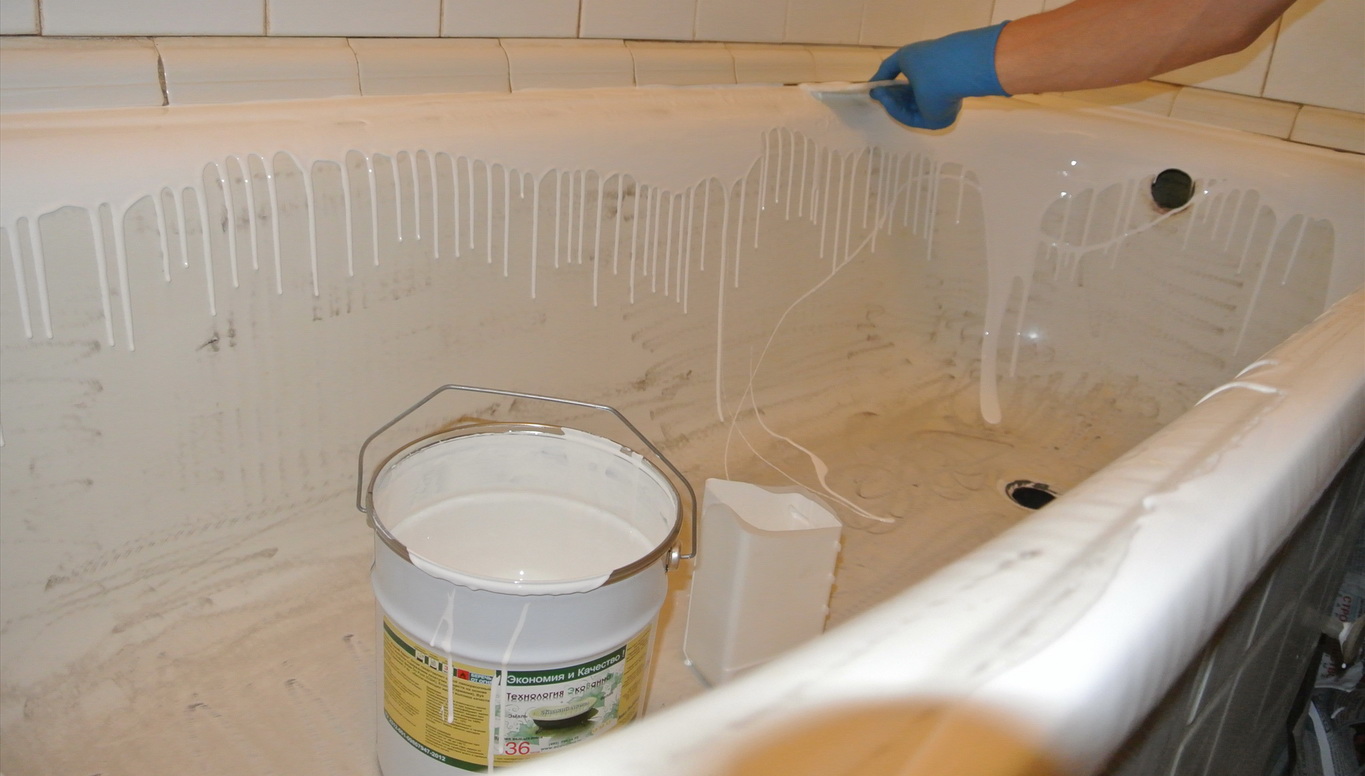
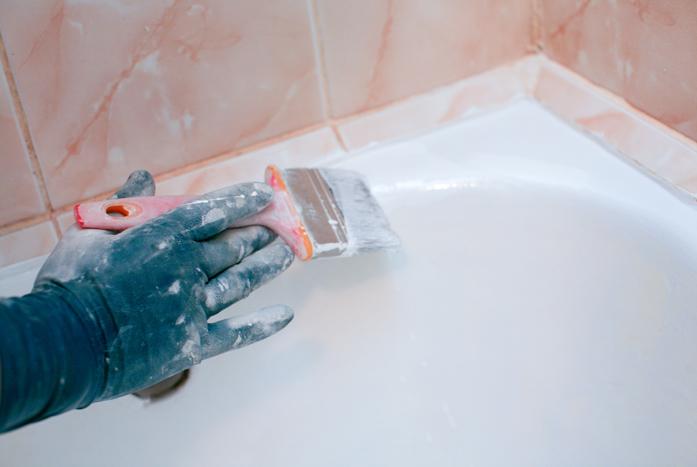
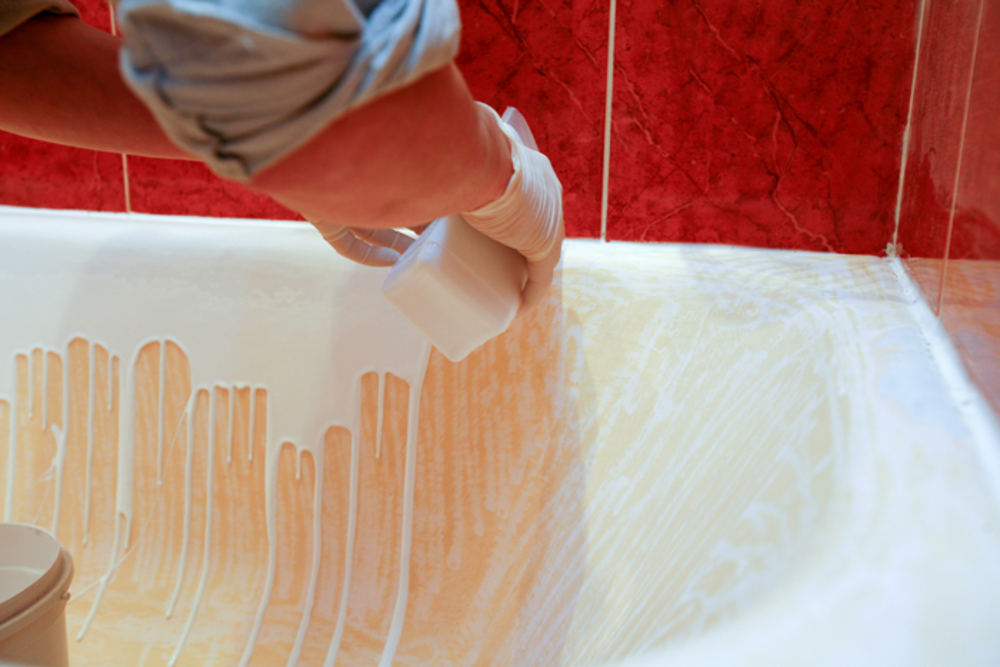
Initially, it is required to pour the sides of the bath, bordering the wall. At the same time, the material is poured in a smooth thin stream, distributing it evenly and avoiding gaps. Then the filling surface is neatly leveled using a narrow trowel with a soft rubber nozzle (the use of a metal trowel without a nozzle is prohibited). After that you need to cover the outer side of the bath using the same technology. When applying a liquid acrylic mixture, it is important that it covers about half of the old surface, and the layer of material is from 3 to 5 millimeters. At this painting the first round is completed.
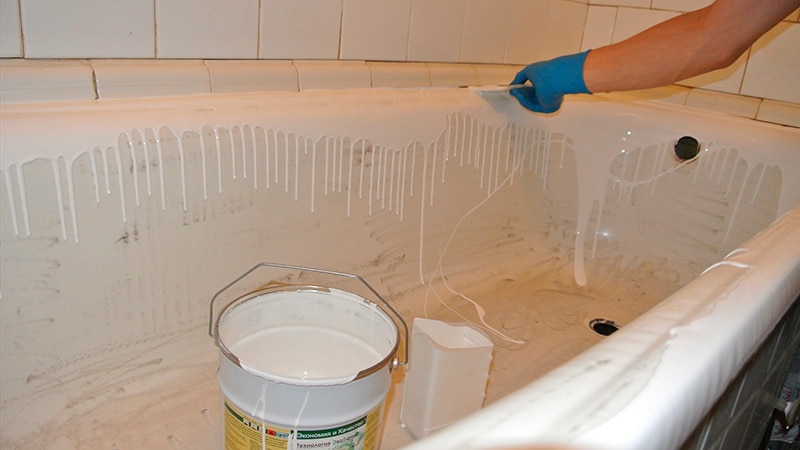
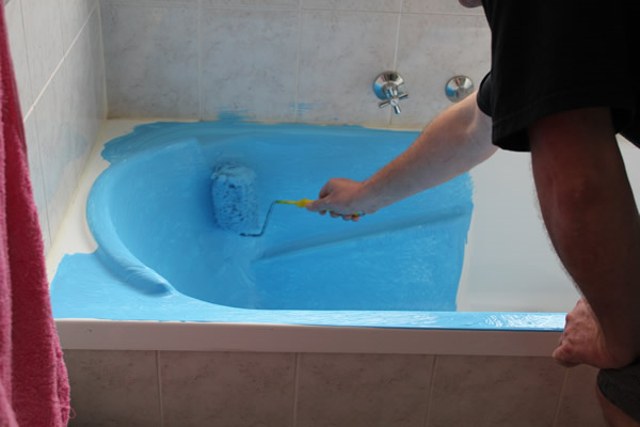
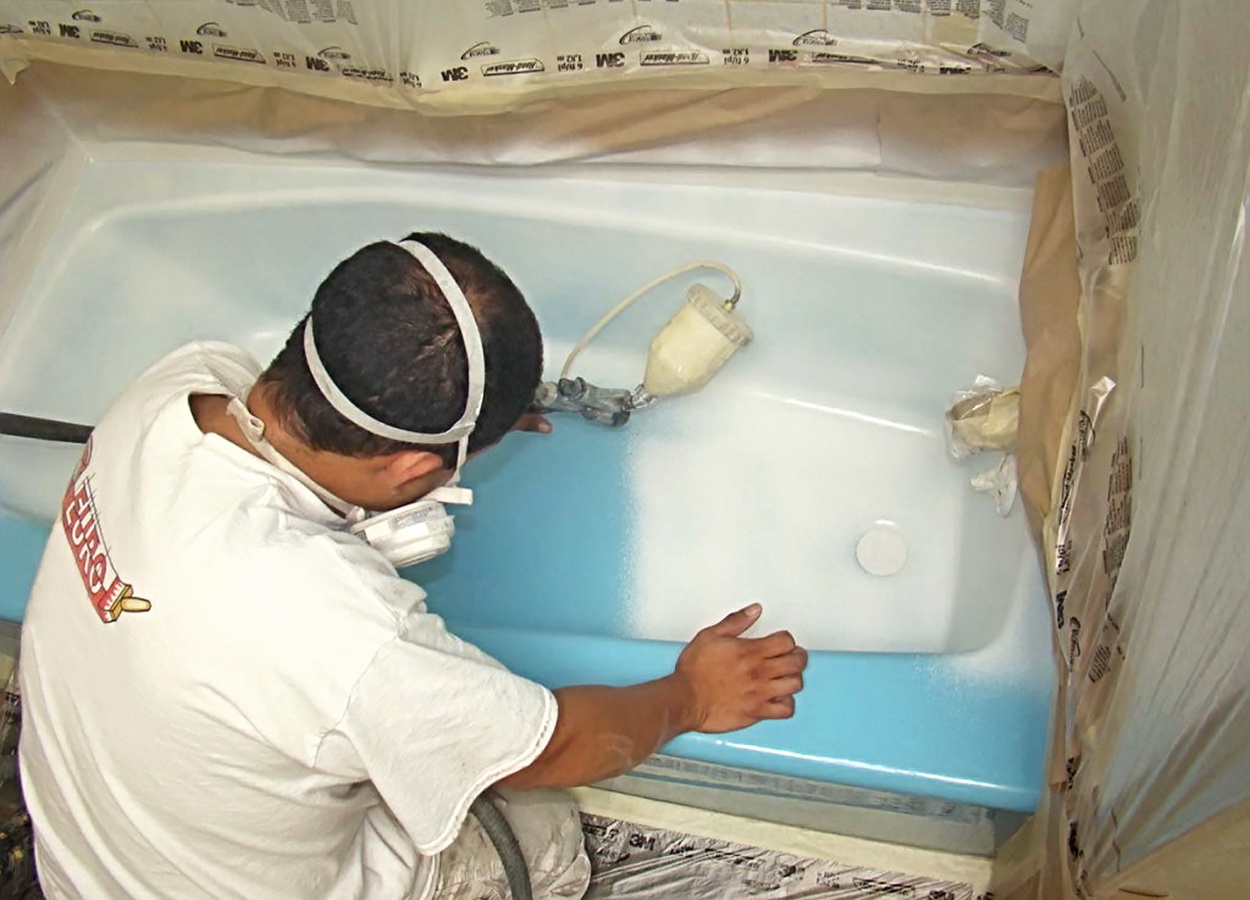
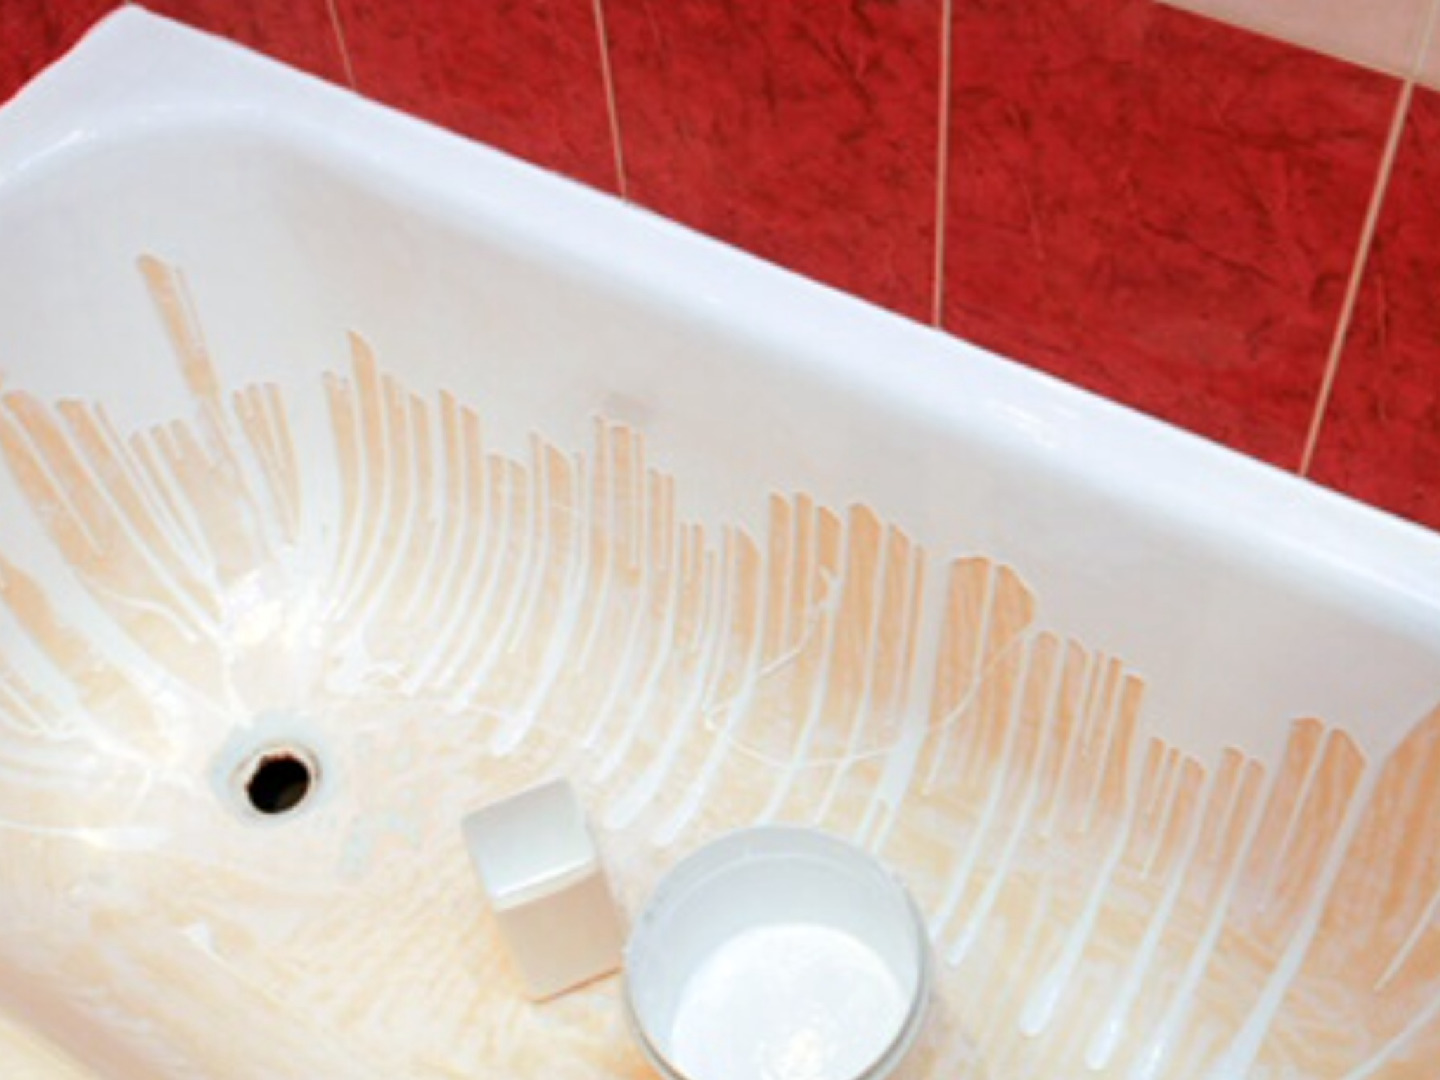
Next you need to paint the walls of the bath around their perimeter. To do this, the acrylic is also a thin stream to be poured onto the walls until the whole bath bowl is completely covered. At this stage, the coloring of the perimeter and the bottom of the bowl is completed. Now you need a spatula with a rubber nozzle to align all nodules and to achieve a uniform distribution of acrylic on the bottom of the bowl. It is necessary to level the acrylic with light tangential movements, in no case going deep inside the material, as well as lacking the bottom and walls of the bowl.Small irregularities in the process of polymerization material aligns itself, and all the excess acrylic will flow through the drain hole in the tank, which you have substituted under the bottom of the bath in advance.
Drying
After the process of applying and leveling the liquid acrylic material to the walls and bottom of the bath is completed, the bulk of the work can be considered completed. Now acrylic takes time to complete the polymerization process. Usually this time is indicated on the factory packaging of the material and averages up to 3 hours. To determine the quality of work and eliminate villi or particles that accidentally hit the treated surface, turn off the electric lighting and use the lamp with the UV radiation spectrum: in the ultraviolet rays all foreign objects on the acrylic material are very visible. They need to try to carefully remove before the end of the polymerization process.
The end of the drying process in some cases takes up to 96 hours.therefore, you need to be prepared for the fact that you can use the bath for its intended purpose no earlier than this period.The polymer material dries depending on its layer thickness: the thinner the layer, the faster the polymer reactions occur in it and the material hardens. In the process of drying it is recommended to close the door to the bathroom tightly and not open it until the end of the time the material is ready for use. In such conditions, the acrylic material is better fixed on the surface of the bath, and the possibility of impurities on the treated surfaces is excluded in the form of hair, wool, dust, water droplets.
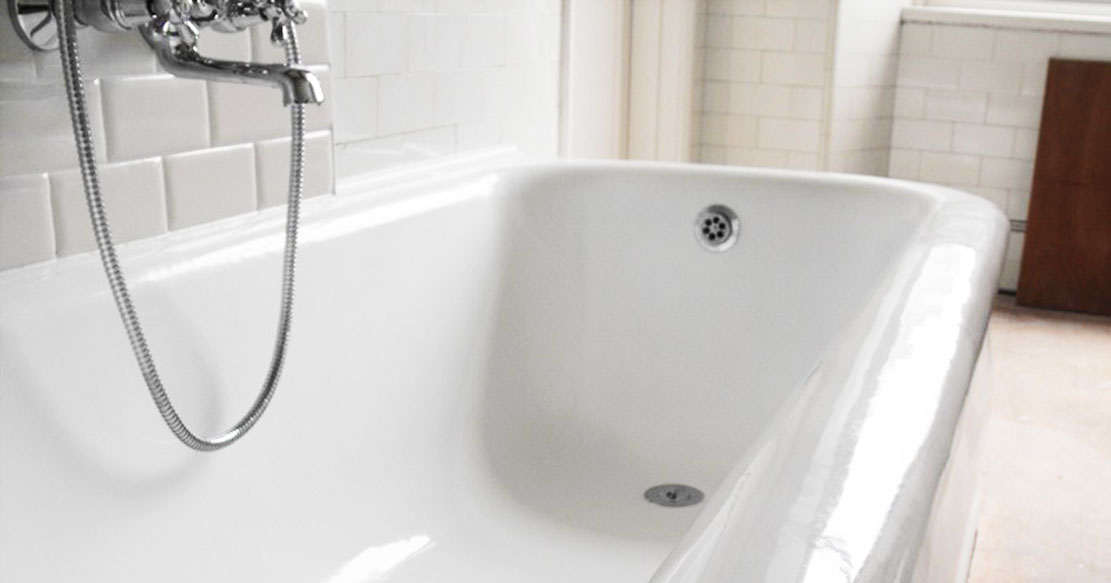
The final stage is the removal of excess acrylic flows on the edges of the bowl - they are easily cut off with a sharp knife. Now you can install plumbing equipment on the bath bowl, but it must be remembered that excessively tight connections are unacceptable: in those places where the acrylic material will be pressed, it is damaged.
Care
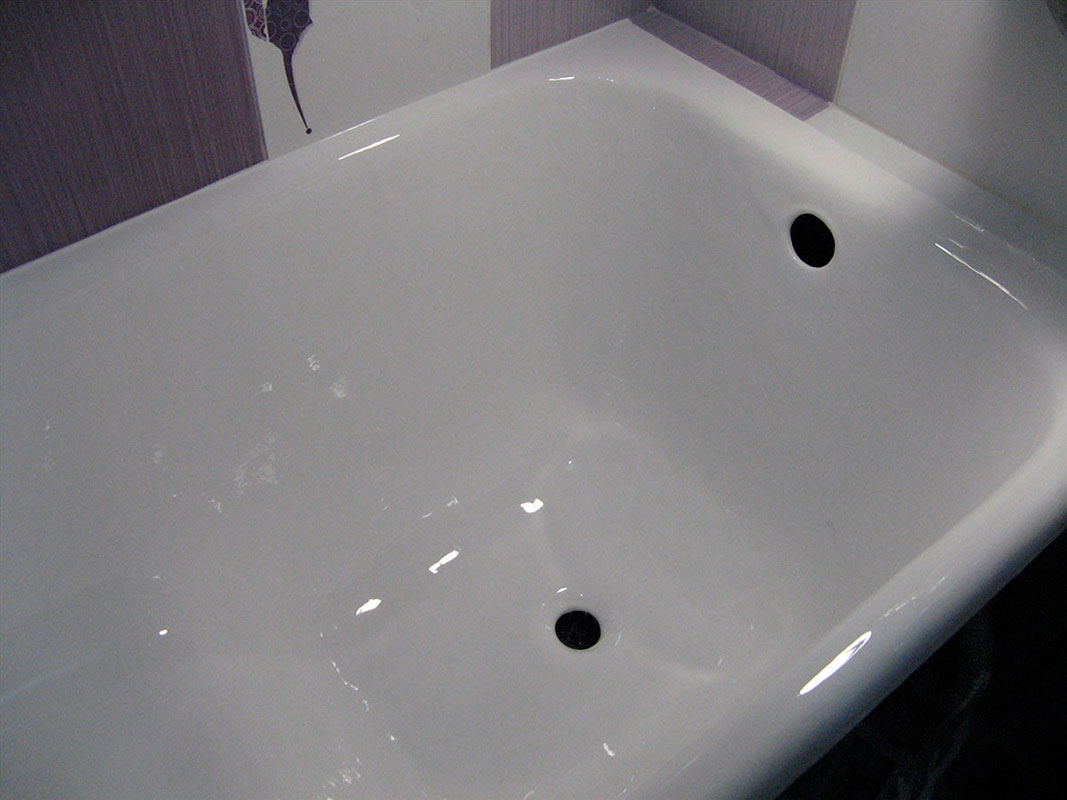
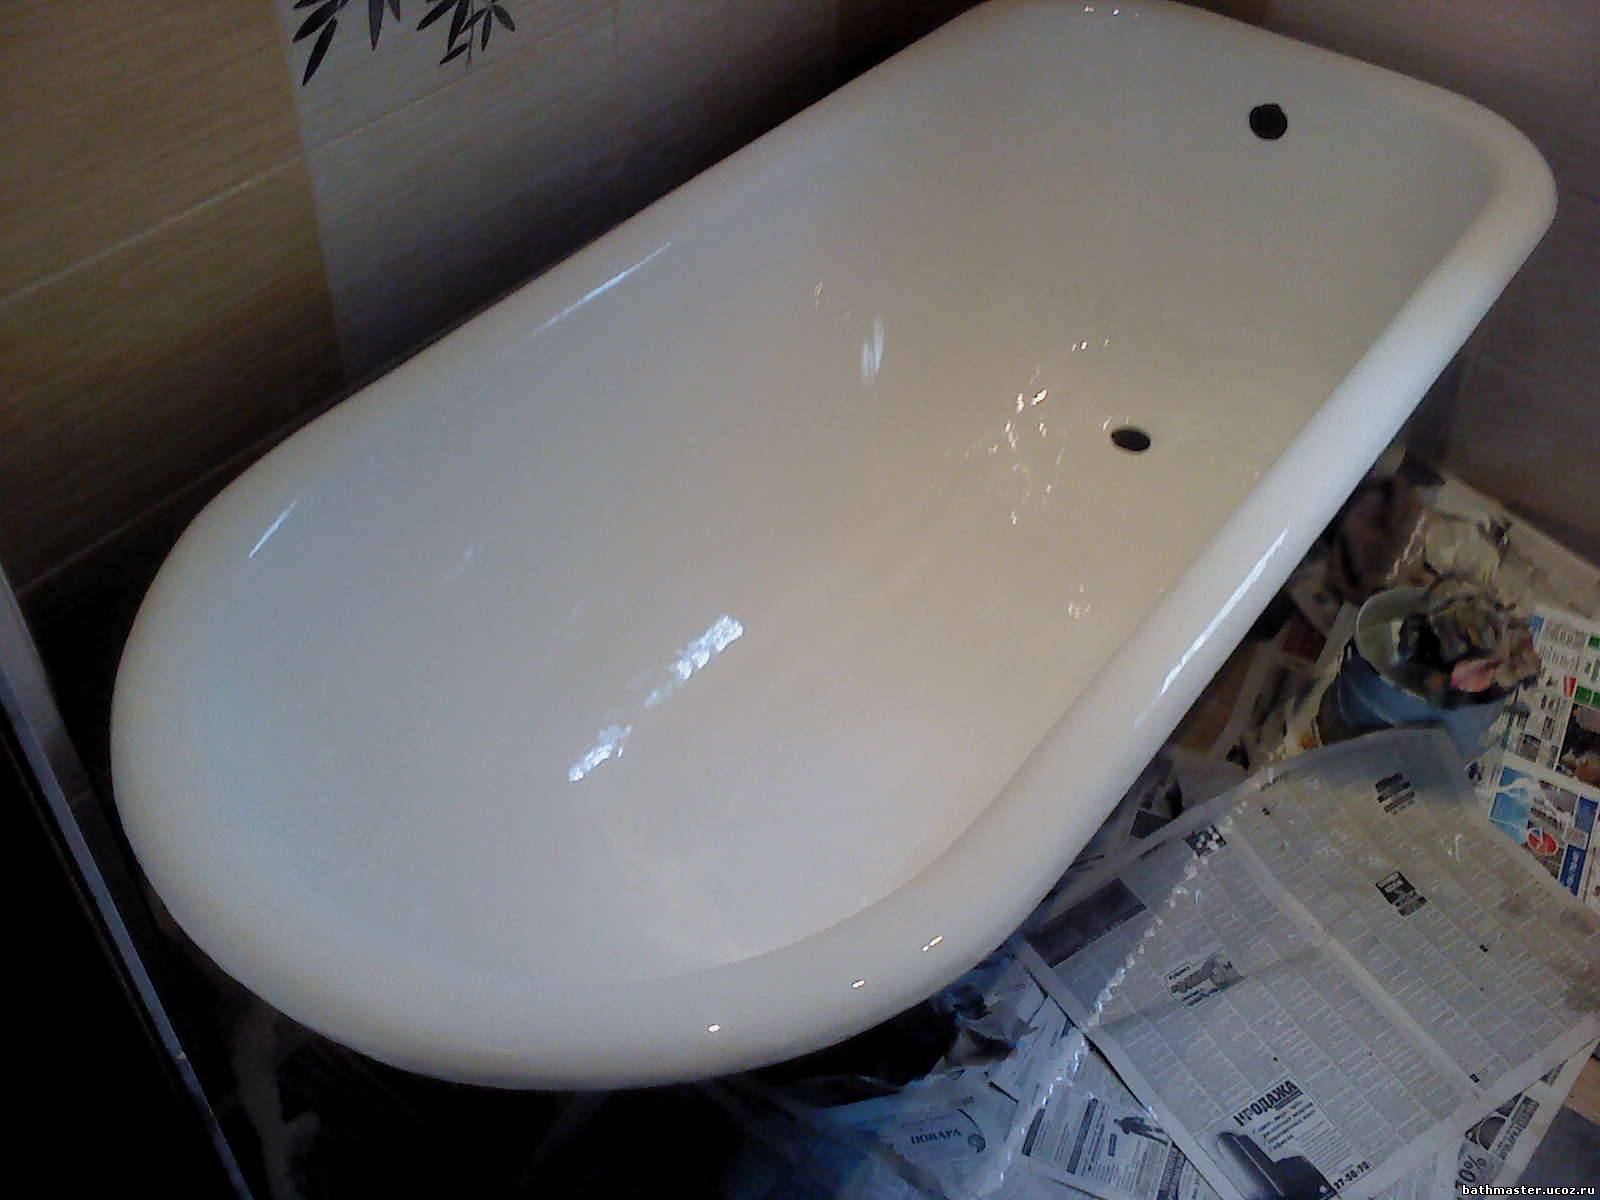
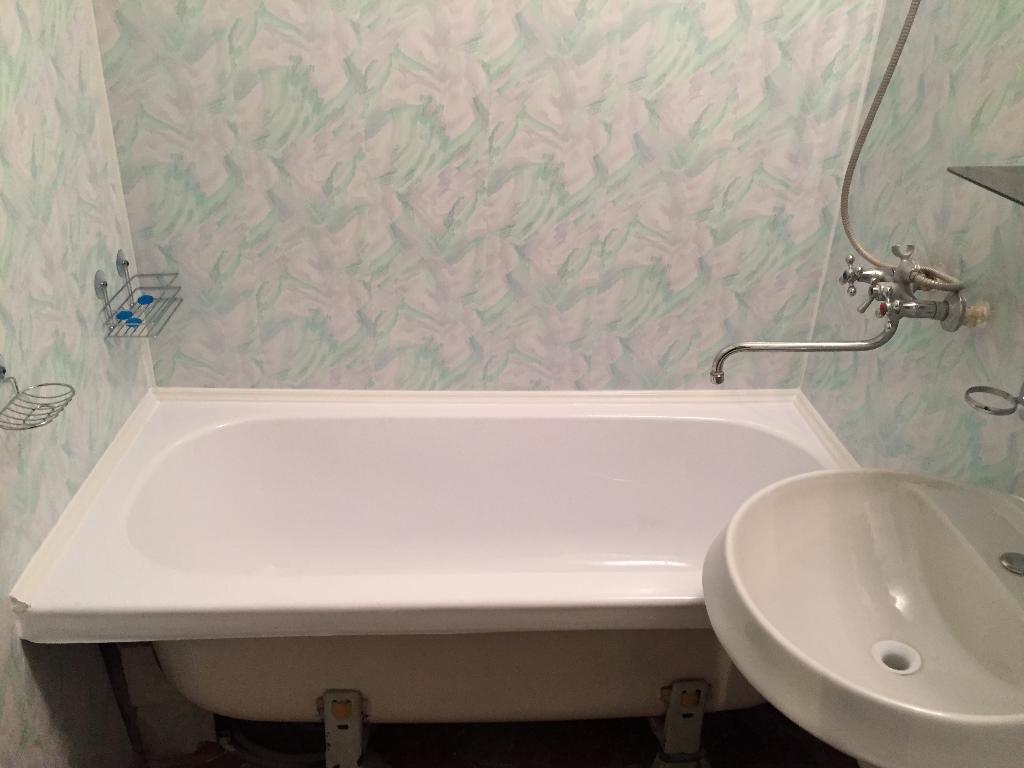
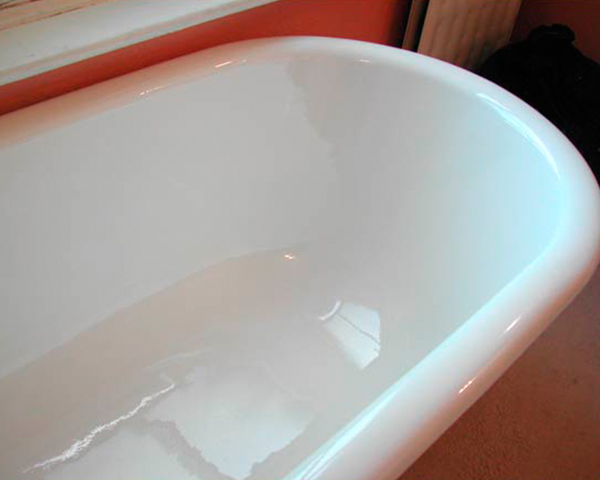
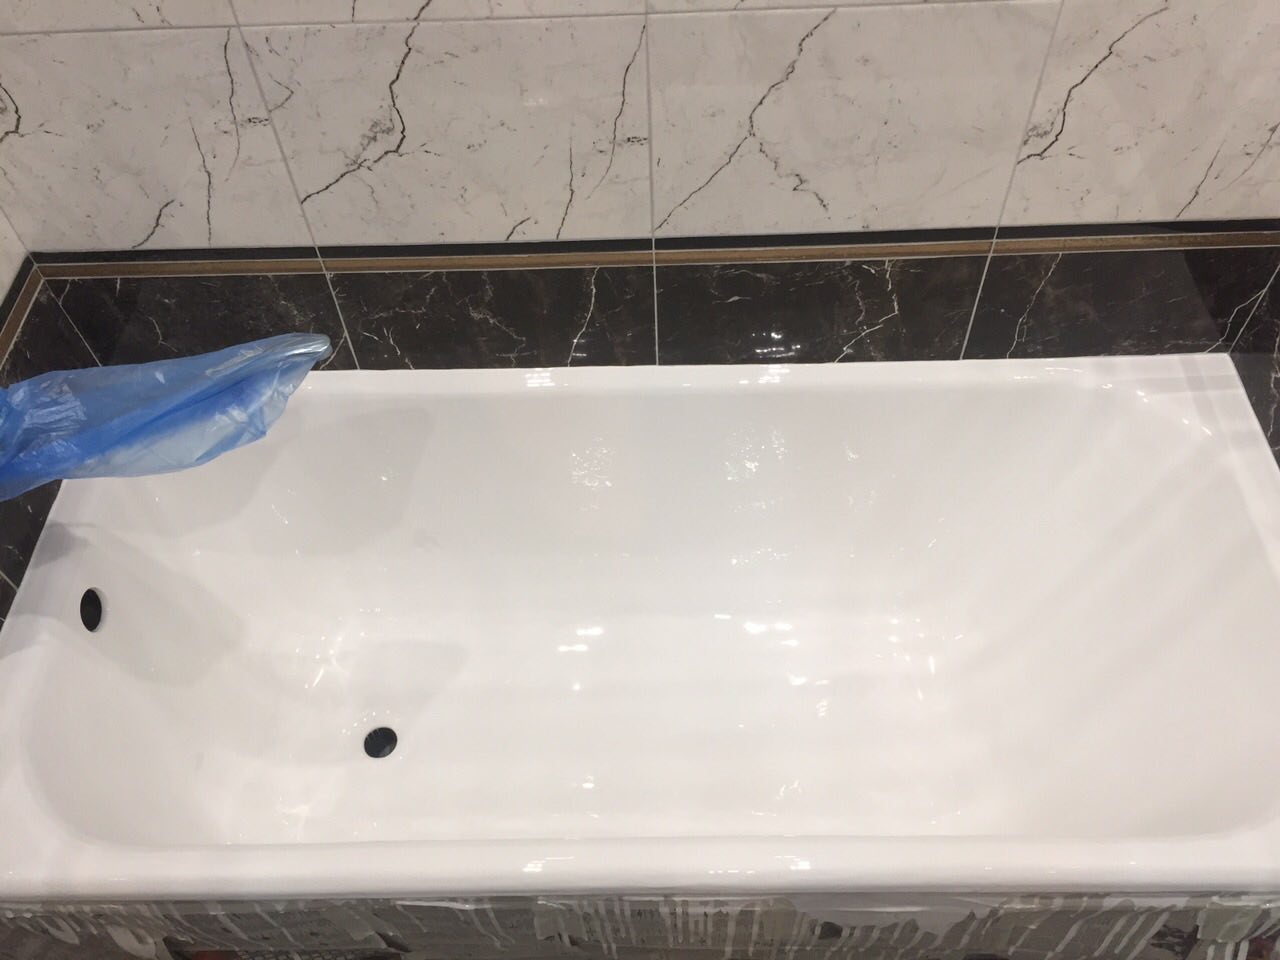
After completion of all stages of work and full polymerization of the material, you become the owner of a practically new bath, which has a strong and smooth coating, and possibly a new color. Care of such a bath is not particularly difficult: all contamination from the surface of the bath can be easily removed with soapy water and a sponge.It should be remembered that the acrylic coating is not recommended to handle abrasives and aggressive chemical detergents. In order to prevent the white bath from yellowing during operation, it is not recommended to soak laundry with laundry detergent in it for a long time, and after each use, wash the surface of the font with soapy water and, preferably, dry them with a soft cloth.

During the operation of the renovated bath, you should try to protect it from impacts. and drops into the bowl of sharp or heavy objects in order to avoid cracks, scratches and chips, which then will be quite difficult to eliminate, and you may have to call a specialist to repair the damaged surfaces again. However, you can remove small defects of the coating on your own, and abrasive polishing will help you.
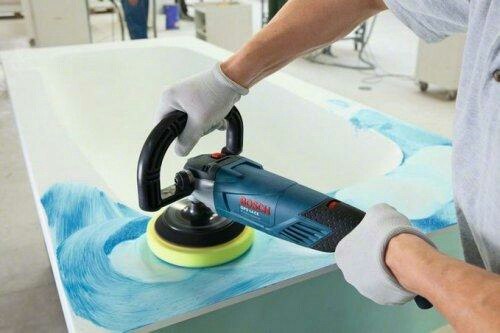
To polish small defects in acrylic bath coating, you will need the following materials:
- synthetic detergent;
- lemon juice or table vinegar;
- silver polish;
- fine sandpaper;
- polishing abrasive mix;
- soft fabric, foam sponge.

The process of polishing an acrylic bath at home is easy to do - just follow a certain sequence of actions.
- Before starting work, the font must be properly washed with a sponge and soap solution of synthetic detergents, and then rinsed with clean water. At the same time, as mentioned earlier, it is not recommended to use those detergents that contain chlorine, oxalic acid, acetone, as well as granular laundry detergent.
- Now you need to carefully examine all the chips and scratches and gently polish them with fine-grained sandpaper.
- If, when inspecting surfaces, you see severe contamination that could not be removed during processing with soap and water, apply a little ordinary toothpaste or silver polish on them and carefully treat the desired area.
- When a hard lime scale appears, lemon juice or acetic acid will help you. To do this, apply any of these products to a small piece of cloth and wipe contaminated areas.
- Now you can apply abrasive polish on the surface of the bath and gently evenly distribute it over all areas with a soft cloth. In order for the polish to adhere, it is washed with a soap solution prepared from a synthetic detergent.
Sometimes a small crack or chip is required to seal on an acrylic coating. This can be done with the same liquid acrylic used to restore the bath.
The technology of this small repair consists of several steps.
- If you need to remove the crack, first of all, you need to expand it a little with sandpaper or a knife blade so that you get a small groove.
- Now you need to degrease the surface with a detergent, which is applied to the sponge and treated them to the necessary area to work, and then rinsed with clean water.
- Next, you need to prepare an acrylic mixture by mixing the base with a hardener. You need to act according to the instructions attached to the specific material.
- Acrylic is applied to the prepared and dried area, completely filling up the chipping or groove of the crack so that the composition is flush with the main surface of the bath wall.If you apply a little more acrylic, it is not a bad thing, since after the polymerization process is over, you will be able to polish its excess with fine-grained emery paper.
- After the composition is polymerized, fully strengthened and dry, the restored surface should be polished with emery paper having a grain size of 1500 or 2500 to smooth out all, even very small, scratches, and then treat with abrasive polish to shine.

As a result of such simple actions, you will be able to correct all the defects of the acrylic coating yourself, without resorting to the services of expensive specialists. If you take care and carefully handle the acrylic coating, as well as regularly take care of it, your renovated bath will look no worse than a new product and will last for many years.
Useful tips
We considered the traditional way of using two-component acrylic, which is used to repair or restore the bath with your own hands. Currently, many manufacturers of polymeric materials began to produce compoundswhich do not require mixing one component with another or have other unique properties.
Consider the most common of these materials.
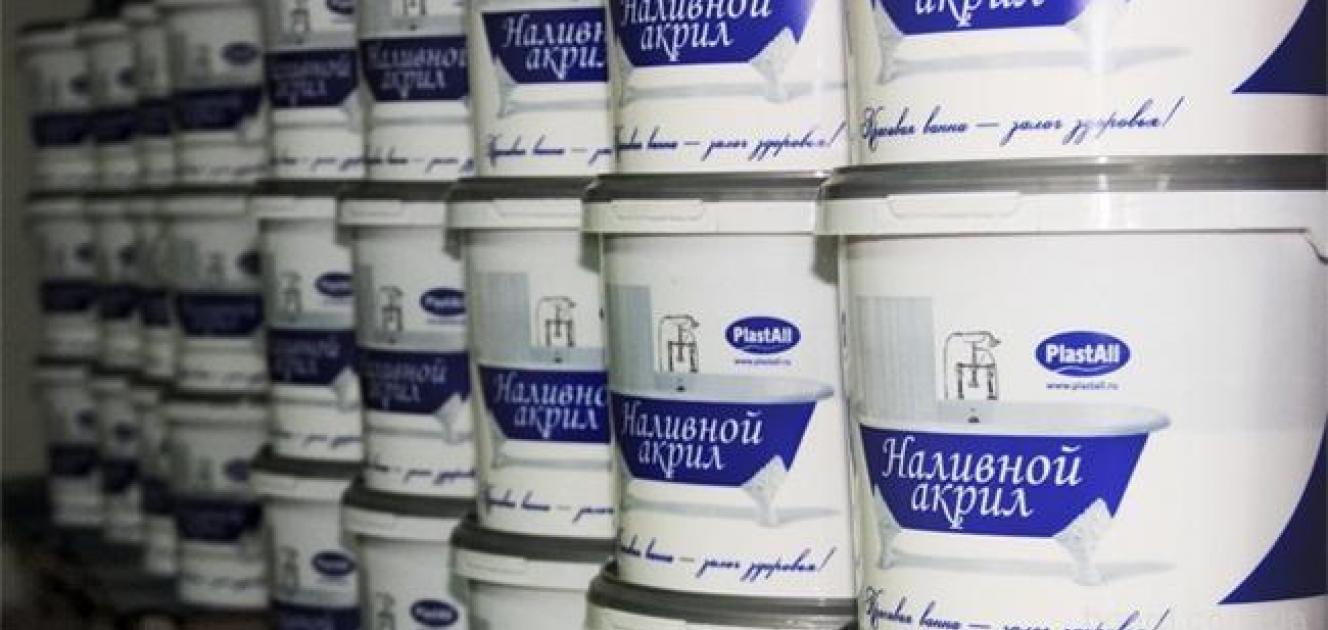
- Plastrol. This is an acrylic material that does not have a strong chemical smell and is of high quality among similar polymer products. This is explained by the high concentration of active ingredients in the composition of this material.
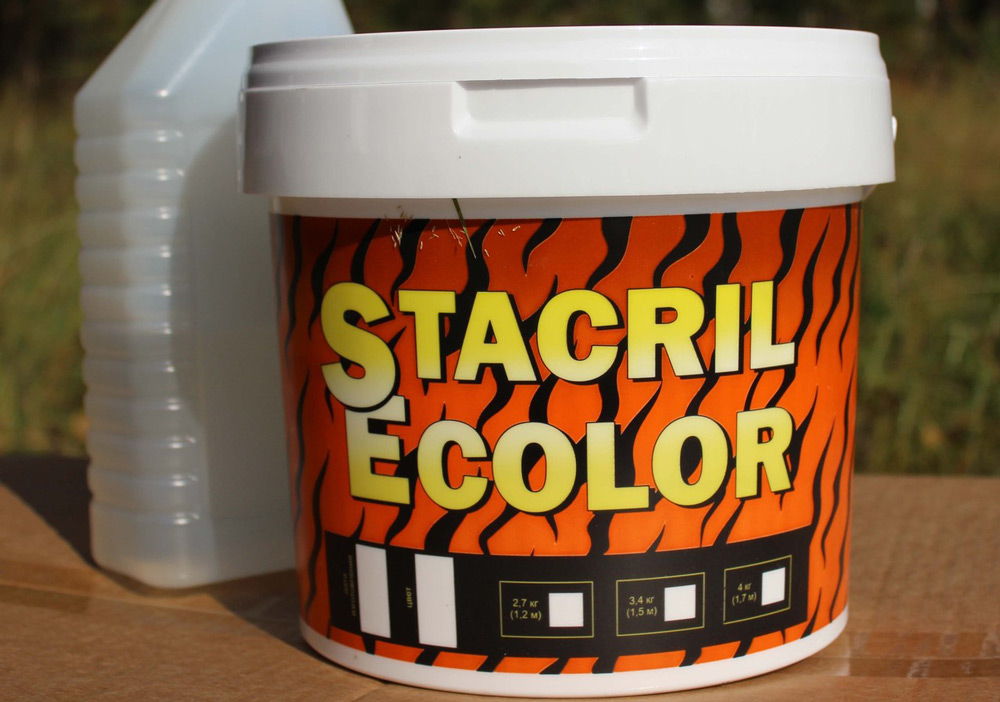
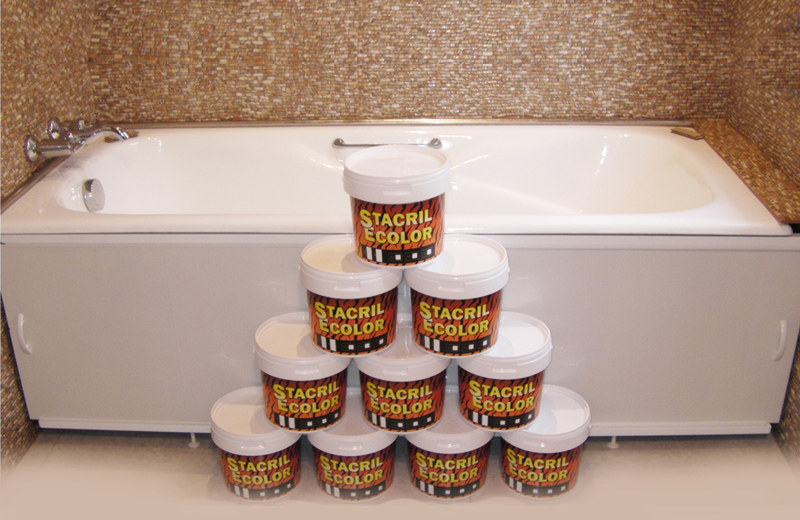
- "Stakril." This material consists of two components and requires mixing them, but the finished product has the unique ability of a fast polymerization process, as a result of which the whole complex of bath restoration work can be completed in just 4 hours.
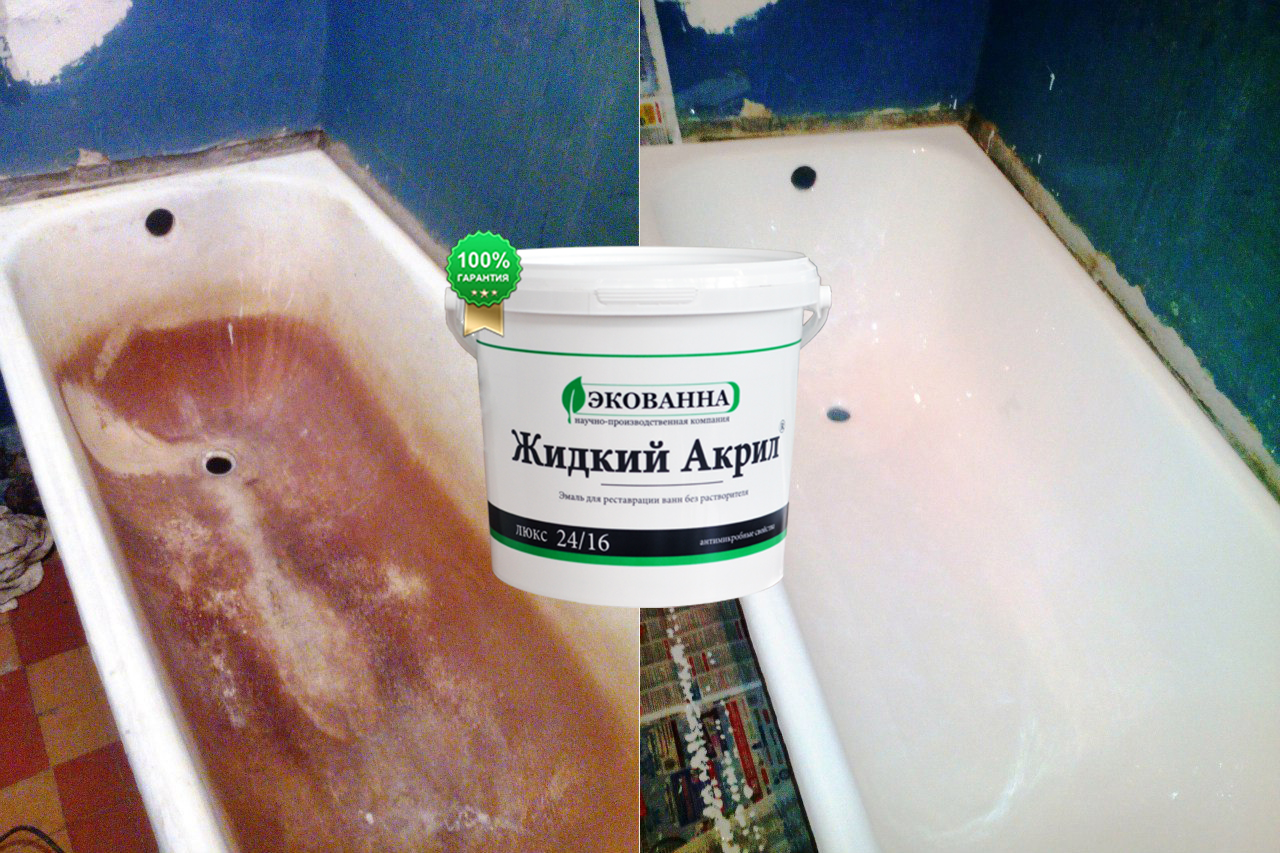
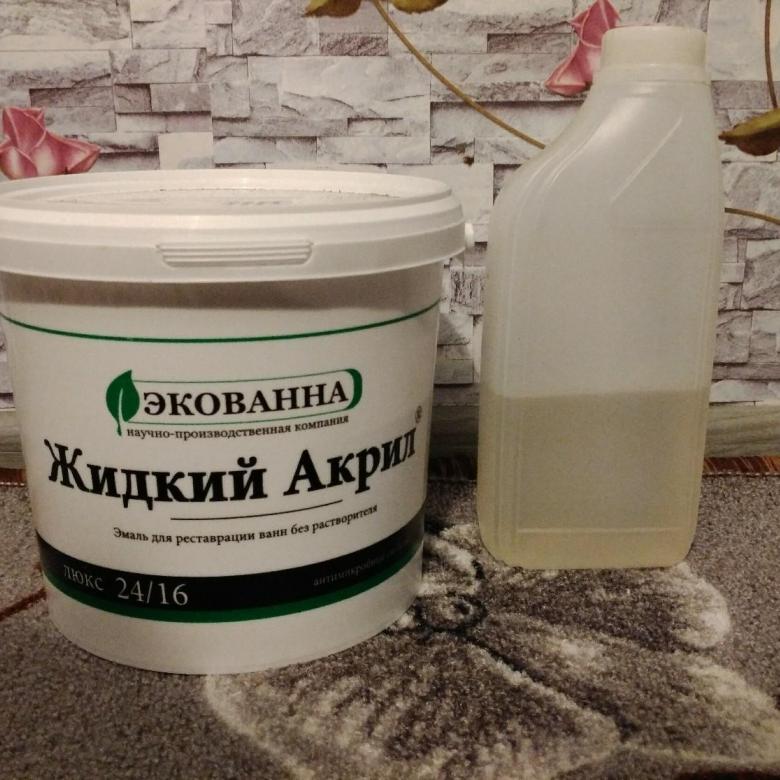
- "Ekovanna". Liquid acrylic with high quality components, allowing you to make a durable and shiny coating on the surface of a metal or cast-iron bath. If the acrylic bath for some reason cracked, it appeared scratches, chips, deep gaps, they can also be repaired using this composition.
Trademarks of liquid acrylic are improving more and more each year., introducing new types of polymer compositions with modified properties to the market.Therefore, experts recommend to pay attention to such innovations when choosing materials for the complex of restoration works and give preference to brands with improved characteristics. In retail chains specializing in working with plumbing assortment, acrylic and hardener can be purchased for 1200–1800 rubles. More modified brands with improved performance may cost a little more. But in any case, these costs are incomparable with the purchase of a new bath, its delivery and installation work on installation.
During the work with liquid acrylic during the polymerization and in the process of pouring the material on the surface of the bath chemical substances evaporate, which have a not quite pleasant smell. Not every person can tolerate this smell adequately. For this reason, at the time of this stage of work, people suffering from frequent headaches, allergies, asthma, as well as the elderly, young children and pets are best removed from the apartment, so as not to provoke their health problems. This circumstance is also one of the reasons why it is recommended to keep the doors to the bathroom while drying the acrylic coating tightly closed.
In some cases, if the damage to the walls of the bath is deep and voluminous, which will require proper filling and subsequent leveling, liquid acrylic must be applied to such surfaces not with one layer, but with two layers of material. It should be remembered that the second layer of acrylic can be applied only in the case when its first layer is completely polymerized and finally dried out. In addition, in this case, it is necessary to take into account the fact that the deadlines for the completion of work will be twice as long - to disrupt or artificially accelerate the polymerization process and drying using heating devices is impossible.
After completion of the restoration of the surfaces of the old bath, experts recommend not to expose the font to the sharp effects of temperature differences. - When filling the renewed bath, it is best to pour warm water and avoid boiling water. In doing so, you will save acrylic from cracking, which may eventually appear due to improper use of this material. In addition, it is necessary to remember that any acrylic is very afraid of even small and seemingly minor scratches,Therefore, metal pots, buckets, tanks and other similar items are best not to put in the bath: they can not only scratch the surface, but also leave hard-wearing stains on it. It is also not recommended to pour into the bath any coloring solutions, herbal decoctions, manganese potassium solution, use colored sea salt, and also, if possible, avoid washing things painted with unstable aniline dyes - all this will very quickly change the original color of the acrylic bath coating.
If you have planned to do a major overhaul or redecoration in the bathroom, then first you need to do the whole complex of the necessary work and only in the last turn to engage in the restoration work of the old bathroom. This is necessary in order to protect it from unexpected damage during the repair process. The dirty and dusty stage of work on the basic cleaning of the surfaces of the font can be done at any time, but the final stages with pouring acrylic are best done in a clean room.
Modern acrylic mixtures are used not only for restoration, but also for the repair of acrylic baths. If your acrylic bath has a crack, you do not need to wait until it gets even deeper and eventually lead to the final destruction of the structure. In addition, a black mold appears in such cracks, which is almost impossible to completely remove. To prevent this from happening - do not delay this process and start repair work as early as possible.
To learn how to restore the bath with liquid acrylic, see the next video.


