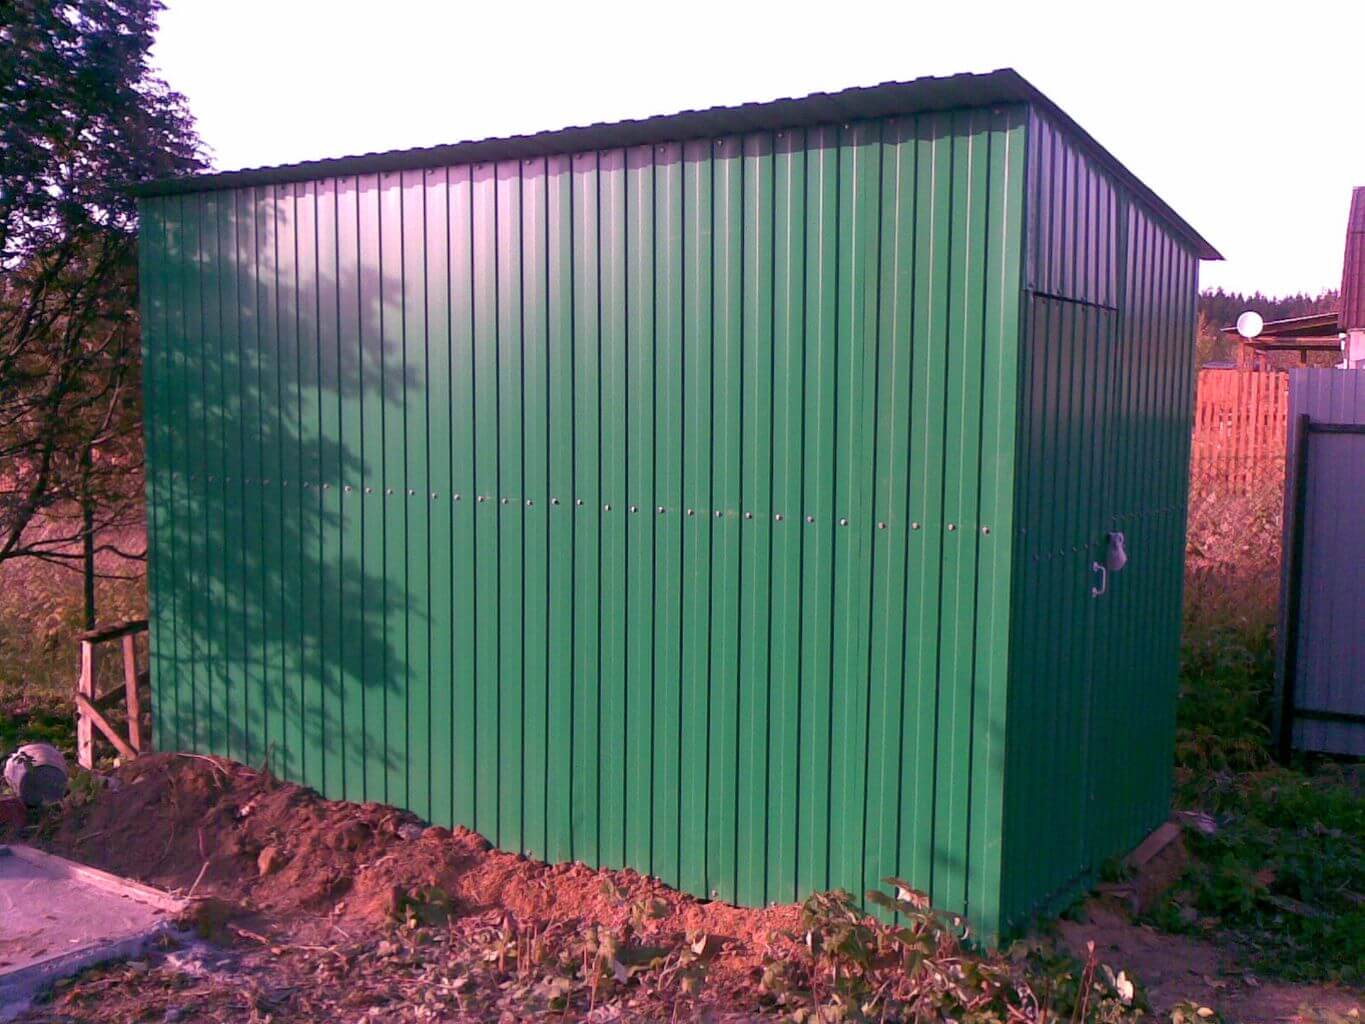
How to build a barn of corrugated?
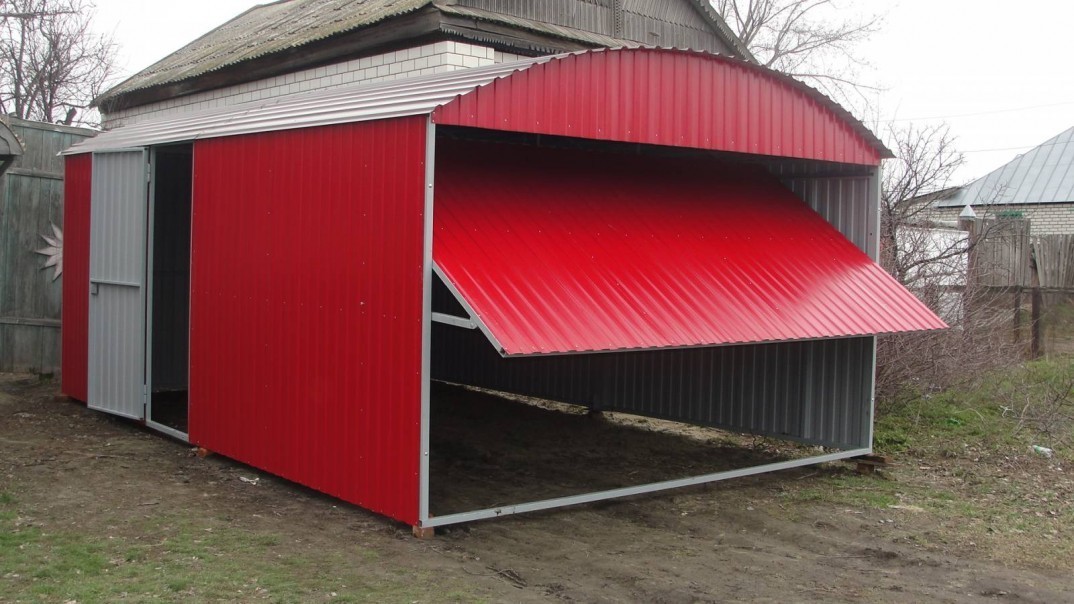
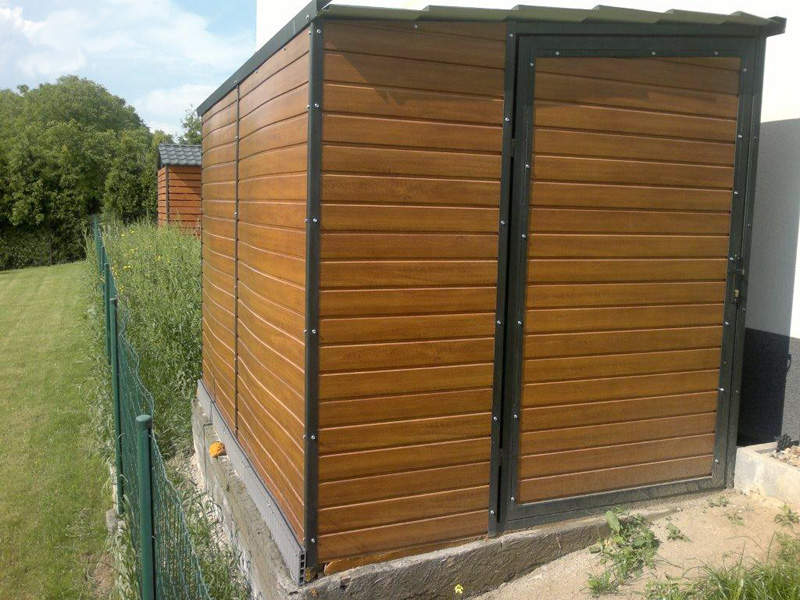
A shed is a necessary component of almost every suburban area and home gardens. Do not do without him and in the country. More often for the construction of sheds in the course is profiled steel sheet.
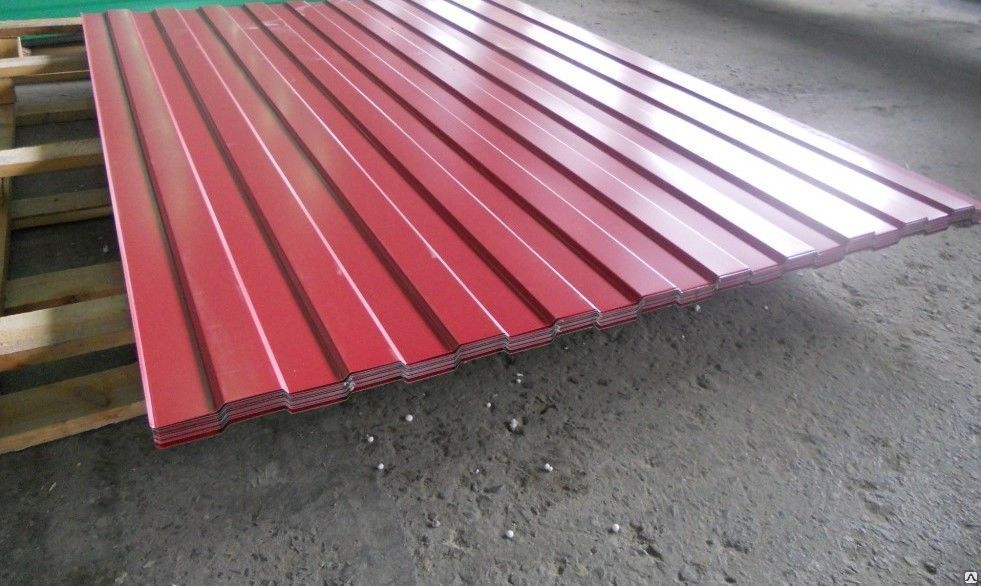
Features of the choice of material
The choice of metal profile before construction is required to pay special attention. And the point is not only that it is necessary to eliminate confusion between the material intended for the walls and the profile for finishing the roof. The sheet, which is intended for the facade, is marked with a capital letter "C". After it is a numerical index, from 8 to 21, a lot of talking to professionals. The metal profiles of the C8 and C10 groups are recommended for the inside of the walls, all other brands are allowed to be installed outside.
If you need to make the strongest wall possible, it is advisable to use sheets with corrugations reaching a height of 18-21 mm. But, besides the parameters of the corrugations, it is worth thinking about the width of the grooves, which directly affects the total stiffness of the product. The best grooves are those that drain the rainwater down and prevent it from penetrating under the cover. They make the wall more durable than the most simple solutions. It is very important to calculate the load in advance so as not to mount unnecessarily expensive structures and not to face the risk of collapse.
But saving on the quality of professional flooring does not justify itself at all. Good steel with a zinc layer still quickly rust under the pressure of rain and snow. Very soon, characteristic dirty spots will appear. Much more reliable polyester, polyurethane or plastisol. Corrugated sheets can be put on top of the wooden frame both vertically and horizontally, which is important to take into account when calculating the amount of material.
Place on a plot to build
But choosing the right material is just the beginning. It is extremely important to choose a suitable place for a barn from a professional flooring.
The main criteria here are as follows:
- impossibility or inexpediency of growing plants;
- low light;
- convenient access regardless of the time of day and year;
- equidistance in relation to the house, other outbuildings and to the entrance (entrance);
- minimal risk of flooding from rain and snow.
Each of these points is equally important. So, to occupy a space where you can grow vegetables, or at least flowers, impractical. In the barn you want to bring and carry at least sometimes quite significant loads. Therefore, the more convenient it is, the better for the residents. Flooding water can ruin not only the wall structures and the foundation, but also almost any thing.
Sanitary norms prescribe not to build a barn closer than 12 m from residential houses both on its plot and on neighboring households. Even with strict observance of standards, distances to the fence, and so on, it is advisable to discuss your intentions with your neighbors in advance. Conflicts are not worth the benefits of unauthorized choice of location. Usually the building is deployed with windows and a door to the south in order to increase the illumination and speed up the drying. Of course, it is important to remember about the distances from gas pipes, wells, wells, power lines, the maximum allowable slope of the area.
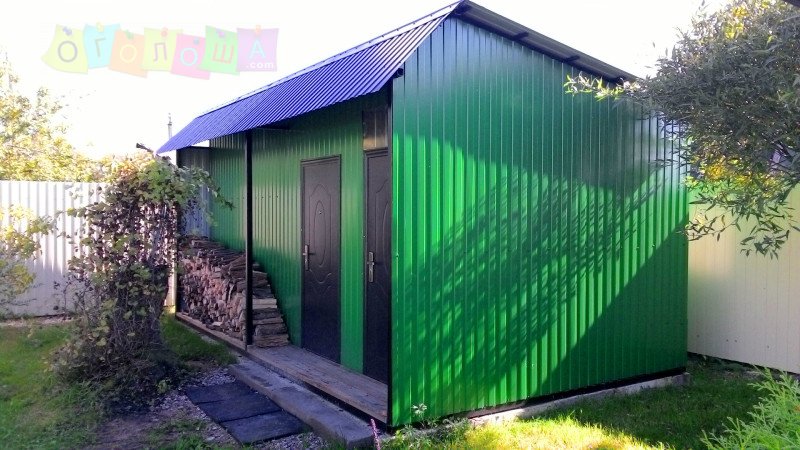
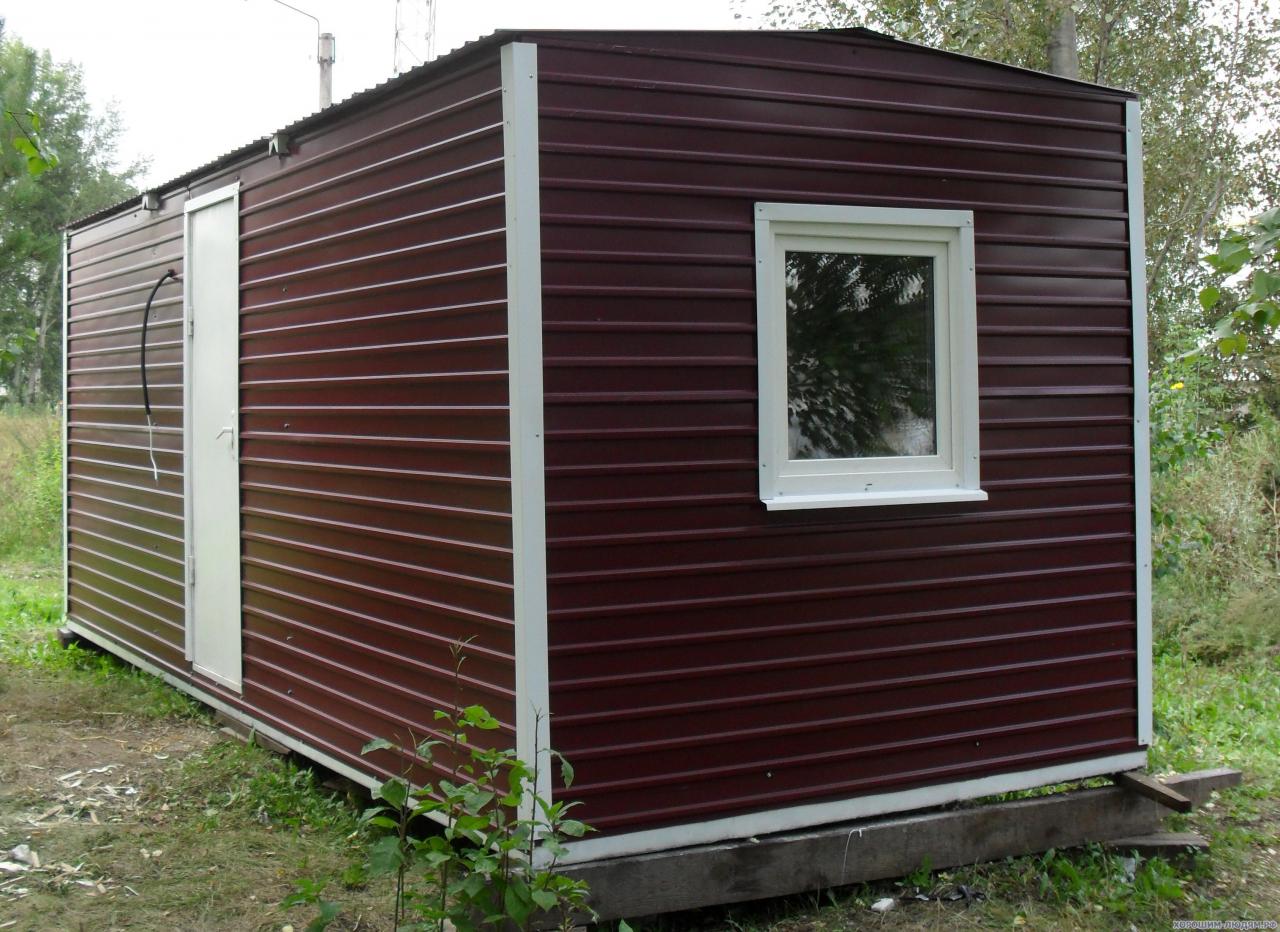
Most of the owners are trying to “hide” the barn behind the house, to bring it closer to the gardens and gardens.This is not only convenient, but also justified by a very unpresentable type of construction. But corrugated structures are an exception, especially if they fit well into the landscape. To decorate the space, choose designs with drawings on the facade or having an original geometric shape. In any case, it is worth thinking about the balance between utility and external grace.

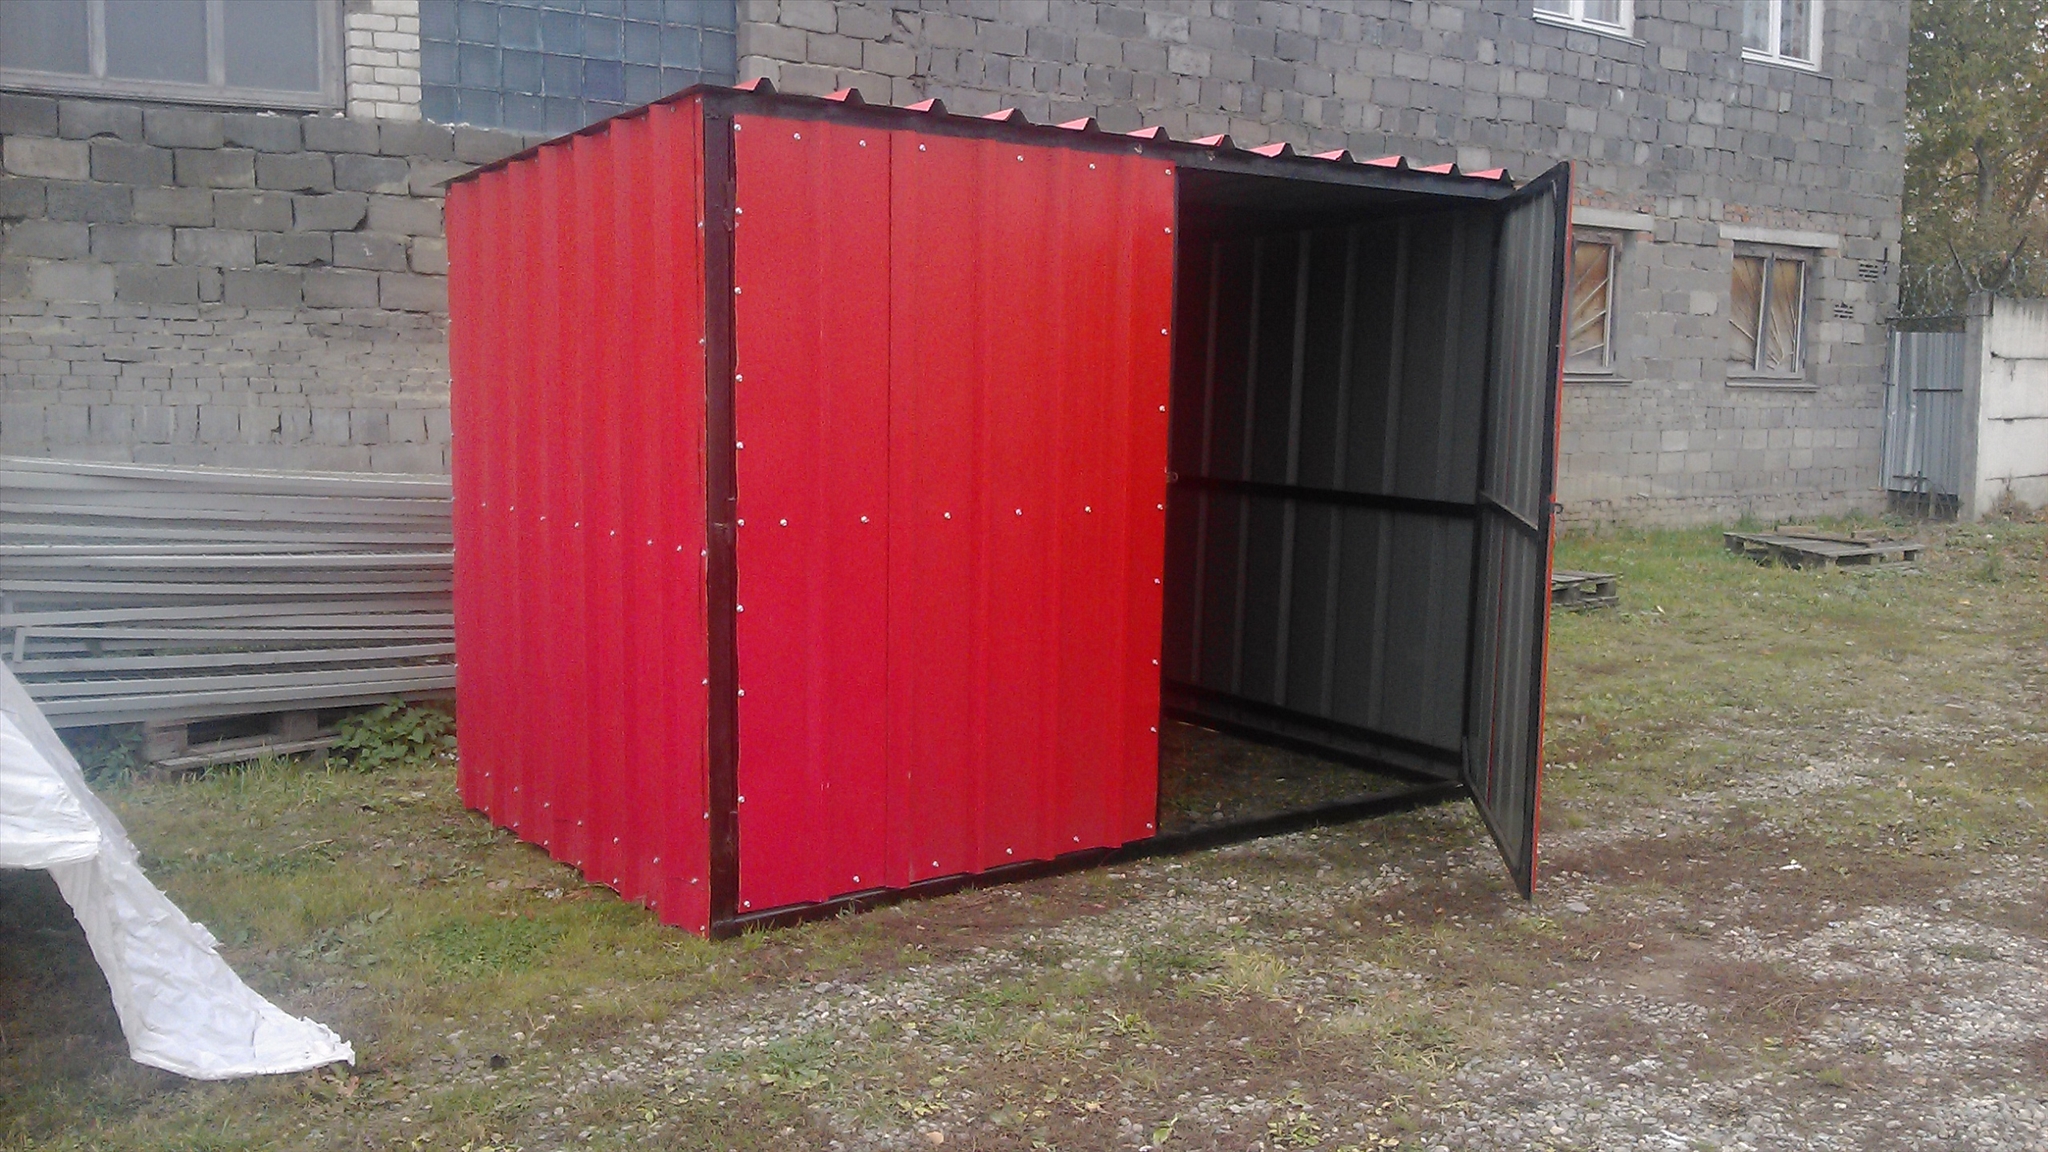
Order of construction
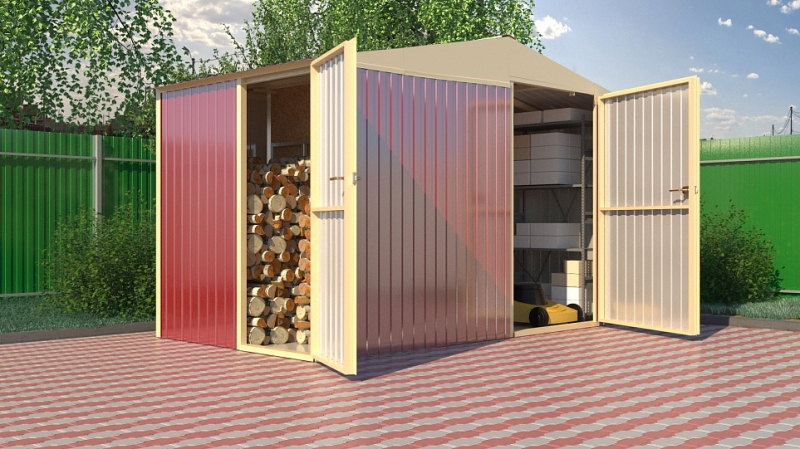
The most practical form of a shed when building with your own hands is a rectangle. Eliminate the slightest mistakes and unaccounted moments will help advance preparation of drawings. It is recommended to assemble the design with the scrolling bolts. It is not only faster and cheaper than welding, but also safer and allows, if necessary, to quickly dismantle the building. The selected site is freed from everything that can interfere with the construction and operation of the shed.
It is very important even at the design stage to think about the arrangement of windows and doors. During the construction itself, experienced craftsmen carefully check whether the vertical and horizontal lines of these elements are clearly maintained, whether there are any deviations from the plane.Below the cut cut at an angle of 30 degrees, later there will rise the sill, cut off at the same angle. This will simplify the outflow of water. Increase the time of operation of the window will help close the joints and gaps sealants.
For interior decoration, oriented strand boards are used. If there is even the slightest opportunity - take care of the installation of electrical wiring. It is recommended to equip walls with shelves or to mount shelving. For your information: the sizes of shelves and racks can vary, since you will have to store the most diverse things in terms of weight and dimensions. To create shelves and other structures, only well-planed wood should be used to reduce the risk of splinters.
Foundation
A place under the base is made on a well-prepared area, choosing the type of foundation in advance:
- monolithic slab;
- ready blocks;
- poured tape.
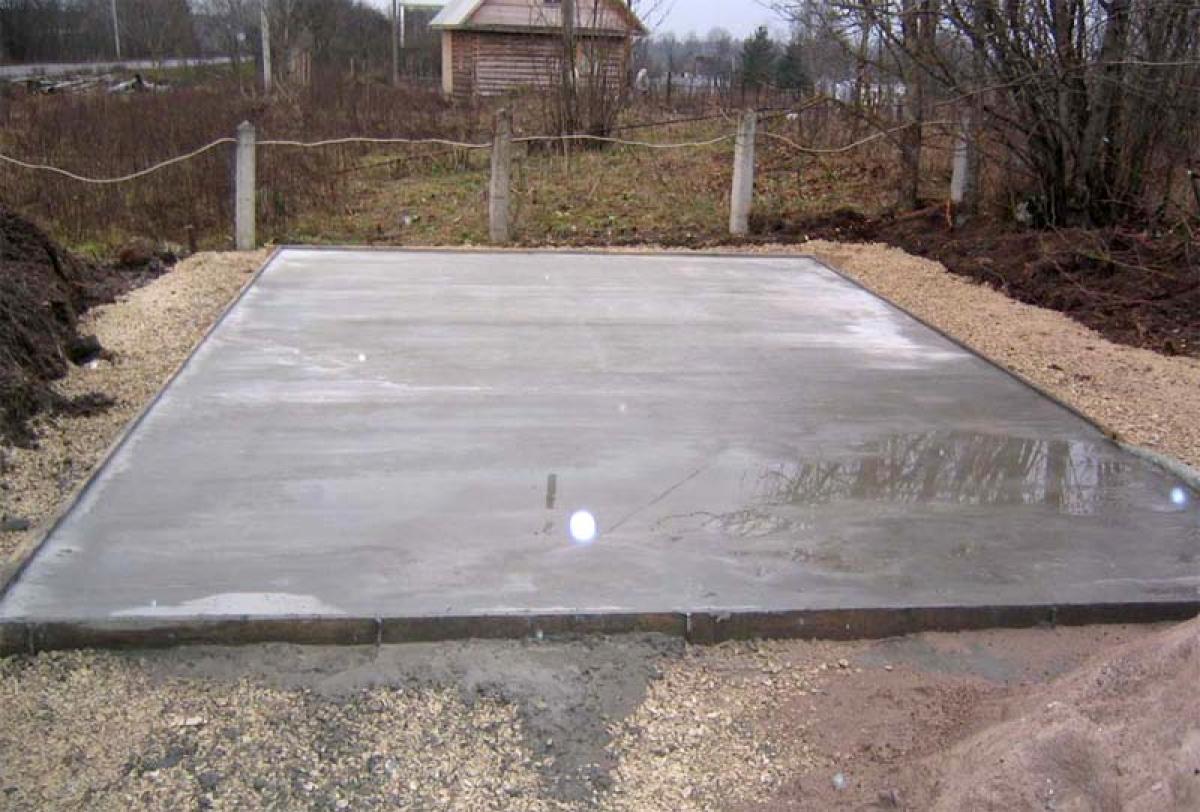
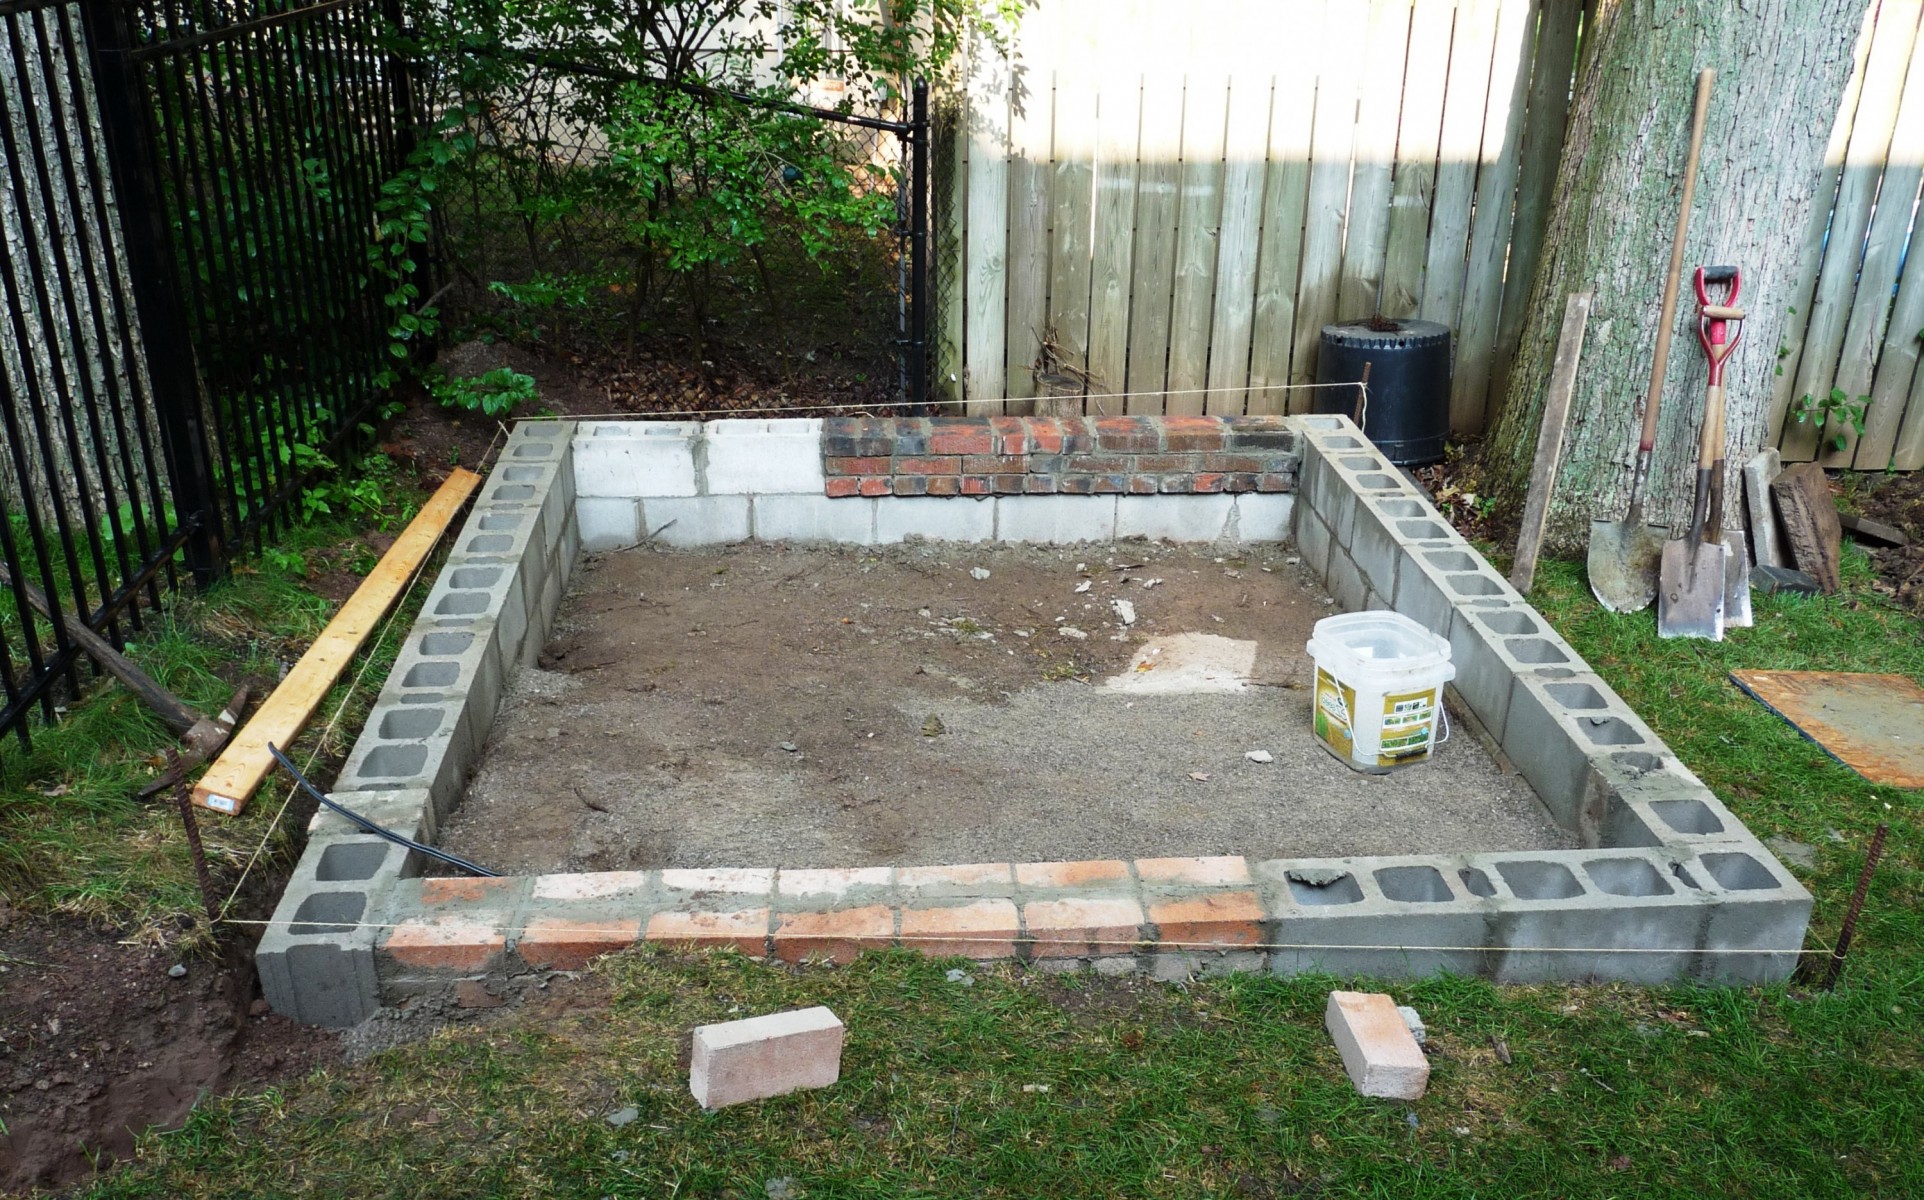

Since the construction of a profiled sheet is distinguished by a small mass, it is possible to put it on blocks or tape with a shallow depth. The number of cases when it is required to form a slab is very small. Monolithic base has another advantage, not related to the strength of the building - it turns into the floor of the future shed.The pits are surrounded by formwork. It does not matter whether the tape is poured around the perimeter or a monolith over the entire area, it is necessary to wait 4 days until the concrete has completely hardened.
It is better to create solid foundations, filling the 0.5 m mixture of sand and gravel 1: 1. For your information: this backfill should not reach the very edge. Filled layer thoroughly rammed and covered with rubble, slightly towering above the ground. After tamping, it is overlaid with a mesh of reinforcement and a wood formwork is placed around the perimeter. Now you can pour concrete to a depth of approximately 0.3 m.

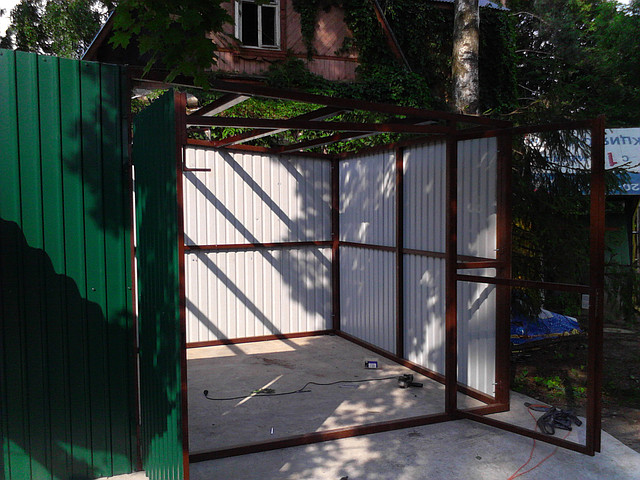
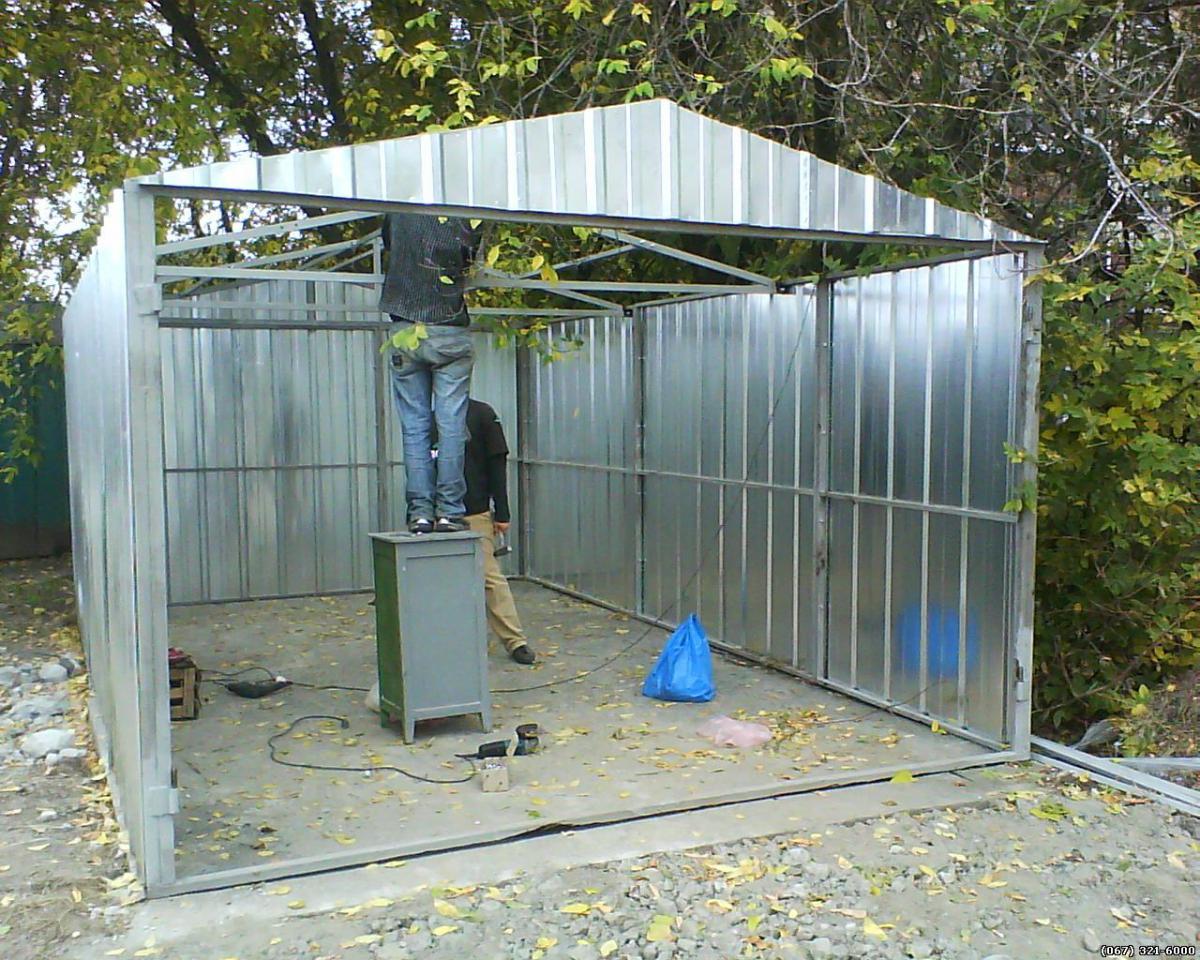
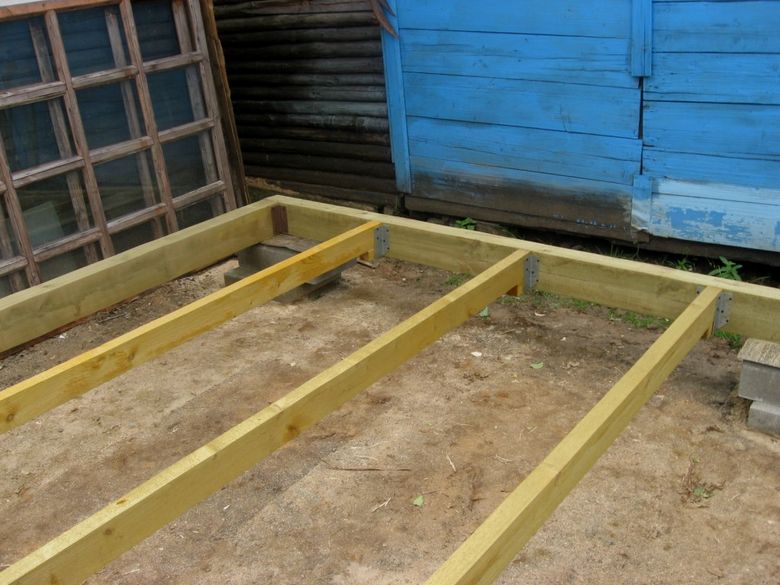
Frame
The step-by-step instruction provides for the execution of the lower trim in such a way that it then becomes the basis for laying the floor and installing vertical supports. The timber is fastened with spikes and grooves, additionally strengthening them with metal corners. The floor is laid using crossbeams with a pitch of not more than 0.6 m. Combining the uprights of the vertical supports with the lower structure, then you need to make a bundle of them with the top trim.
All these details are verified in advance on the construction level. But in the process of building their geometry should be controlled. Connections are created by screwing in at certain angles of long screws, reinforcement is made of steel corners. Mutual removal of any two racks more than 100 cm is not allowed.

Attention: building window and door openings will be necessary at the same time as the frame, since they are its component parts. Since steel sheet and profile pipe are “cold” materials, it is necessary to insulate them for the sake of comfort in the country or in a country house. Basalt slabs can be used for thermal protection of structures from corrugated sheeting, which do not burn, allow steam and are environmentally friendly. Cheaper plates made of glass wool are harmful to health when working and at the slightest violation of the integrity of the “cake”; in addition, in 10-15 years they lose valuable qualities.
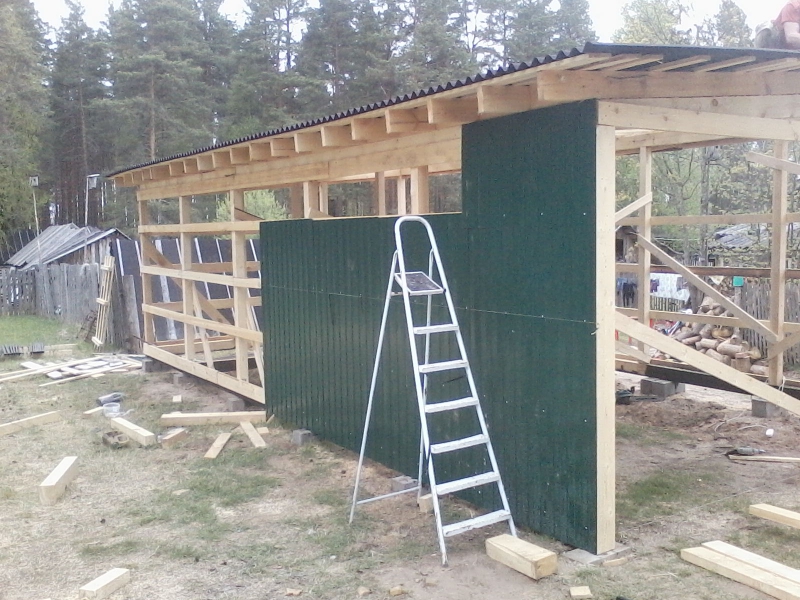
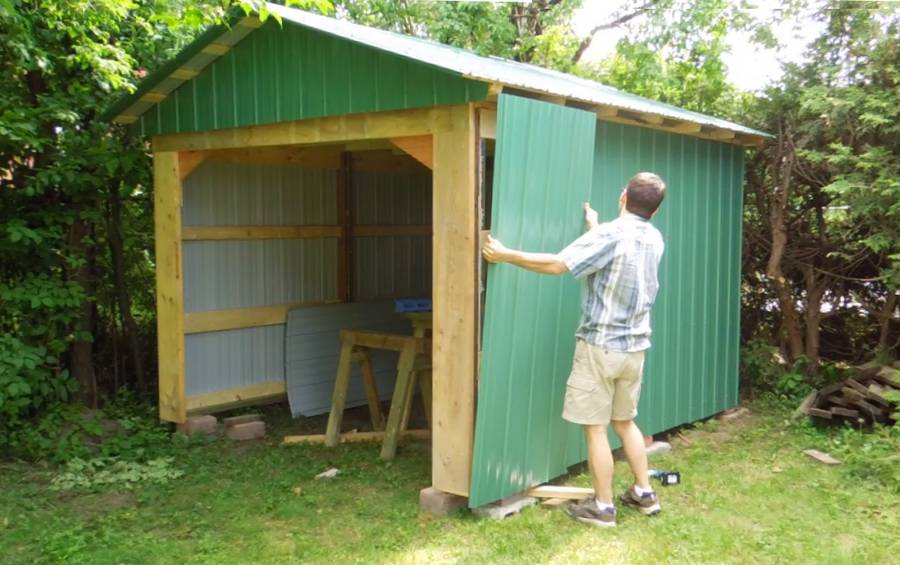
Walls
When the frame is ready, you need to take up the construction of walls. Paronite gaskets must be placed in them to create a thermal break. Plates of heat-insulating materials are mounted using dowels, and films that stop the action of moisture and gusts of wind are fixed on top. The guides in the shape of the letter "P", if attached to the bracket, will help align the front surface; there must be air gaps between them and the films. Next, attach the profiles horizontally to the vertical guides.
Warming of sawdust is not very practical: yes, they are cheap, but they quickly clog, get wet easily and deteriorate. Mineral wool is usually placed on top of wooden crates. Over it always put a vapor barrier film, because the slightest moisture is contraindicated. Plates of foam can be glued without wasting strength on mechanical fasteners. But additionally you will need a sheet pad to reduce the risk of mechanical damage.
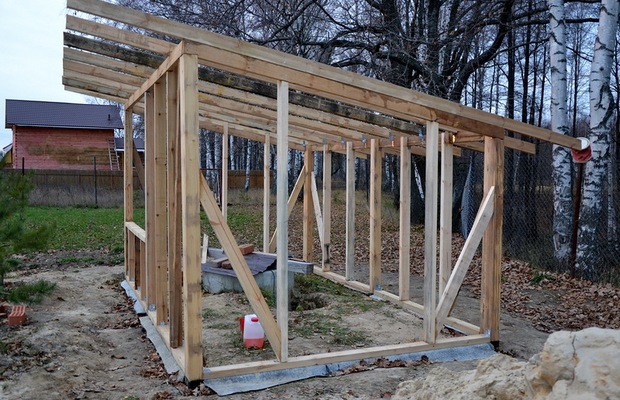
Roof
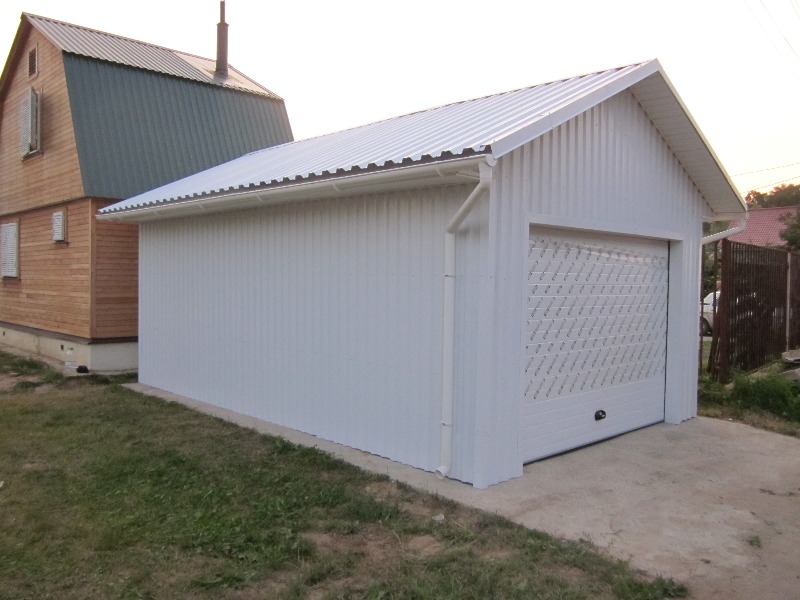
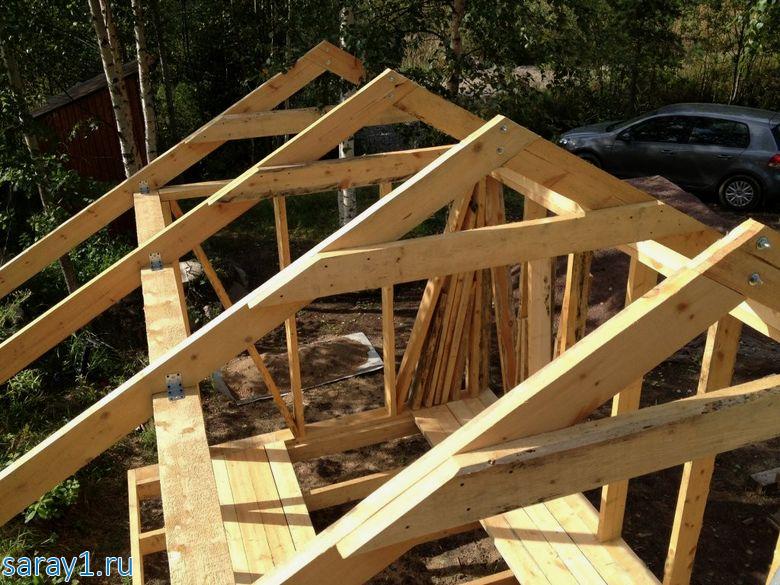
The roof of the shed can be made with one or two ramps. Shed decisions require one wall to be raised above the opposite, otherwise the slope will not work. In regions with warm winters, there is enough slope of 15-20 degrees, but if there are frequent storms in some areas, a lot of precipitation falls, you need to increase it to 30-45 degrees. A roof that is too steep is also impractical; it can easily collapse even under the pressure of a moderate wind.
In any case, first prepare the rafters and mount the crate on them. To make the job easier, the trusses are assembled on the ground and only then lifted up from the end. The ridge is carefully aligned with the center line, which is designated with a rope.On the crate put a layer that protects against water, then comes the profiled sheet (already roofing, of course). The inner plane of the roof is made of clapboard or plastic panels.


Ceiling beams are most often made of board up to 80 mm thick. It is not necessary to sheathe the ceiling itself, it makes the building taller and allows the use of beams as a kind of “hangers” for small bags and other items. Shed roof mainly direct slope to the rear plane, adding on the facade to the harness additional timber. It serves to support the lag, laid on top and at right angles. The elements are joined by nails, wire is used for the reinforced ligament.
Use of roofing material helps to save on the performance of roofing works. Let this material not be very durable and serve for a short time, it is quite acceptable for minor structures. Roofs made of asbestos-cement slate carry longer service, in addition they still will not light up. But such constructions are fragile and heavy (you need to walk on them with caution, and it is better not to climb there at all). In addition, asbestos is harmful to health. Beautiful and durable metal tiles form a lot of waste during installation,and its cost is not too happy.


To learn how to build a barn of corrugated flooring with your own hands, see the next video.


