Stretch ceiling or wardrobe: where to start?
The problem of the order of execution of work touched almost everyone who did repairs in his apartment. If you want to make installation in a room or a hall in a closet with stretch ceilings, the question always arises: where to start?
What to do first?
Installation of the stretch ceiling can be carried out both before the installation of the wardrobe, and after. But on the contrary, the scheme no longer works. One of the most important moments is the precise definition of the place for the future cabinet. In the future, this, first of all, will help you when marking the place for lamps.

There is an opportunity to carry out installation with the help of the mortgage bar, and also without it. Most repairmen tell you to do the ceiling first, and then install the doors.Builders have four options for docking.
Docking options
There are several ways to mount the wardrobe and stretch fabric, which differ in the method of fixation, the presence of mortgage.
Method 1
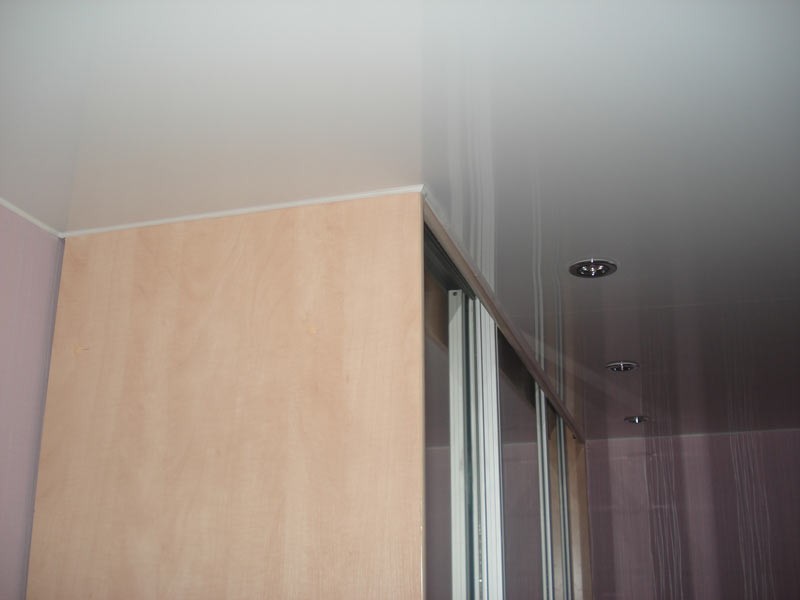
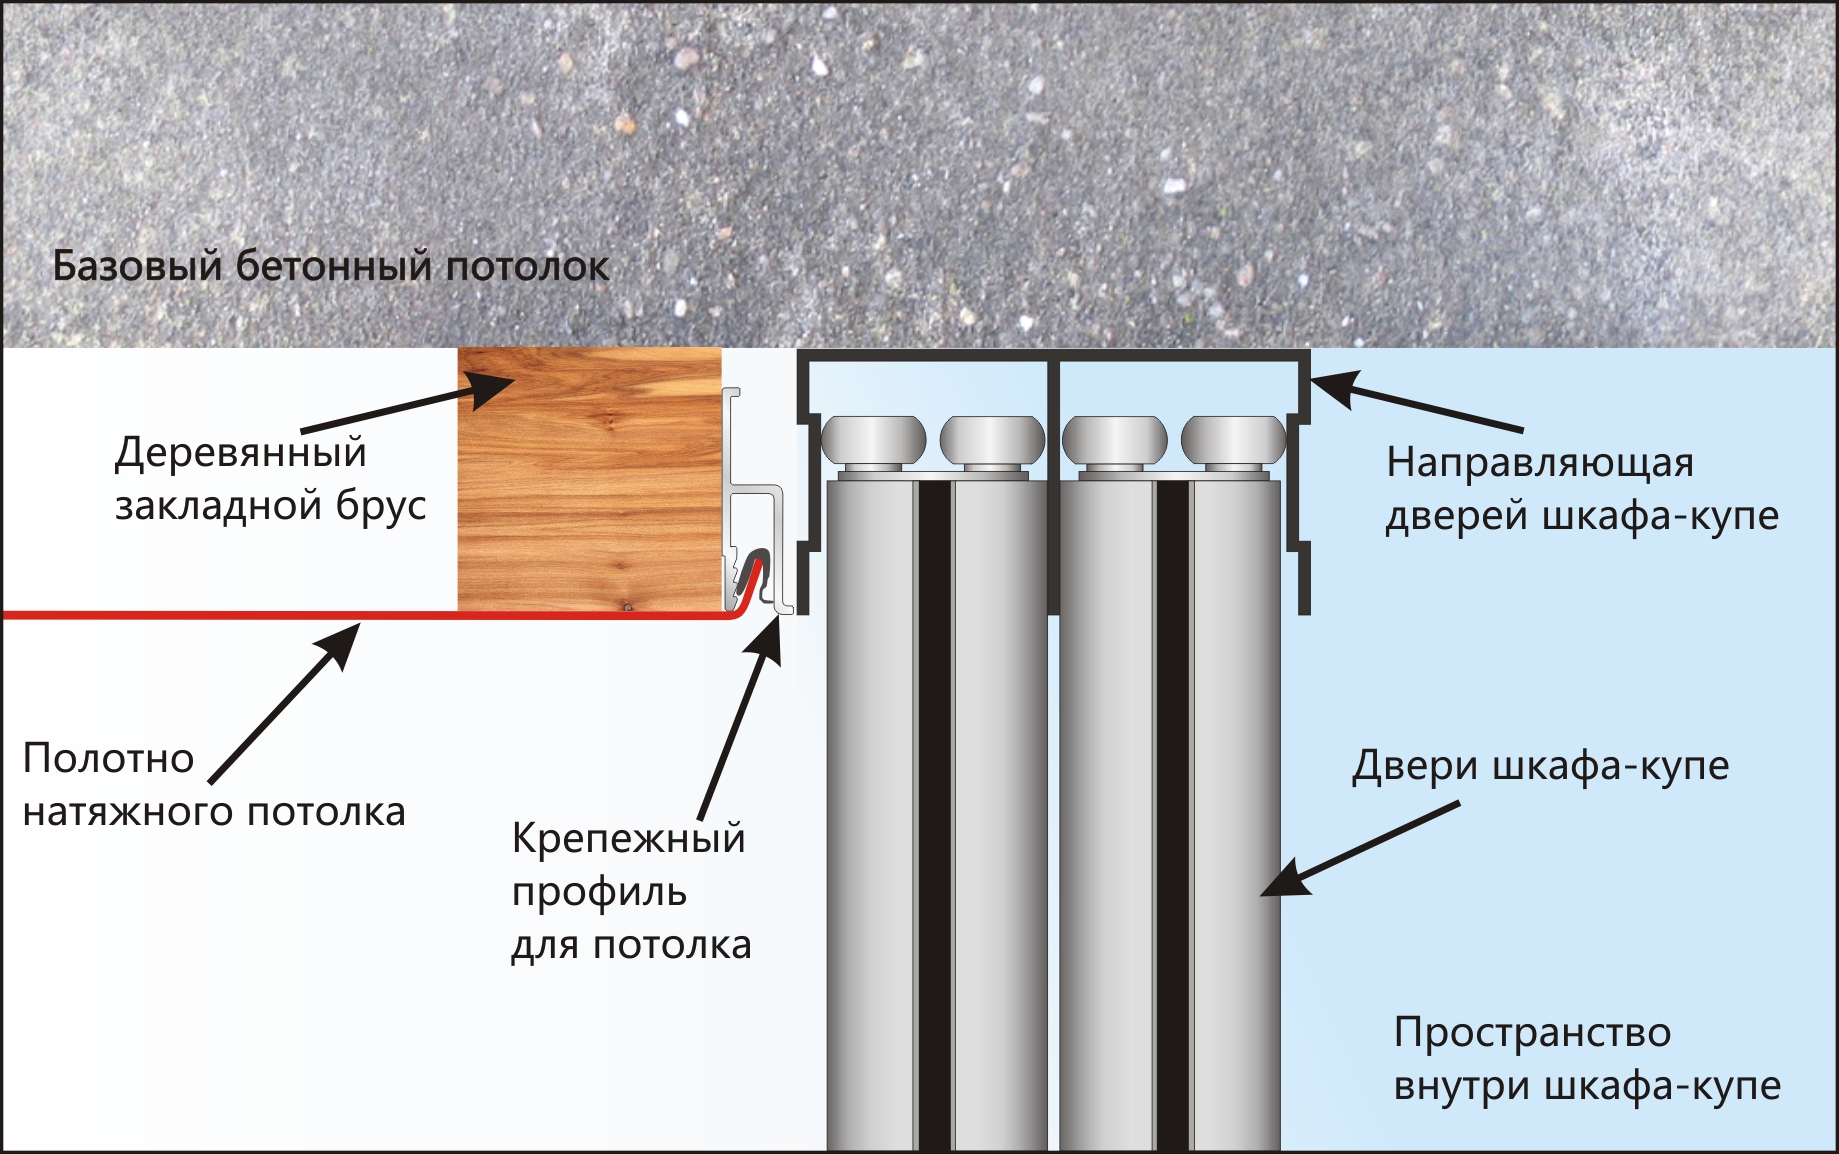
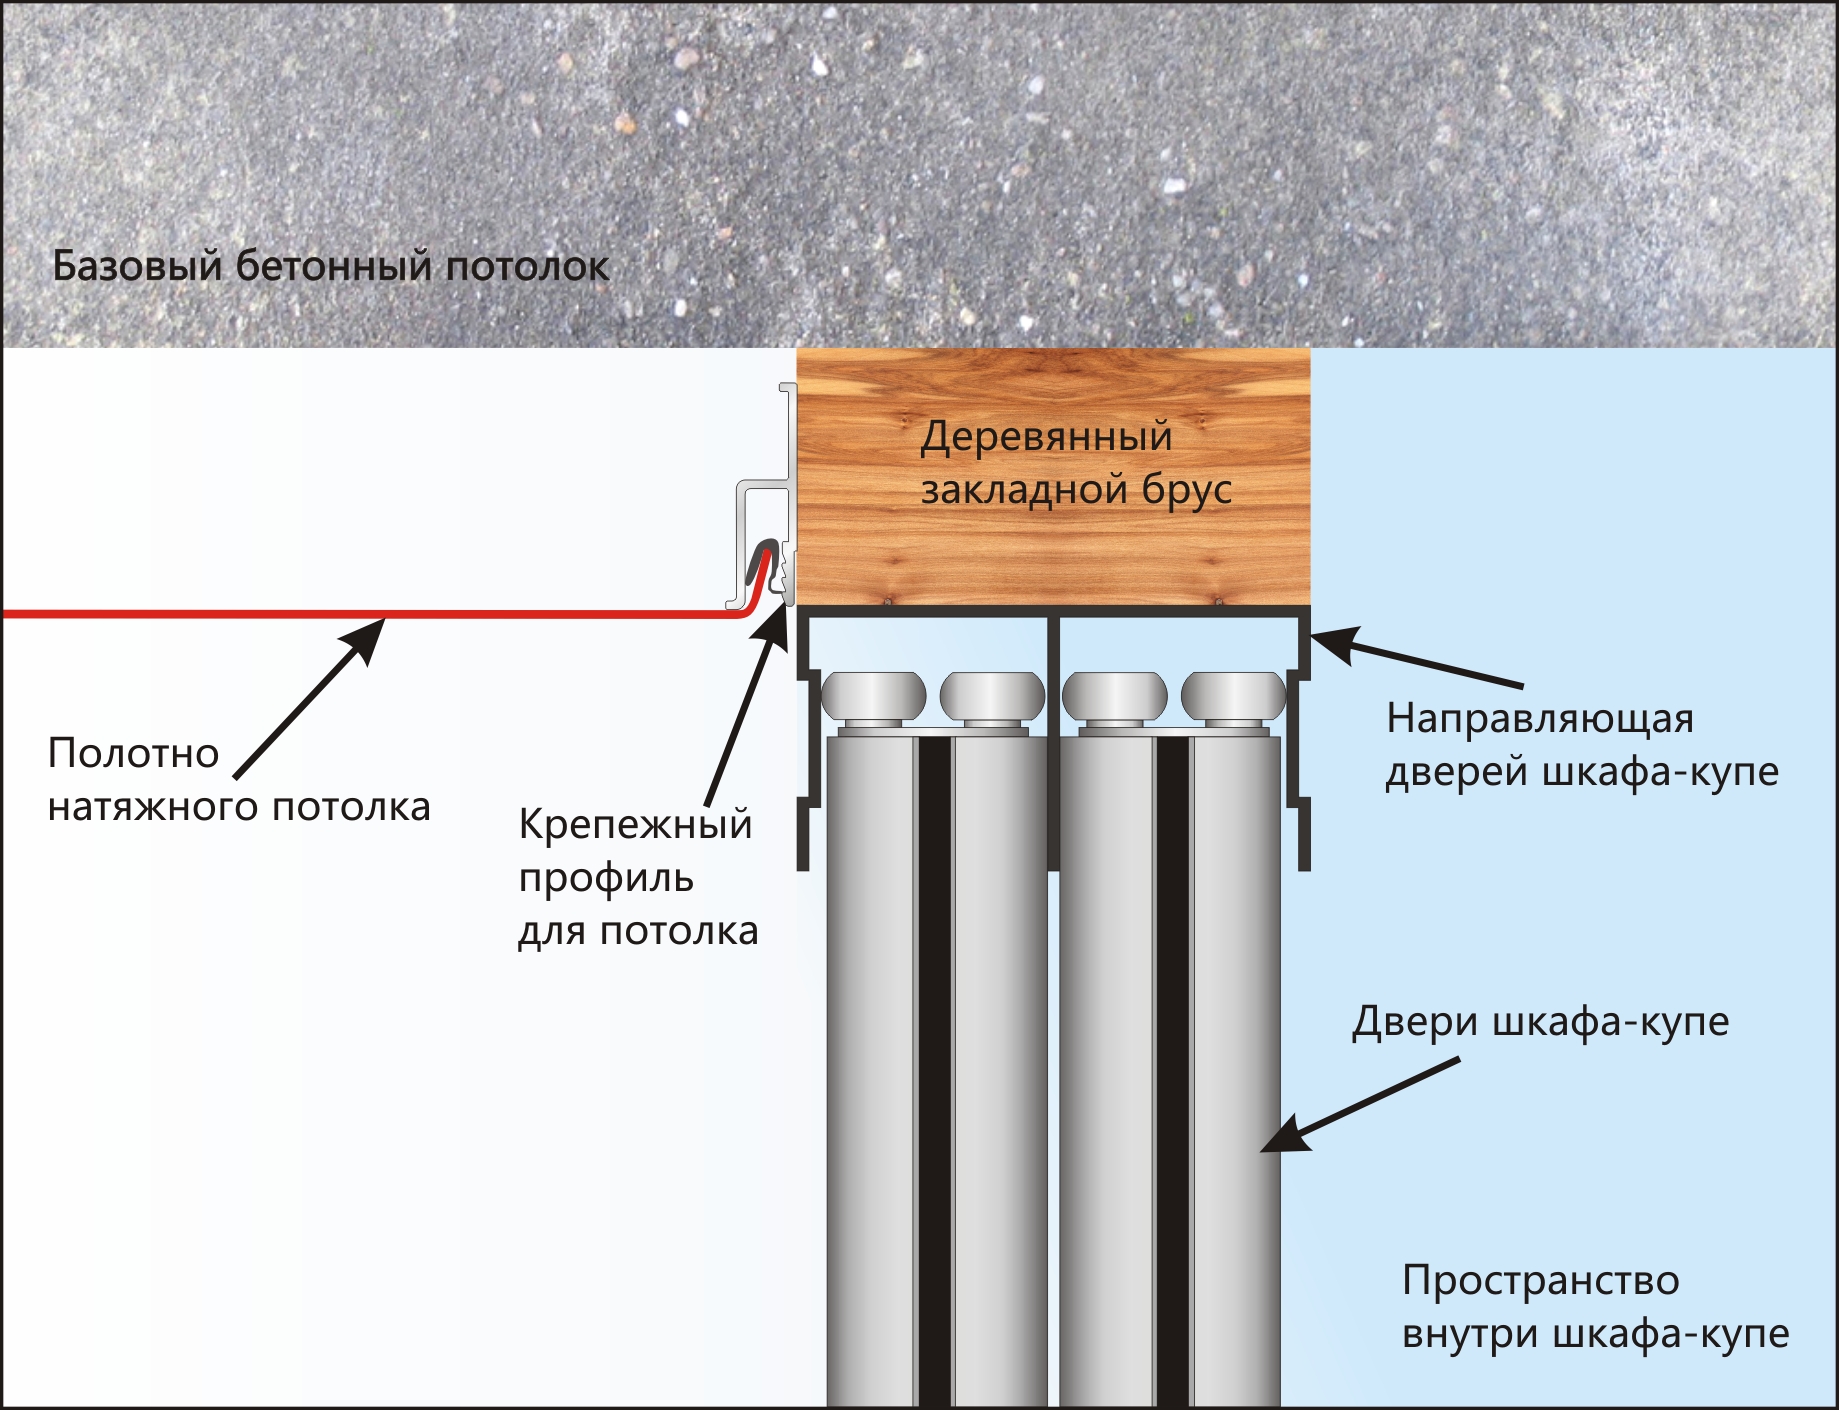
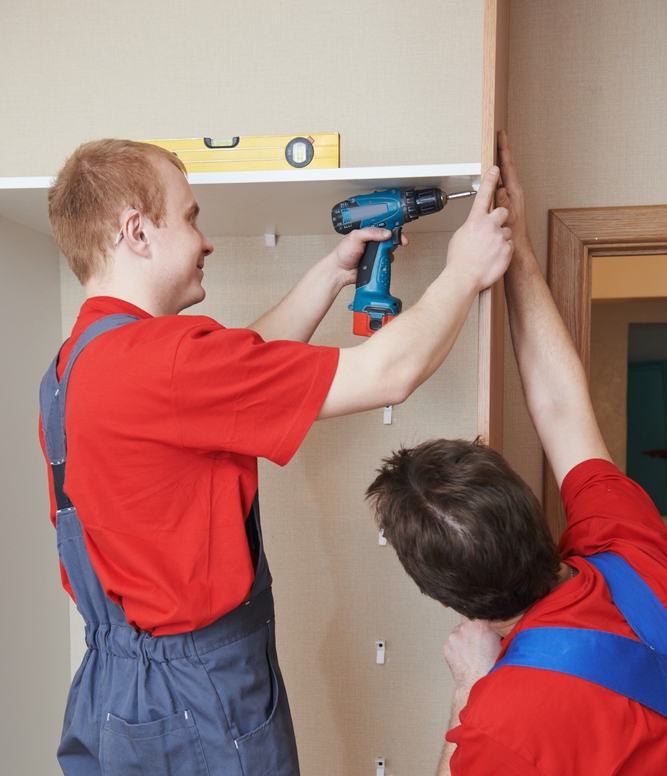
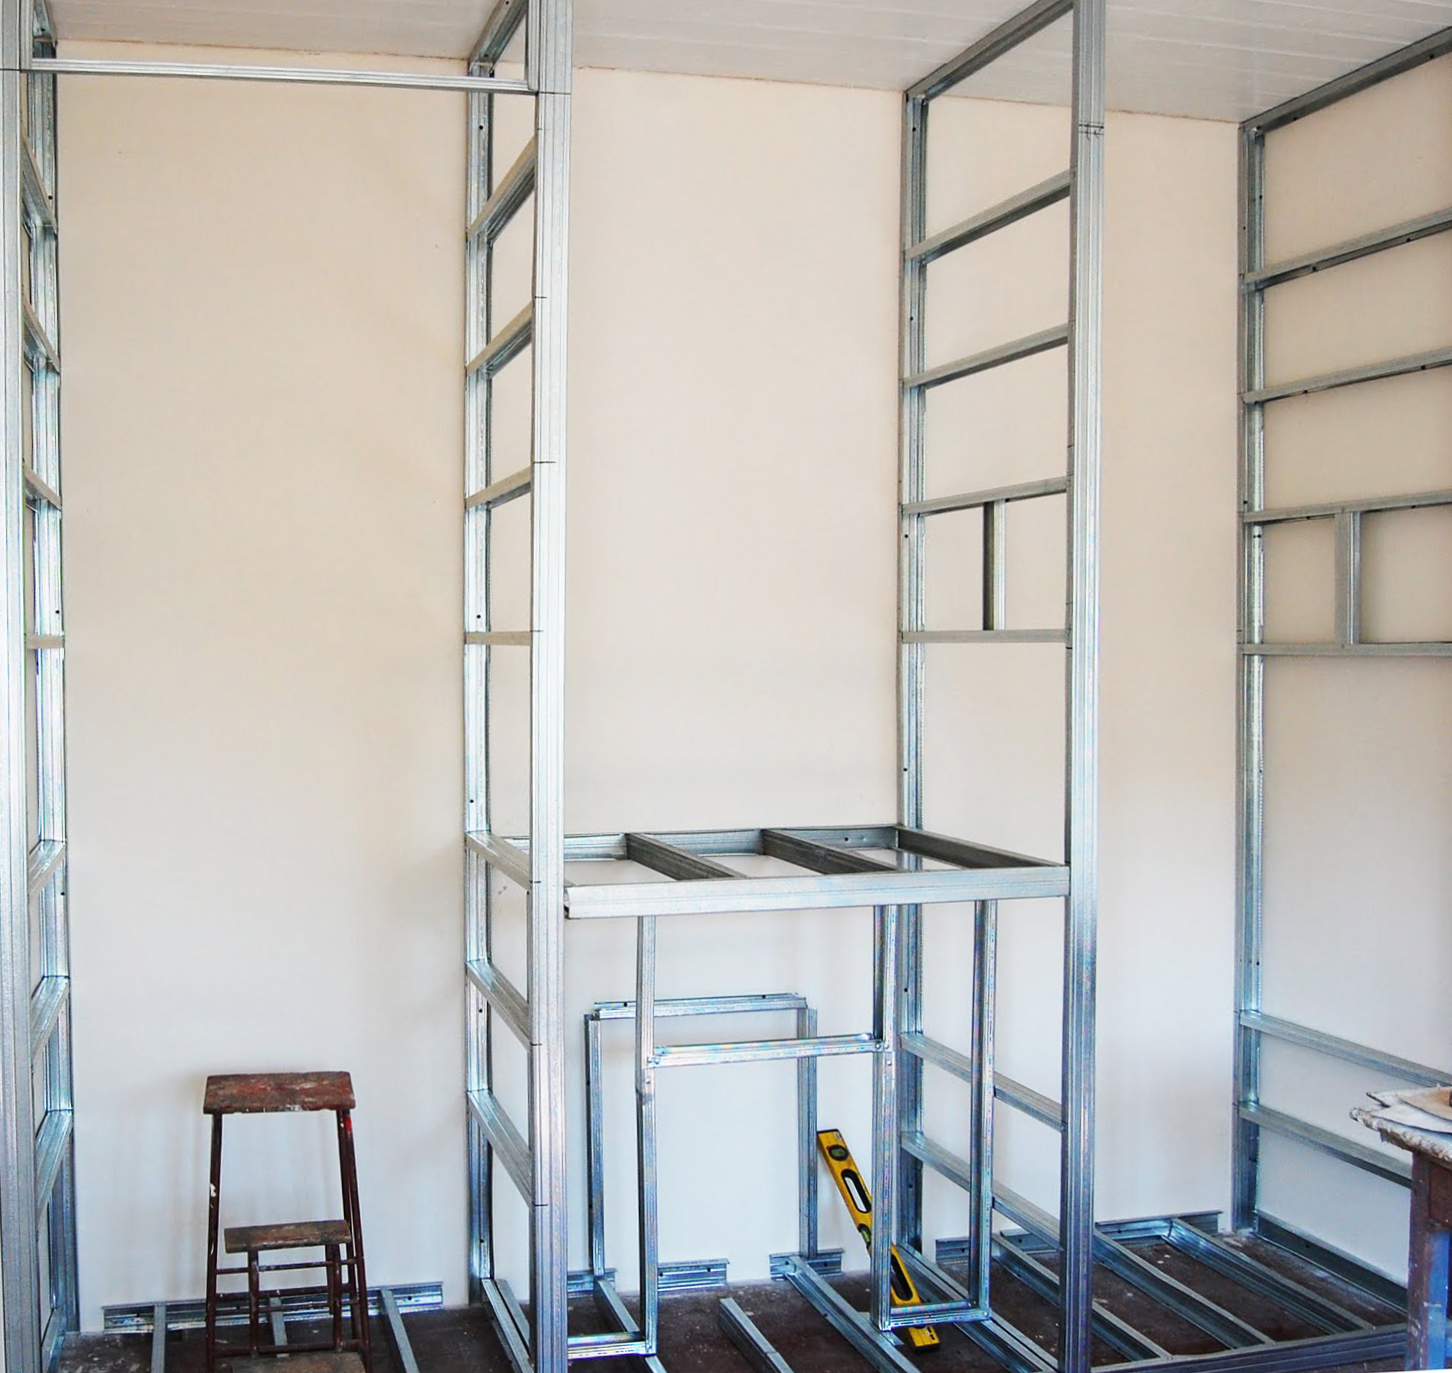
You will need: wooden beam, guides, special aluminum fasteners - wall baguette or harpoon system for installation of the ceiling leaf. One of the most convenient, practical and versatile ways is the installation of two fastening systems that will not depend on the ceiling or on the doors. In this embodiment, the stretch ceiling can be mounted at any time.
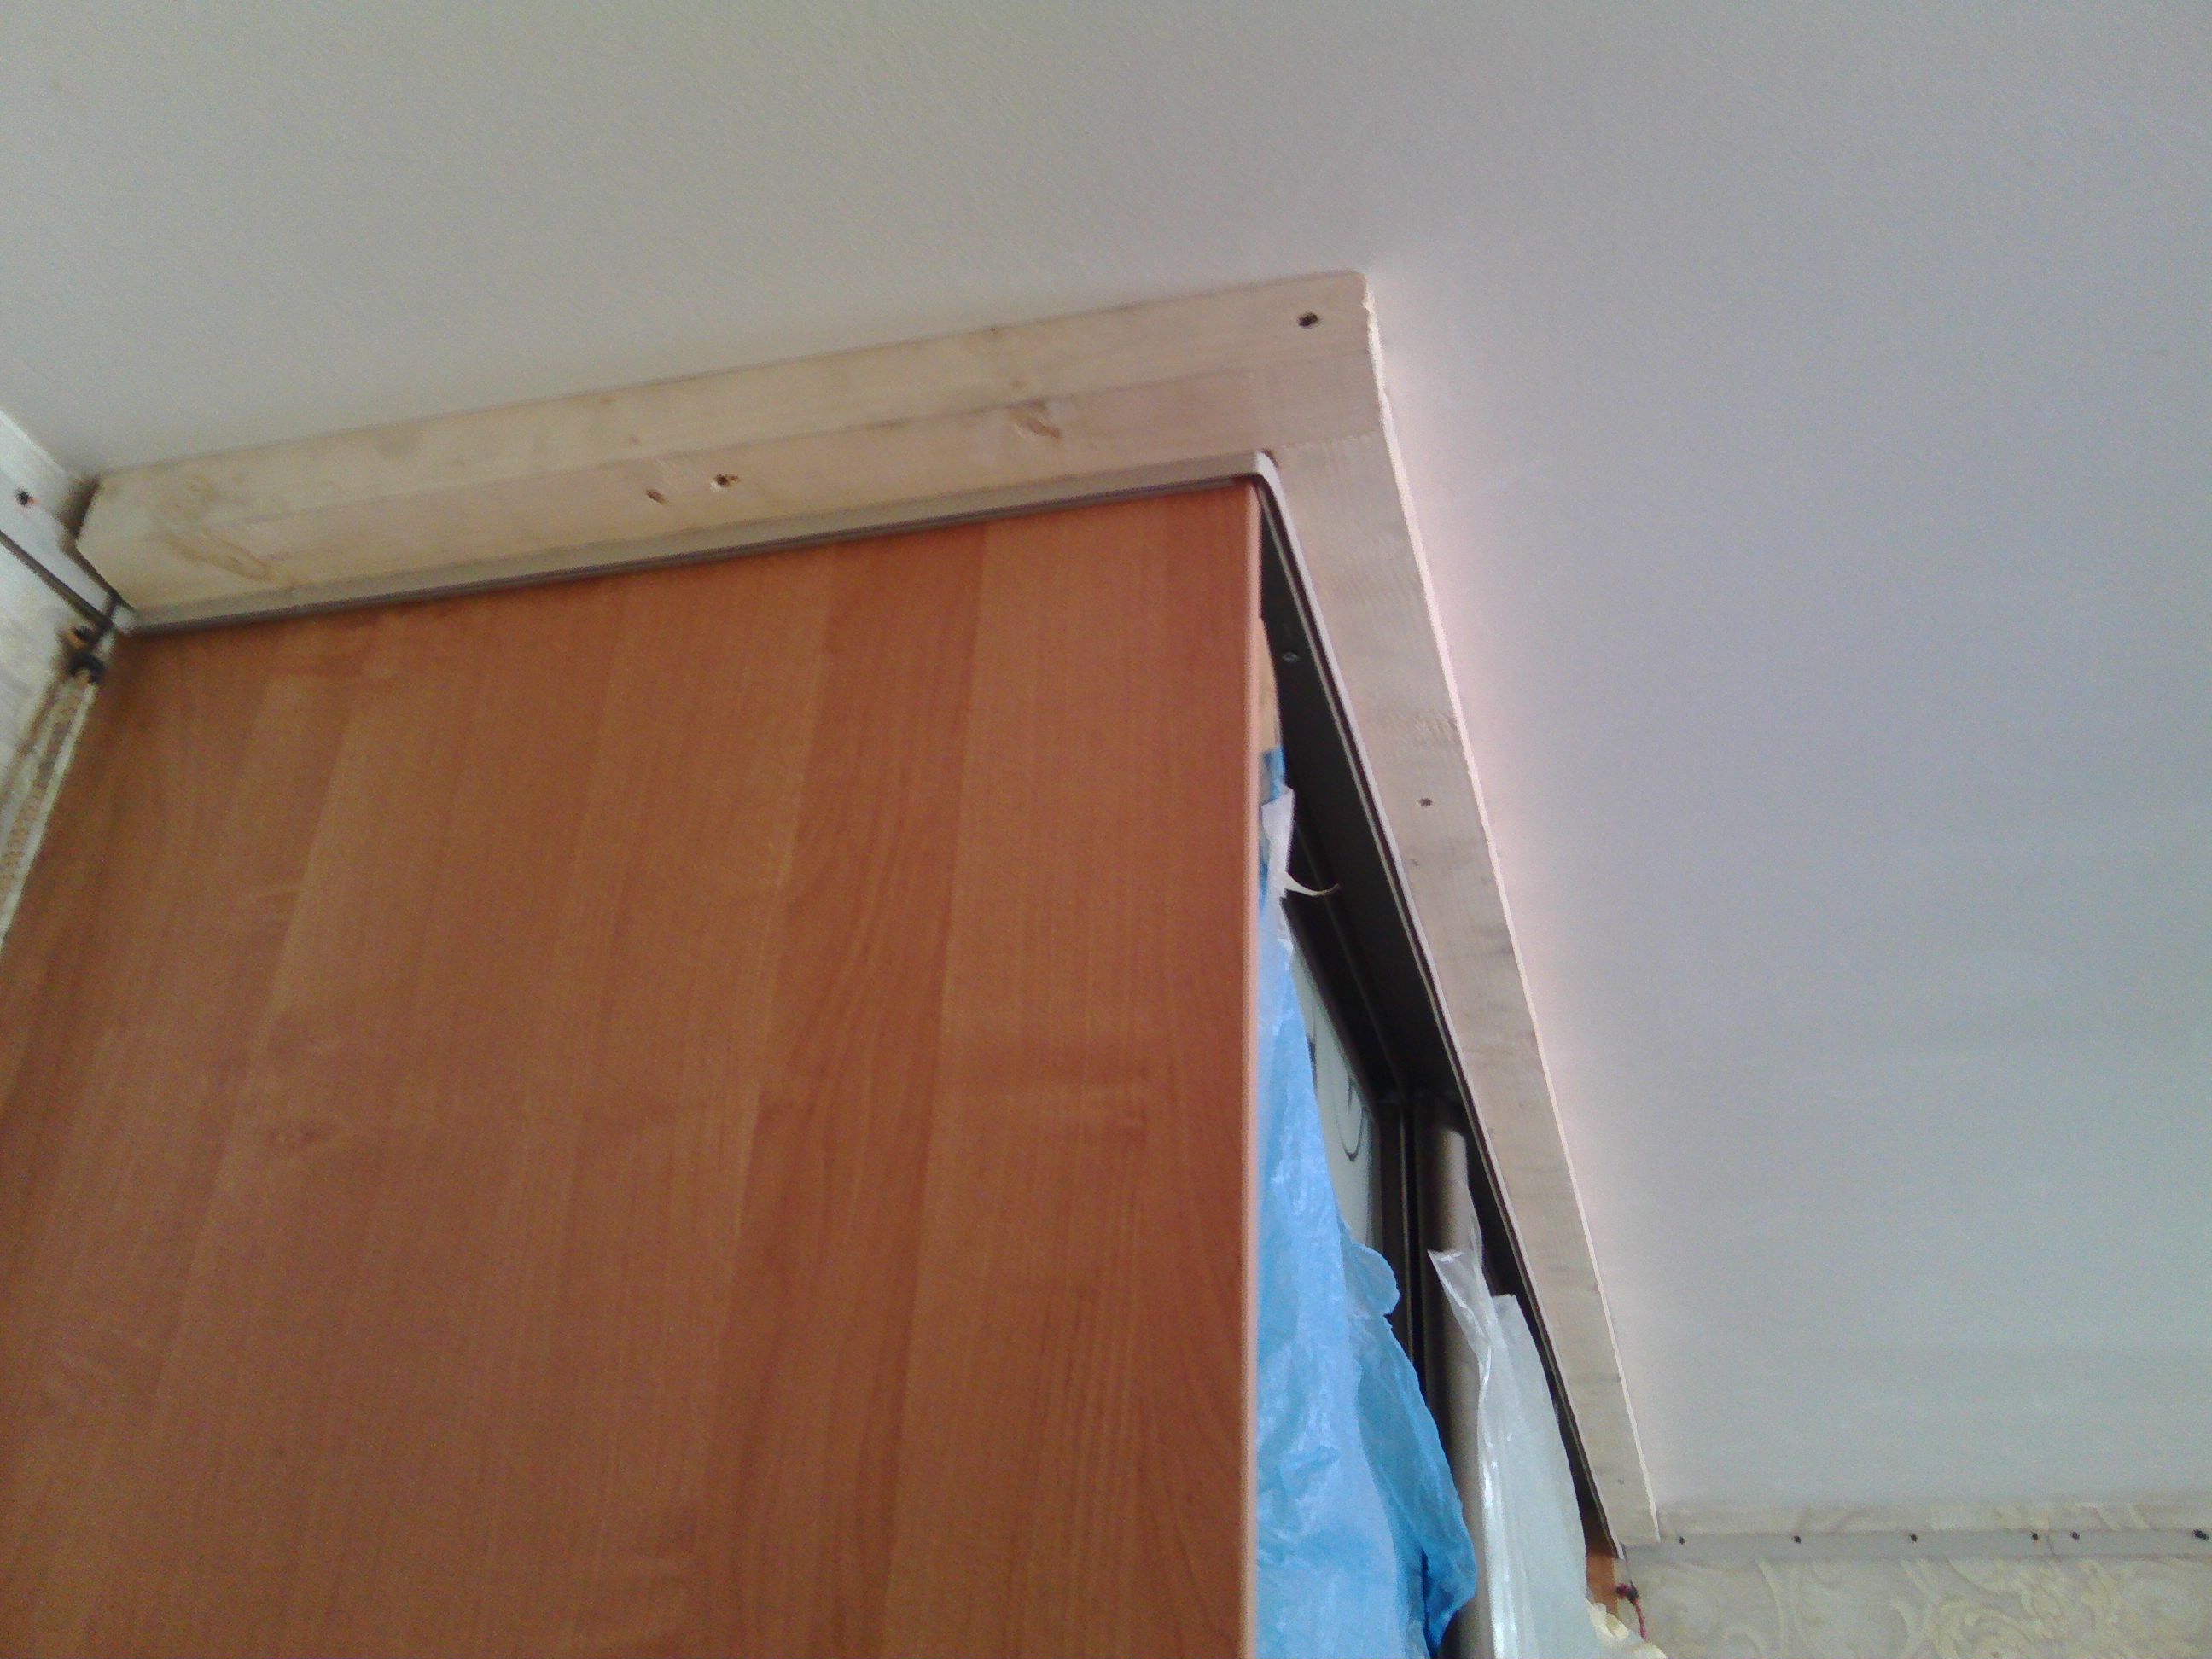
Installation process: door guides are fixed to the main ceiling. The next step: along the ceiling, a bar is installed that holds the profile. On it from the side of the cabinet install special fasteners for the future tension fabric. As a result, the tension fabric completely closes the bar, and the installation of the closet can be done at the first stage of work, and at the last.
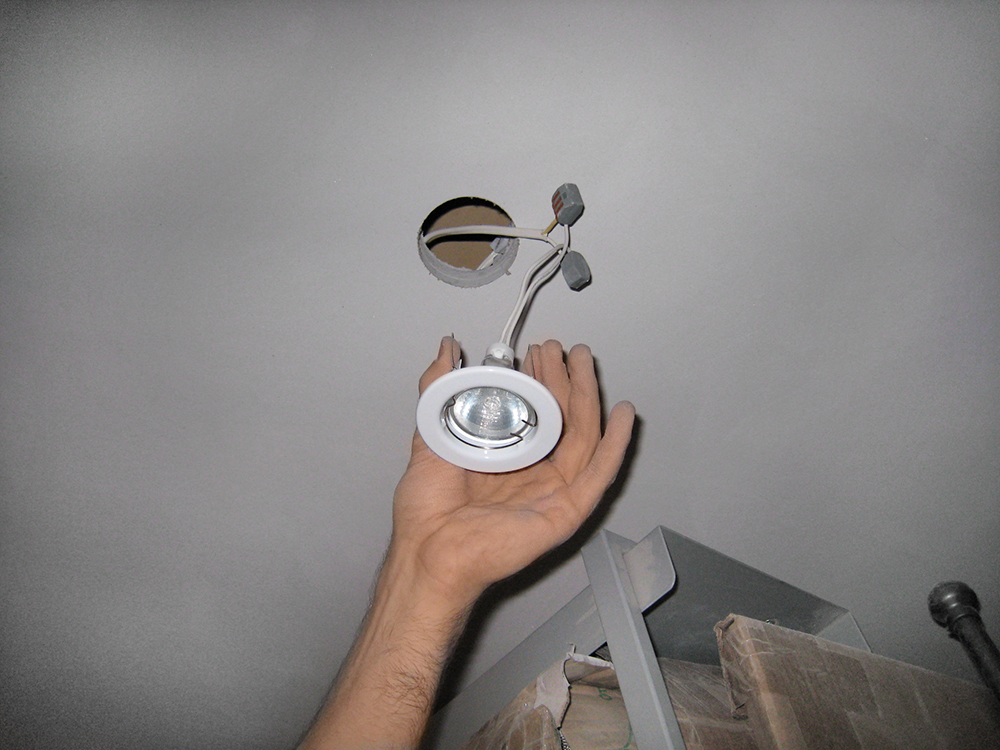
It is important to know that when installing this system it is necessary to know the exact dimensions of the depth of the future cabinet. Due to the accuracy of this parameter, it will be easier for you to calculate the distance for fixing the beam.Another important point - consider the presence of lamps, since it depends on how much you have to lower the tension fabric.
Ceiling fabric must be lowered at least 4 centimeters. The height can be increased when installing non-standard lamps or the presence of large differences. The distance at which you attach the bar, depends on the location of the tension fabric.
Method 2
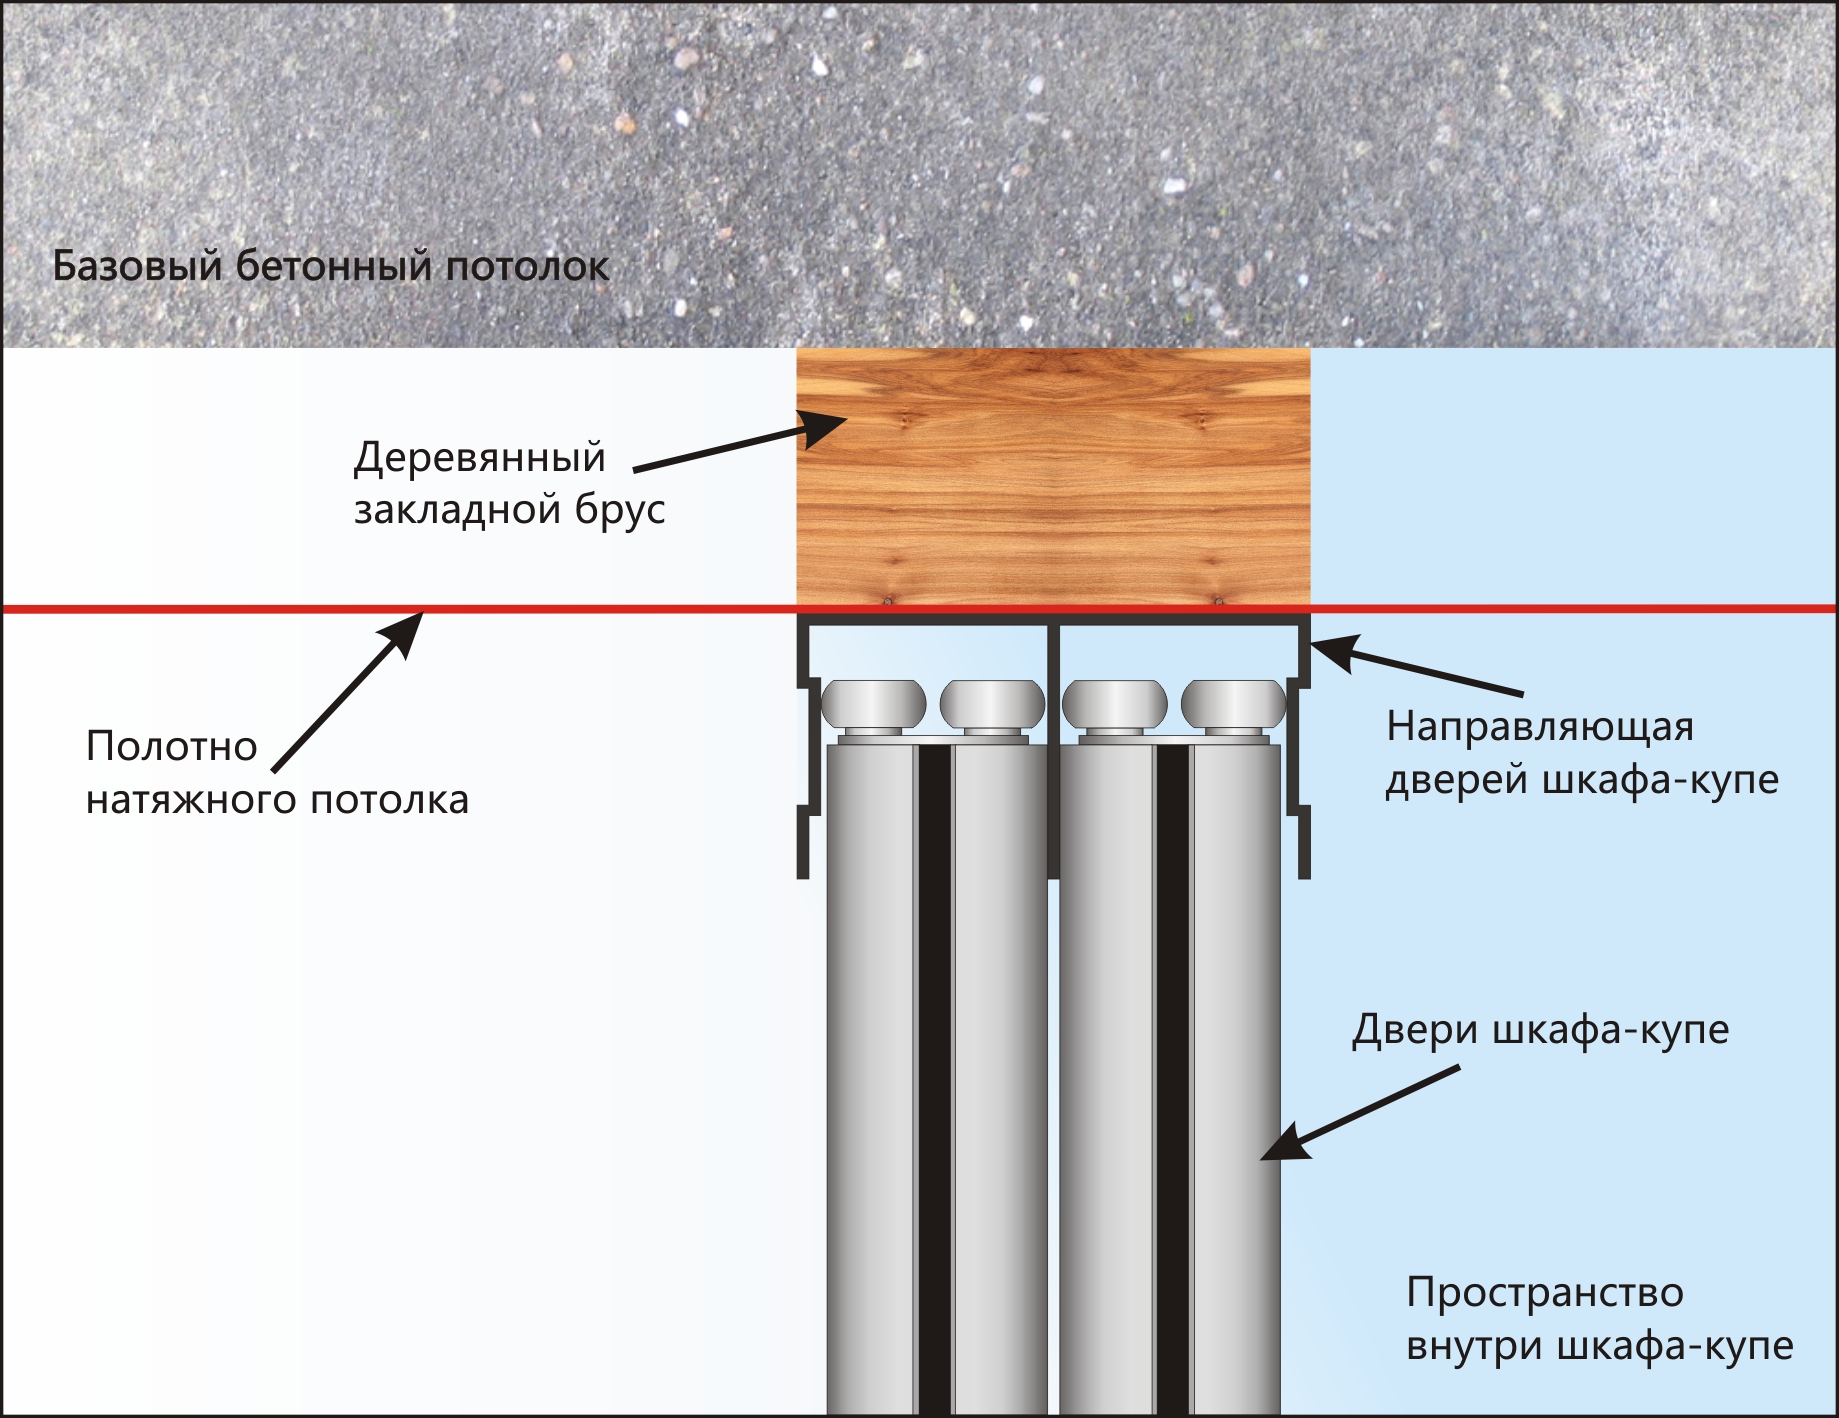
You will need: timber, decorative panel, fasteners for a stretch ceiling, guides for doors. First comes the installation of the cabinet. To do this, you need a false-panel (preferably in tone with the cabinet), a wooden bar, guides for doors. First of all sets a decorative lath or false panel. In the future, it is to her we attach the ceiling canvas. In order for the plank to be more stable, it must be strengthened by fastening the beam to the main ceiling. Guides for doors we mount to a bar.
In this embodiment, the installation of the plank should be made strictly on the level, because the ceiling itself is also mounted on it in the future. Works must be carried out so that the ceiling and the false-panel are parallel to each other.The height of the false panel directly depends on how far you lower the ceiling.
The false panel or decorative tape snaps into the wall baguette after the harpoon of the stretch ceiling. The use of glue in this embodiment is not necessary.
Method 3
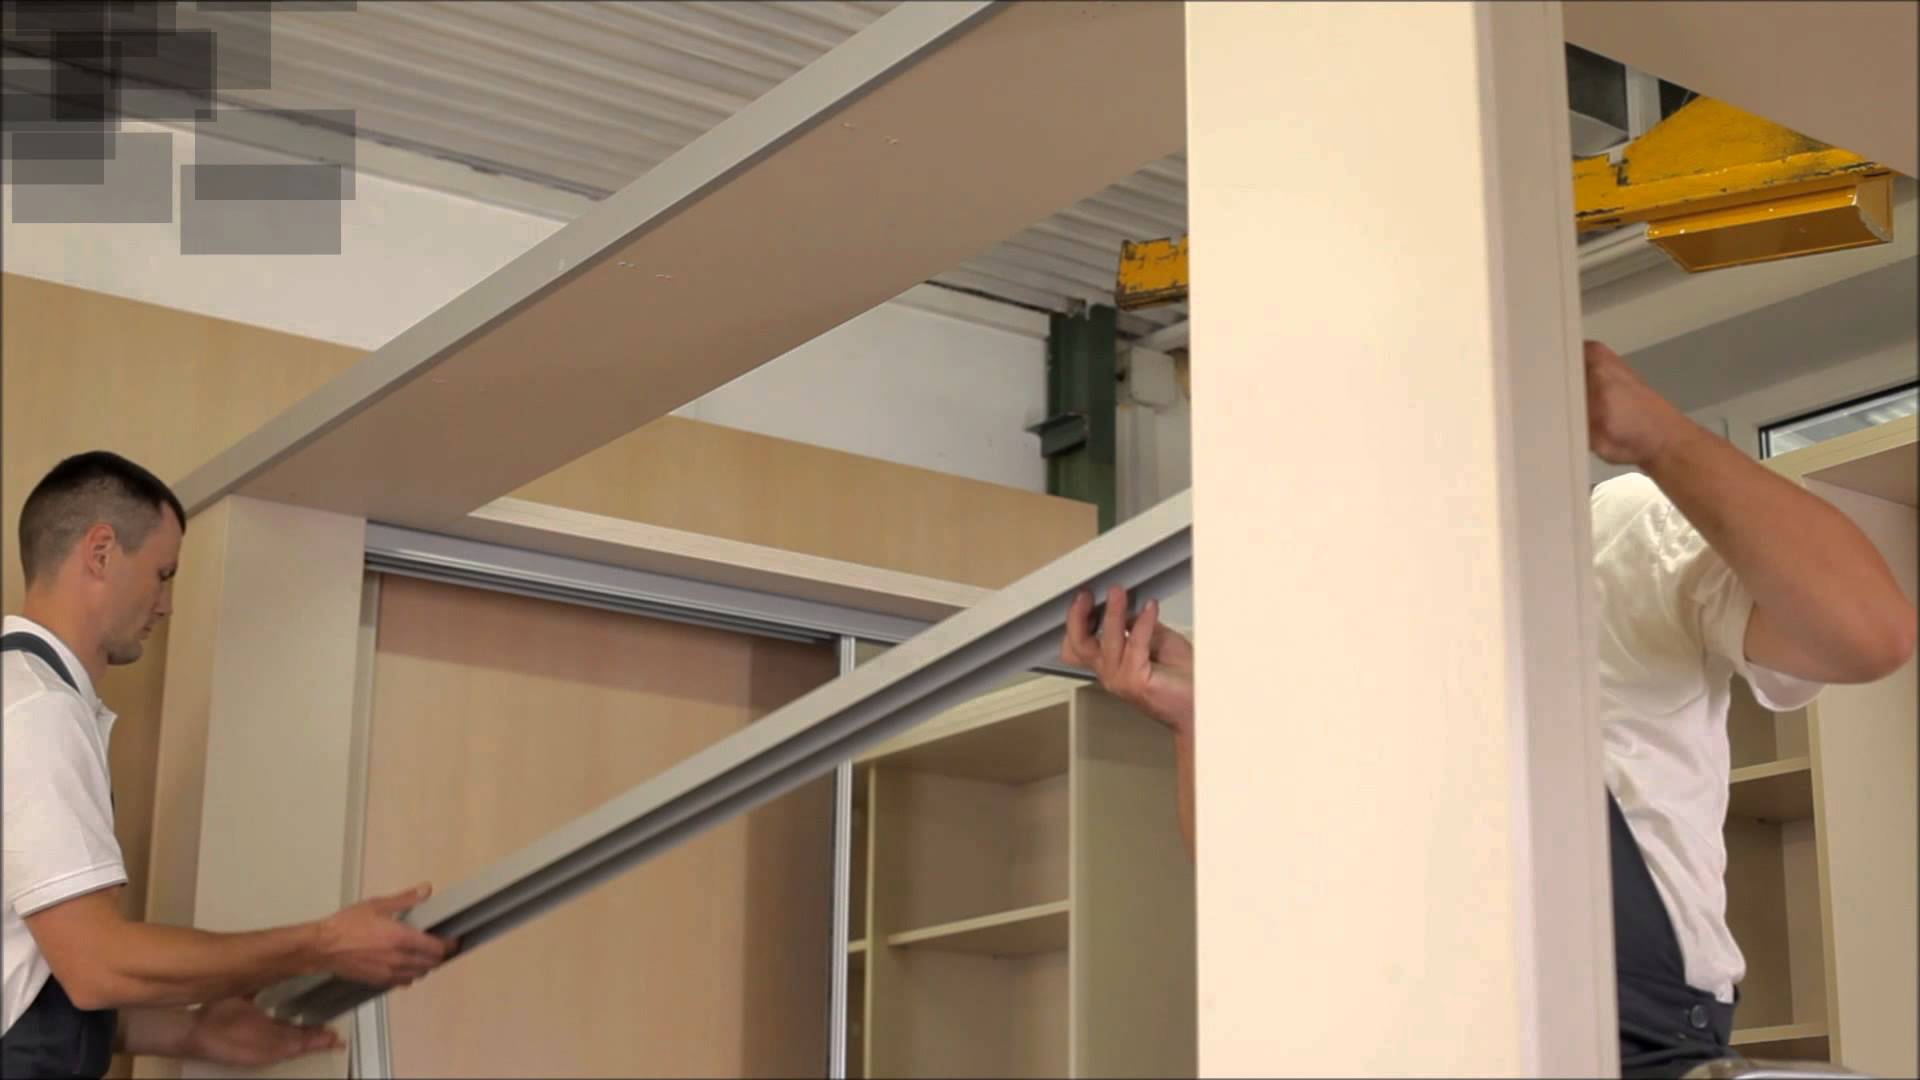
You will need: wooden beams, guides for doors, plastic inserts. First you need to install a ceiling leaf, and then furniture. Wooden beam must be attached to the main ceiling. Then you need to install the ceiling canvas. The timber remains between the main and stretch ceilings. Then special inserts of plastic are inserted into the canvas at the place of installation of the timber and then mounted guides for the doors.
Before installation, determine where you will be located timber. This distance will be the depth of your wall.
In this embodiment, the tension fabric is installed around the perimeter of the entire room. Changing it over time will be problematic, since you will have to disassemble the built-in doors.
Method 4
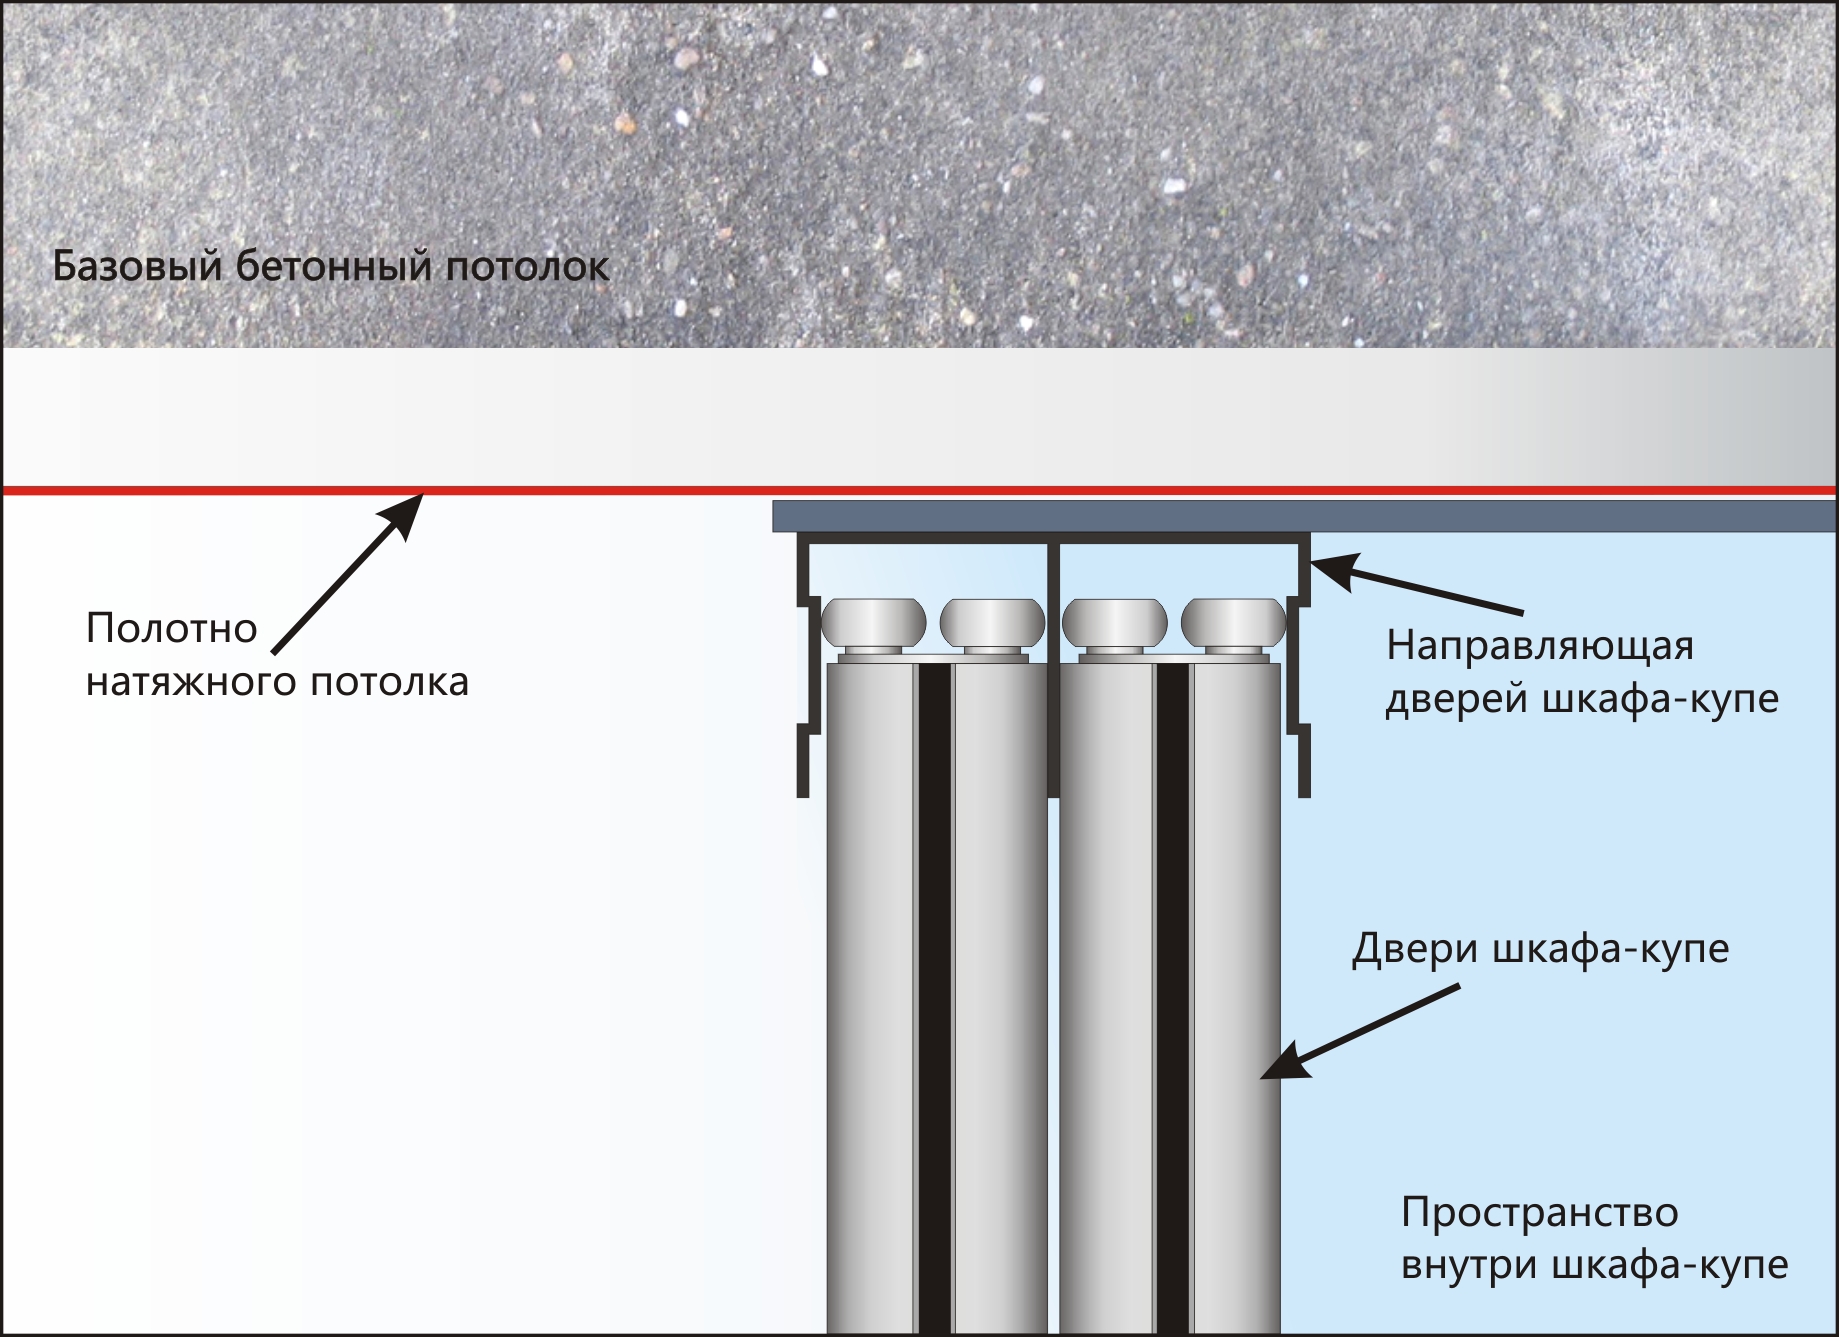
You will need: a cabinet with a top cover. Leaving a gap is one of the easiest ways to install, since both the cabinet and the ceiling are independent of each other.First you need to install the ceiling. Then a sliding wardrobe with the top cover. In this embodiment, the work must be carried out very carefully. For example, when installing a cabinet, you can hook the ceiling and tear it. This method is also suitable in the hallway with a suspended ceiling. A special plastic plate will be located between the ceiling and the cabinet doors. It is necessary to glue it so that the ceiling fabric will not be torn or stretched in the future.
This mate is more suitable when the furniture serves as a wardrobe or pantry.
Installation
If you already have a stretch ceiling in a room without a mortgage, then installing a closet is limited to only one option - you can only install a cabinet with a top cover. If the gap between the ceiling and furniture is less than 5-10 centimeters, then the installation process of the cabinet should be closely monitored, since one awkward movement of the film can be deformed.
If you have a mortgage under the built-in cabinet, you can use several options for installing the film. It is important to remember that in this case special plastic inserts are necessary, during installation of which the ceiling will not be damaged during the assembly of the doors.

The mezzanine interferes
It is not as difficult to install a ceiling canvas with a mezzanine as it seems at first glance. If the mezzanine doors in height relate to the main ceiling, then the mezzanine should be redone so that the top panel appears. To do this, it is necessary to cut off 8-10 centimeters from the top of the mezzanine doors. In place of the upper part of the door you need to attach chipboard or “plywood”.
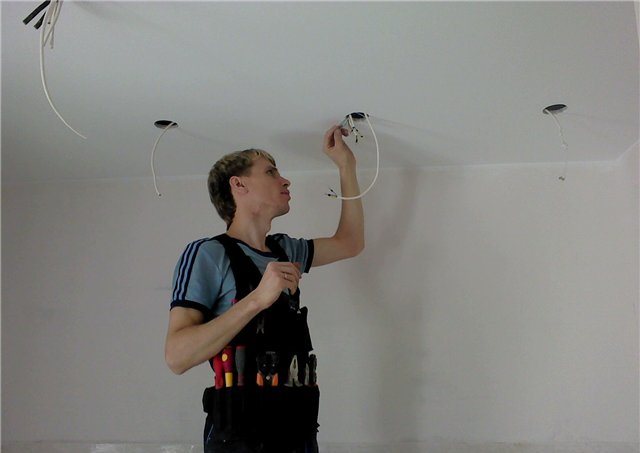
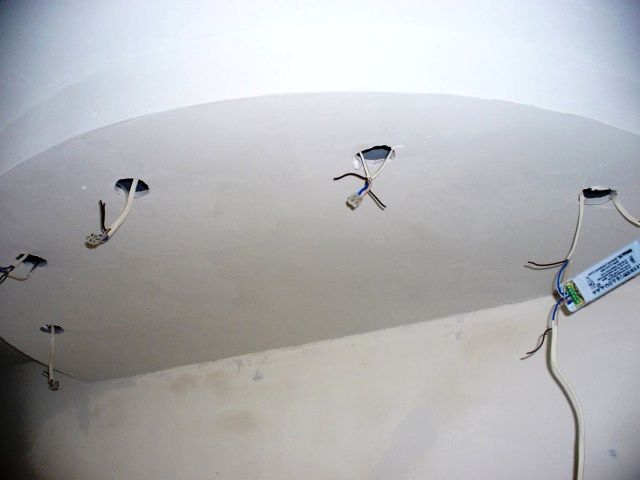
Electrical work performed at the stage of installation of the mortgage. This also applies to marking the place of lamps on the future ceiling and their installation in the closet. For lamps in the wardrobe choose LED or halogen lamp models.
Recommendations
One of the most important recommendations is to calculate in advance where the wardrobe will be located in the apartment, whether it will be built in or just reach the ceiling. If you decide to install a wardrobe in a niche, then stop your choice on the embedded version.
Call the competent measurers who will make the correct drawing of the future cabinet and indicate the place for the mortgage. In this case, the installation of the cabinet is first carried out, and then the craftsmen tension the ceiling fabric.

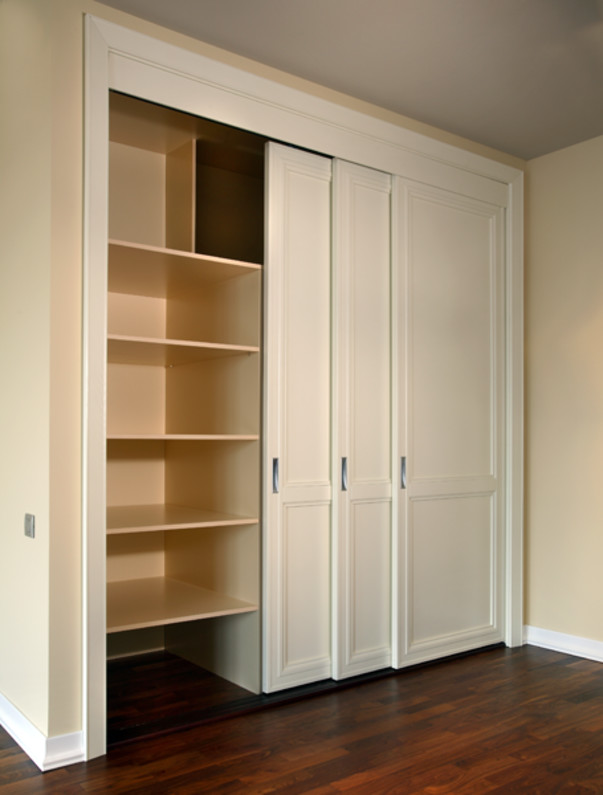
Built-in furniture allows you to reduce the cost of the wardrobe itself - you do not need to purchase a whole wardrobe in the store; all you need to do is buy only sliding doors, a false-panel, guides and a bar. During the installation of the doors to the already finished ceiling, the repair of the latter will be made very difficult in the future, since both the canvas and the cabinet are strongly interconnected. If you want to replace the ceiling you have to disassemble the cabinet.
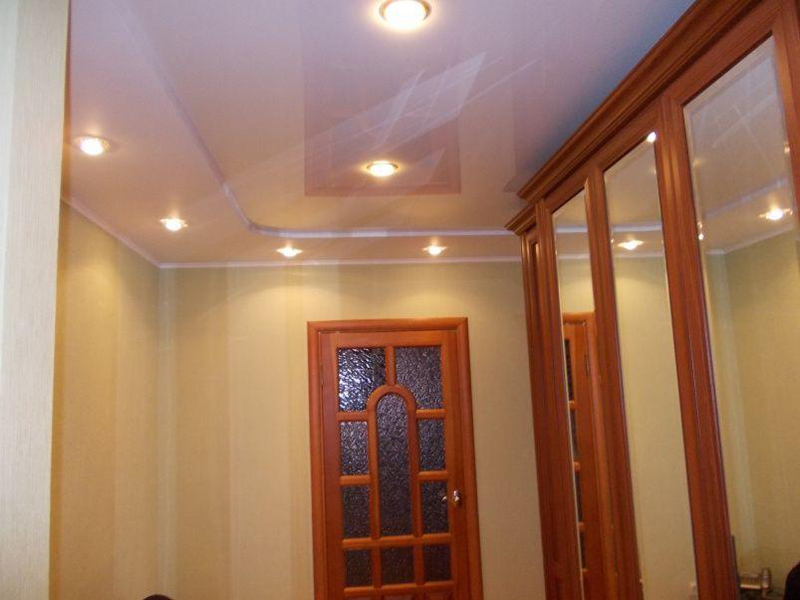
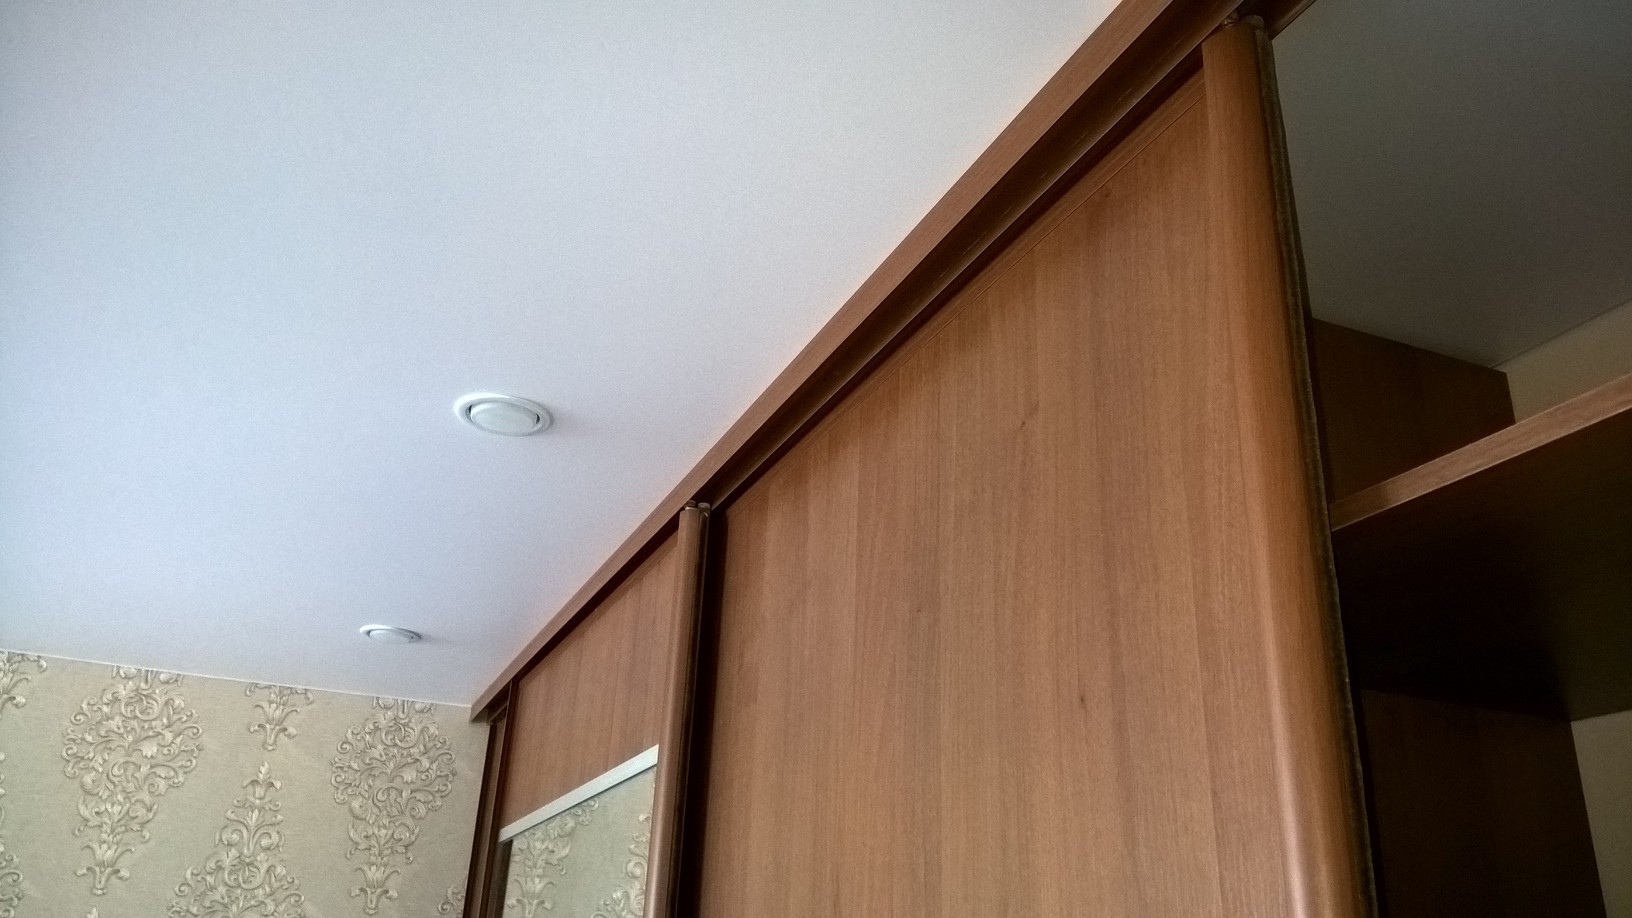
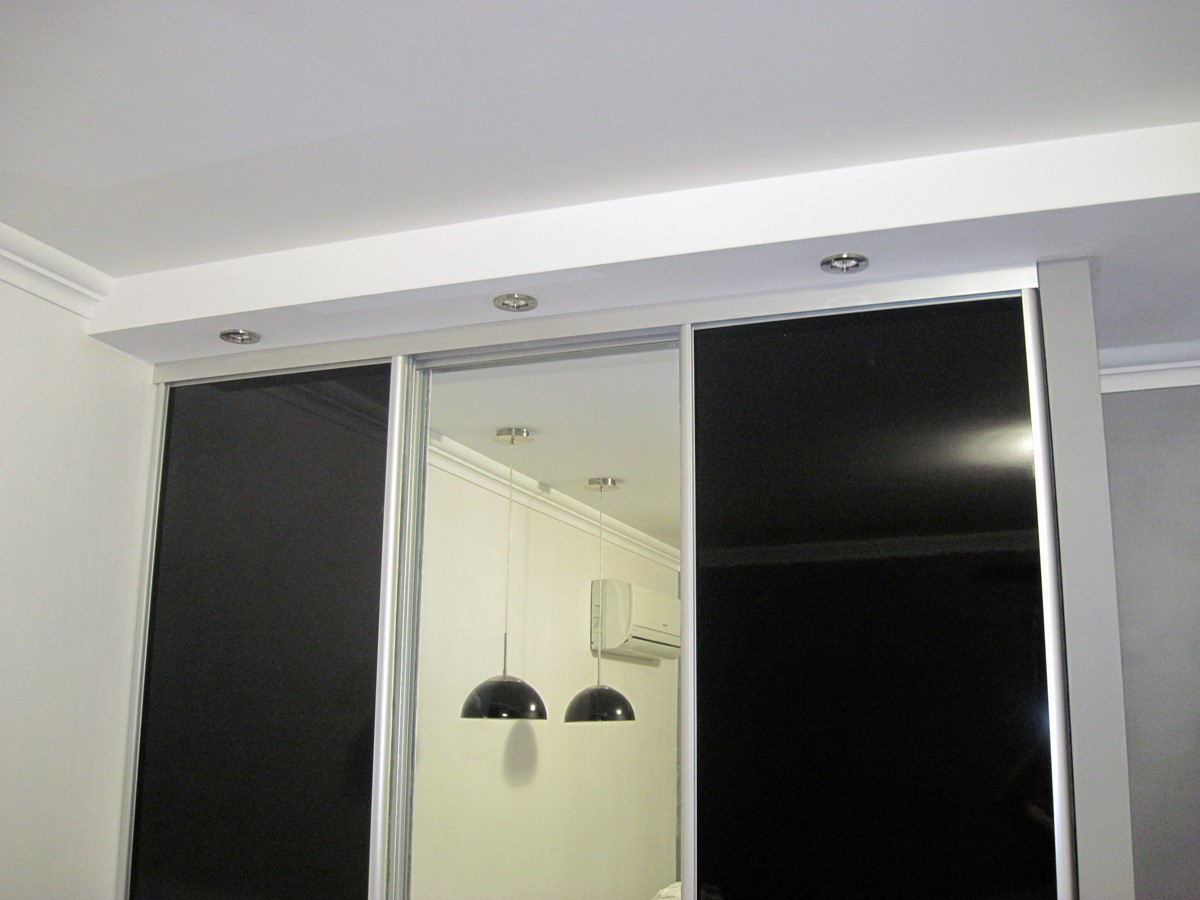
To hide a small gap between the ceiling and the door, you can use the ceiling plinth. As a result, you will achieve the creation of the integrity of the structure.
Builders are not advised to install the cabinet on the ready stretch ceiling for several reasons: damage to the film when attaching the cabinet to the canvas; no savings - you pay for a full wardrobe and for the ceiling, and in the case of built-in models, you have to pay for the wardrobe doors.


When installing a frame cabinet, you first need to install the cloth. Work should be carried out on the level to take into account the distance from the floor to the ceiling. The advantages of freestanding furniture is that in the future it can be disassembled and transported to a new home without damage to your own wallet.
An important point in the installation work is the ratio of furniture and ceiling fabric level. The stretch ceiling line should be parallel with the cabinet line and the linewindow. If the cabinet or window is not level, then the canvas is better to tension in parallel with these elements. As a result, you will achieve that visually deviations practically will not be visible.
Ideas in the interior
Designers and builders believe that the classic combination of the cabinet and ceiling is an independent installation of the ceiling leaf from the door. This option will allow you to further get rid of any restrictions on the rearrangement of furniture.
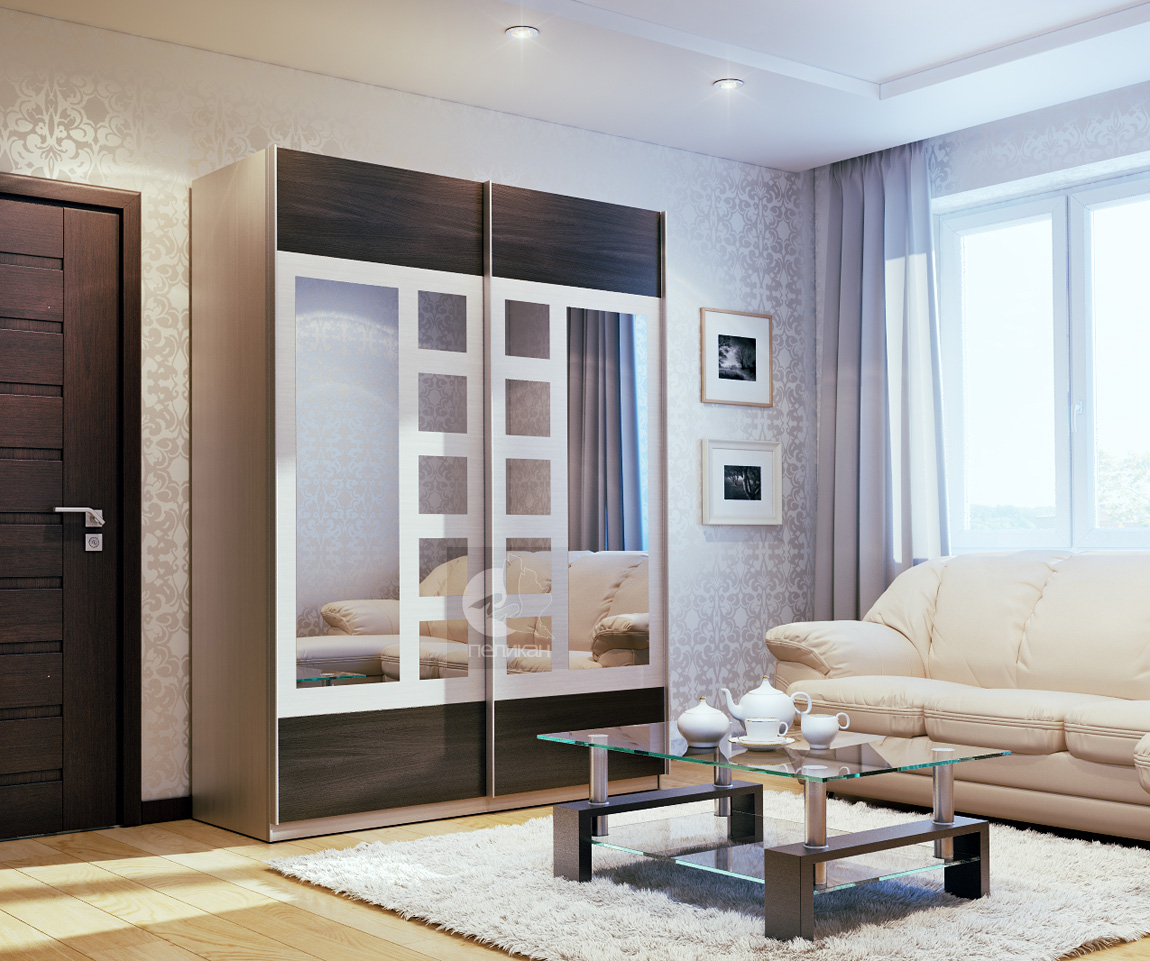
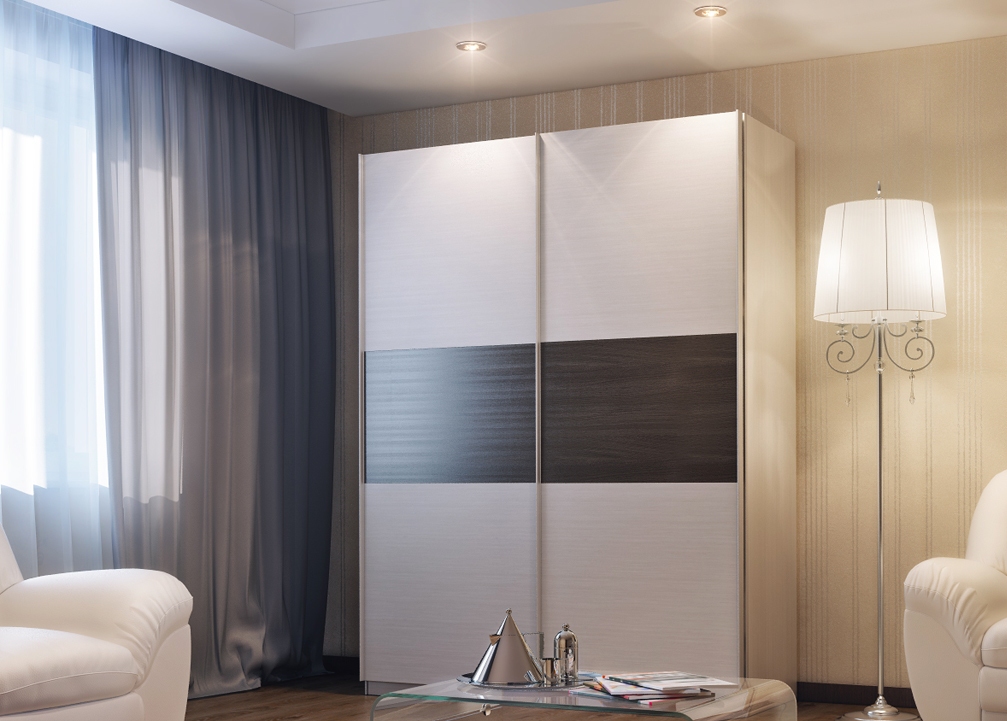
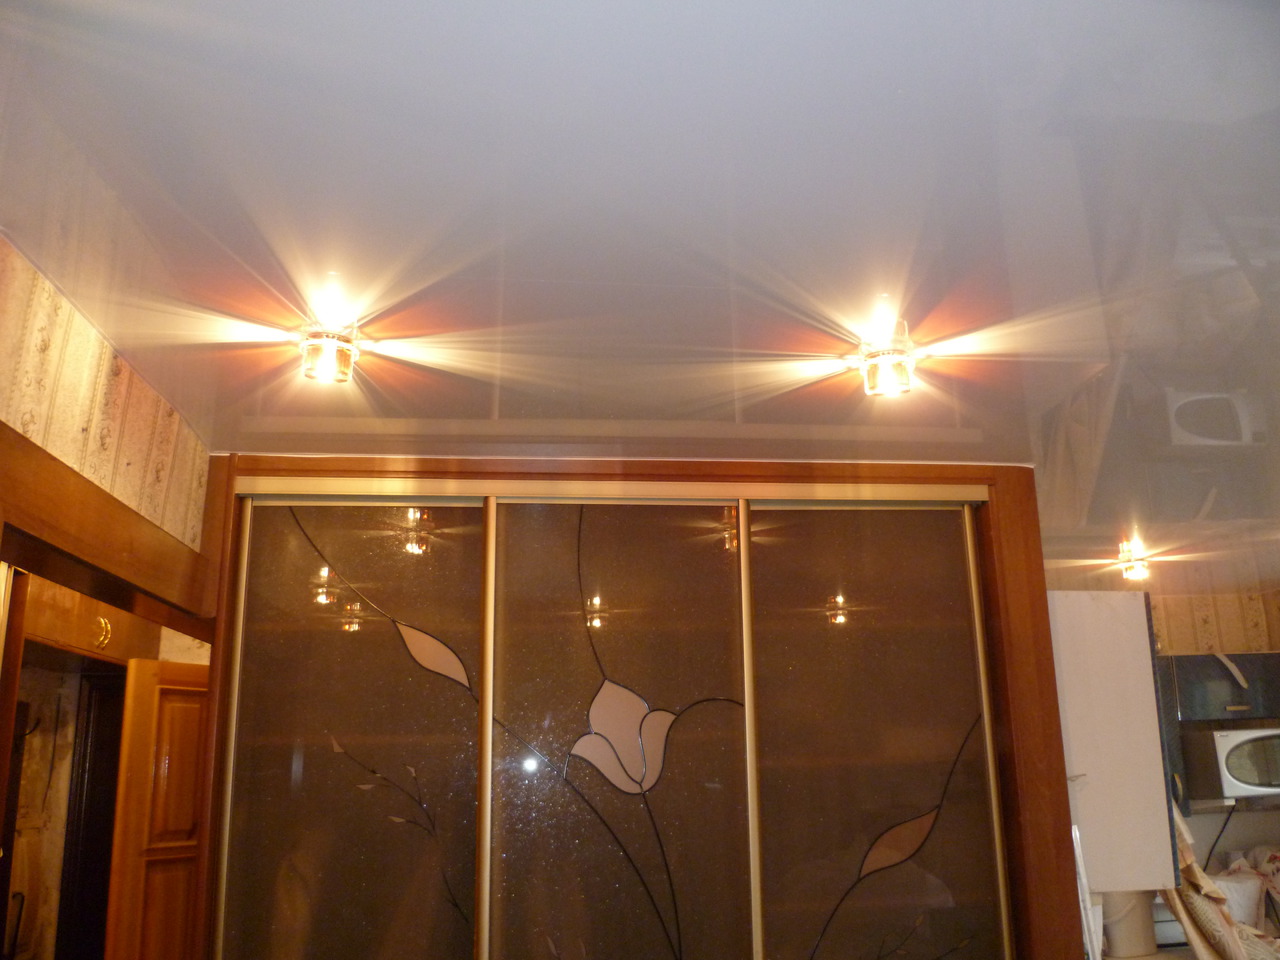
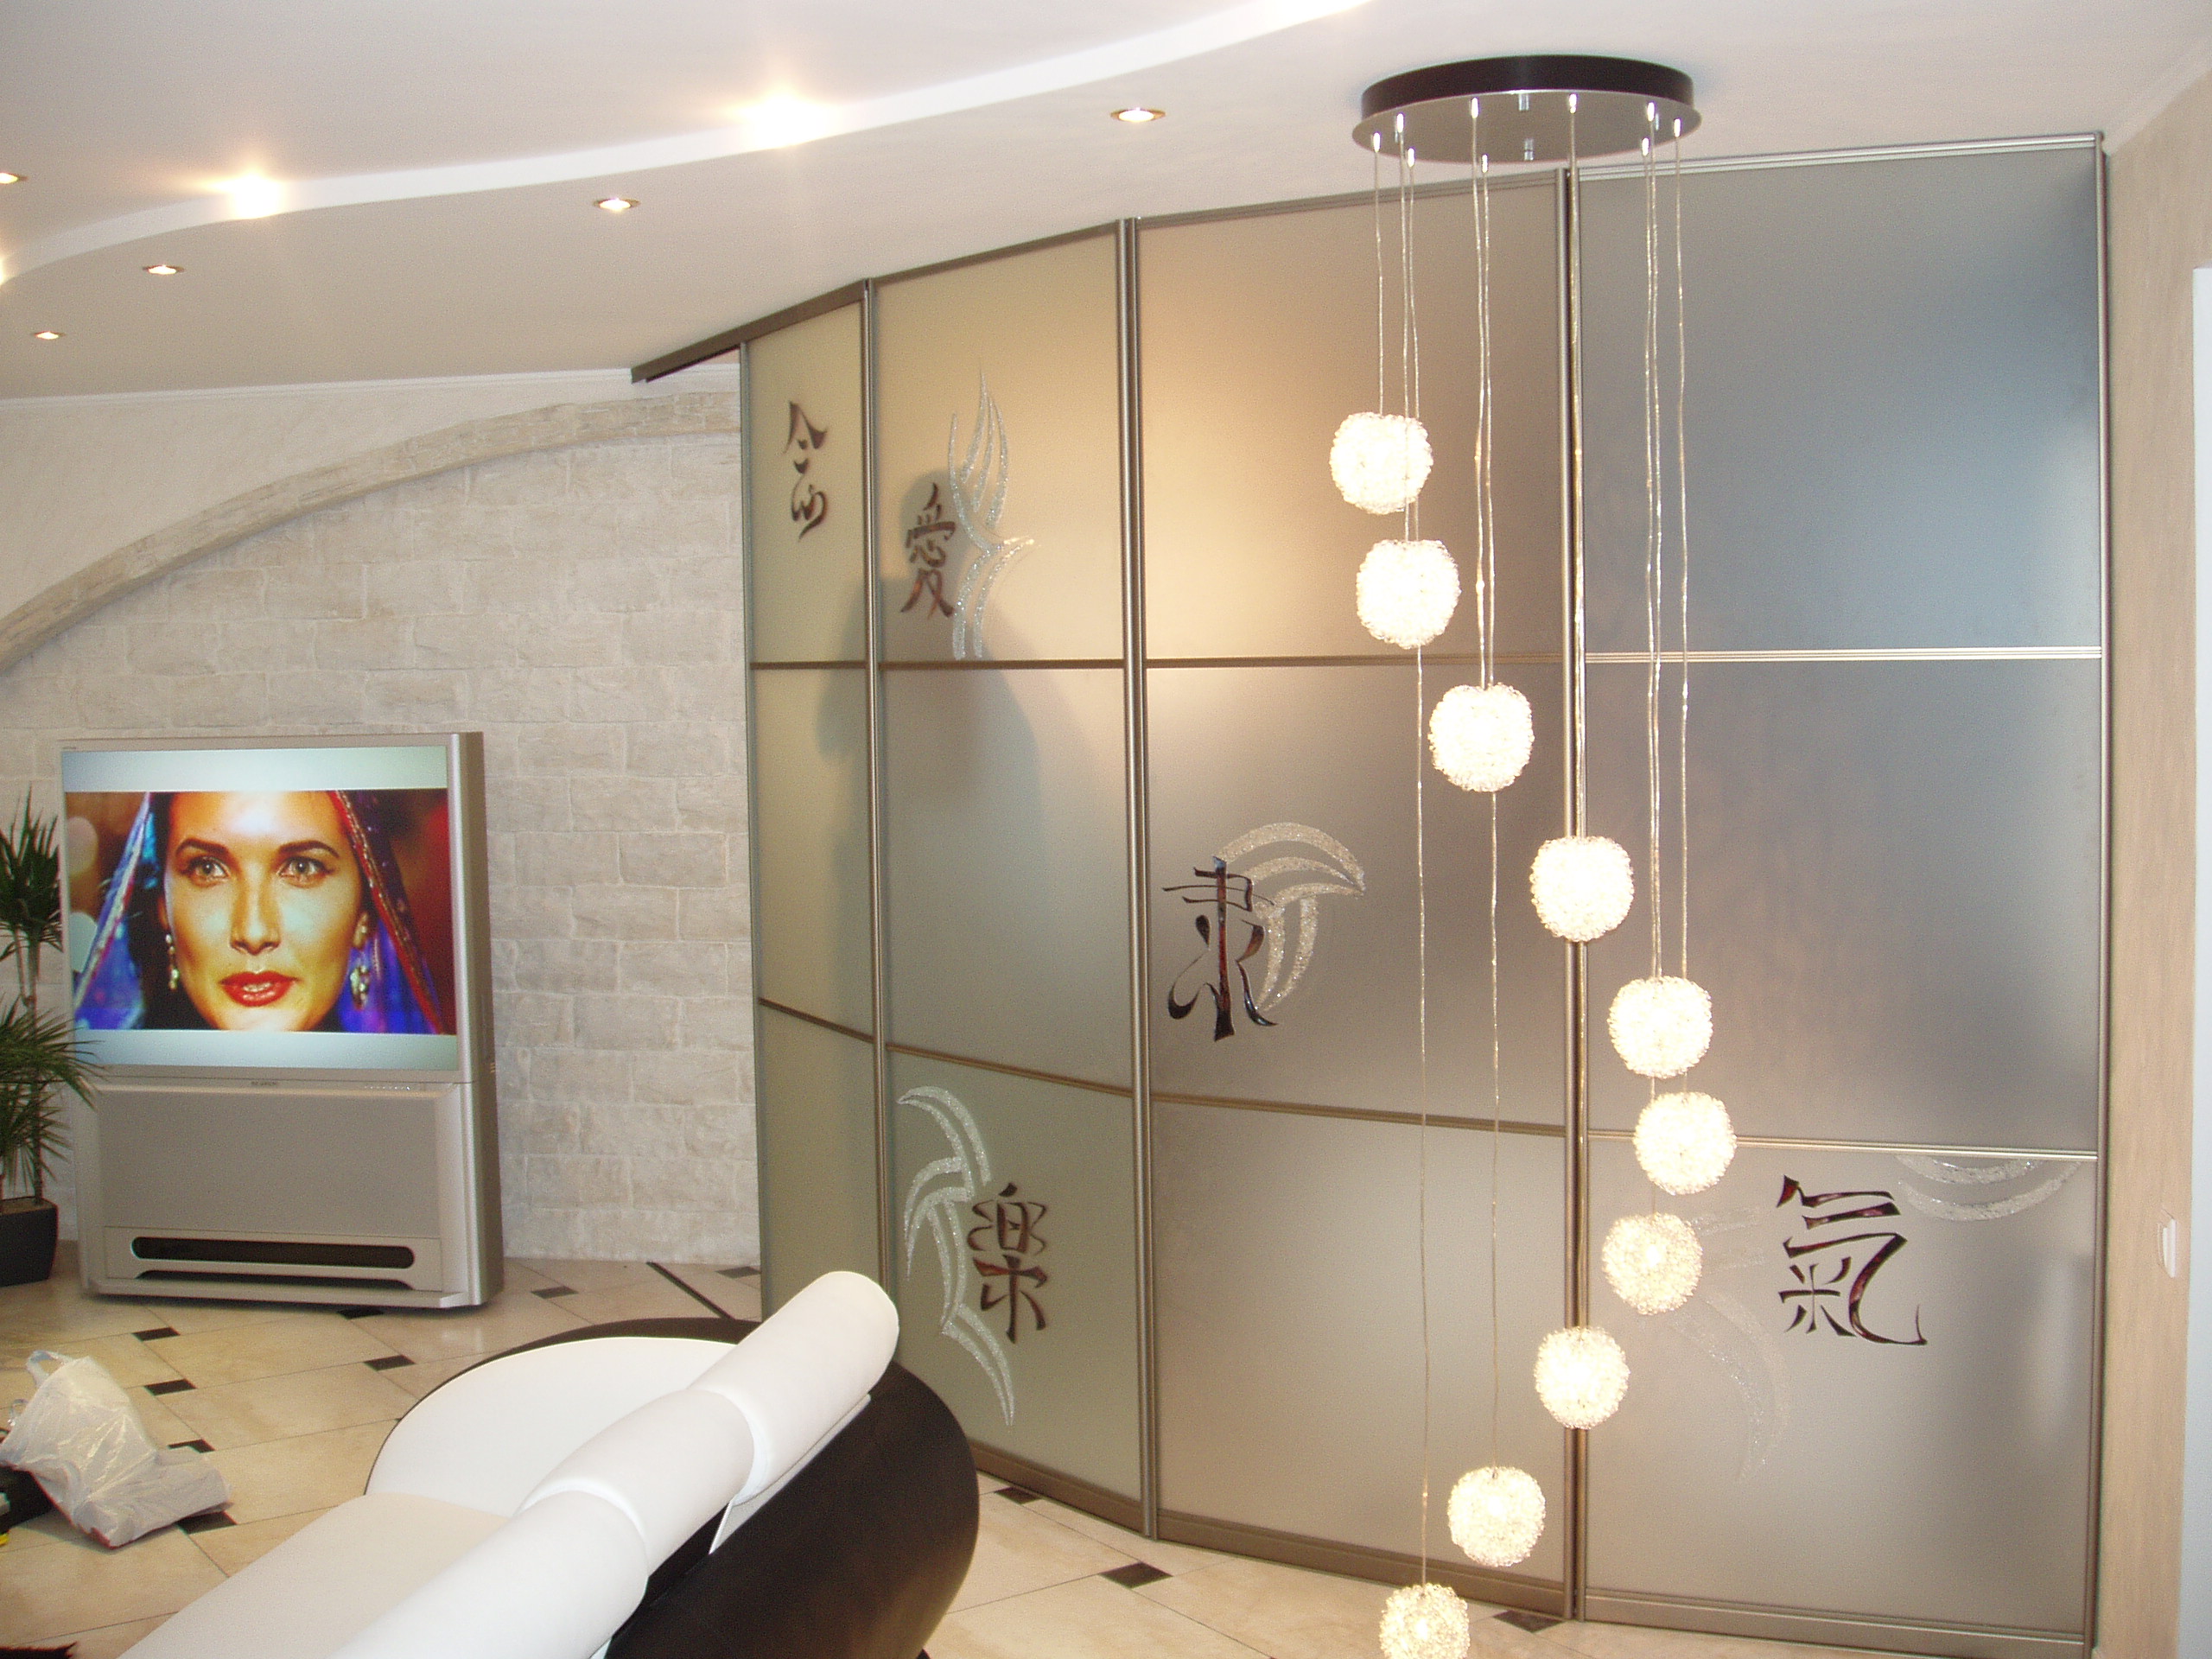
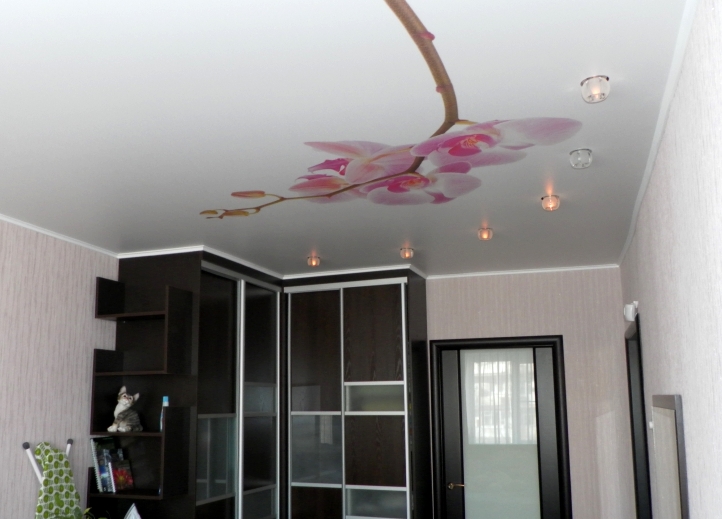
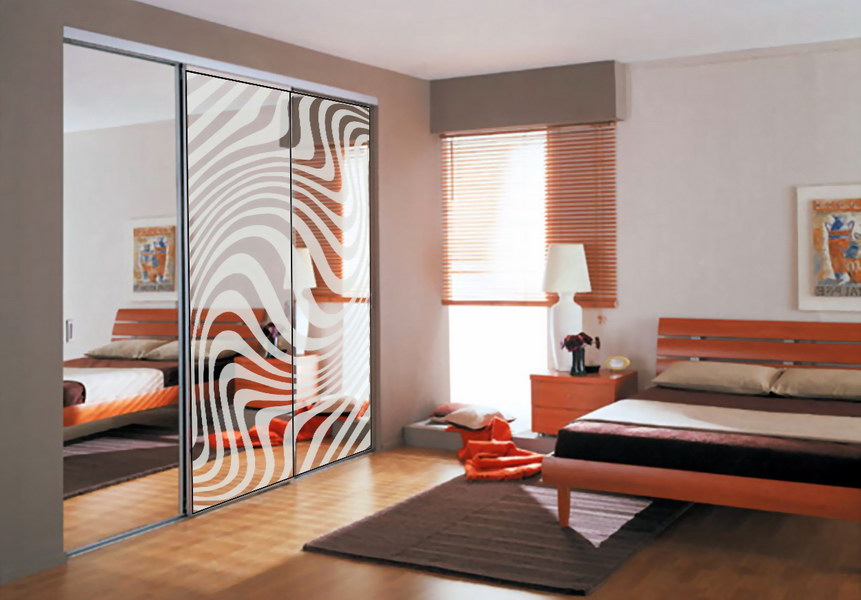
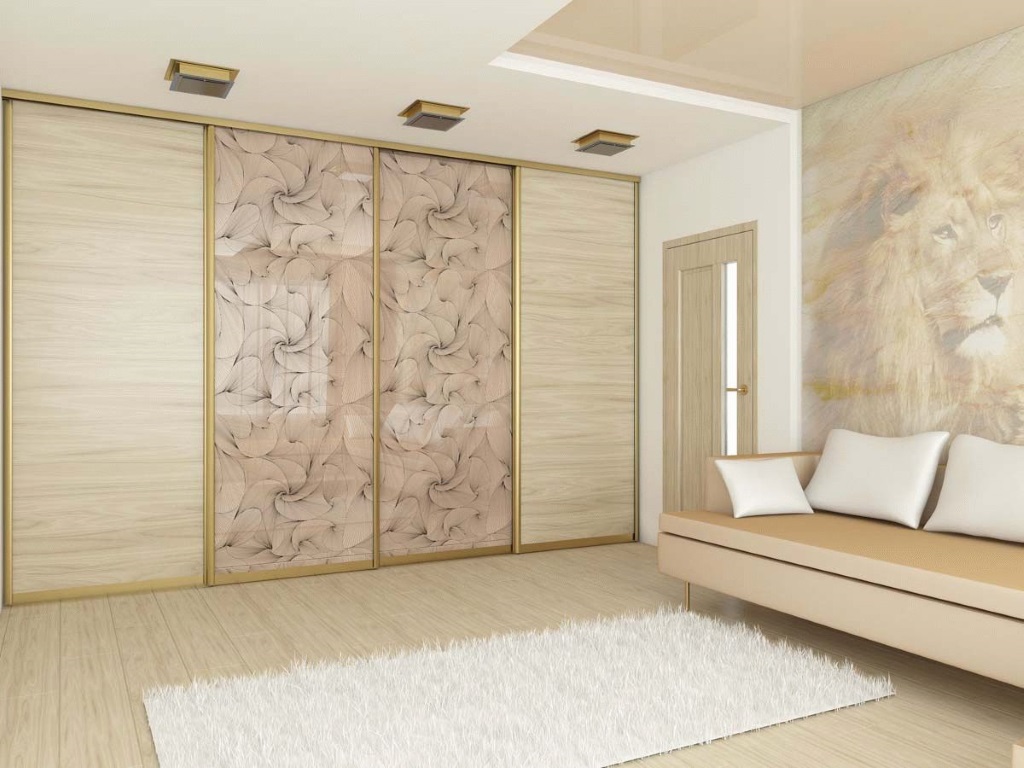
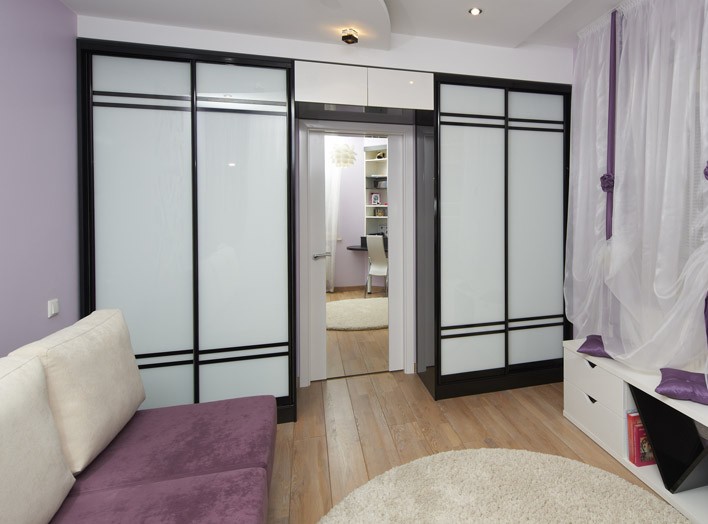
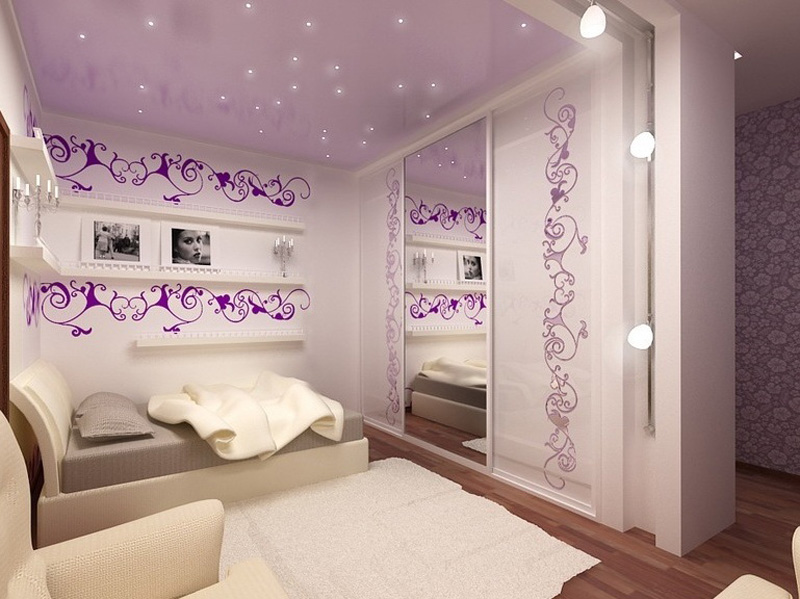
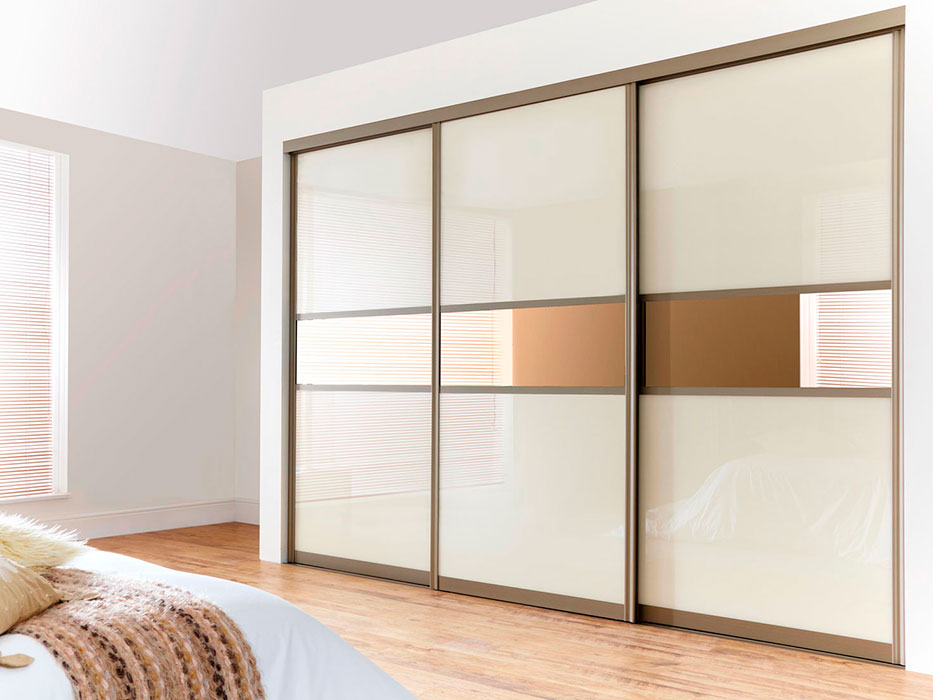
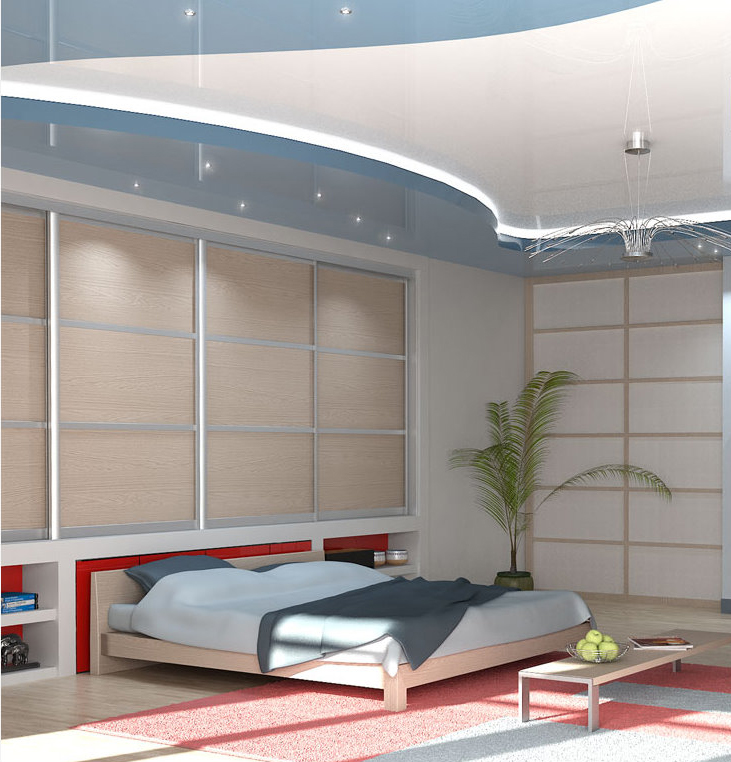
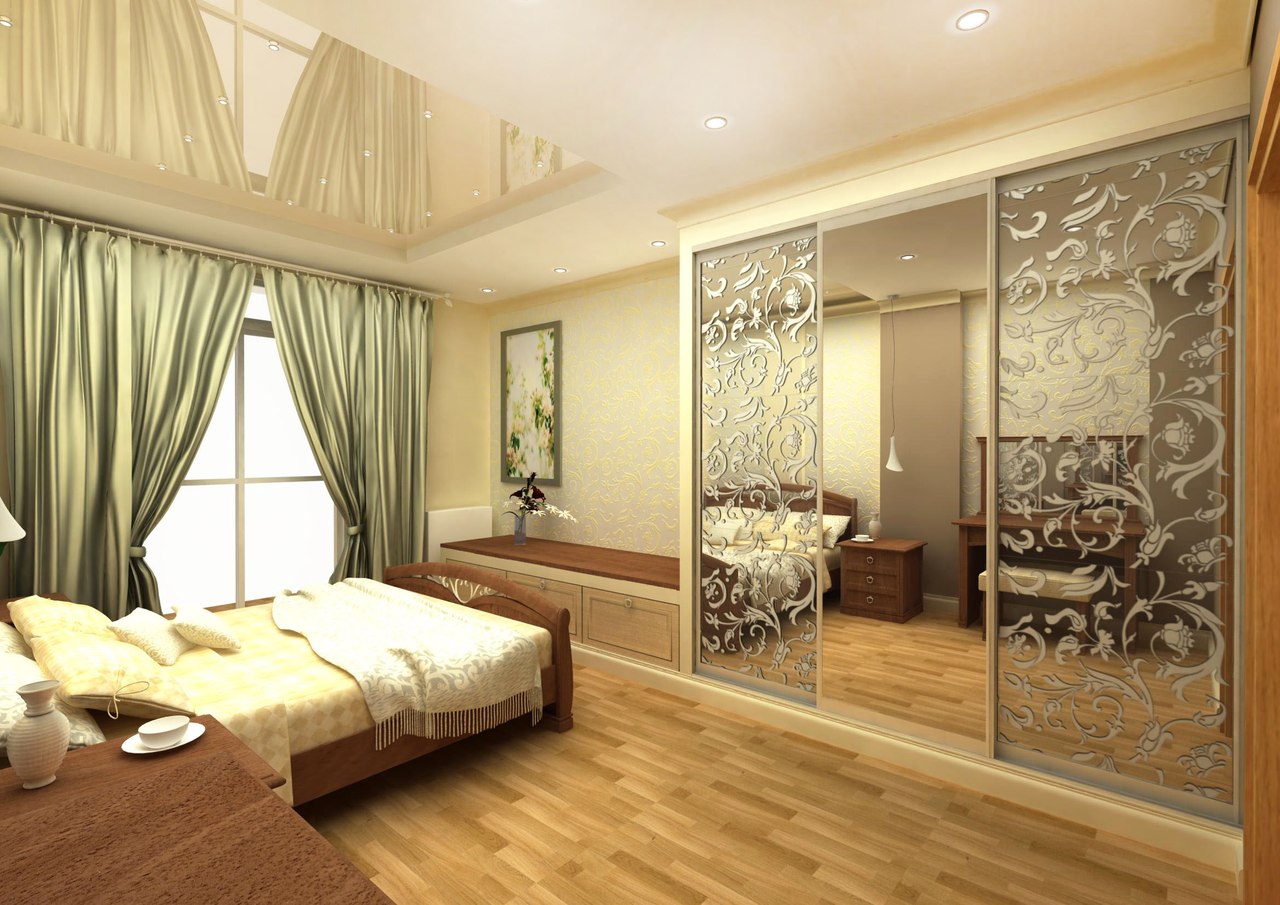
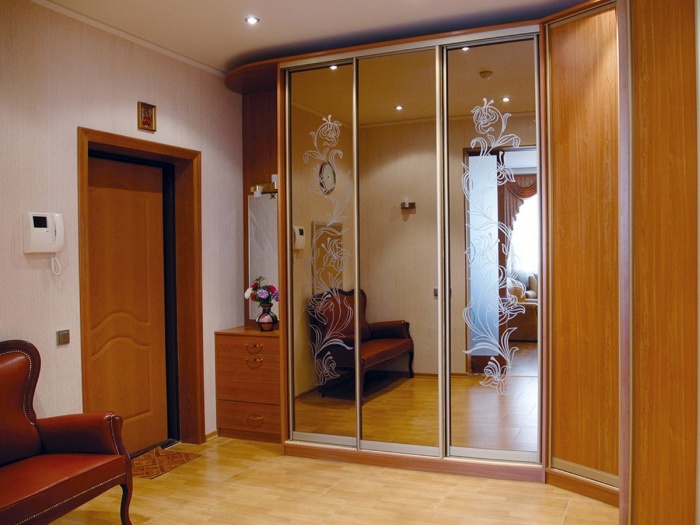
Sliding wardrobes are most often installed in the bedroom or hallway. In a simple bright room models will be combined with any ceiling. At the same time, the doors of the cabinets themselves can be made of various materials: glass, PVC, wood. Their combination gives you the opportunity to create an unlimited number of interior options.
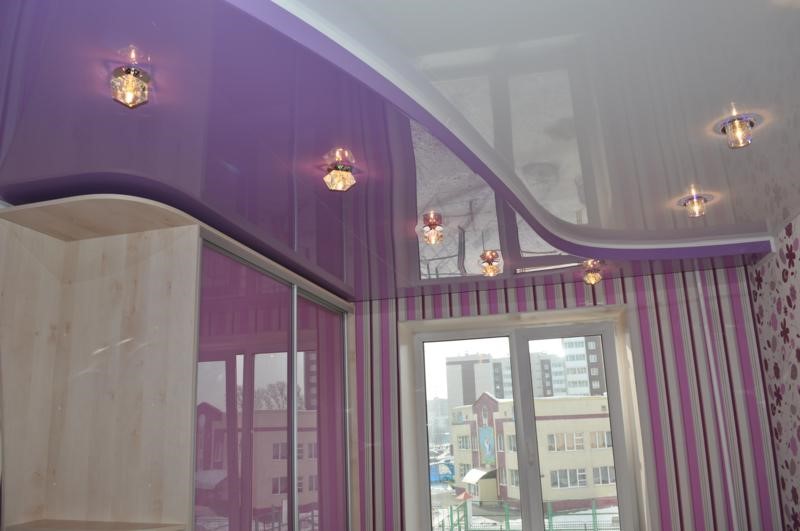
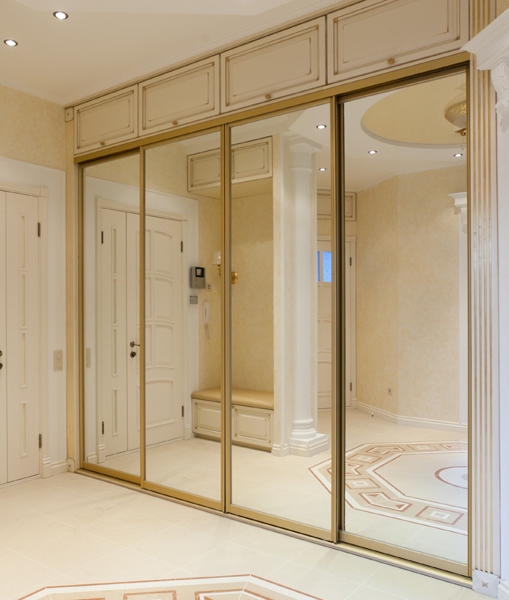
To date, designers have found ways to fit large wardrobes into a living room beautifully without sacrificing design - soaring multi-level ceilings fit mirrored doors. You can achieve a visual increase in the room with the help of glossy PVC ceilings. You can complement the design of the cabinet with interior lighting.