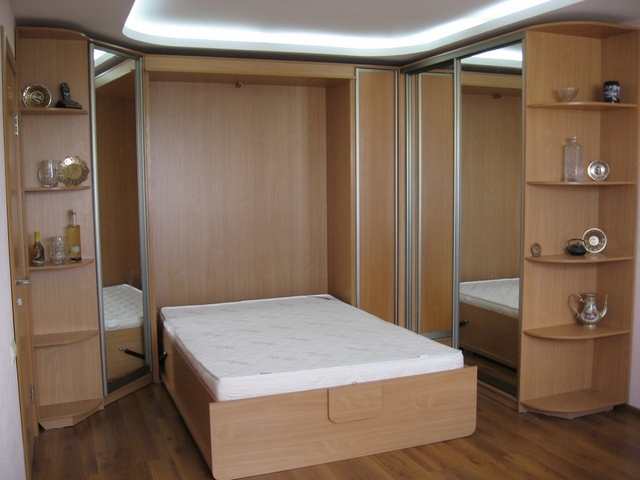
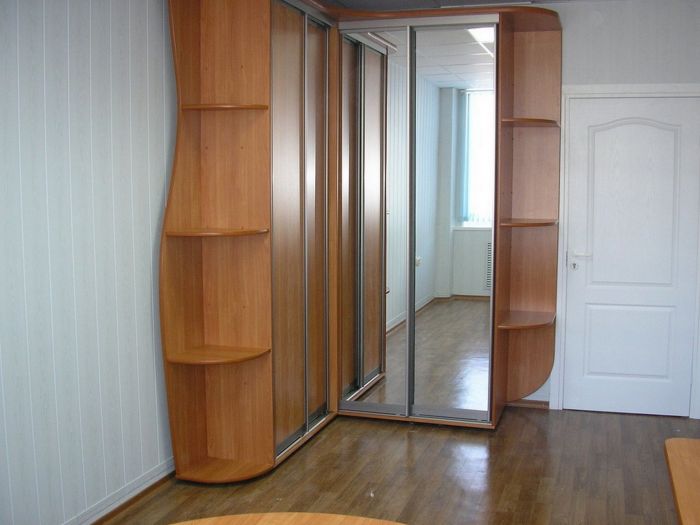
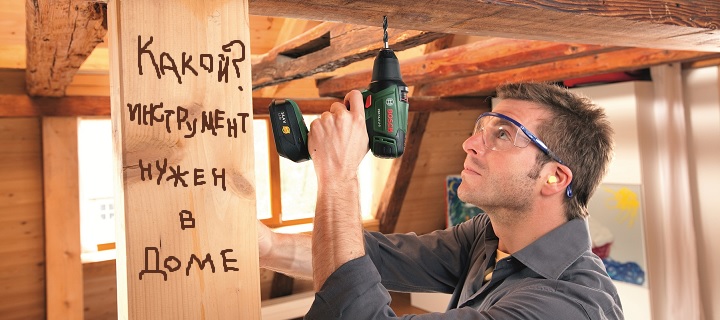
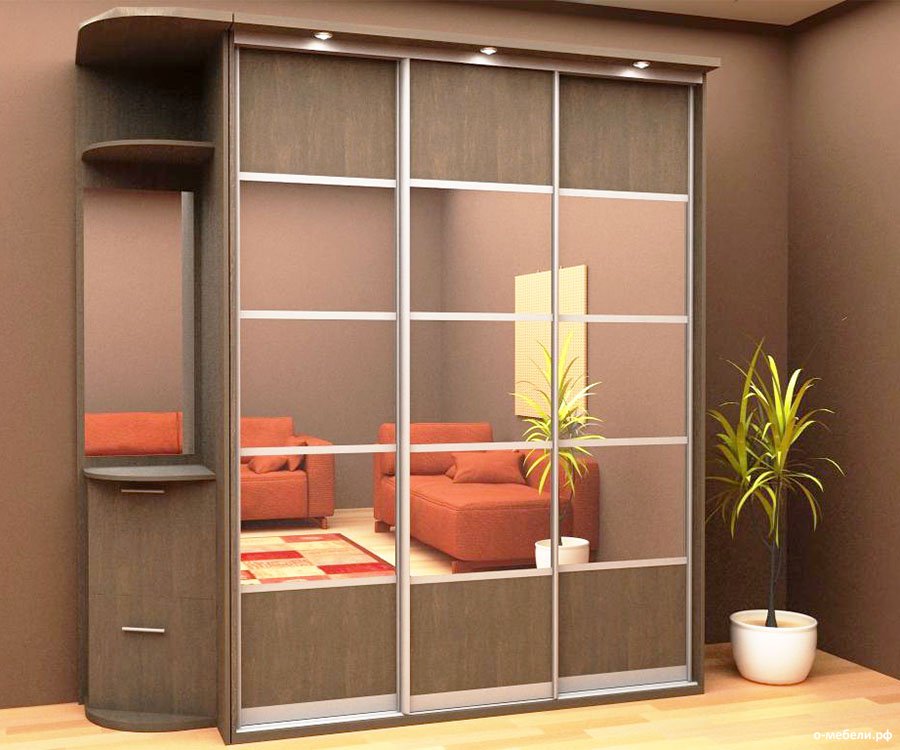
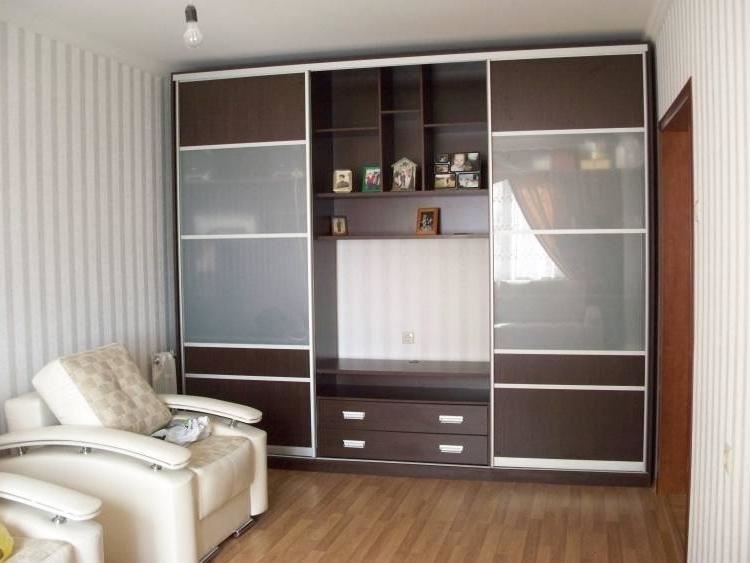
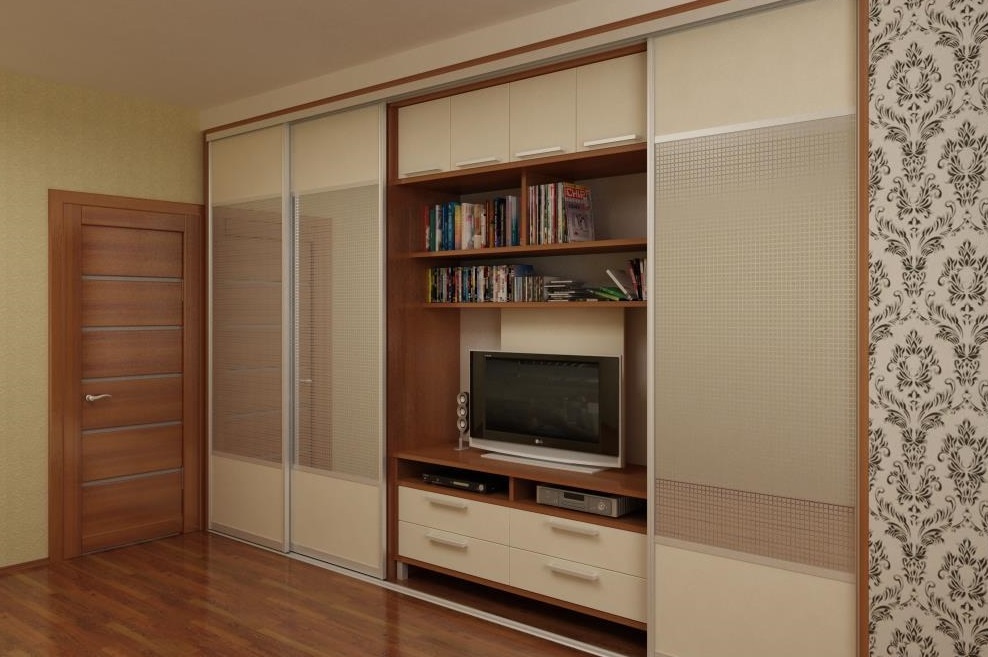
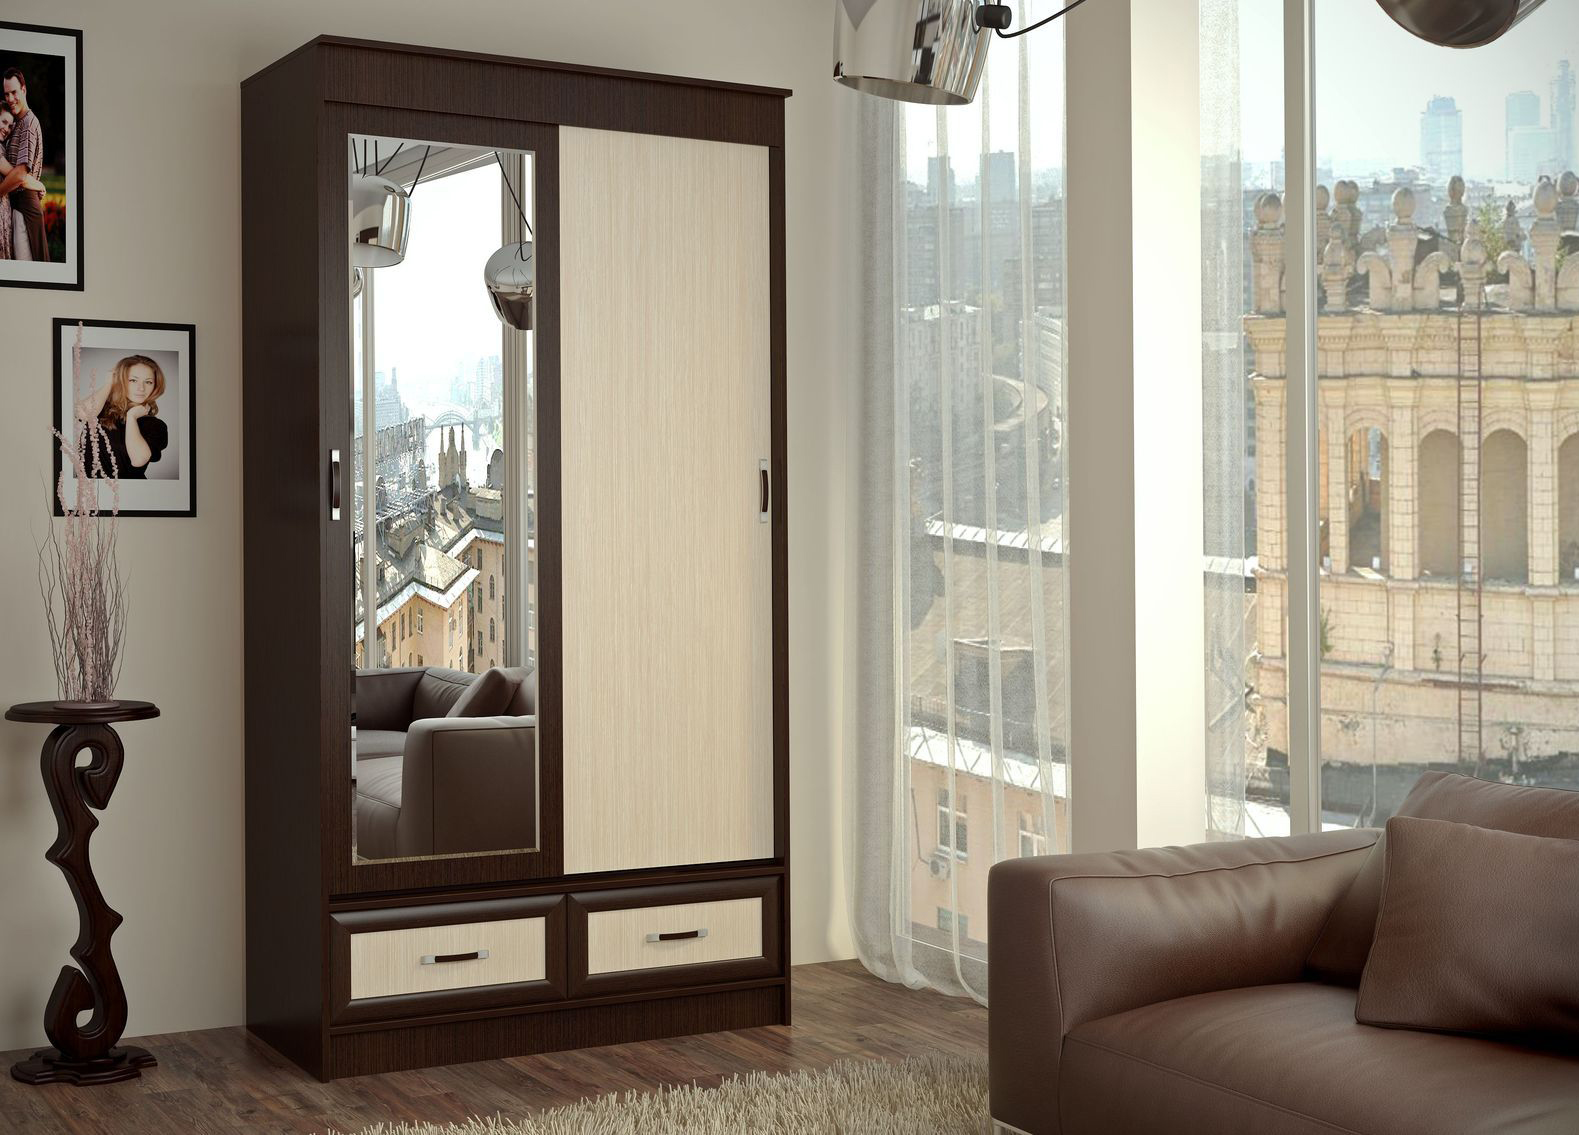
Assembling the wardrobe
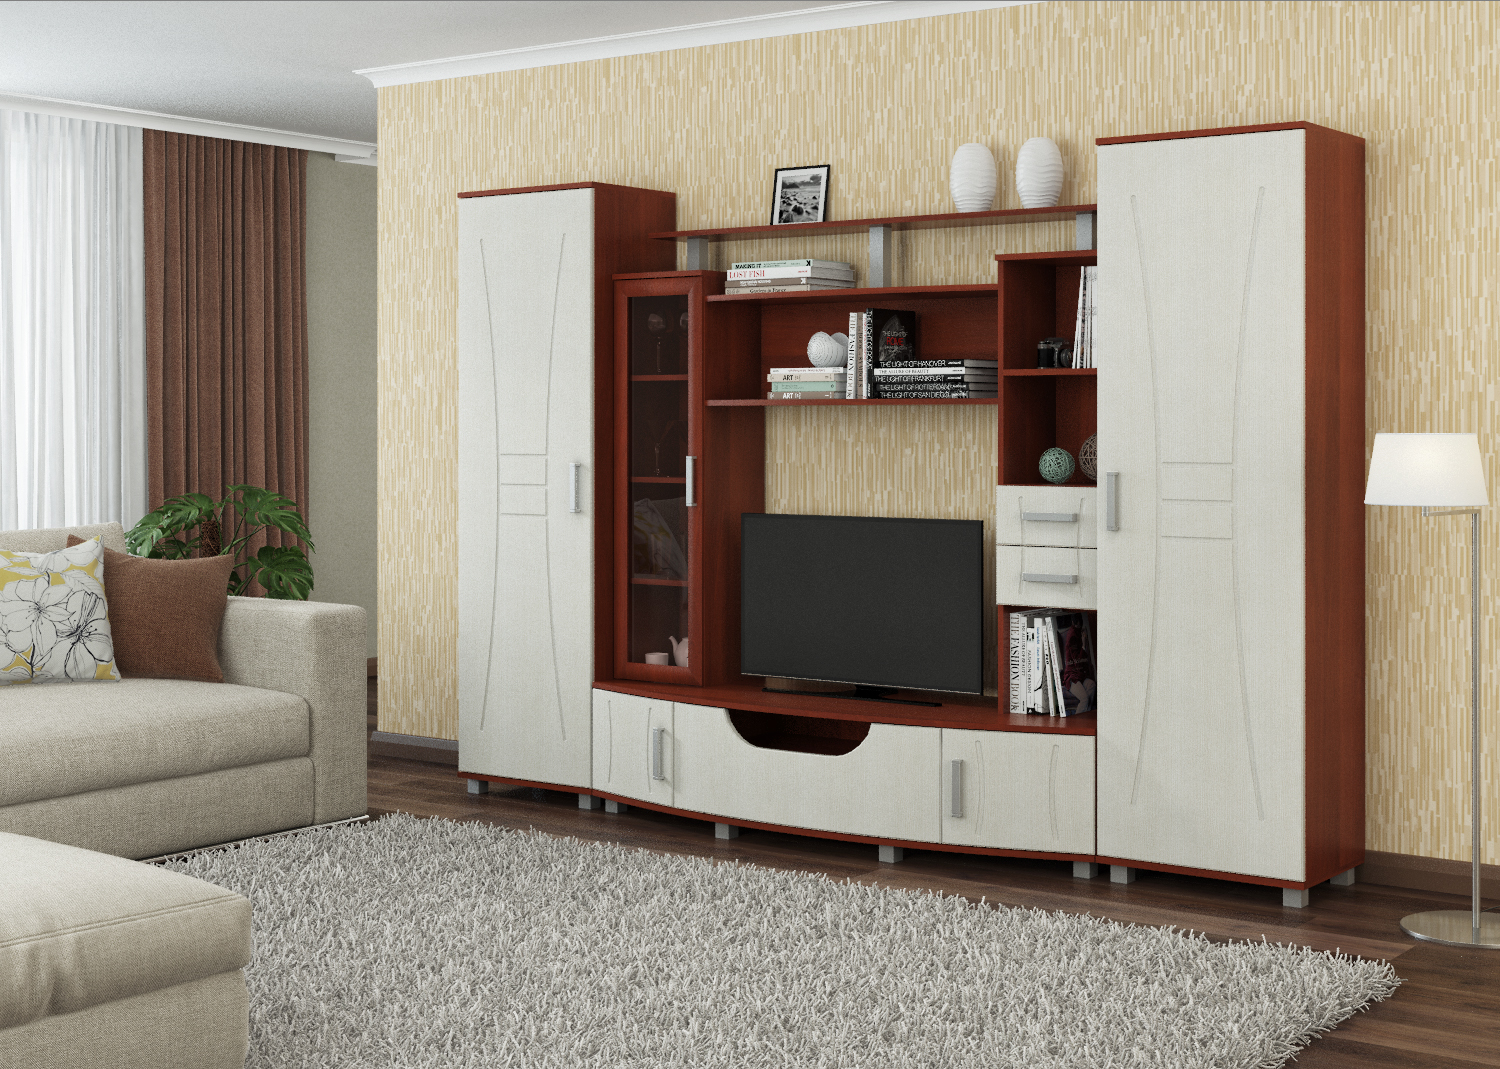
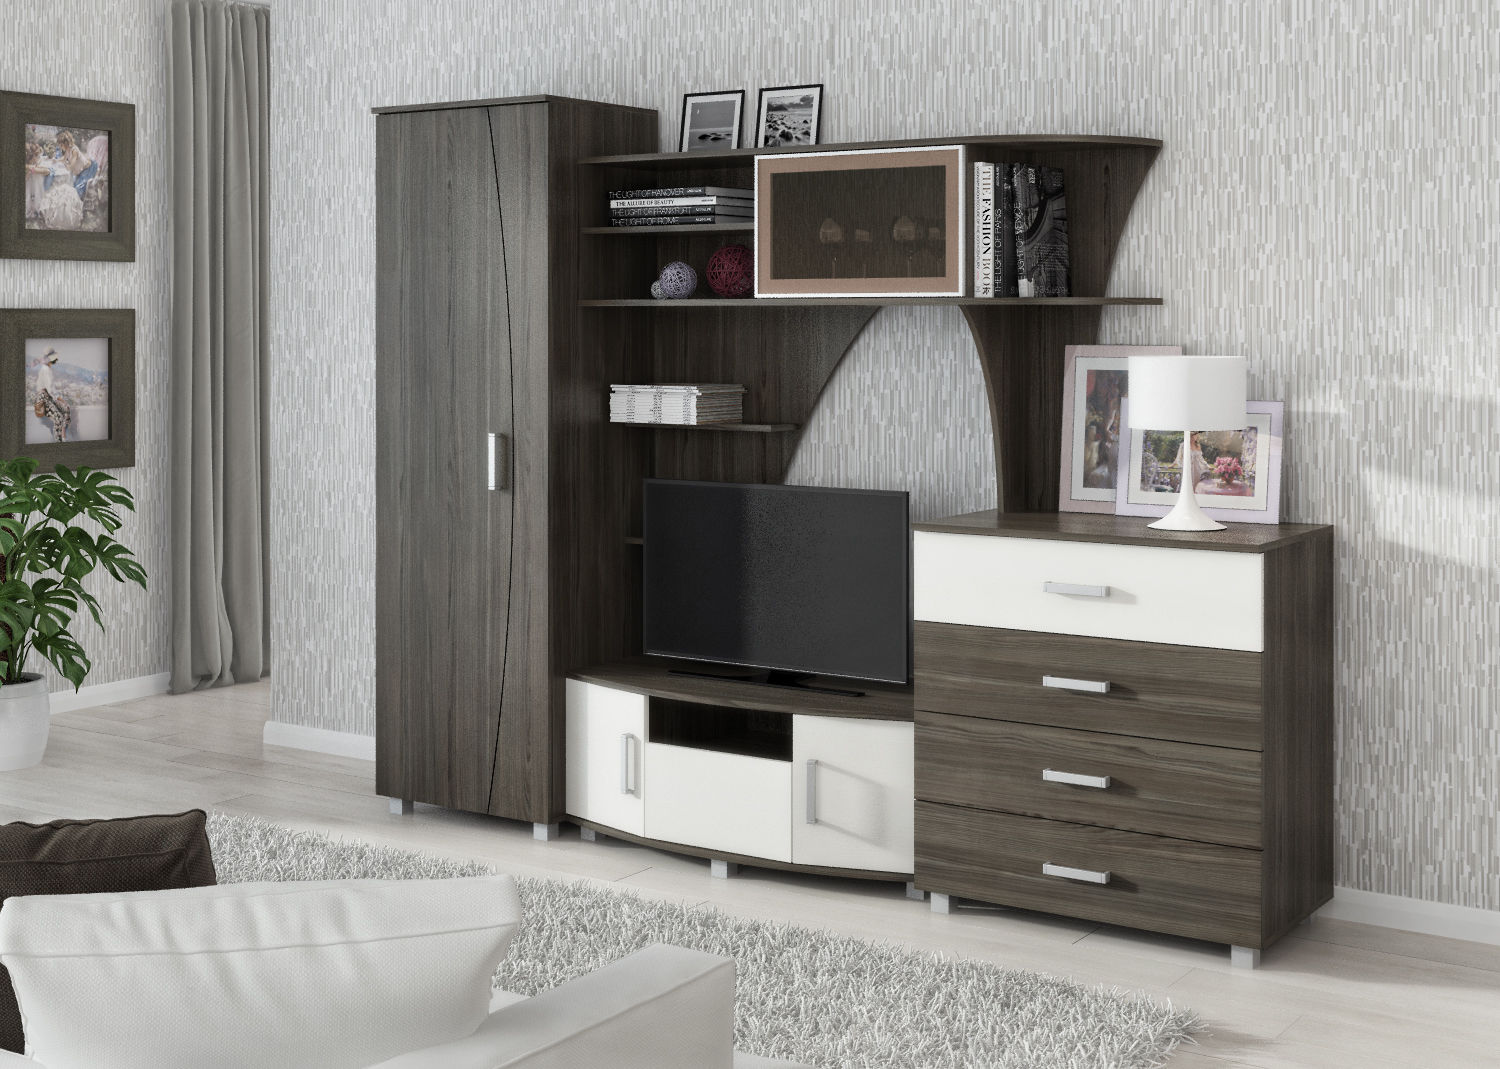
This component of the interior, as a wardrobe, must be present in every home. Its presence will allow you to save free space in the room. There is no difficulty in making and assembling it yourself.

Although this requires some knowledge, the task is much simpler than originally thought. Performed in-house, the work will not only bring pride and pleasure, but also allow you to save on the services of a specialist.


General rules
To assemble the purchased cabinet, you must follow the instructions attached to the product by the supplier..
There are a number of principles, adhering to which, you can collect anything quickly and efficiently:
- Do not unpack everything at the same time and interfere with parts from several packages.
- Do everything in order.
- Carefully study the manual, so that the mistake is not a problem.
- Make sure that the kit contains all the materials and accessories.
- Collect consistently, from the bottom to the side.
- Remove components from packages, decompose tools.
- Install mirror elements at the very end, otherwise you can scratch them or break them.
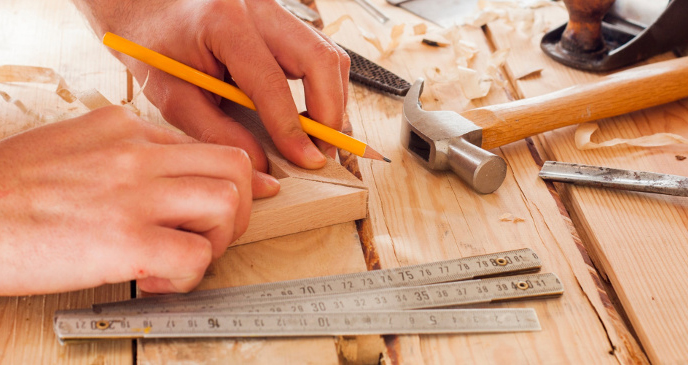
Required tools
Significant costs are not required.
Enough standard set:
- Stationery knife;
- Screwdriver;
- Hex key and confirmatte bit;
- Screwdriver;
- Awl;
- Drill and drill bits;
- Roulette;
- Sandpaper;
- Rubber mallet;
- Knife jamb.
In addition, you will need a hammer and a simple pencil, glue is useful.
Preparatory stage
First of all, you need to prepare the room. This will affect the final result, as well as the amount of time spent. Nothing should hamper the assembly process, and all the required tools and materials should be nearby.
If there is a garage, then you can do all the work associated with partial assembly and drilling there. The only drawback of this approach is the need for additional loading operations.But this will eliminate the need to annoy the neighbors with the noise of a drill.

In the living room will have to find a balance between comfort and cleanliness.
In addition to the space where the closet will be, you will also need a large amount of space to move its parts. It is necessary to provide an opportunity to work without fear of damage to other items of furniture and interior.
More need to base to perform drilling. The usual stools covered with chipboard will do. Do not rush to throwing out their outdated furniture. To build a new cabinet can be very useful a couple of boards from the old.

Inspection of parts
- First you need to carefully inspect all components., check their quality so that there are no defects like scratches or cracks.
- It is advisable to carry out this check in the store.so that during assembly no misunderstandings arise.
- The cabinet should be transported carefully.to damage furniture along the way.
- Worth paying attention to all necessary precautions. The cabinet should be well fixed, and go, preferably, on a flat road.

Do-it-yourself installation: instruction
First you need to check all the dimensions of the ordered cabinet. If it is installed across the entire width of the room, then there must be free space between the side walls and the walls of the room. The back wall of the hardboard is nailed on the nails, and this will not be possible if there is no free space. You also need to keep in mind the length of the cabinet diagonal in order to be able to unfold it. Then all items and parts should be taken out of the packages, discarding unnecessary packaging materials, otherwise they will interfere with the work.
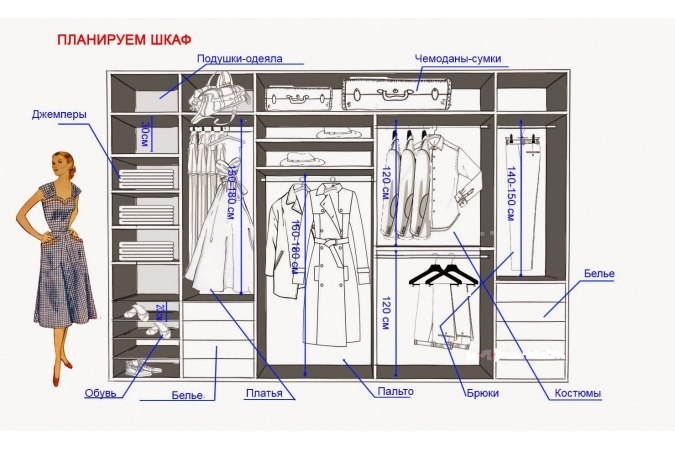
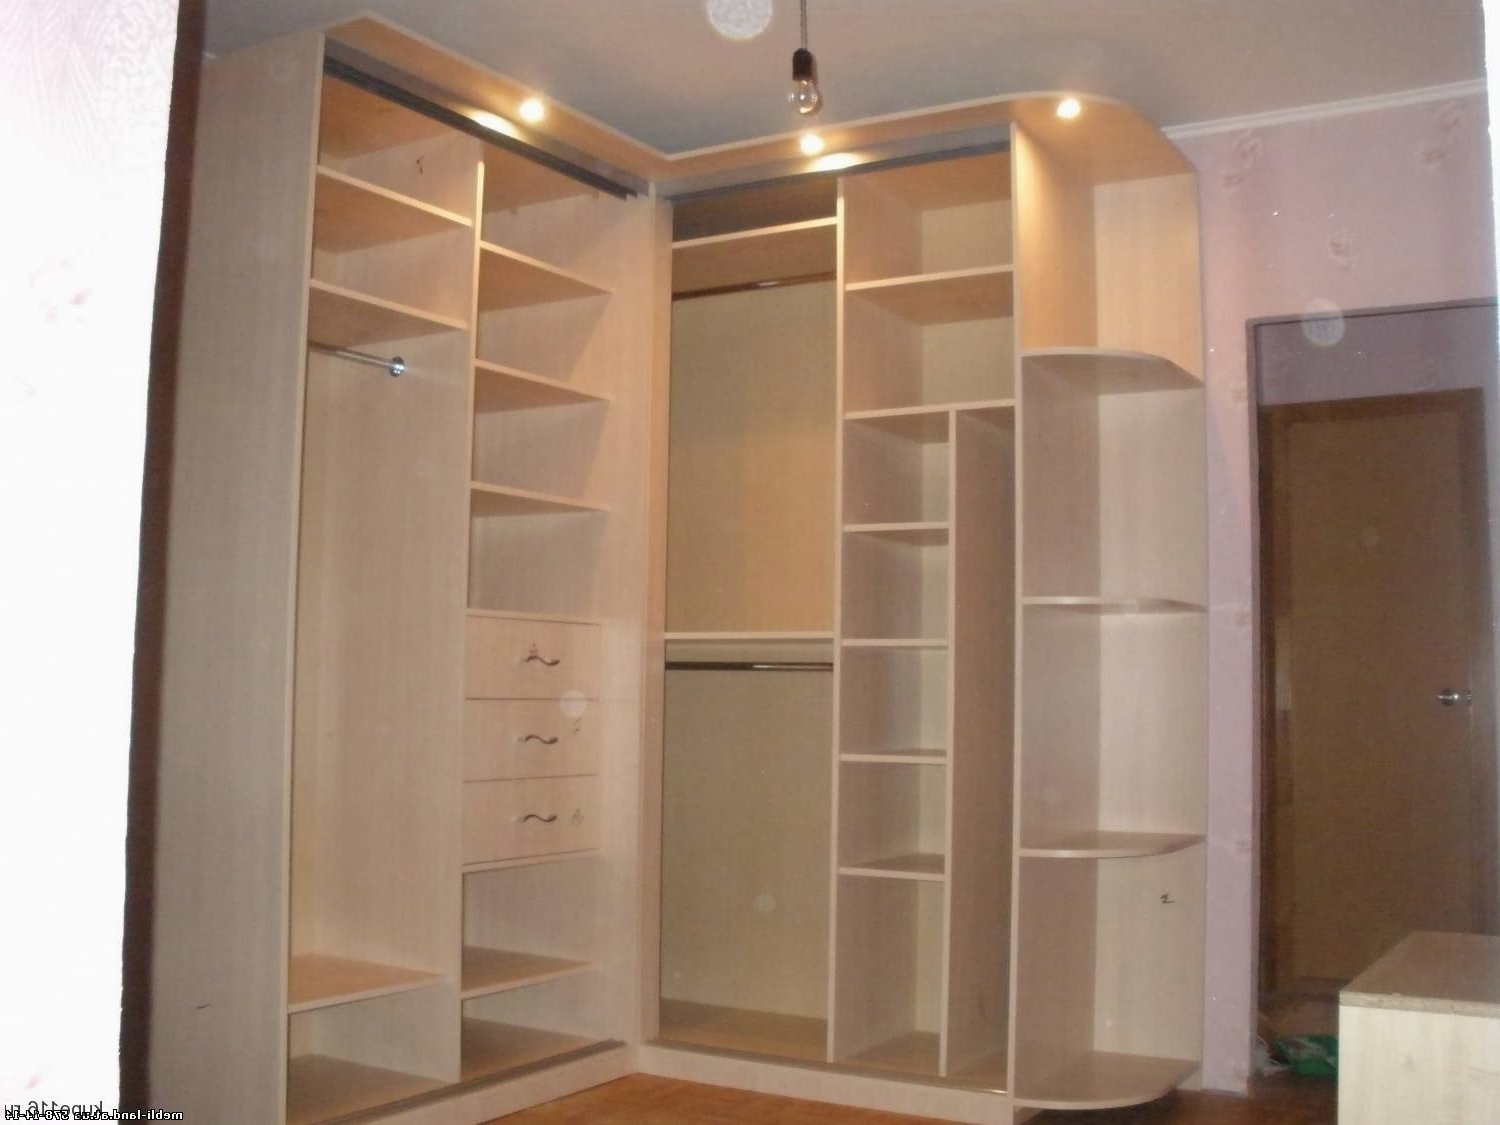
It is necessary to immediately understand the location of the internal compartments and shelves. Some models allow you to mount them both on the left and on the right side, but this admissibility is not always welcome. To correctly determine the side, you need to pay attention to the width of the shelves and the location of the holes in the bottom of the case.
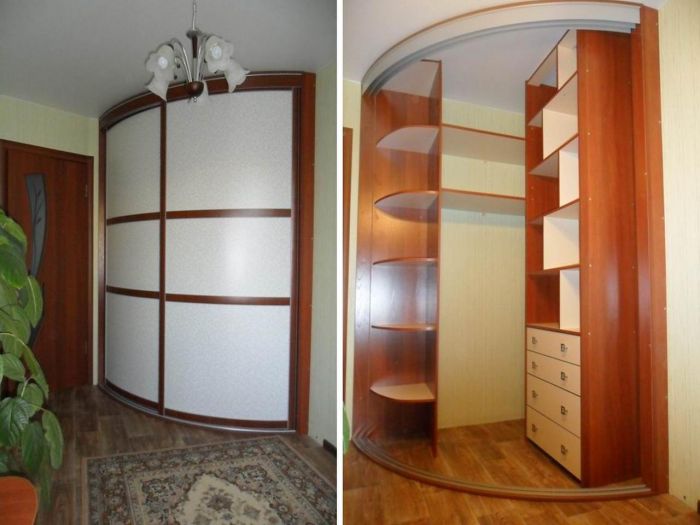
When installing a built-in cabinet in a niche, the back wall of the fiberboard is usually absent. In this case, the side walls are simply attached to the lower base and to the walls of the niche using dowels.

Markup
This is a very significant stage for the assembly of the wardrobe,therefore, it is worth making the markup with due care.
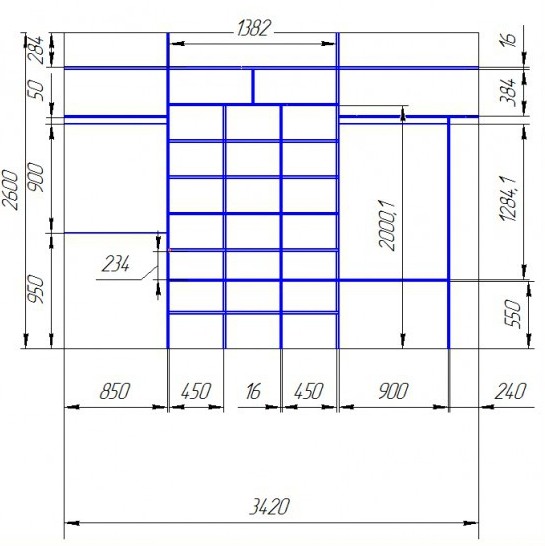
First of all, it is necessary to measure the length of the cabinet from the corner of the room in which it will be located. Then, using a simple pencil, mark its boundaries. After that, it is necessary to mark with pencil the lines separating the sections of the cabinet, as well as designate the distance between the shelves, having measured their length before that.
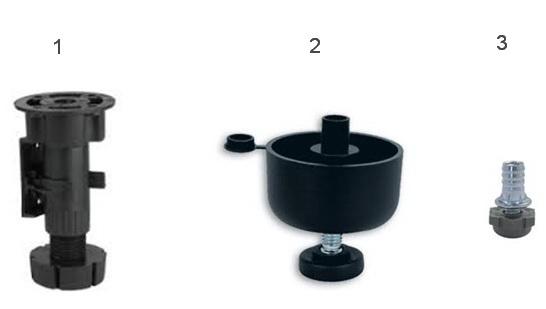
Leg fasteners
First detach the plastic plugs from the legs (with a knife or bare hands), then insert them into the 10-mm holes in the bottom of the base. Some models have adjustable legs that are screwed to the base at some distance from the edge. Plus these legs - the ability to adjust their height in a fairly wide range (from 10 to 14 cm).
After attaching the legs, you should install the pins and minifixes in the lower and upper part of the structure. It is important not to confuse the side of the internal offices.

Then you need to adjust the legs so that the bottom was exactly. As a test, it is recommended to use a guide rail along which the cabinet doors will move.If the lower part of the body is flat and does not bend anywhere, then the plank will fit snugly, without gaps.
Installing the walls of the cabinet
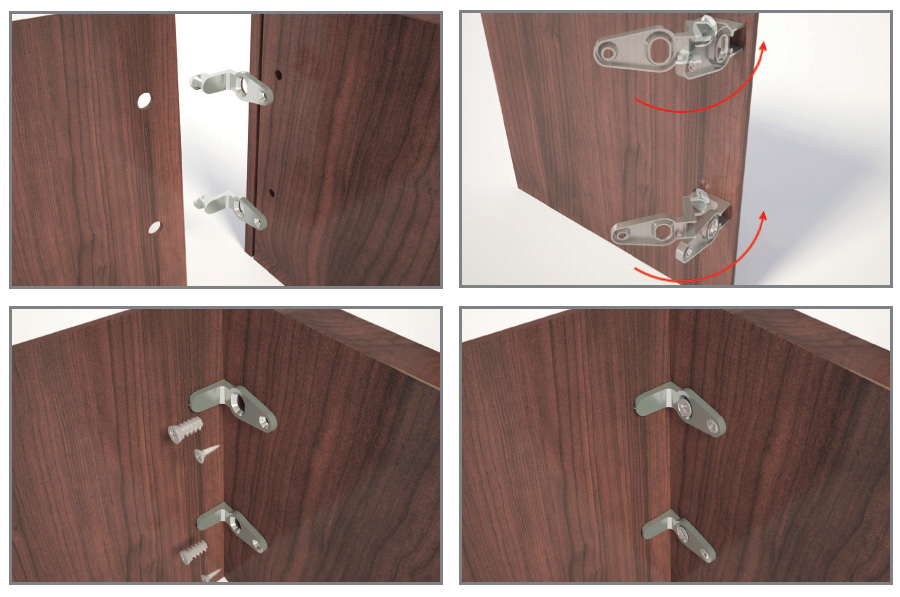
At this stage, most likely, you will need an assistant who will hold the installed parts of the body. The side wall is mounted on the already installed pins and is thus attached to the base.
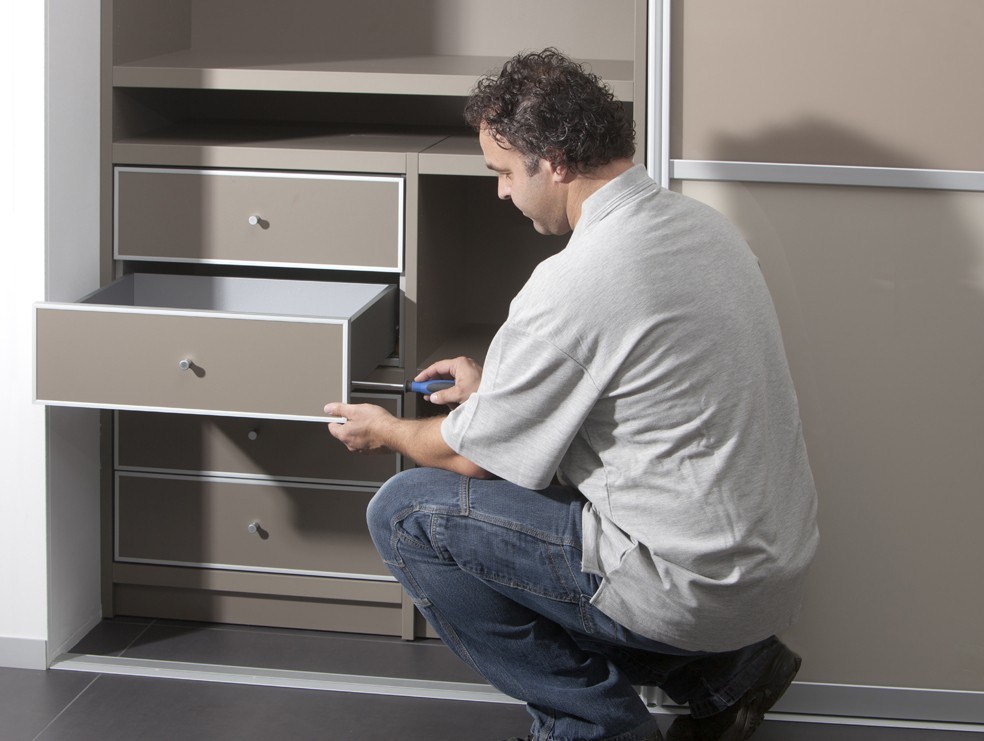
Next, set the inner wall, then the second side. Between themselves, they are fixed shelves. All holes should already be drilled, it remains only to tighten the confirmatics with a hex key. It is better to do it manually, without the use of power tools. Power tools are particularly harmful to cheap factory cabinets.

Installation of the upper part of the structure
To install the upper part, you will most likely need a hill, on which you can stand (chairs will fit), and an assistant will be useful if the closet has a sufficiently large width. If the cabinet is small, you can handle it yourself.

Minifixes are inserted into the finished 16 mm holes in the case details and tightened in a clockwise direction, due to which the bottom and top are fastened to the side walls.At this stage, the cabinet gradually begins to take on its final form, although the design is still unstable. Manufacturers rarely supply stubs that cover minifixes with a cabinet, since they do not consider their presence critical. If necessary, you can purchase them yourself, moreover, very cheap.
Installation of the rear wall of the hardboard
Before you install the back wall, you must first measure the diagonal of the structure - this way it is checked that the corners are correct. Ideally, they should be 90 degrees, however, in the case of a factory product, one can only try to get as close as possible to perfection. Standard chipboard walls are 16 mm thick, so they may not be significantly curved.
The back wall of the hardboard is nailed to the body on the nails. At the same time it is necessary to observe the same indent. Unlike corners of the body, the corners of the wall of hardboard are always perfect, as it is made on high-precision machines. Therefore, it is necessary to fasten the hardboard to the frame so that the wall does not protrude behind it, and its edges are strictly parallel to the sidewalls.
The intervals between the nails are chosen independently. As a rule, there are quite a few of themso the purchase of an additional amount of furniture nails will not be superfluous - this will affect the quality only in a positive way. In Soviet-era furniture, self-tapping screws located at a distance of 3 cm were generally used to fix the back wall.
Pieces of hardboard need to be nailed horizontally. In order that between them there were no gaps, special levels are used. Sometimes there is a need to adjust them to the required size, using a knife. Fixing the hardboard to the inner walls, you should initially make a markup, which will require a simple pencil and ruler. Having marked everything, it will be possible to hammer in nails, without missing, exactly in the middle of a chipboard.

Installation and alignment
When the installation of the rear wall is completed, the cabinet structure should be located where it is planned to be installed. At this stage, you should pay attention to the legs: they must be tightly screwed, otherwise they may be damaged when moving the cabinet.
Once again adjust the legs so that the bottom was exactly. If necessary, you can use the substrate. Adjust the level of the lower and upper part.This will affect how well the doors will move. If everything is done correctly, then the doors will remain in the place to which they pushed.
Adjust the body vertically by applying the level to the side and inner walls. It is desirable that the upper part of the cabinet was slightly tilted towards the wall. It is much easier to do this if the legs of the cabinet are adjustable.

When installing the built-in cabinet in a niche, it is necessary to fix the false-panel. This is done with a drill, dowels and screws.
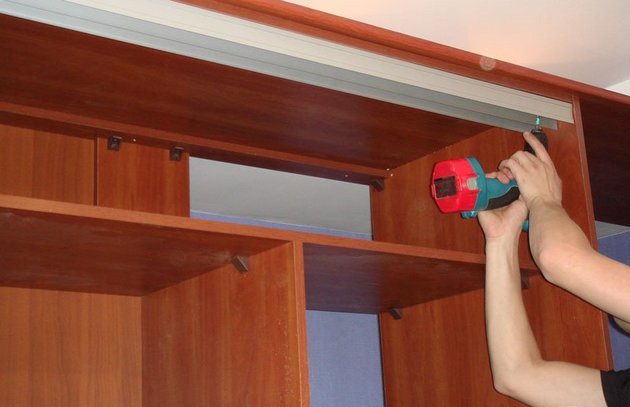
Preparation and installation of a sliding system
You need to drill holes in the guides yourself, as the manufacturers do not do this. This is done with a drill and 4 mm drill. In the bottom guide you need to make holes at the edges, in the middle, as well as at equal intervals (about 60 cm). At the top - at the same intervals, but in each compartment.

Then you need to install the stoppers in the grooves of the lower guide, using for this purpose pliers and a screwdriver. If there are two doors, then one stop is installed in the corresponding groove: one in the near and one in the far. If there are three of them, then two stoppers are placed in the near groove at the edges and one in the far one.Accordingly, two facades will be located in the middle groove and one door in the far.


Next, the guides are attached to the body with screws. It is necessary to indent 15 mm lower guide from the edge of the lower part of the structure. The upper rail is mounted tightly, without indentation.
Installing lifter
Microlifts are installed using 4 self-tapping screws, thus attaching to the top shelf. In order to avoid any concerns as to whether the 4 screws can withstand heavy outer clothing, bolts can also be used. In this case, you will have to drill 4 mm holes and also buy the bolts themselves. But in general, this method is used quite rarely.

It should be borne in mind that the lifted under the microlift may break. Despite the fact that its design is designed for this, self-tapping screws can not withstand and break out of the chipboard.
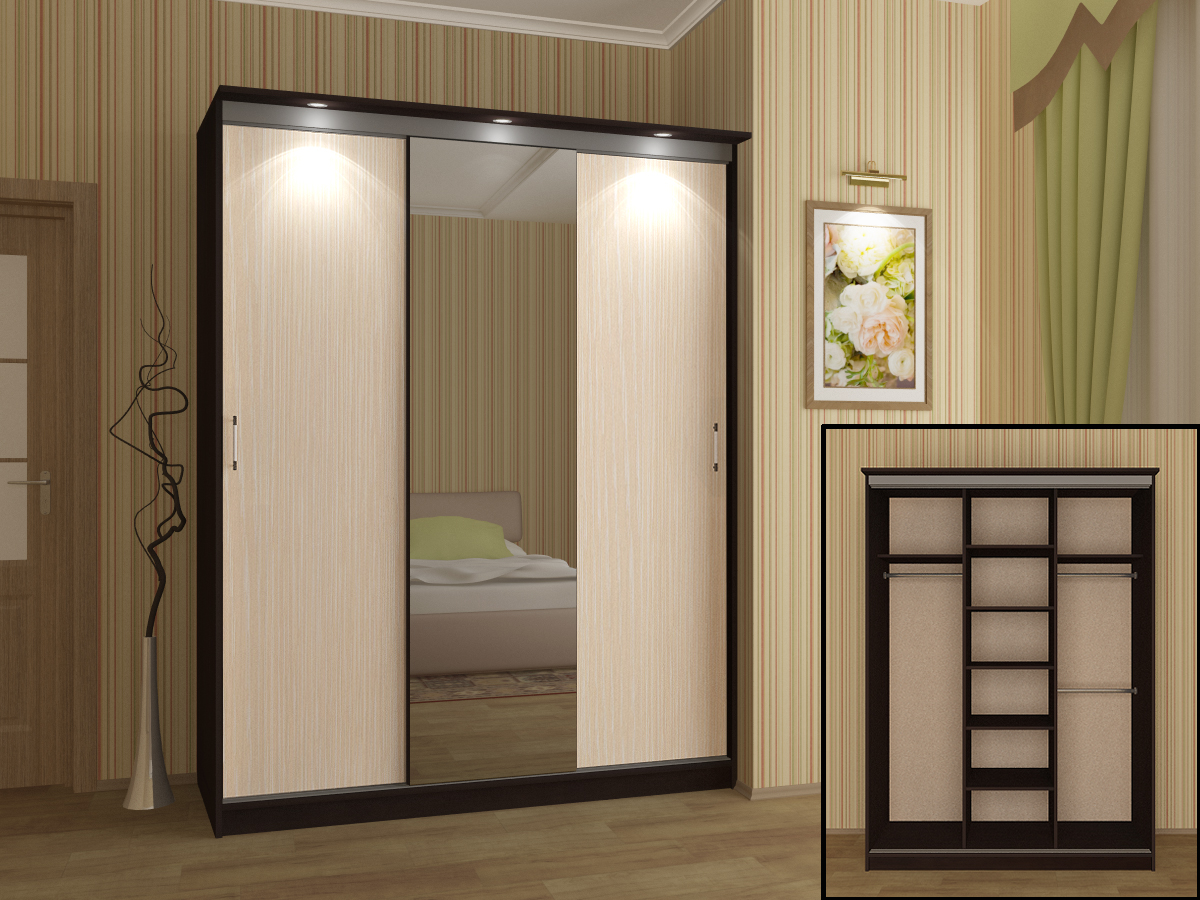
If the depth of the wardrobe is more than 45 cm, a 25 mm pipe and flange can be used instead of microlifters. This design allows you to place clothes parallel to the side walls.

The depth standard is 60 cm. It is not known where it comes from, but, most likely, it is used to reduce the production cost and, as a result, the cost of the finished product.In fact, these 60 cm are often not enough: after installing the guides, the depth becomes even smaller, and the facades touch the outerwear. Therefore, if there is an opportunity to purchase a custom product, it makes sense to designate 70 cm depth. Although it will be more expensive, it will be much more convenient and practical.
When installing the flanges, you should follow the 27 cm distance from the back wall and 10 cm from the edge of the chipboard. Before screwing the flange to the body with bolts, insert it into the pipe. Hexagon is used to tighten the bolts.
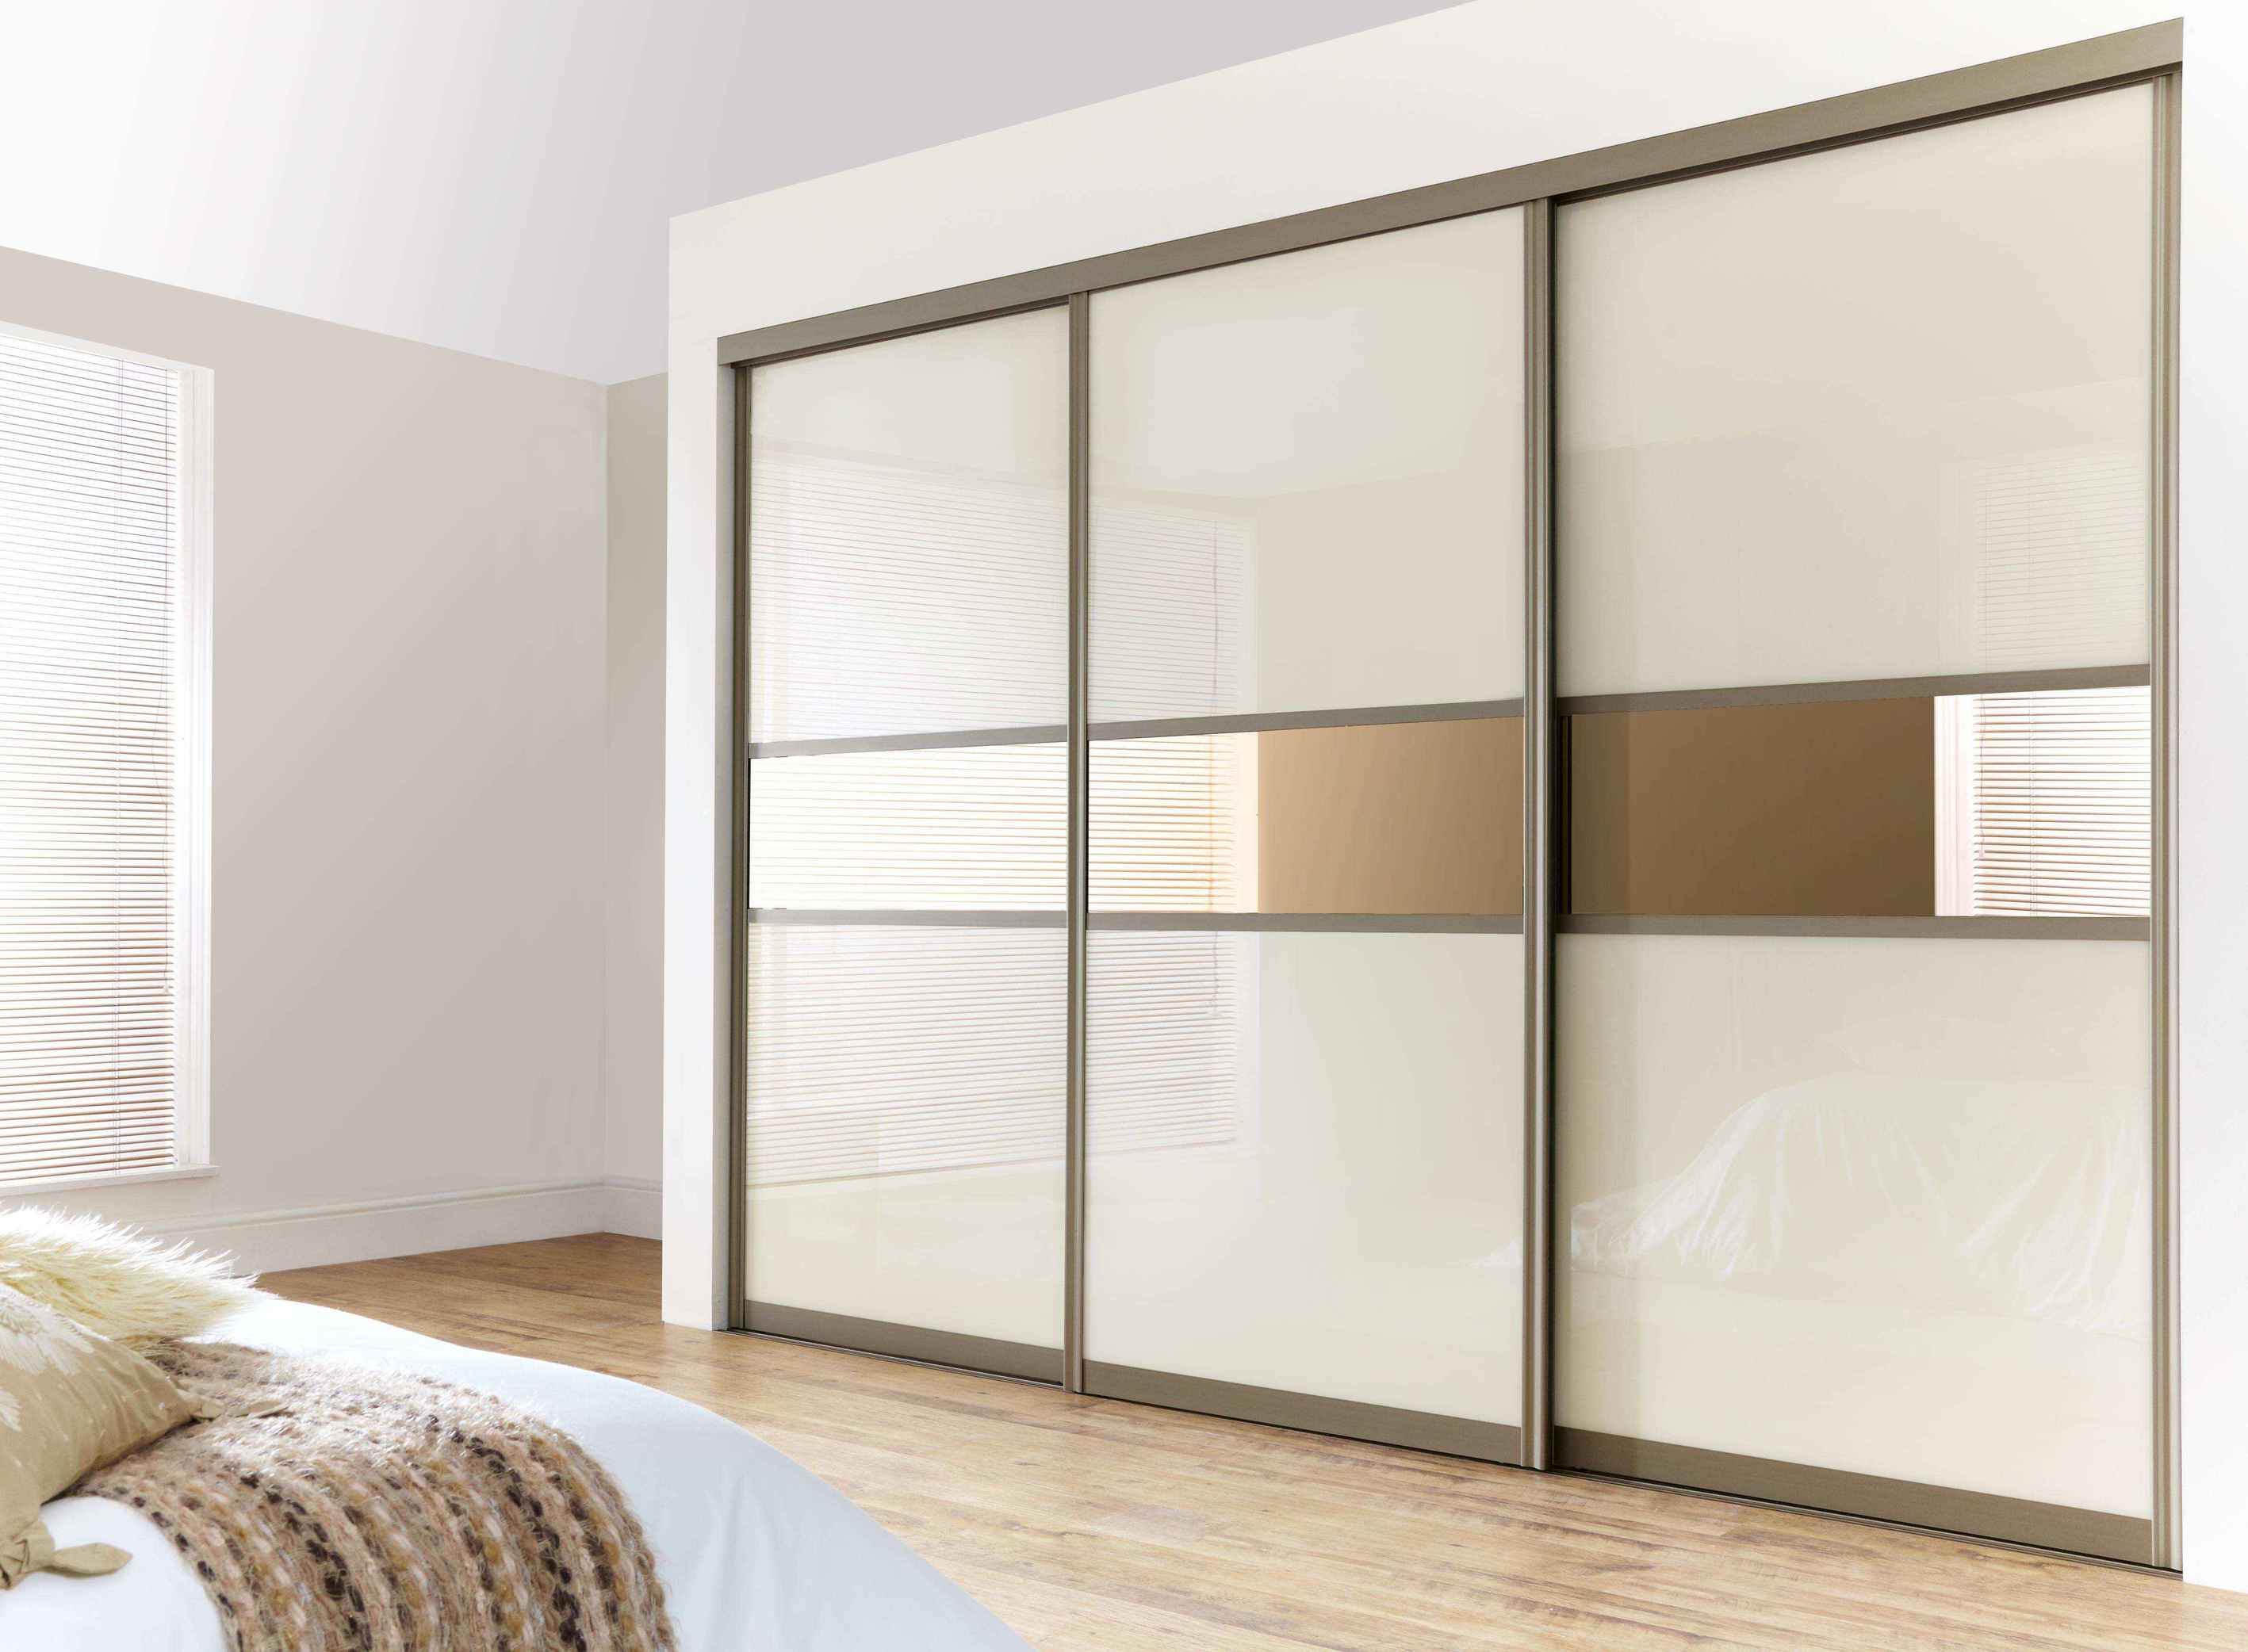
Facade preparation for installation
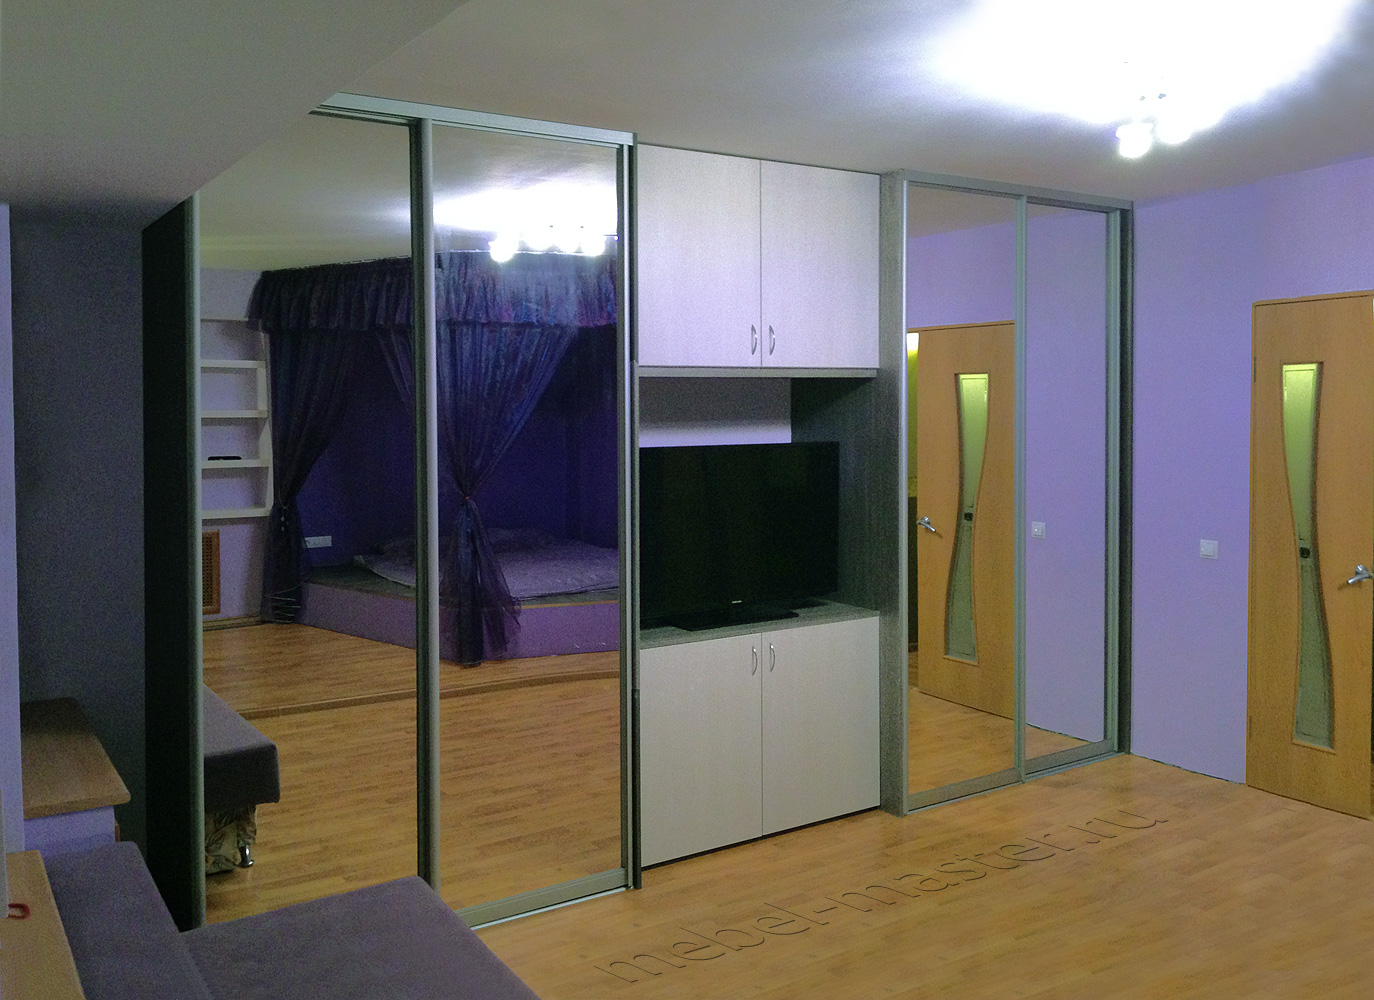
Fastening sliding doors - facades is the final stage of assembly. Before installation, you must first remove the protective film and inspect the wheels attached to the aluminum profile. The doors are included in the kit already ready, they do not need to be assembled, but specifically the lower wheels are sometimes installed incorrectly, because of which their adjustment is inaccessible. To adjust the height of these rollers there is a special bolt: by tightening or loosening it, you can lower it or raise one side of the door. This is necessary to remove the gaps between the doors and the side walls.

A common problem of some models is too narrow a hole for the adjusting bolt, which is why the adjustment process itself is impossible. Faced with this, you should independently increase the diameter of this hole using a suitable drill bit. If this problem does not arise, you can proceed directly to the installation of facades.
How to install guides for the wardrobe - in the next video.
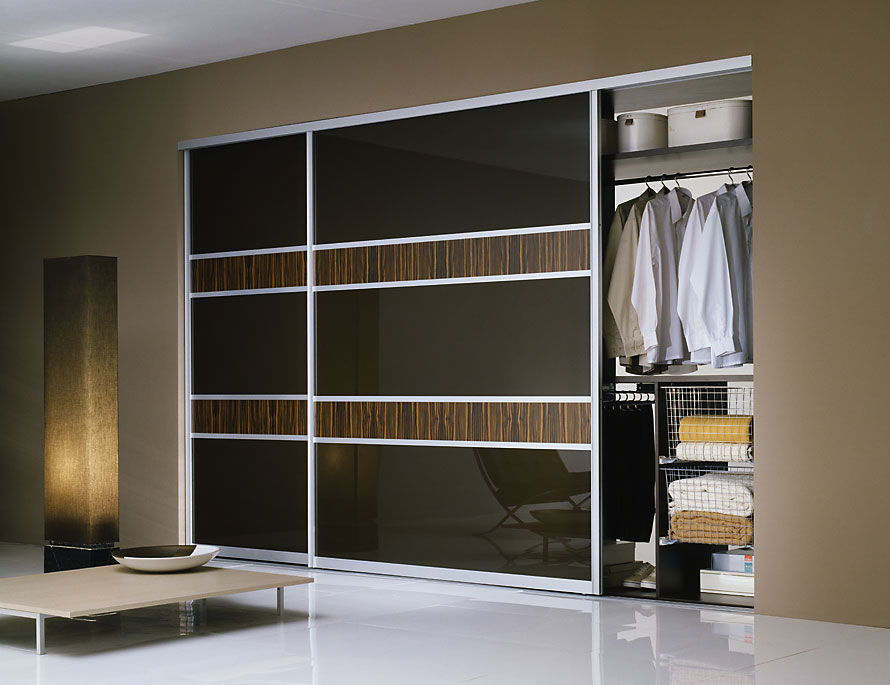
Do-it-yourself door installation
To install the doors will need an assistant. He will lift the door and place it top in the inner groove of the top rail. At the same time, you need to insert both rollers at once into the lower guide and carefully place the bottom of the door into the inner (far) slot. At the same time, the wheels should be held so that they remain inside the profile. The inner facade is always installed at the beginning. In the three-folding wardrobe, you must first install the middle facade.
The same must be done with the front doors. Do not rush, otherwise you can damage the mirrors. When everything is ready, you can begin to install self-adhesive chippers (fleecy tapes that remove clearances and dampen the movement of facades).Using a screwdriver, you need to adjust the stoppers so that the closed door fits snugly to the structure.
Installing the wardrobe with sliding doors do it yourself - in the next video.
In conclusion, the lower rollers must be adjusted so that the gaps between the doors and the housing disappear. To raise the facade, you need to tighten the bolts, and to lower it - loosen them. The rollers at the same time should act on 1 cm. Make it easy enough, you just have to spend some time. Later, gaps may form again, so it is always advisable to have an confirmatory key nearby.