How to make a decorative putty from the usual at home?
Wall decoration - almost the most important part of the repair. It’s no joke, but the owners of the house have to look at them day after day, and therefore it is necessary to approach the decoration and design of the walls very responsibly from the first stages of the putty. Rough, poorly plastered walls are a hell for a perfectionist.
Features of decorative plaster
Decorative textured plaster from putty has a huge range of advantages:
- easy to do with your own hands;
- for a relatively small cost, you can create an original room design;
- the prepared solution is conveniently applied to any surface;
- will serve for many years without losing a presentable appearance;
- large selection on the market;
- putty mixture does not contain toxic substances in the composition, so the material is safe and environmentally friendly.
And in order to dispel all doubts at once, let us examine in more detail what this coating is.
So, the plaster contains plasticizers - substances that increase the elasticity and plasticity of the material during use - and various additives that increase the “adhesion” of dissimilar surfaces, the so-called adhesion. The consistency of the coating resembles oil, because it is easily applied and spread over the surface.
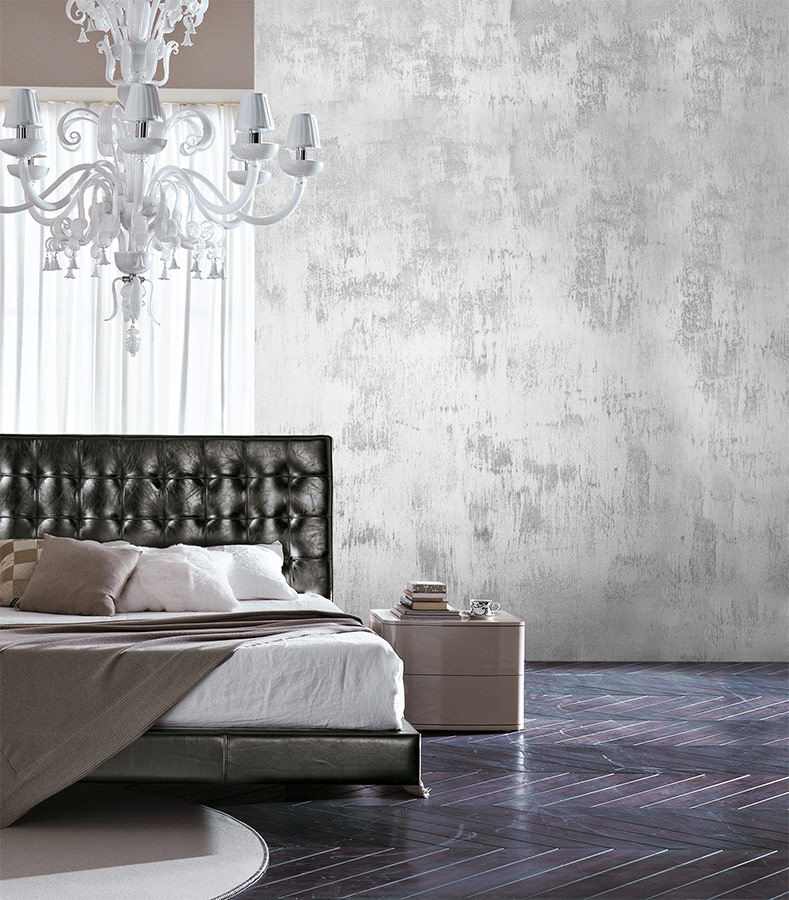
The material fits perfectly on various bases: brick and concrete walls, drywall and even cement. In addition, the decorative plaster based on the putty provides thermal protection and sound insulation of the room, does not absorb odors. Undeniable advantages: this coating is very easy to care for; its surface is moisture resistant and durable; does not fade with time.
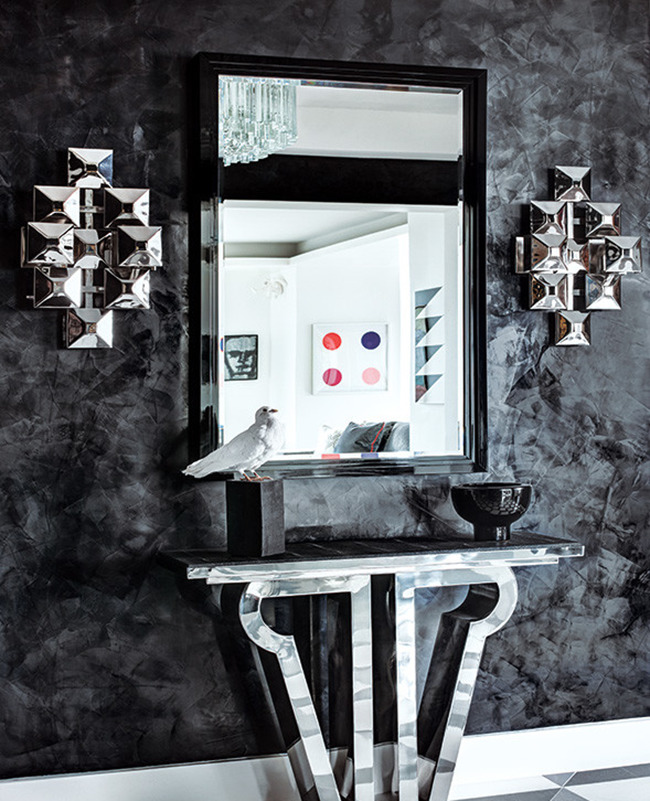
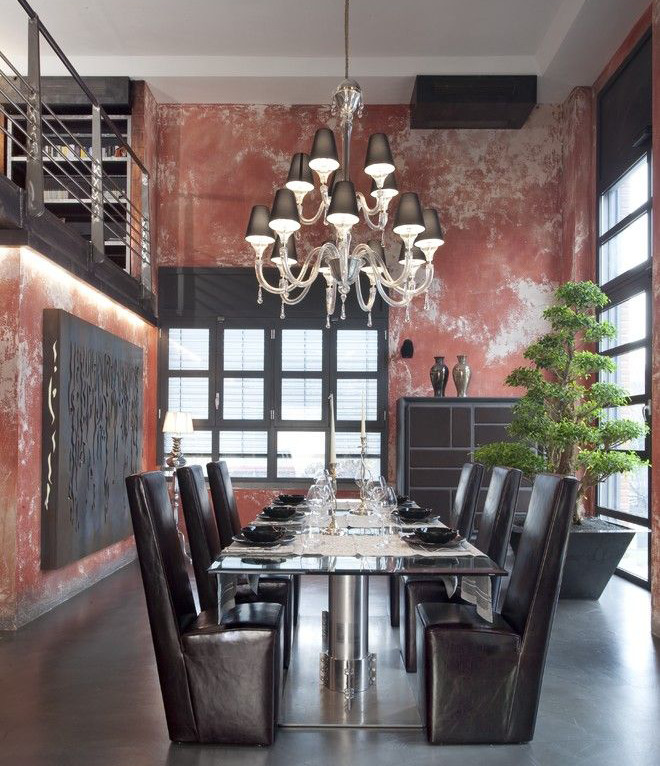
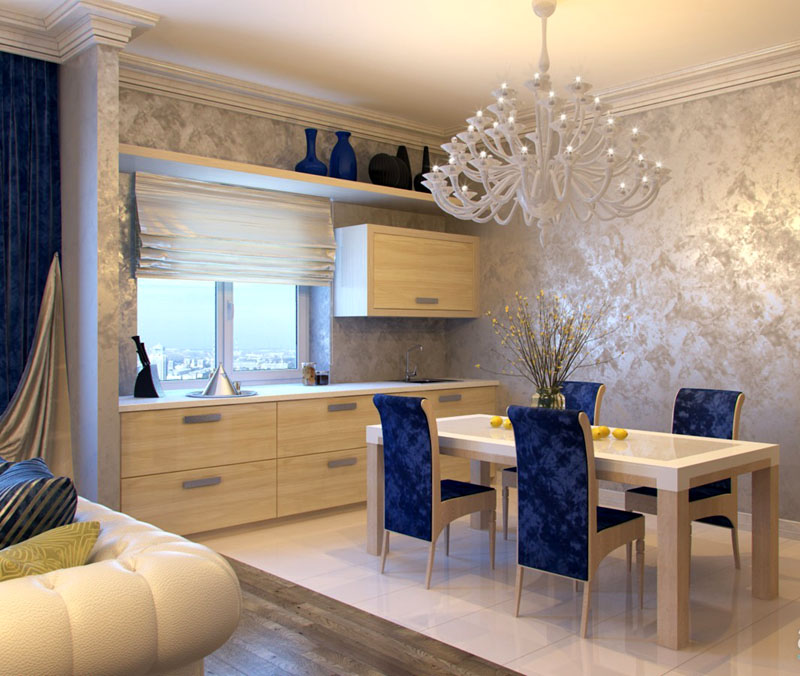
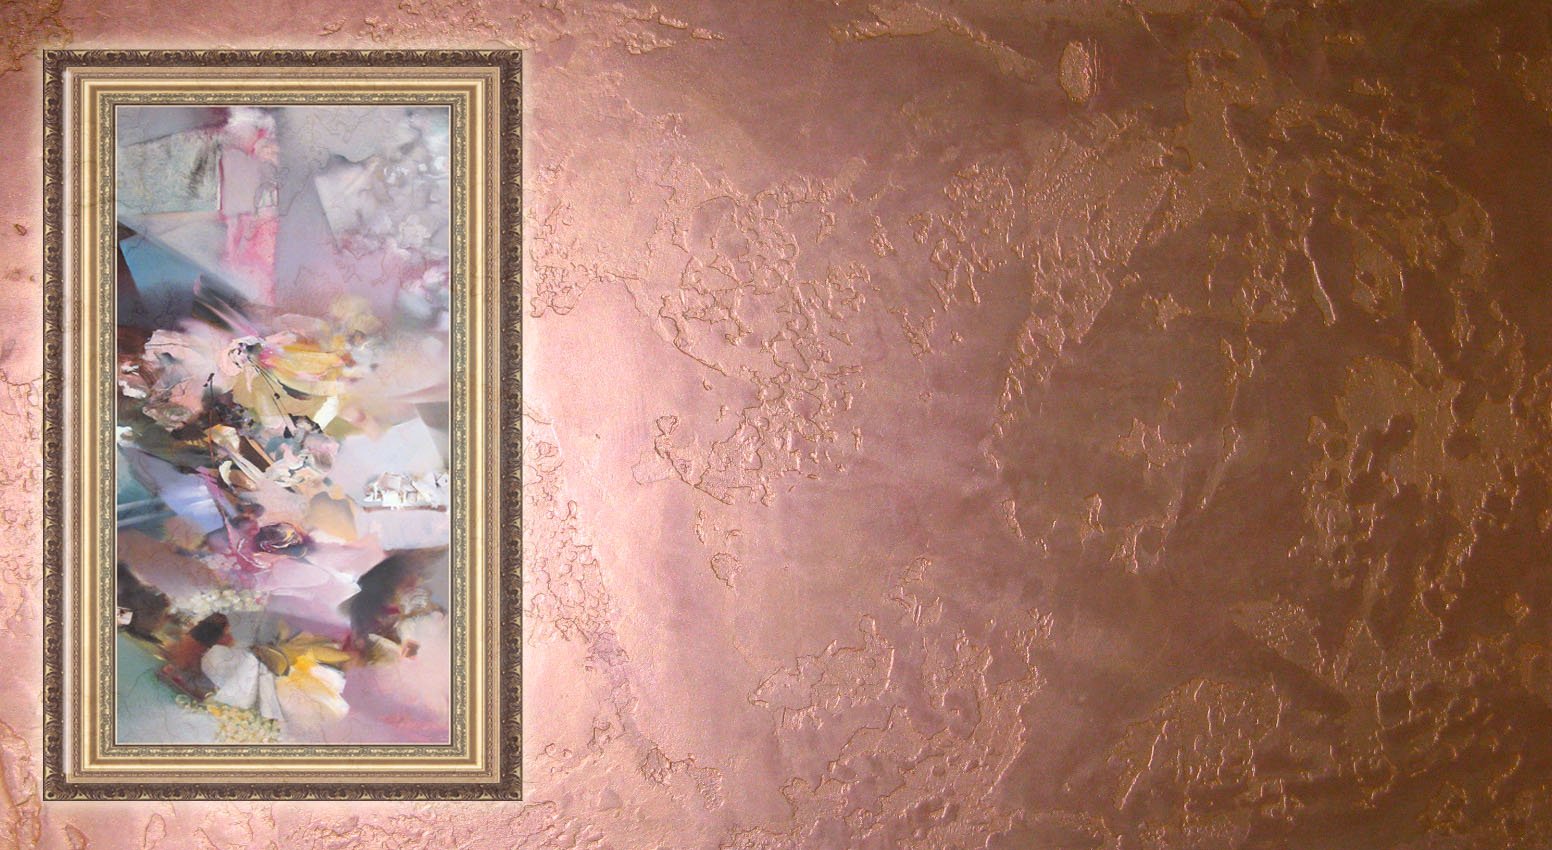
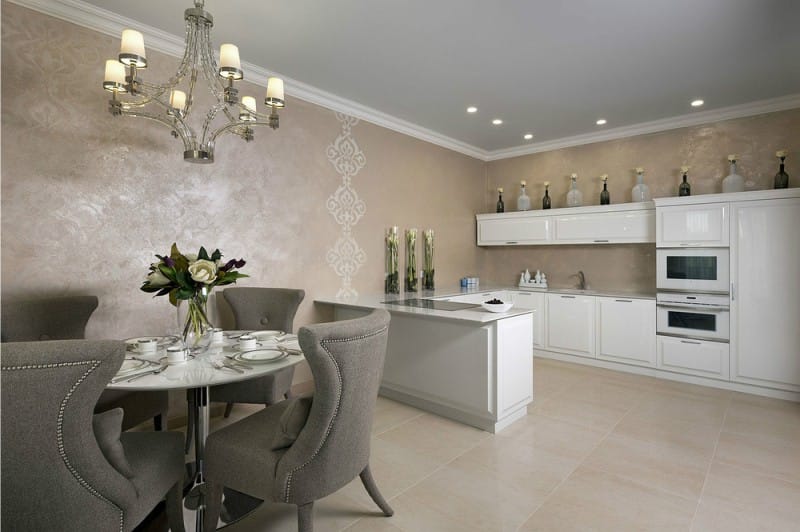
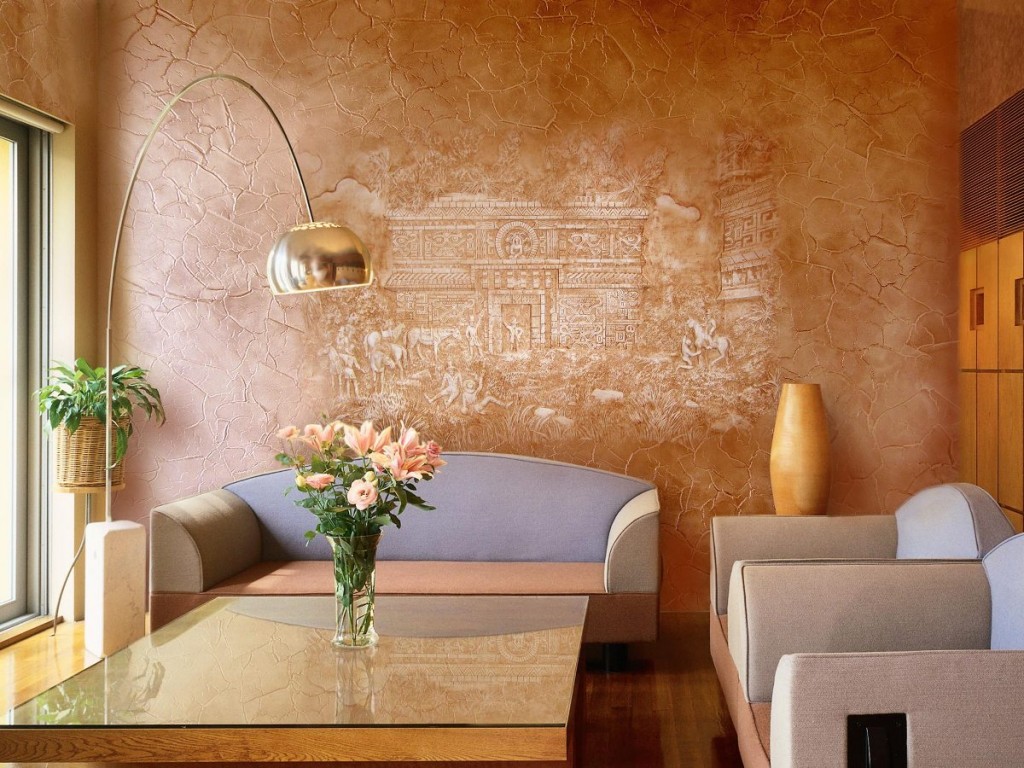
By the way, many designers use this technique to design a studio or apartment, because decorative plaster is an easy way to save on repairs without sacrificing the quality of work.If done correctly, the usual putty can turn into an amazing fresco. All you need is your desire and a little diligence!
How to make decorative from ordinary putty
So, when you seriously asked yourself the idea of exclusive decoration of the walls of your home, it's time to create! We offer artless recipe for decorative decorative putty.
In general, putty is designed to smooth out the various roughness of the walls and directly align them.
She is starting and finishing:
- Starting putty hides minor defects, cracks or scratches.
- The finish, as it actually follows from its very name, brings the already lined walls to a perfectly smooth state, completing the leveling stage. Thus, it prepares the surface for further decoration.
Decorative plaster, as a rule, is created from a finishing putty (precisely because of its property to mask defects) and is used as an interior finish of the room.
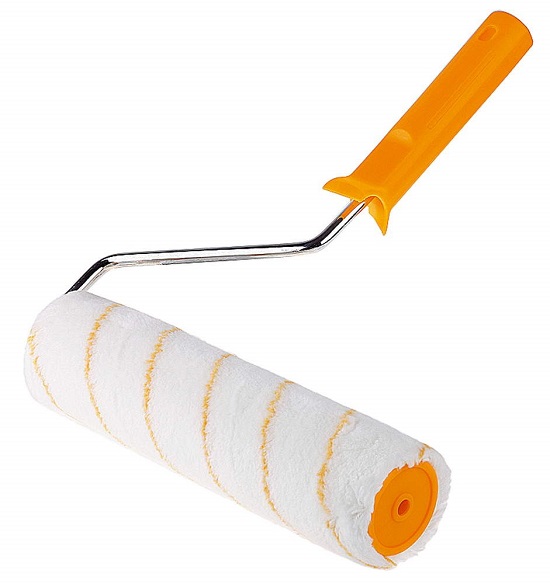
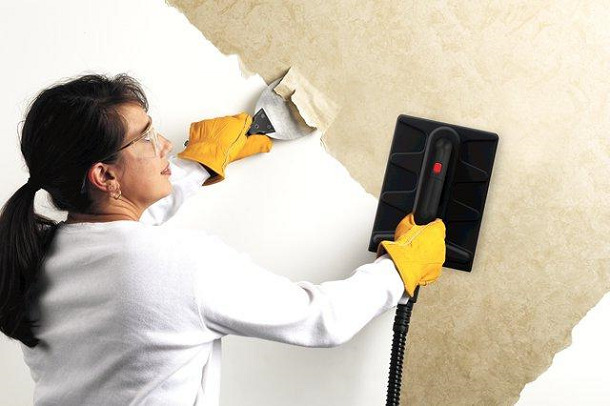
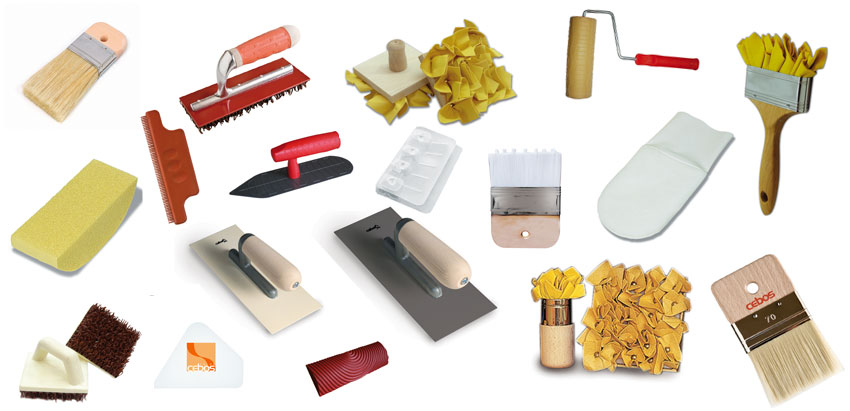
Before preparing the mixture, you must first equip with tools: spatulas, sandpaper, sponges, roller and, for example, a stencil - to create a picture.
Instead of the roller, you can use the trowel - it is up to you.
To systematize the process, the work can be divided into four stages. You have to:
- prepare the surface;
- apply a starting layer;
- translate the idea (create an invoice);
- to finish the walls.
Now take a closer look at each stage one by one.
Cooking
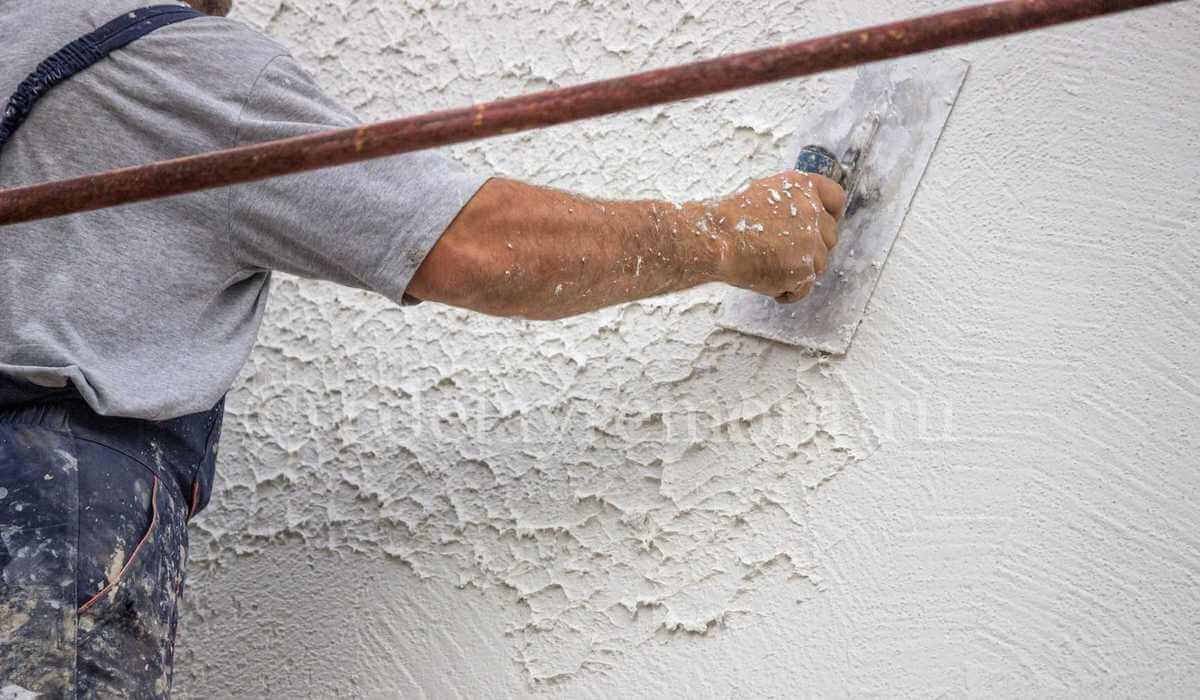
Putty walls should be given a lot of time and effort, because the quality of the subsequent application of decorative plaster depends on the base.
The entire wall, not avoiding hard-to-reach corners, must be cleaned of old coatings. Defects and irregularities fill with a putty and prime the surface. Let it dry.

Base
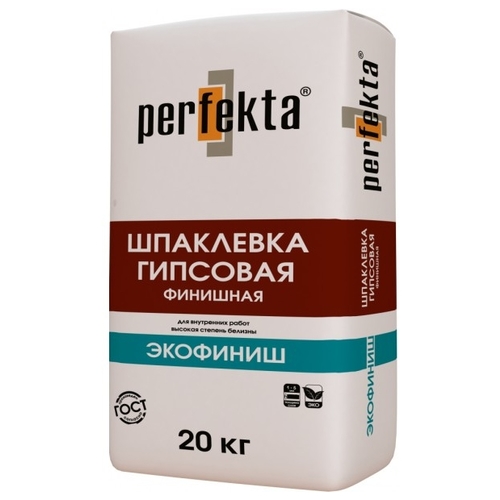
To perform a decorative finish, you can easily buy already prepared putty or a special powder that is diluted in water. Most often, buyers prefer plaster or cement plaster. They are gaining the most positive feedback. Most likely, the point here is their universality. In any case, you choose, the benefit of the choice is really very large.
To make lime plaster, cement plaster or decorative plaster, add some sand, stone powder, minerals or sugar to the mixture.Various artificial components interact well with polymer plaster, creating various textures during application: wood, silk and many others.
It is necessary to apply base in one thin layer (no more than two millimeters). Do not seek to smooth out all the imperfections and roughness - they will be leveled in the future.


Design
The main stage of decoration is the direct realization of the planned drawing or texture into reality. All the nuances here depend on the specific type of decorative putty. The only thing that must be taken into account: the applied layer should not be thicker than five millimeters, otherwise the finish may crack, and all the work will be down the drain.

Finish line
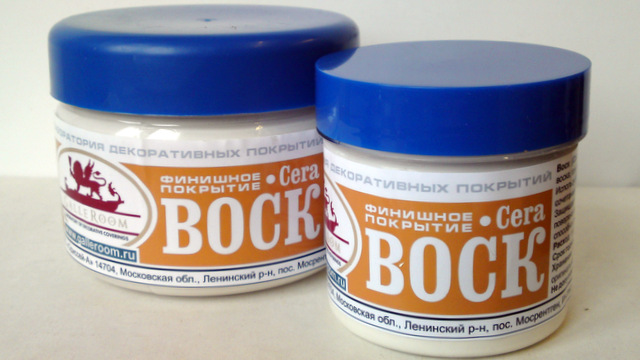
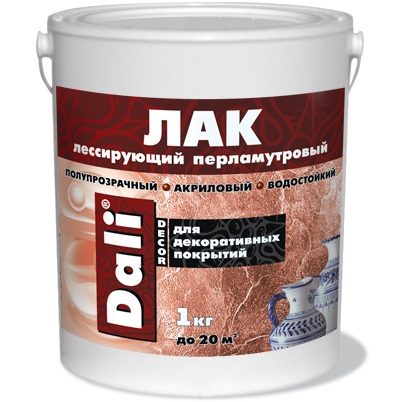
On the finished relief wall, you can optionally apply varnish or wax to give a glossy effect.
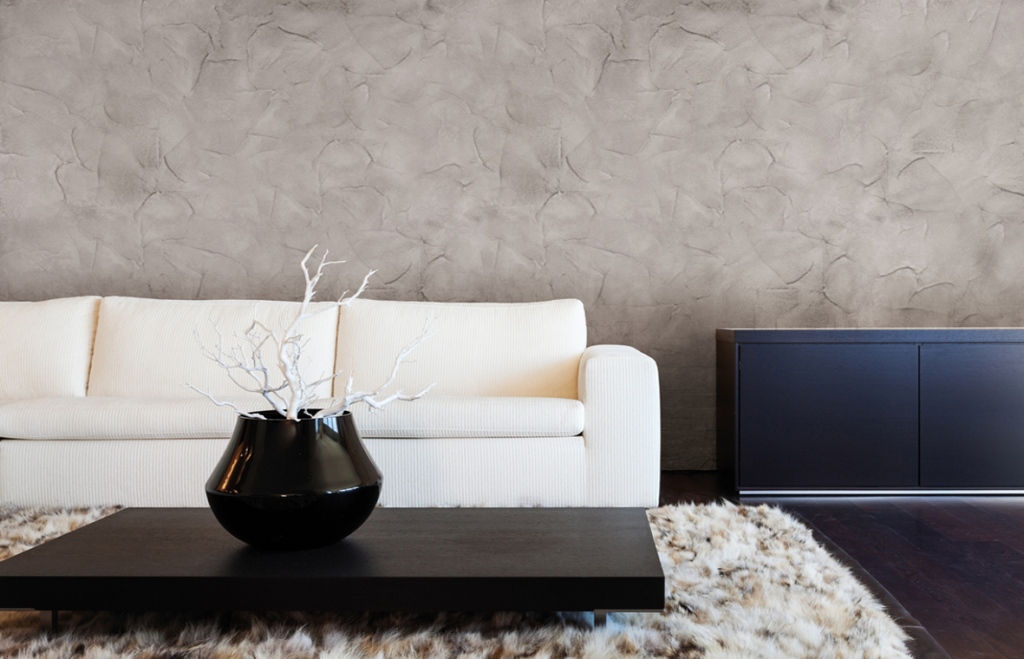
Kinds
Before you decide on your own design, you should familiarize yourself with all types of decorative plaster. And there are a lot of them, and each has its own history and its own zest.
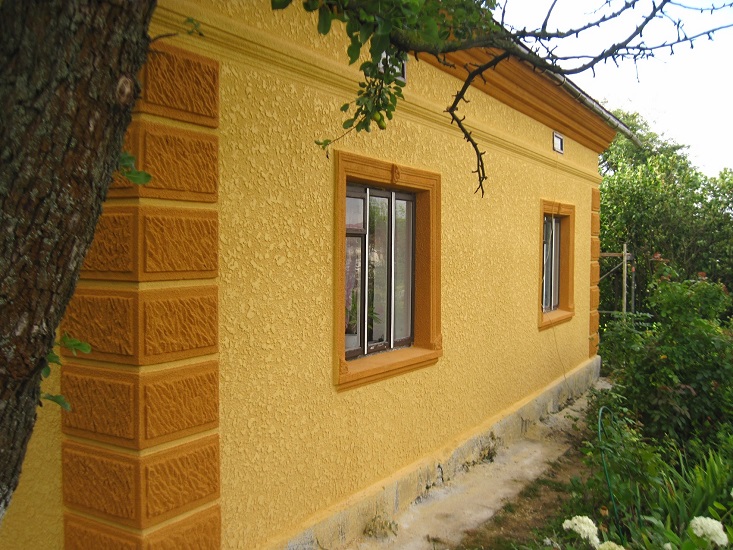
The most extensive classification of plasters - the scope. Thus, the mixture is divided into two types: for interior decoration and exterior.
Basically, all decorative plaster designed for the interior. Strong or abrupt changes on the street such coverage will not stand.
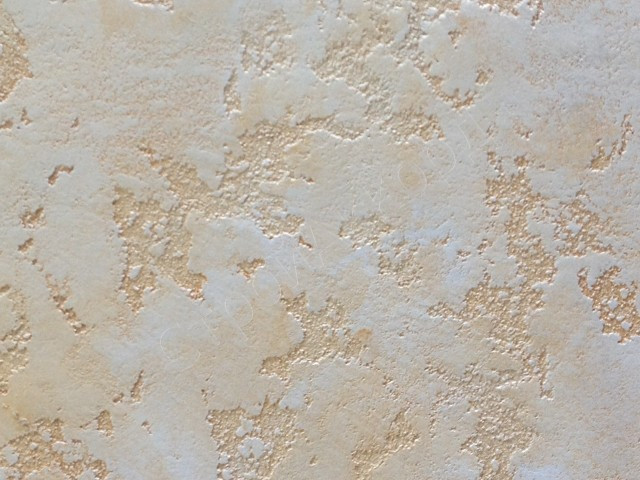
Versailles
Putting Versailles decorative plaster from putty easier to perform step by step.
Before you make a mixture for plaster, stock up starting and finishing putty, quartz-primer, varnish, wax and silverfish. After collecting all the "ingredients", you will be easier to work with the material, especially if you are new to the construction business.
So, first glue the wall with masking tape. Then apply a quartz primer to the surface, in this case it will provide adhesion. While the first coat dries, mix the putty plaster mixture. To do this, use the finishing and starting mixture, following the recommendations given above.

After the primer has dried, paint the wall in a neutral color: white or beige. After two hours, add the harvested silverfish to the primer or lacquer and apply the mixture with a roller. Important: you don’t need to put much pressure on the roller, because the Versailles style means painting only the upper part of the plaster.
Completing the workcover the surface with wax or varnish (the finish they give is almost equally glossy). Just do not forget to dilute it with water by about a third before using it. Due to the low concentration, a film does not subsequently appear on the surface.

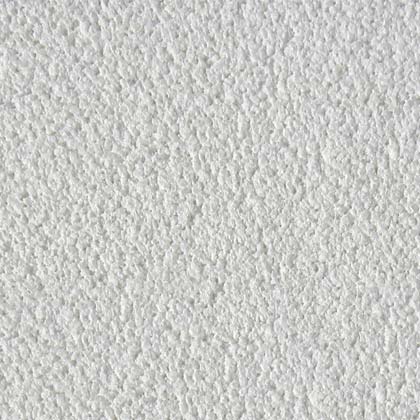
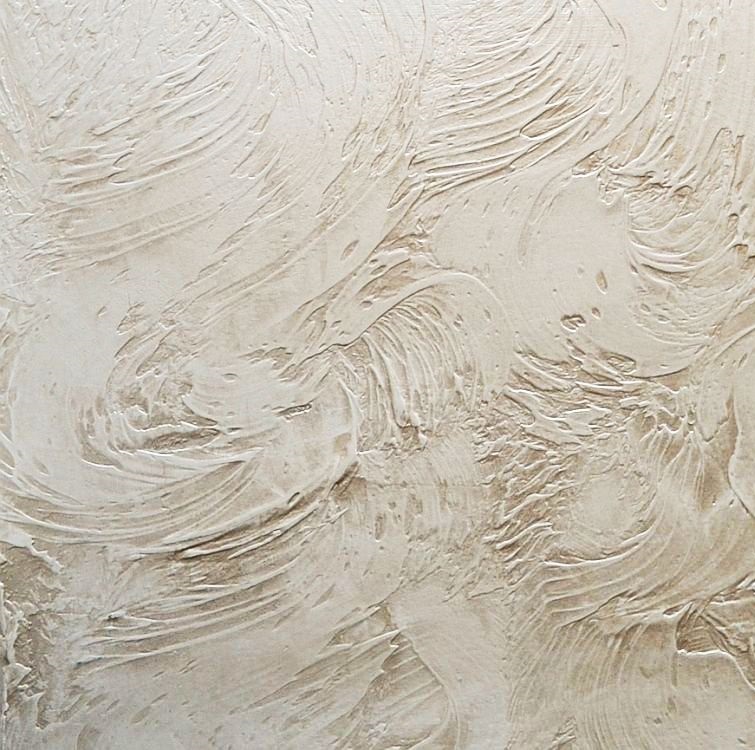
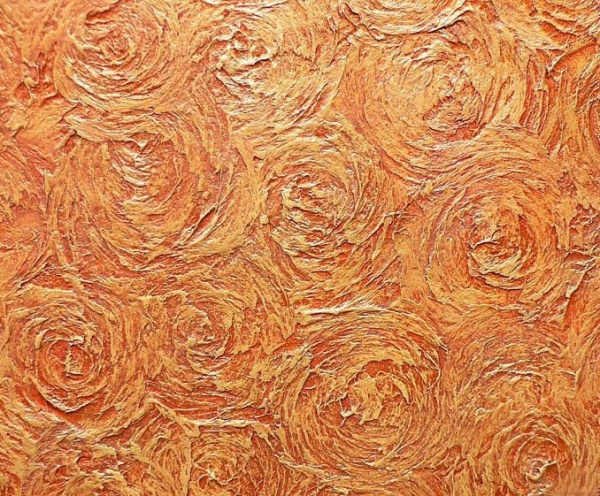
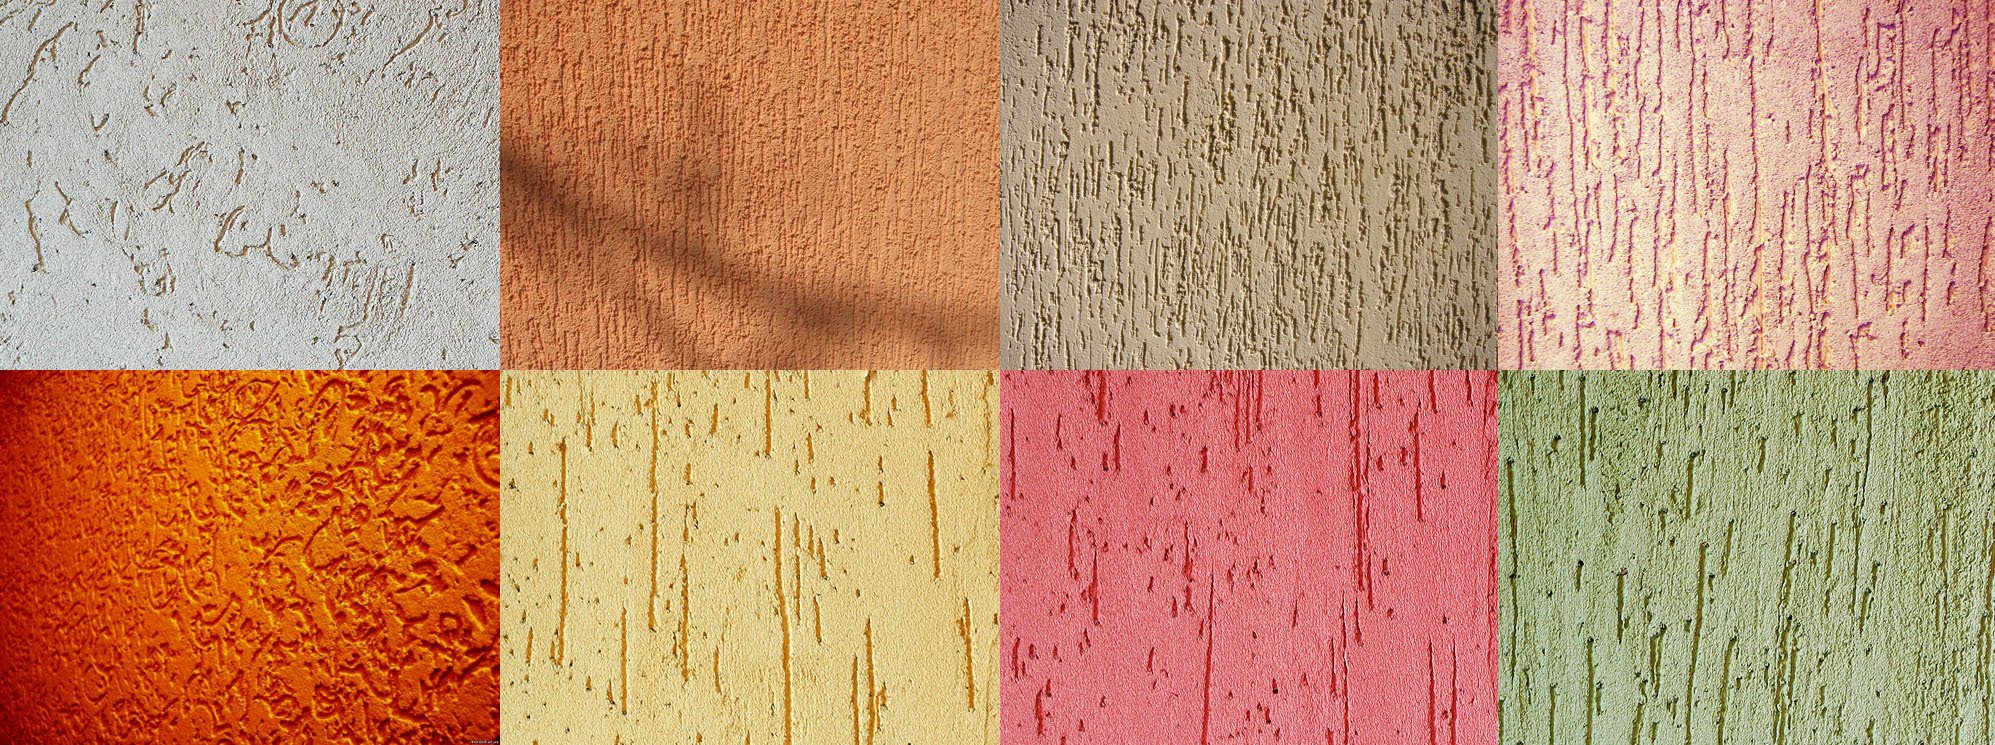
Textured
To create textured plaster unleash your imagination. In accordance with the idea, you can use both a familiar roller and a brush, notched spatulas, a trowel, or even a stencil. It is perfectly suitable for imparting texture and plain crumpled paper, sponge and homemade dies.
Apply decorative plaster on the wall in a layer about 2-5 mm thick. After that, add texture with tools. For example, a small soft spatula will help create a relief pattern. In order to achieve this effect, chaotic smears spread putty on the surface.

The composition of textured plaster is usually complemented by small pebbles, fibers, wood, mineral chips and mica. This mixture has sufficient adhesion to adhere firmly to wood, concrete, brick and other bases.
Small wall defects are masked due to some natural mineral additives.therefore, you do not have to treat the surface before applying the mixture and bring it to perfect smoothness.
Structural plaster can create an imitation of stone, wood, leather or fabric (for example, silk).
To cover such a mixture does not require special tools - a fairly simple trowel or trowel.
One square meter will need about two kilograms of the mixture. Compared with the other, more complex types of plaster is not a lot.
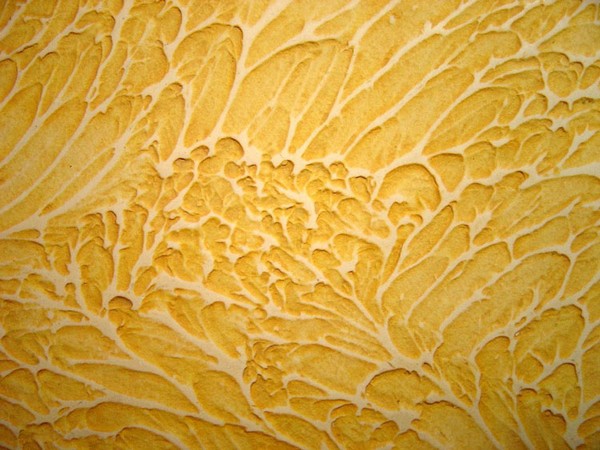
The most famous and popular effects achieved with textured plaster:
- "Lamb's wool": because of the inclusions of small pebbles, the finishing finish looks grainy and rough;
- “Fur coat”: it looks very much like a lamb, but rather, it is something like a nap.
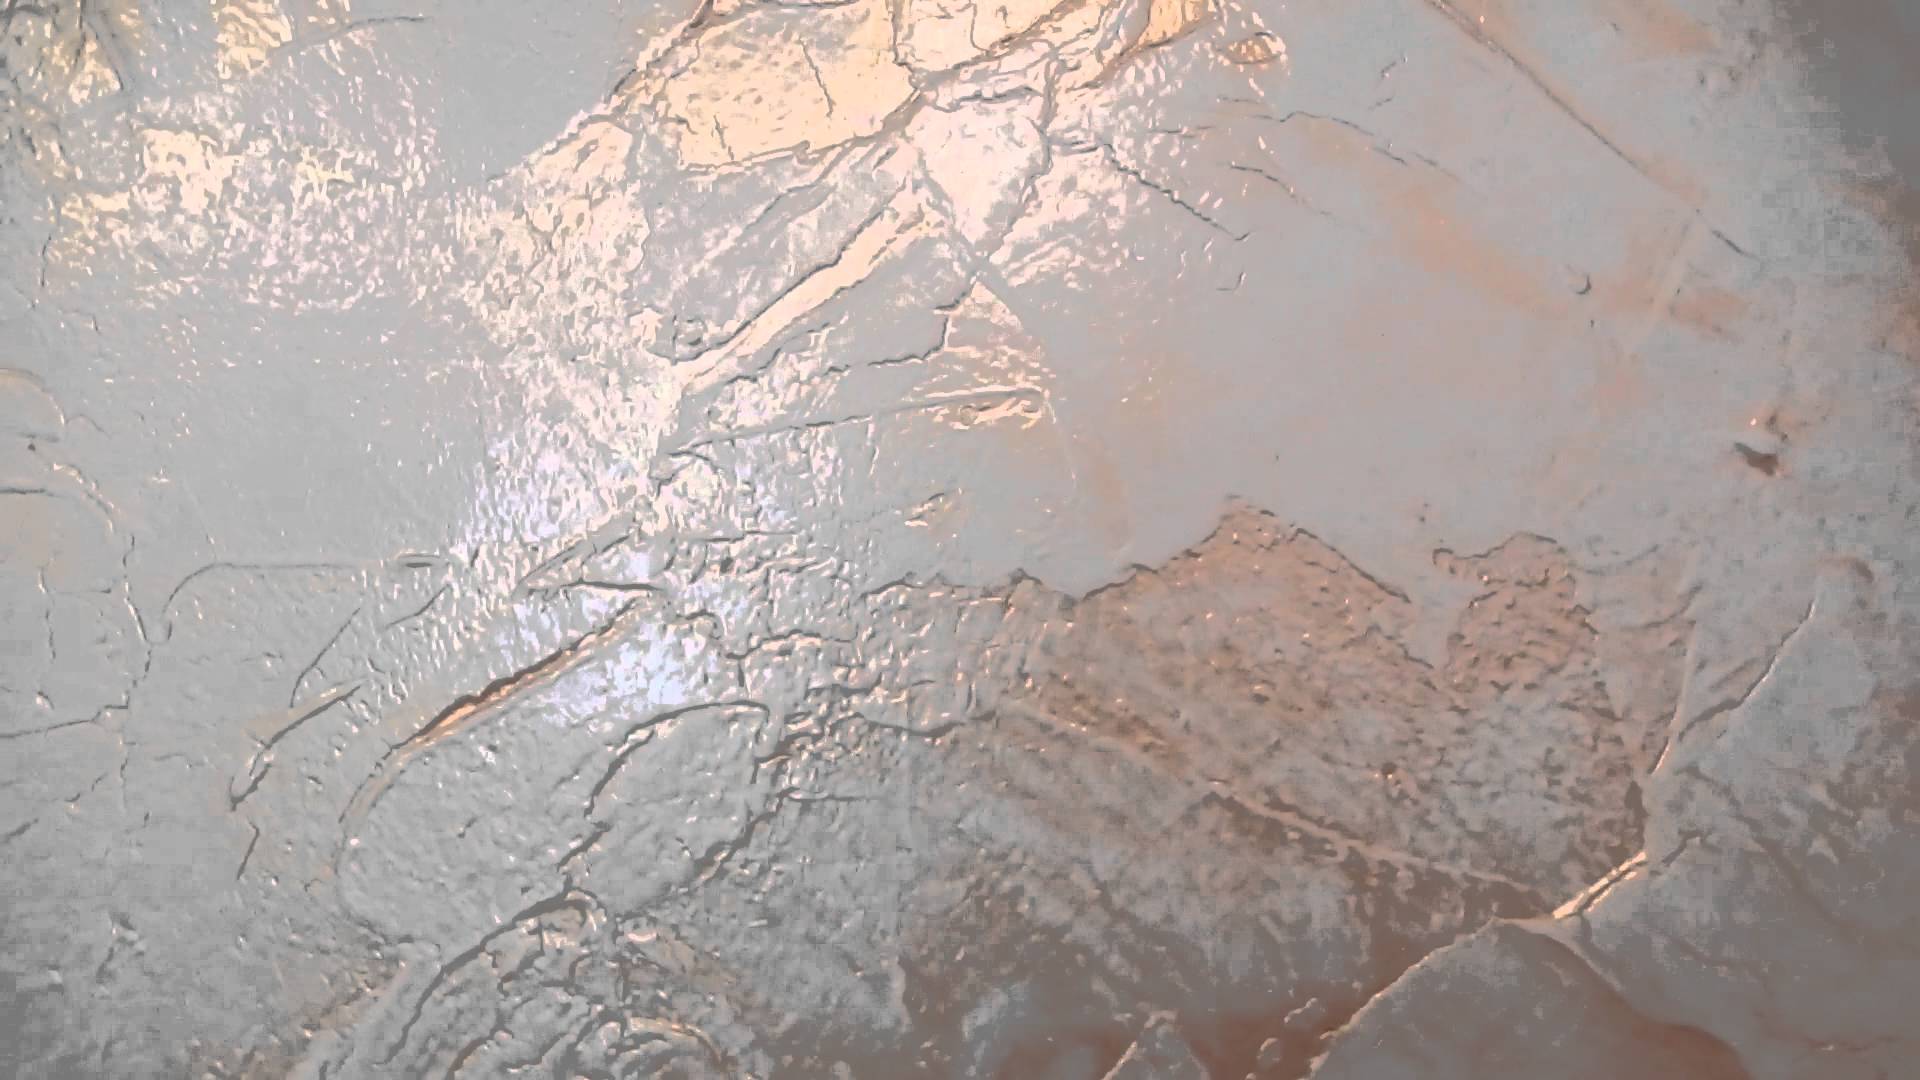
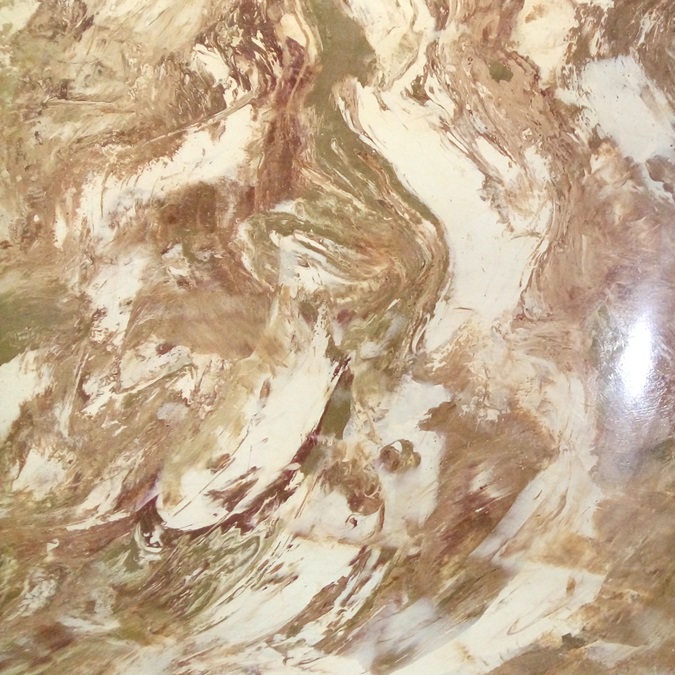
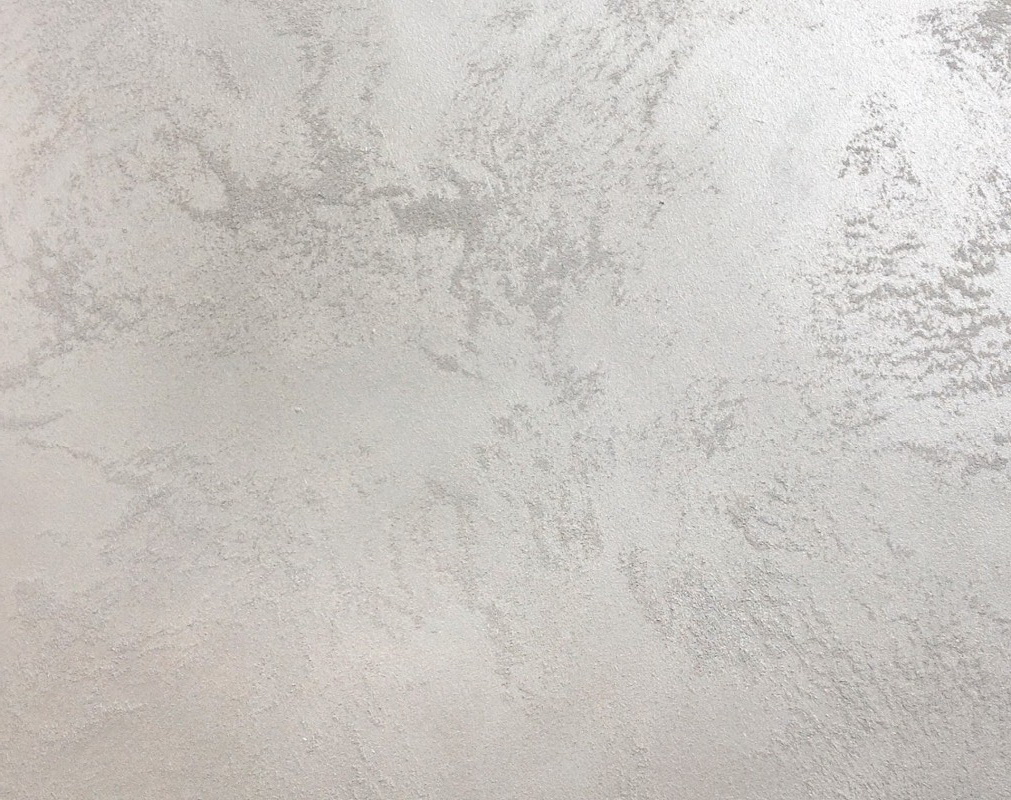
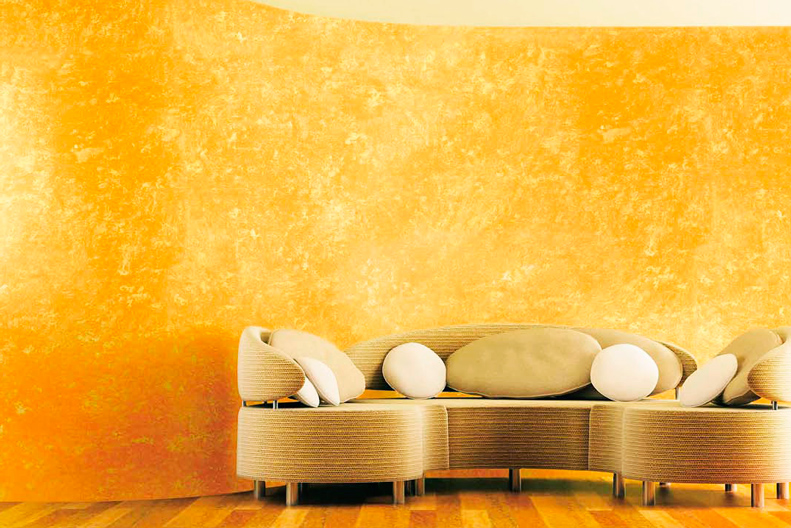
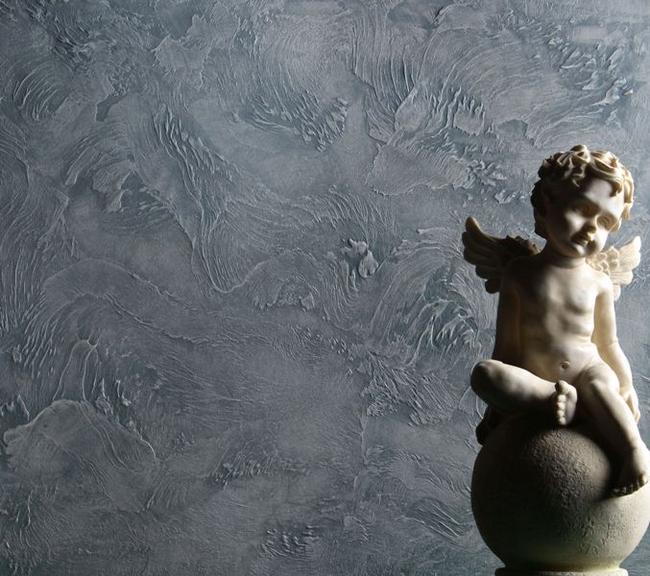
Venetian
Perhaps the most beautiful decorative plaster - Venetian. It looks like marble and looks very expensive. However, the very creation of such an invoice is quite expensive.
Such material for decoration was invented in the Roman Empire.when one of the builders decided to combine slaked lime with marble dust.The mixture turned out to be very elastic and on the walls looked no worse than natural stone. The natural dyes and components added to the composition provided a special plausibility.
Much later, in the Renaissance, which, as is well known, was oriented towards ancient culture and architecture, this type of plaster appeared in the heart of Italy - Venice. There, masters used it instead of expensive marble.
Technique Venetian finish was not very simple - so it remains to this day. Although at that time this method of surface treatment was much easier than working with capricious marble slabs. By the XV century, Venetian plaster was trimmed with anything: walls in palaces, columns near churches, walls and ceilings. Its advantage was also the fact that it did not spoil due to the change in humidity - and in Venice, for objective reasons, this was the main advantage - and how great and beautiful it looked.
It was much more convenient to deliver marble dust to Italy than the hardest marble, so by the dawn of the Renaissance there was a real architectural “boom” and an incredible demand for Venetian plaster was growing.
A centuries-old composition of marble dust, slaked lime and dyes remains unchanged until now. In some mixtures, however, now add acrylic - a synthetic dye. But experienced people know that the real Venetian coating is absolutely natural and eco-friendly.
However, it is rather a matter of taste.
It is a very difficult task to cope with Venetian plaster on your own.but doable. There are countless ways to apply it, so an inexperienced person cannot understand what the result will be in the end. Here, each movement is important: from different strokes - a different pattern. So you should experiment before the final coating, and this pleasure is far from cheap.


The base under the Venetian plaster should be perfectly smooth. To this end, the surface is carefully treated with latex putty. Then the wall is grounded in two layers. The primer provides adhesion, prevents the development of the fungus. After drying, you can begin to work with plaster.
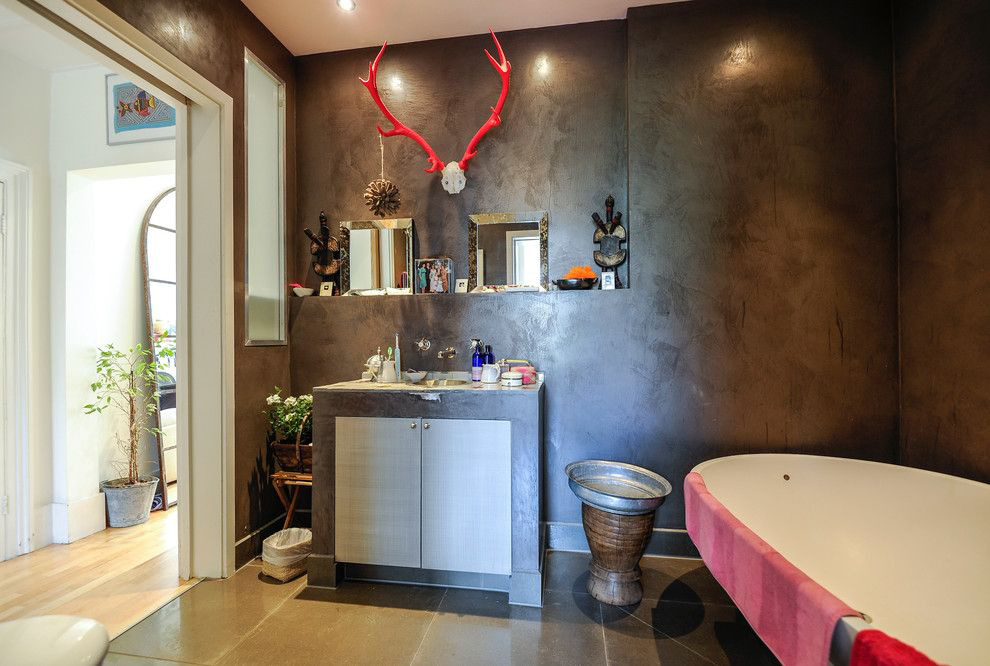
Each layer is applied with a different technique, but they are all polished and leveled. Also, do not forget to let the layers dry out.In conclusion, either beeswax is applied to the wall (it will create a glossy surface) or synthetic (for a matte finish). The latter is preferable if the room to be decorated is exposed to high humidity (for example, a bathroom).
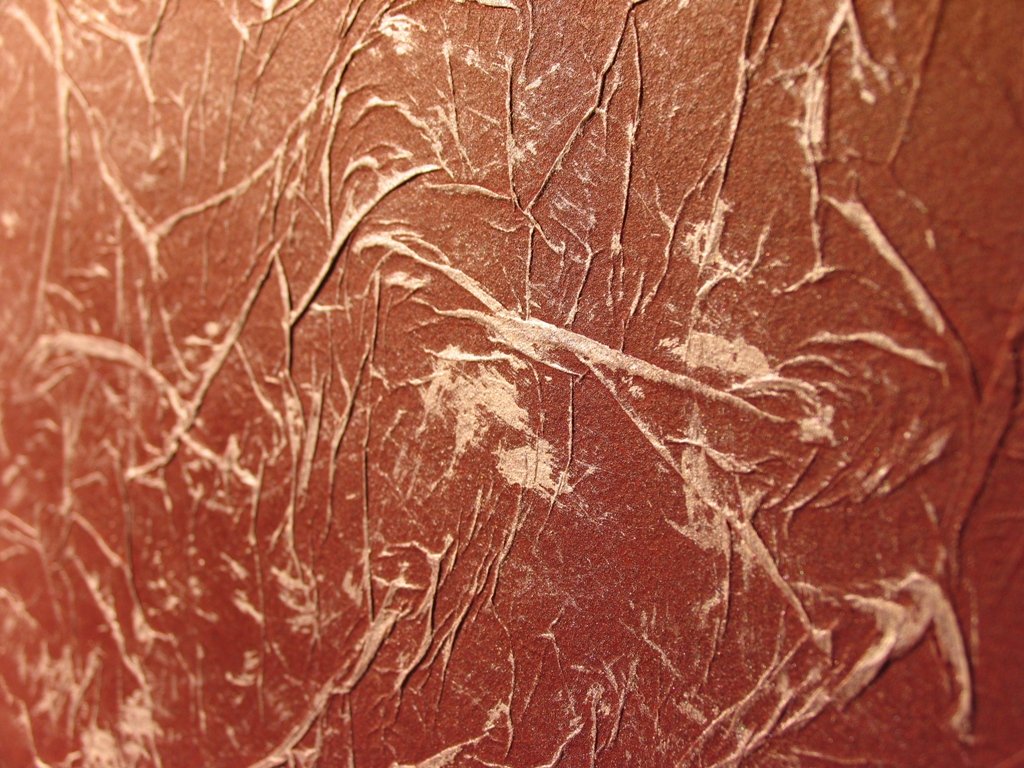
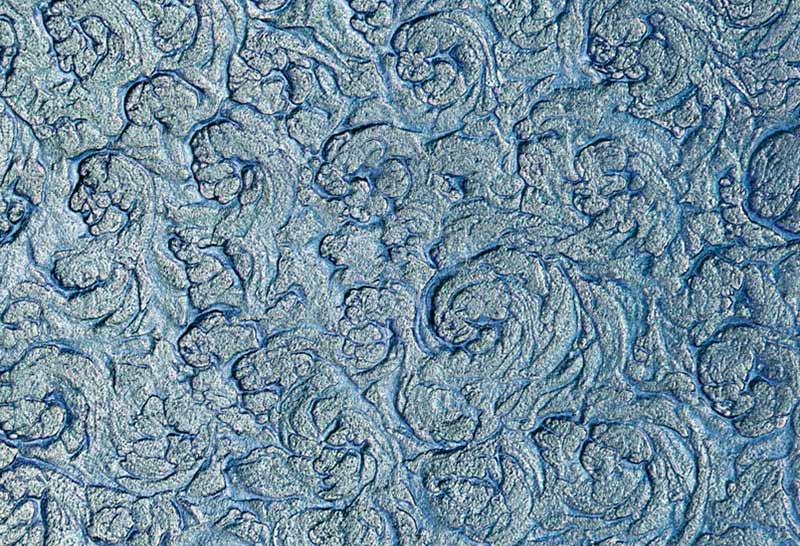
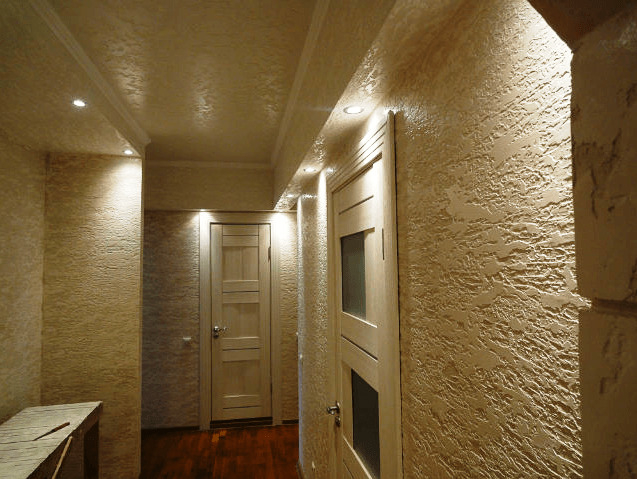
Figured
Figured or embossed decorative plaster is very plastic: it allows you to change the printed pattern. This is the only type of plaster that has this ability.
The coating is easy to polish and polish, they can create truly beautiful textured drawings and bas-reliefs using an ordinary roller. In addition, the relief plaster provides good thermal insulation and performs a protective function.
And most importantly: the relief finish allows you to save on leveling! It does not just hide any defects, but also makes the surface bulky. Plaster can form protrusions on the wall, so it is advisable not to impose a layer thicker than fifteen millimeters. The plasticity of the material makes it easy to apply it on the wall and create any interesting compositions. For example, imitation of bark, grass, brick looks very cool.


Acrylic
This plaster is made of acrylic resin - a polymer, which often can contain inorganic and organic pigment. Due to this, the mixture acquires a certain color. The composition also includes minerals and modifiers - substances that improve the quality of the mixture.
There is a combination of acrylic and textured plaster.

It includes mica, flax fibers, pebbles. Such a mixture can decorate concrete, brick, already plastered or wooden surfaces. The textured acrylic blend is also suitable for outdoor use.
In general, acrylic plaster is an option for those who want to at the same time draw and paint the walls in a uniform color.

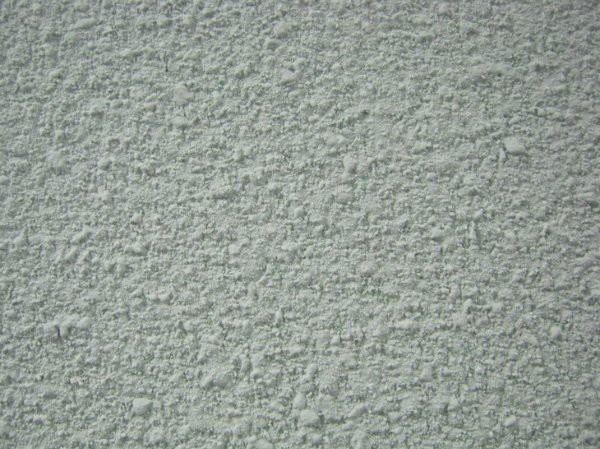
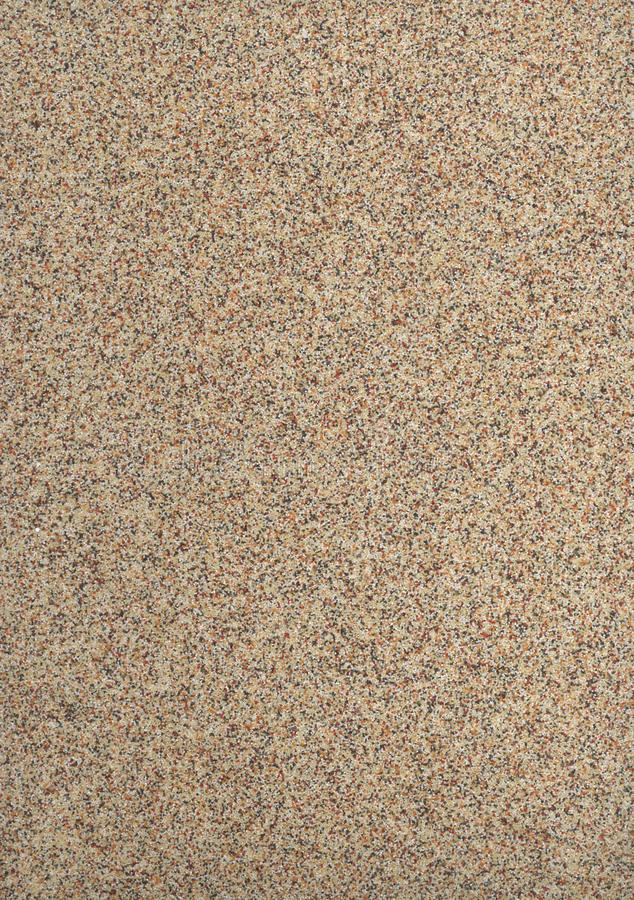
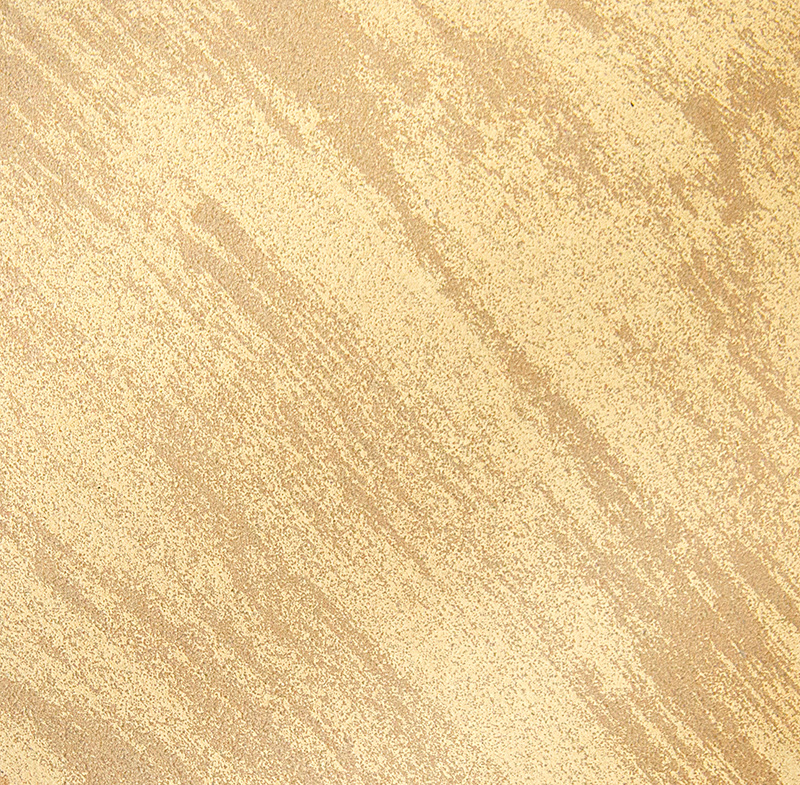
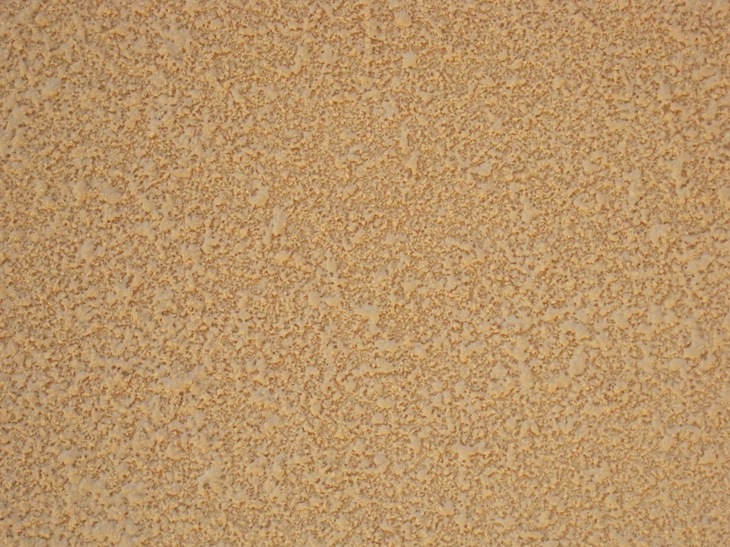
Sandy
Decorative plaster with sand effect consists of ordinary river sand. The final appearance of the treated surface, as in the case of Venetian plaster, depends on the application technique.
Useful properties of sand plaster:
- Moisture resistance. The coating can be subsequently wiped with a damp cloth or sponge - this is quite fast and convenient. Stucco provides stable moisture exchange and creates a pleasant indoor climate.
- Durability.With regular cleaning and proper use of sand plaster will serve you faithfully for many years.
- Protection. Quartz in the mixture prevents the appearance of mold or fungus on the surface.

Created textures and effects
- "Sand Dune". This is the name of the resulting shimmering coating in oriental style. Shines the very fine quartz, which is part of the material. This shine can be made more vivid with pearl pastes and toning.
- "Sandy wind." Sand plaster with wide strokes is applied on the surface in several layers: one on top of the other.
- "Shagreen skin". The drawing is applied using a stencil on the second layer of plaster.
- "Sackcloth". This effect is achieved with a brush.

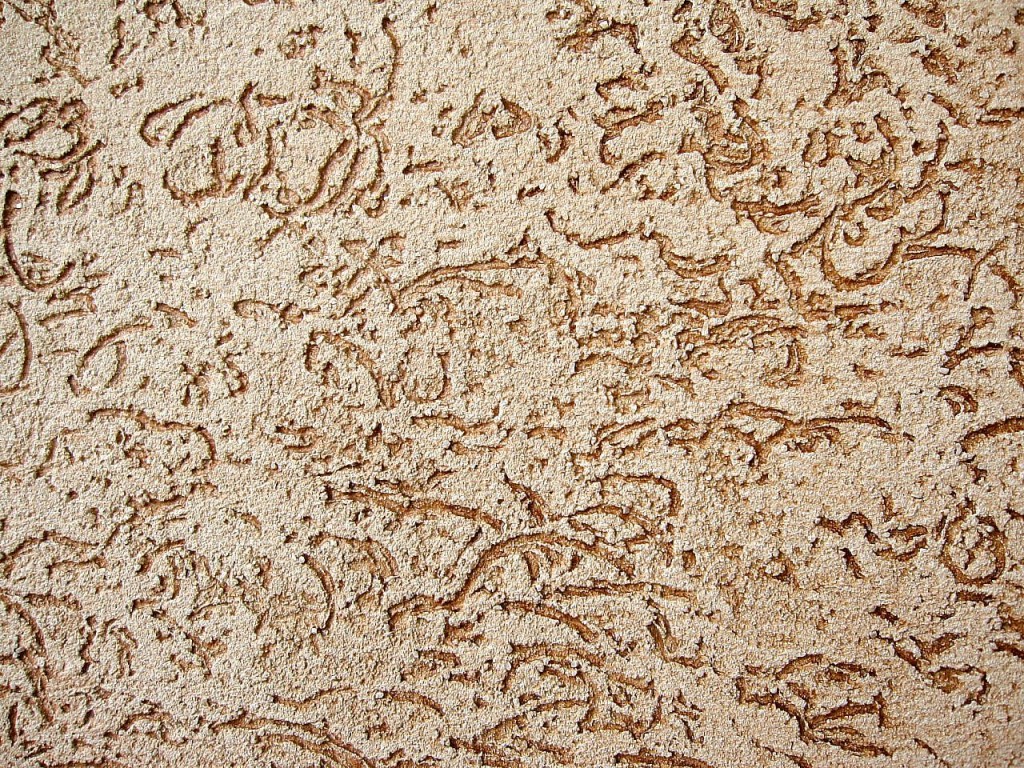
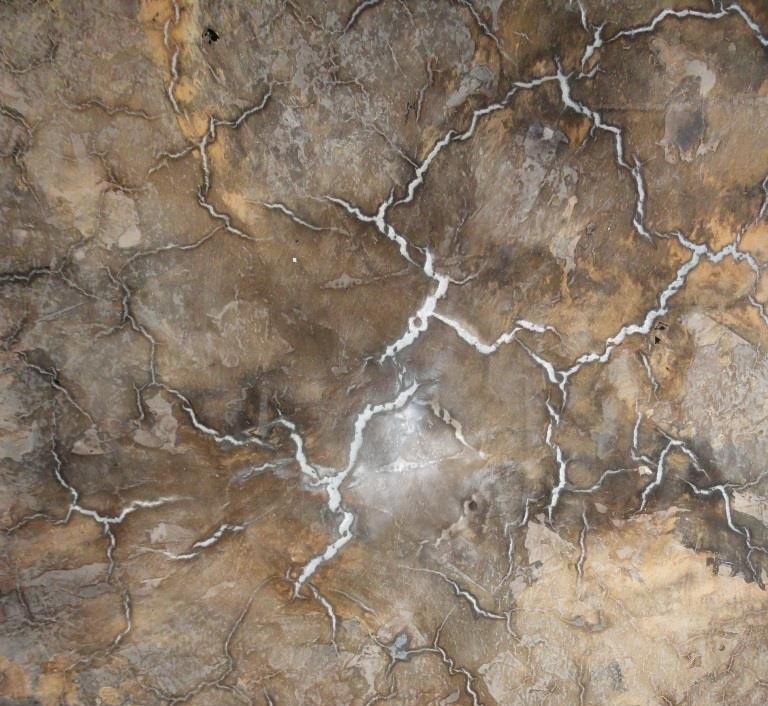
- "Bark Beetle". The design of this type of decorative plaster is a type of wood that is supposedly eaten away by bark beetles. It sounds somewhat repulsive, but it looks good. The result is achieved due to the appearance of small grooves and cracks on the not yet frozen layer of plaster. Important: this can be achieved only with the correct thickness of the layer.
The principle of decoration is as follows: on a fresh coating with a plastic float, circular movements are performed. Do not be afraid, if a mixture sticks to the grater, this is normal. Fifteen minutes later the wall should be grated more intensively with a float. After the second approach, the surface will be sufficiently cleaned. But remember that it is important not to bend the stick, the more approaches you take with the float, the smoother the coating will become.
The original "bark beetle" should remain textured.
At the end of the work the ugly protruding “crusts” of the plaster cut off with a stationery knife and remove the masking tape.

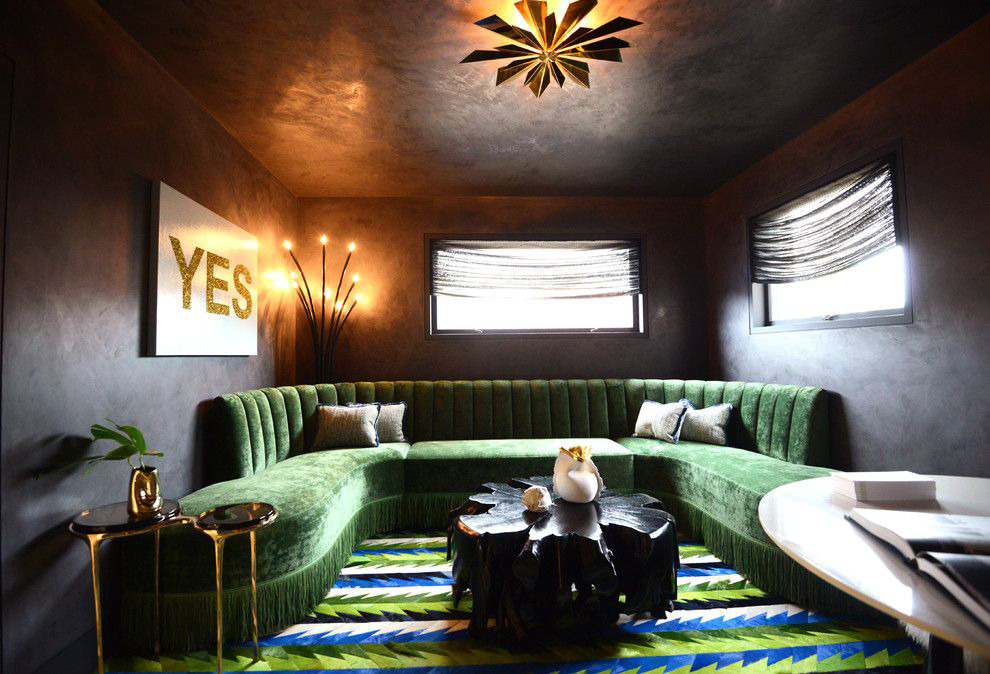
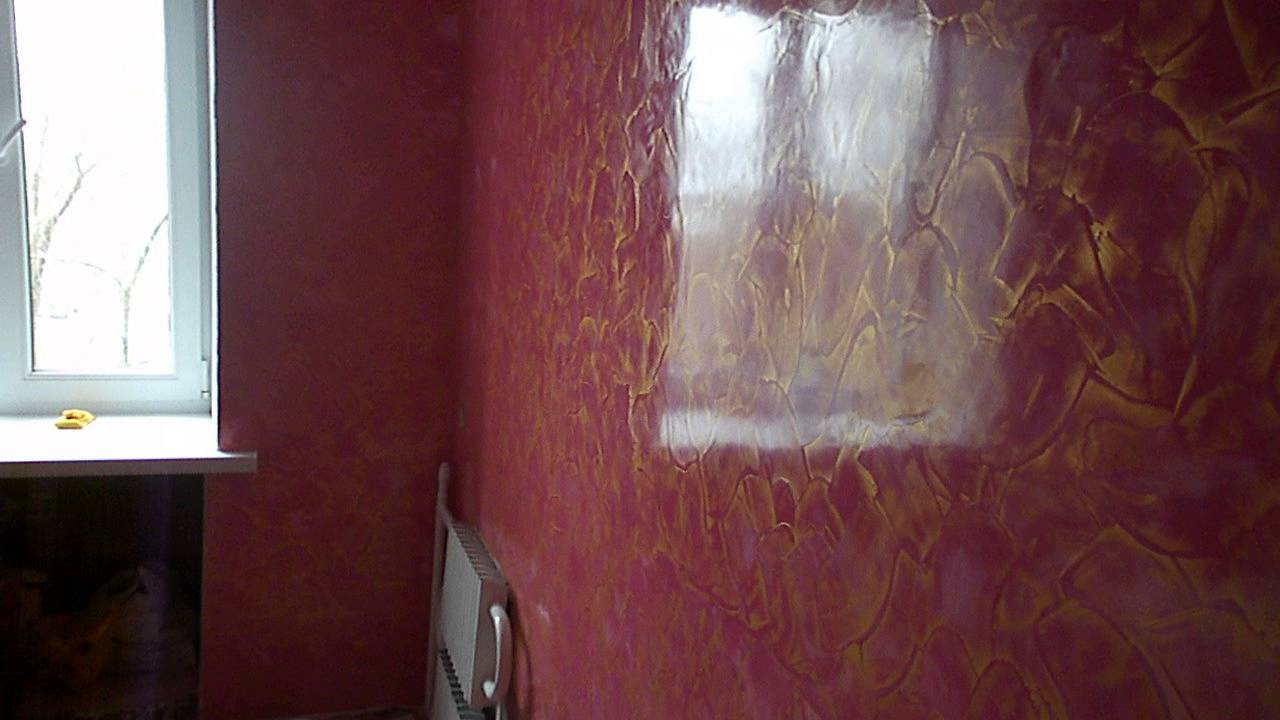
Design
Wall decor is an extremely individual matter. In this regard, decorative plaster from putty provides the freedom of choice and creativity. Creating different designs will make any room unique and stylish.
Stone, paint, and any other devices to create unusual decorations will be suitable for texturing. With the help of ready-made mixtures, you can achieve the effect of marble, a brick wall - what your soul desires.


Now it is very popular color plaster in the form of a map of the world. This design is suitable for a child's room or office.In addition, you can paint the surface with different colors, changing the paint depending on your mood. Upgrading colors is always refreshing and not expensive.
If you are new to the field of construction and you have a choice between two types of decorative plaster, it is best to choose the one that is simpler in execution. Any even the most artless plaster, made correctly, will look presentable.
Decorating Tools
There are several basic tools for decorating the walls with stucco plaster at home.
- Roller. One of the easiest ways to create a textured finish is to use a roller for applying.
- Stencil. This tool with a convex pattern, which is pressed into the soft, not yet dried putty over the entire surface area. To get a clear picture, rinse the stencil well in water after each use.
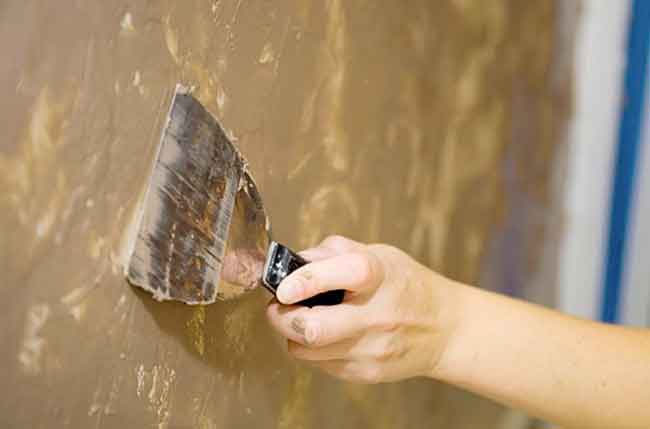
- Putty knife. The tool for leveling the surface in the form of a flat plate with a handle. There are models of different sizes and thicknesses - for different types of surfaces.
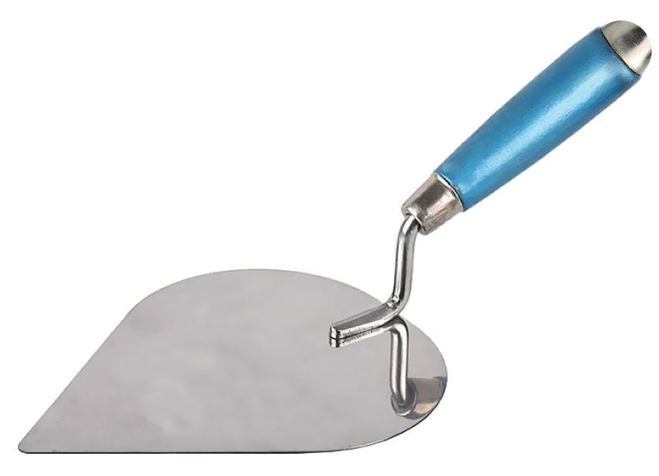
- Trowel. Externally, it looks like a trowel: it also consists of a rectangular plate and handle and serves for the installation of plaster. With the help of a trowel or a trowel (as it is called in the people), in fact, the same work is done. It is worth making a choice between these tools based on personal considerations. Although experienced repairmen advise to use the trowel for applying Venetian plaster.
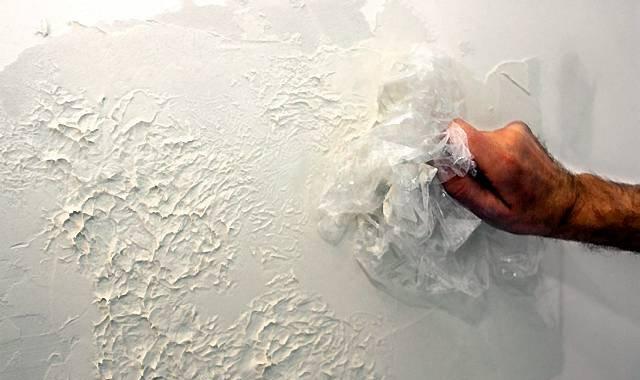
- Cellophane. A plastic bag or film can be placed on a fresh layer of decorative plaster and create a relief yourself - an original and very simple way for practical people.
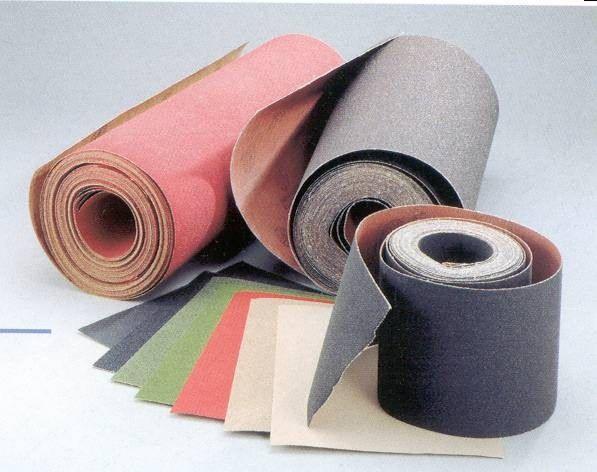
- Sandpaper. She rubbed the already dried surface.
- Brushes.
Using brushes of different thickness and thickness of the pile, you can create a wavy or striped pattern.
Application process
It is quite simple to prepare decorative plaster with your own hands. It is even much easier than gluing wallpaper or laying tile.
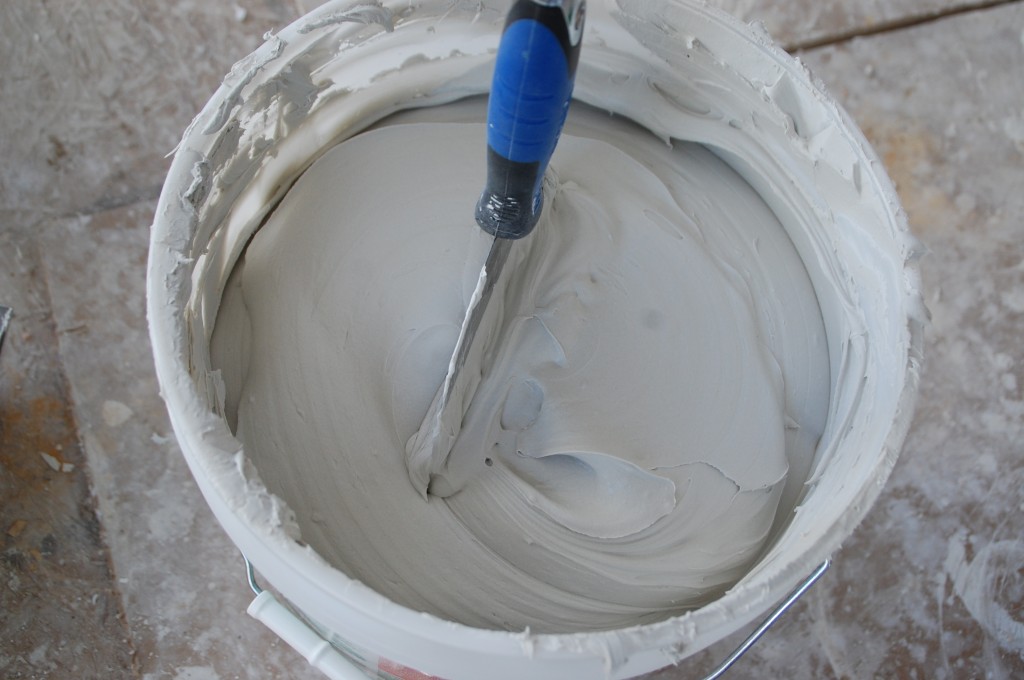
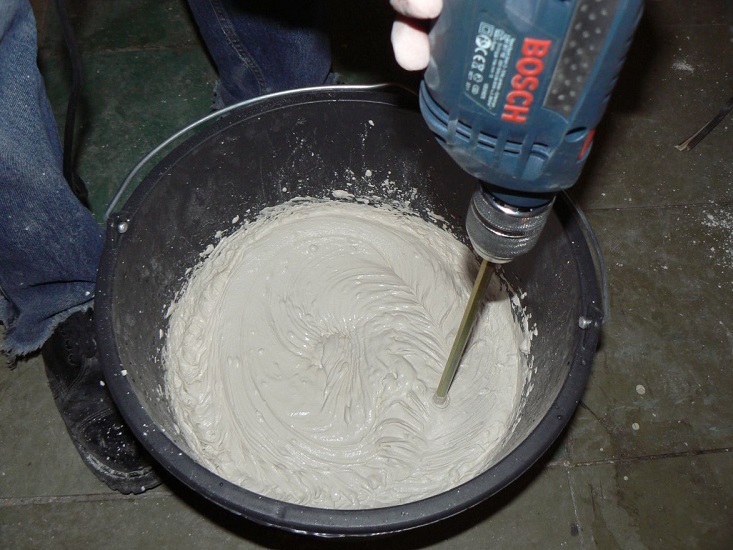
Take the finishing or starting putty in powder form and mix them in equal shares. Add water to the dry mixture and mix with a construction mixer until smooth. In appearance, the mixture should resemble thick sour cream. Leave the solution for five minutes, and then mix it again.

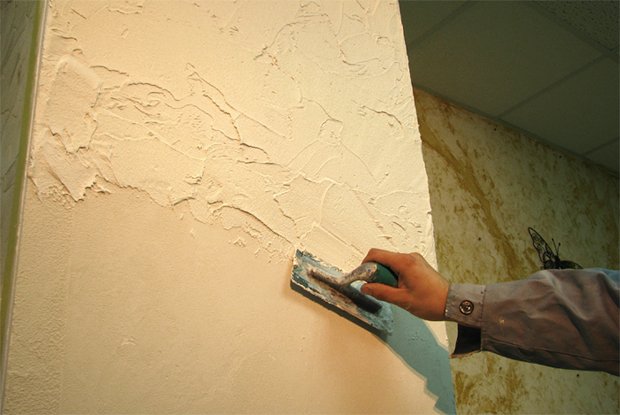
The ready mix can be put both on concrete, and on gypsum cardboard, a stone and a wooden surface. When preparing to putty, keep all the necessary tools at hand - it will once again save time. Spatula or trowel apply plaster on the wall in thin layers of three millimeters. With a trowel, you can make chaotic strokes to create a texture or pattern.
Be careful in the corners, at the slopes of doors and baseboards on the ceiling: it is necessary to fill all the seams so that the coating is uniform and the cracked finish does not come as a complete surprise to you.
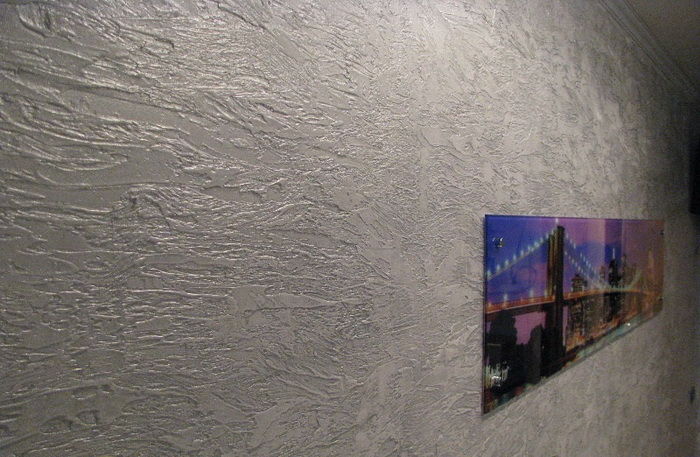
After you have applied the mixture, leave the finish for two days and let it dry thoroughly. Then process the entire wall of granular sandpaper, after removing the corners with a spatula. In the end, you get a smooth and textured surface. After cleaning the wall from dust and dirt, re-coat it with a primer and leave to dry again.

At the end of the work, when the wall is completely covered with already dried plaster, it is usually coated with varnish or wax for additional protection and a glossy effect. But you can leave a wall for painting.
Depending on the type of decorative plaster, there are many options for techniques and nuances - it is impossible to tell about all. Textured - the simplest in terms of application, since it does not need anything but a spatula.

Useful tips
- In order for the plaster to dry faster, the space must be aired after work.
- Since any plaster adheres firmly to the surface, it is necessary to immediately wash the spatula, trowel or stencil immediately after finishing.
- Do not forget: the shelf life of any plaster is 6 months. It is better to keep the bag with the mixture remaining after work out of the reach of direct sunlight (for example, in a garage or in the attic).
- To create a gloss effect, it is best to use a construction wax or varnish. But also glaze is suitable, which will emphasize the relief and make it brilliant.
This tool should be applied either in a special mitten, or with a paint brush or sponge.


- To wash the surface with decorative plaster is desirable not with aggressive cleaning agents, but with ordinary soapy water.
For information on how to make decorative plaster from ordinary putty with your own hands, see the following video.


