How to putty drywall?
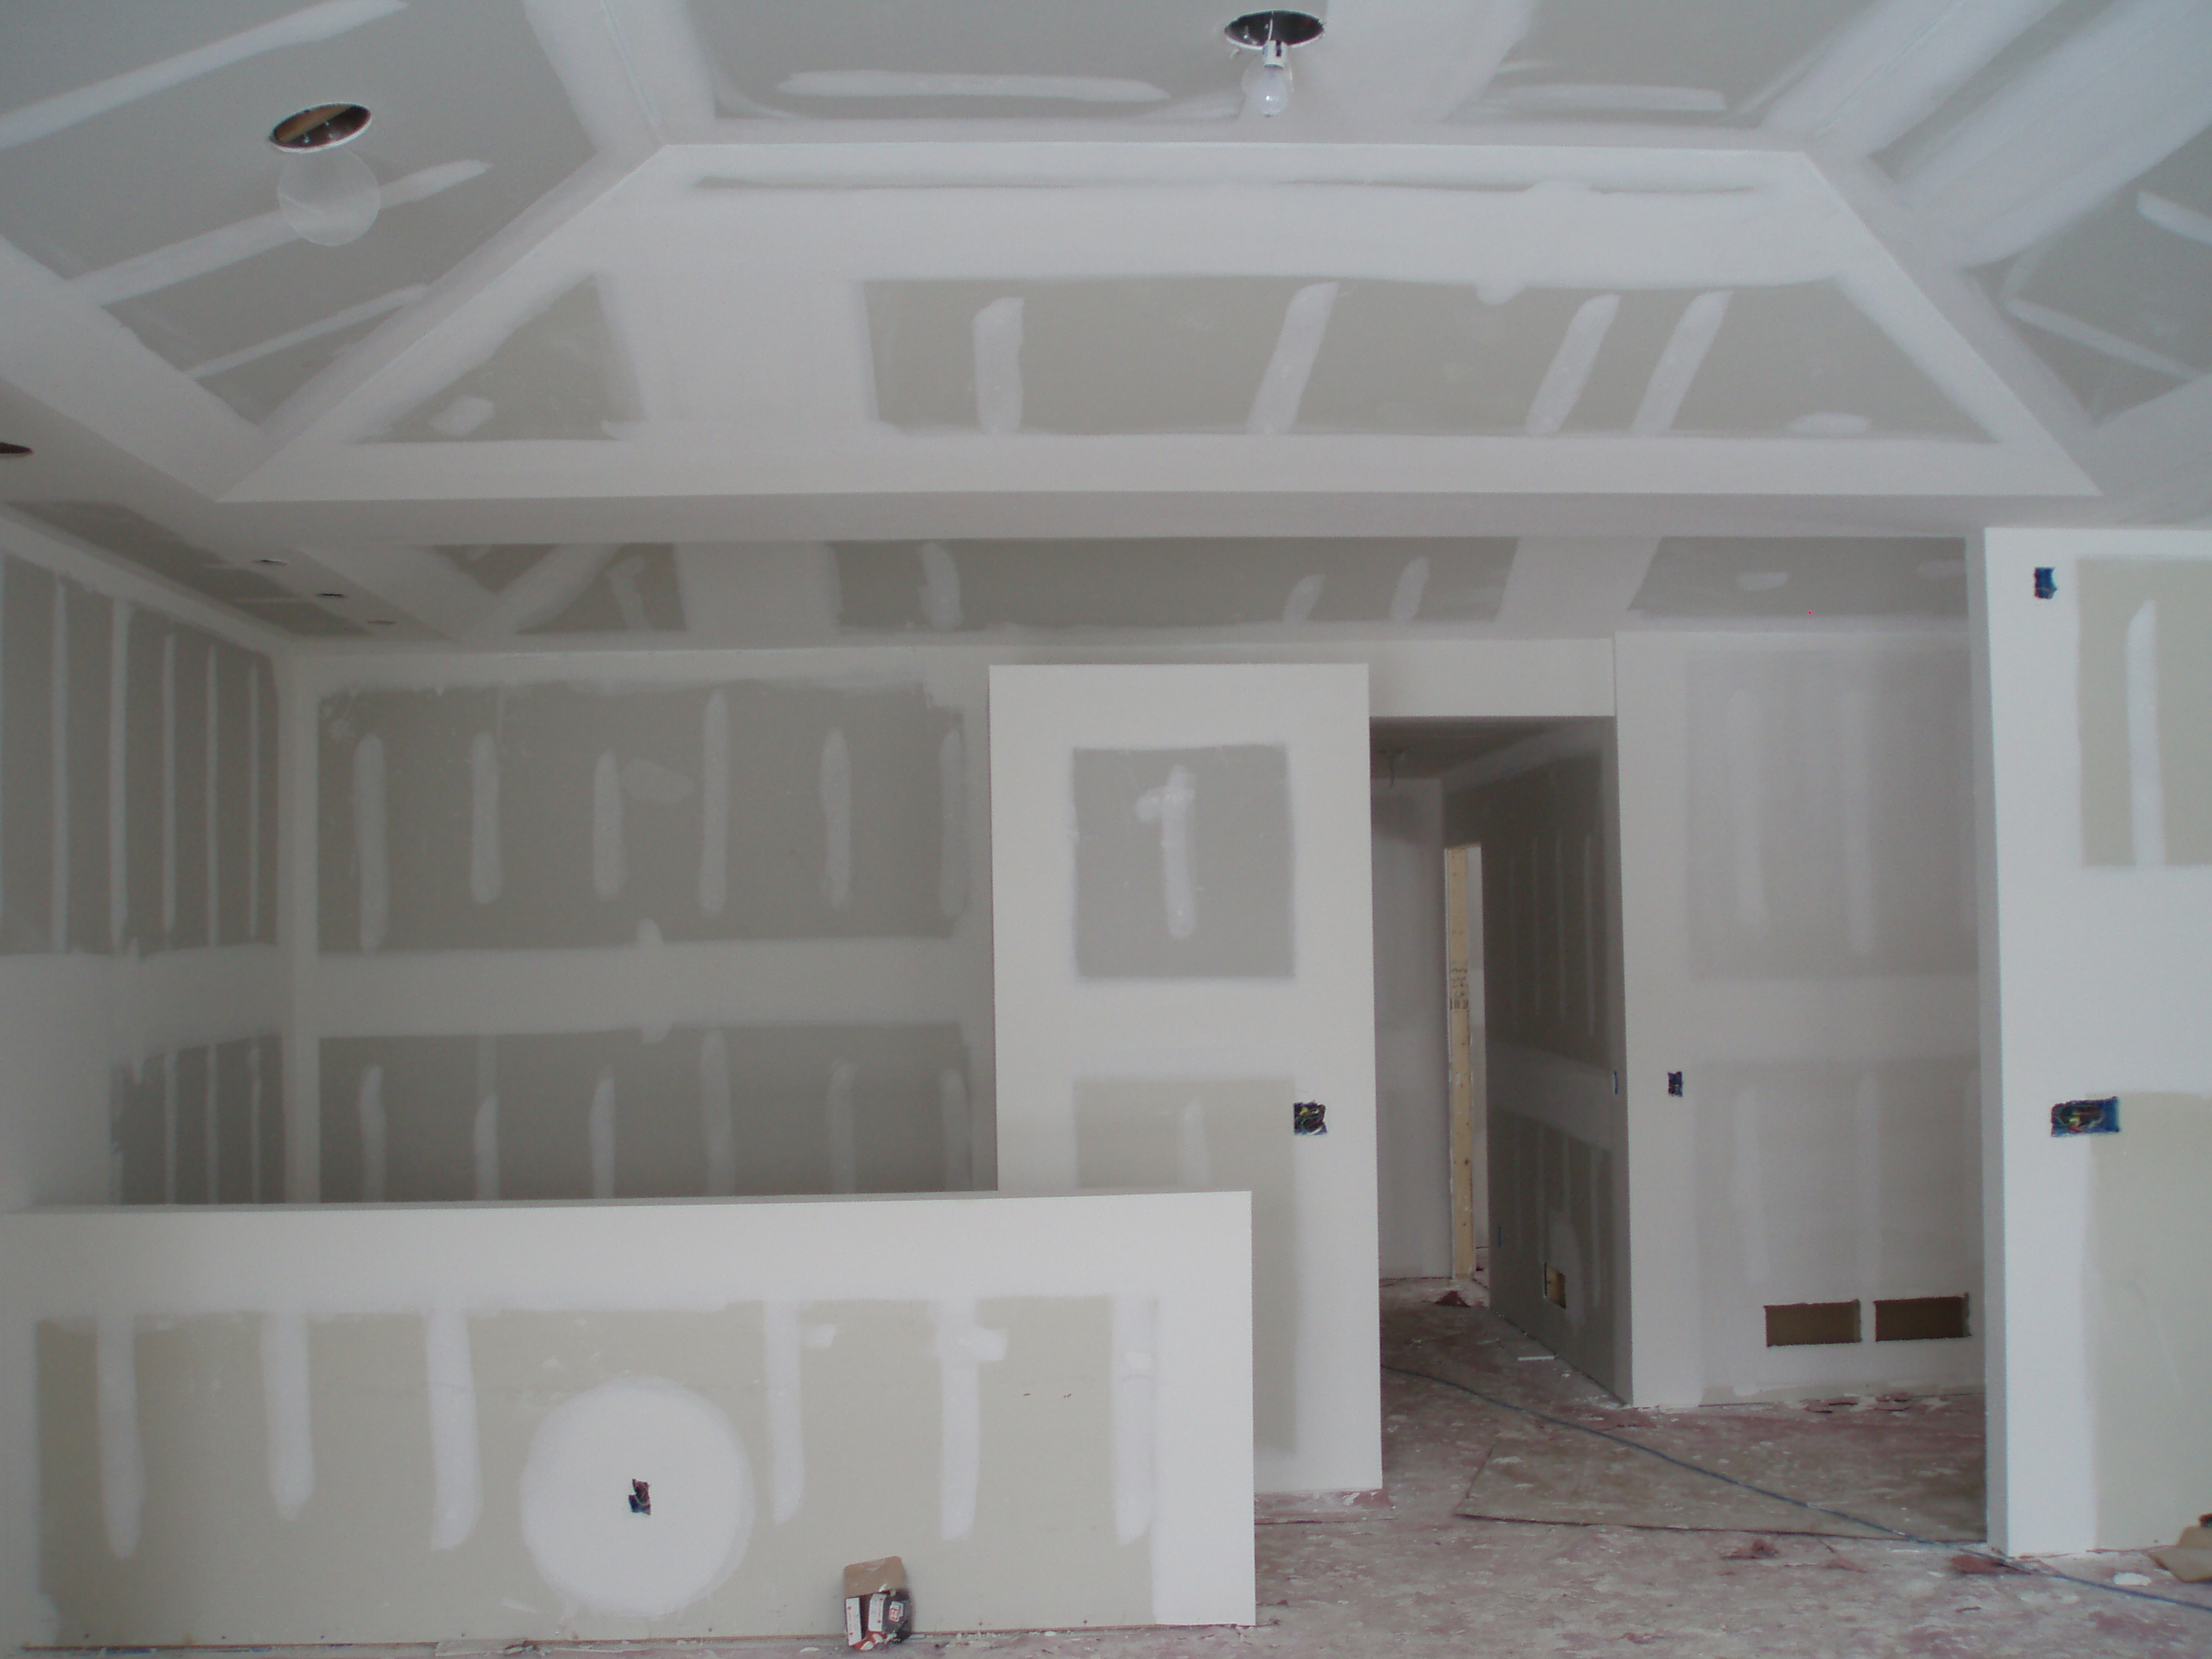
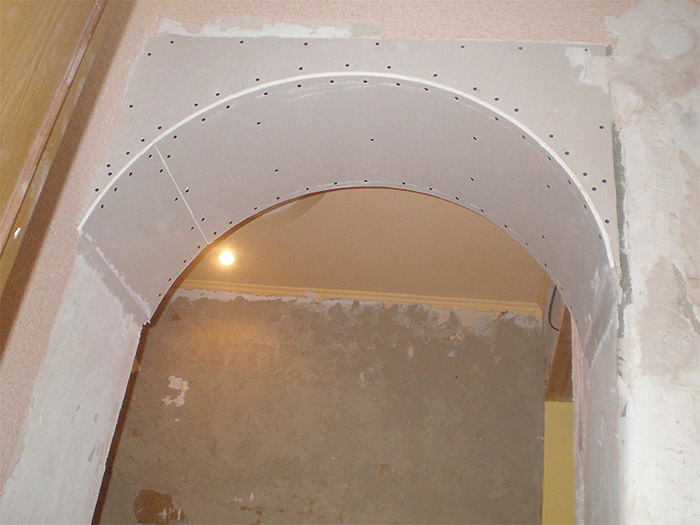
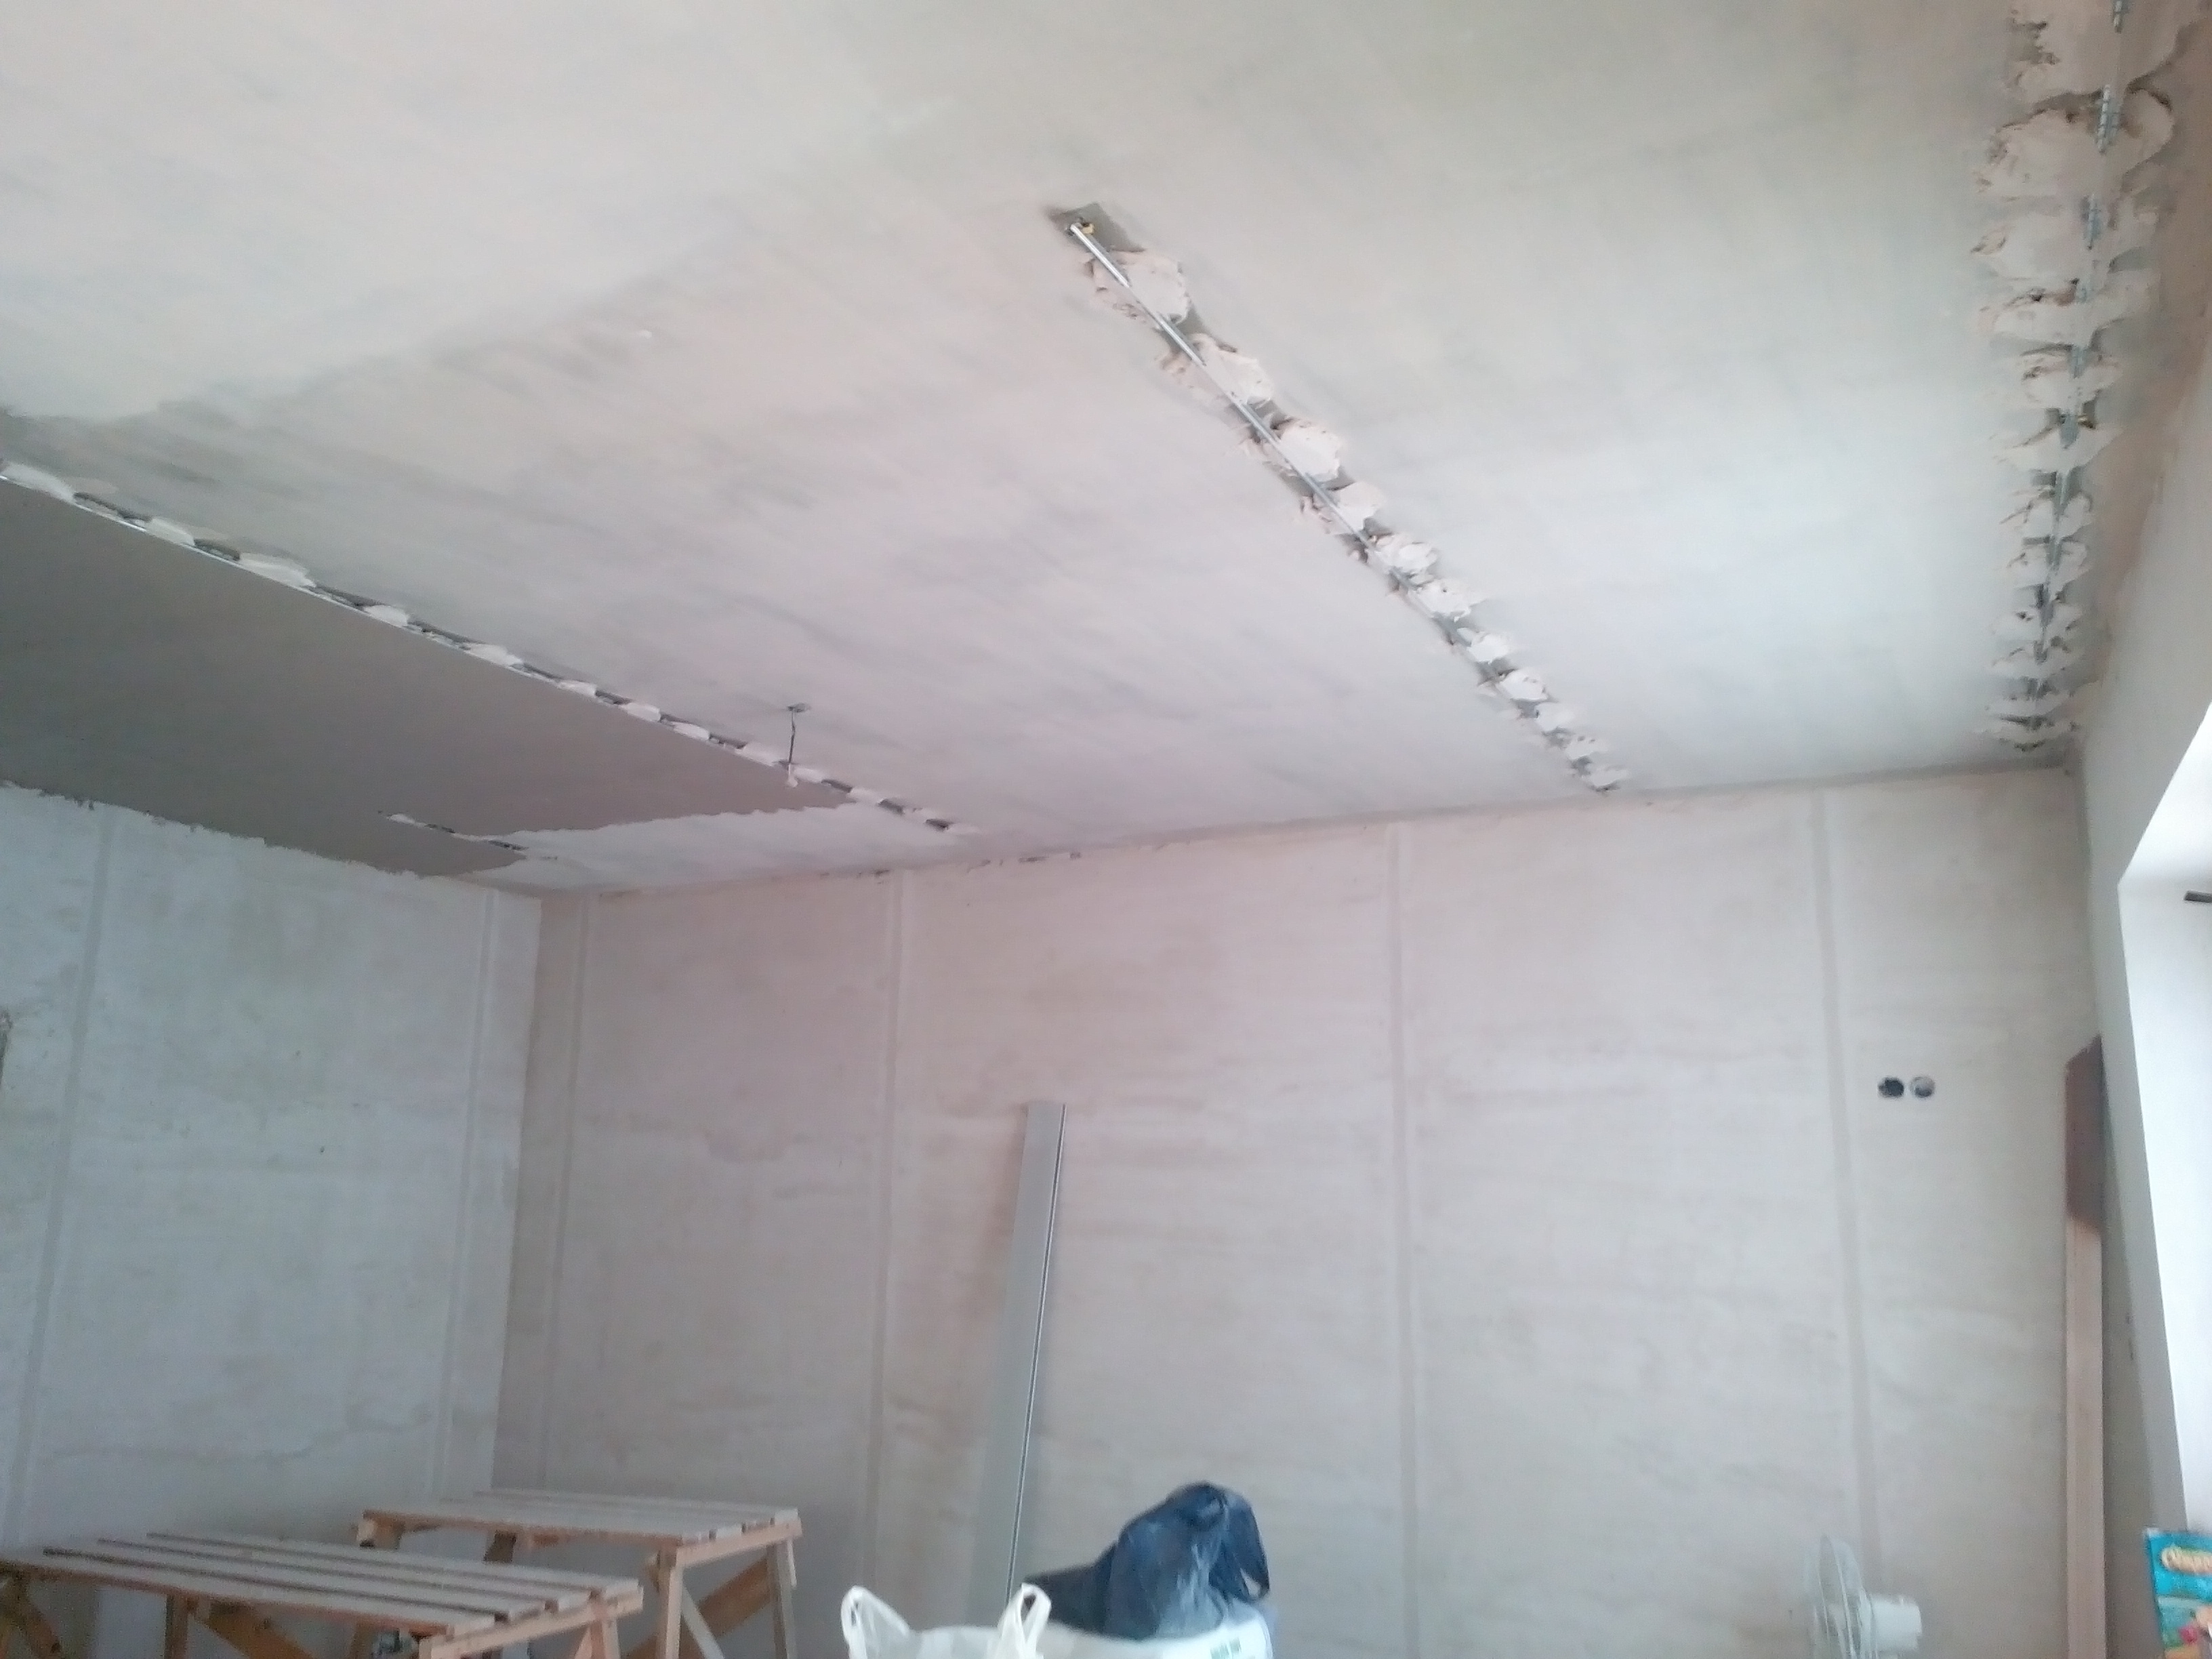
With the help of drywall, you can not only hide the irregularities of the walls or the ceiling, but also implement a huge number of design ideas, for example, make various cascades and arches, thereby diversifying the design of the room.
Many inexperienced builders believe that plasterboard surfaces do not need a putty. However, this is a huge misconception. Drywall, although it seems to the naked eye fairly even and smooth, in fact, has many cracks and irregularities. Regular putty will help to fix them.
Special features
Get rid of various defects on drywall will help putty. It will not only smooth out irregularities, but also ensure the safety of drywall sheets. For example, when removing wallpaper from a plasterboard wall previously plastered, the plasterboard itself will remain intact and suitable for applying a different mortar or material.
Also putty walls or ceiling before painting significantly reduces the cost of paint.

Upon further painting of the walls or the ceiling of gypsum board, a complete (in two stages: starting and finishing) surface plastering is obligatory, as the paint will highlight any unevenness or surface defects in both daylight and artificial. If you plan to finish the wall with thick wallpaper or tiles, you can do putty in one layer (using starting putty). However, the masters still advise to putty the walls in at least two stages, as this will be a more reliable and tidy option.

Under thick wallpapers, it is better to choose a putty with a coarse-grained structure. After drying, there will be no defects of the wall under them, so you can do only starting with a putty. But under thin paper wallpapers, it is imperative to use both starting and finishing putty, since, if you manage with one layer, after the wallpaper dries out, all the irregularities and surface defects will be visible.

Types of putties
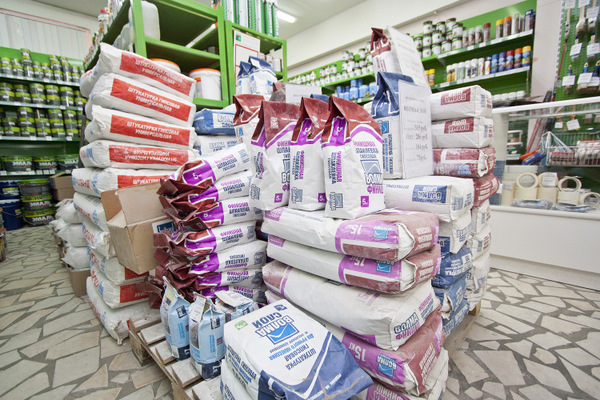
In modern stores of building materials there is a huge range of various putty mixtures: both for specific types of walls and universal ones.To make a choice, you need to know how this or that mixture differs from others.
Types of putties are distinguished by the following characteristics:
- on readiness for use;
- by appointment;
- in composition;
- by application.
By ready to use
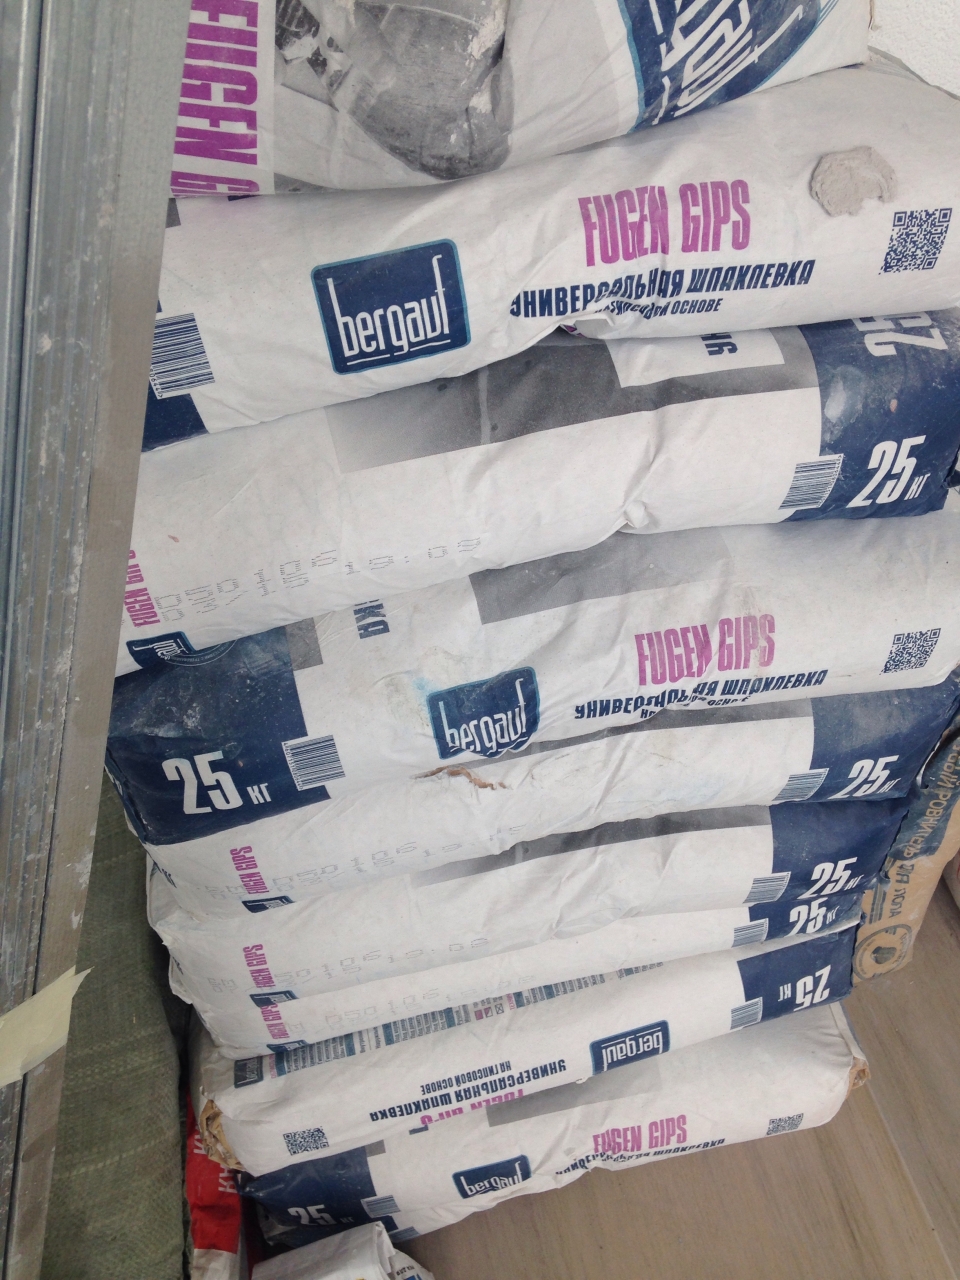
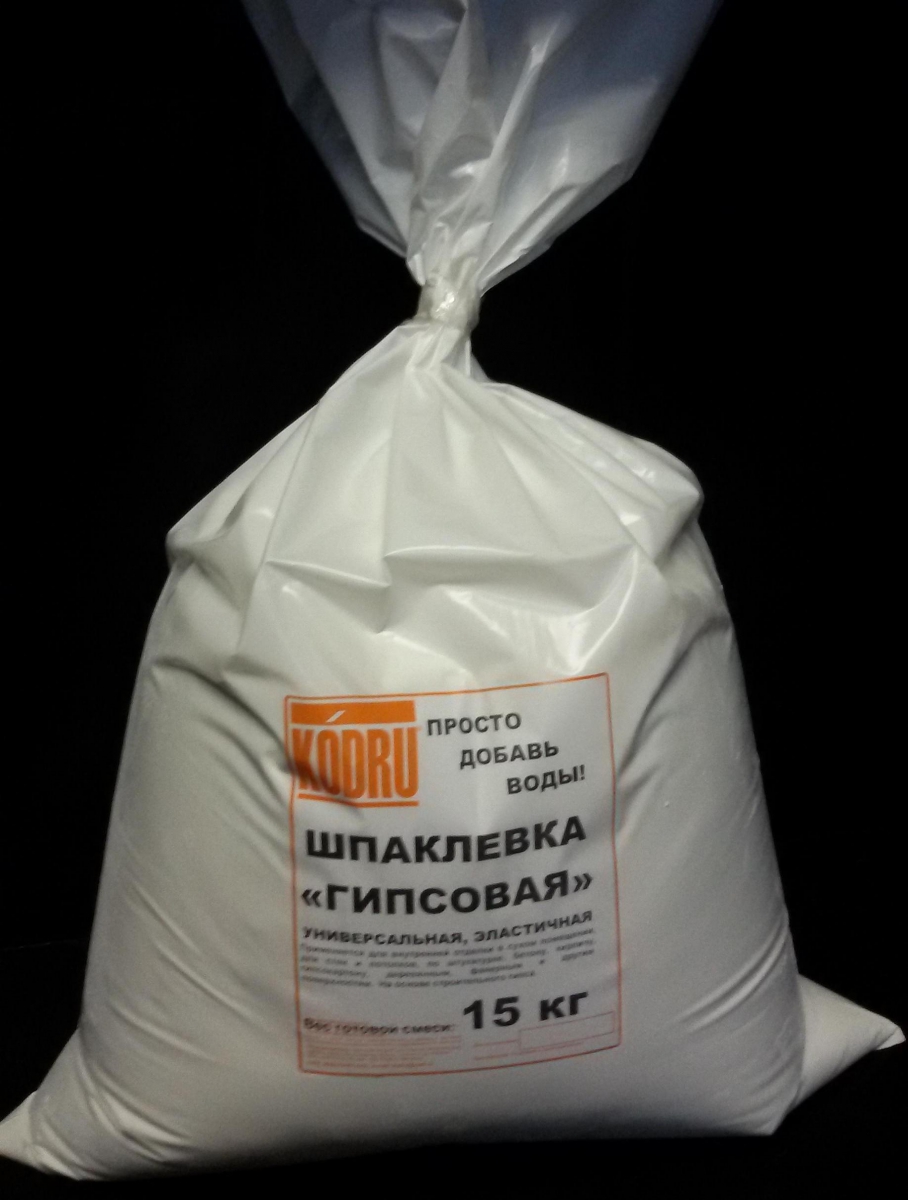
- Dry putties - the dry composition is required to be diluted with water to obtain a homogeneous solution. Dry putty has many advantages: low cost compared to ready-made solutions, long shelf life, the ability to finish the surface in stages.
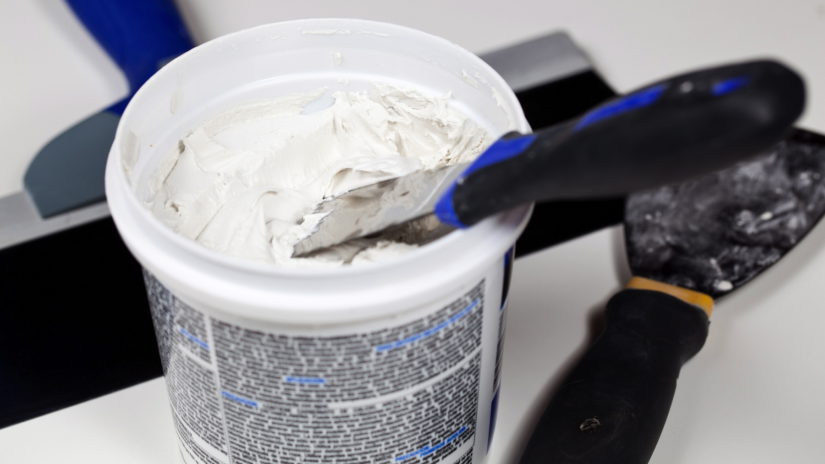
- Ready to use putty or liquid - already prepared solution that can be immediately applied to the surface. Ready to use putty is convenient because you do not need to worry about the consistency of the solution. Skipping the solution mixing stage not only simplifies the work, but also saves time. However, it is not as durable as dry putty mixture, and requires special storage conditions.

To destination
The plasterboard surface needs preliminary leveling, and the main purpose of the putty is to level and eliminate microcracks and surface joints.For different types of work there are different types of putty:
- Starting (leveling) putty - it is intended for elimination of deep defects, has a coarse-grained structure, is the initial stage of surface puttying. When working with thick thick wallpaper or tile, the starting putty can be used as a single layer.


- Finishing putty - it is used for masking the defects remaining after the starting putty, it has a soft homogeneous structure, it gives the surface an almost finished appearance. When working with paint or thin paper wallpaper finishing putty is a required layer. It will smooth the irregularities of the starting putty, and the coating will look much neater.

- Universal putty - combines all the best properties of the first two, can be used at any stage of surface finishing, but differs in a relatively high price. However, experienced builders are not advised to use only universal putty. It is convenient to use as a final layer.
- Decorative textured putty - used as a completed decorative coating.With the help of mineral crumbs in the composition of textured putty, you can create any volumetric textures and diversify the design of the room. Designer putty acts as a final surface finish and does not require additional painting.

By composition
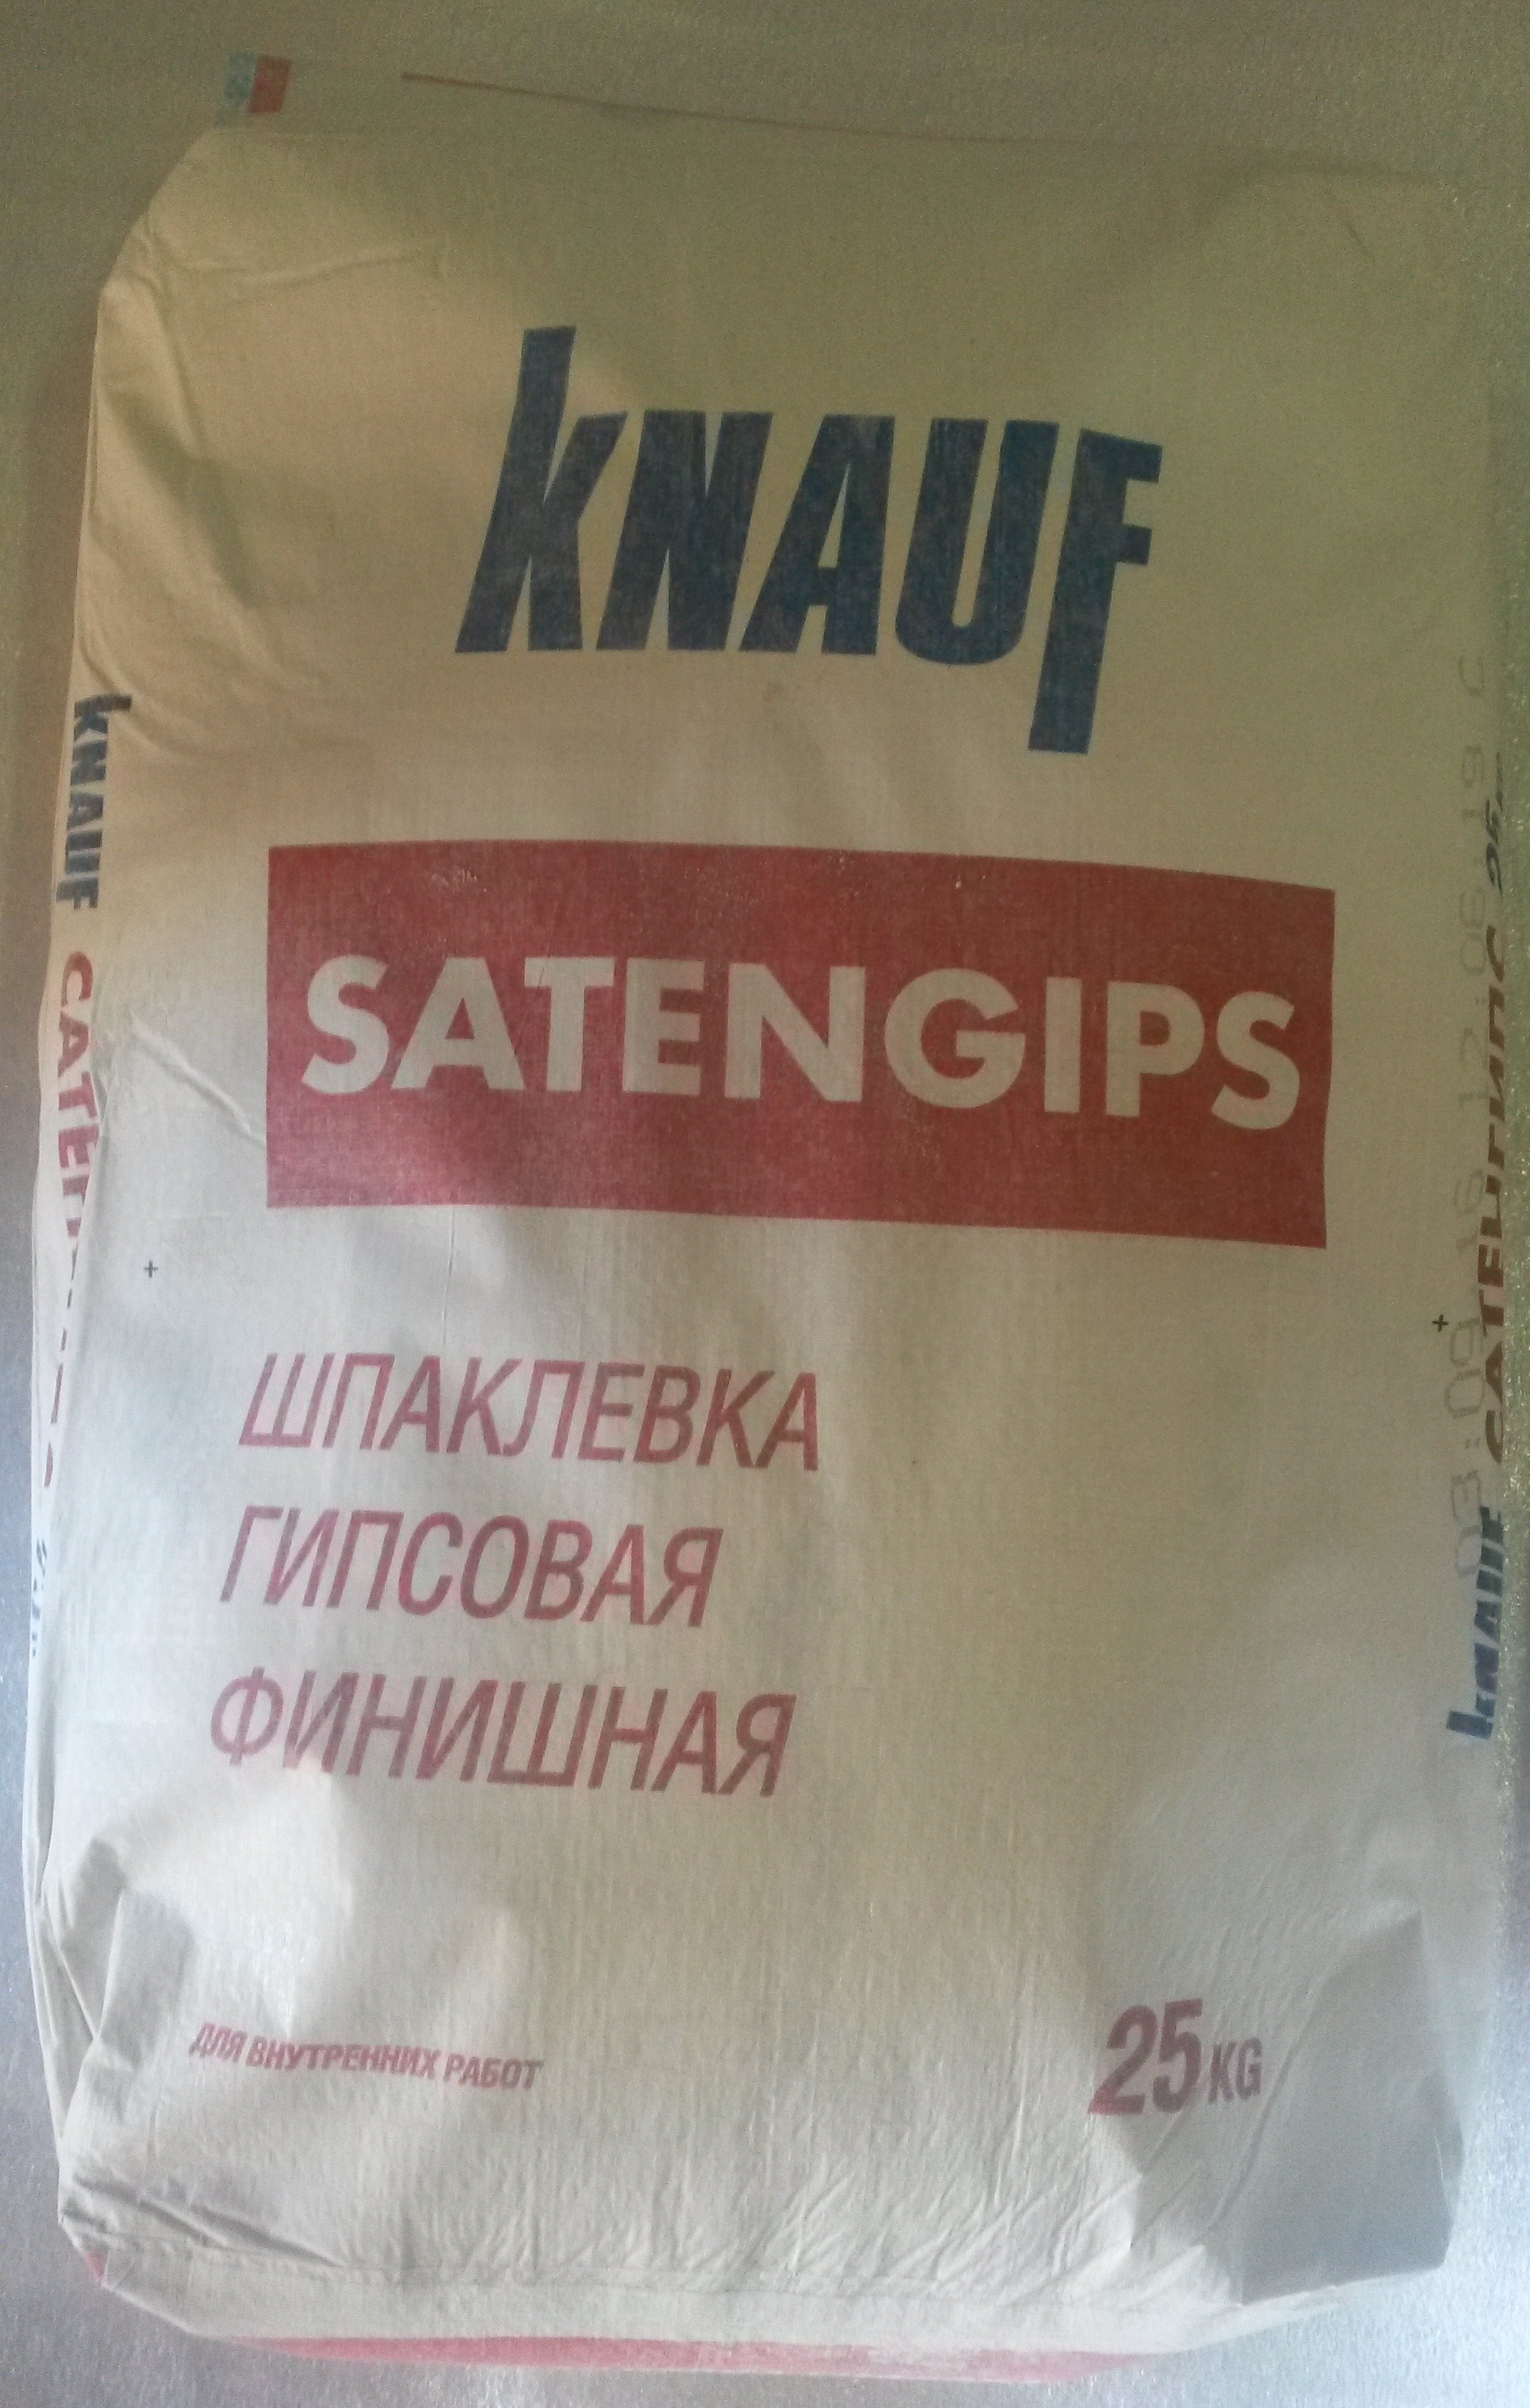
- Plaster - possess many positive properties, such as rapid shrinkage on the surface, environmental friendliness, quick drying and easy leveling. The main disadvantage of gypsum plaster is poor resistance to moisture, as gypsum absorbs a lot of moisture. Therefore, gypsum plaster should not be used when finishing the bathroom or kitchen.
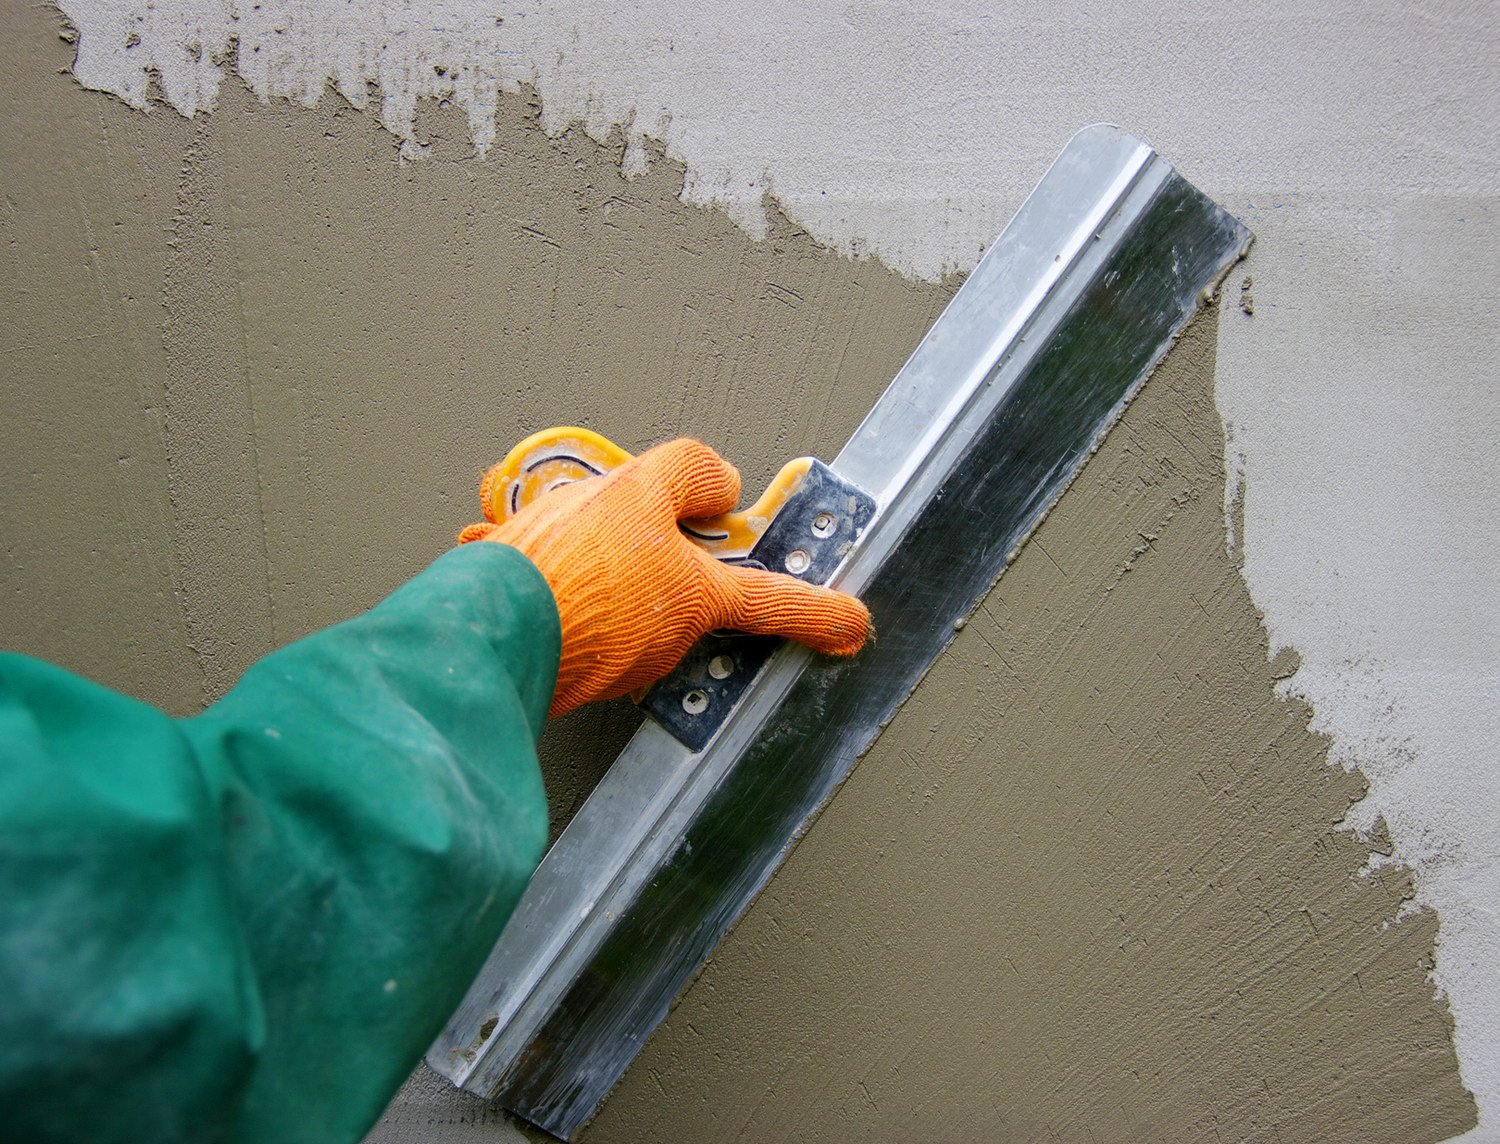
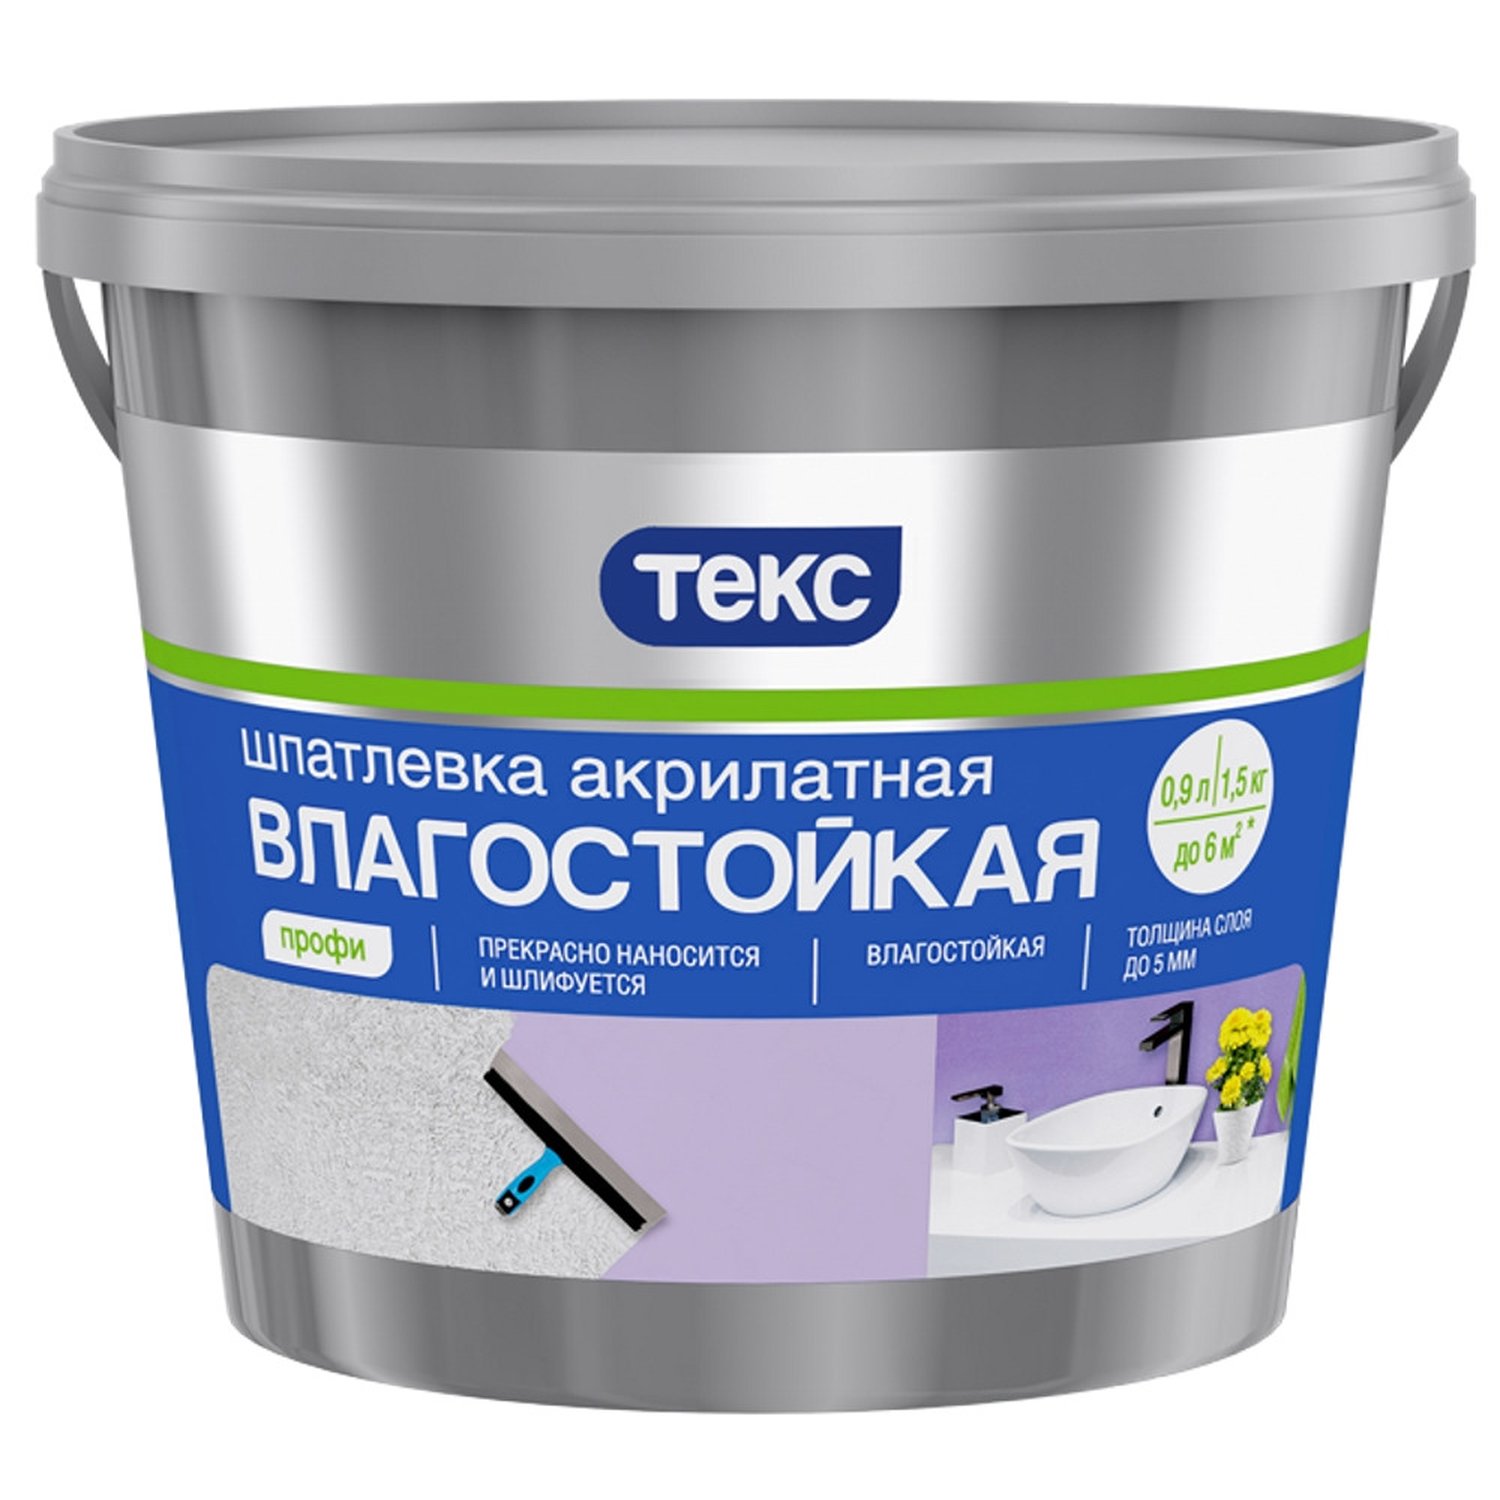
- Cement - durable and durable, tolerate high temperatures, resistant to moisture, therefore, perfectly suited to the decoration of bathrooms and kitchens. The main disadvantage is long drying and non-uniform application. Also, cement putty may give a slight shrinkage, so it is better not to use it in living rooms.
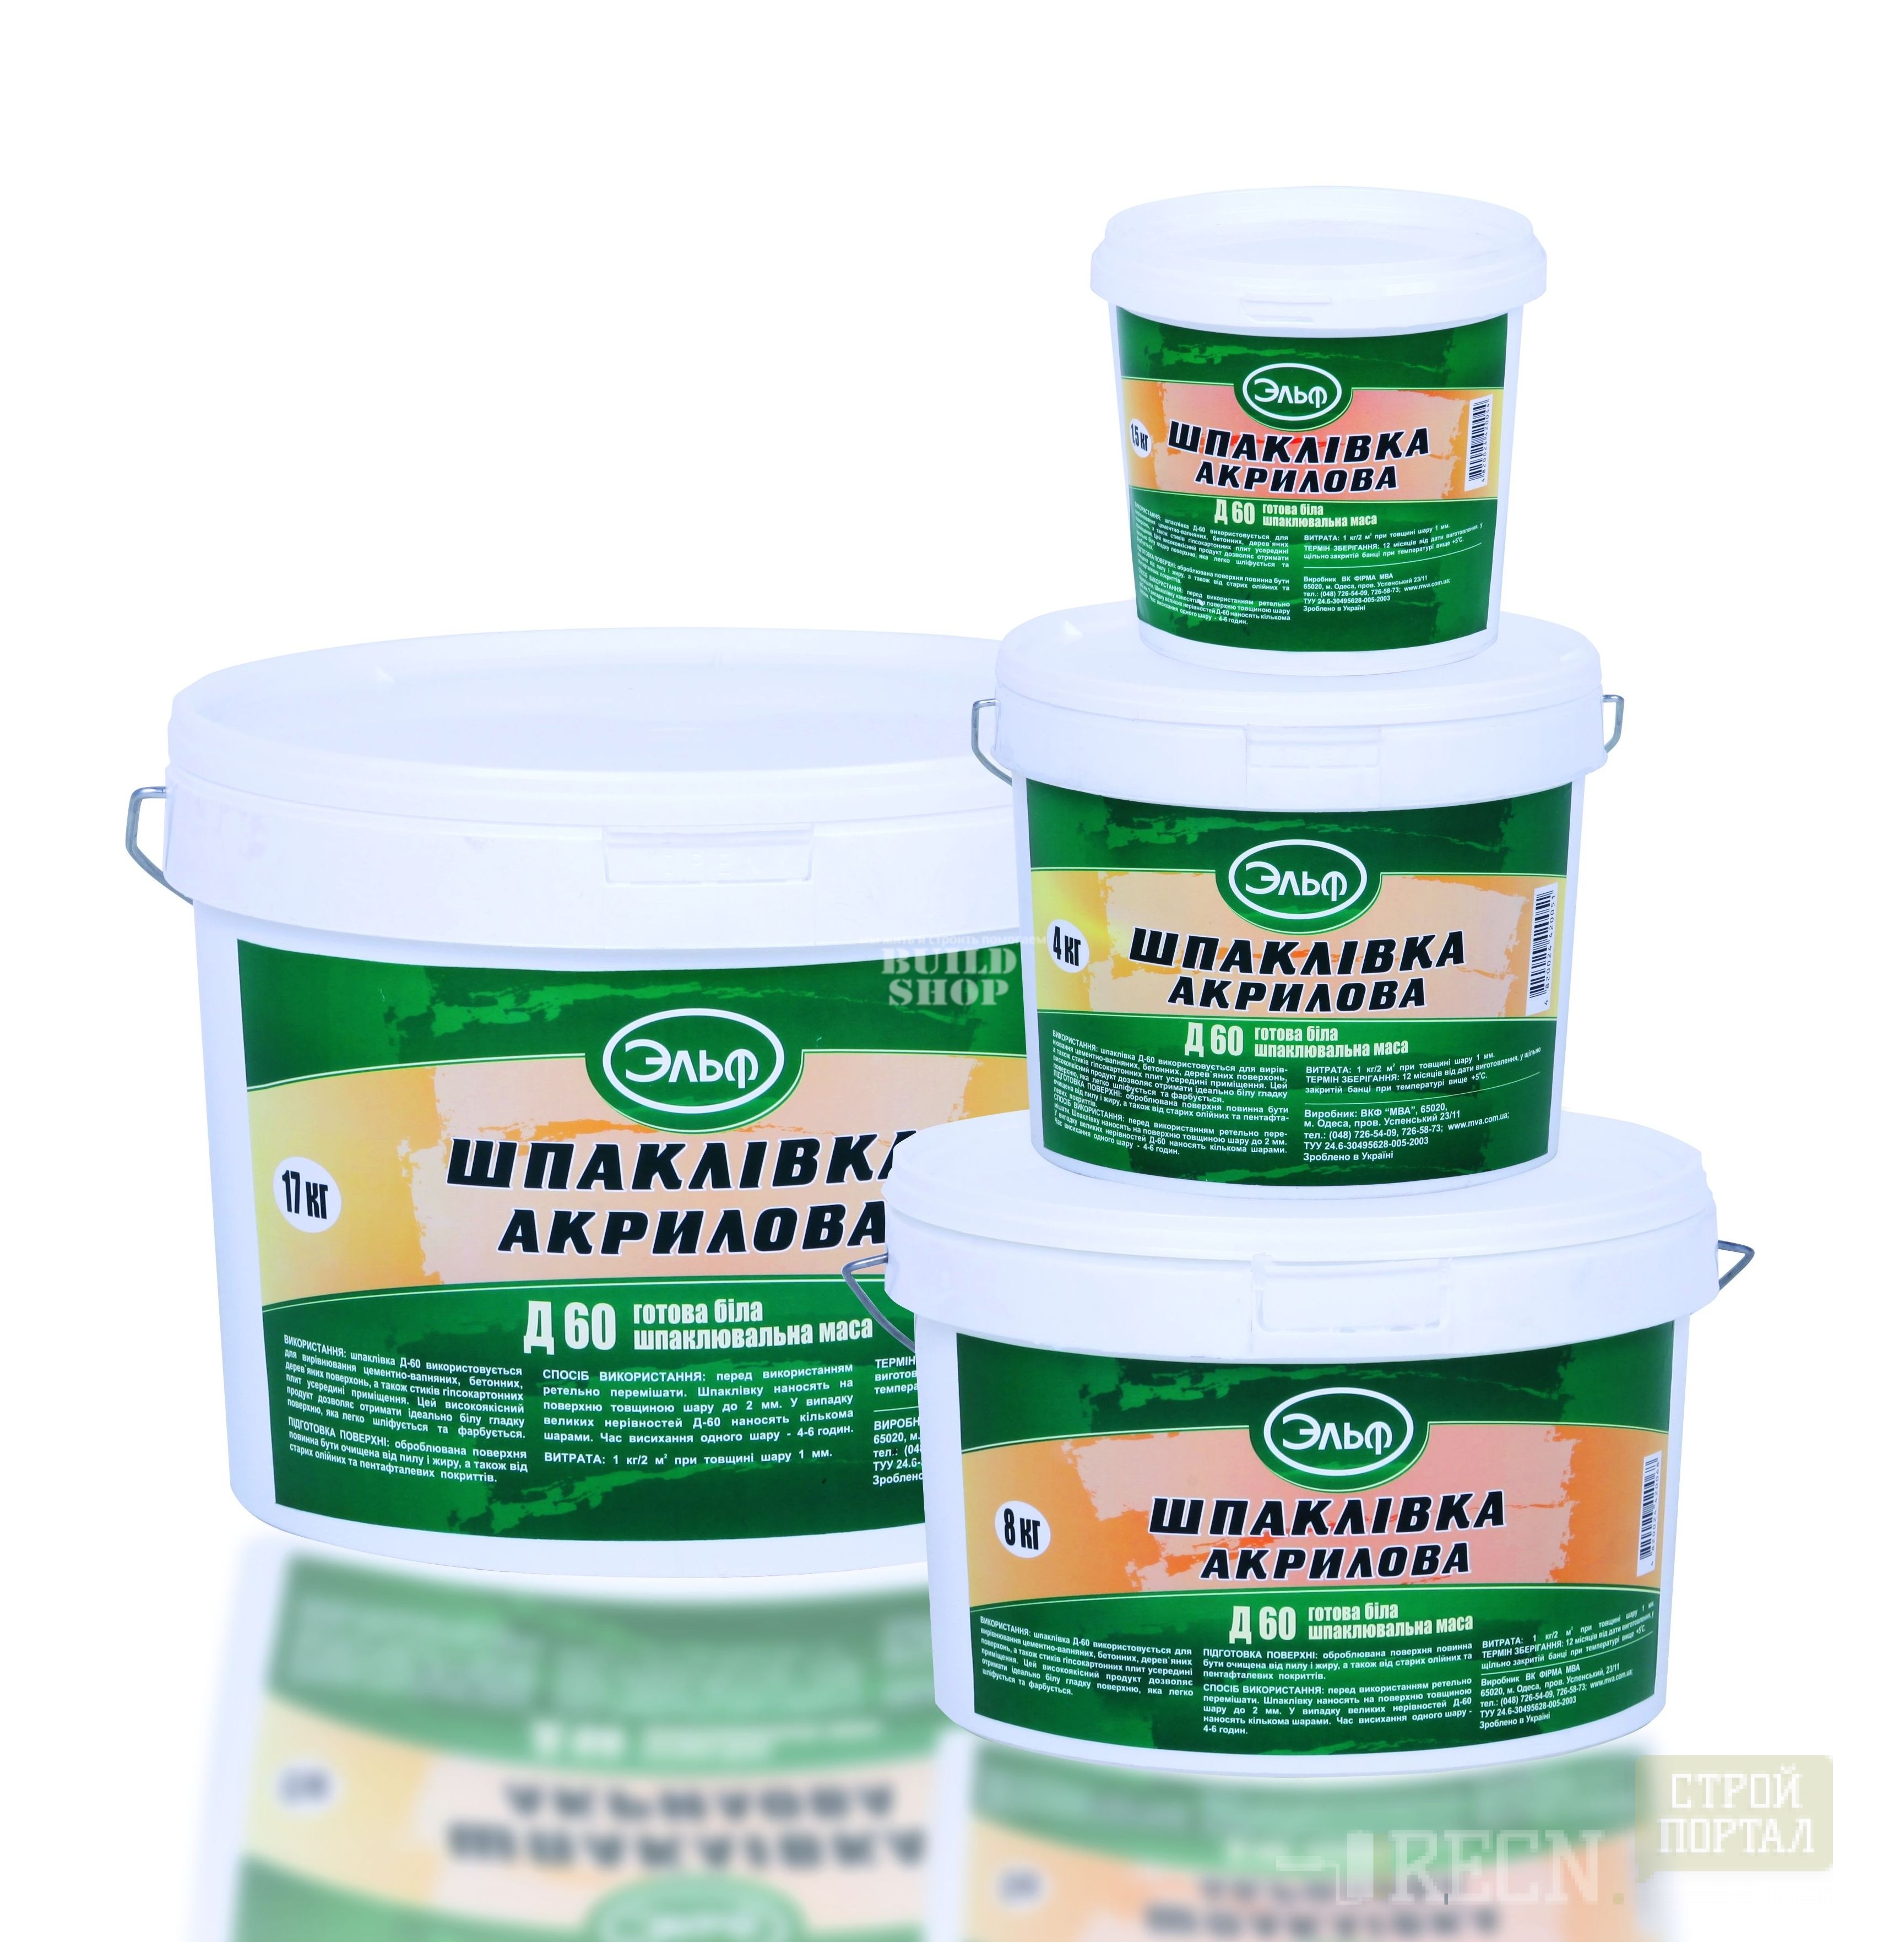
- Polymer - universal type of putty, suitable for both residential and industrial premises.Possess high environmental friendliness and water resistance, a smooth uniform coating, fast drying, reliability, fast shrinkage. Polymer putty is sold immediately in finished form, so you can not worry about mixing the solution of the right consistency. The only negative is the high cost.

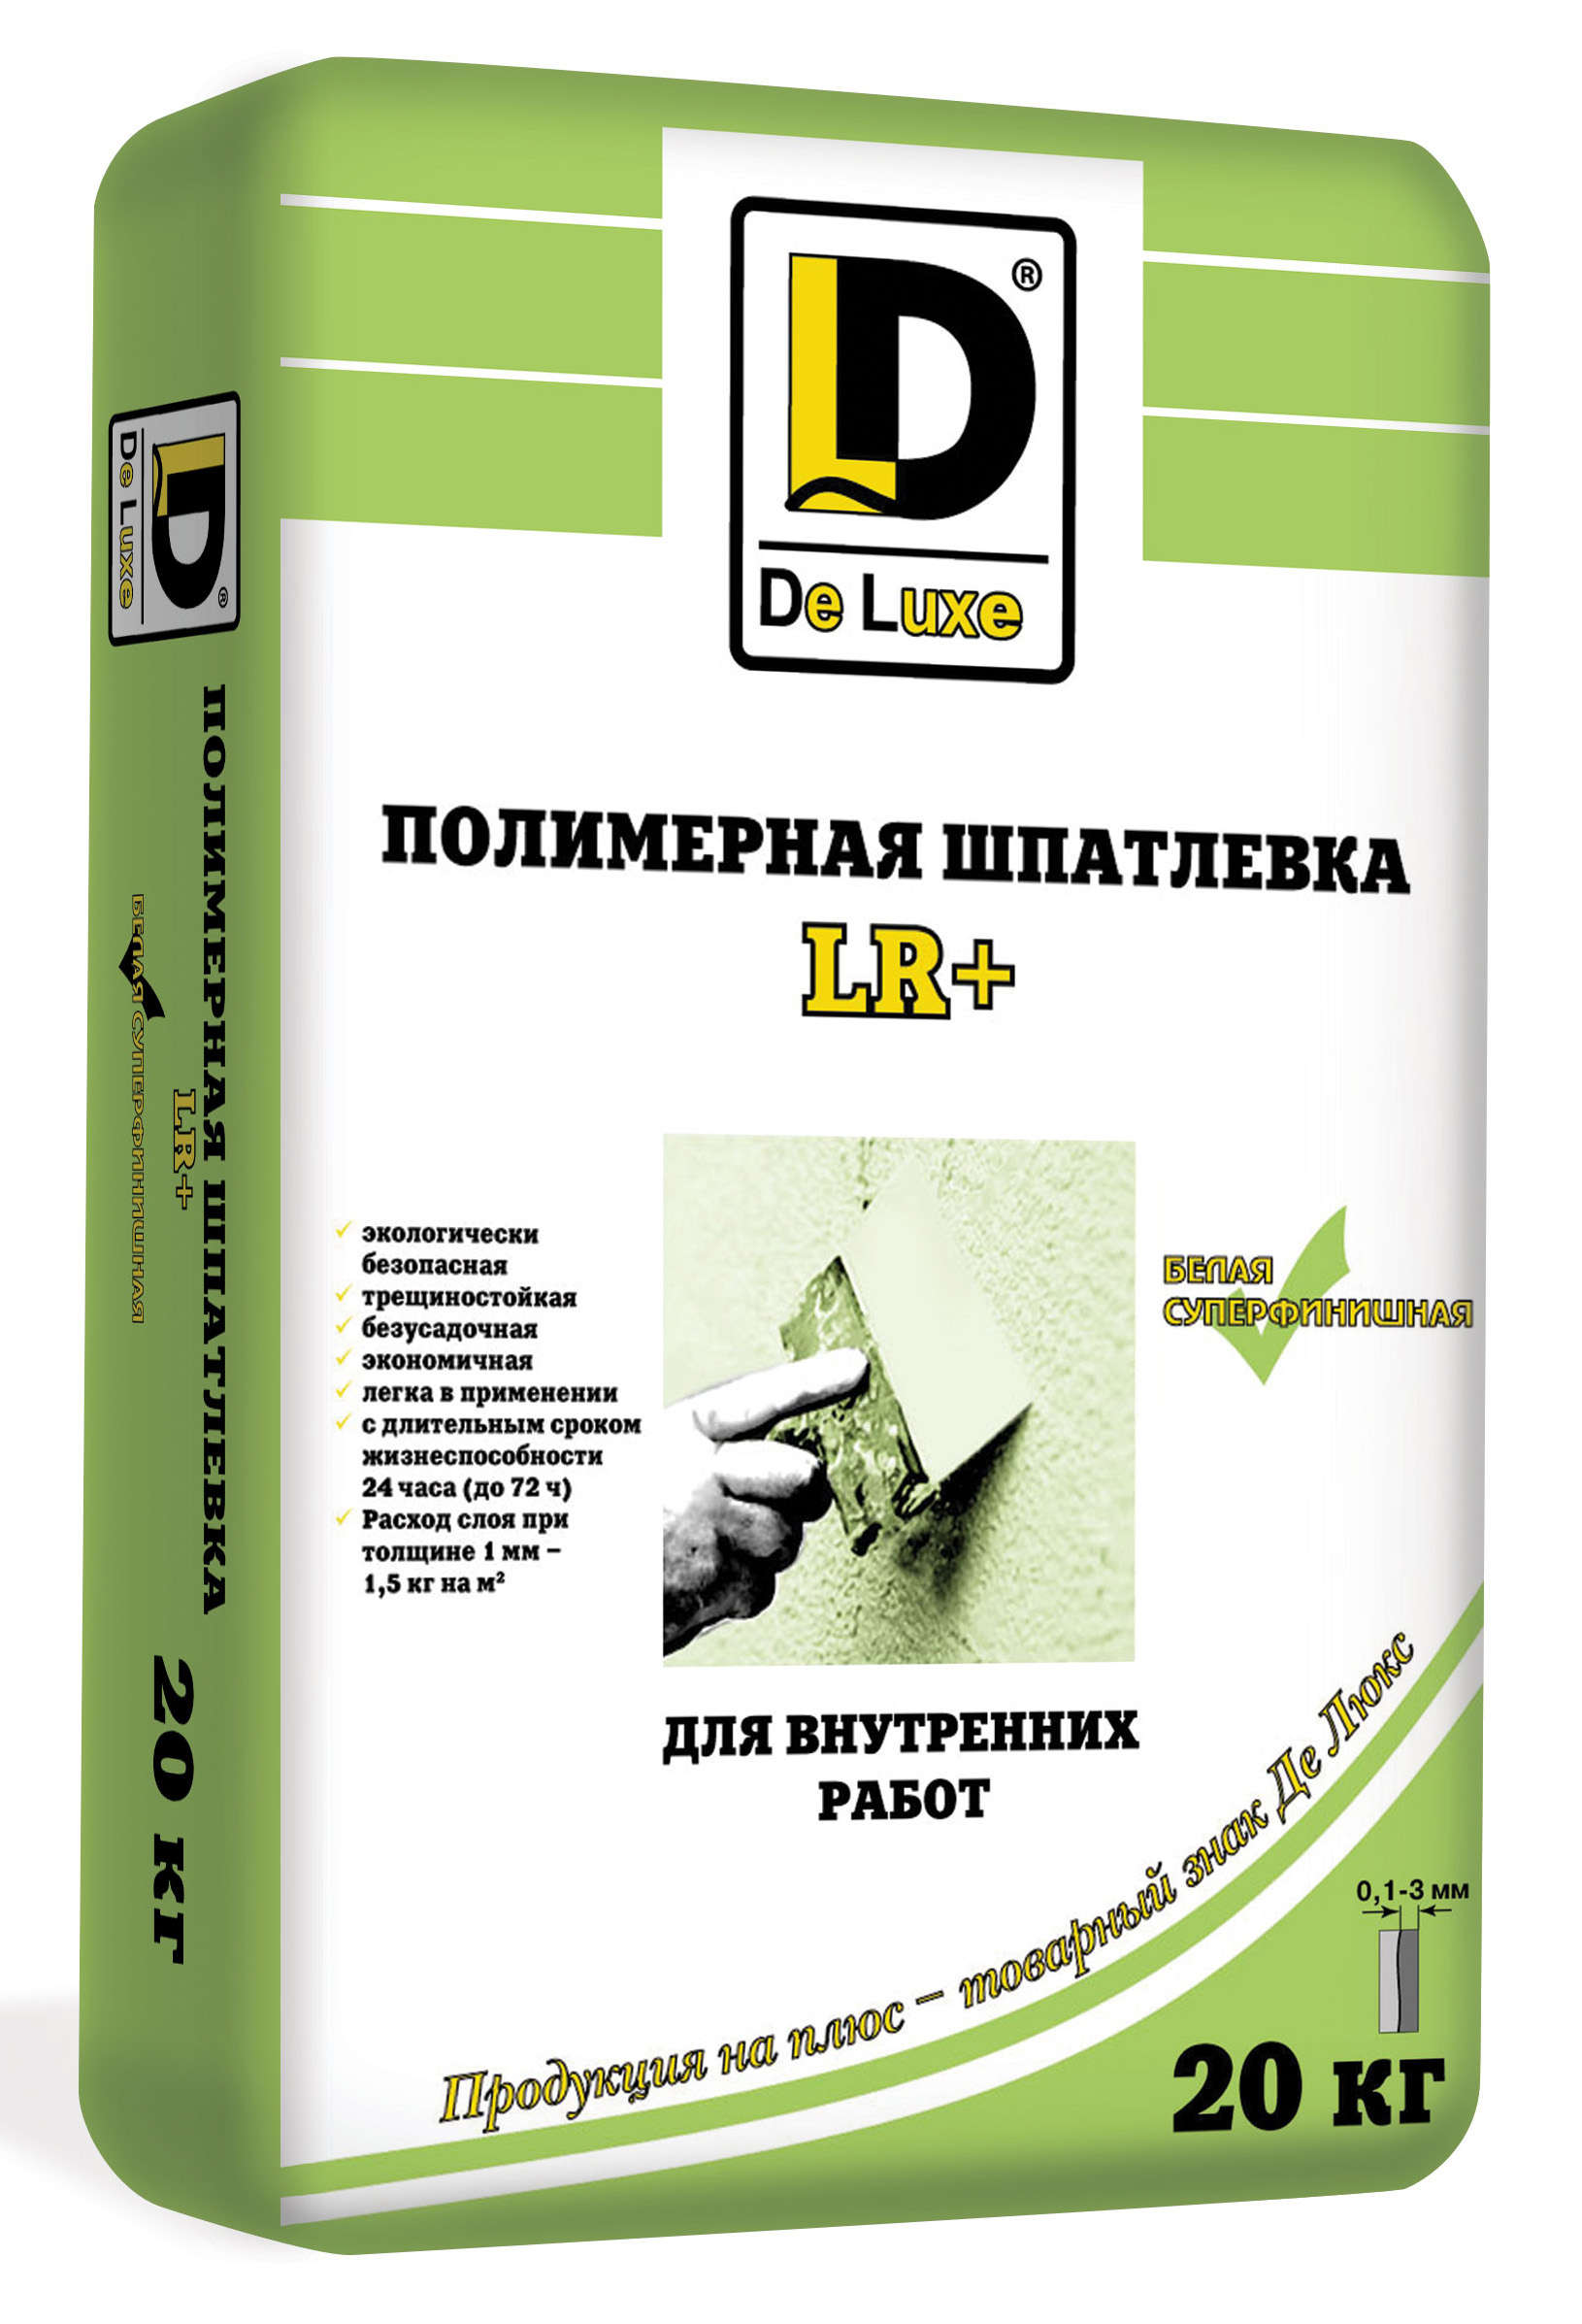
Polymer putty can be latex and acrylic. For work in the interior is to give preference to latex. Even when applied in a thin layer, unlike acrylic putty, it will retain all of its useful properties: high strength and good adhesion to any materials. In addition, you can purchase colored latex putty that can save on paint costs in the future. But if you freeze the latex putty during storage, it will become unusable. Therefore, when buying it is worth being attentive to the storage conditions and the shelf life of the solution.
Acrylic putty is perfect for exterior decoration, as it is resistant to temperature extremes and moisture.

By scope
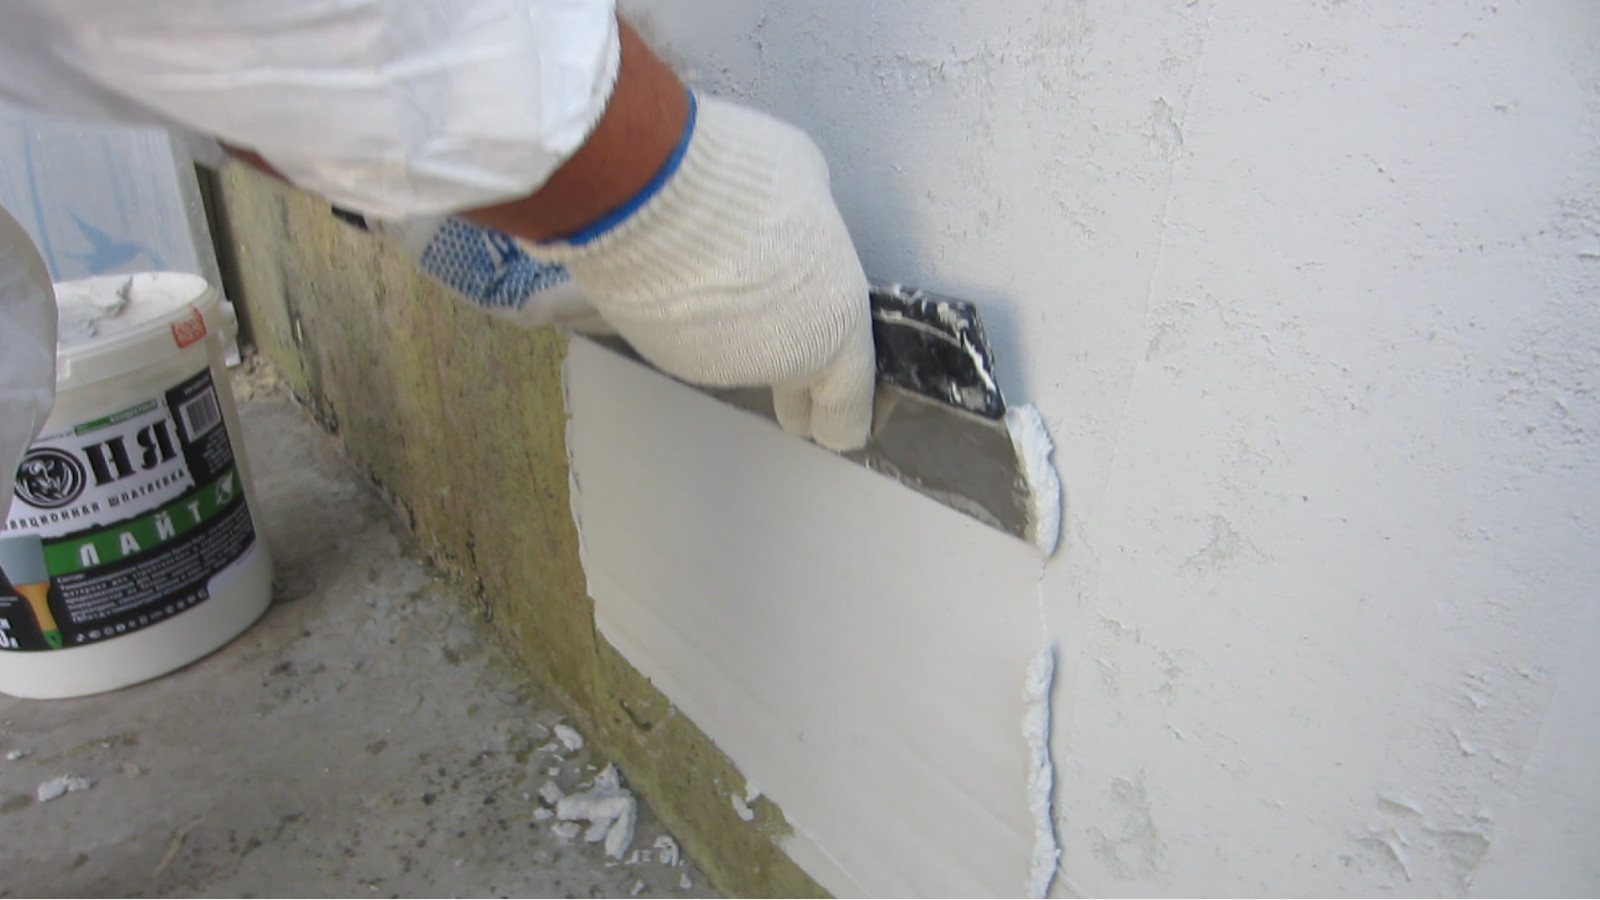
- For outdoor use - should have good moisture resistance, thermal insulation, resistance to temperature extremes and mechanical stress.
- For interior work - must meet the requirements of the room in which the finishing is planned, have good adhesion with materials for further finishing and do not contain substances harmful to human health.

When choosing a putty worth considering the conditions and location of work. In residential areas (especially in children's rooms and bedrooms) special attention should be paid to the composition of the putty. It should not contain substances that may be hazardous to health. In rooms with high humidity (kitchens and bathrooms) you should pay attention to the putty mixtures that can withstand high temperatures and high humidity.

You also need to pay attention to the time of hardening putty. This criterion will help save time finishing the room. However, for inexperienced builders, it is better not to choose a putty that dries too quickly. Due to inexperience, the leveling process will take longer than that of an experienced master, and the putty should not dry out prematurely.

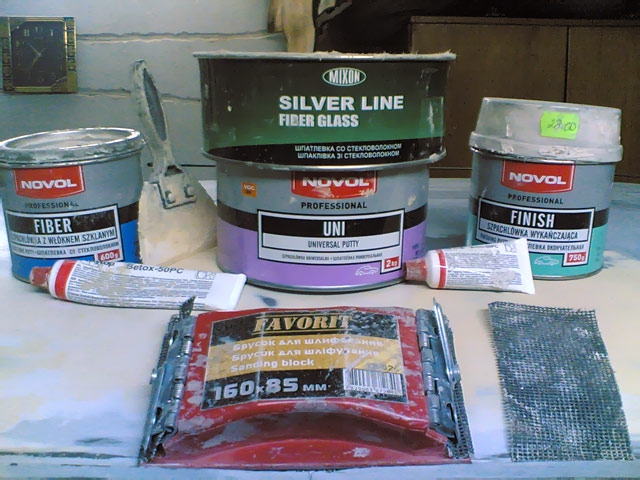
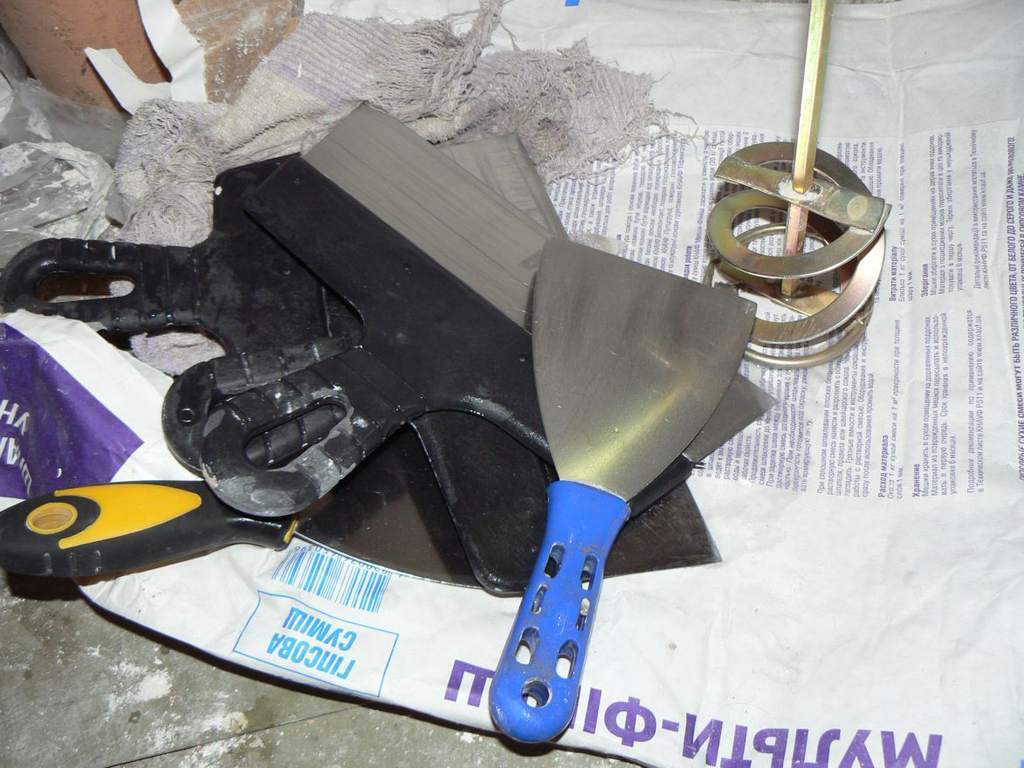
Instruments
For plasterboard plastering you will need the following tools:
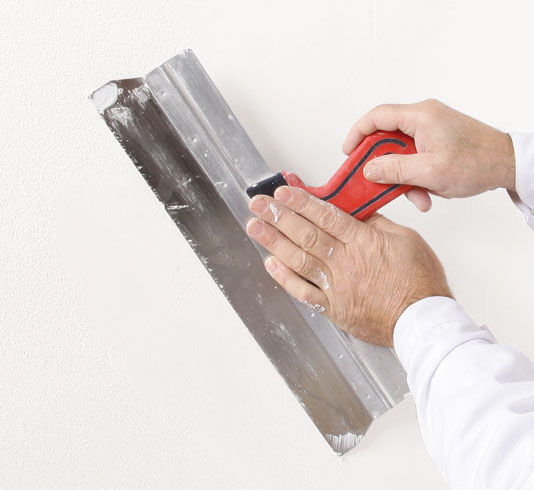
- Spatula 15-25 cm wide (for basic work).
- Spatula 30-40 cm wide (for alignment).
- Spatula with teeth of 3 × 3 mm (for reinforcement of seams).
- Putty.
- Primer (for good setting of drywall with finishing material).
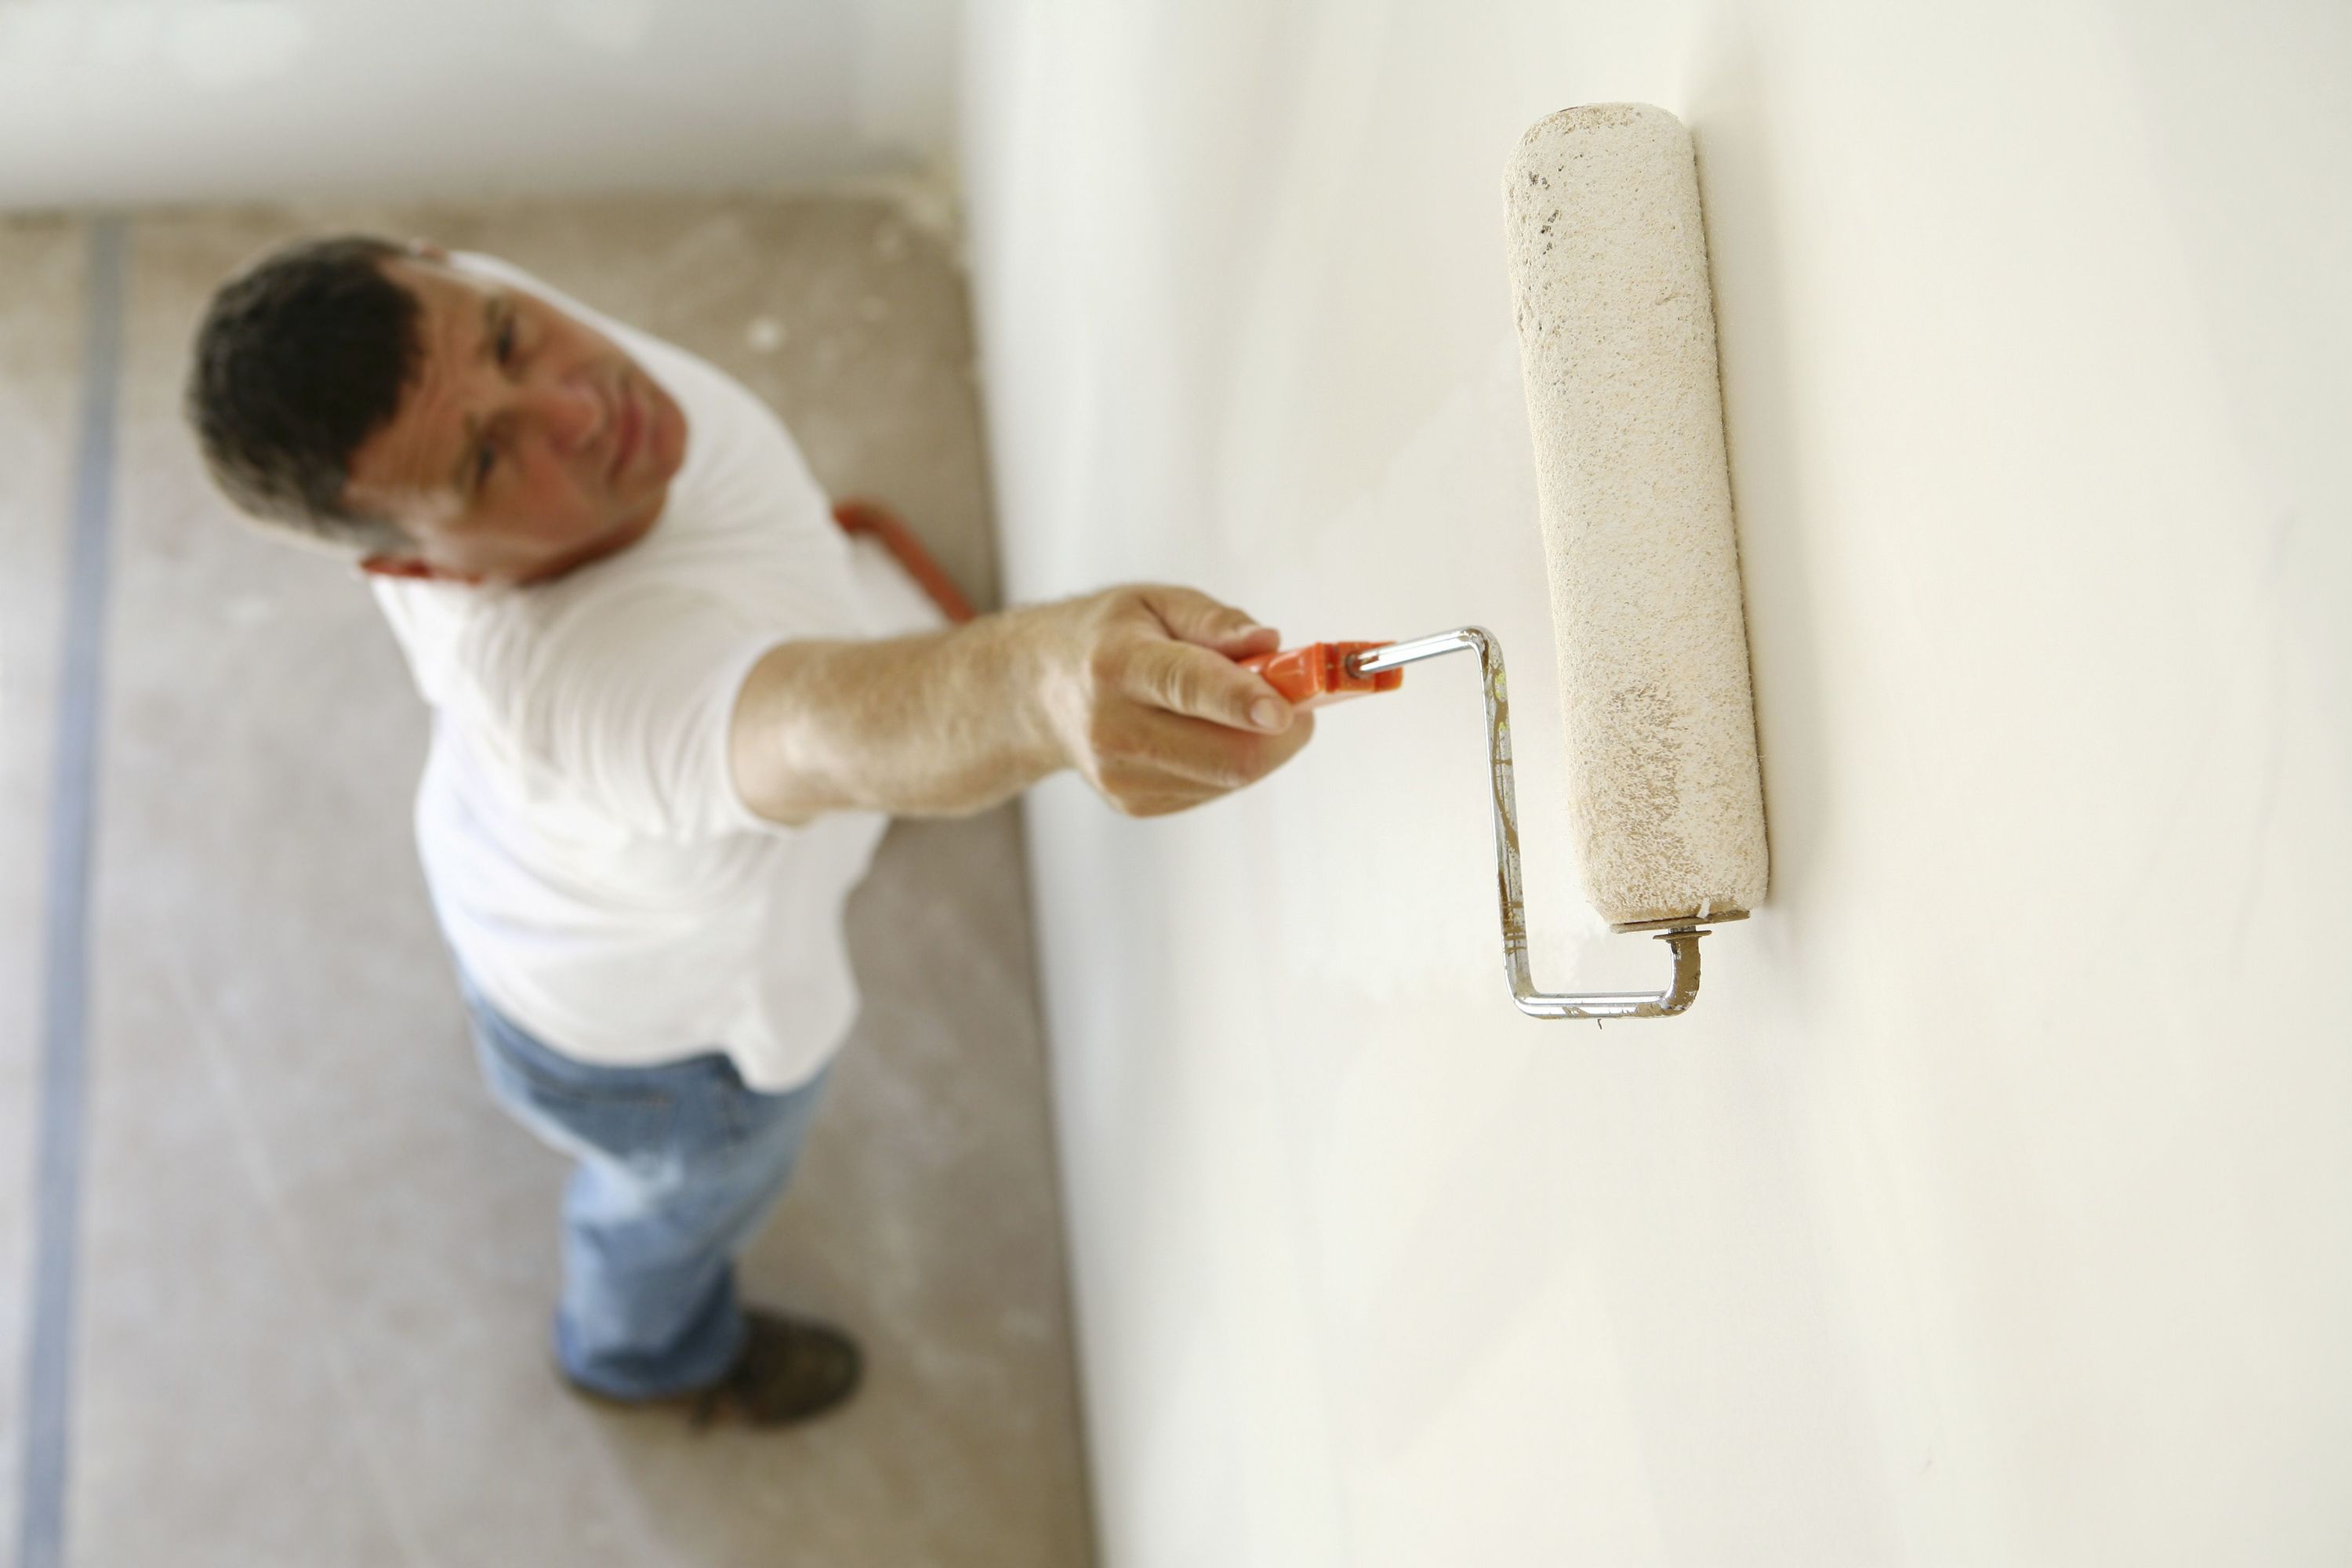
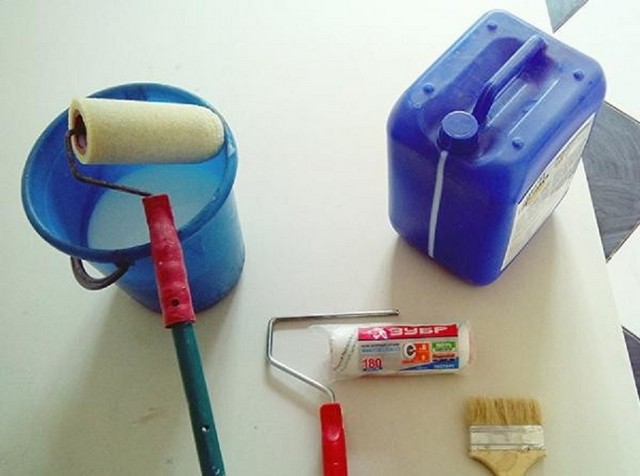
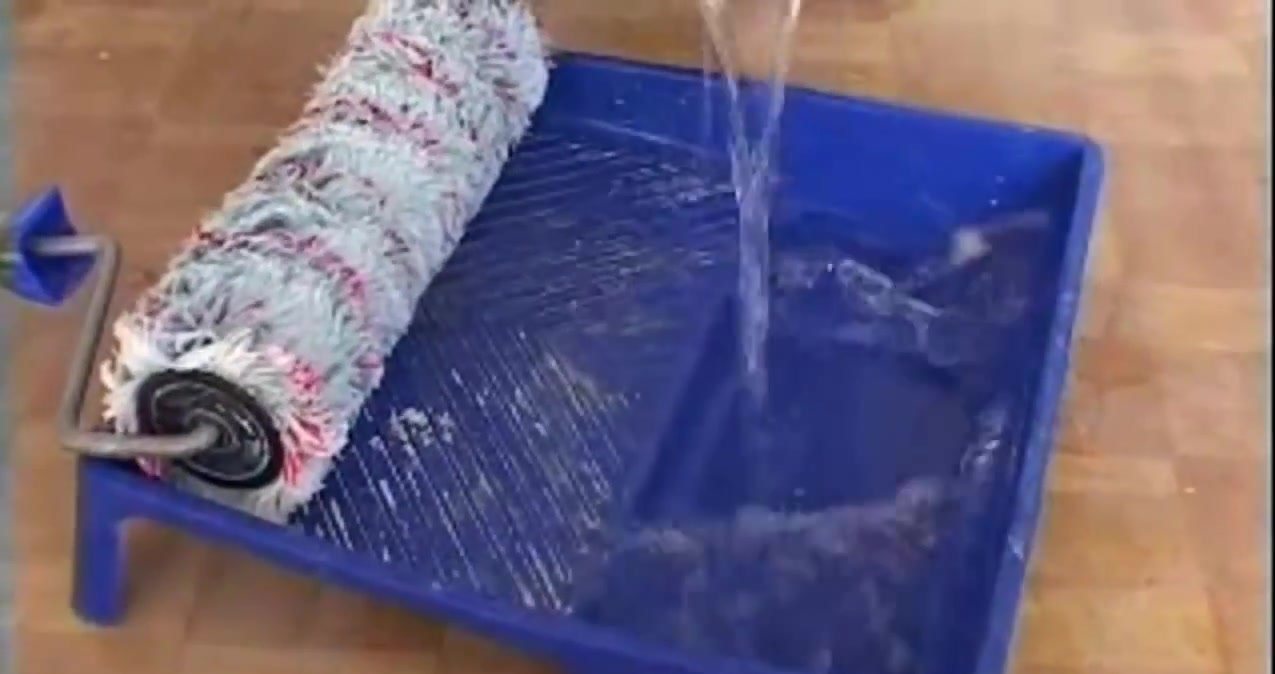
- The soft roller (for putting soil).

- Various tanks or trays (for breeding putty, primer and washing tools).
- The tape reinforcing - serpyanka (is imposed on the line of a joint between gypsum plasterboards).
- Puncher or drill with a special nozzle (for mixing putty).
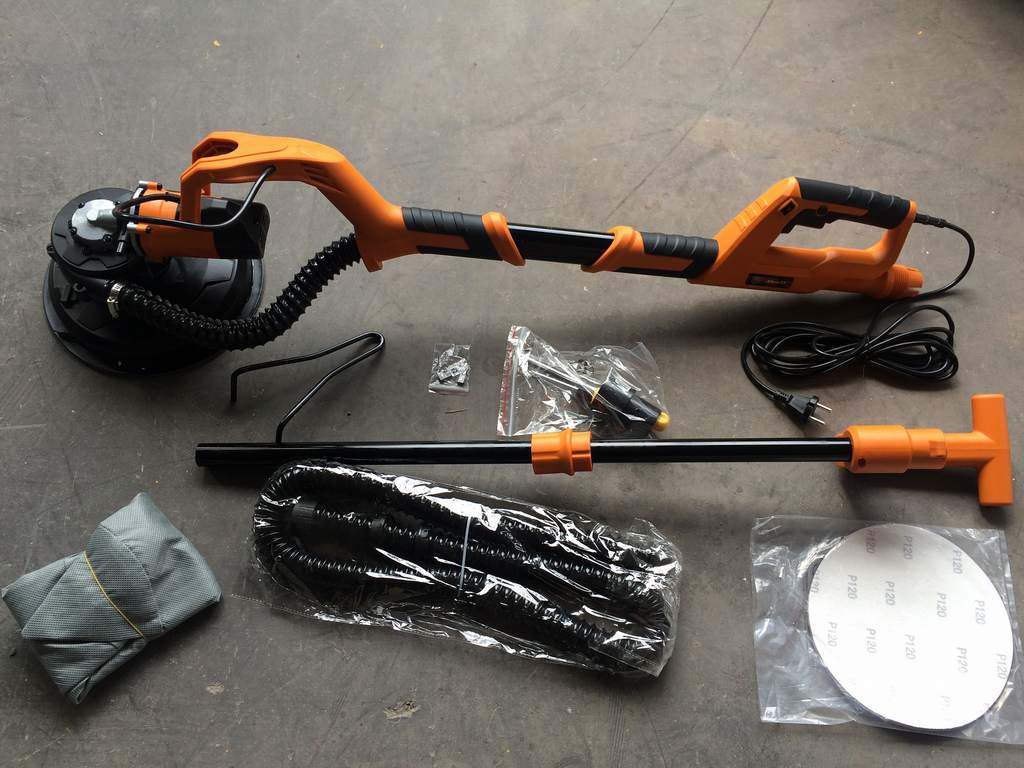
- Grater with clips.
- Grid for a grater with clips.
- Screws.
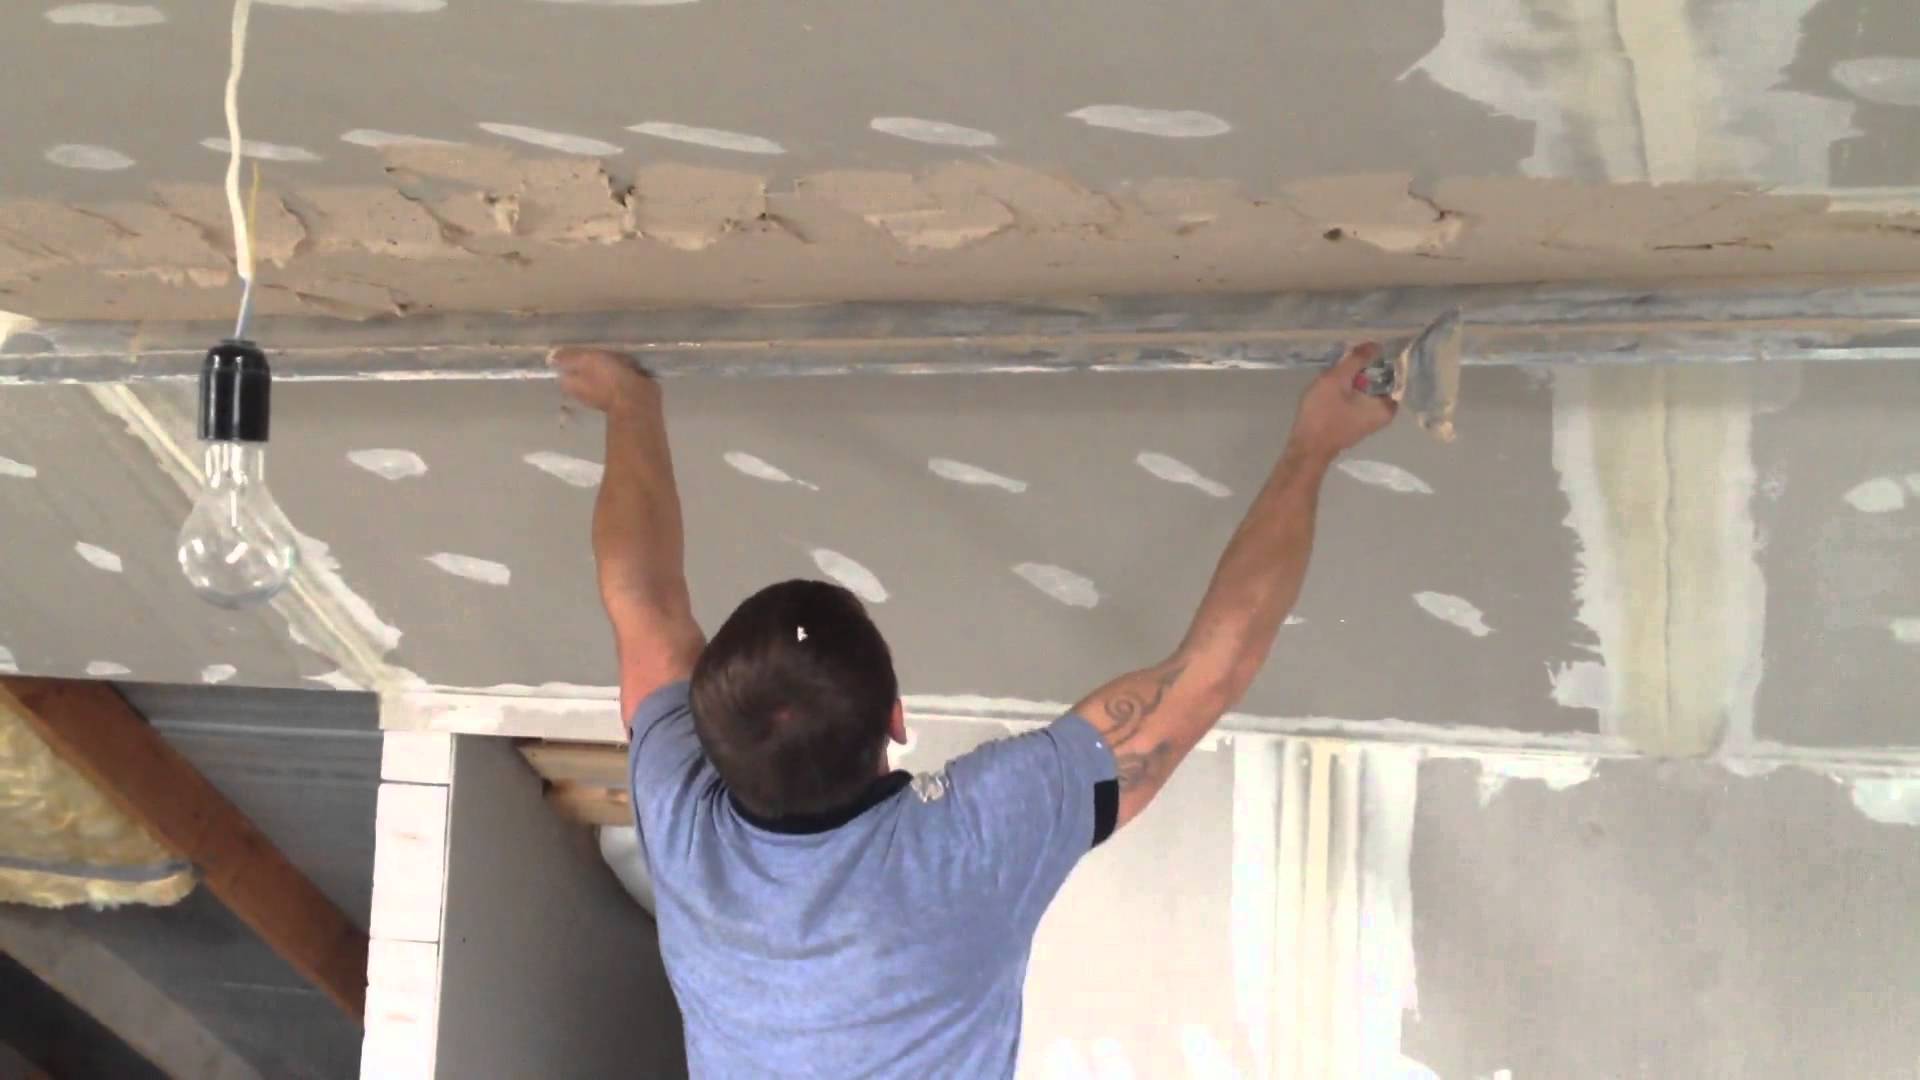
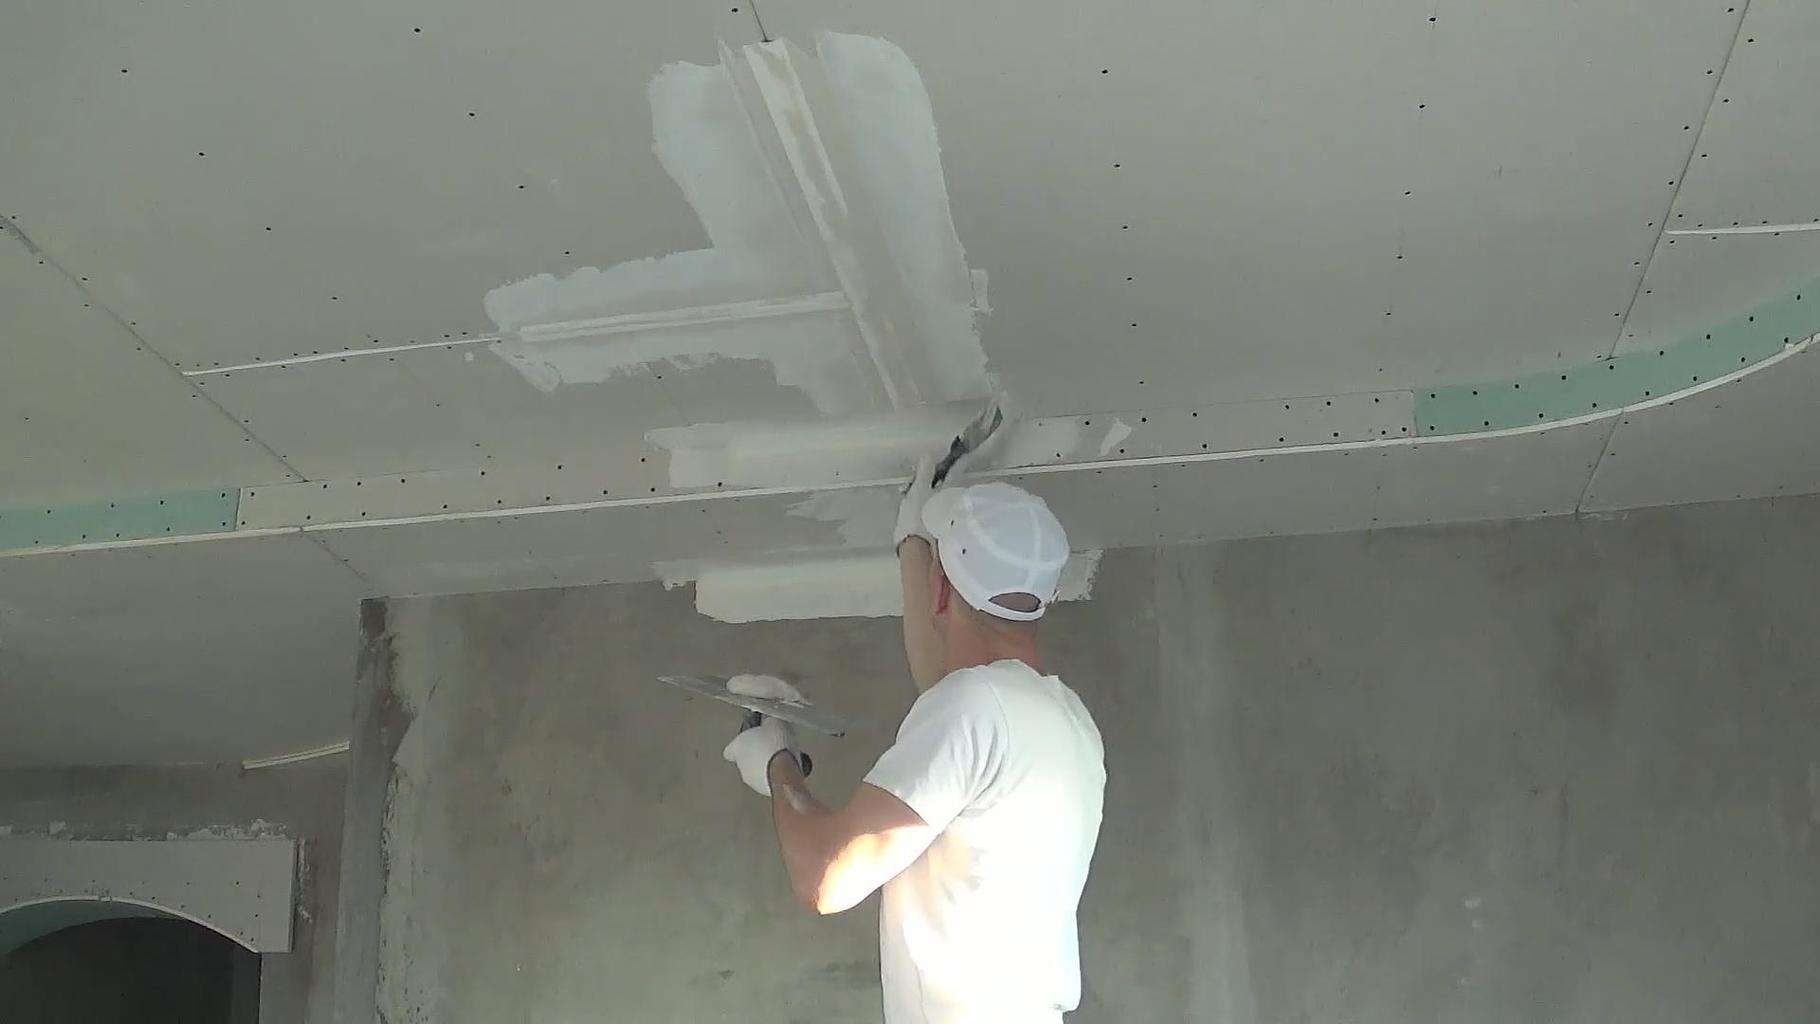
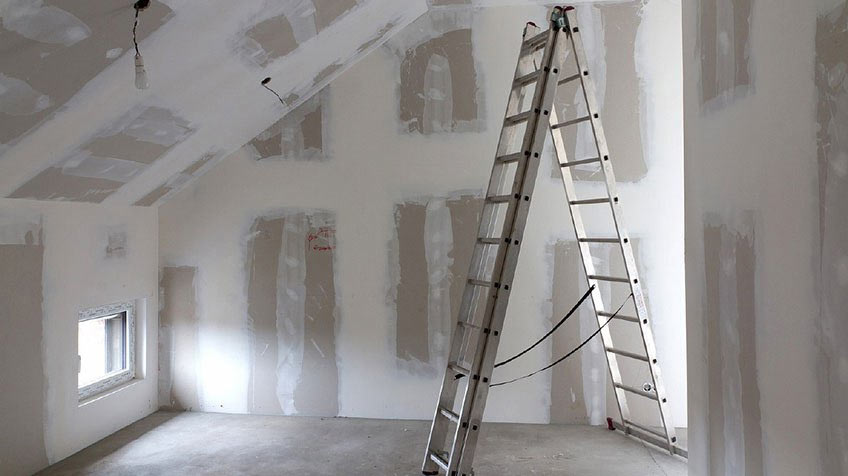
To putty the ceiling or high walls may need a stepladder.
Surface preparation
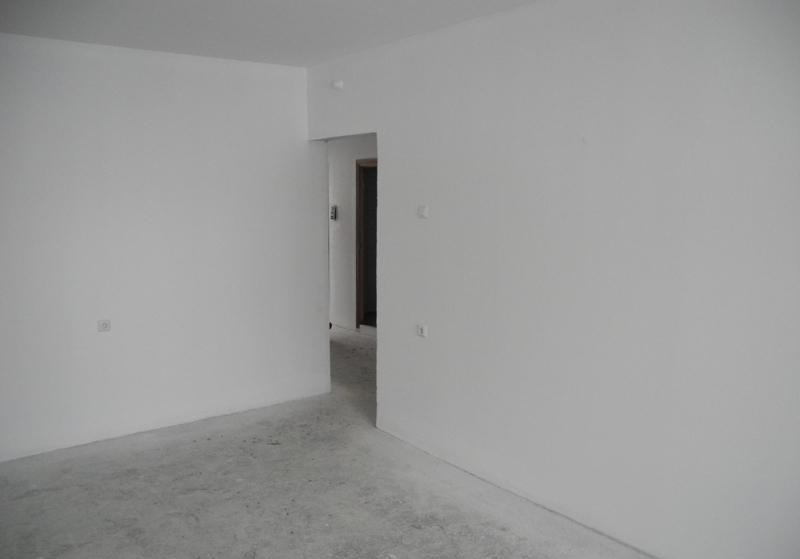
Gypsum plasterboards have a fairly smooth surface, but this does not negate the fact that the surface must be prepared before finishing.
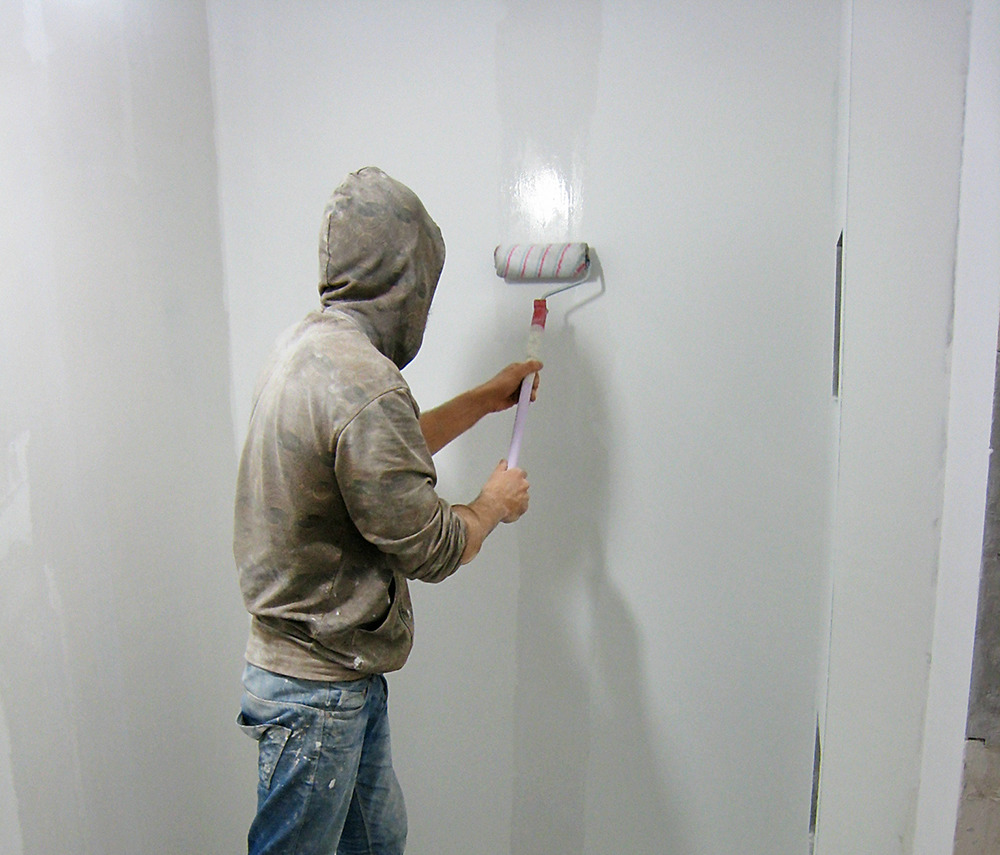
Before applying the putty must also be applied to the surface of drywall primer. It provides better adhesion of materials (adhesion), since, being absorbed into the substrate, it creates a protective film that prevents moisture of the applied materials from penetrating to the surface of drywall. The primer will ensure uniform drying of the putty without the formation of microcracks.
For priming, you can purchase a universal soil solution that is suitable for any surface, including brick and concrete. But a more sensible solution would be to use a primer specifically designed for priming plasterboard surfaces.
It is important to know that in order to finish coatings of drywall in no case can not use soil mixtures or solutions containing alkyds, as the paper layer will disappear and the whole structure will become unusable.
The primer must be applied on a clean, dry surface. Fine dust can be removed with a construction vacuum cleaner, a soft brush, or a slightly damp cloth (it should not be too wet).
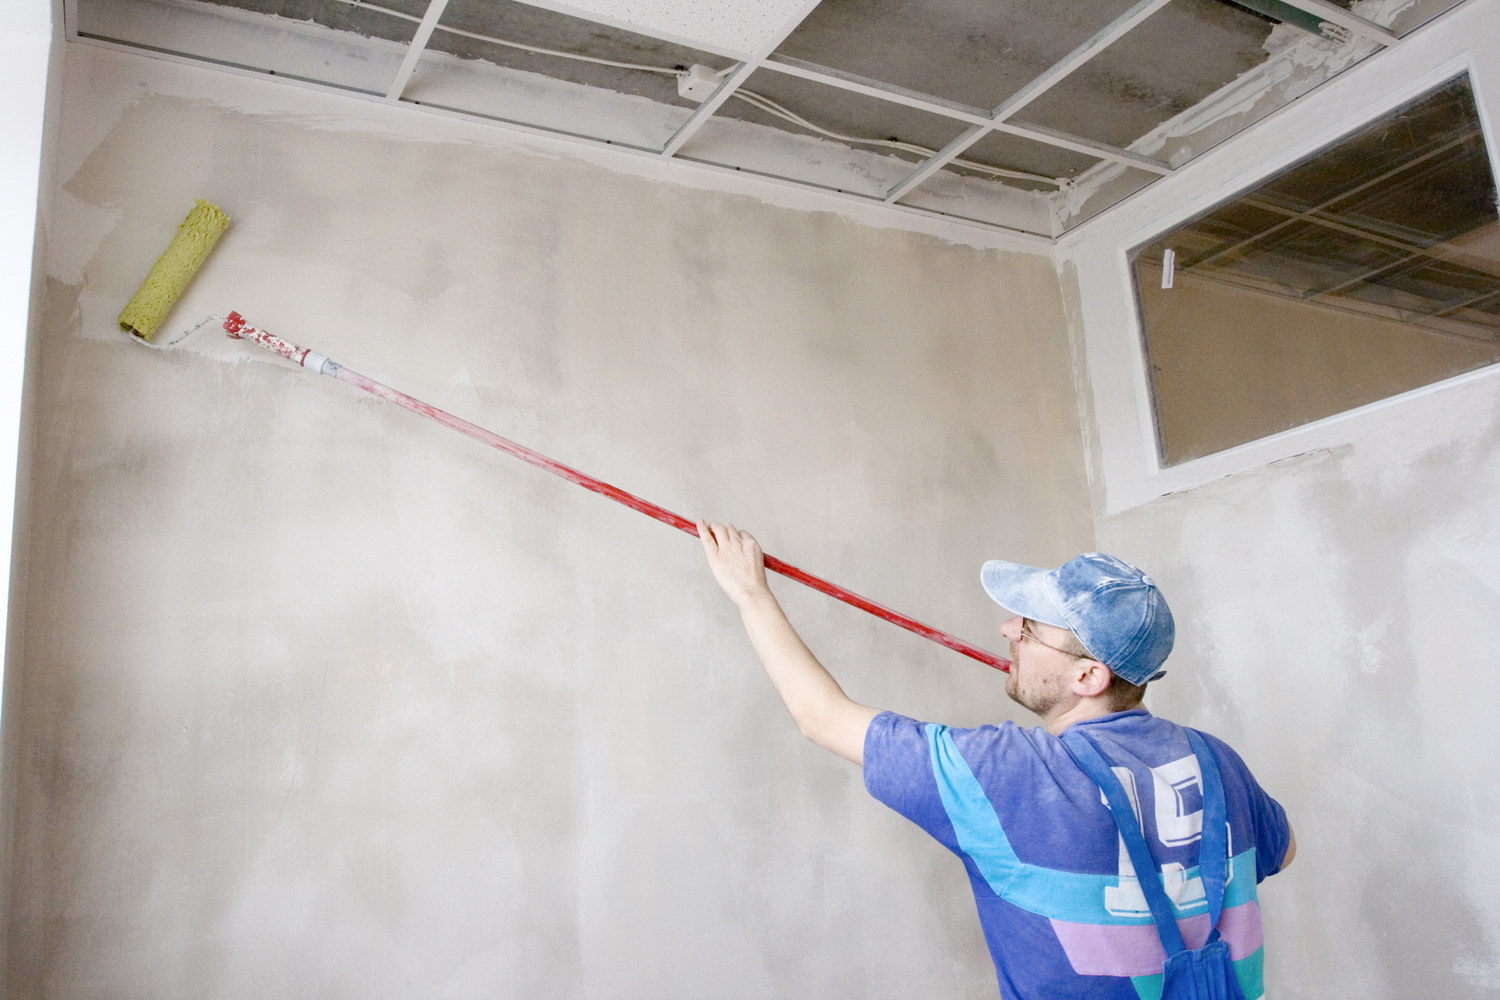

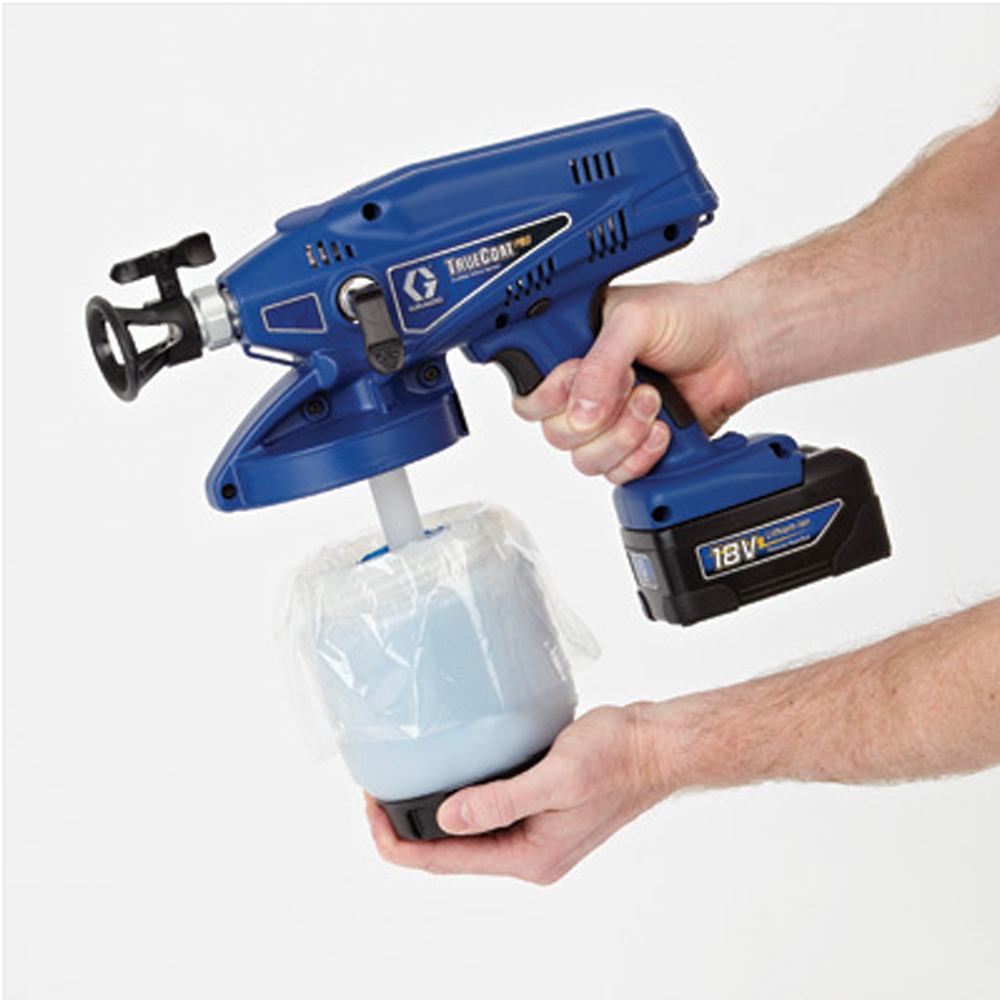
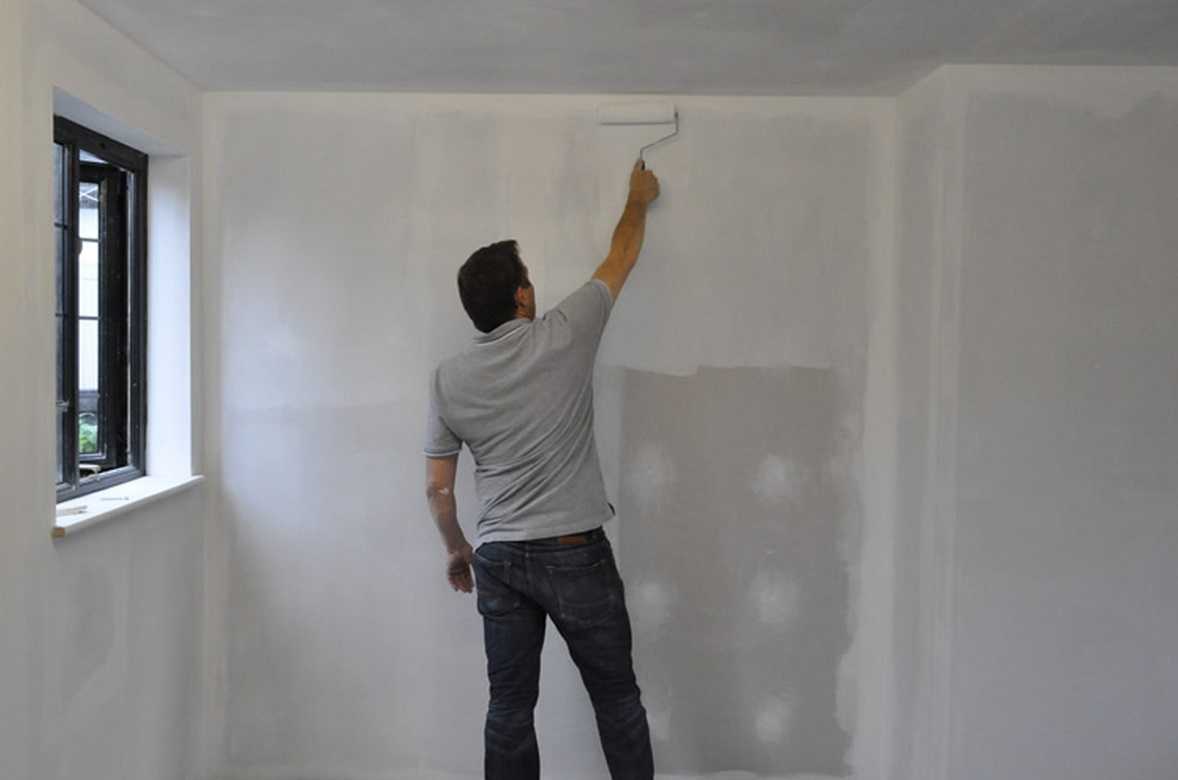
Depending on the amount of work, you can use a roller, brush or spray to apply the primer. The brush is usually used in hard-to-reach places and for finishing seams. Basically, when using a primer roller. The roller should be on a long handle with a microfiber fur coat, as it absorbs moisture well and will not allow the solution to spread. Also suitable roller of soft material. The primer is applied with a roller from top to bottom. It is important not to allow primer stains, because after the layer of soil dries, the putty in these places will lie and dry unevenly.
As soon as the soil begins to leak, it must be immediately spread over the surface.


When choosing a primer should pay great attention to the content of antibacterial substances. They will prevent the occurrence of fungi and mold. This is especially important to consider when choosing a primer for bathrooms, kitchens and rooms where humidity can be increased.
Usually, the primer is applied in a single layer, but in bathrooms and kitchens, it is better to apply in two when applying drywall primer. One coat usually dries 4 to 6 hours.
How to prepare a solution?
For a start, it is important to know that the putty hardens quickly enough, so the volume of the kneaded solution must be calculated for the next 20 to 30 minutes of work.
In no case should you pour / pour the remnants of the solution / mixture that were used back into the jar! This will cause the mortar to set, and all putty will become unusable. It is better to regularly knead the “fresh” solution than constantly throwing out the putty, because it began to set.
The solution should be kneaded in the same container from which work will be done later.

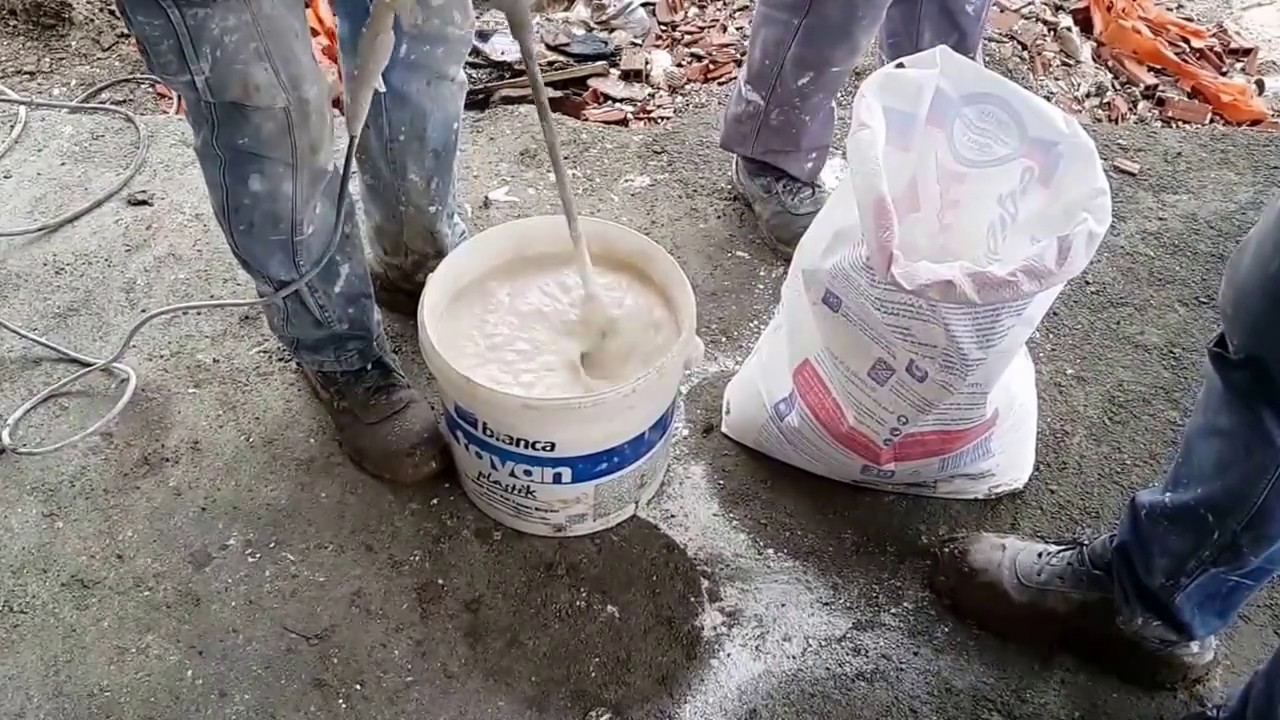
Phased solution preparation plan:
- In an absolutely clean container (bath) you need to dial the required amount of water in the instruction (do not forget that you only need to calculate the amount of water and mixture for the next 20-30 minutes of work). Water should be clean and room temperature.
- Dry mixture should be evenly poured on the surface of the water. Ideally, the powder should immediately be saturated with water and settle to the bottom of the bath.
- For a good consistency of putty, the mix of water should be approximately equal to the water level.
- Using a spatula, gently mix the solution. Much attention should be paid to the corners at the bottom of the tank (bath) - the mixture may remain there, and the putty will be of poor quality.

The result should be a homogeneous consistency solution without lumps. Lumps need to grind on the walls of the container and mix with the rest of the mixture.
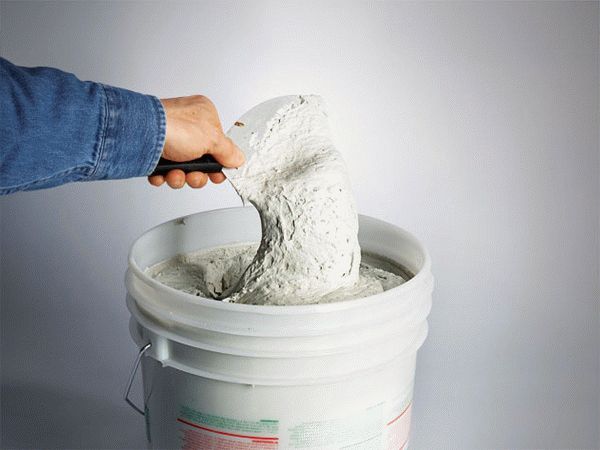
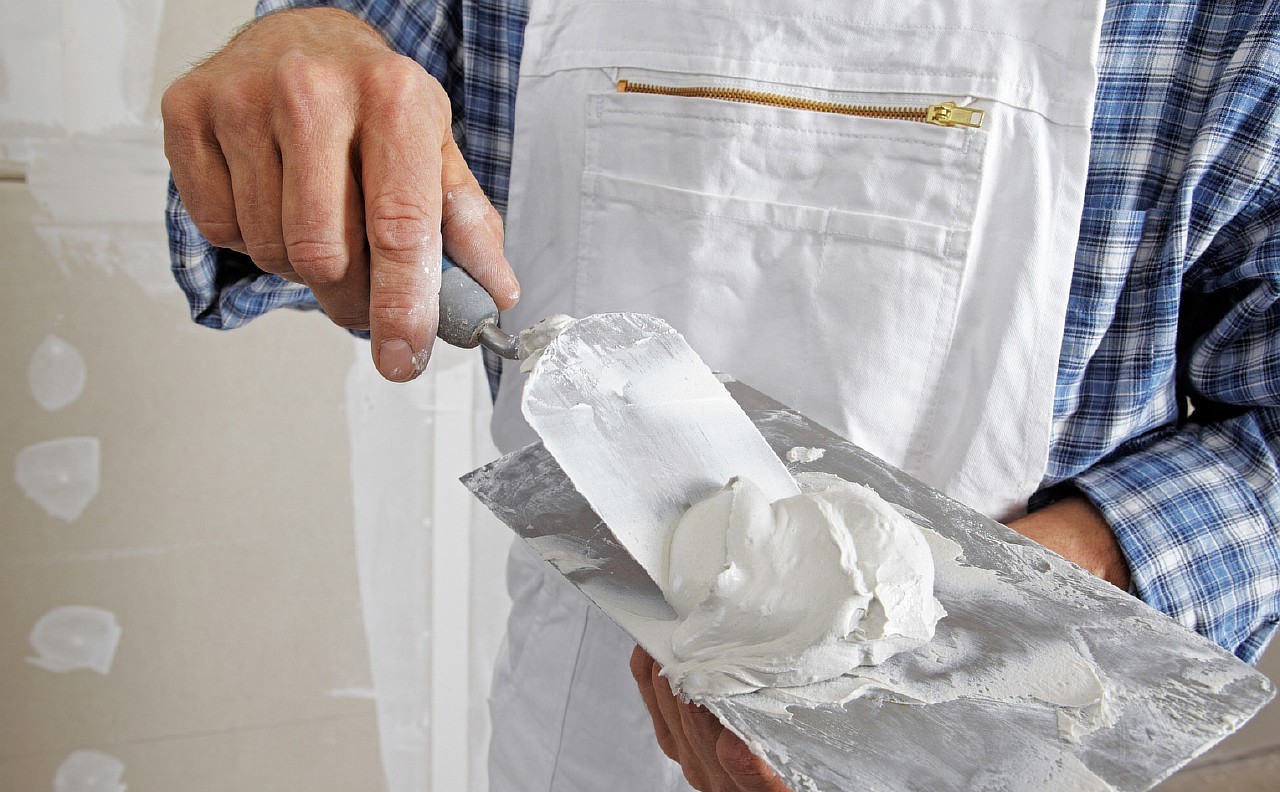
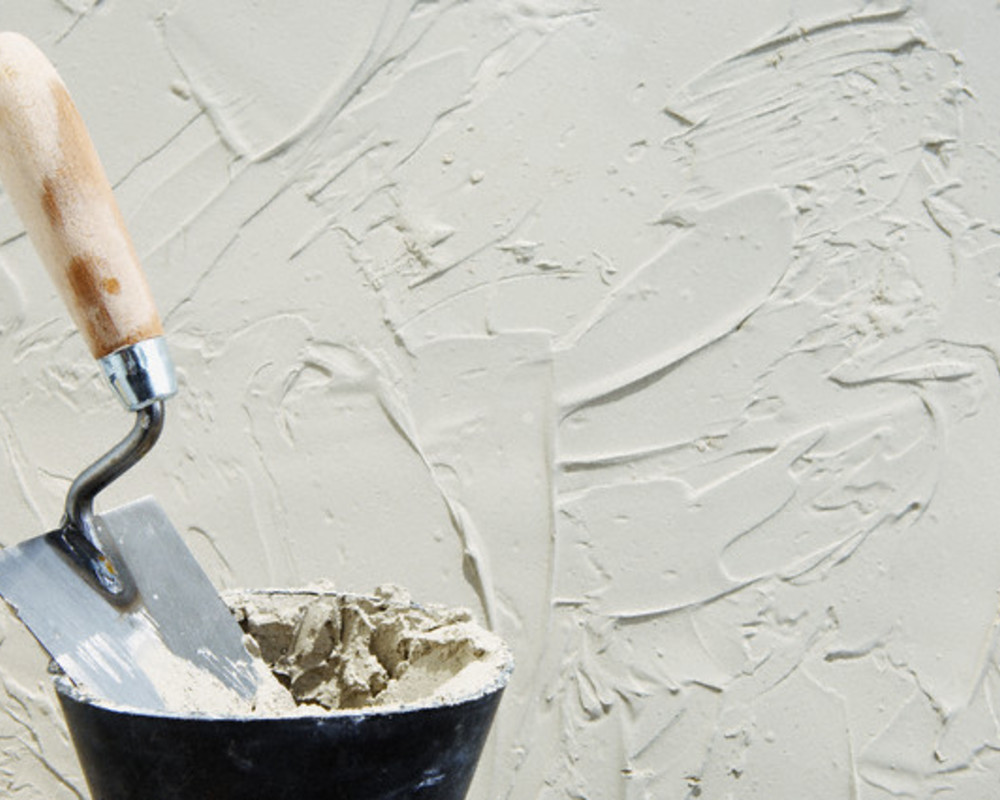
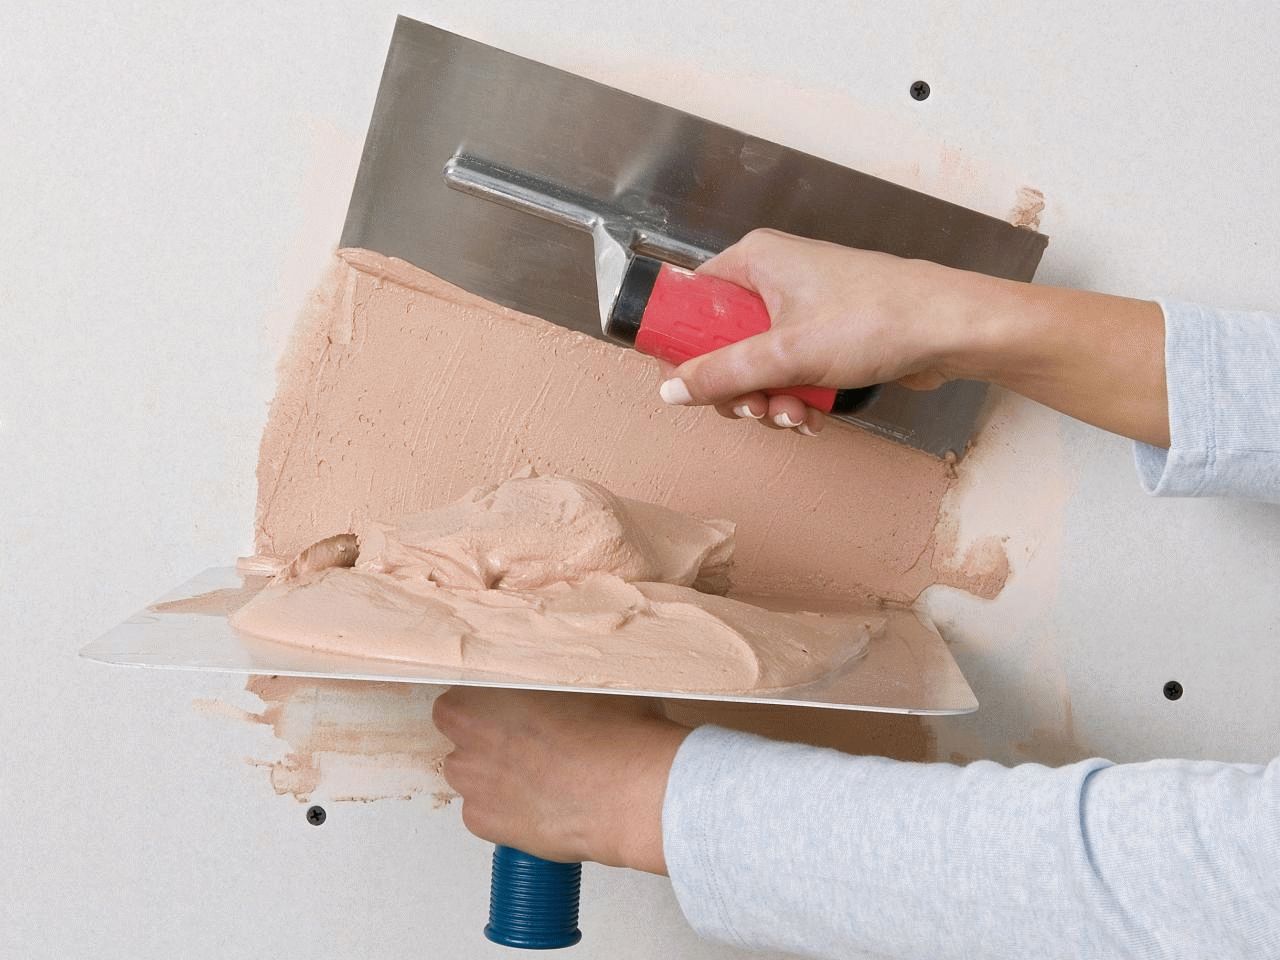
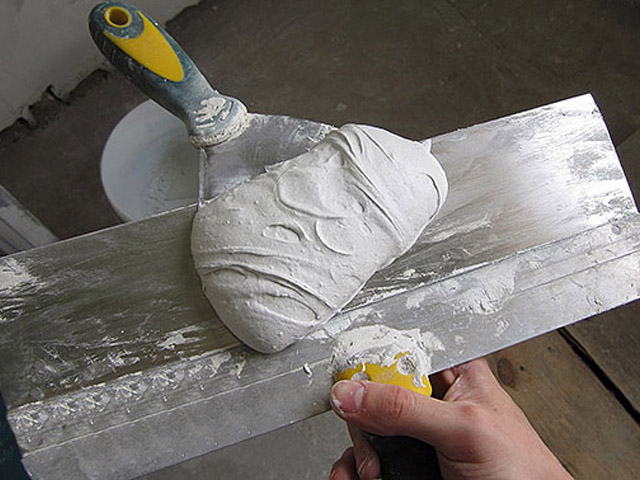
The prepared solution of putty should be thick and resemble thick cream. To make sure that the consistency is correct, it is enough to scoop it up with a spatula and turn it over. The solution of the correct consistency should be kept on the scapula, slowly "sliding", but not flowing away from it.
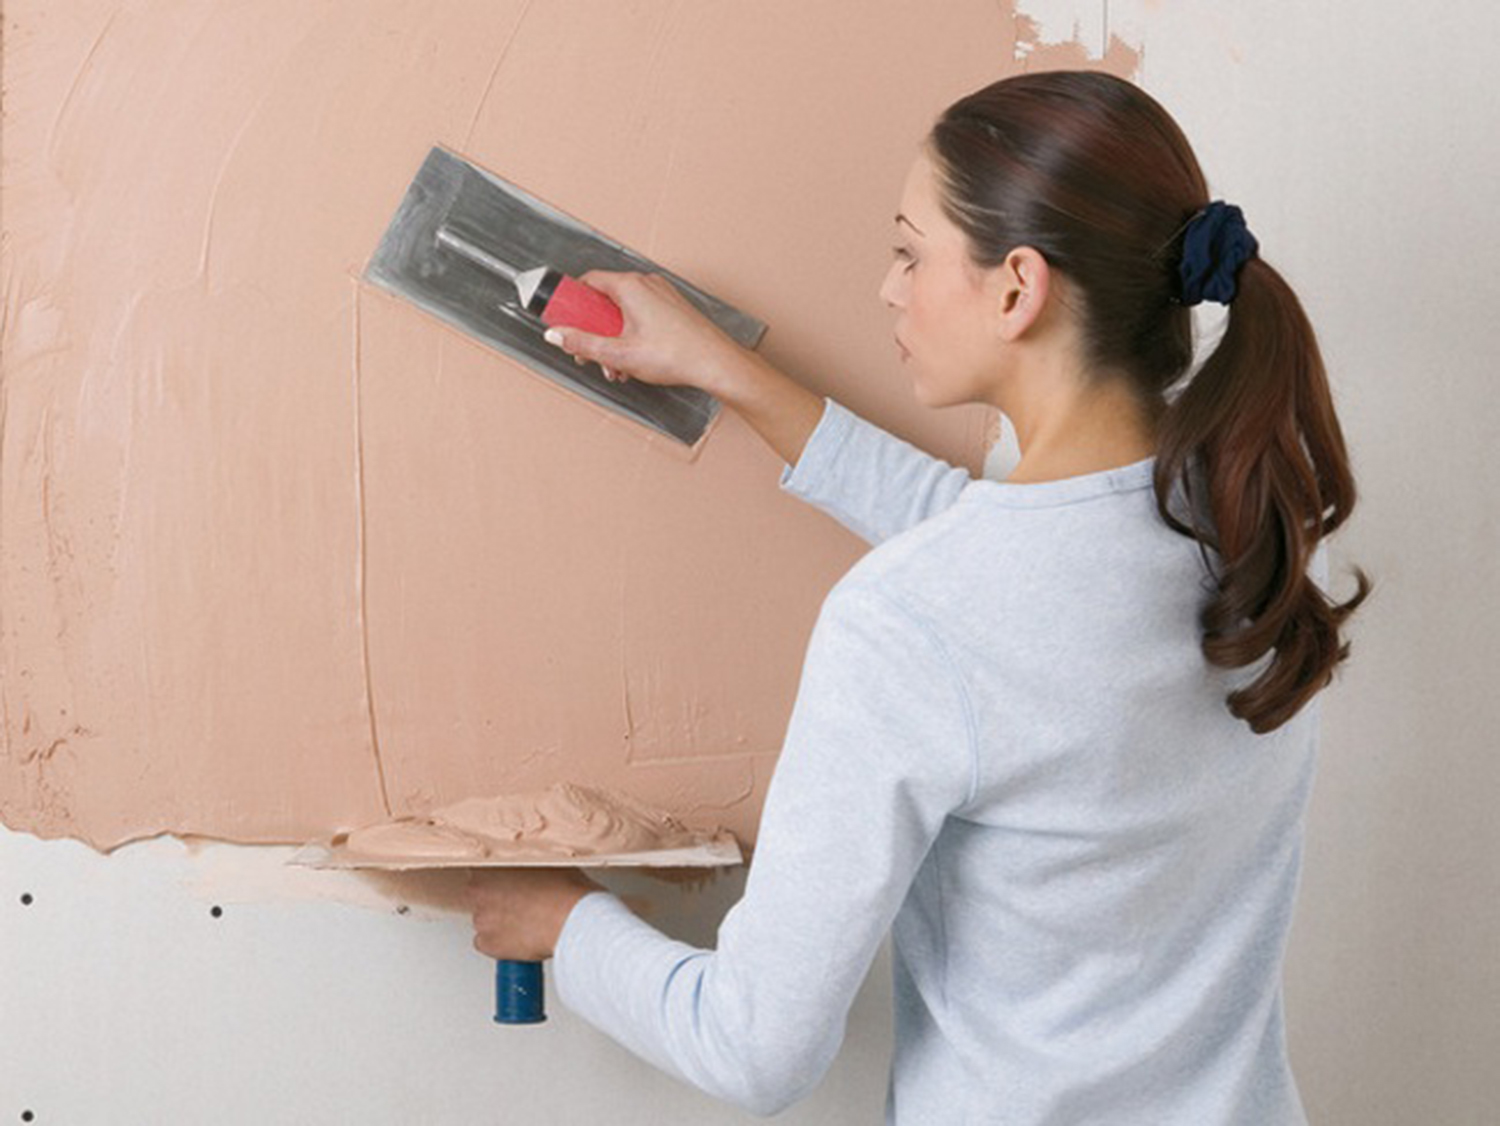
Application technology
After you have prepared everything you need (tools, surface and mortar), you can begin to apply putty. For convenience, you need step by step instructions.
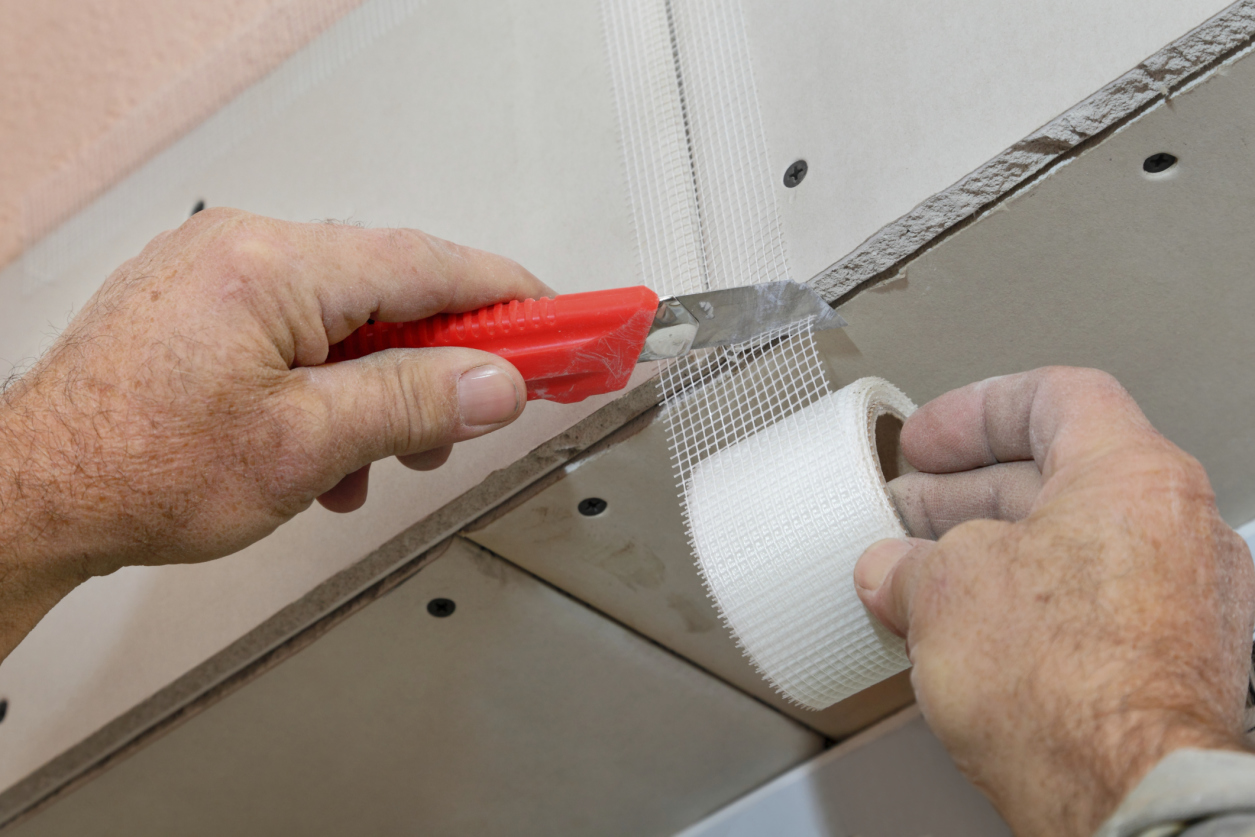
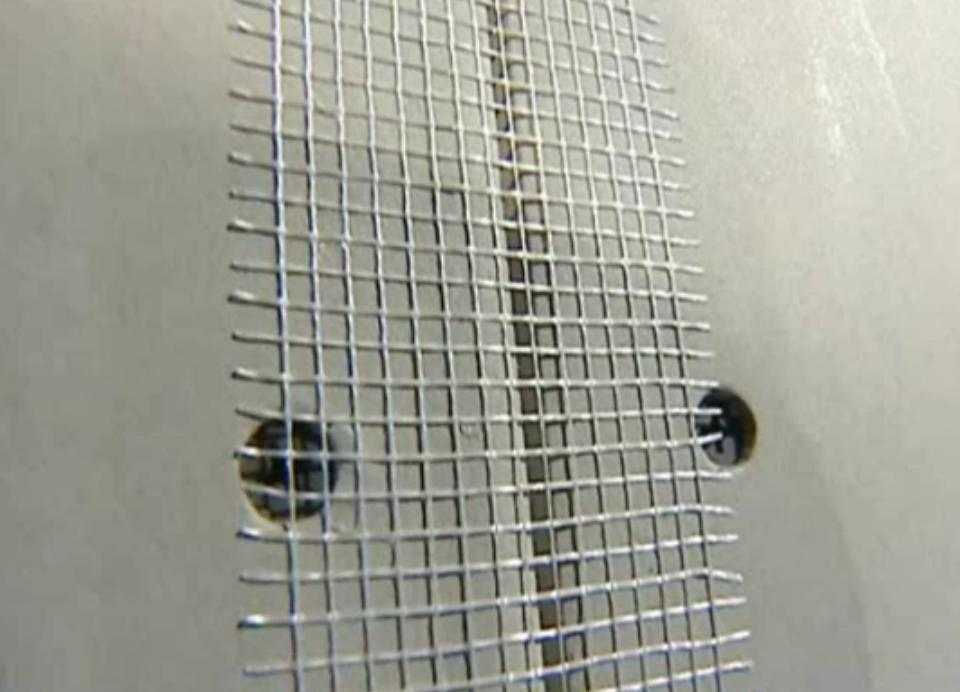
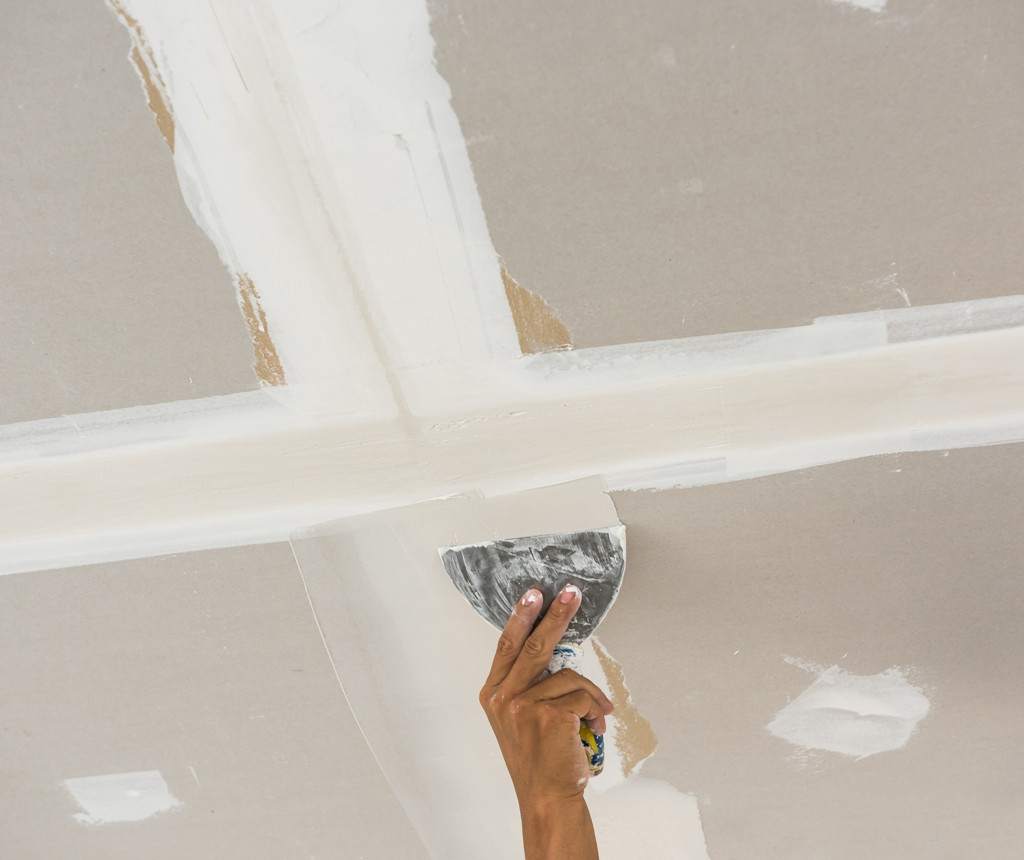
The first step is to proceed to the reinforcement of the seam. This is a necessary procedure, as a reinforcing tape will help to strengthen the seam and prevent the drywall sheets from diverging, as well as prevent cracks.
Reinforcing tapes are different in material quality and in the presence (or absence) of the adhesive base. In this case, it will be most convenient to use a serpyanka with an adhesive side designed specifically for drywall. But do not forget that the main fixing solution is putty.


It is important to know that you can not use PVA glue to glue reinforcing tape. This glue has a water base and if it hits the caps of the self-tapping screws, it will eventually cause rust, which will appear on the final finish with yellow spots.
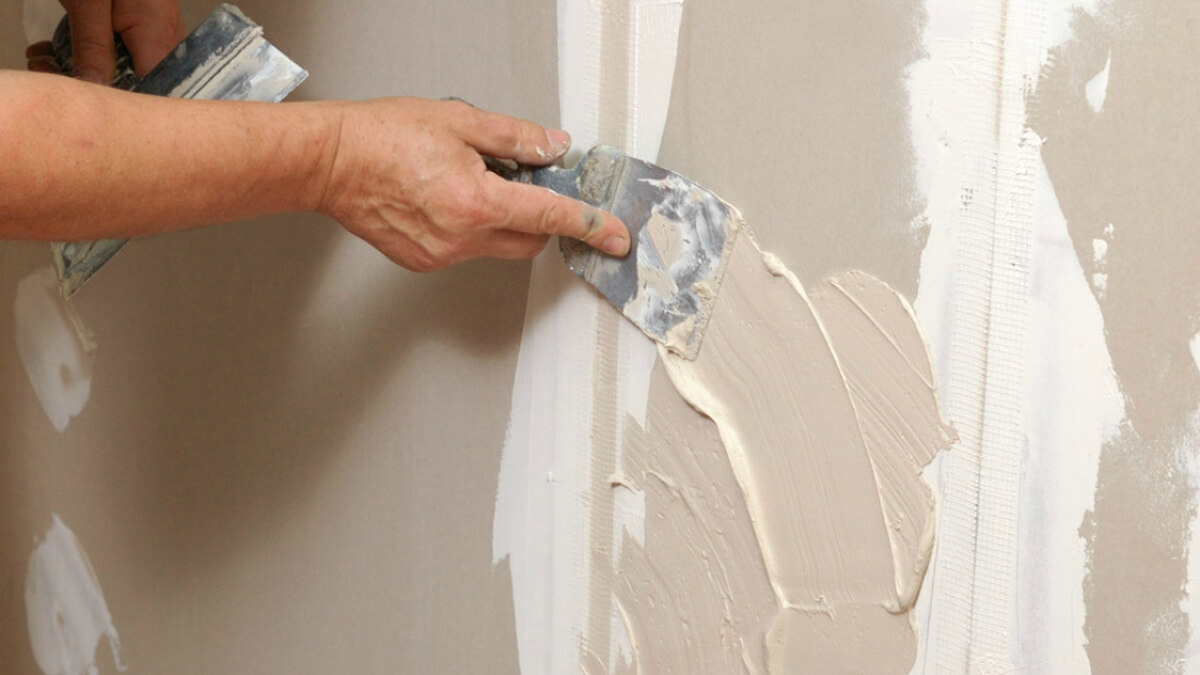
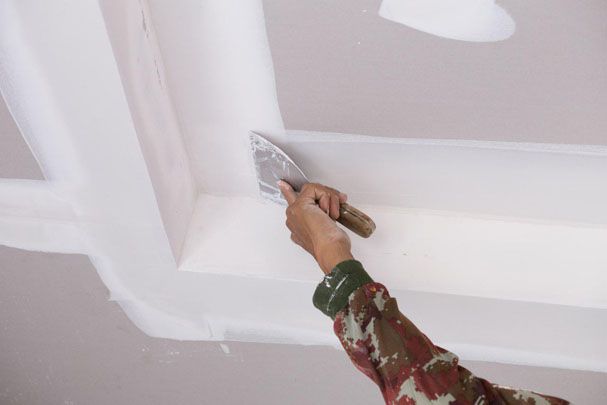
There will be a gap between the sheets of drywall. Regardless of the width, it must be tightly filled with a putty solution, using a narrow spatula.Putty should be applied in large quantities to tightly fill the seam.
The bath should be placed below, so that the excess putty does not fall on the floor, but into the container.
When the seams are tightly sealed, it is necessary to immediately remove the extra “nodules” of putty from the surface, as it dries out, it can greatly complicate the implementation of the following stages of putty. This can be done with the same spatula. Excess putty can immediately seal the grooves from the screws, which are nearby. This is done crosswise. Surpluses also need to be removed. Next you need to wait until the putty grasps and hardens. During this time, you can do the same work with all the other seams.

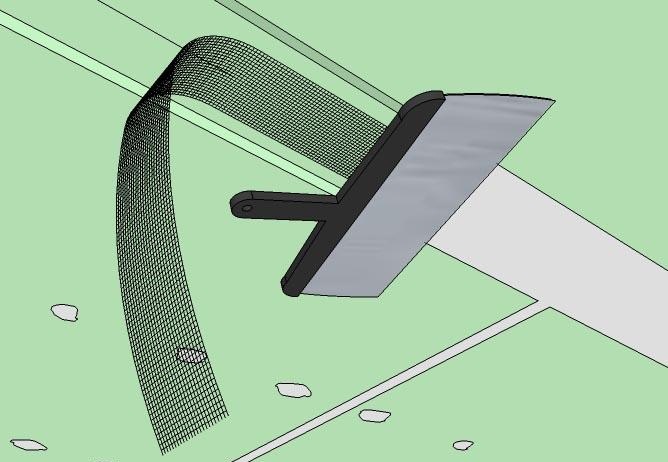
When the putty on the seam hardens and gains the desired strength, you can proceed to the reinforcement. We stock the required amount of putty solution and cut off the necessary length of tape. It is recommended to use a spatula with 3 × 3 mm teeth to evenly distribute the putty.
First, using a conventional trowel along the entire length of the seam, apply a layer of putty, then align it with a trowel with teeth. A trowel with teeth will create uniform putty strips with the right amount of mortar to set the tape.

Serpyanka need to bend over the scoring (line to bend in the center of the tape) and a protruding side to attach to the surface with putty. It is important that the protruding side of the tape lies exactly on the butt joint Then press down a little with your fingers: first in the center, then along the edges.
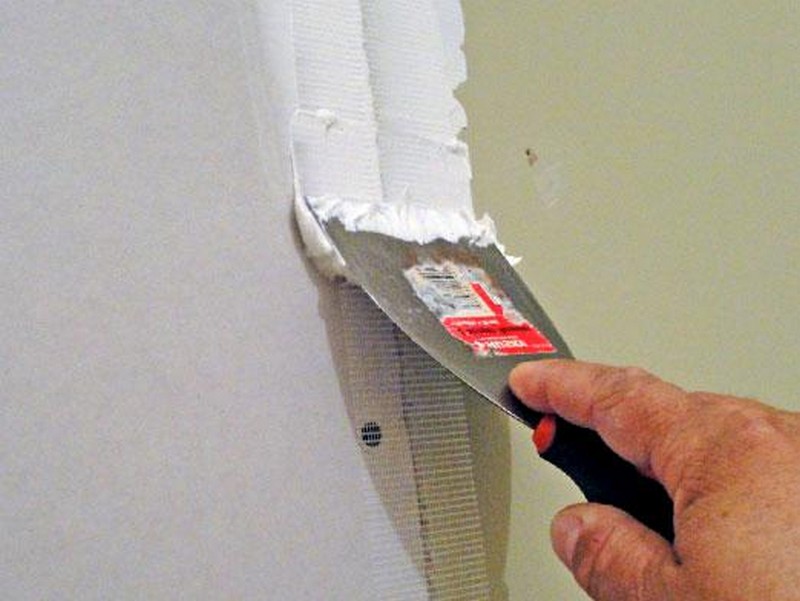
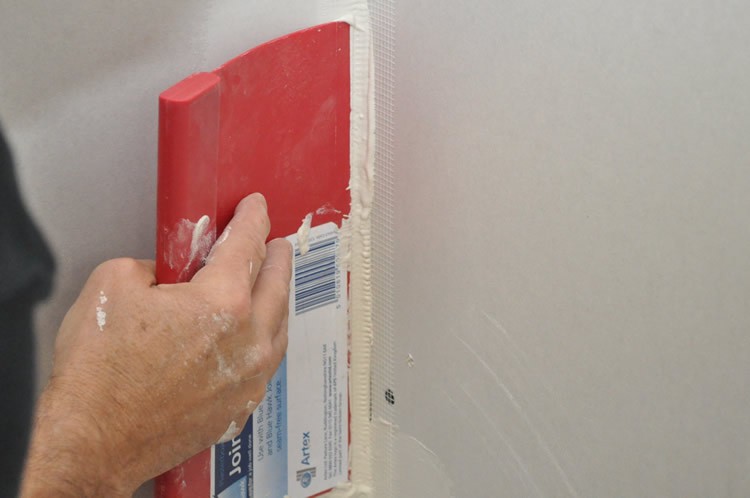
Next, put a little more putty on the wide trowel (in this case, the putty is a “lubricant” so that the trowel can easily slide over the tape) and walk along the length of the serpyanka. The tape should “drown” in the putty, that is, there should be no air space under the tape. So it is one hundred percent complete its function.
To prevent the tape from deforming and not moving, you need to hold it higher with another spatula.
After all these actions on the tape must be applied another layer of putty. In order for the solution to fill the entire space, it is necessary to apply it perpendicular to the seam. Then you need to level the layer of putty. For this it is better to use a spatula wider. After this, having made sure that the serpianka does not frown or bulge anywhere, it is necessary to carry out a final alignment. For the final alignment, a little mortar should be applied to the spatula and, necessarily picking up excess mortar from the surface, walk them along the seam “to the peeler”. In this state, the seam is left to dry completely.After the putty hardens, you get a solid monolithic structure that can withstand the load.

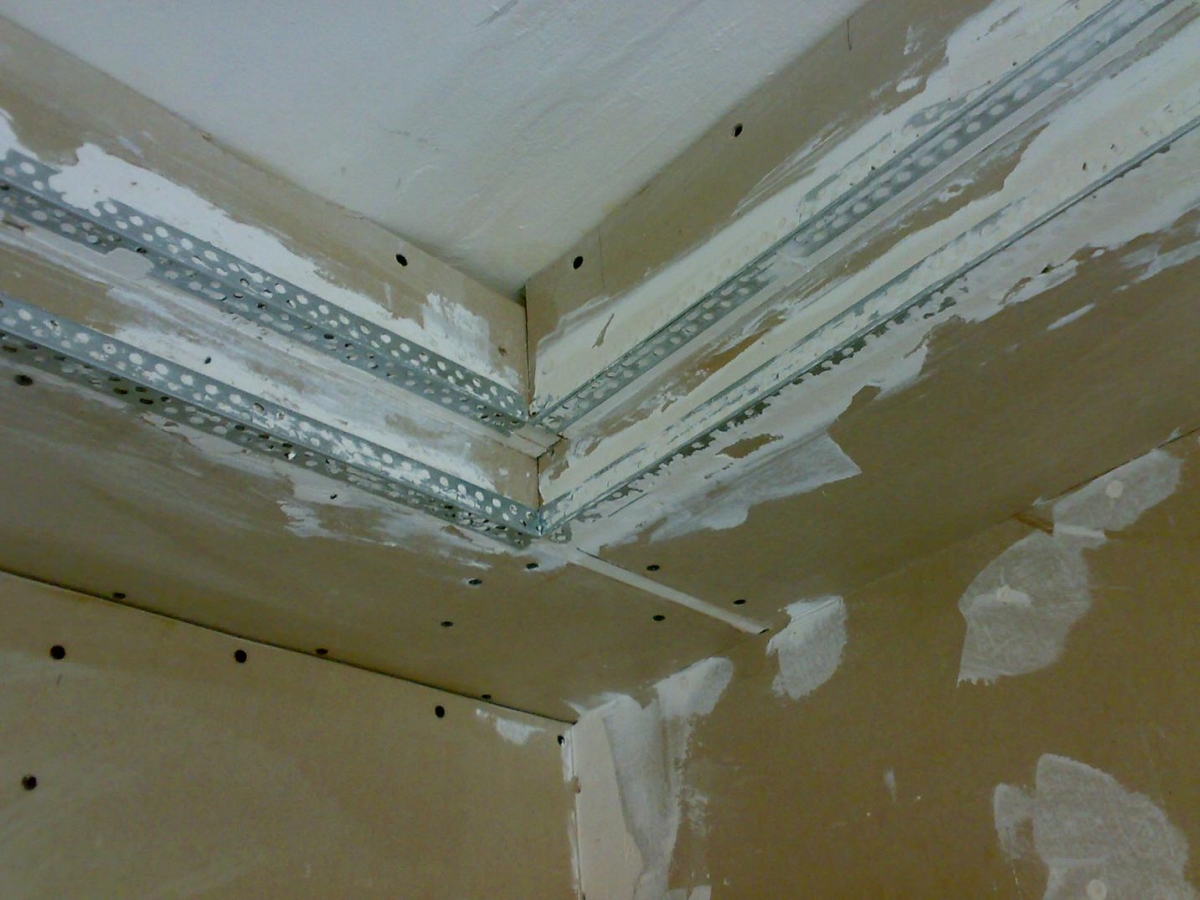
For corner seams, there are special "corner" reinforcing tapes that simplify the process of reinforcement of corner seams.
The seam must be checked the next day. Putty may give a slight shrinkage. To eliminate possible irregularities, you need to re-type a little putty on the spatula and go with the tool “to stripper” along the entire seam line.
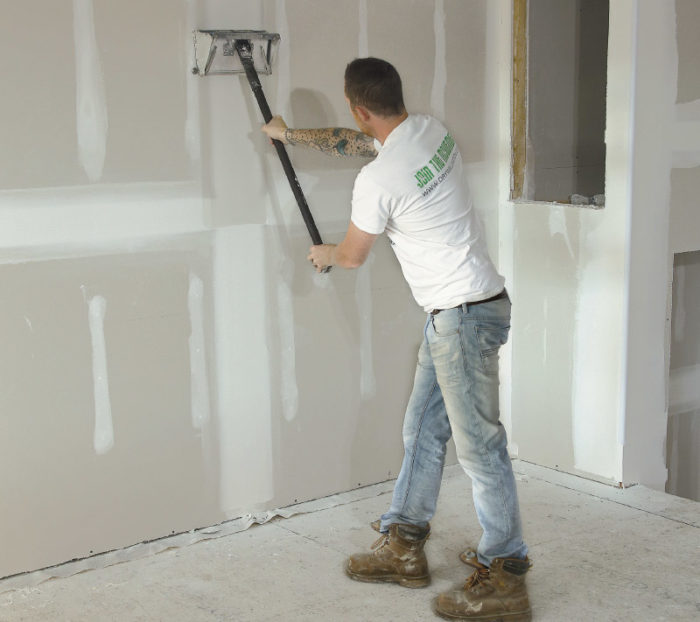
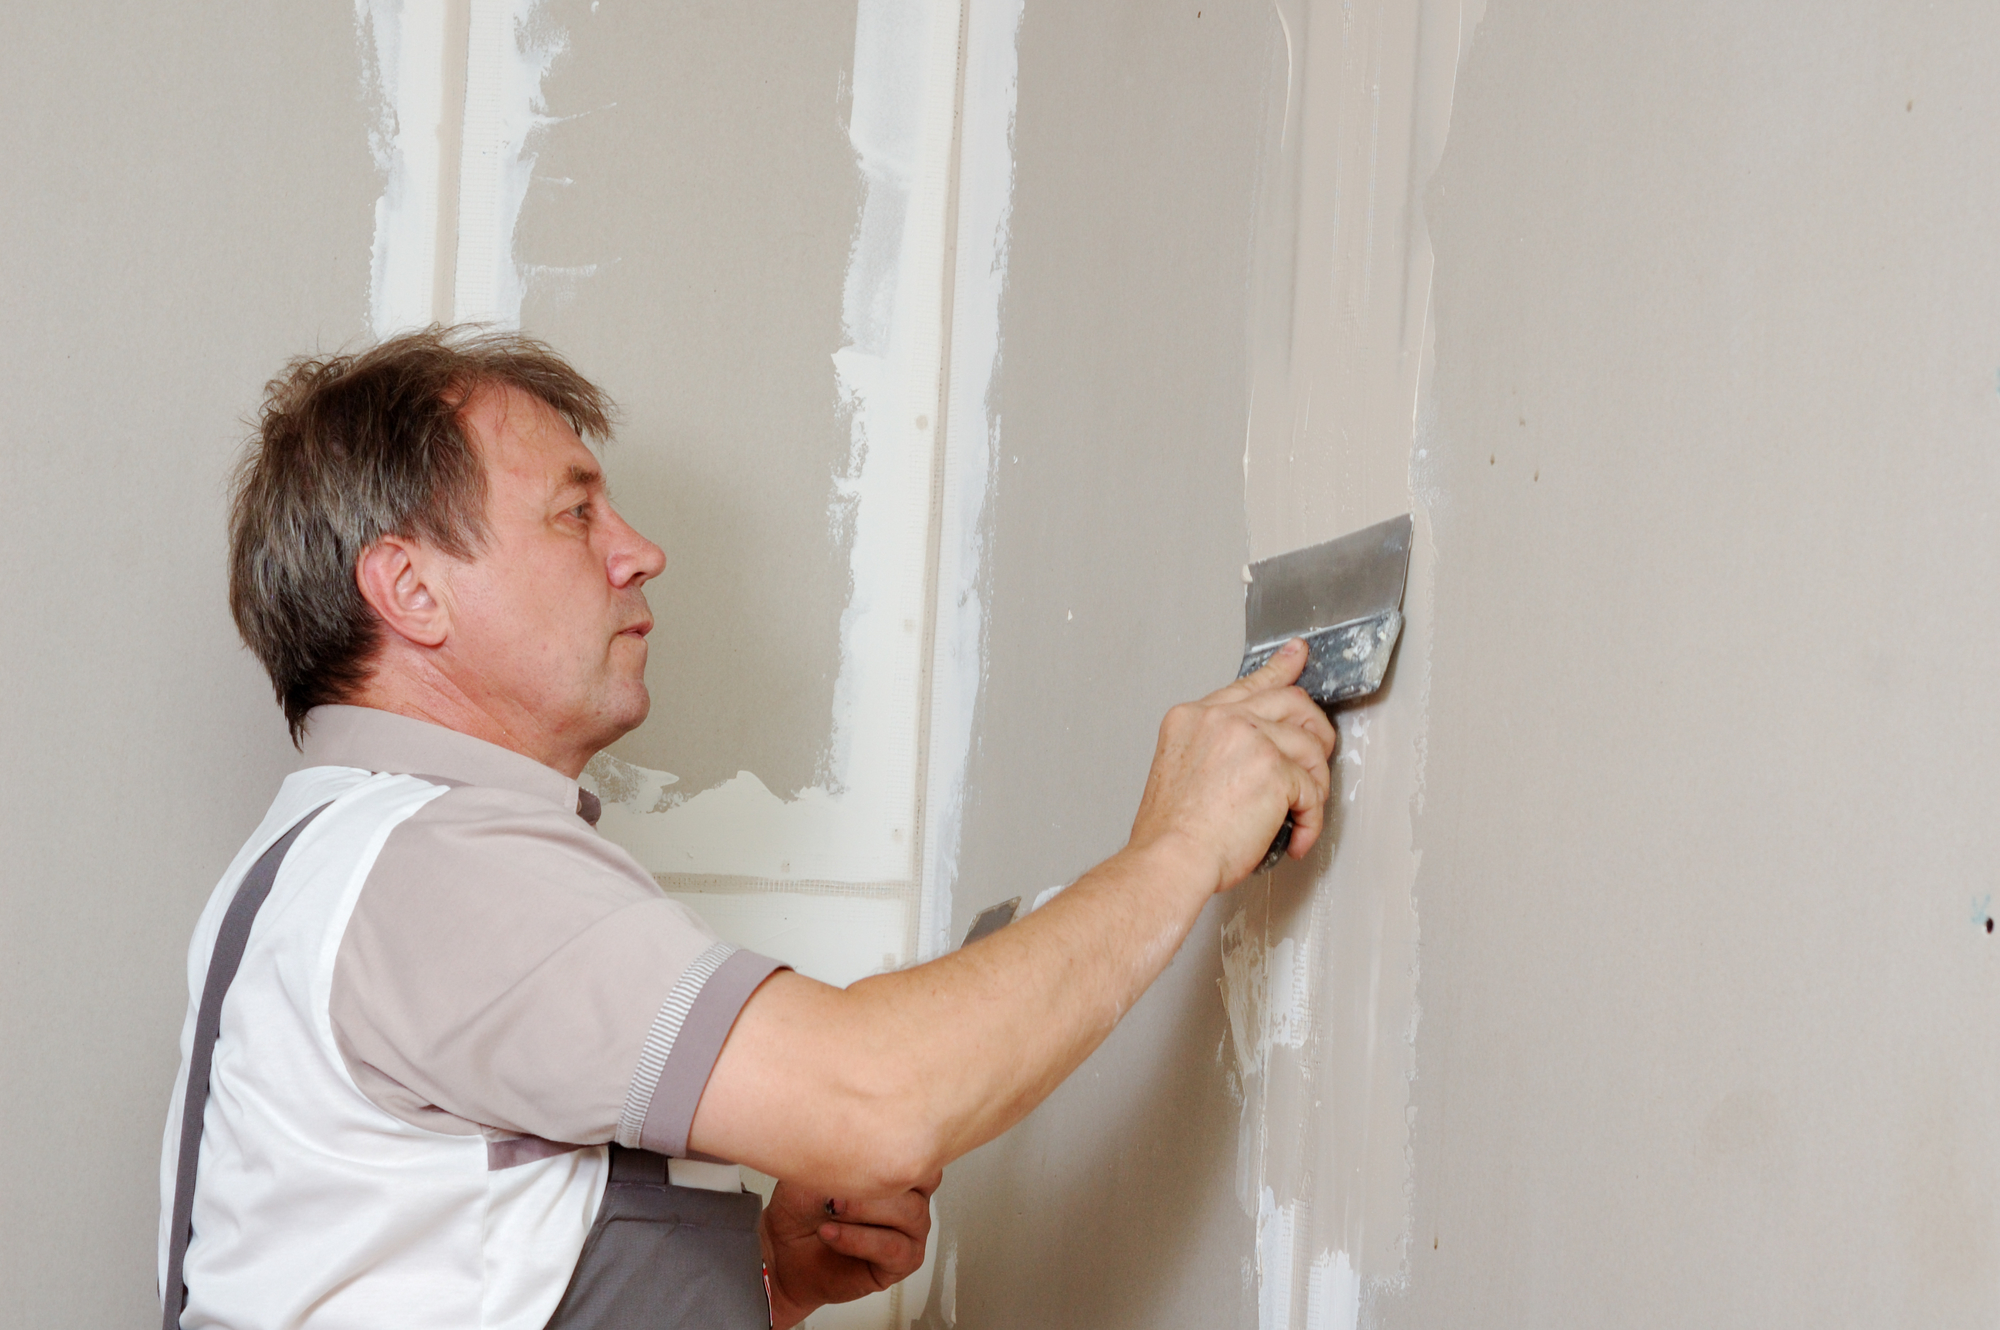
After all the seams are reinforced, you can proceed to the final stage - puttying the entire surface. Many people neglect this point, however, experienced craftsmen advise to putty on the surface completely, so that after painting the surface is free from minor defects.
Solid puttying is carried out in two steps.to ensure the best surface quality.
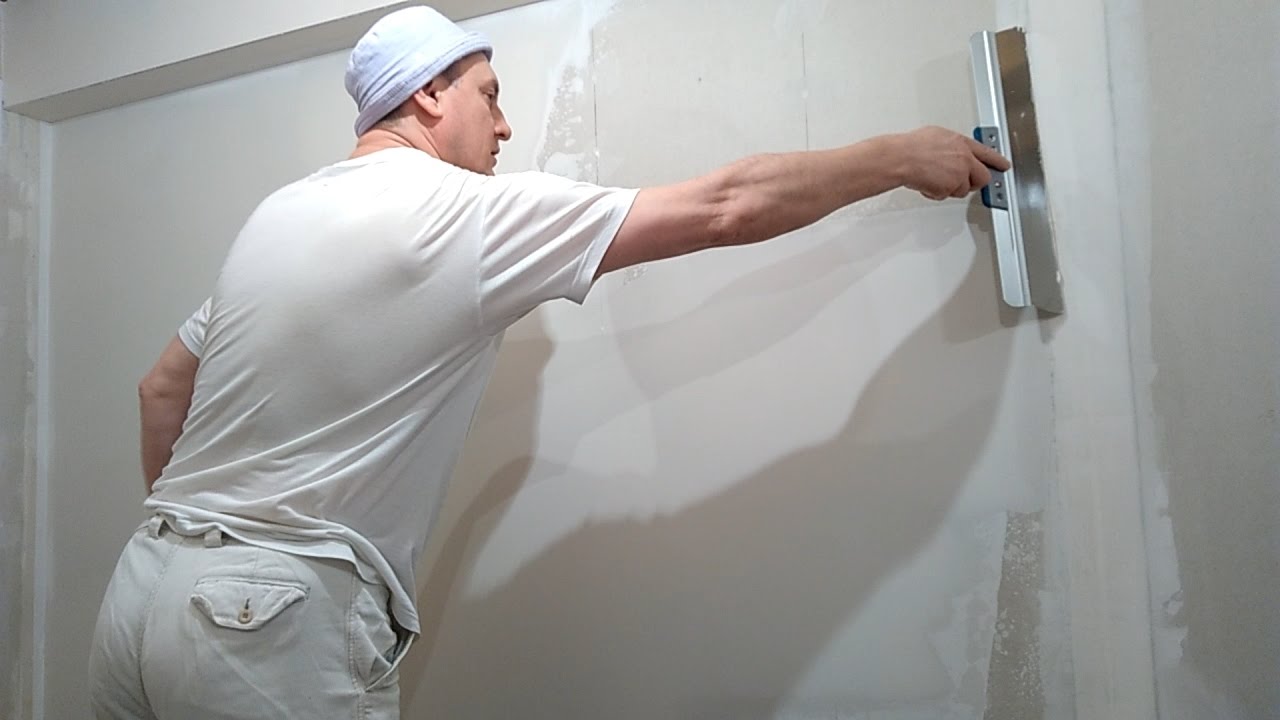
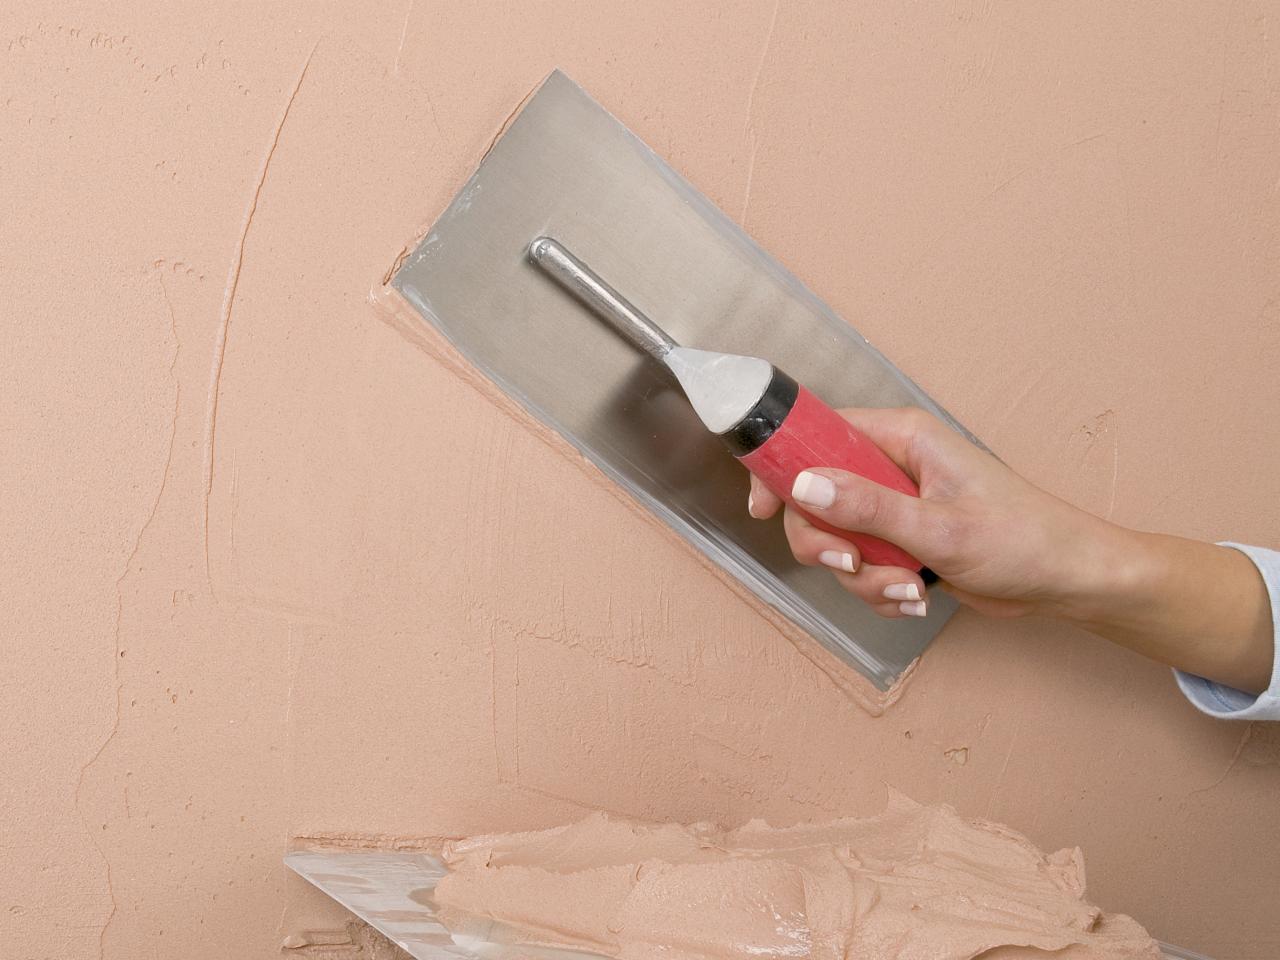
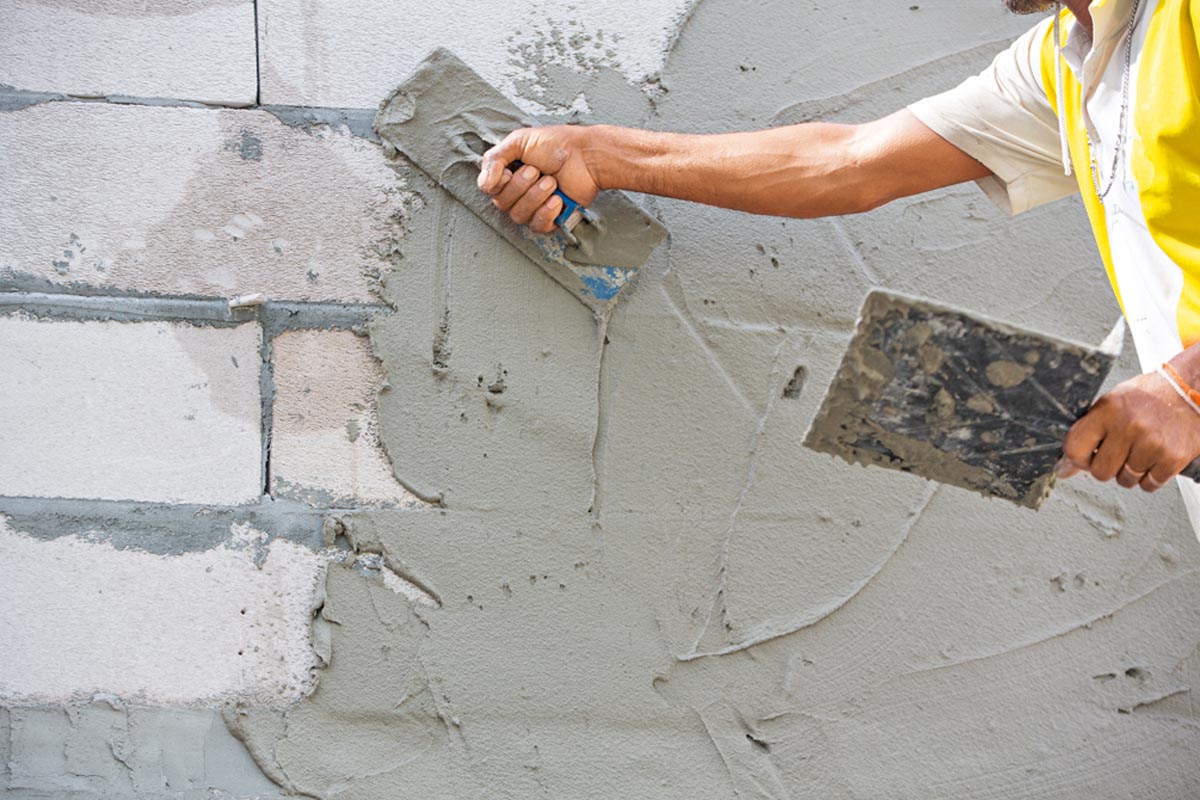
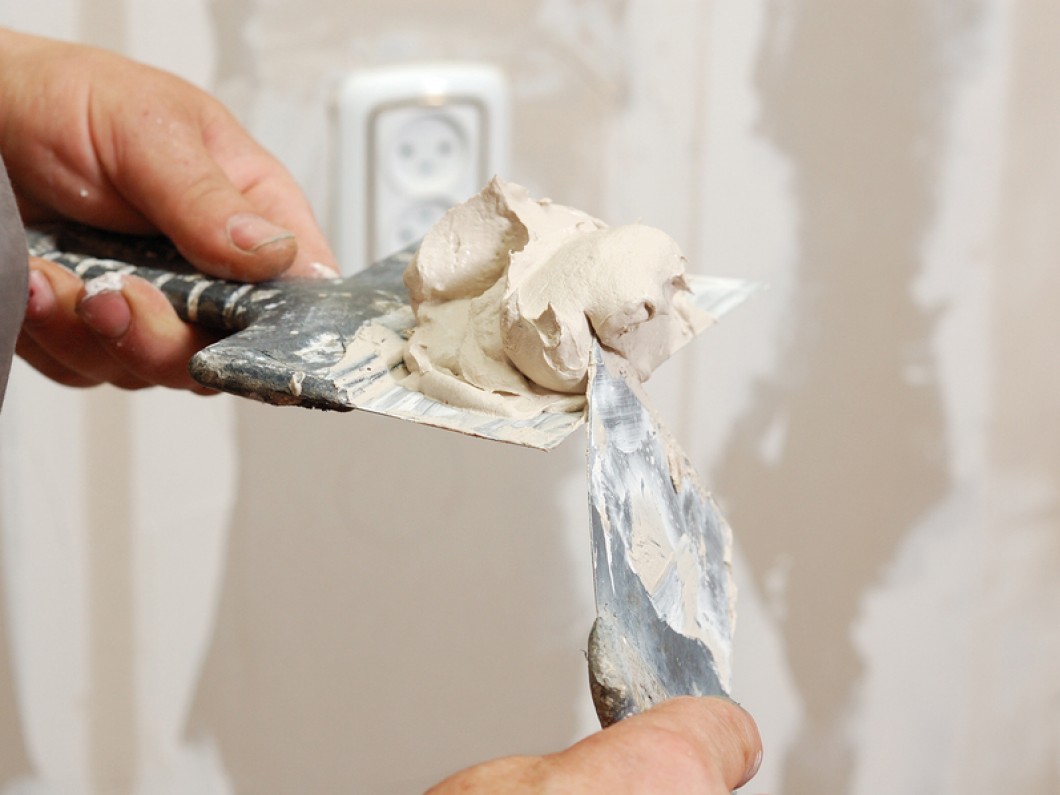
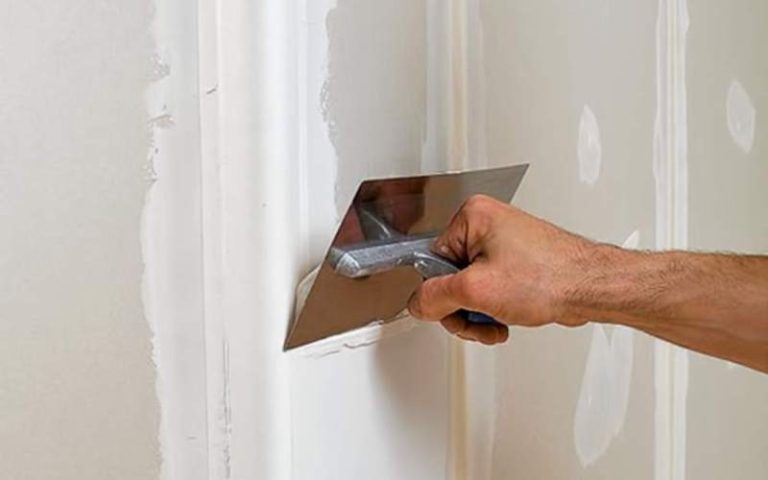
To begin with, a solution is kneaded in a bath or other convenient container. For application and leveling you will need two spatulas: narrow (15 - 25 cm) and wide (30 - 40 cm). Use a narrow trowel to collect the solution from the container, apply it to the surface and remove excess putty from a wide trowel, and distribute it over the entire surface with a wide putty.

So, the first step is to apply a sufficiently large amount of mortar on a narrow spatula, and then on the surface. Distribute it quickly and evenly over the surface with a wide trowel. To smooth the putty you need by applying force, "on the sheet". As a result, there should remain a thin even layer. During the smoothing of the putty it is necessary to immediately remove the excess spatula on the wide spatula with a narrow spatula. You should not try to immediately cover a large surface area - a thin layer of the solution quickly sets, and in fact you need to even have time to level and smooth it.
It is recommended to work in squares of no more than 0.5 square meter.
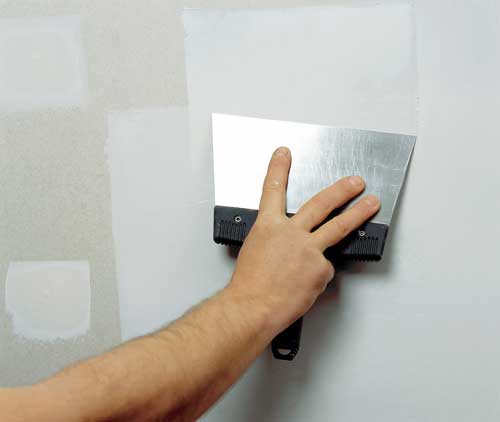
Care must be taken to ensure that no spatula marks remain on the surface. When they appear, you should immediately smooth out the bumps.
A small step may form near the reinforced seam. To get rid of it, you need to keep the spatula in the direction of the seam, and then very carefully walk along it "to the peeler."
Angles need to pay special attention. After spreading and smoothing the putty in the corners, excess putty may form that extend beyond the top of the corner. They must be removed.
The selected putty surface area is left to dry.
When the solution dries, the surface will become striped. This results from the fact that gypsum plasterboards have irregularities to the naked eye, and more putty has penetrated into deeper parts. You should not worry - after applying the second layer of putty, the surface will become absolutely flat and monotonous.
The second layer is done on the same principle.
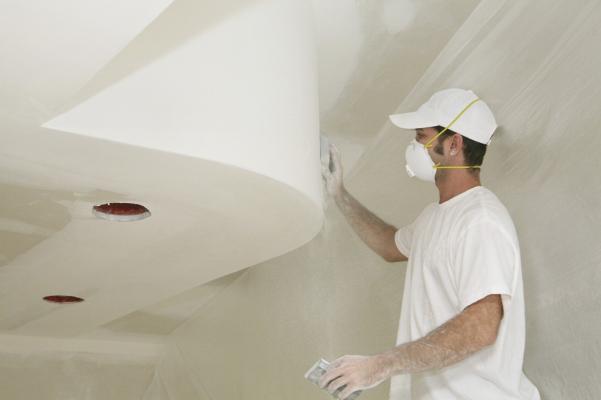
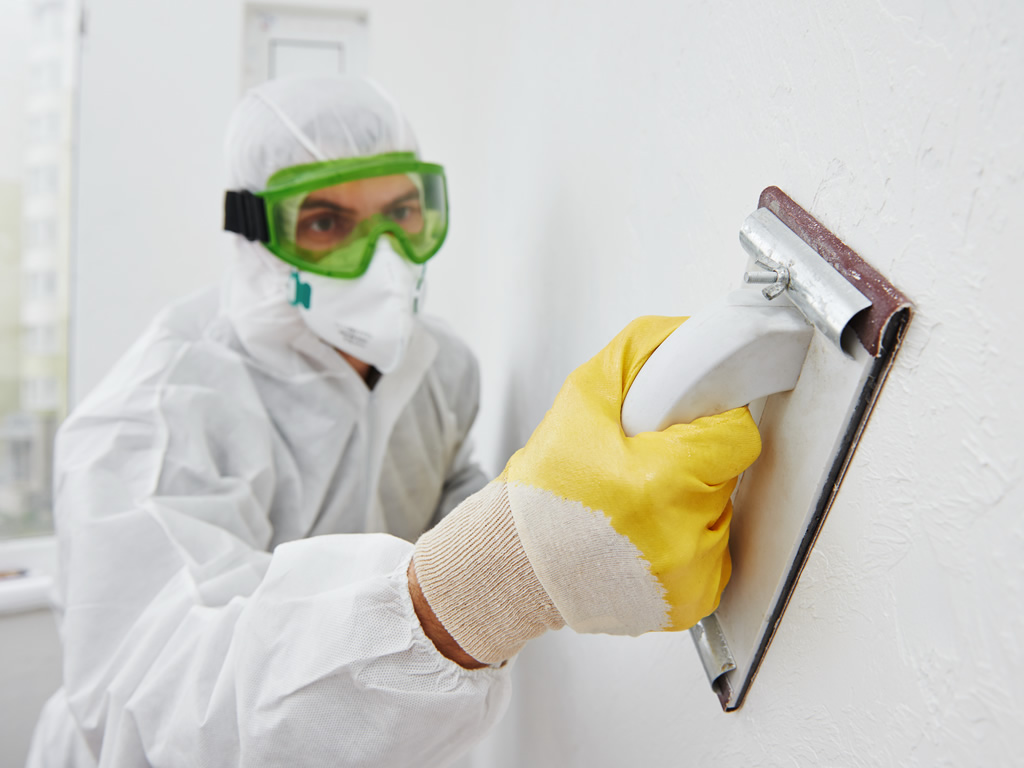
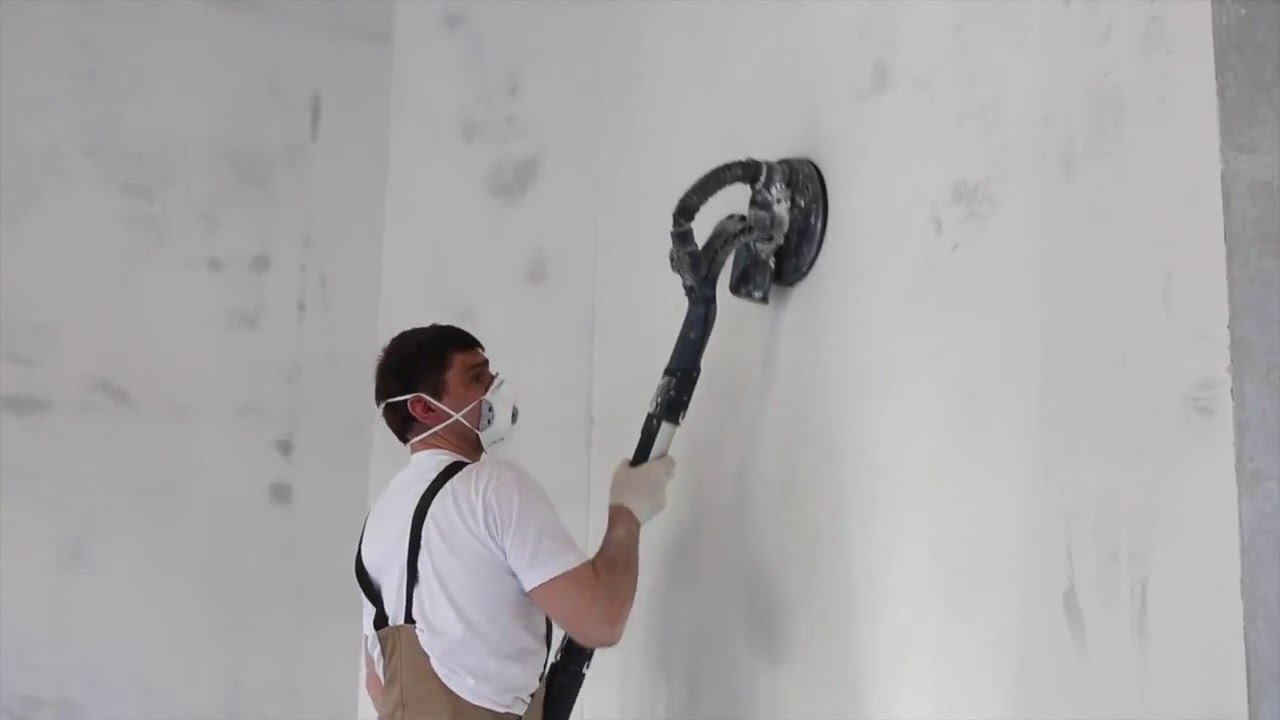
When the second layer of putty dries, it will only polish the surface. For this you can use a grater with clips. This is a very dusty job, so you must wear a respirator. Grinding is usually carried out in a circular motion counterclockwise. Internal corners should be polished very carefully, as you can touch the adjacent walls and they will remain traces of the grater.
Periodically you need to sweep away the settled dust. For this suitable brush with a soft bristle.
The final stage of puttying yourself is to re-primer the surface. Apply the soil should be very carefully, in a thin layer, avoiding drips. The primer will help achieve high adhesion with the next mortar or material applied to the surface.Laying must be done step by step.
It is imperative to prime the material so that the filler is more effective. GCR can be applied non-woven, gently walking under the corner. The box must be completely covered with it.

Useful tips
You can easily putty drywall, following the advice of experts:
- When choosing a putty, pay attention to which room you want to do the finishing. If this is a nursery or a bedroom, then you should not spare money by choosing an environmentally friendly and safe putty. If it is a kitchen or a bathroom - you should pay attention to the putty that can withstand high humidity and high temperatures;

- Antibacterial substances in the ground or putty prevent the appearance of mold and fungi;
- Putty hardens quickly, so you need to count the amount of solution for 20 - 30 minutes of work;
- Excess putty can immediately seal the holes from the screws;
- Small holes (for example, holes from screws) are filled with a “crosswise” movement;
- It is better for an inexperienced builder not to take a dry putty too fast, because due to inexperience the application and smoothing process will be longer than that of an experienced master;

- To ensure better adhesion between starting and finishing putty, it is better to use solutions / mixtures from the same manufacturer;
- In no case can one use alkyd-containing primer mixes for finishing plasterboard coatings, as the paper layer leaves the gypsum plasterboard and the entire structure becomes unusable;
- When reinforcing the seams between sheets of plasterboard, you cannot use PVA glue, as it has a water base and, if it hits the screws, will cause rust, which will eventually appear on the finished finish in the form of yellow spots;
- When mixing the putty solution it is necessary to use clean containers and clean water at room temperature. This is especially important before wallpapering.


How to putty drywall, see in the next video.


