How to choose a putty for painting ceiling?
Putty ceiling painting is needed in order to remove all the defects that are present on the surface. Such work must be carried out in several stages. If you putty as high as possible, based on certain rules, the base will be ready for any finishing finish. However, not everyone knows how to choose the most suitable putty material.

What is it for?
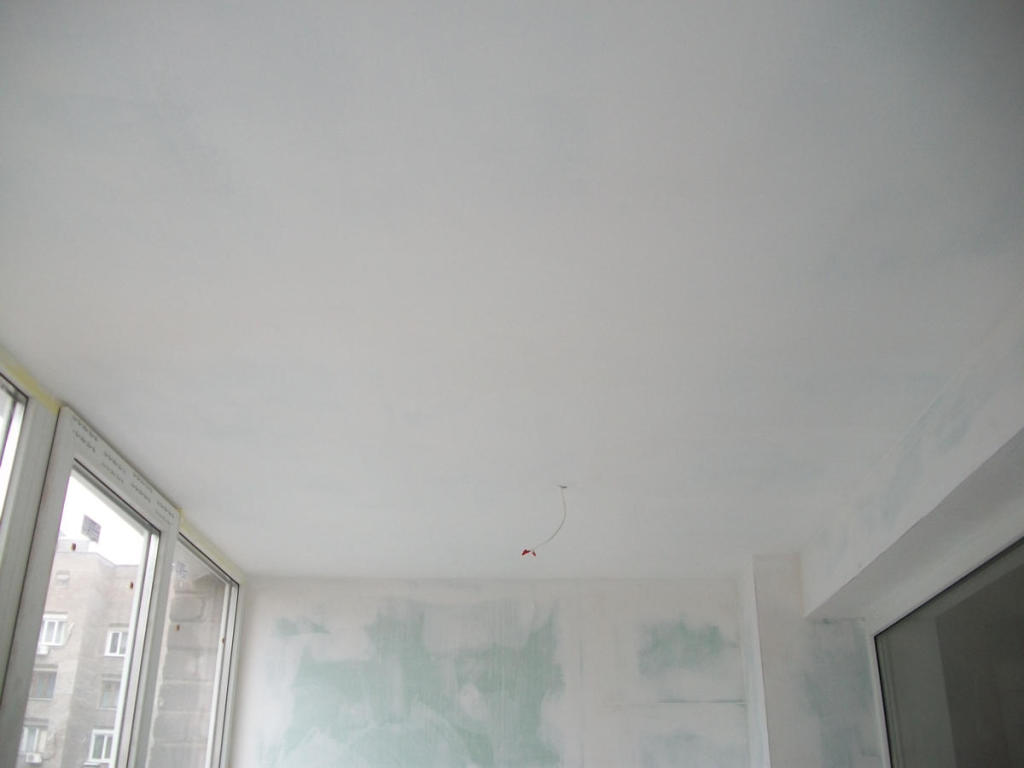
Implementation of repair work in an apartment or house is usually planned, but not spontaneous. The reasons may be different: the desire to update the interior with the help of redecoration, the need for the implementation of finishing works in a newly built house. In any of these cases, before painting the ceiling surfaces, you will first need to apply putty to them.With the help of paint alone you will not hide the irregularities on the ceiling, but only make them more visible.
After puttying, the surface will be as smooth and perfectly prepared for applying paintwork.
New residential premises after construction work often have a large number of subquality work. Sometimes workers may inaccurately apply plaster. In this case, the use of putty may be an ideal option. However, such material will not be able to cope with significant high-altitude differences. In such situations, it is worthwhile to opt for other methods, for example, to make a suspended ceiling.

Choosing the right material
You need to choose a material whose characteristics are best suited to the specific room and conditions of its use.
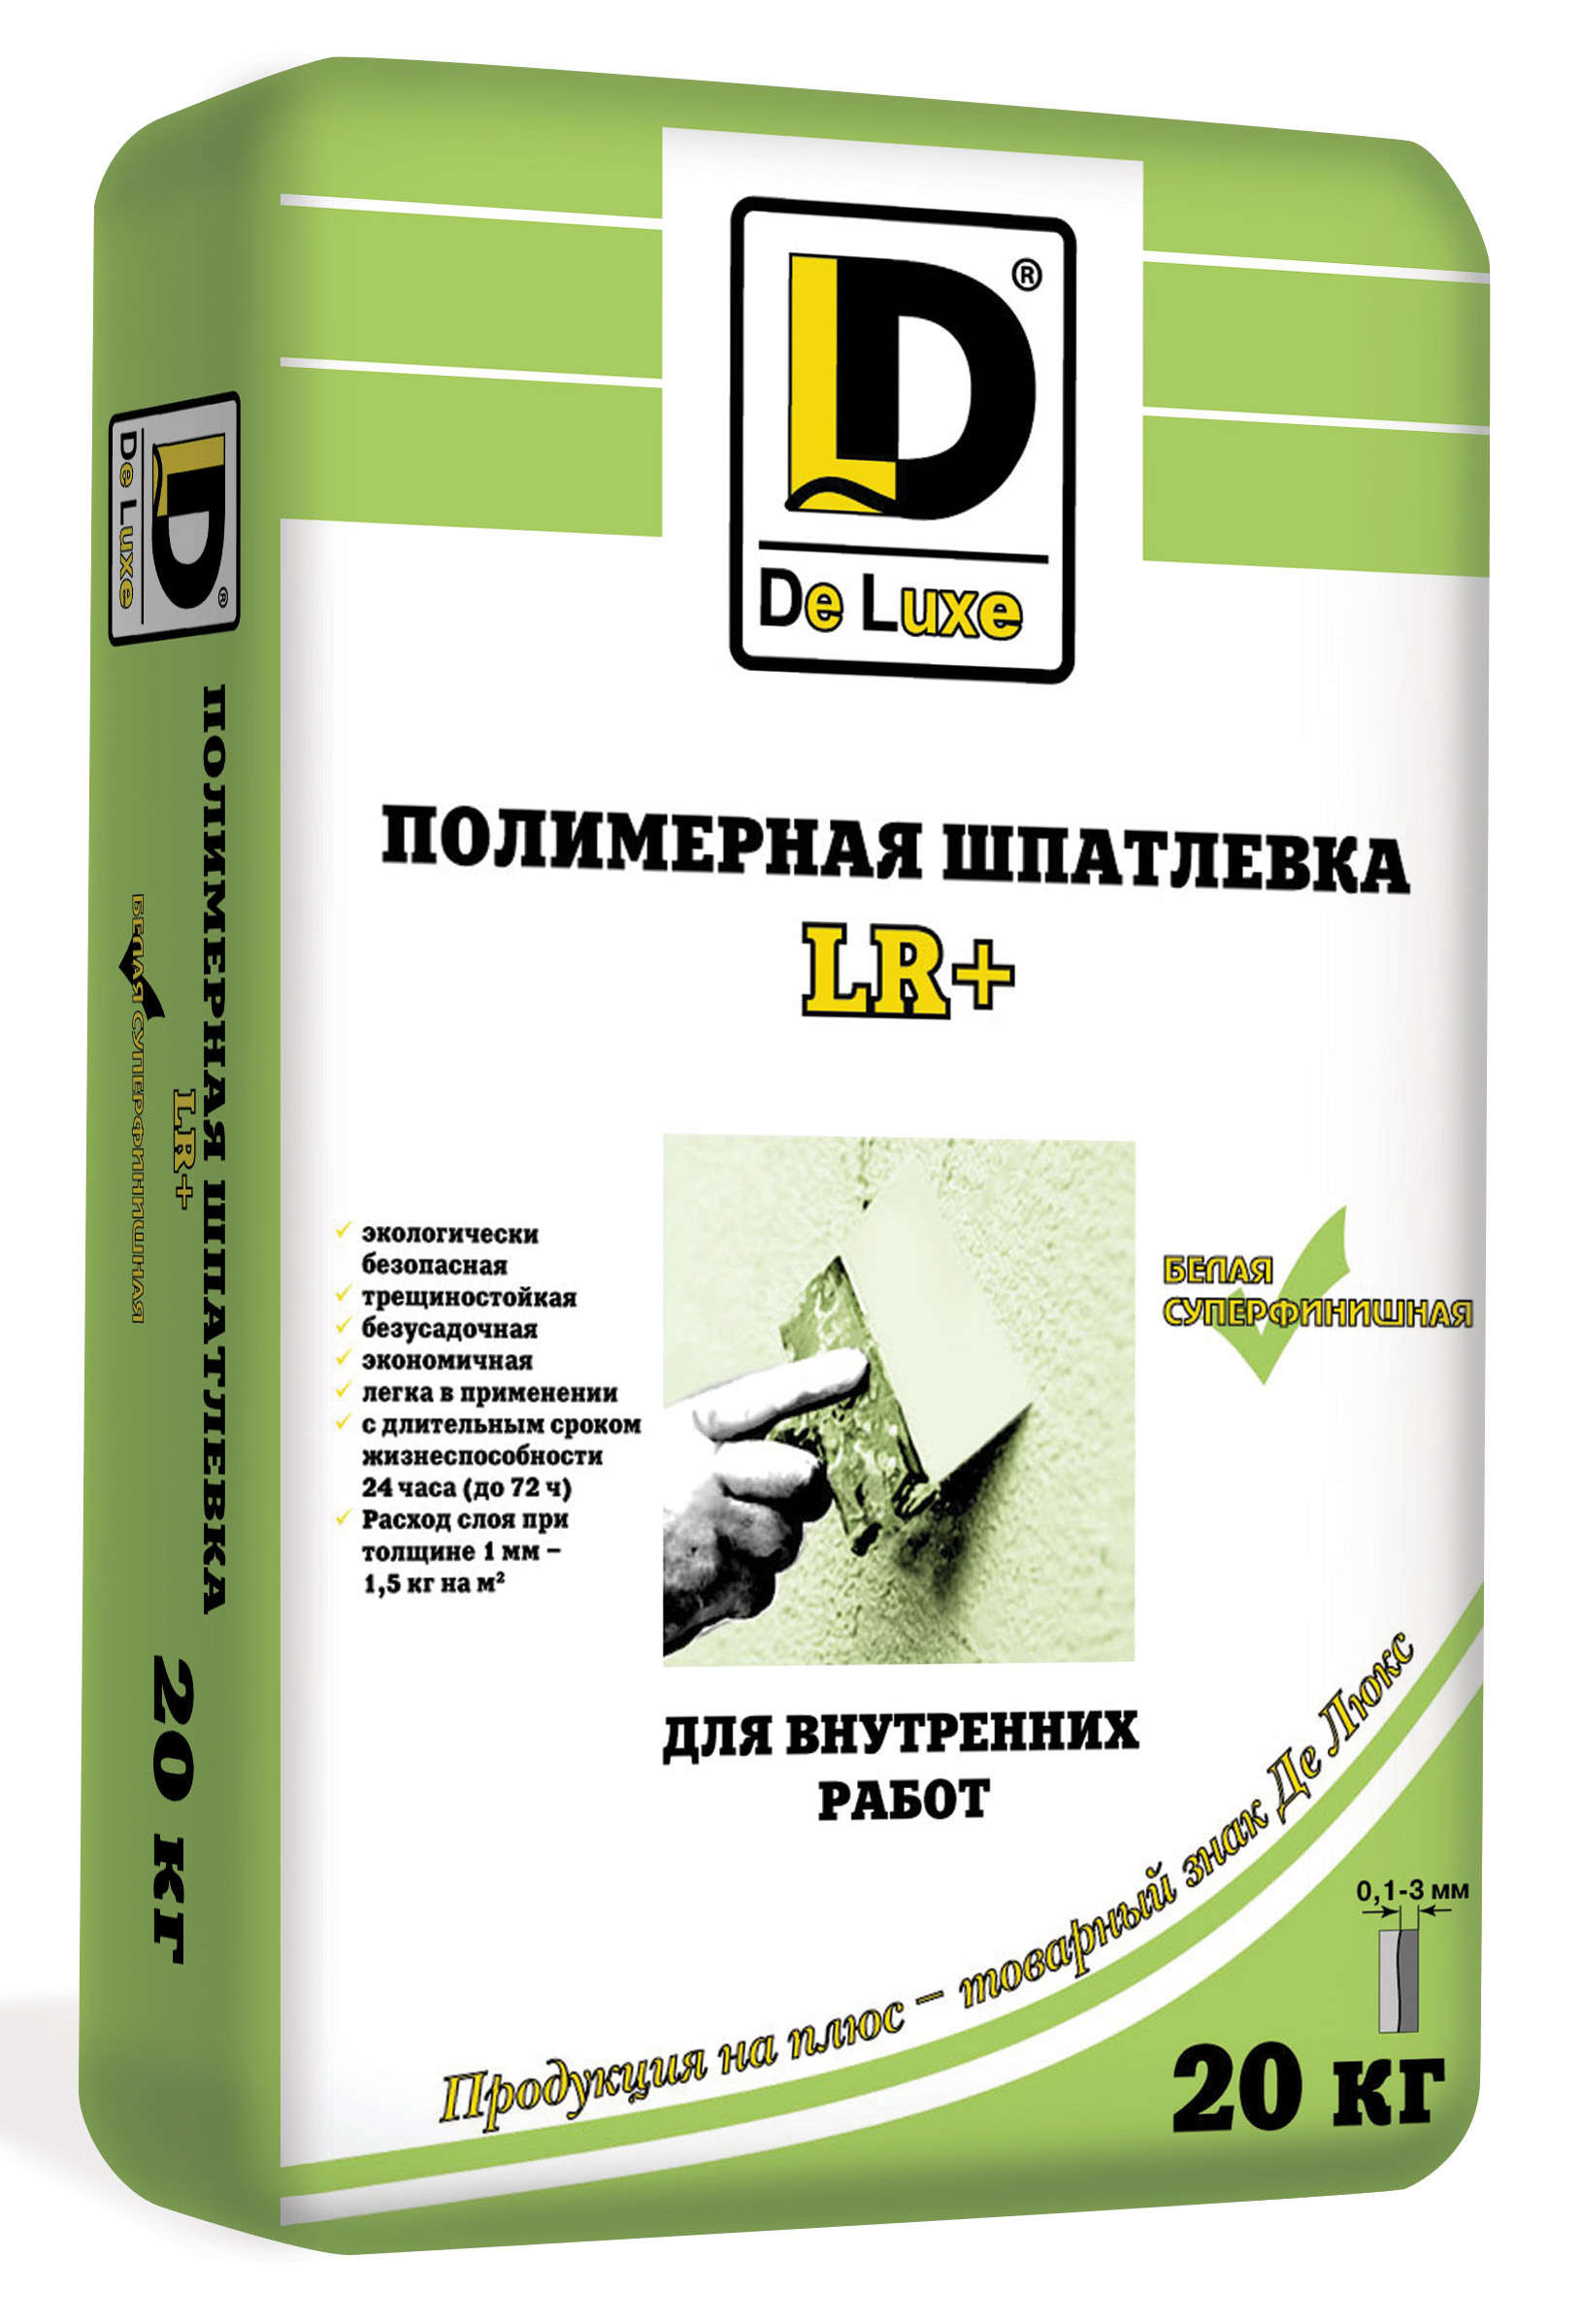
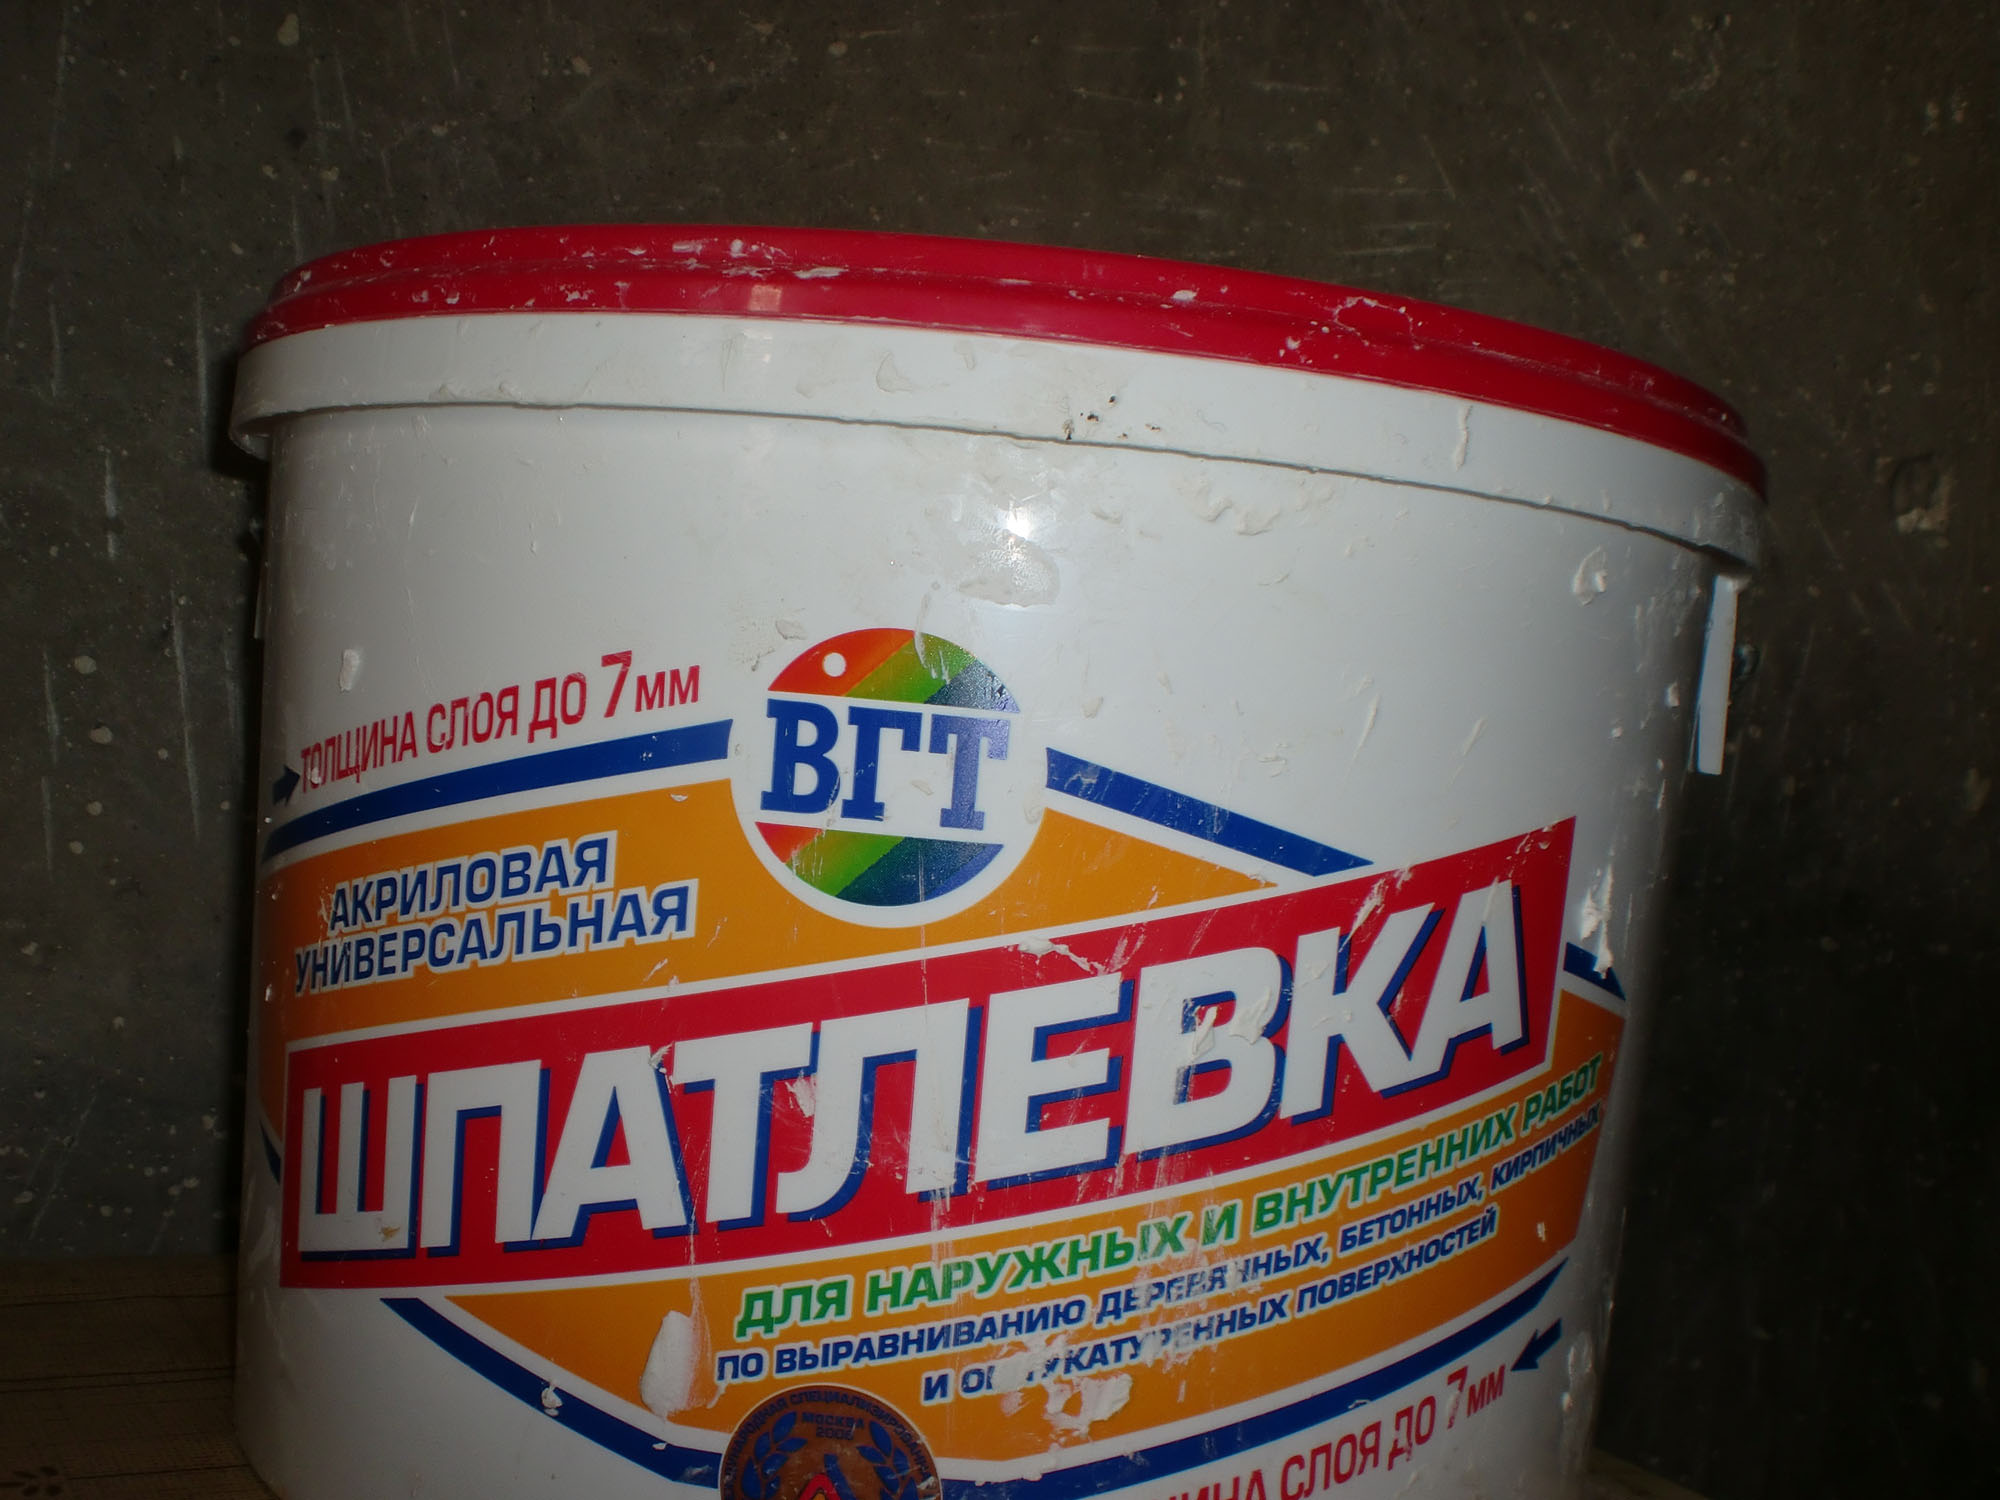
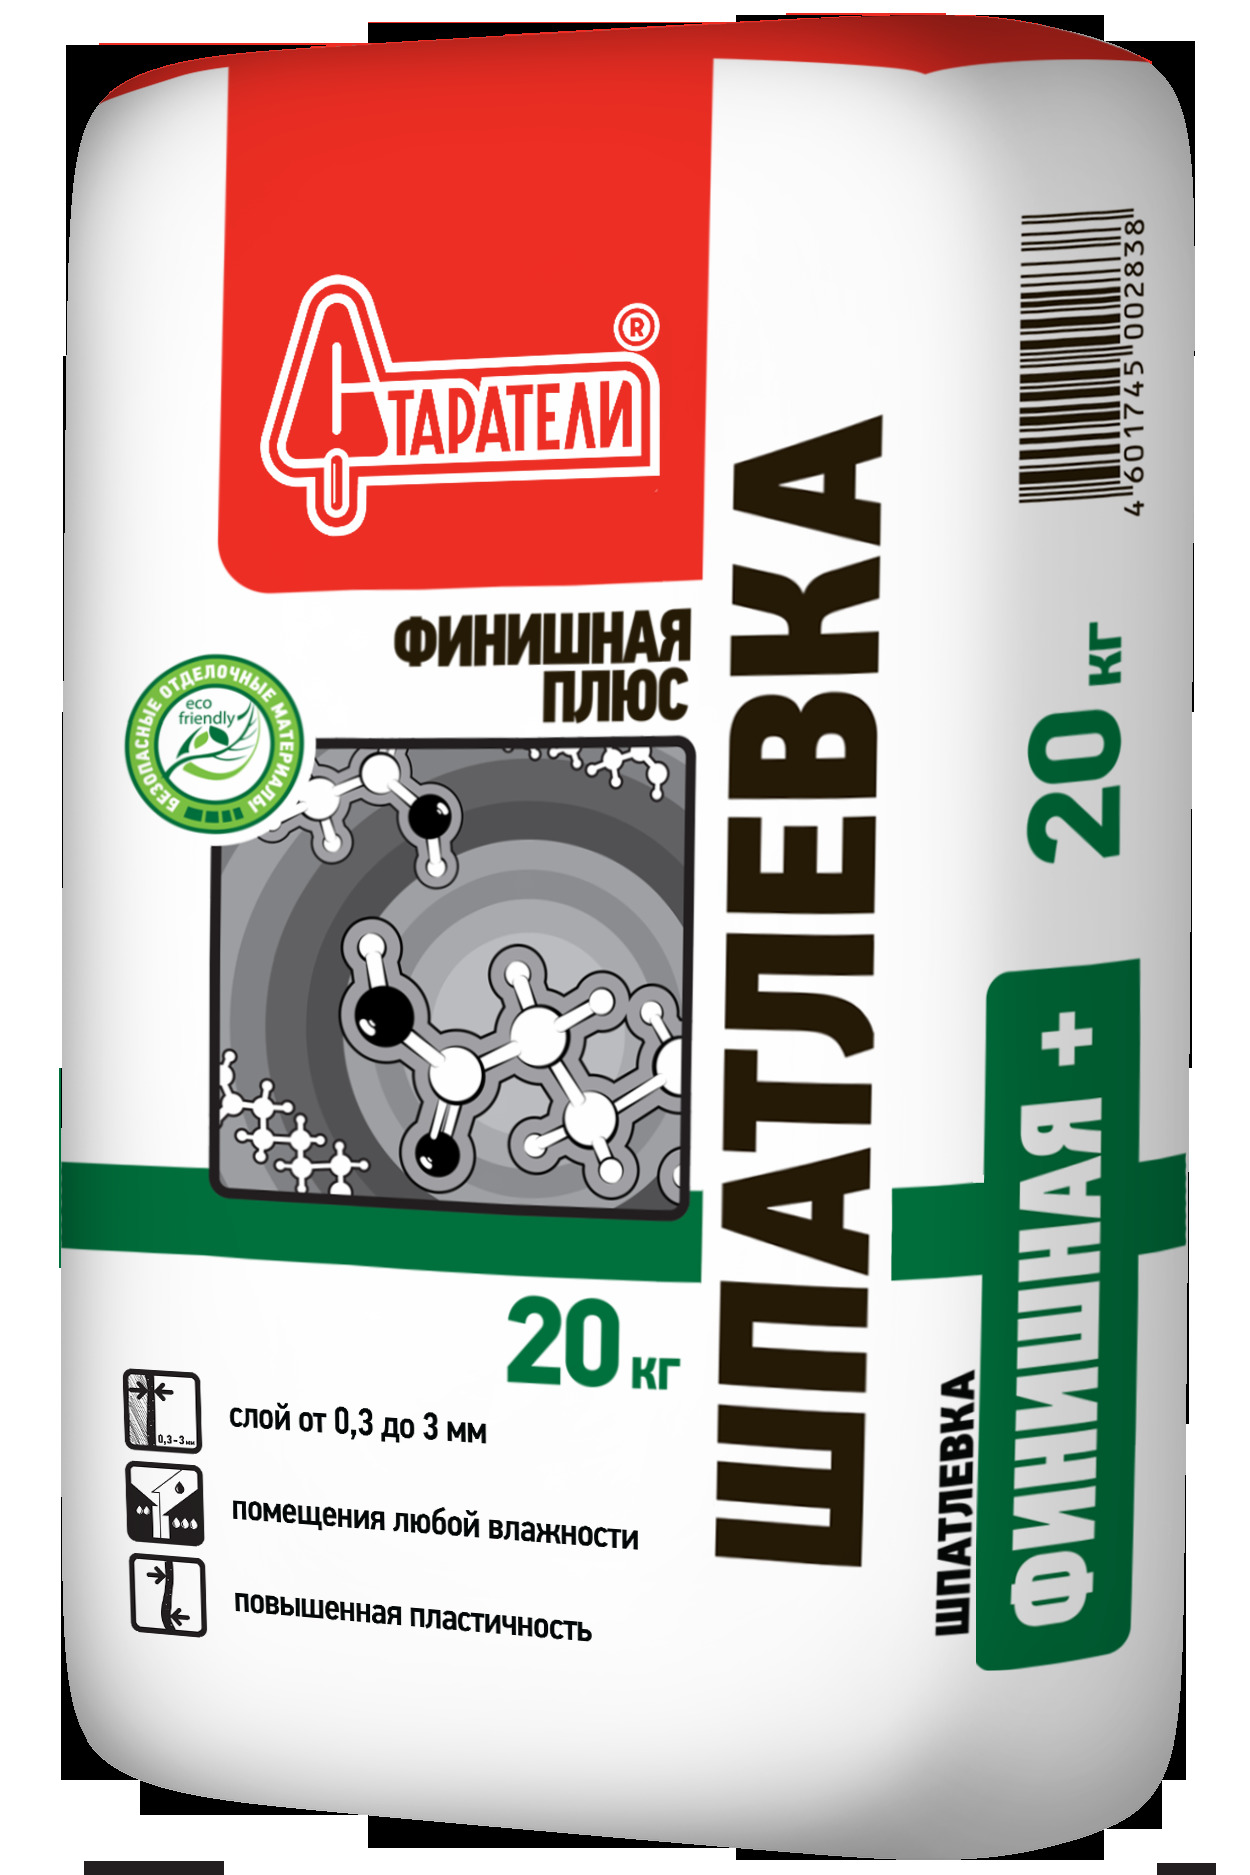
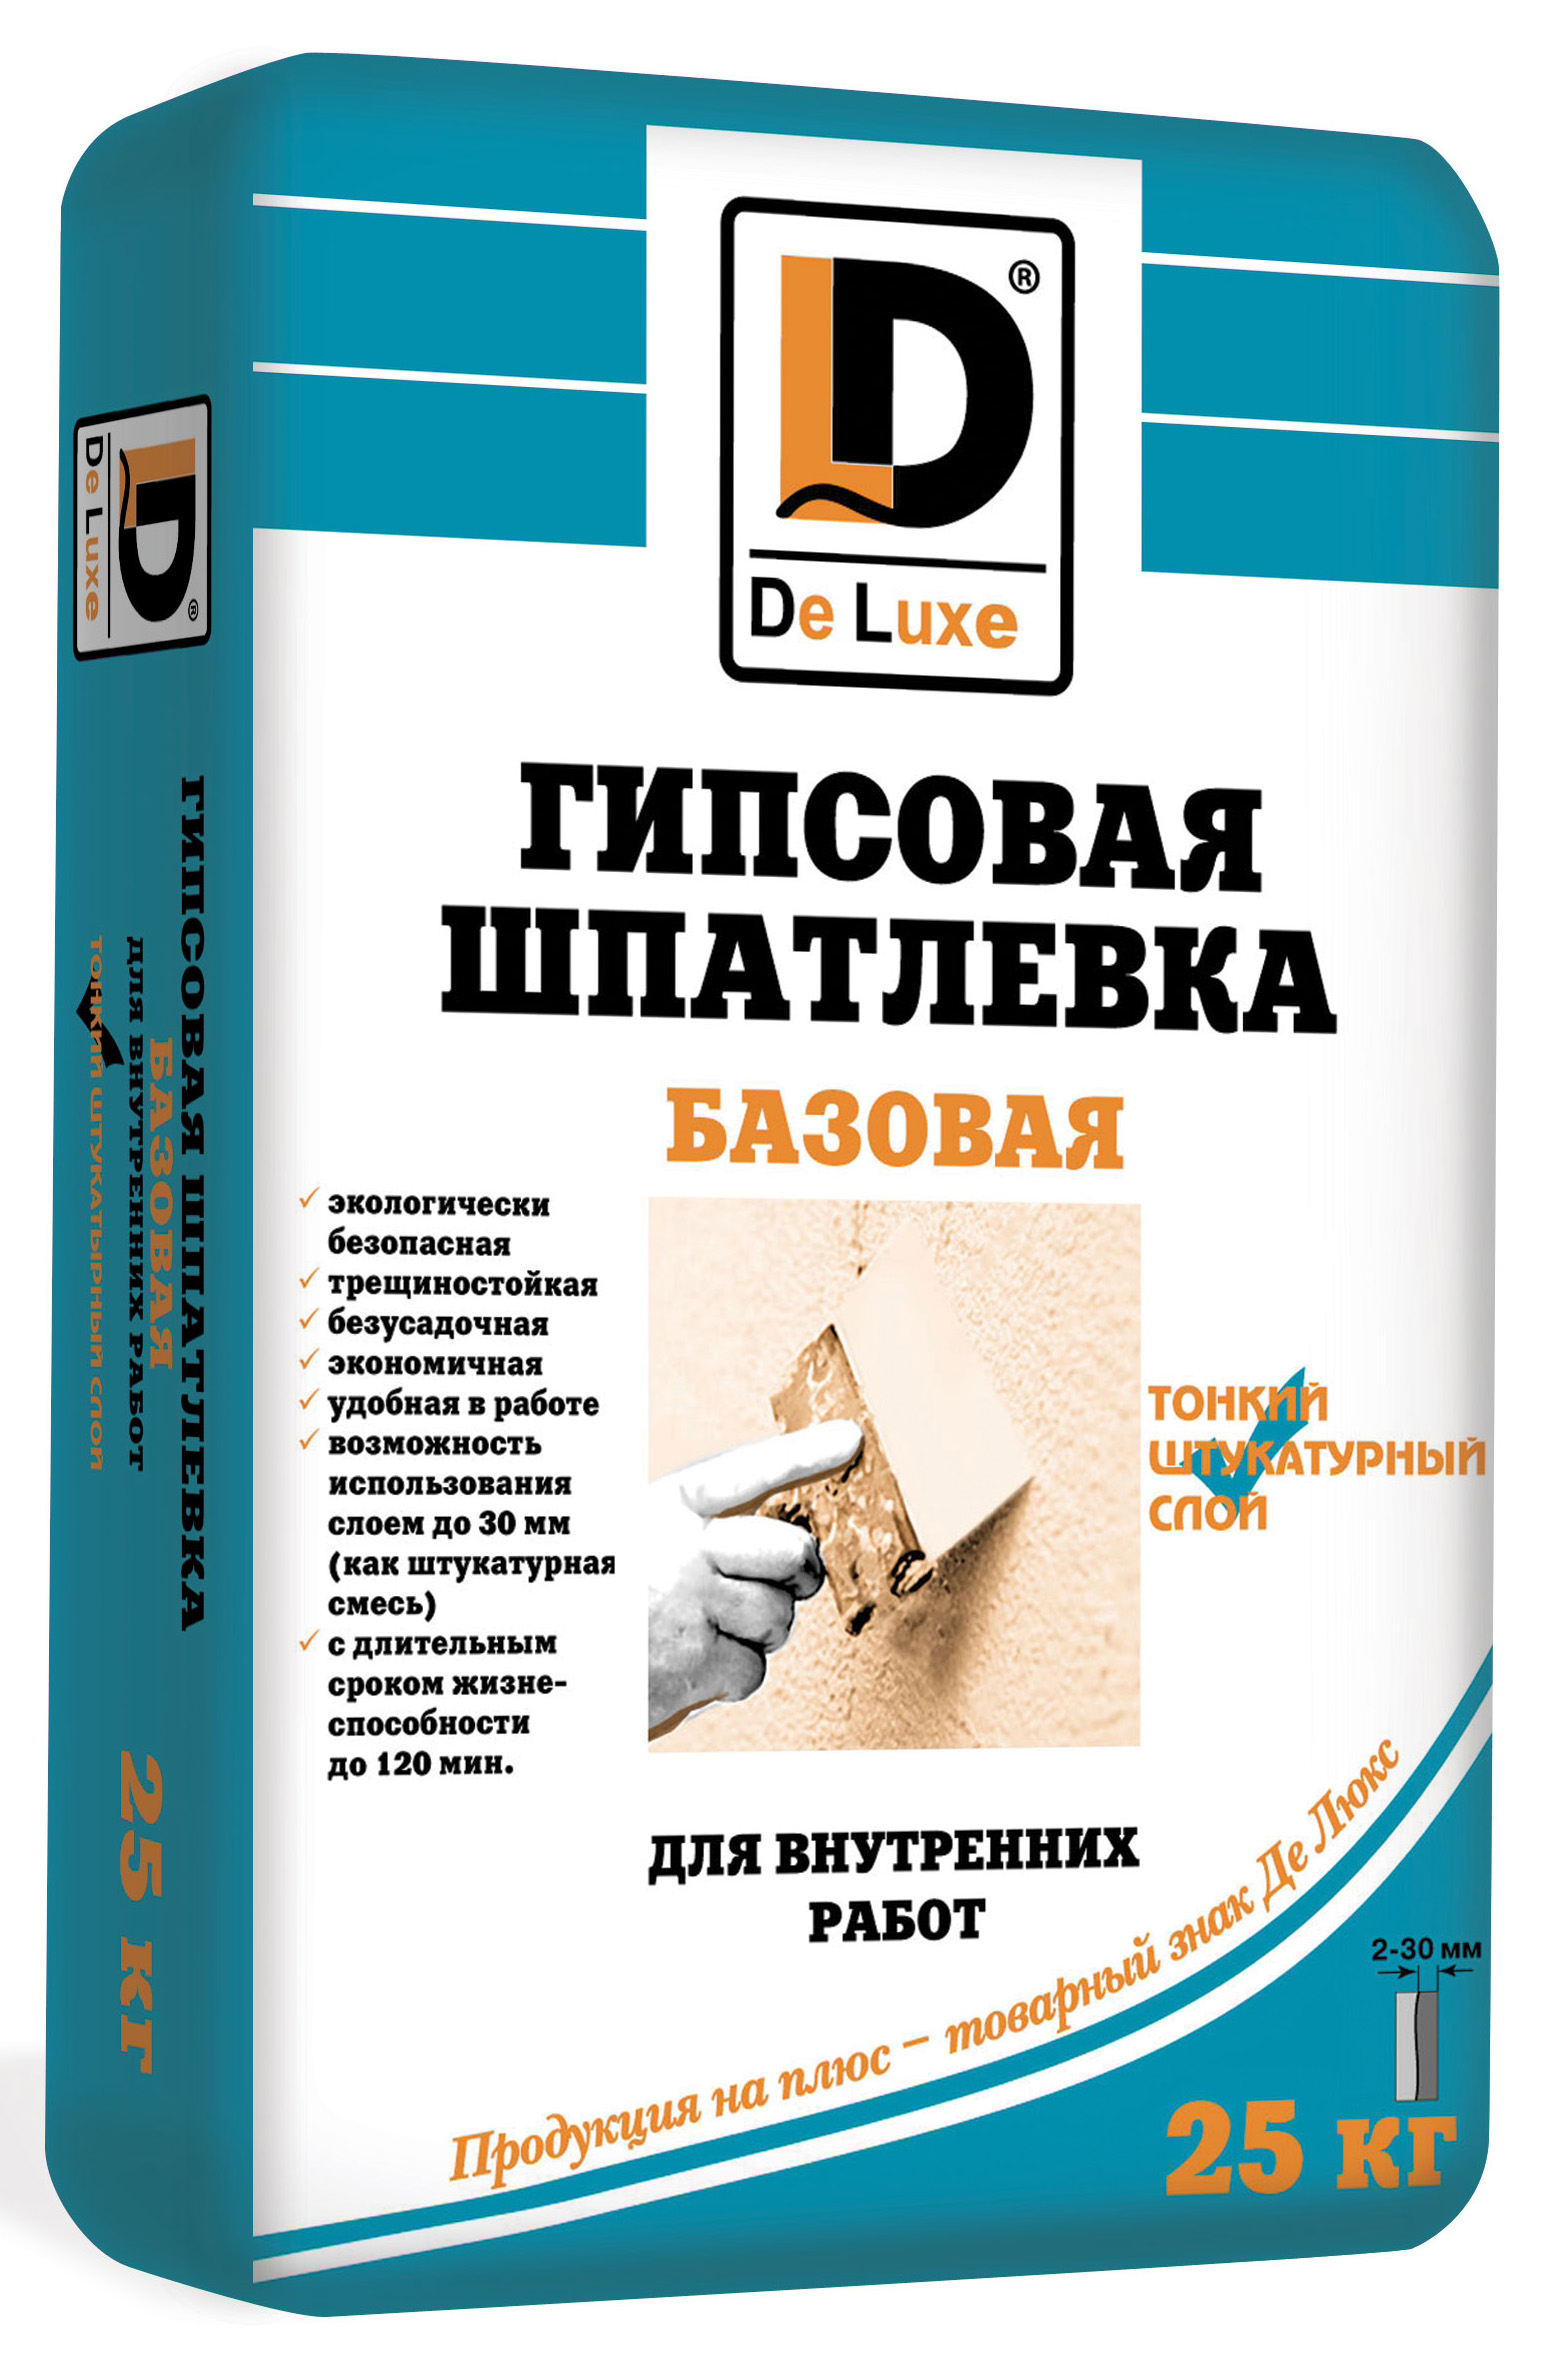
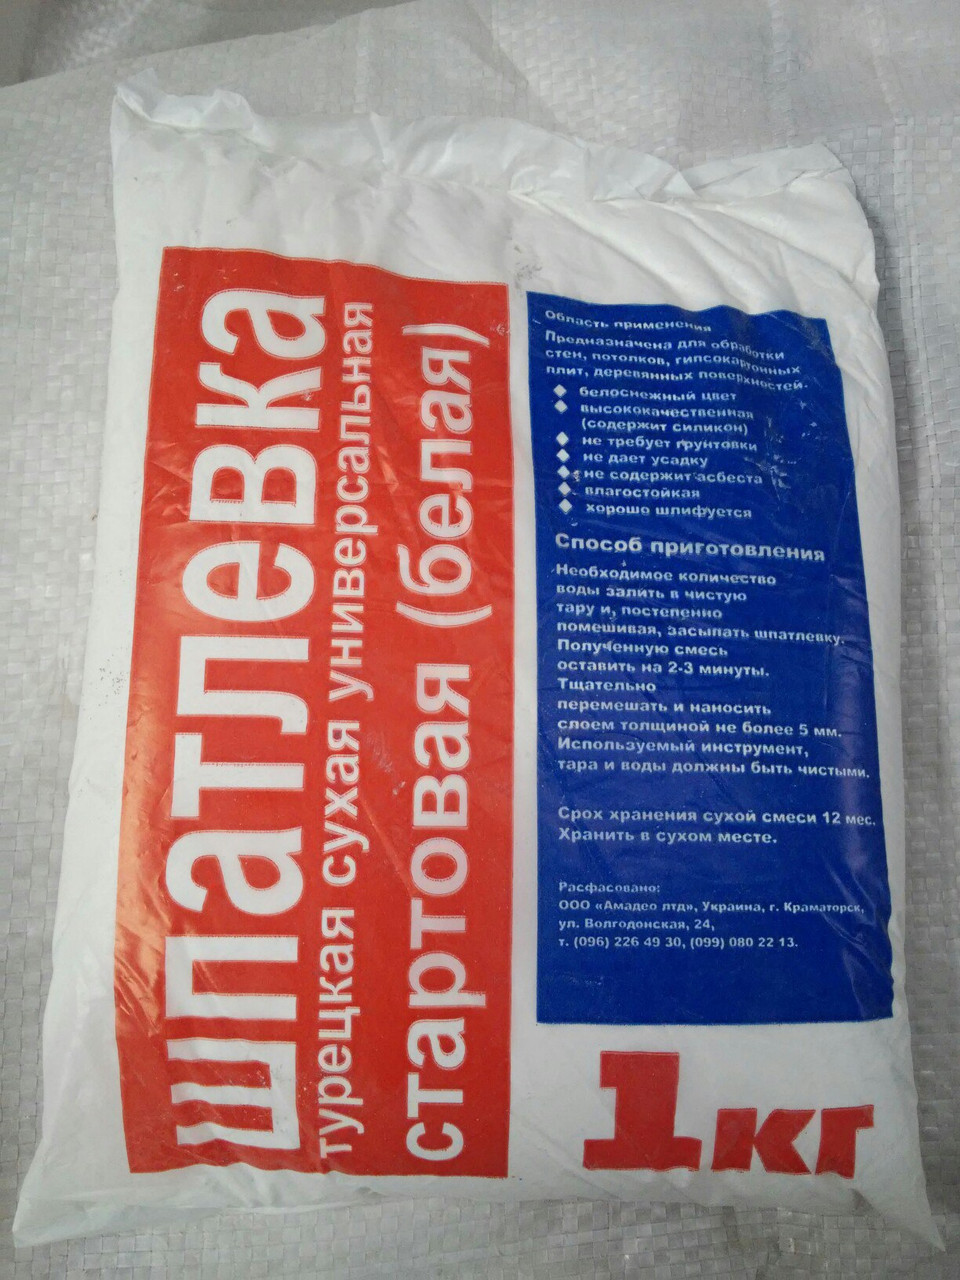
Some putty compounds are sold in finished form, but there are putties, which are dry mixes.

People who have little experience in applying putty materials with their own hands or beginners, the first time starting to repair, it is usually difficult to immediately find the best option. To facilitate the task, you should understand the features of specific types of plaster. When deciding on a choice, they take into account the following nuances:
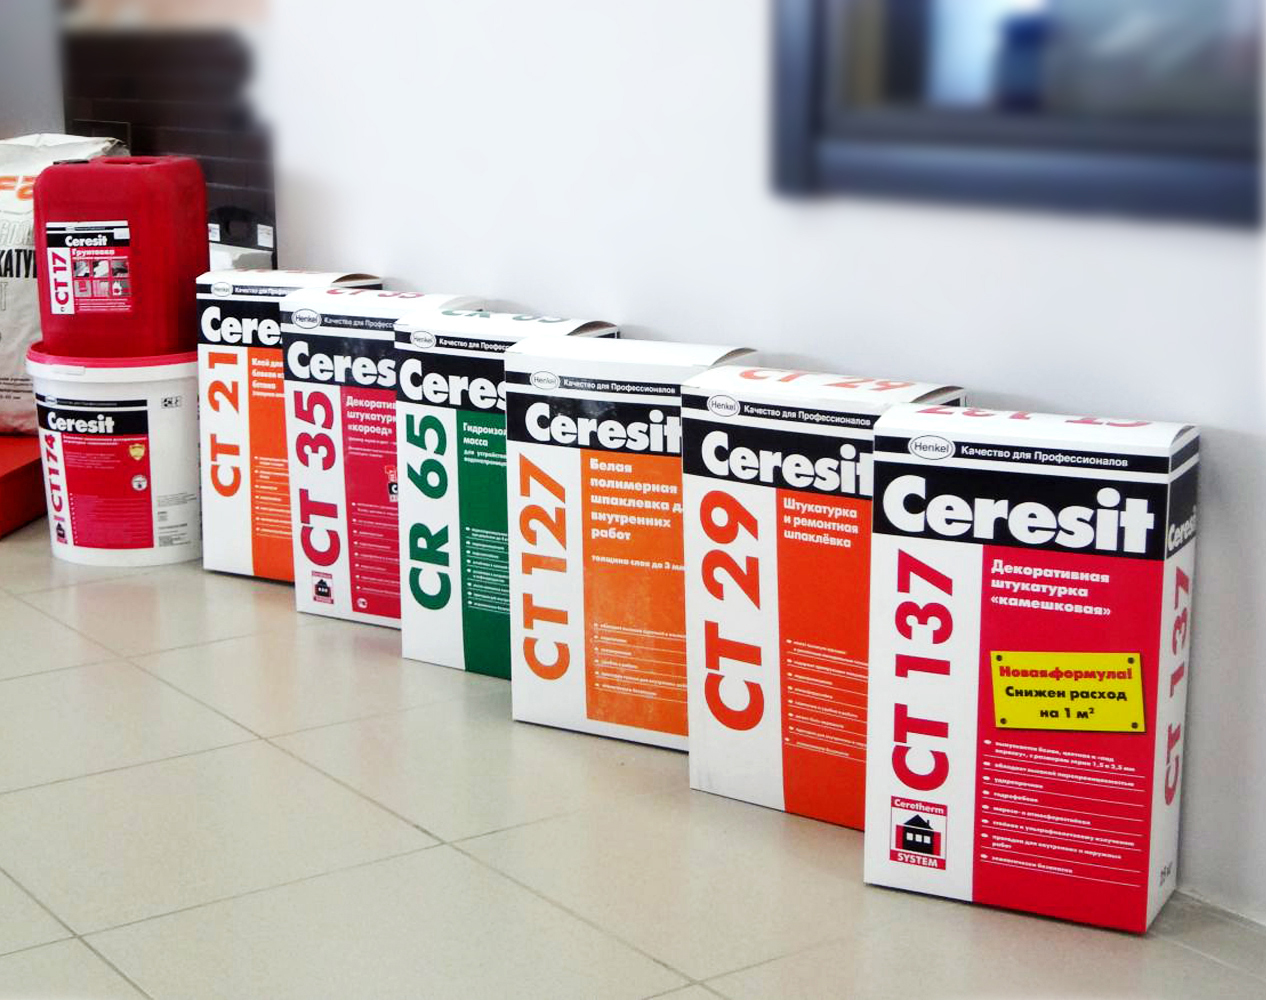
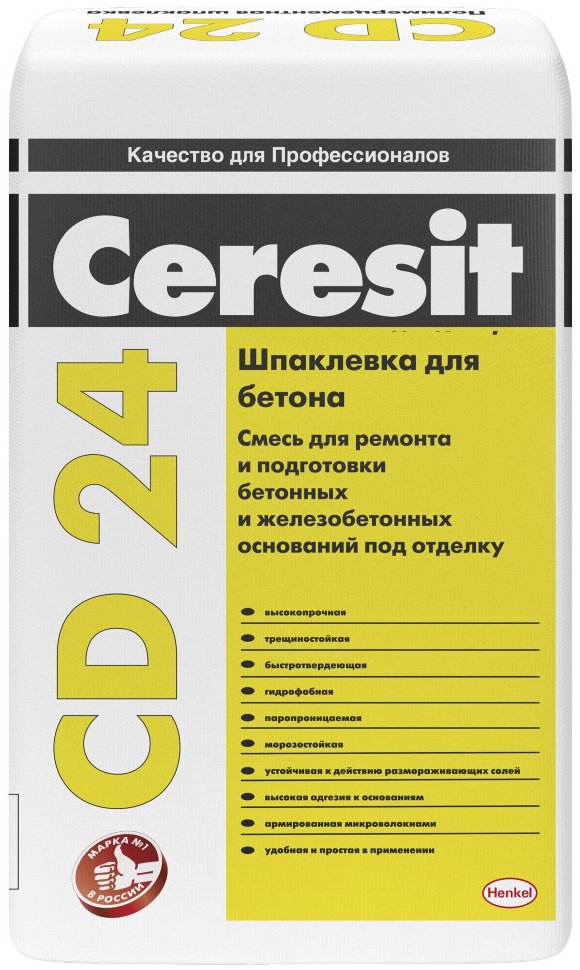
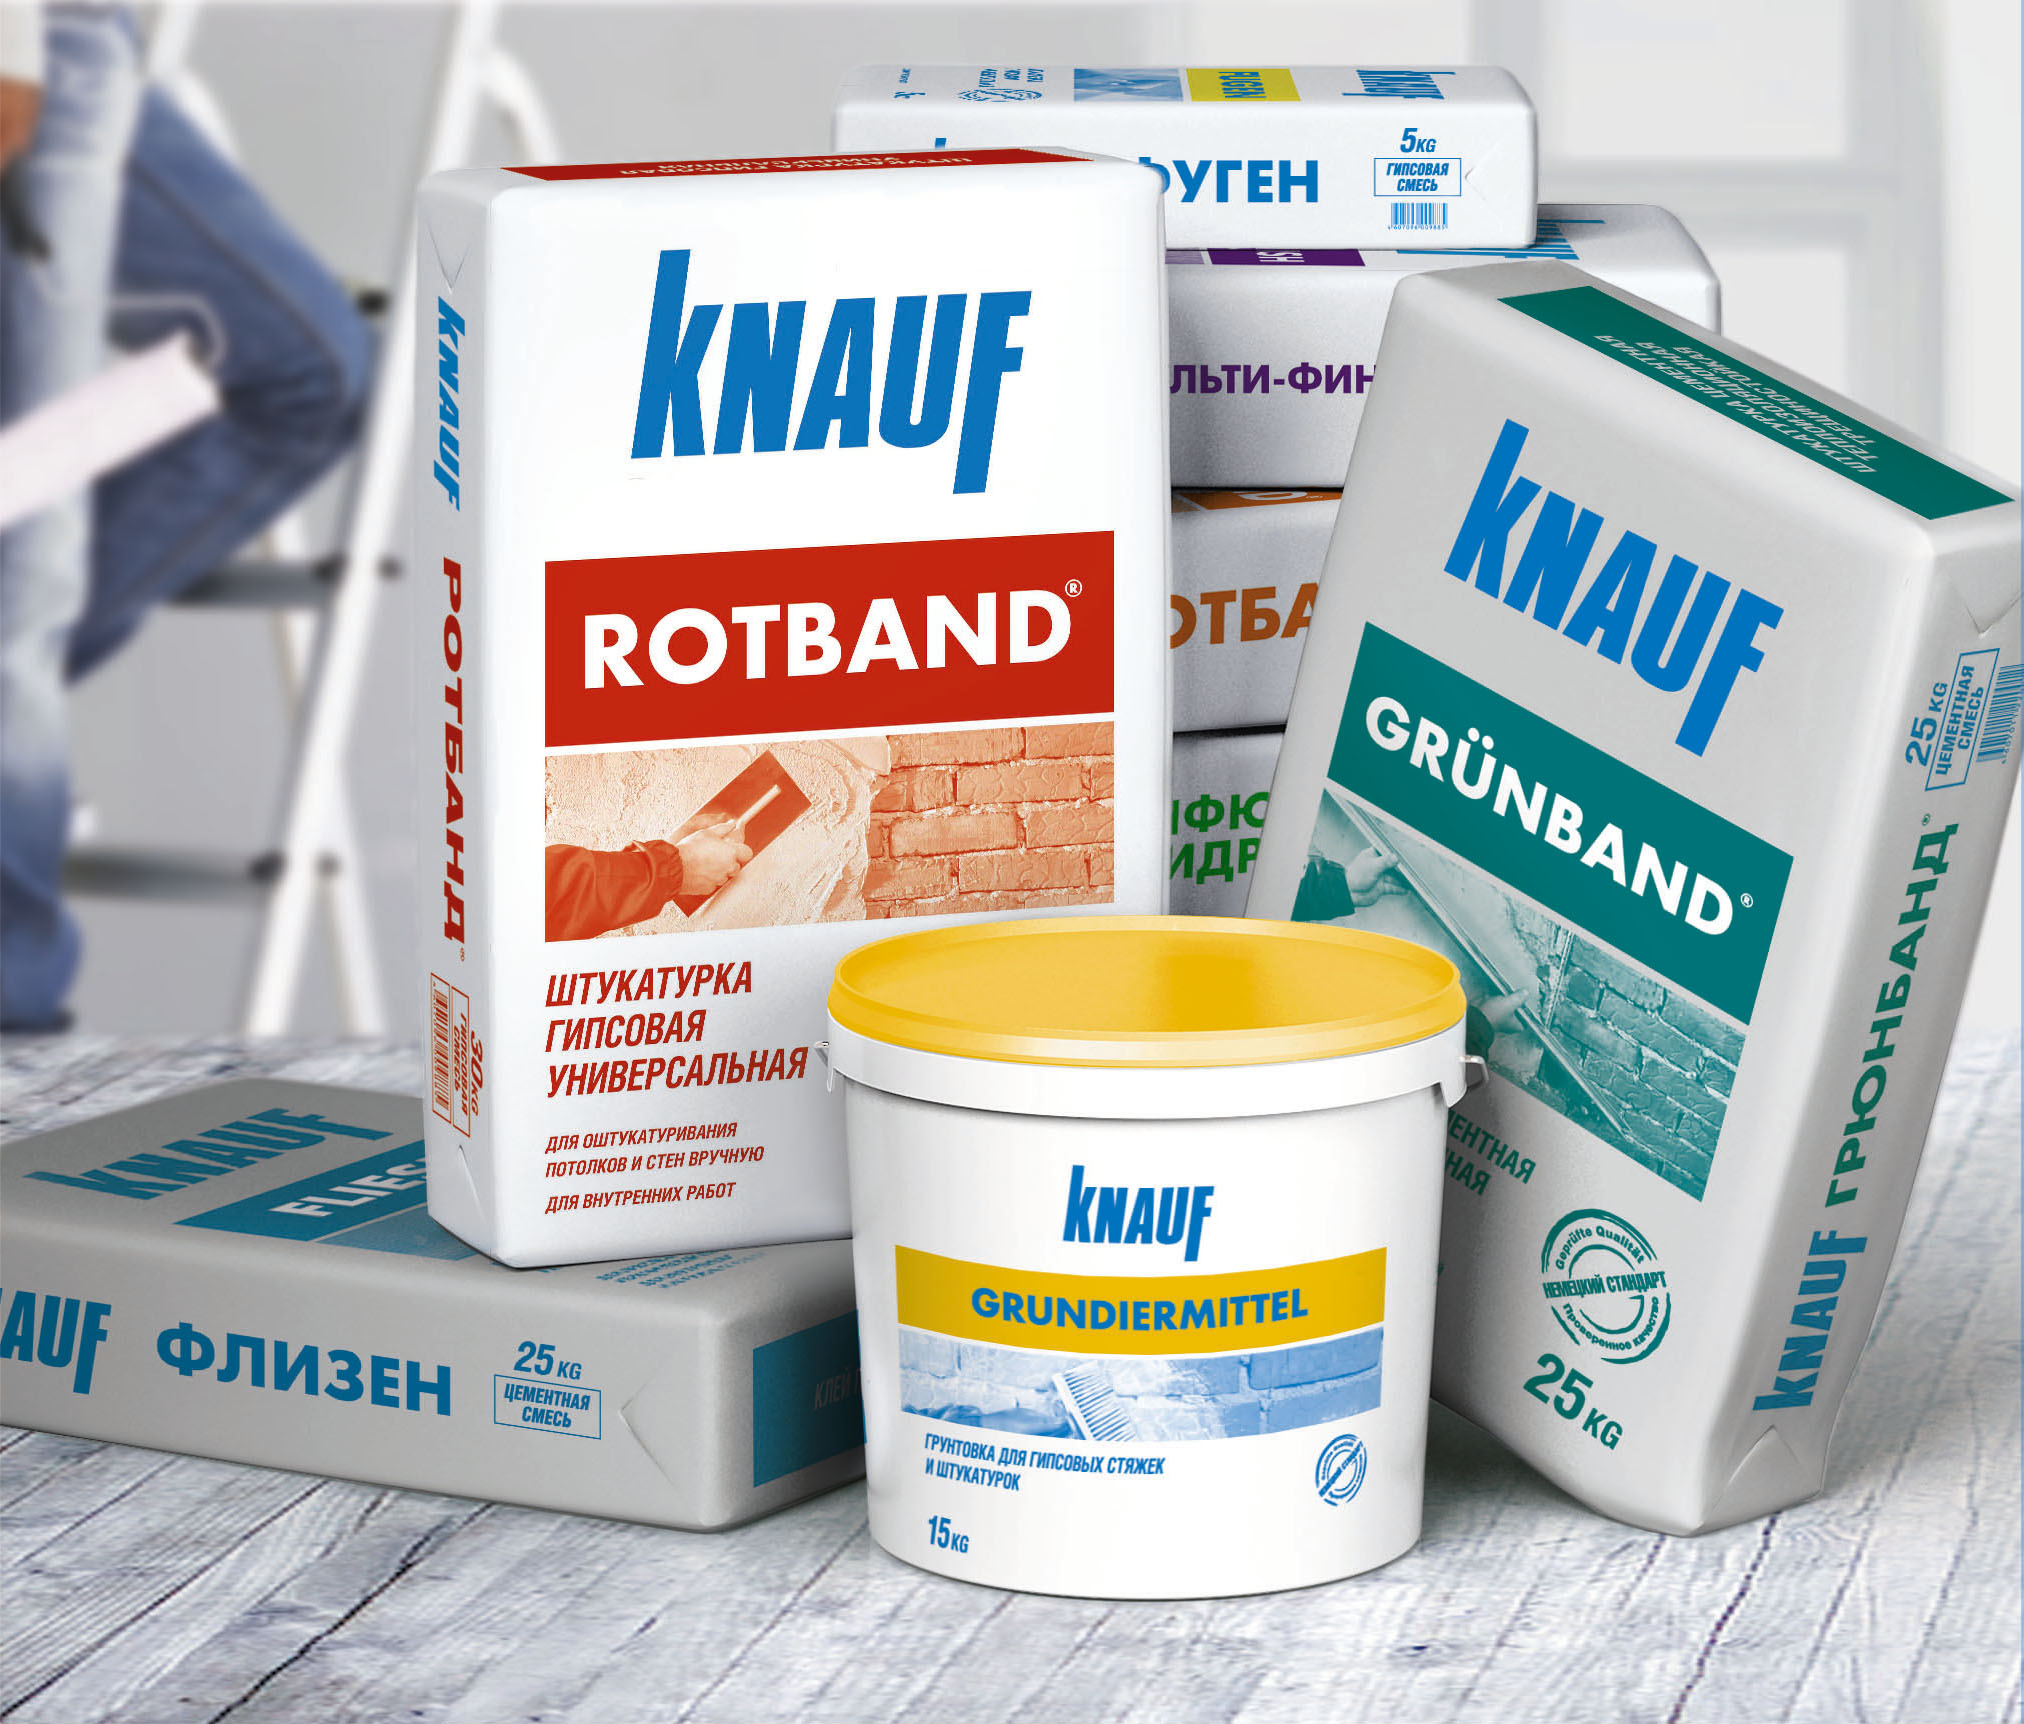
- On the market there are many putty materials that are intended for specific surfaces. On many packages it is indicated: for concrete, for drywall and so on.
- Putty mixtures differ in the composition of the ingredients of the base and additional components that affect the characteristics of the product. For example, the presence of plasticizers provides plasticity to the solution, and after drying, the likelihood of cracks on the ceiling decreases.
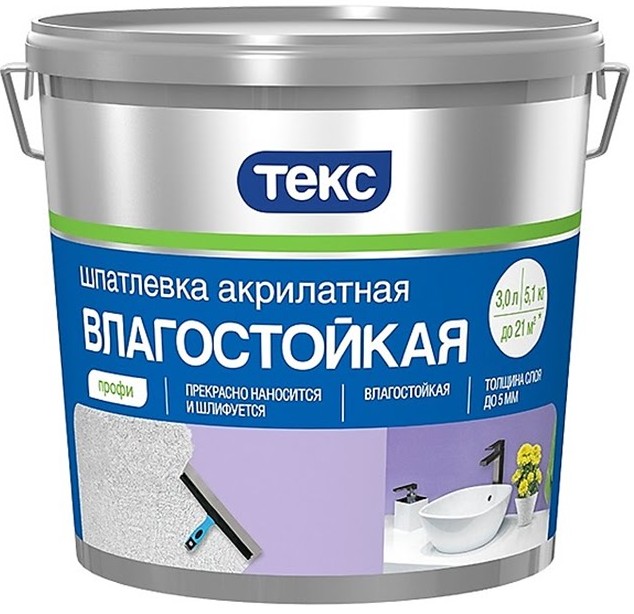
- On sale found putties, which are focused on the use in separate premises. The package may indicate the conditions of use - for rooms with high humidity, which is important for the bathroom and kitchen. Mention the high rates of individual properties - has a high moisture resistance, high refractoriness, and the like. Putty for painting itself must be resistant to the effects of the liquid.
If you can not decide on the type and amount of material, contact the consultants in the store for help. Some do not take into account that the putty is finishing and starting, and use only the same type of compositions.It is not recommended to do this, otherwise the coating will turn out to be of poor quality and short-lived.
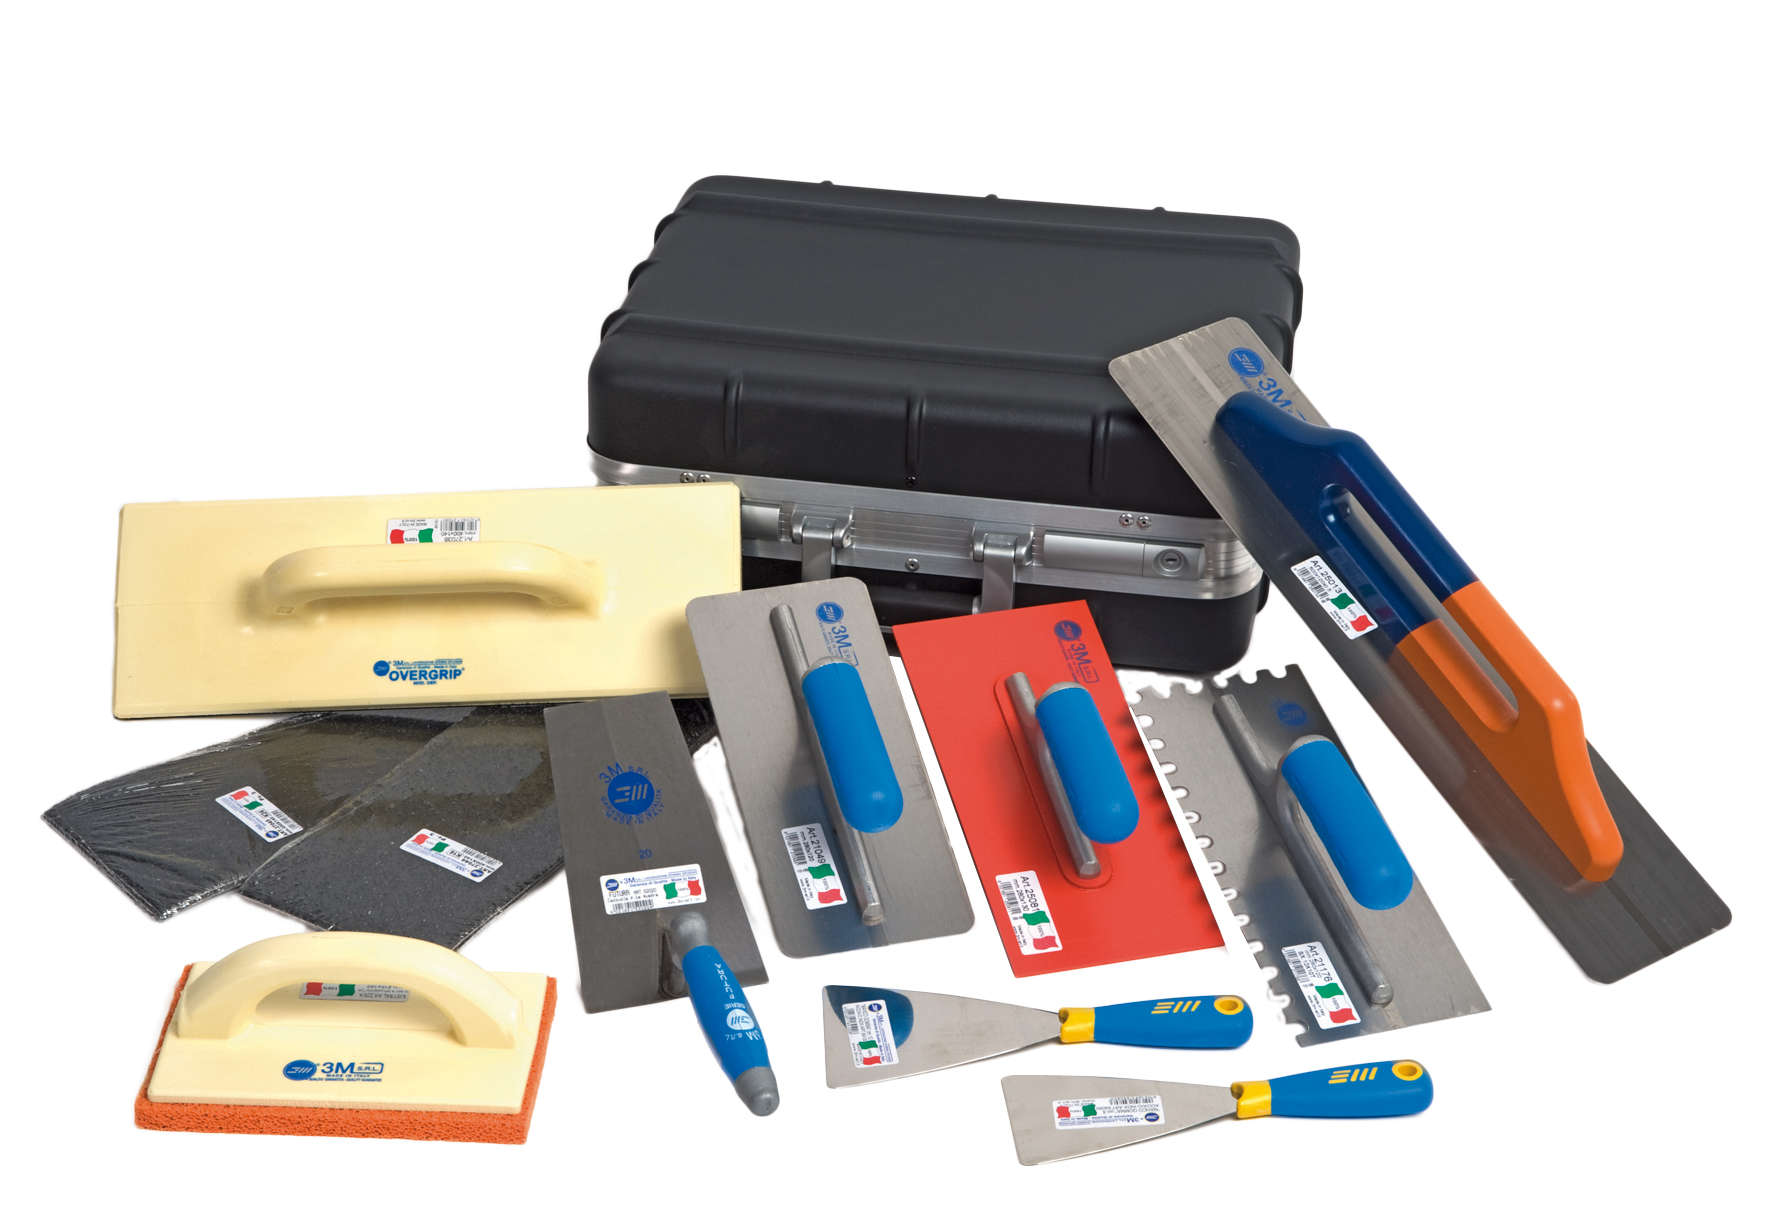
Required tools
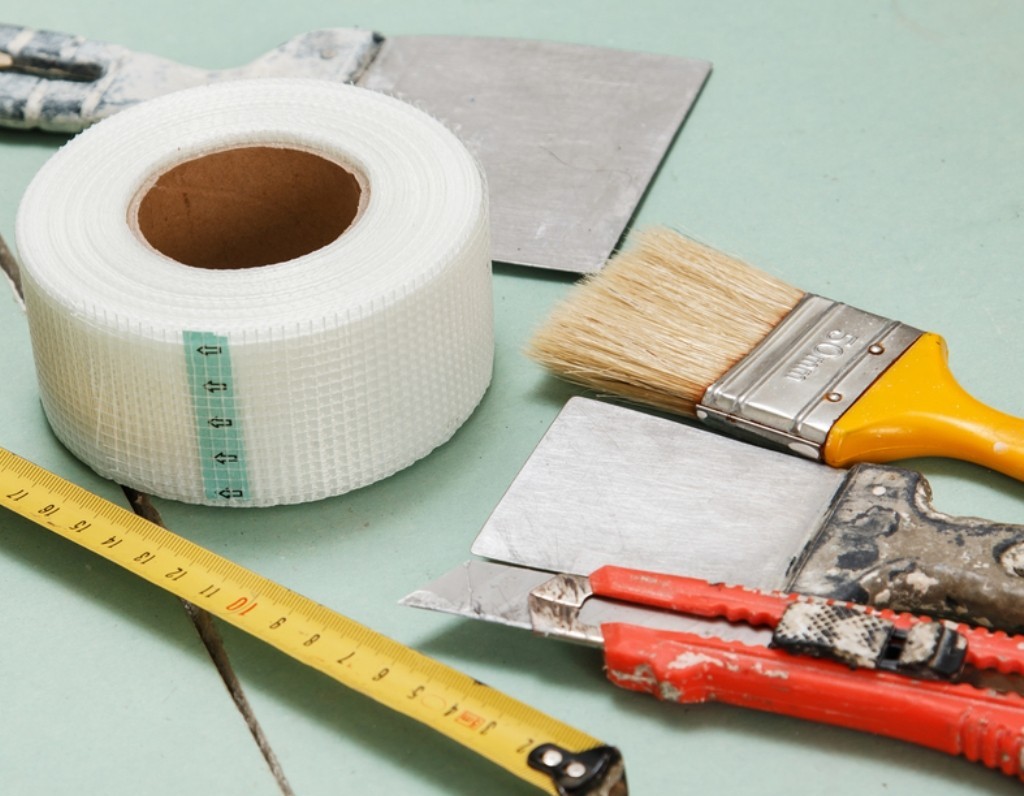
It is recommended to immediately prepare the tools that will be needed for all works with the ceiling: for priming, puttying, painting. The list includes:
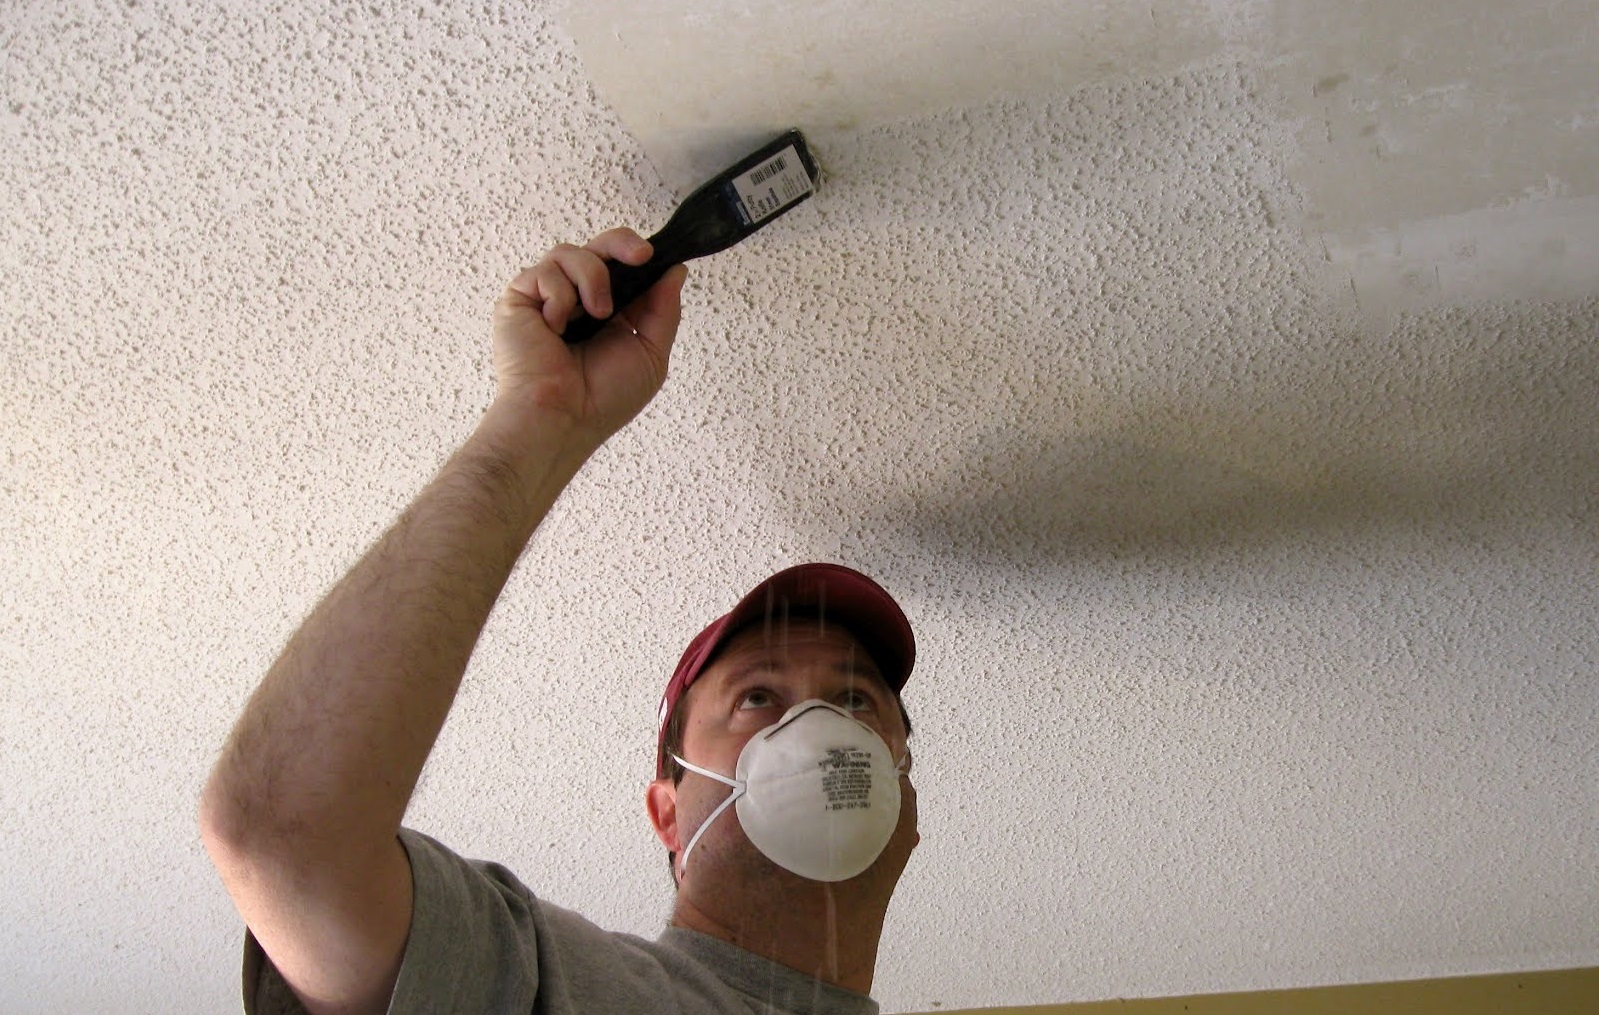
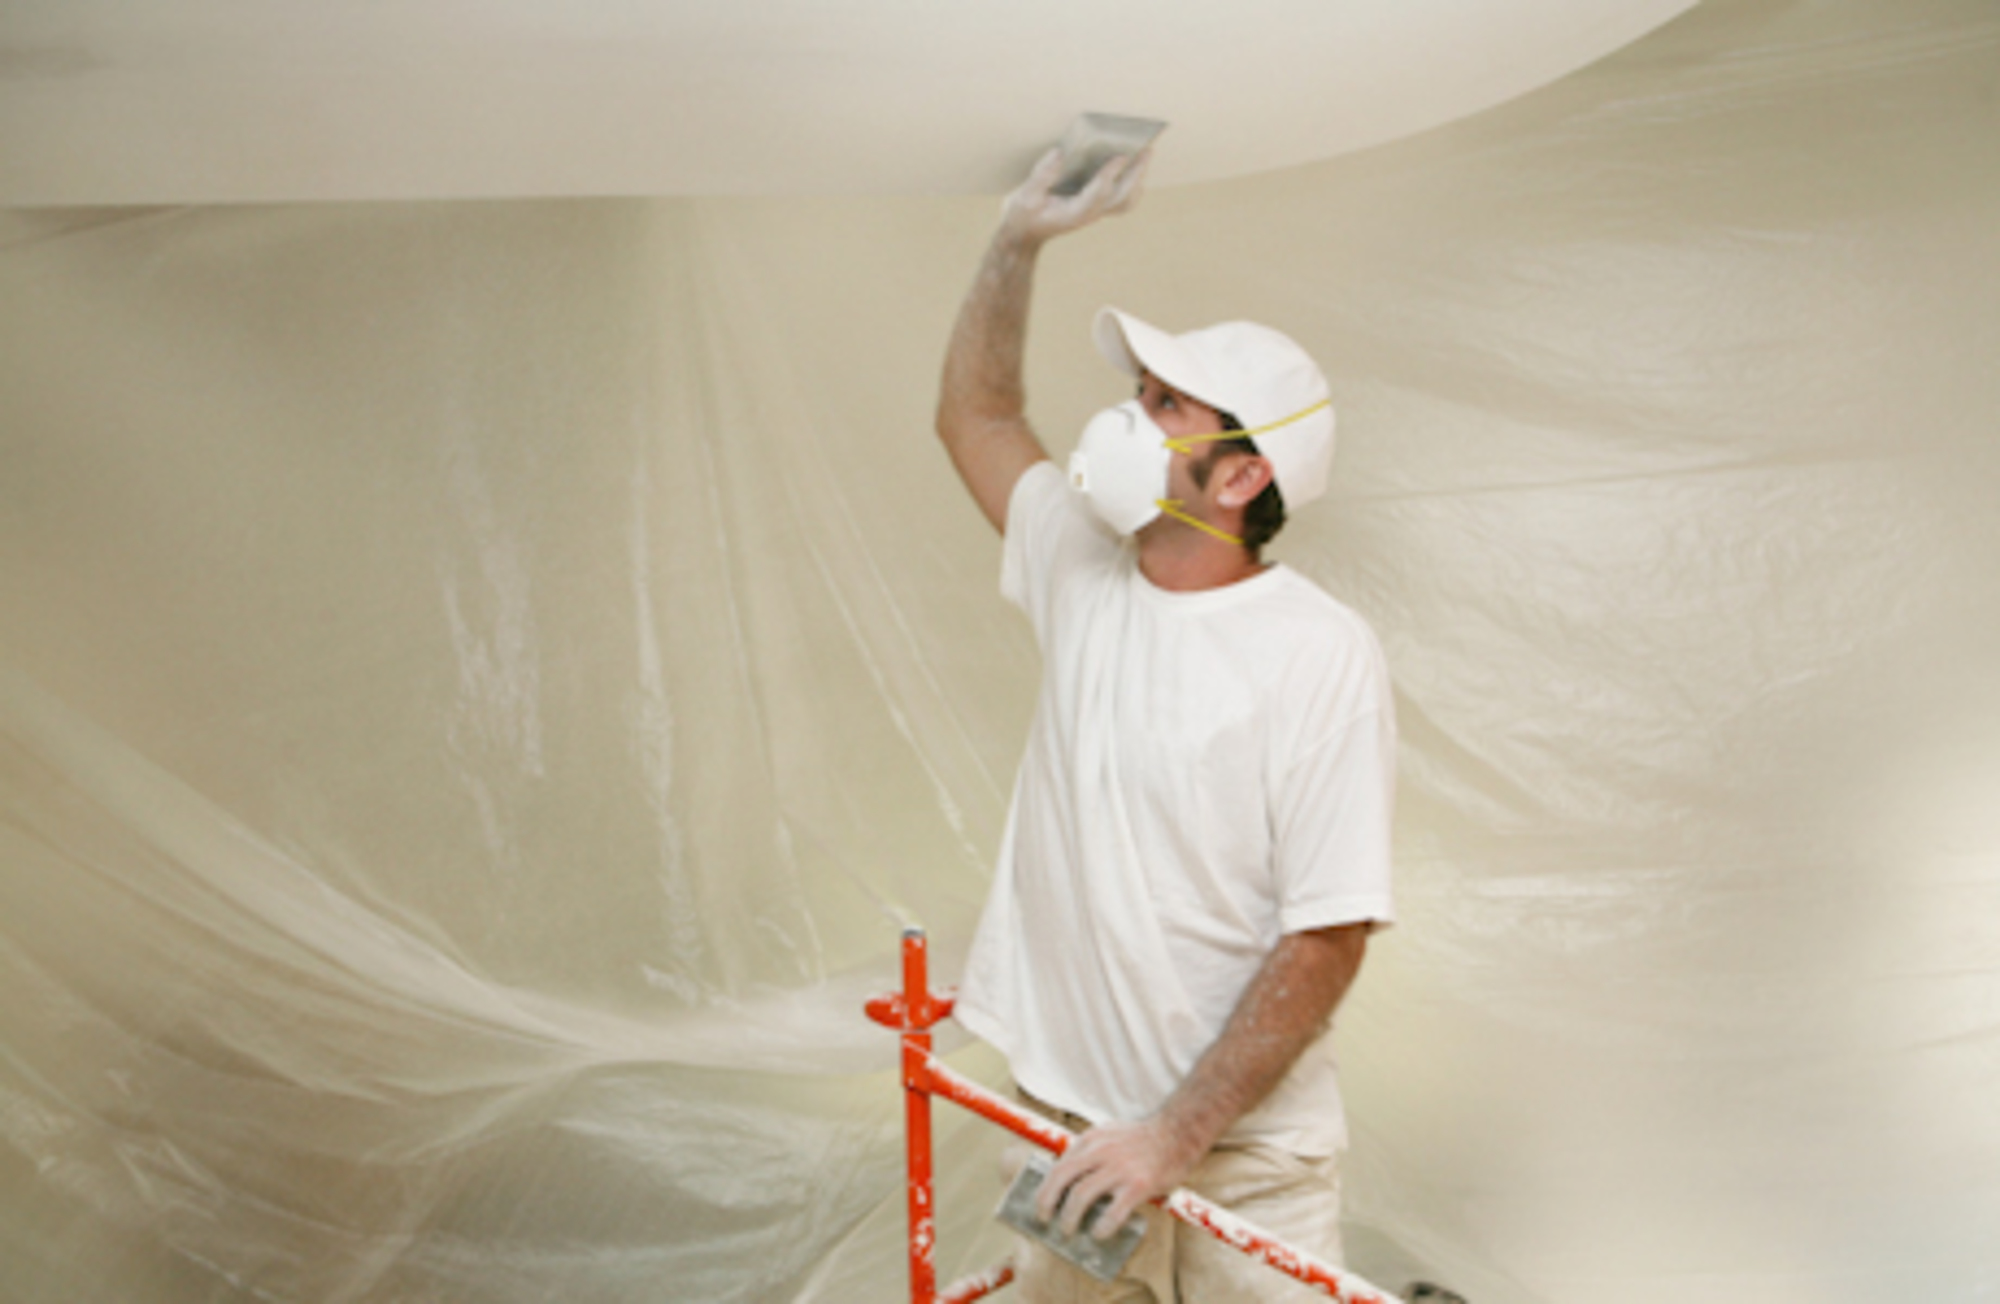
- protective mask or respirator;
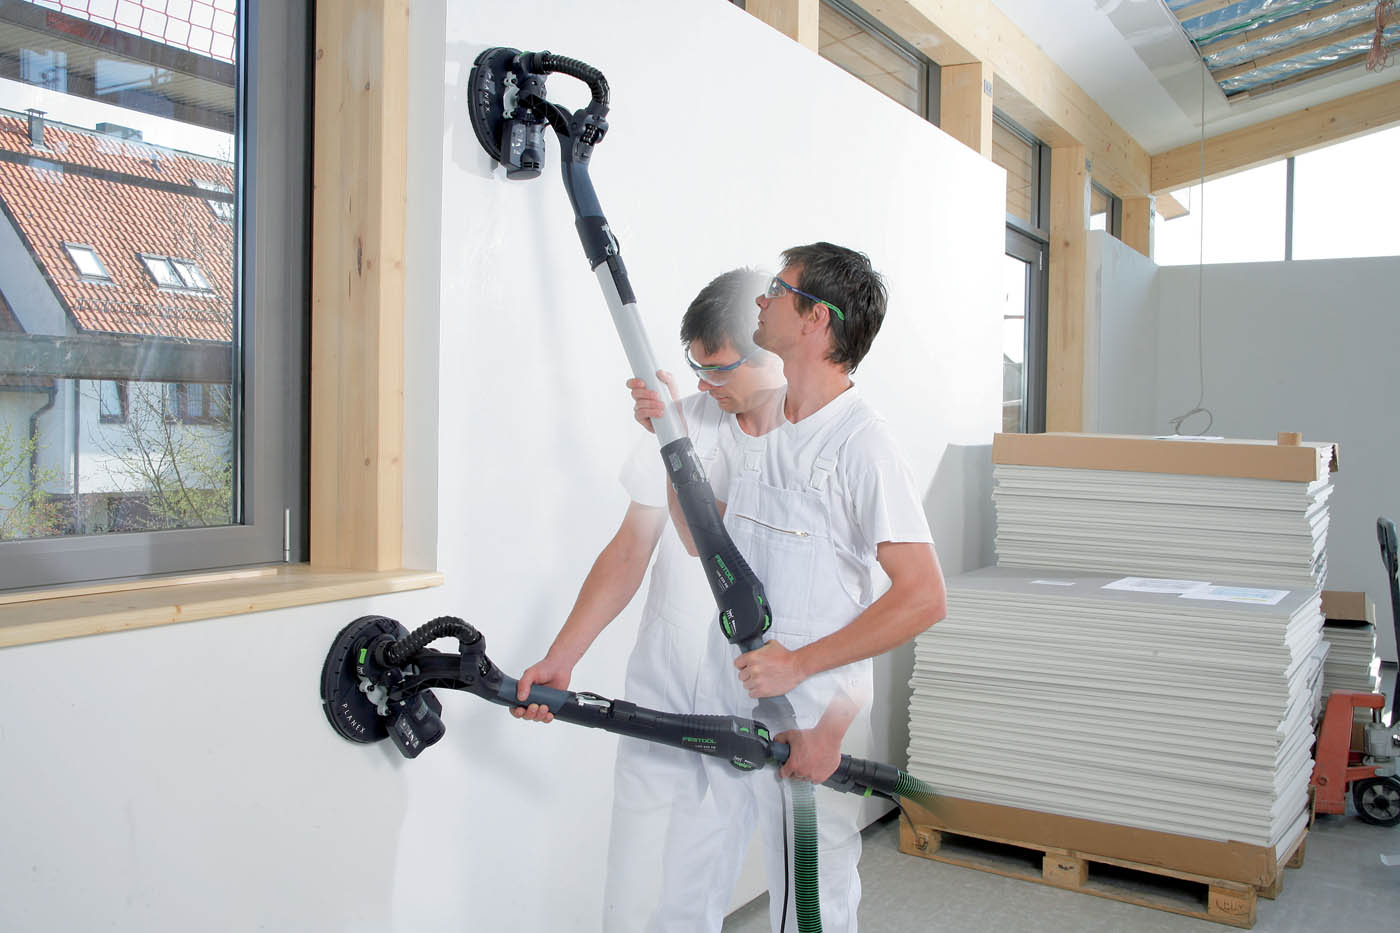
- grinder, with which you can clean the ceiling and widen the gap;
- building level;
- spatulas;
- mixer nozzle and electric drill;
- various brushes;
- containers for materials used;
- sandpaper, abrasive mesh;
- roller.


Surface treatment technology
It is not necessary to immediately apply the putty to the ceiling; you must first carefully prepare the surface. All old coatings should be removed from the substrate, then cleaned of the dust formed. After that, apply a primer, usually two layers are enough.
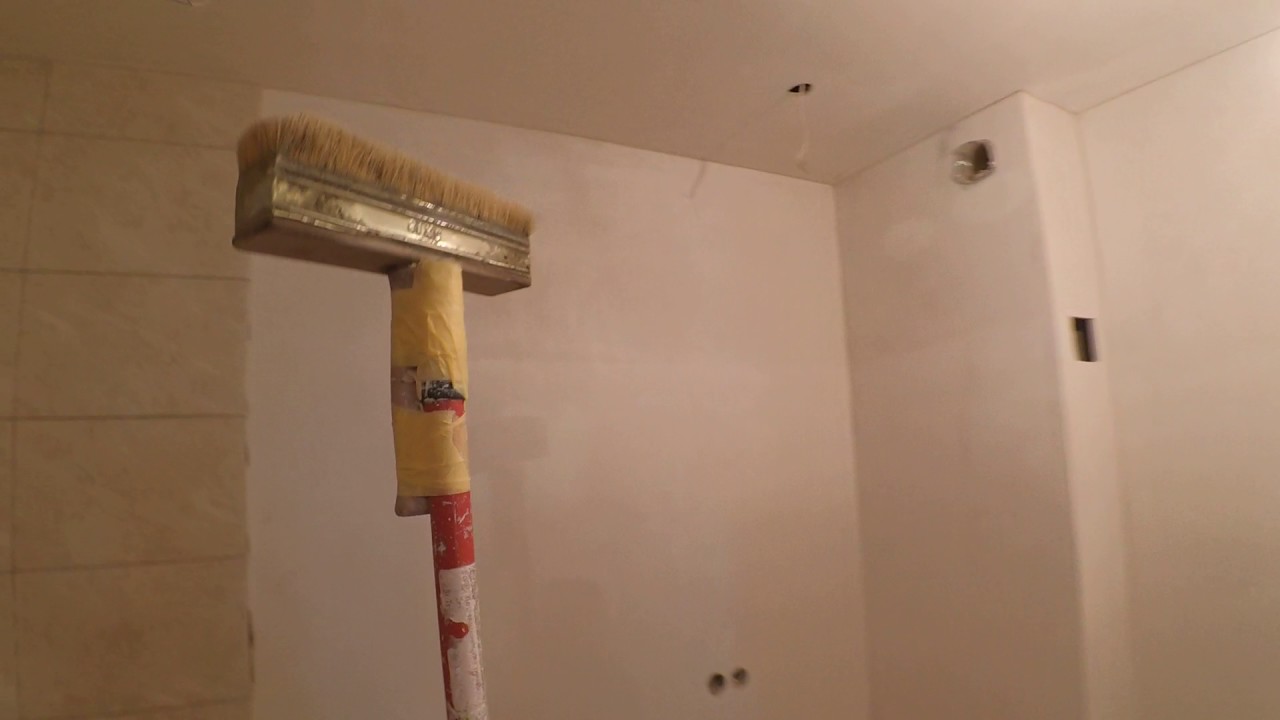
On the ceiling should not be whitewash, pieces of wallpaper, old paint. You can get rid of whitewash using a wet brush.
Wet the surface, wait a few minutes and remove the coating with a spatula from the metal.
To remove old obi, wet them with a damp cloth or brush, after which they are fairly easy to remove using a convenient tool.In some cases, it is necessary to repeat the procedure to remove all residual coatings from the surface.
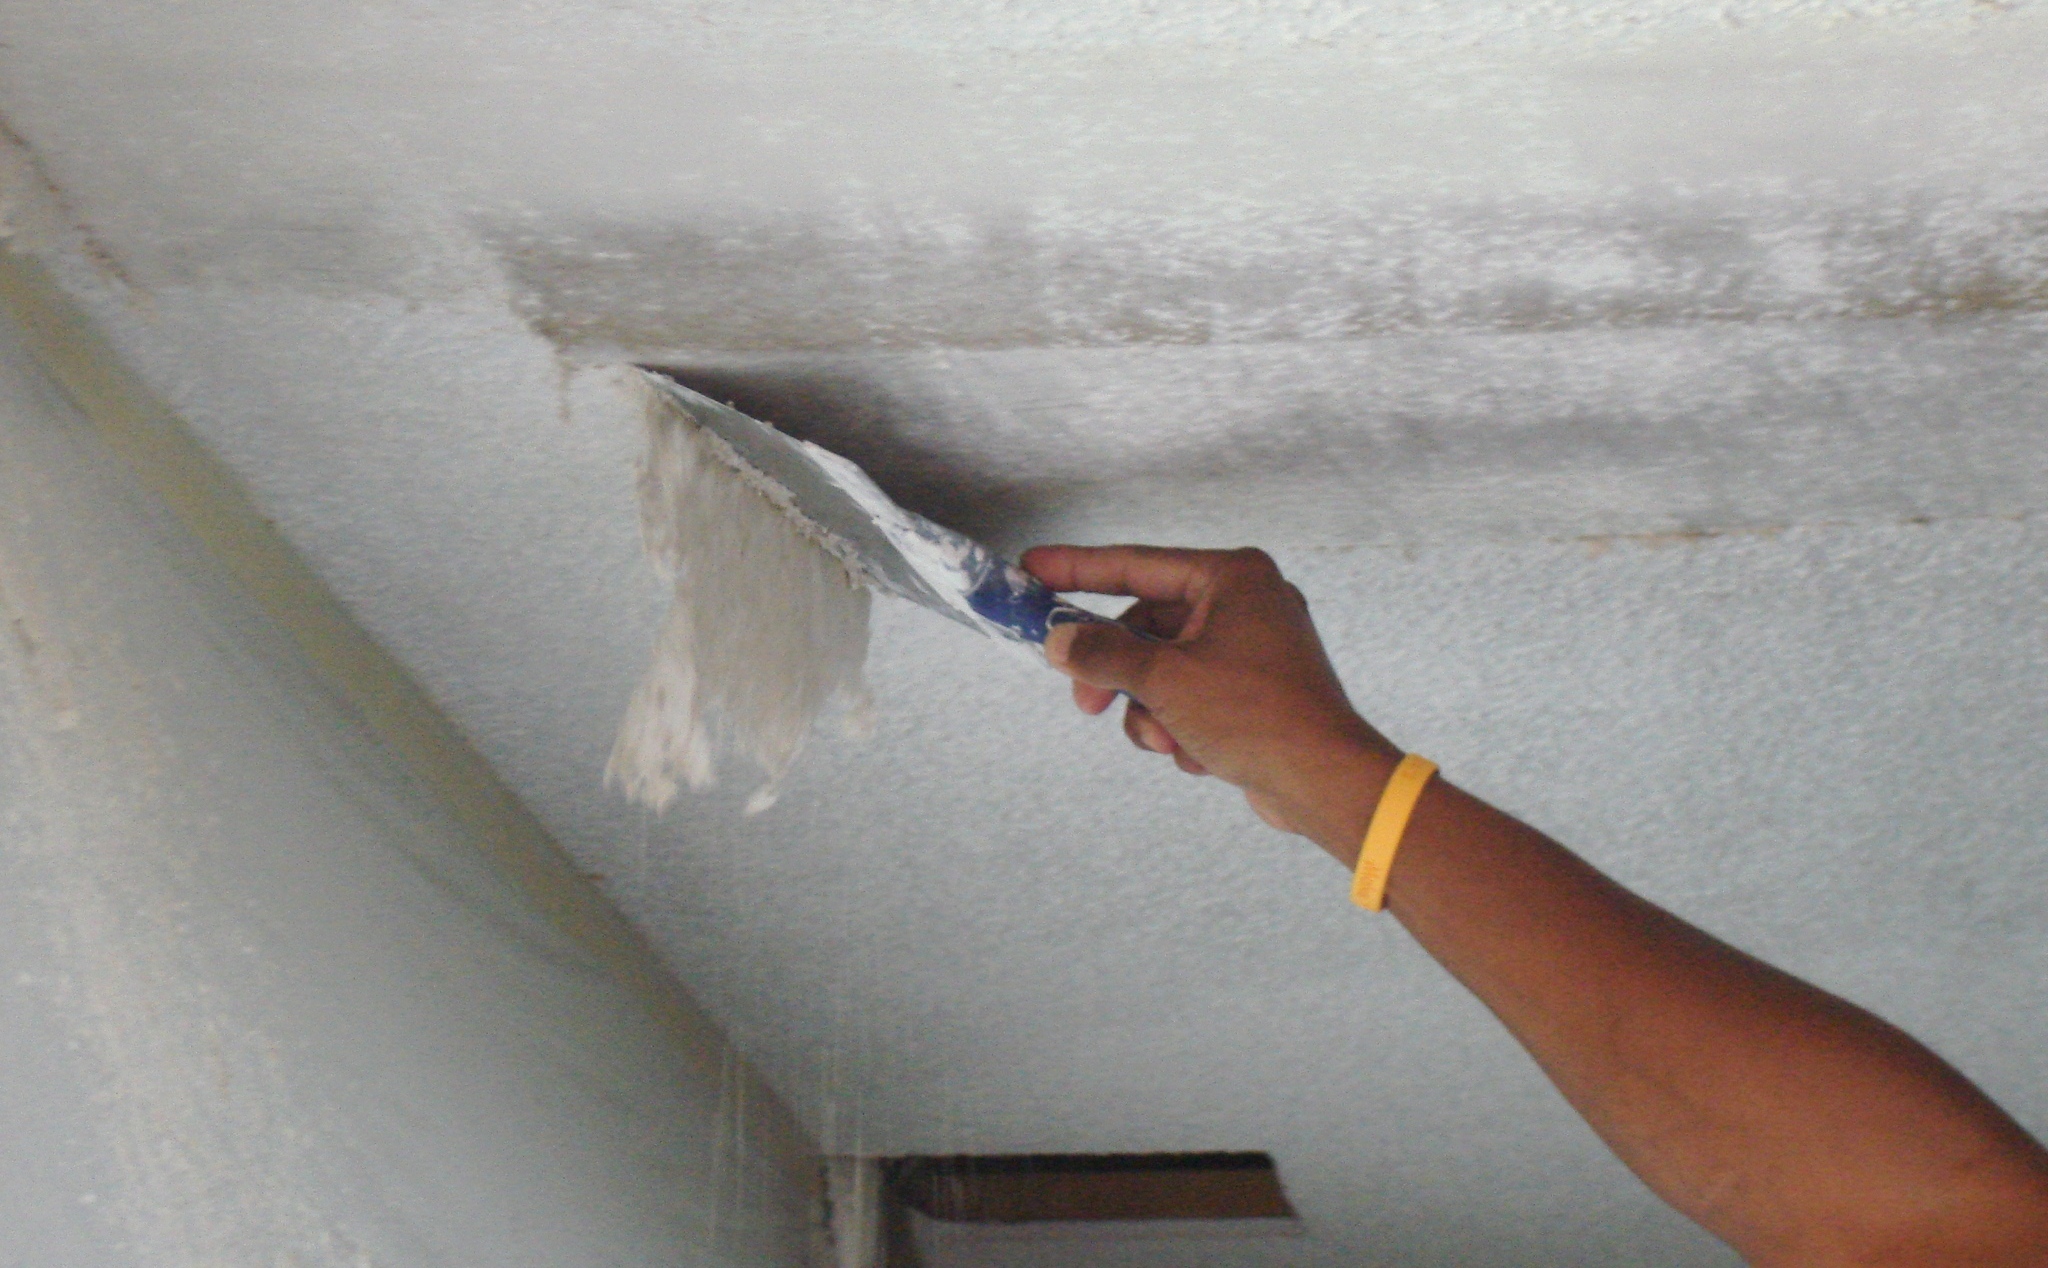
The most difficult to remove from the ceiling paint. You will not be able to remove the paintwork manually, you will have to use a special device - a grinder. With it, you can effortlessly get rid of all layers. However, in some cases, a standard trowel is sufficient to remove the paintwork material.

Dust should be removed from the ceiling when there are no old coatings on it. It is recommended to use a vacuum cleaner with a soft nozzle. With this device you can do everything as quickly and easily as possible. If this option is not suitable for you, you can use a regular broom or a brush with soft bristles.
When the dust disappears from the surface, you will need to wipe it using a damp cloth. By doing so, you can prevent irregularities when applying a primer.
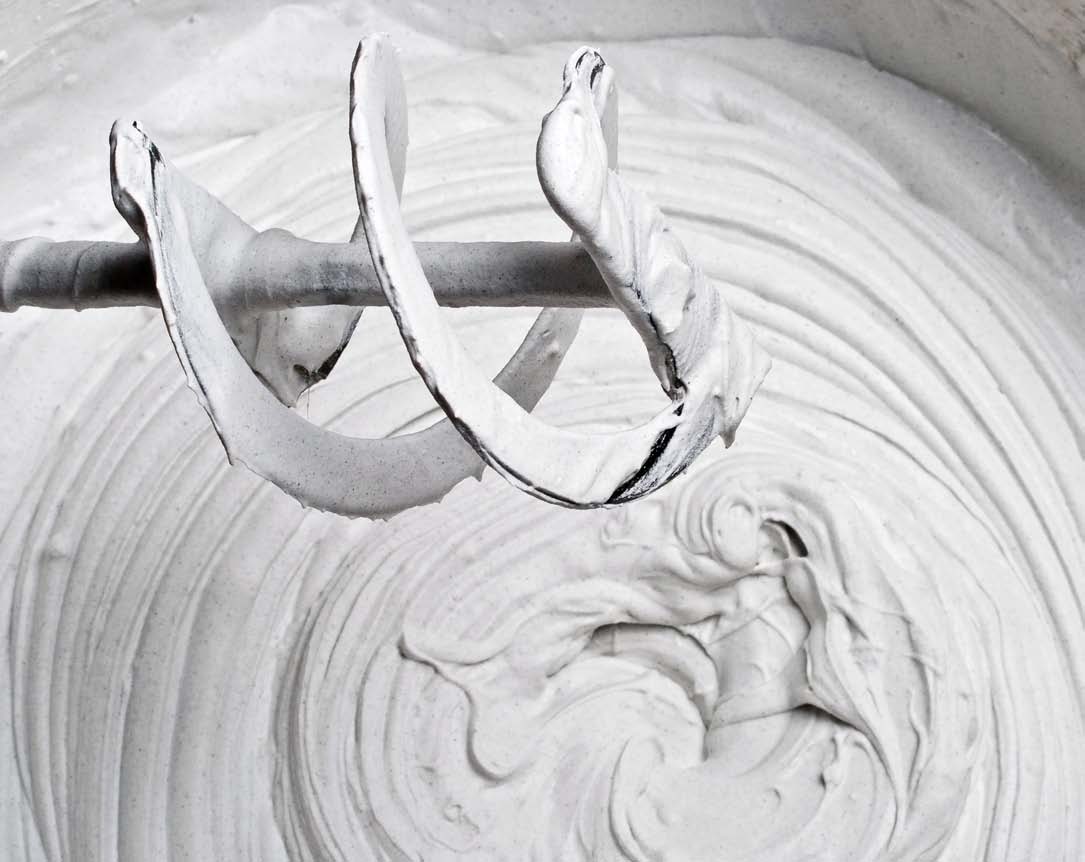
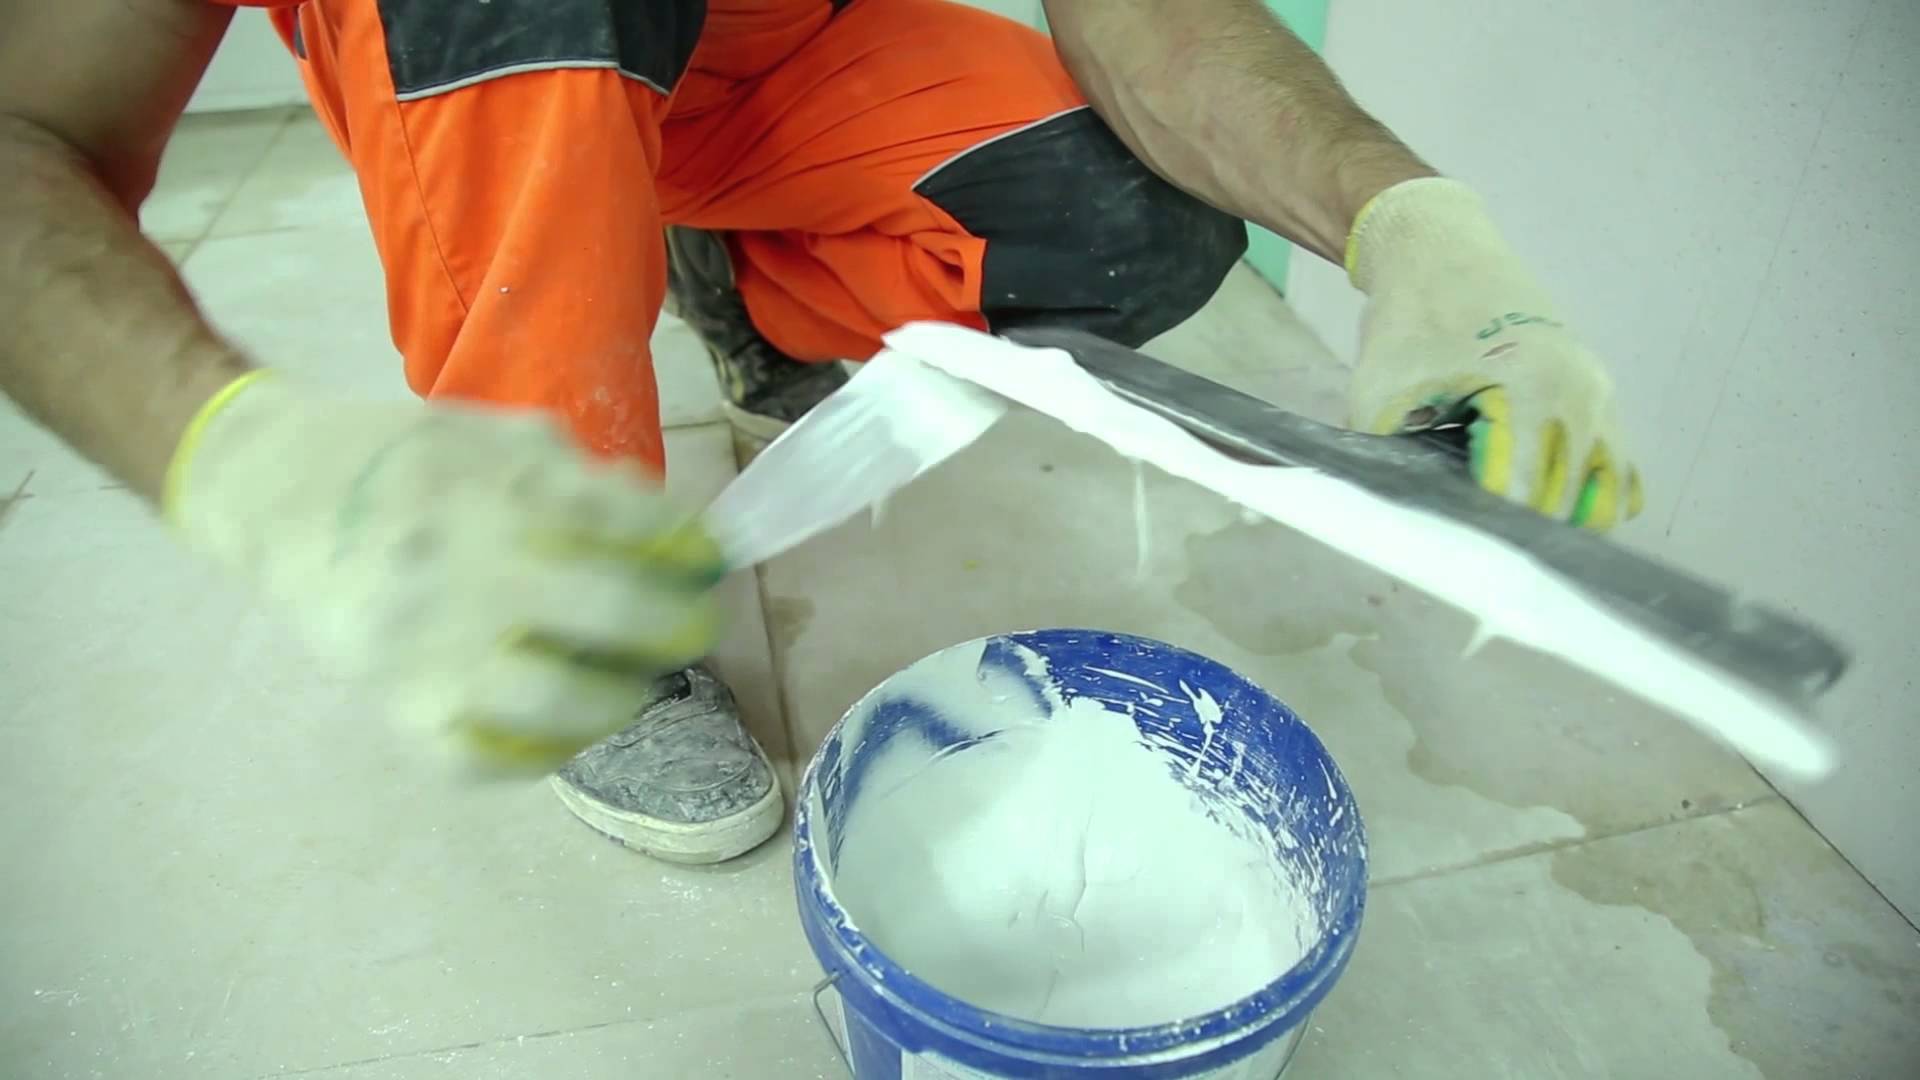
Mix preparation
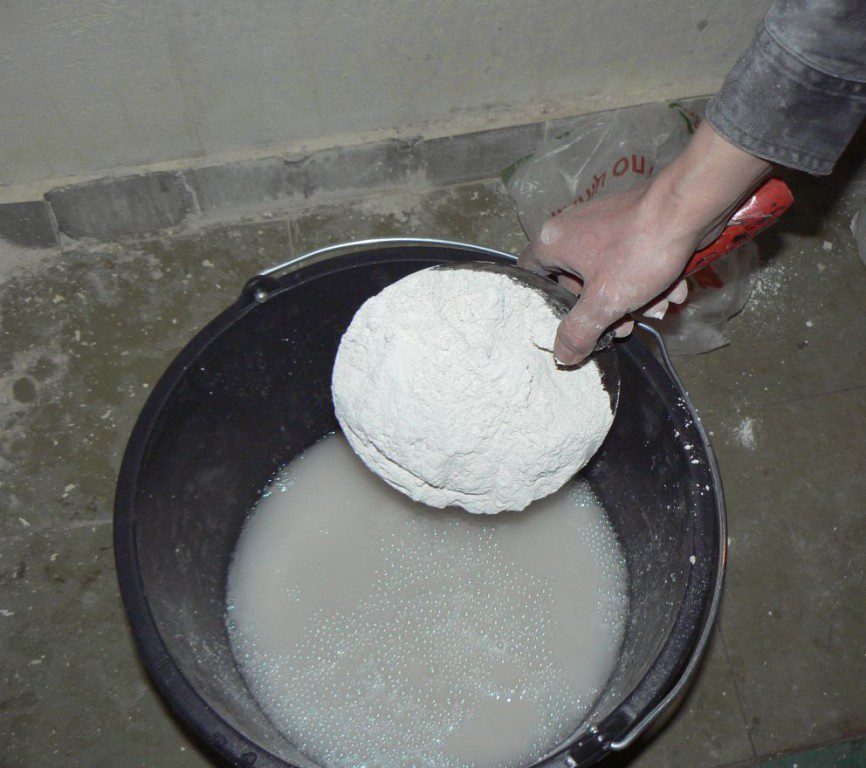
For all putty materials there are certain proportions. Preparing water in the solution, it is necessary to focus on the recommendations that are listed in the instructions.However, in most cases for putty is saved general principle of preparation:
- The dry mixture is mixed with water in a prepared container.
- Then everything is mixed with an electric drill. The solution should be completely homogeneous.
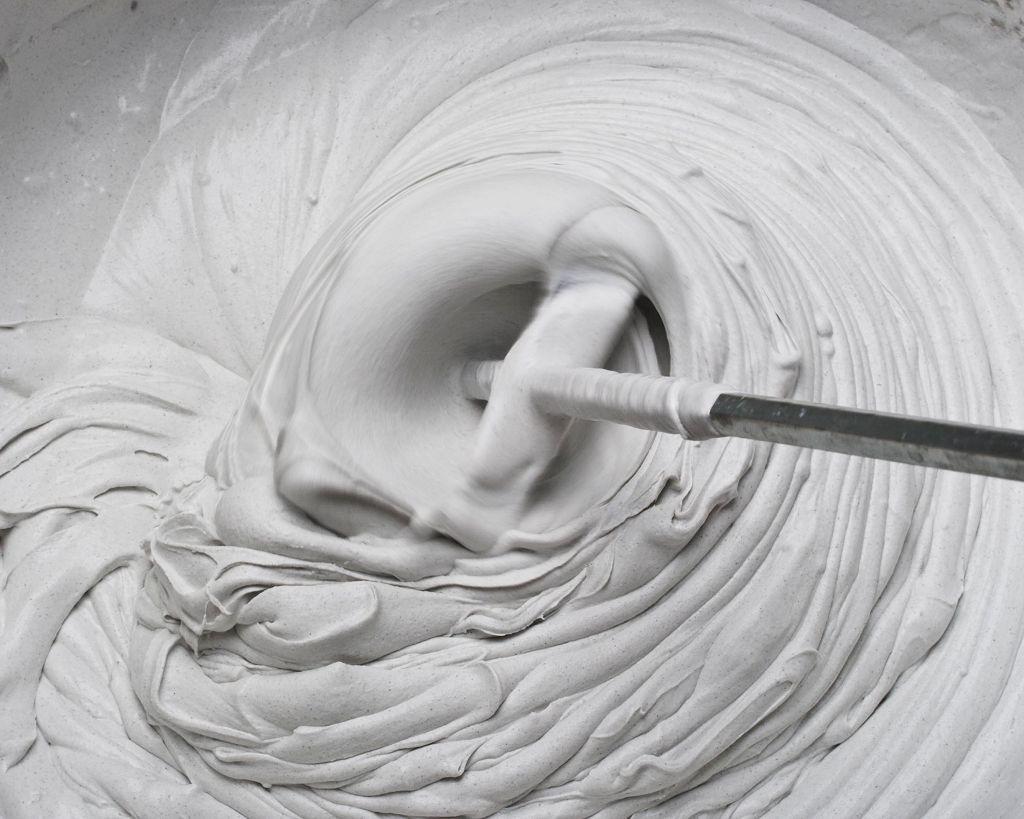
- To make the surface perfectly smooth, you need a fairly thick putty material. A creamy mixture will be prepared for the finish and starter coatings.
- When the plaster base, you will need a small portion of the solution, because the plaster congeals quickly enough. If you neglect and prepare a large amount of putty, it will harden, it will become impossible to use, and the container, bucket or container will have to be thrown away. You can find out how much the mixture “lives” from the instructions on the package.

Starting layer
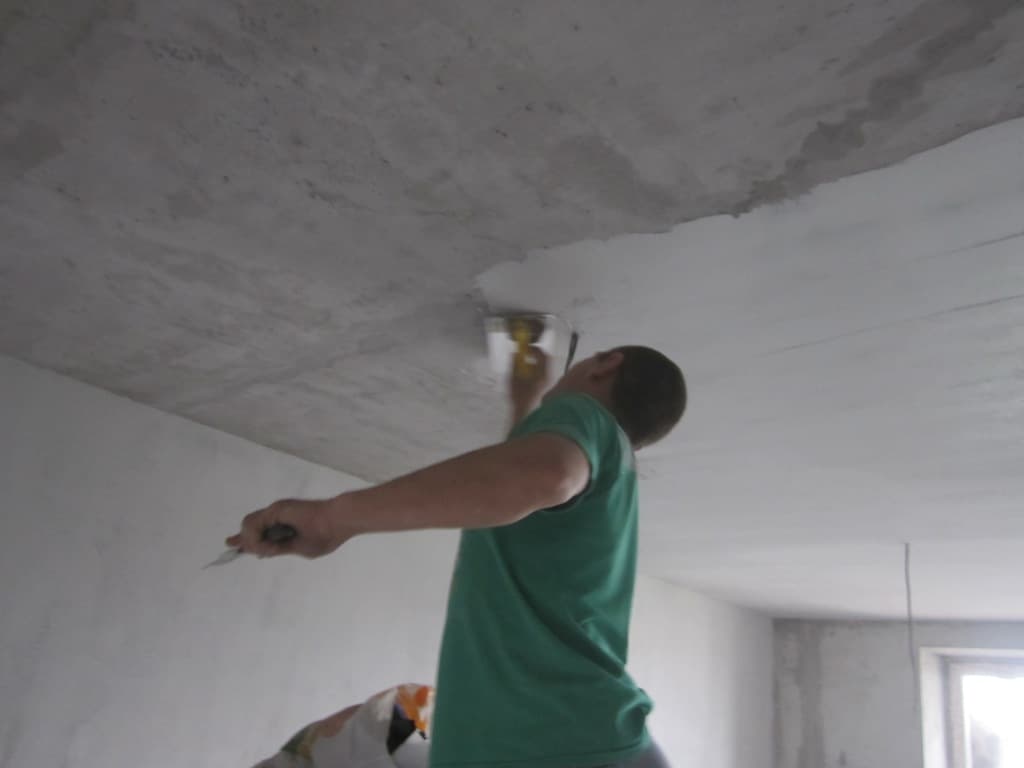
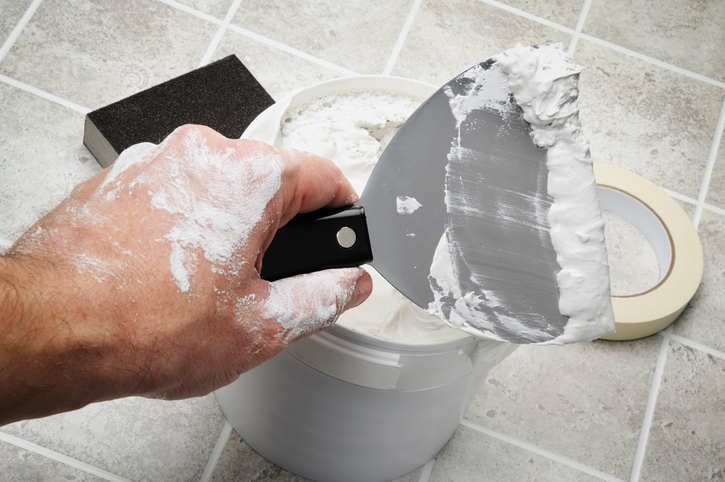
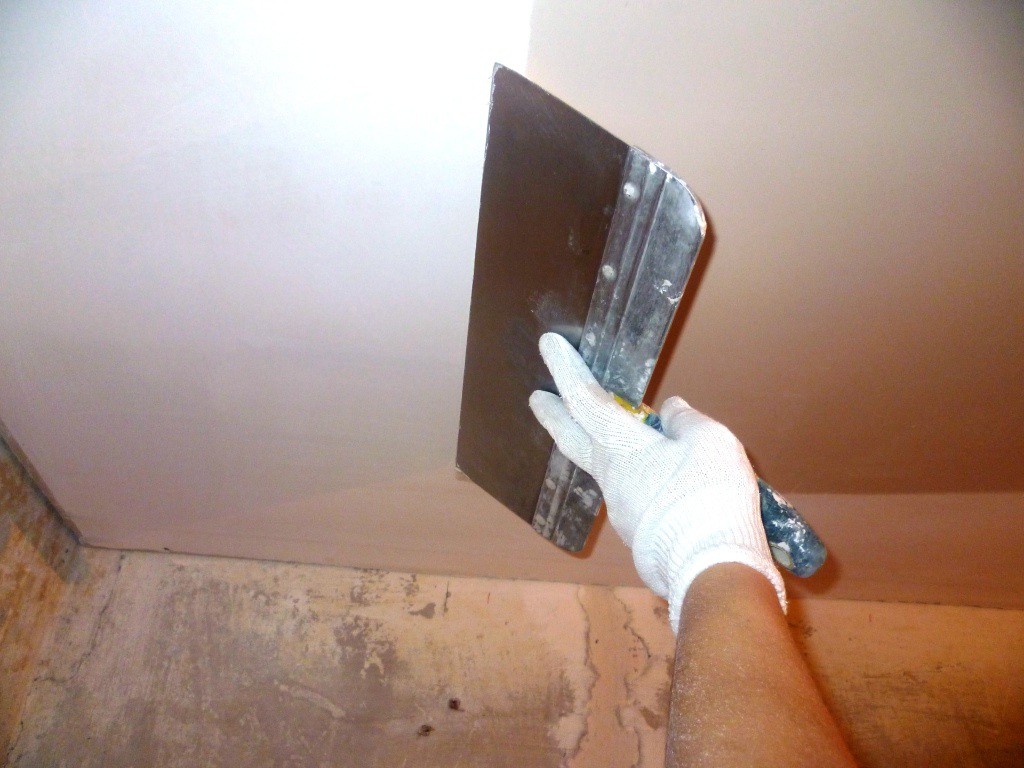
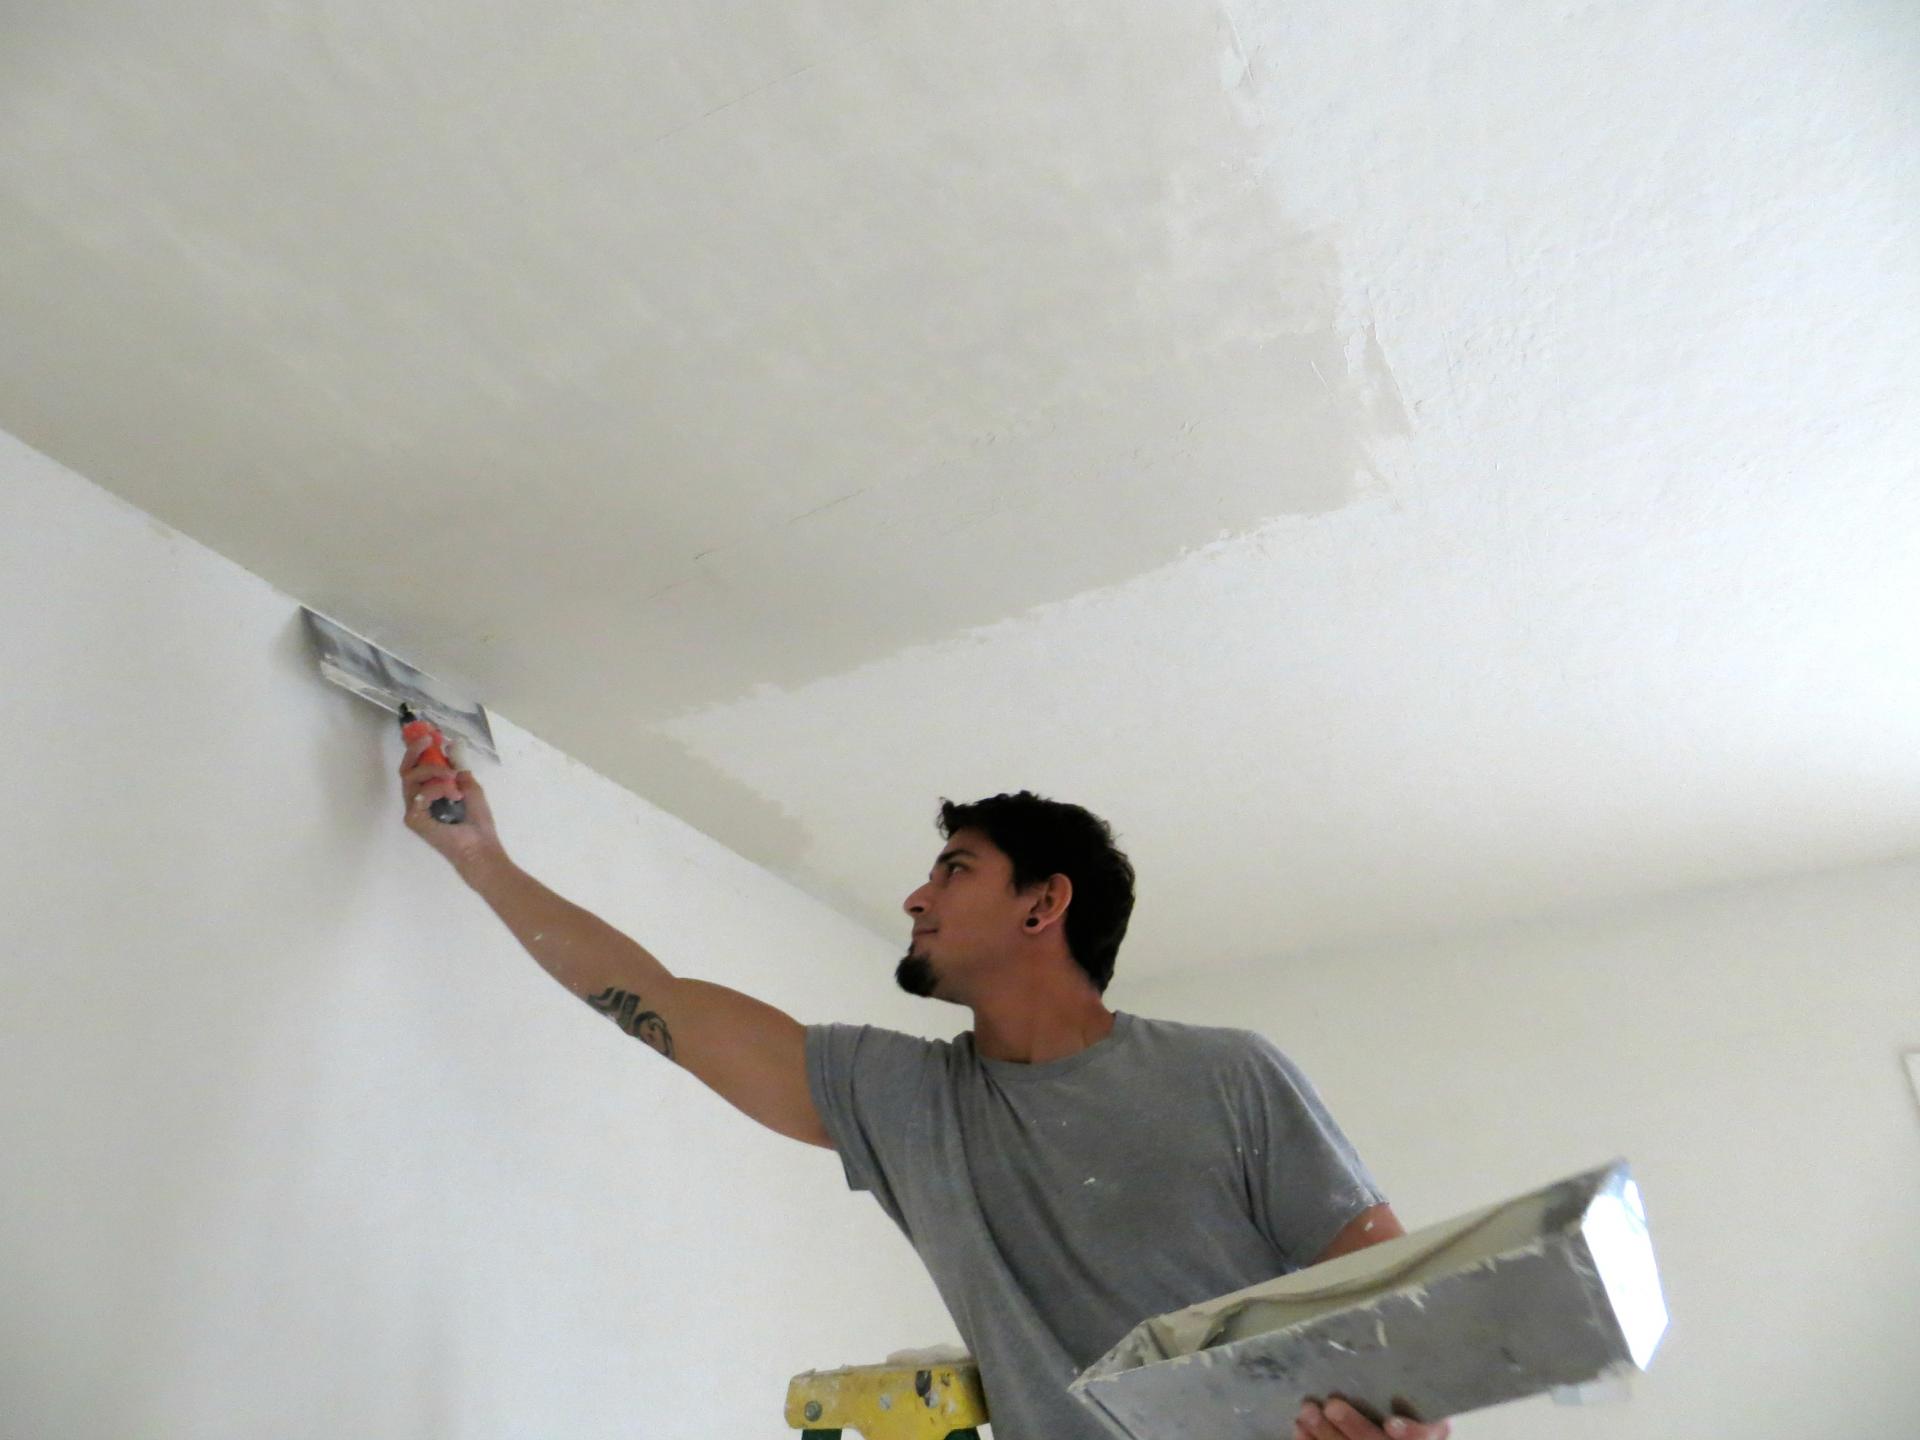
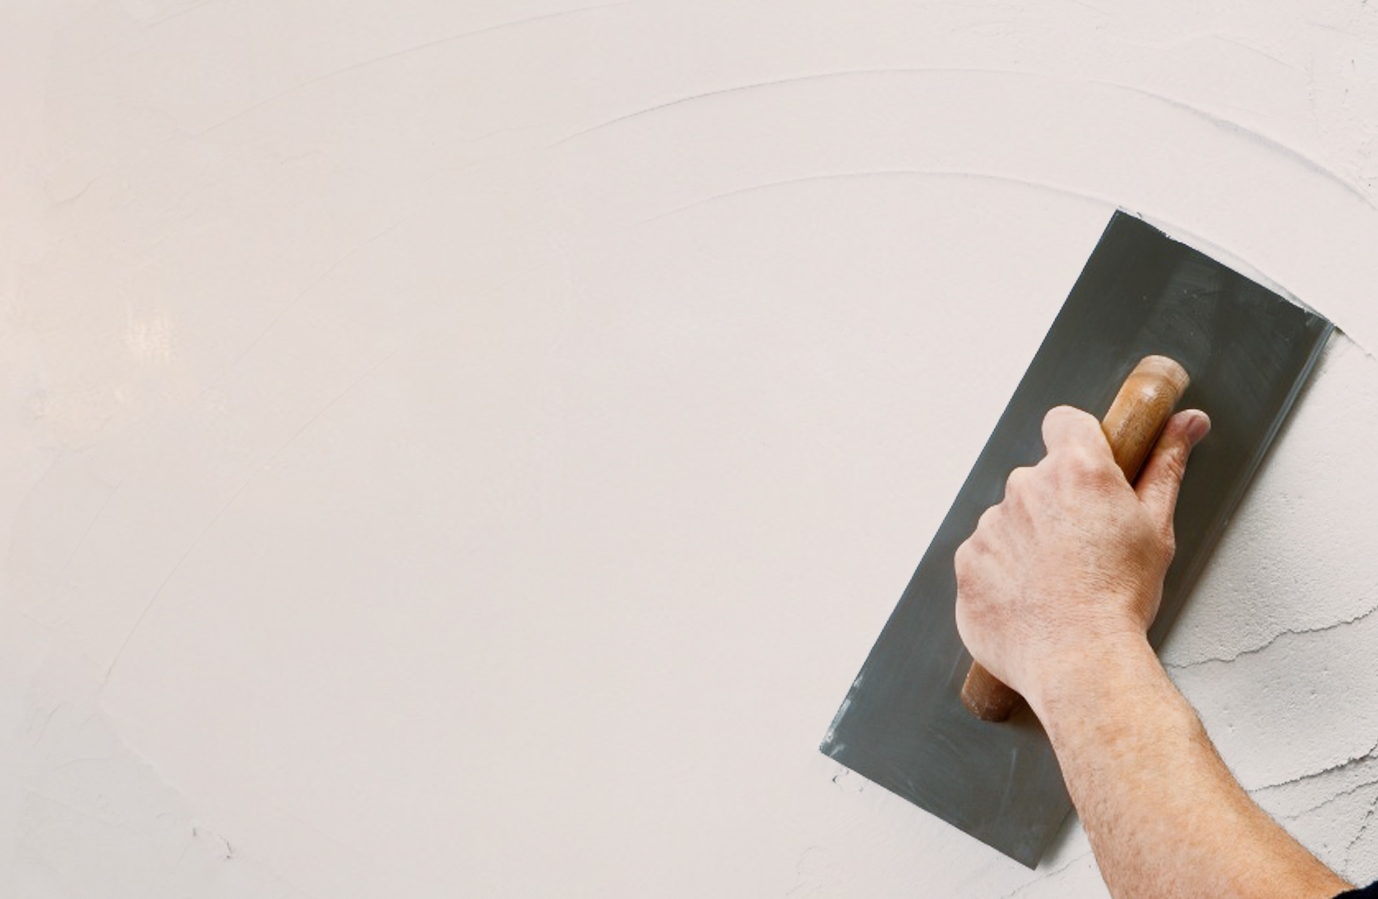
When the surface becomes clean and dry, you can begin to apply the starting layer. The solution for it should be pasty (prepare the material as above). Apply starting putty like this:
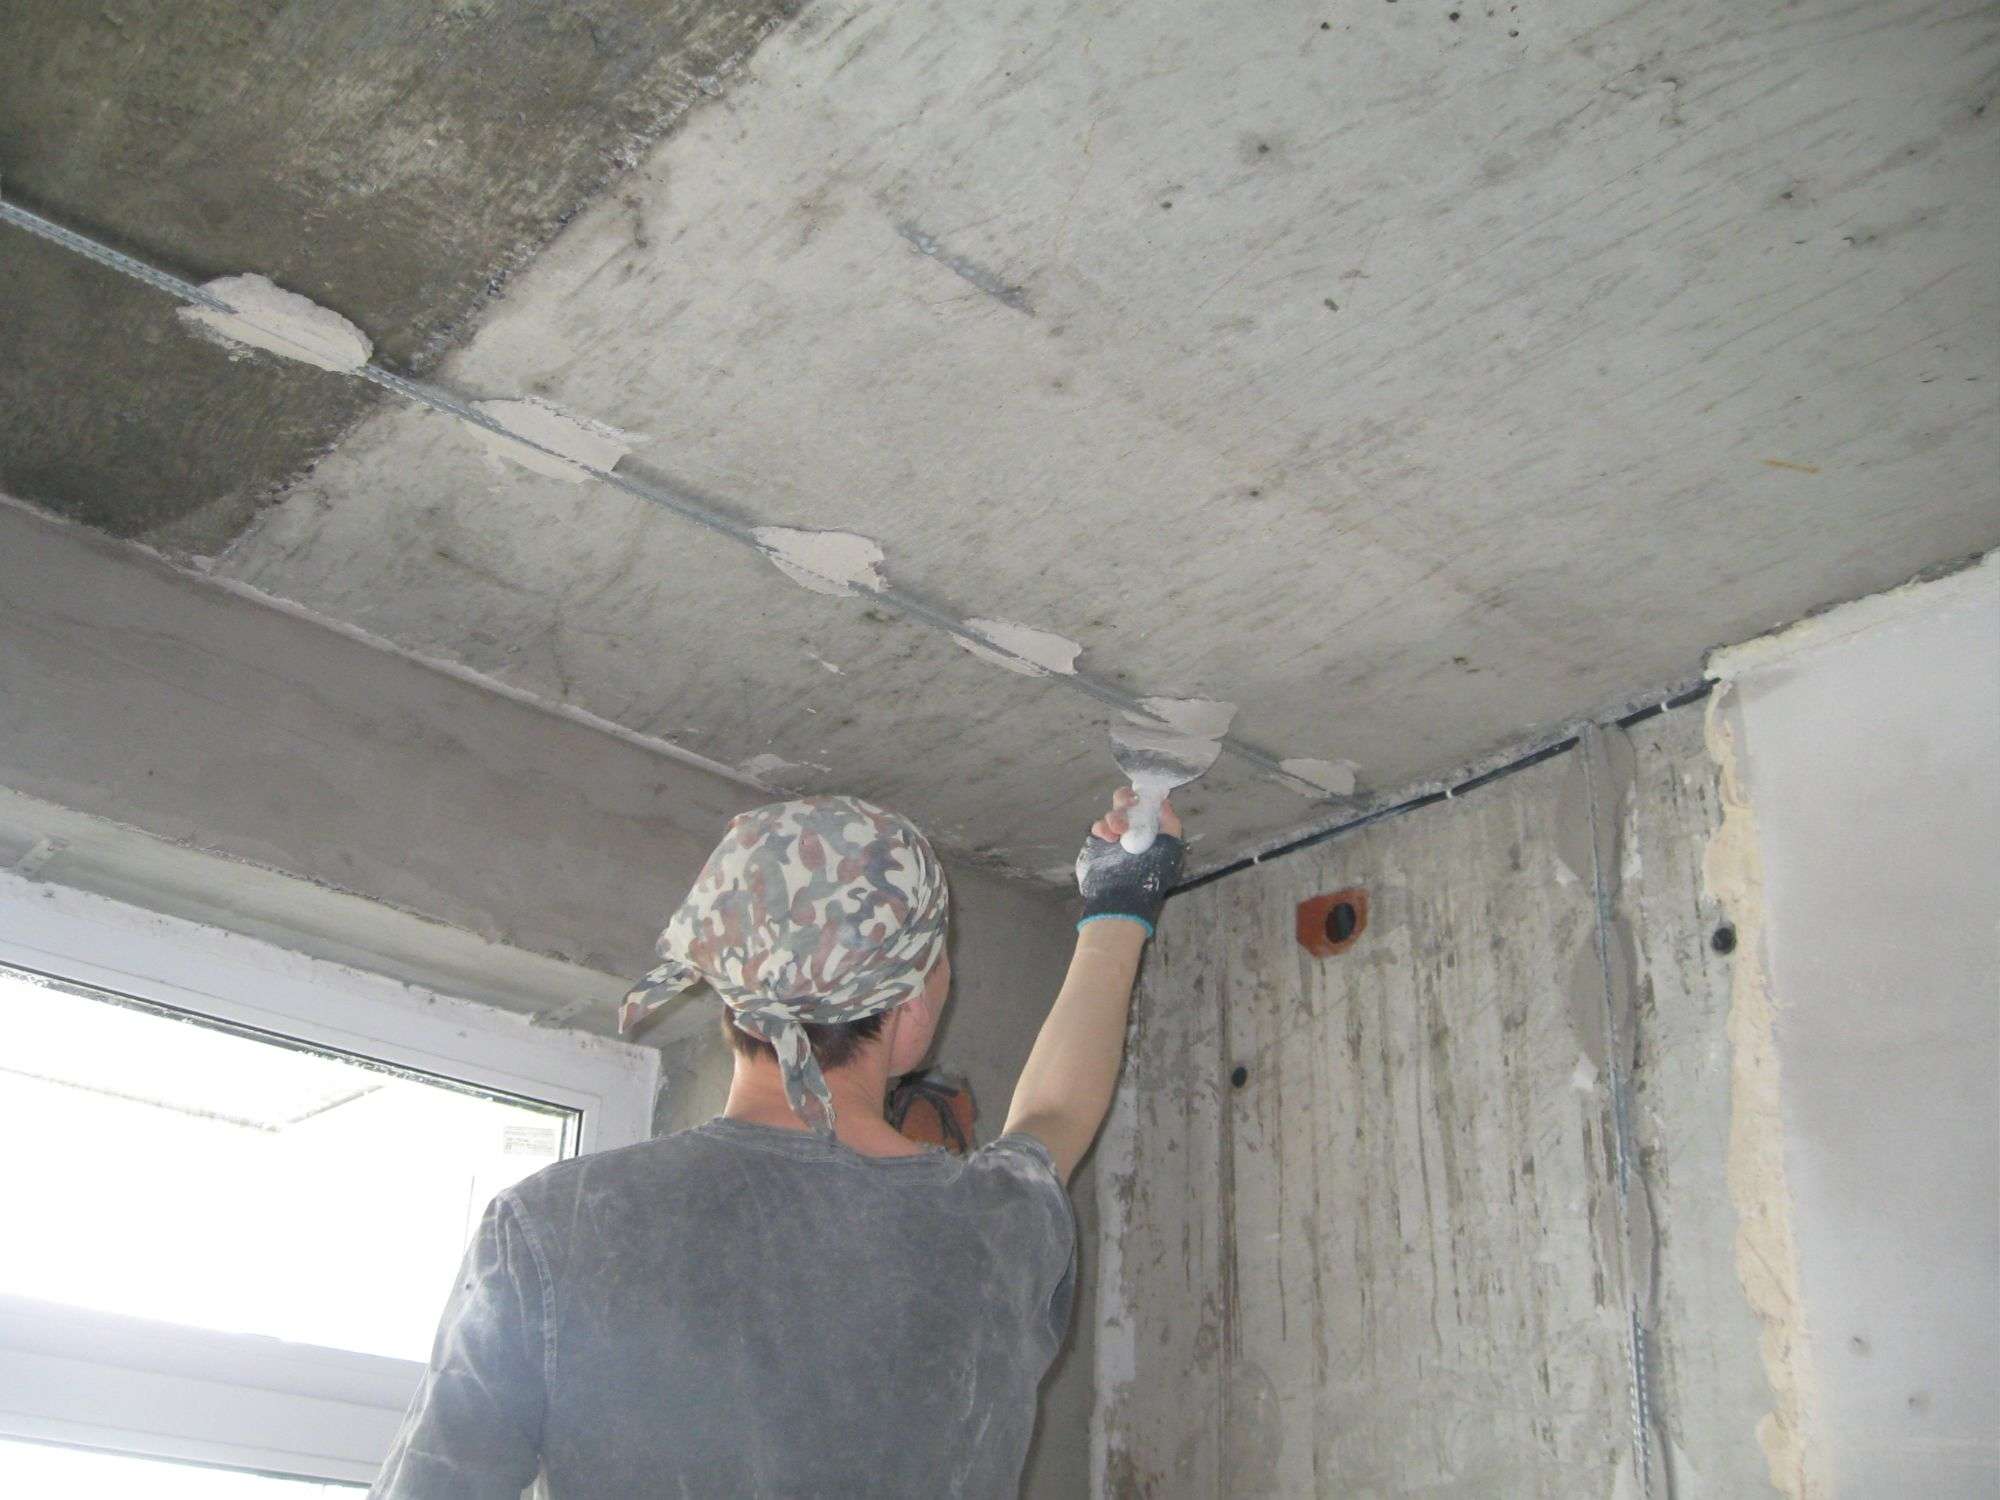
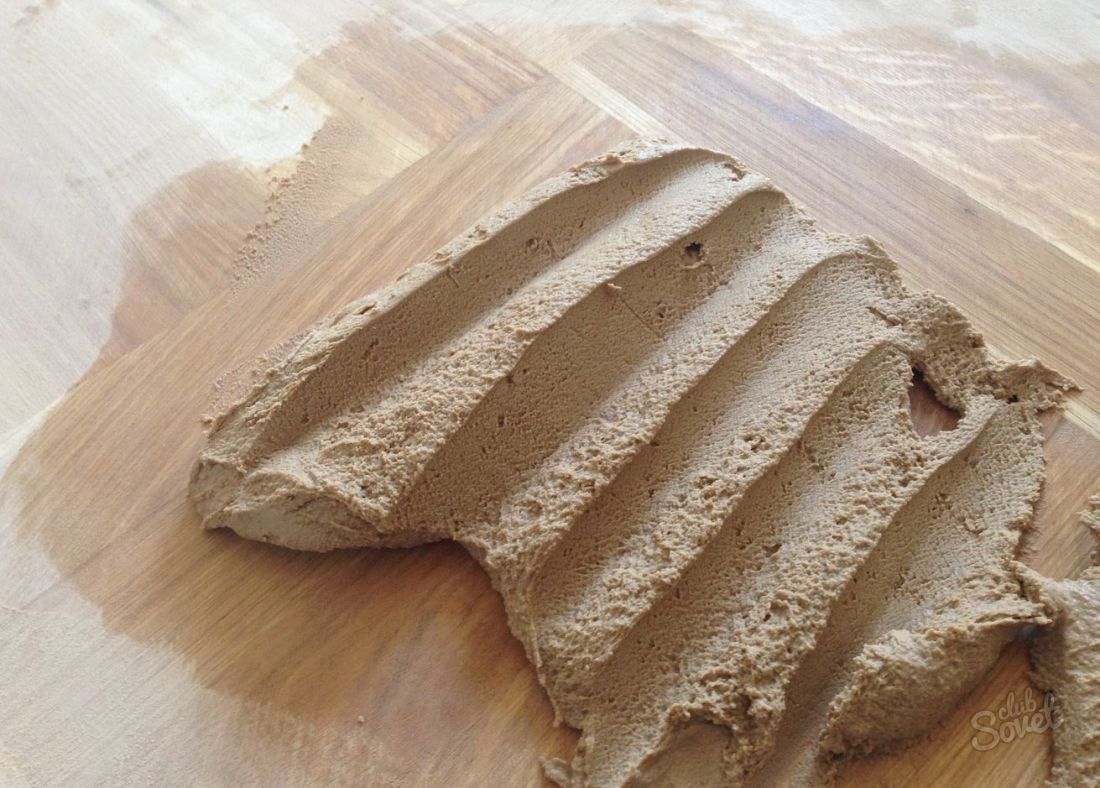
- Using a narrow spatula, collect the required amount of material from the container. It should be spread evenly on a wide spatula. Starting from the corner, apply the putty to the ceiling.
- Press the tool against the ceiling firmly enough, so the material can hide and fill each recess, it literally presses into the surface. Do not make the starting layer thick. You can even make the ceiling shine through the putty. The first layer is designed to close minor defects.


- Make the coating as smooth as possible. At the boundaries of the zones there should be no protruding lanes.
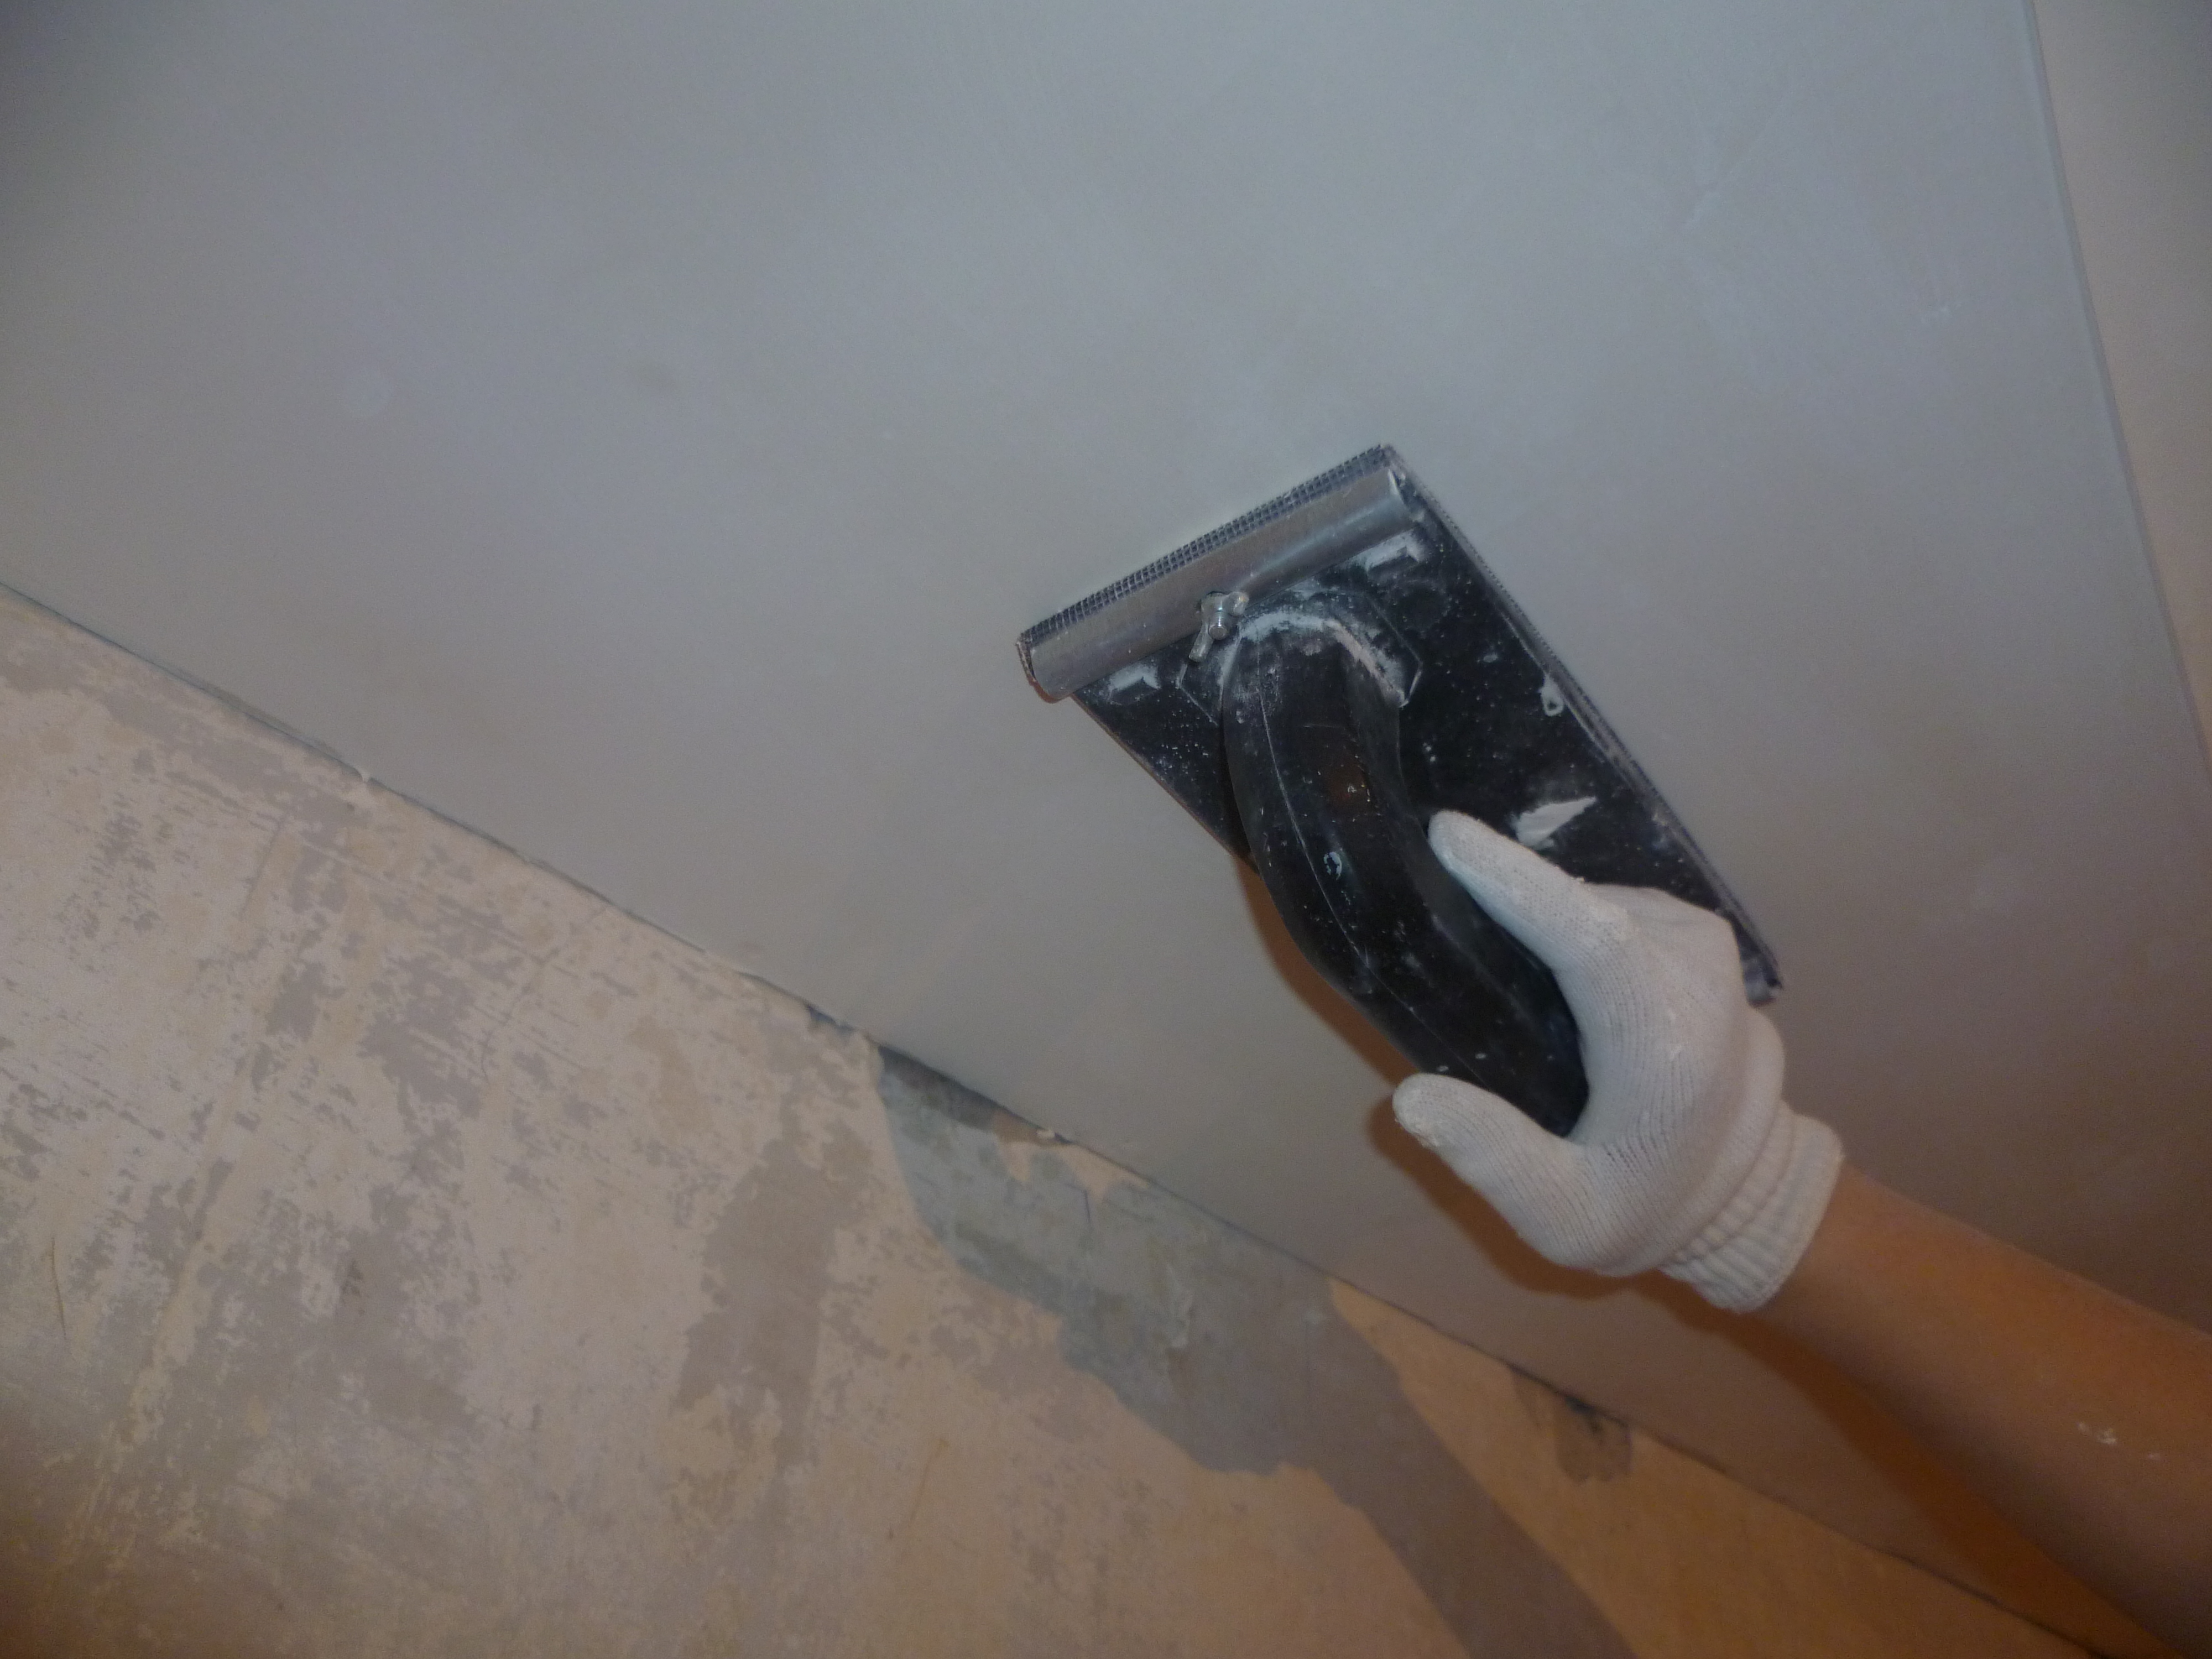
- After applying the starting layer, waiting for it to dry, the ceiling should be rubbed using an abrasive mesh, grater. The movements should be circular, the direction should be counterclockwise. Great care should be taken: do not skip any area on the ceiling; the entire surface should be treated.
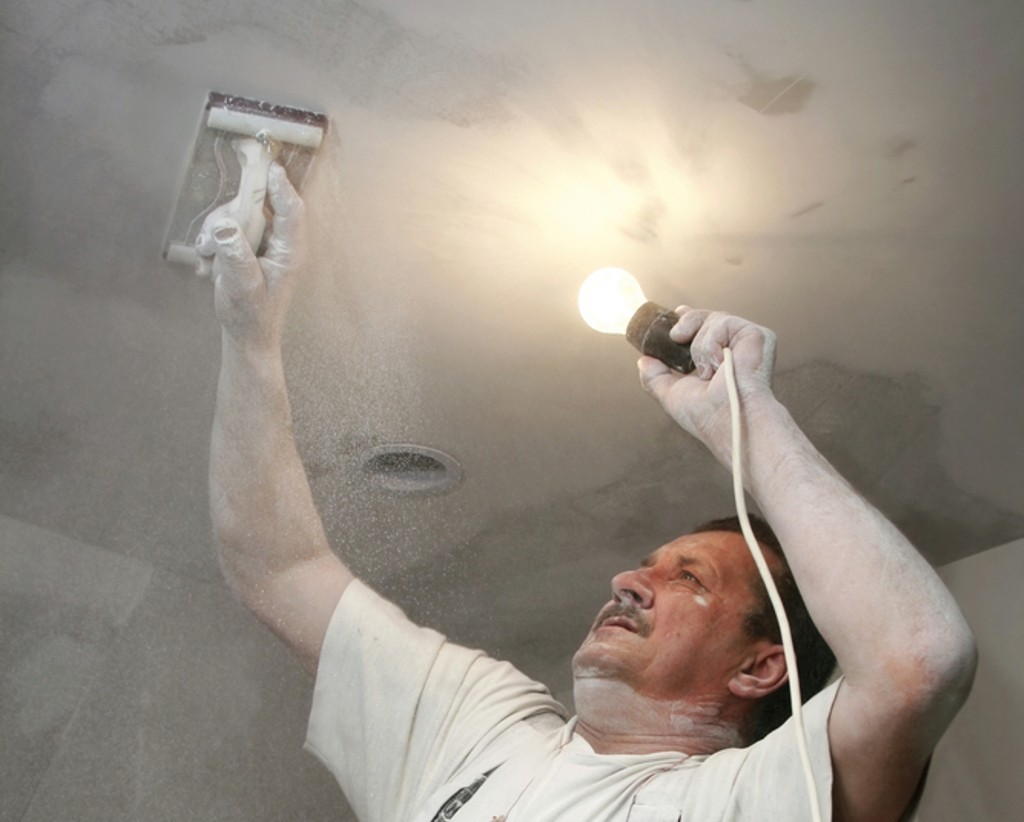
- To better control the evenness of certain places, you can use a light bulb, with its help you will highlight the necessary areas. Specialists work with the putty composition so that the number of defects is minimal. This process plays a particularly important role if you are going to make another layer not very thick.
- If necessary, having done the grout, add an additional starting layer of putty material. The total thickness should not be more than 12 mm.
- Wait for absolute drying.The term depends on the thickness of the coating and the composition of the solution. Then you will need to carry out another grout. It should be more thorough than the previous ones, because the surface should be as smooth as possible.
- After all the work, dust is removed from the ceiling, and a primer is again applied to the surface.

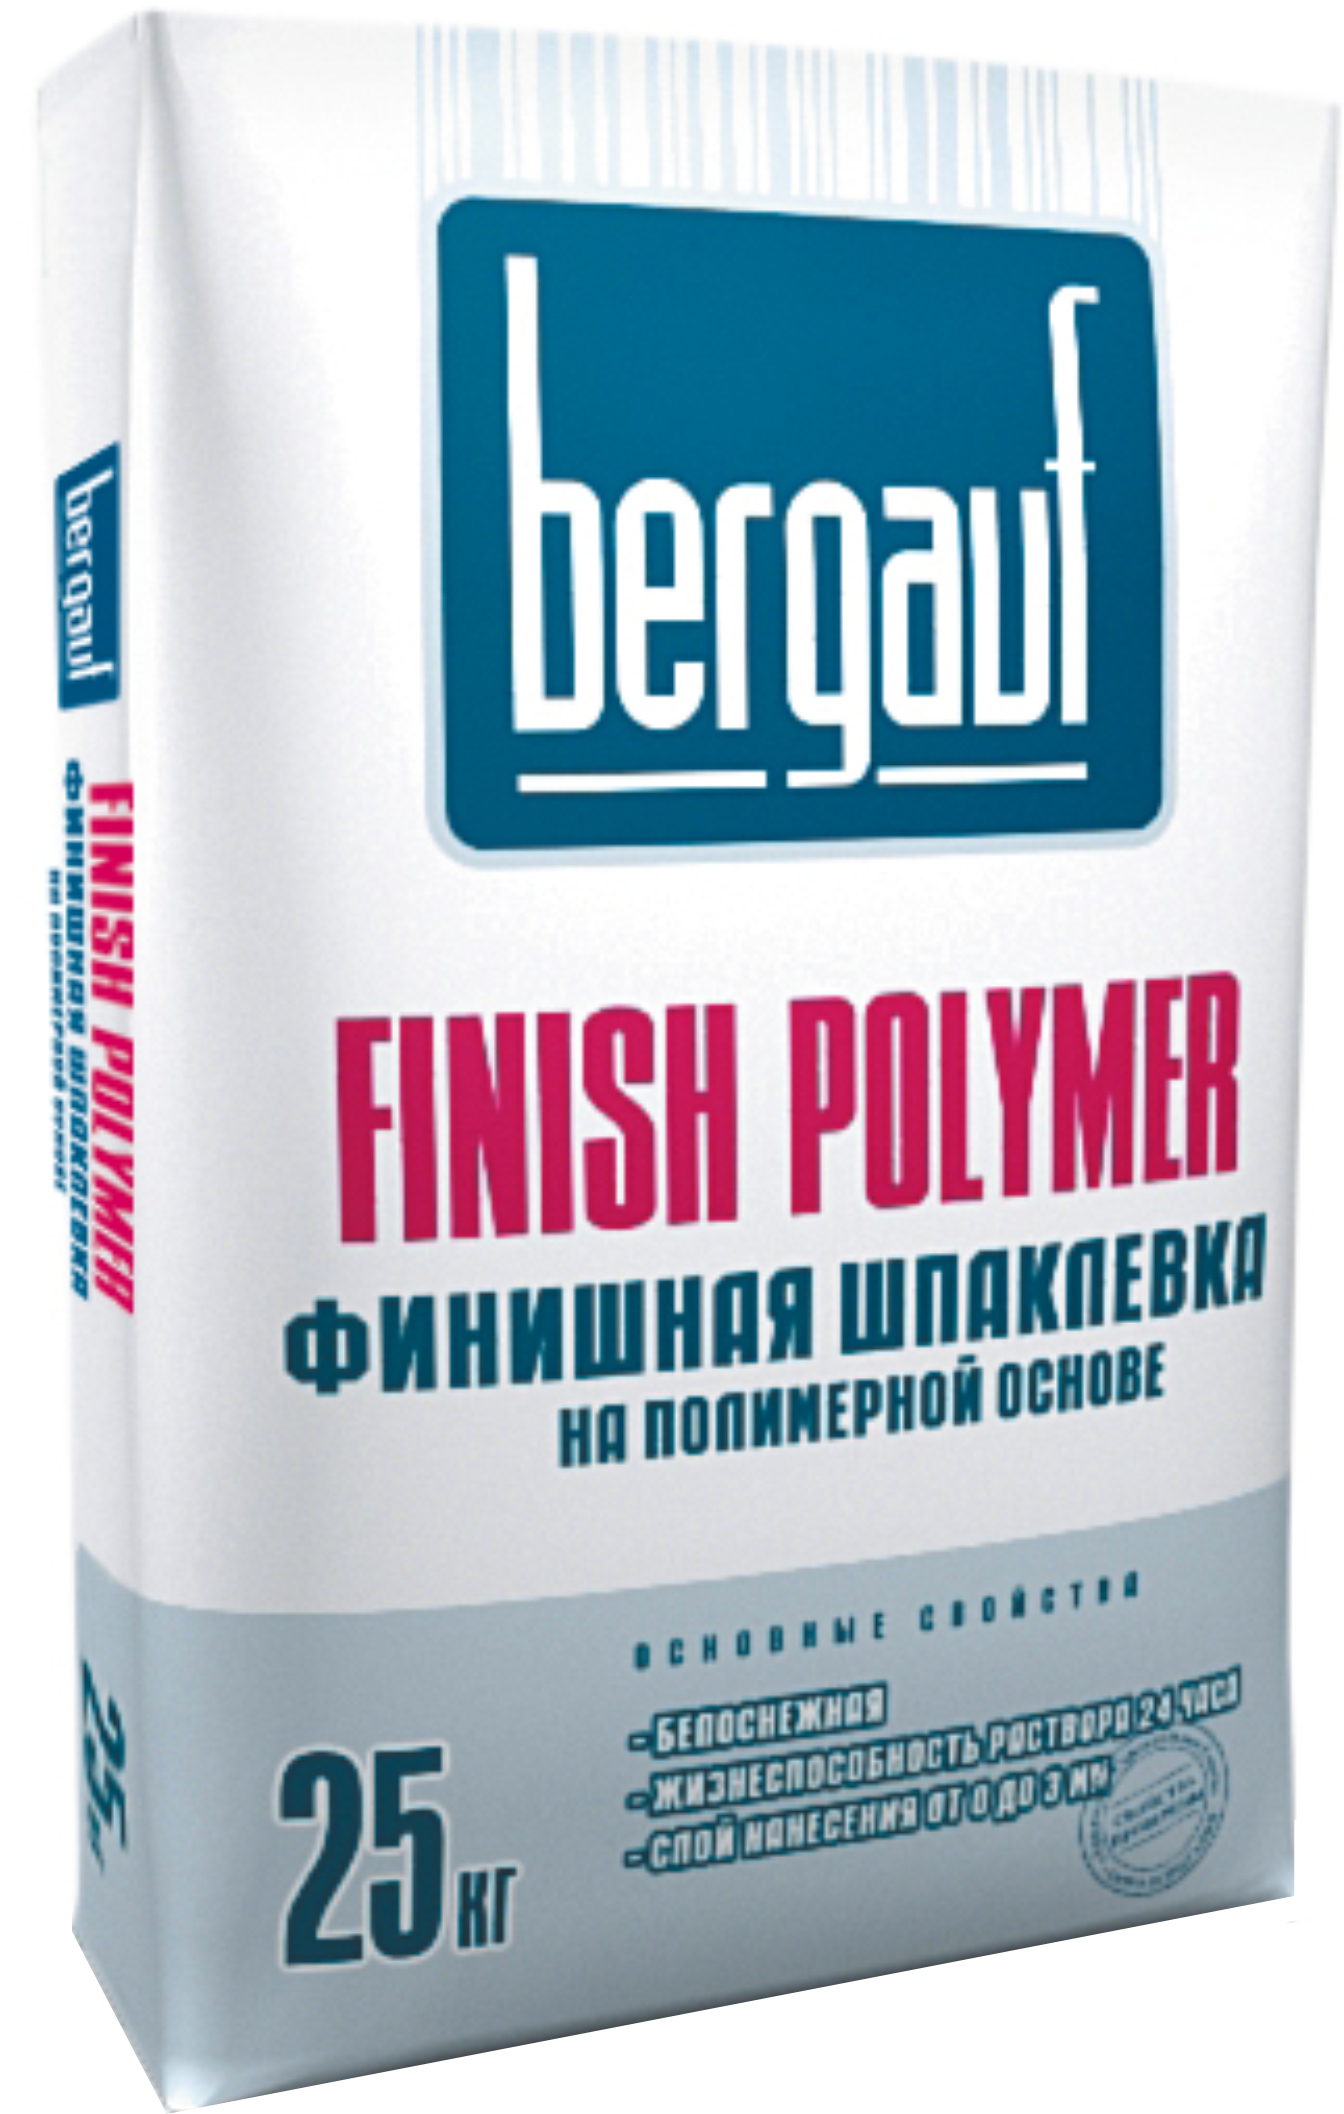
Finish coat
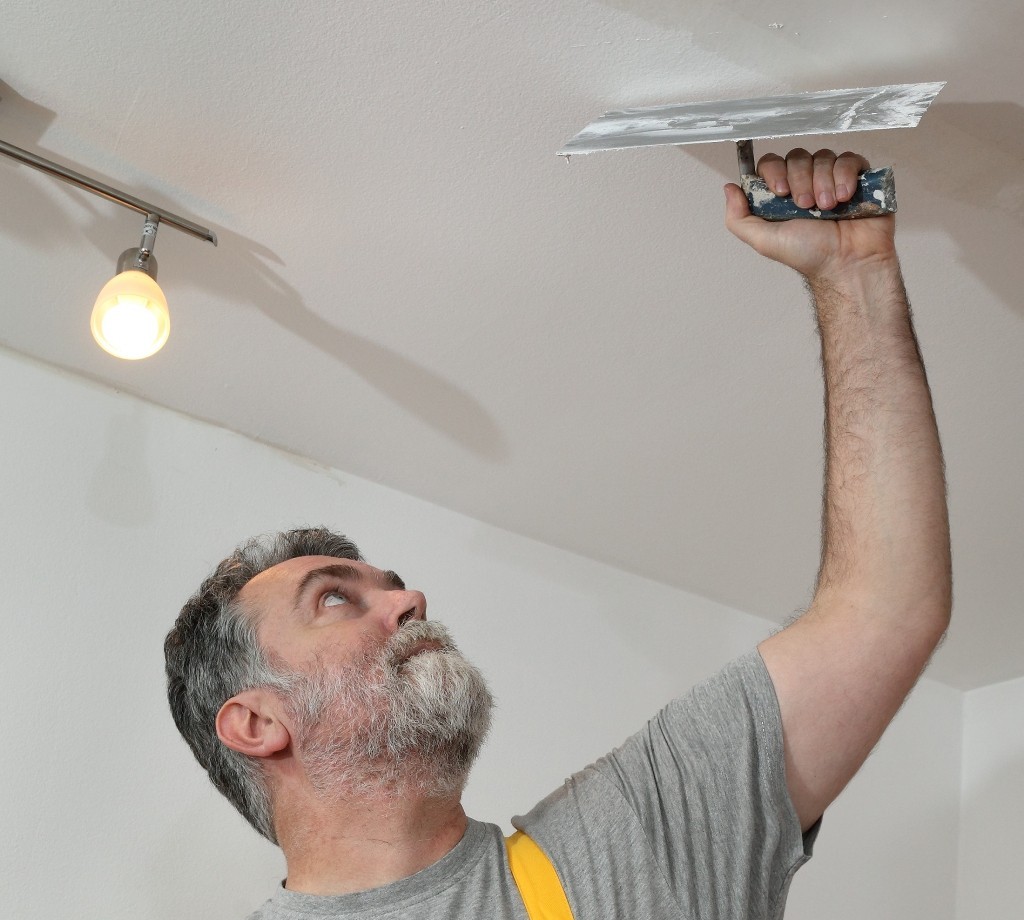
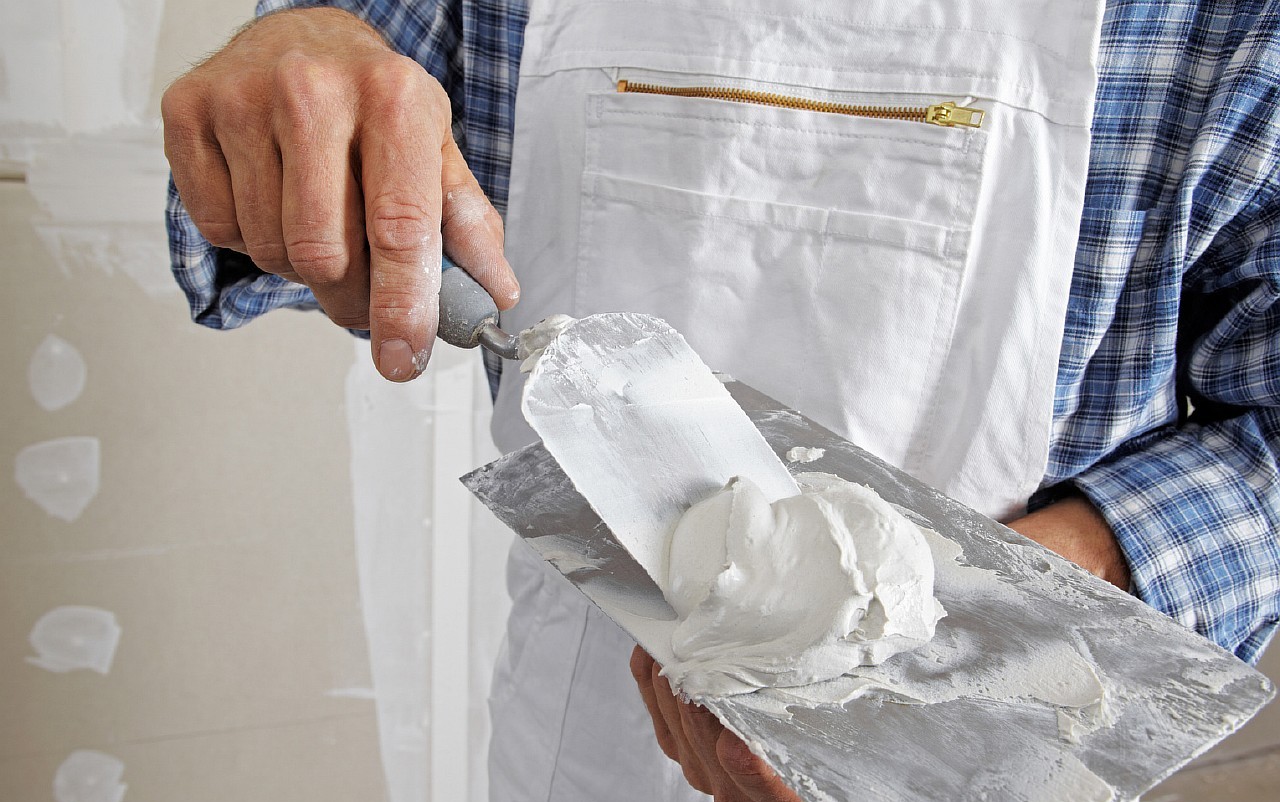
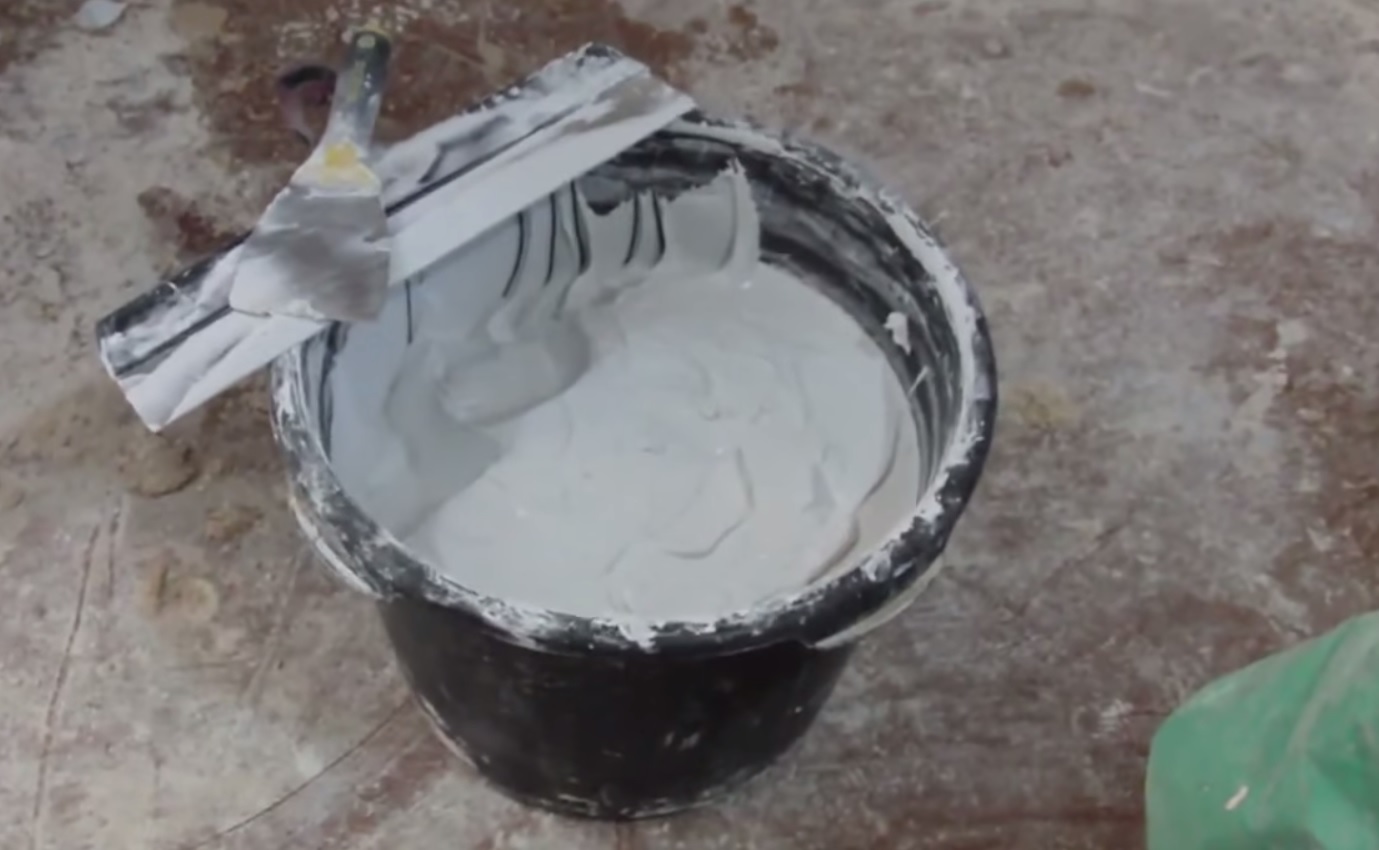
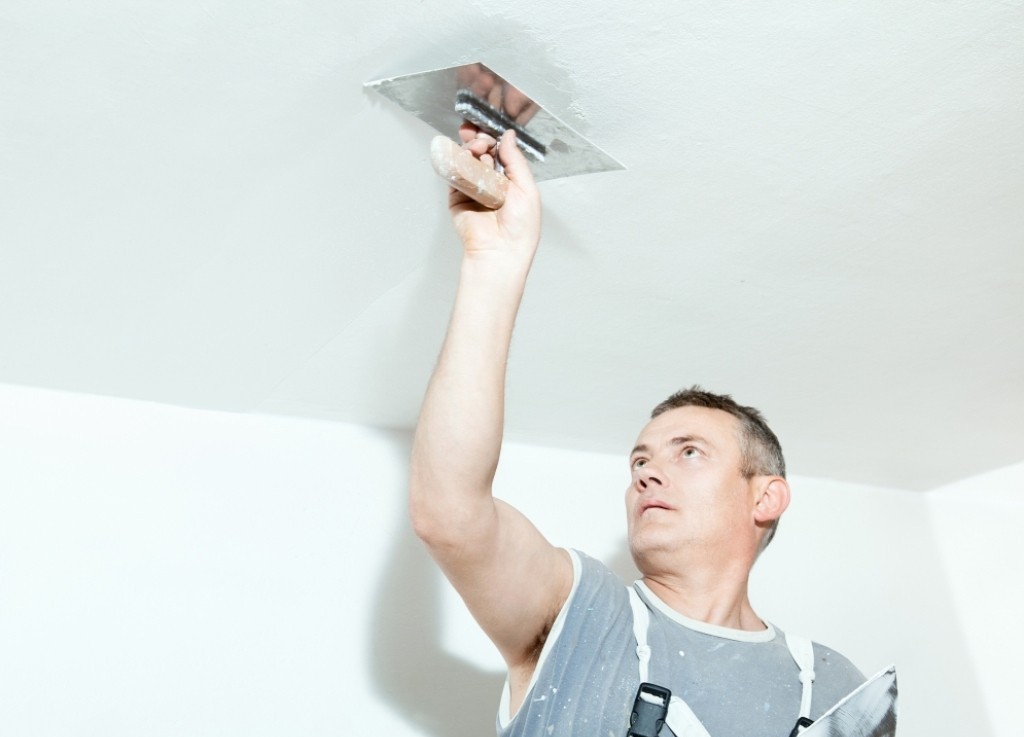
Finishing putty composition must be more plastic than the starting one. With this material you should make the surface as smooth as possible. The consistency of the finishing compositions can be compared with a very thick sour cream.
Such putty should be applied in smooth circular and straight movements, should start from the wall. It is not recommended to press the tool to the ceiling too much. If necessary, when the first finish layer dries, apply another one, quite thin. After each layer should be done grouting.
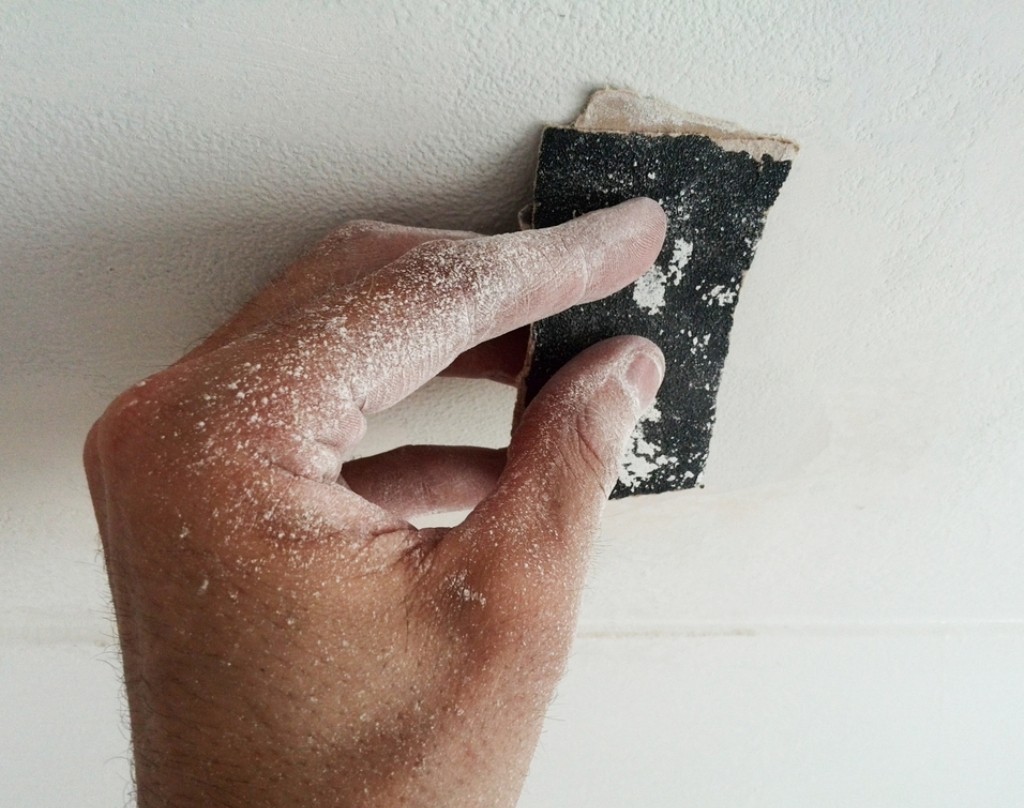
Last coating will not only need to wipe, but also polished using fine-grained sandpaper and a grater.
To ensure that the ceiling is as smooth as possible, acrylic, rather than gypsum, putty is often used to apply the last layer. Thickness should not exceed 1.5 mm.To apply acrylic, use a trowel without sharp corners, so you can avoid visible stripes on the surface.
Final works
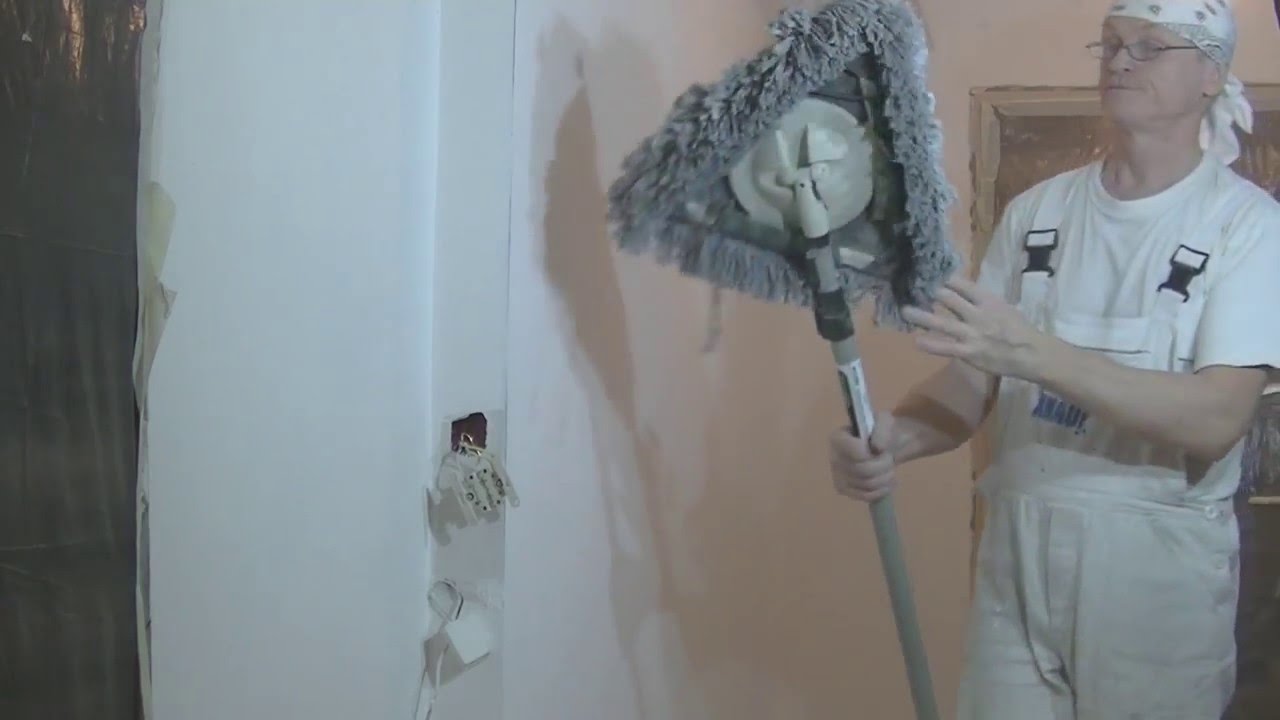
After absolute drying of the finishing putty layer, it is necessary to prepare the surface for applying paint. First, polish the ceiling using sandpaper or mesh. To detect all defects close the windows and shine a flashlight on the surface. Shine at an angle. After grinding the ceiling will be as smooth as possible.
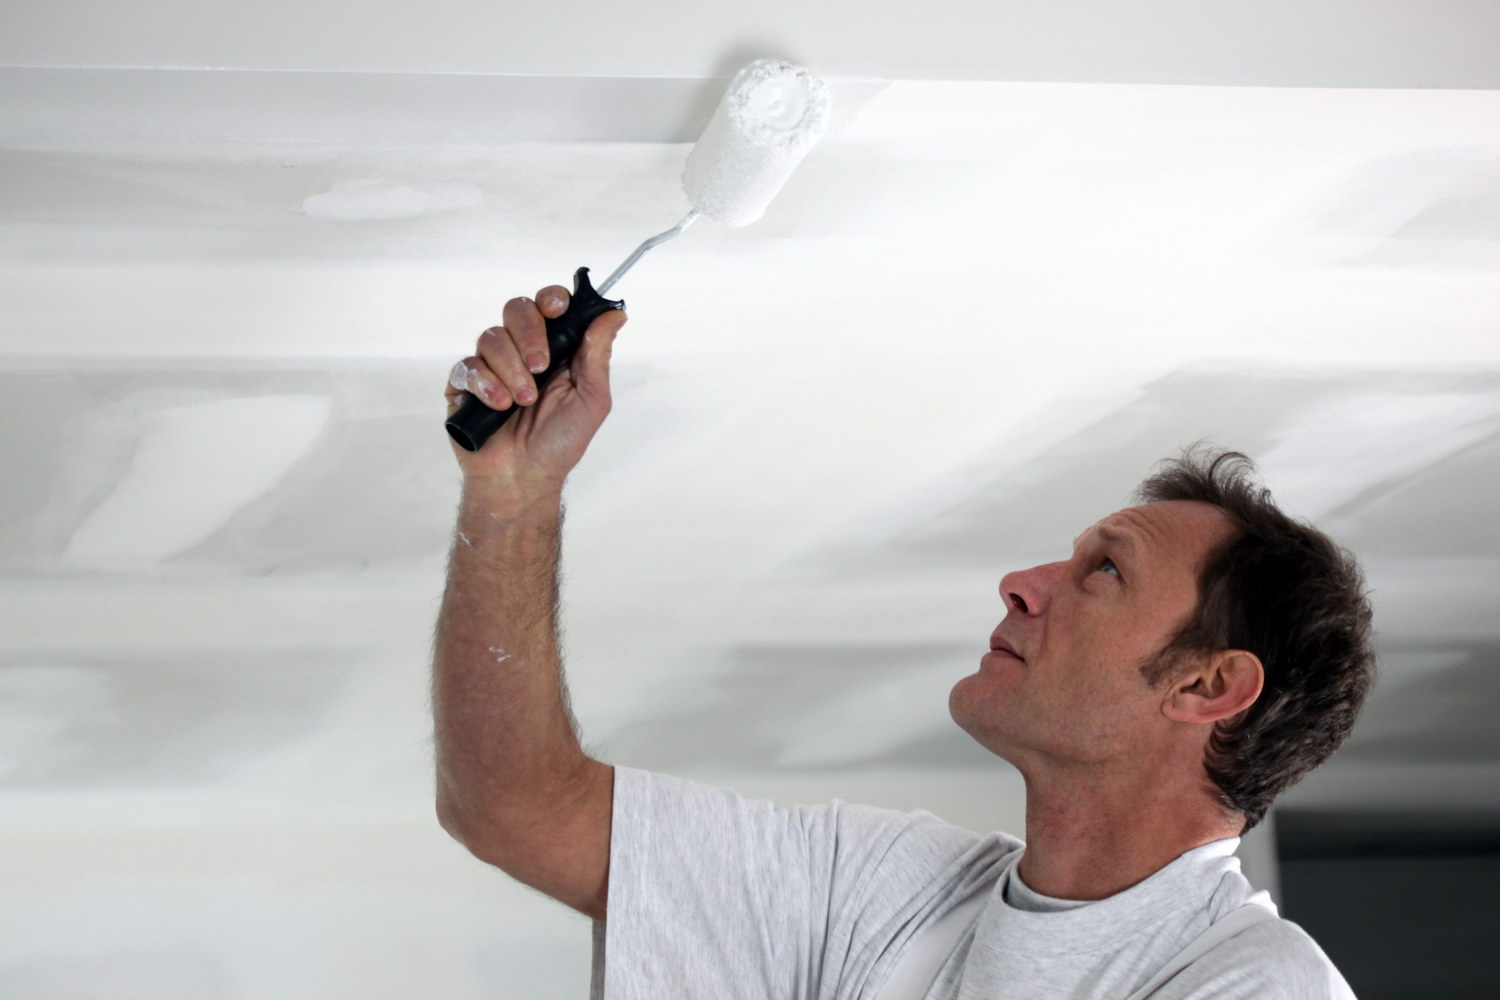
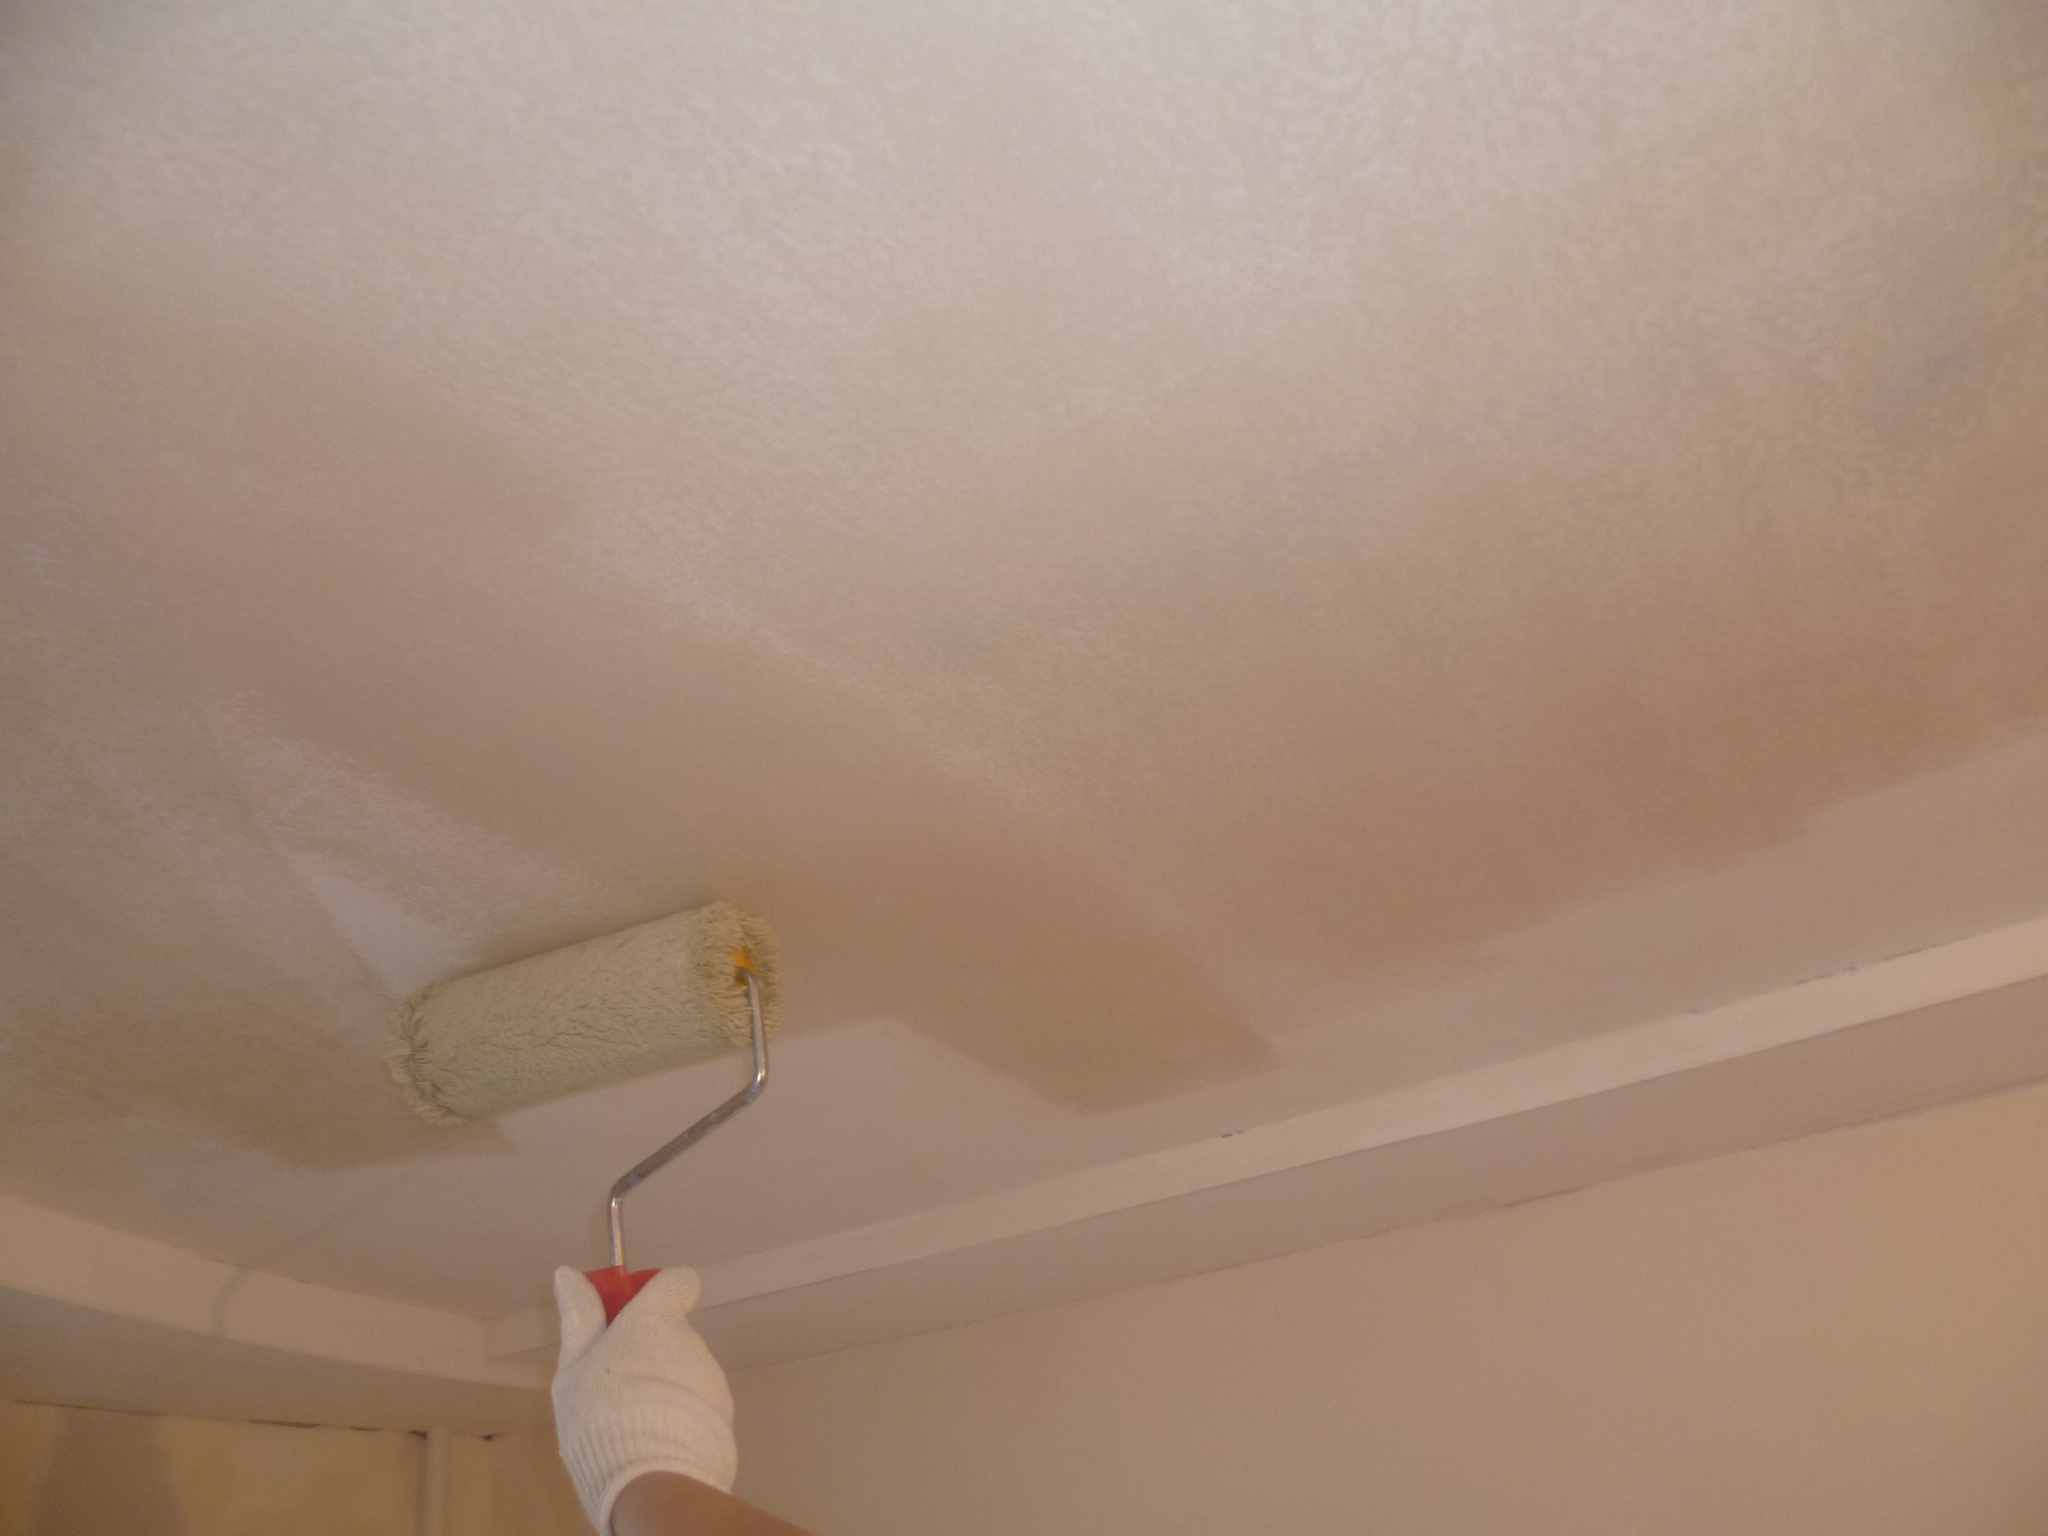
Before applying the paint, the surface will need to be treated again with a primer. It should be applied to the ceiling with a roller in two layers. Allow the first one to completely dry before a second coat of primer.
Useful recommendations
Particularly carefully handle the corners between the ceiling and walls. Grinding in such places should be carried out with the utmost care.
Make sure that you have properly prepared the surface before water-based paint or any other paint. It so happens that with poorly prepared surface, the coating falls off over time. It is necessary to level, clean the ceiling, there should not be any defects on it.
Choose such a putty material that is best suited for a particular room and for a specific surface. Many sellers recommend to opt for universal putty, but it should be borne in mind that such options are not suitable in all cases. Choosing the right material, you need to focus on your own experience or on the recommendations of experienced craftsmen.
To learn how to properly putty the ceiling, see the following video.


