Plaster on wood: types and features of application
The technology of plaster on wood is no different from plaster surfaces from other materials. Wood was always the most affordable material for building houses.
Types and features of the application
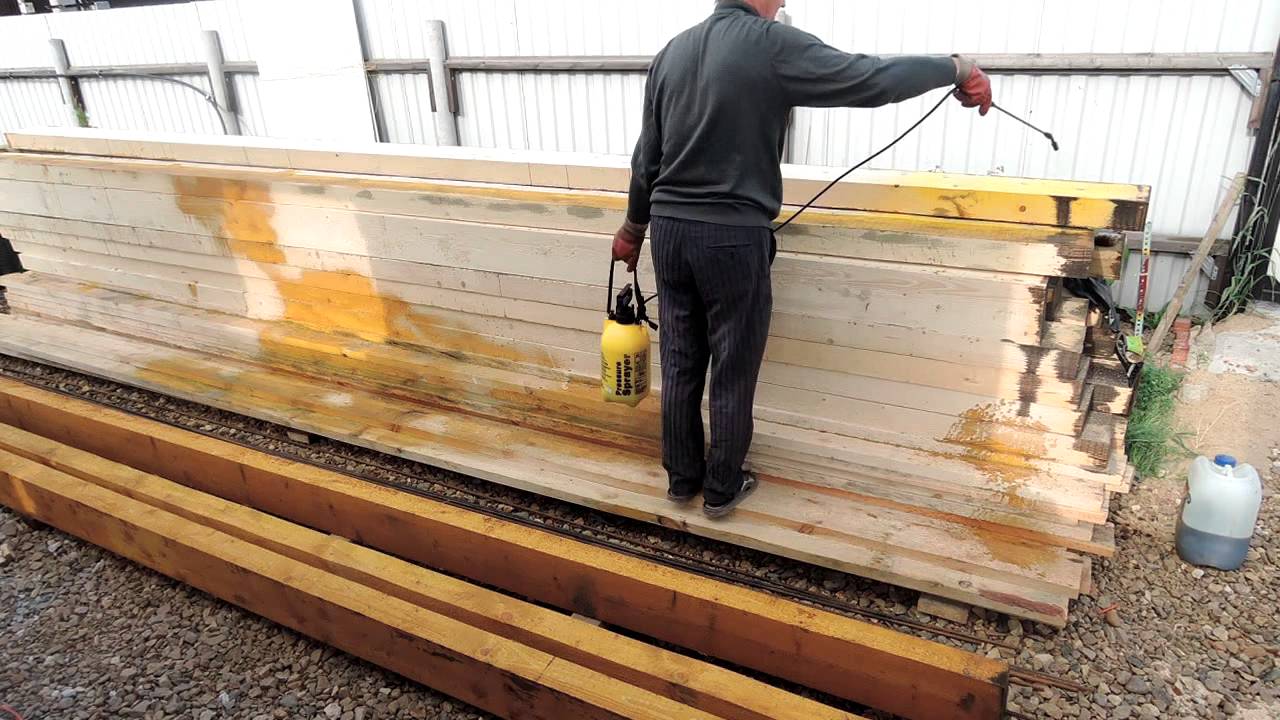
Today, the tree before construction of the house is pre-treated:
- antiseptics from decay and mold;
- impregnated with fire-fighting compounds and mixtures;
- ground with impregnations to align color;
- varnished to protect against aggressive environmental factors.
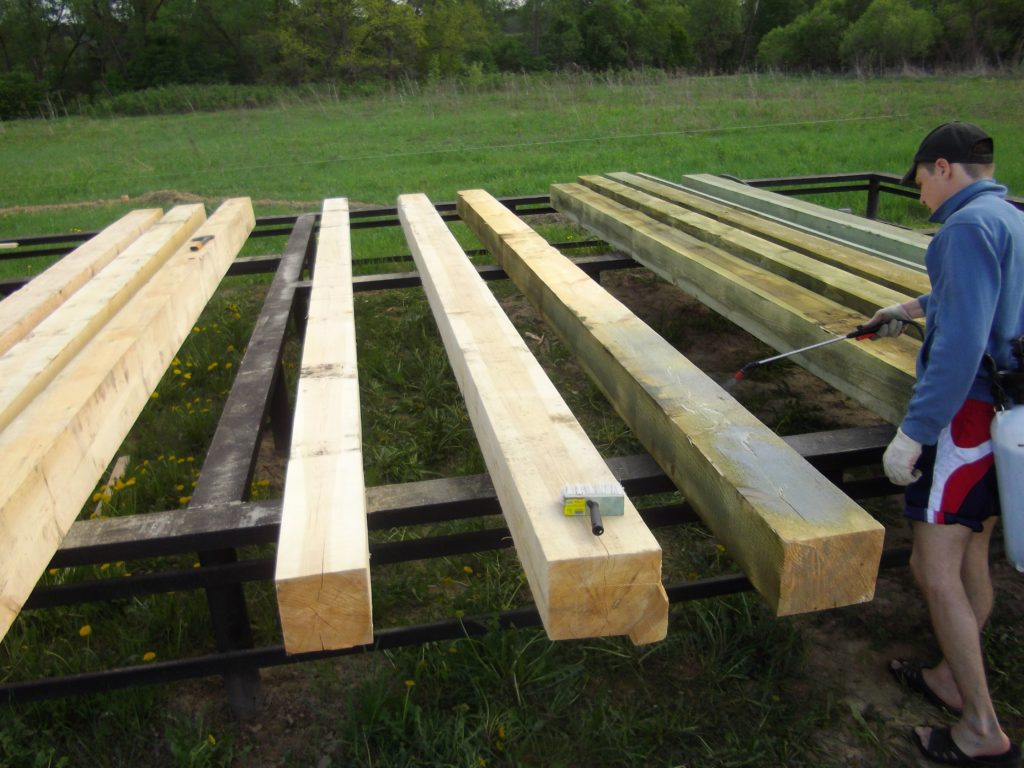

As a result, the house turns out beautiful inside and out. But a tree with numerous layers of impregnation and varnish can no longer emit something into the atmosphere. It should be borne in mind that all the impregnation must be repeated at regular intervals.
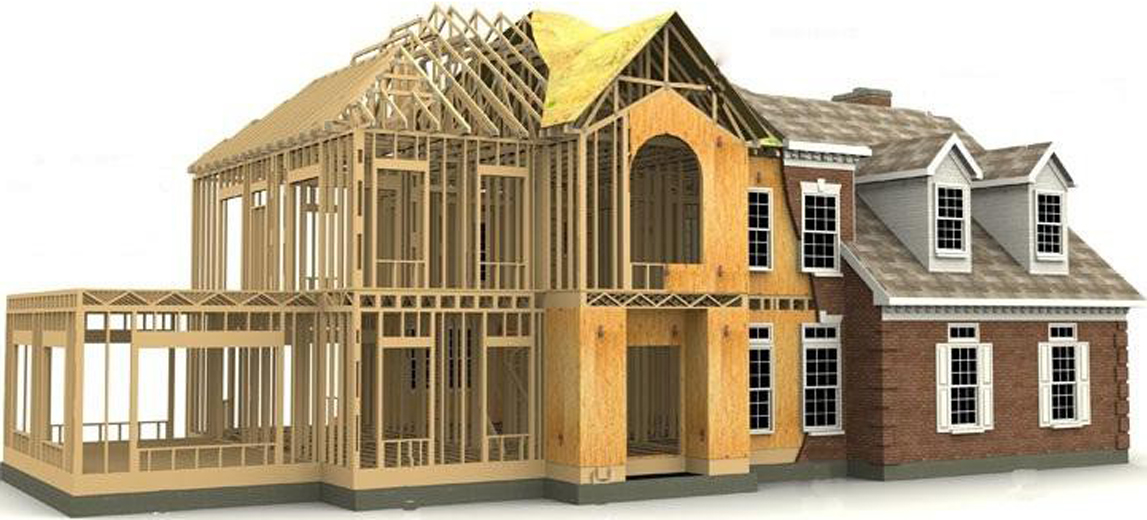
The decision on whether to plaster the facade of a house or not is better to take at the planning stage of construction. In this case, you can choose a cheaper option for building walls. You can use materials with a lower frequency of surface finish, and this will provide significant savings when purchasing materials. Plaster facades of log houses perform at least 1.5 years after construction.

When building a frame-panel house, regardless of which panel you choose, you can immediately apply the facade plaster. The frame of the house will prevent shrinkage of wall elements.
Which mixture to choose?
To begin, let us see which mixture is better to choose for plastering wooden surfaces. Below we consider the options for mixtures that are better suited for plastering of internal walls, and which ones for exterior ones.
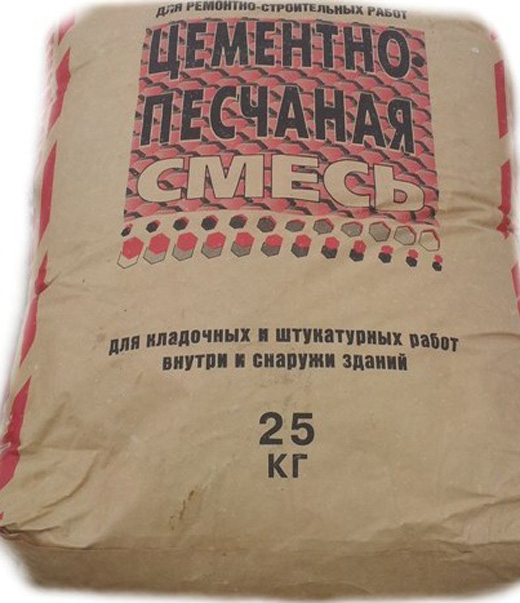
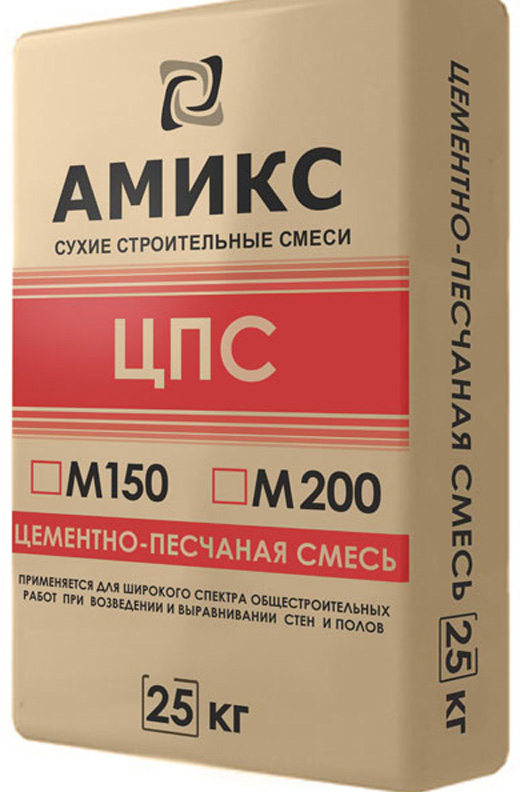
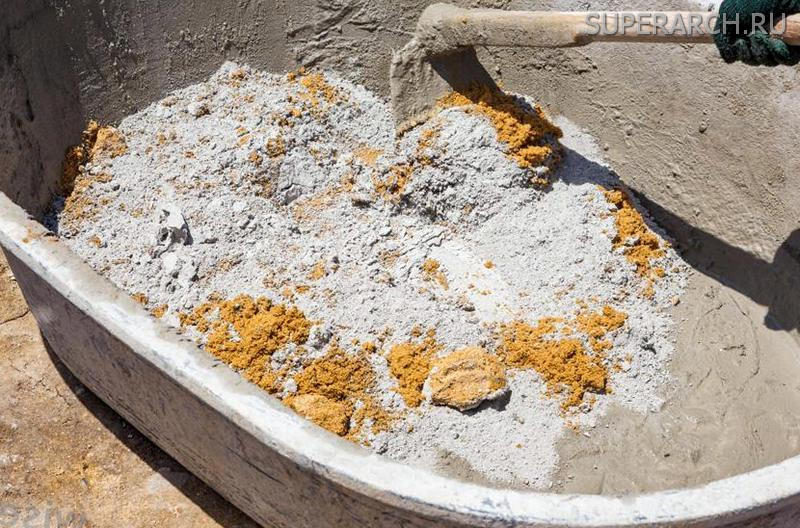
Cement-sand mixture is the most simple and affordable. Consists of a mixture of cement and sand, the ratio of which varies from 1: 3 to 1: 5, depending on the brand of cement and the desired grade of mortar. Prefabricated mixtures also contain plasticizers. The composition can be used for plastering wooden surfaces both indoors and for facade work. But the mixture is quite “tough”, and in its pure form it is inconvenient to work.
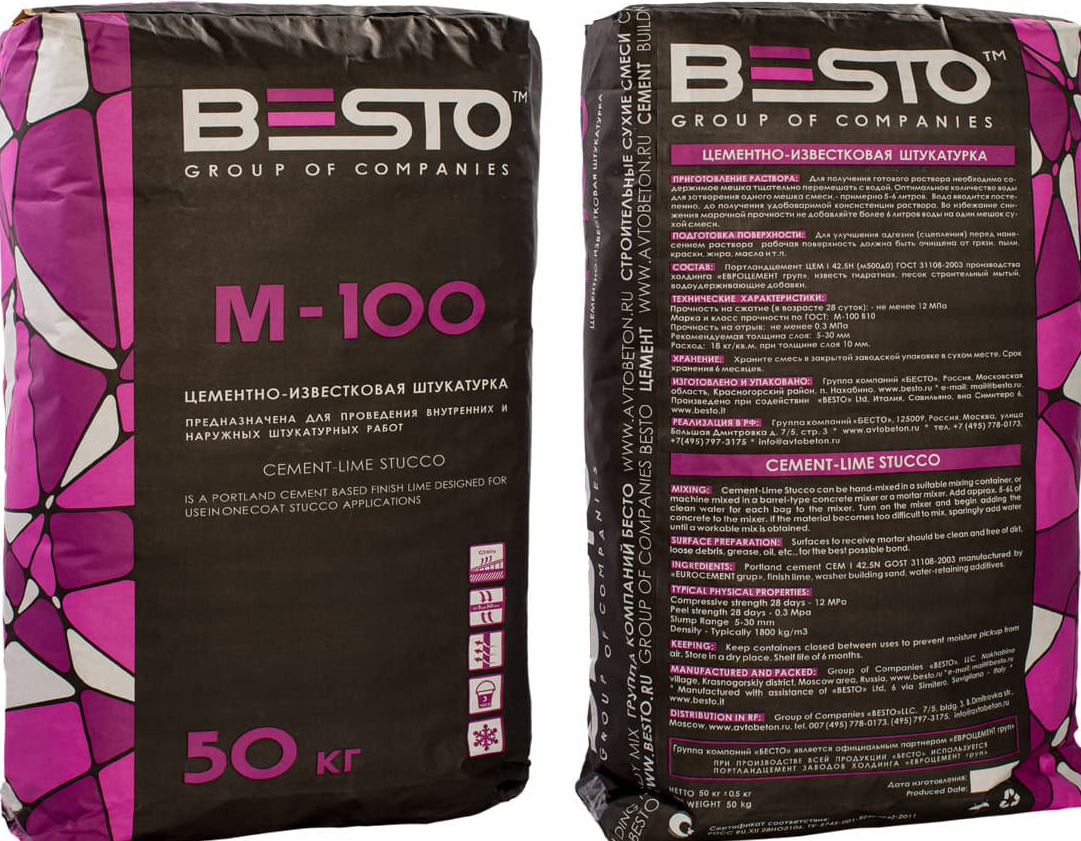
Cement-lime mortar has good adhesion to wooden surfaces. The presence of cement in the solution gives it frost resistance and water resistance. It is used for both internal and external walls. You can buy ready-made dry mix, but it is better to cook it yourself.
For this you need to prepare:
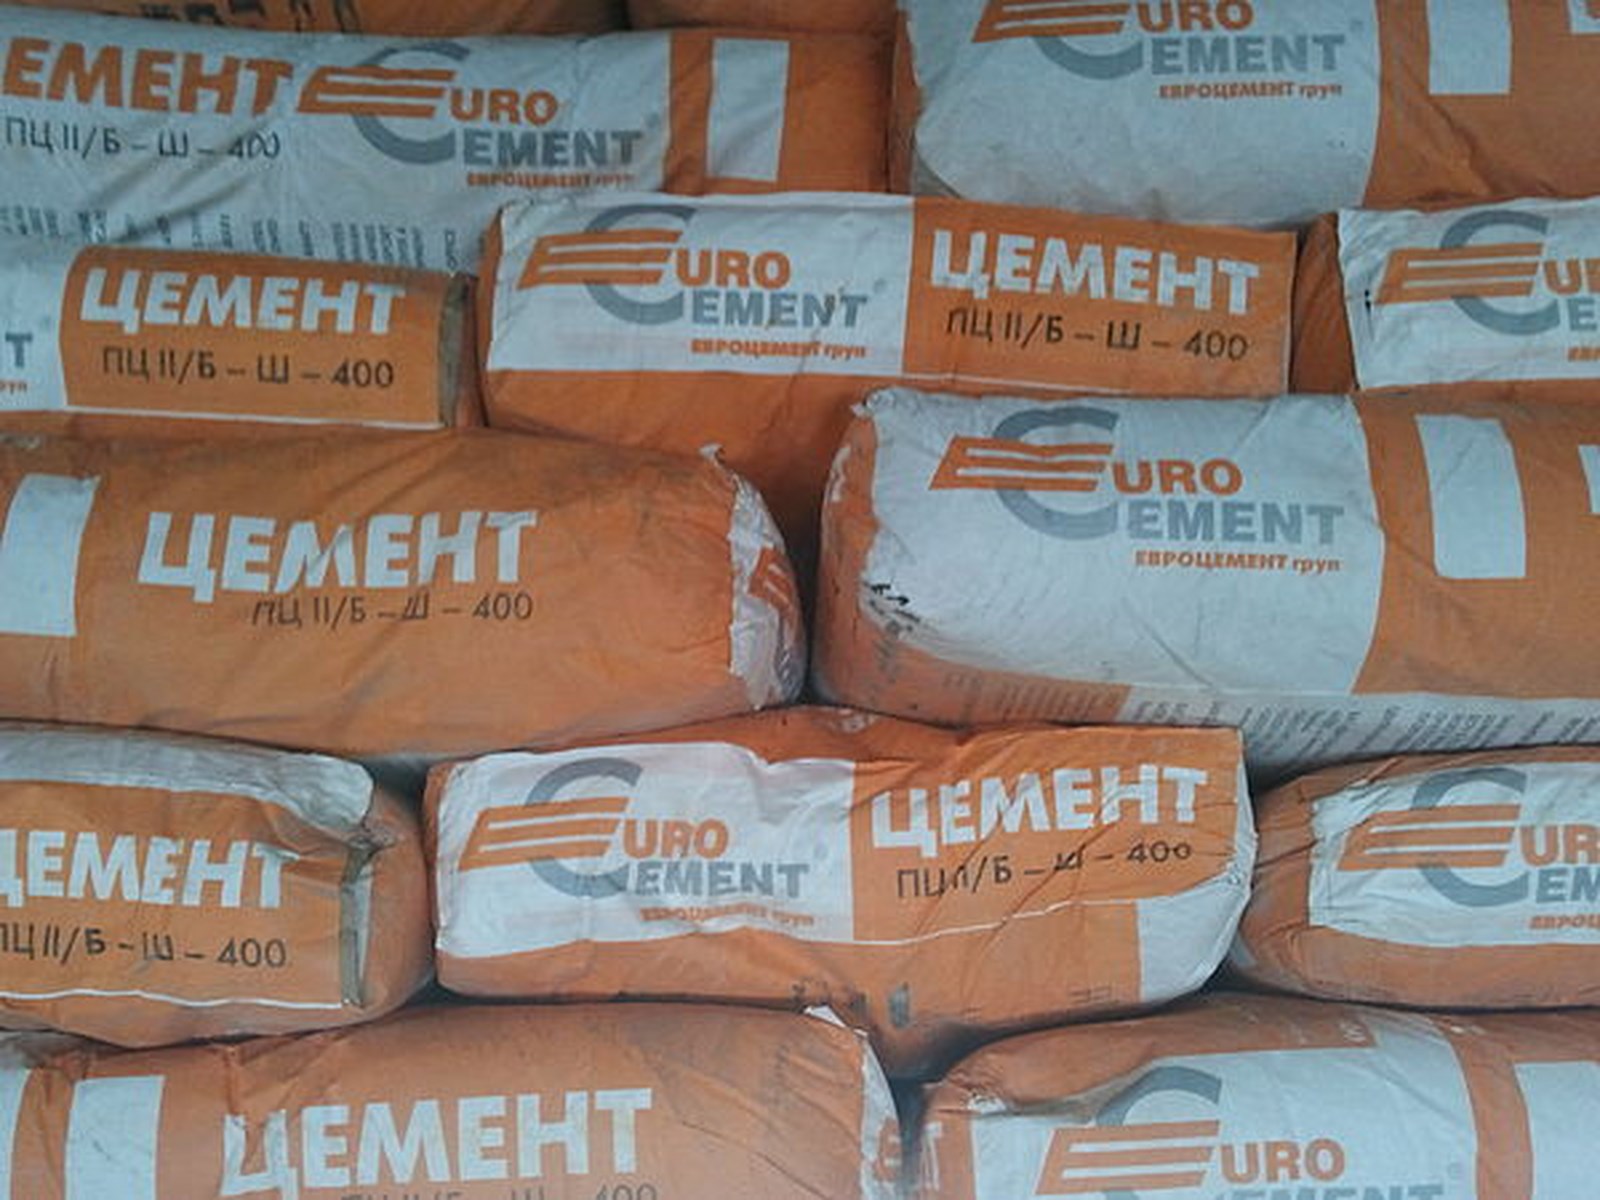
- 1 part of cement grade 300;
- 4 parts of sand of medium fraction, it should be sifted and not contain large stones. In the case of using cement of brand 400 or 500 sand, we take 5 parts.
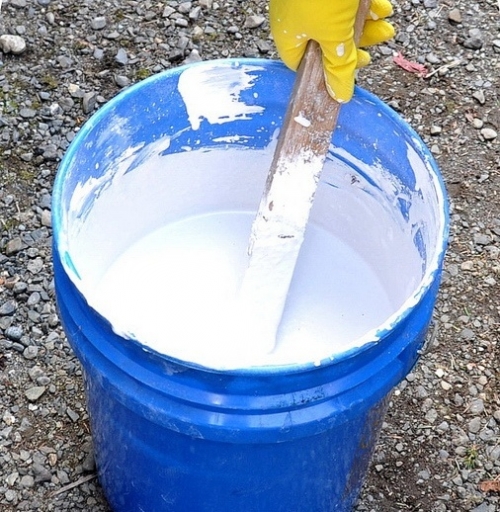
- 1 part of hydrated lime. Slaked lime should be at least three days before use. On the packaging with quicklime indicate the time of slaking lime. It should be borne in mind that the quenching reaction takes place with the release of a large amount of heat. Therefore, it is necessary to choose the appropriate dishes and observe precautions. We add water gradually. Until a homogeneous mass of consistency sour cream. The resulting lime must be filtered. Filter again before use. When used in the wrong slaked lime, the plaster cracks. Sold hydrated lime is sold - fluff, so it is better to buy it.


Mix the sand and cement in a dry state. We begin to gradually infuse lime milk with constant alteration. You should get a homogeneous mass of sour cream consistency. The volume of the prepared mixture should not exceed the volume of production per day. Lime in solutions gives them plasticity, increases water resistance and is an antiseptic, which is especially important when used for plaster on wood in new homes.
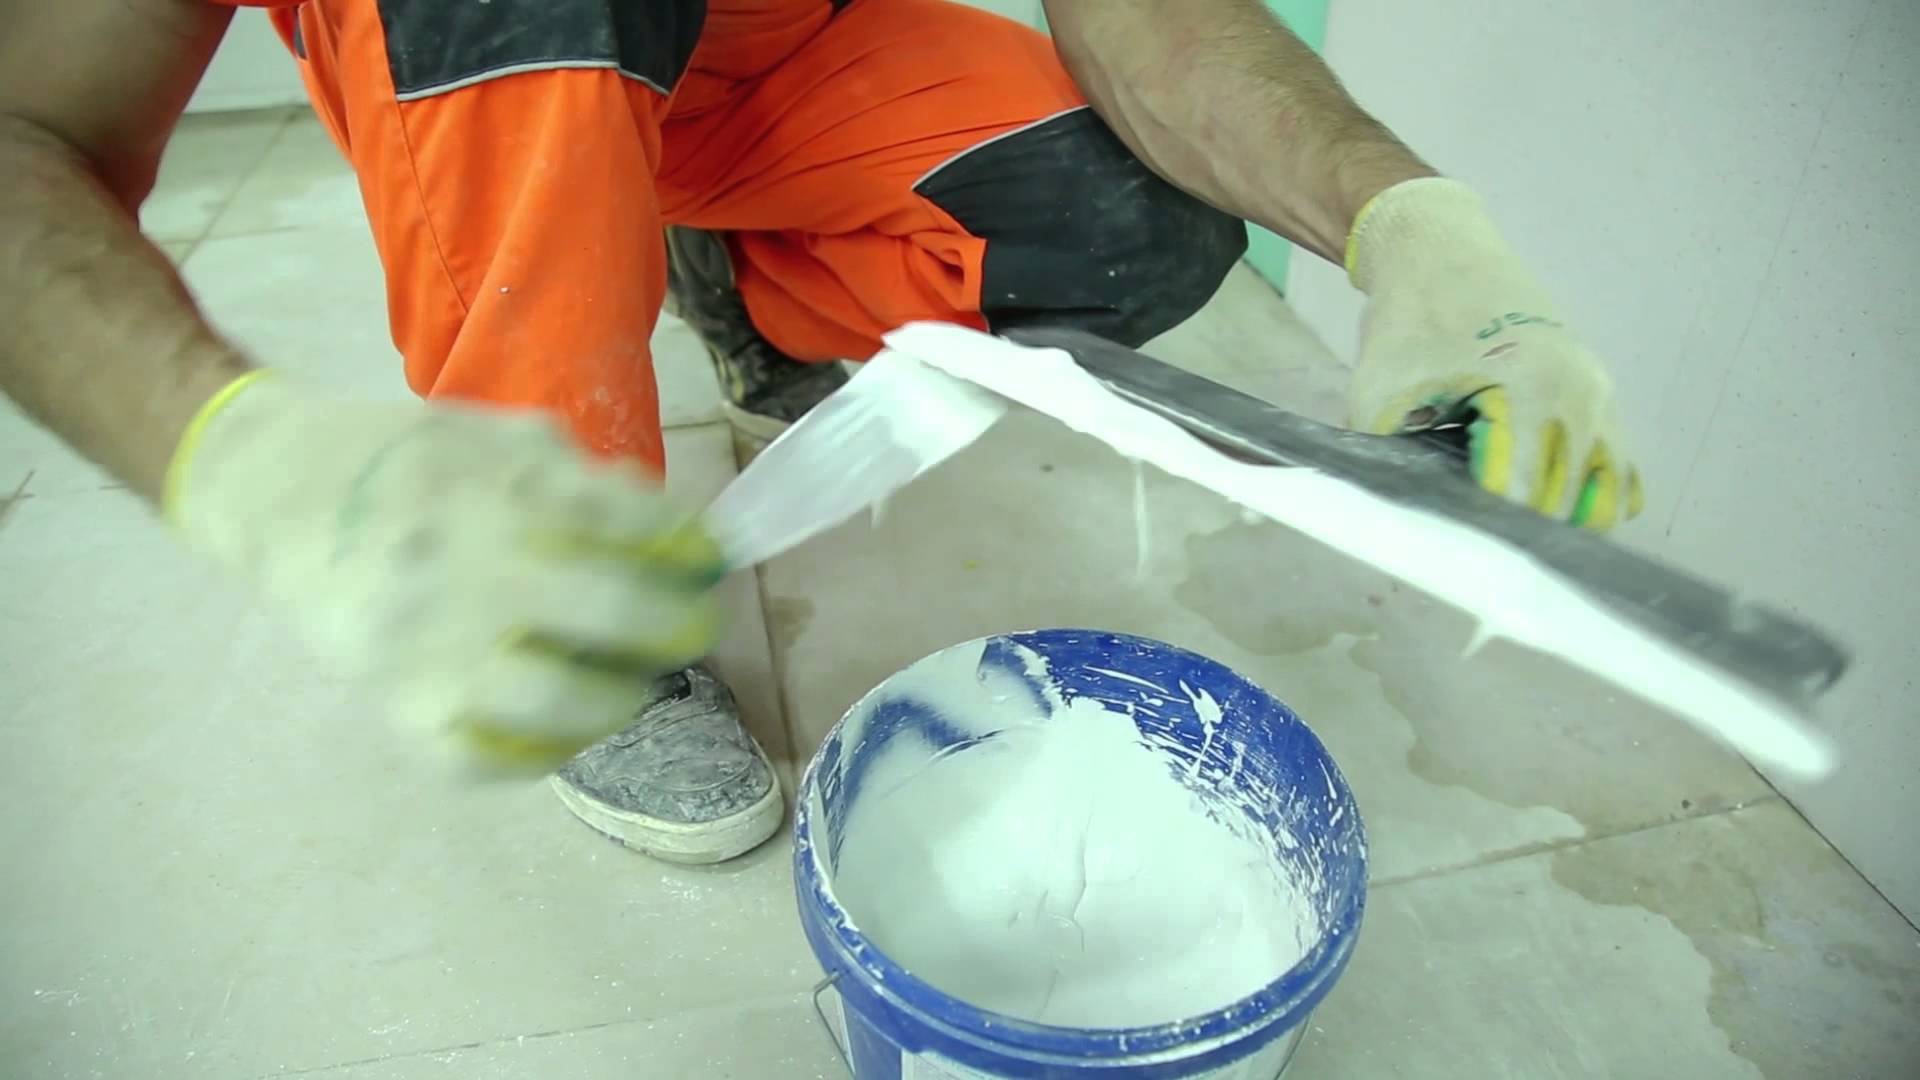
Lime-gypsum mortar is a mixture of gypsum and dry lime. Plaster solutions containing gypsum are used only for interior work in dry rooms. Plaster solutions containing gypsum, are afraid of moisture. The setting time of gypsum is less than 30 minutes and depends on the temperature of the solution - the higher it is, the faster the setting. Therefore, gypsum mortar is better to plaster the inner walls and partitions. It is necessary to plaster quickly and accurately.

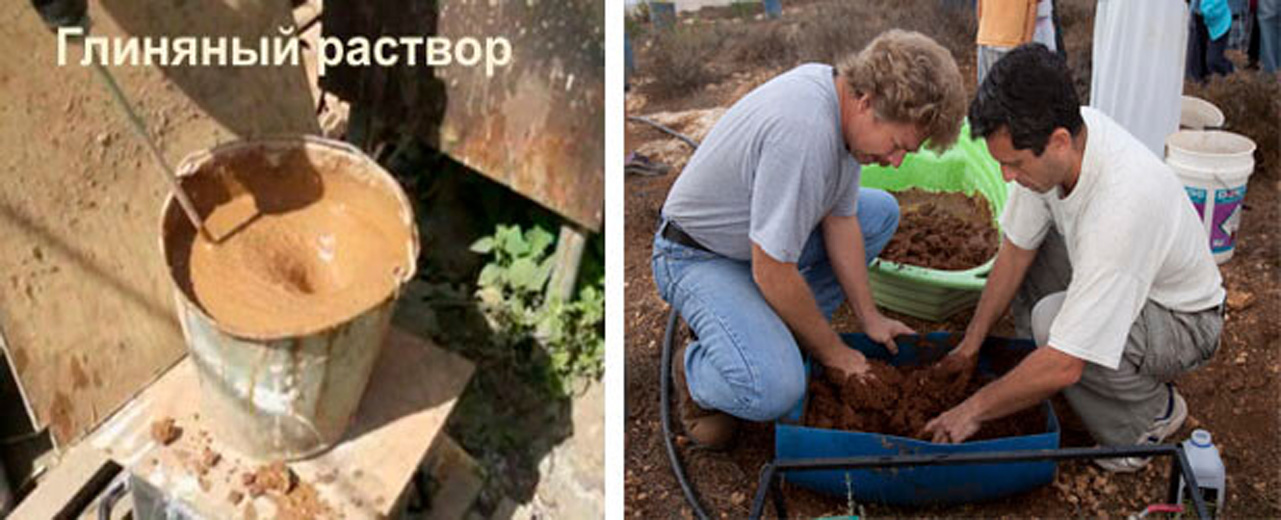
Clay plasters with the use of clay - the oldest material that has not lost its relevance today. Remember at least the huts of the hut of the south of Russia. Clay should not contain mineral particles, residues of the root system and solid inclusions of sedimentary rocks.Ready-made clay mixture is better to buy factory made.


Clay-based solution for plaster on wood is prepared as follows:
- Clay - 3 parts;
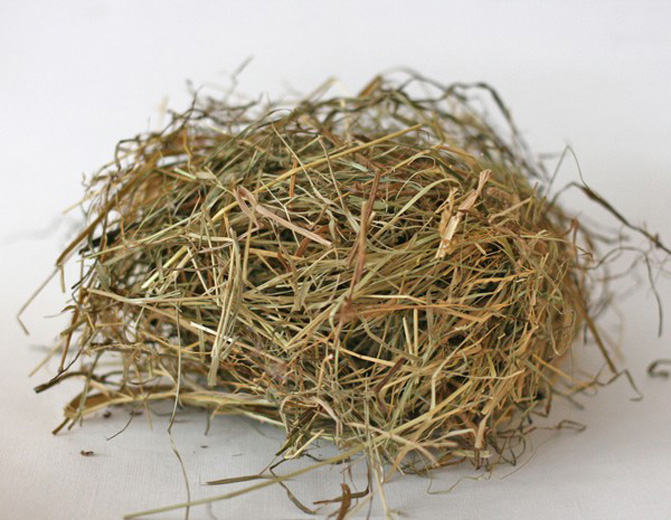
- 4 handfuls of straw (per ten liters of clay); straw can be replaced with sawdust of coniferous wood, oak or alder;
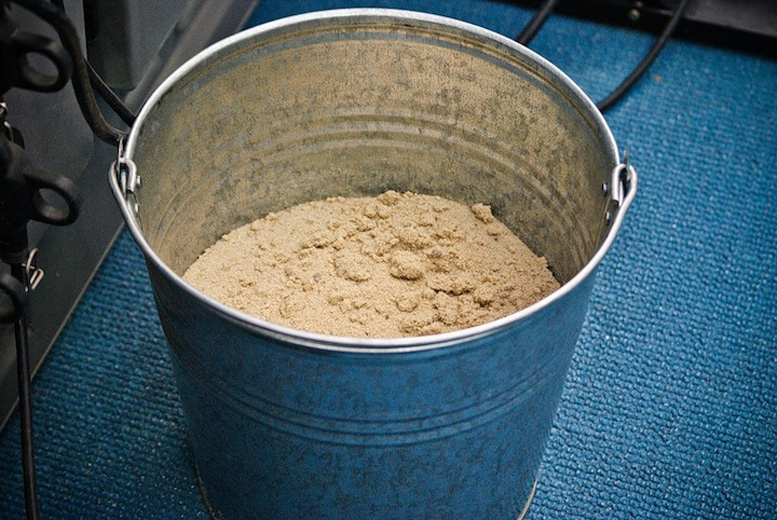
- Sand - 7 parts;
- 100 grams of glue for non-woven wallpaper on a bucket of water.
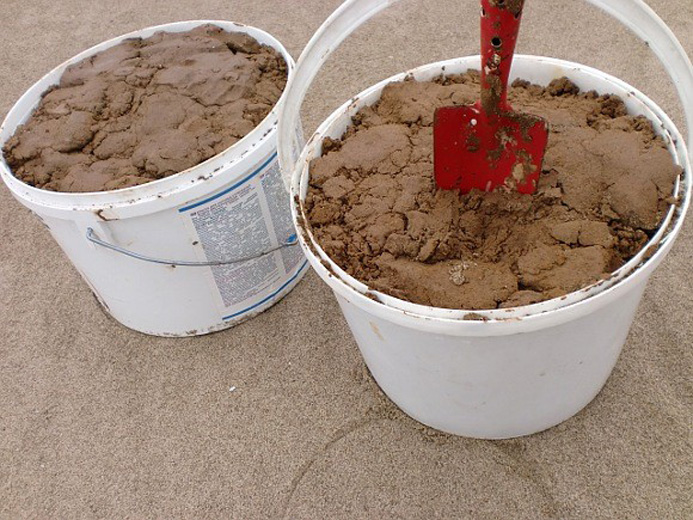
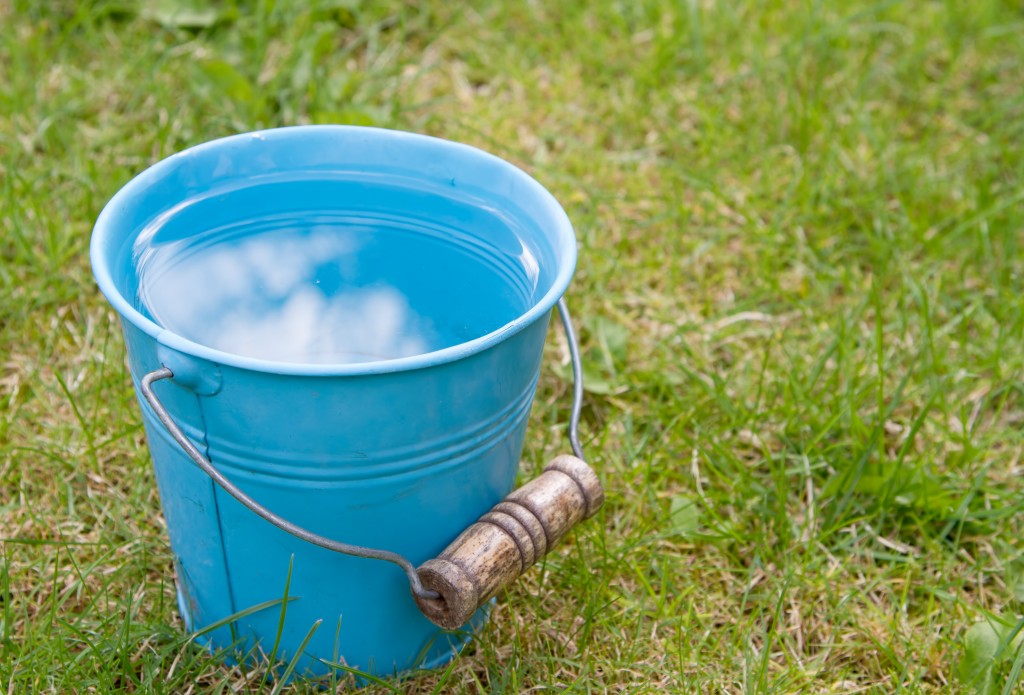
Glue diluted in water. In a thin stream pour into the mixture until the desired consistency. The clay solution remains plastic for a long time, so the mixture can be prepared for the whole day.
When using a clay-based mortar for finishing exterior walls or wet rooms inside, add 1 part of cement of a grade not lower than 400.
The readiness of the solution can be determined by cracking. Roll the ball the size of 3-4 centimeters and squeeze between the two planks. If 3 or 4 shallow cracks form on the resulting cake, the solution is ready. If the ball crumbled, then the solution is “skinny” and it is necessary to add clay to it. In the absence of cracks, clay is oily and it is necessary to add sand.
Tool and inventory
For the production of their own need a tool and inventory.The list below is indicative. For example, instead of forests, you can use the "goats".
Some positions can be completely excluded:
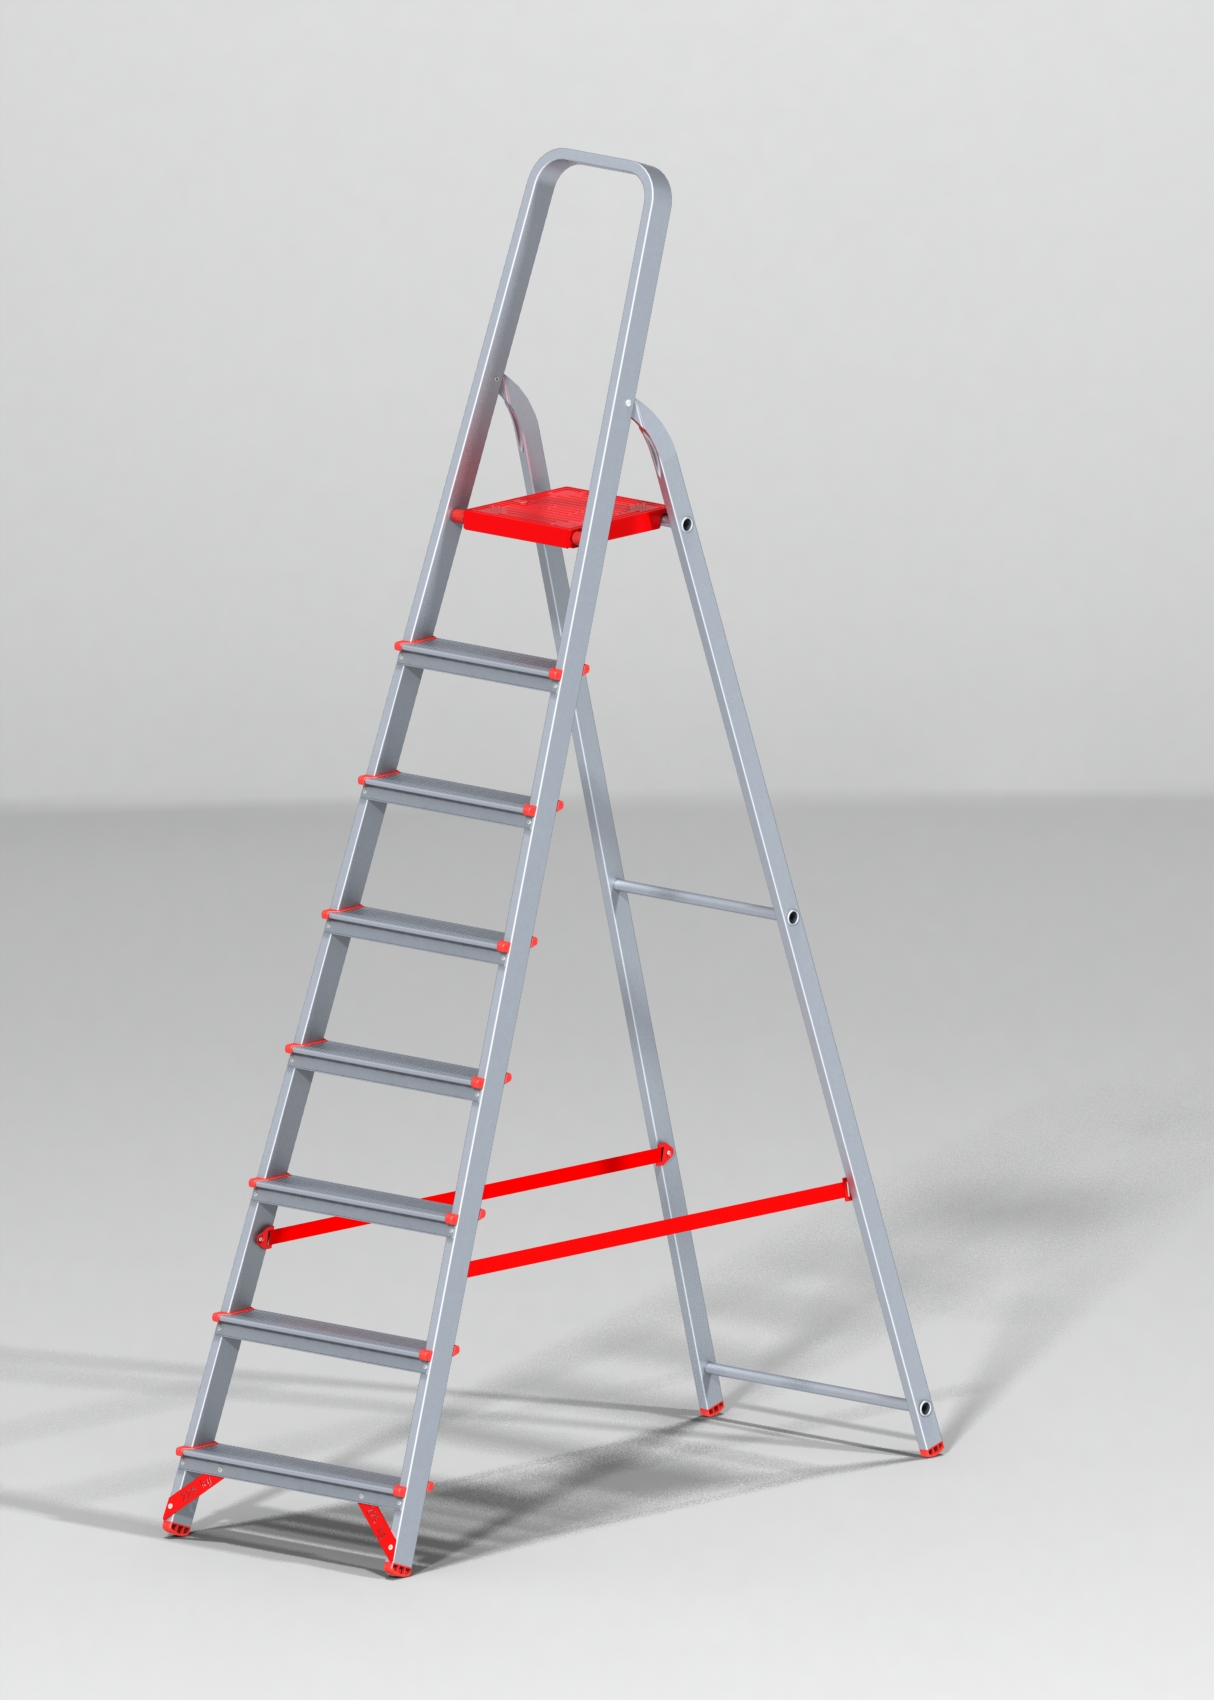
- scaffolding or stepladder;
- power tools - electric mixer, screwdriver, electrical extension;
- tanks for work - a tank for mixing the solution, a bucket for transporting the solution, a cuvette for the solution;
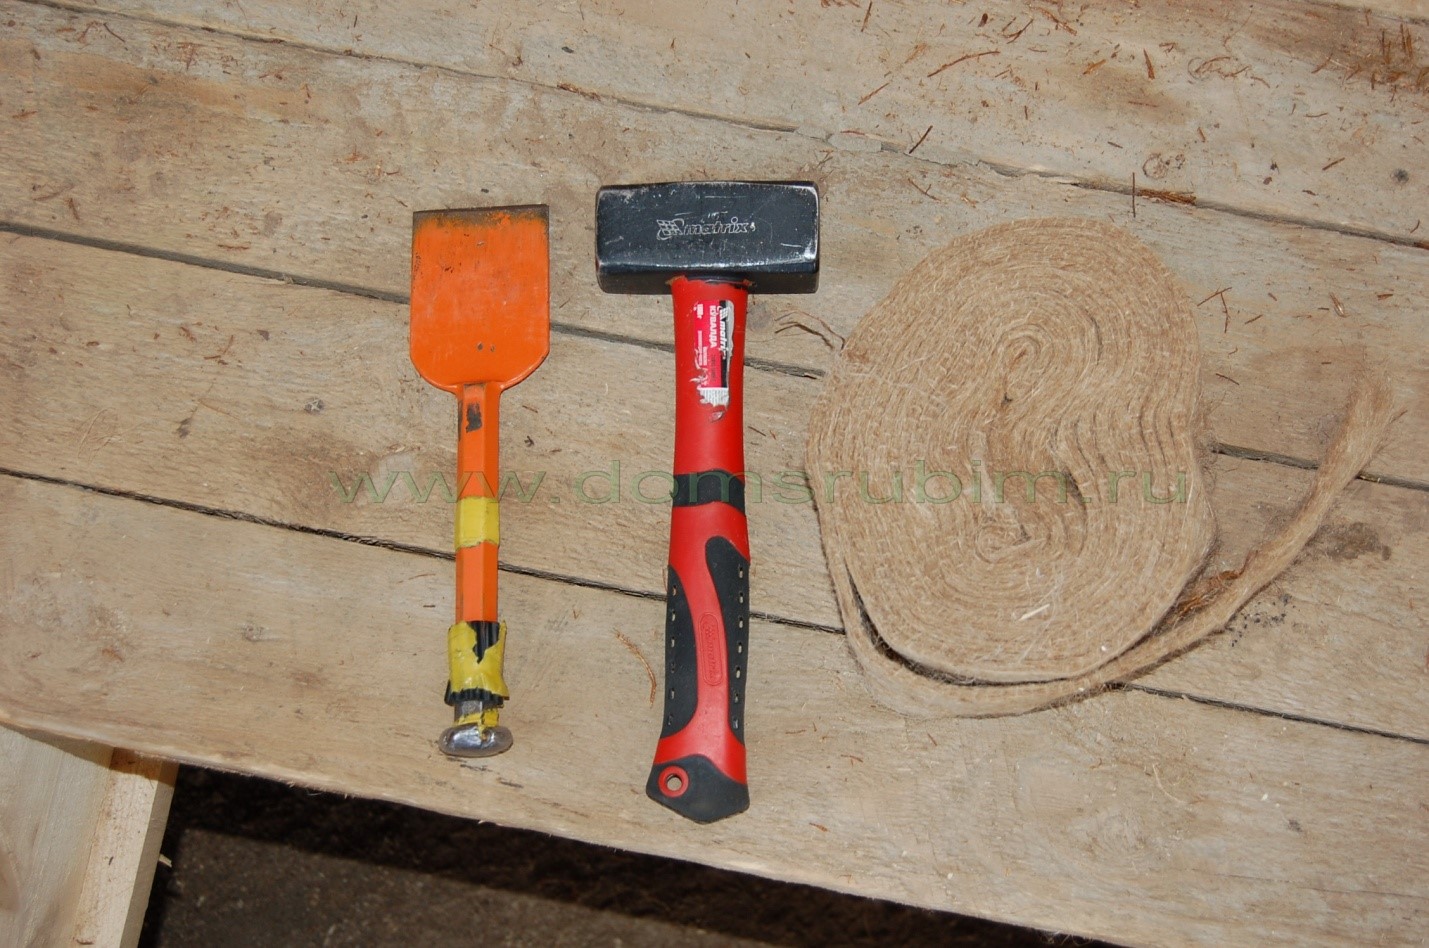
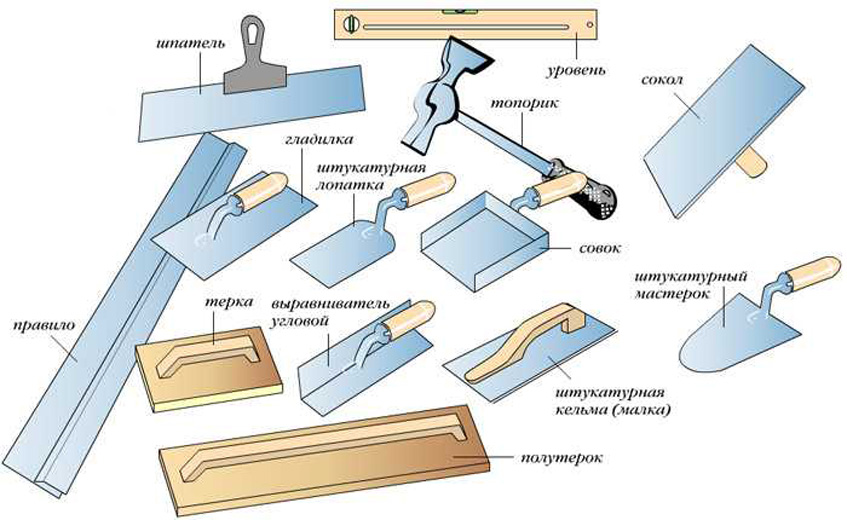
- plastering tools - ladle, falcon, rule, grater, trowel, spatulas of different sizes;
- Kayanka for caulking iron.


Do not forget about safety - mounting belt when working at height, helmet, work gloves and gloves.
Preparing surfaces for work
It should be borne in mind that the plastering of wooden houses is allowed only 1.5 years after construction, so that the wood is completely dry. Plaster of frame-panel houses can be carried out immediately upon completion of construction.

Stages of work:
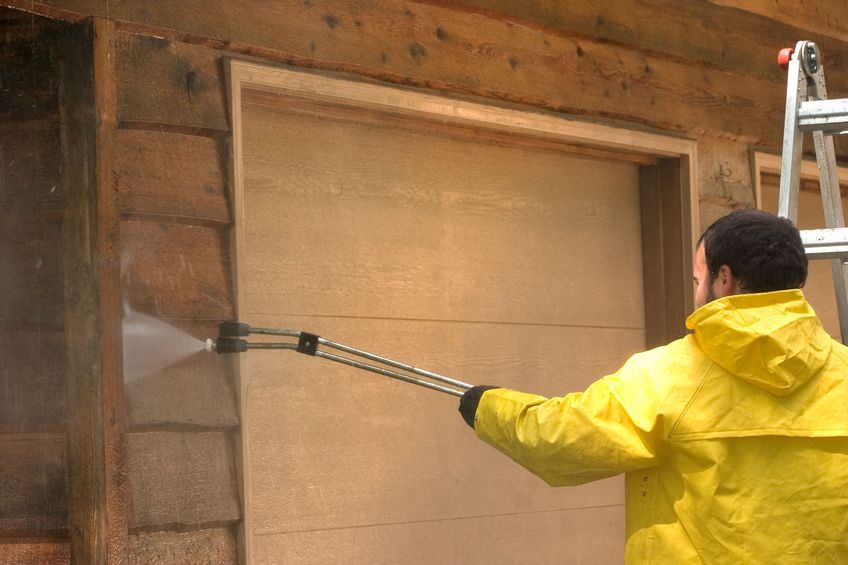
- All existing cracks and gaps are filled with foam or caulk. Remove oil and bitumen stains from all surfaces, if any. We conduct cauldron exterior walls of the house inside and out.
- We treat all surfaces with an antiseptic to prevent mold and fungi.If there are areas of walls or other surfaces not made of wood, for example, a concrete base or adjoining a wall of another material, these surfaces are treated with concrete contact.
- If you have to plaster wet rooms, inside do waterproofing. The easiest way to do this is with a ruberoid or plastic film.
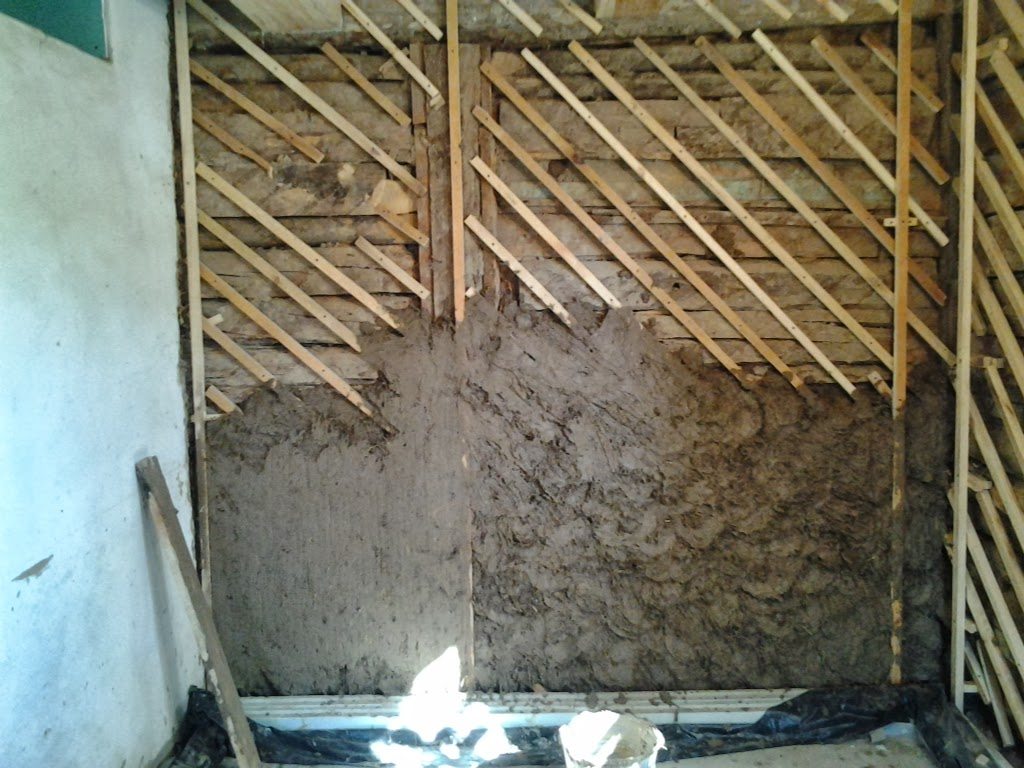
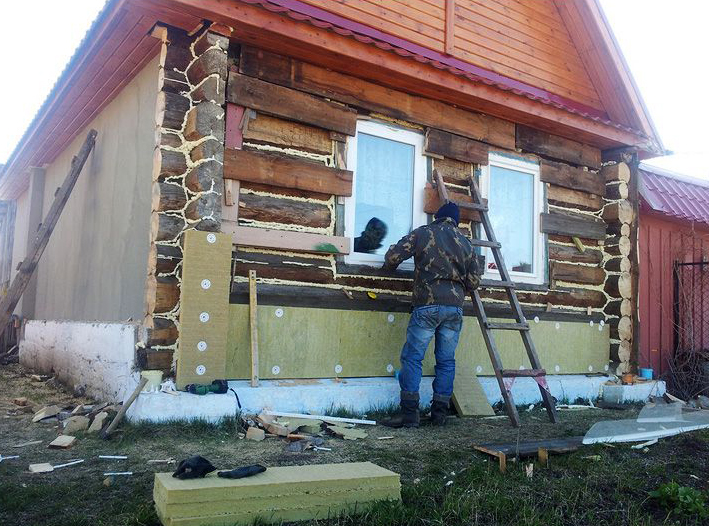
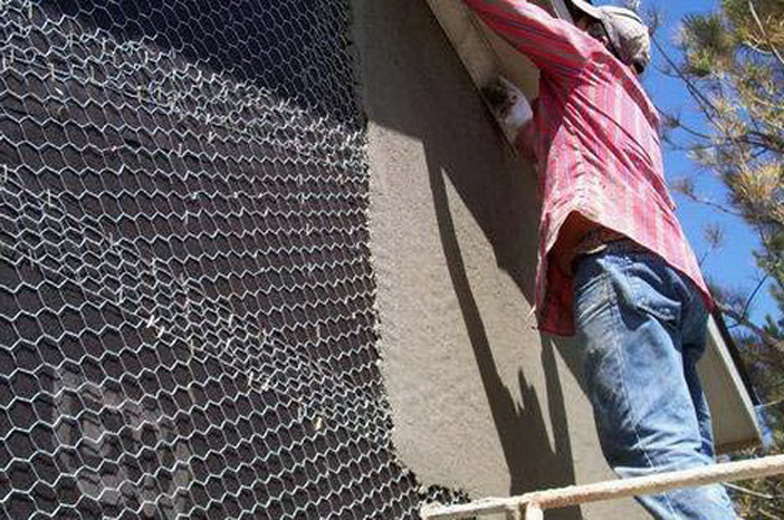
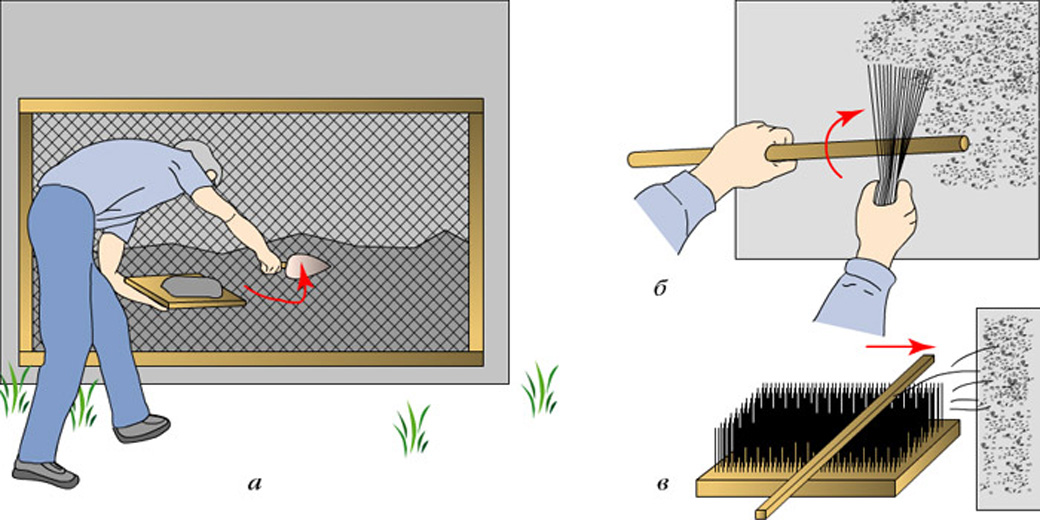
- On the outer walls and base we nail the metal mesh. Fasten with special mushroom-shaped dowels. The grid should not have sagging. We nail the reinforcing mesh to the inner walls. It happens that there are local areas in which the thickness of the plaster turns out to be more than 3 cm. This happens when there are deviations of walls from the vertical more than 3 cm or internal corners are more or less than 90 °. In this case, after spraying attach another layer of the grid.
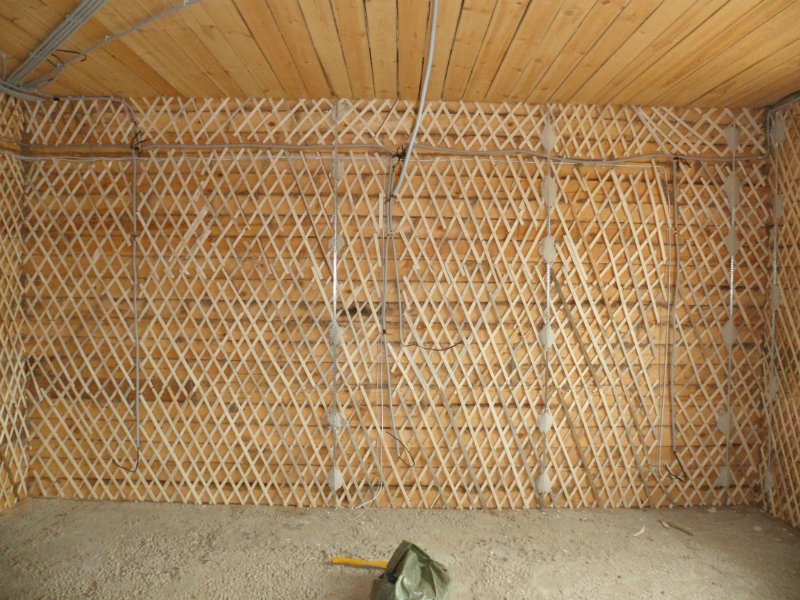
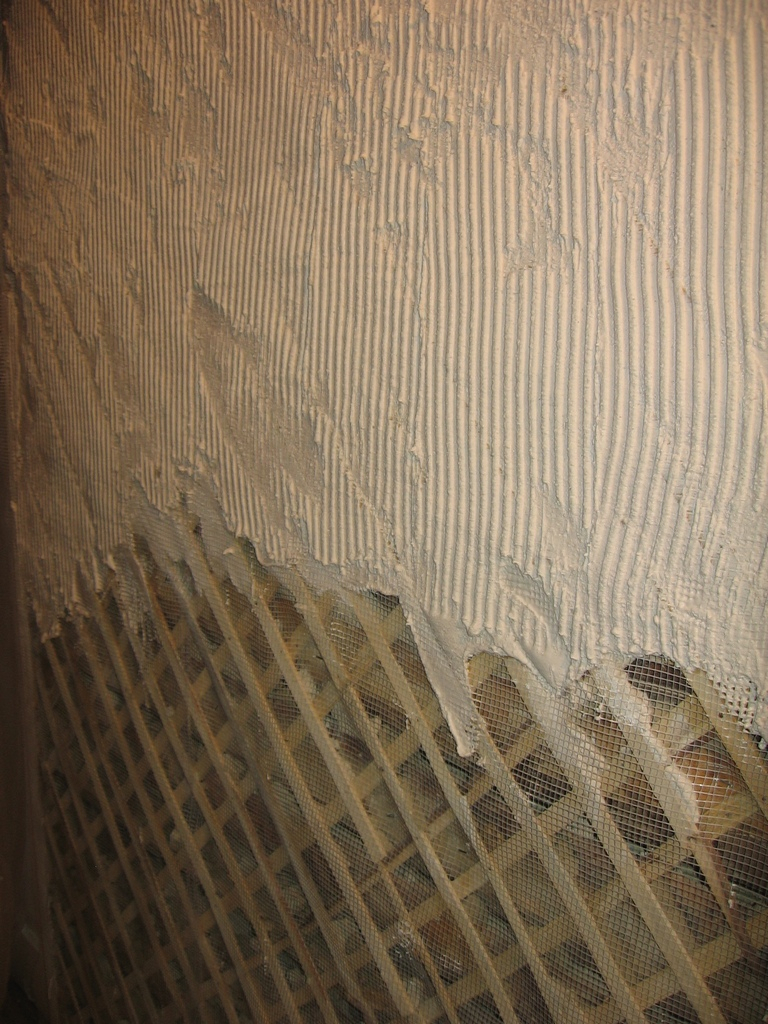
- Shingles. Begin to nail the bottom at an angle of 45 °. You should get rhombic cells with dimensions 50x50mm or 45x45mm. On vertical surfaces nail them through three cells. On the ceiling - through two cells. When building the tape between the ends leave a gap of at least 5 mm. The ends of the tapes are wetted and each end is nailed.Although in its absence, shingles can also be made by owning a table saw at home by cutting it from suitable boards or slats.
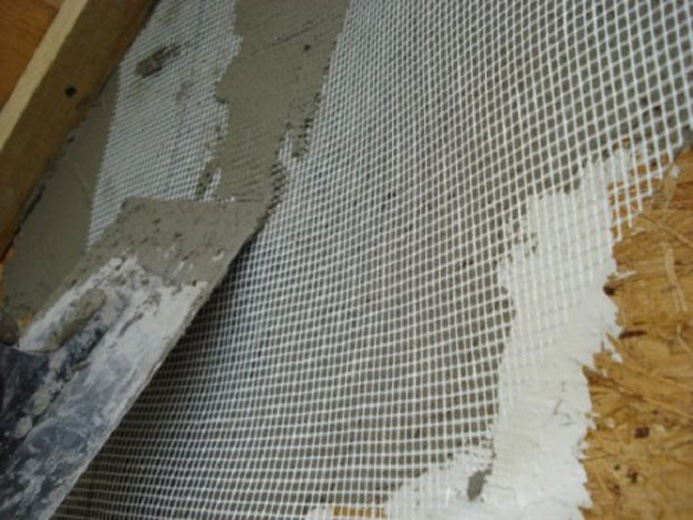
- Polymer reinforcing mesh for masonry work is fastened with wide-headed screws. The number of screws - 10-12 pieces per square meter. The basic rule when mounting such a grid is that it should be stretched like a string. Joints on vertical corners are not allowed. At the junction of the net we make at least one cell overlap.

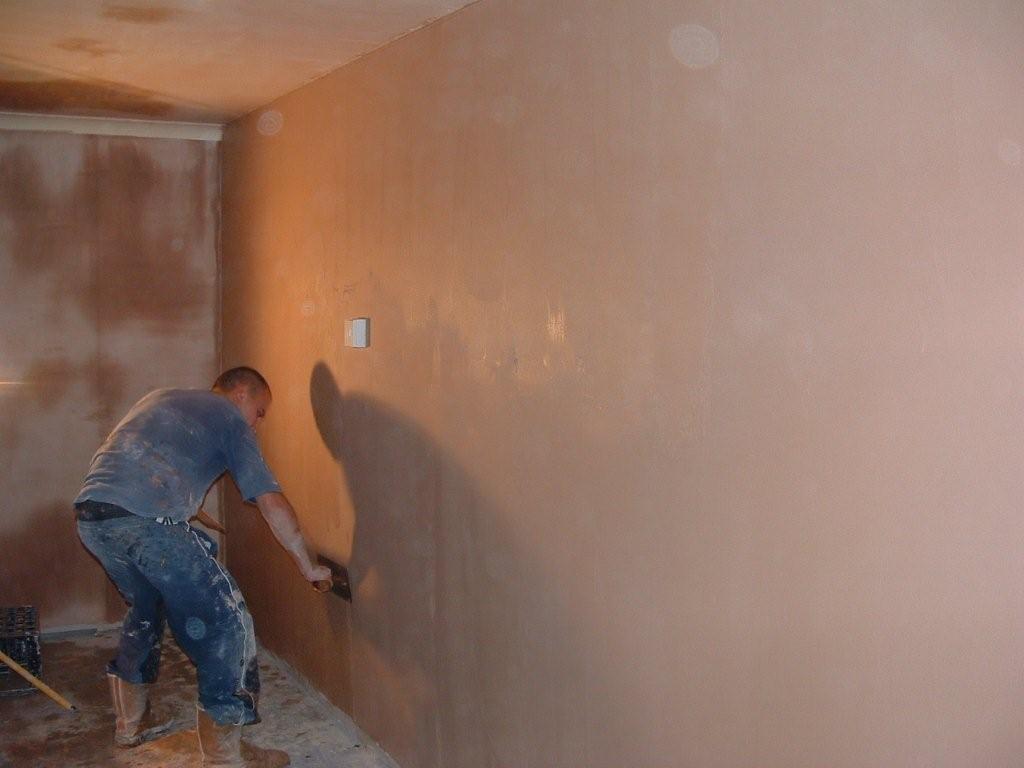
Sequence of operations
Plastering works are related to wet processes, so they need to be planned for the warm season. Optimally choose the moment when there is no rain.
Stages of work:
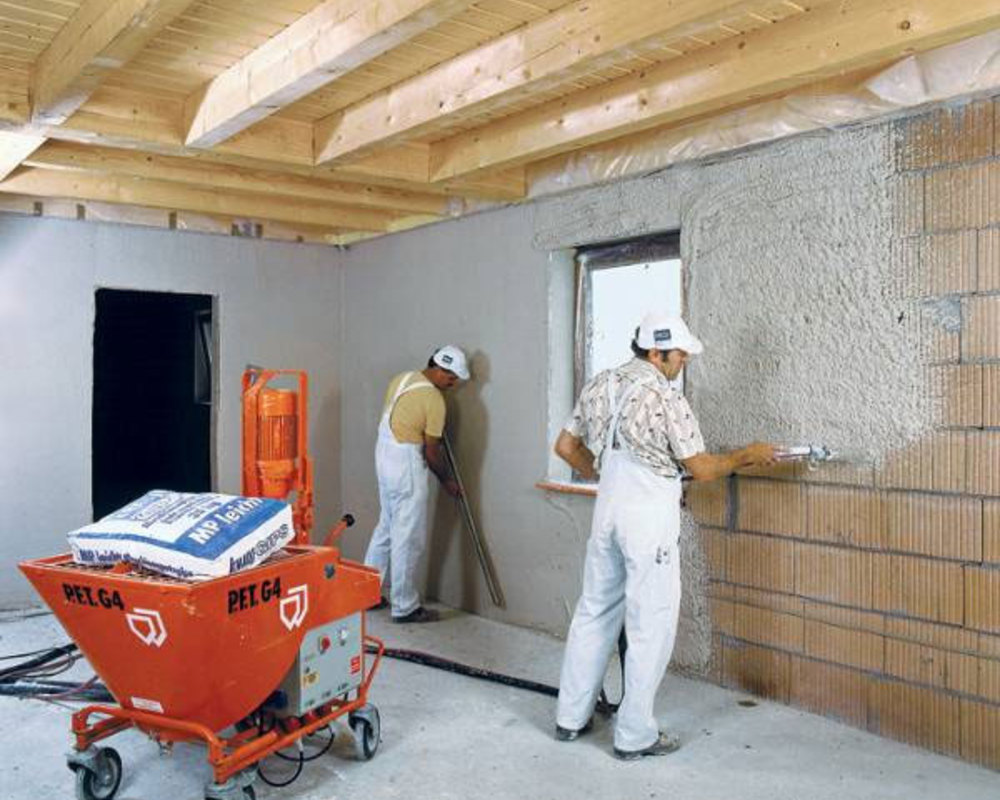
- Splattered Prepare the solution more fluid than usual and sprinkle with a ladle on the prepared surface, starting from the top. We control the thickness so that the layer does not exceed 9-10 mm. We proceed to the next stage after the first layer is completely dry.
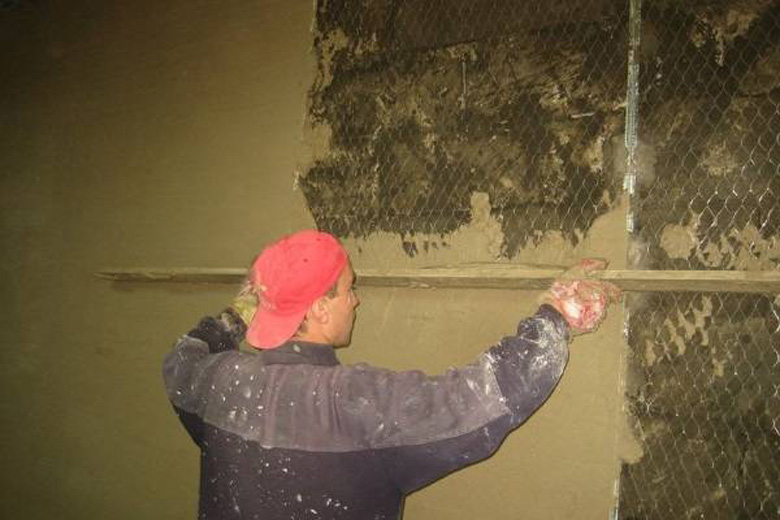
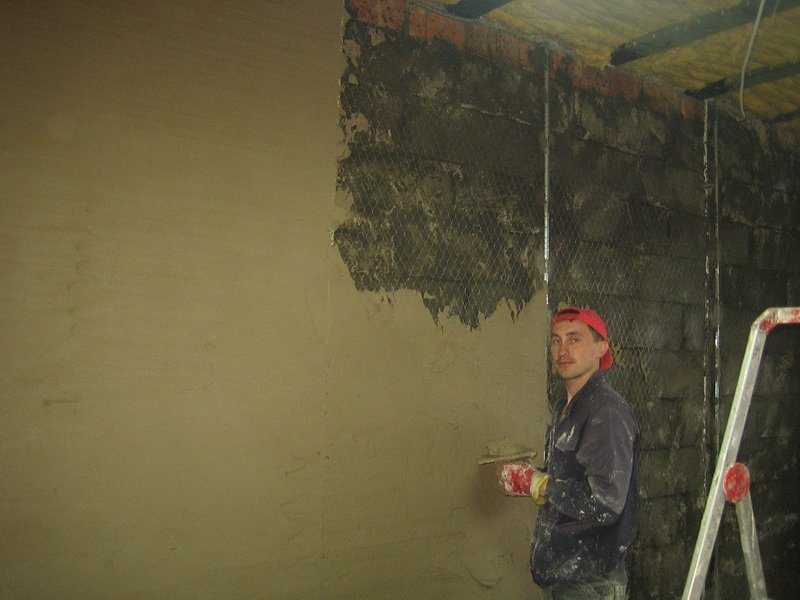
- The main layer. Apply a solution of normal consistency on the first layer. We align with the lighthouses. We begin to plaster on top.
- The final layer. Elimination of minor defects in wall surfaces, maximum alignment with beacons.
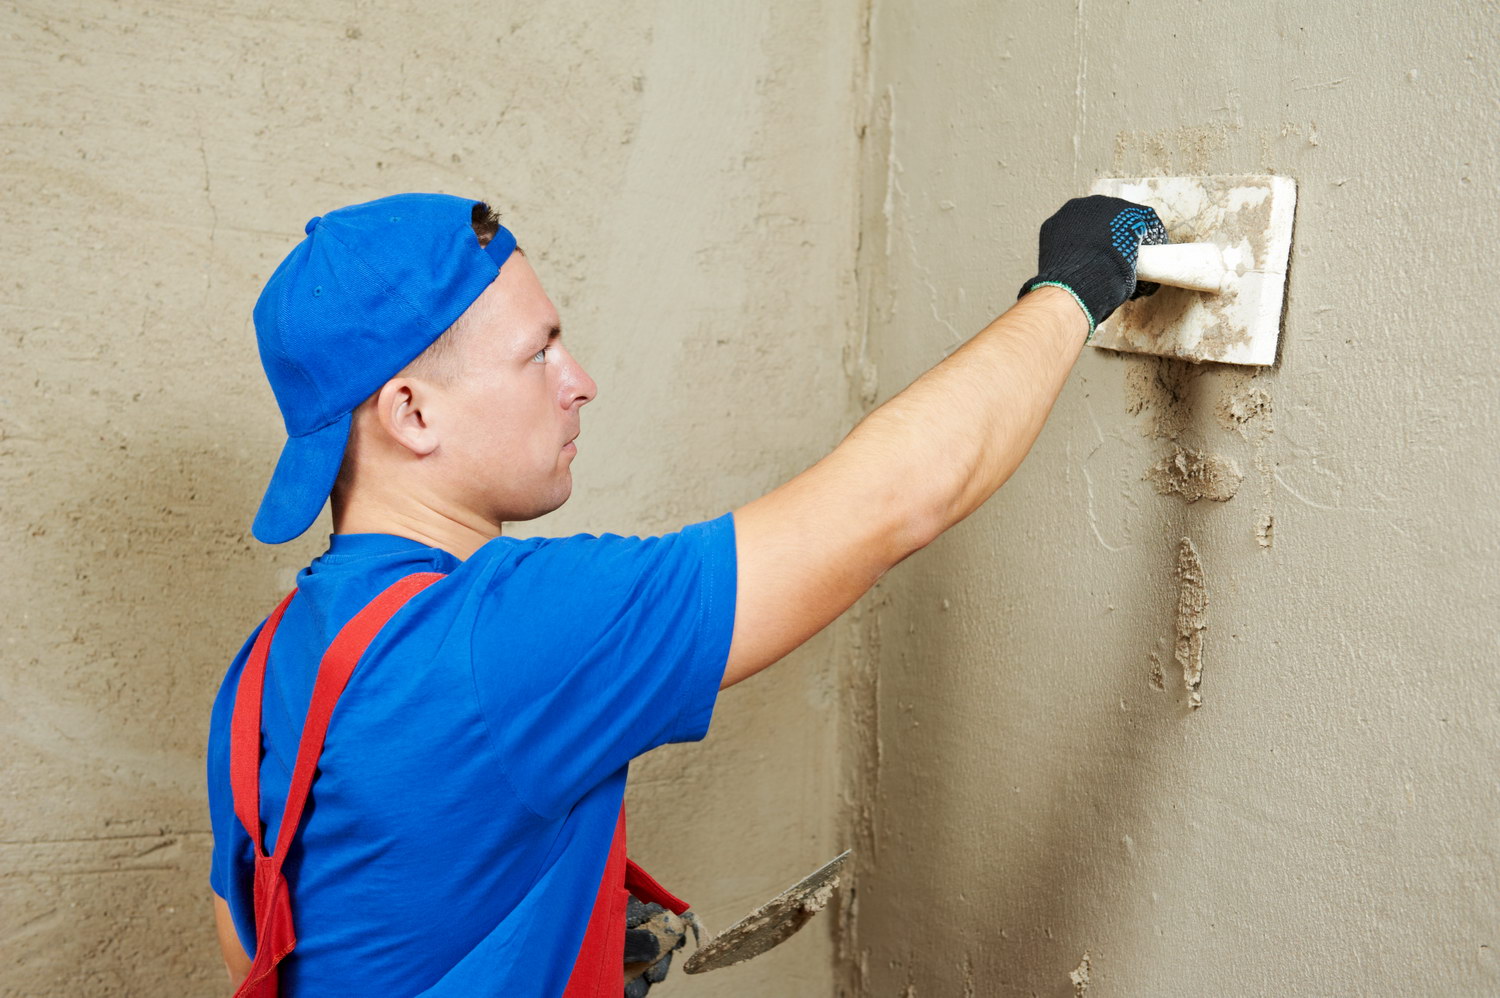
- Grout. Grinding and grouting walls, getting a smooth surface. This is especially true if you plan on pasting wallpaper.
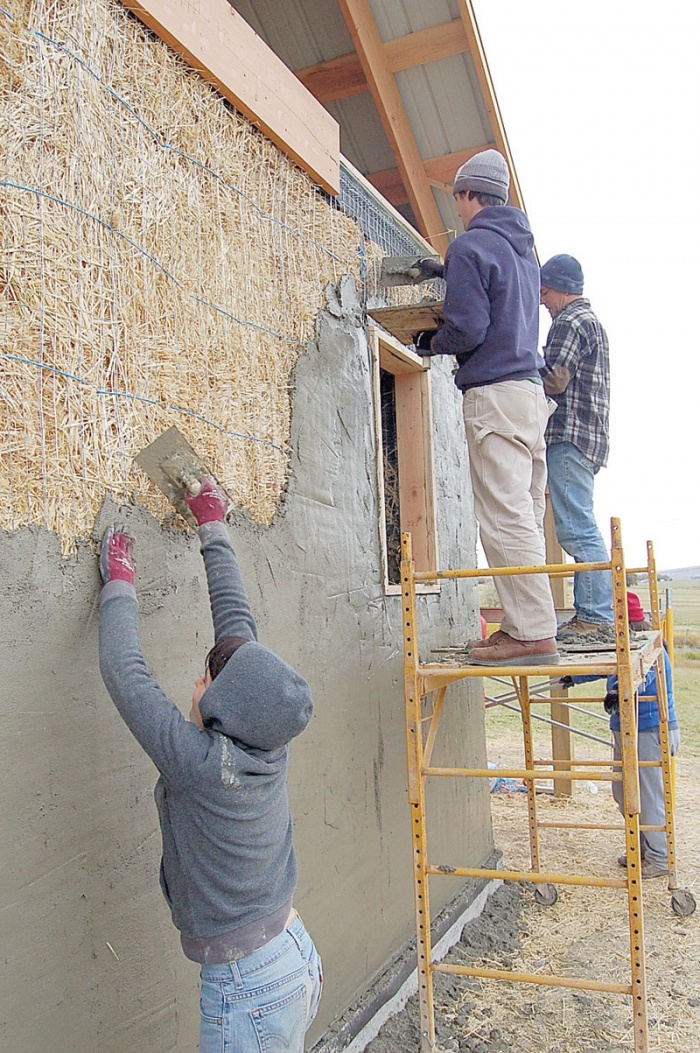
Plastering work is irrational, it is better to work with an assistant, and even better not with one.
The minimum link for plaster is 3 people, while it is better to have 2 links: 1 master plasterer and 2 apprentices to prepare the solution and carry it. They also rearrange scaffolding or scaffolding.

After finishing the exterior work, you can begin to plaster the inner walls. Work inside is better to start from the ceiling, and only then plaster the walls, so as not to spoil the ready-made surface spray solution. We complete the work inside the room completely and only then proceed to the next room. The most correct option is to begin to plaster from the room farthest from the entrance, gradually moving towards the front door. In this direction of work the room is closed for drying alternately. Accordingly, with proper drying in the same order, you can start finishing.
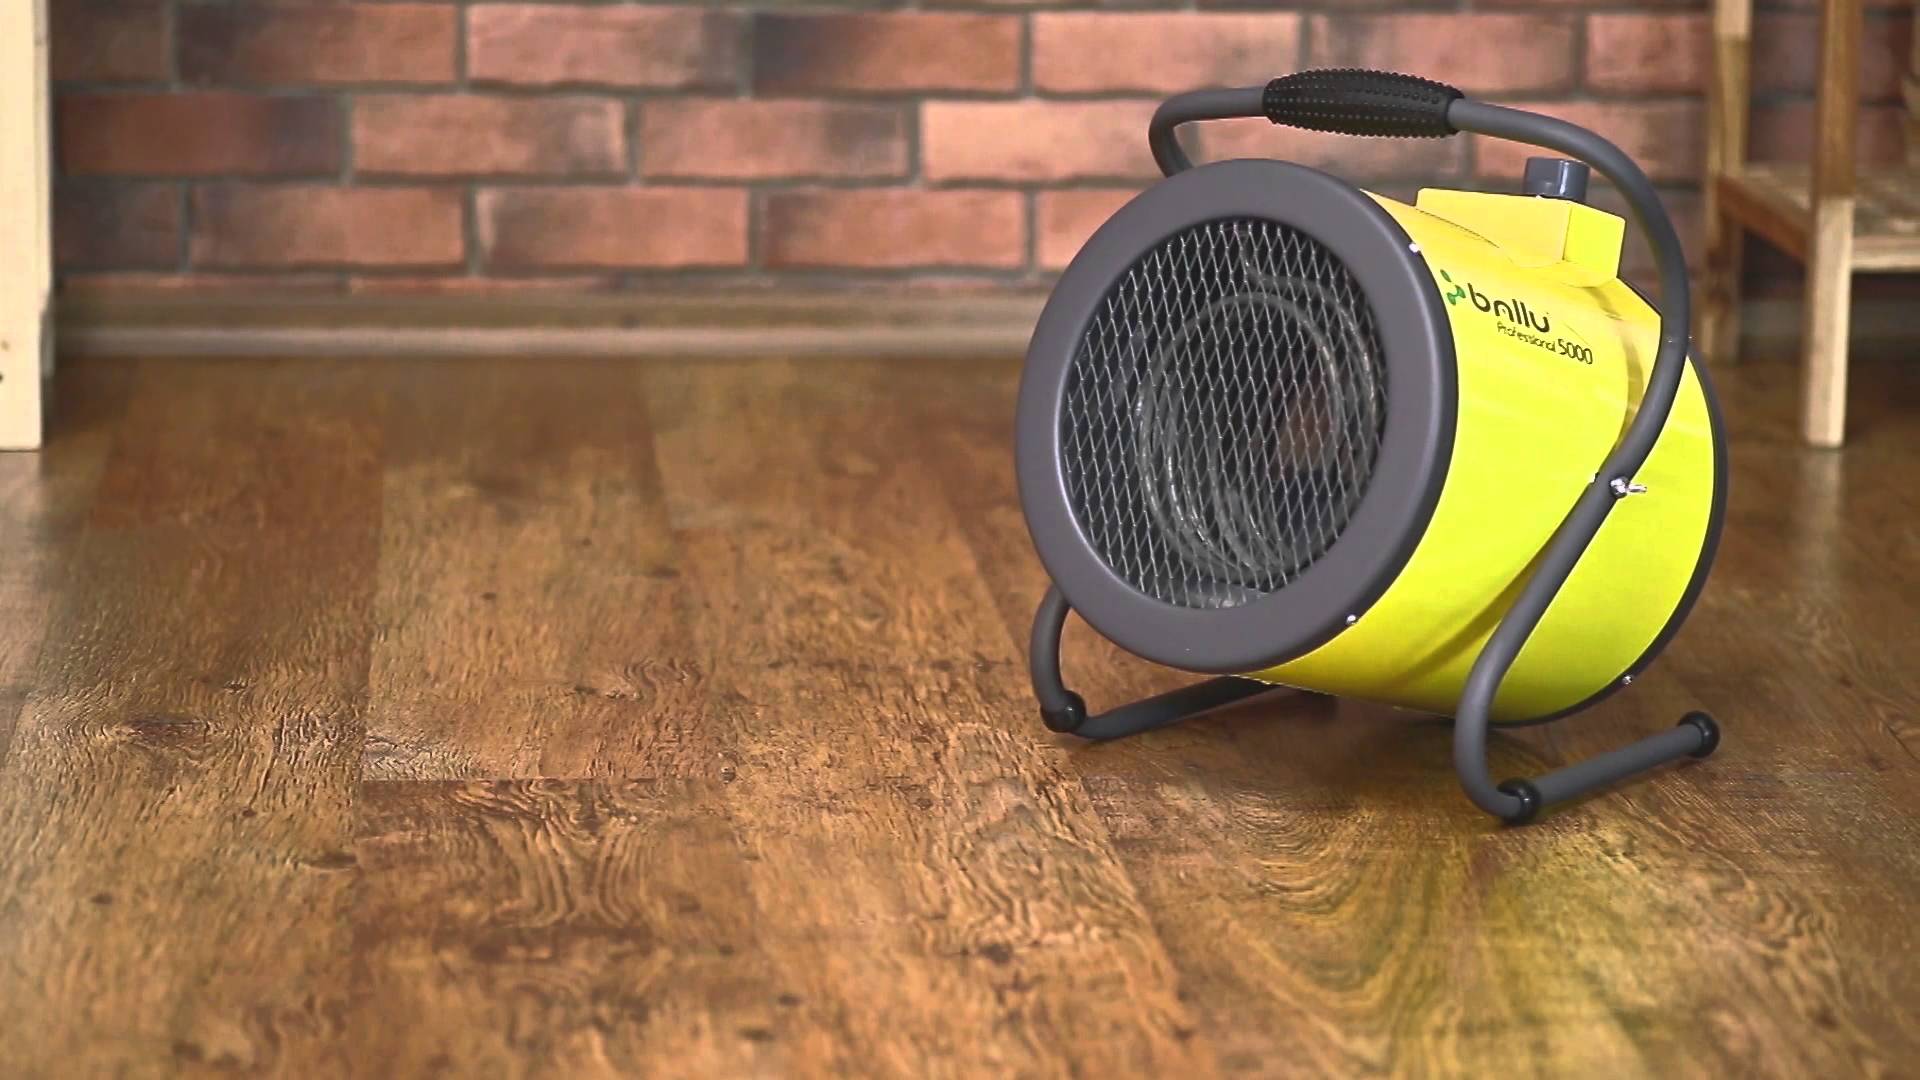
Drying plastered surfaces
The basic rule of drying plastered surfaces - the first 3 days do not use anything to speed up the drying.Accelerated drying leads to the fact that the quickly dried top layer prevents moisture from escaping from the underlying layers. In the future, such plastered surfaces crack. Accelerated methods can be applied on the 4th, and preferably the 5th day. Drying can be accelerated by airing or heating using a heat gun.
Plastered surfaces of external walls must be protected from both accelerated drying and rain. In the case of facades, the warming of the sun is added to the negative factors, especially in windy weather. Therefore, it is better to immediately prepare a protective film and immediately cover the walls with it. It protects from rain and from the sun with the wind.
How to prepare the wooden walls for plaster, see below in the video.


