How to plaster the walls and ceiling of the beacons?
After buying an apartment in a new building, everyone is faced with the problem of finishing the apartment. An important component that requires a lot of patience and hard work in such cosmetic repairs is plastering the walls. Often during the construction of the house the master does not think about the need to make the walls smooth, so the new owners have a lot of difficulties. However, in the modern world there is a good plastering method that will help simplify this long and time-consuming exercise.This is a new technique with which the walls and ceiling line the beacons. Consider the nuances of this process.

Special features
The method of plastering walls on beacons has several features. Lighthouses are peculiar guides that limit the plane intended for leveling the surface. If they are correctly set, correlating the position with regard to the geometric shape of the room, it is easy to reduce labor costs during the alignment of the walls. It is necessary to make a prediction of plaster consumption at the stage of choosing the initial surface (the one on which they will be oriented later when exposing the planes of other walls).

When using ready-made beacons, a certain amount of the useful volume of the finished room is reduced. The material itself reduces the area of the room, since it has the same thickness dimensions along the entire length. It is better not to enclose the plaster under the entire lighthouse. It is preferable to lay out its angle between the base wall, which should be perpendicular to the other two, and the material itself. It will help make the wall more even.
Using this method, you can save on the amount of plaster expended and save space in the room.

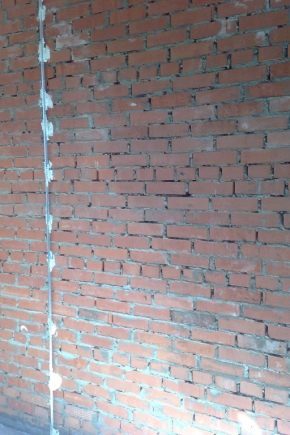
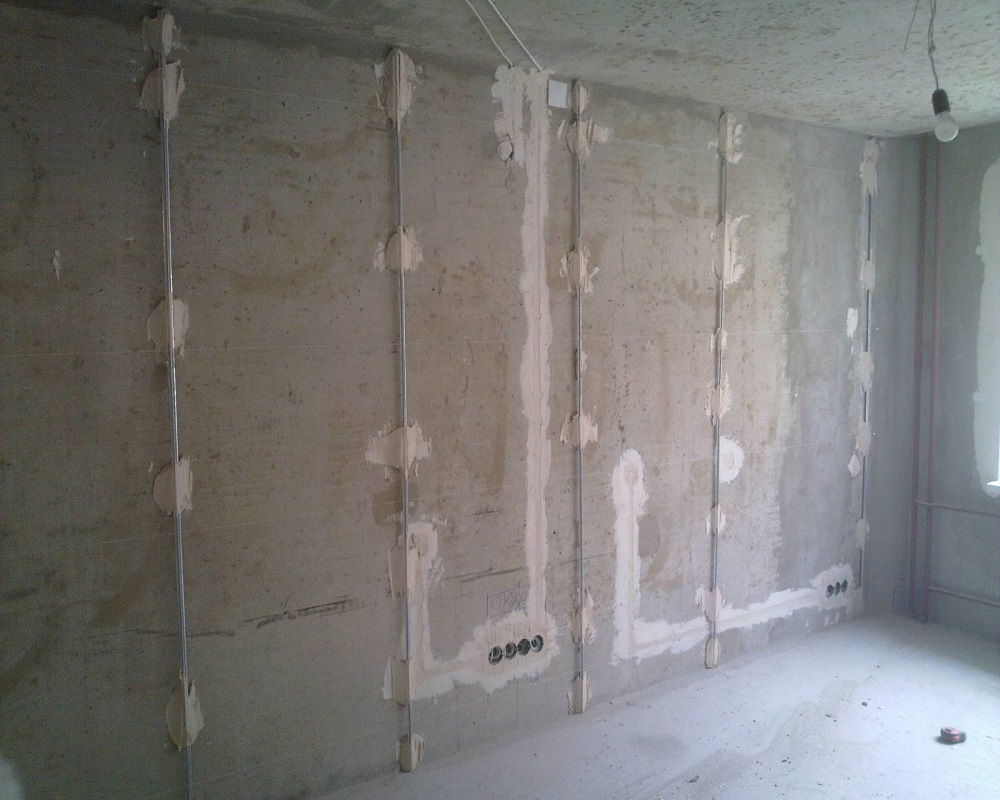
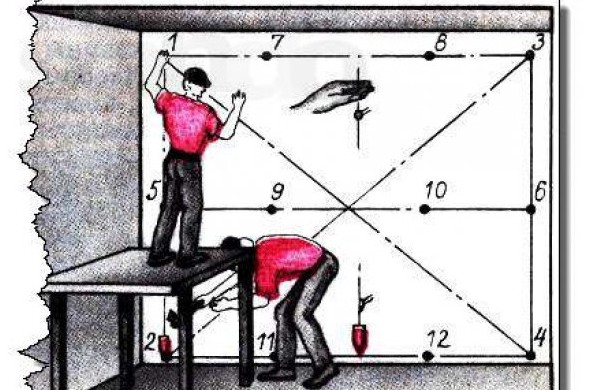
If you correctly align the walls with the help of beacons, a perfectly smooth surface can be obtained with a guaranteed result. But the final result has a significant impact the correct placement of profiles. To correctly perform the finishing work, you can use the system of plumbs. At the edges of the wall it is necessary to lower a pair of plumbs. Then two rails are installed vertically along these two plummets, and the threads are stretched between them (a smooth vertical plane is obtained, along which plastering can be done).

To simplify the task of setting beacons, some manufacturers have prepared special metal or plastic fasteners. Such details are better to use for beginners in the first stages of leveling the walls. They will increase the pace of work and further reduce the cost of labor for plastering. When inviting construction workers to plastering walls, it is important to know that they themselves have to complete the construction standards, which are about 10 hours per room. Independently it can be done faster and better.


Species
There are several types of beacons used for leveling walls.
- Wooden lighthouses are made of solid wood. They can be found anywhere. The price of this product is low, and this attracts buyers.
- Profiles created from light metals or plastic are specially designed beacons. They have the form in the form of the letters “L” or “T”, they are well connected with the base, on which the glue or layer of the mixture for plastering is subsequently smeared.
When purchasing such profiles, it is important to pay attention to the rigidity of the material. Those lighthouses, which are made of a very thin sheet of metal, will sag, so they can create great difficulties during operation. Metal beacons can not be jarred in contrast to the bars of wood.
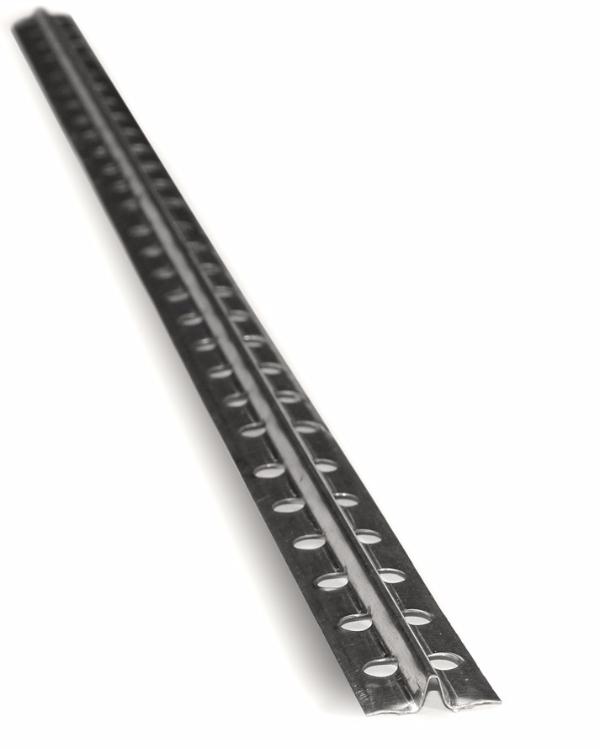

Metal profiles are allowed to be used many times, if necessary they can be left in the wall. However, this material may eventually become rusty, so it is recommended to remove profiles after successfully plastering the surface.
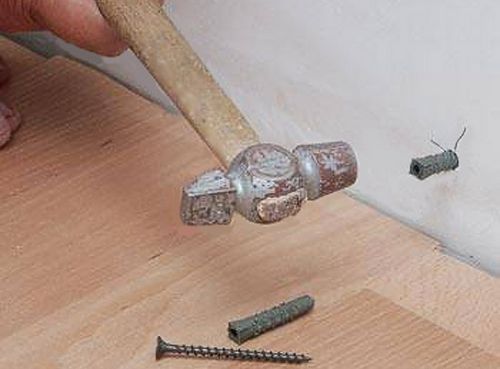
- Beacons for alignment of the walls of plaster mix do it yourself according to the following scheme.
- It is necessary to set the chain of nails straight, using plumb lines for this.
- After the strip of nails is created,it is necessary to apply calcareous dough or plaster mix on their caps.
- After the solution hardens, its excess is removed to the level of caps.
- Then, a straight long bar should be attached to the formed hillocks and apply the solution in the resulting gap.
- When the mortar has hardened, the bar must be removed by tapping along its entire length.
As a result of these manipulations, an even gypsum beacon is obtained, according to which it is convenient to navigate when leveling walls.
Application area
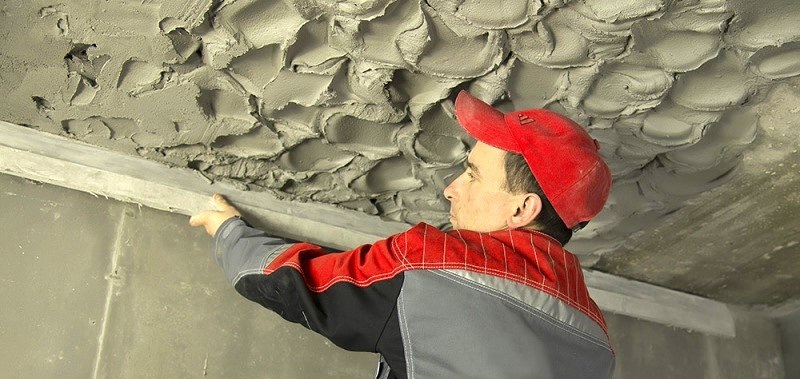
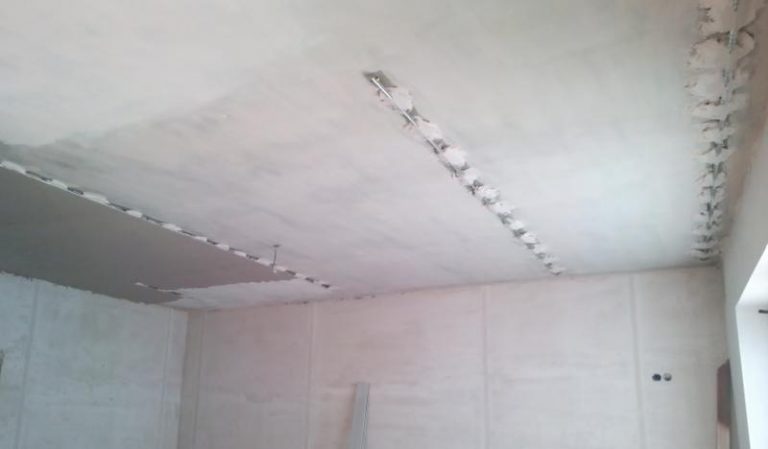
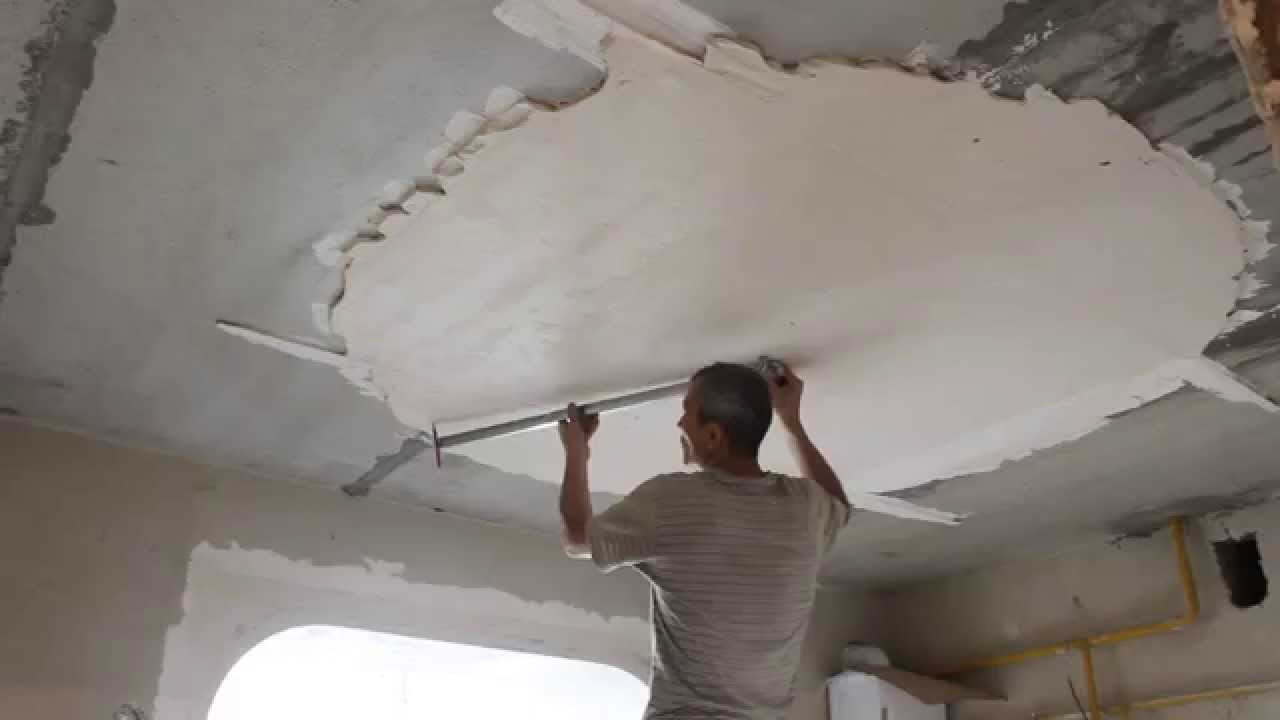
The beacon method of leveling surfaces has a large scope. Light metal profiles are used to level the surface of the ceiling. However, in this case there are several important nuances that must be considered when finishing. When a large difference in height on the ceiling is recommended to apply the plaster without the use of beacons, since the layer having a greater thickness may fall. Not correcting this situation, even the application of an intermediate layer of primer.
With the help of beacons, you can even out the plasterboard sheets, if for any reason they have holes or indentations.
Important to remember: using only the beacon method, only moisture-proof plasterboard sheets should be plastered. The surface of simple drywall should be plastered only in parts. Before applying the plaster is important to prepare drywall. It is necessary to clean it from various contaminants, remove dust and only then apply plaster mixture.

How to level drywall?
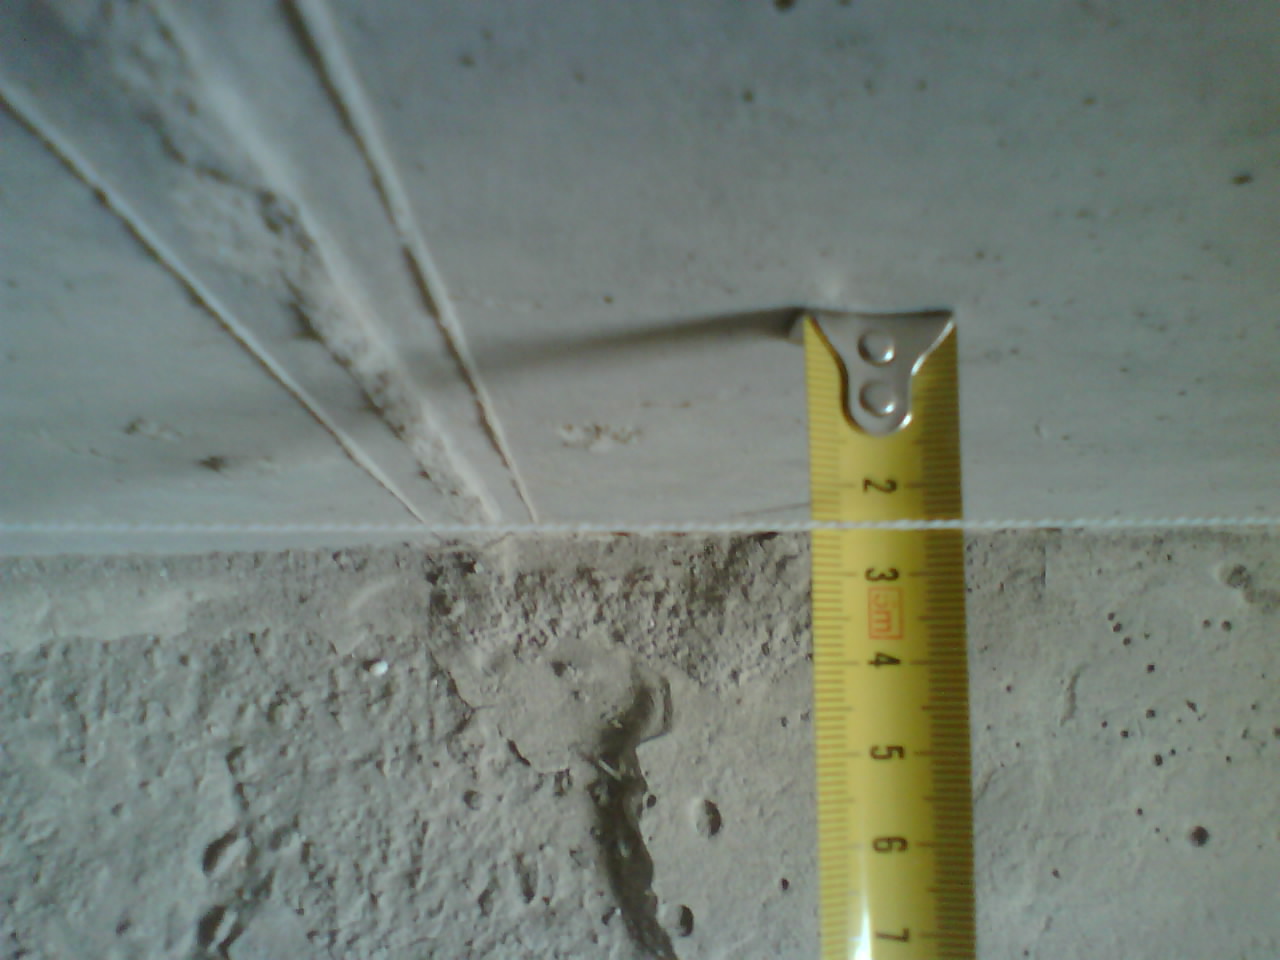
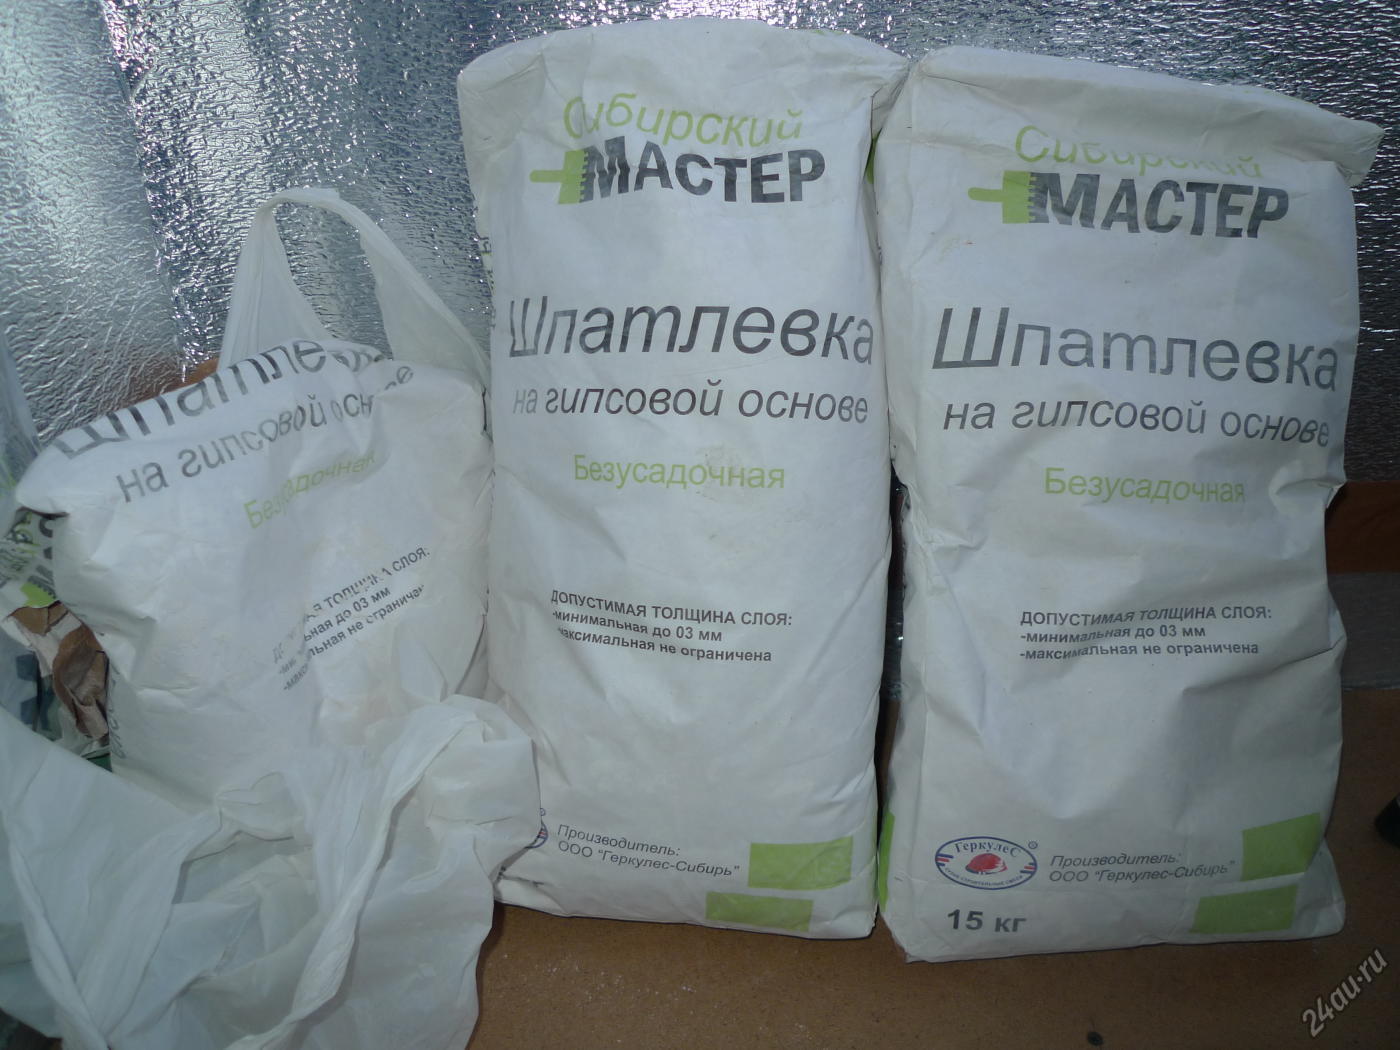
Profiles made of light metal or plastic when leveling drywall act as an auxiliary guide to create a perfectly flat surface of the wall. The size of the height of the rail should be minimal, be about 6 mm, so that the layer of plaster was thin and kept well on the sheets. Plastering of the surface is necessary in a warm room with normal humidity; to preserve health, it is better to use a respirator and gloves. To level the plasterboard it is necessary to use only plaster mixes on a plaster basis.
Recommendations for concrete
Concrete can also be plastered using the beacon method. It happens on a certain technology.
- Initially, it is necessary to remove all damage, including pits and bulges, from the wall.
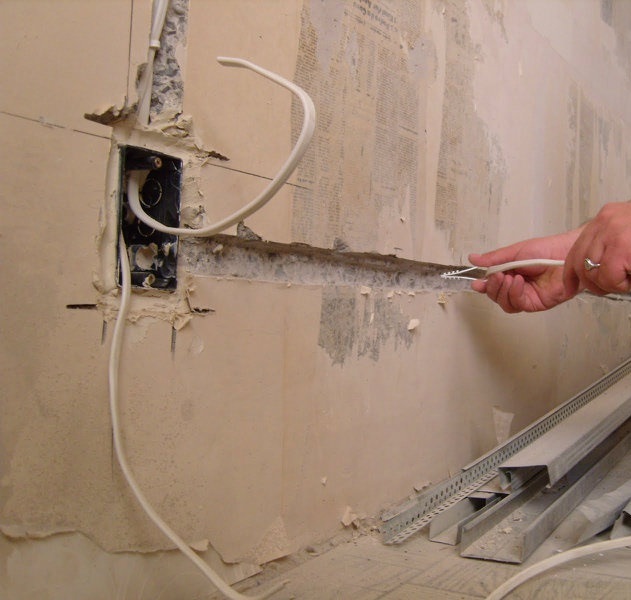
- It should conduct the channels under the communications and electrical wires.
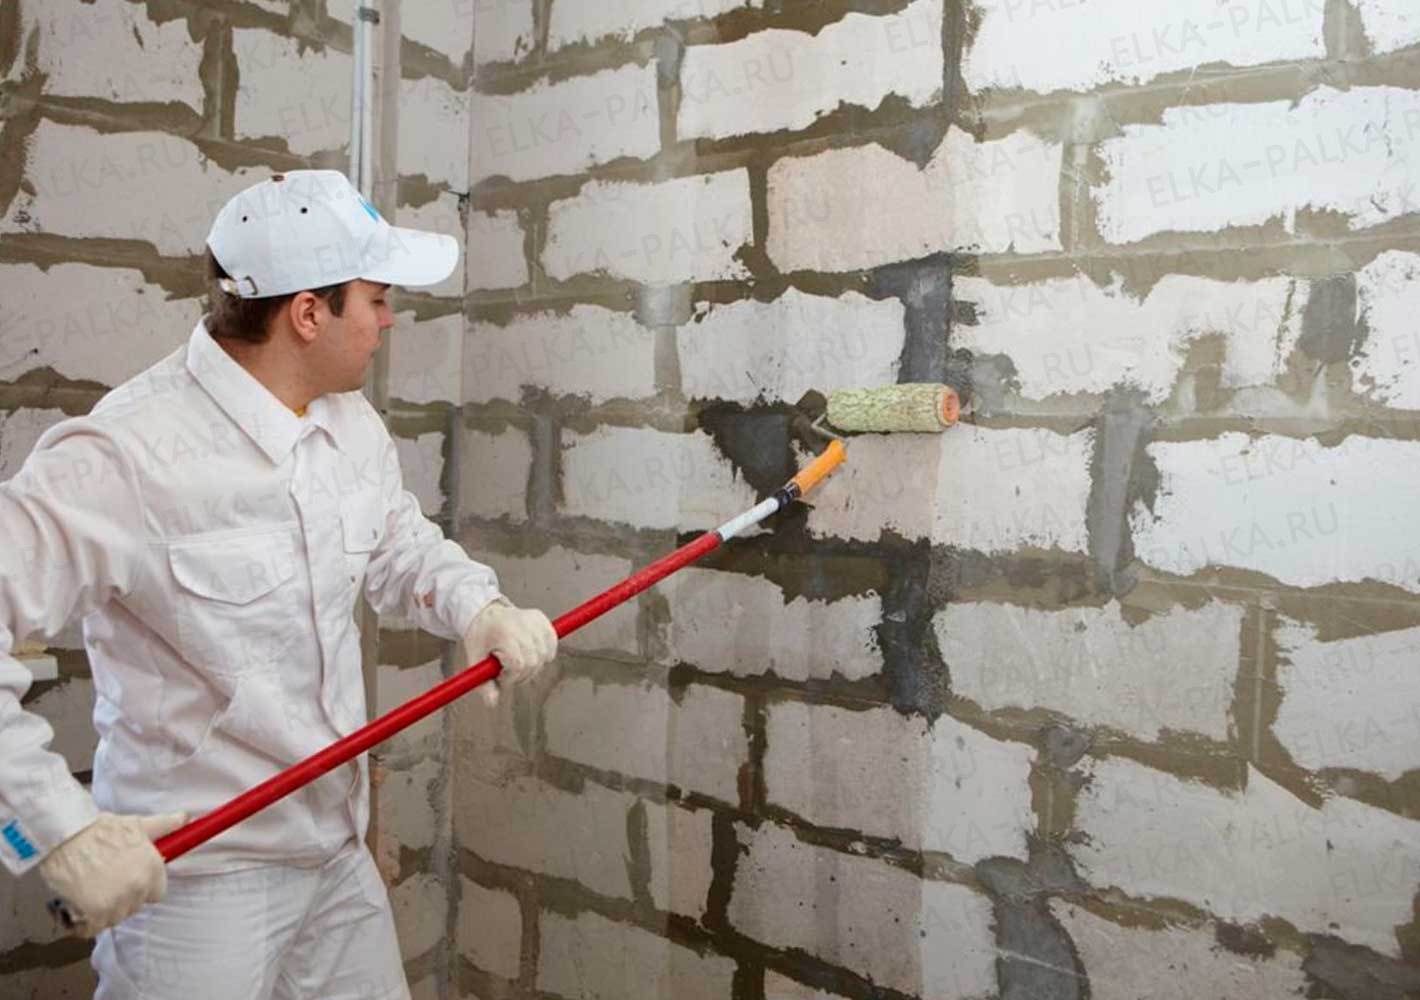
- It is necessary to prepare the concrete surface under the plaster (cleaned of dirt, and then primed).
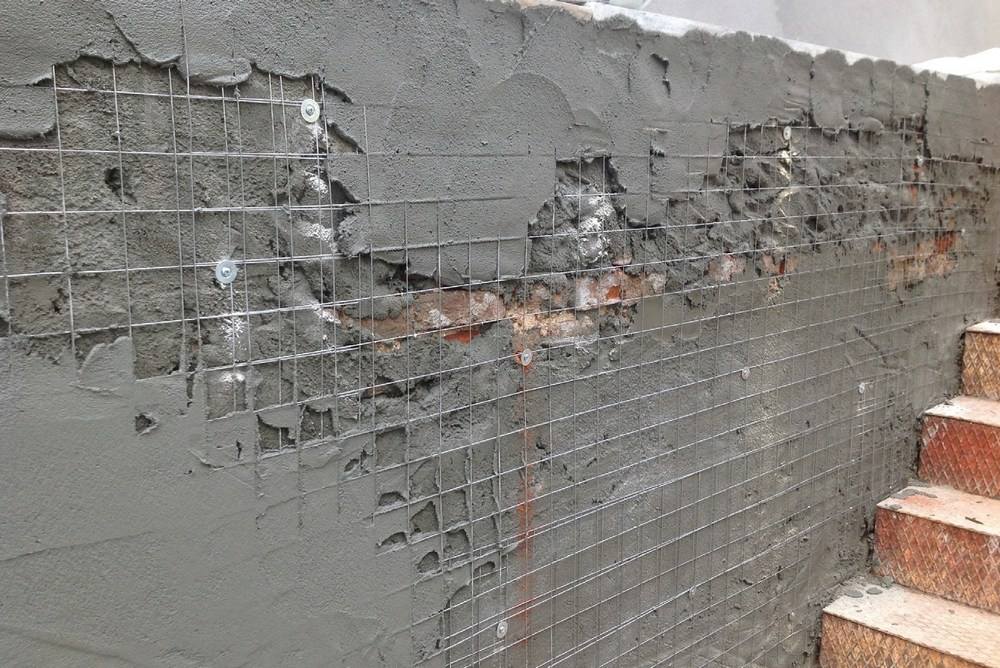
- It is necessary to attach to the wall a special grid for plaster with dowels and washers.
After that you can attach a lighthouse to the wall. First, you should fix the screw or dowel under the ceiling on the wall at a distance of about 15 cm from the corner. The gap between the cap and the wall determines the thickness of the plaster. Then, next to the floor opposite the first camaopezu put the second, which must be placed on one vertical c first. Between them it is necessary to put pieces of a mixture of gypsum, which are higher than the level of composites.
After that, you should attach a metal or plastic profile to your case and drown it in a cast. The correct location of the lighthouse must be checked at the building level. If you deviate from the ideal horizontal, you need to slightly twist or unscrew one of the matrix and double-check the position of the slats. All these manipulations can be performed until the beacon is fixed strictly vertically. It is also necessary to install a beacon from the other edge of the wall.
Between the slats should stretch the rope and for its length set between them the remaining beacons.
The distance between the profiles should be less than the length of the rule, which will perform the alignment of the walls. At the end, all the slats should be located in the same vertical plane. The same method is used when plastering wall panels of aerated concrete.
Installation Methods
Professionals use many different ways to install lighthouses. Therefore, there is a lot of controversy about which method of exhibiting the ball system is the best. Consider several methods of installing profiles that are fully accessible for self-installation.
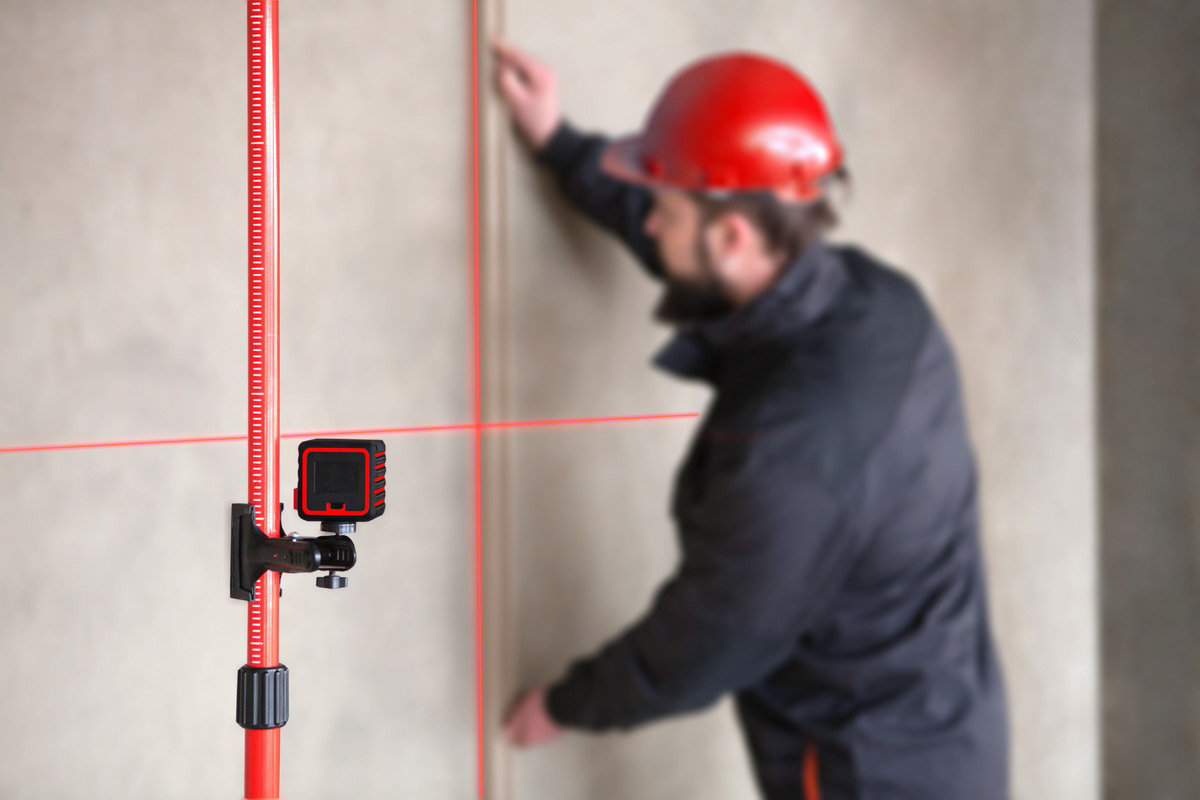
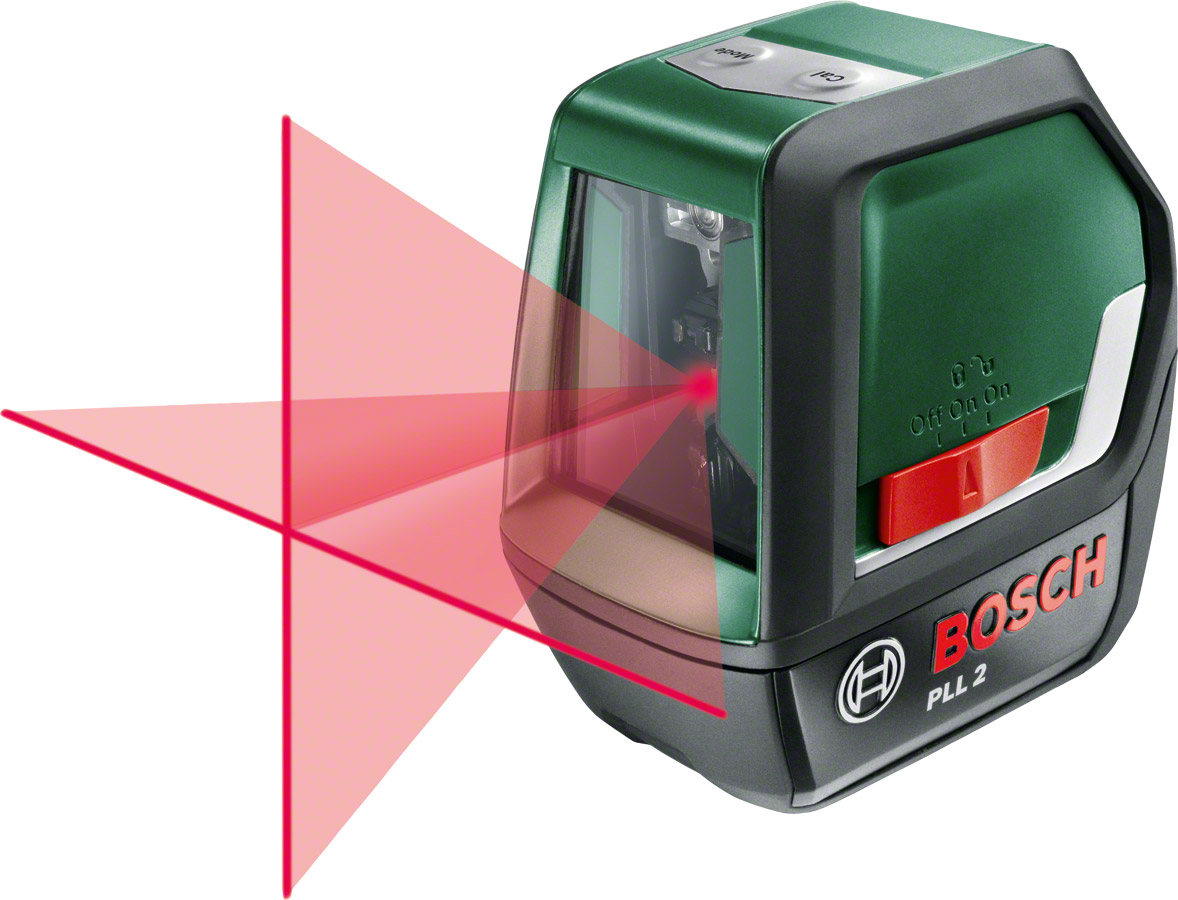
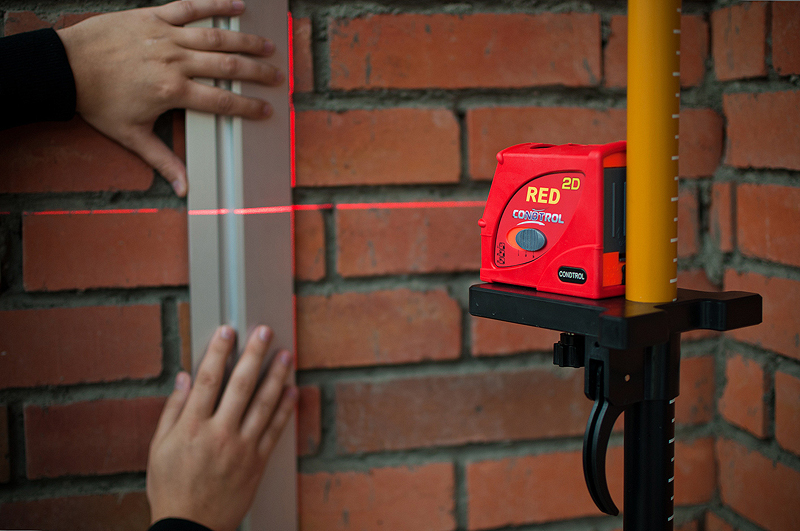
With the help of a laser level
Placing beacon profiles is designed to create a single, one-piece plane, which should be defined using two lines perpendicular to each other. One helps to calculate the thickness of the plaster layer, and the other is a strictly vertical line, along which plastering takes place. The advantage of the laser builder is that with it you can build two lines at the same time.After that, the installation of lighthouses no longer seems such a difficult task. The cost of such a device is quite high, not every person can afford to buy it for repair. Most often it is bought by professional builders, provided that this laser builder will be reused.
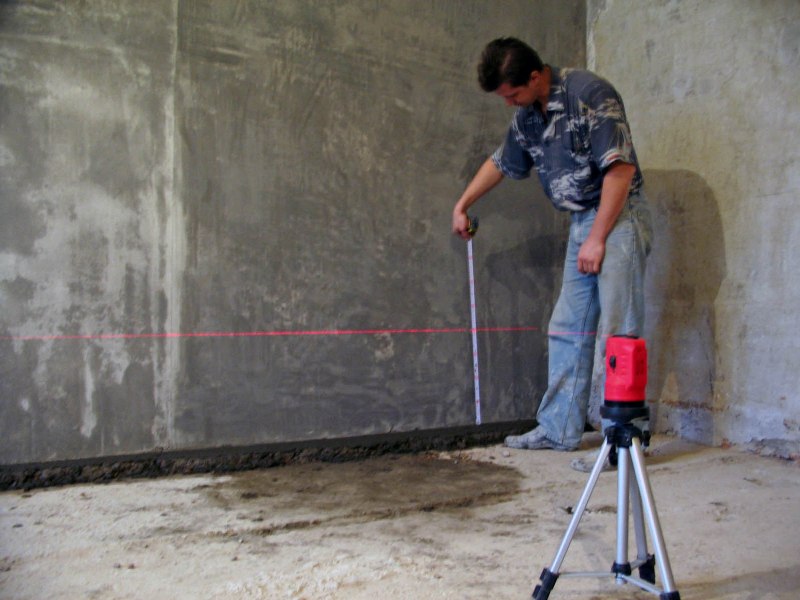
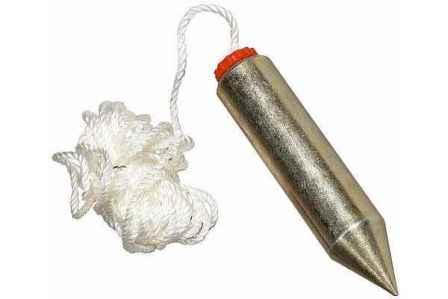
By plumb bob
In the absence of a laser level, an older and proven method can be used: installation of plumb profiles. The latter are usually two cords, which are attached to the ceiling near the corners. On the wall itself there are several horizontal lines that set the step from one dowel to another. Then to the first two ropes perpendicularly stretch another cord. It is called a slider and is used in cases when it is necessary to precisely mark the gaps between all future holes for dowels, to which the lighthouses will subsequently be fixed.
String method
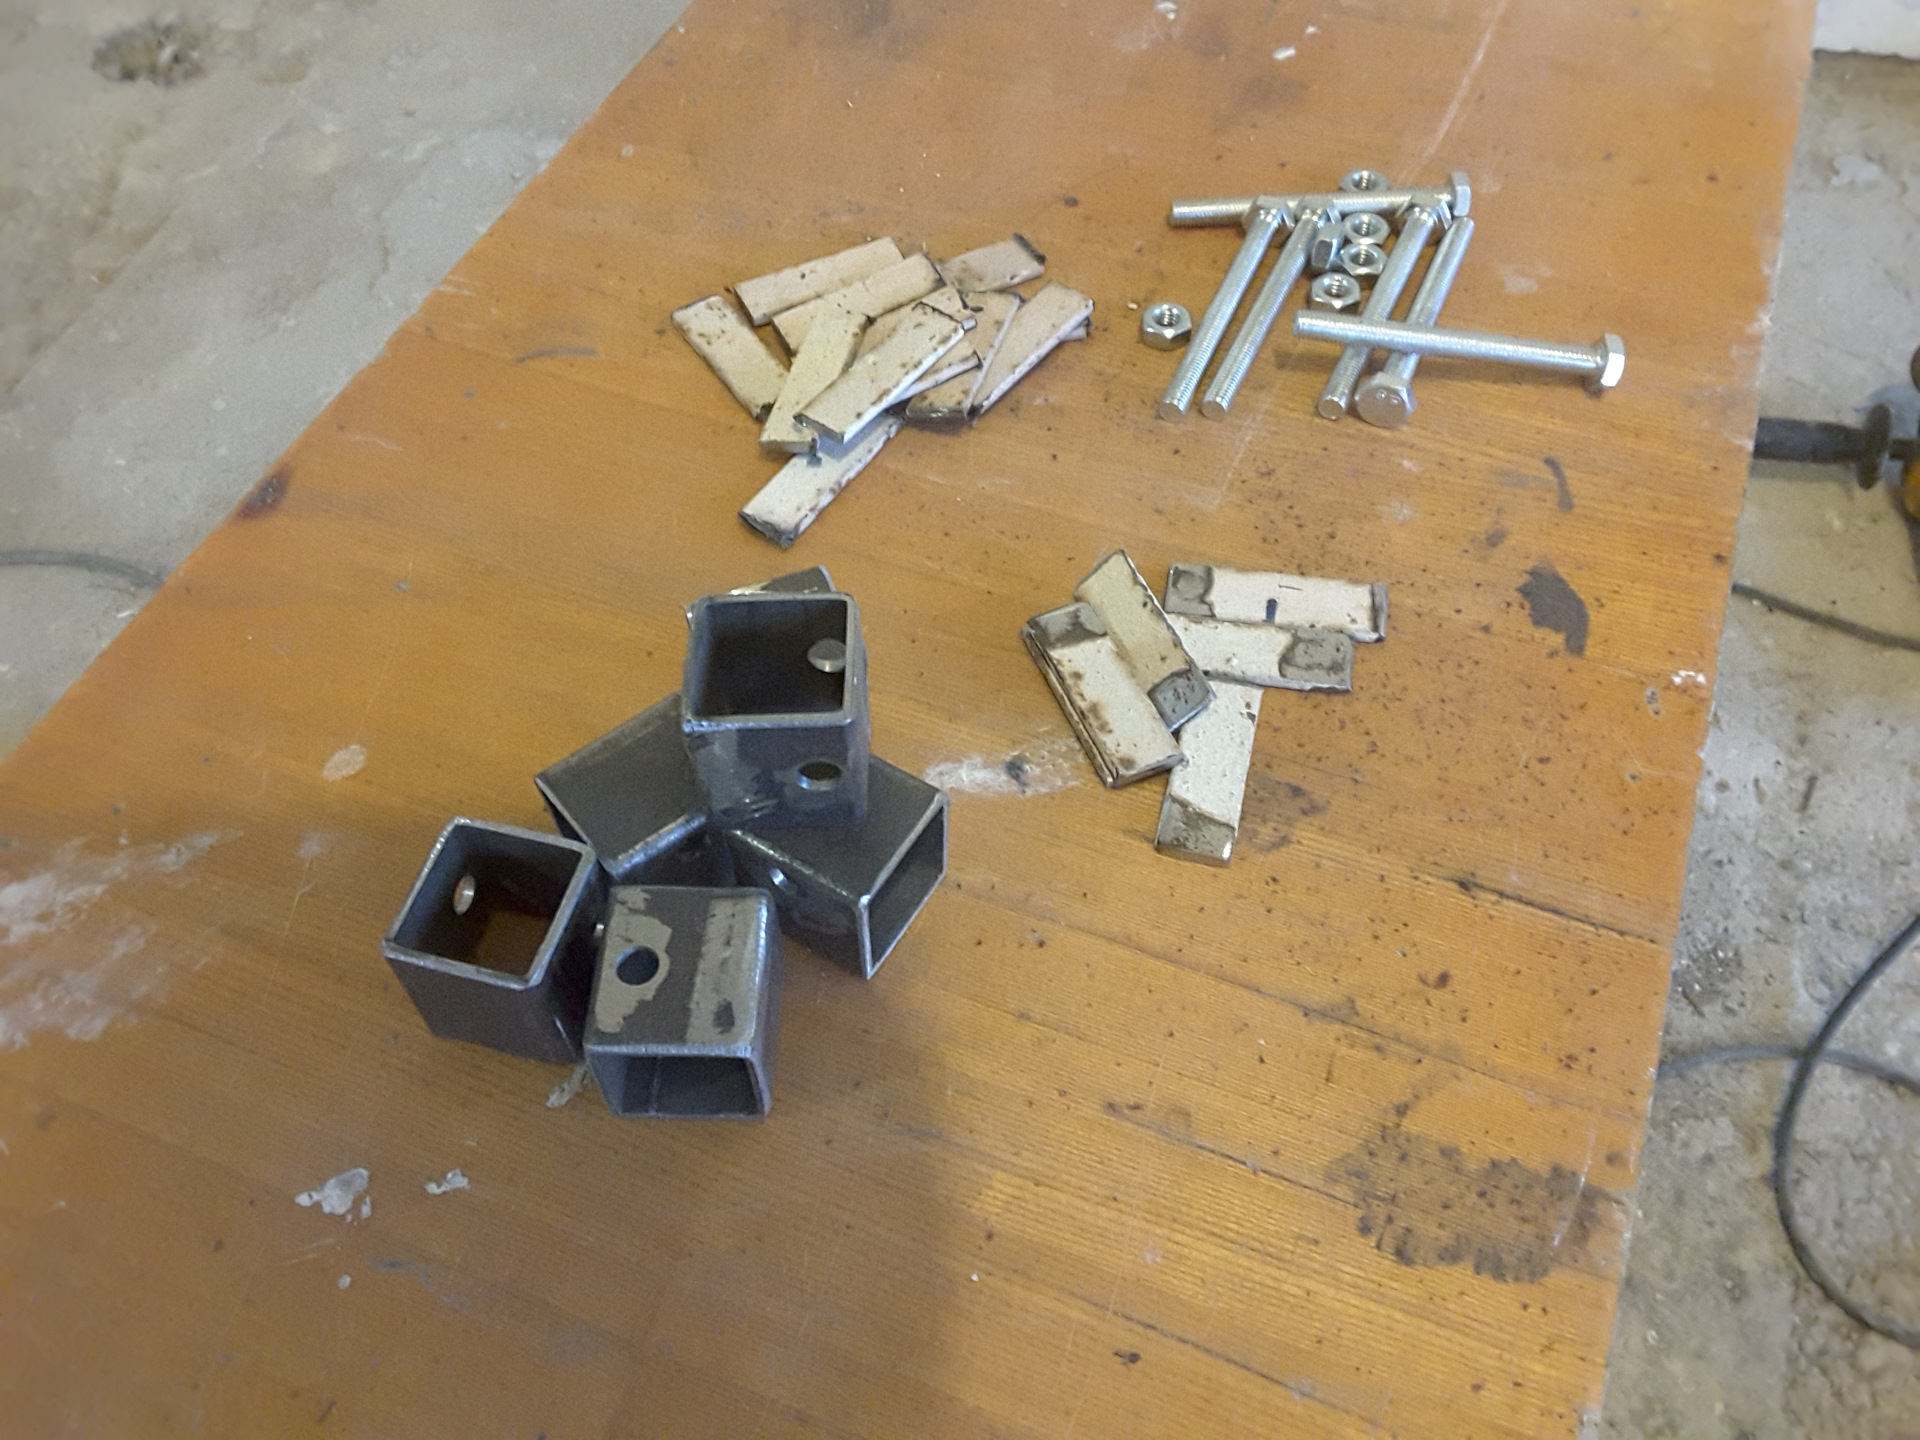
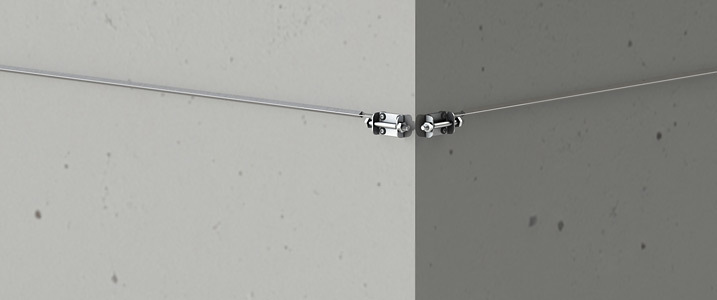
This method appeared not so long ago, but it has already become quite popular. It has a lot of advantages that are difficult to challenge. For example, this is the simplicity and speed of the establishment of profiles, options for horizontal and vertical installation, as well as convenient application of plaster.In order to install one profile in this way, two channels-channels for fasteners are needed, in which tension and adjustment bolts should be installed.
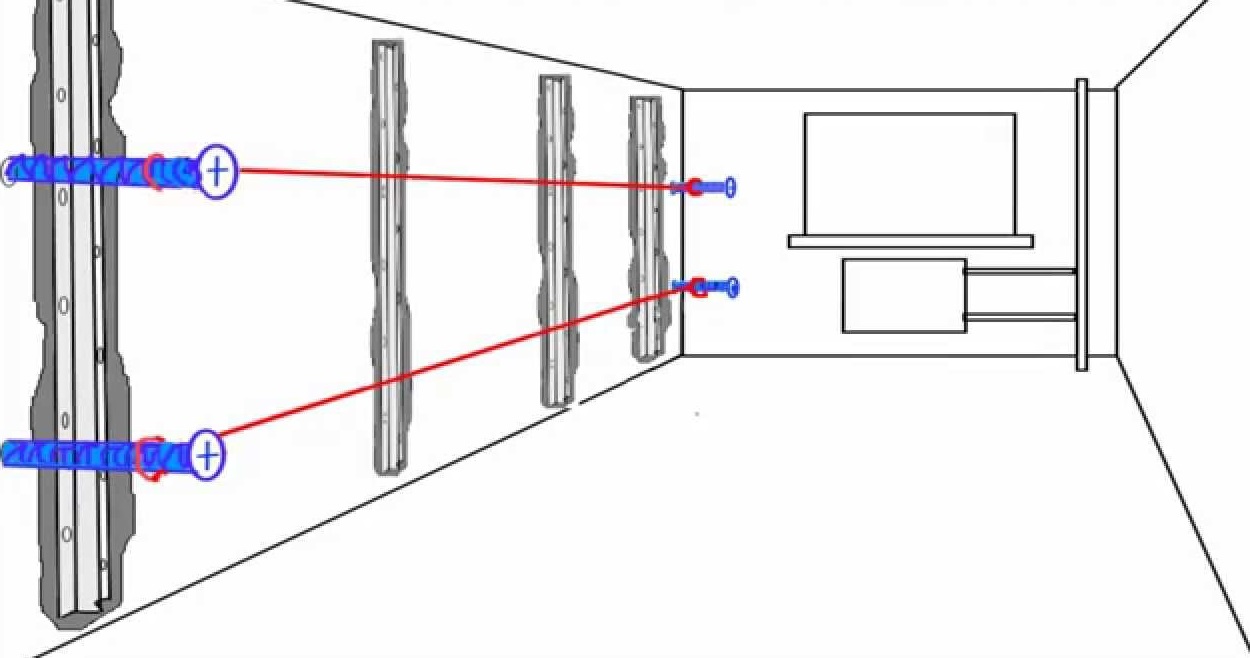
The role of the string in this case is played by elastic wire from high quality steel (about 1.5 mm in diameter).
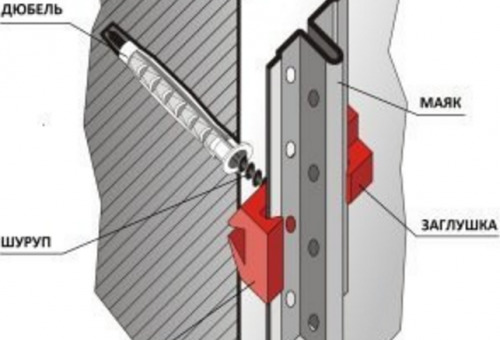
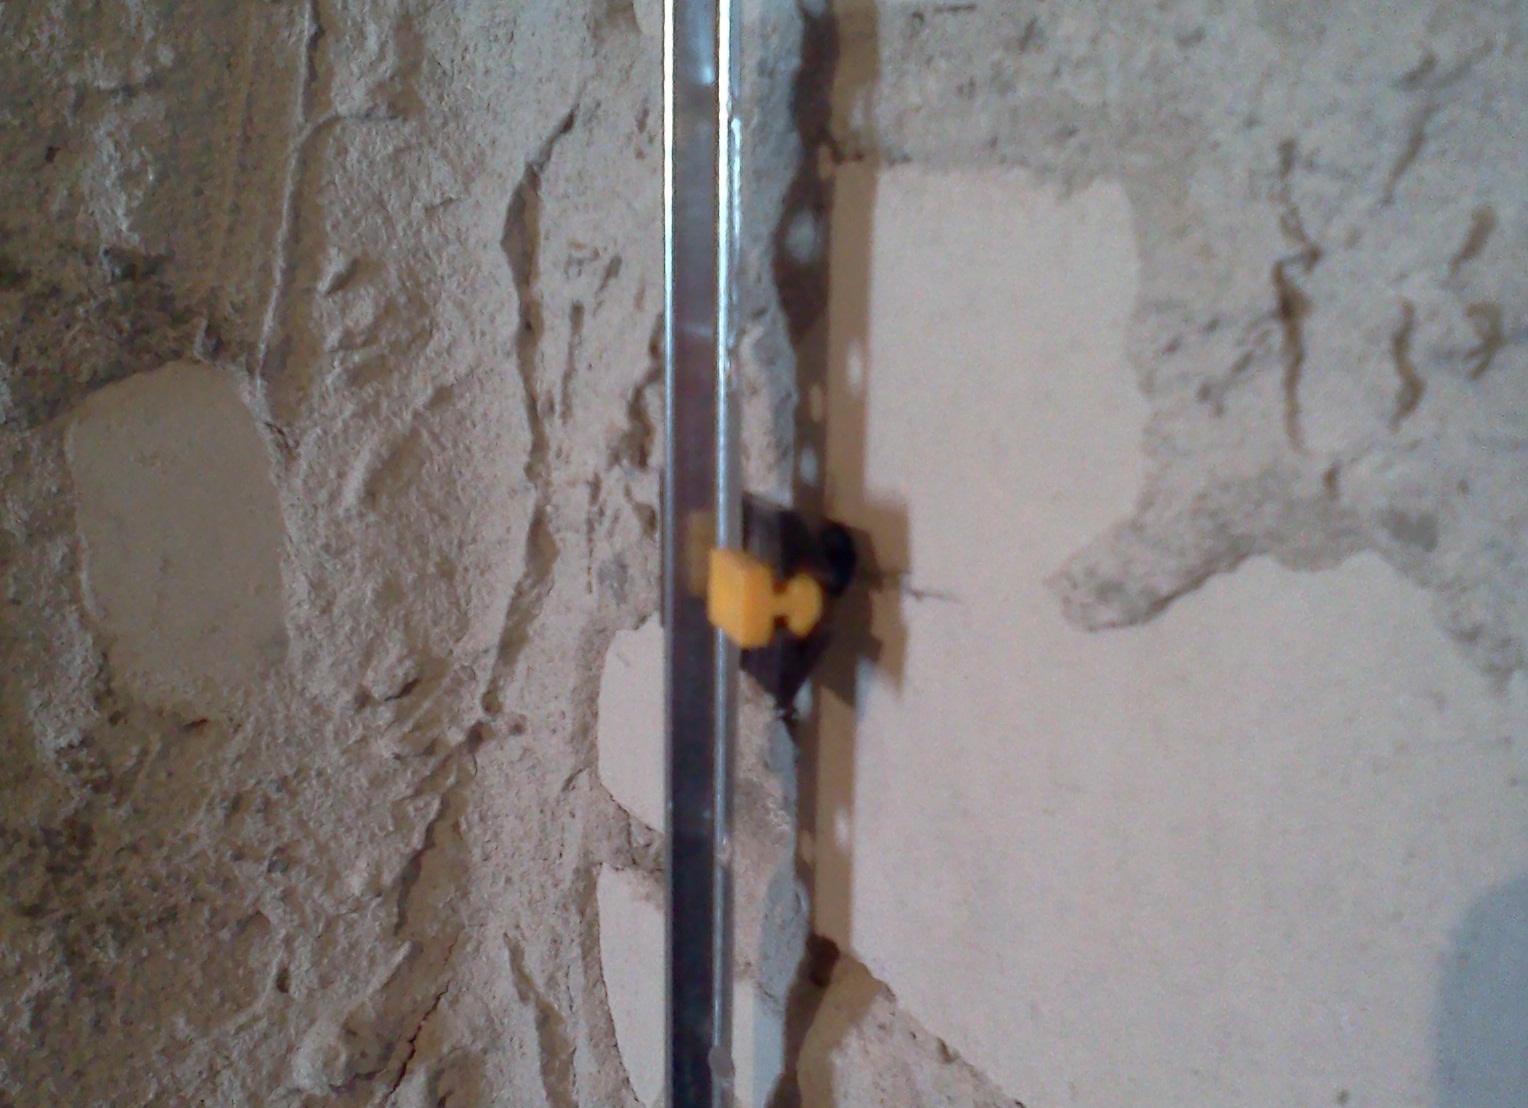
With fasteners
This method of installing beacons is more suitable for beginners in the repair business and non-professionals. The fixing of such fasteners for mounting profiles must be made strictly following the instructions with which they are sold. The installation of this material depends entirely on its type.
How to install beacons?
Installation of beacons can occur on several technologies. There are many video workshops that explain how to install profiles. Often they contradict themselves. Installation of beacons can be done in several stages.
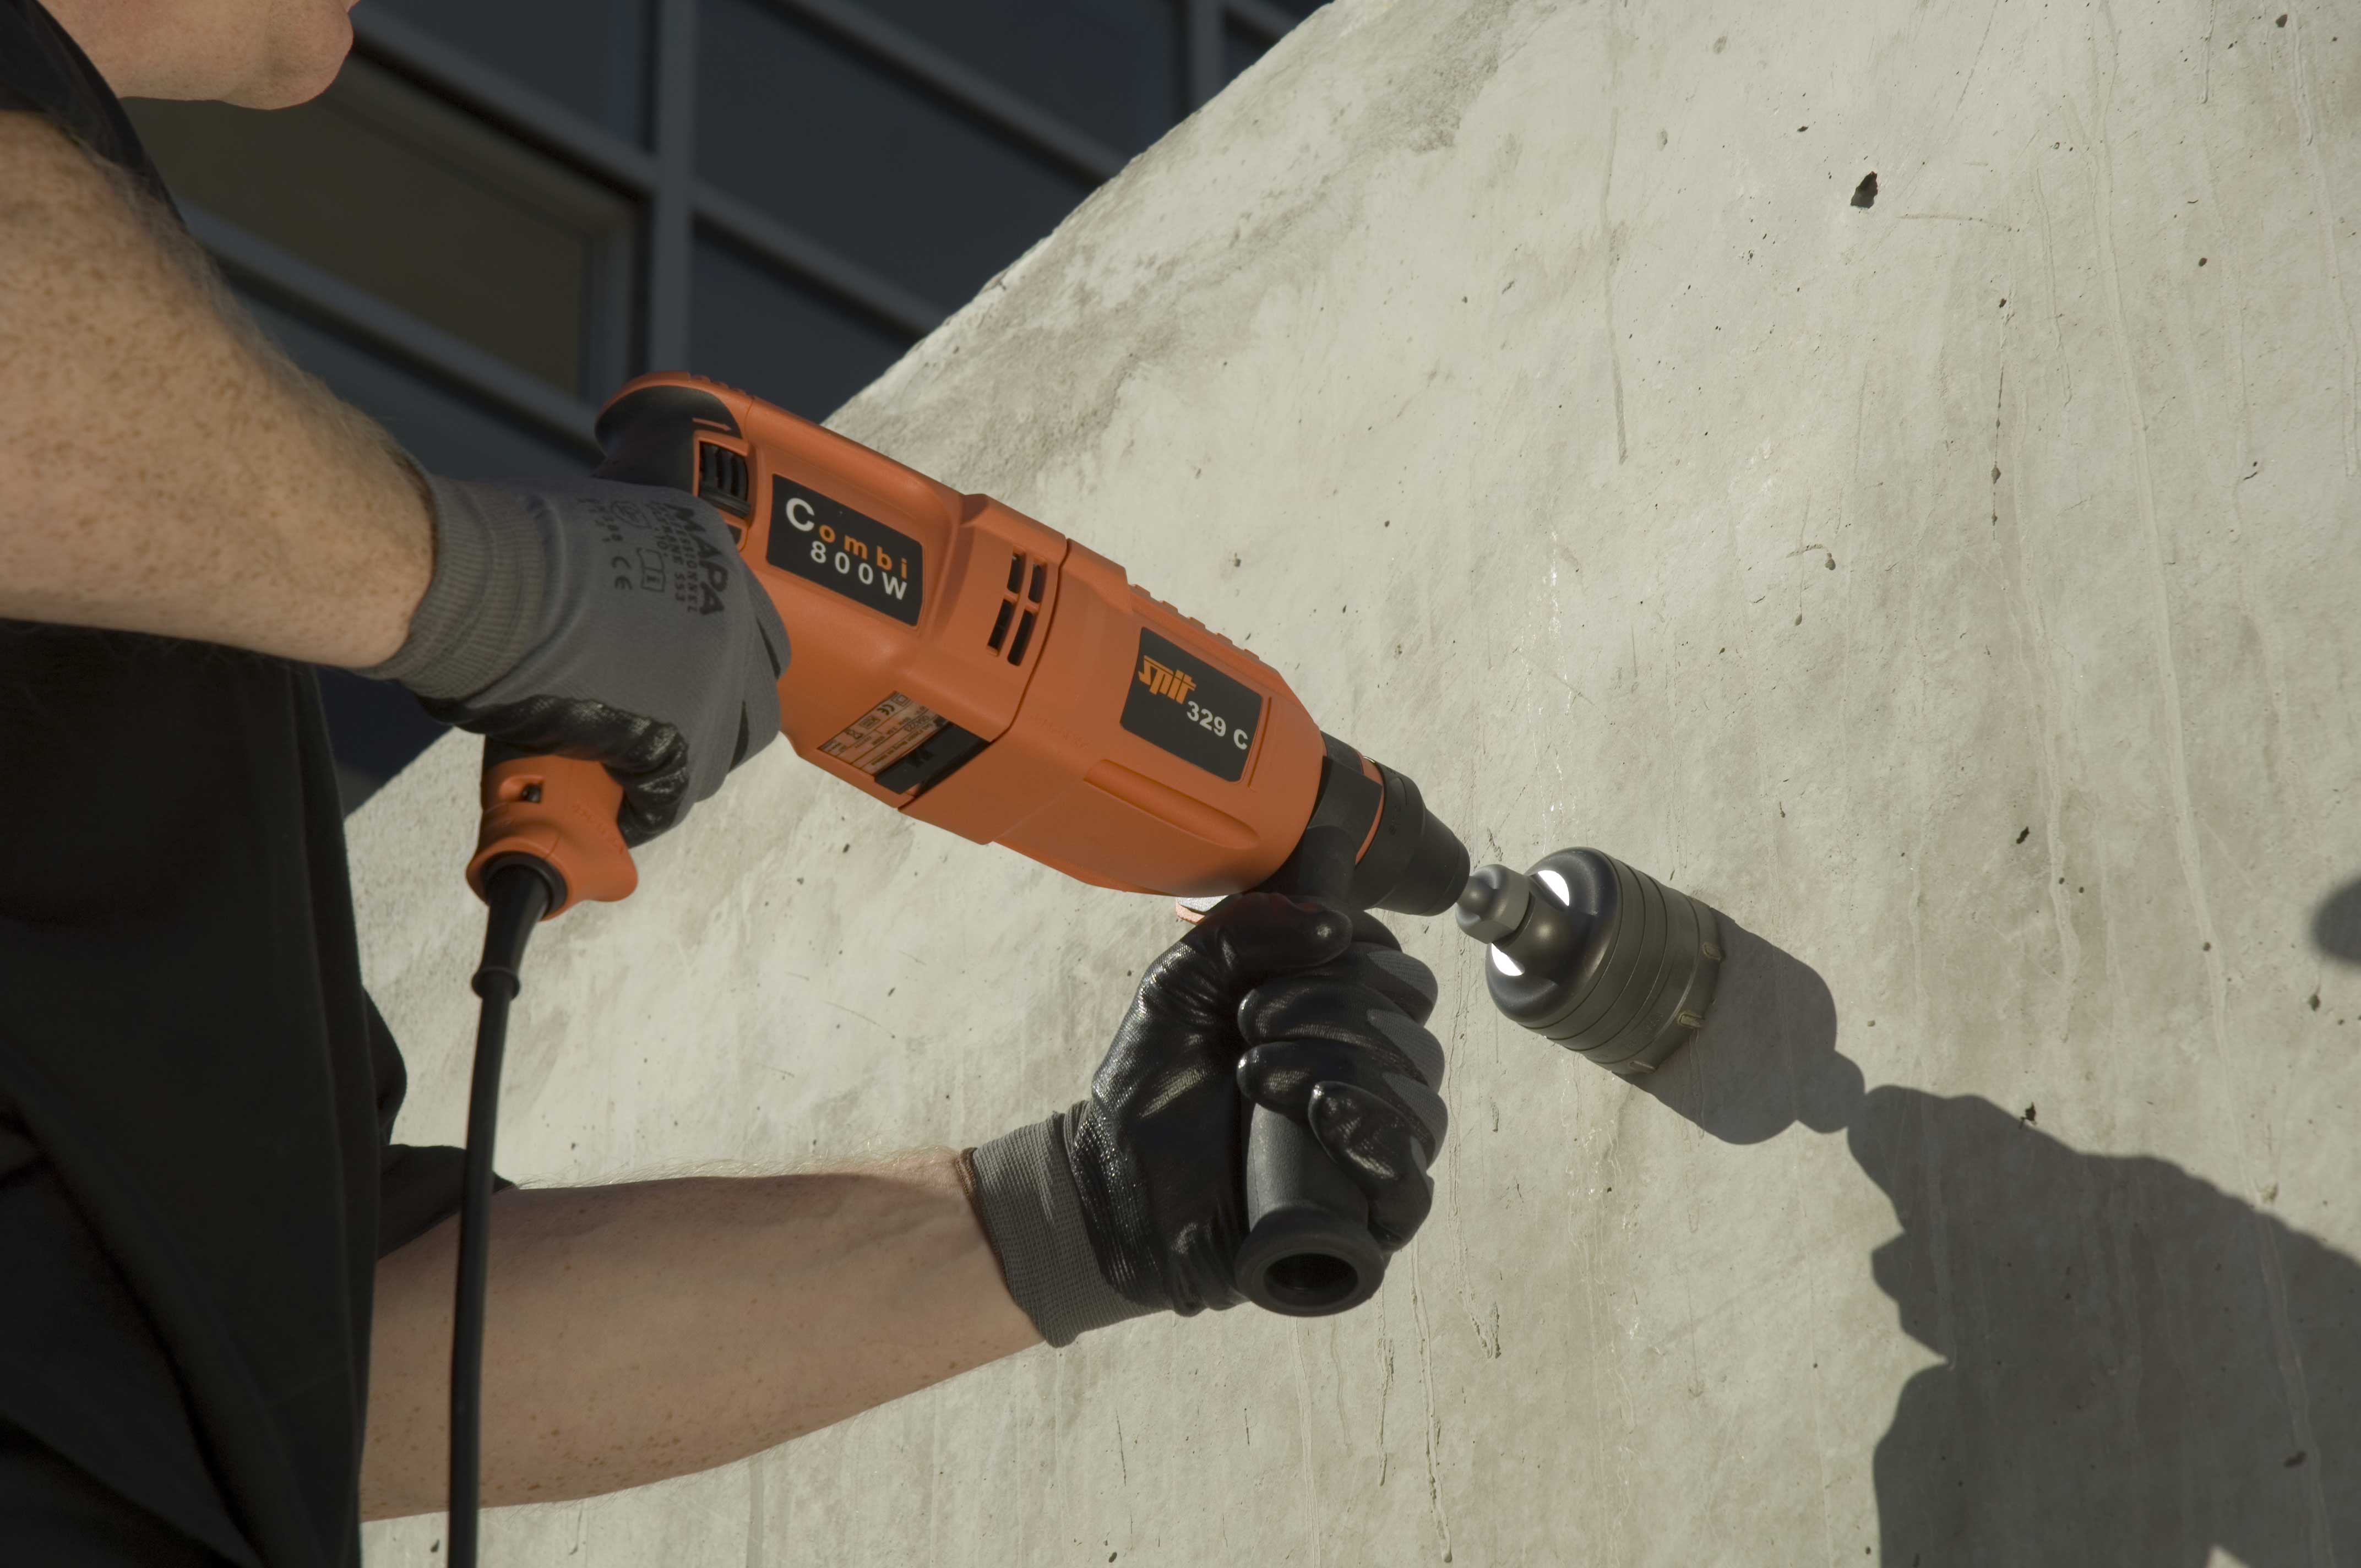
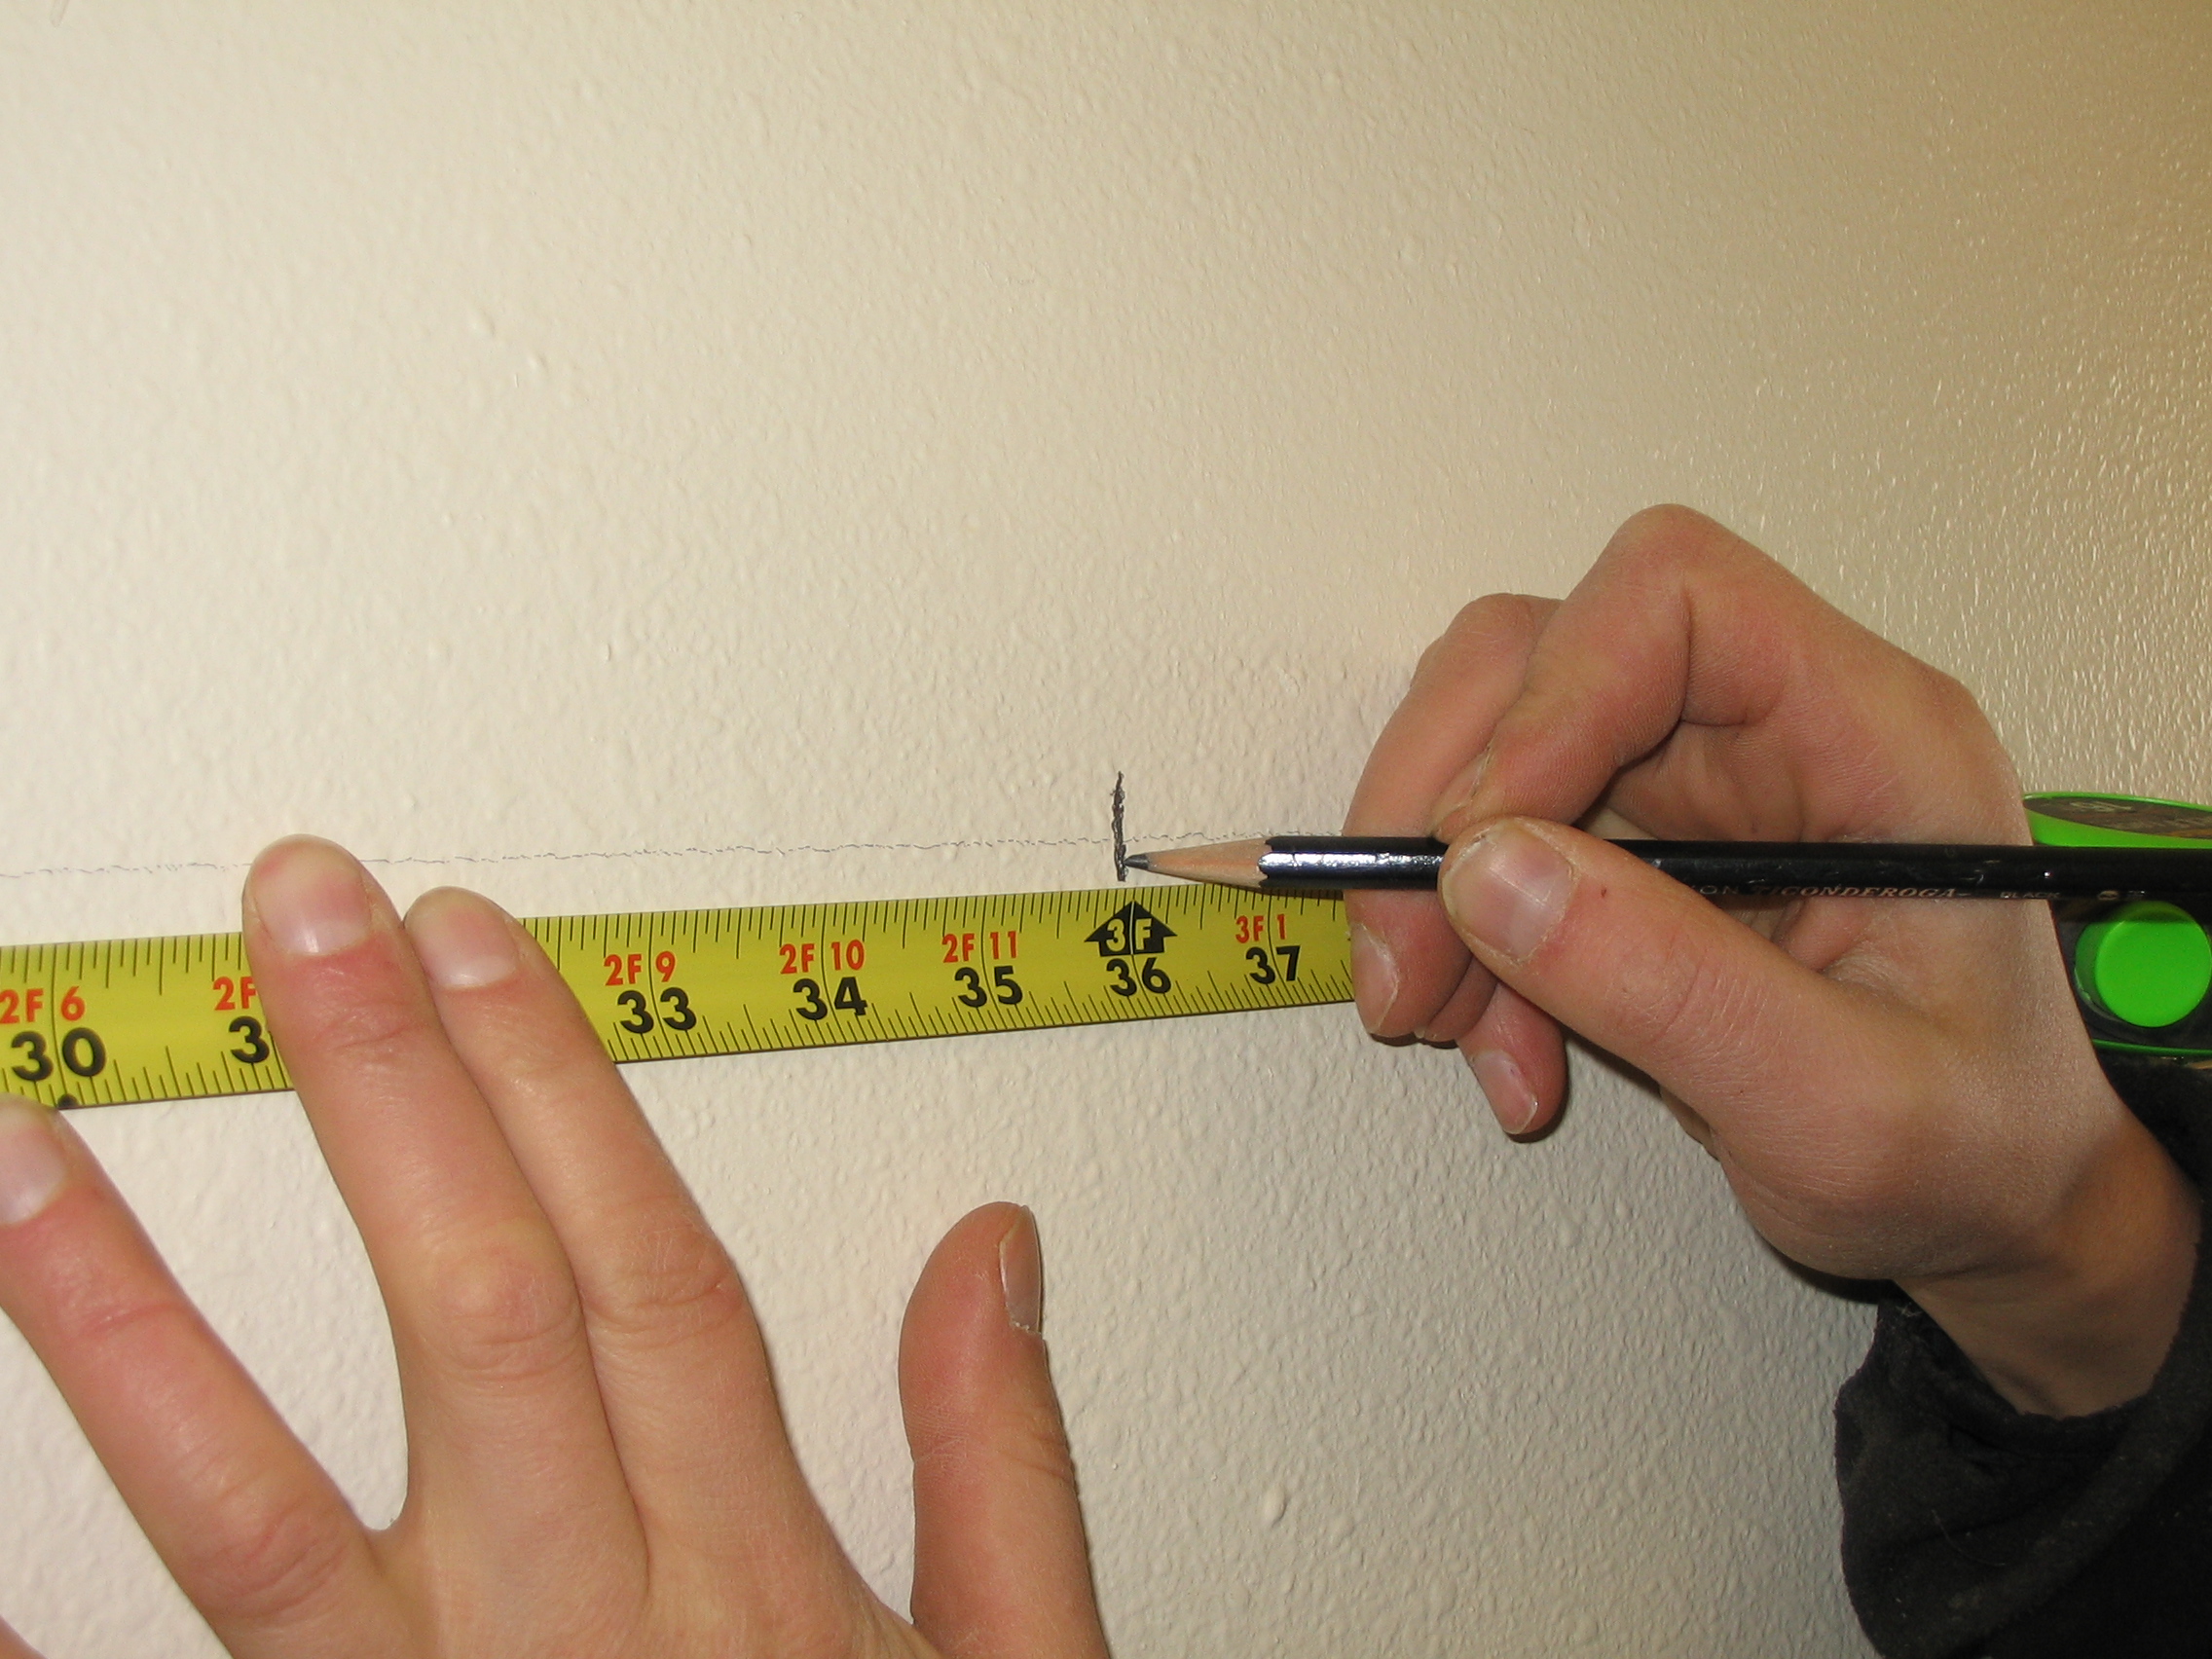
From the very beginning, you need to carefully examine the surface of the walls on a vertical plane, using the level. It should be noted the most noticeable deviations from the norm marker on the wall. Then, using a level, one should inspect the wall on a horizontal plane.It is better to remove the most noticeable bulges (to cut down the puncher).

Then you need to remove the markup for lighthouses. You need to start from the corners: it is important to move about 30 cm away from them (the minimum tolerance is 25 cm). Next, you need to make marks that are about 160 cm apart so that the rule can get from one lighthouse to the other. It is impossible to divide the wall into unequal parts. For example, if during marking there are approximately 2 meters of surface left, it is better to set the profile at 1 m.
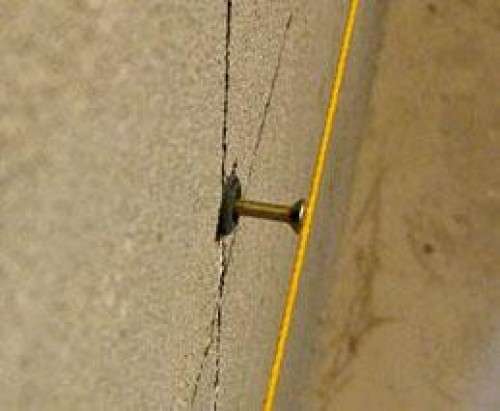
After that, it is necessary to remove all dust and other contaminants from the wall, and then treat with a deep penetration primer. These manipulations will help to preserve the integrity of the wall, protecting it from mold and mildew. Having waited for complete drying of the wall, it is worth taking a metal profile, attach it to the pre-planned line and screw in the upper part of the lighthouse a self-tapping screw. Then it is necessary to fasten a plumb line to the head of the screw, which will help you to orient with the places where you need to make holes for other screws.

It is necessary to align the lighthouse so that it is a flat vertical plane.If it does not work, you need to pull out the screws and align the beacon to a plumb line until it is installed exactly.
Only after getting the perfect result you can remove the plumb. The same work needs to be done with other lighthouses.
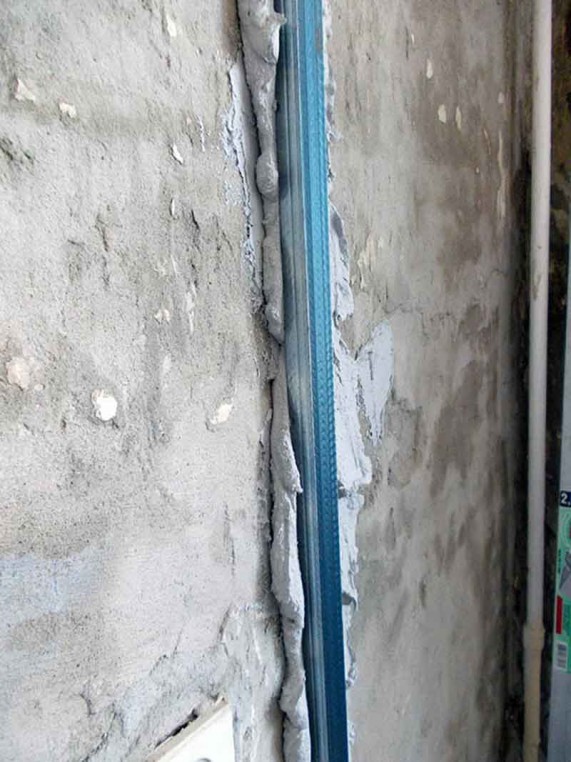
It is important to fix the lighthouses with plaster in several places. so that part of them is inside the layer of plaster. Then it is necessary to leave the structure for several hours, which she could dry out. Be sure to check the dryness of the plaster in the lighthouses, otherwise you can break the integrity of the structure. After that, you can proceed to plastering the wall.


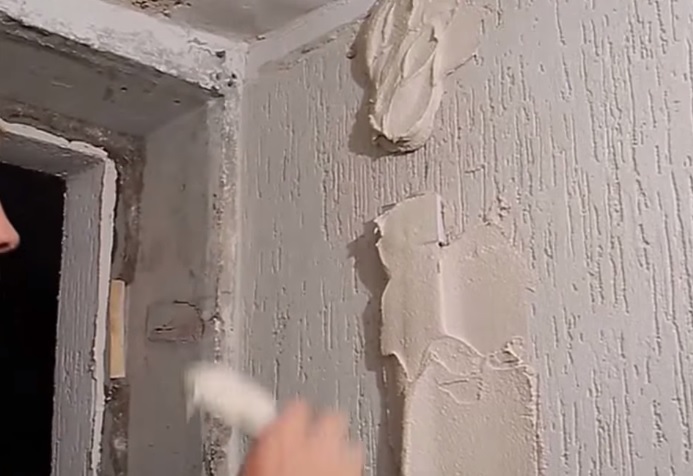
Upon completion of these manipulations, you can leave the lighthouse profiles only if you subsequently plan to lay out the wall with ceramic tiles. In all other cases, lighthouses should be removed. Wallpapers or paint will not be able to hide the presence of lighthouses in the wall. Therefore, after the completion of the plastering process, it is better to dismantle the profiles. It is necessary to remove all the screws, remove the beacons from the walls, then seal the holes with plaster.
The process of applying the mixture
In most cases, to align the walls with their own hands are recommended forusing plaster mixes.

Such a plaster solution has a large number of advantages:
- This plaster differs plasticity increased level.
- The layers of this mixture may have a greater thickness, the surface at the end of the repair is not covered with cracks.
- Plaster with plaster will provide a high level of sound and thermal insulation.
- It will not have precipitation and lumps on the surface of the walls.

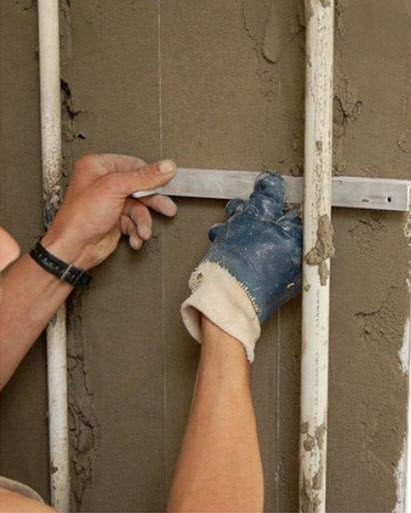
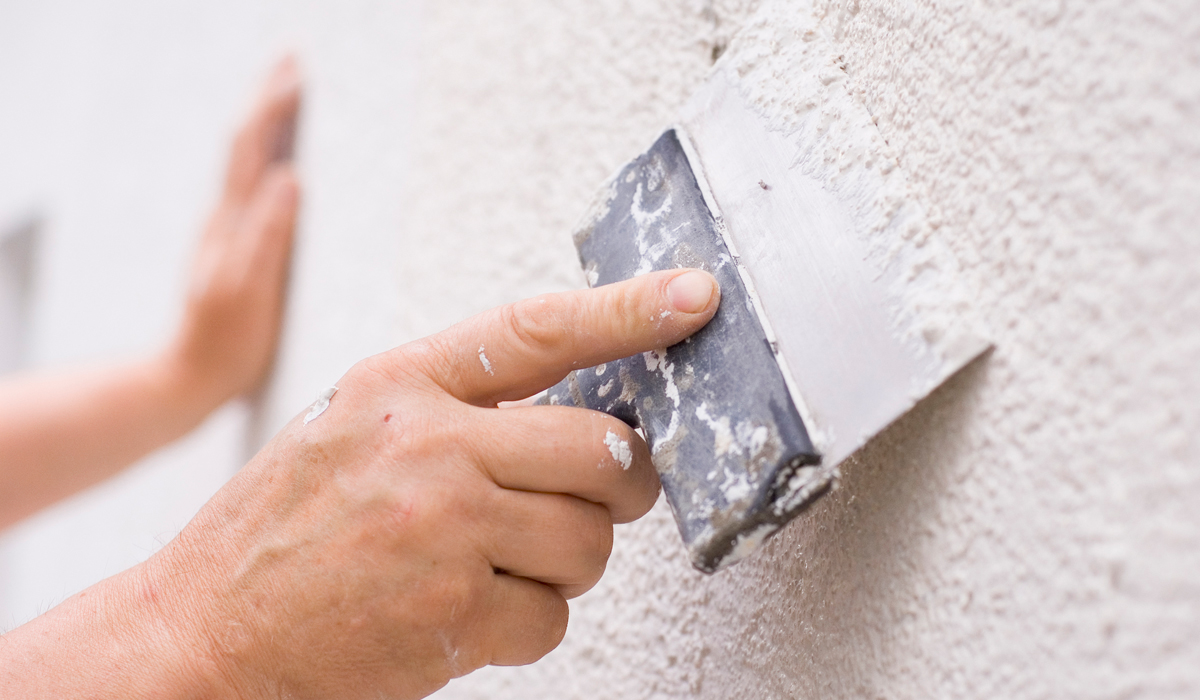
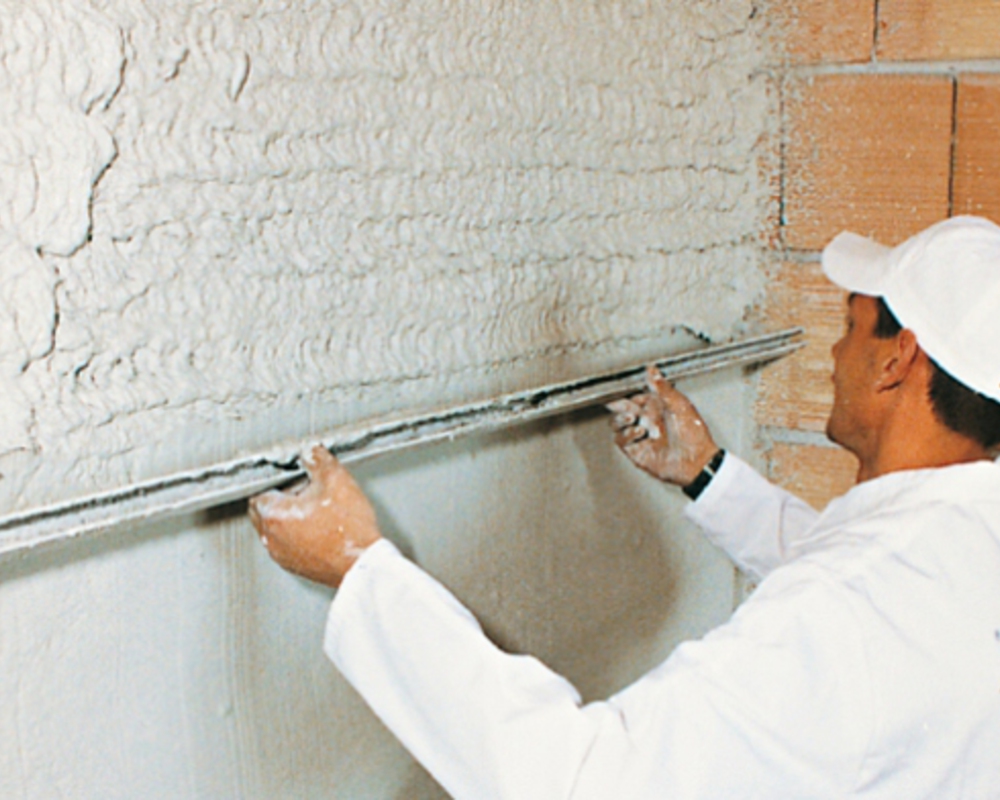
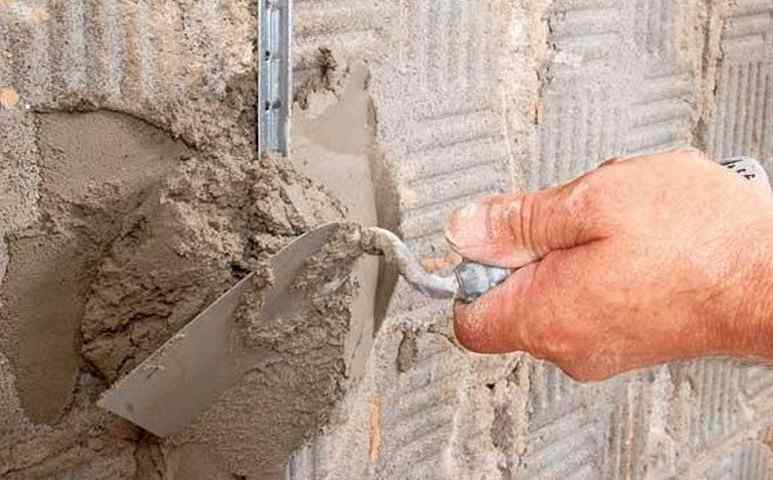
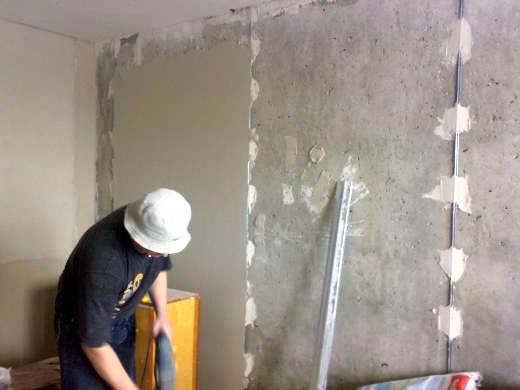
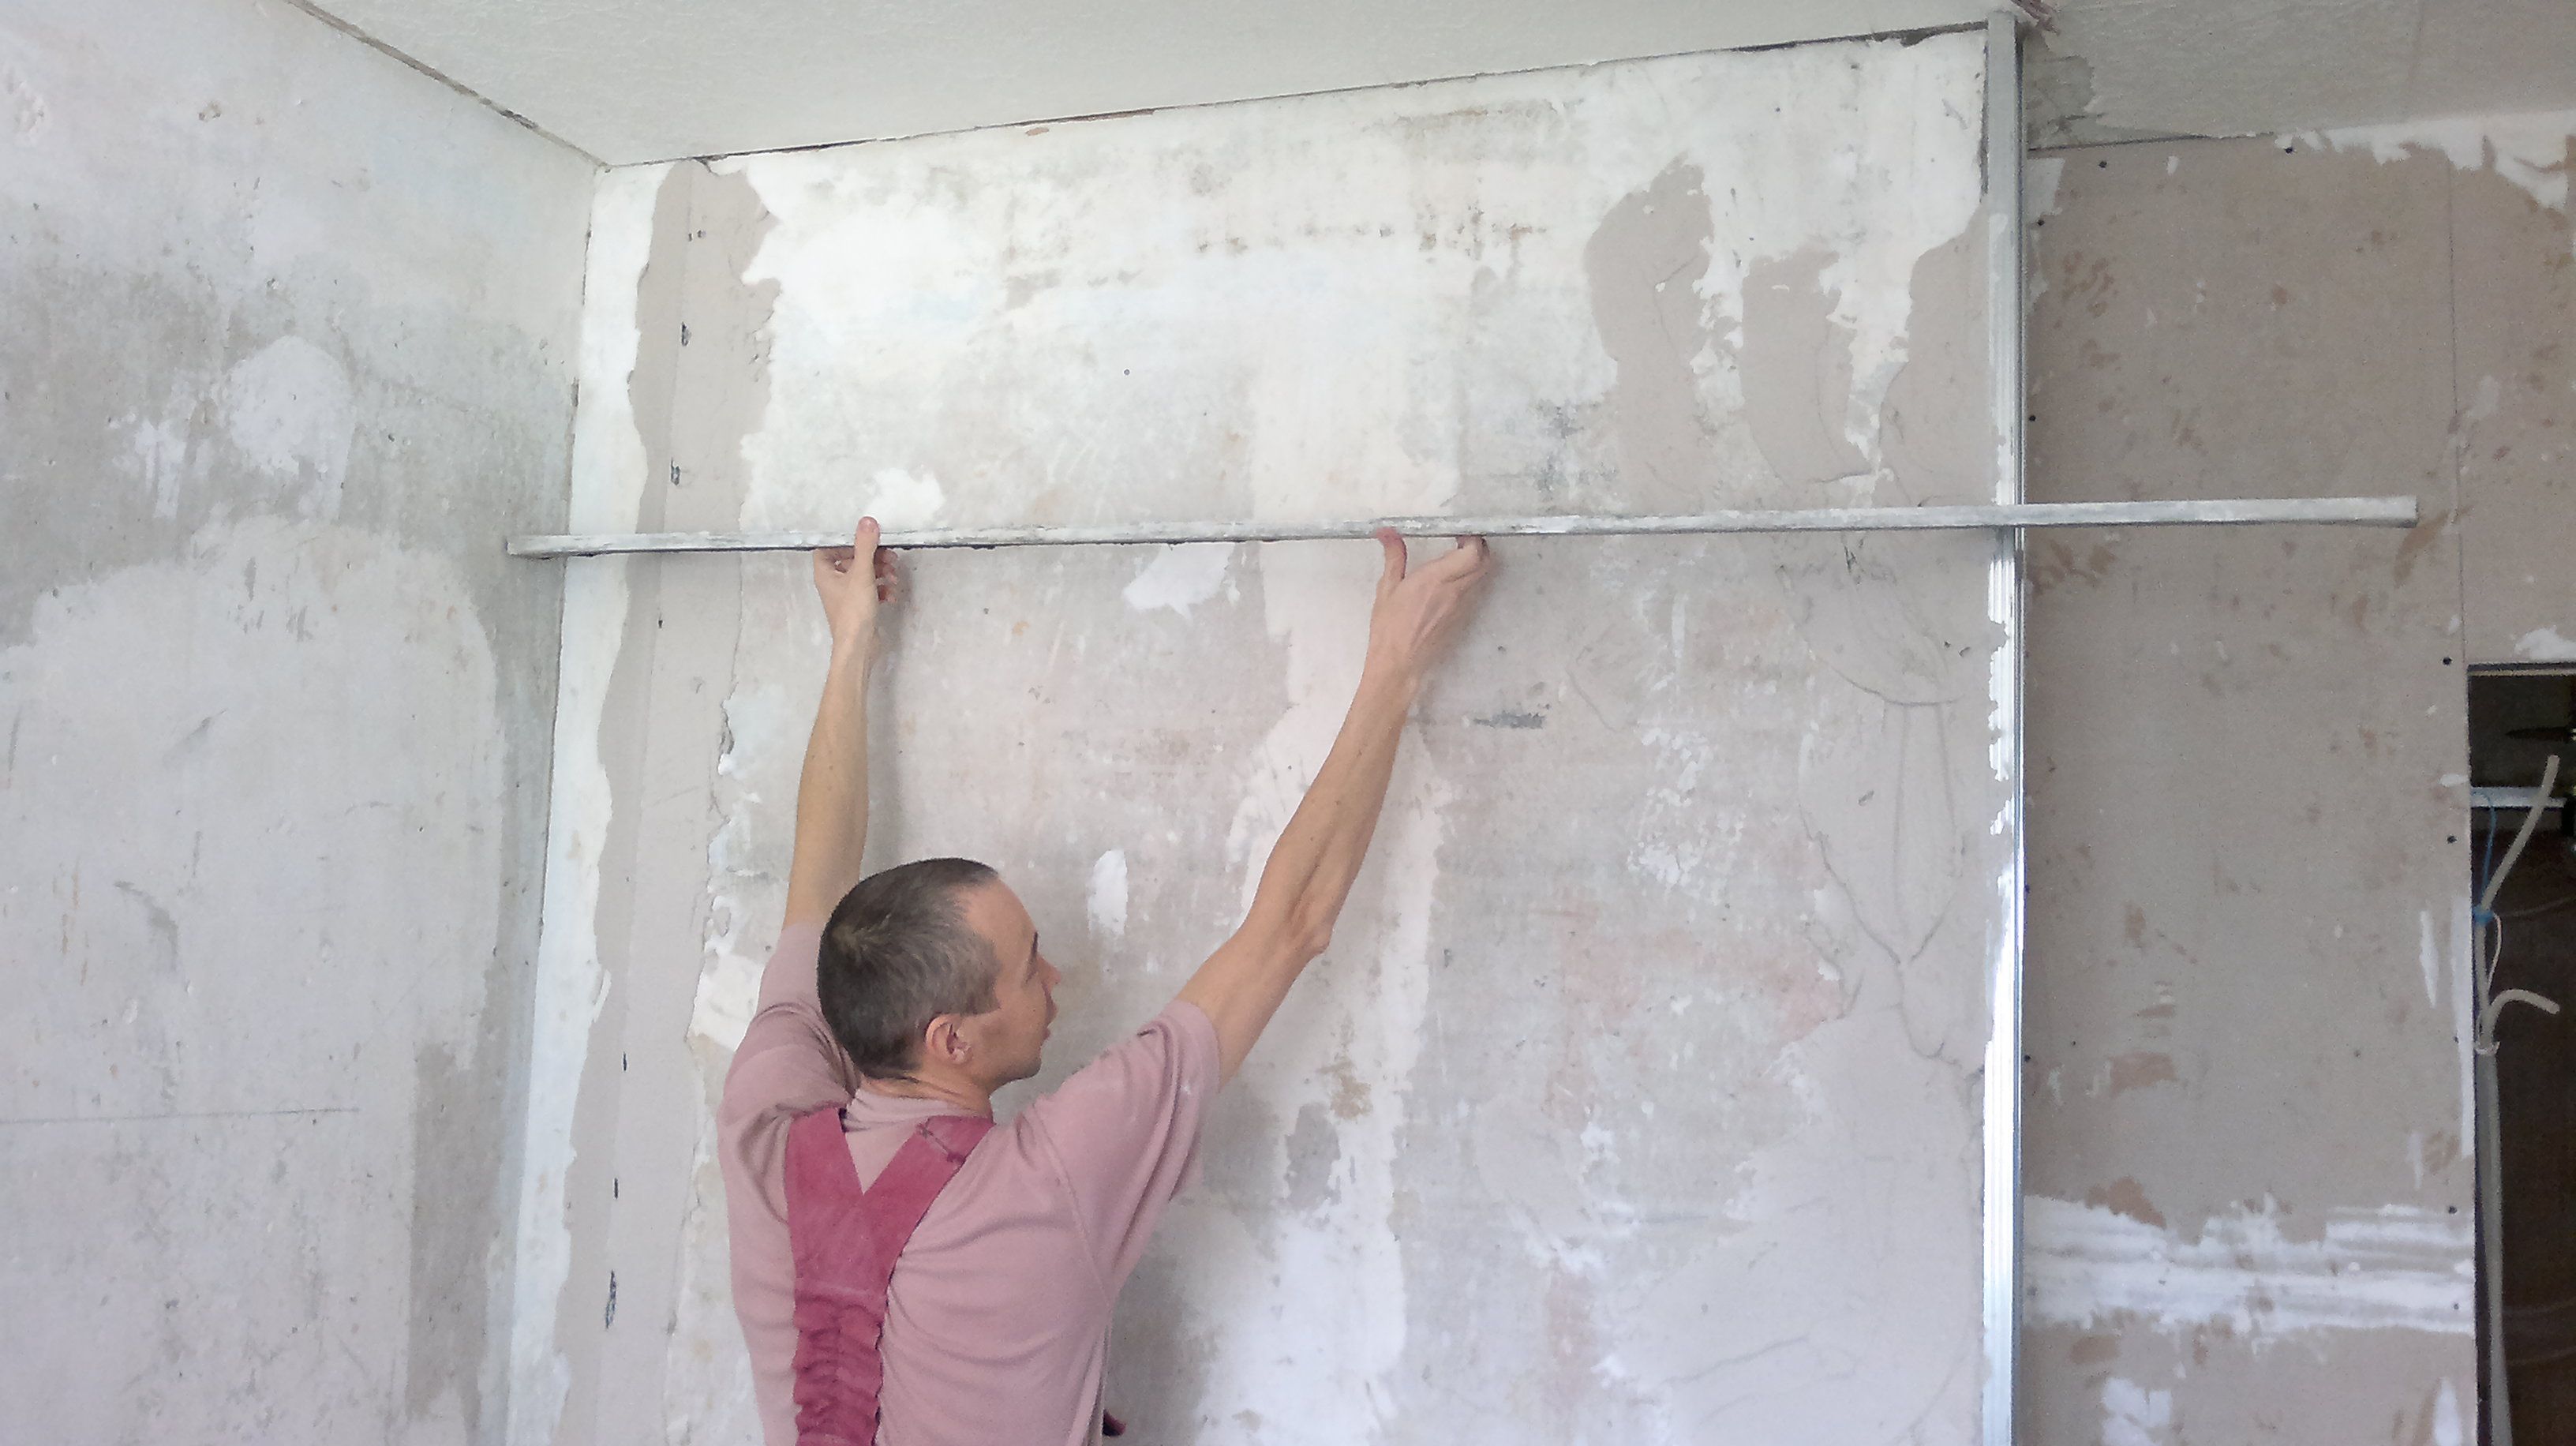
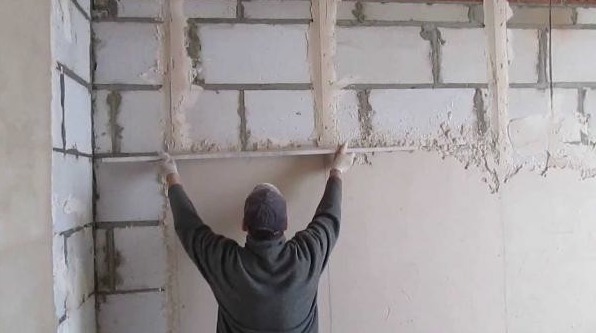
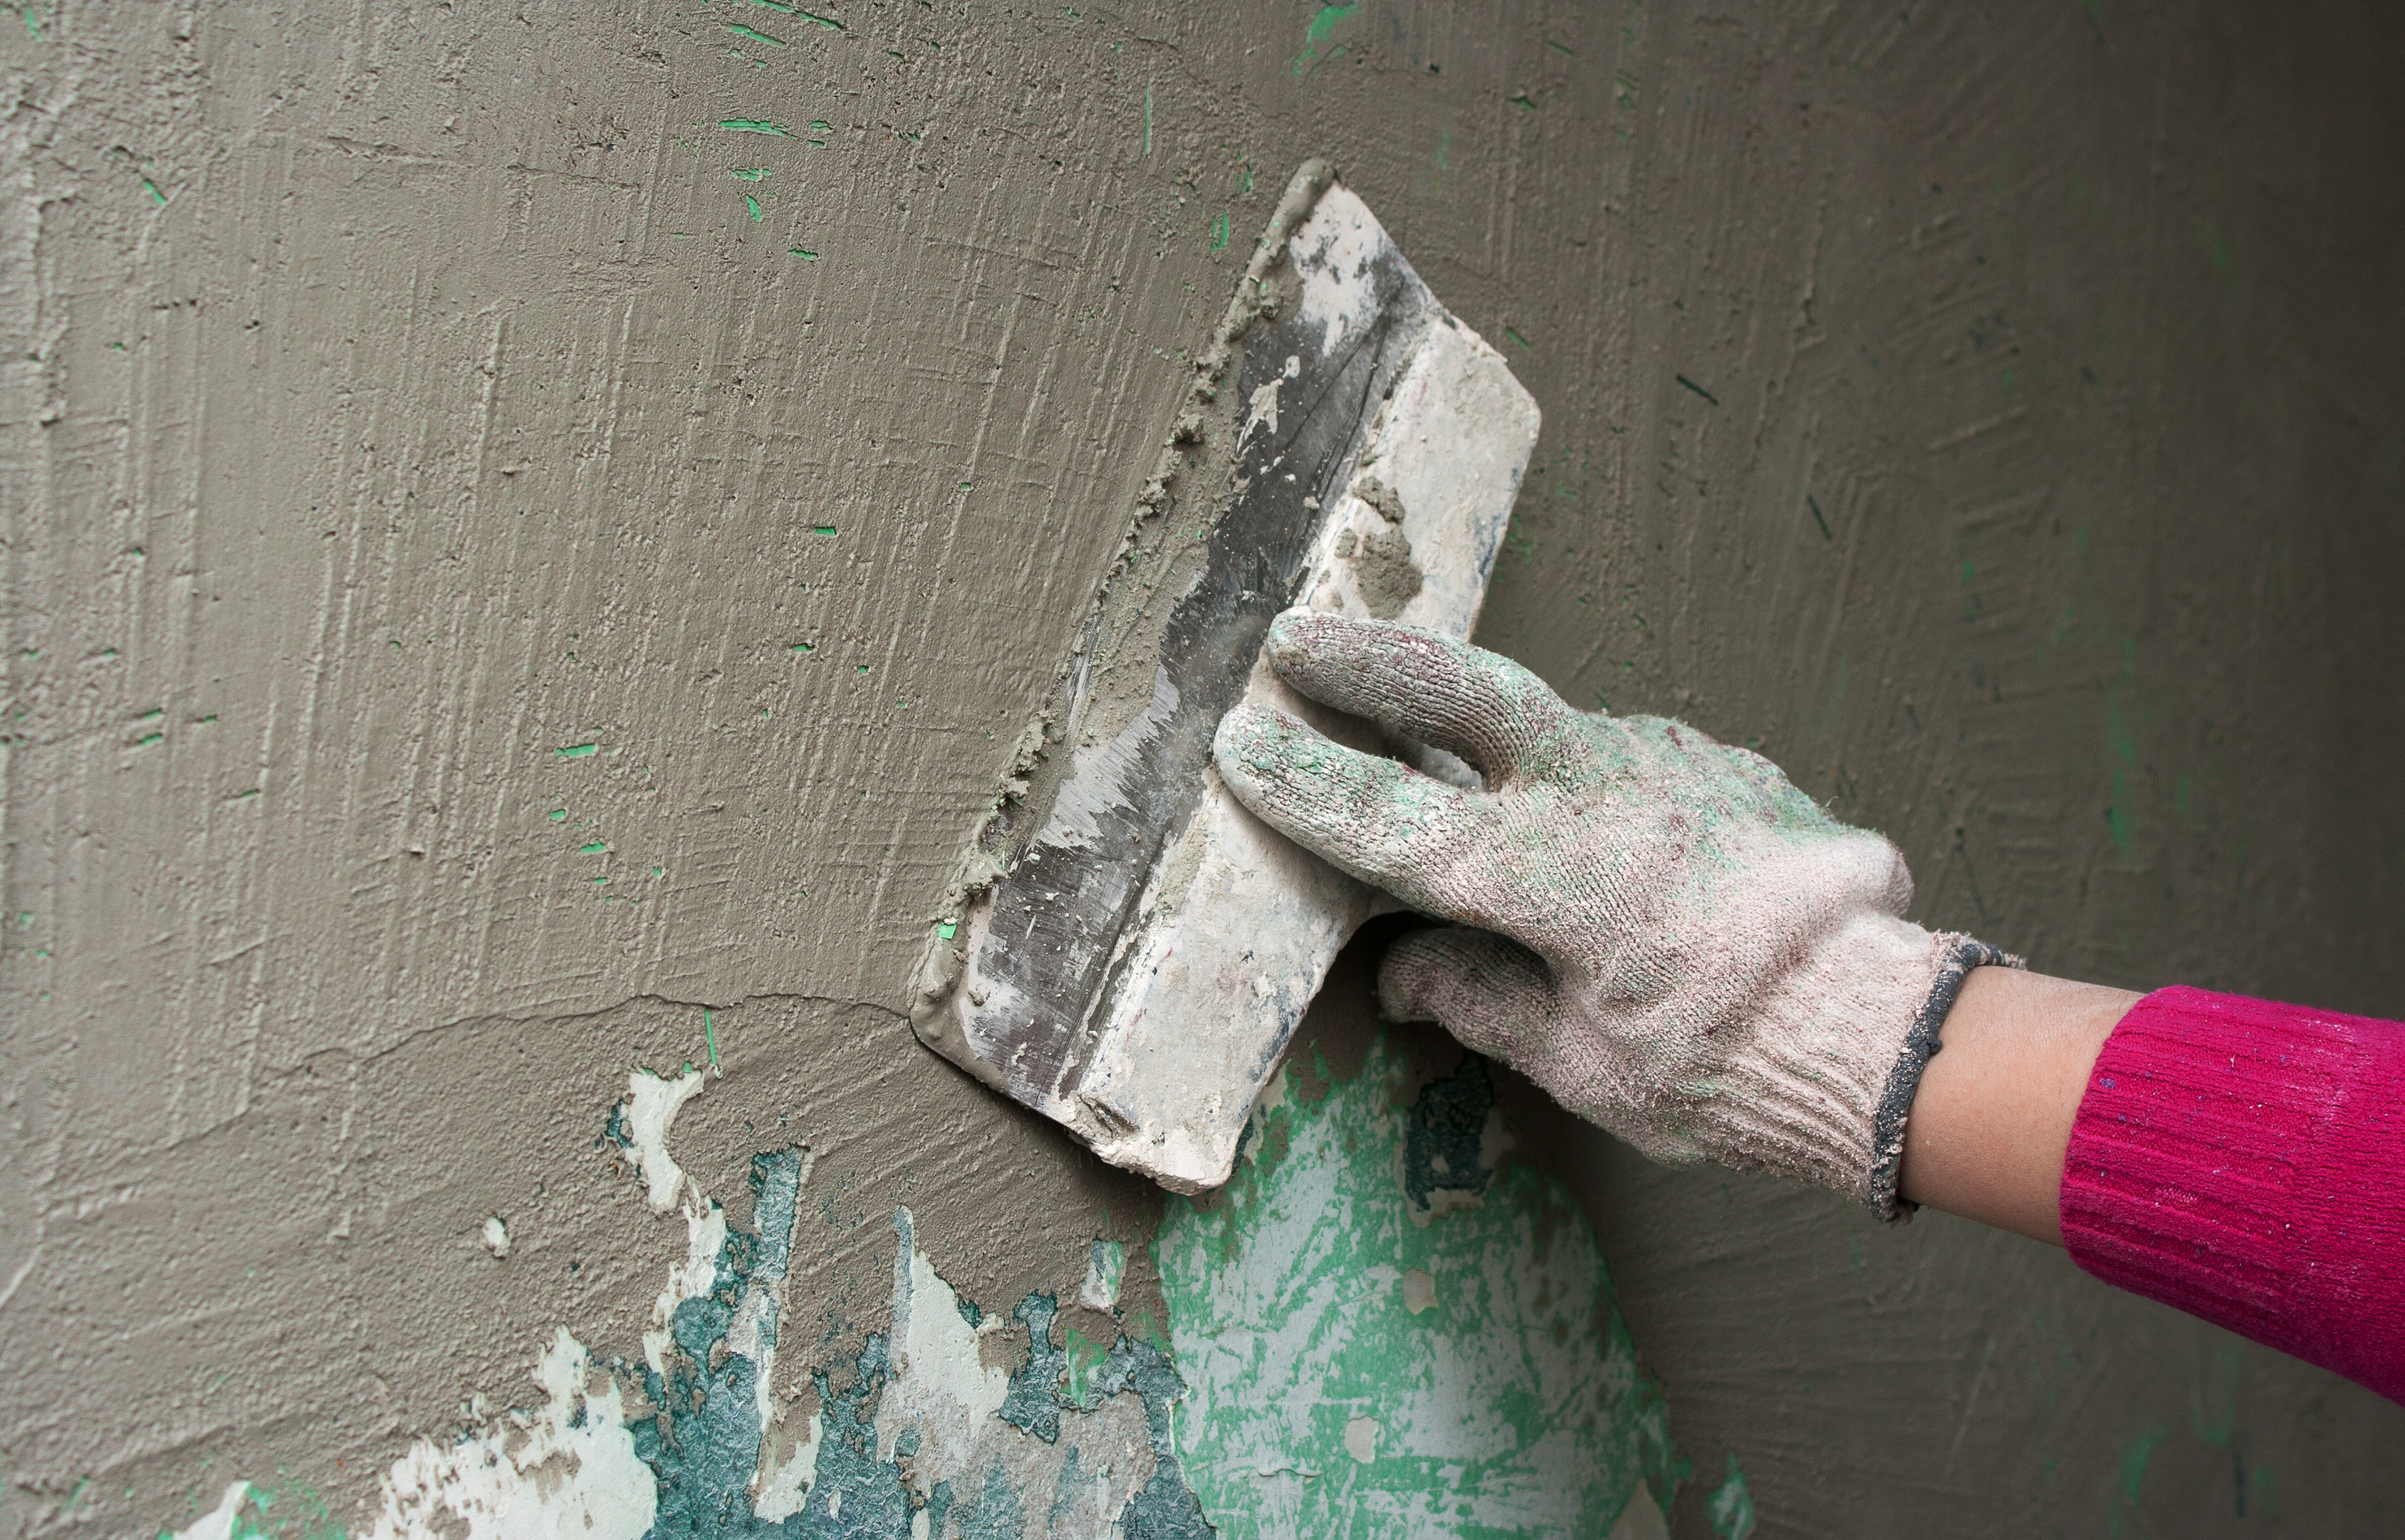
In advance, the holes and grooves in the wall must be sealed with cement mortar and allowed to dry. Before starting plastering, carefully mix the mixture with a perforator. Only then can the plaster be distributed over the surface. When applying the solution is better to use a wide spatula so that you can apply a thick layer of plaster. It is necessary to level the layers of plaster from the bottom up, using a rule (a bar of smooth reinforcement). It is better to clean the surplus immediately after plaster alignment, so that they do not dry out and do not interfere with the finishing works.

Tips and tricks
There are many tips and advice that experts can give a beginner.There are no hard and fast rules; every master has his own secrets. Consider the main ones:
- When installing beacons using fasteners, it is necessary to take into account that after such fixation the profiles are more difficult to remove from the wall, removal is necessary to avoid oxidation of the beacons and to extend the service life of the plaster.
- To install the beacons is better to use special rods. They should not exceed a length of 80 mm, the thickness should be about 8 mm.
- For a good distribution of the solution, it is necessary to master the method of applying special throws. So you can prevent the appearance of voids on the surface of the walls.
- In order not to spend an extra package of plaster, it is necessary to immediately identify the highest section that will become a reference point for the new height of the walls.

After installing the beacons, it is necessary to calculate the approximate consumption of plaster mix per m2 of wall.
This can be done as follows:
- measure how strongly each lighthouse deviates from the wall plane;
- the results must be folded, and then divided into wall measurements.
The value that will be obtained during the calculations will be the thickness of the layer. It depends on the consumption of plaster needed to create a smooth wall.It should be noted that the layer should not be less than the size of a lighthouse in width. The lighthouse averages 6 mm in thickness. This must be taken into account when calculating the amount of plaster.
How to align the walls of the beacons, see the following video.


