The subtleties of the alignment of the walls with plaster

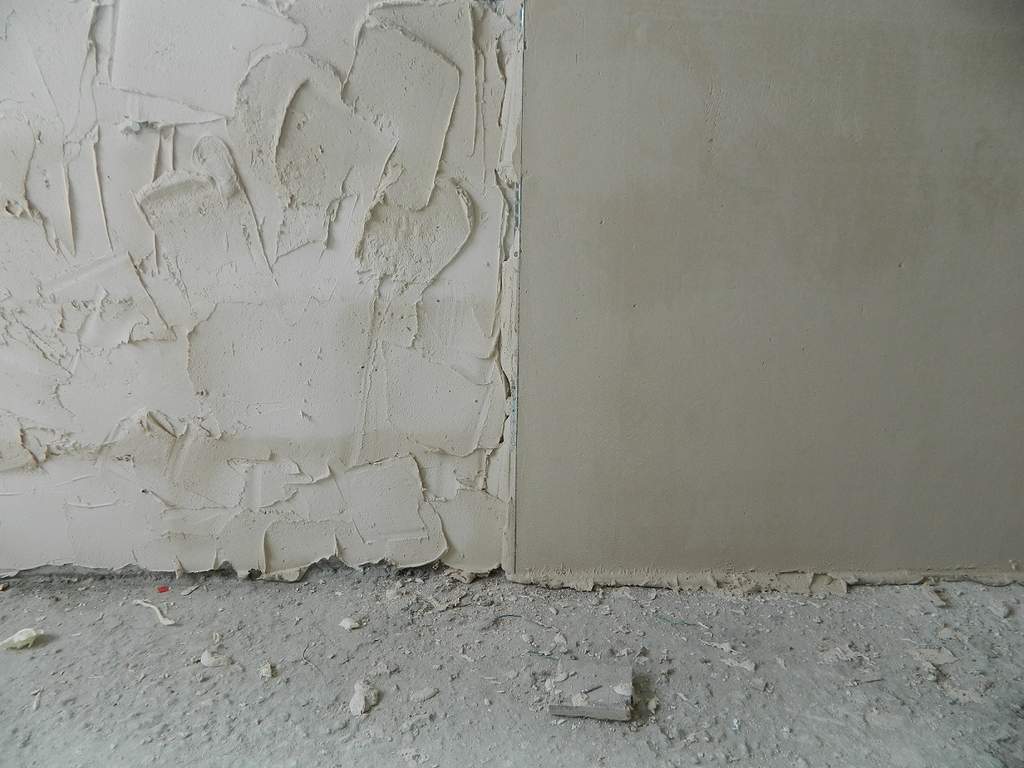
It is quite possible for everyone to become “self-master” in the process of repairing a house or an apartment, all the more so as it opens up room for creativity and allows significant savings on the call of specialists. Finishing work after careful study of professional advice and recommendations will certainly be able to do. Even if you just need to paint the walls or stick the wallpaper, the result may not please, and not at all due to the lack of training of the artist, but due to the fact that the surface is curved. It must be leveled, then the paint, and any other coating will fall perfectly.
Features of preparation
There are two main ways of alignment, such as:
- drywall;
- plaster.
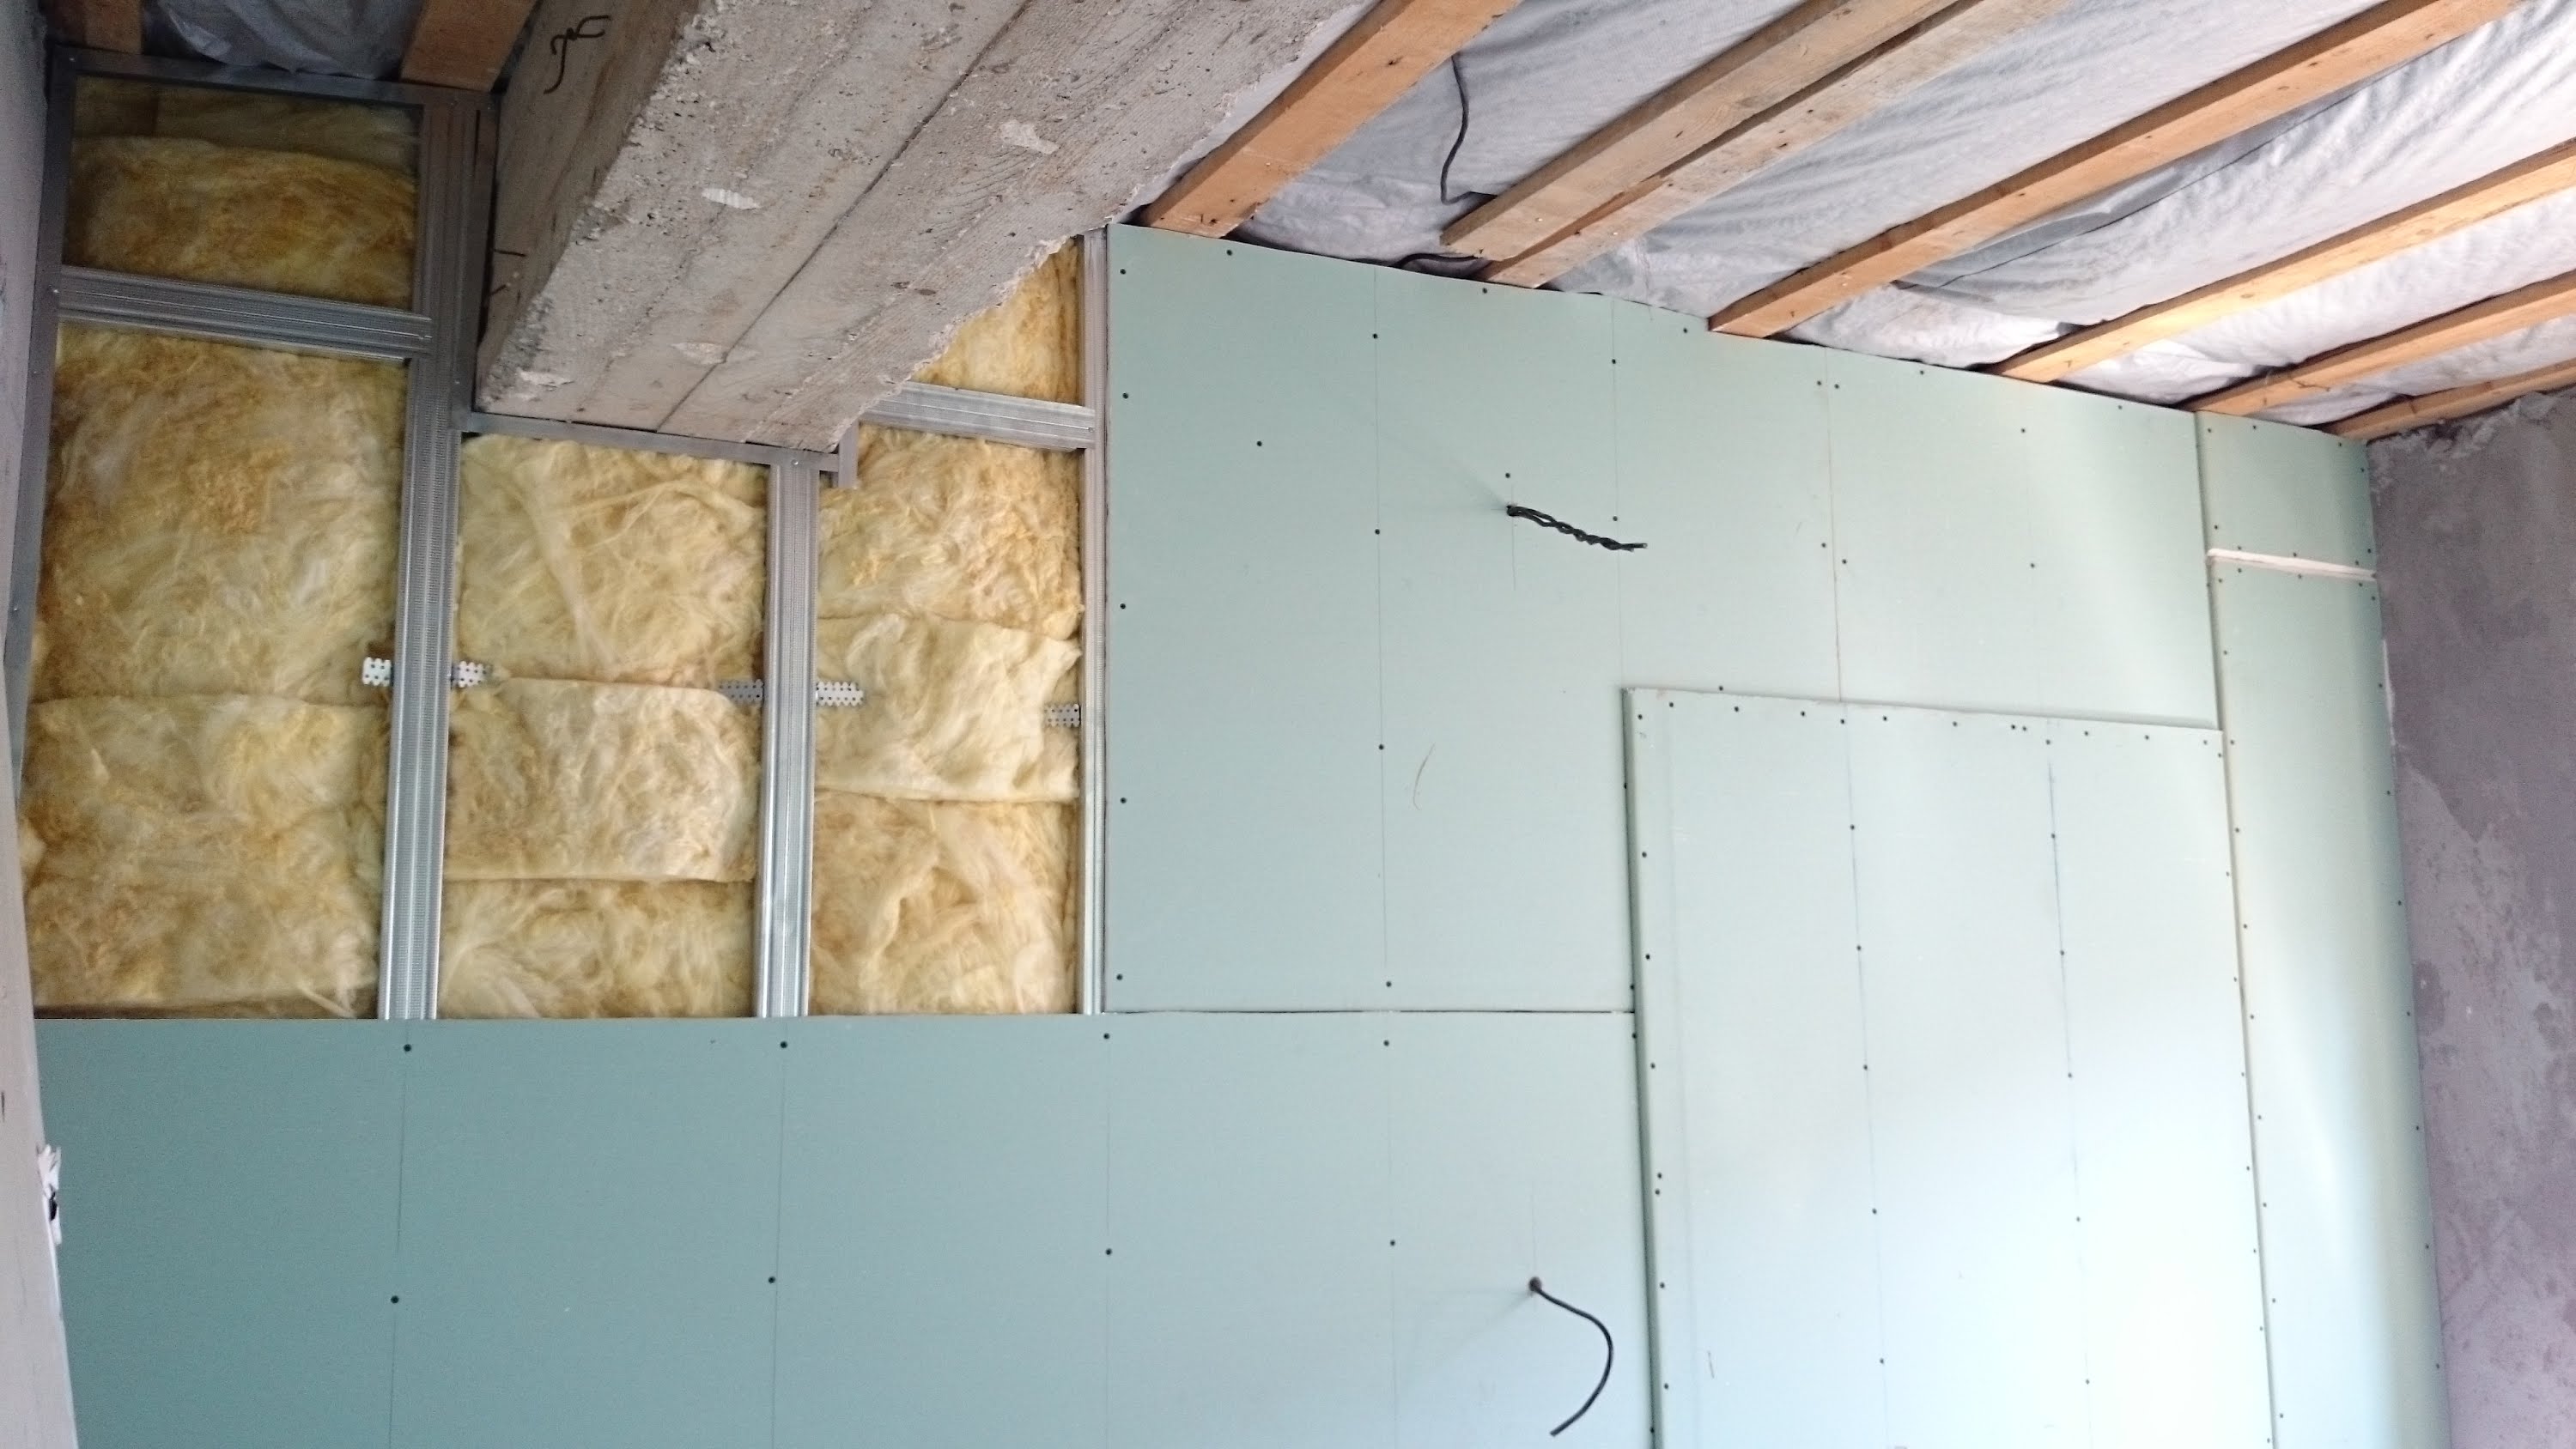
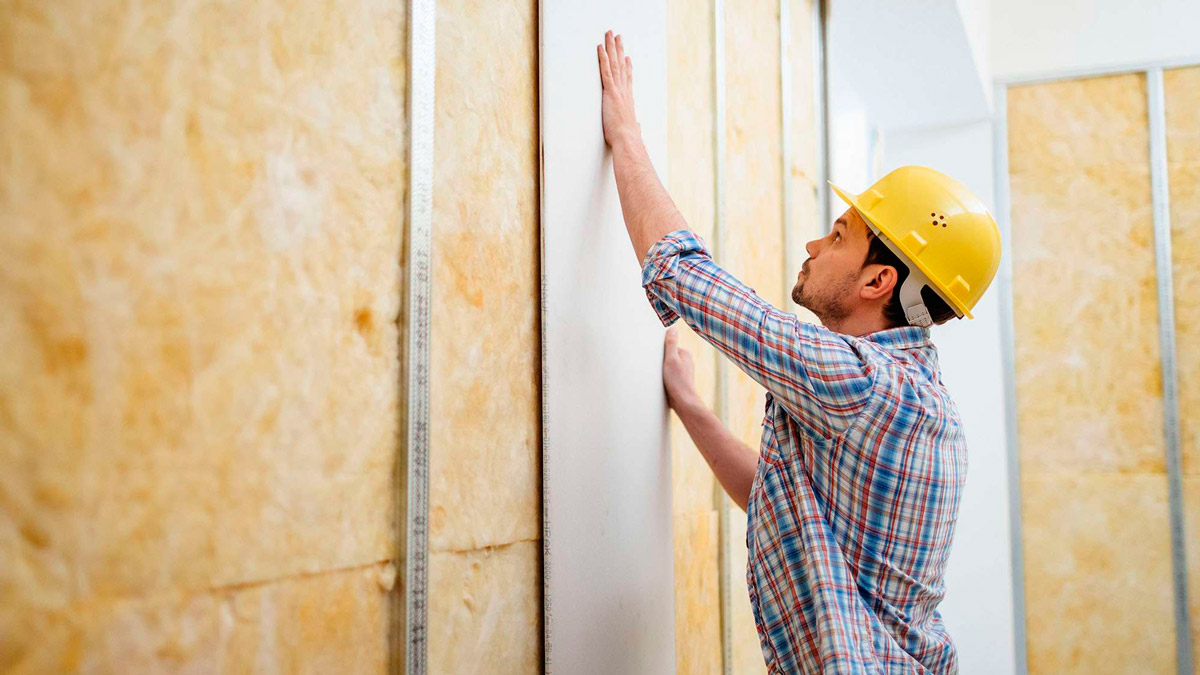
At the first wall sheathe plasterboard sheets.Sometimes this method is called dry plastering. Things move faster, less dirt than when working with plaster.
There are significant drawbacks.
- GCRs are more often mounted on a frame, and if the room is small, then an additional reduction in area will be critical.
- Hanging heavy objects (for example, hanging cabinets) for such finishing is possible only with the use of special fasteners to the main wall; there is a risk that drywall will not withstand the load.
The second method uses special plaster mixes. These materials are free from the inherent flaws of GCR. The technology of working with plaster is also not very complicated. The market offers a wide range of different mixtures, so you need to take into account the composition and use of the material to choose the right.
Types of plaster
There are clay, cement and plaster plasters. Each has both positive and negative properties. Clay plaster is used less frequently than others, since it has two significant drawbacks: it dries long (a layer of 5–10 cm dries up to 3 weeks), and is fragile (it often cracks). But this mixture is very cheap, it can be prepared with your own hands, the only one of all plasters equally well adheres to any surface (wood, saman, brick, concrete).

The problem of lack of strength is easily solved by the addition of cement. And to align the walls with a large slope such a mixture, perhaps, is the best option, with the condition of imposing on shingles.
Cement mixtures can be divided into two types, such as:
- for draft (first layer) of the coating - with a coarse-grained sand fraction;
- for fine finish - with fine sand inclusions.
The advantages of such plaster include low cost, quick preparation and ease of applying the solution, long service life of the coating obtained. The fact that the composition does not dry out very quickly allows even a novice master to work with it, but it increases the time spent on repairs. In addition, there is a danger of cracking when applying a layer thicker than 2.5 cm, in which case a reinforcing lining will be required.
Gypsum plaster is a very popular material due to the following advantages:
- hygroscopicity - well absorbs moisture, and with too dry microclimate can give it back;
- environmental friendliness and safety - safe for people, which is especially important for children and allergies;
- economical consumption - much less mortar is required than to cover the same area with other plasters.
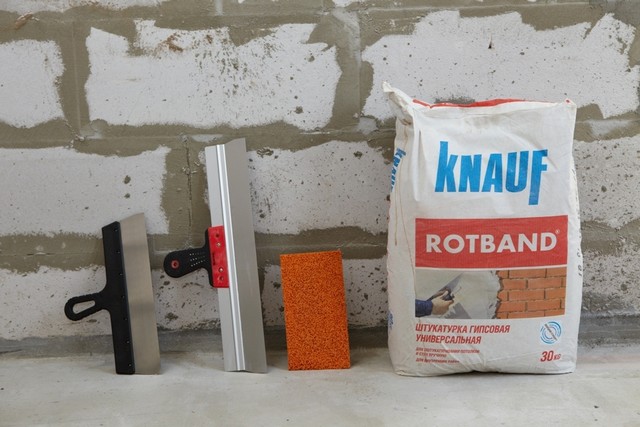
Gypsum composition hardens faster, which can be considered both a disadvantage and advantage, because it requires some skill in handling the material, but significantly saves time to do the work, you only need to prepare the mixture in a small amount. Plaster on the basis of gypsum is more expensive than others, but if you take into account the economy of consumption, the difference will be insignificant.
Which is better?
It is possible to give a definite answer to this question only if we take into account all the conditions for using the material. For the main (rough coating) with a strong curvature of the walls, a clay mixture may be the best option. If the deviations are not very large, we can recommend cement or gypsum plaster. In this case, the decisive factors will be the price and preparedness of the employee. And of course, of great importance is the place in which the work will be carried out.


Scope of application
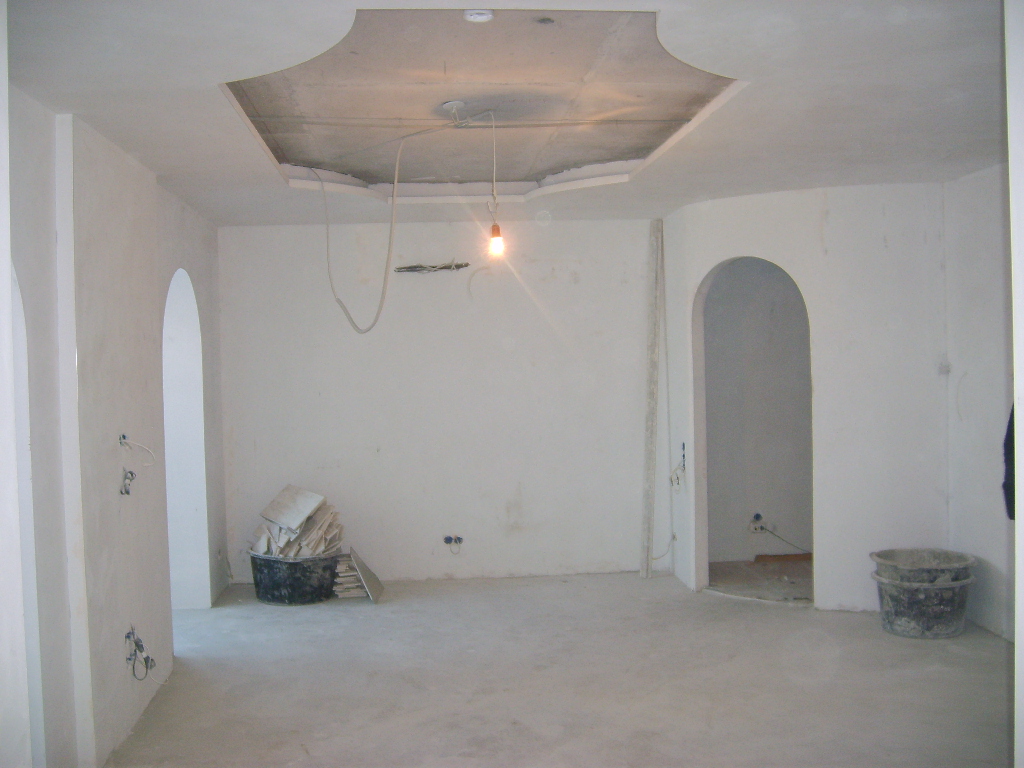
For living rooms will suit any composition of the customer's choice. When finishing the nursery, plaster on the basis of plaster will be the best option.For decoration of rooms where high humidity is possible: kitchen, bathroom, toilet - it is recommended to use cement mixes. With plaster you can level not only the walls, but also the ceiling. But lately for this purpose apply drywall. And also carry out finishing on technology stretch ceiling, which does not require leveling the surface. The reason is that applying plaster on a horizontal surface above your head is a more laborious process than the other methods mentioned.
For the floor, the use of plaster mixes is not recommended, it is best to use concrete or special mixtures for screed.
Application process
There are two main ways of plastering walls, such as:
- eye alignment using the rule;
- using beacon landmarks (landmarks).

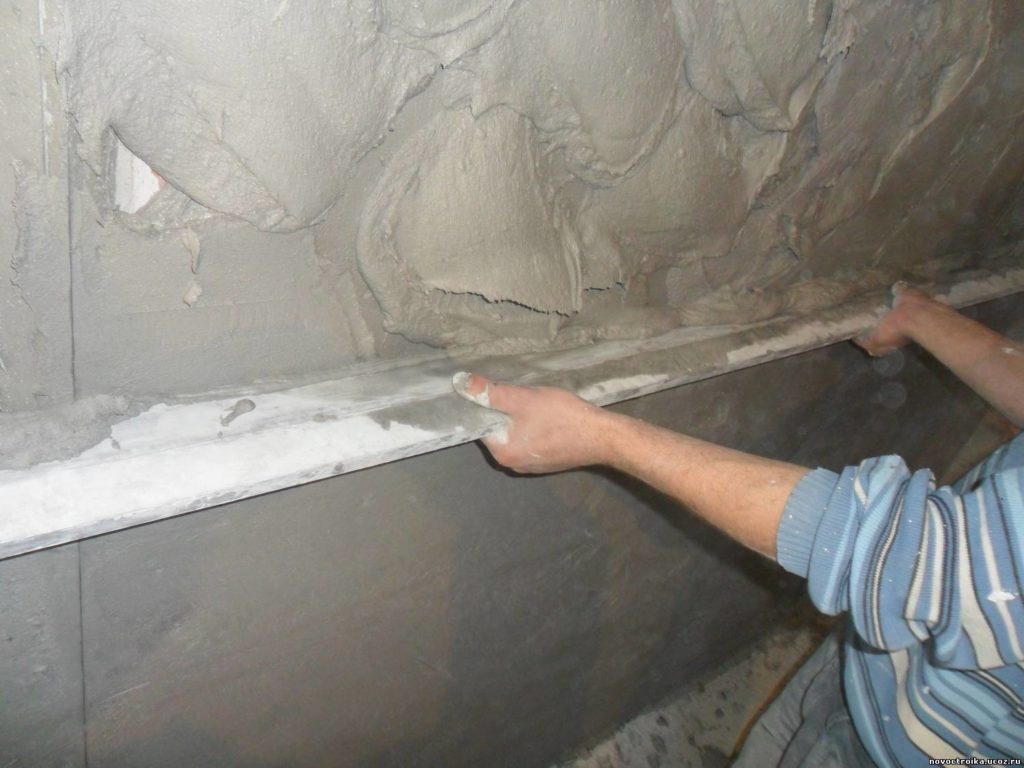
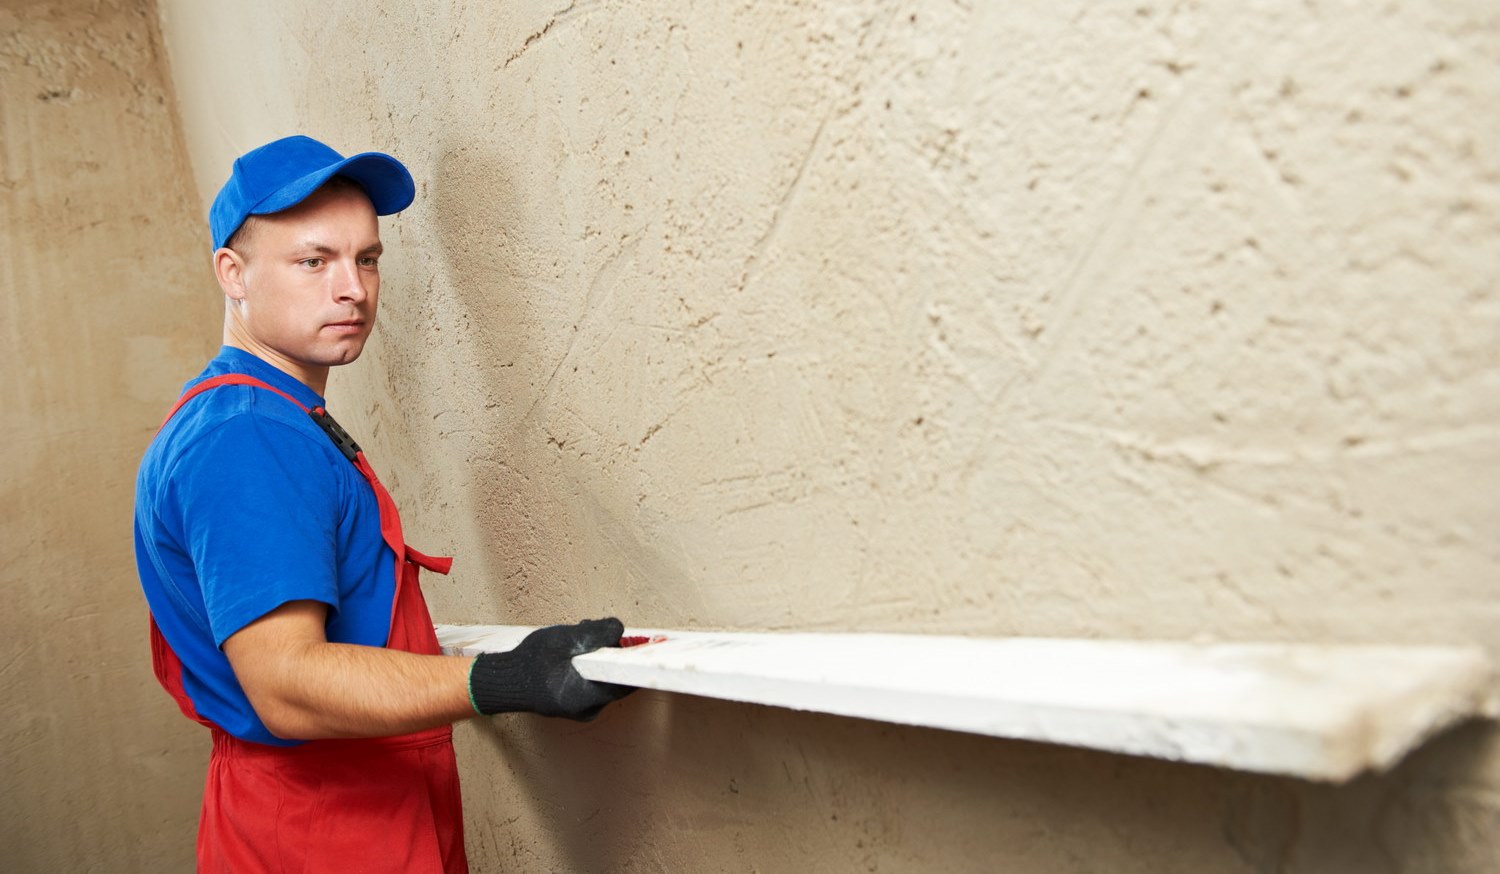
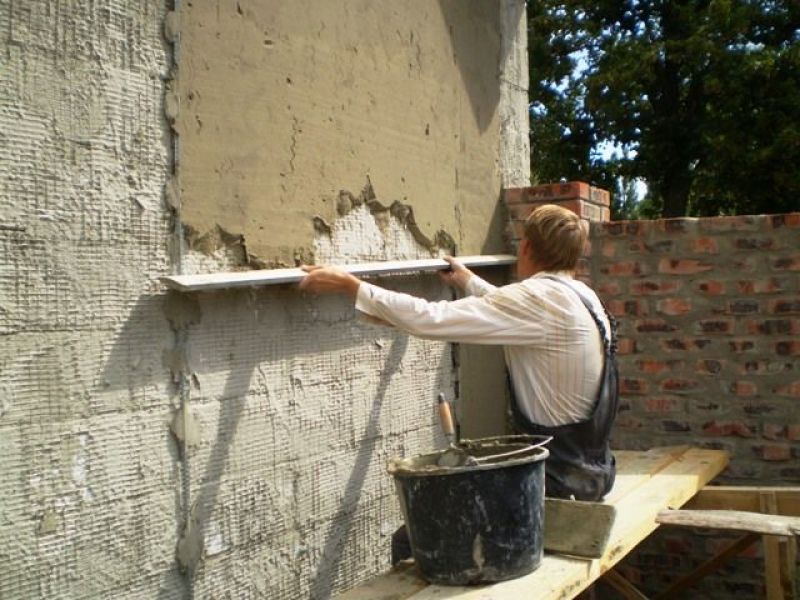
The first method is applicable when the curvature of the surface is small. At the same time plaster is thrown onto the prepared wall with a trowel and dubbed by the rule, leading it upwards along the surface. After going across the wall, the rule of greater length is to iron the surface again in different directions, carefully removing all irregularities.It should be noted that in this case, to achieve the ideal result is unlikely to succeed. Therefore, such an alignment is done under the wallpaper or other dense decorative coatings, but not for painting. And most often used for utility rooms.
Lighthouse method is used more often.
It includes several stages.
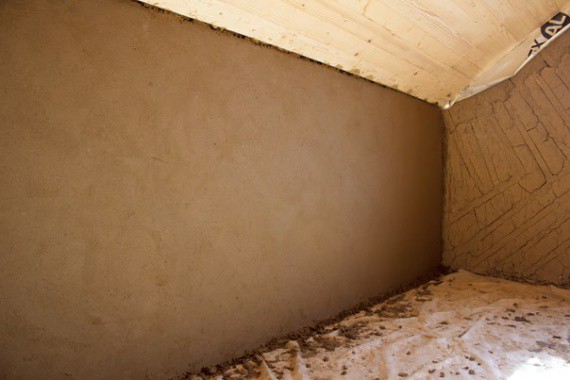
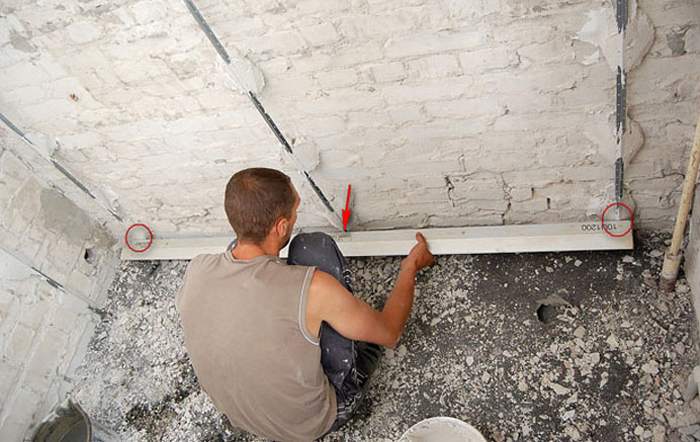
- Preparatory work. In order for the layer of plaster turned out strong and durable, the walls must be prepared. It is required to remove as much as possible all the layers of the old finish. To decide whether to remove the old plaster, you need to check whether it has moved away from the wall, whether voids have formed under it. This can be determined by tapping the entire surface from floor to ceiling. If the sound is deaf, then in this place the layer is likely to have moved away and you should try to remove the old plaster, especially if there is a large area of such voids.
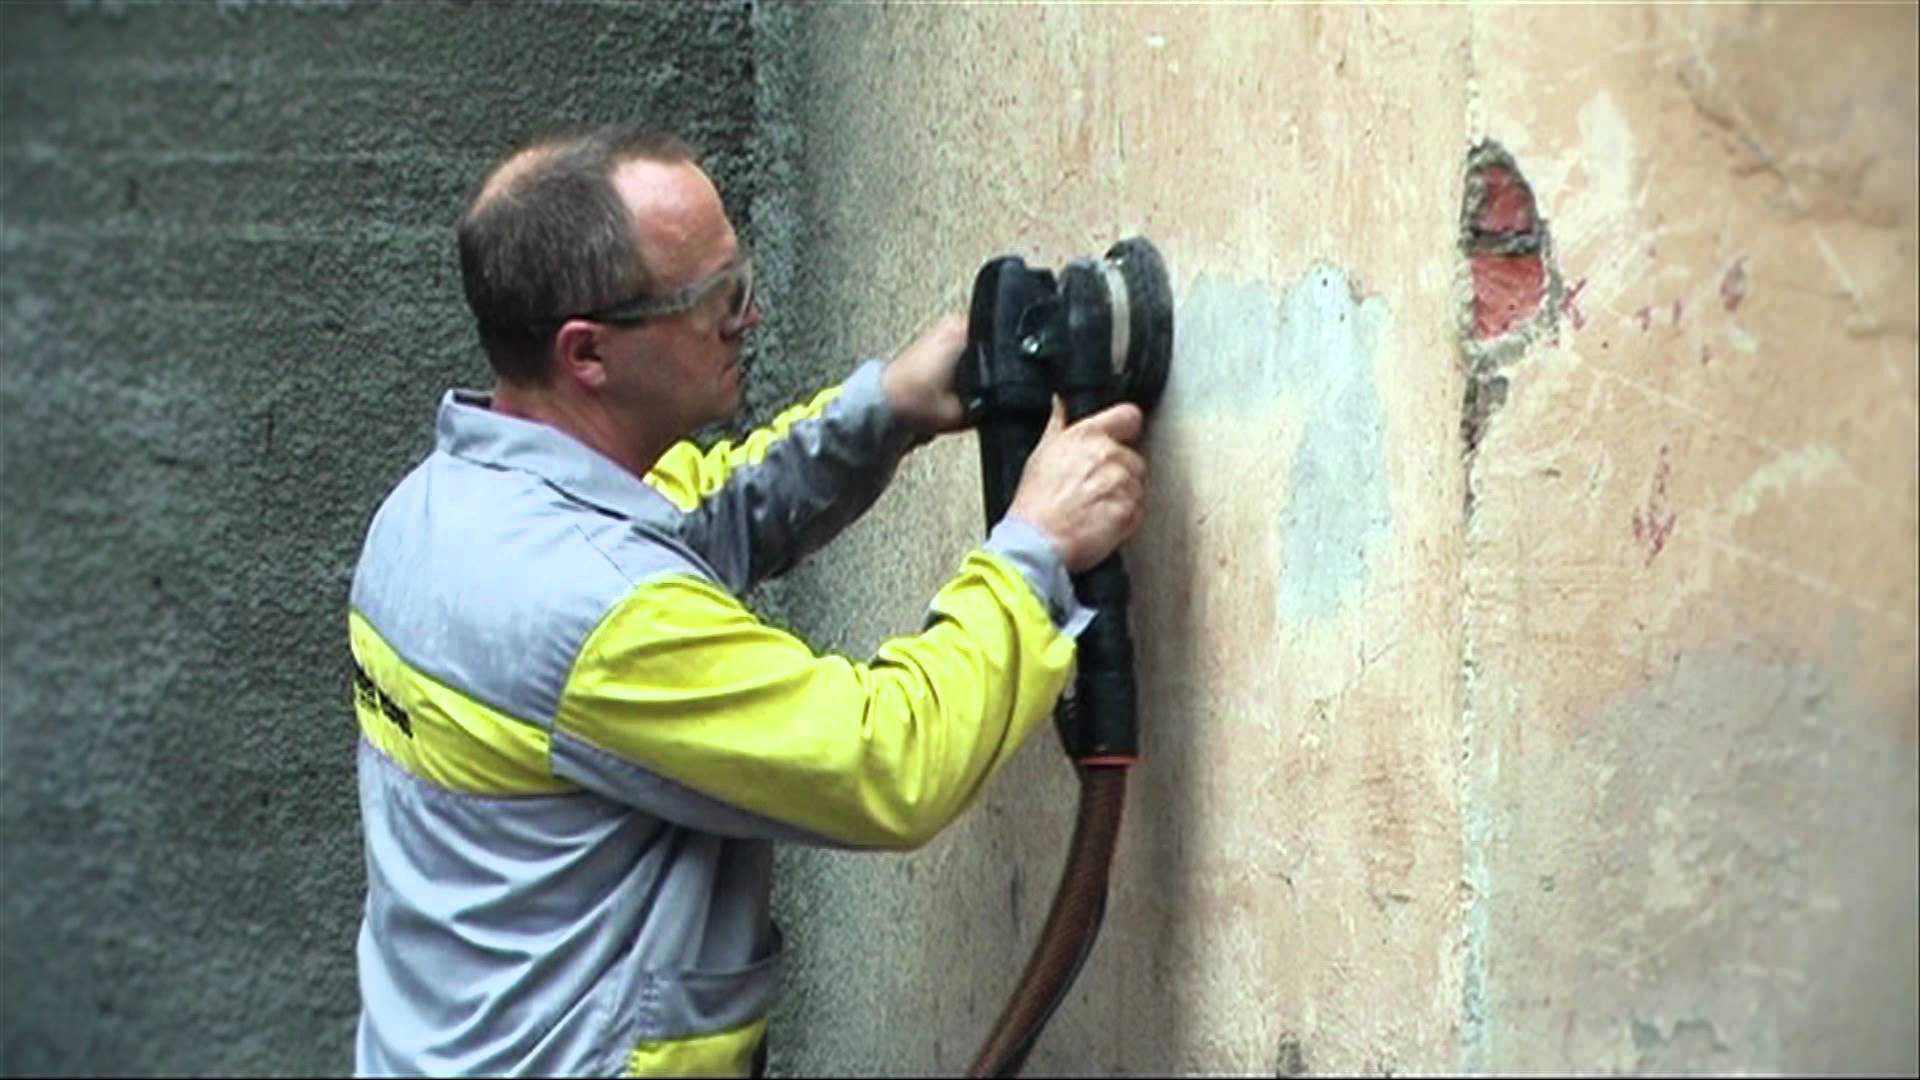
Large visible irregularities better to close up immediately, cover the holes with a putty. Swell try to knock. If the wall is too smooth, there is a risk of poor adhesion to the plaster. In this case, you need to make a notch using the angle grinder (Bulgarian) or perforator, about 100 per 1 m².
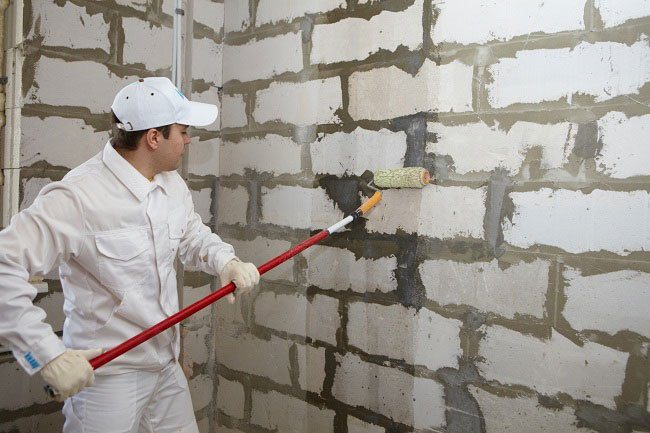
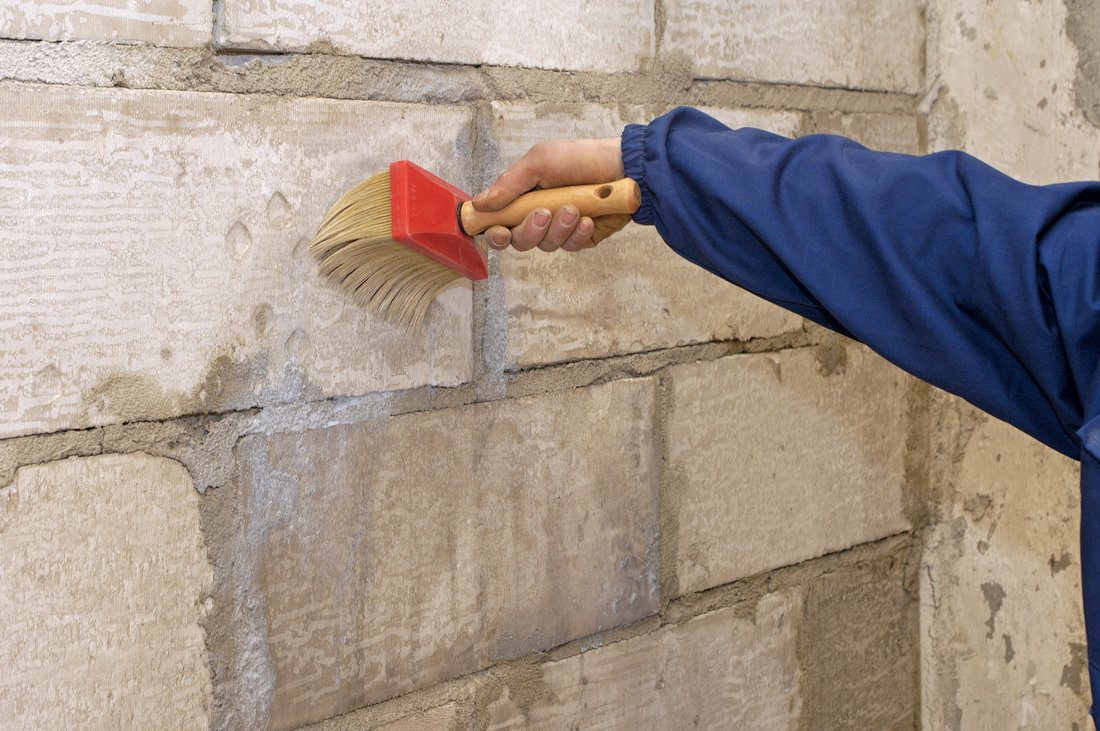
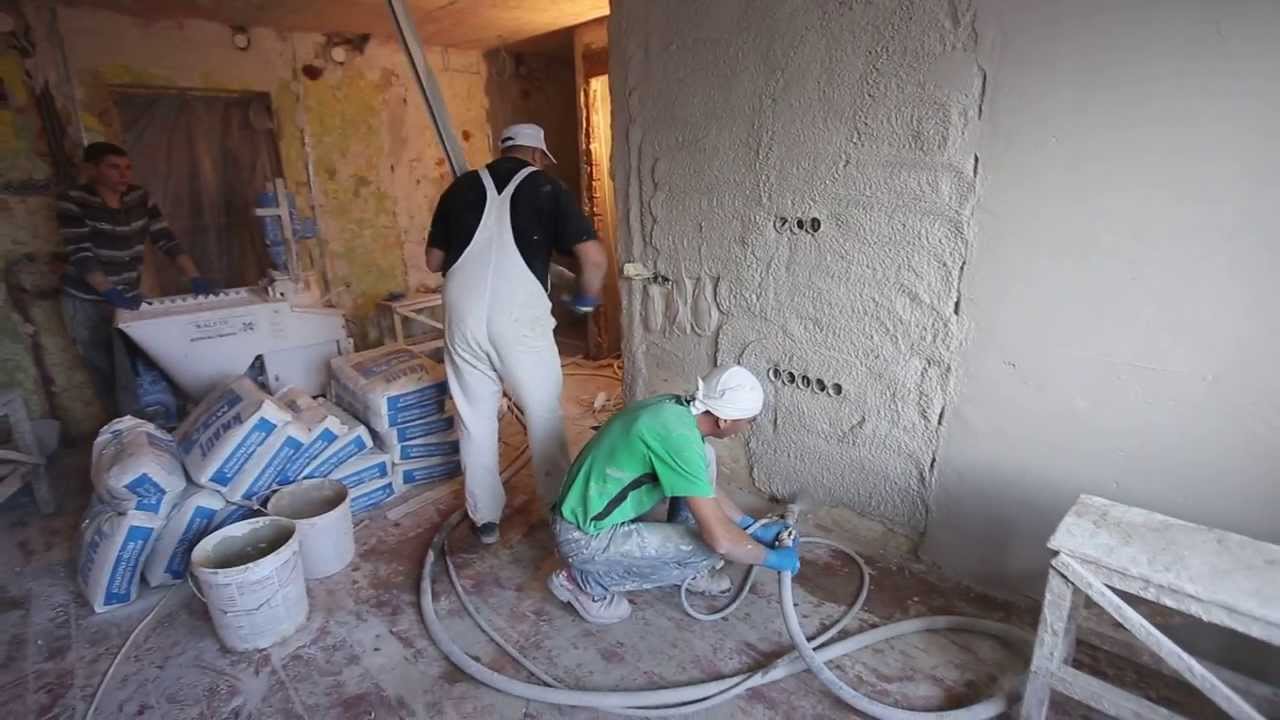
- Primer. Surface priming is also carried out to improve adhesion. The choice of mixtures is quite wide and depends on what wall material it is intended for and under which plaster can be used. Usually on the packaging of the plaster mix you can read about the recommended primer. Often used "Betonokontakt" and Cerezit117. Some formulations require additional wetting of the surface or thorough cleaning of dust, so the instructions for them must be read. Apply the primer with a roller, brush or spray gun.
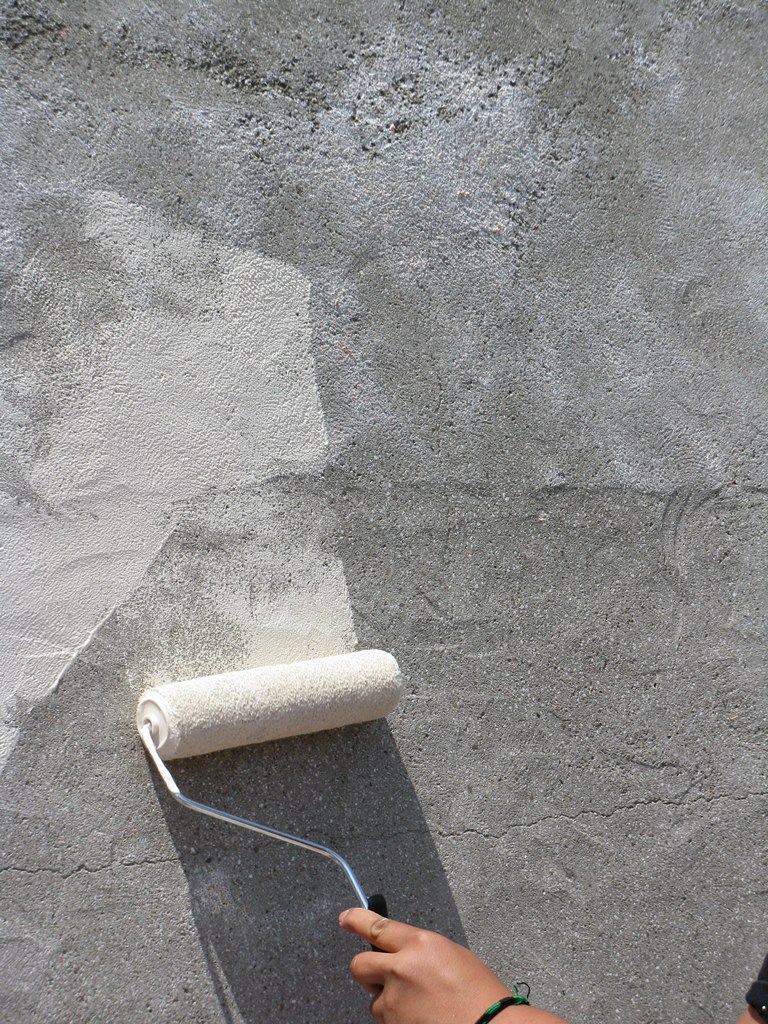

For brick walls, instead of a special composition, it is acceptable to use plain water. In this case, plaster immediately, without waiting for drying. When using primers, the drying time must be kept according to the instructions.
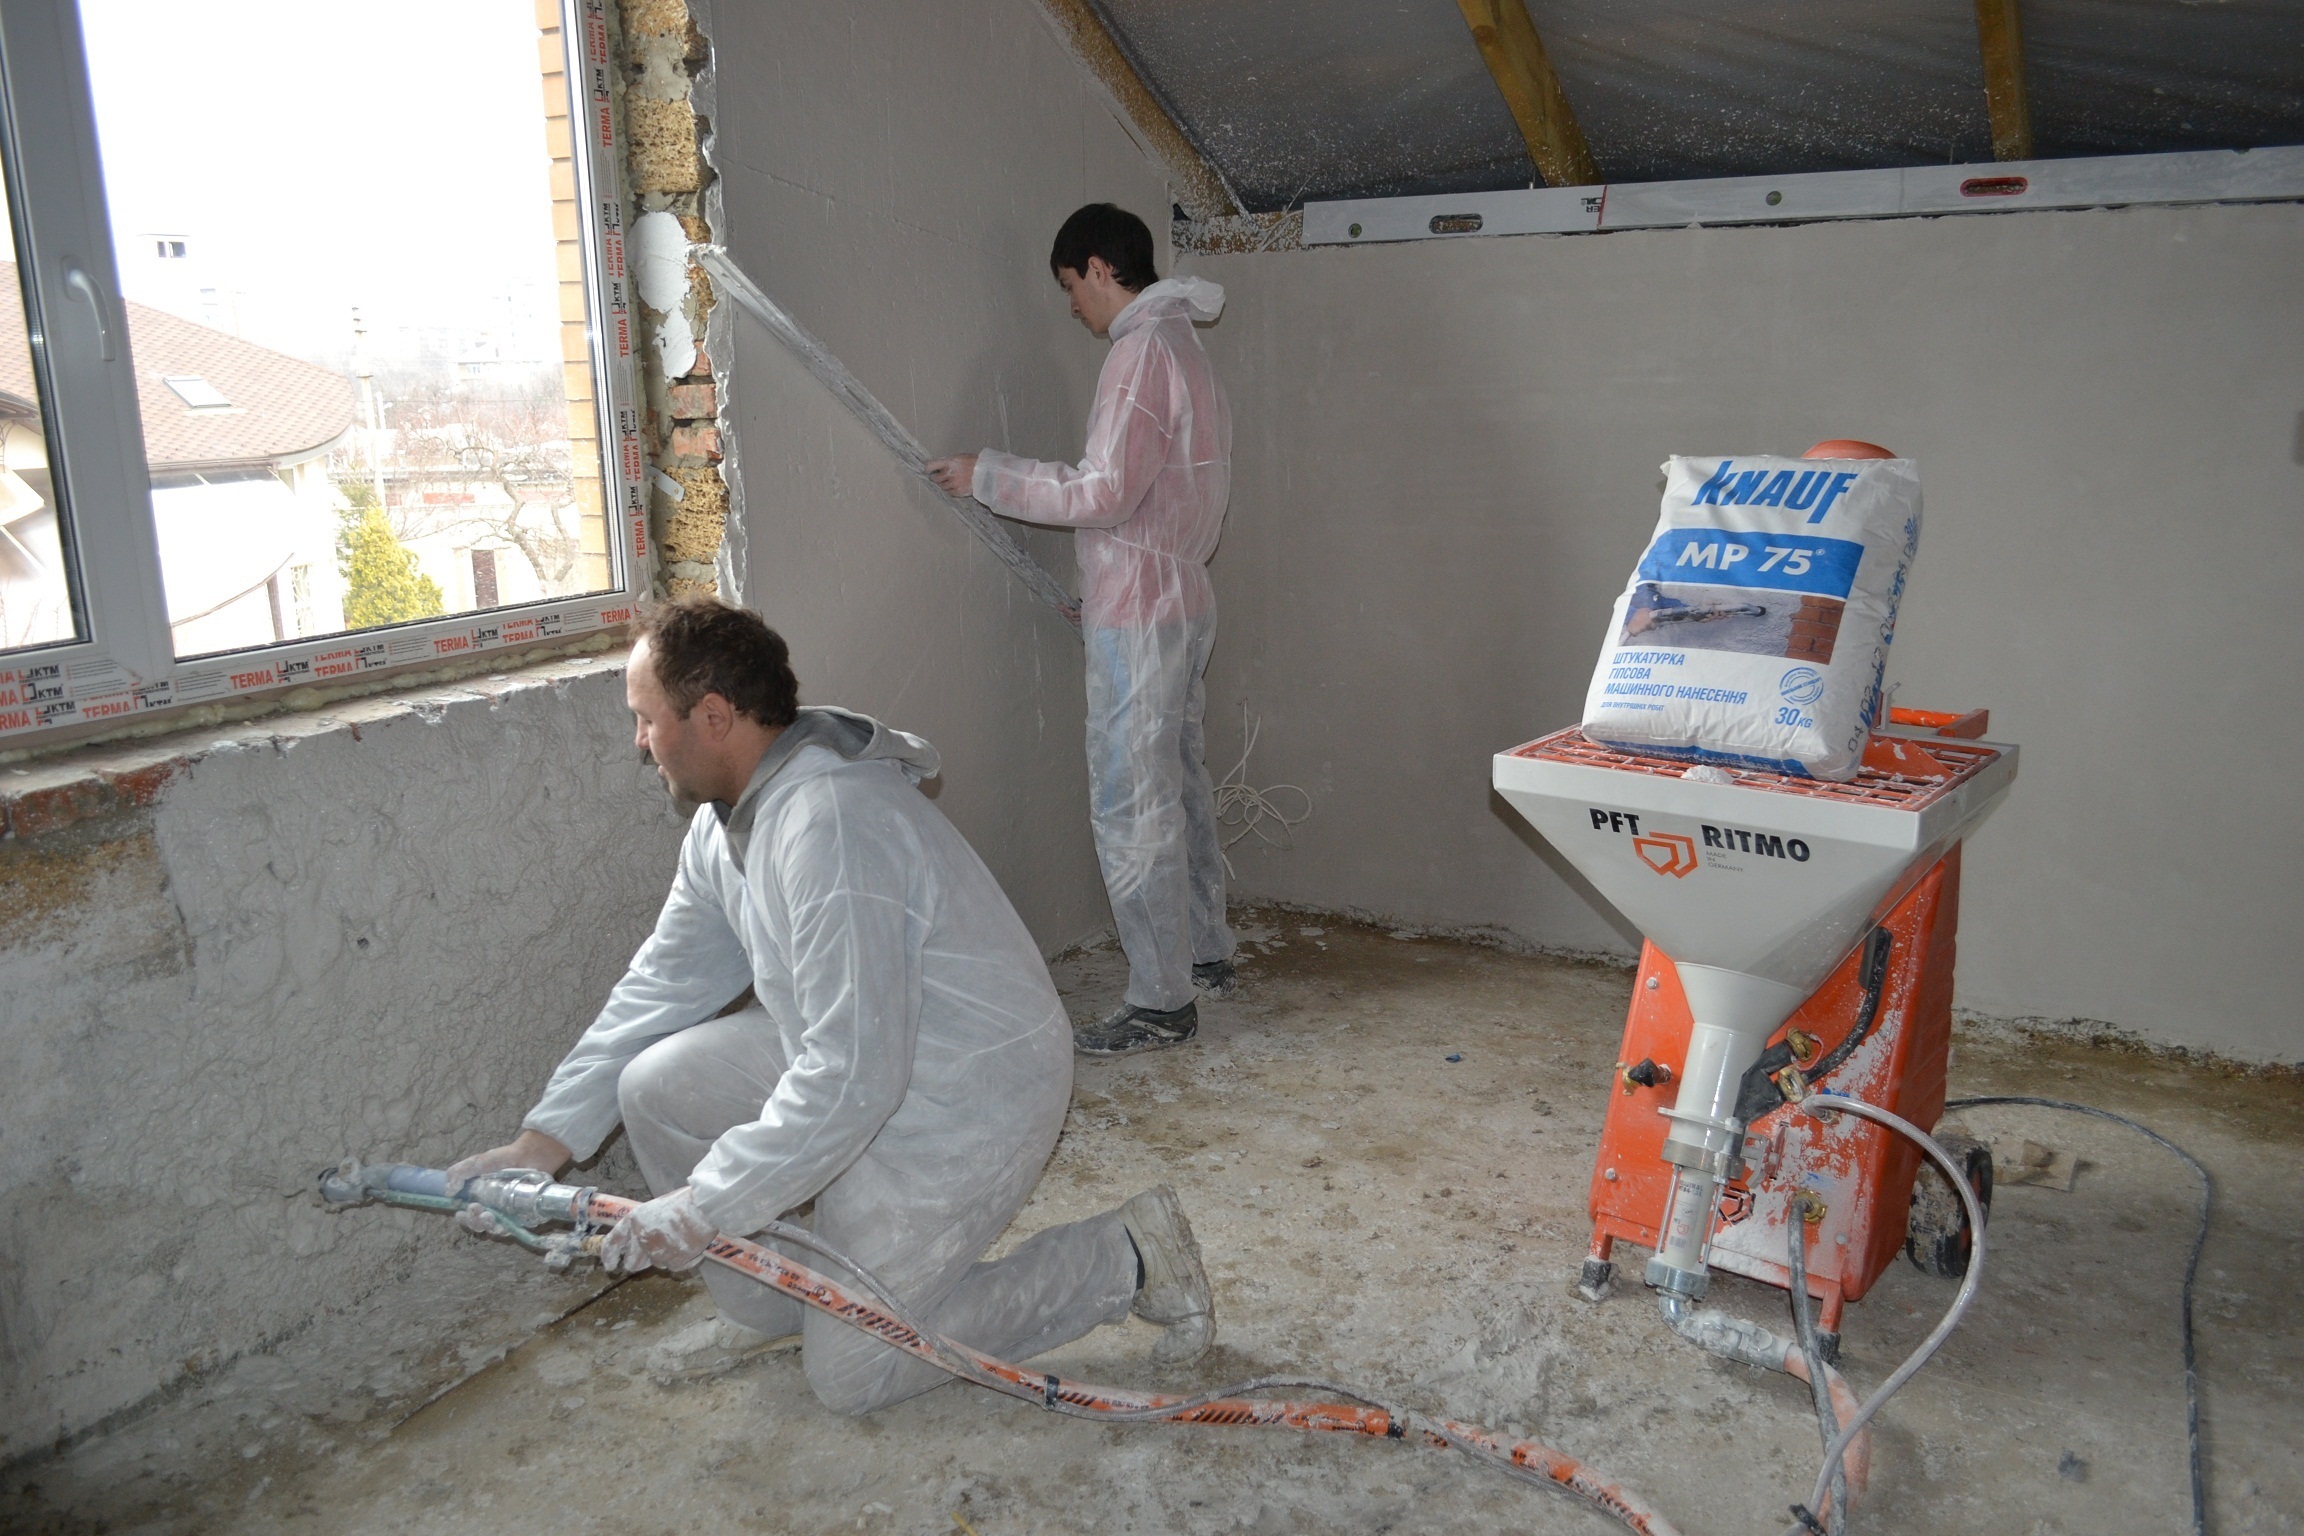
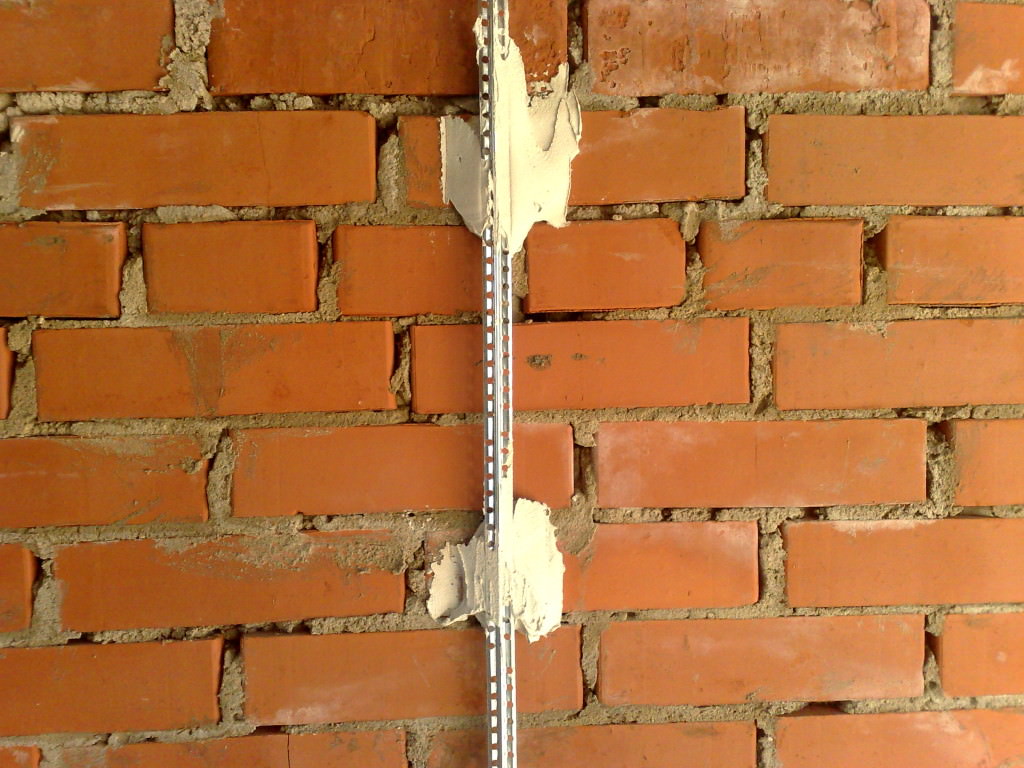
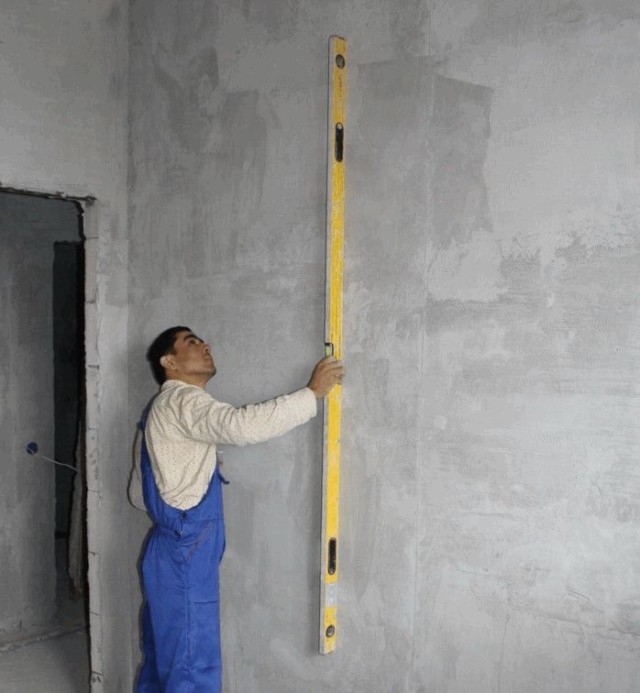
- Installation of beacons (staking). For high-quality alignment use special guides, which are called beacons or landmarks. With the help of the level, the angle of deviation of the surface and the plane in which the beacons are set are calibrated. As guides, it is best to use special T-shaped metal profiles.You can take wooden strips, but they should be smooth, but it is difficult to find such. The slightest bias will ruin all the work.
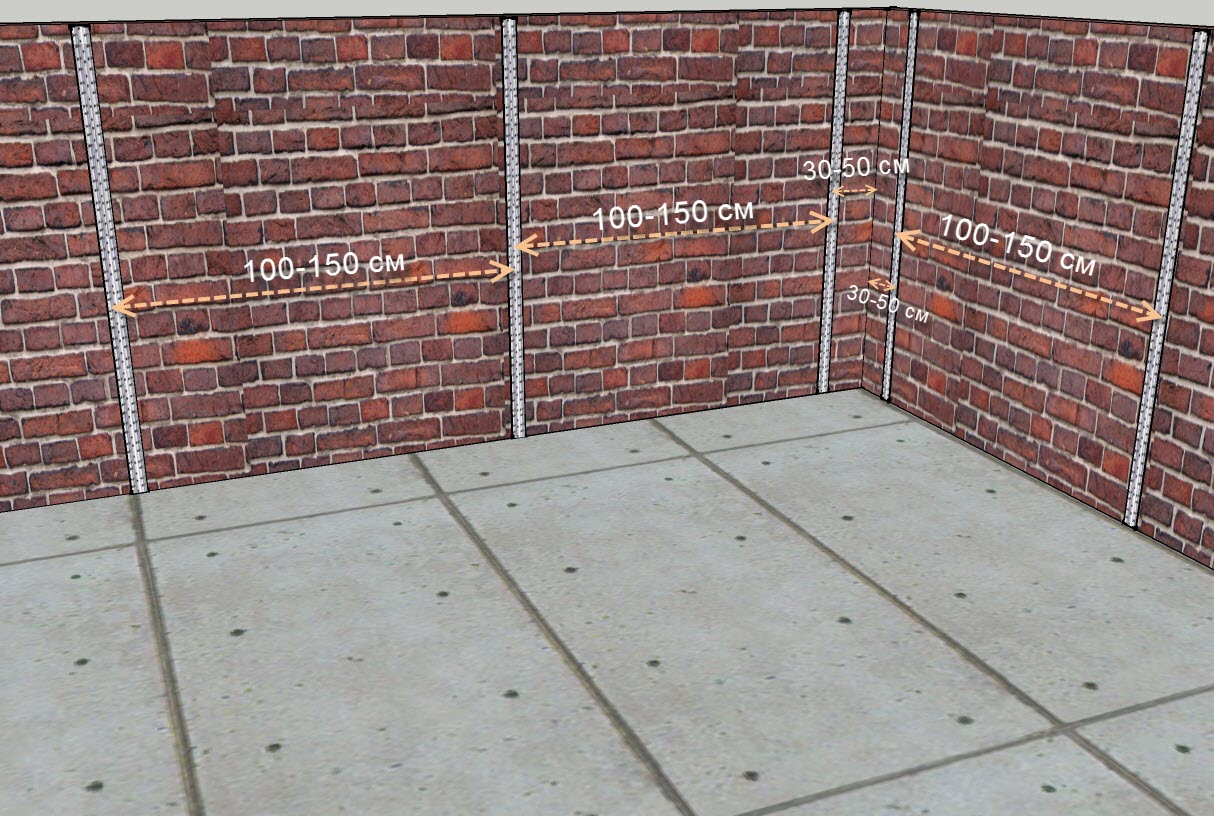
First, fix the outer beacons, departing from corners of no more than 30 cm. To do this, it is better to use screws or screws. First, screw the upper and lower, then across the entire profile - at a distance of about 35–40 cm. The guides should hold tight and not move anywhere. Then, between the outermost beacons, ropes or fishing line are drawn from above, below and in the middle. Focusing on the ropes, fasten the following profiles at a distance shorter than the rule that will stretch the plaster solution. It is more convenient to move from the doorway, if it is on this wall.
The verticality of the guides is constantly adjusted by the level, thereby adjusting the twist depth of the hardware. For this purpose, you can also use a plumb, lowered from the top screws.
Then the ropes are removed, the surface is once again cleaned of dust and proceed to plastering. Sometimes in the role of beacons are curbs made of the same plaster mixture that will be used in the future. But to get a quality result, time with this method will take much more, especially for an inexperienced worker.
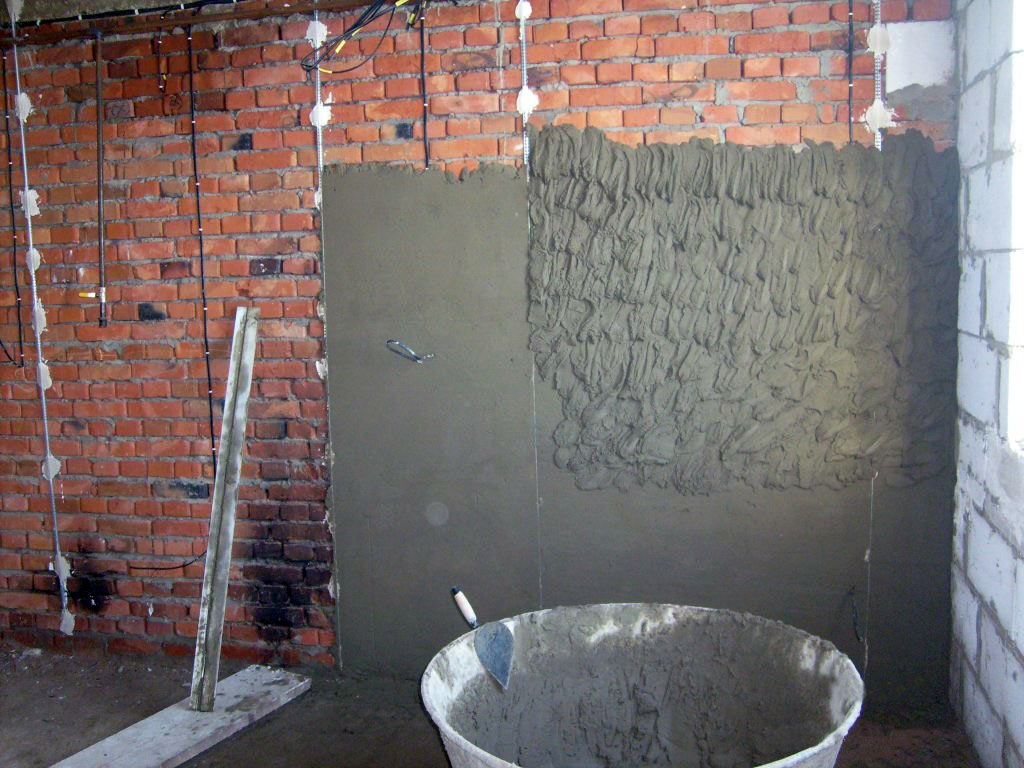
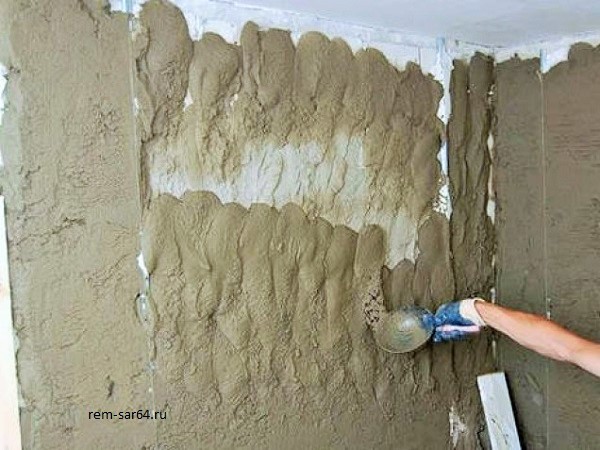
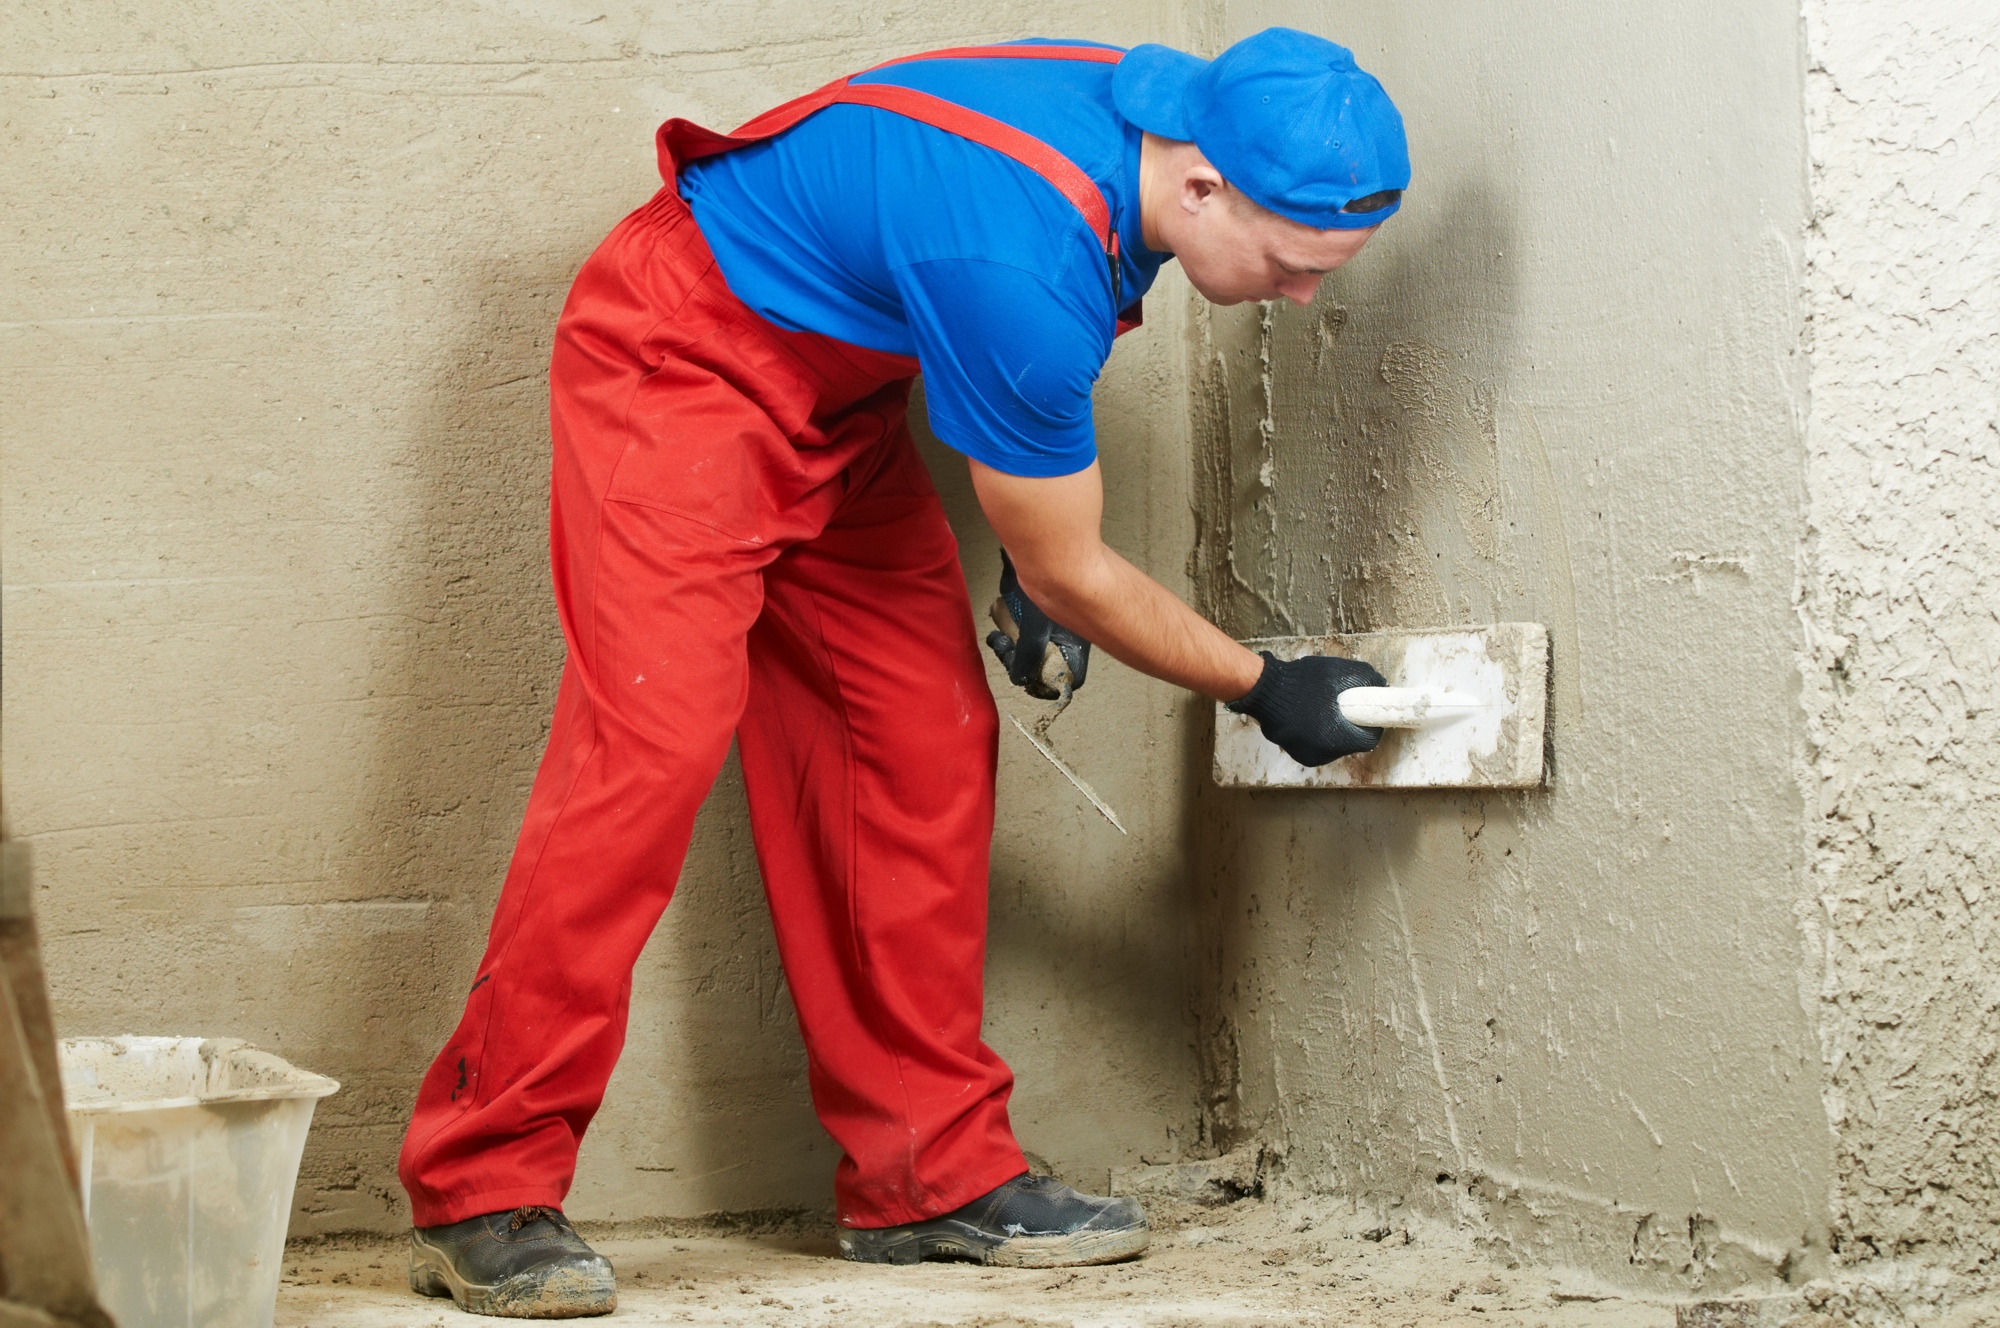
- Plastering. Plaster mortar is prepared in accordance with the recipe on the package. The dry mixture is diluted with water in the recommended proportion, mixed with a construction mixer. Then the mixture is settled for a while and stirred again until a homogeneous state. Prepared plaster with a spatula throw on the wall, starting from the bottom and moving up. It should turn out to be a rather dense layer, not covering the beacons. He is not equal, because it is the basis.

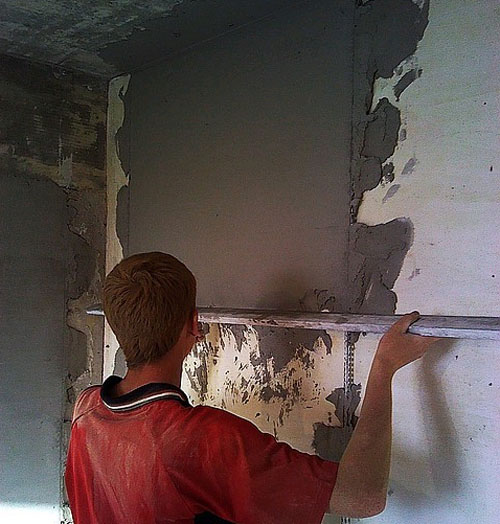
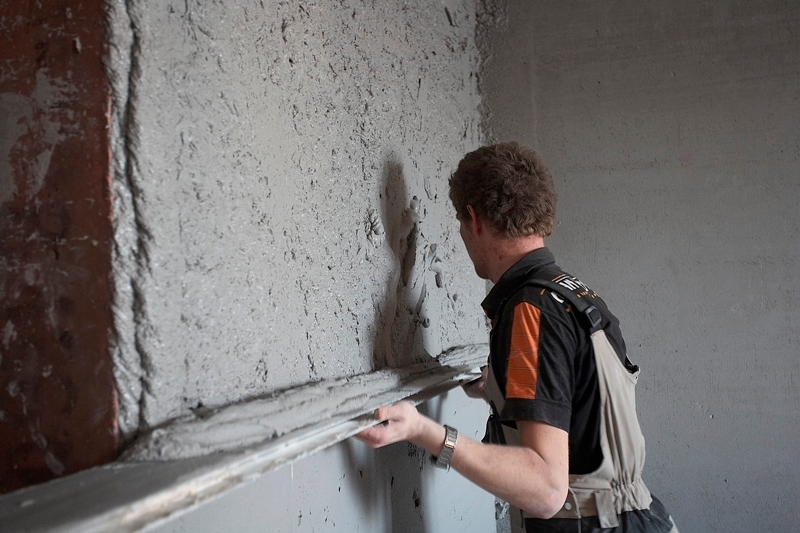
When the first layer dries, the surface is moistened and the process repeats, but after closing the strip with plaster, you need to follow the rule on it. The tool is applied perpendicular to the surface just above the lower edges of the beacons. The rule is to be conducted from the bottom up, gently pressing, but not too hard, so as not to bring the plaster. The excess mixture from the tool is removed with a spatula and applied back to the wall. The surface is smoothed by the rule until the mixture ceases to be captured and collected.
Then all the other lanes pass in stages. It is important to note that when using gypsum plaster, the mixture for each stage is prepared in the required quantity, you need to calculate accurately, since the remaining quickly hardens and becomes unsuitable for work.Now the layer of plaster must lie flush with the lighthouses. Having waited for full drying, guides need to be removed. This is especially true of metal profiles, as if they are left in plaster, rust may later appear, which will spoil the exterior decorative coating.

The grooves formed after removing the poles are filled with a plaster mixture of the same composition, and everything is compared to a single plane using the rule.
Gaps remaining near the floor, ceiling and other walls are also filled with plaster. For leveling and smoothing the mixture in the corners apply an angular spatula. If necessary, you can put a third layer, which is usually not thicker than 2 mm. Align the window and door openings, as well as the slopes with plaster, in the same way using guides on both sides of the surface or, if the opening is not wide, one profile in the middle will be enough.
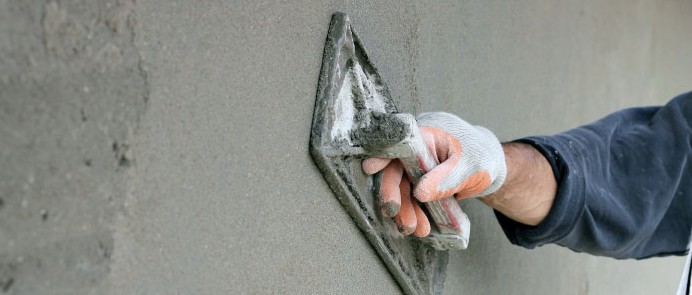
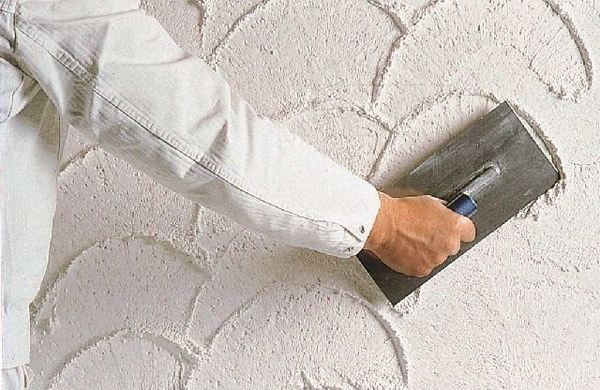
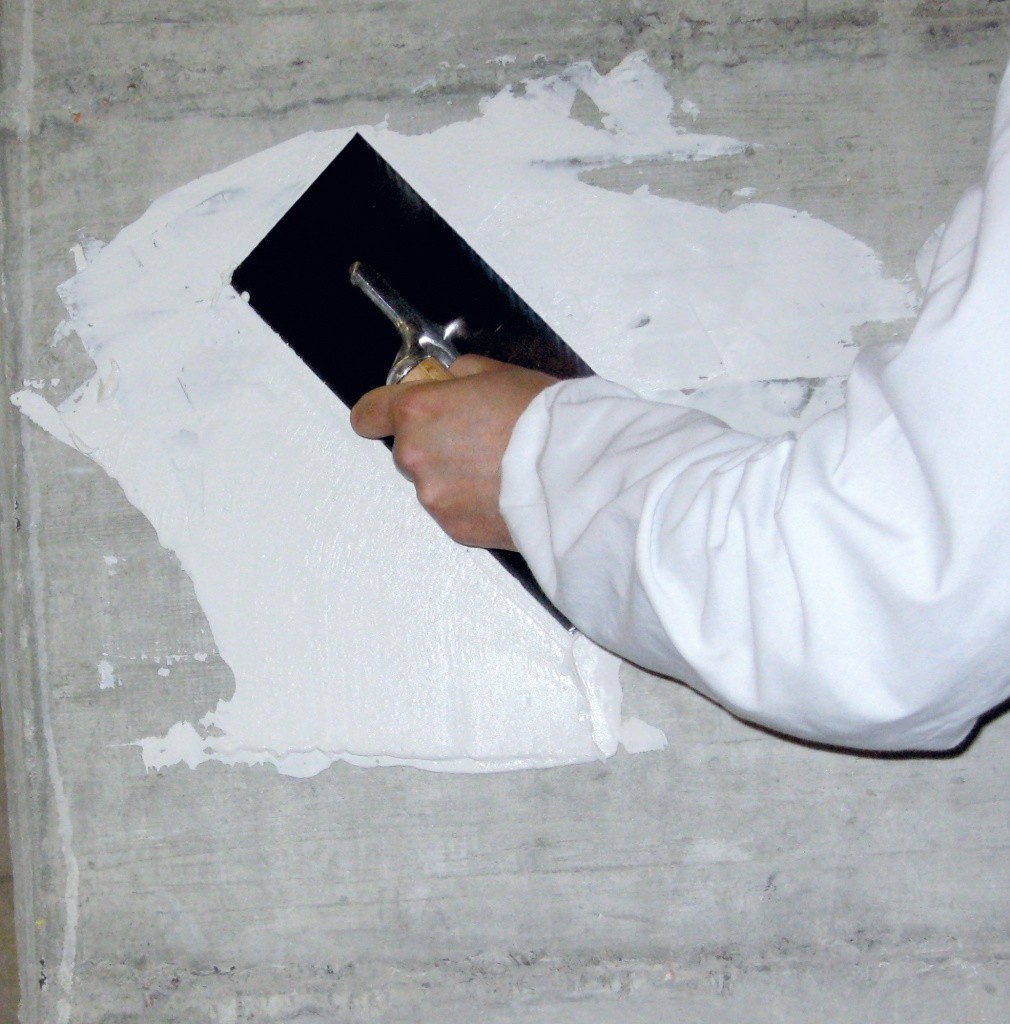
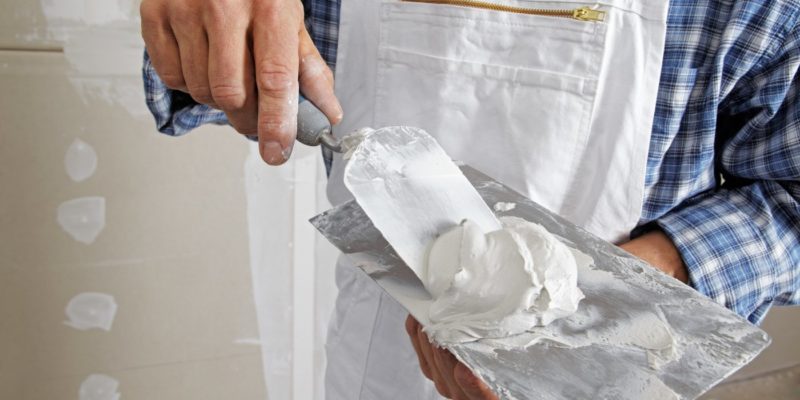
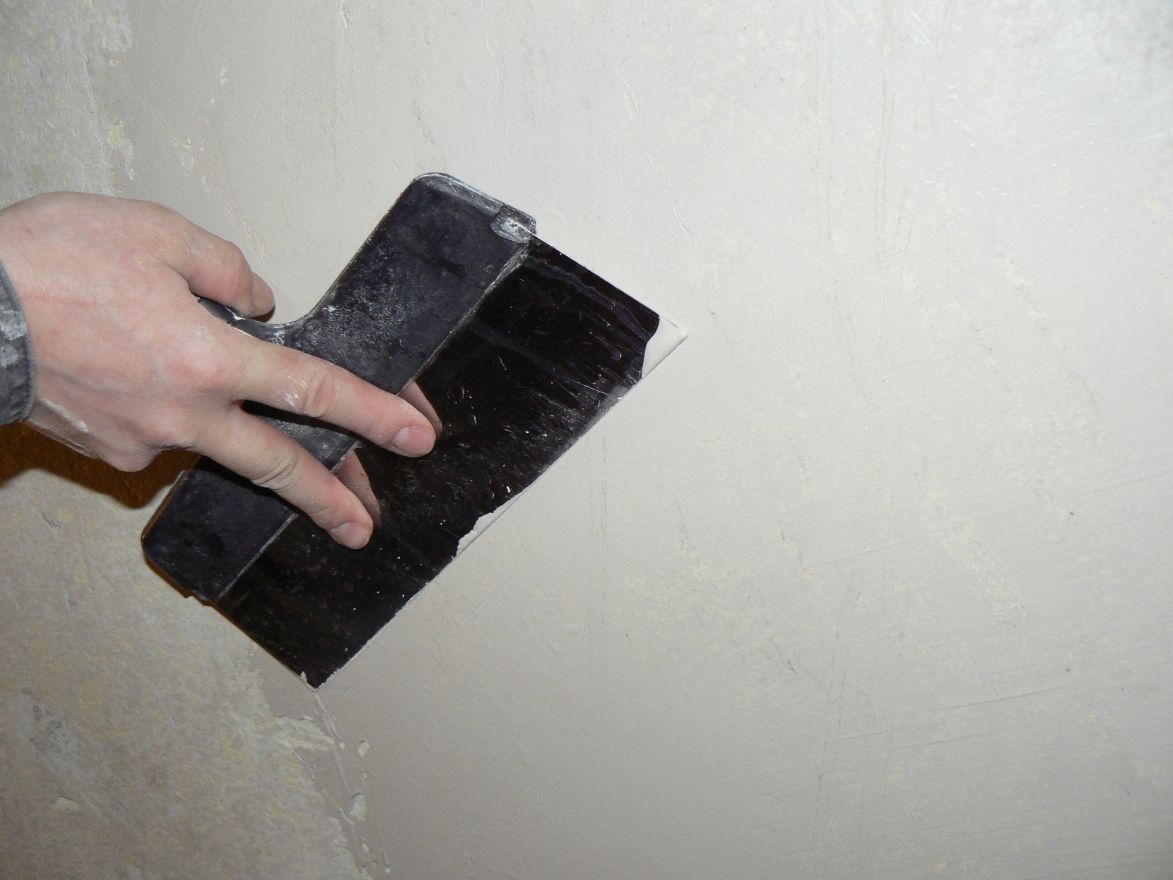
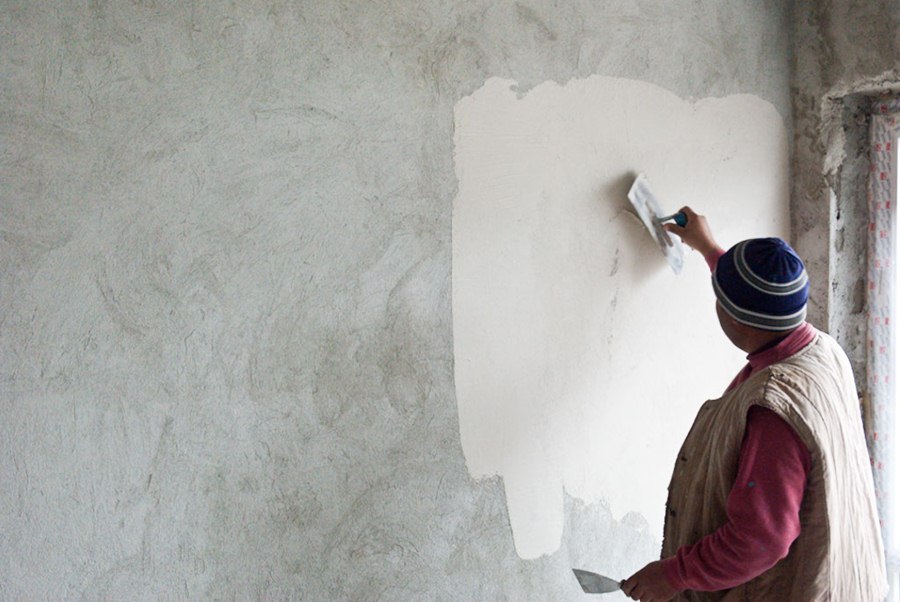
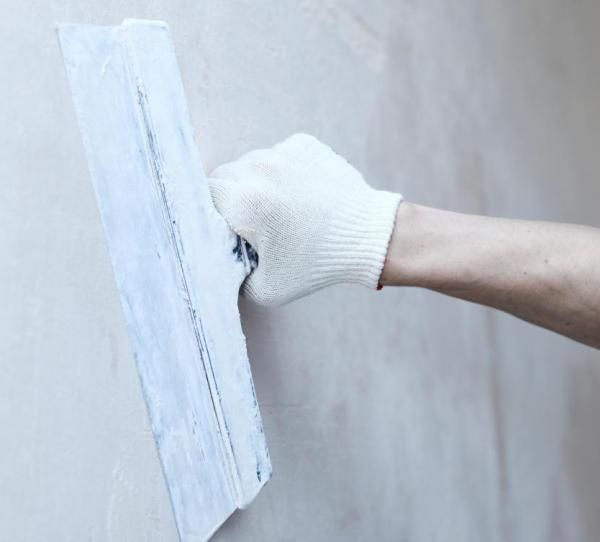
- Finishing. When the wall is completely dry, the plastered surface is moistened again and finally smoothed using a trowel or a special equalizer. To strengthen the plaster layer, the surface is primed with a finishing compound.


In order to objectively assess the result of your work, you can compare it with the requirements of SNIP 3.04.01-87 "Insulating and finishing coatings", namely:
- the deviation from the vertical should not be more than 1-3 mm per 1 m;
- for the entire height of the wall the maximum deviation should not exceed 5–15 mm;
- on 4 m² of area - no more than 2-3 irregularities with a depth of no more than 2–5 mm.
Tips and tricks
It is necessary to adhere to several recommendations of experts when leveling walls with plaster.
- When preparing the solution, it is necessary to take into account that the more liquid stucco adheres better, but it has the effect of run-off, the thick can form a thick layer, but its adhesive properties are worse. Therefore, the proportions of dry mix and water specified in the instructions, it is desirable to comply as closely as possible.
- If the work takes place in wet areas, there will be no unnecessary treatment of the walls before priming with an antifungal solution.
- To make the corners more even, before you start plastering the second wall, you need to wait for the first one to completely dry out.
- If you do everything right with your own hands, following the instructions, the result will be the pleasure of a job well done andrepair will cost much less.
How to align the walls with plaster on the beacon profiles, see the video below.


