Plasterboard wall decoration in a wooden house: installation work
The house of wood due to the unevenness of the walls often needs interior finishing. There are several surface treatment methods. Next will be considered the plasterboard walls in a wooden house, installation work, features and varieties of this material.
Special features
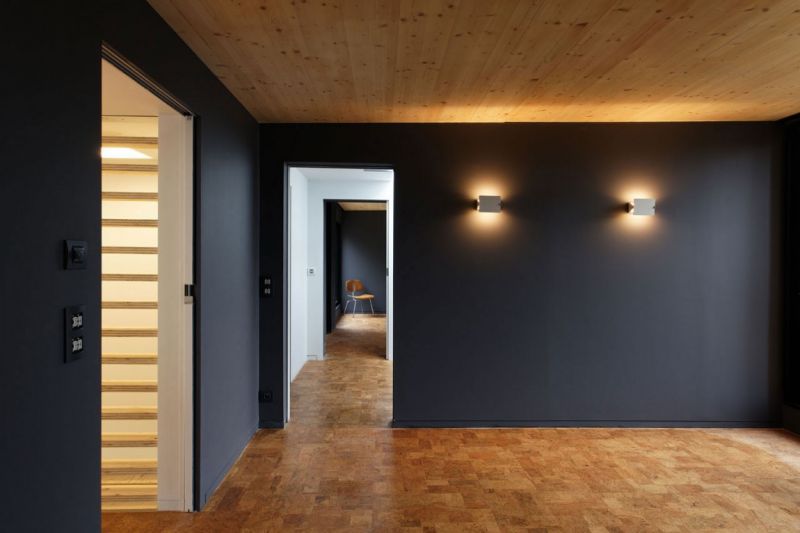
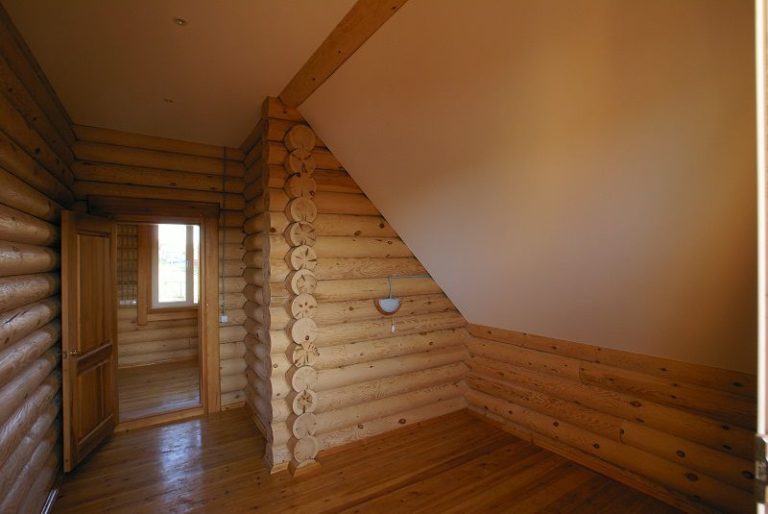
The wooden house is an excellent choice of building material for housing, the cleanest, saturated with oxygen, keeping heat inside, having an aesthetic appearance. But the uneven inner surface of the log walls or timber bar requires alignment. This is done because they want to achieve a more modern interior, to hide electrical wiring and other communications, to paint the rooms in the preferred light, as well as to organize spot lighting.
The walls in a log or log house in any case will have some relief. You can level it in several ways: plaster or sheathe plywood, plastic panels.
Interior plasterboard has its advantages:
- this material is made from gypsum plaster, that is, natural material;
- the sheets are lightweight, easy to cut and fasten to the walls;
- after installation creates a perfect smooth surface that can be putty and paint;
- drywall has a high vapor permeability;
- This material is relatively cheap.

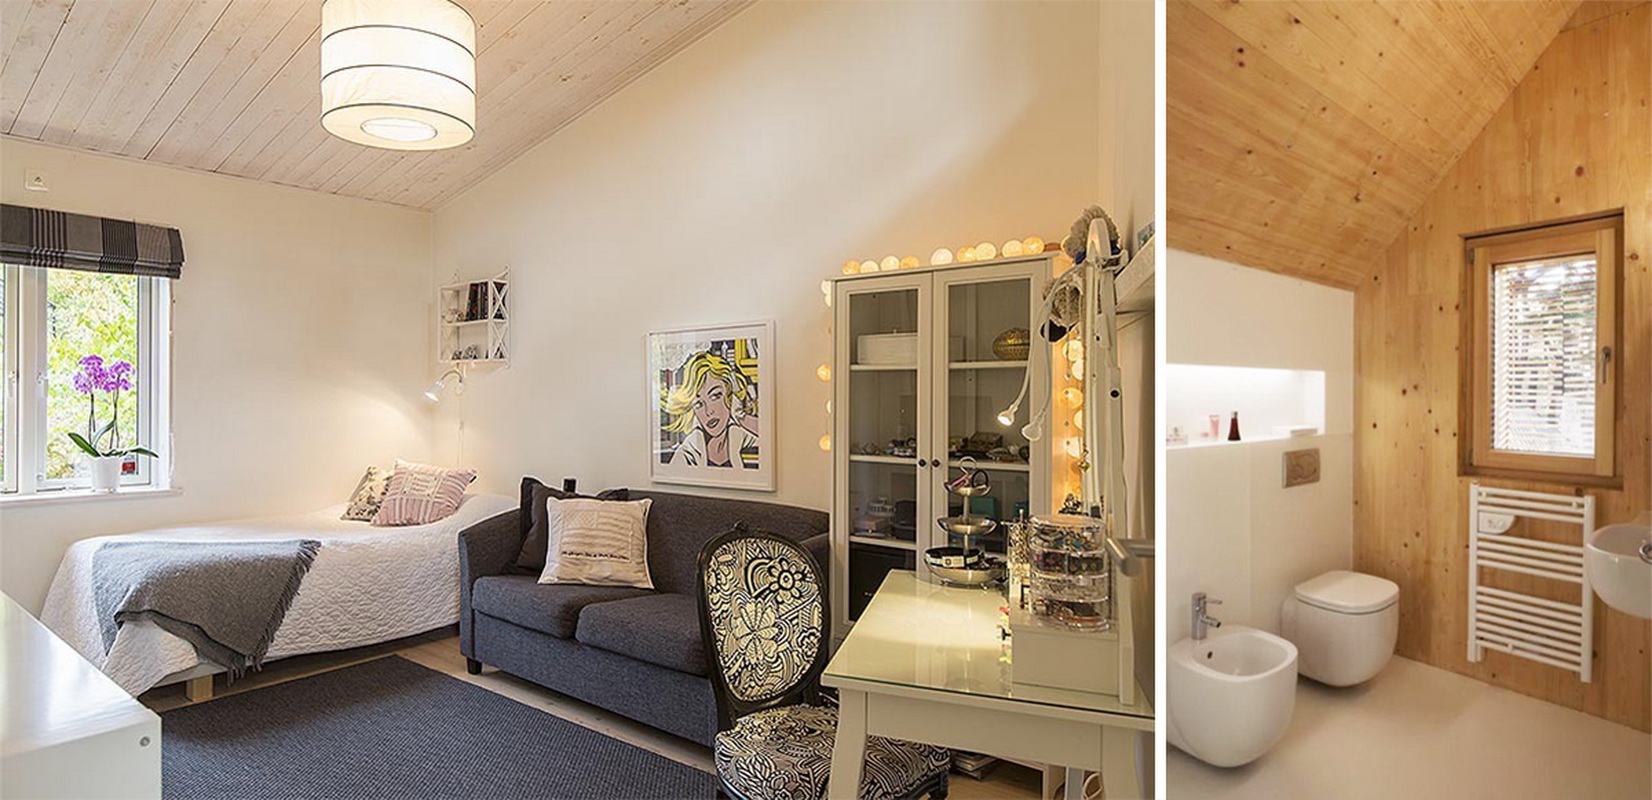
You can decorate the walls with gypsum plasterboard in a rustic house, it will not take much time, and the installation instructions are very simple.
Varieties of material
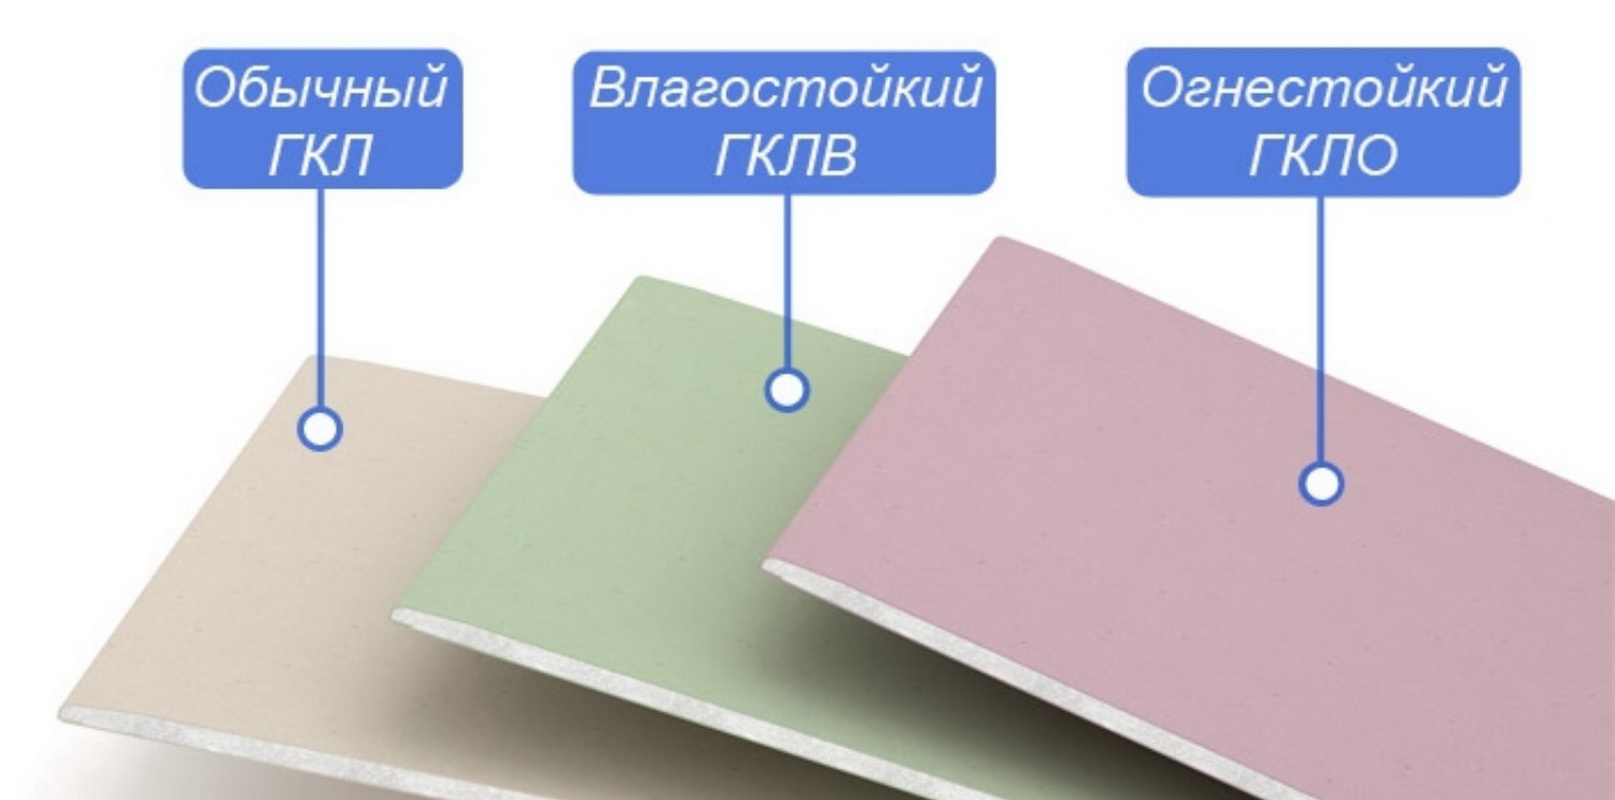
Drywall in its composition and physical properties can be of four types:
- Conventional, used for interior decoration in which humidity does not exceed 70%. His sheets are gray, and the markings are in blue letters.
- Moisture resistant can be used in rooms with high humidity due to special antifungal ingredients. It has green sheets and blue markings.
- Fire-resistant - for a country house, especially with stove heating, the most reliable option. It is composed of reinforcing additives, so he is not afraid of even open fire. The color of the sheets is pinkish, marked in red letters.
- Fire resistant and moisture resistant, combining the properties of the last two varieties. His sheets are green with red markings.
By type of edge, plasterboard sheets can be of the following types:
- With a straight edge - intended for the inner layers of the skin.
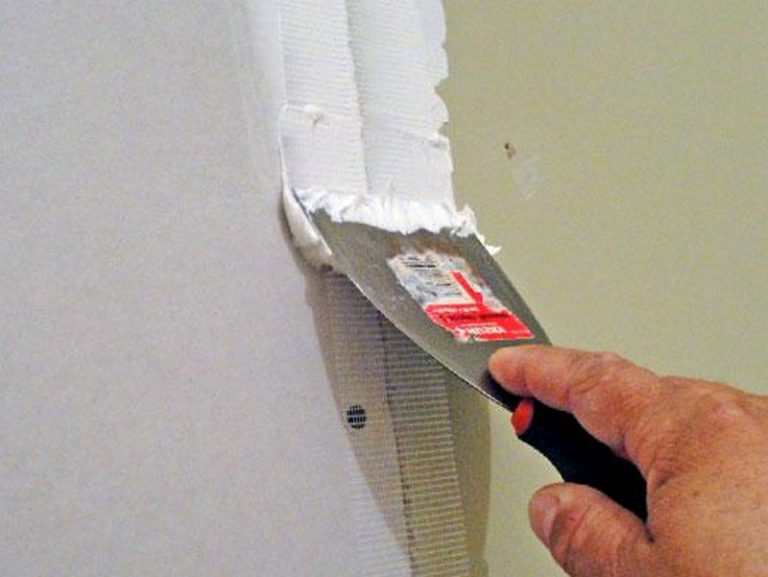
- With a thinned edge - after installation the sheets are glued at the joints with reinforcing tape and puttied.
- With a rounded edge - no reinforcement tape is required for the joints, the surface is immediately puttied.

The width of a standard gypsum board is 1200 mm, the length can be 2500 or 3000 mm. Other types of length are less common, although they are easier to attach to the profile without cutting. The thickness of the drywall can be 6, 9.5 and 12.5 mm.
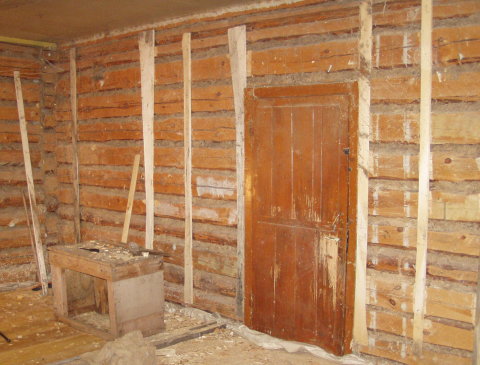
Surface preparation
Before mounting the frame and installing the plasterboard sheets, it is necessary to prepare the very surface of the walls in the wooden house. Logs, boards or boards should be treated with a deep penetration primer.Take a special composition for wood, which protects against fungi, mildew and rot. Old walls must be pre-cleaned of dust and dirt. After that, the irregularities of the walls are measured, and depending on them, the thickness of the future frame is selected. At this stage, it is best to prepare in advance the necessary amount of thermal and waterproofing material.

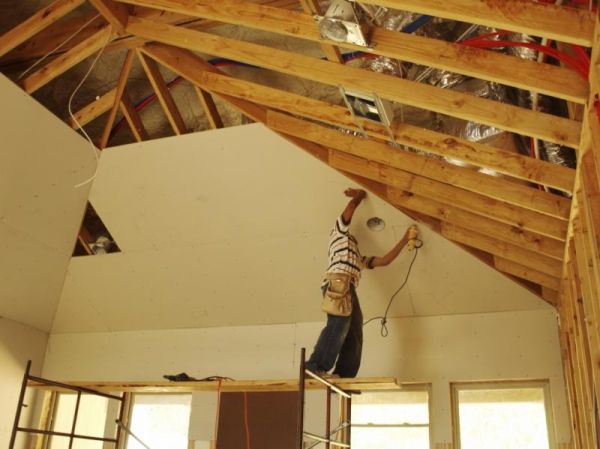
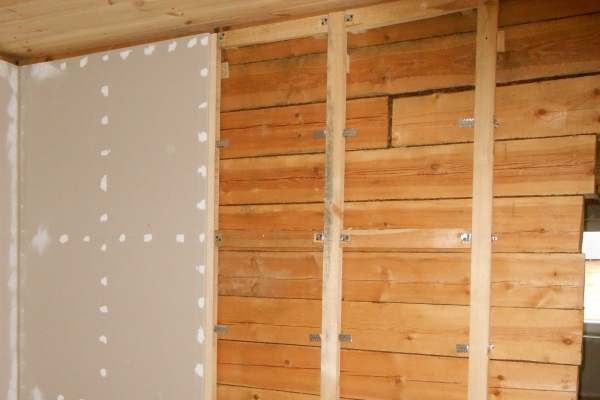
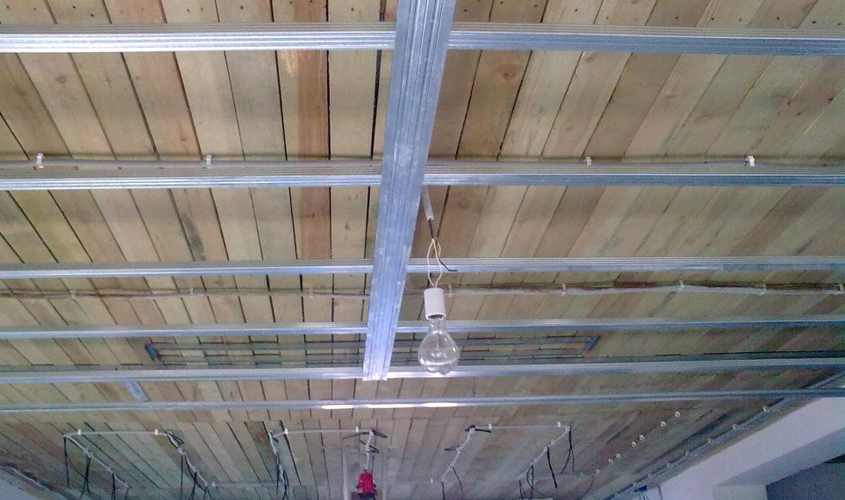
Frame construction
Under the wall of plasterboard, you can mount a frame of wooden beams or metal profiles. A smoothly installed crate, without drops and with a vertical level, is the most important stage of such finishing. After installation of the frame, it remains only to lay it with insulation, conduct internal wiring and sheathe plasterboard.
From wood
The wood frame with your own hands for installing gypsum sheets is good because it is an affordable material that is easy to cut, has environmental friendliness, heat and sound insulation. For crates are selected even strong bars with a thickness depending on the level difference of the vertical wall. The most commonly used slats are 30x30, 30x40, 40x40 or 50x50 mm. You can cut the necessary pieces with a saw or a hacksaw.
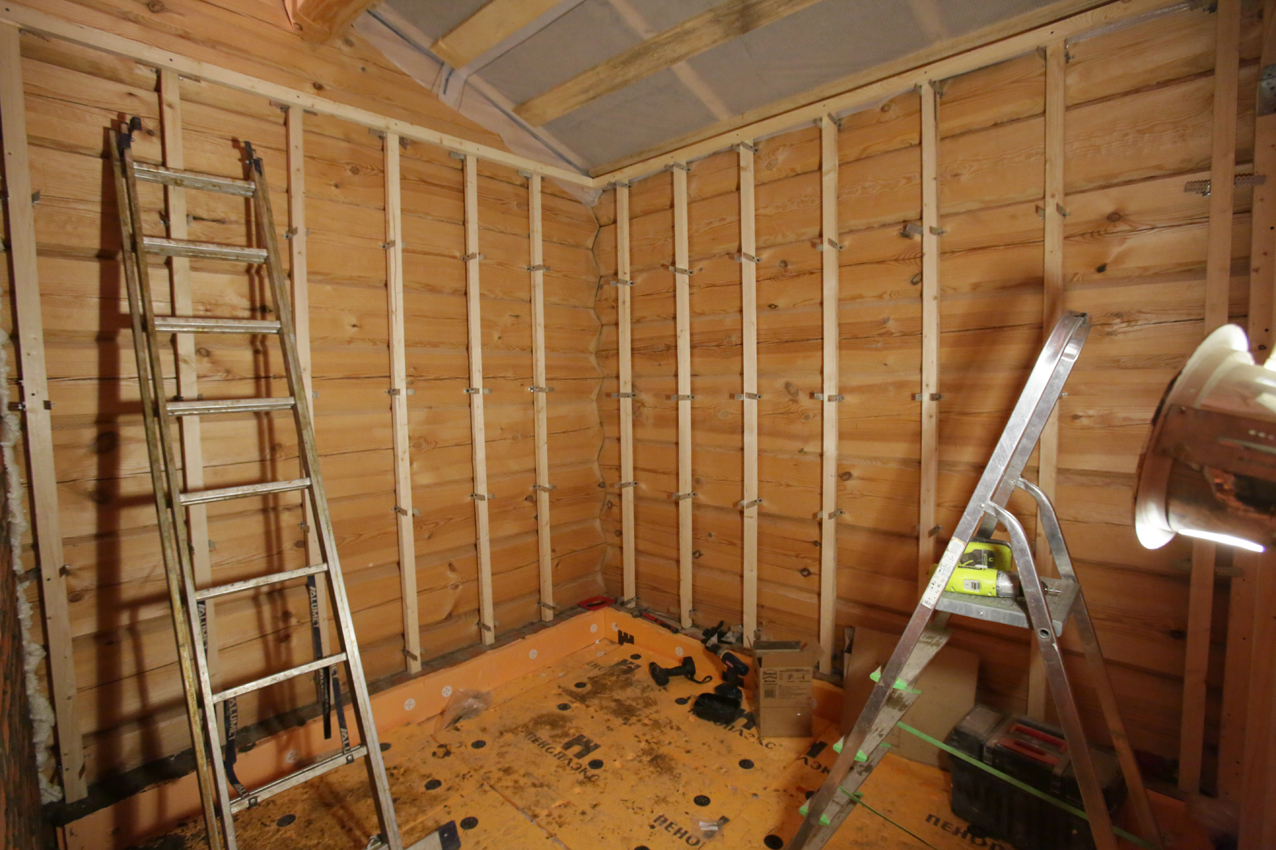
Horizontal guides are made along the ceiling and the floor along the entire length of the wall. Attaching them to a wooden wall is best anchors or screws on wood 50-100 mm. Then perpendicular to them are attached vertical bars in full height. The distance between them depends on the width of the drywall sheet, it must be installed so that the joints are exactly in the middle of the bar. After installing each rail frame is checked by level.
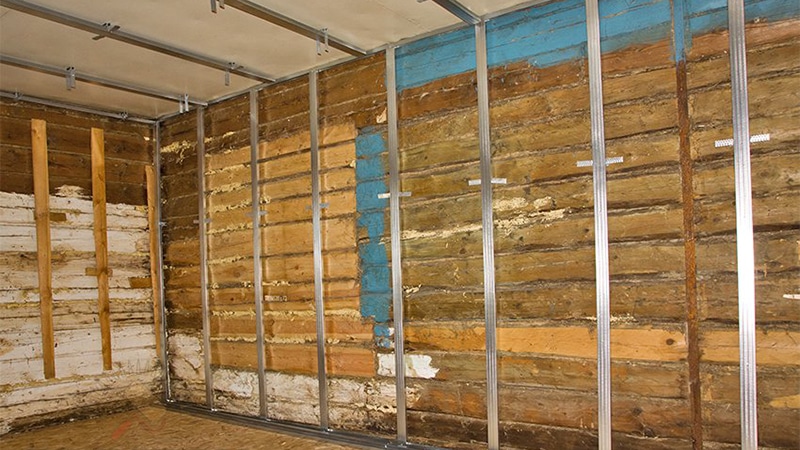
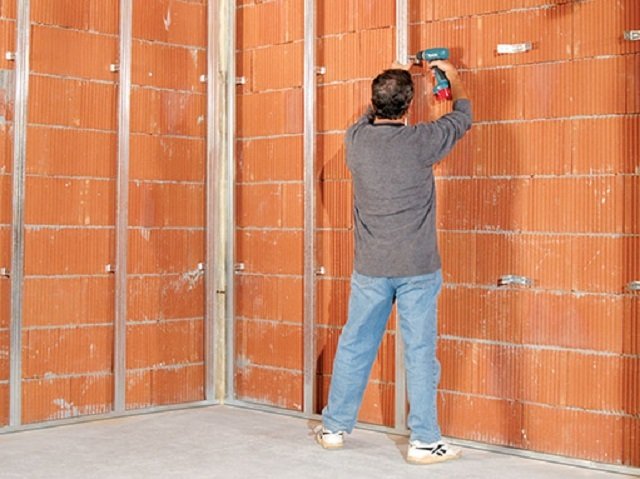
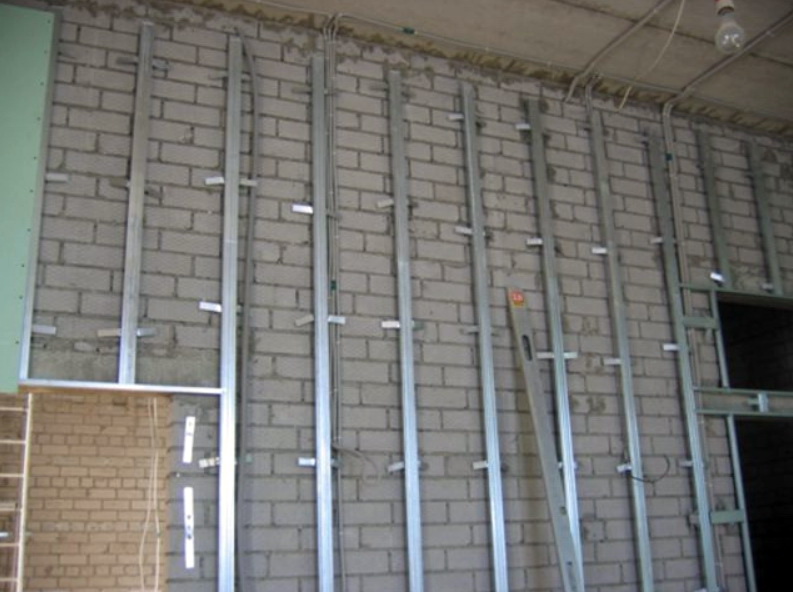
Of metal
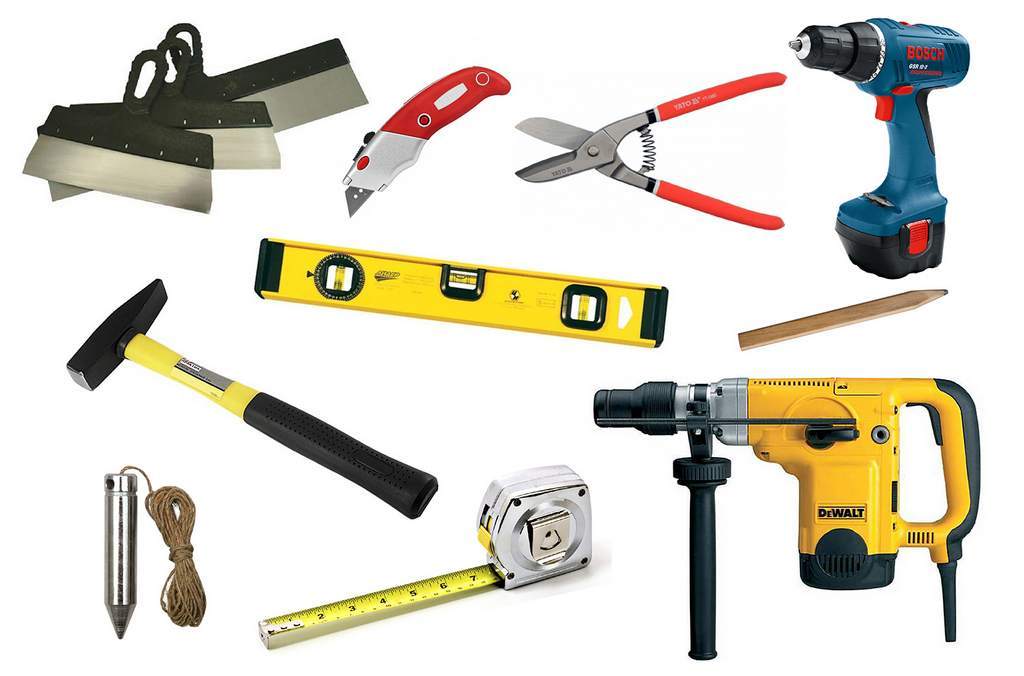
The metal profile for the installation of the frame is good because it is strong enough, easy to cut, bends and attaches to a wooden base. To properly install a solid crate, you need to take 2 of its form: a guide and rack. The first is designated PN, has smooth side walls and serves to support racks and lintels. The sizes can be 28x27, 50x40, 65x40, 75x40 and 100x40 mm.
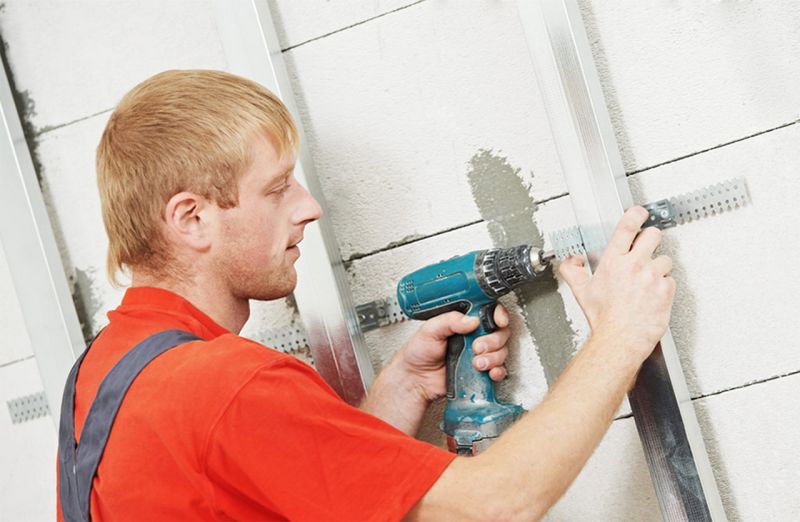
Rack-mount profiles have lateral stiffeners, they take the main load of the future metal frame. The sizes can be 50x50, 65x50, 75x50 and 100x50 mm. As well as guides, these species have a U-shaped structure, are inserted inside. They are denoted by PS.
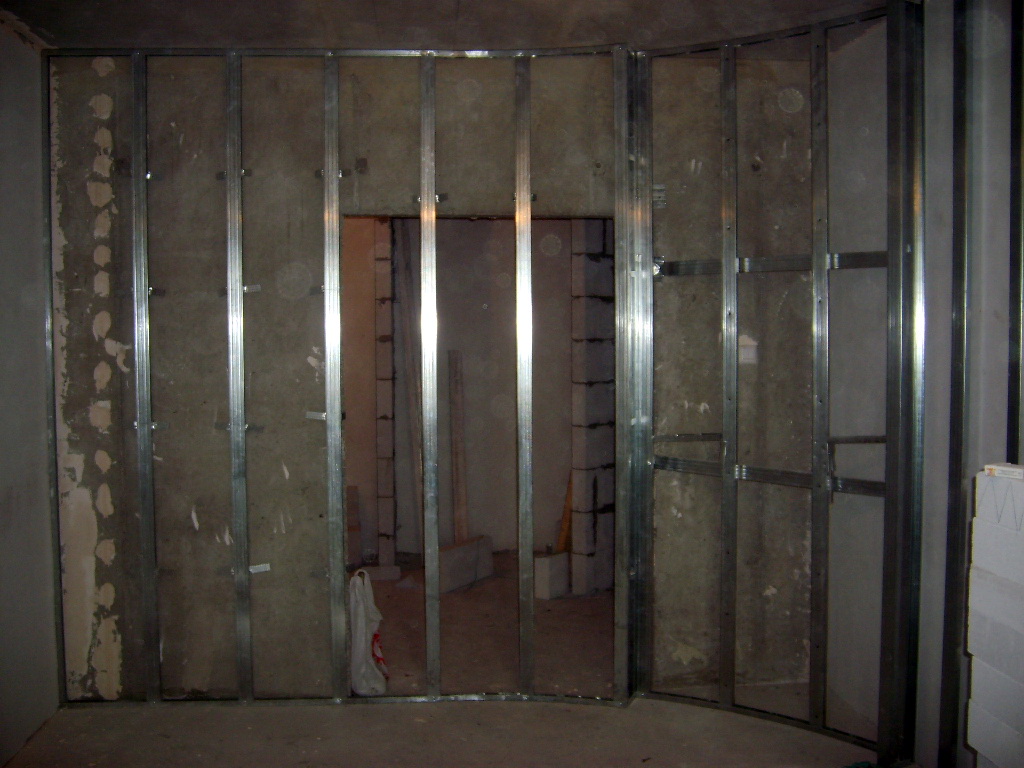
After the required number of profiles is prepared, you need to cut pieces of the required length.This is easily done by the grinder, if it is not, then you can use scissors for metal. To install profiles to the wall, it is best to use a metal crab mount. When bent, it is a P-shaped part with side holes for screwing in the screws. First, these "crabs" are mounted on all vertical marked rows at a distance of 40 - 50 cm from each other. Then they are fastened to the screws for metal rack profiles. After that, horizontal jumpers are attached to the vertical rows, resulting in a rigid lattice-shaped structure.


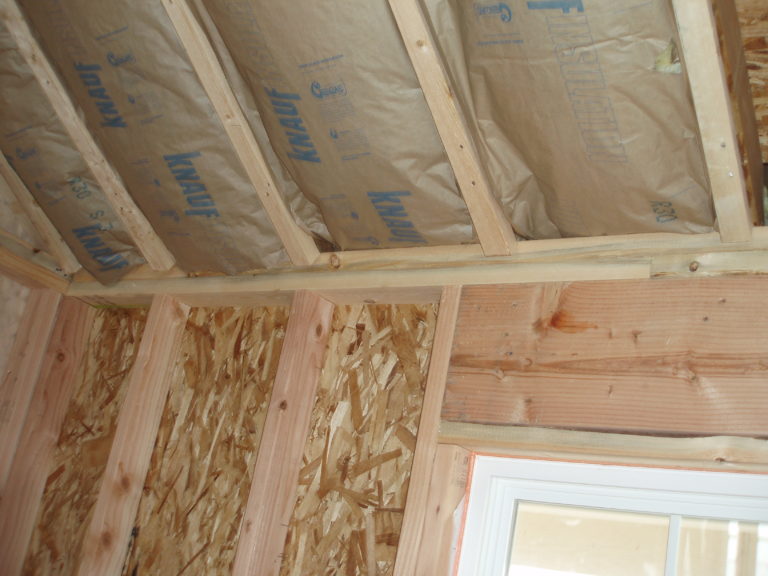
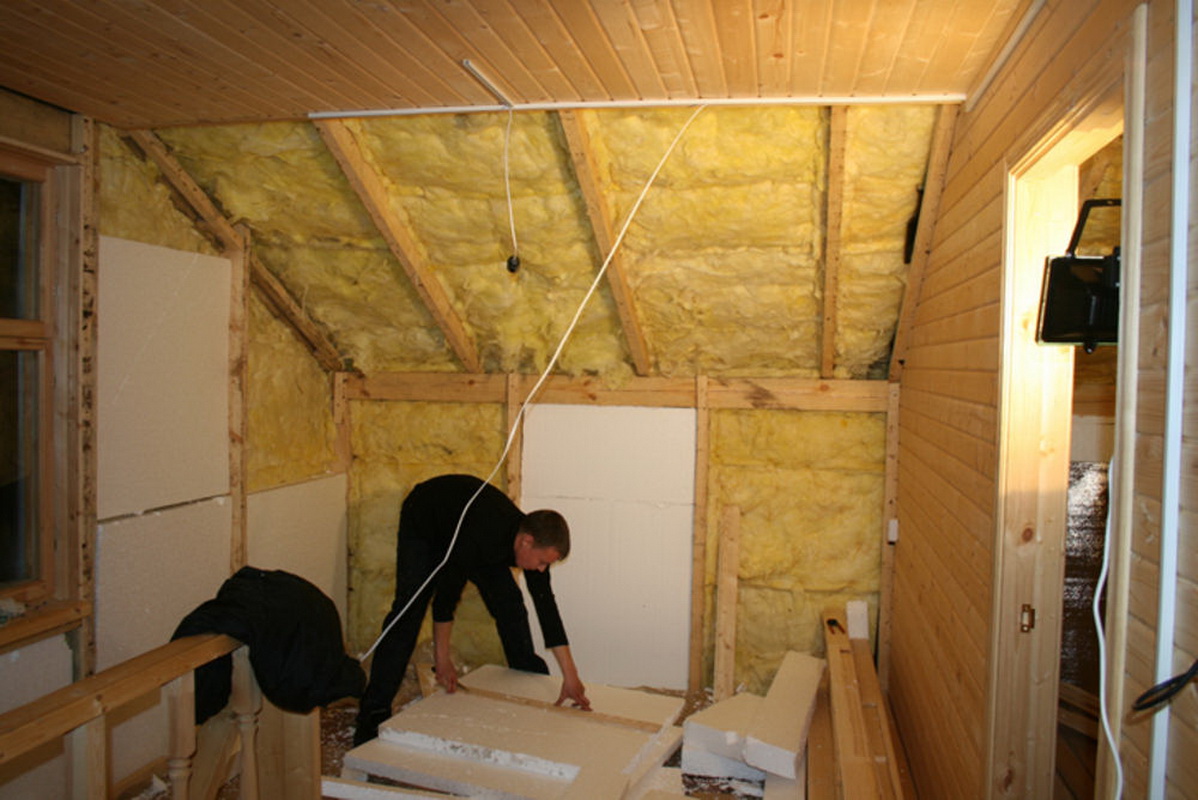
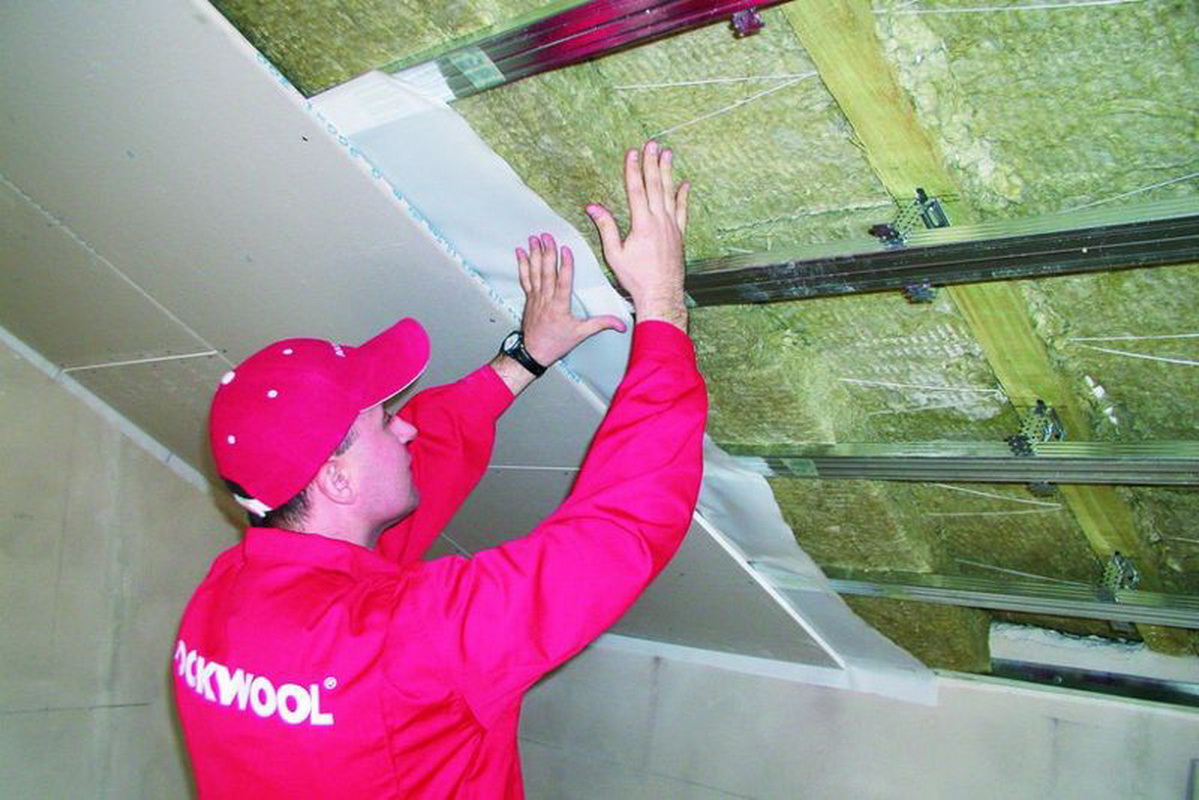
If for some reason the “crab” fastenings are not at hand, then you can use homemade racks made of cut pieces of profiles for the frame, and you can also insert the posts into the grooves of the guides. There are combined options for the construction of crates from wooden bars and metal profiles. In this case, the frame is made for the installation of thermal insulation of wood. Bars of 30x40, 40x40 or 50x50 mm are selected - it all depends on the thickness of the insulating material. When the sheathing of the bars is ready, and the insulation is laid, the counter lattice of metal profiles is mounted on it, on which sheets of gypsum boards are then placed.
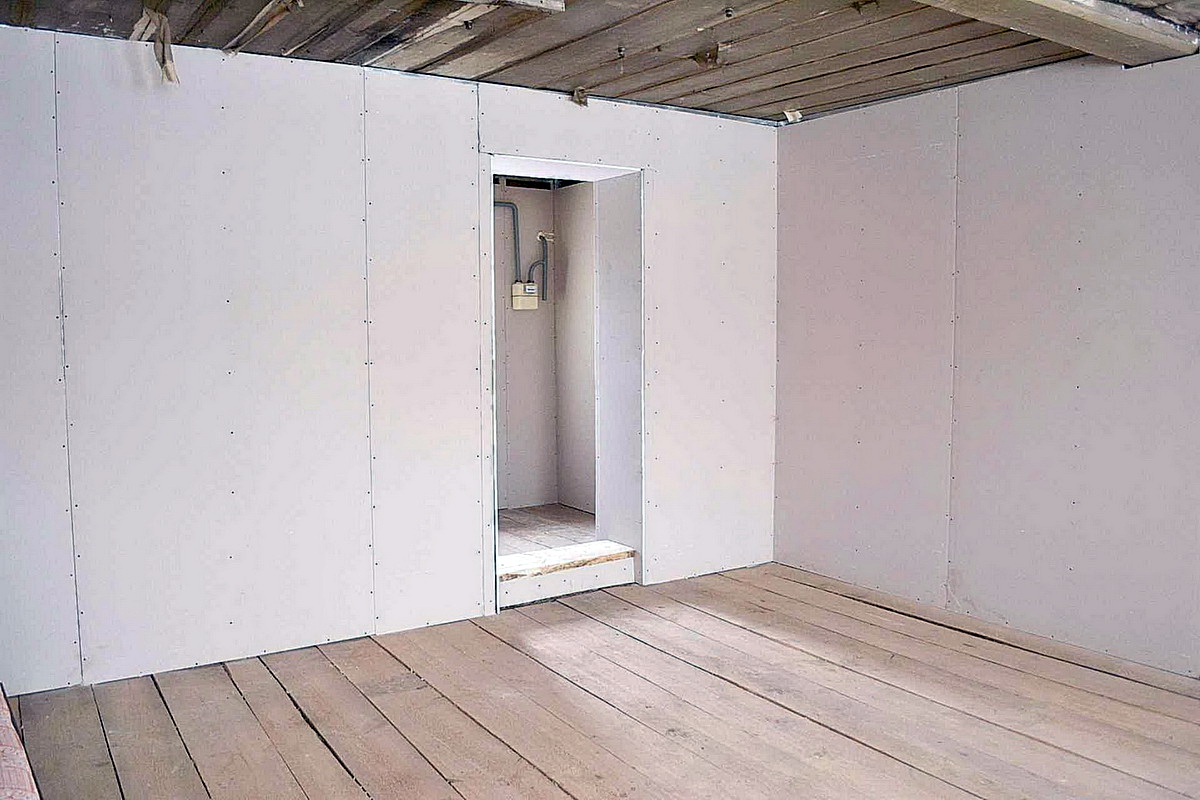
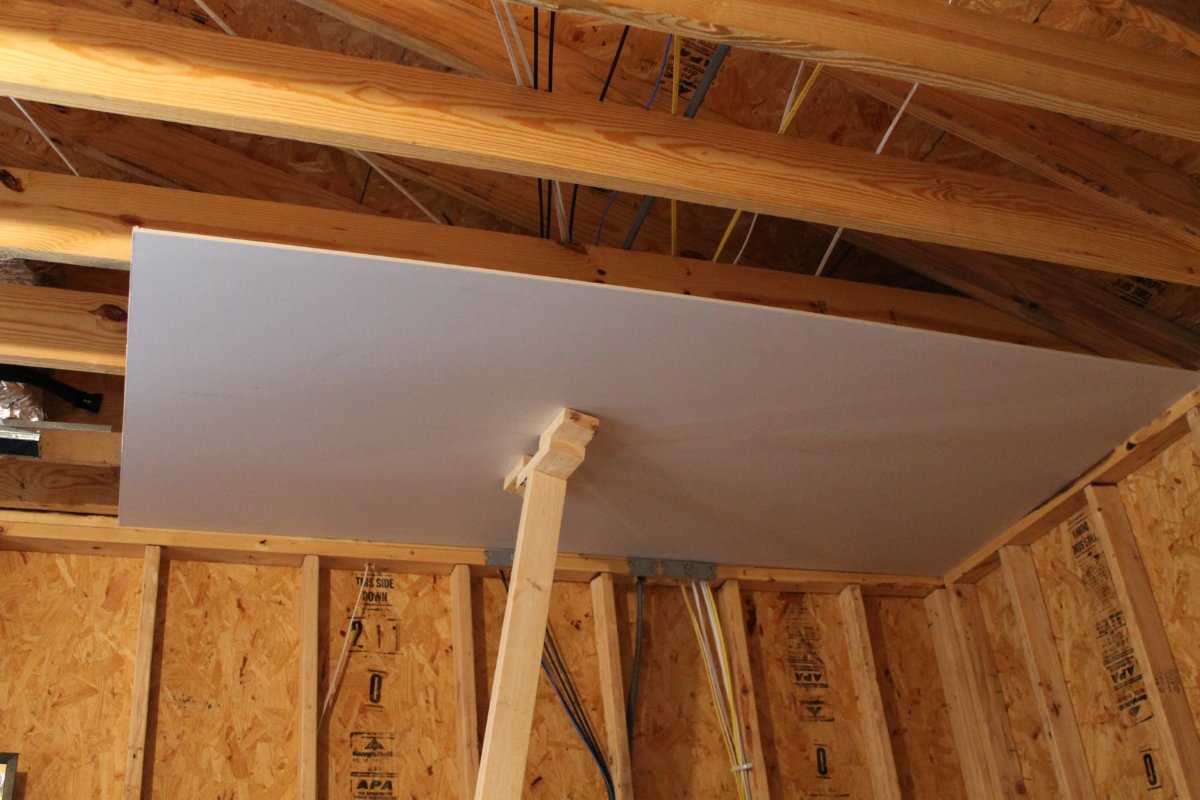
Installation
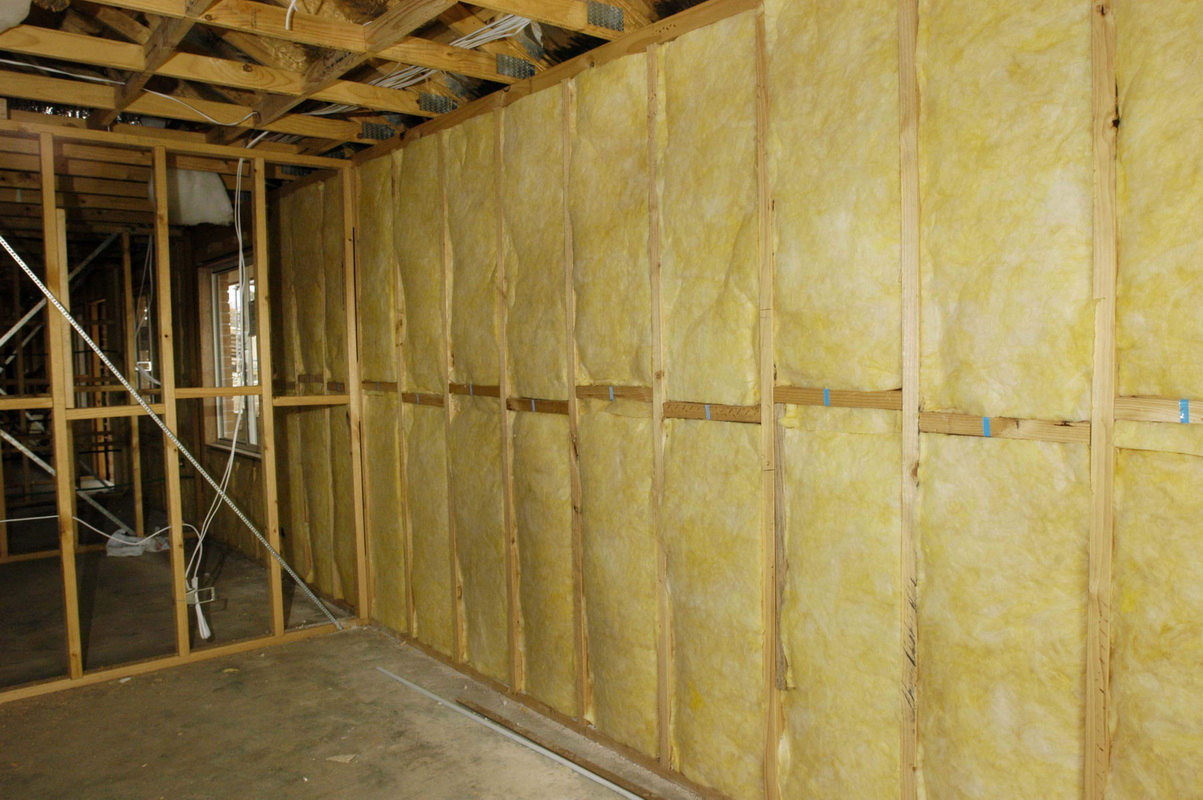
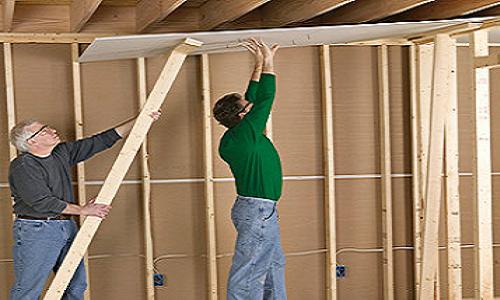
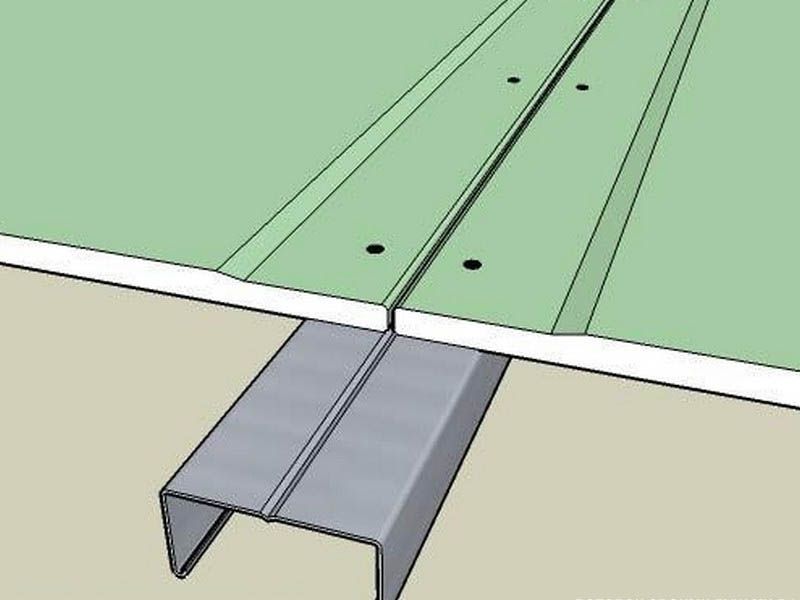
Installation of the drywall occurs in this sequence. Heat insulating materials are mounted on the inside of the sheets. You can use mineral wool, penoplex, polystyrene foam, foam plastic. For waterproofing applied film of penofol or polyethylene. Sheathing material on the frame can be using small screws, specifically designed for metal or drywall. Screws are screwed on profiles at a distance of 30 - 40 cm.
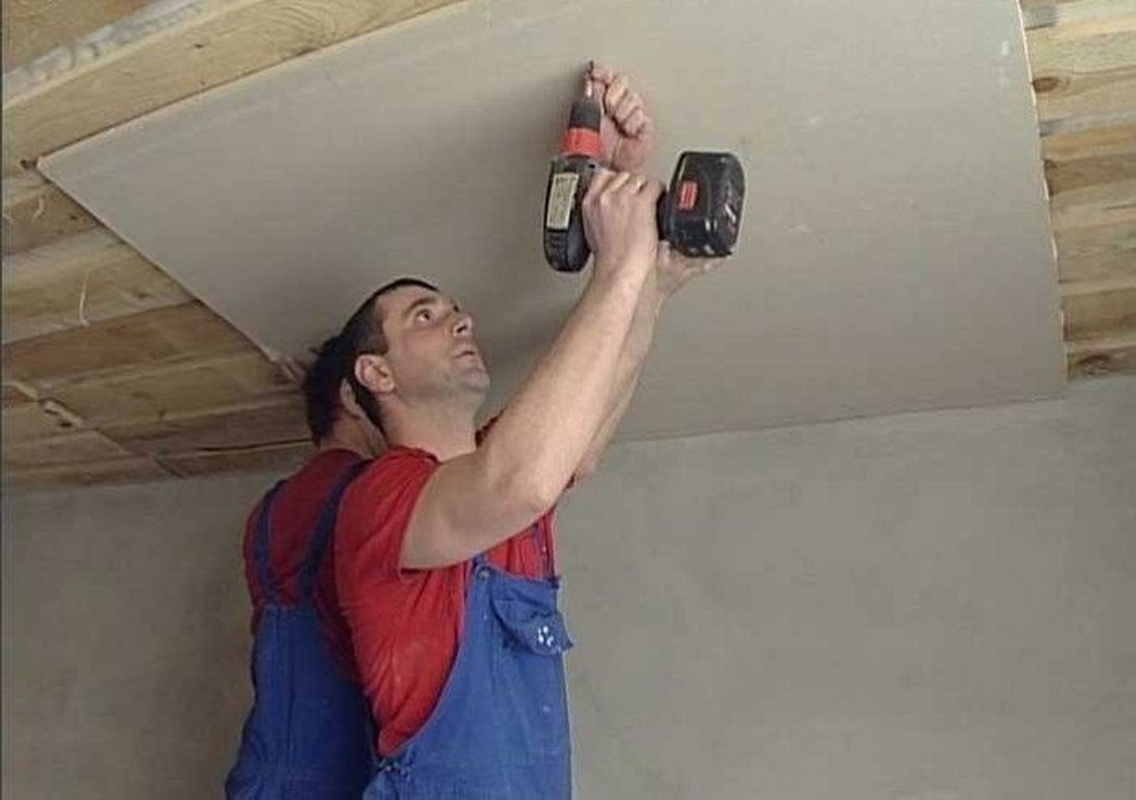

It is better to use solid sheets, so less joints are obtained, therefore, less time and effort is then spent on leveling with putty. But at the same time, the severity increases, it is necessary to constantly hold drywall during installation, therefore, to finish the walls quickly and effectively together.
Frameless method
There is a frameless method of plasterboard finishing in a wooden house. Its advantages are in the absence of the need to make a complex crate of bars or a metal profile, as well as in preserving the maximum useful space in the room, because the thickness between the supporting walls and sheets of gypsum boards will be the smallest.For fixing drywall do not need screws or screws, it comes with glue.
Frameless plasterboard plastering method can be used only if the maximum difference of wooden walls in the house does not exceed 20 mm. It is better to select sheets with a thickness of 9.5 - 12.5 mm. Drywall is fixed on a vertical surface with adhesive based putty.
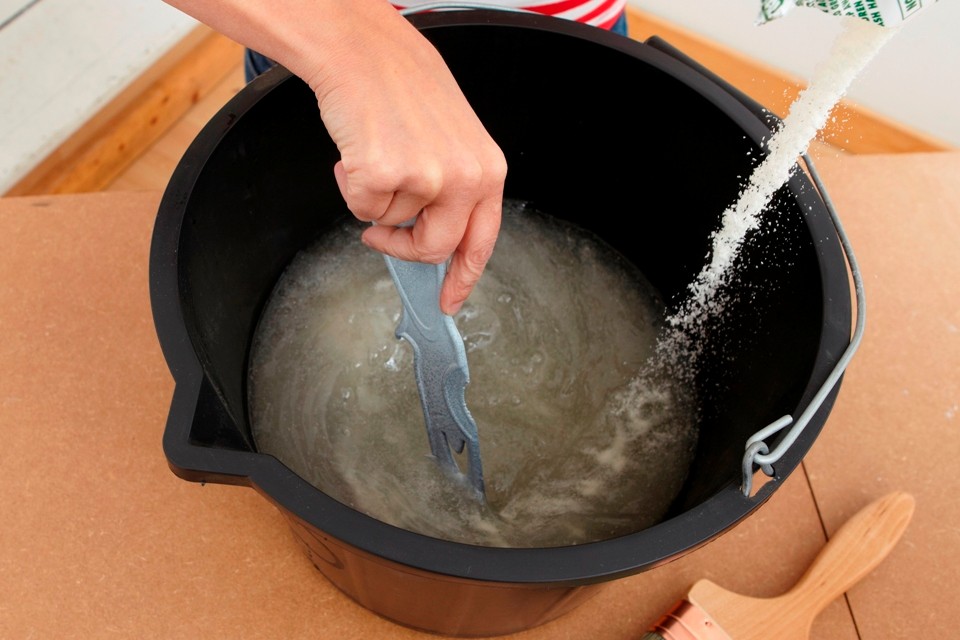
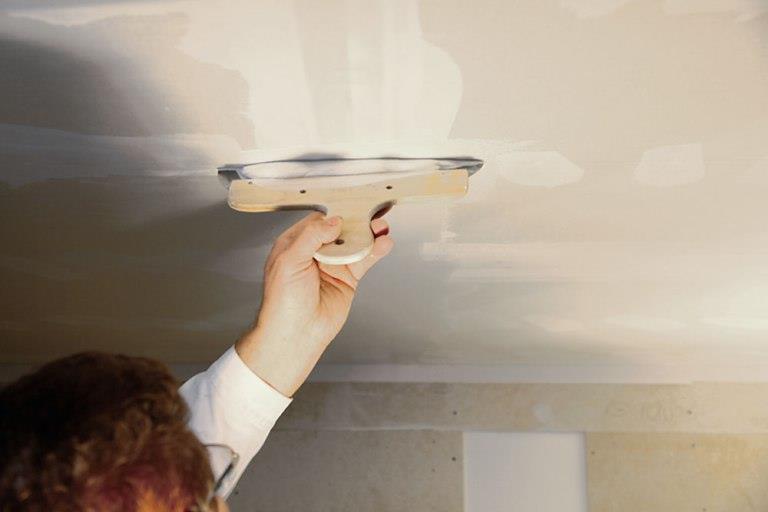
For the preparation of glue using starting putty in the ratio of 13 - 14 kg per 1 liter of water, mix thoroughly with a mixer. Before they are applied to the walls, they should be primed with an acrylic or polymer primer of deep penetration. For better adhesion, you can also prime the plasterboard sheets themselves. Then put glue stains with a width of 130-150 mm onto the walls with a spatula, smooth them and lean the sheet, then level it with a level.
These operations are repeated with the following sheets. It is necessary that the finished adhesive composition does not stand idle for more than 30 minutes, otherwise it thickens and loses its beneficial properties. The joints between the sheets are then coated with a putty and closed with reinforcing tape.
Tips and tricks
For installation, it is better to immediately take care of the availability of the necessary materials and tools.You will need screws on wood and metal - the amount depends on the area of the walls and the type of frame. For cutting and marking you need a tape measure, level, marker, long ruler and paint knife. Wooden rails will require wood hacksaws, and metal profiles of metal shears or grinders. For attachment to the walls and profiles need a drill and screwdriver.

If the mounting method is frameless, then you need to have a container for mixing the glue, mixer, spatula. In any case, a deep penetration primer is required. For joints, a reinforcing tape with a minimum width of 50 mm is needed. Immediately you need to take care of the right amount of putty for further wall decoration.
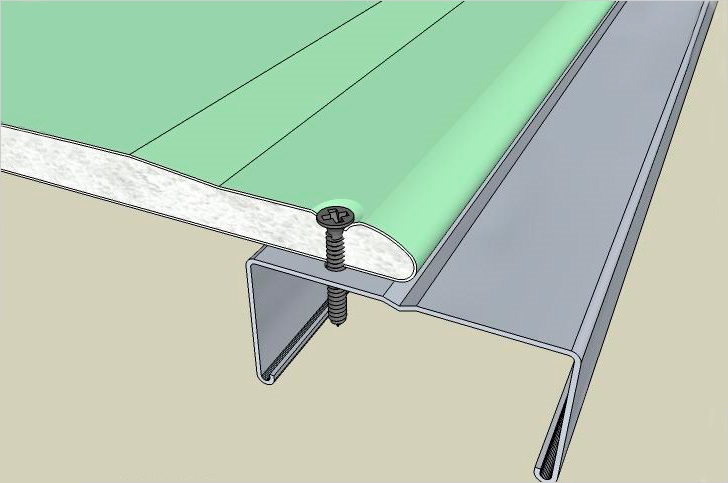
Often when attaching sheets of drywall to the frame, beginners face the fact that they do not see the place under which the profile is located, the screws are screwed into the void. It is therefore necessary to pre-mark on the surface of the gypsum space for tightening screws.
You do not need to tighten the screw too deep into the sheet, if it breaks through the paper layer, the fastening will be ineffective, over time such a base may collapse. It is necessary that the screw head is precisely pressed to the paper, not higher and not deeper than the surface.Therefore, work with a screwdriver should be as careful as possible.
Review of the finishing of a wooden house with drywall, see the following video.
About home decorating plasterboard, see below.


