Wall whitewashing: process features
To date, the market has a huge selection of finishing materials. At the same time the usual whitewashing, used for many years, still does not lose its popularity. There are many good reasons for this. Our article will tell about them, as well as how to whiten the ceiling at home on their own.
Benefits
Whitewashing has a number of undeniable merits.
- Low cost - One of the most important advantages of this type of work. With a limited budget, whitewashing is simply indispensable. That is why for the decoration of walls and ceilings in budgetary organizations (schools, hospitals, etc.) still use lime and chalk whitewash.
- Simplicity. With works on applying whitewash can absolutely everyone.This process does not require special knowledge, skills or special physical strength. It is only important to observe the proportions, stages and technology of work.
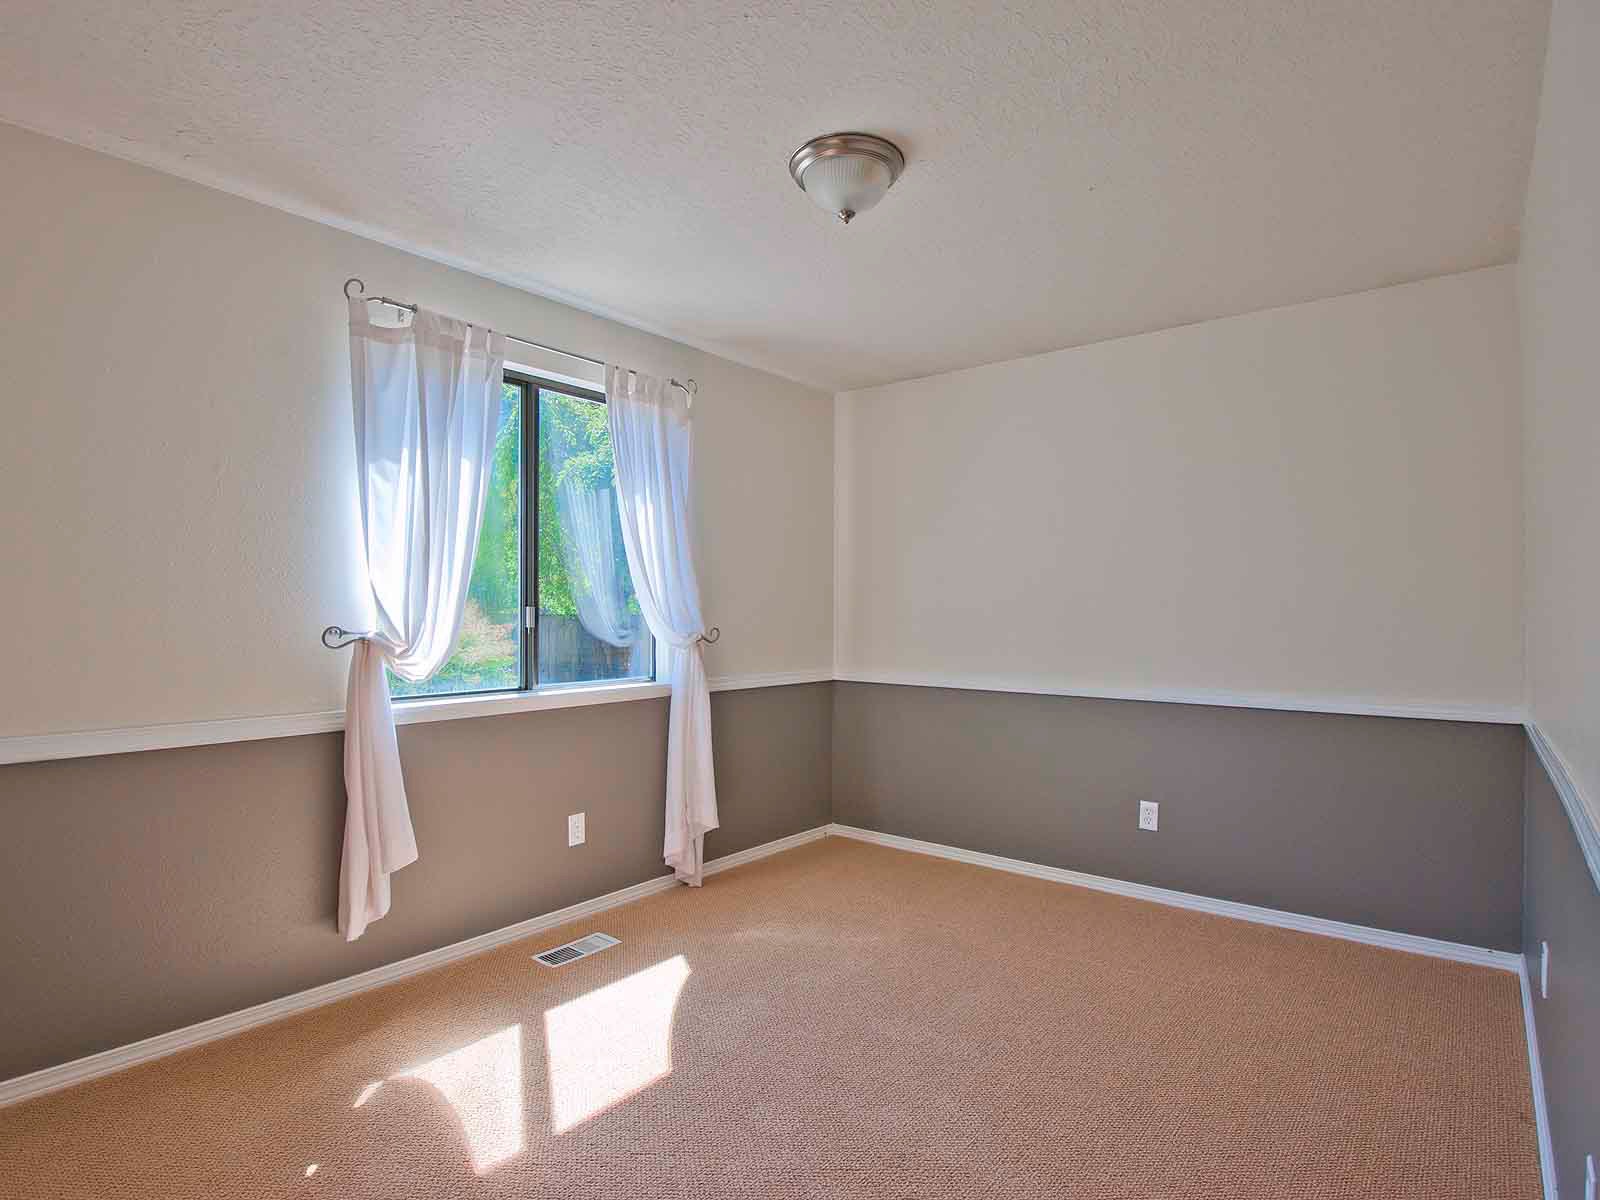
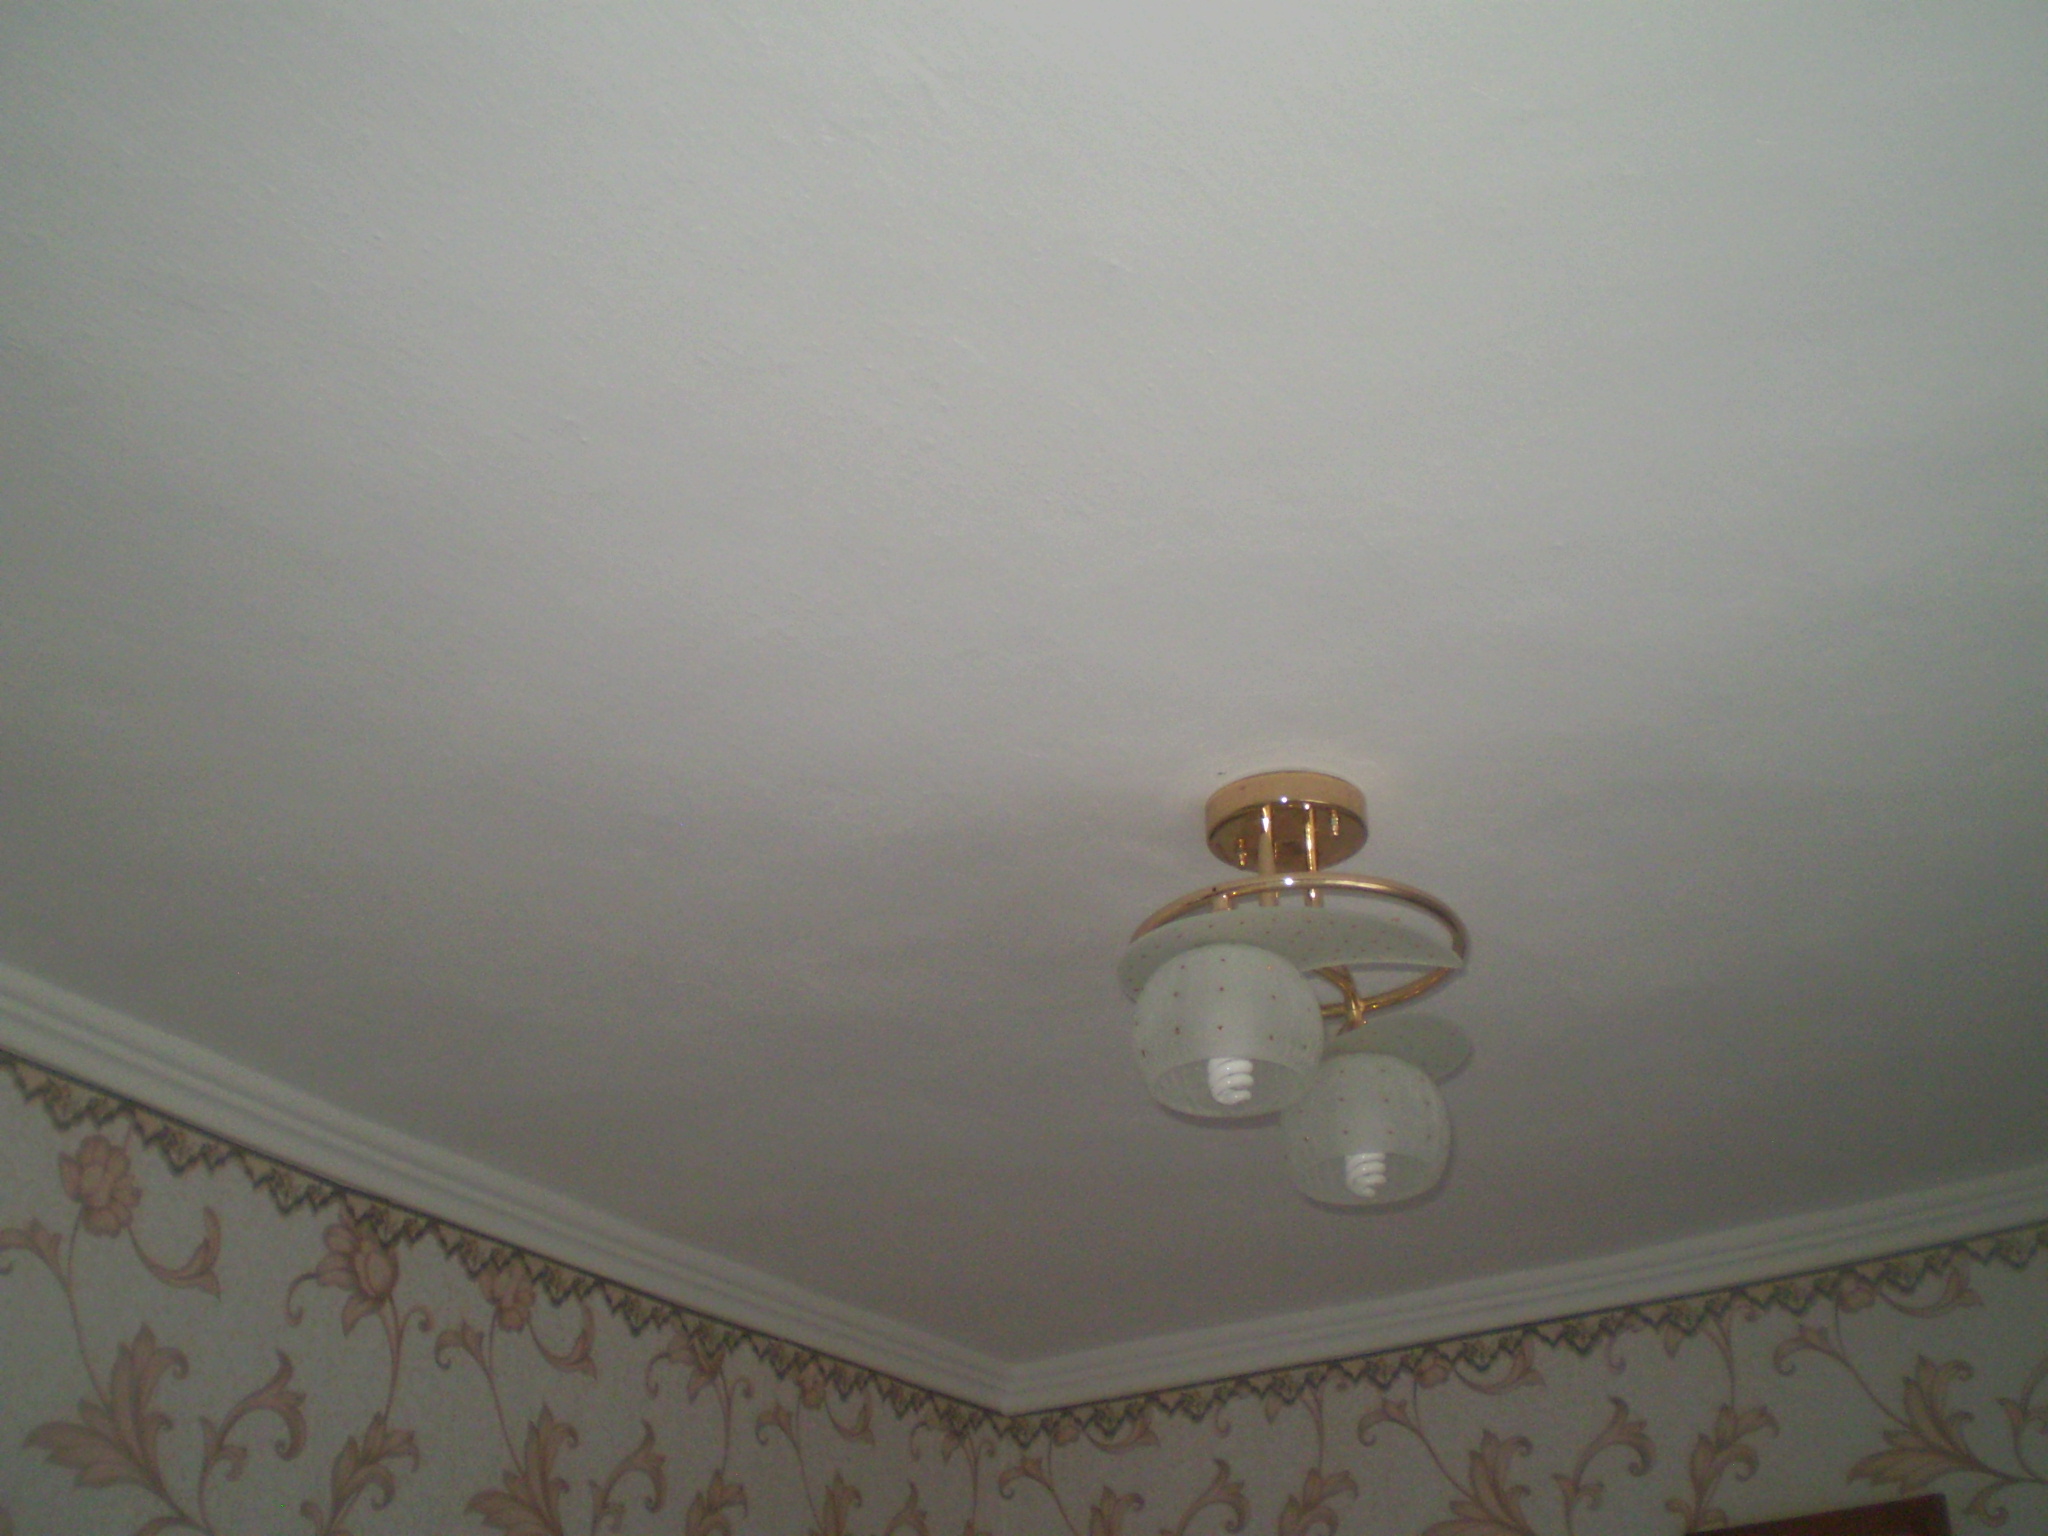
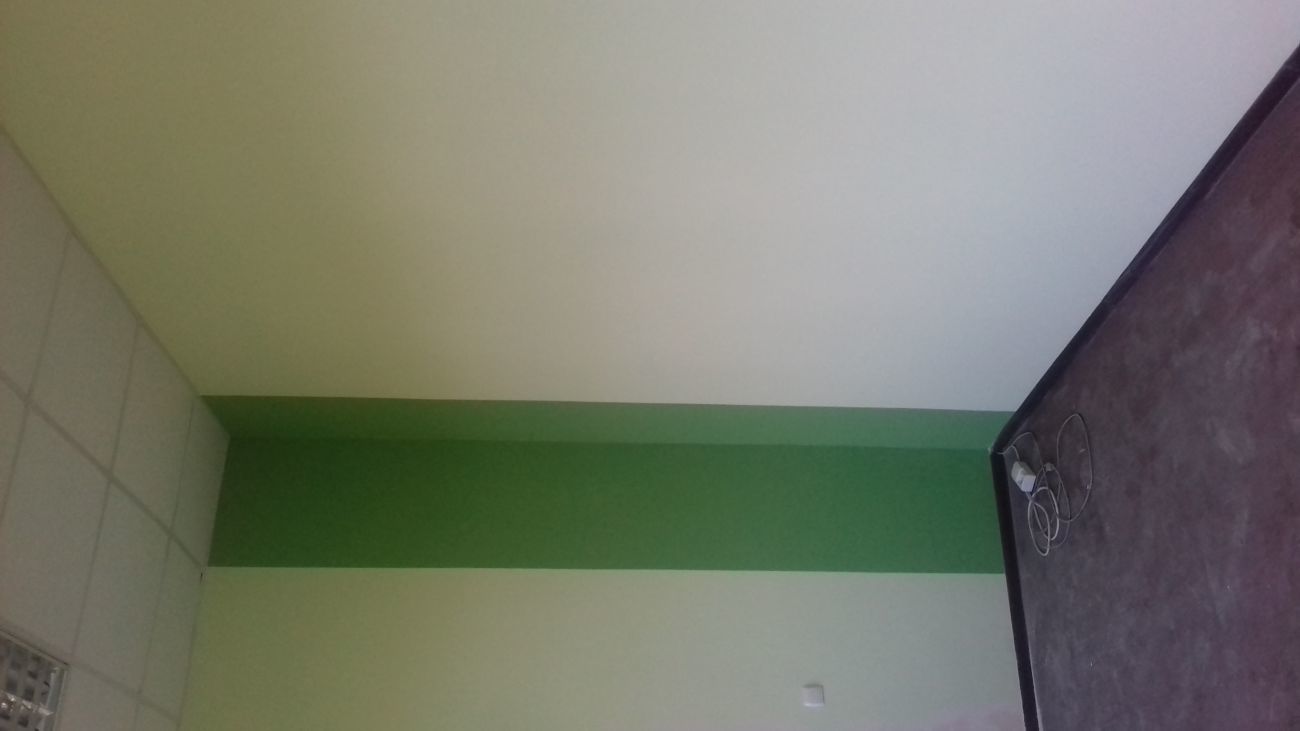
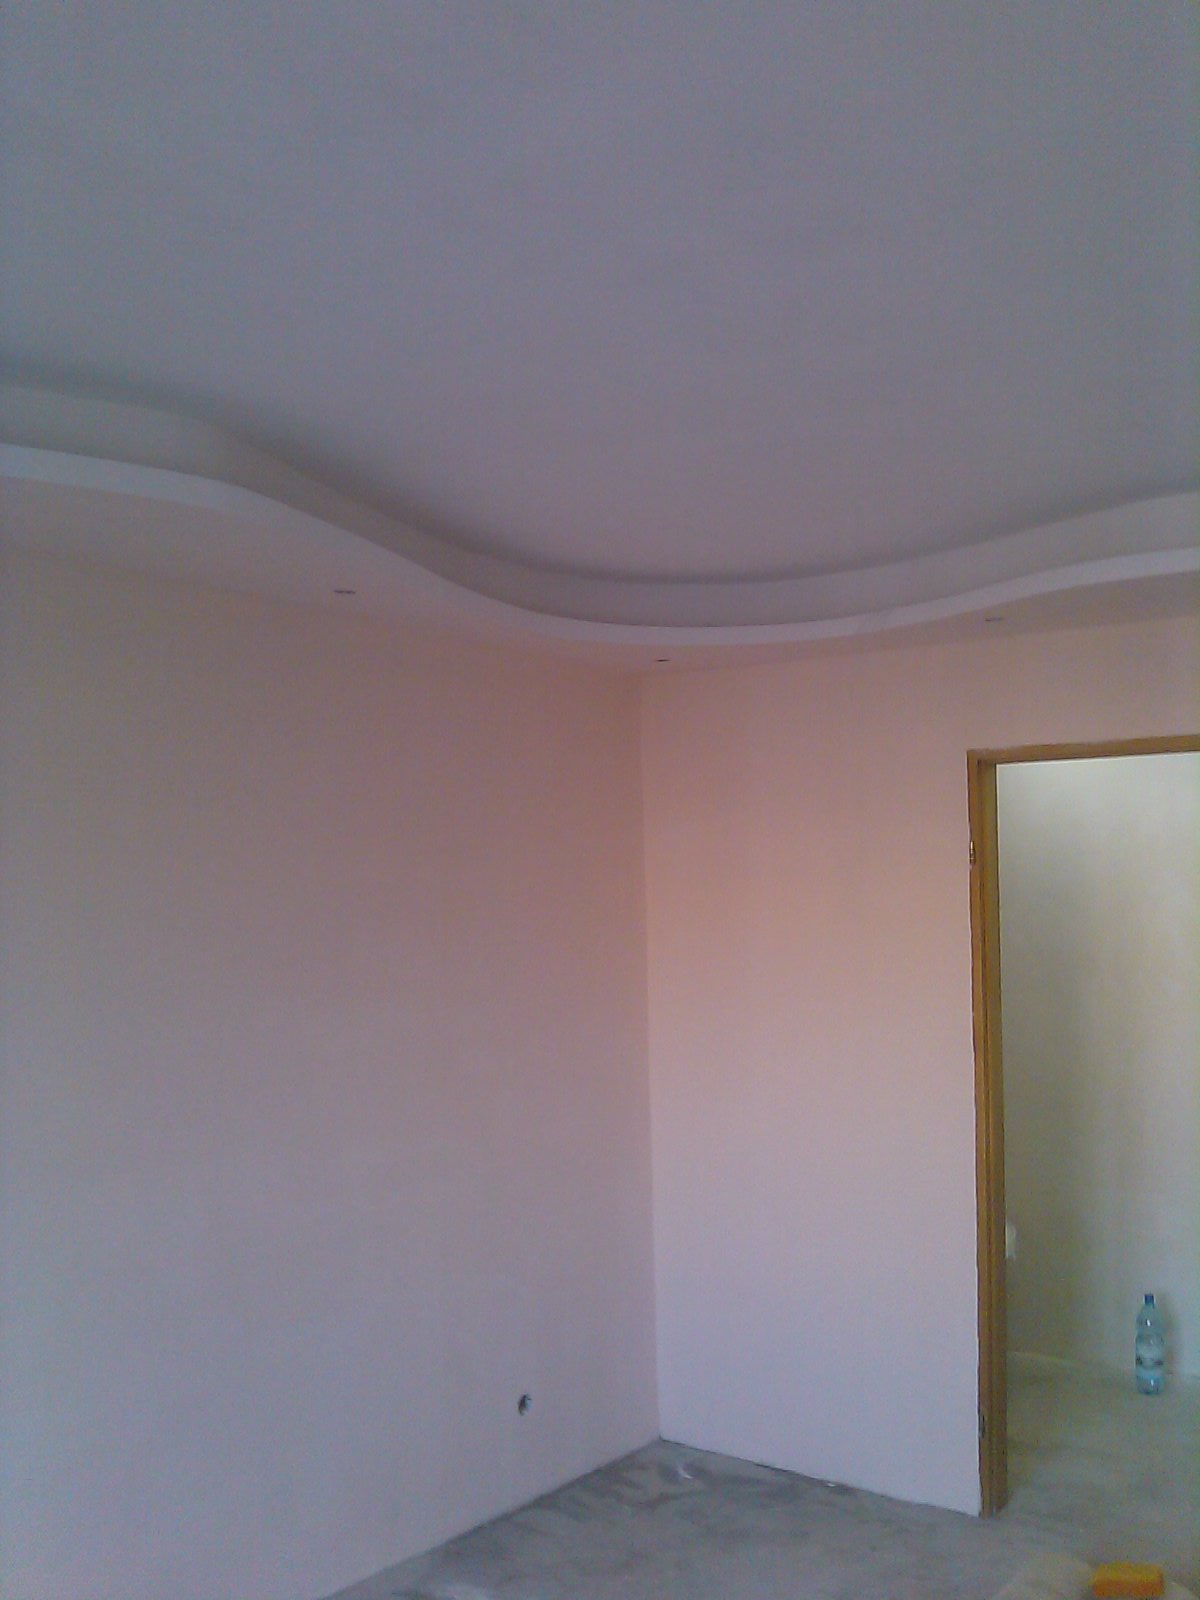
- Accuracy. If you apply whitewashing in the right way, you will get a beautiful, smooth surface in a fresh and uniform color. Yes, whitewash is inferior in its appeal to expensive wallpaper or decorative plaster, but when conciseness and neatness is required, it has no equal.
- Environmental friendliness. Safety whitewash is achieved by the ability to pass moisture and air. In its composition there are no harmful substances that are in other modern materials.
- Bactericidal propertieswhitewash has excellent protection against mold and mildew, which also distinguishes it from other materials. This is another reason why they prefer this particular design option in preschool, educational and other institutions.
As already mentioned, for proper whitewashing the walls do not need special knowledge and skills. Even performing work with this material for the first time, it is possible to learn directly in the process. It is necessary to study the whitewash technology in advance, learn about the types of materials and tools, take into account other well-known nuances.Then even repair their own hands will be done quickly and efficiently.
Surface preparation
If you do not have information than to whiten the walls before, you can check it out quite easily. Just wet the wall with water. If it was lime whitewash, the wet surface will become darker. You can also rub the area with your finger. From lime, the finger will not be painted.
Proper preparation for applying whitewash is an important step affecting the final result and the success of the work.

In preparing the walls, adhere to the already established rules.
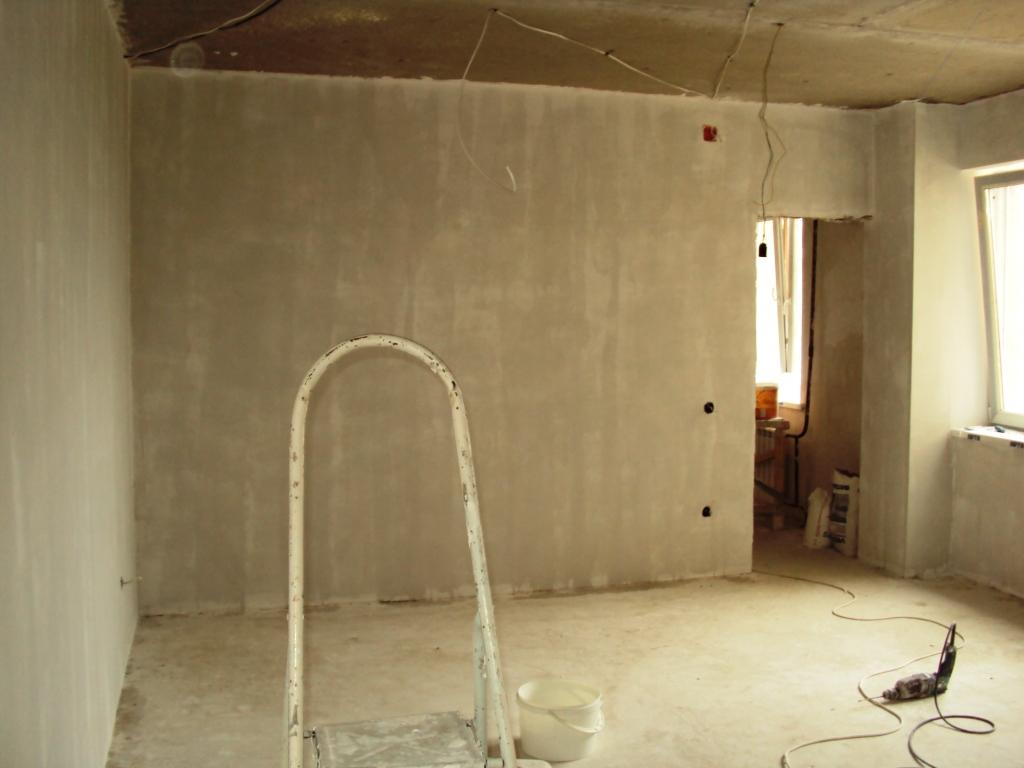
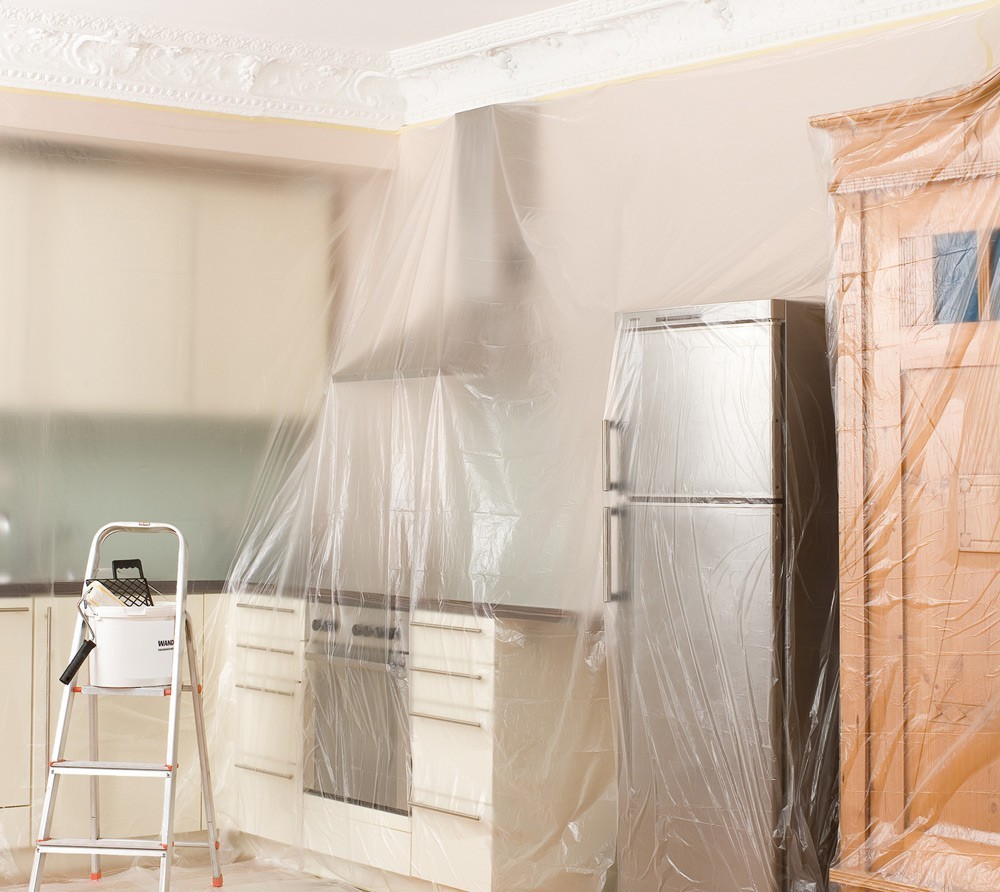
- First of all, free the room from all furniture and equipment, if there is such an opportunity. If this is not possible, carefully cover everything with plastic wrap and secure with scotch tape.
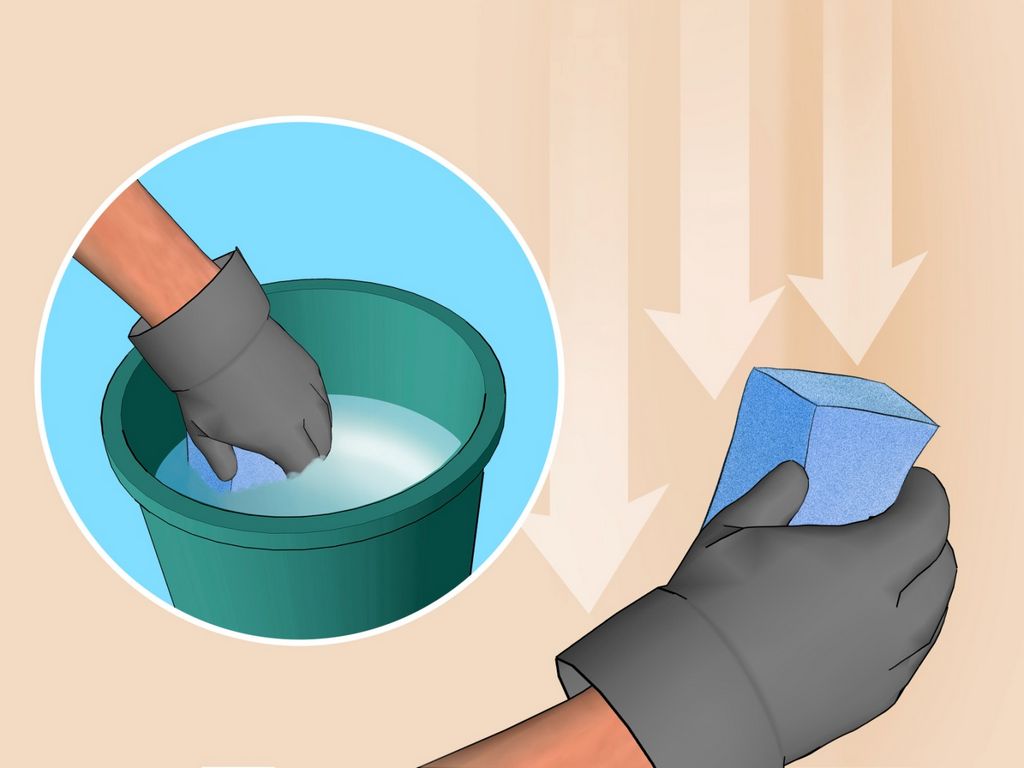
- To easily remove the old whitewash, pre-wet it. Wet the walls in parts, then the moisture will not have time to dry. It is recommended to use usual soap solution for washing the whitening itself. It is also advised to add a little vinegar or a portion of citric acid to the water.
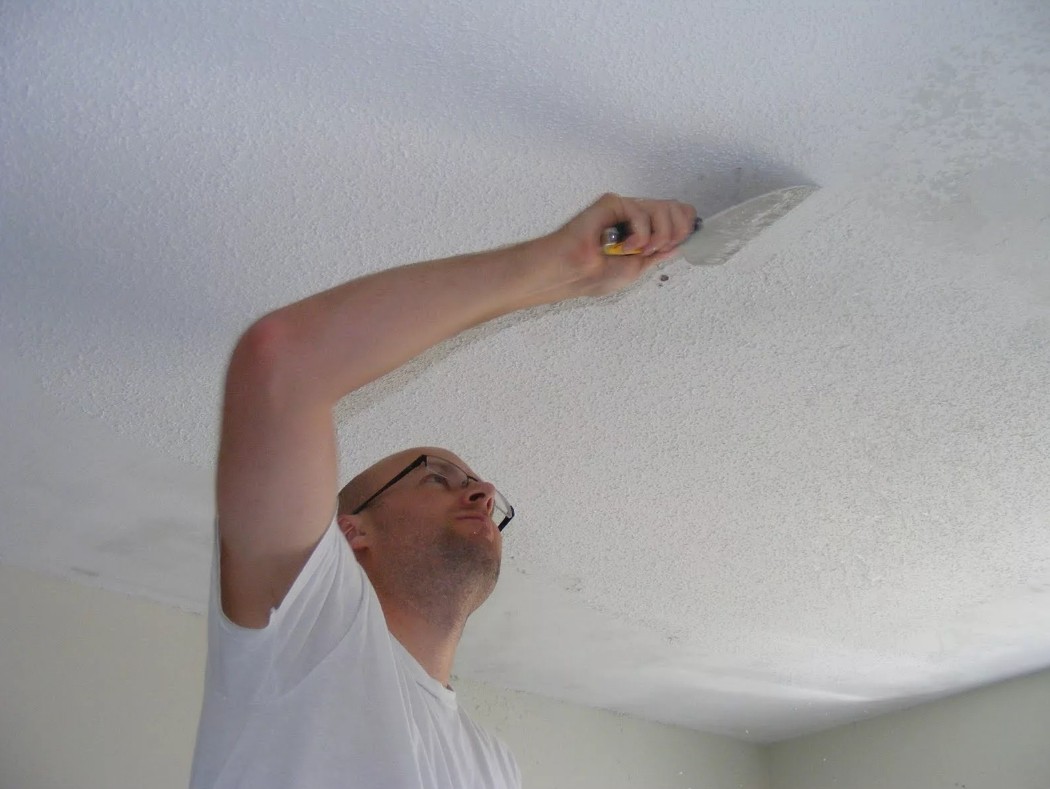
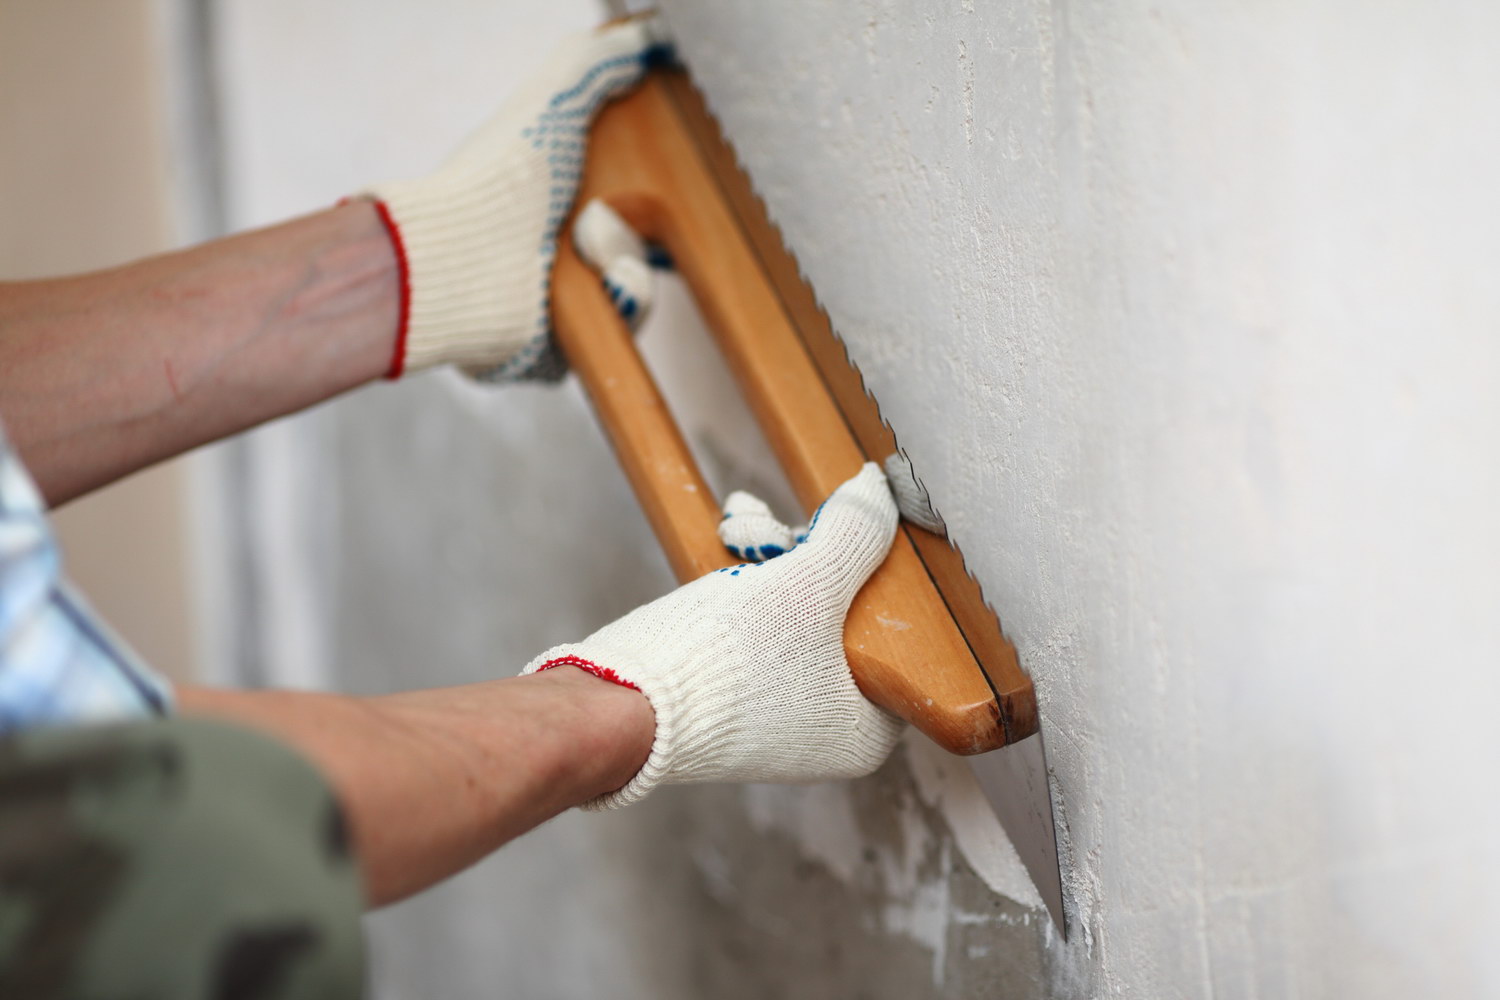
- When you wet the walls with a wet sponge or brush, it's time to move on to removing the old whitewash with a regular trowel.It is desirable that the pieces of the old whitewash do not fall, for the preservation and cleanliness of the floor and other surfaces. To do this, the pieces are folded in a separate container. After removing with a spatula, all residues are finally rinsed with a damp sponge.
- In case there are visible spots, we bring the walls into the proper form:
- Rust stains are washed off and treated with the following solution: in a liter of hot water, copper sulfate is diluted in the amount of 50-100 g.
- Grease stains are removed with soda ash. Moisten the cloth in 2% of the composition and apply to the stain of fat until it finally disappears. Then this place should be rinsed with water.
- For spots of soot using 2-3% composition of hydrochloric acid.
- Then an antifungal compound is applied.
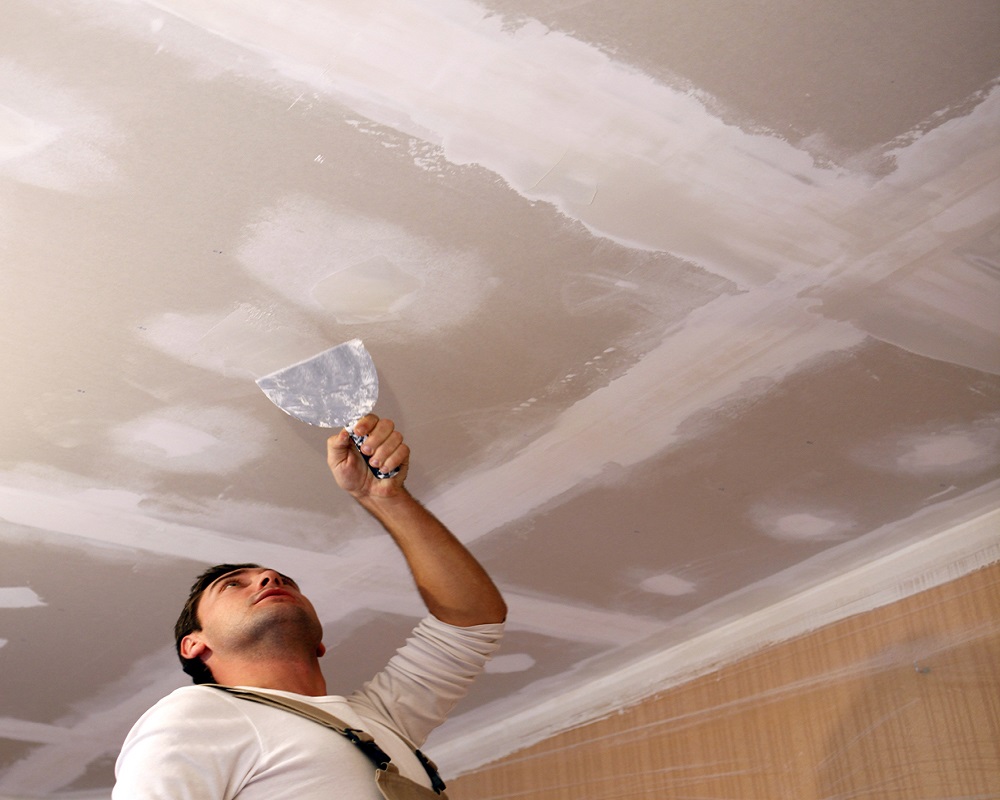
- If there are cracks and dents, you must first get rid of them. For cracks up to 1 cm, it is sufficient to take a putty. If the depth of the irregularities reaches 3-5 cm, plaster should be used.
Putty diluted according to the instructions, then put and align with a spatula. In case of serious irregularities, use the building rule.
- When the putty is completely dry, it is rubbed with sandpaper. We now have a smooth and even wall surface, ready for primer application.
- The composition of the primer is made independently or take the finished mixture. After application, you should also wait for complete drying.
- Now you can proceed directly to the whitewash.
Variants of materials
Speaking about the types of whitewashing walls, imply a limestone or chalk composition, as well as water-based paint.
Lime
The most popular type of whitewash. Lime, which is calcium oxide, must be quenched with water, thereby obtaining the finished material for finishing work.
The main advantages of lime whitewash:
- bactericidal and antiseptic properties, thanks to them, lime is readily used in public institutions or whitewashing cellars, for example, she also treats trees;
- lime whitening keeps from 3 years;
- high resistance to moisture and significant temperature differences allows the use of whitewash for repairs in bathrooms;
- adhesion to most materials: concrete, wood or brick;
- the ability to fill a small irregularities and cracks;
- very low cost.

Among the disadvantages include:
- a chance to get burned, so all work must be done in special protective clothing, respirator and gloves;
- lime can leave stains and stains, however, they are easy to remove;
- not recommended for people with allergies.

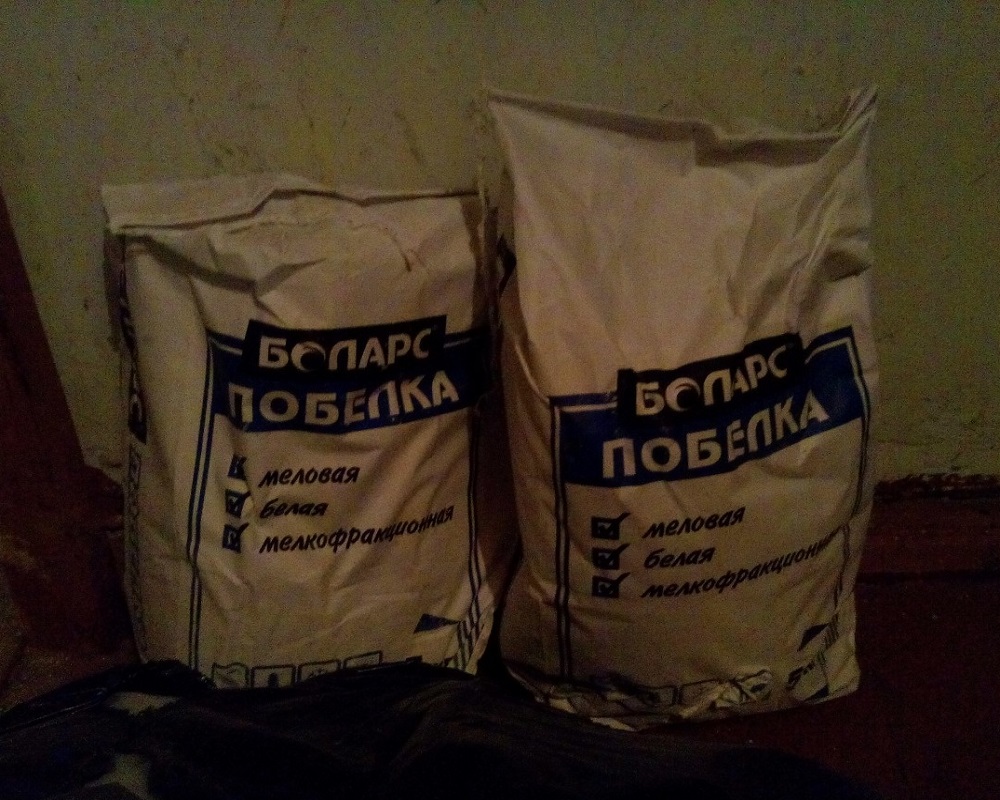
a piece of chalk
In addition to the fact that chalk is also environmentally friendly and inexpensive, it has other advantages:
- safe application;
- more saturated white color, in contrast to lime;
- hypoallergenic (safe for people with allergies).

However, chalk has certain disadvantages.
- Interacting with water, chalk accumulates it. It promotes the formation of cracks and quick peeling. In this regard, in rooms with high humidity (kitchen, bathroom, etc.) you should not use whitewashing with chalk.
- If used improperly, both stains and bubbles are possible.
- On top of that, whitewashing with the help of chalk strongly stains everything with which it contacts.
Water emulsion paint
You can often hear the phrase "whitewash paint emulsion." In fact, this technology can not apply to whitewash, and is painting. Perhaps it was mistakenly equated to the types of whitewash due to lime and cement in the composition.
Coloring with water-based paints is called a good alternative to whitewash.
The advantages of water-based paint:
- resistance to moisture;
- wear resistance;
- high bactericidal properties;
- environmental friendliness, the ability to paint "breathe";
- easy application;
- high speed during drying;
- security.
The main drawback - the suspension has a high cost, when compared with conventional whitewash. Also, the durability of this coating leaves much to be desired.

The use of whitewash is considered one of the most inexpensive types of repair. You can cheaply whitewash the walls not only with your own hands. Construction crews also request low amounts. The cost of whitewashing in one layer for an area of 1 m2 can begin even from 50 rubles.
Of course, the price varies greatly, depending on several factors: pollution and the need to clean the walls, the required number of layers of lime, etc. In order to correctly calculate the approximate cost of the work, you need to know the quadrature and the necessary types of repair work on surface preparation.

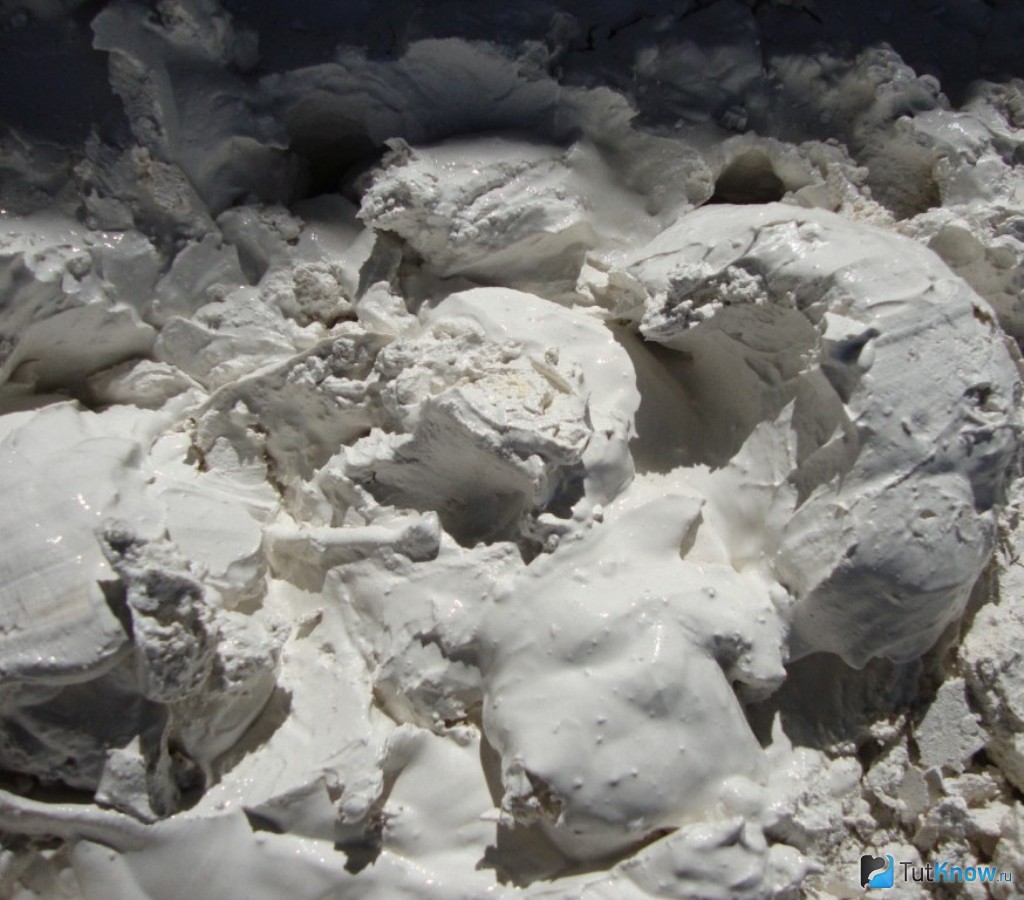
How to repay and dilute lime?
The process of preparing lime white wash requires careful attention and accuracy. It can be easily done by hand, following certain recommendations.
First, prepare the ingredients you need for the solution in the right amount:
- hydrated lime - 2-3 kg;
- water - 10 liters;
- pre-soaked coarse salt - 50-100 g;
- 1 tsp blue (to get white) or from 400 to 500 g of dye;
- aluminum alum - 150-200 g.

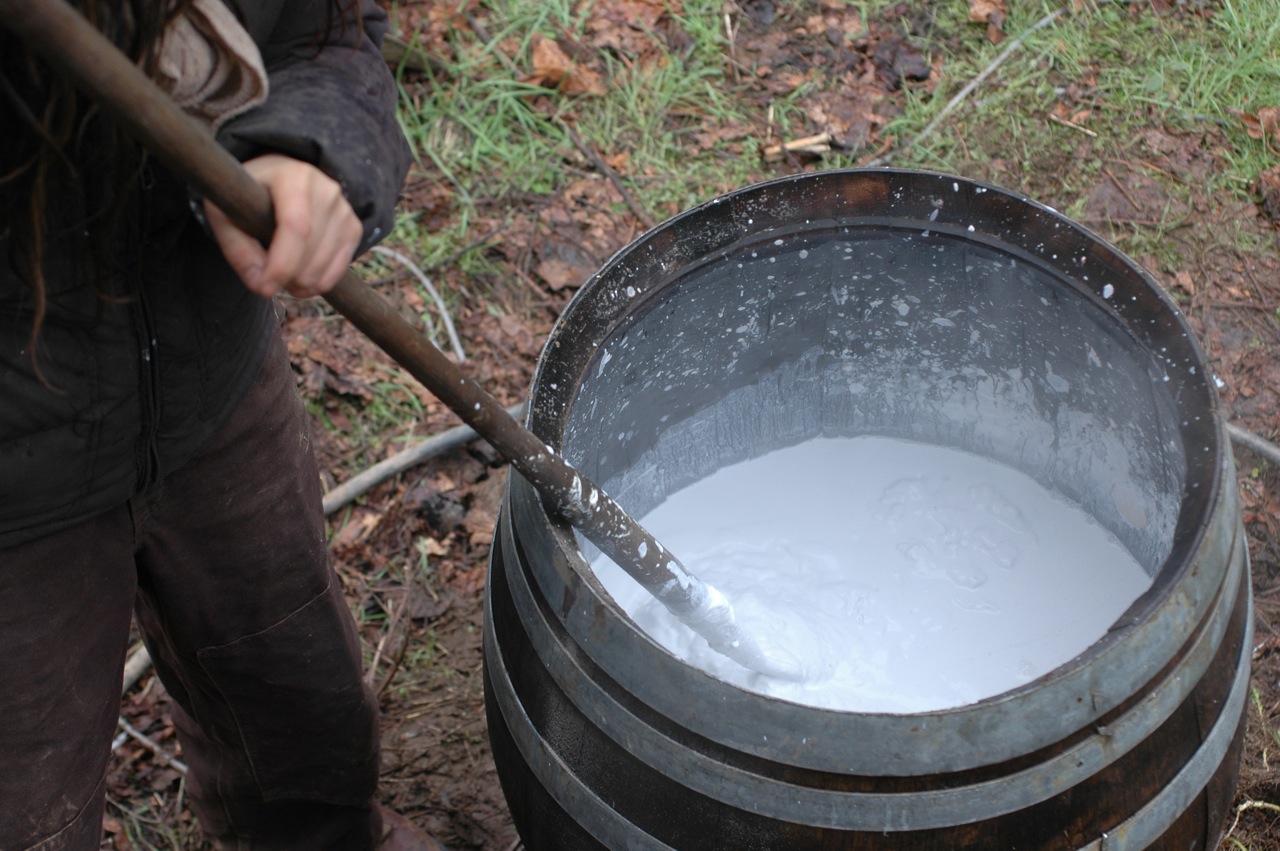
Mix the ingredients and dissolve them in a liter of warm water. After that, the volume of the mixture should be brought to 10 liters and how to mix the resulting composition.
A characteristic feature of hydrated lime is its excellent compatibility with any dyes. That is, in the process of mixing the raw material and the dye in the right proportions, you can create any desired shade.
If you create a color whitewash, it is better to prepare at once the full amount of mortar needed for the entire surface of the walls. This is due to the fact that it is almost impossible to repeat the shade, even if all the ingredients used are exactly applied.
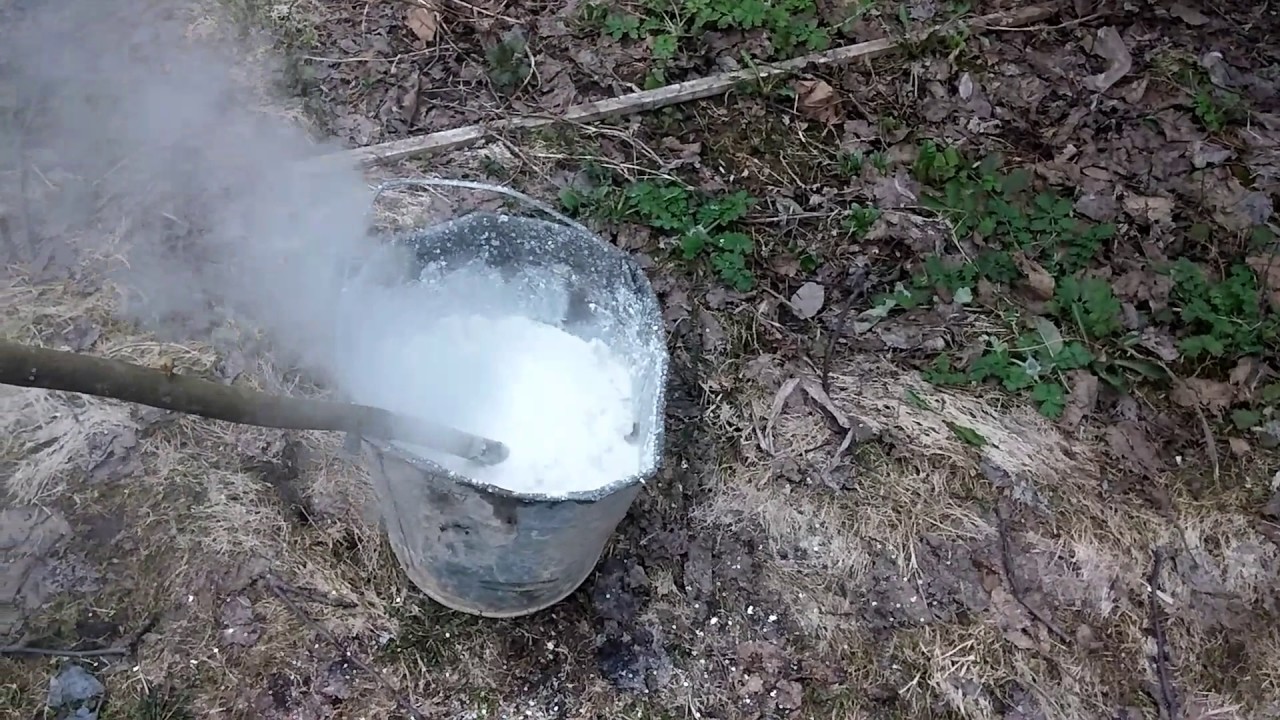
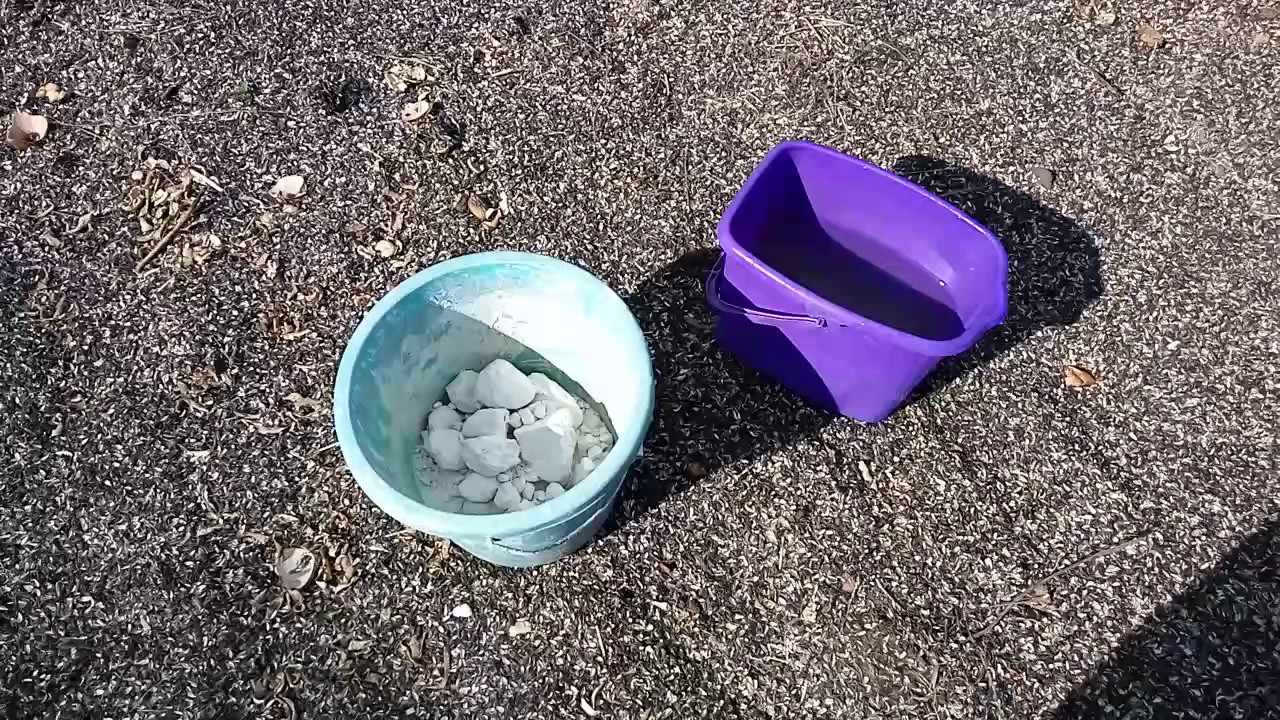
Quicklime is easy to repay on their own right at home. Mix it with water one by one and mix for 15-25 minutes. Then you need to remove the lime for 15 days in a tightly closed container. Then the lime will fall on the applied surface smoothly and evenly, without any stains and stains.
The consumption of lime whitewash largely depends on the tool used for its application, as well as the characteristics of the material. On average, consumption is 0.5 liters per square meter of surface.
Improving the quality of the composition
To improve the composition and prepare a high-quality and wear-resistant mixture, professionals use simple but effective ingredients. For example, laundry soap or various glue are added to the composition. To whitewash was better protected from flushing and temperature changes, use linseed oil, good moisture repellent and helps to increase the durability of the whitewash. Also, additives allow you to minimize the fall of whitewashing from the walls.
So that the whitewashed walls do not soil everything that contacts them, add salt. You can use all of the above supplements at once.
To obtain the desired effect, it is important to properly maintain the necessary proportions:
- 10 liters of whitewash mix add a kilogram of salt and lime (salt helps to make the walls snow-white);
- on 1 bucket use linseed oil in the amount of 100 ml;
- rubbed soap is diluted with warm water, and in the process of cooking water is replaced with soapy water;
- use wallpaper or PVA glue.
Some experts recommend the use of wood glue. It is cooked on a steam bath, and before whitewashing it is hot added to the already prepared mixture.
How to whiten?
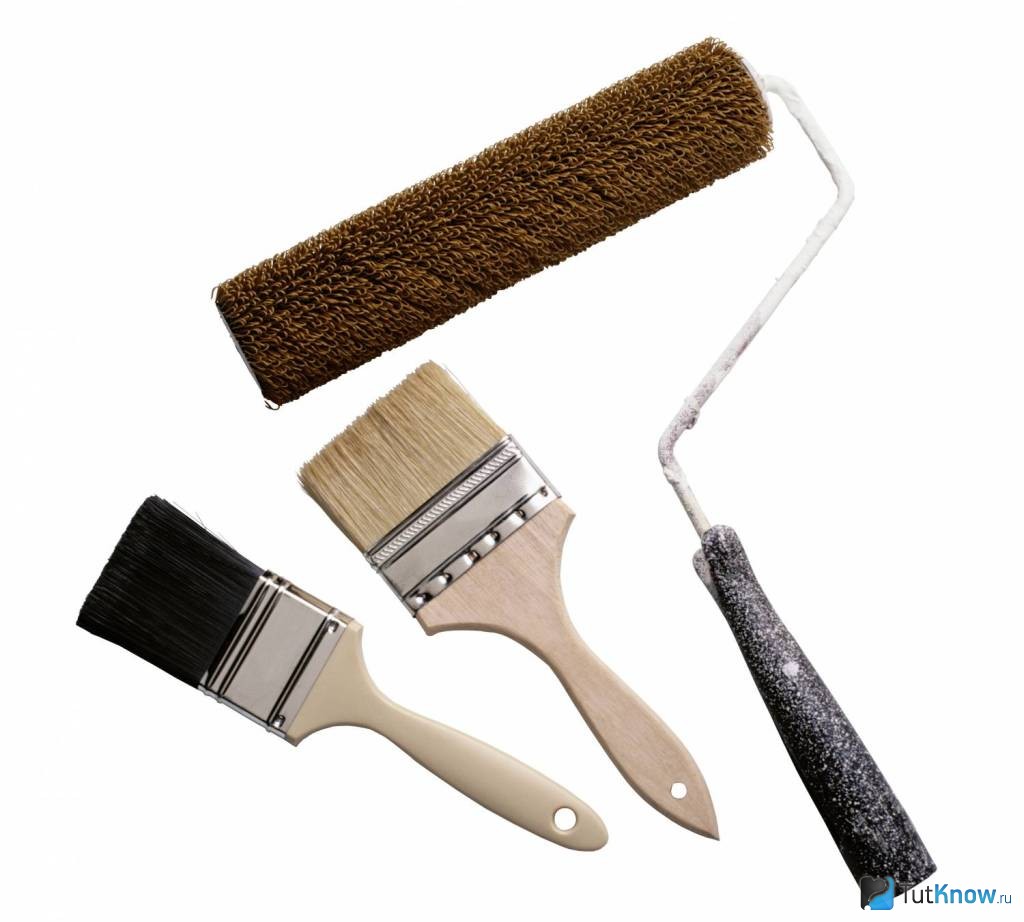
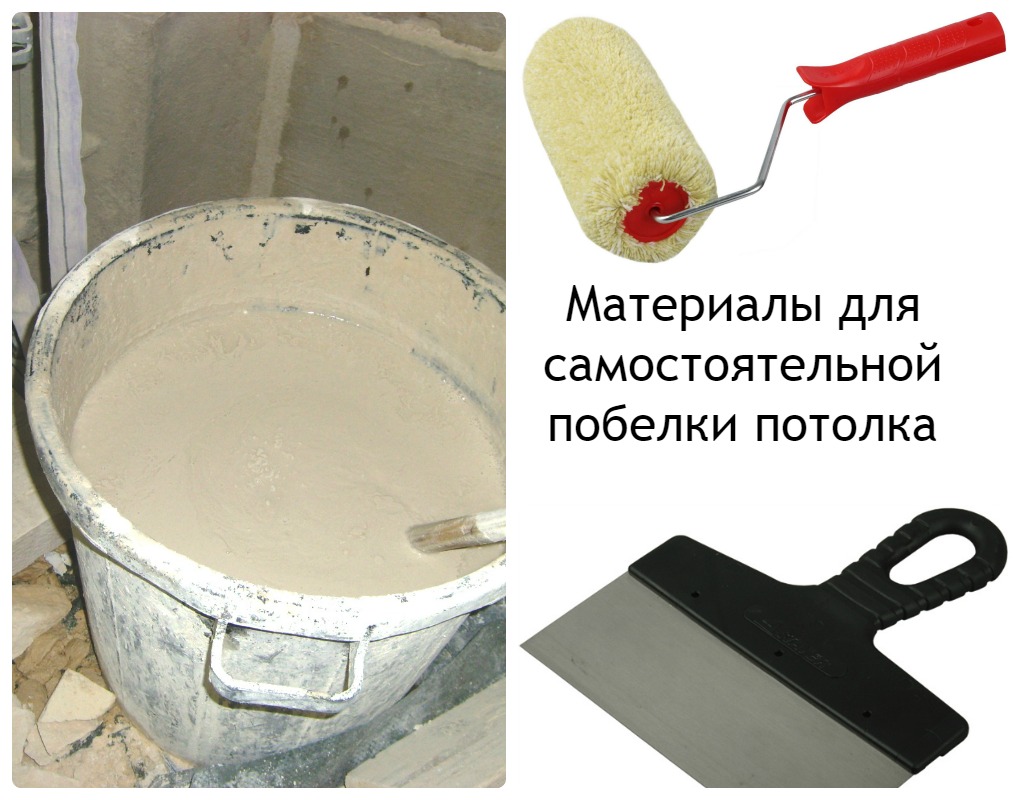
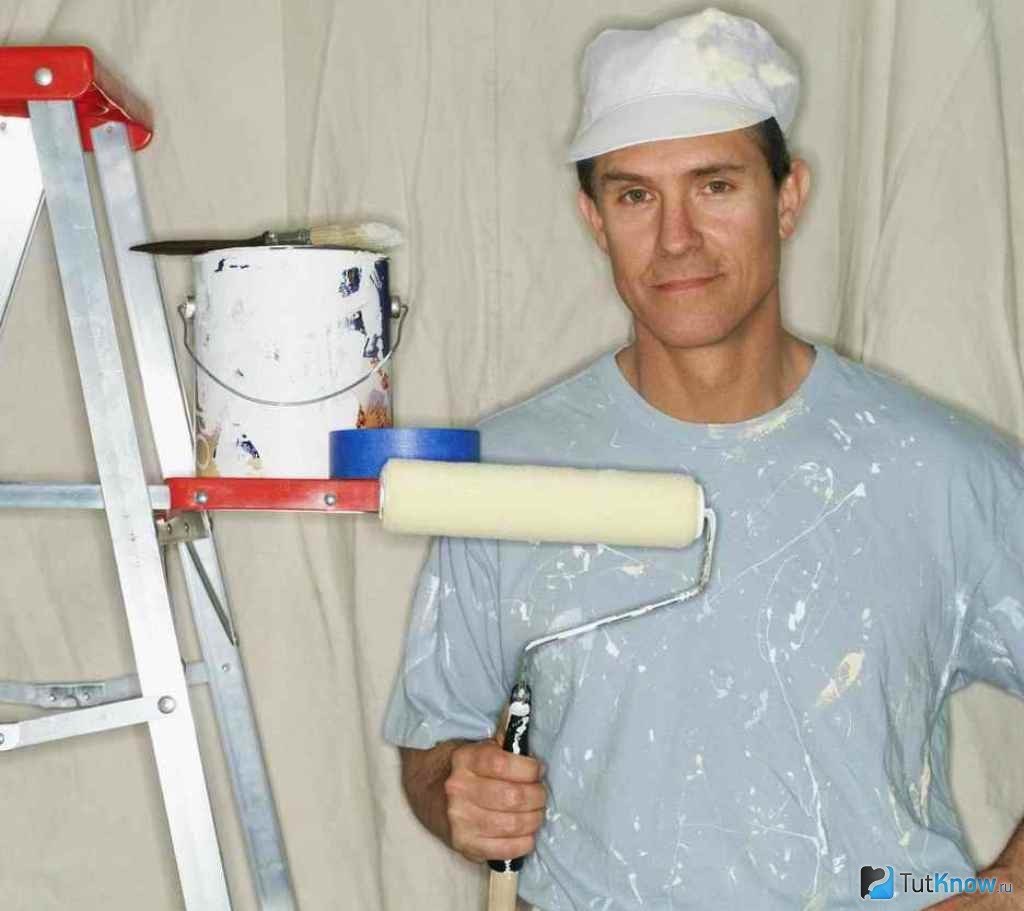
Whitewashing is applied with the following tools:
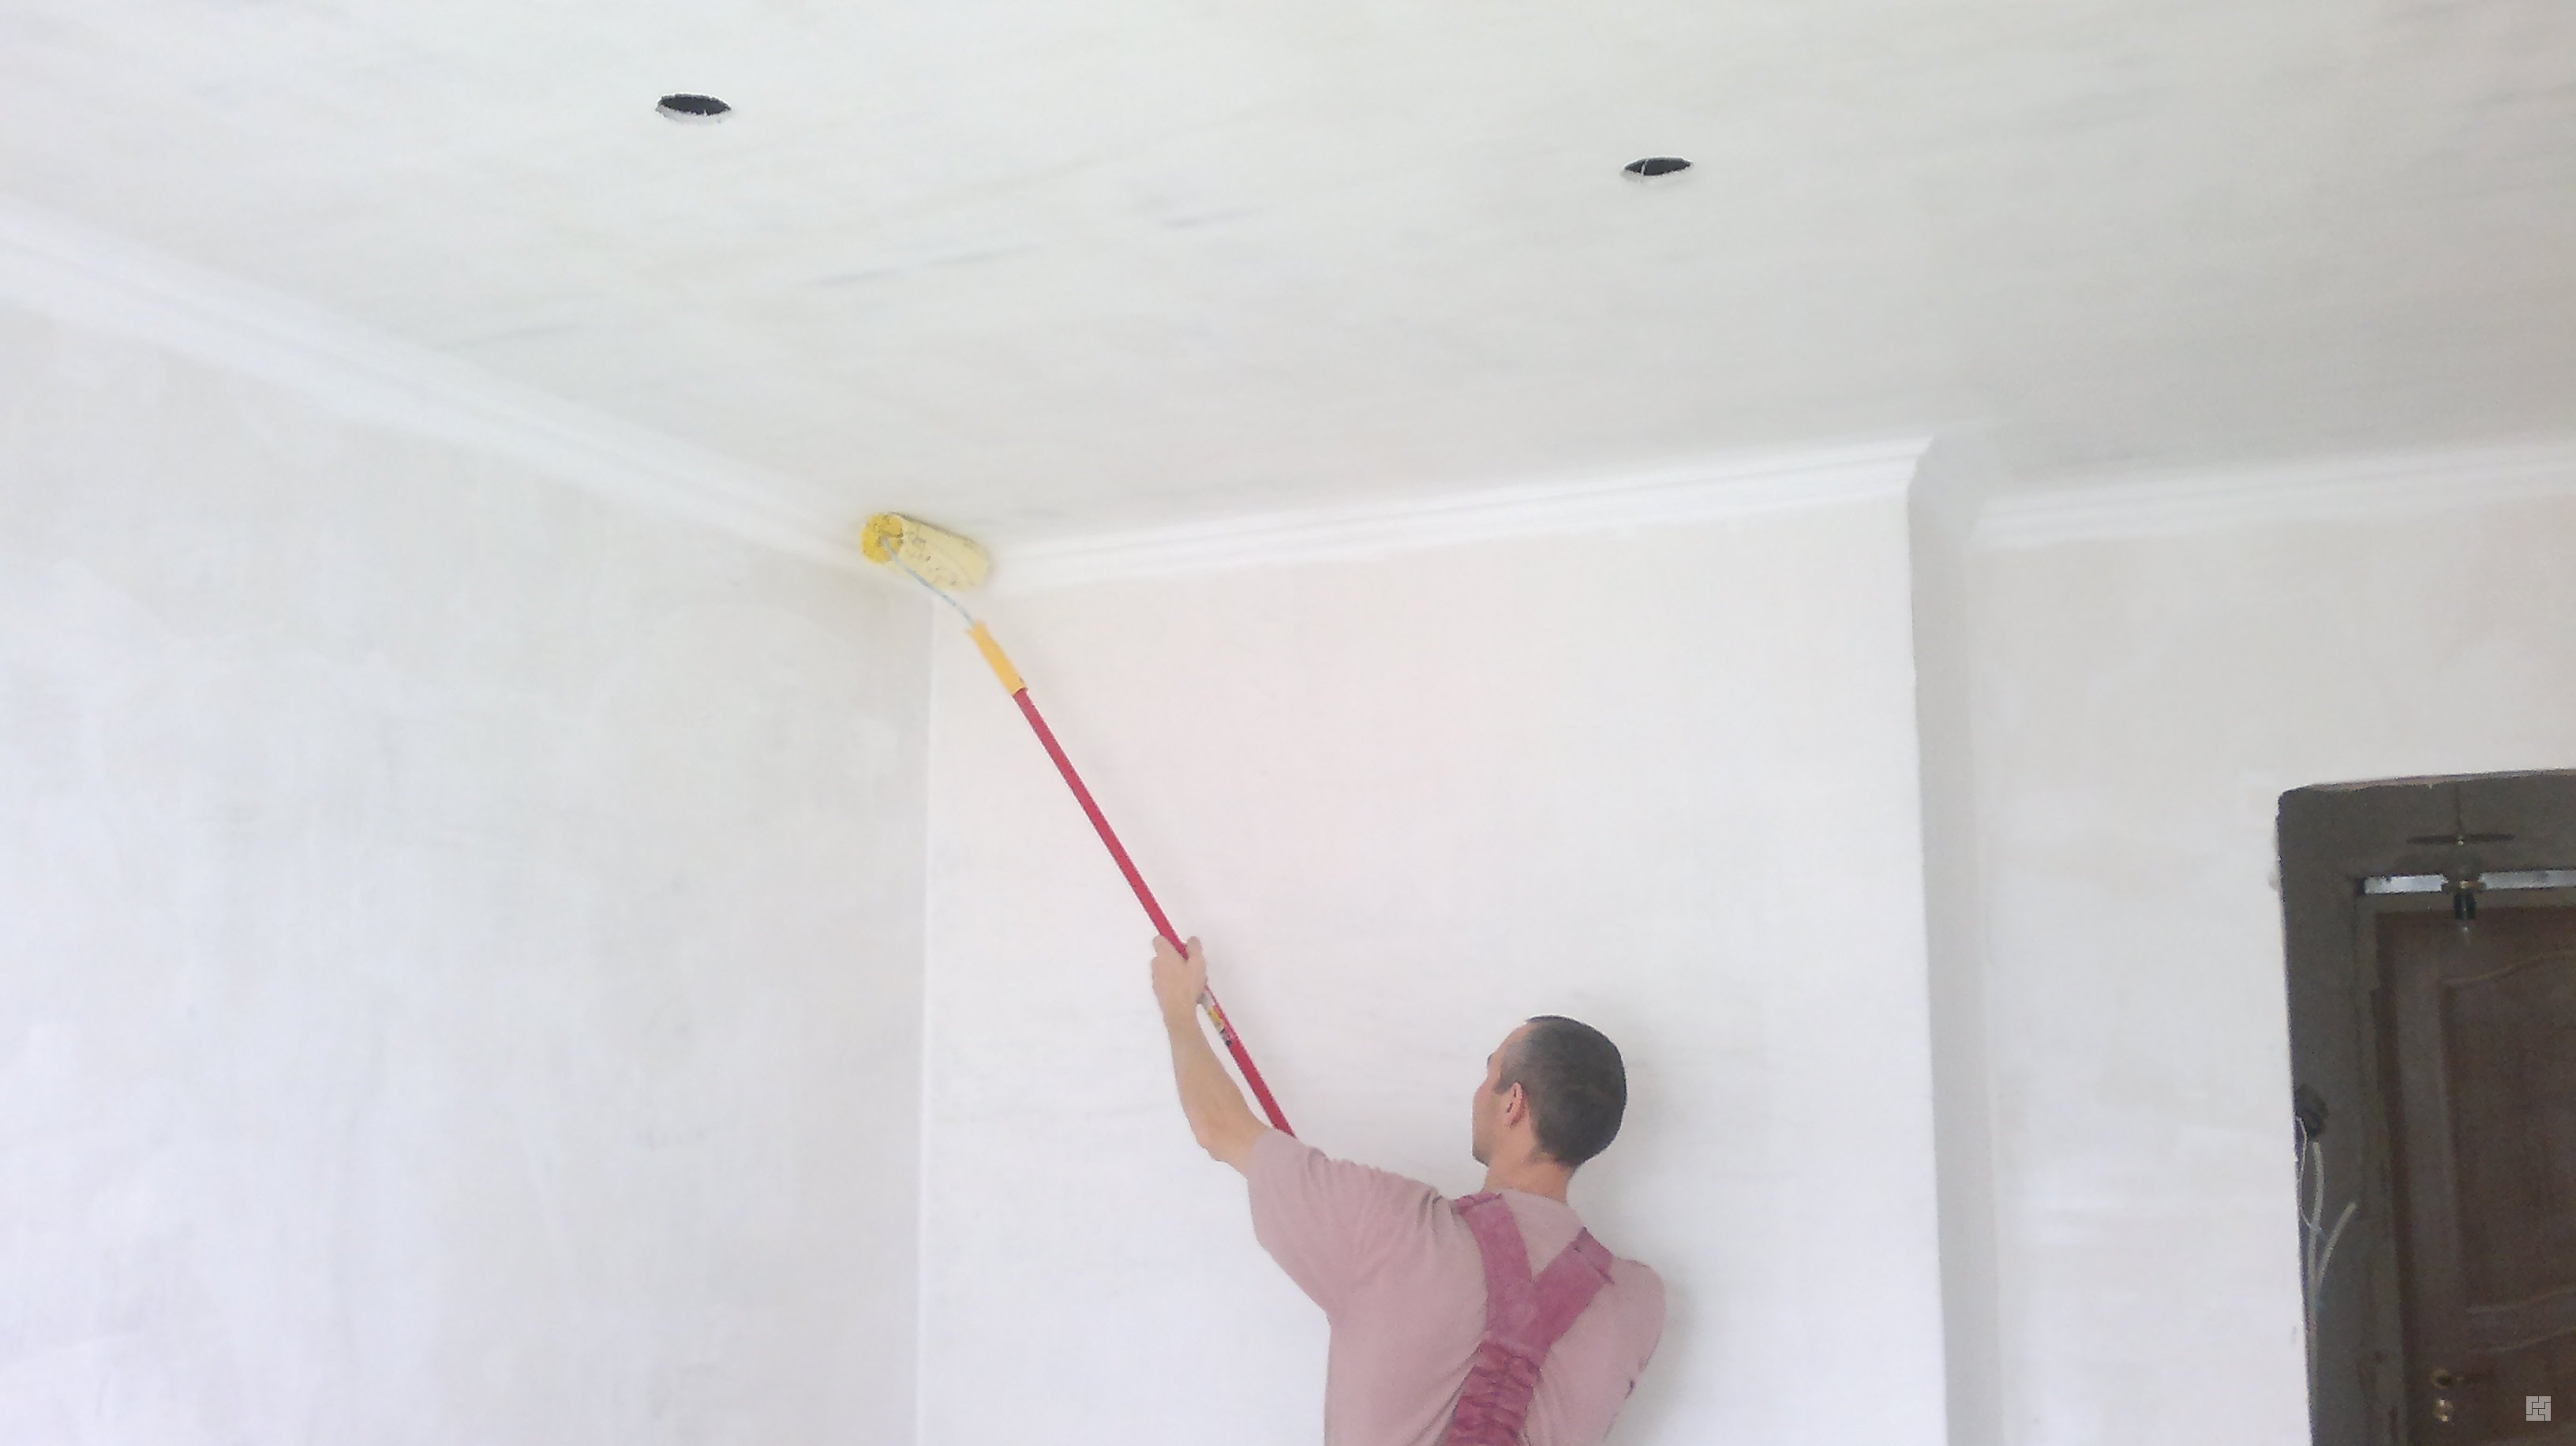
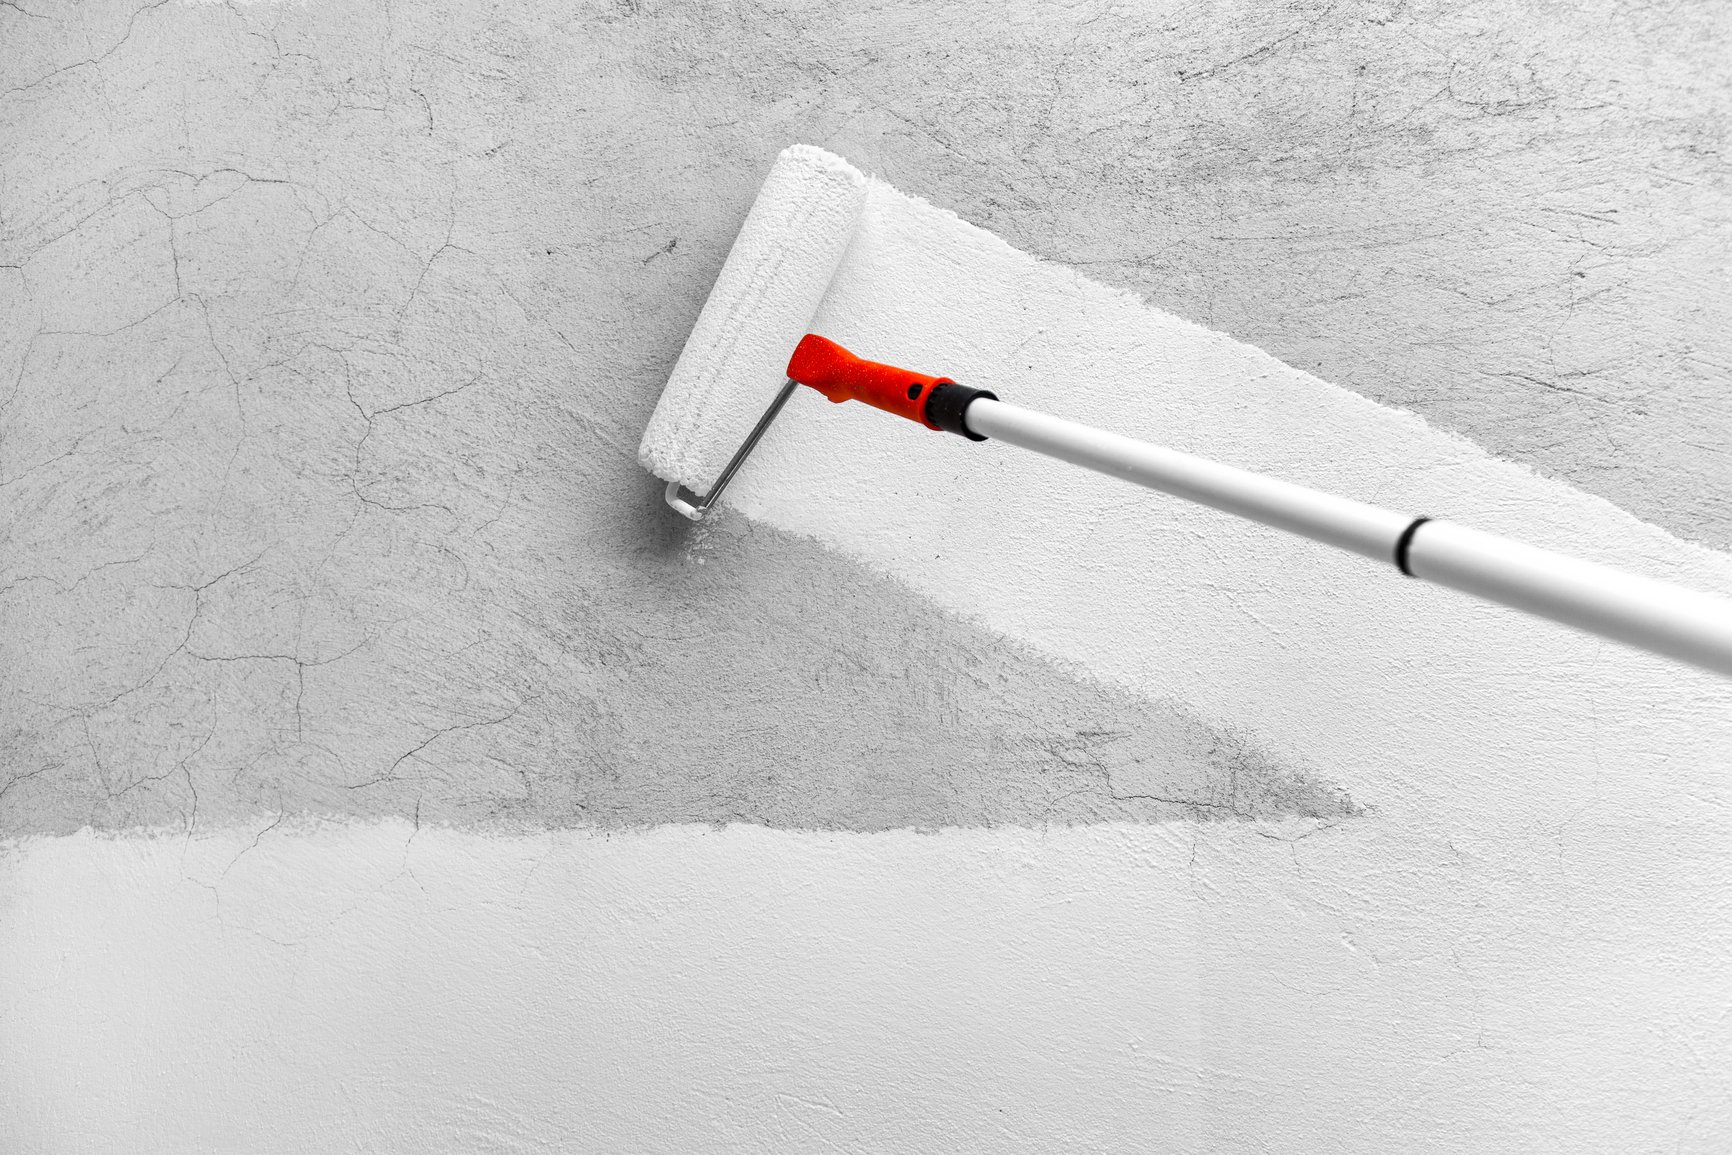
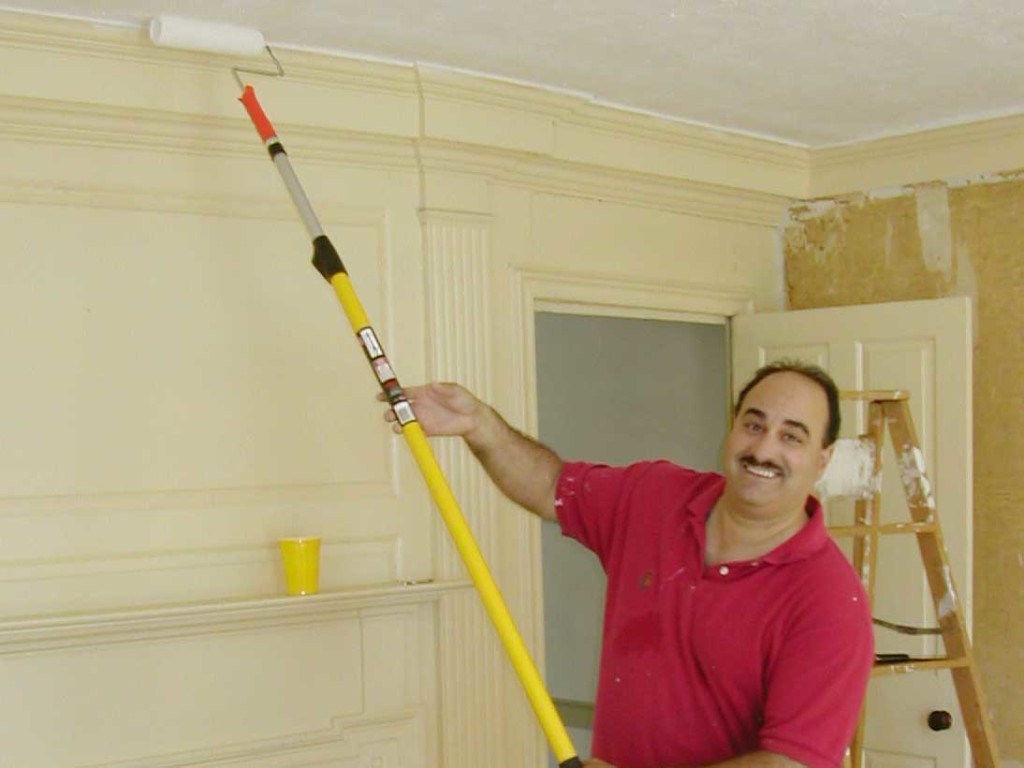
- rollers;
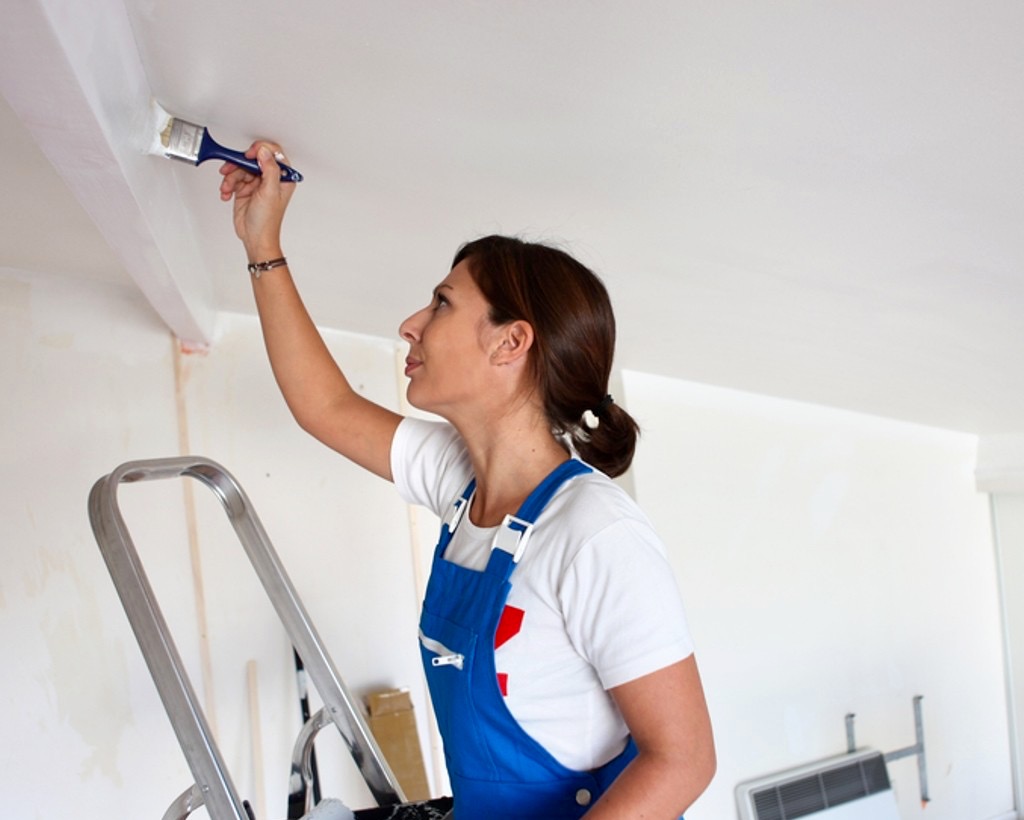
- brushes;
- air blowing vacuum cleaner;
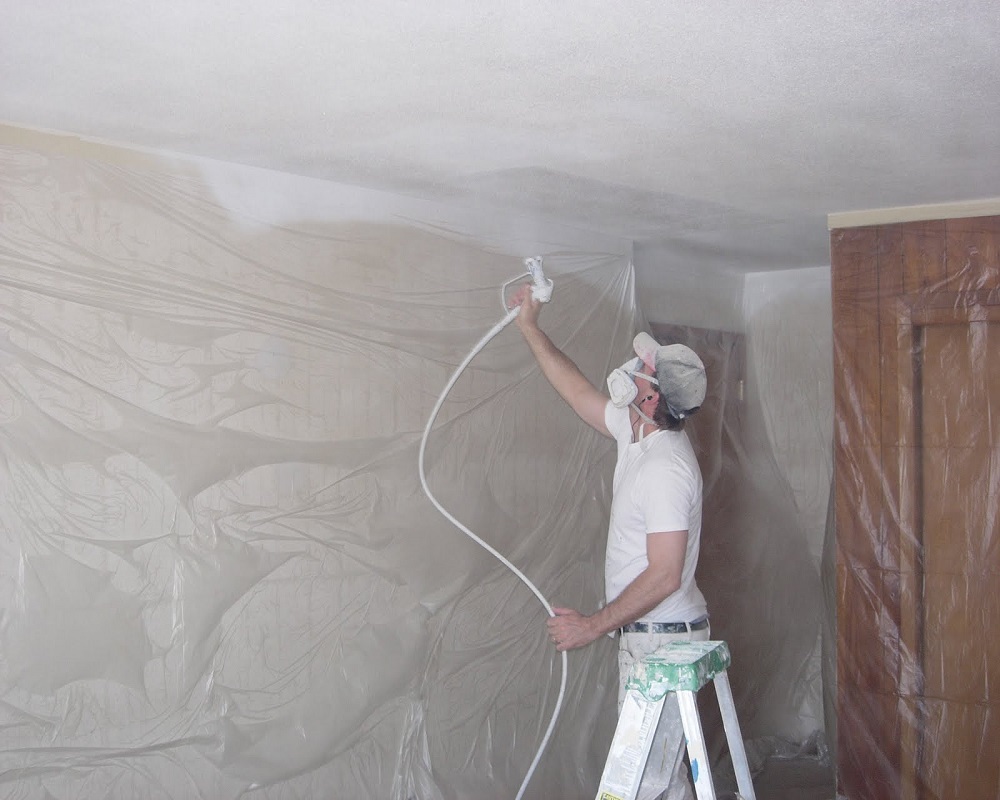
- spray gun.
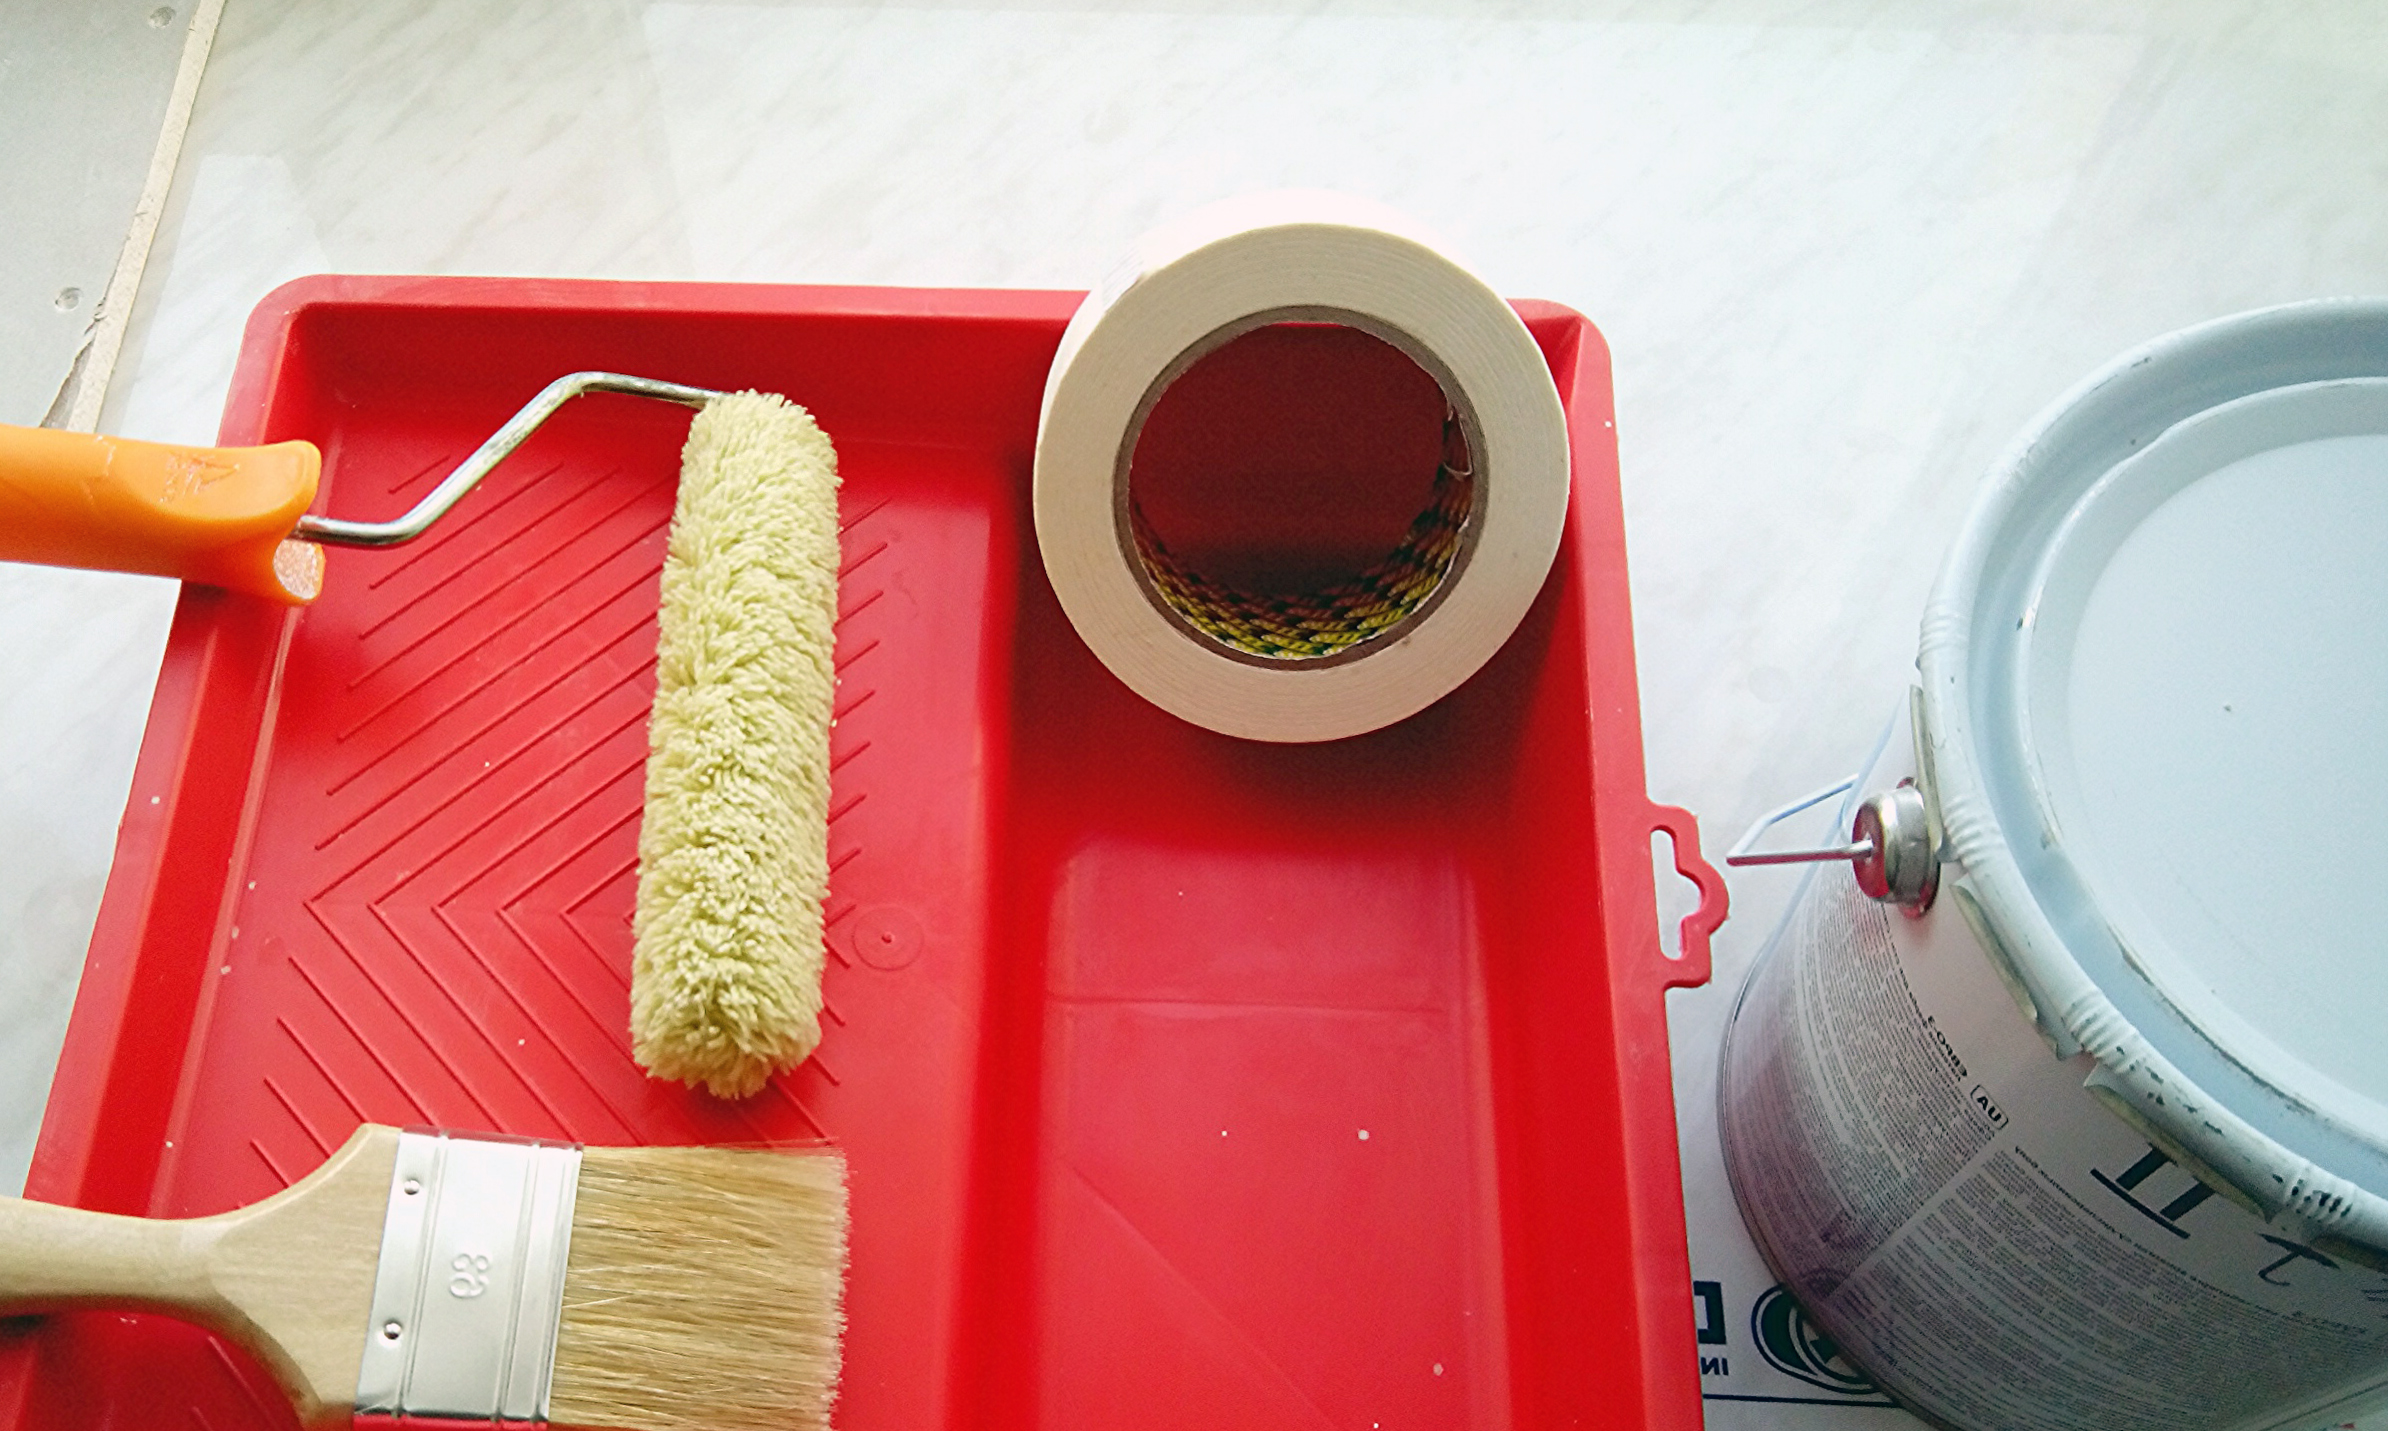

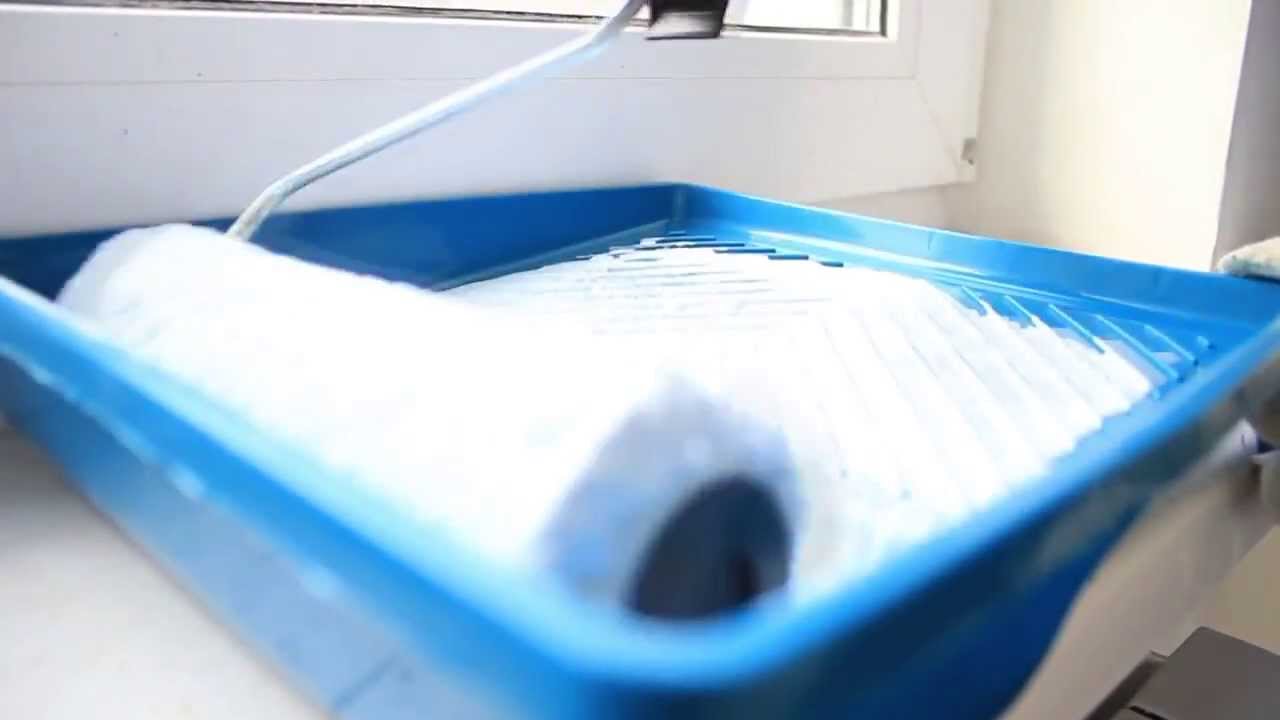
The first 2 options are more popular and universal, namely rollers and brushes.
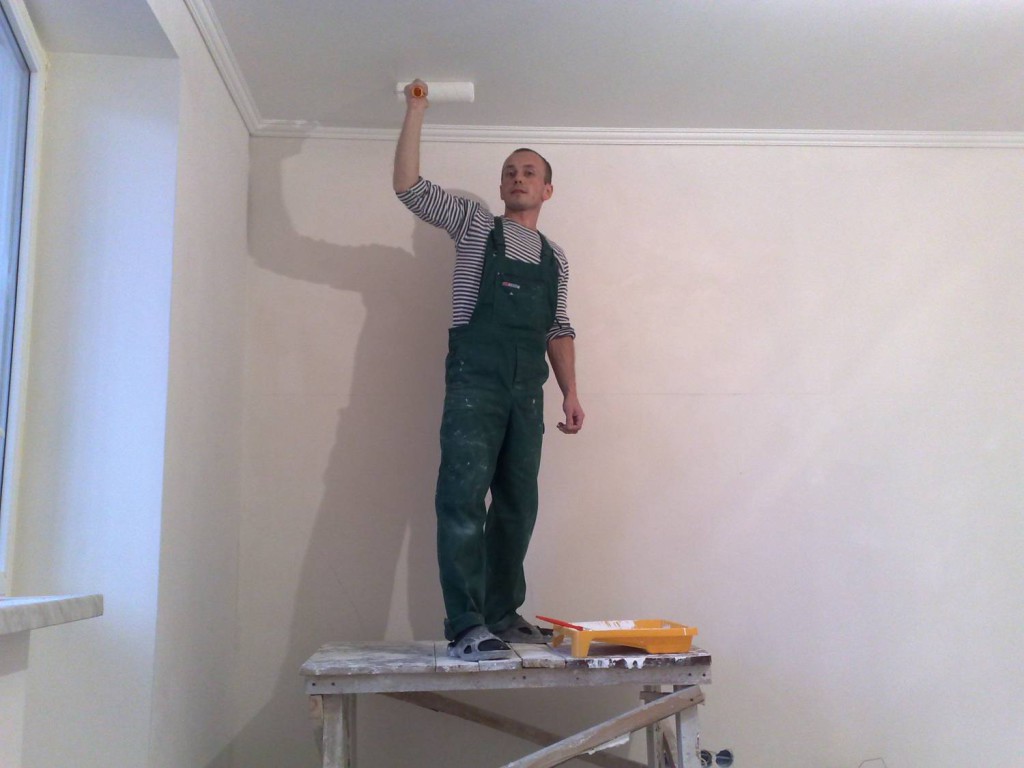
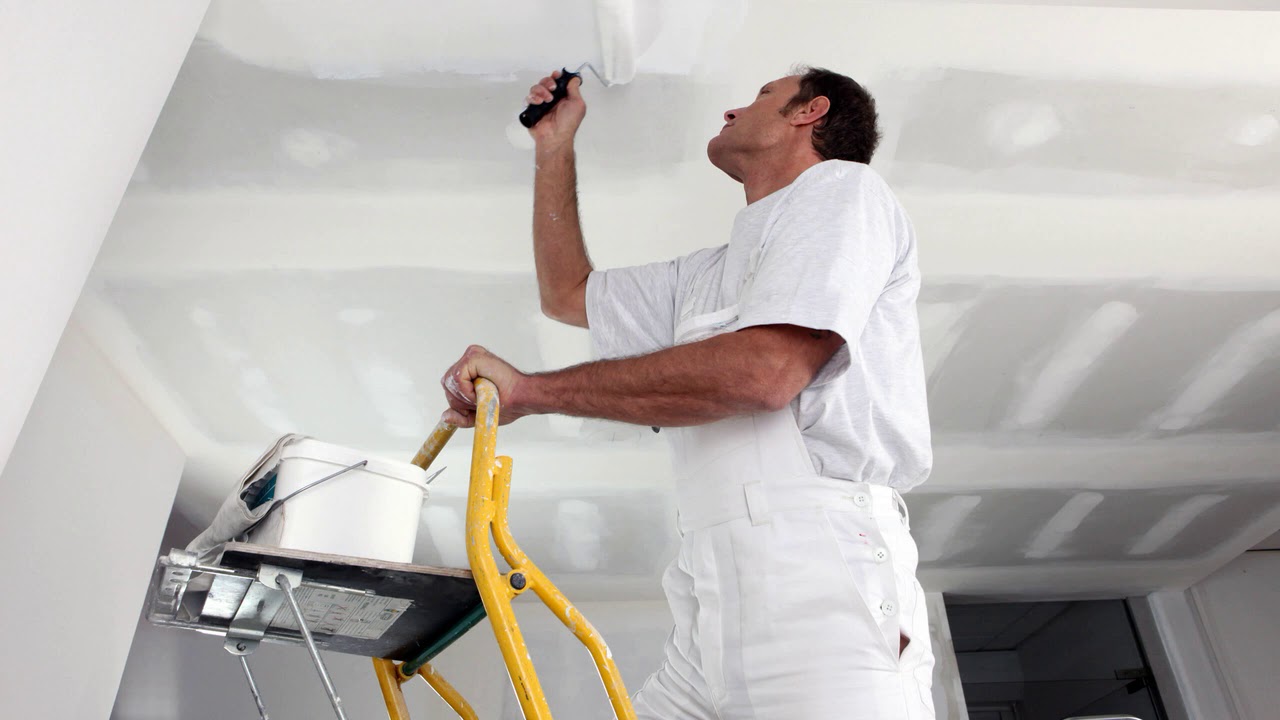
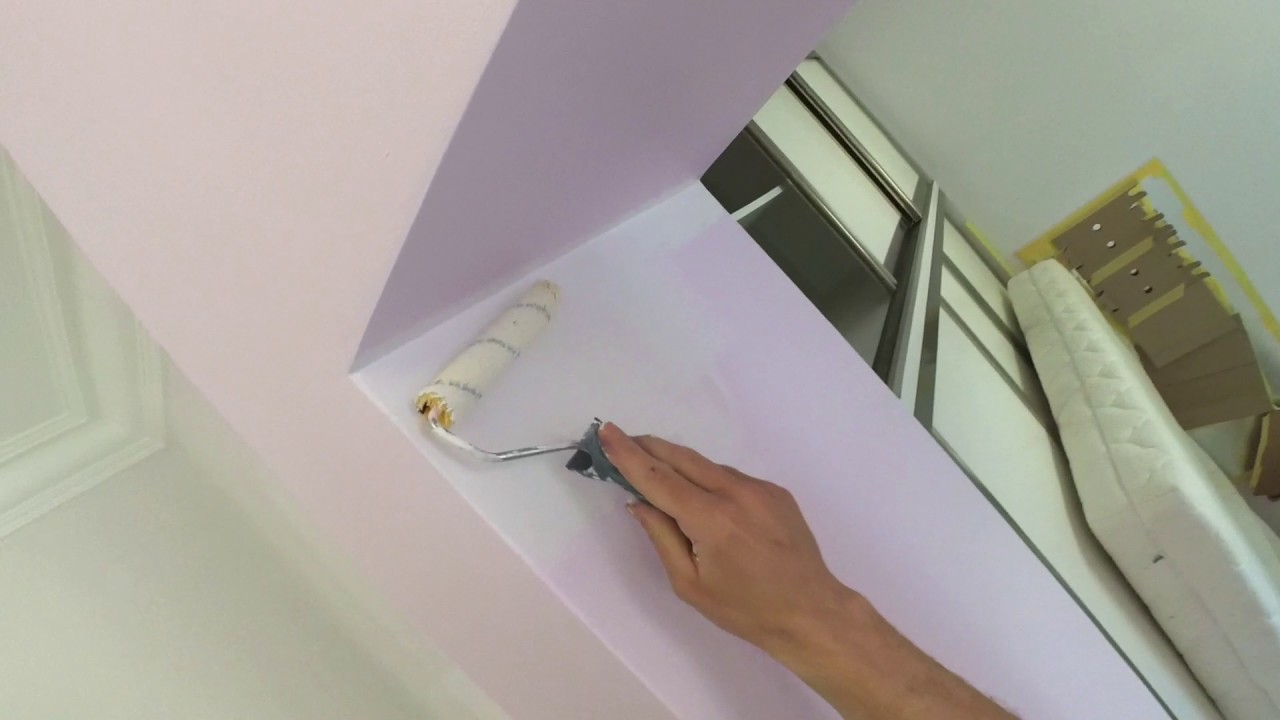
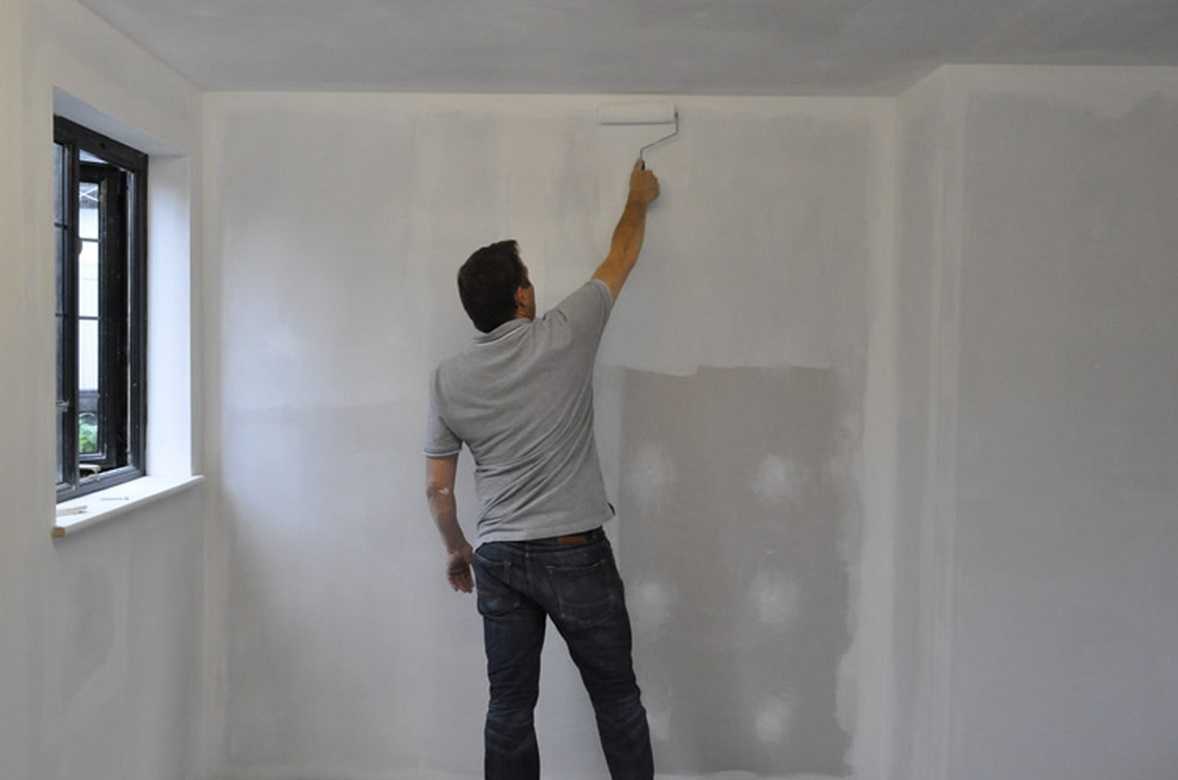
- It is easiest to work with a roller. It turns out pretty easy to achieve a white smooth wall cover. Before starting to work, you should thoroughly mix the mixture, and then start whitewashing with a roller. Apply at least two layers. First, let the first one dry completely, and then you can apply the second.
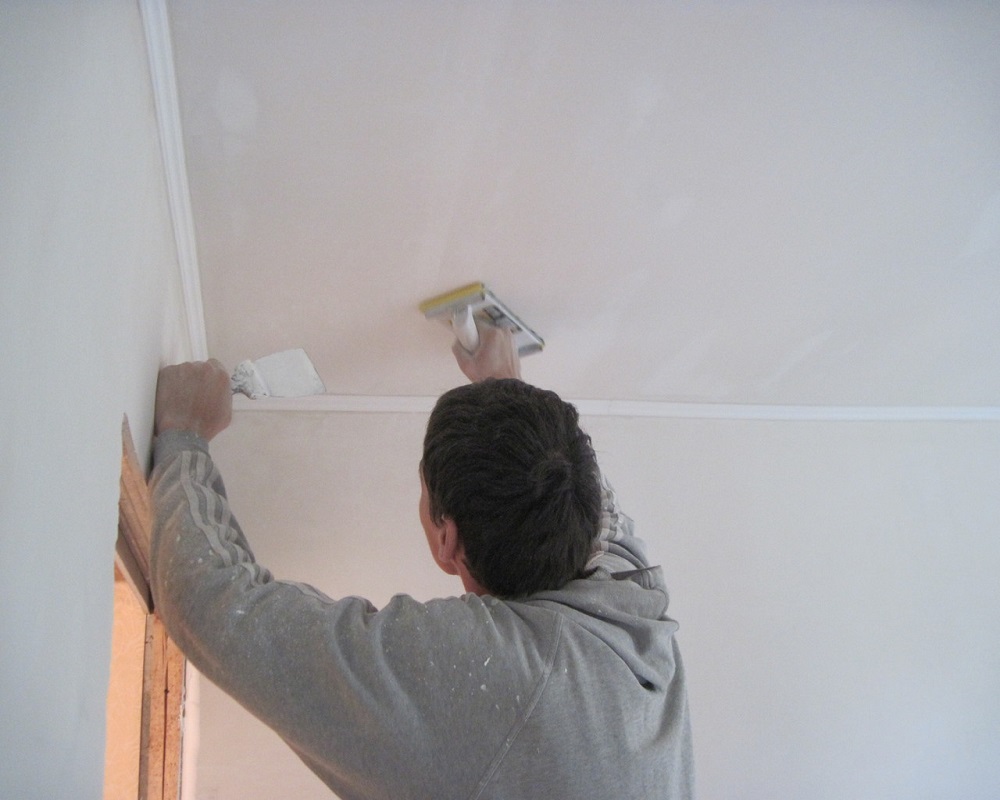
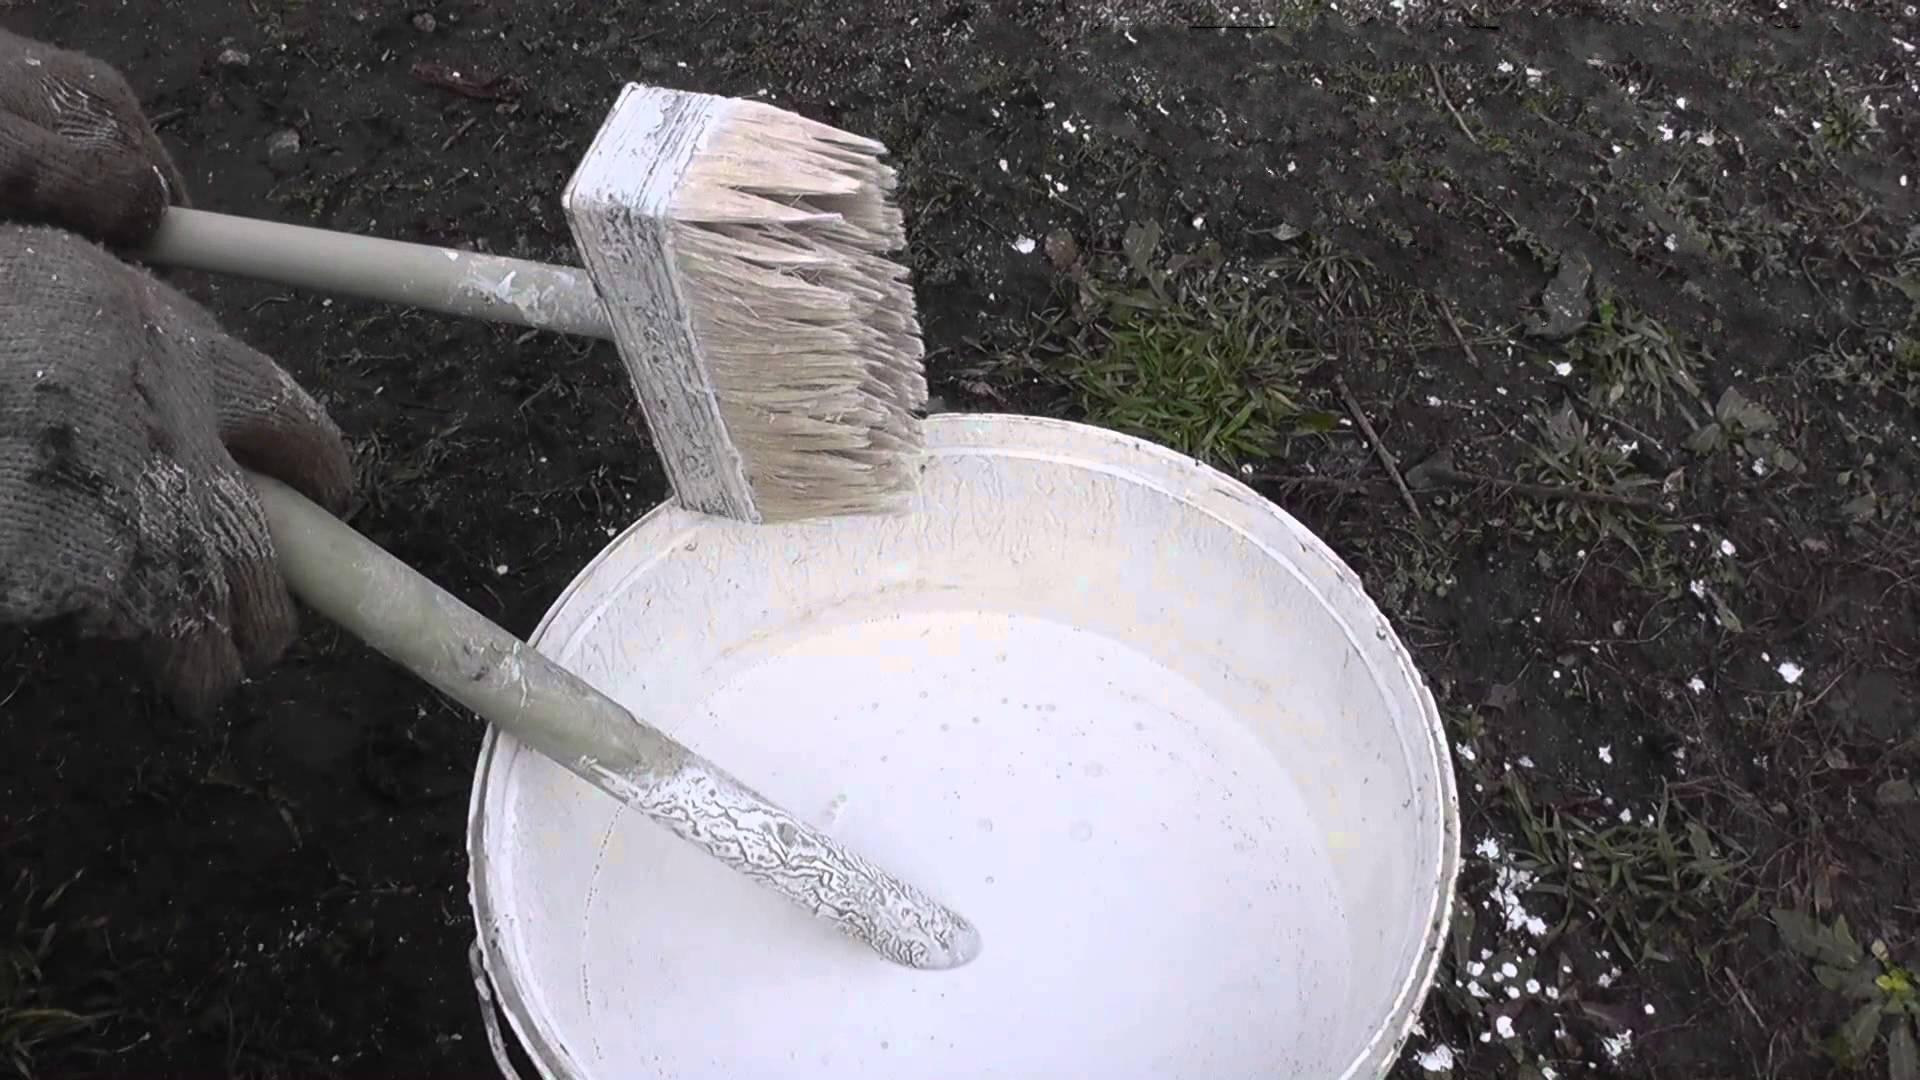
- When making whitewash with a brush, you should take a special model that has natural bristles (width from 15 to 20 cm). When the repair work is completed, the brushes are washed so that they can be used again. For brick walls, you should take a paint brush. For some time before applying whitewash brush soaked in water. Due to this, the wooden handle will swell and it will be better to hold the bristles, which prevents them from falling into the composition.
Immediately before covering the wall, it is necessary to mix the whitewash solution well to achieve uniform tint. According to the technology, the first layer should be perpendicular to the window, the next one - parallel to the frames. Then the strip and the direction of the brush will be almost invisible.
It is also very important to moisten the wall surface with water as best as possible.
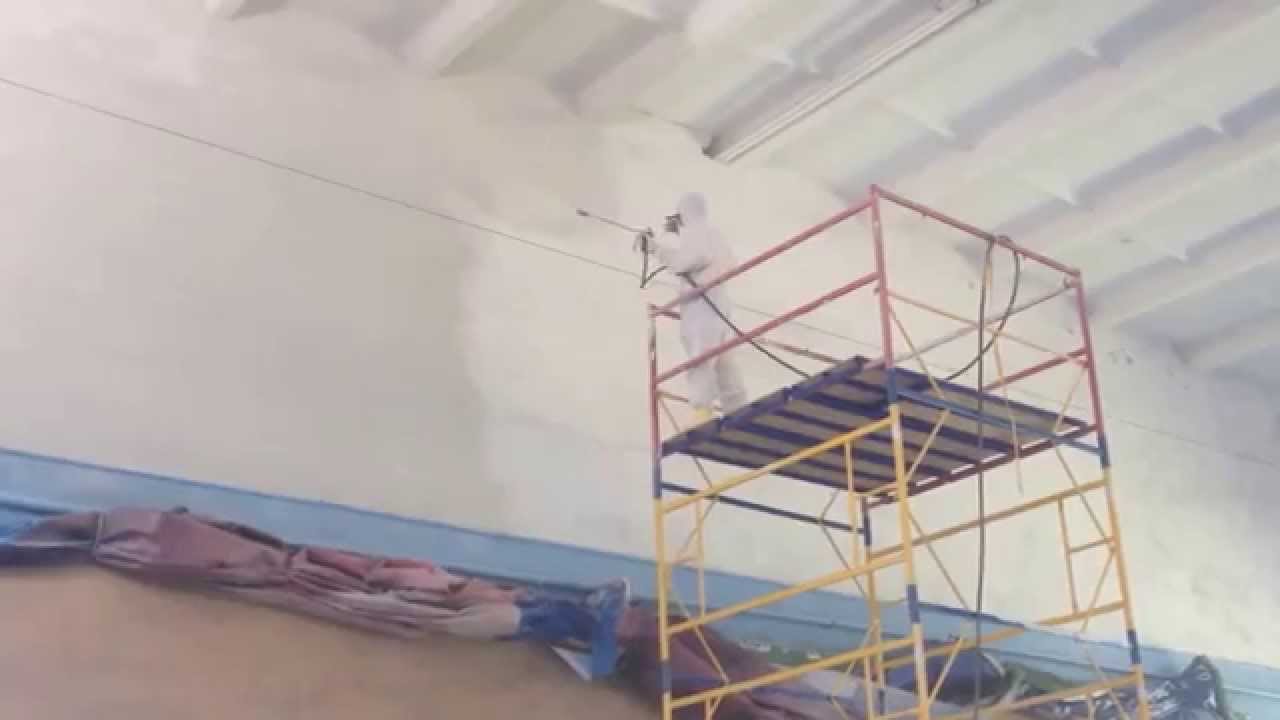
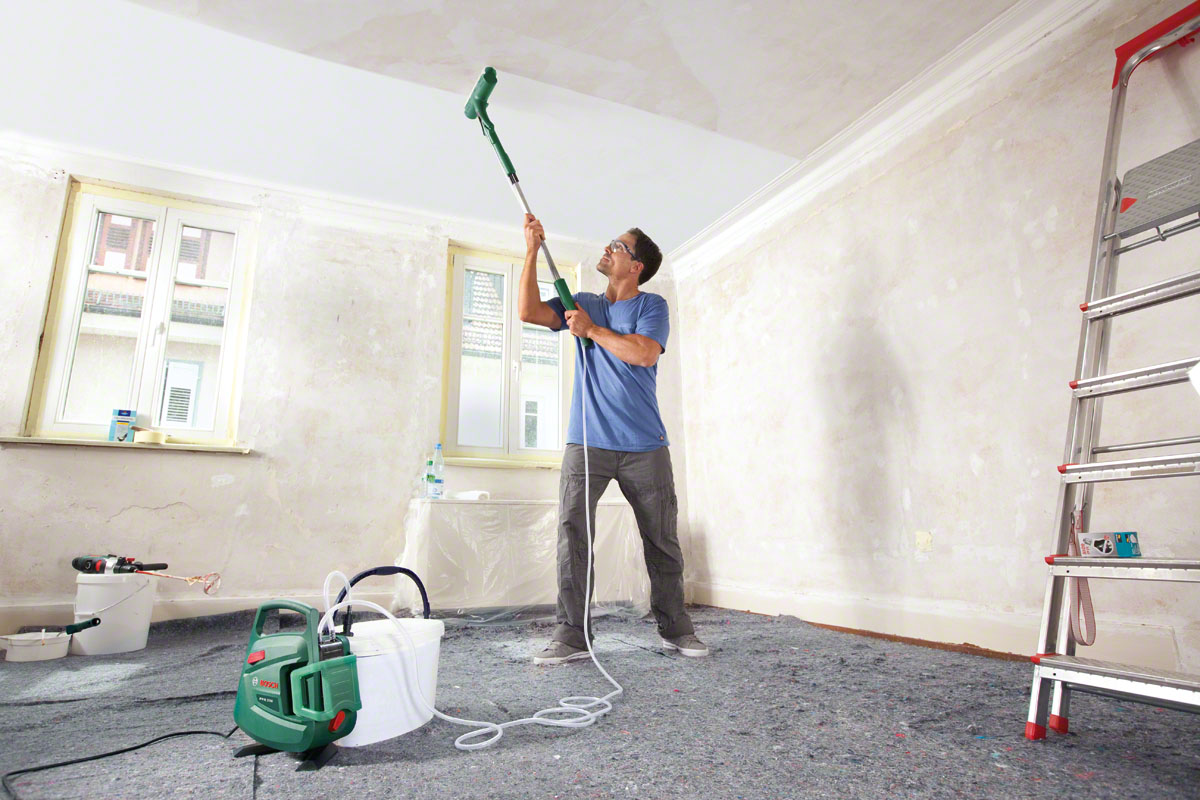
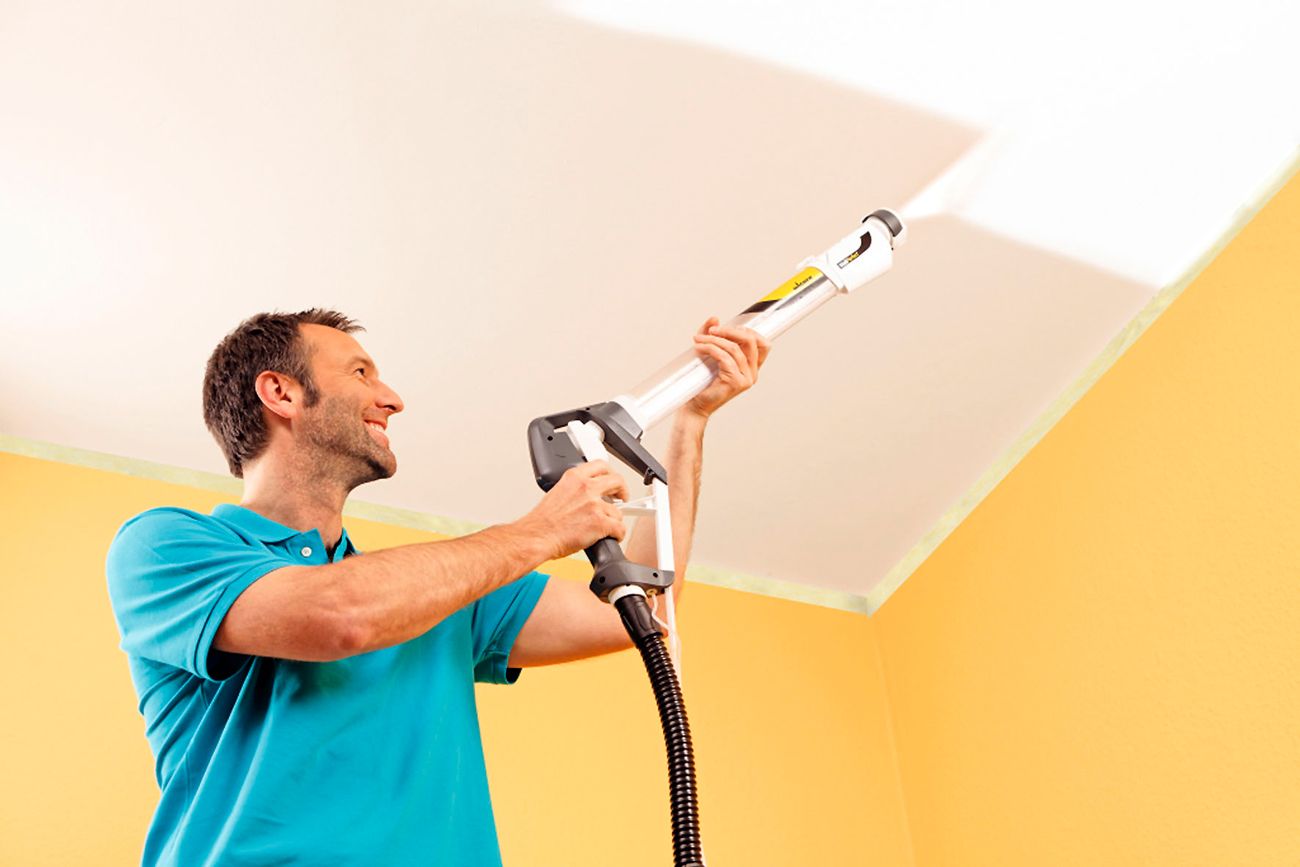
- Vacuum cleaner or spray gun is used on large surfaces. Using them, it is desirable to have experience. When working with these tools, the consumption of the composition increases, as it is applied in a bold layer. But it allows you to disguise minor defects.
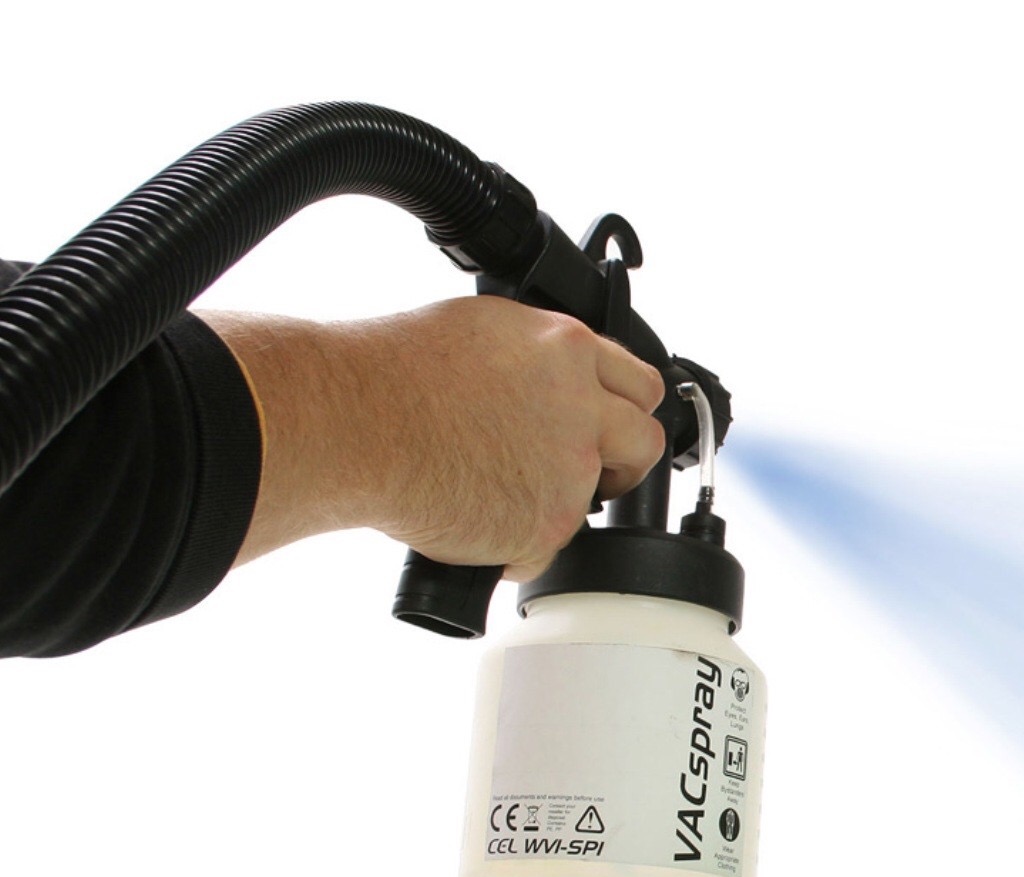
- Whitewashing is applied with a vacuum cleaner, if it has the possibility of blowing out air. A specialized nozzle with a spray gun (in the form of a polyethylene cover with tubes) is used, which is usually included in the package of a vacuum cleaner.

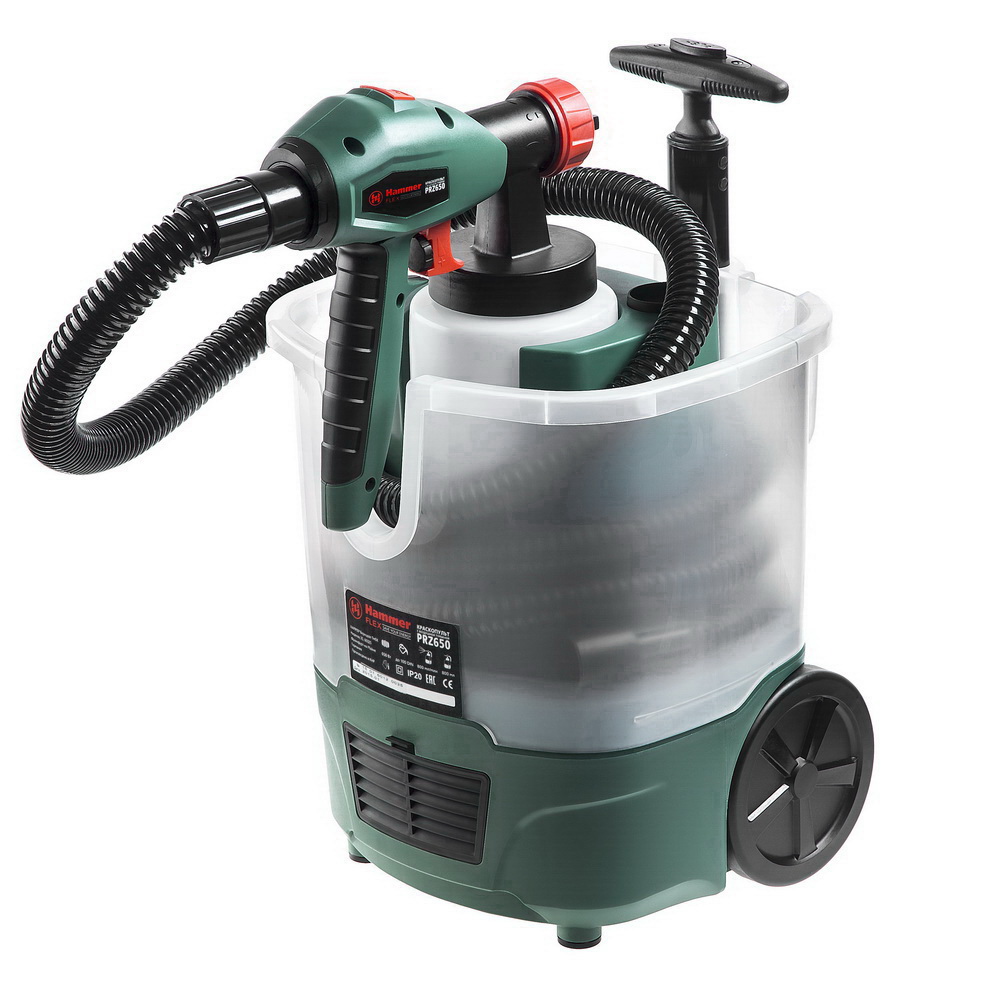
The lid is put on the can and attached to the hose connected to the vacuum cleaner. In the process of blowing air, it gets into the spray and will spray the composition. Typically, the sprayer has a hole, covering which receive the desired whitewash. Apply the composition of whitewash taken neat circular movements, while maintaining the distance of spraying from 70 to 100 cm.
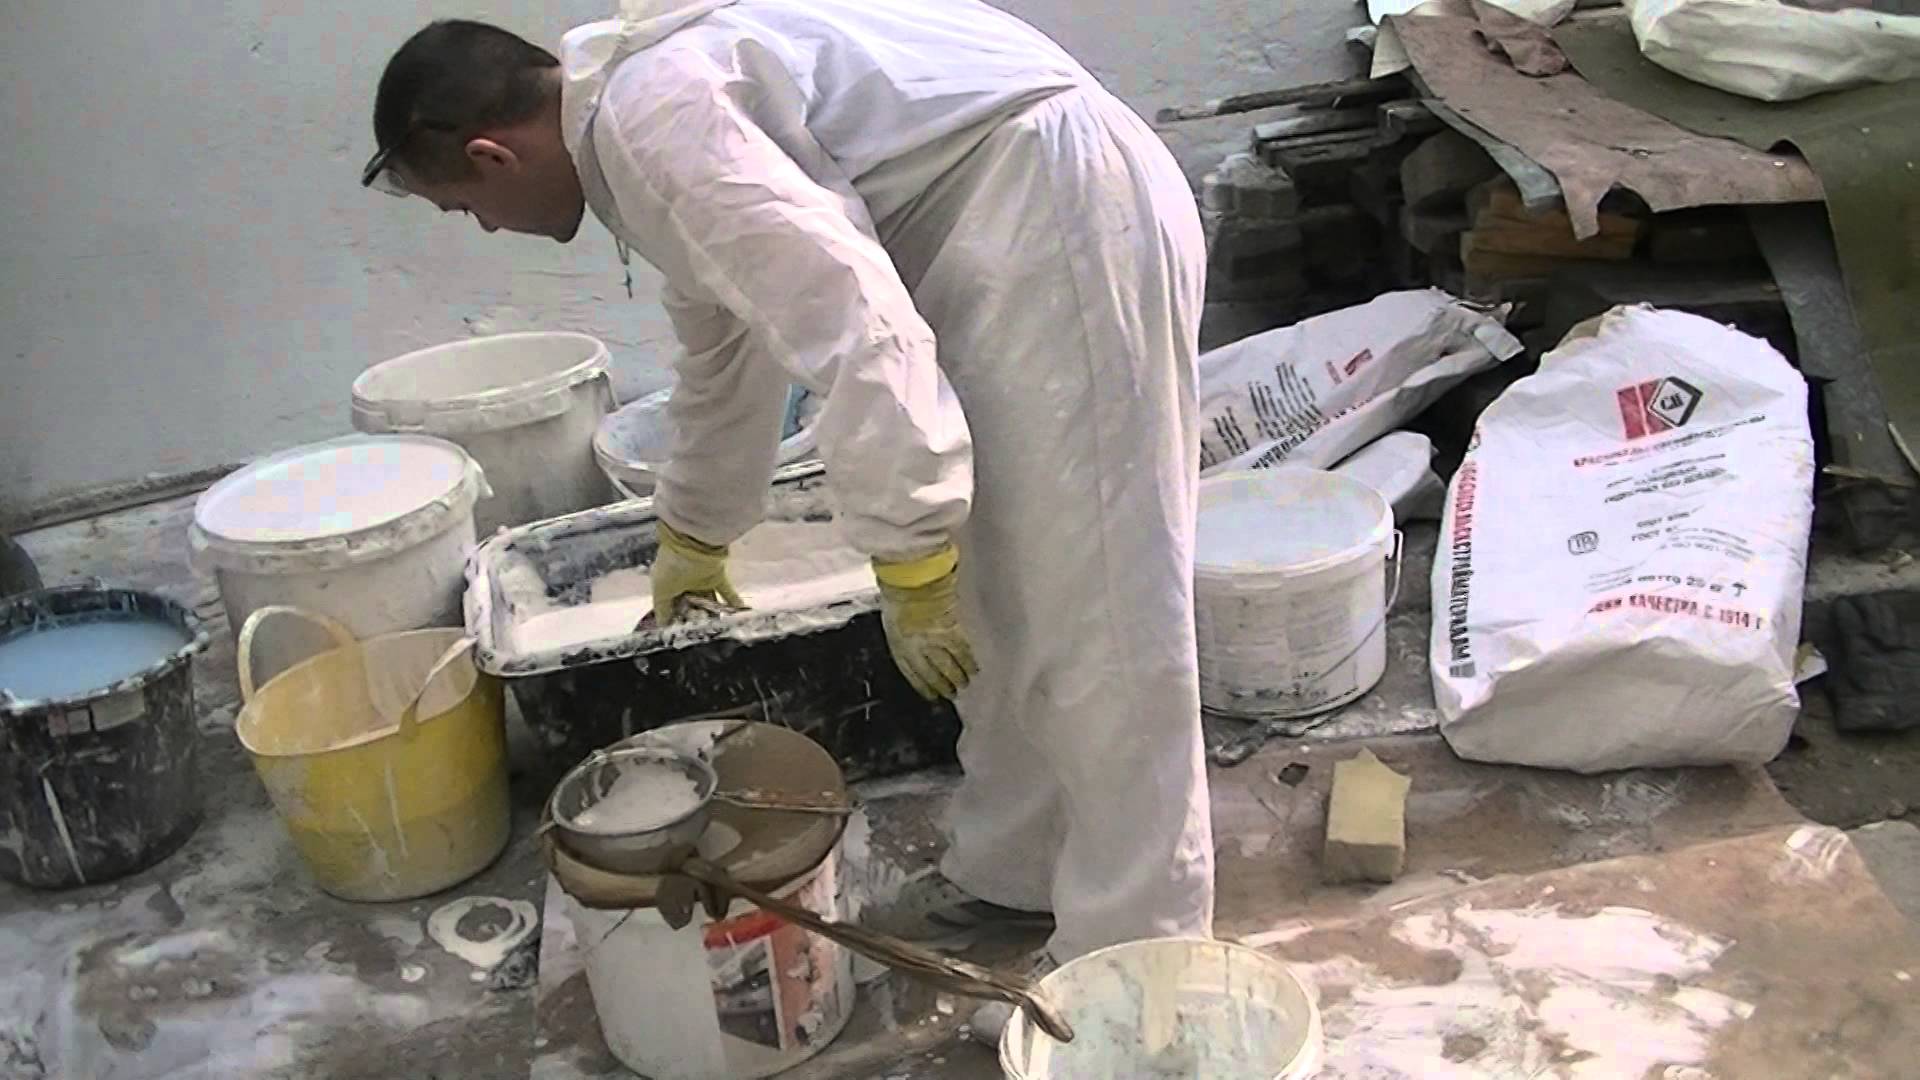
When whitewashing walls adhere to important safety rules.
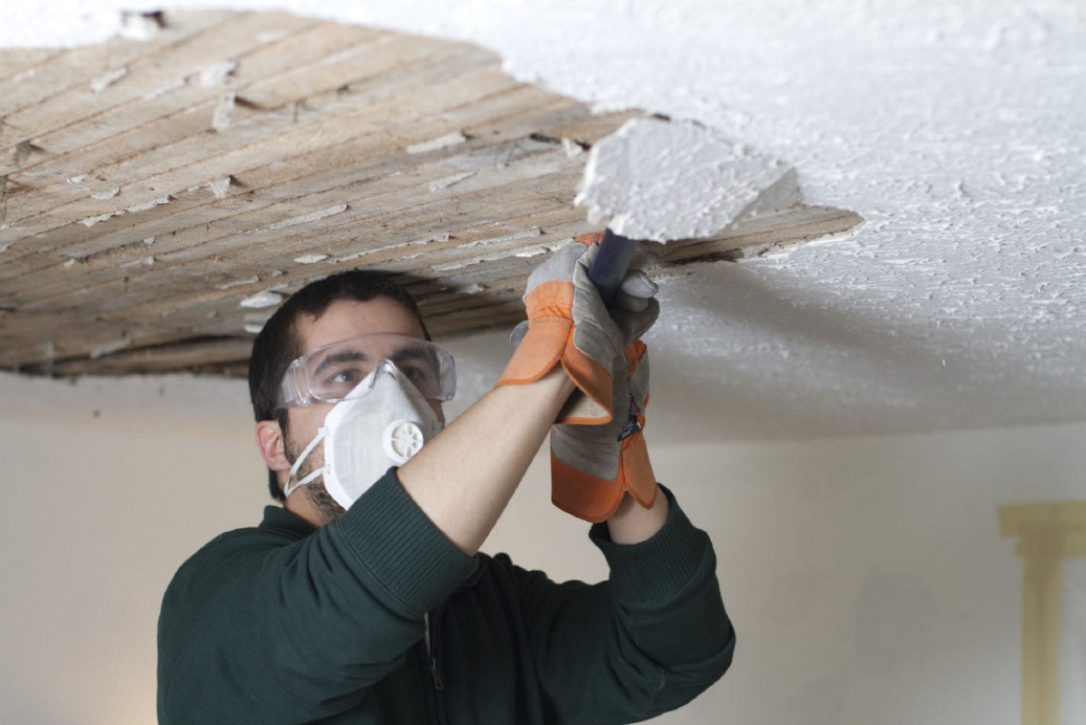
- Always wear protective clothing covering the entire body during repairs. Eye goggles should be worn and high-quality rubber gloves should be worn.For the preservation of the respiratory tract using a moistened dressing or respirator. On the head must be a hat or kerchief.
- If lime gets on your skin, immediately rinse the area with plenty of water (rinse for at least 15 minutes), and then consult a doctor. Lime can cause a rather severe burn that hurts and heals slowly.
- To get rid of stains that inevitably arise when whitewashing the walls, only water and a sponge will be needed. But it is important to remove stains fresh. Processing is carried out several times. Never take time and if you notice an unwanted stain, remove it immediately.
See the following video for the recipe for lime whitewash


