Walls for painting: the order of repair work
Living space must be beautiful and comfortable. To make it so, do not do without repair work. Most often it is necessary to level the walls in order to prepare them for further actions. The order of such works is very important, especially when you decide to prepare the walls for painting, because in case of violation of the technology, the end result will not please you at all.
Features of work
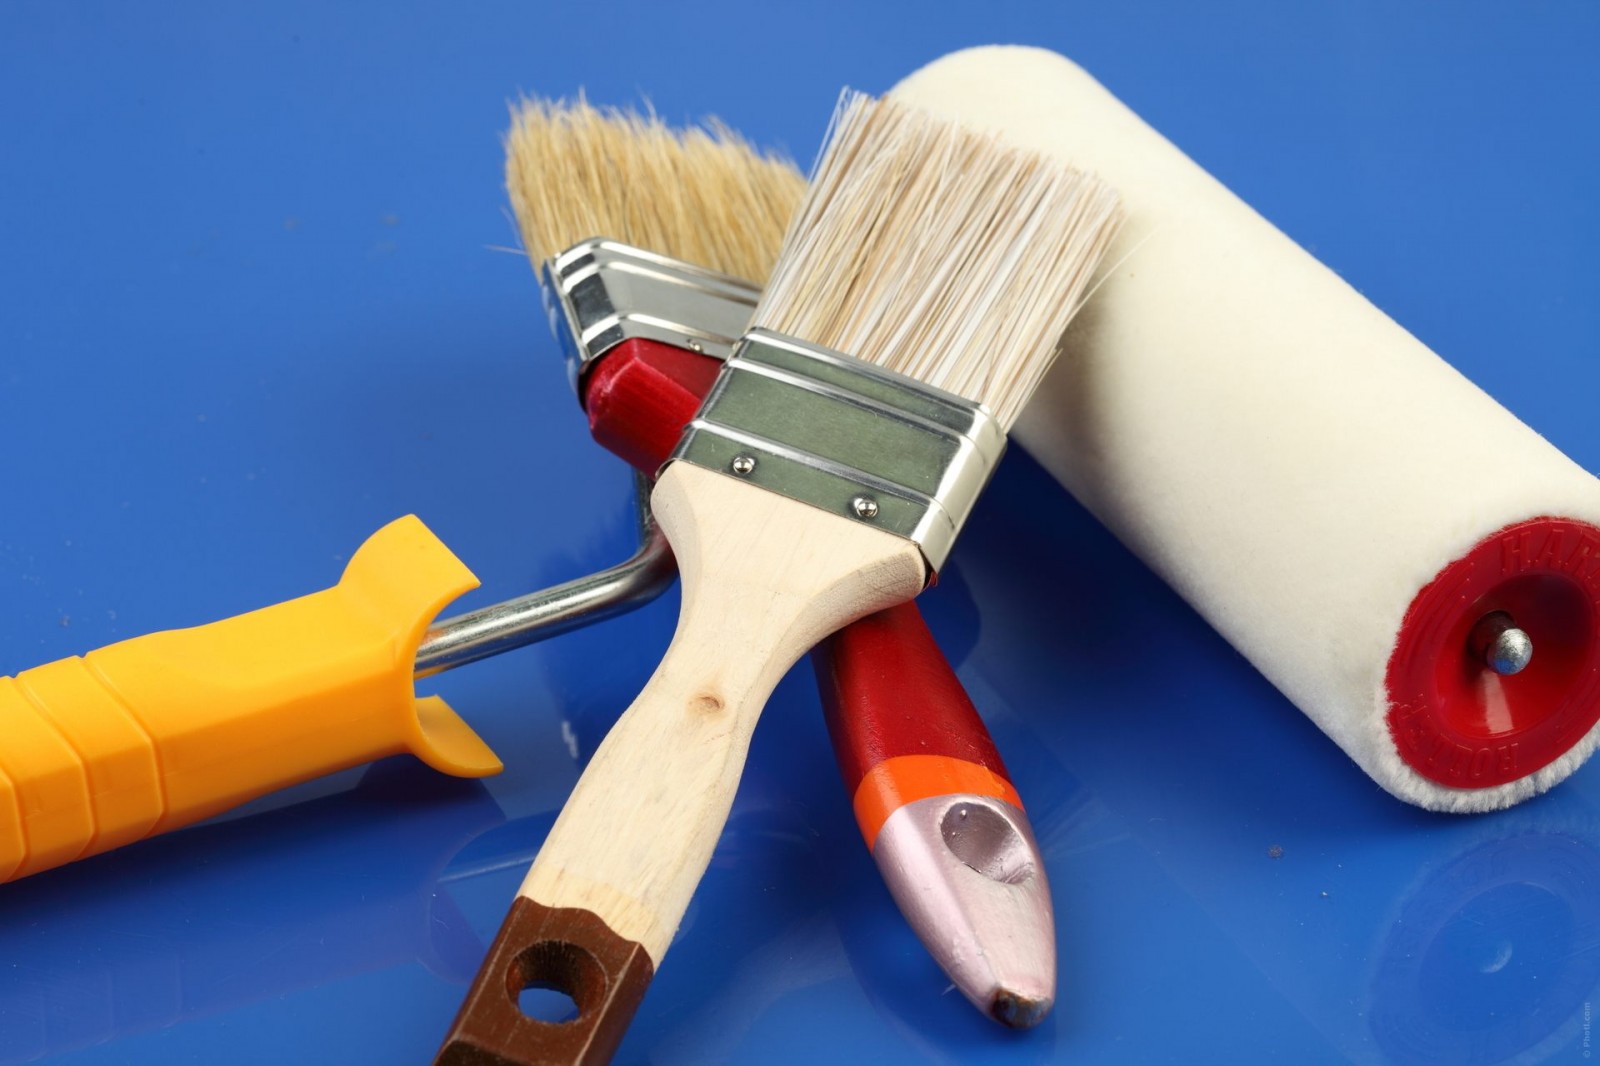
First of all, it is important to take care of the inventory, which must be with you. This will ensure the speed of the process and its quality, which is very important. It is best to have a chisel or a hammer drill with which you can remove the old layer on the walls. A hammer, a metal brush attachment on a drill or grinding machine, and a soft brush will help remove dust.
If there is paint on the wall, then it should be removed with a building hair dryer., scraper, chisel and trowel.As for the latter, a tool with a width of 120-150 mm will be the most suitable for this type of work.
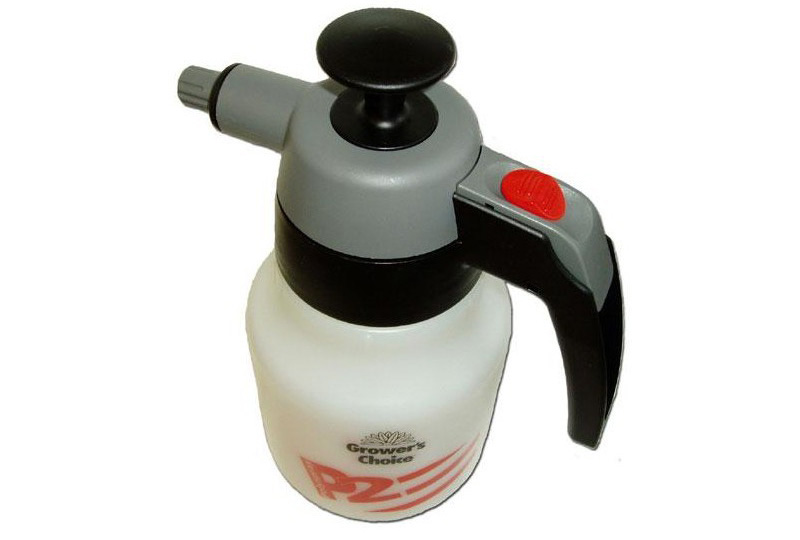
In the event that you are removing a whitewash, then the first thing you should have is a spray bottle and a big washcloth. You can also use a roller with a large pile, which will effectively moisten the wall and remove unnecessary coating.
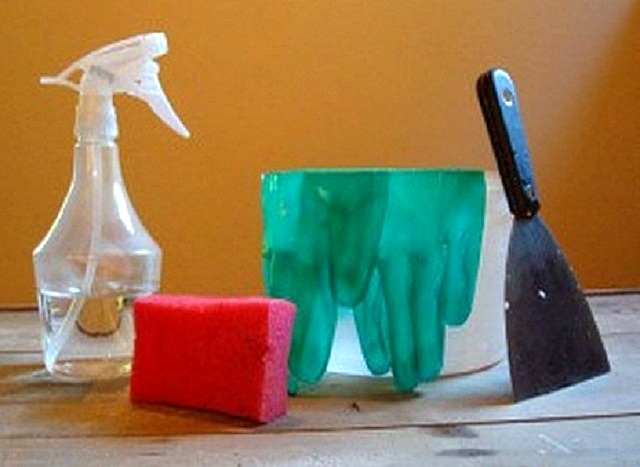
If you need to remove the wallpaper from the walls, then prepare tools such as a spray gun, which should be warm water, and a spatula.
If finances allow, you can purchase a steamer, which will help to very quickly separate the wallpaper covering from the walls. You may also need a needle roller.
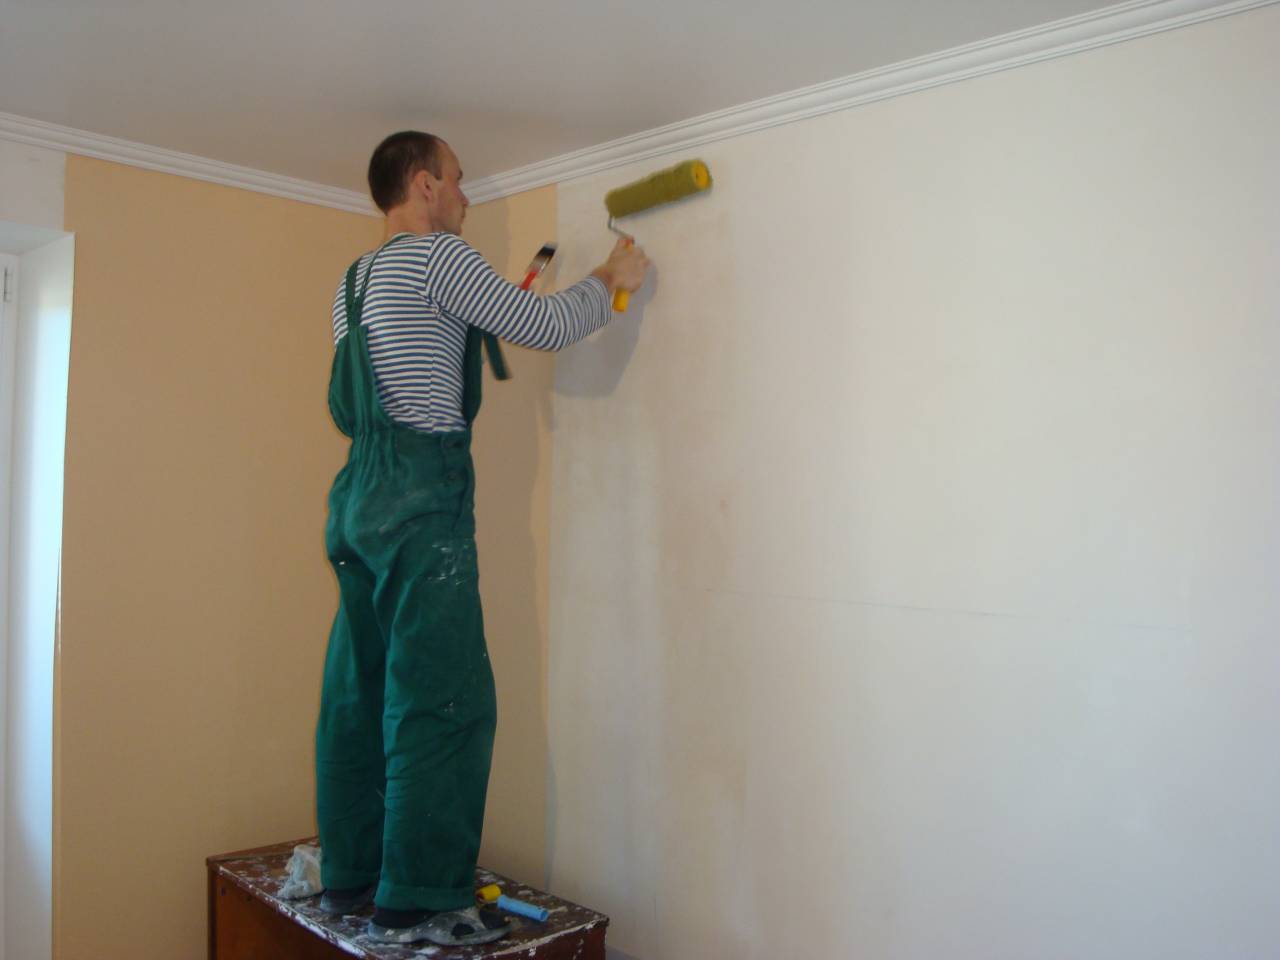
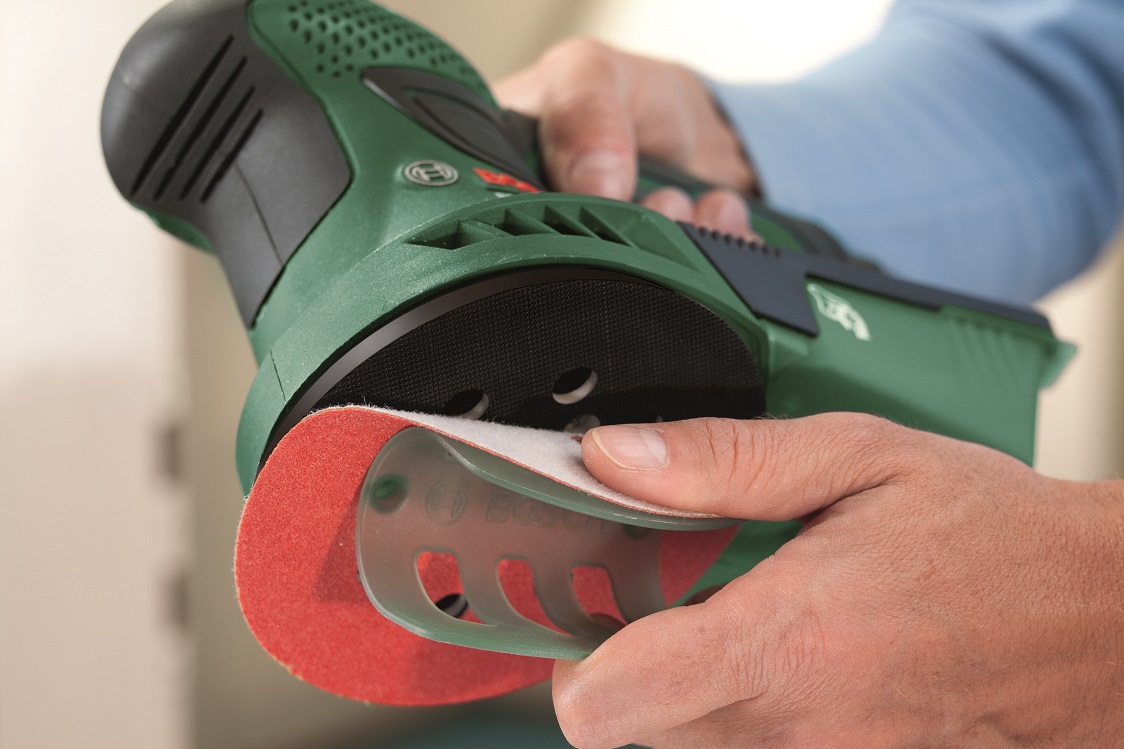
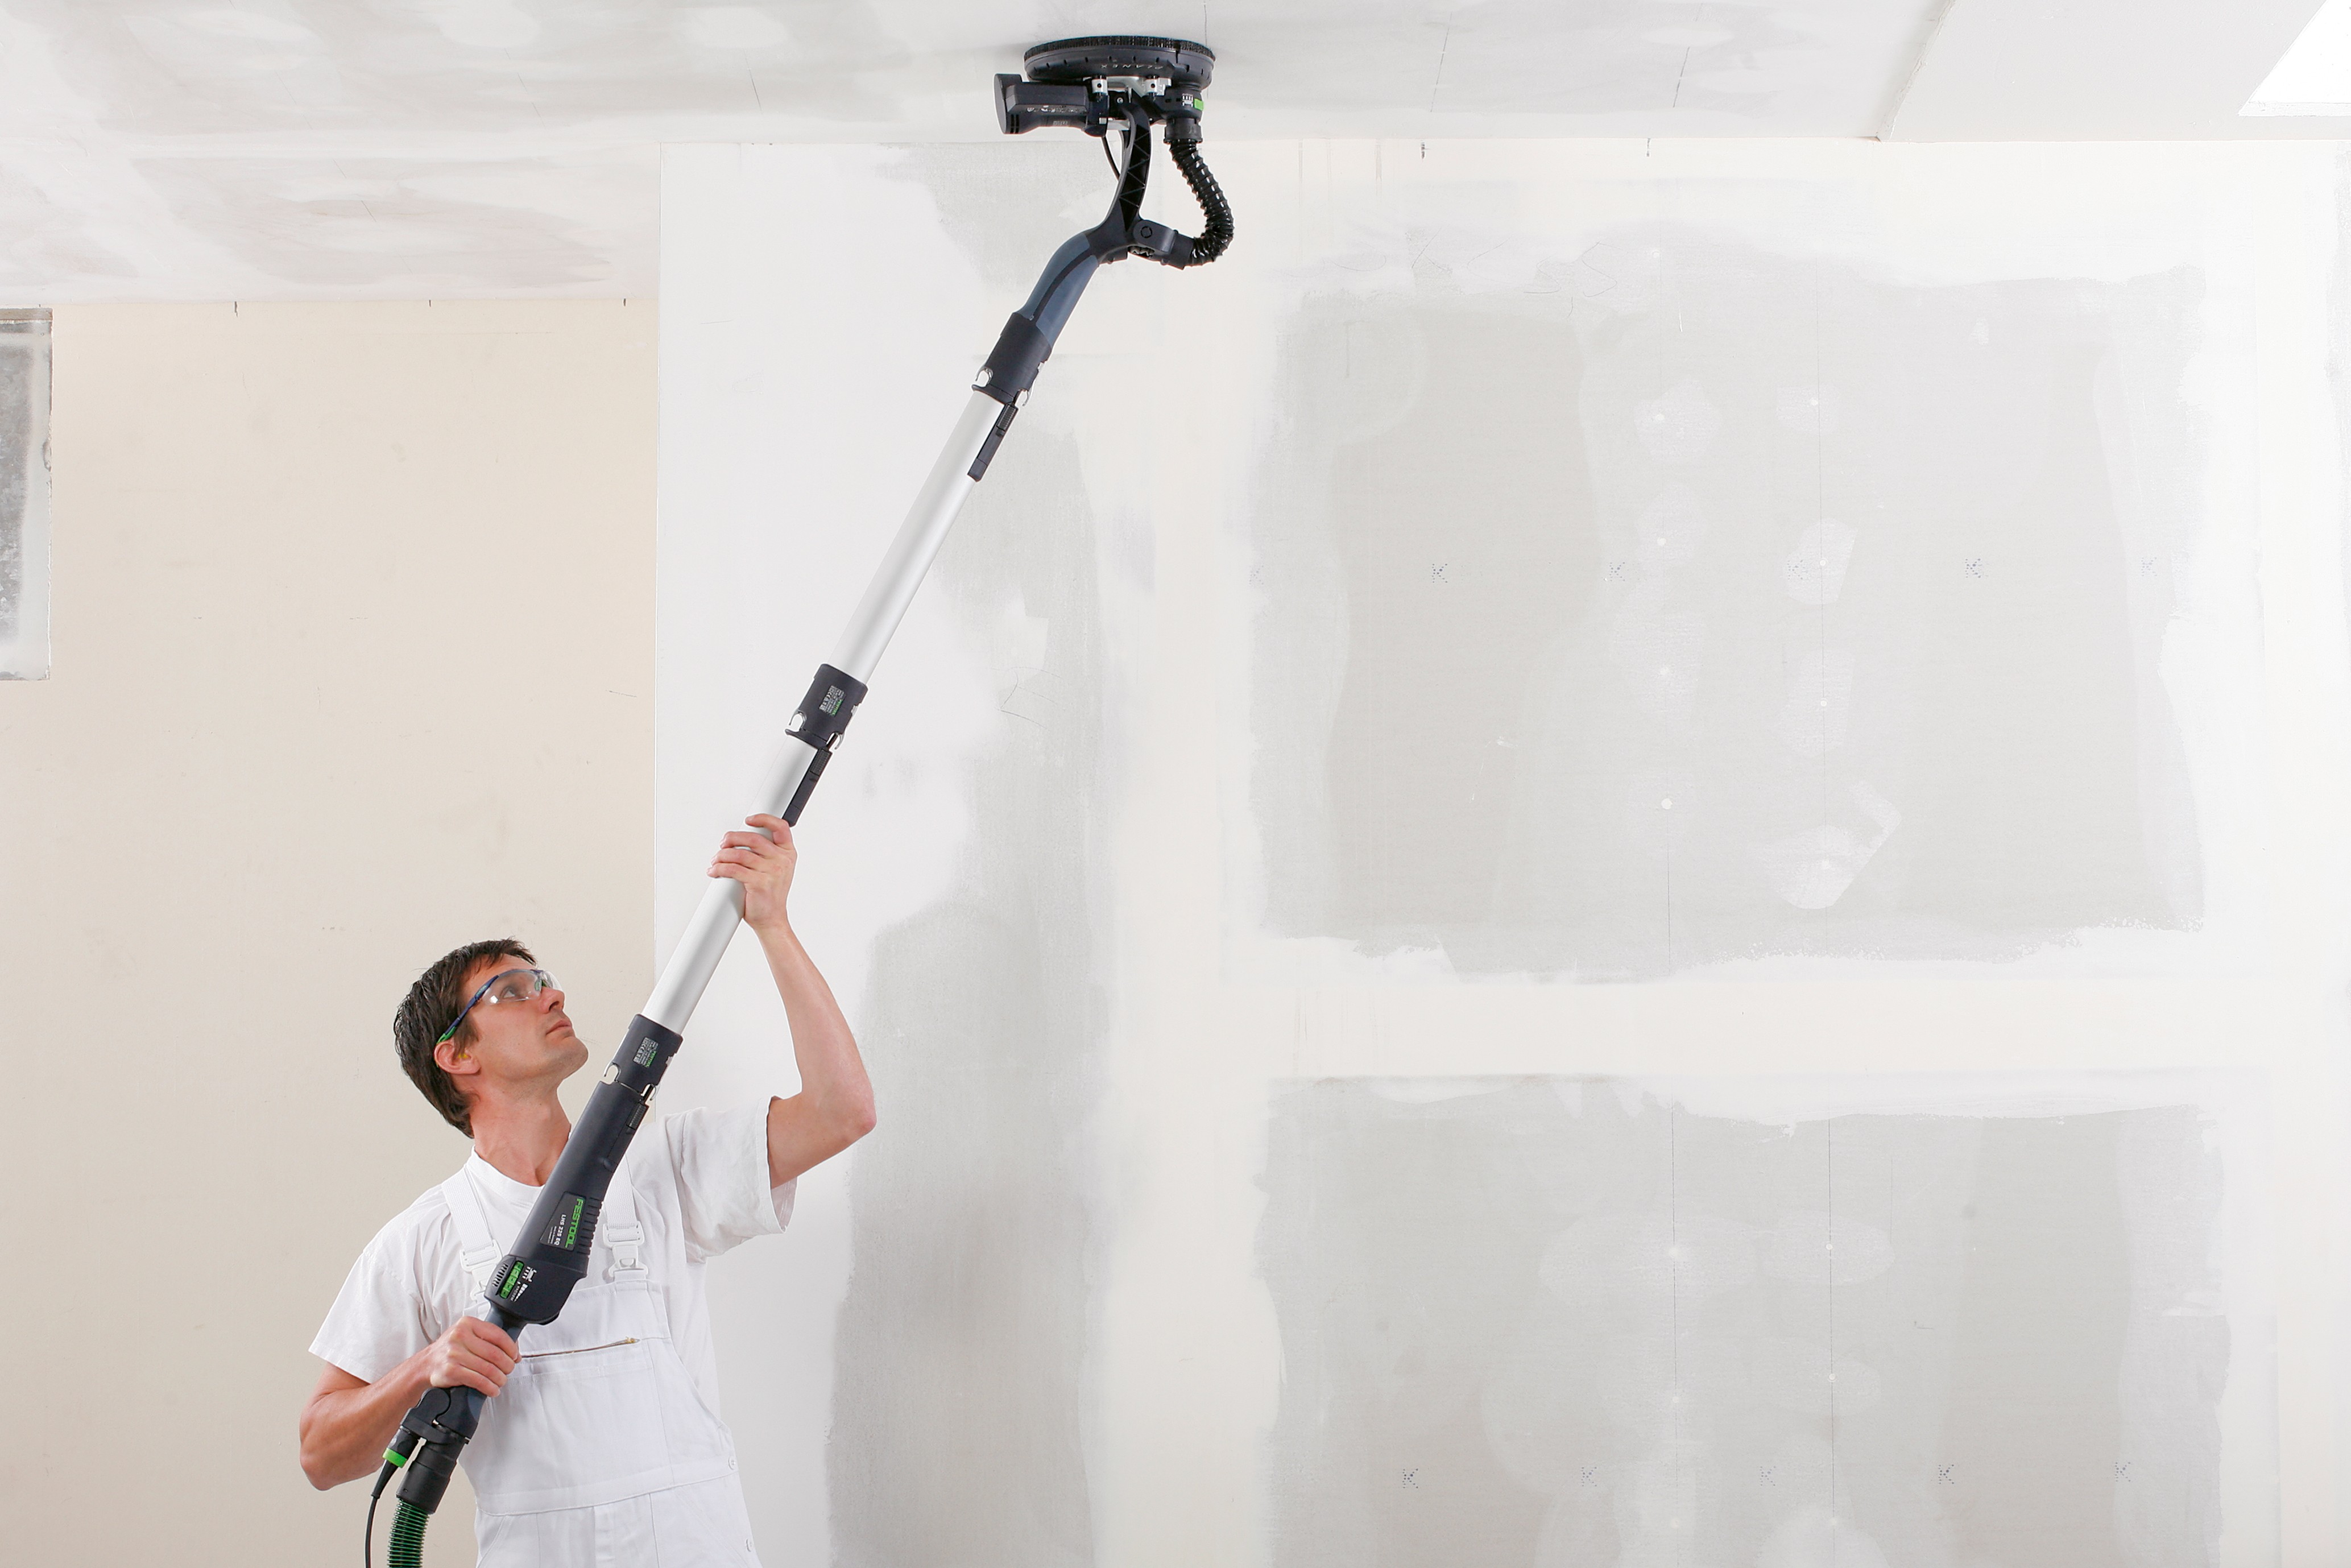
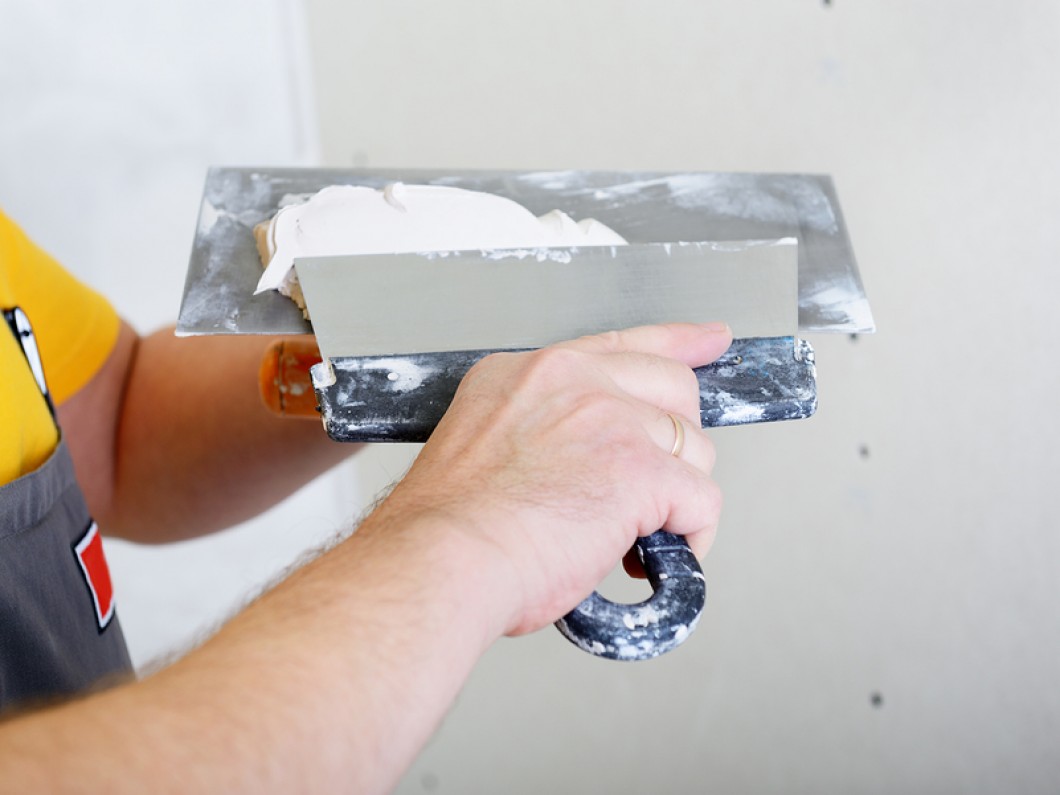
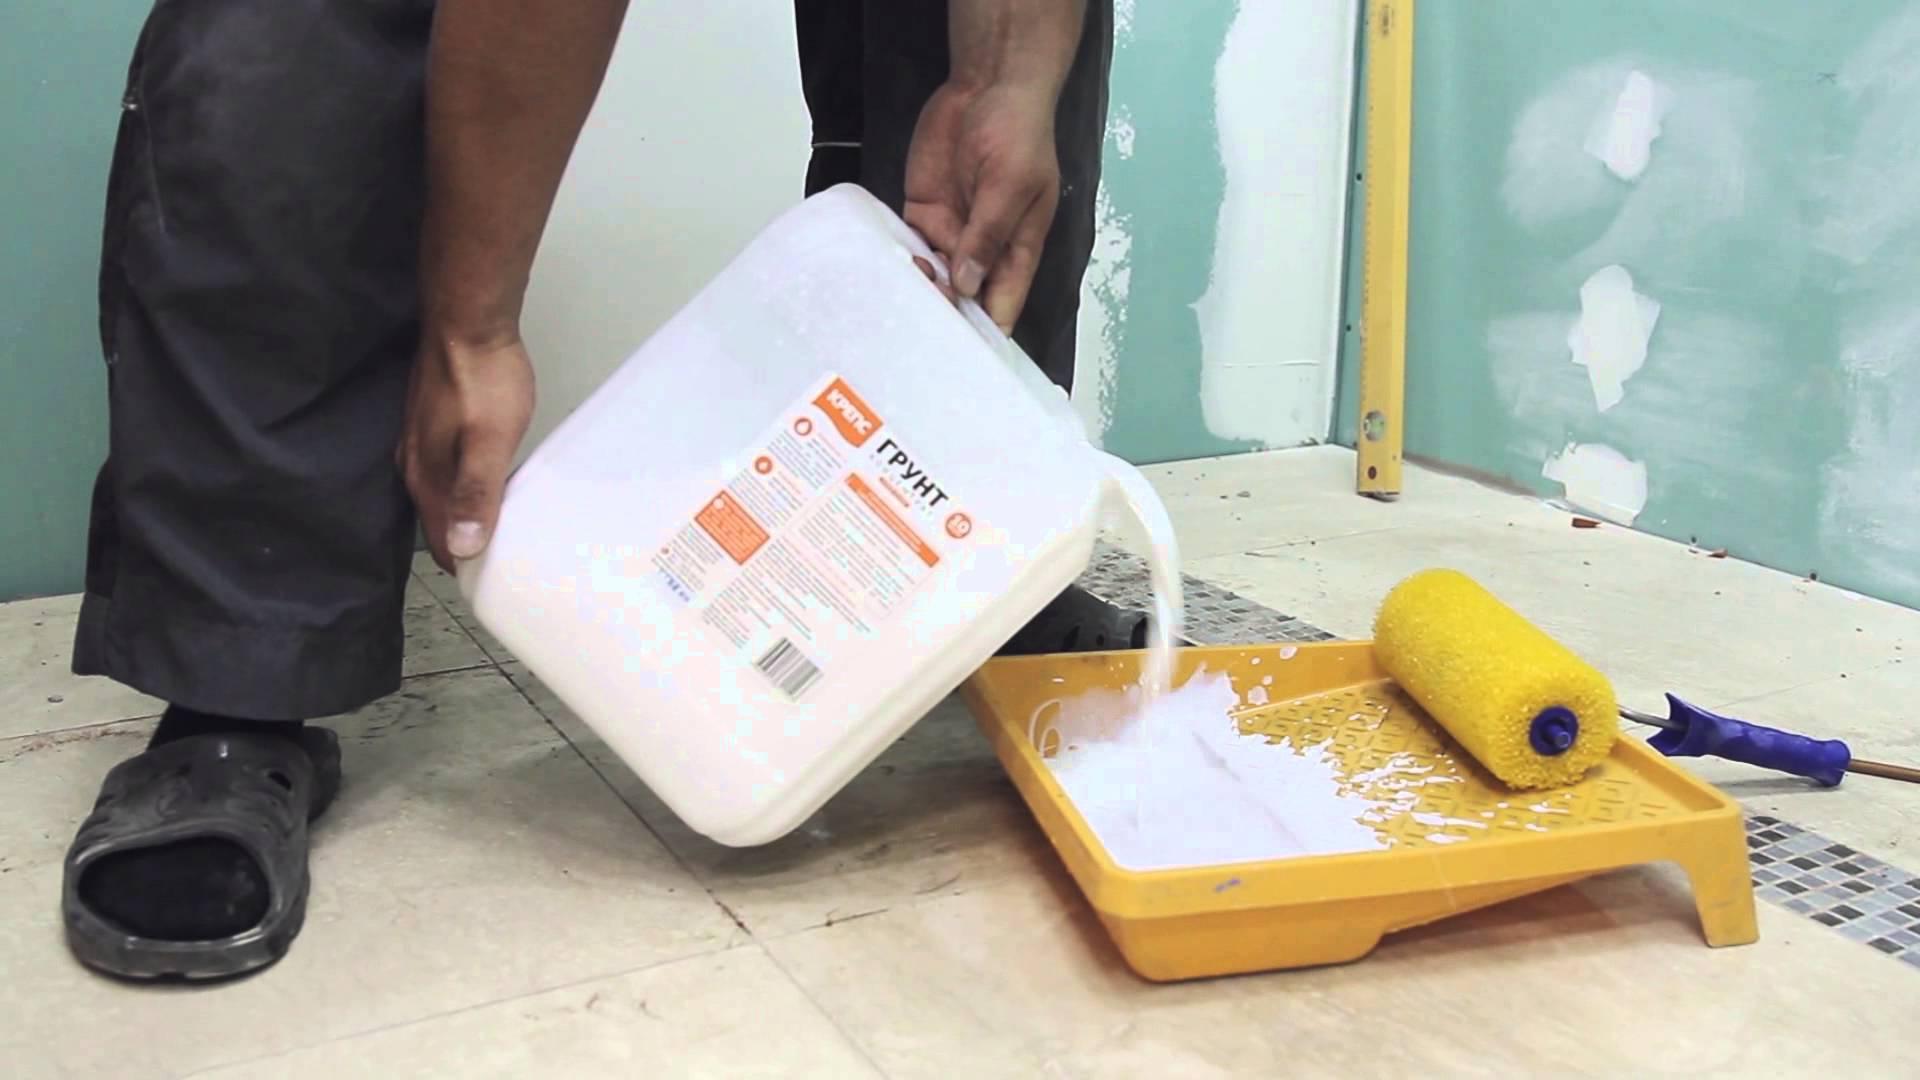
Once the cleaning work is done, you need to proceed directly to leveling the wall., what is needed is another tool - building level, brush and roller, which will be applied primer, spatula medium size for putty walls, a hand grater or grinder for leveling, a drill with nozzles for kneading mortar and capacity for it.
Depending on the room in which the work will be performed, you will use a different tool.

For example, in a bathroom it will be necessary to strip off a tile, perhaps, somewhere to clean walls from a paint. If we are talking about the kitchen, then there, too, may be partially present tile, but most often on the walls there are wallpapers from which you will need to get rid of. The toilet is most often painted, but in some cases it may be tile, and therefore the set of tools may differ. In the bedroom, they glue only the wallpaper, because the simplest set of a spray bottle and trowel for this room is enough for you.

Advantages and disadvantages
Planning to paint the walls in the room, you need to take into account all the pros and cons of the materials used, first of all it concerns the paints that you choose.
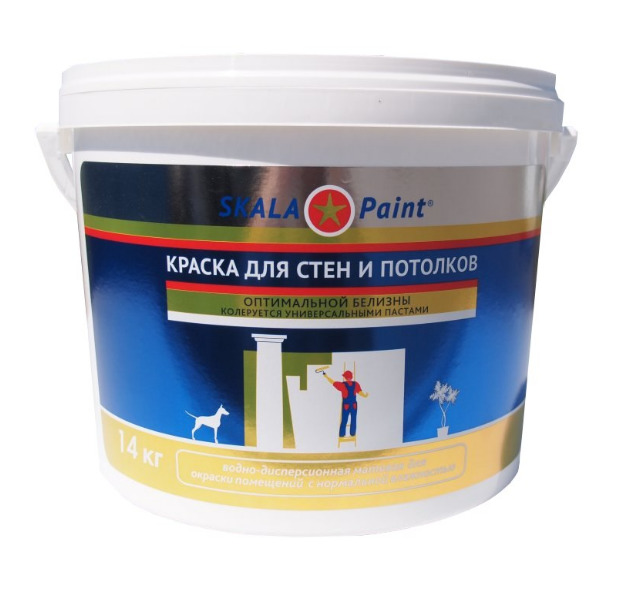
The most popular at the moment are water-dispersion options, among which are distinguished:
- Latex;
- Acrylic;
- Vinyl;
- With a combined composition;
- Latex-acrylic.
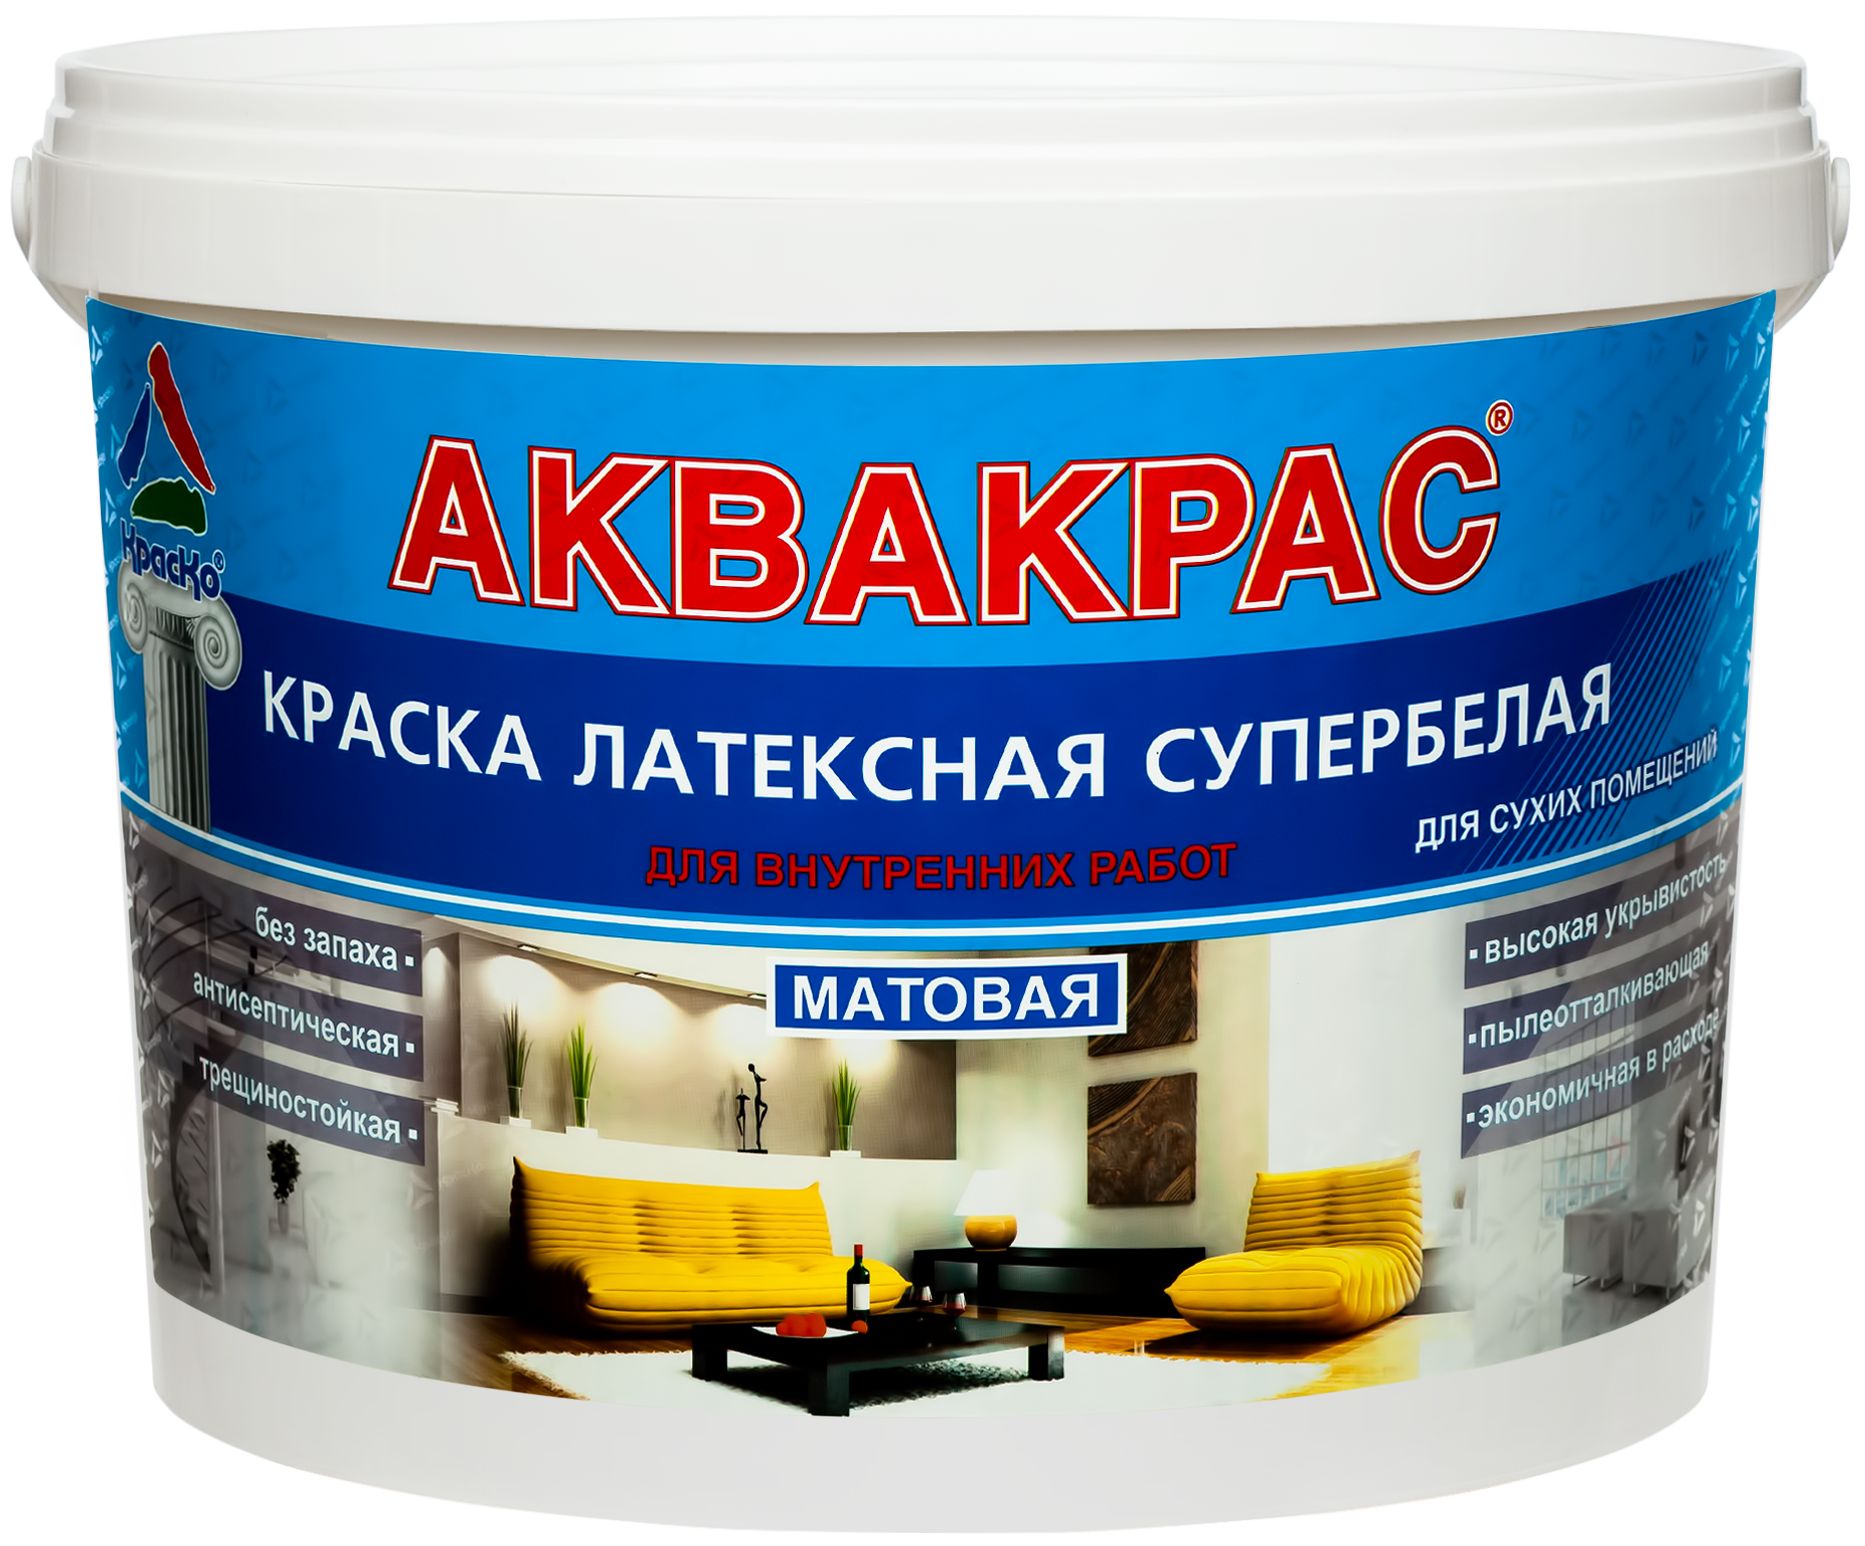
Consider the advantages and disadvantages of painting can be precisely by analyzing each of the options of paints. So, latex paints have an even and dense layer of application, they are elastic and waterproof, which allows you to wash and clean the surfaces that are painted to it. Of the minuses, you can highlight the high cost.If you apply latex paint as an exterior finish, it will very quickly burn out in the sun, but in the room it will serve for many years.
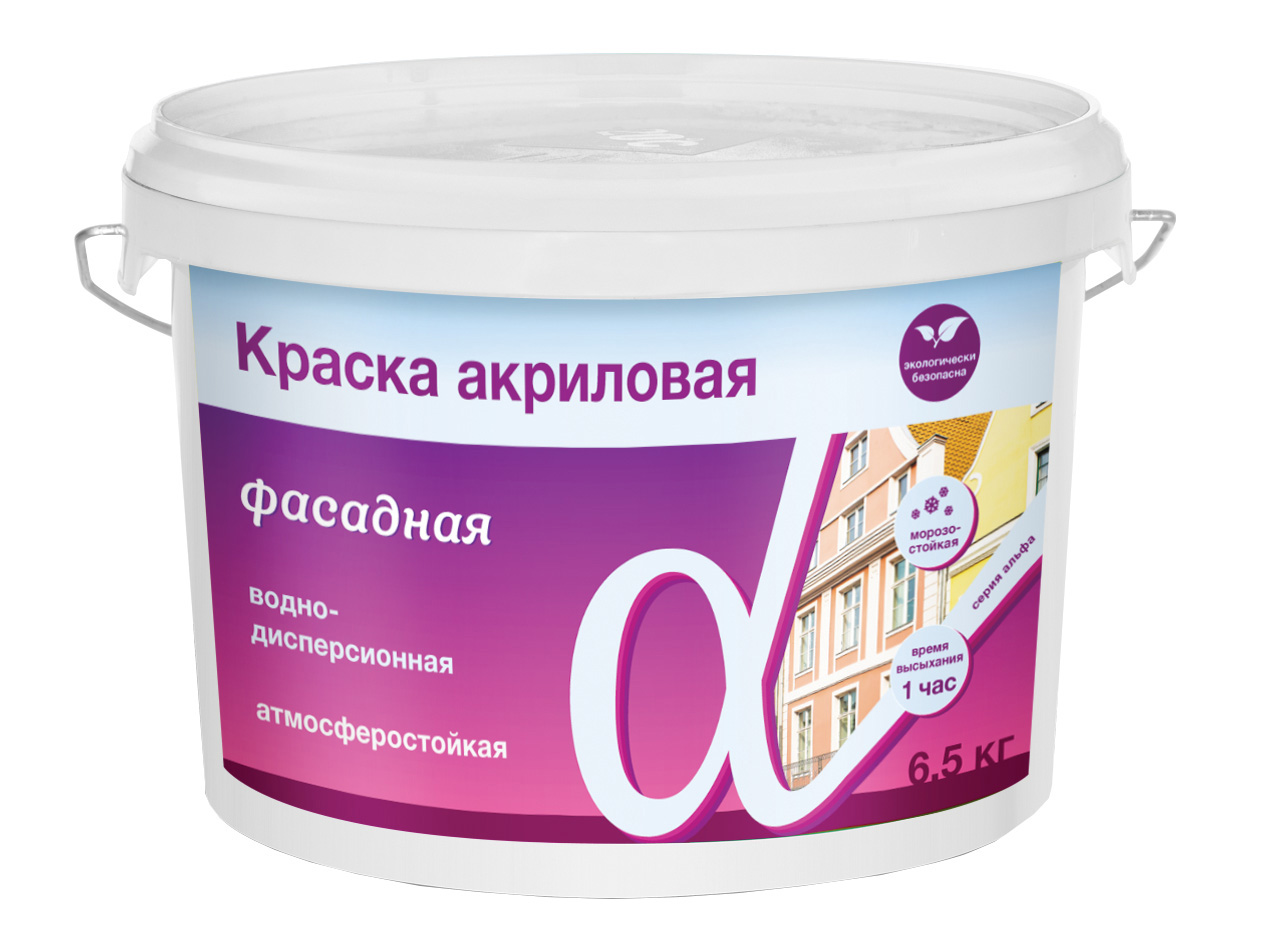
Acrylic paints are resistant, vapor permeable and have a long service life.that is their undoubted advantage. Acrylic can be painted walls both indoors and outside. The surfaces with acrylic paint are excellent for washing, and the brightness of the paints is not lost over time. This option is most often used for finishing work.
The purpose of the vinyl paint is to paint the interior elements of the room; it is not used for exterior work.
Such a coating makes the wall spectacular and beautiful, and all this is also at an affordable price, which is an undoubted advantage of using vinyl paints.
If we are talking about paints with a mixed composition, then most often they are intended for those rooms where adverse conditions are observed, which is an indisputable advantage. Latex-acrylic paints have high strength, waterproof, easy to clean and look great, which also puts them in a number of paints that have no significant drawbacks.
Modern paints produce no strong odors, so that workers do not experience discomfort during repairs, but when using enamel a strong unpleasant odor cannot be avoided, which makes you think carefully when choosing such paint for any kind of coating.
Types of surfaces
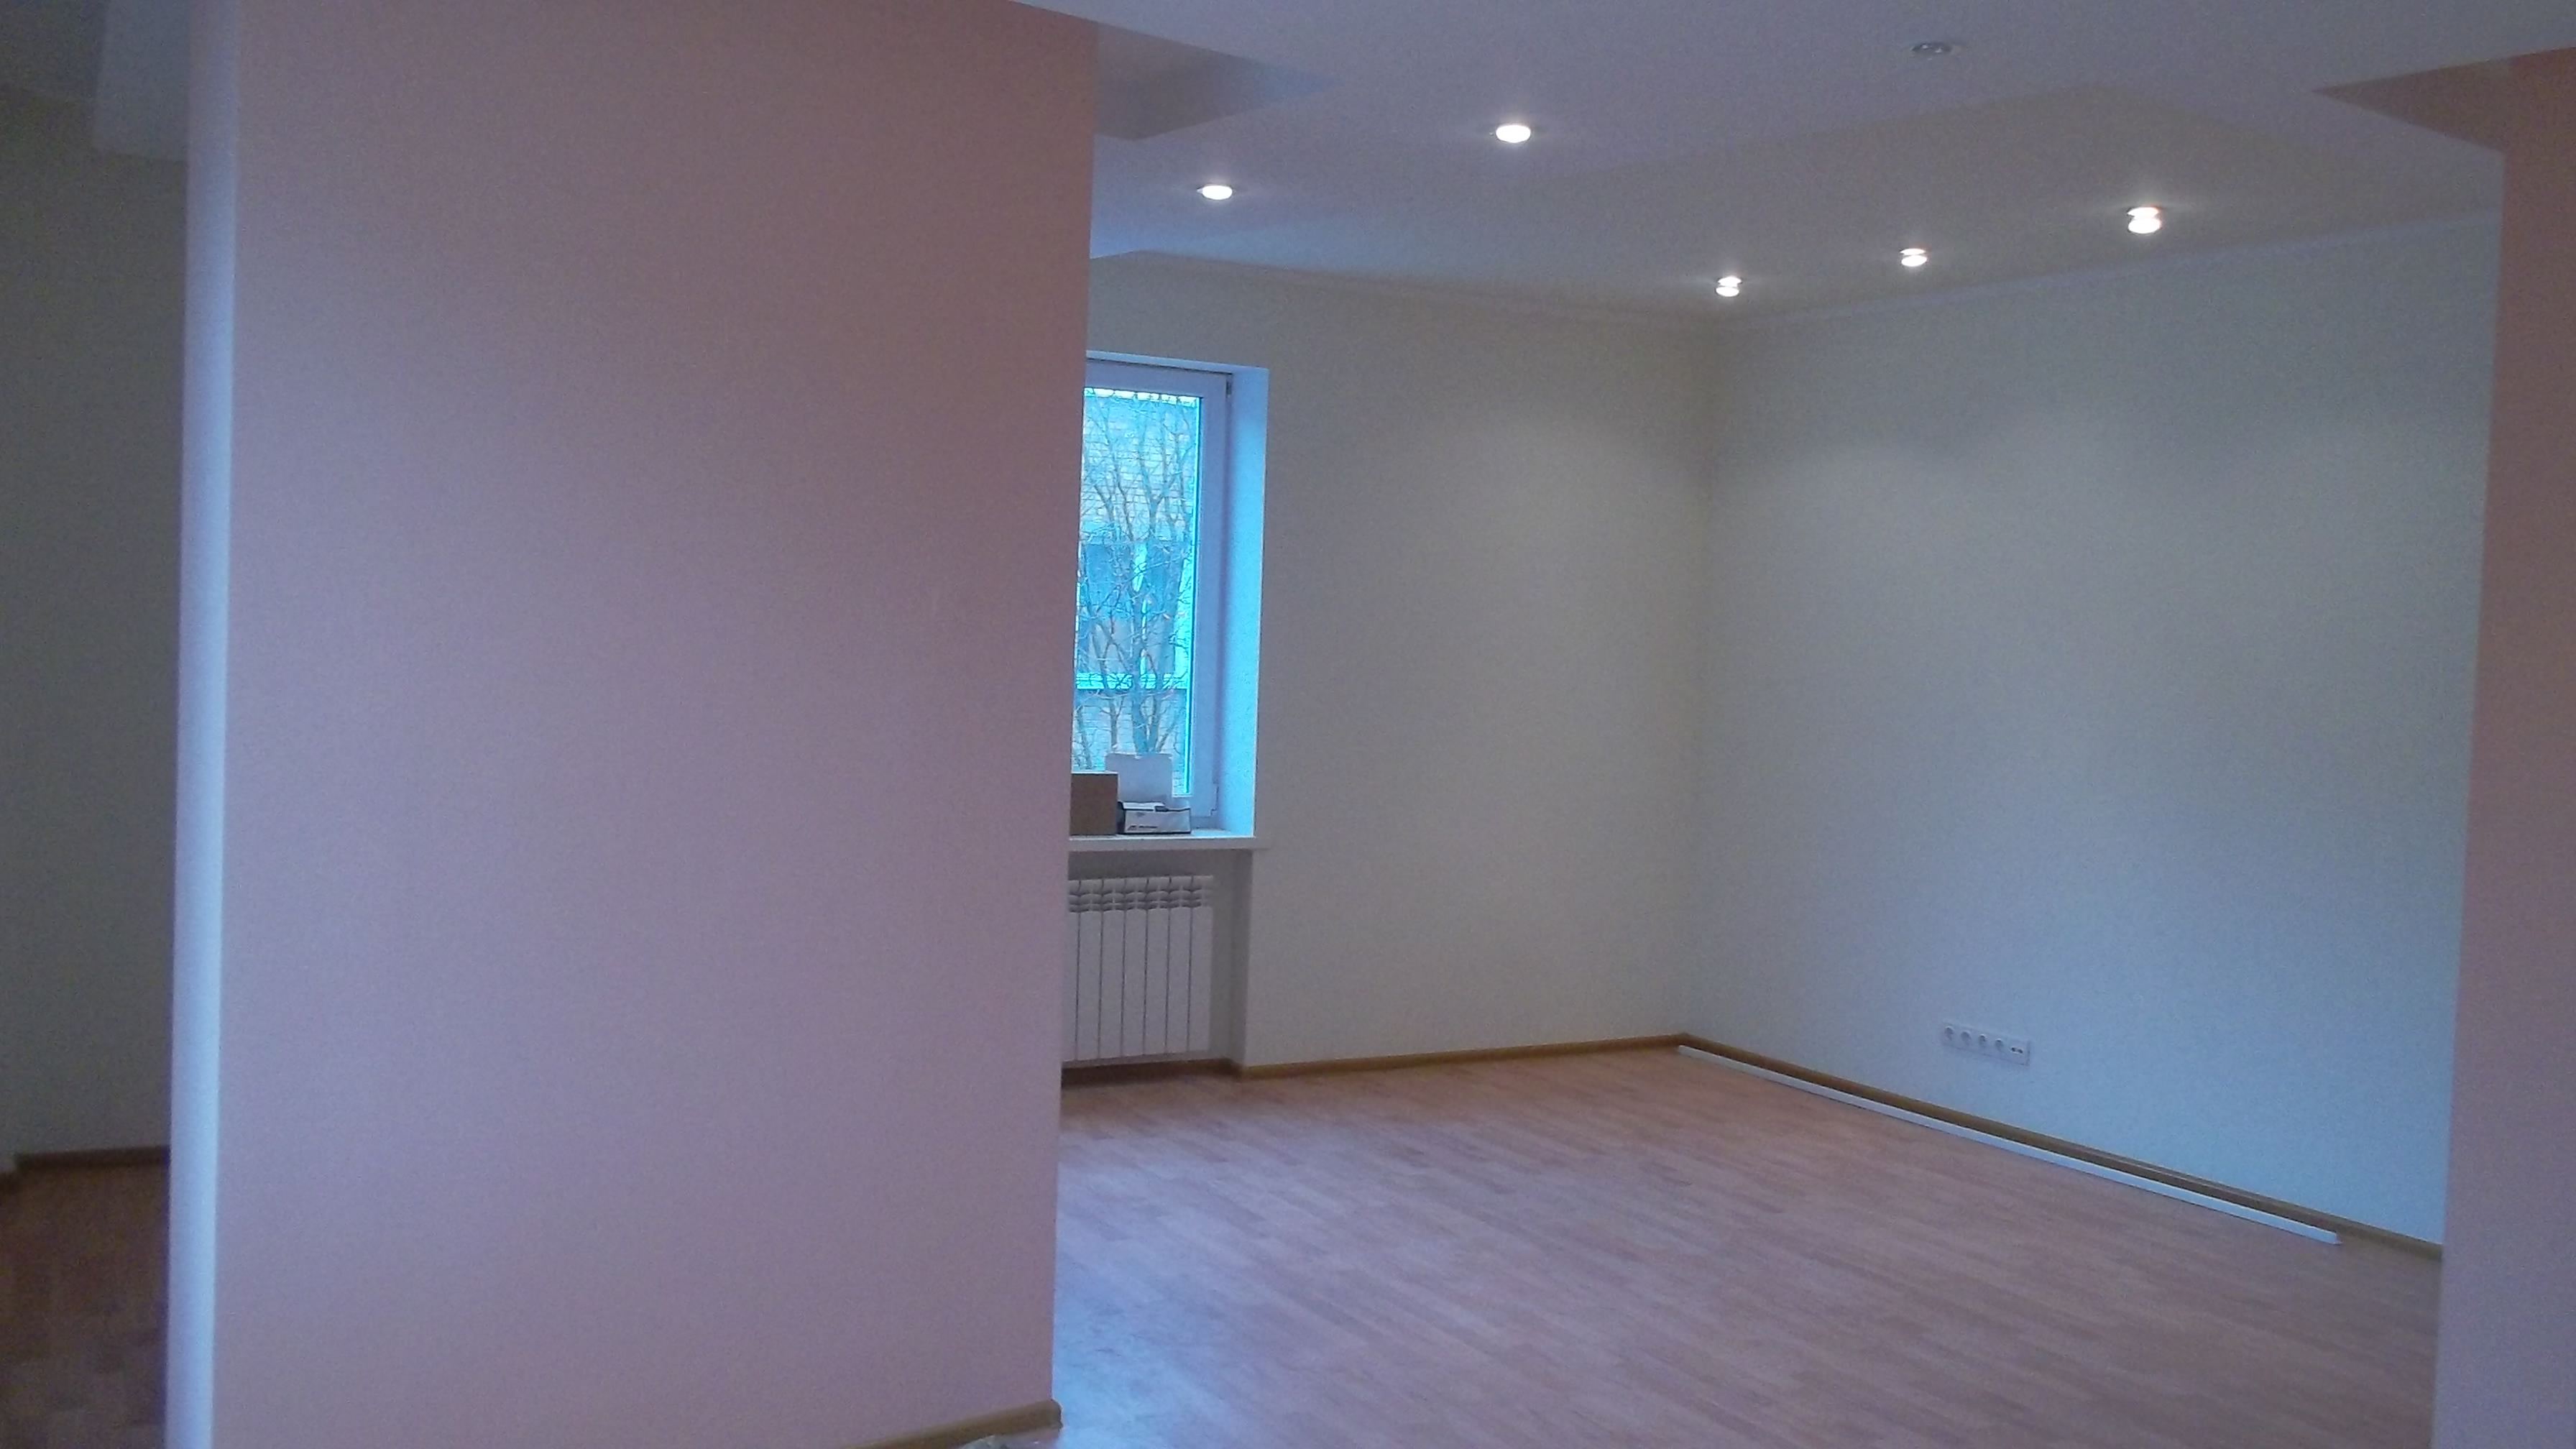
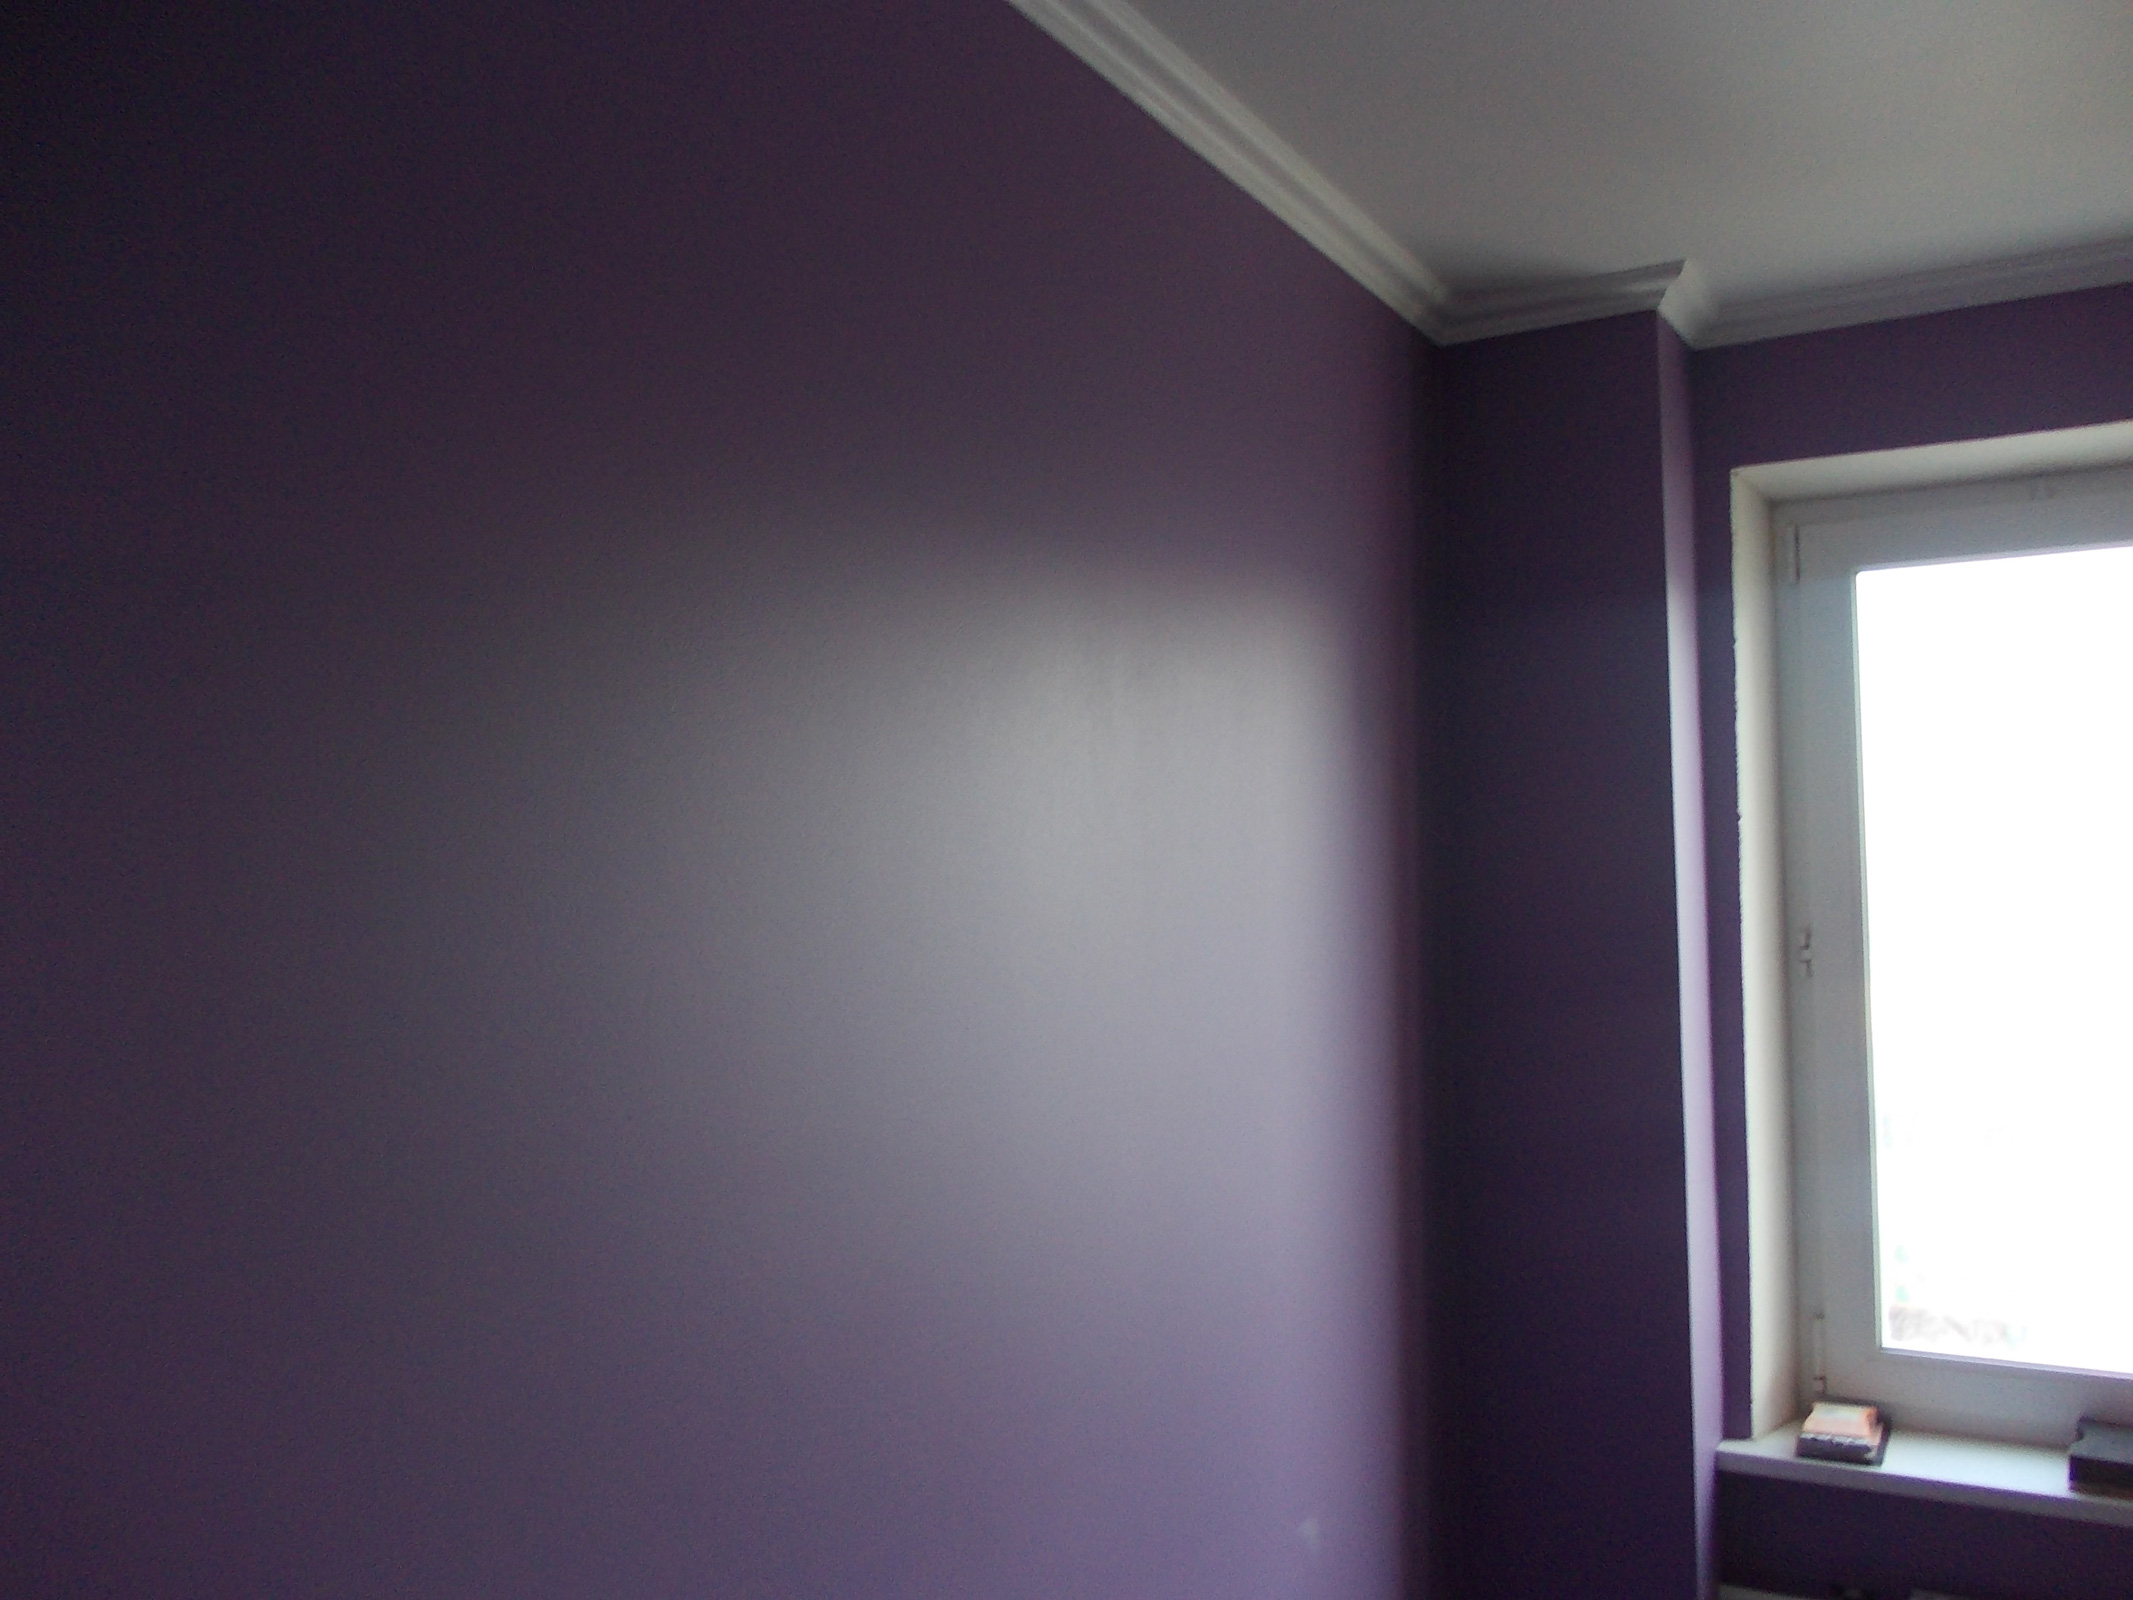
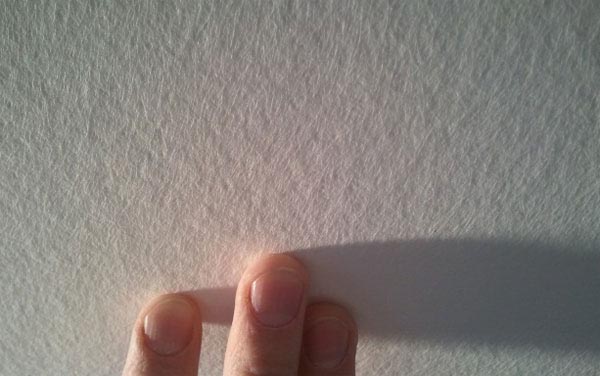
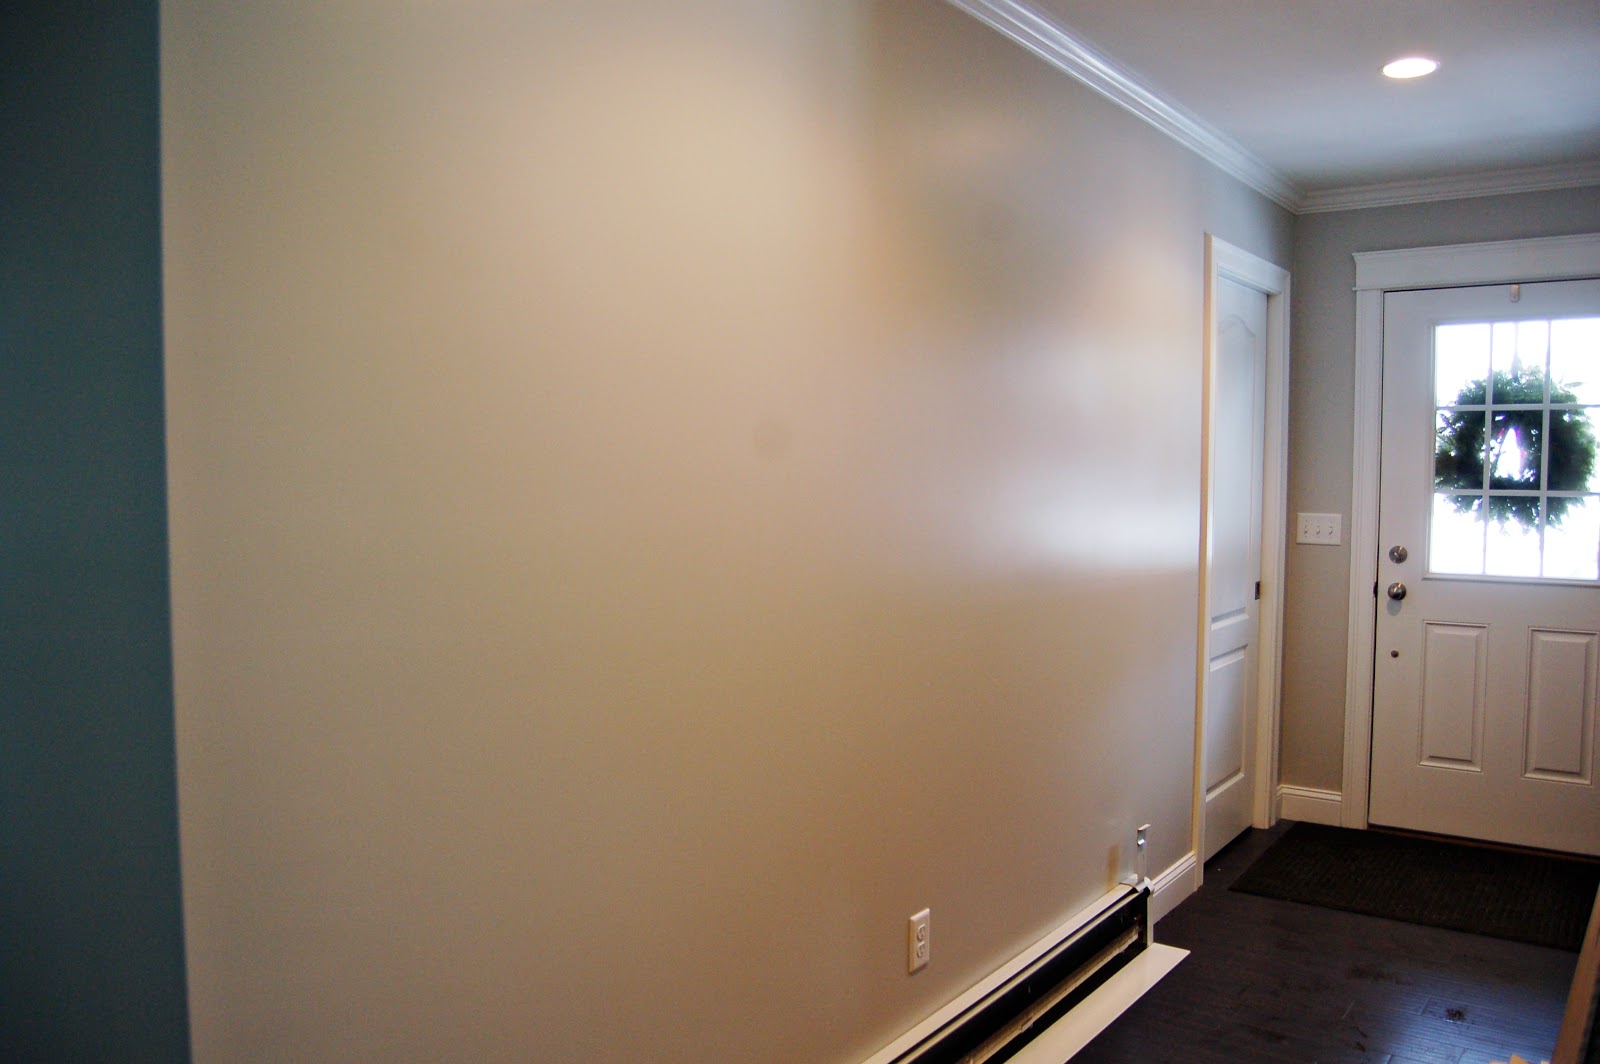
Any surface that needs to be painted should be perfectly flat, for which you need to carry out a number of preparatory work. Depending on the material of the wall surface, you will need to perform different actions. Plastered walls are ready for painting, but you need to consider how smooth they are. In that case, if the surface of the walls is smooth and the layer of plaster is also not damaged, you can immediately proceed to the putty or finishing with decorative plaster. The plastered walls are ready for them to be covered with the chosen paint and to bring the repair to a logical conclusion.
If the walls in the room are very uneven and the cost of leveling them is impractical, the most simple and convenient option would be to use drywall.
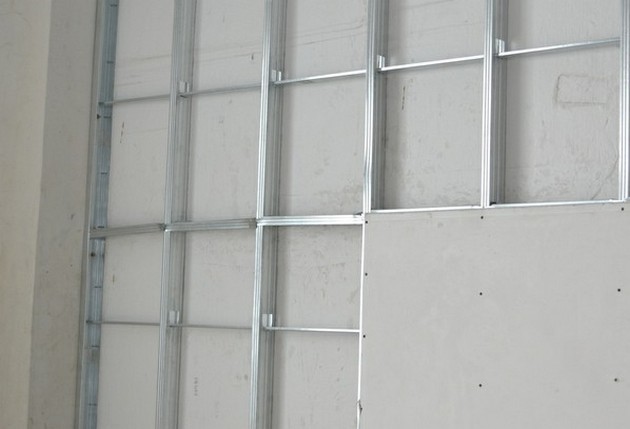

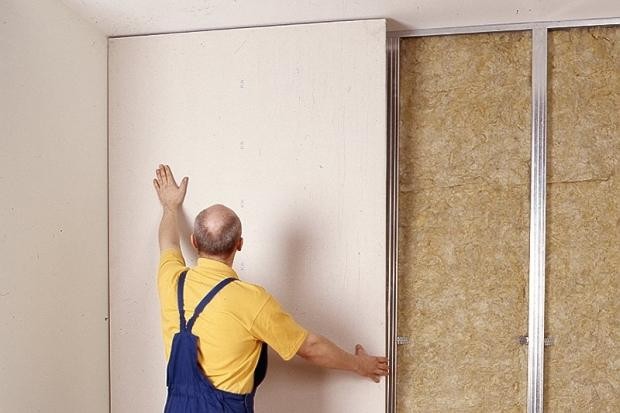
With him, too, will need to produce a number of small works, so that the entire surface is absolutely flat, especially important in the area of joints and in places where sheets will be fastened with self-tapping screws.Gypsum plasterboard should be puttied, after which it should be well cleaned and only then primed. When all stages are completed, you can start painting or pasting wallpaper.
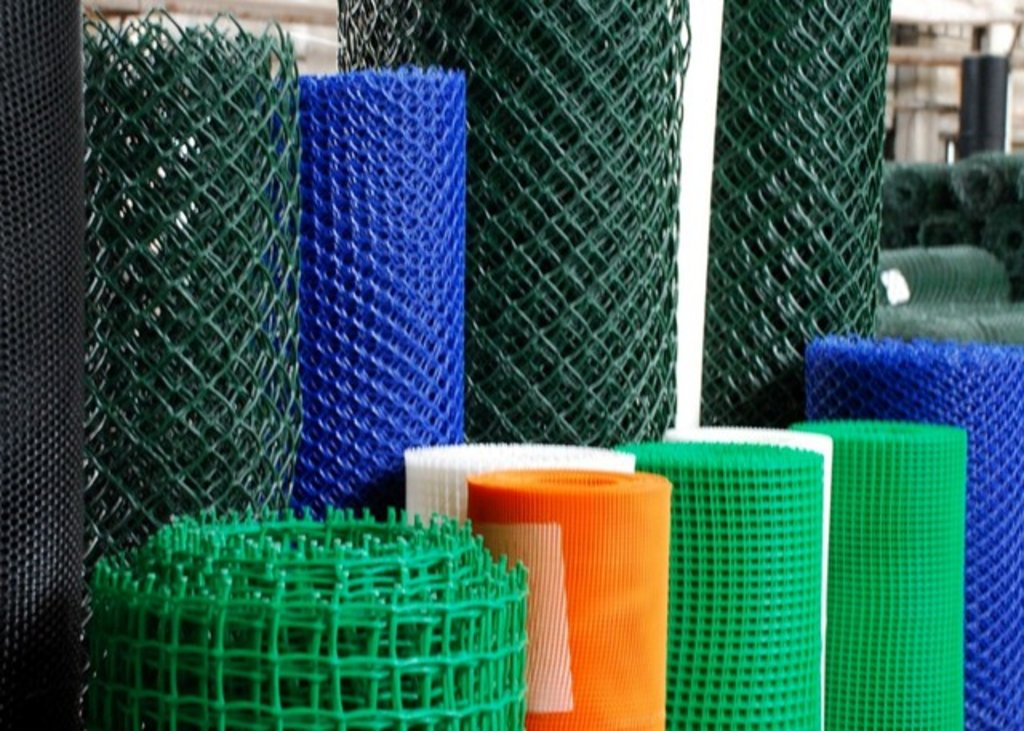
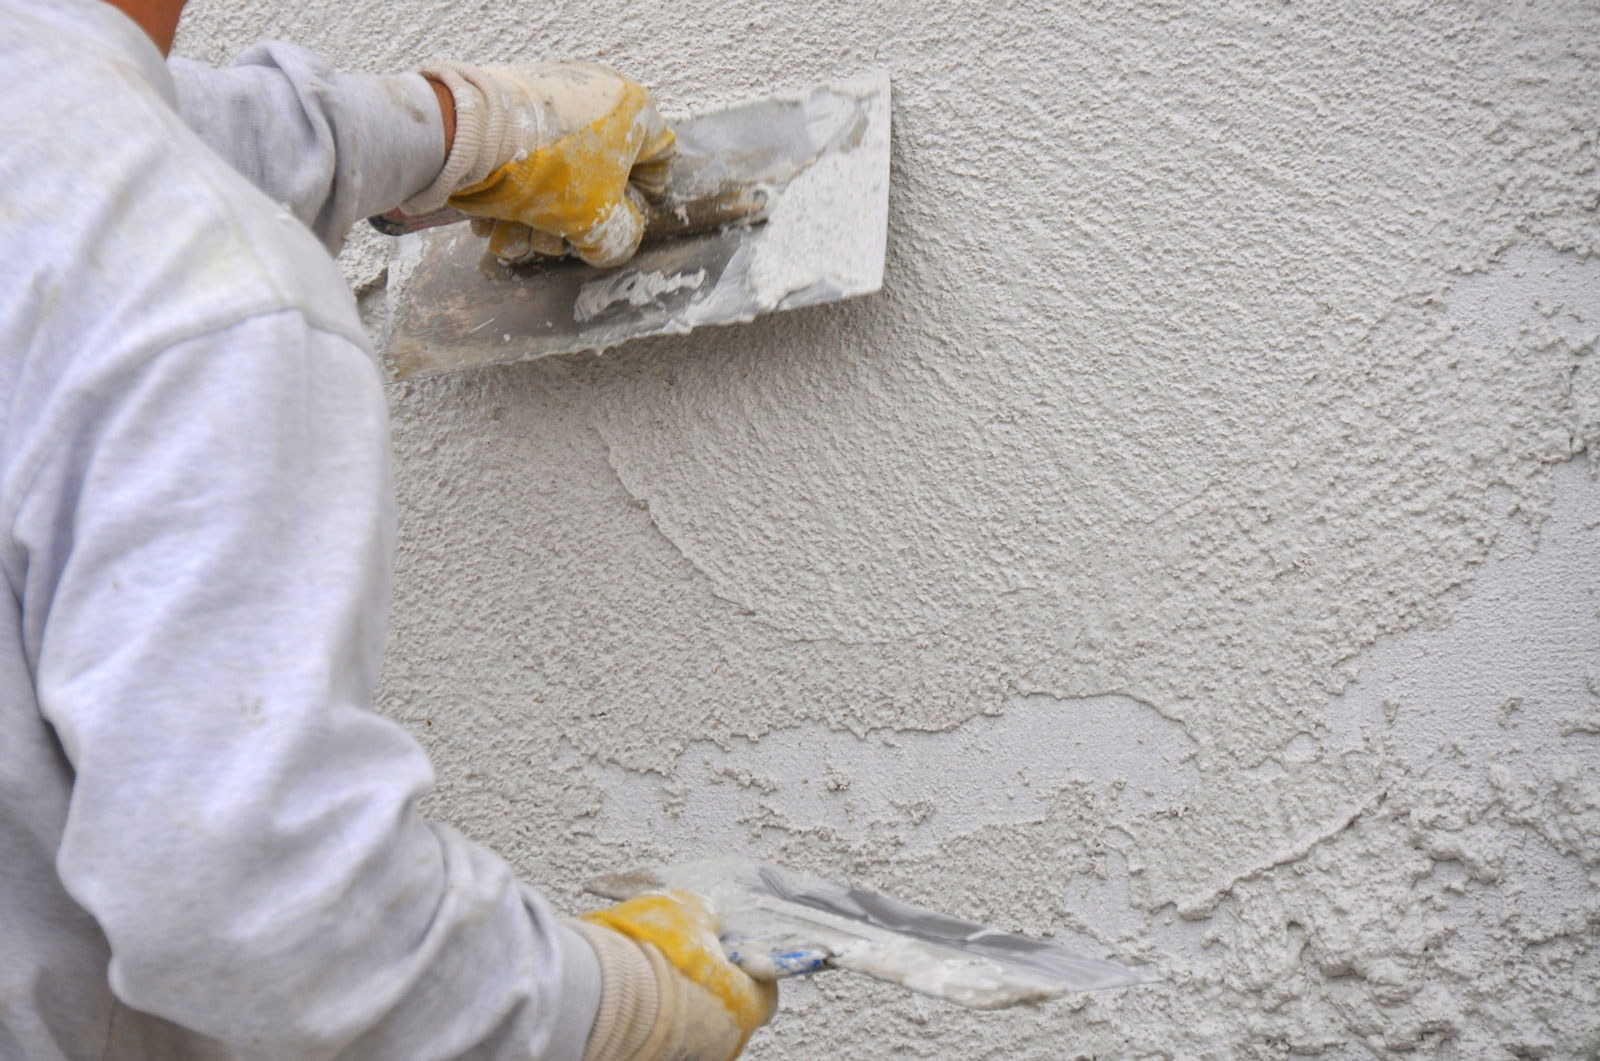
As for concrete surfaces or simple brickwork, the scope of work is much wider.than in previous versions. In such cases, the alignment occurs at the expense of plaster, where they are also used beacons, so that the result was as accurate as possible. If you are afraid that the surface you want to paint or on which you plan to make wallpapering will crack from temperature differences or other factors, you can use fiberglass, which will protect the walls from such phenomena and strengthen them.
In order to achieve the strength of the surface and its smoothness, you need to use paint fiberglass, which is simply pasted on the wall.
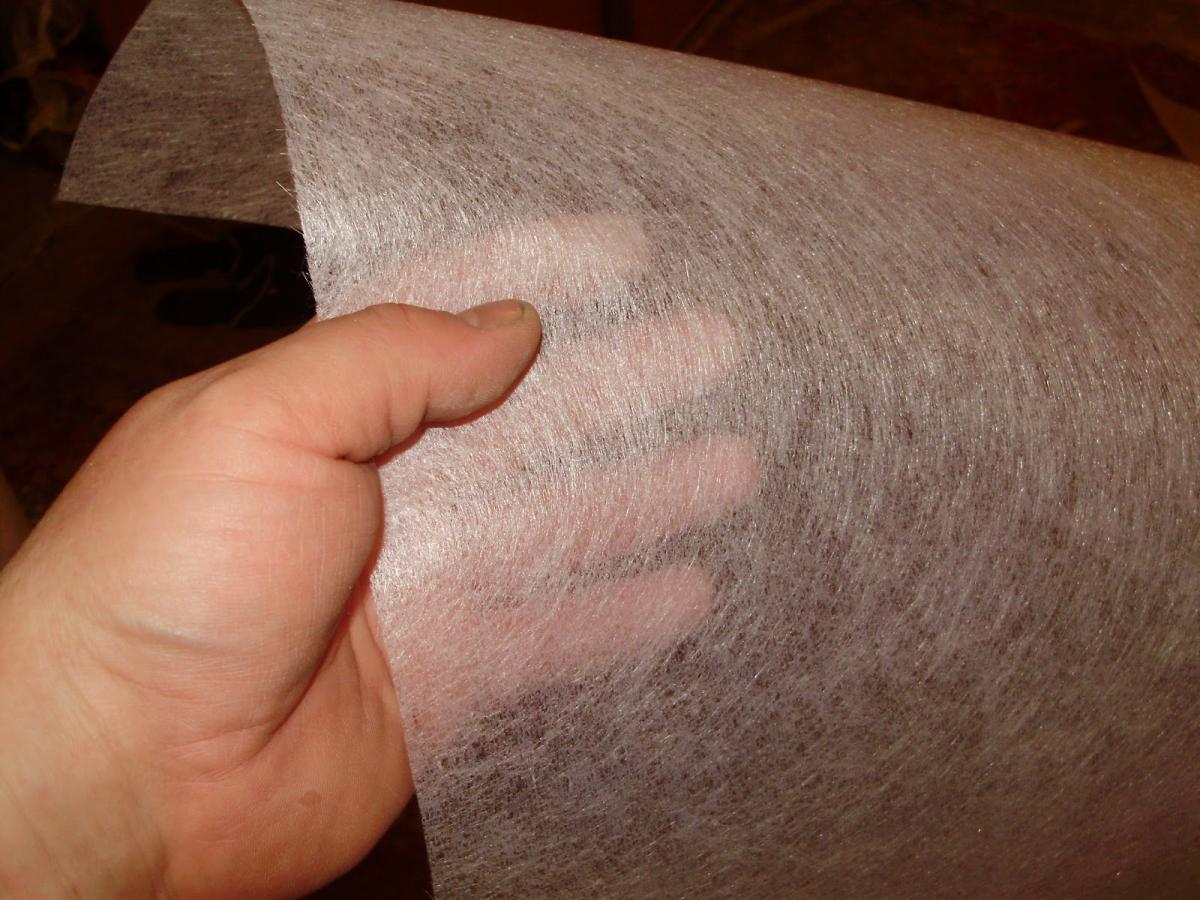
The texture of such fiberglass can be completely different - from thick and grooved to very thin, like cobwebs. Working with this material is simple, and the result will please for many years, when neither heat, nor cold, nor even humidity will change the appearance of your painting or wallpaper strips.
How to choose a paint?
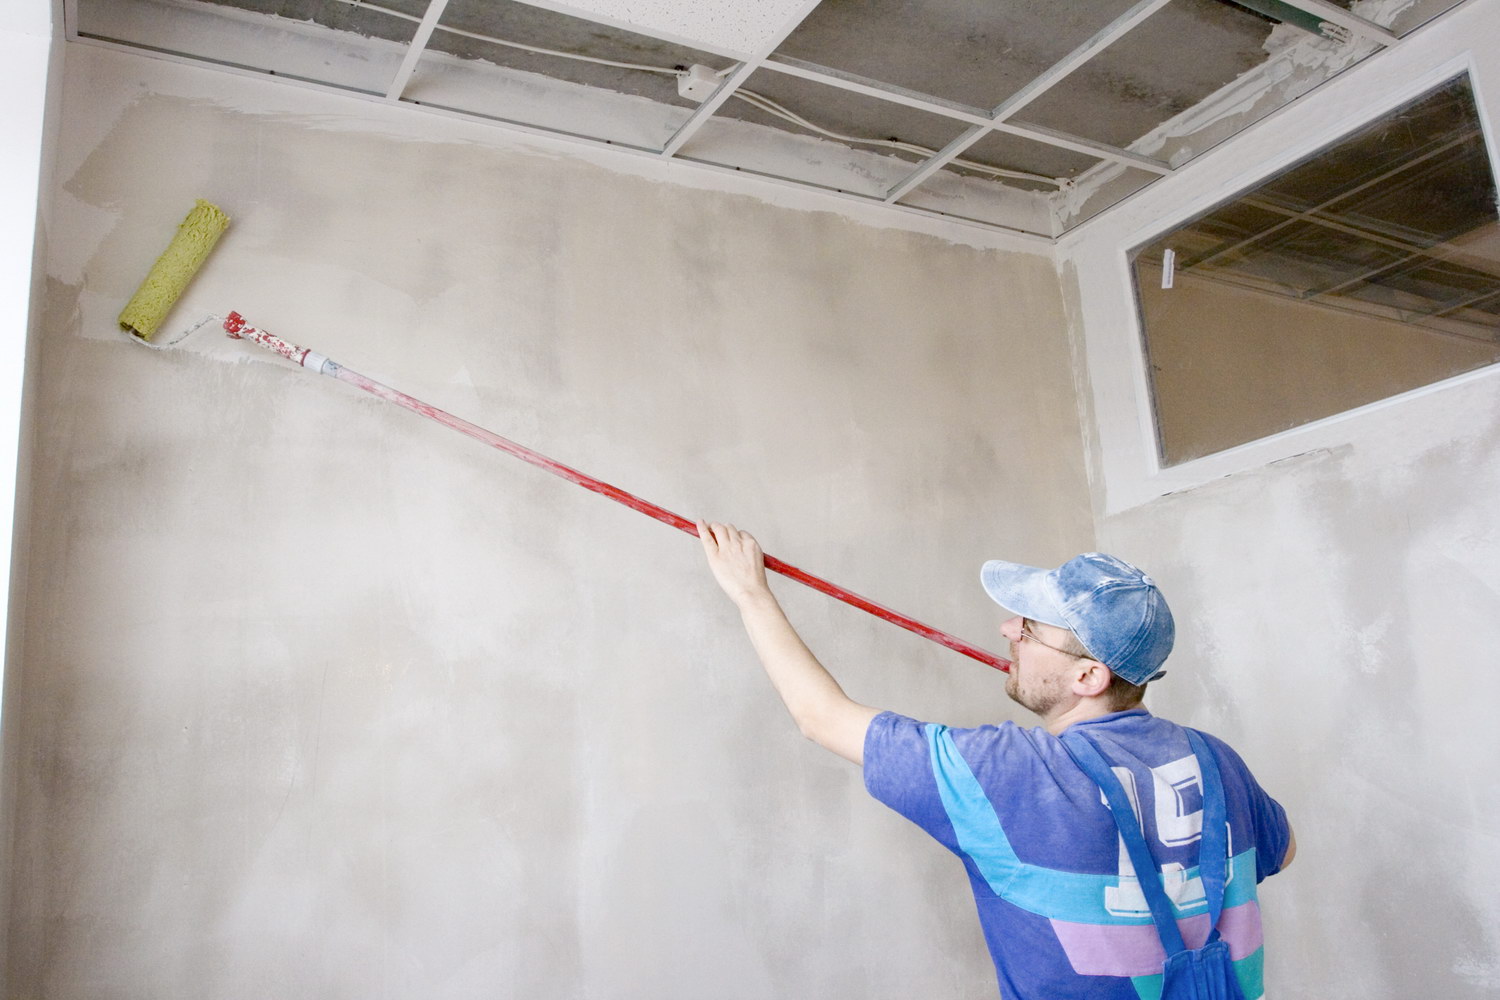
Depending on what exactly you are going to paint, you need to use the correct coating option. There are paints for external and internal works. They differ in moisture resistance and resistance to ultraviolet radiation. In that case, if we need to prime the surface before painting, then the first thing you get is a primer paint, which will help you even to level the surface with which you will work.

It is best to use water-based paints for indoor use, because they do not have a strong odor, they are easy to apply and the brushes are easy to clean after work. In that case, if you need to paint the nursery, then it is best to use acrylic and water-dispersion paint, which allows the walls to breathe, and does not have toxic substances in the composition, because they are based on water.
If you are interested in wallpaper for painting, then they are also painted with waterborne paints.
However, for the bathroom you need to use a perfect different option. The most suitable here are oil or gloss paints, which are made on the basis of the solvent. Their advantage will be fast absorption, easy leveling and good resistance to moisture and abrasion.
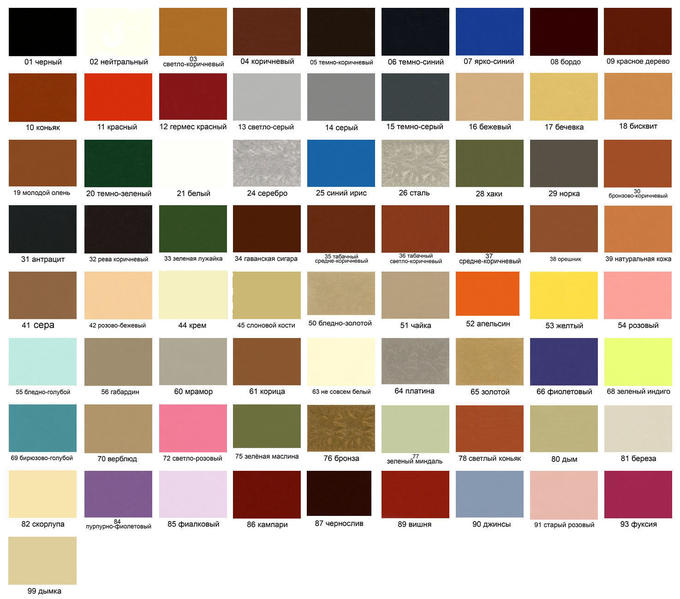
If you like this type of paint, it is important to know that it also has several types of gloss, which are indicated on the packaging.
In total there are 6 options:
- 90-100 - the highest degree of gloss;
- 60-89 - just gloss paint;
- 30-59 - semi-glossy version;
- 11-29 - semi-matt version;
- 6-10 - matte paint;
- 0-5 - supermatte.

In the event that you have a perfectly smooth surface, you can not be afraid and use glossy paint, which will be beneficial to emphasize the impeccable shape of the room. For those cases where there are flaws, it is better to paint the walls with opaque paints, they will help to hide all the imperfections. In the case when awkward surfaces are painted, where paint can flow or drip into the face, it is better to take thixotropic paints that are thicker than usual, so they are more convenient to use.
Understand how well painted walls look in the interior and whether it is convenient to produce painting according to reviews of those who have already done this procedure. Many say that the current generation of paints is much superior to the same enamel, which had to work earlier. The disadvantage of enamel is that it has a strong, sharp and unpleasant smell and, moreover, drips can often be observed if the surface is painted with a thick layer.
Modern paints are easy to apply and have excellent characteristics.

In order not to be mistaken with the choice, it is best to consult a specialist. If the repair is made in the nursery, it is important to choose the right paint so that the baby does not breathe harmful substances. The result of using acrylic-based products is amazing, as buyers note. The ease of application, the absence of a strong odor, quick drying, amazing appearance and absolute safety - all this speaks for itself. To get the same result, you just need to choose the right type of paint, and your room will soon begin to play with new colors.
Wall preparation
If you decide to paint the walls in the room, you need to prepare them for this procedure. The first thing to do is to prepare the tools you need to work: trowel, sandpaper, putty, plaster, frame mesh, primer, roller and paint brushes. The technology works quite simple. First you need to remove all unnecessary from the wall (putty, plaster, wallpaper), and only then proceed to the alignment process.
In order to easily get rid of old wallpaper, you need to wet them with warm water and clean with a spatula.If you have vinyl wallpaper, then you need to walk on them with a needle roller or wallpaper "tiger", otherwise the water will not be absorbed deep enough and will not facilitate the process of removing the wallpaper. You can also use special solutions for easy removal of the wallpaper. If they are too dense, they can be removed by a steamer, which acts on the canvas with hot steam and makes it easy to keep the wall off.
If you need to get rid of whitewash, you can wet it and wash off with a washcloth and warm water. You can use a spatula, which simply cleaned putty. The downside in this version will be a huge amount of dust that will fly throughout the room, in addition, by the amount of time it is the most expensive option. When working with a spatula, you must use safety glasses and a respirator to prevent dust from getting into your eyes and nose.
In the event that there is a grinder and a construction vacuum cleaner, they can be joined, and then the whitewash can be removed quickly and without creating a mess around you. If you do not have such devices, you can buy a special solution for removing whitewash. It should be warm for optimal results.
If you need to get rid of the plaster, which began to crack, then do it thoroughly and to the end.

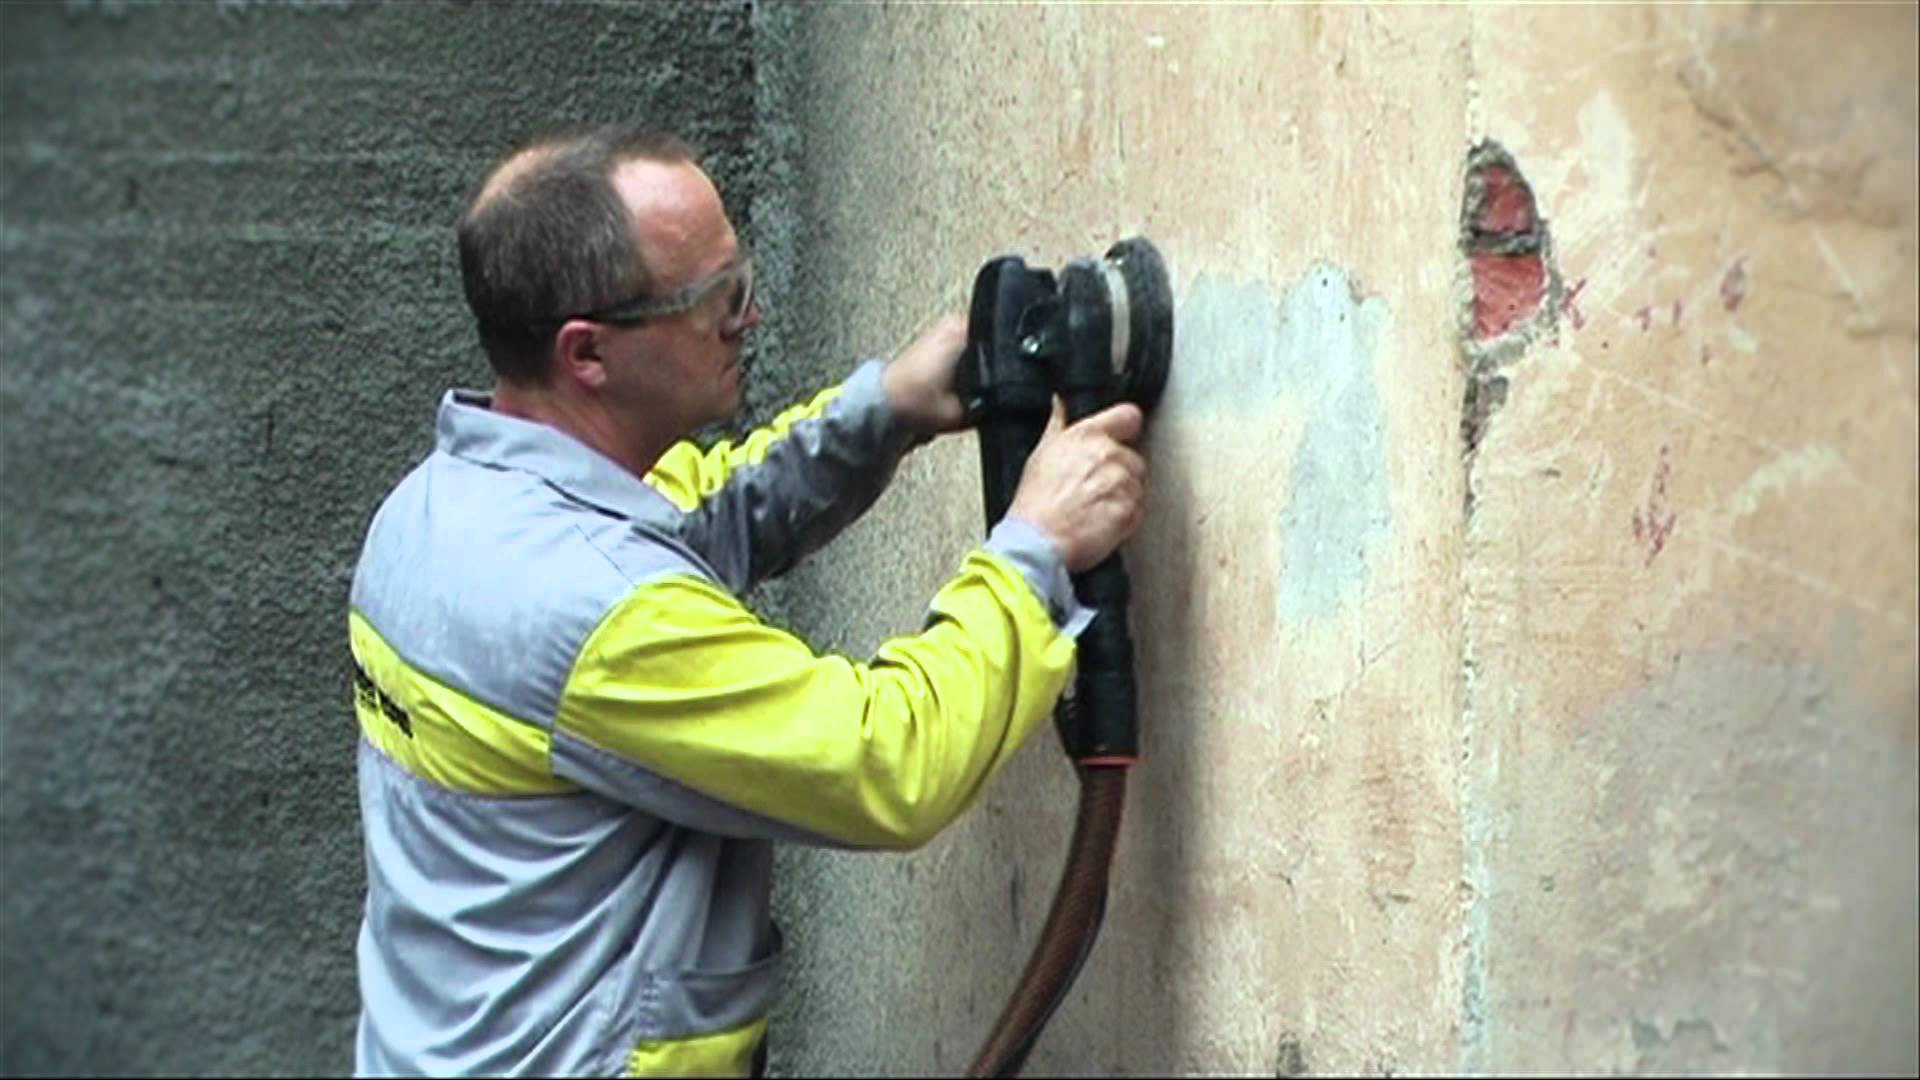

If the layer is not thick, it is enough to soak it with water and remove with a spatula. If there are places where the plaster does not move, you need to use a chisel and a hammer or a hammer drill. You can use an eccentric grinder, which is recommended to connect to a construction vacuum cleaner, so as not to breathe dust. As for the tile, it is removed in the same way - with a chisel with a hammer or perforator.
If the walls have old paint, then it can be removed with a drill with a nozzle in the form of an abrasive mesh. If the layer of paint is thick and lags behind whole slices, you can remove it with a spatula, which is long and not easy. If there are difficulties, you can use a building dryer, which will warm the surface and help clean everything much faster. You can try a special tool "Remover", which is applied to the surface and washed off after a certain time.
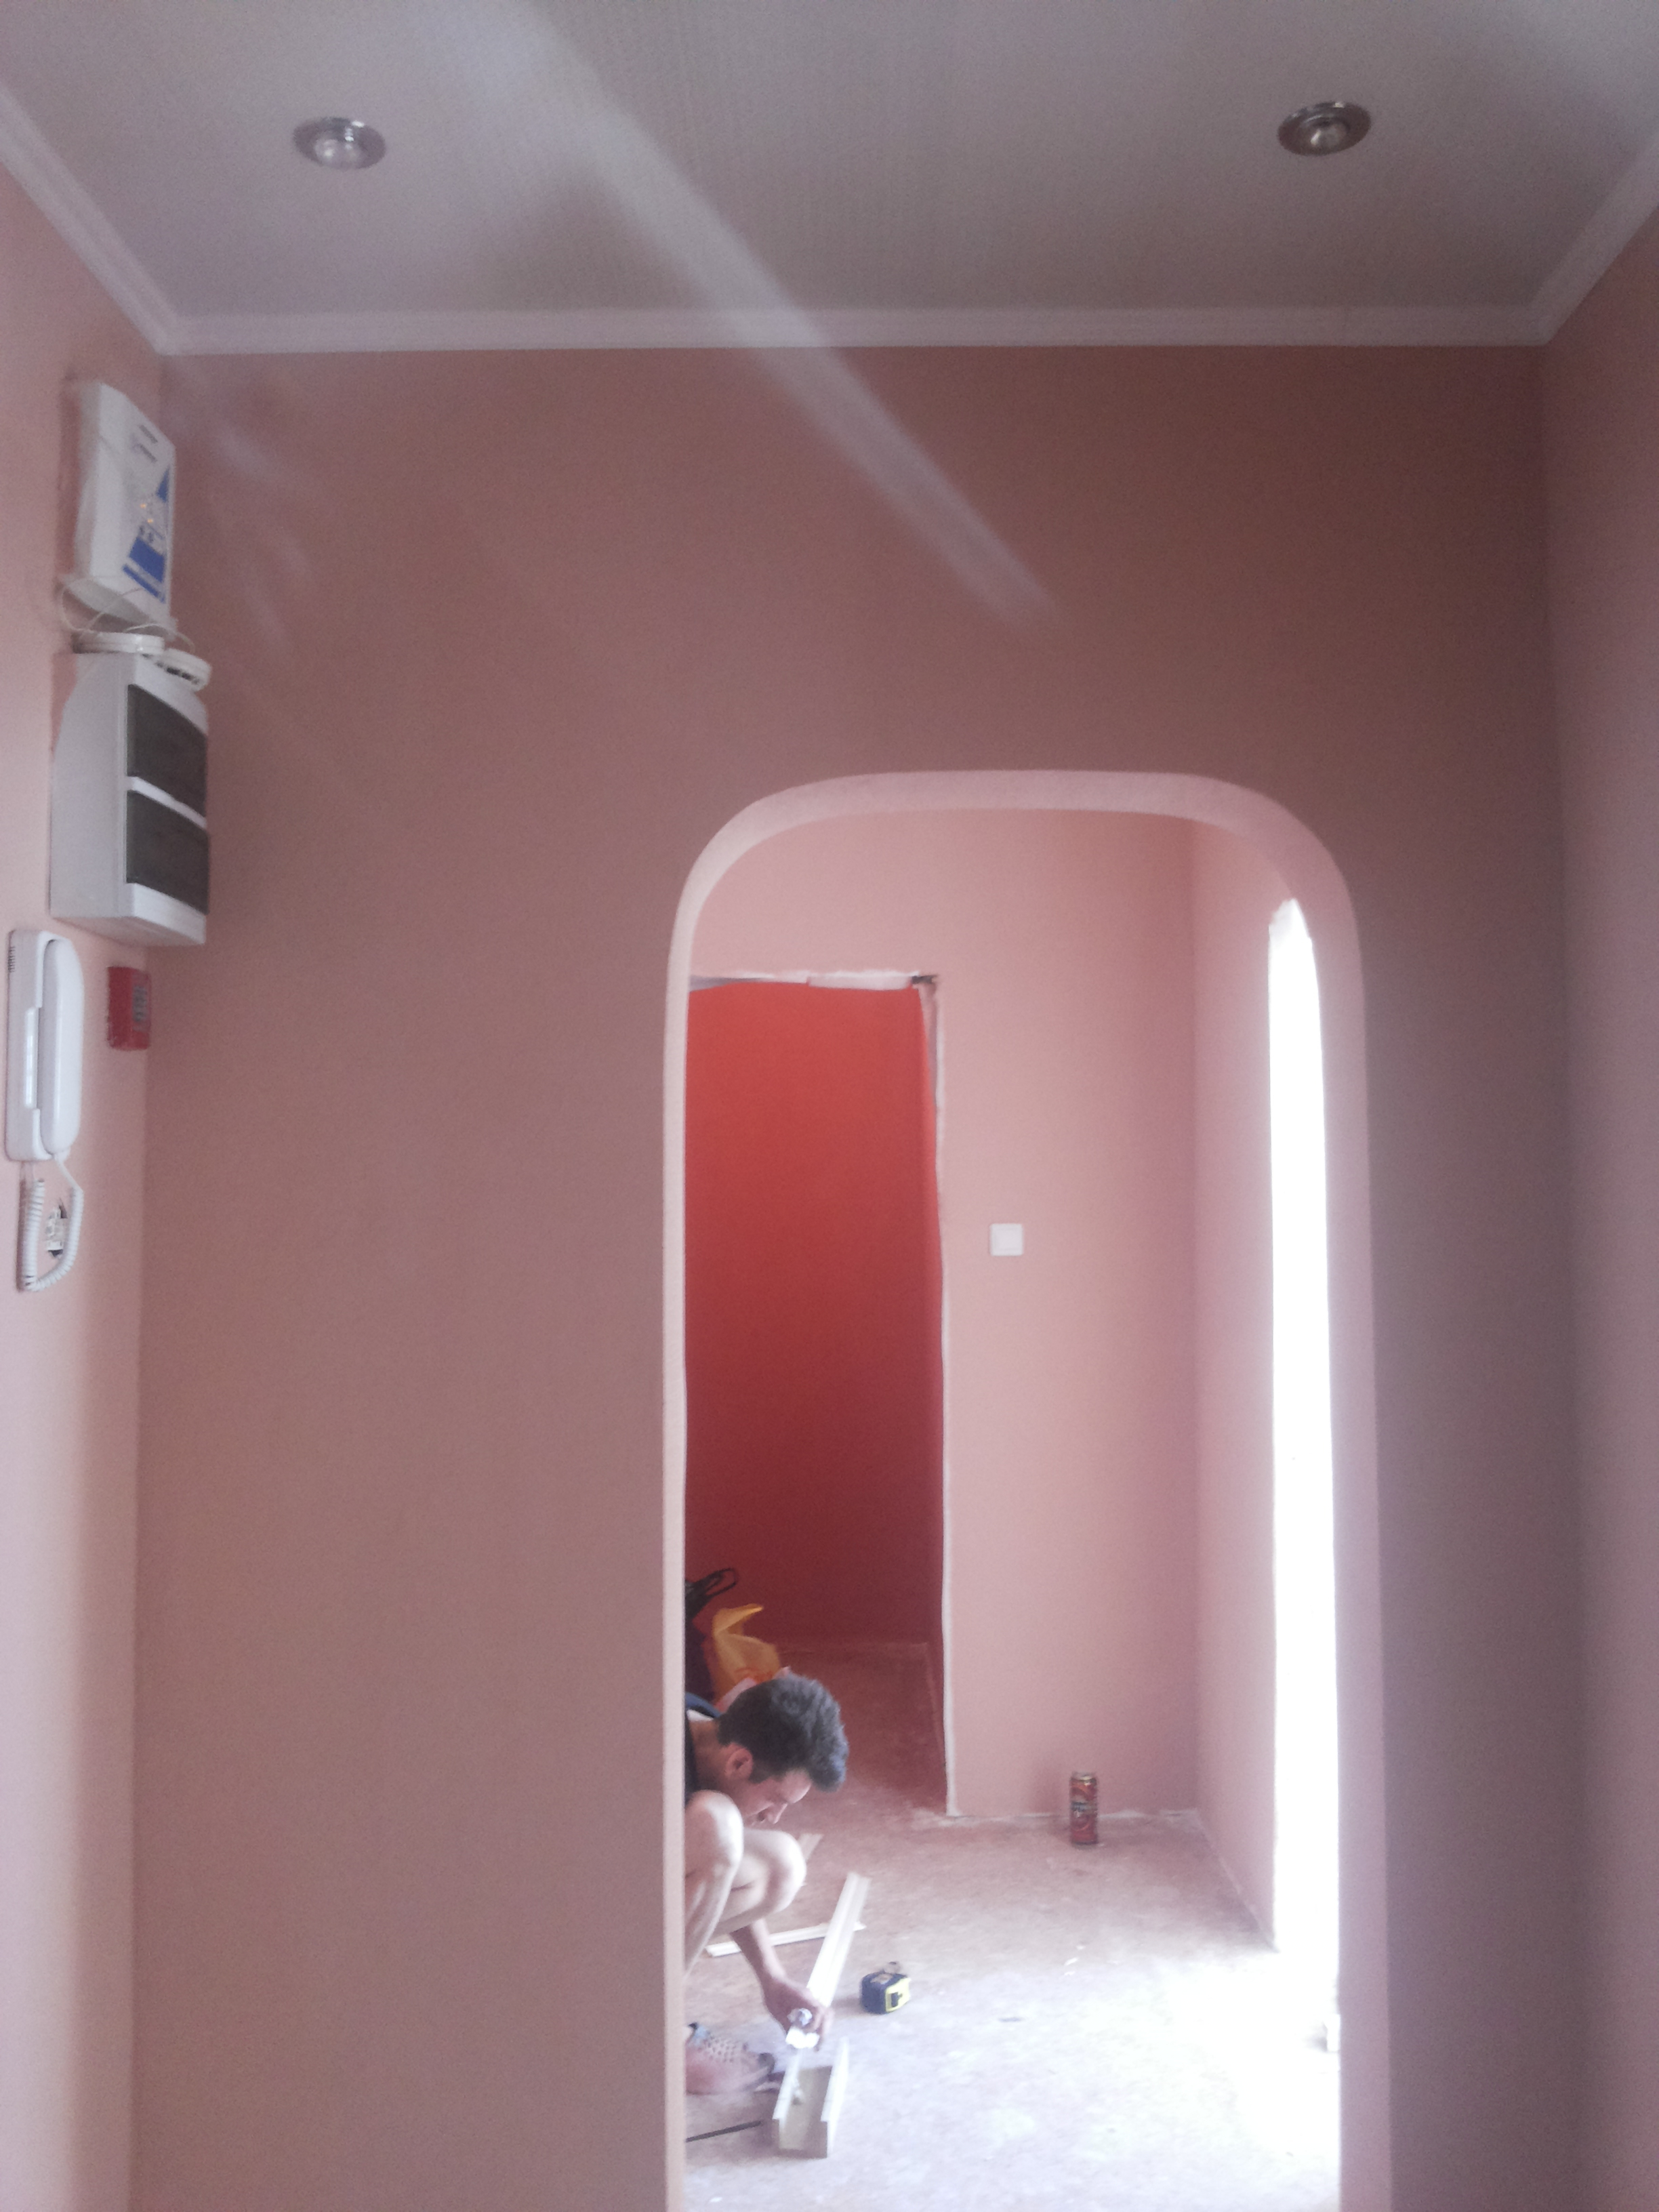
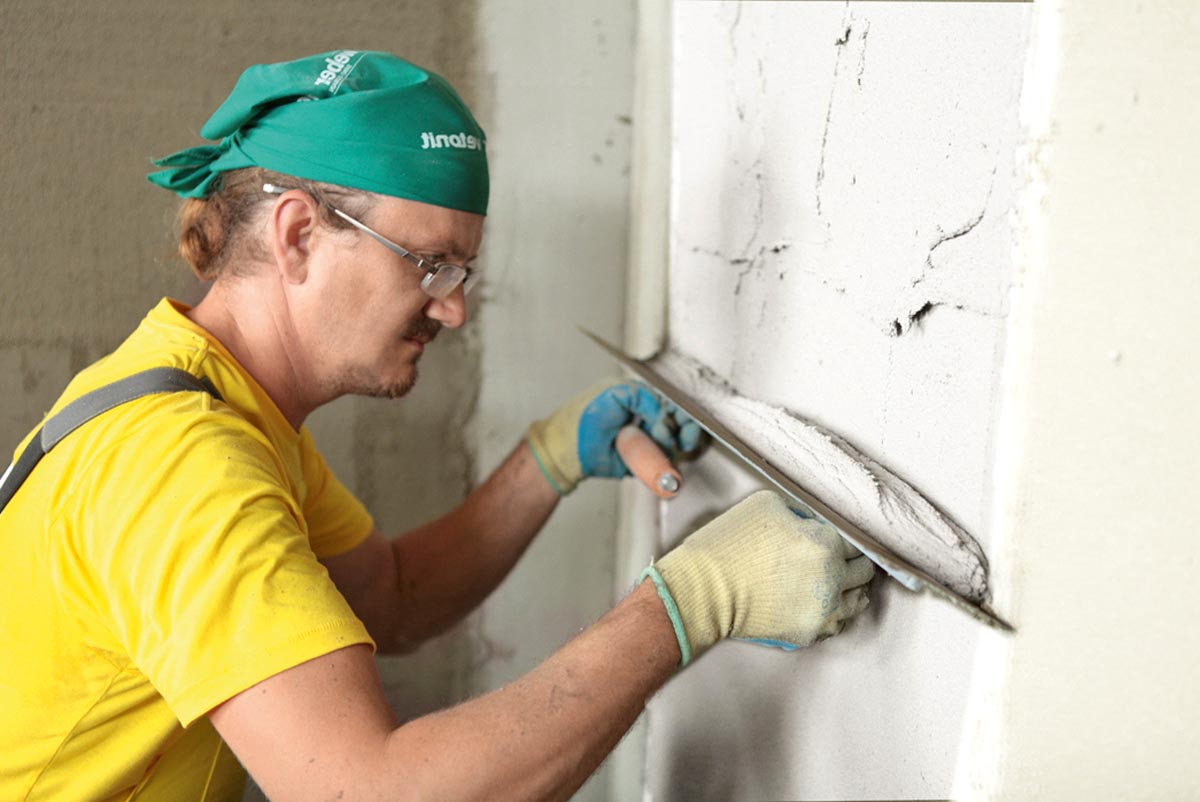
When you have removed all unnecessary coverings from the wall, you need to inspect it well and repair all holes, crevices and cracks.It is important to prevent the expansion of cracks, because they artificially increase, checking for weaknesses, which over time can fall off. When everything is done, with the help of a brush the gap is cleared of dust, sand and other residues, after which it is primed. It is important to get to the most remote corners, having processed them with a ground paint. When everything is dry, the crack is closed. The most common materials for this are cement, plaster, polymer sealant, putty for repairs or foam, which has an expansion effect.

When everything is ready, fiberglass can be stuck on the wall to hide possible defects and prevent them from appearing on painted surfaces in the future. All these procedures can be done by hand, most importantly, do not rush and do everything qualitatively, then the effect will be appropriate and the repair will please you for many years.
Wallpaper must be removed completely, then clean the wall, putty and level.


If on the wall previously there was a water-based paint, then it can be removed using a simple washcloth, washing away the coating with water. Oil paint and enamel are removed with a spatula or a special drill on the drill.Plastered walls should be carefully examined for flaws that, if any, must be removed.
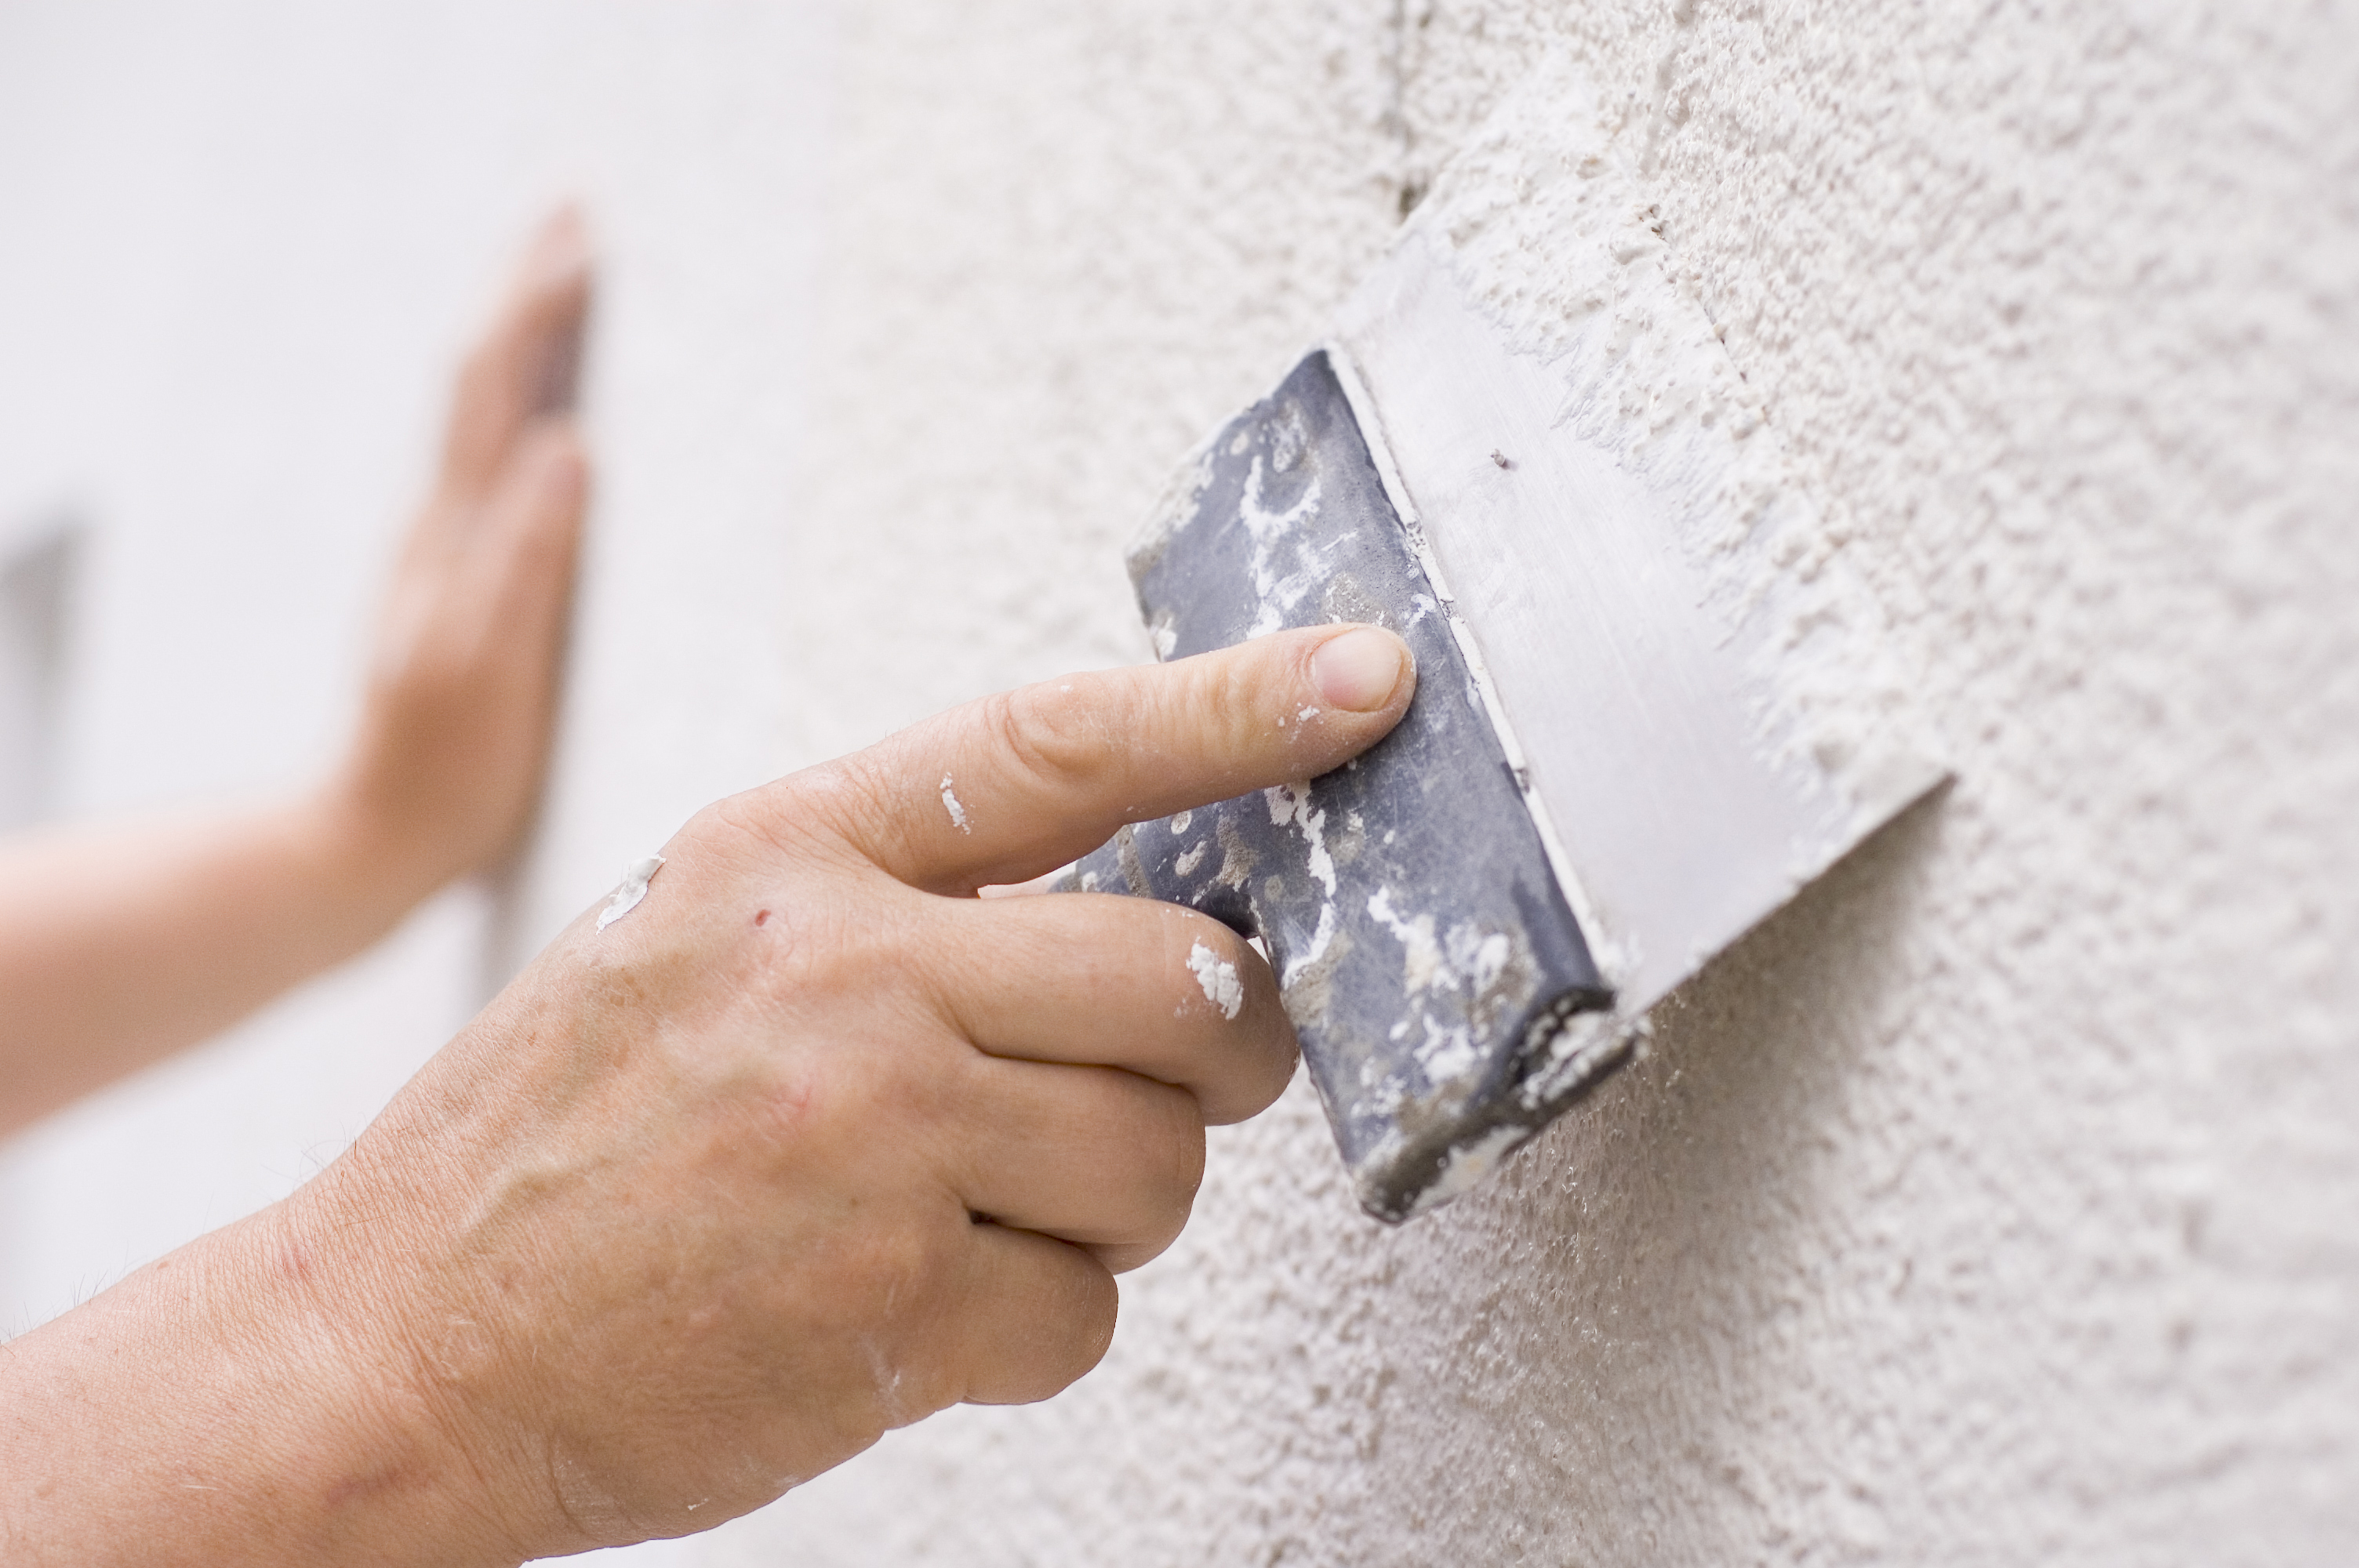
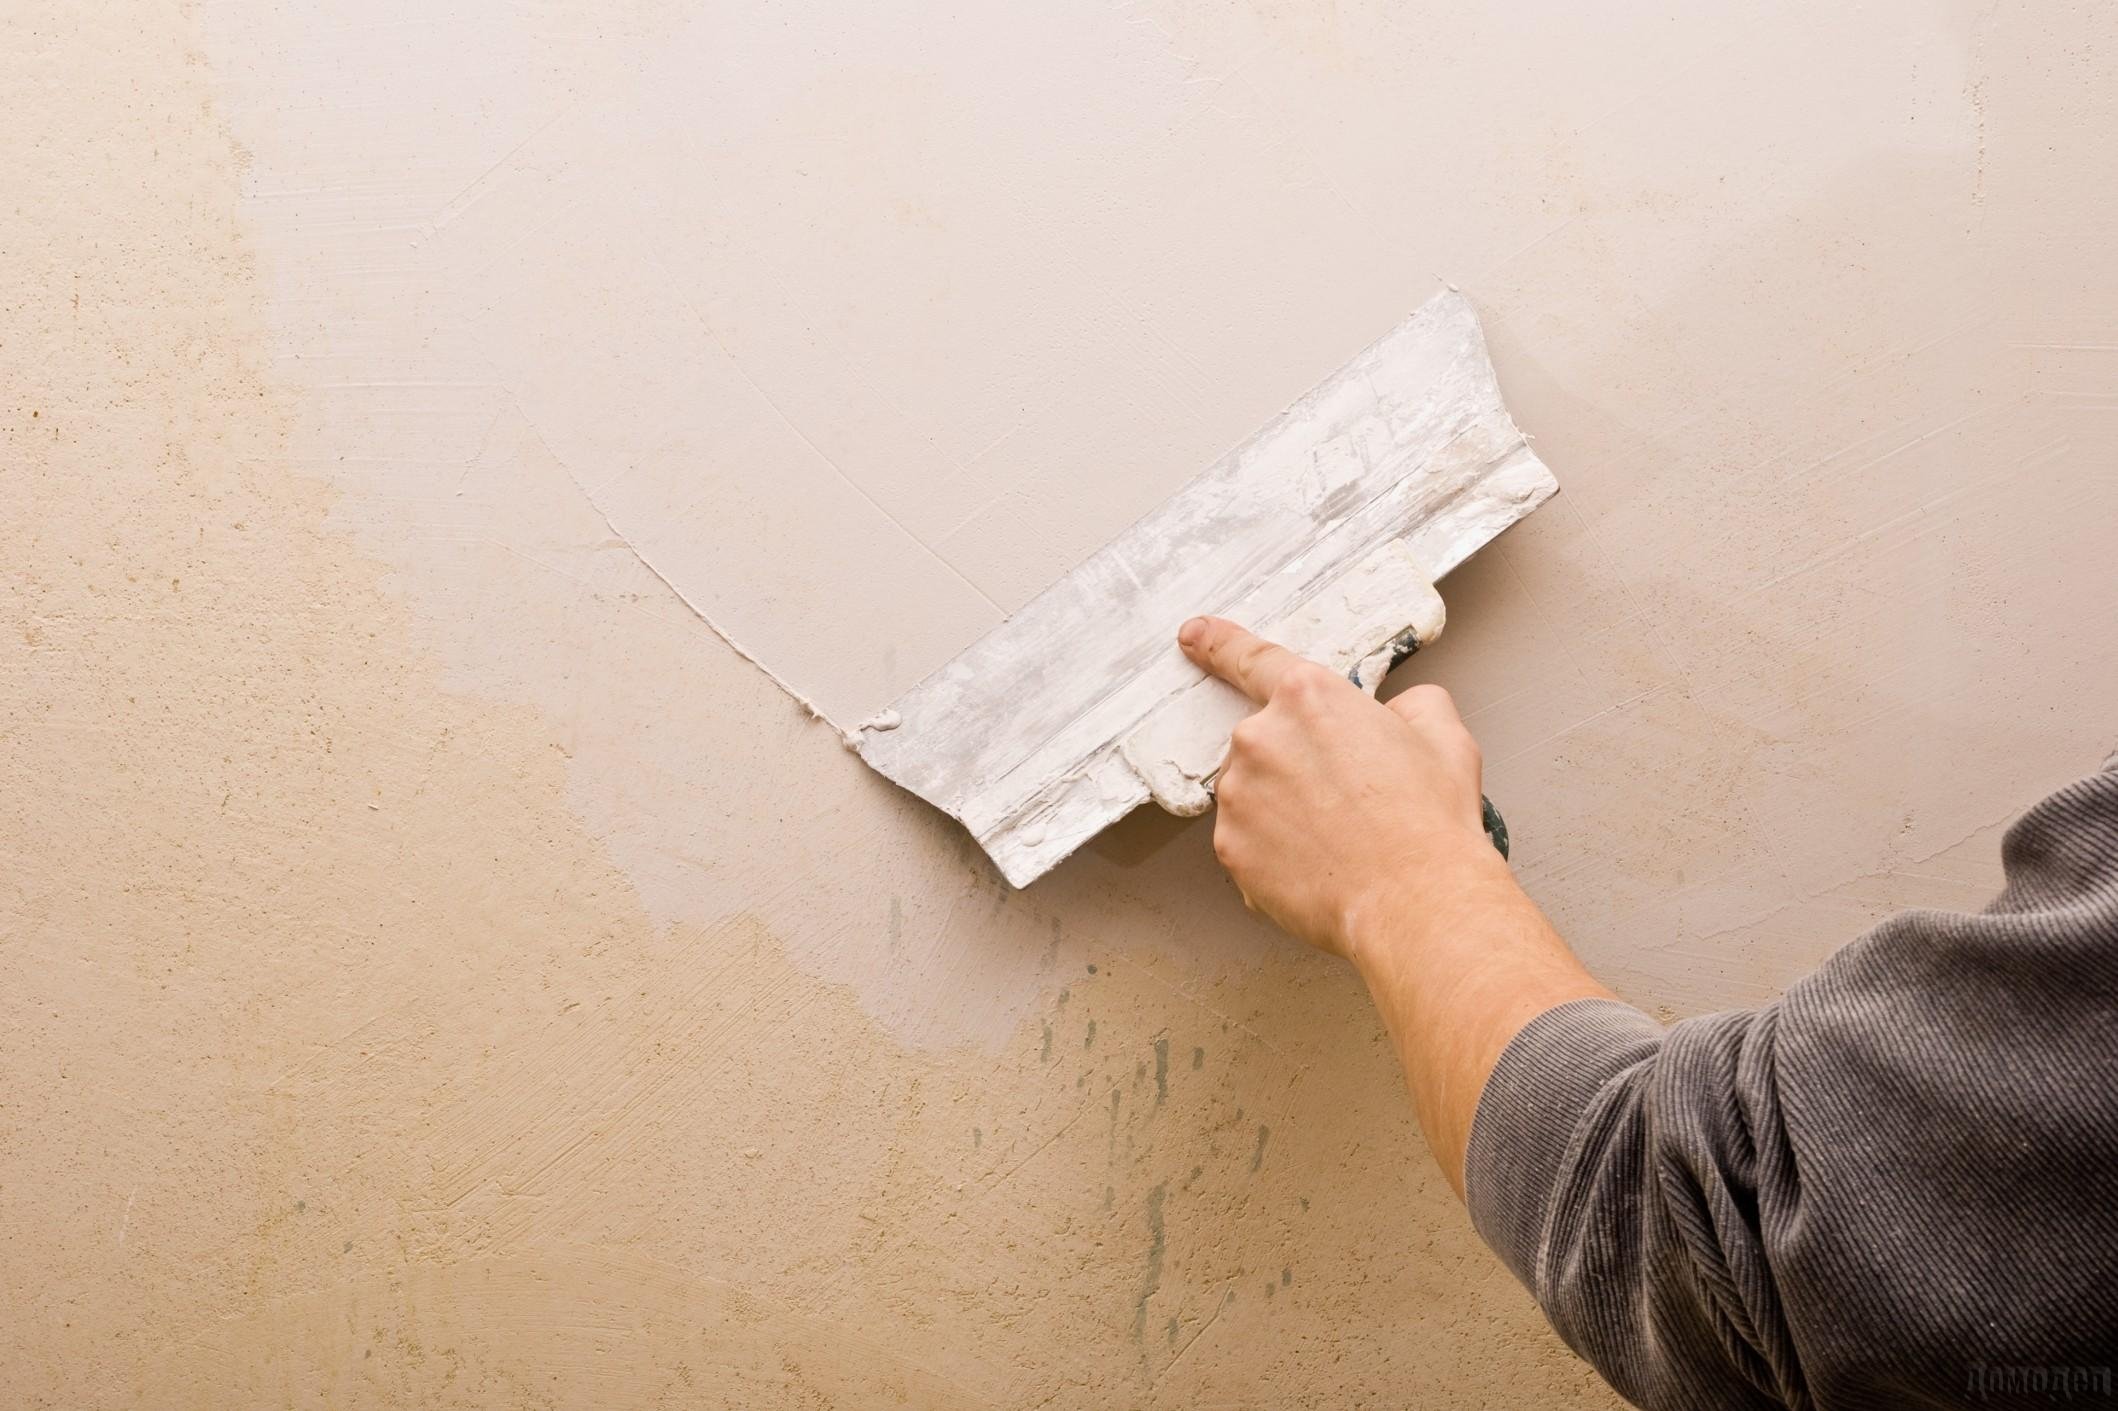
Prepare the wall for painting helps primerwhich is applied to the surface only when it is fully prepared and does not need to be adjusted. After priming, you need to wait six hours, after which you can continue to work. Next, you need to work with putty, which is selected to the material from which the wall is made. If you have a brickwork that you do not need to plaster, since this work was done before you, you can putty it right away. If you have a concrete wall, it is better to make a nylon mesh on it.
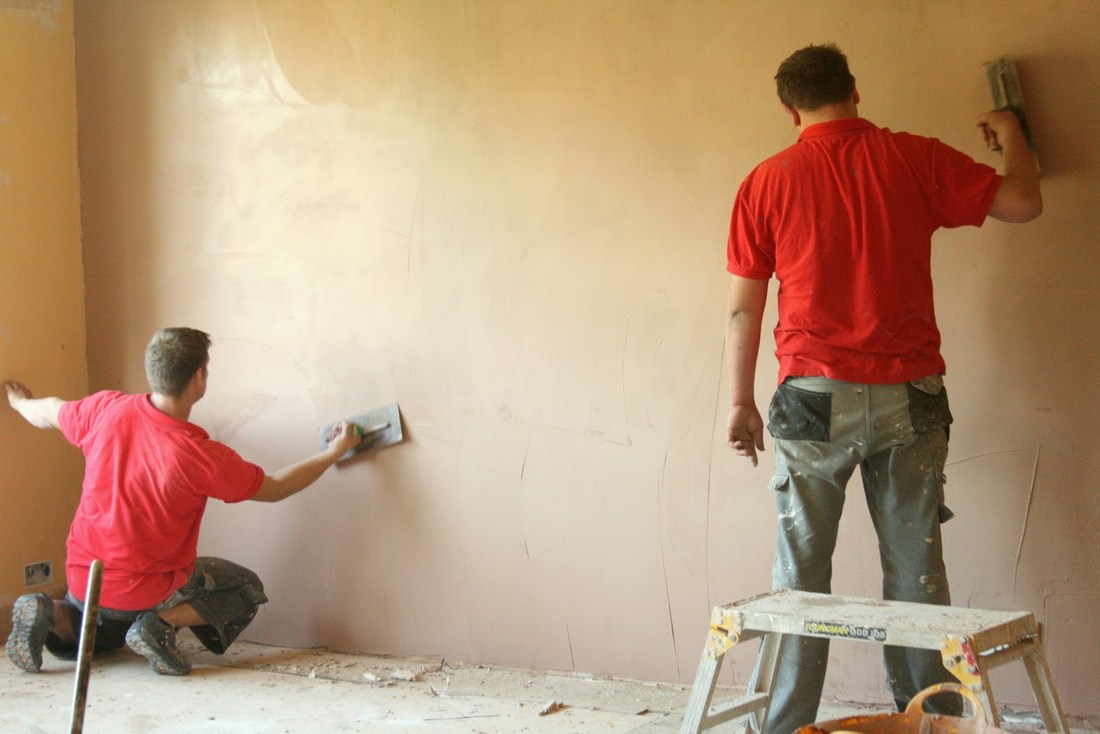
When this stage is completed, you can use a finishing putty.

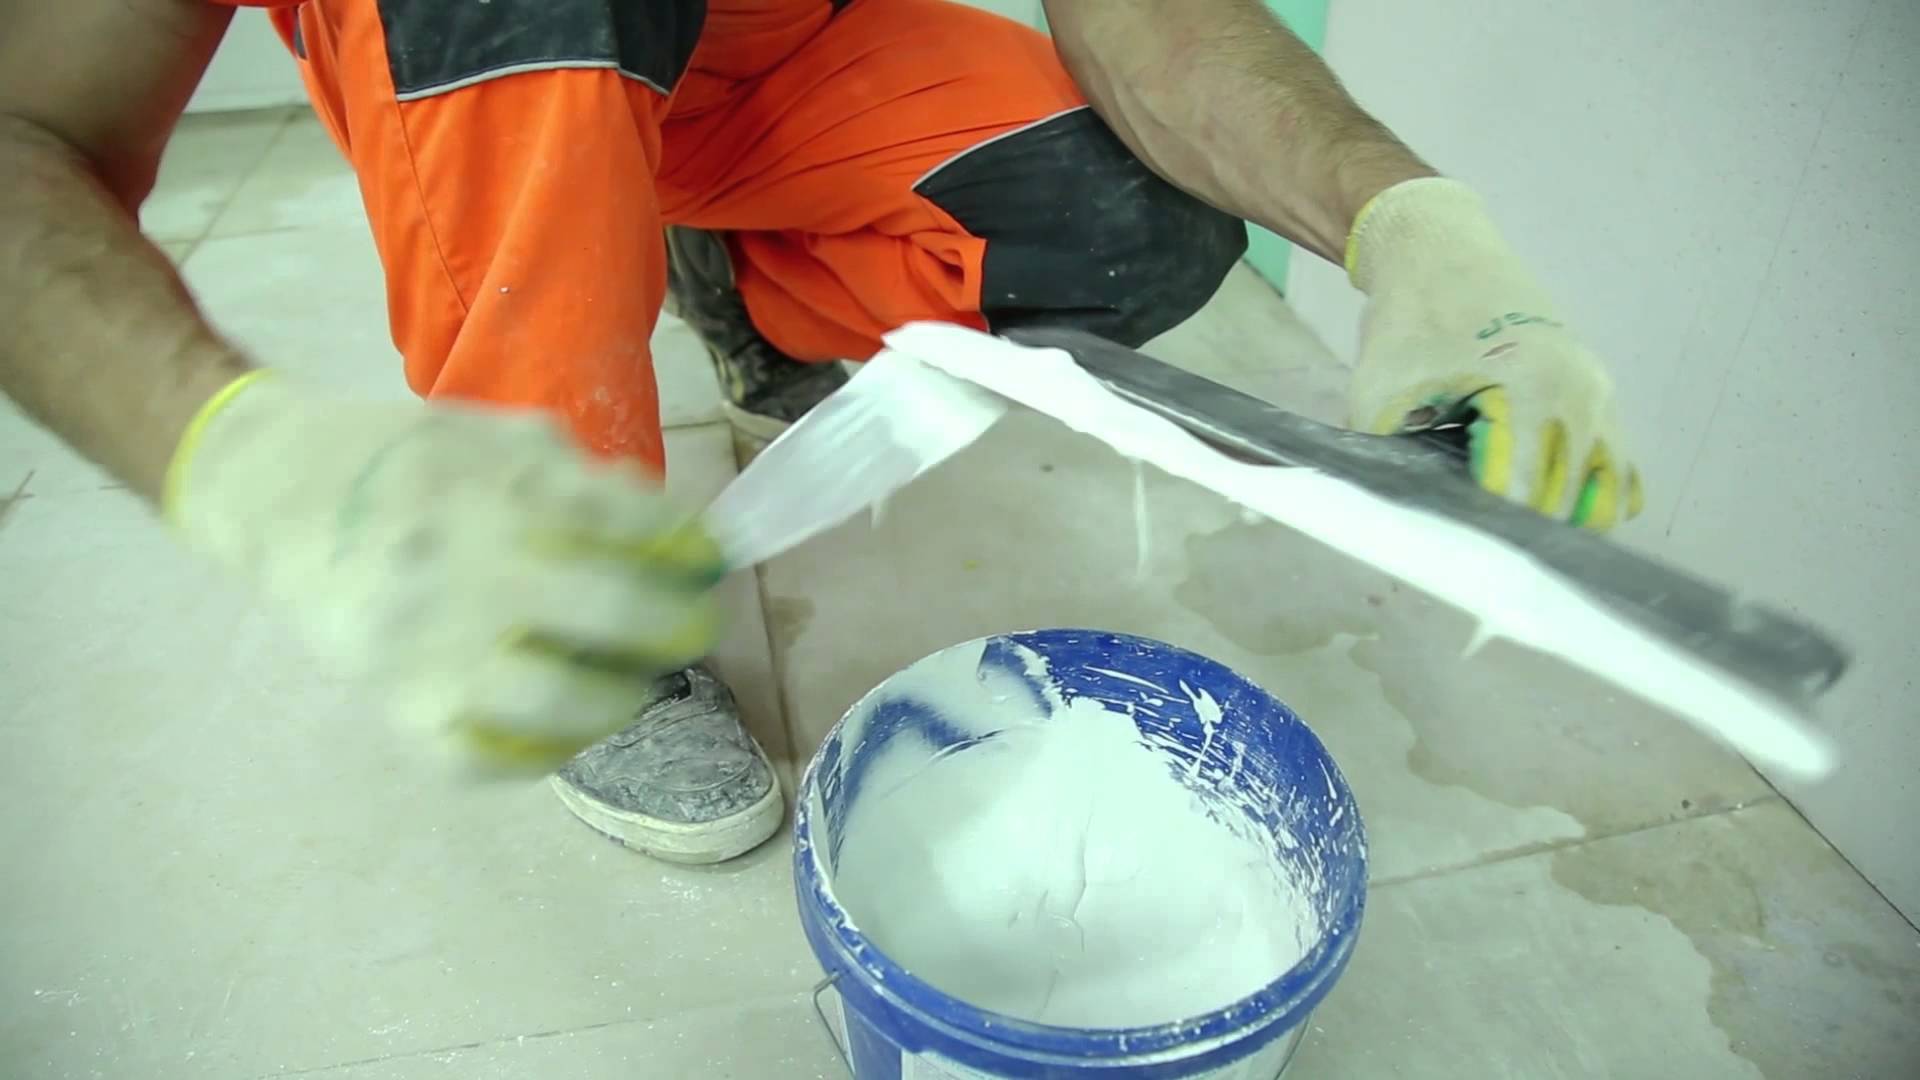
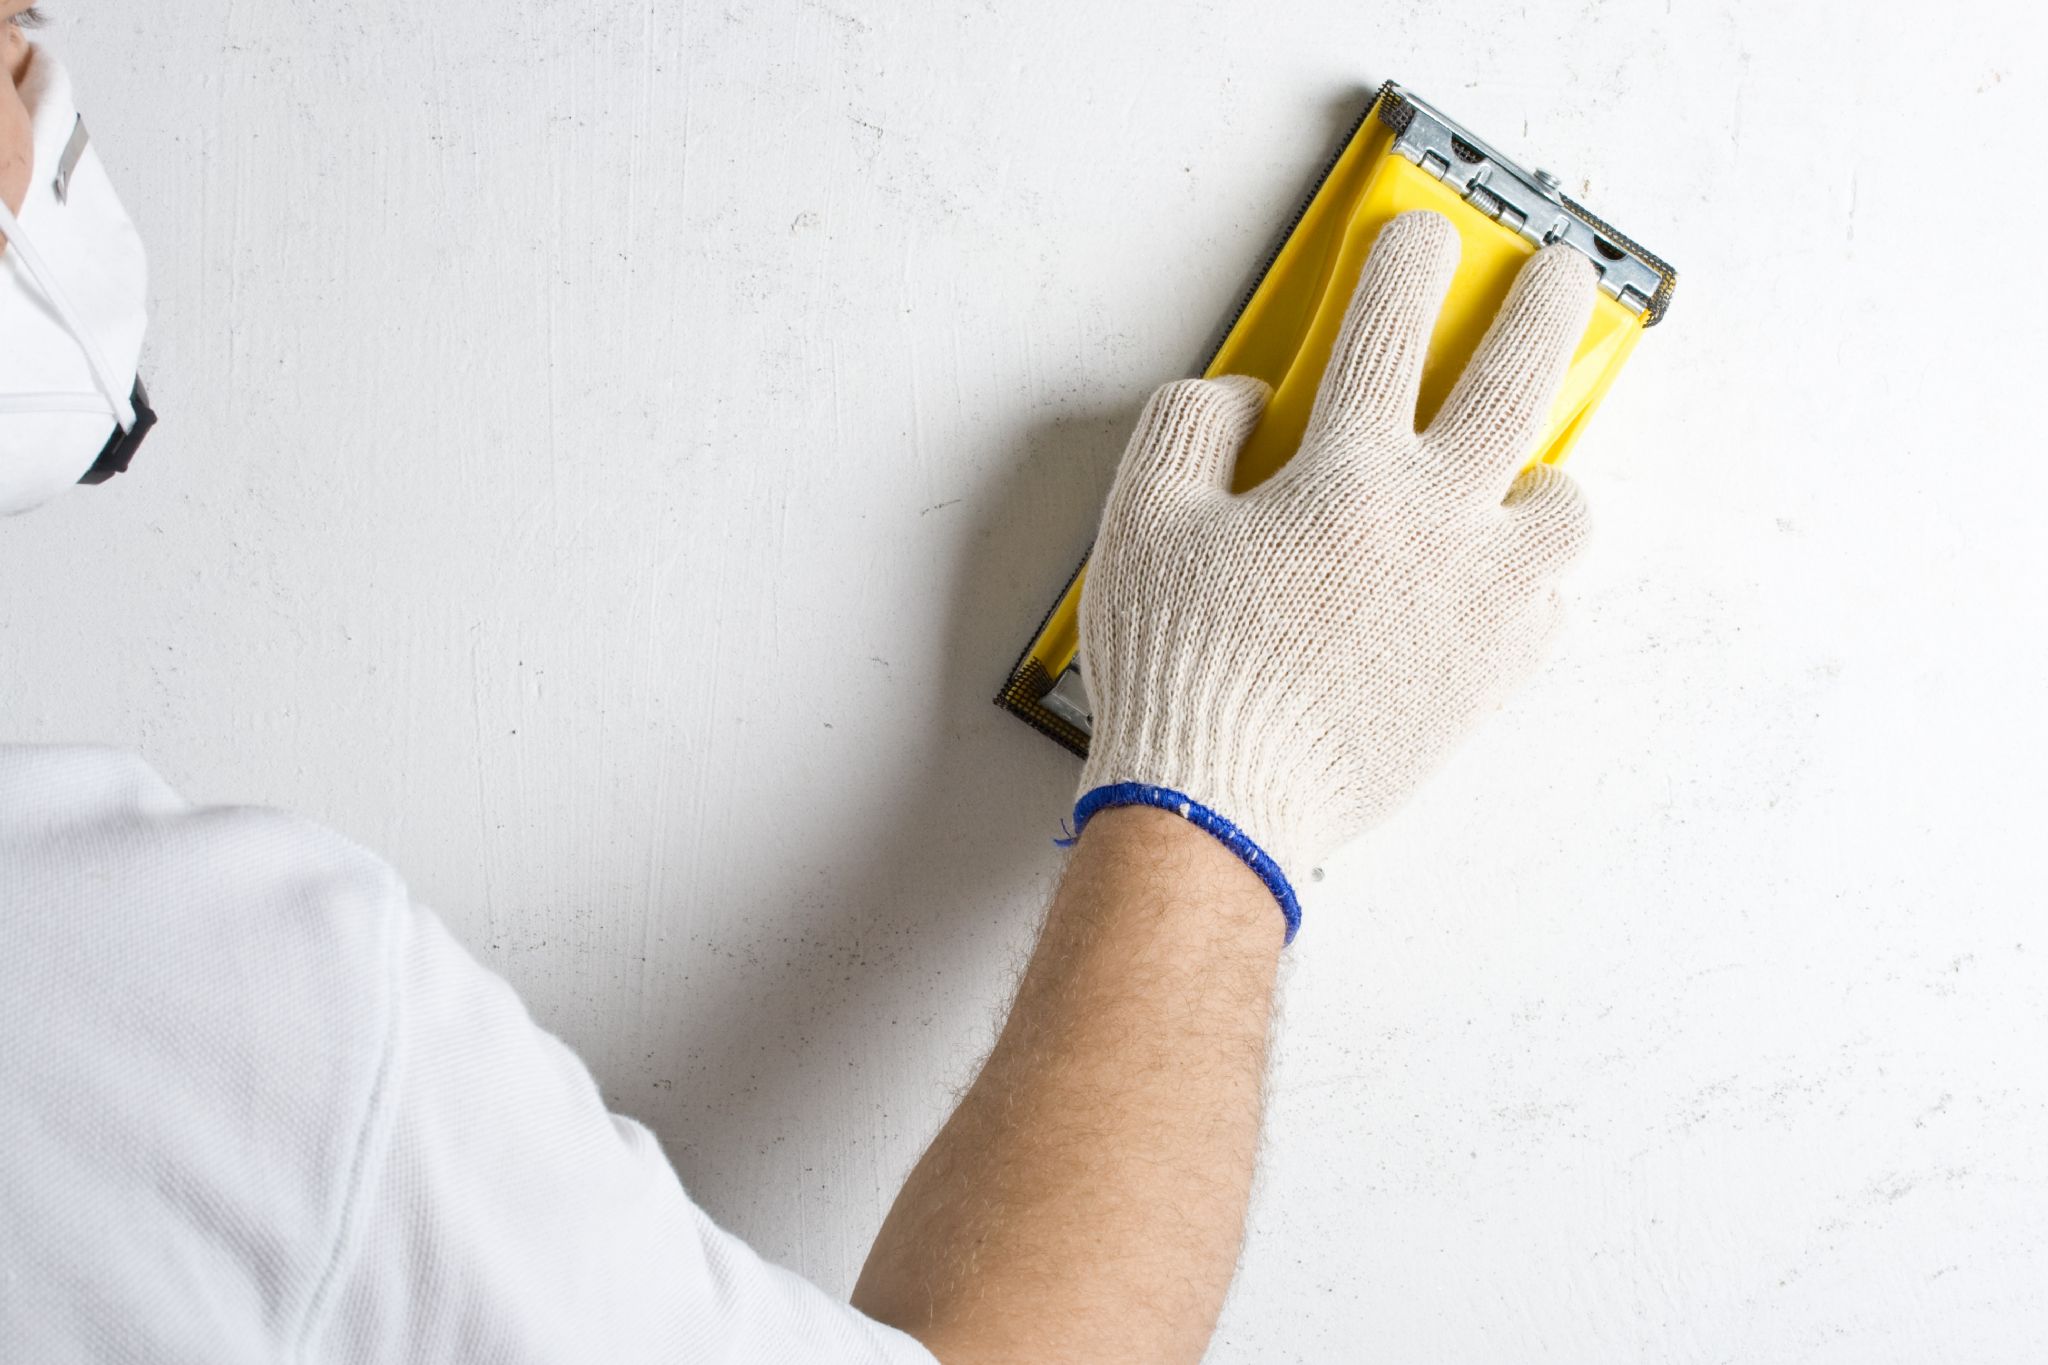
Next is the grout of all walls to perfect condition. In case of irregularities, they are processed again, and after drying, skinning occurs again.
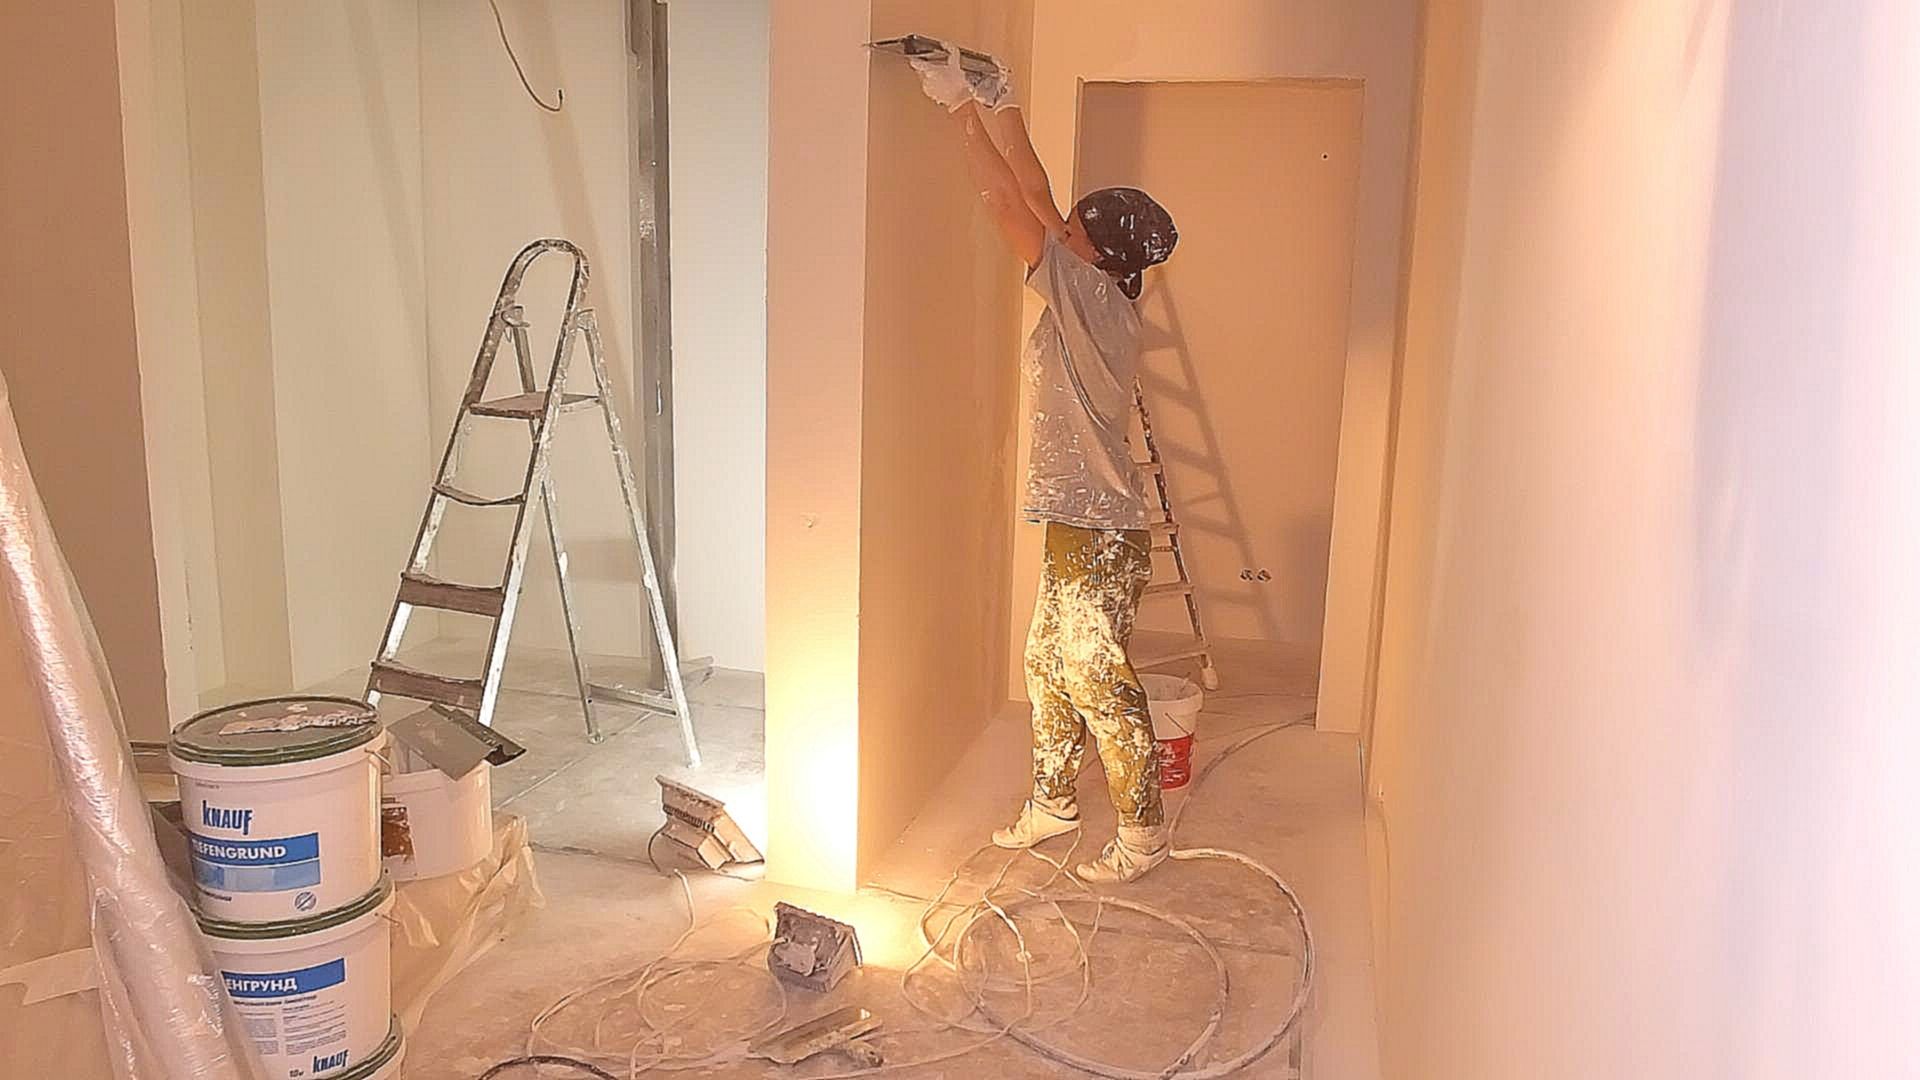
If your walls are made of drywall, then work with them a little easier. The steps also come down to leveling the surface with a putty. Places of joints of plates are additionally completed with a reinforcing mesh on which the putty is applied.Using fine-grained sandpaper, the wall is ground.
The alignment of the wall is the most important step that needs to be given enough attention.
To not miss anything, it is better to use a portable lamp that will help to see all the irregularities, pits and humps on the surface. When everything is finished, the wall must be primed.
Finishing drywall produced using water-based paints.

Recommendations
Before you clean the walls of all the excess and prepare them for painting, remove everything from the room so that nothing will interfere during the repair. If you are missing some tools, you need to buy them or ask for a while, otherwise it may not work out.
When the process of cleaning the walls has begun, it is important to know that this is one of the longest stages of repair, and you need to be ready for this, both physically and mentally. As soon as you cope with the cleaning, you need to putty all irregularities and wait until the material is well taken and hardens. Only after that you can sand the walls and level them. If everything went well, then you can proceed to the primer, but in the case when there are obvious irregularities, it is better to repeat the puttying procedure again than to live with curved walls.
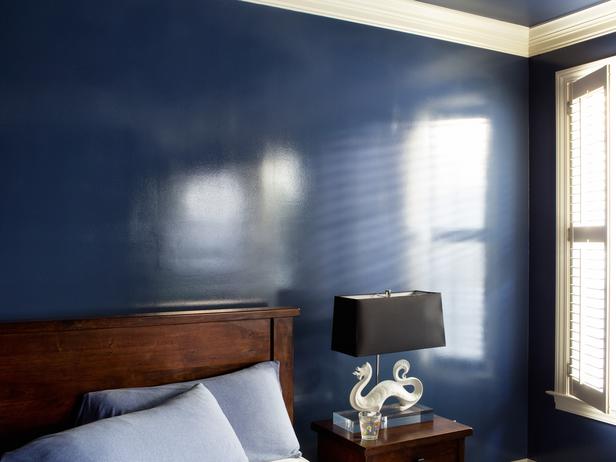
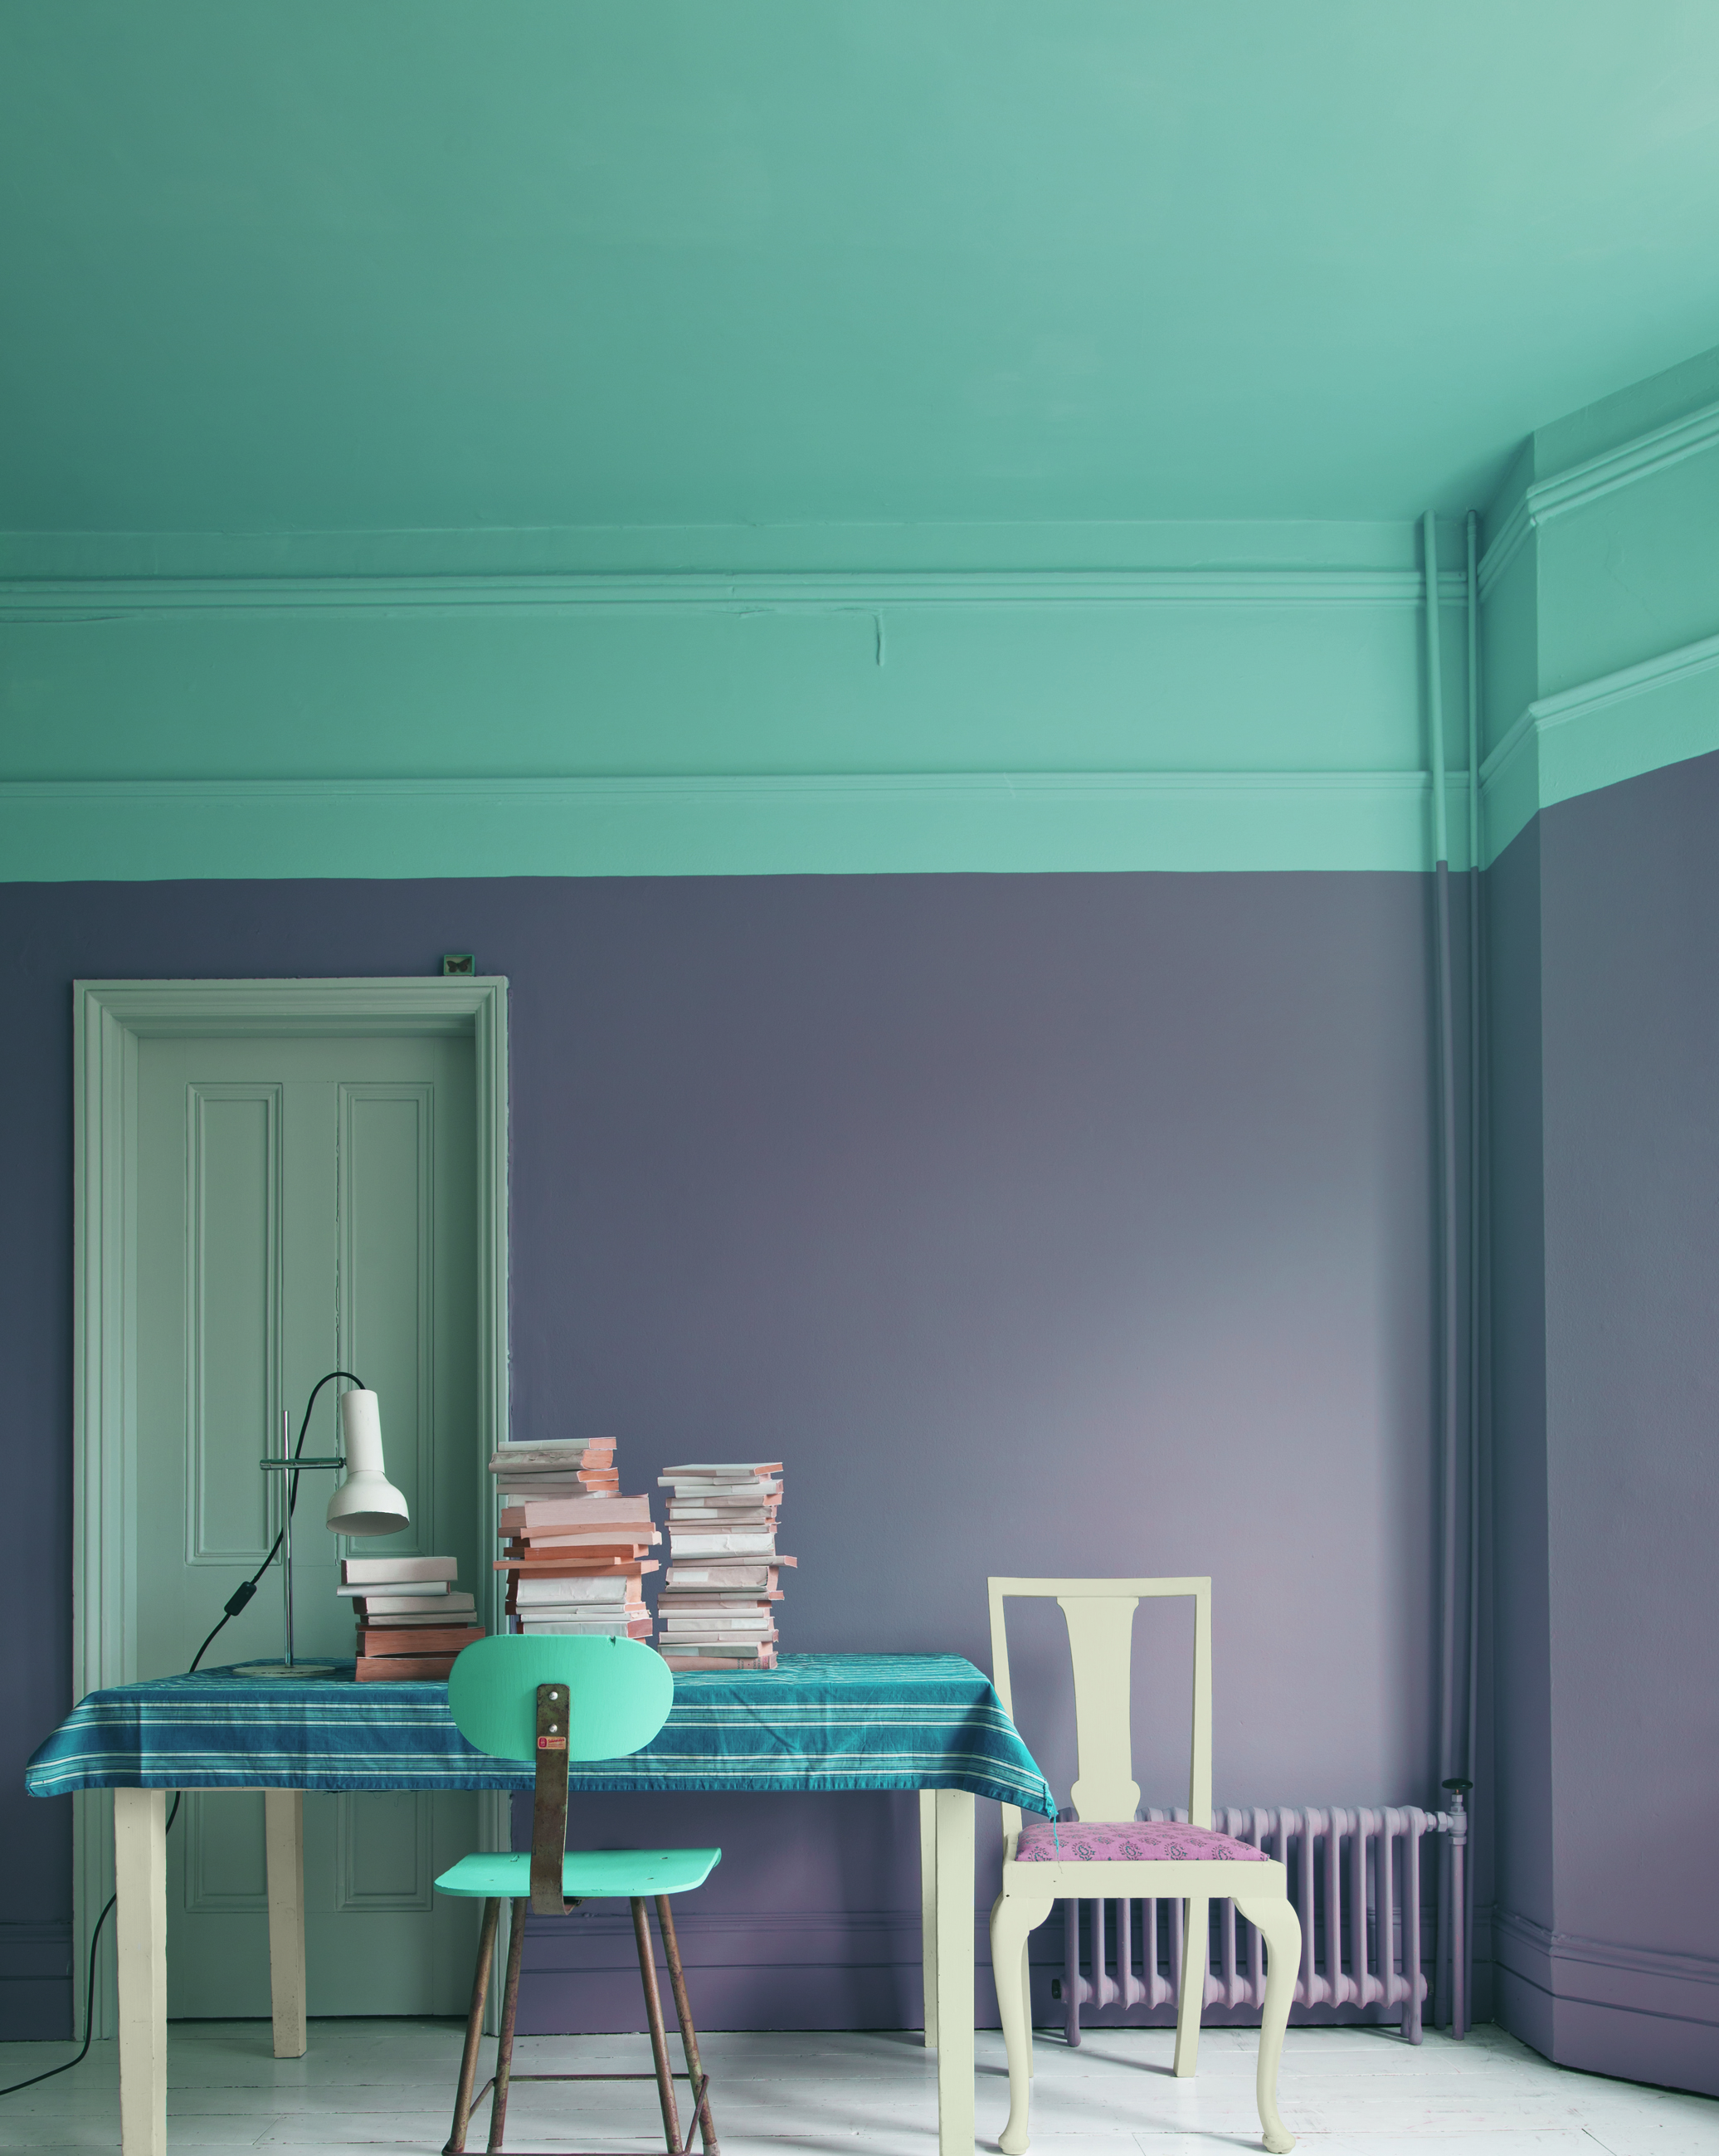
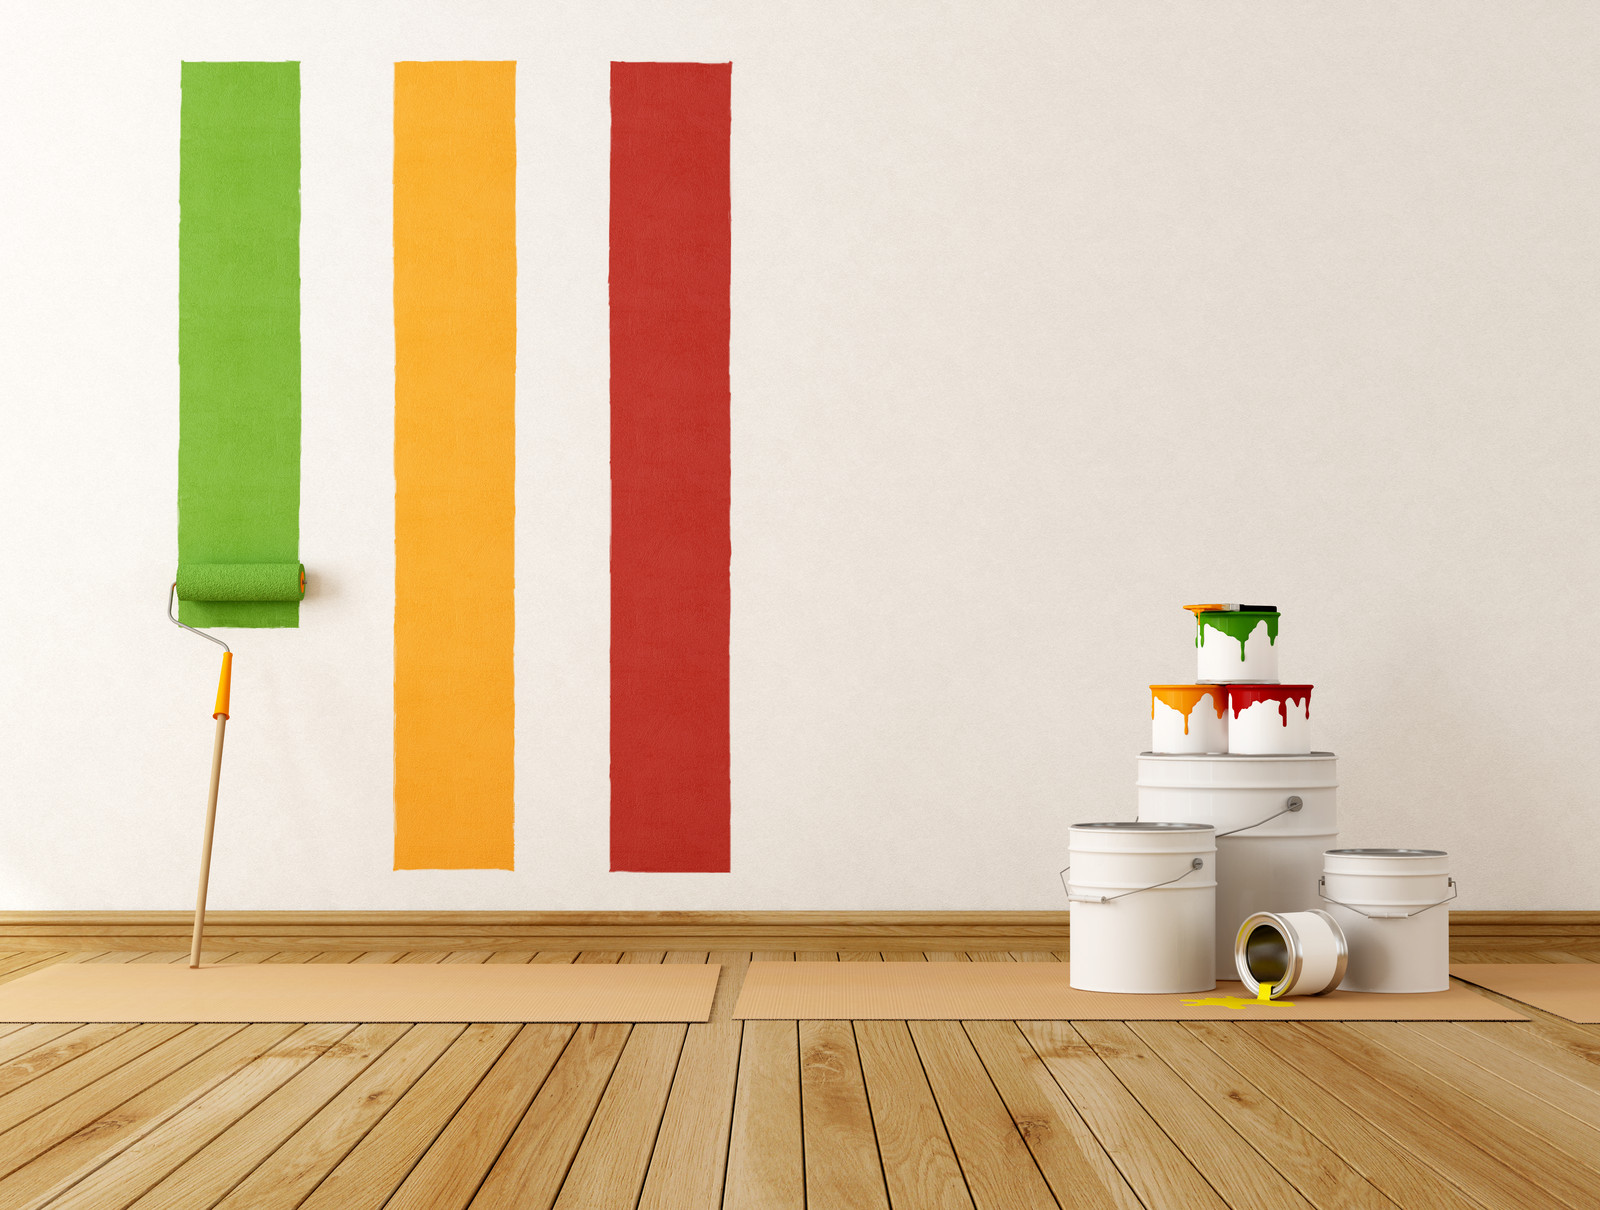
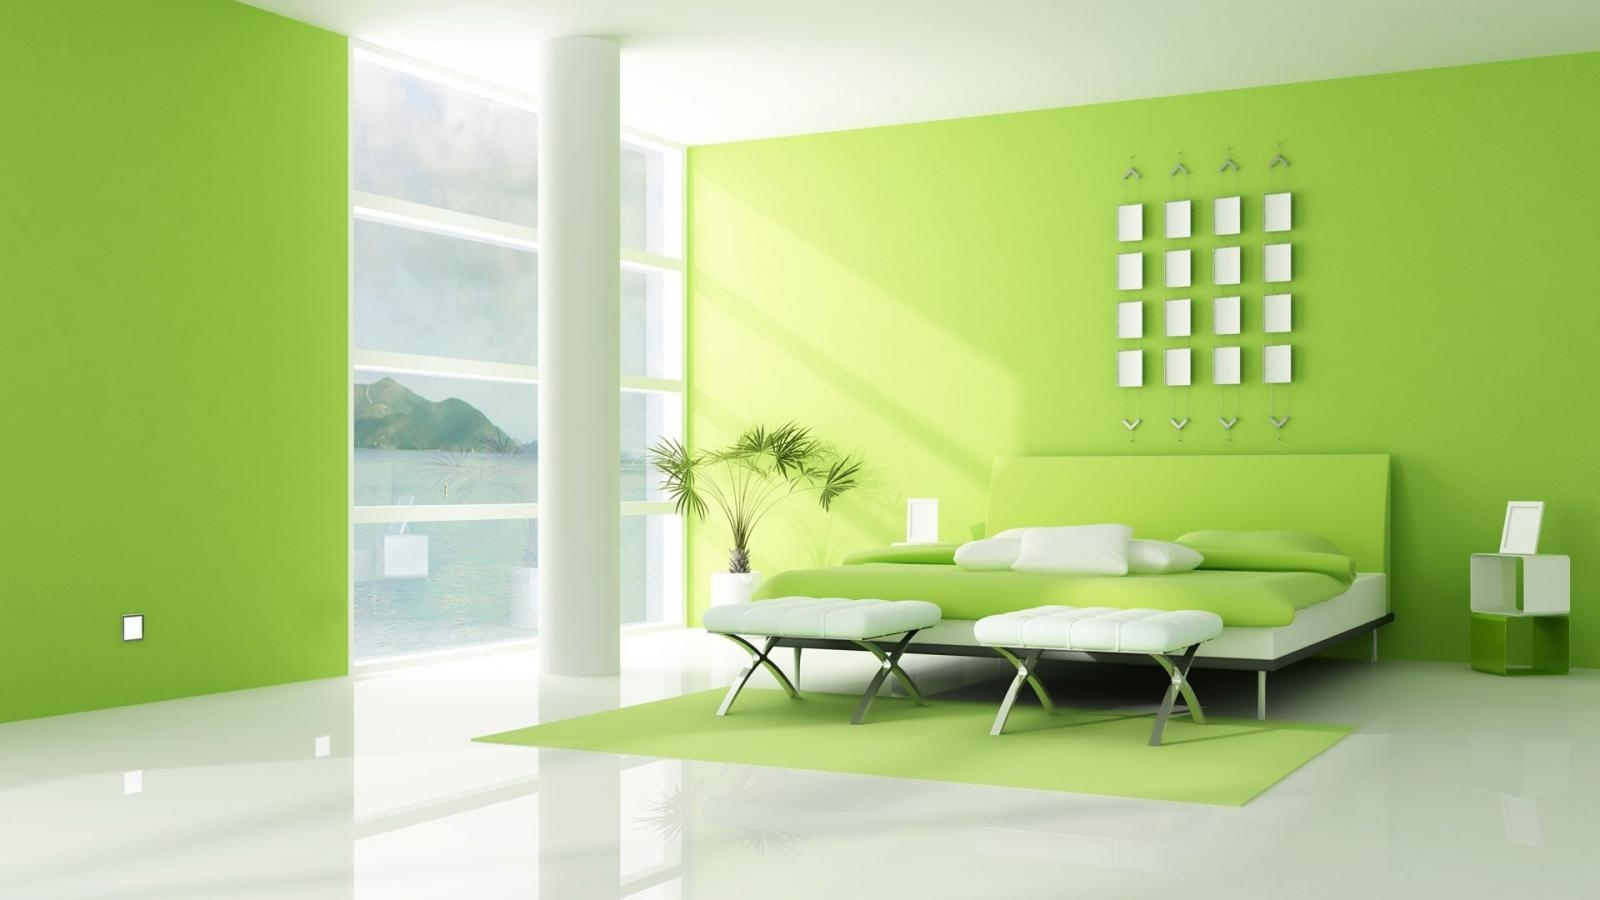
Paint, which you will paint the room, should be not only the right type, but also the desired color. For dark rooms, light colors are mandatory, but in sunny rooms you can afford rich and bright colors that will give the room an unforgettable atmosphere.


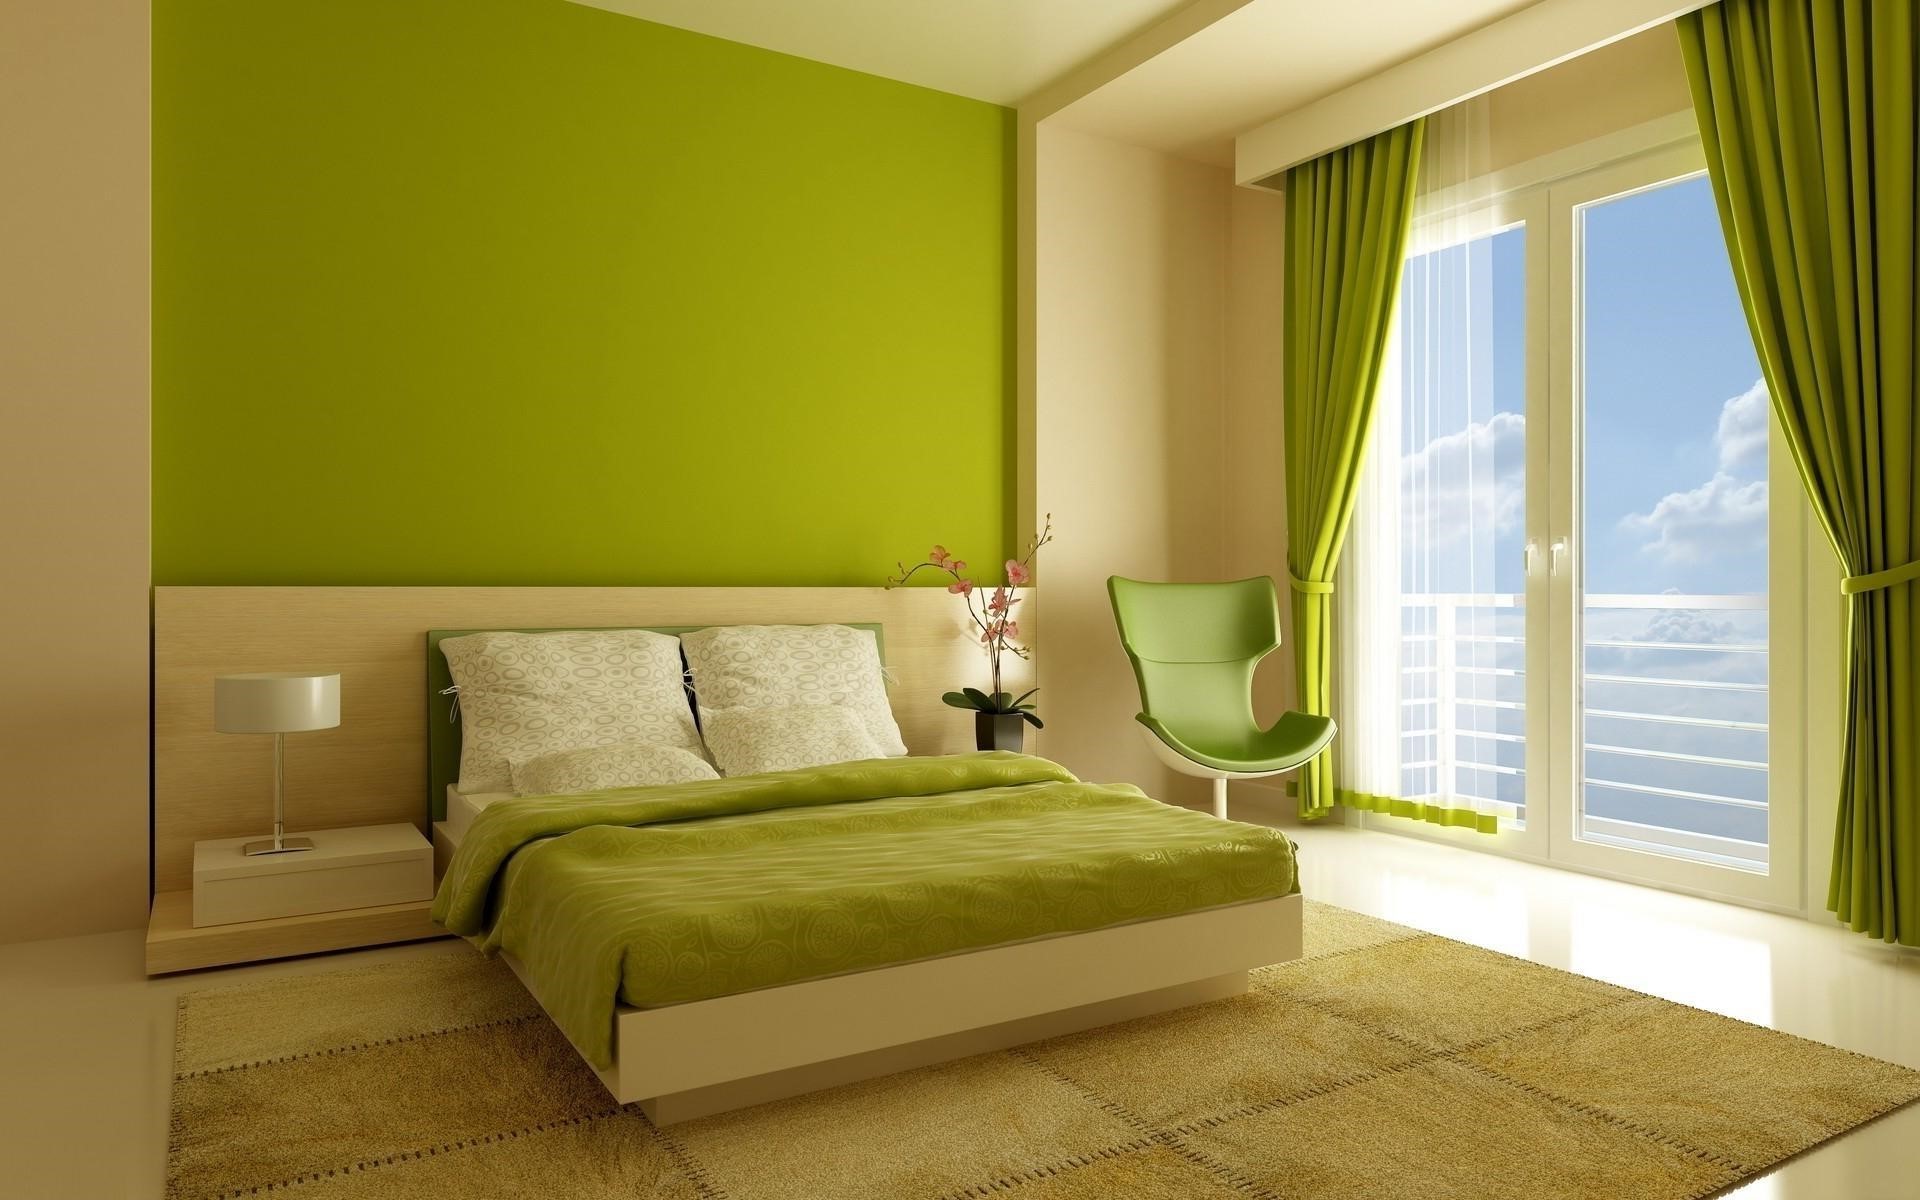
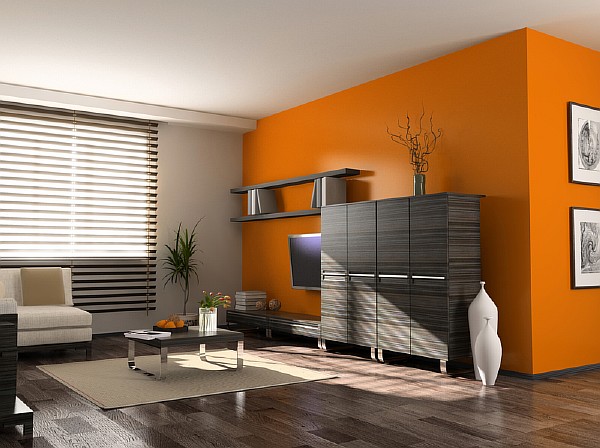
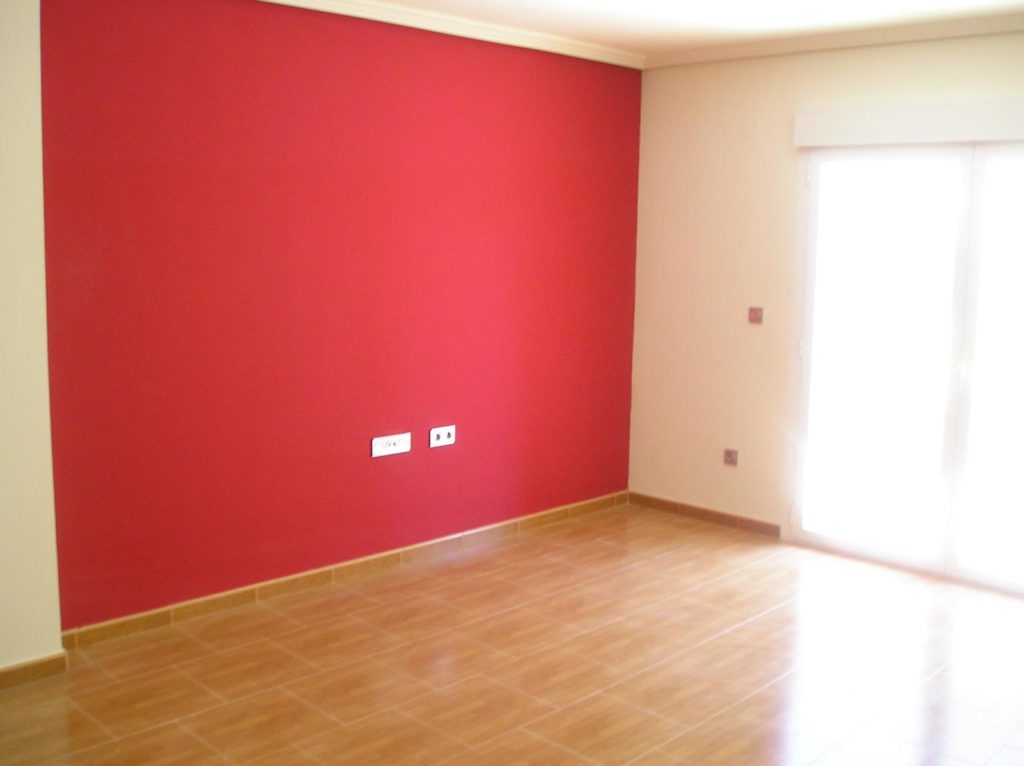
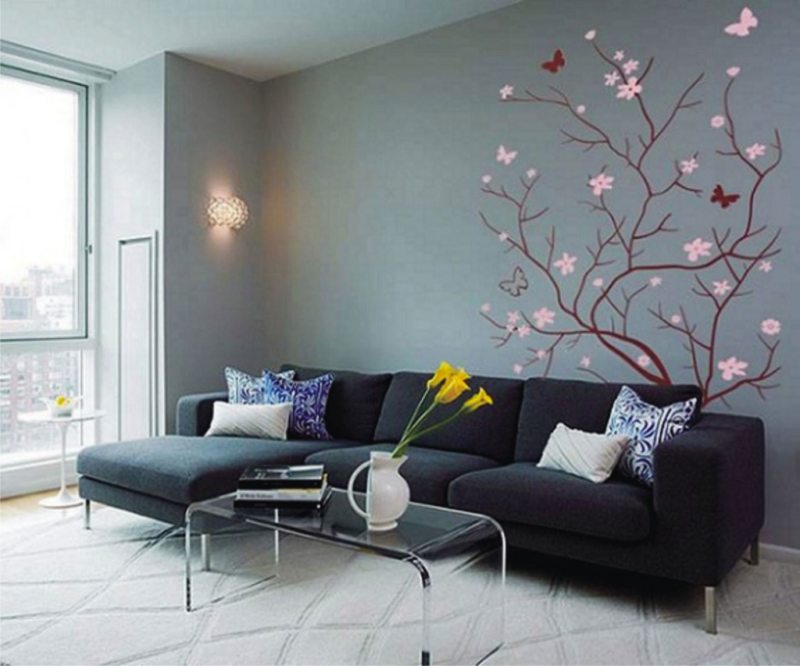
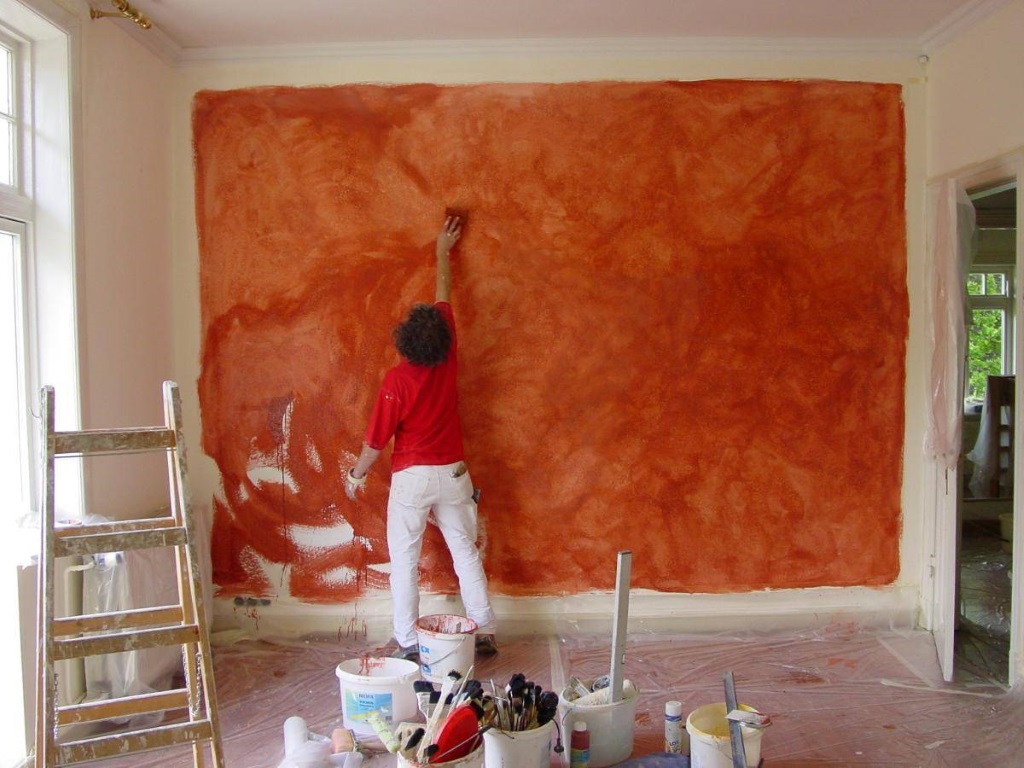
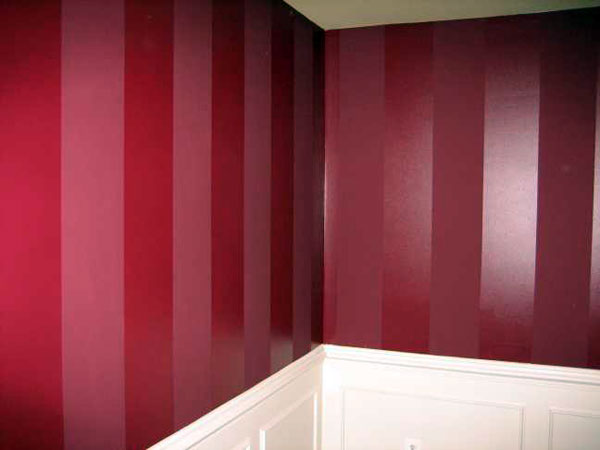
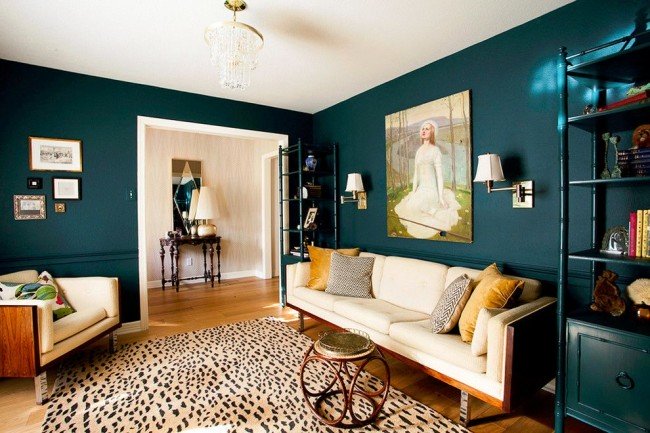
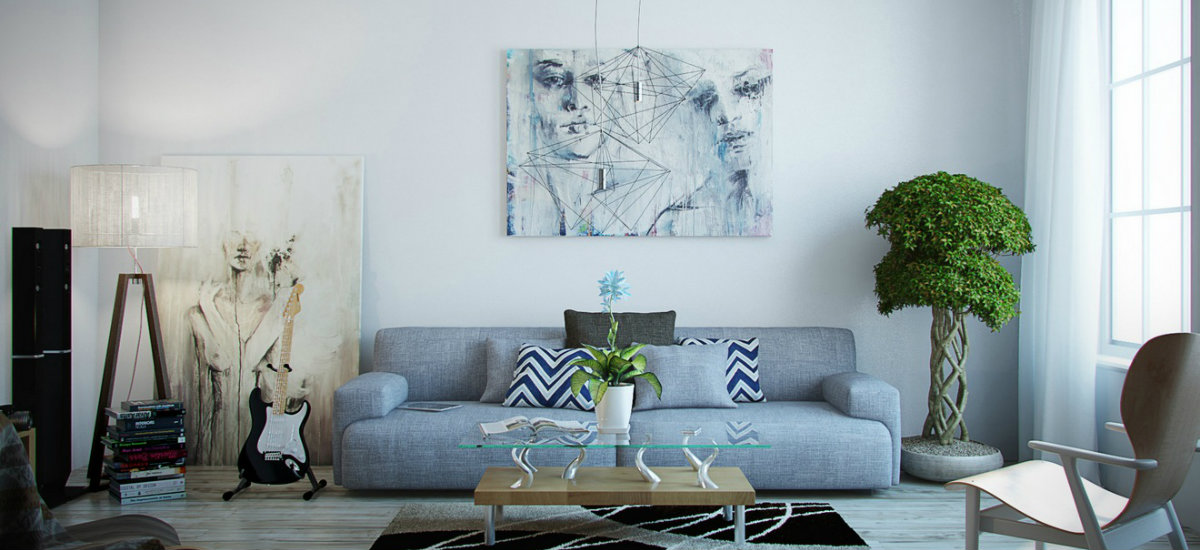
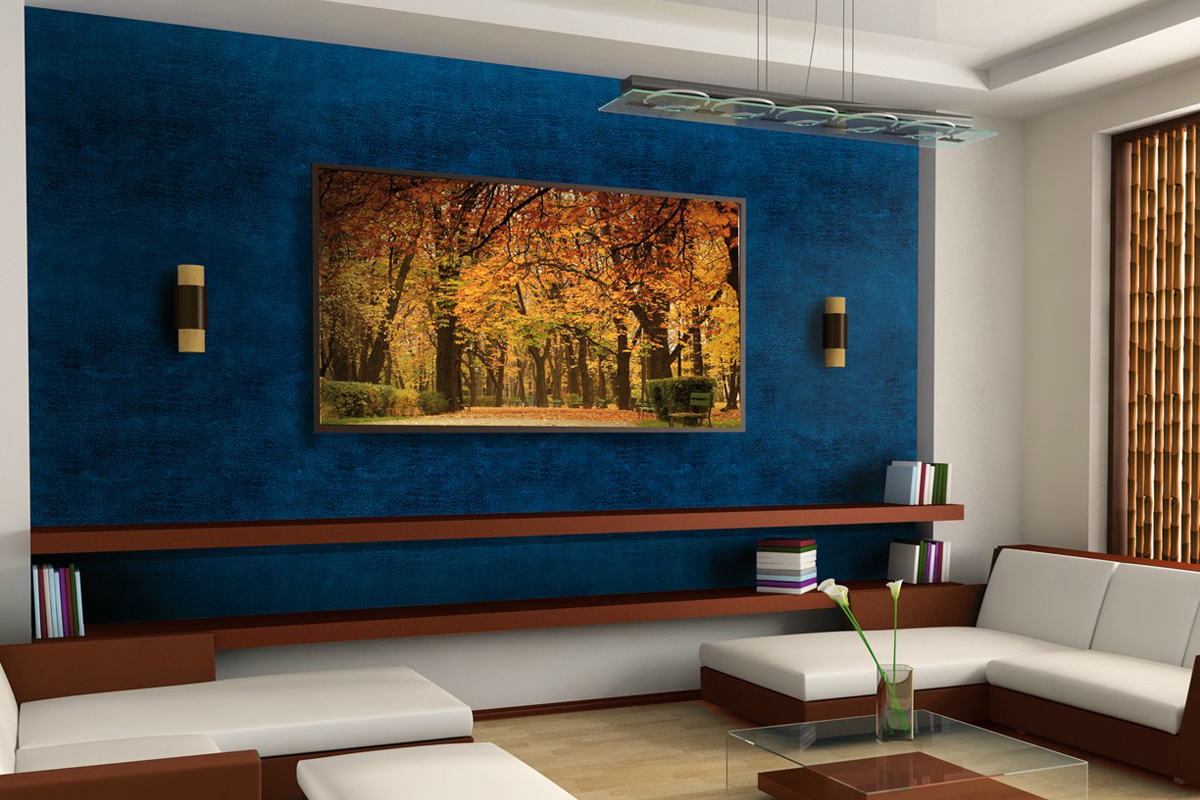
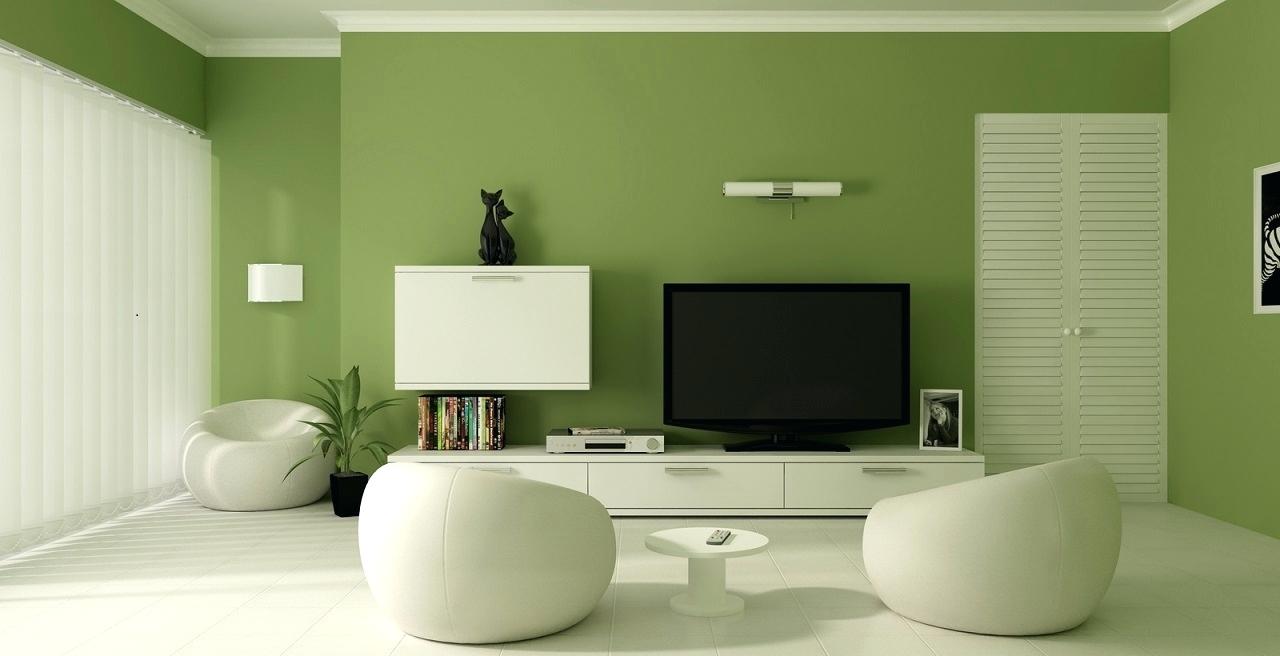
Beautiful examples in the interior
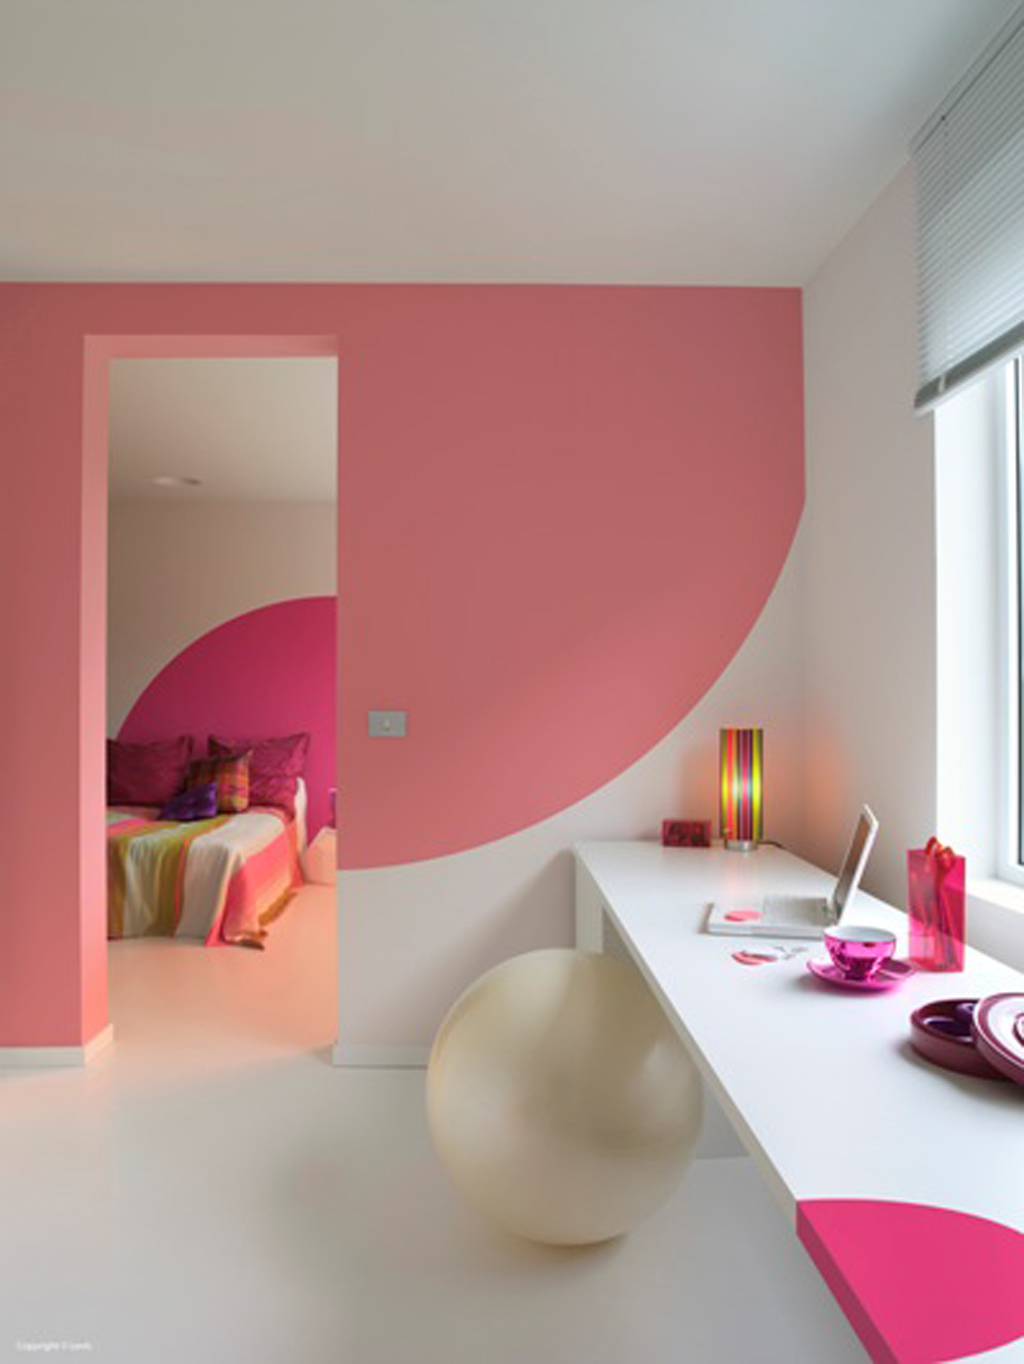
For the hall, you can use a variety of color solutions, and the paint in this case is very helpful, because it is very simple to select textures and semantic zones with a different color, and the effect is stunning. Depending on your preferences, the color gamut can be as calm if you prefer to sit in a cozy atmosphere and chat or watch your favorite movie, or bright and a little aggressive if you like fun, noisy parties and active rest even at home.

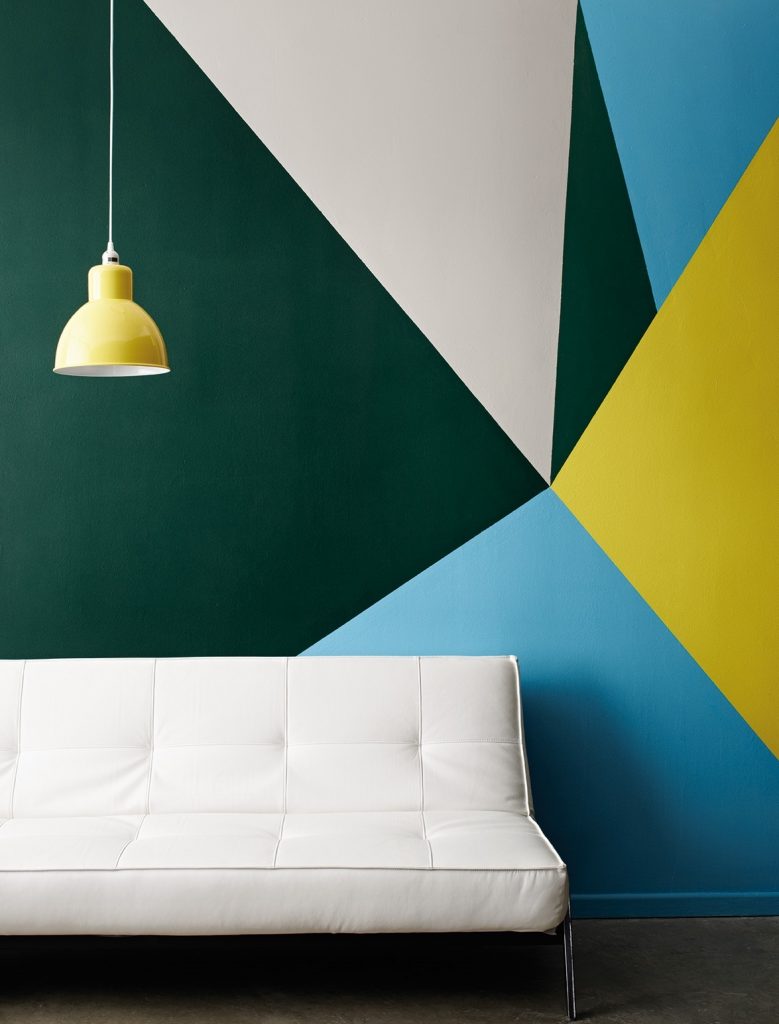
With the help of coloring you can make a wonderful design of the room, creating fancy images or creating a beautiful picture on your wall. Most often, the design solution is selected only for one wall, which bears the main semantic load. Otherwise, the space of the room will be overloaded, and instead of lightness and originality of the interior will cause negative emotions.
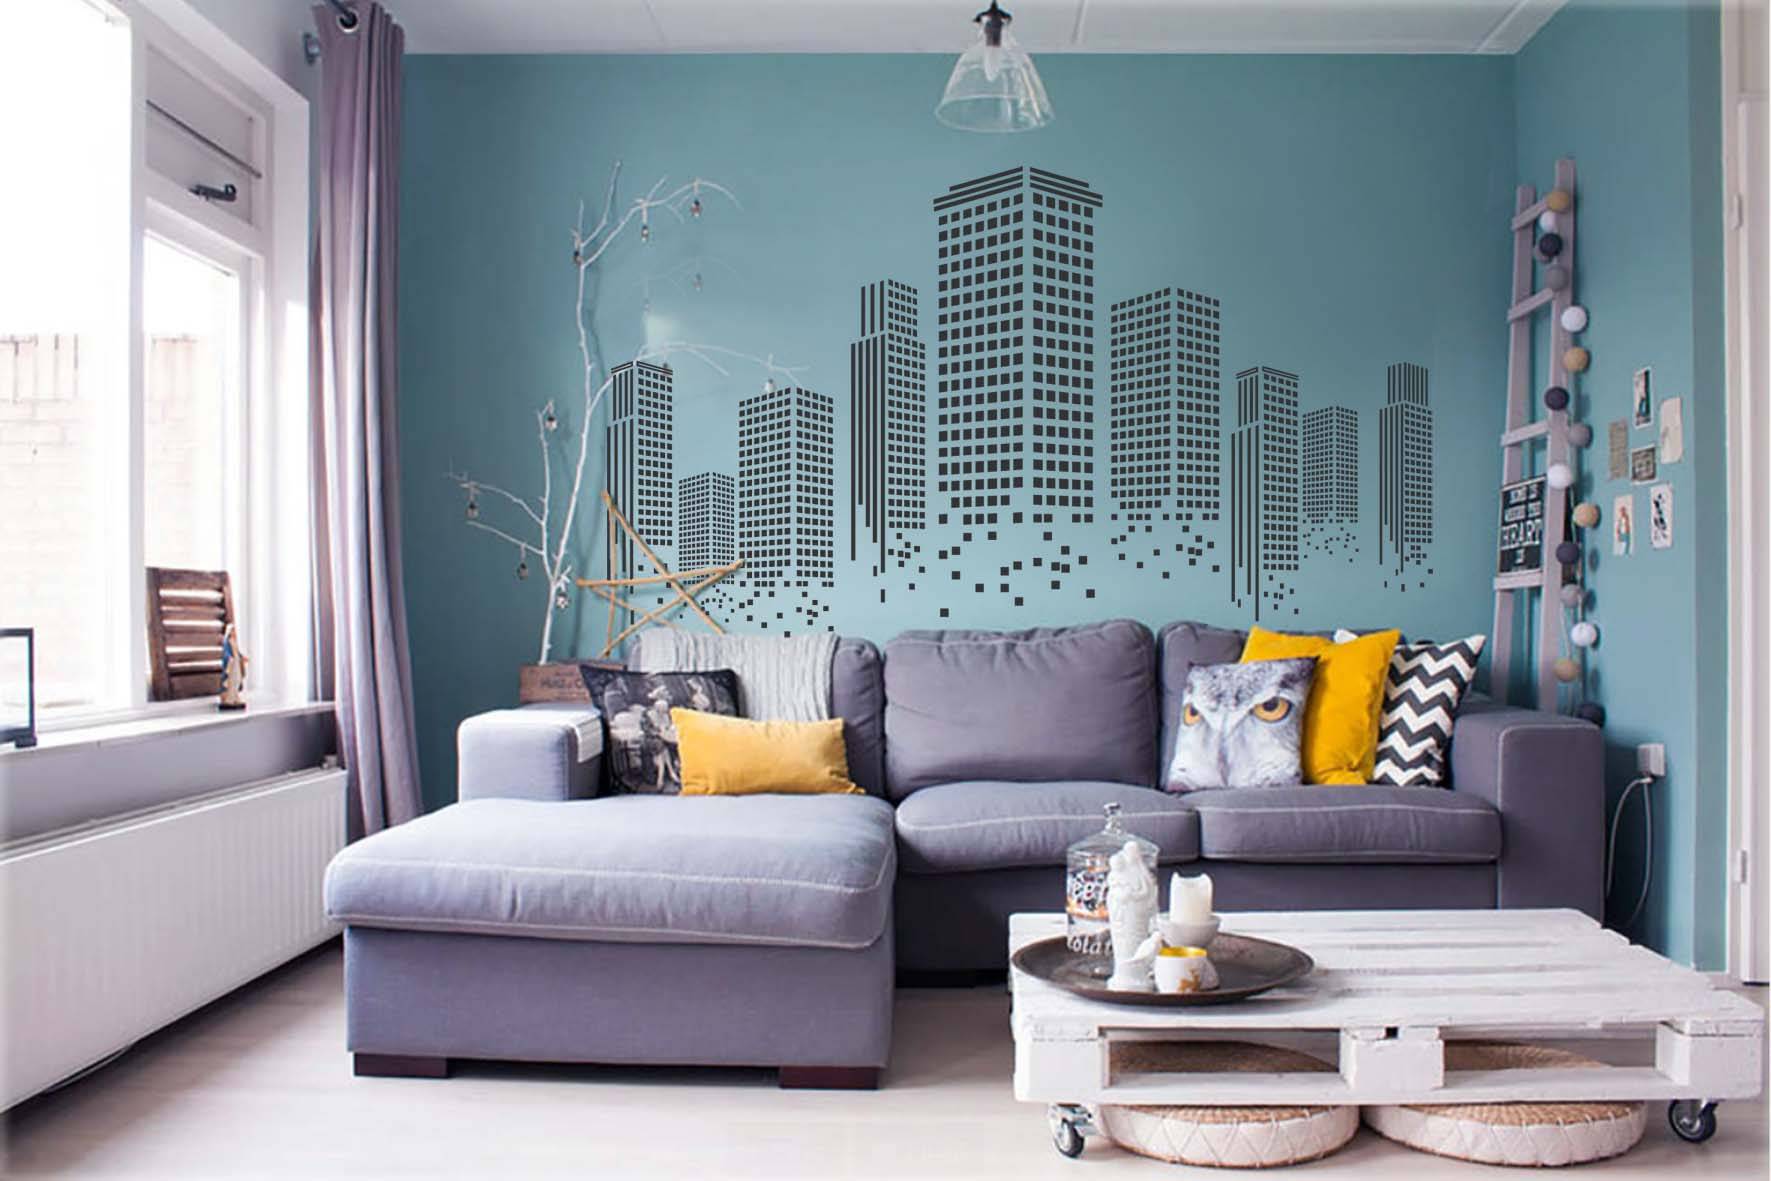
As an original decoration, you can use wall decor in the form of abstractions and a variety of color spots that catch the eye and attract attention. In this case, it is important not to overdo it with color and choose the right pattern that will complement the space of your room and make it special.
Using paint, you can make not just a boring and monotonous room, but create a bright and unique room in which imagination and imagination allow you to mentally run away beyond the apartment, enjoying the creative impulse caused by a pleasant and comfortable atmosphere.
To learn how to properly prepare the walls for painting, as well as to paint, see the following video.


