Installation of beacons for plaster walls
The installation of beacons for plaster walls is an important stage of the whole work. On how correctly the beacons are set, the evenness of all the coatings depends, therefore it is important to approach the installation procedure in a comprehensive manner.
Special features
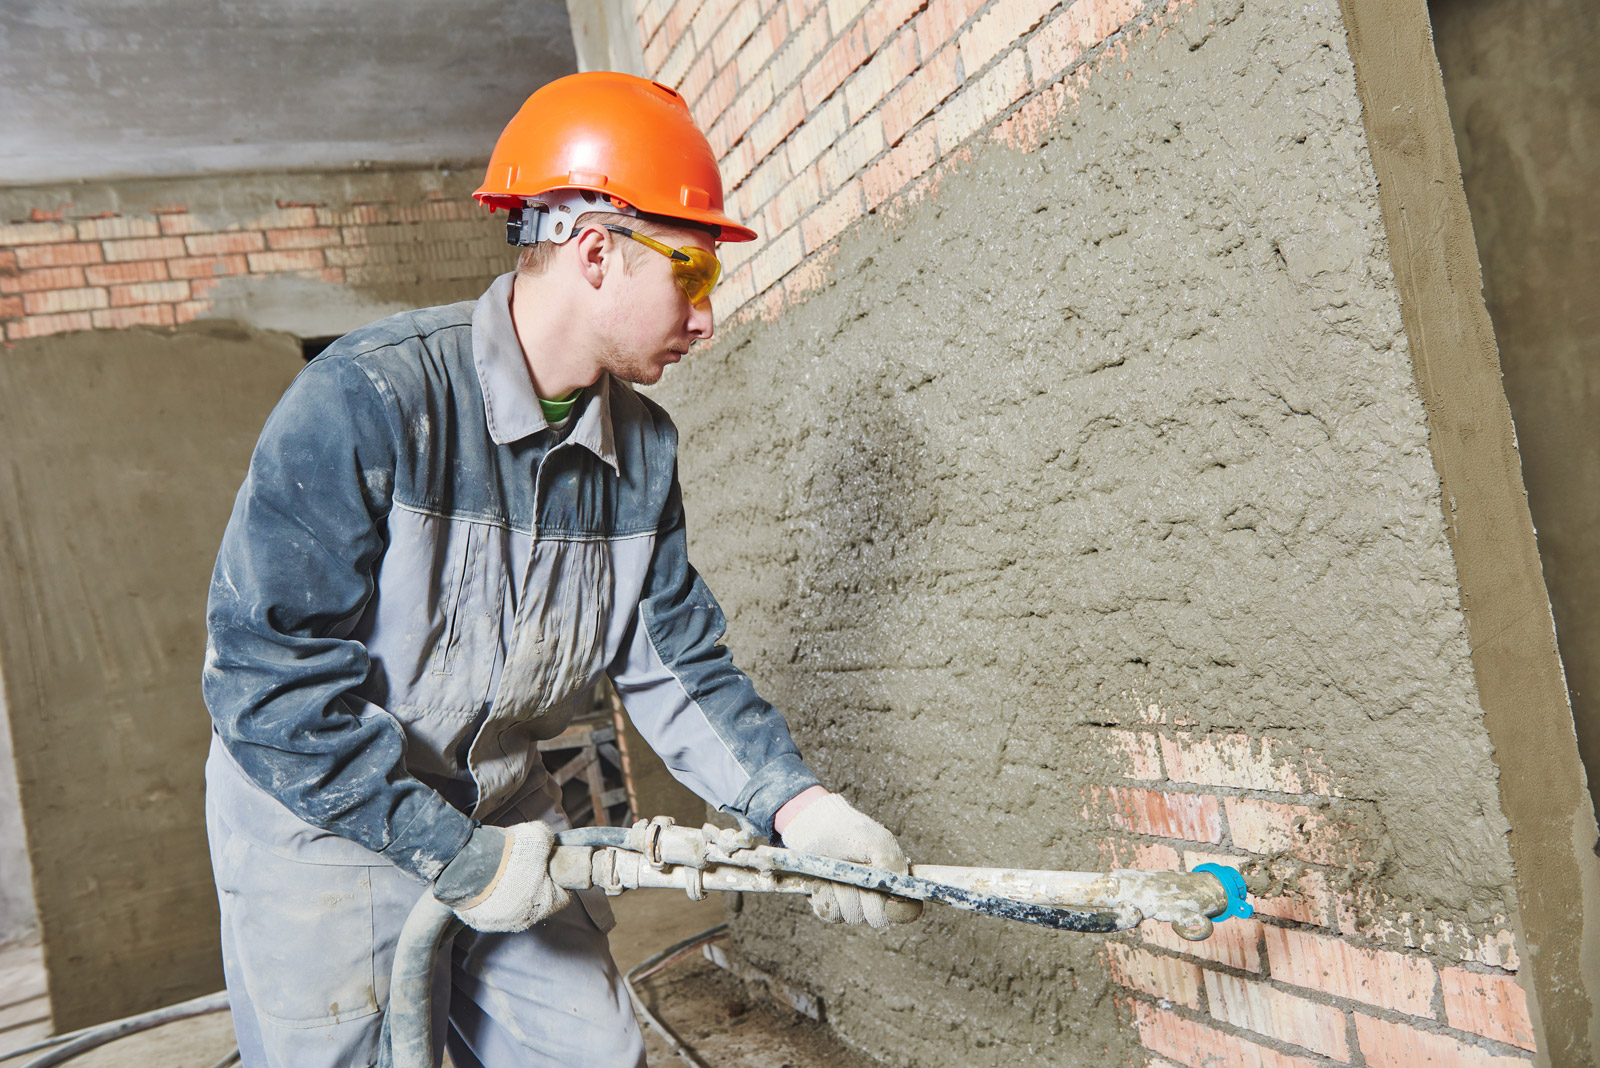
Plastering walls - an obligatory stage of repair work. Properly applied plaster makes the walls smooth, the finish on such walls is excellent. However, in order to properly perform all plastering work, you must first install beacons.
Plastering in itself is intended to completely improve the appearance of the walls, to transform them. It is about concealing irregularities and flaws. In addition to eliminating all defects, using plaster you can even the walls, and sometimes even change the proportions of the room,adjusting the length and width of the walls.
Lighthouses are needed so that the plaster can be applied in a perfectly even layer. Even experienced builders can not do without the installation of beacons for plastering.
Lighthouses are of different types, but the purpose of their use is the same: to help as much as possible to level the walls. Also, lighthouses greatly simplify the process of plastering, because they are based on the rule.
By setting the beacons correctly, it will be possible to minimize the consumption of the mixture. There will be an opportunity to save on the material. This is especially true since usually buying plaster and plastering work are decent. However, it should be borne in mind that the amount of material is influenced not only by the correct installation of the beacons, but also by the quality of the surface. If it is badly damaged, uneven, then it will take a lot of material. Levels greatly reduce the amount of material required, if the surfaces are relatively flat.
The choice of height for the installation of beacons is also influenced by the choice of mix. In particular, the level of attachment of beacons depends on the composition of the plaster mix. Some of them require pre-installation of plaster mesh, which also affects the distance between the beacon and the wall.Also plays a role and the fact that some plaster compositions are applied with a relatively thin layer (5-10 mm), and some - thick (up to 60 mm). When exhibiting beacons, every factor must be kept in mind.
Lighthouses for plaster walls are not specialized. They can also be used in the alignment of the ceiling, if such a time-consuming and expensive design method, like plastering, is chosen for it. A feature of the installation of beacons is precisely their versatility: they can be used not only for walls, but also for ceilings.
Important is the specificity of the installation of beacons in niches, as well as around door or window openings. This step should be given special attention.

Pros and cons of use
Some professional master plasteers advise the use of lighthouses, the other half discourages from this. It is worth more to understand why there were such contradictions. The advantages of using beacons include:
- Work speed After the lighthouses are installed, the alignment of the walls will be much faster.
- Simplicity. Align the walls after the beacons are installed, it becomes much easier, so even a novice can do the work.
- Ideally smooth surface. If you do not use the beacons, then so well align the walls will not work.
There are also disadvantages here:
- Increased material consumption. Thus, the plaster layer increases by the thickness of the lighthouse, which leads to increased financial costs.
- Need for extra time. The installation of the beacons takes extra time, requires additional efforts, so some people neglect to conduct such training. And in vain.
- Possible damage to the finish coating. If low-quality metal beacons are used, they may rust over time. Rust stains will appear on the wallpaper or other decorative coating, and repairs will have to be redone.
- Also, someone can stop from the use of beacons that the wall will have to be specially prepared for their installation.

Everyone has the right to decide whether or not to install beacons for plaster walls, however, we strongly recommend beginners not to neglect this step. Even the walls without lighthouses can be difficult for experienced builders, let alone for inexperienced people. There are several types of lighthouses. This means that there is always the opportunity to choose the most suitable option.
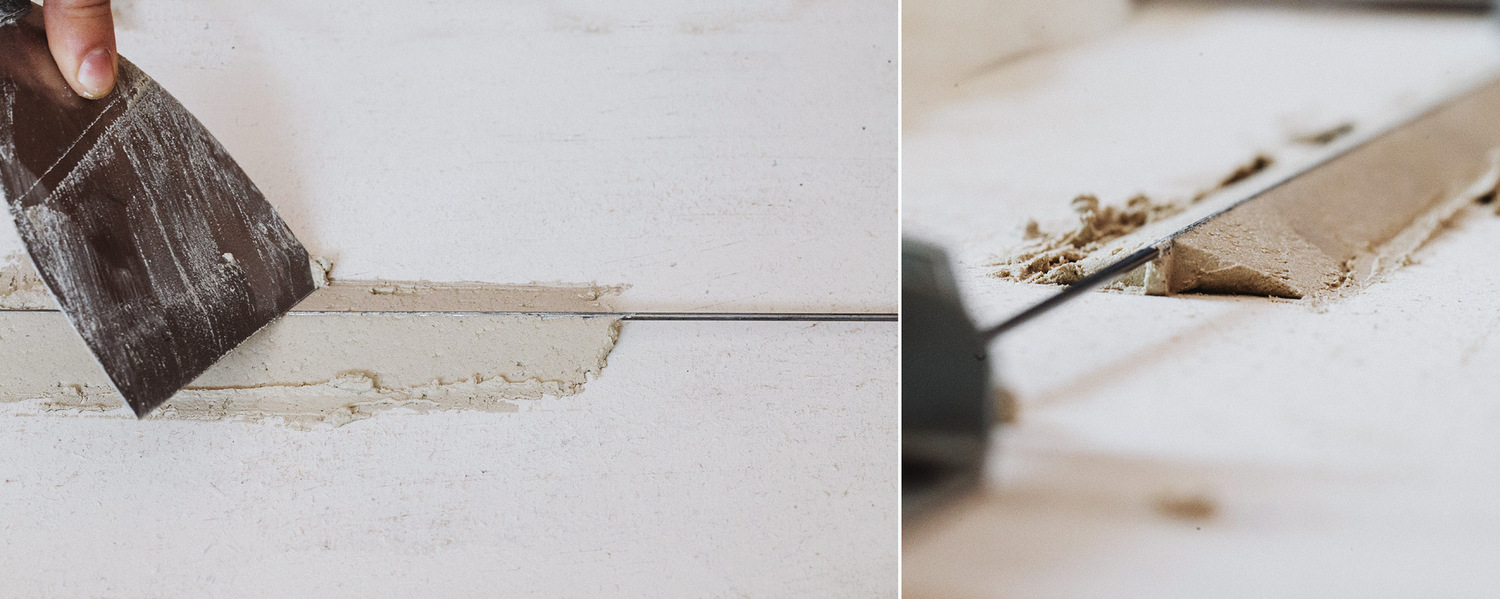
Everything else, one of the negative features of the use of beacons is the need to dismantle. After plastering beacons, not made of plaster, be sure to remove, because if you leave them, you may experience unforeseen incidents, complications. Dismantling beacons is also a difficult process, because it is important to remove foreign devices from the coating carefully so as not to damage the plaster layer.


The positive point is that the beacons themselves are inexpensive. This applies to all species. In addition, some of them can be made from the existing plaster material, which, firstly, will reduce the cost of the solution, and secondly, it will save on the purchase of beacons.
Kinds
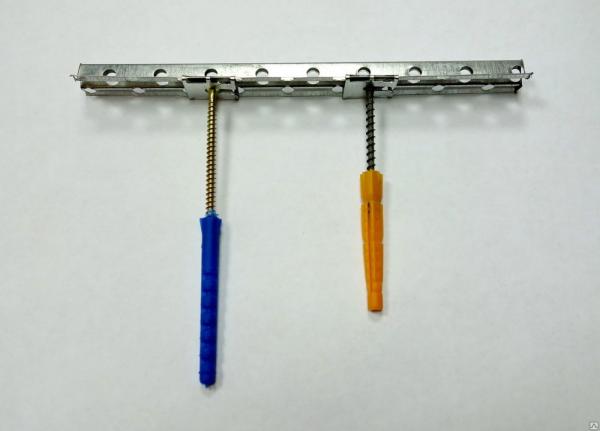
There are several types of lighthouses. Each of them has certain advantages and disadvantages caused by the material from which they are made, as well as their size. Allocate metal, plastic and beacons of plaster. There are also drywall and wooden beacons, but they are used much less frequently, so it makes sense to consider only three popular varieties.
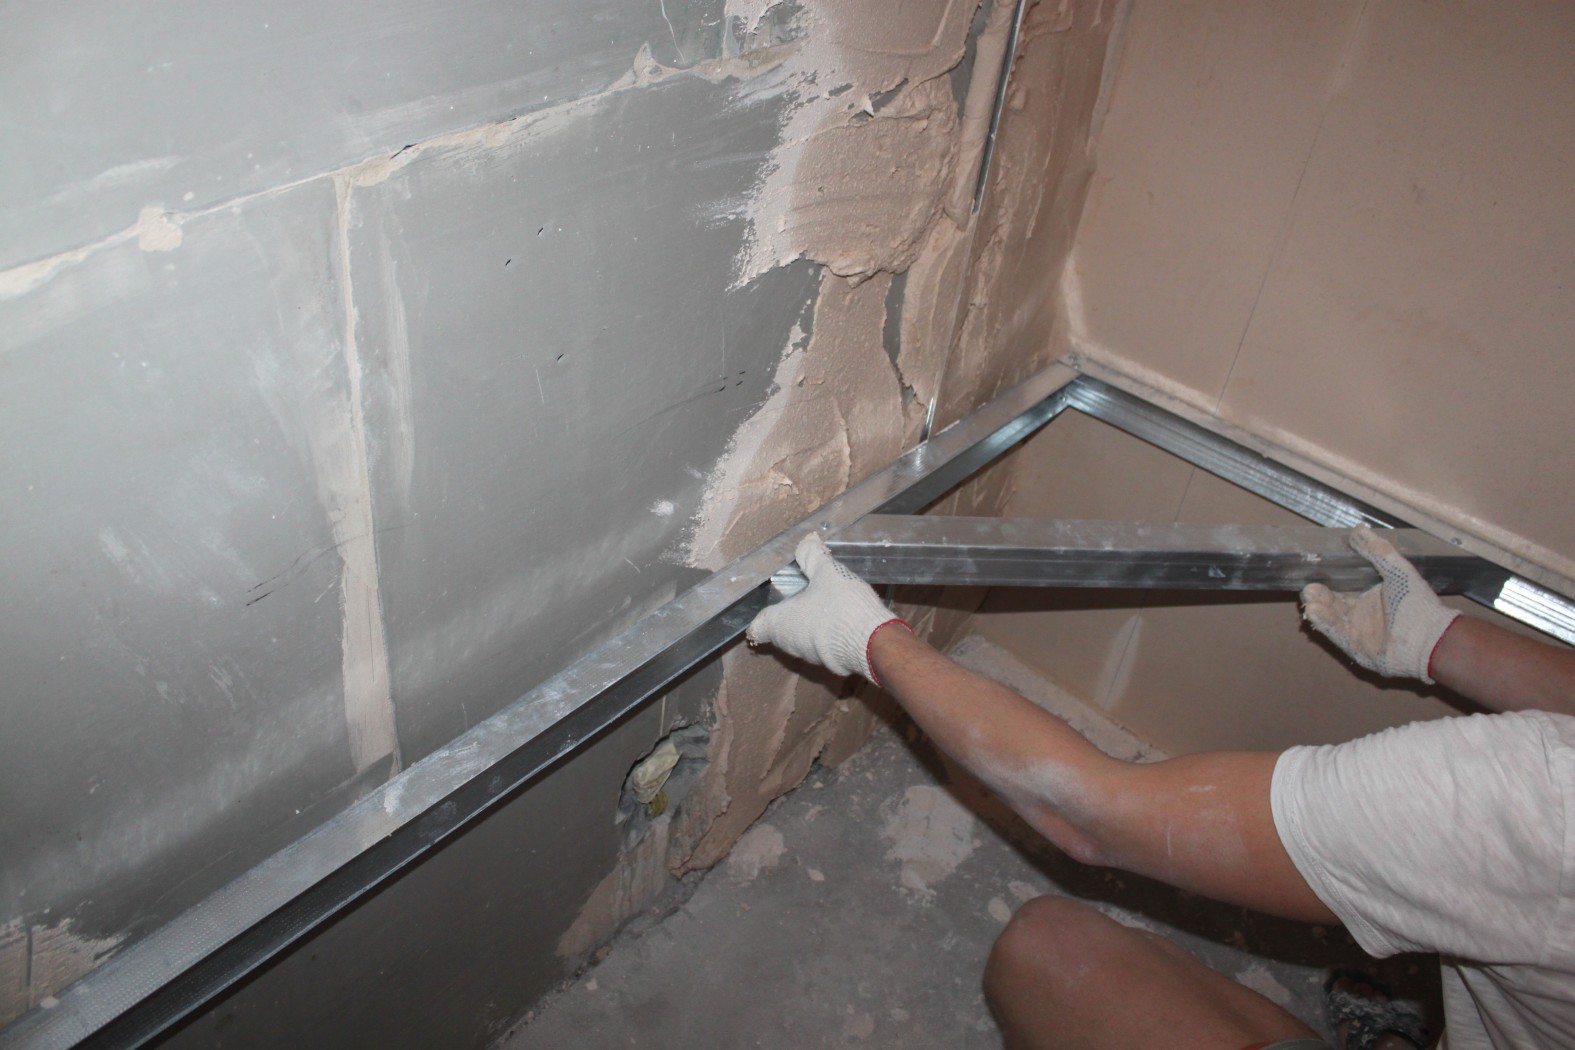
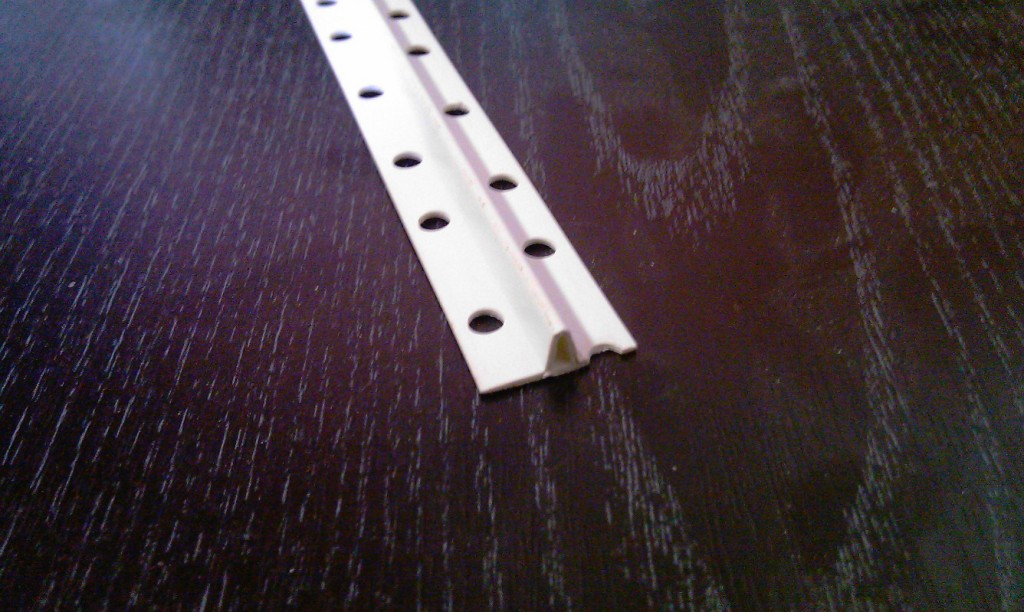
- Metallic. Metal beacons come in different lengths, heights. There are 250 cm and 300 cm varieties in length, and 6 cm and 10 cm in height. There are T-shaped and L-shaped profiles. The first ones are used when working with the plane of the walls, the second ones - for fixing at the corners. Builders choose metal beacons more often than others, because it is easy to work with them, they are affordable and come in various sizes. The master gets the opportunity to save a lot of time when installing such models. In addition, they are strong enough.
They have their drawbacks. For example, during installation, a metal beacon is easily deformed if you make any awkward movement. Such beacons are dangerous to “forget” in the walls, because they can rust, and this rust will act on the finish. Lighthouses need to be fixed to the mortar, which will ensure their rigidity (for example, plaster).

- Plastic. Plastic beacons resemble steel ones in their design, but they also have their own characteristics. So, for the manufacture of plastic used rugged. Plastic products are lighter and stronger than metal ones, making it easier for beginners to work with.Plastic beacons are not deformed, unlike metal ones, but they break if you make an effort. Another positive feature is that the lighthouses can be left in plaster, without worrying that something will happen later, because the plastic does not rust and does not oxidize.

However, not everything is as simple as it may seem at first glance. Plastic beacons are only suitable for plastering internal walls, since plastic does not tolerate low temperatures. Also, if the beacons are installed incorrectly, they are deformed under the pressure of the rule. This, in turn, will lead to the fact that the walls do not get perfectly smooth.
- Plastering. The manufacture of such beacons under the force only professionals. They are formed immediately when plastering works from the plaster itself, after which the rule is given the desired shape. The obvious advantage is the saving of material, but a minus is the inaccessibility of manufacture for the beginner.

Also recently, the so-called string beacons, representing a metal cable stretched between two carbines. It is inherent in the general minus of all metal options - susceptibility to rust, but working with it is much easier.All levels are obtained perfectly smooth, if properly fasten carbines.
Consumption
Depending on what type of beacon is selected, the consumption of material also depends. It is logical to assume that in the first place - beacons of plaster as the most economical representative. No need to spend extra plaster even on fastening beacons.
In second place - string beacons. You will need to spend a little more than the composition, just to seal the carbines, but otherwise the plaster for the termination of the cables themselves is almost not needed. They are quite thin and almost imperceptible in the thickness of the coating.
A little more expense will be when installing metal beacons. It is impossible not to take into account the fact that a sufficiently large amount of mortar will be needed to seal the gaps after removing the beacons. It is important to take into account the correct installation of beacons. You should not make the distance between the lighthouse and the wall surface more than necessary. Remember that if you reduce the plaster layer by only 1 cm, you can save up to 10 liters of plaster per 1 m2.
The maximum consumption of plaster - when using plastic beacons.This is due to the fact that of all the above options, plastic samples are the thickest. According to statistics, the layer of material when using such options is 6 mm larger than when installing metal, which is precisely due to the difference in the thickness of the beacons themselves.
As for the calculation of the required number of beacons themselves, it is done quickly and simply. First you need to measure the length of the wall. So, you need:
- one lighthouse on each side of the wall;
- one lighthouse on each side of the door or window opening;
- one beacon for every 1-1.3 m of the wall surface.

If we assume that it is necessary to calculate the number of beacons for a 7-meter-wide wall with a door, then we get:
2 (on the sides of the wall) + 2 (on the sides of the door) + 4 (one beacon for every 1.25 m surface) = 8 beacons.
The easiest way to count the number of lighthouses is when you have a ready room plan on hand. On it you can depict where the levels will be.
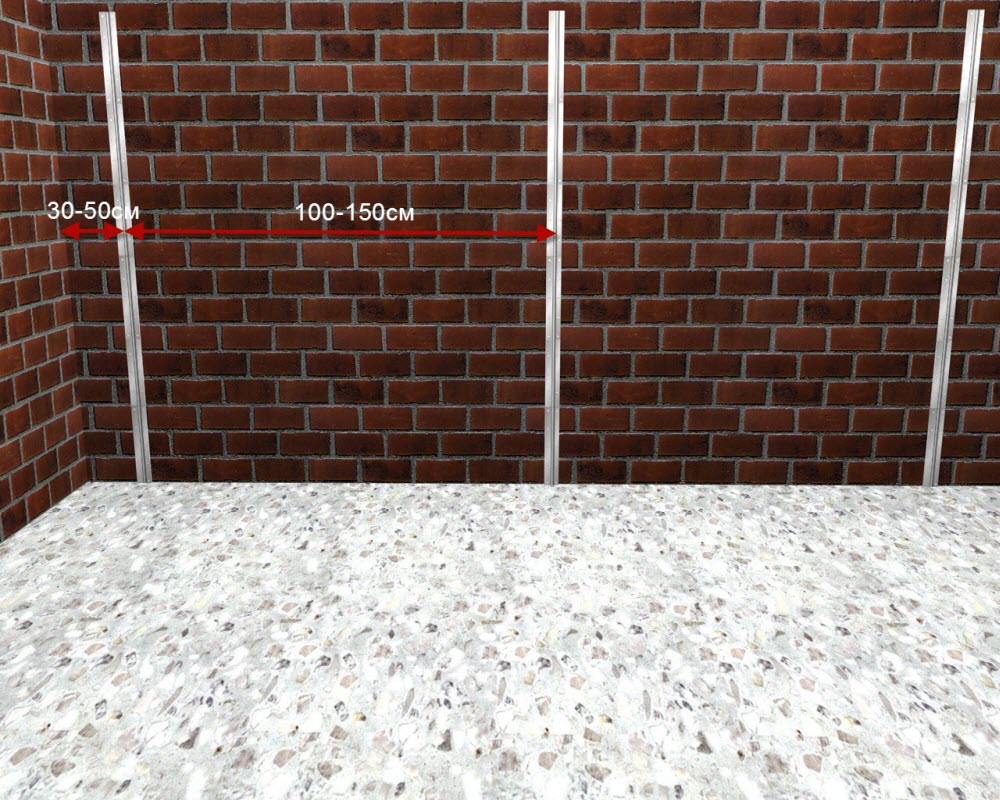
When choosing the distance between the beacons, make a start from the length of the rule you have. So, the step between them should be less than the length of the rule, so that in the process of its work it freely rests on the beacons.
However, it is also not recommended to do a step frequency less than a meter: this will complicate further work on removing beacons from the wall.

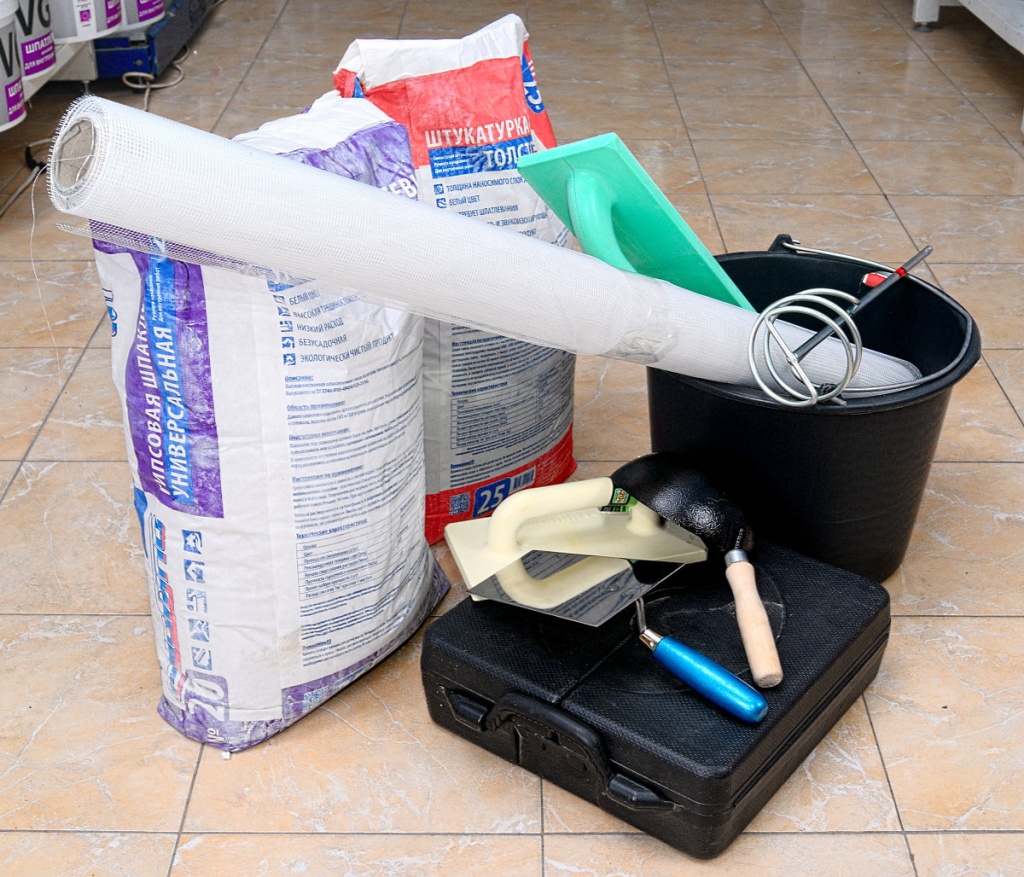
Tools and necessary materials
Before you set up beacons, you need to acquire the necessary tools and materials. They will greatly facilitate the work with lighthouses, will help to hold all the activities quickly and efficiently. From the tools you will need:
- Directly lighthouses themselves. If wooden bars are used as beacon profiles, they must be impregnated with a special antibacterial composition.
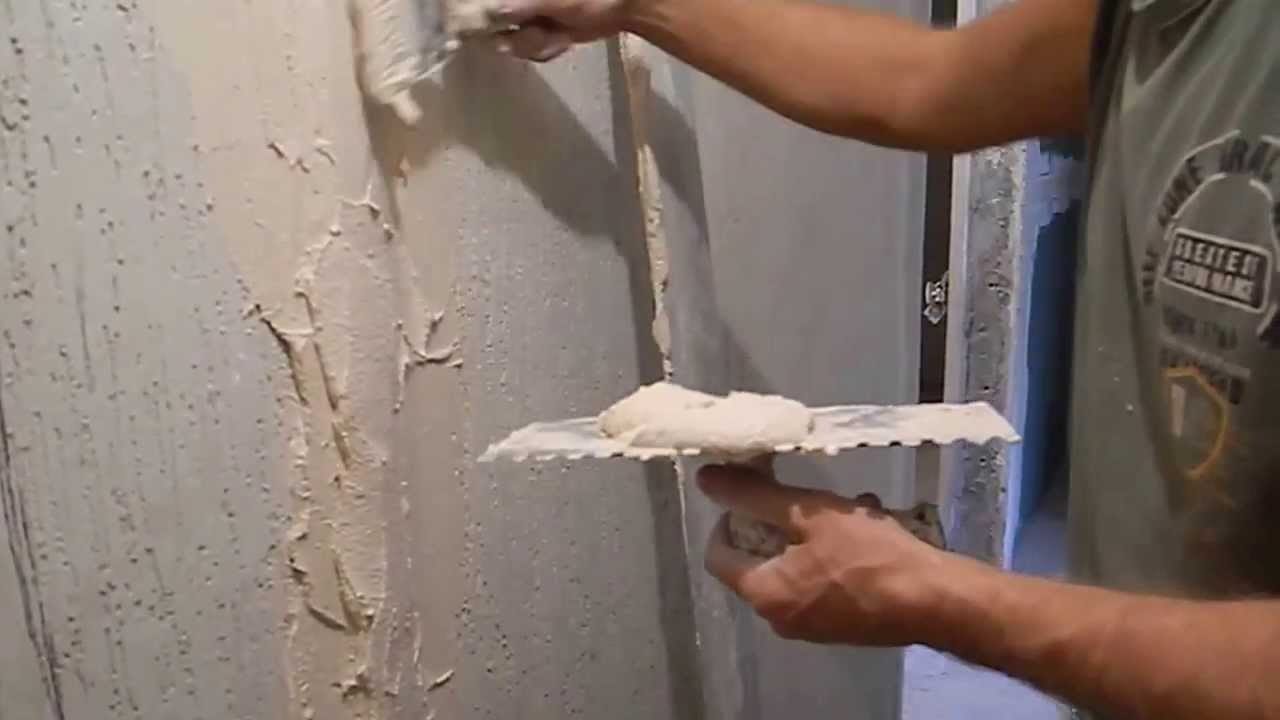
- Trowel or spatulas for applying fixing solution. And it is necessary to purchase both large tools and small ones. They will be useful not only for direct fastening of lighthouses, but also for preliminary surface preparation.
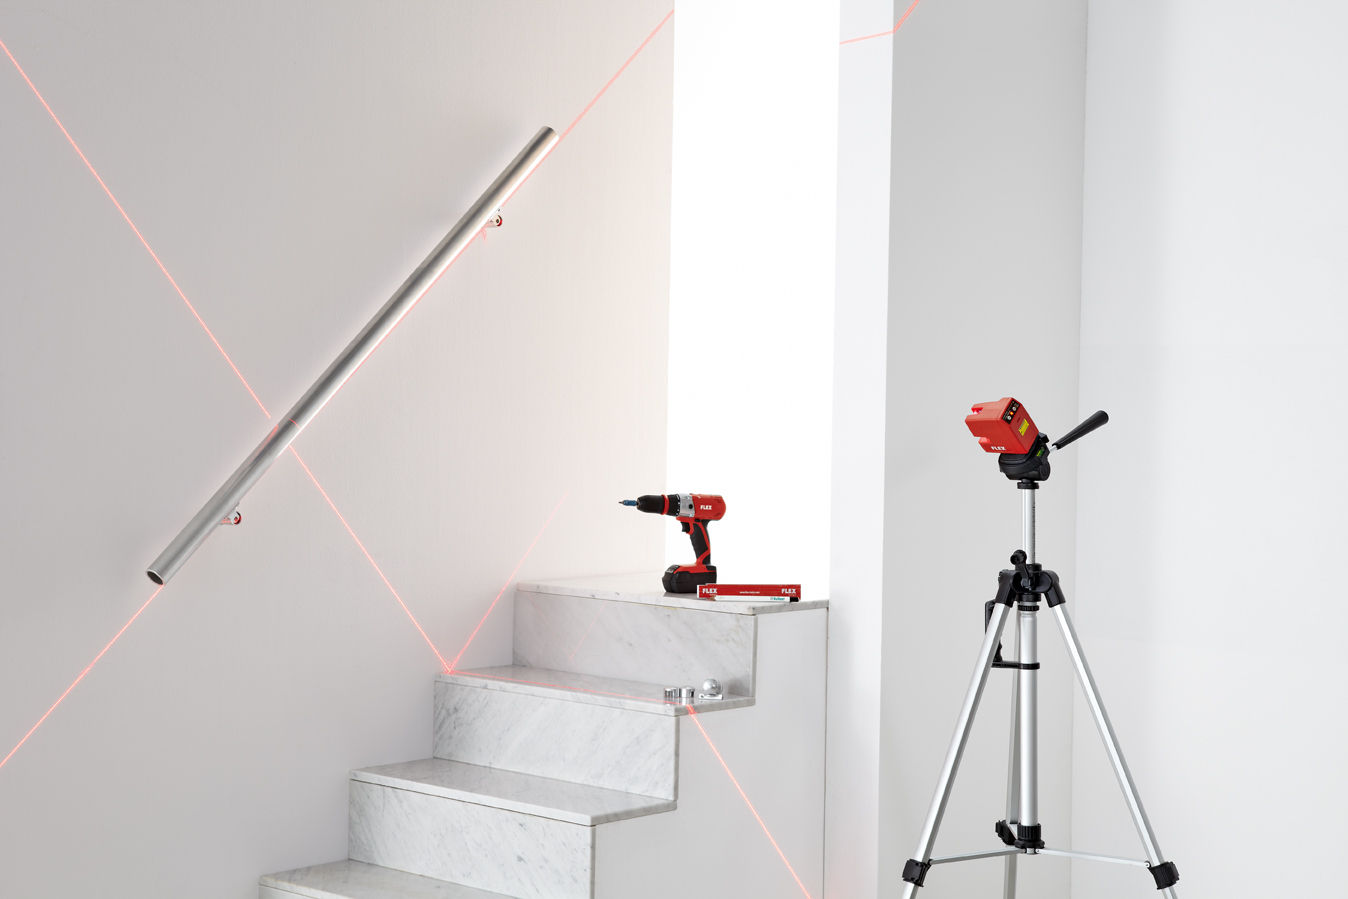
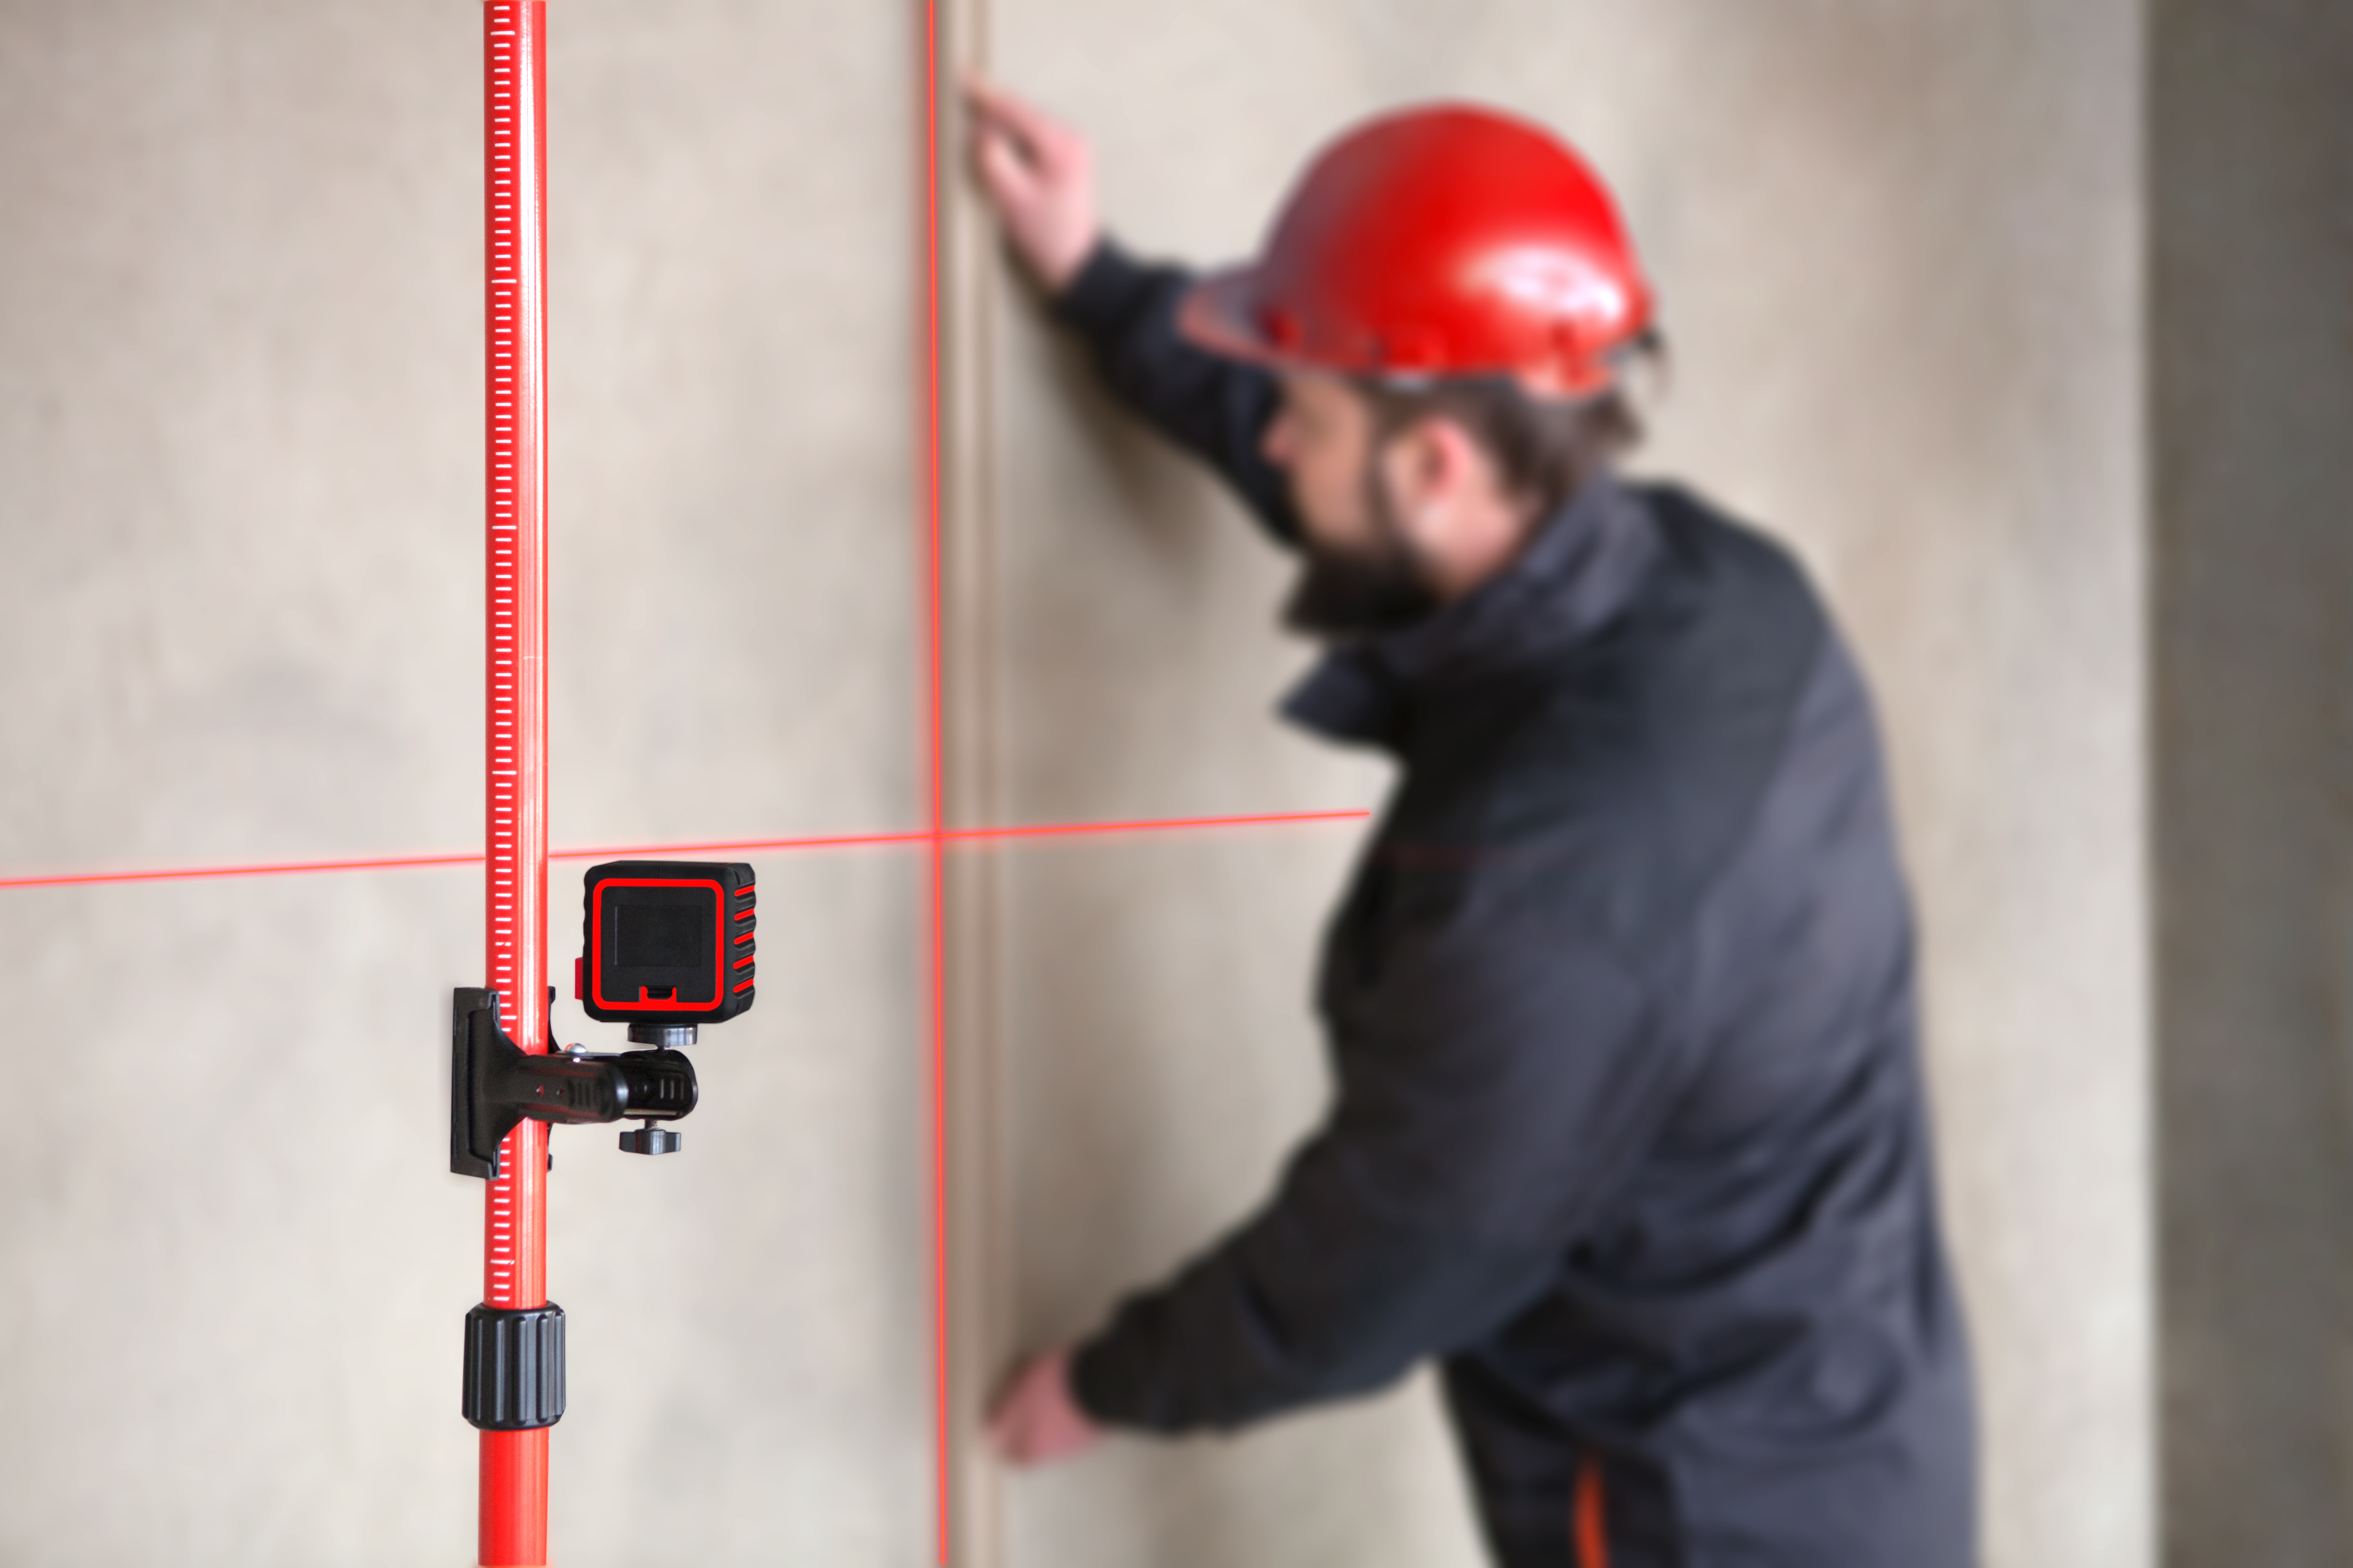
- All possible levels: laser, hydro (spirit level), bubble. Each of these tools greatly facilitates the work of determining horizontal lines and further calculating the location of beacons.
- Plumb. It is necessary directly in determining the verticals on which the beacon profiles will be fixed.
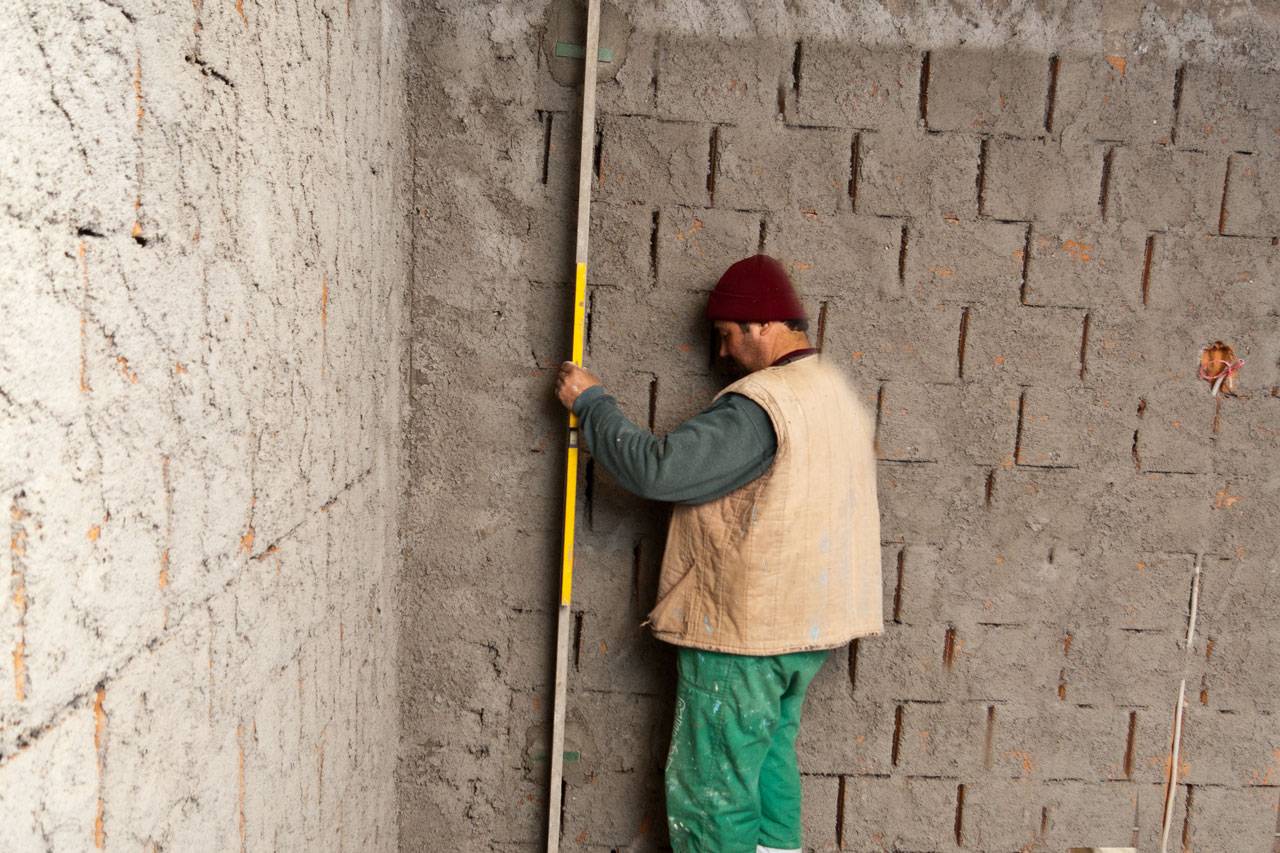
- RuleAlong with the level and plumb, this tool is used to determine the horizontal and vertical lines.
- Colored crayons and pencils for marking.
- Bright fishing line or cord. These materials will be needed for building levels, building diagonals.


- Perforator. Required for drilling holes for dowels. In the future, lighthouses will be built along the fixed dowels. In addition to the punch, you need to purchase a set of special drills of different diameters.
- Roulette. It is best to choose building options from a metal 8 m long, since in this way it is possible to capture the entire distance both vertically and horizontally, and diagonally across the wall.
- Set of screwdrivers. Both cross-shaped samples and a straight slot are useful, but it all depends on the type of head of the dowel.

If we talk about additional materials, it will be necessary to purchase a primer. You will need a liquid primer of deep penetration for the treatment of the base and pasty for application to the plastered surface. To attach the beacons you may need plastic clips or so-called "ears." If there is a choice, then it is better to give preference to the “ears”: with them it will be possible to save considerably the plaster composition.
You may also need a thickener for the mixture or adhesive composition, if you plan to mount the beacons on the solution. Such additives will contribute to the quick setting of the mixture and, accordingly, rapid fixation of the beacon in the right place.

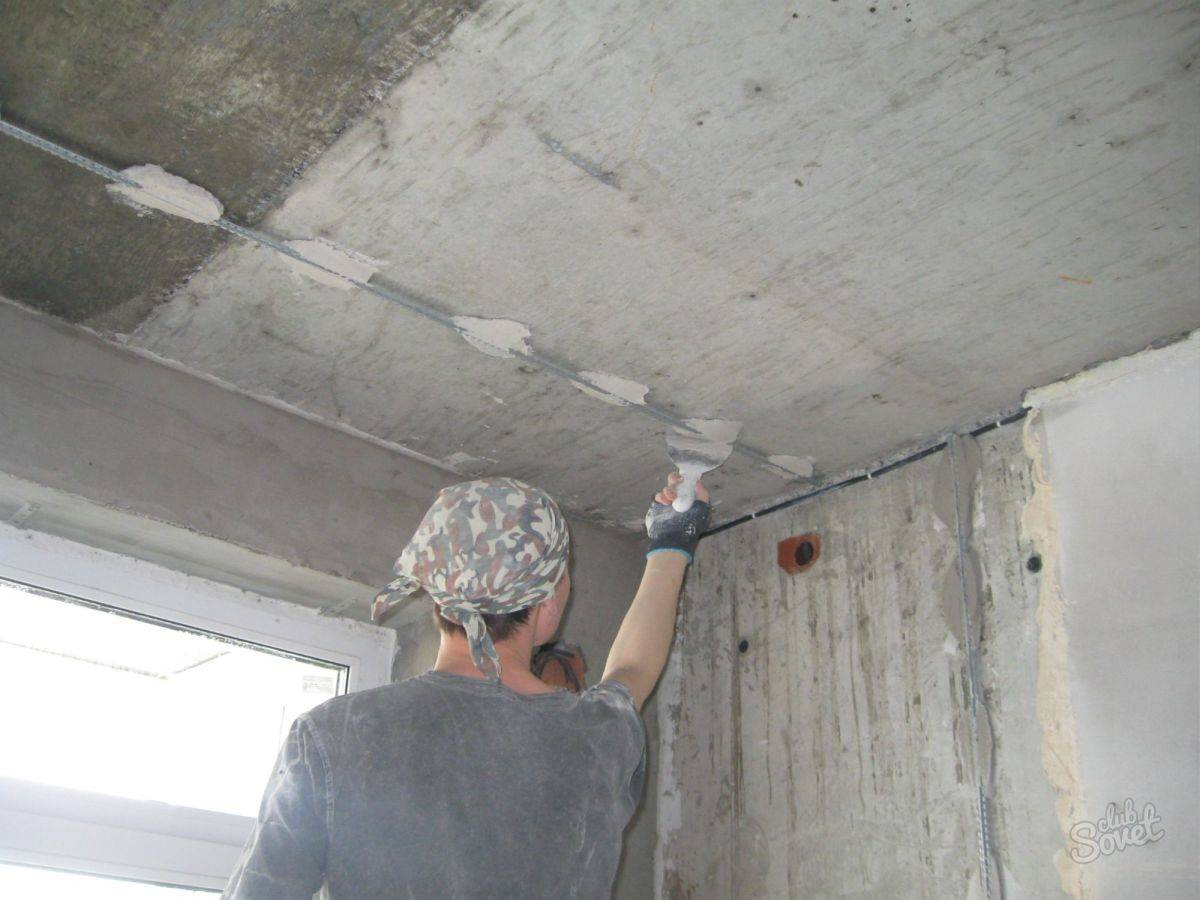
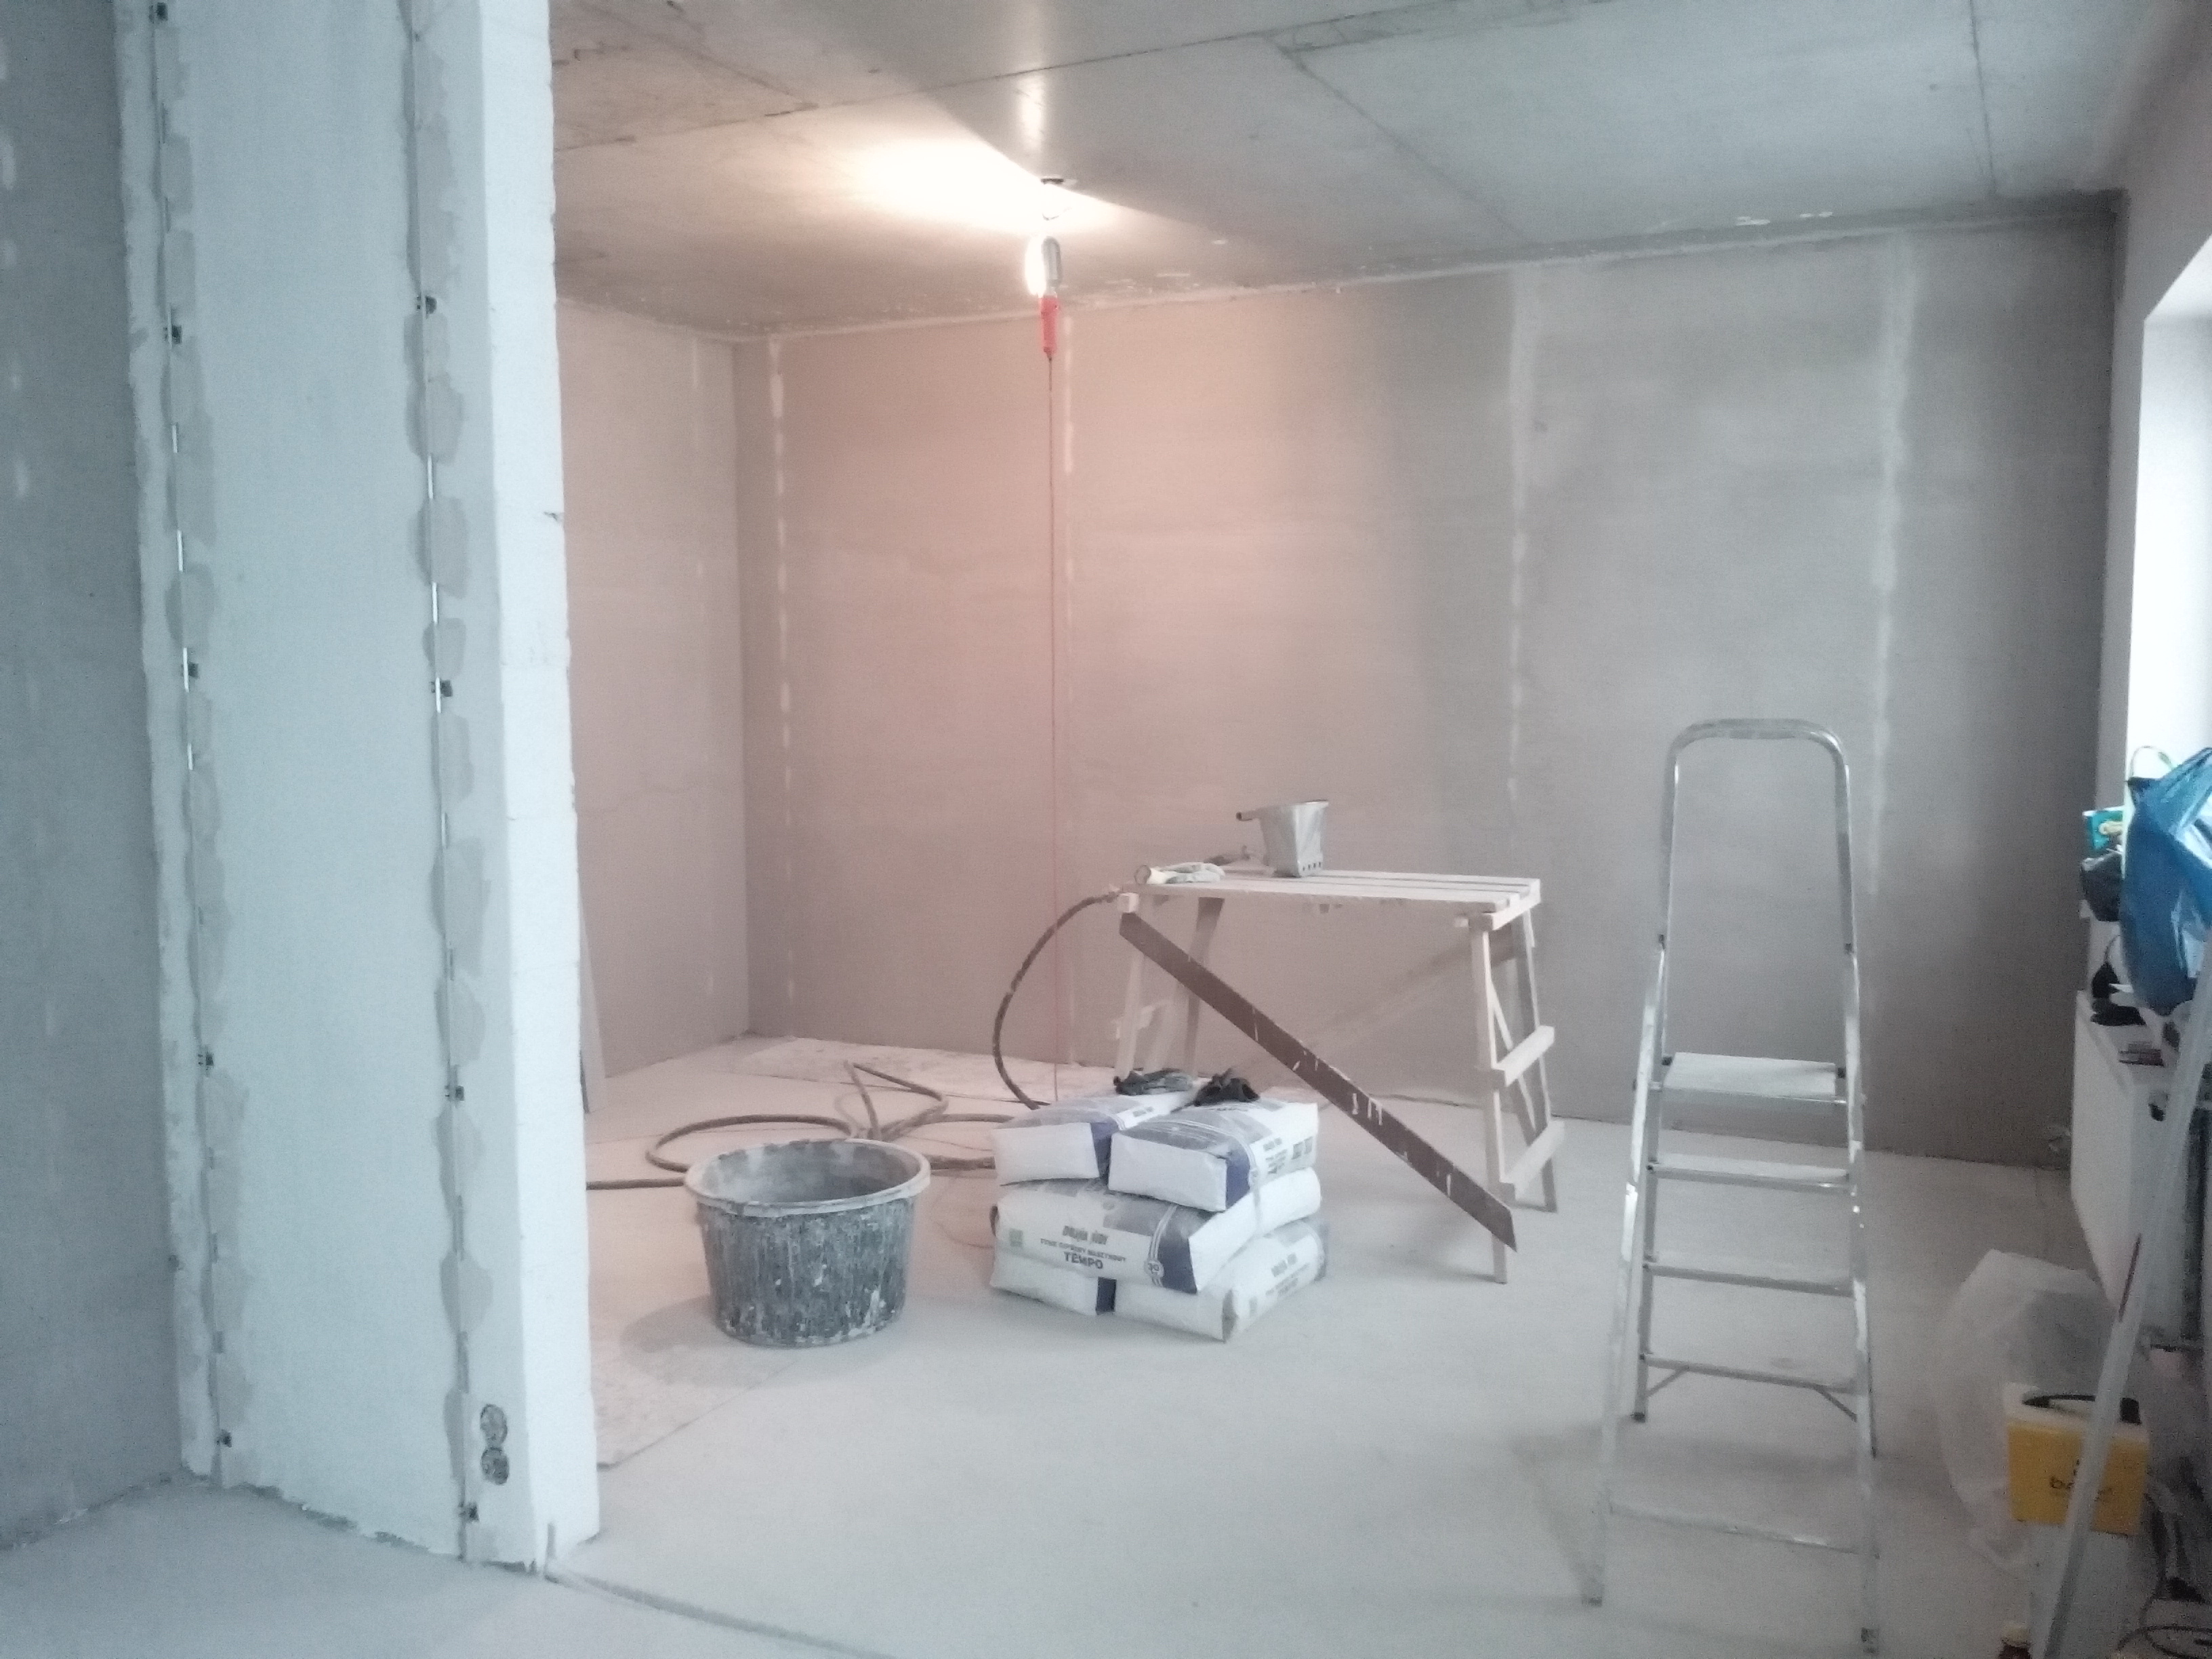
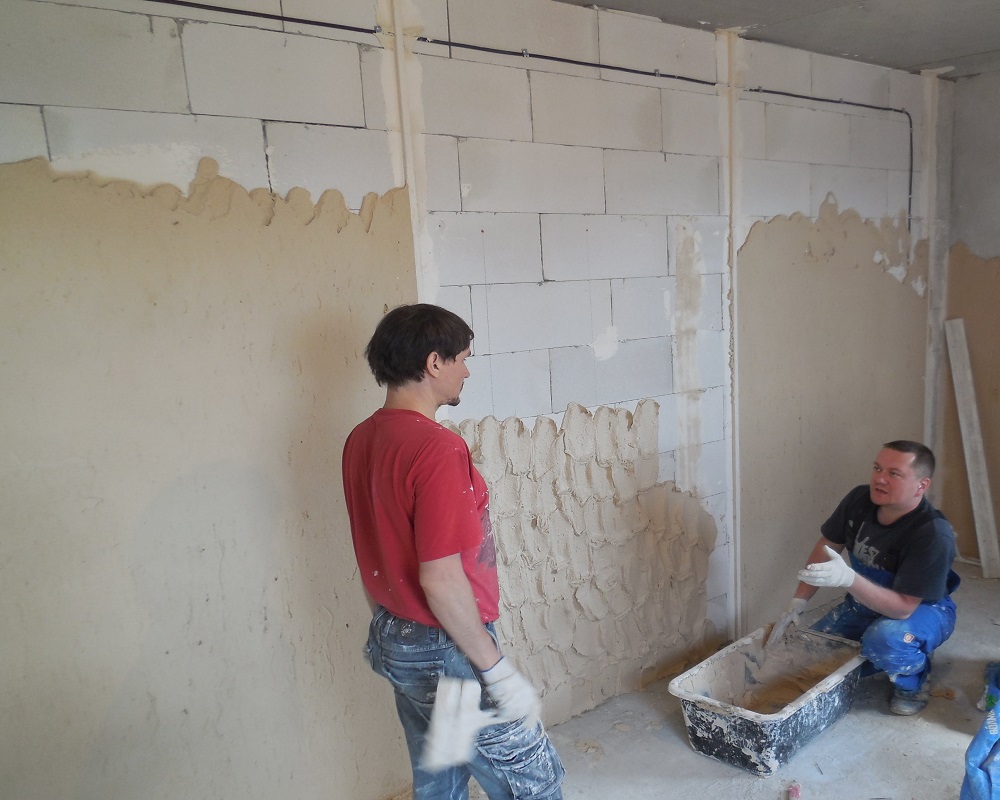
Surface preparation
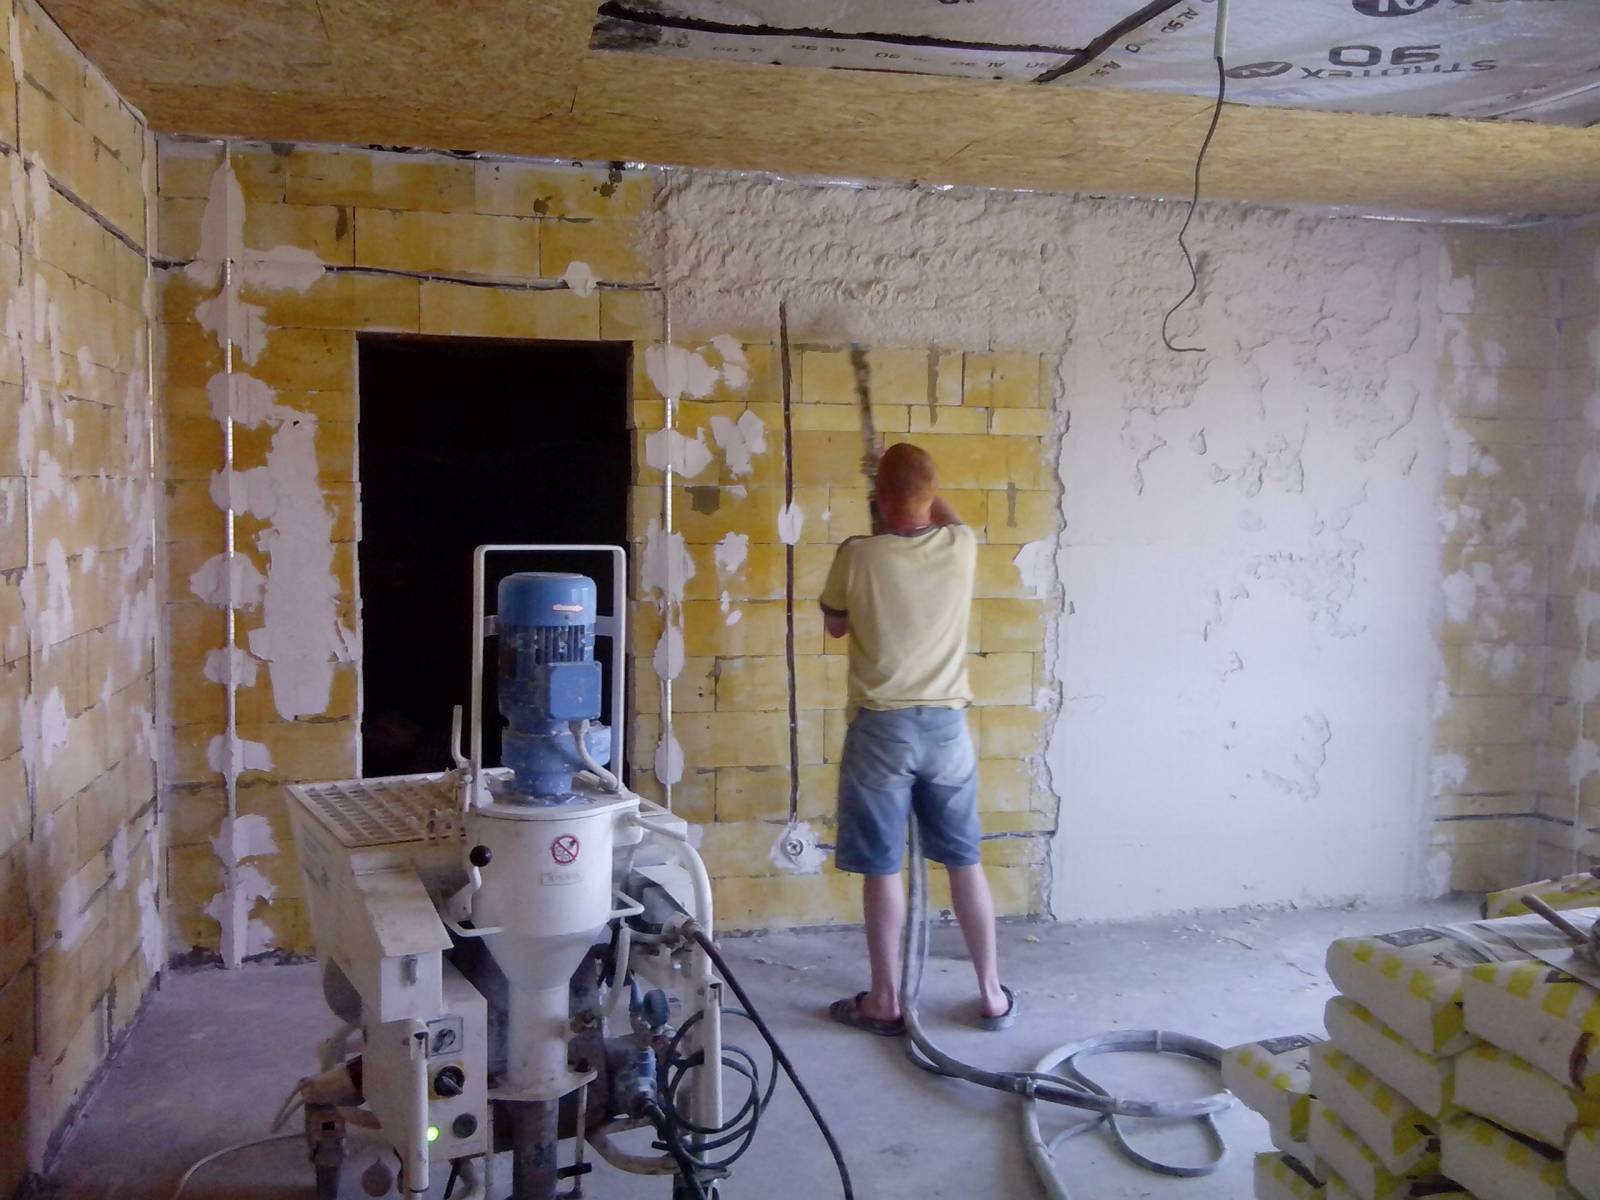
Before putting beacons, the surface must be prepared regardless of what walls you plan to plaster - brick, foam or gas block, plasterboard, concrete or other. The process of preparing the foundation consists of several stages, each of which is very important. You can not miss any.
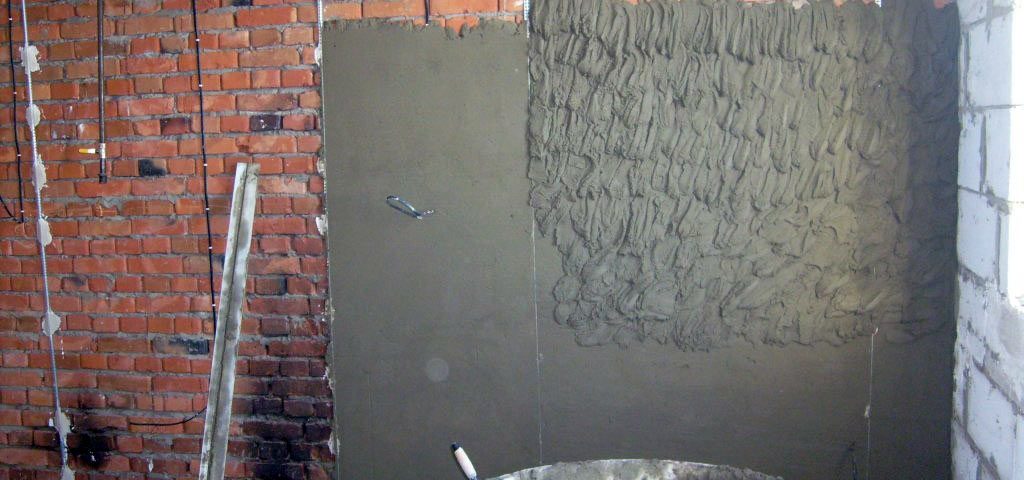
The first thing you need to remove the old coating from the wall, and we are talking not only about the wallpaper, but also about plaster, paint or something else. Pay attention to the specificity of the procedure. So, the wallpaper will have to be removed in any case, as well as water-based paint. If the walls are covered with oil paint (it is almost impossible to remove it), then you can leave the paint, after making a notch, to improve the adhesion of plaster and oil composition. Old plaster can also be preserved, if it does not fall off, it does not “coil”, but if there is even the slightest apprehension, it is better to dismantle the coating. It is imperative that you take the time to clean the base surface well.
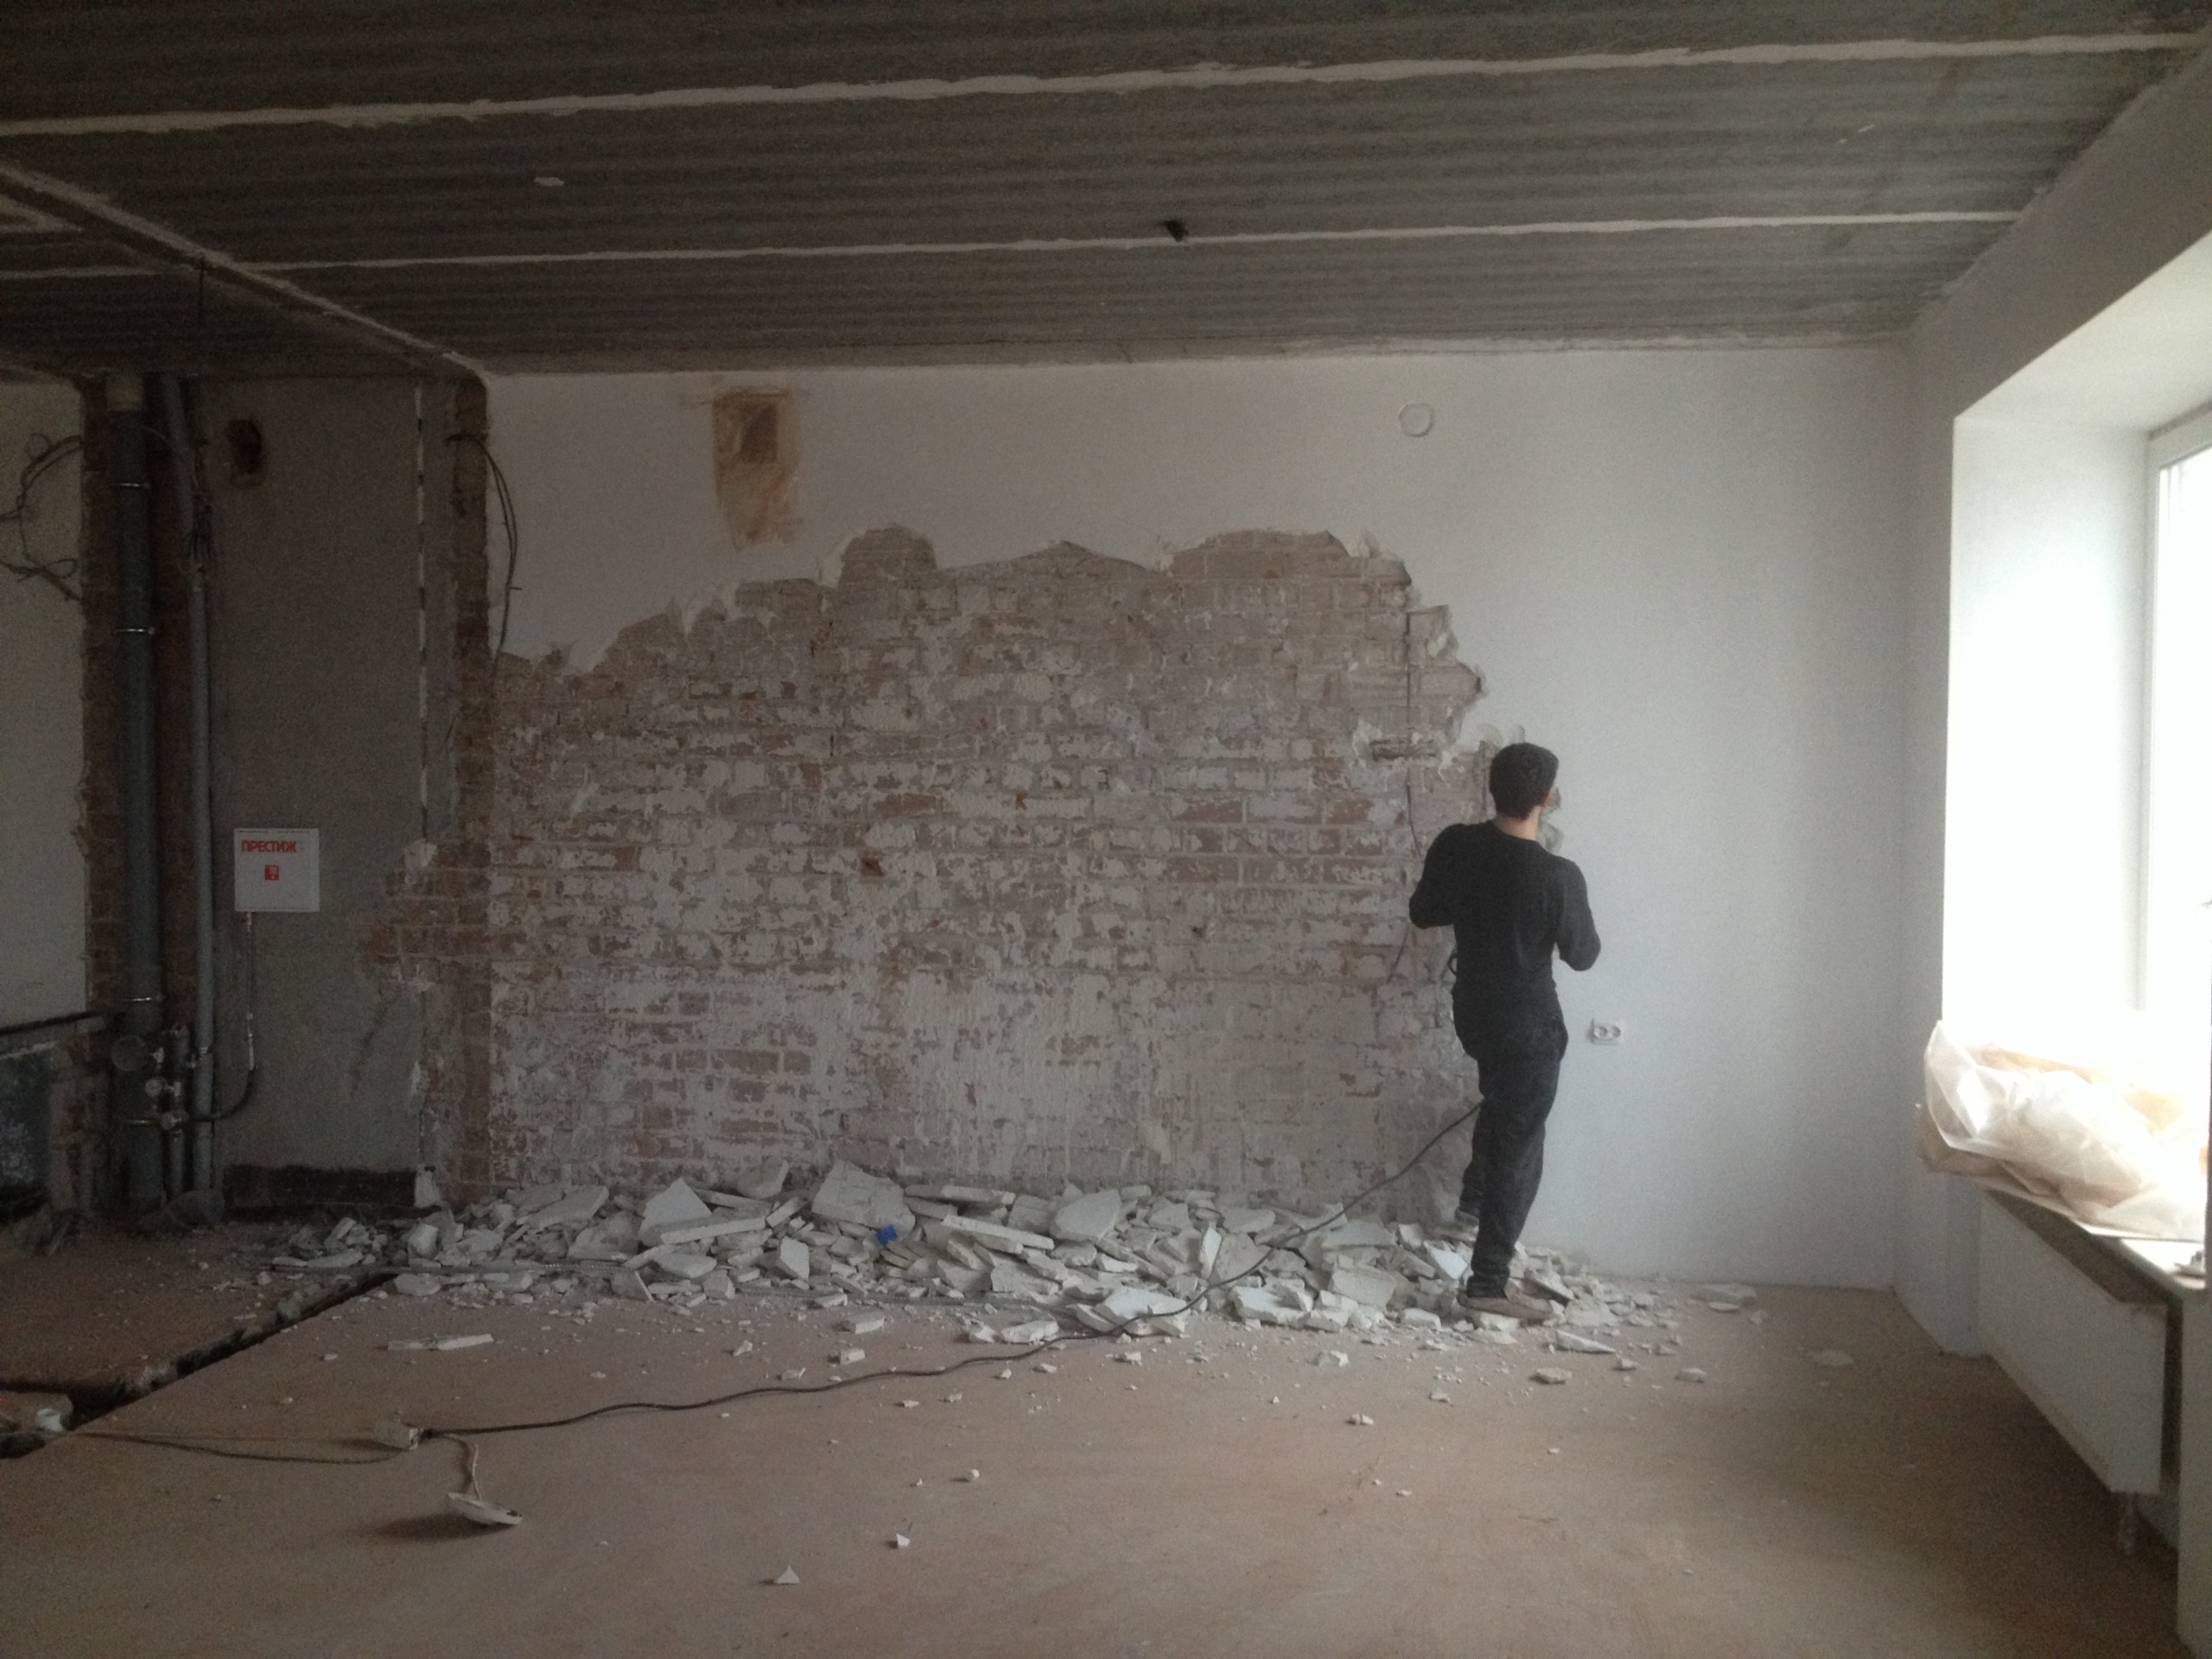
Then the wall is cleaned from dust and dirt, particles of the remaining old coating are removed. The surface should be clean and slightly rough.
Walls are well primed using a deep penetrating liquid primer. Please note that the priming work is carried out 2-3 times. Each time you need to wait until the previous layer of primer is completely dry.
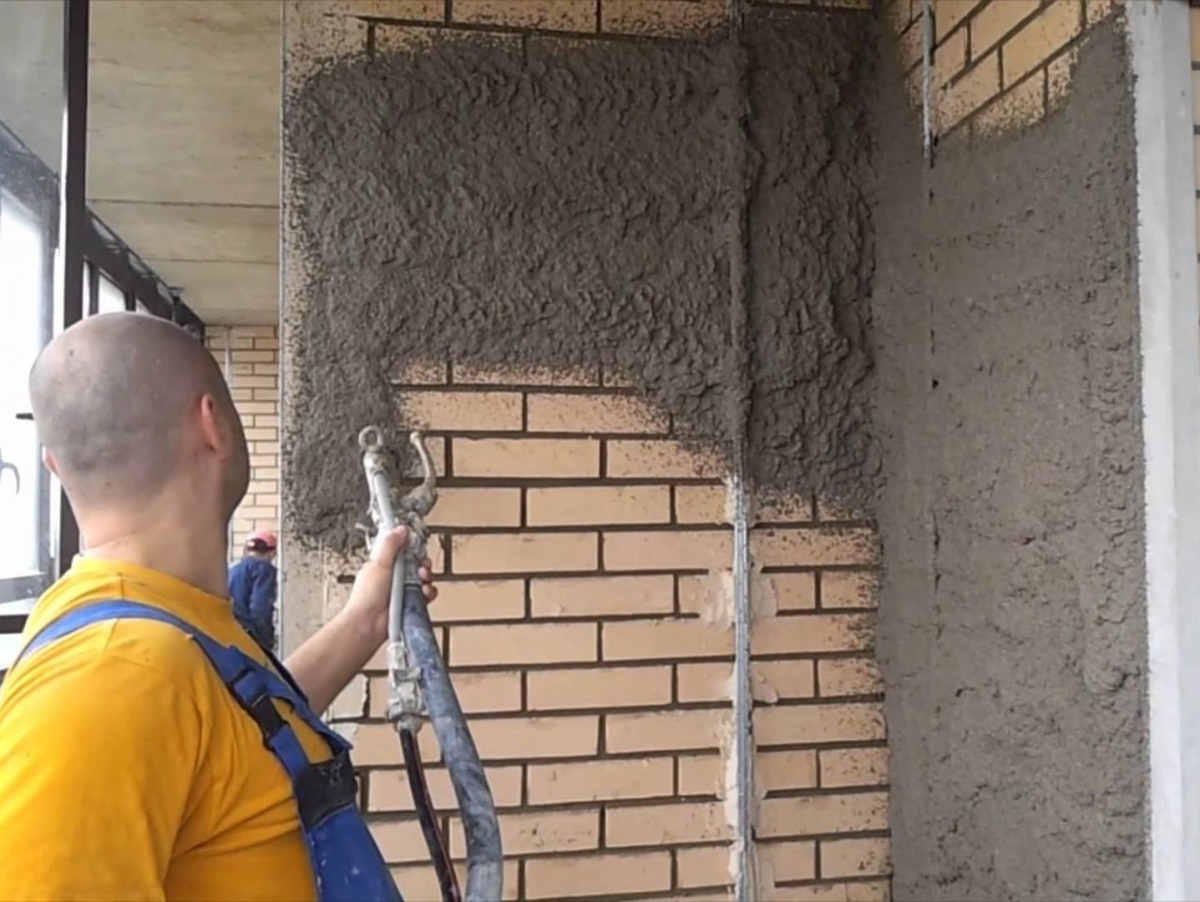
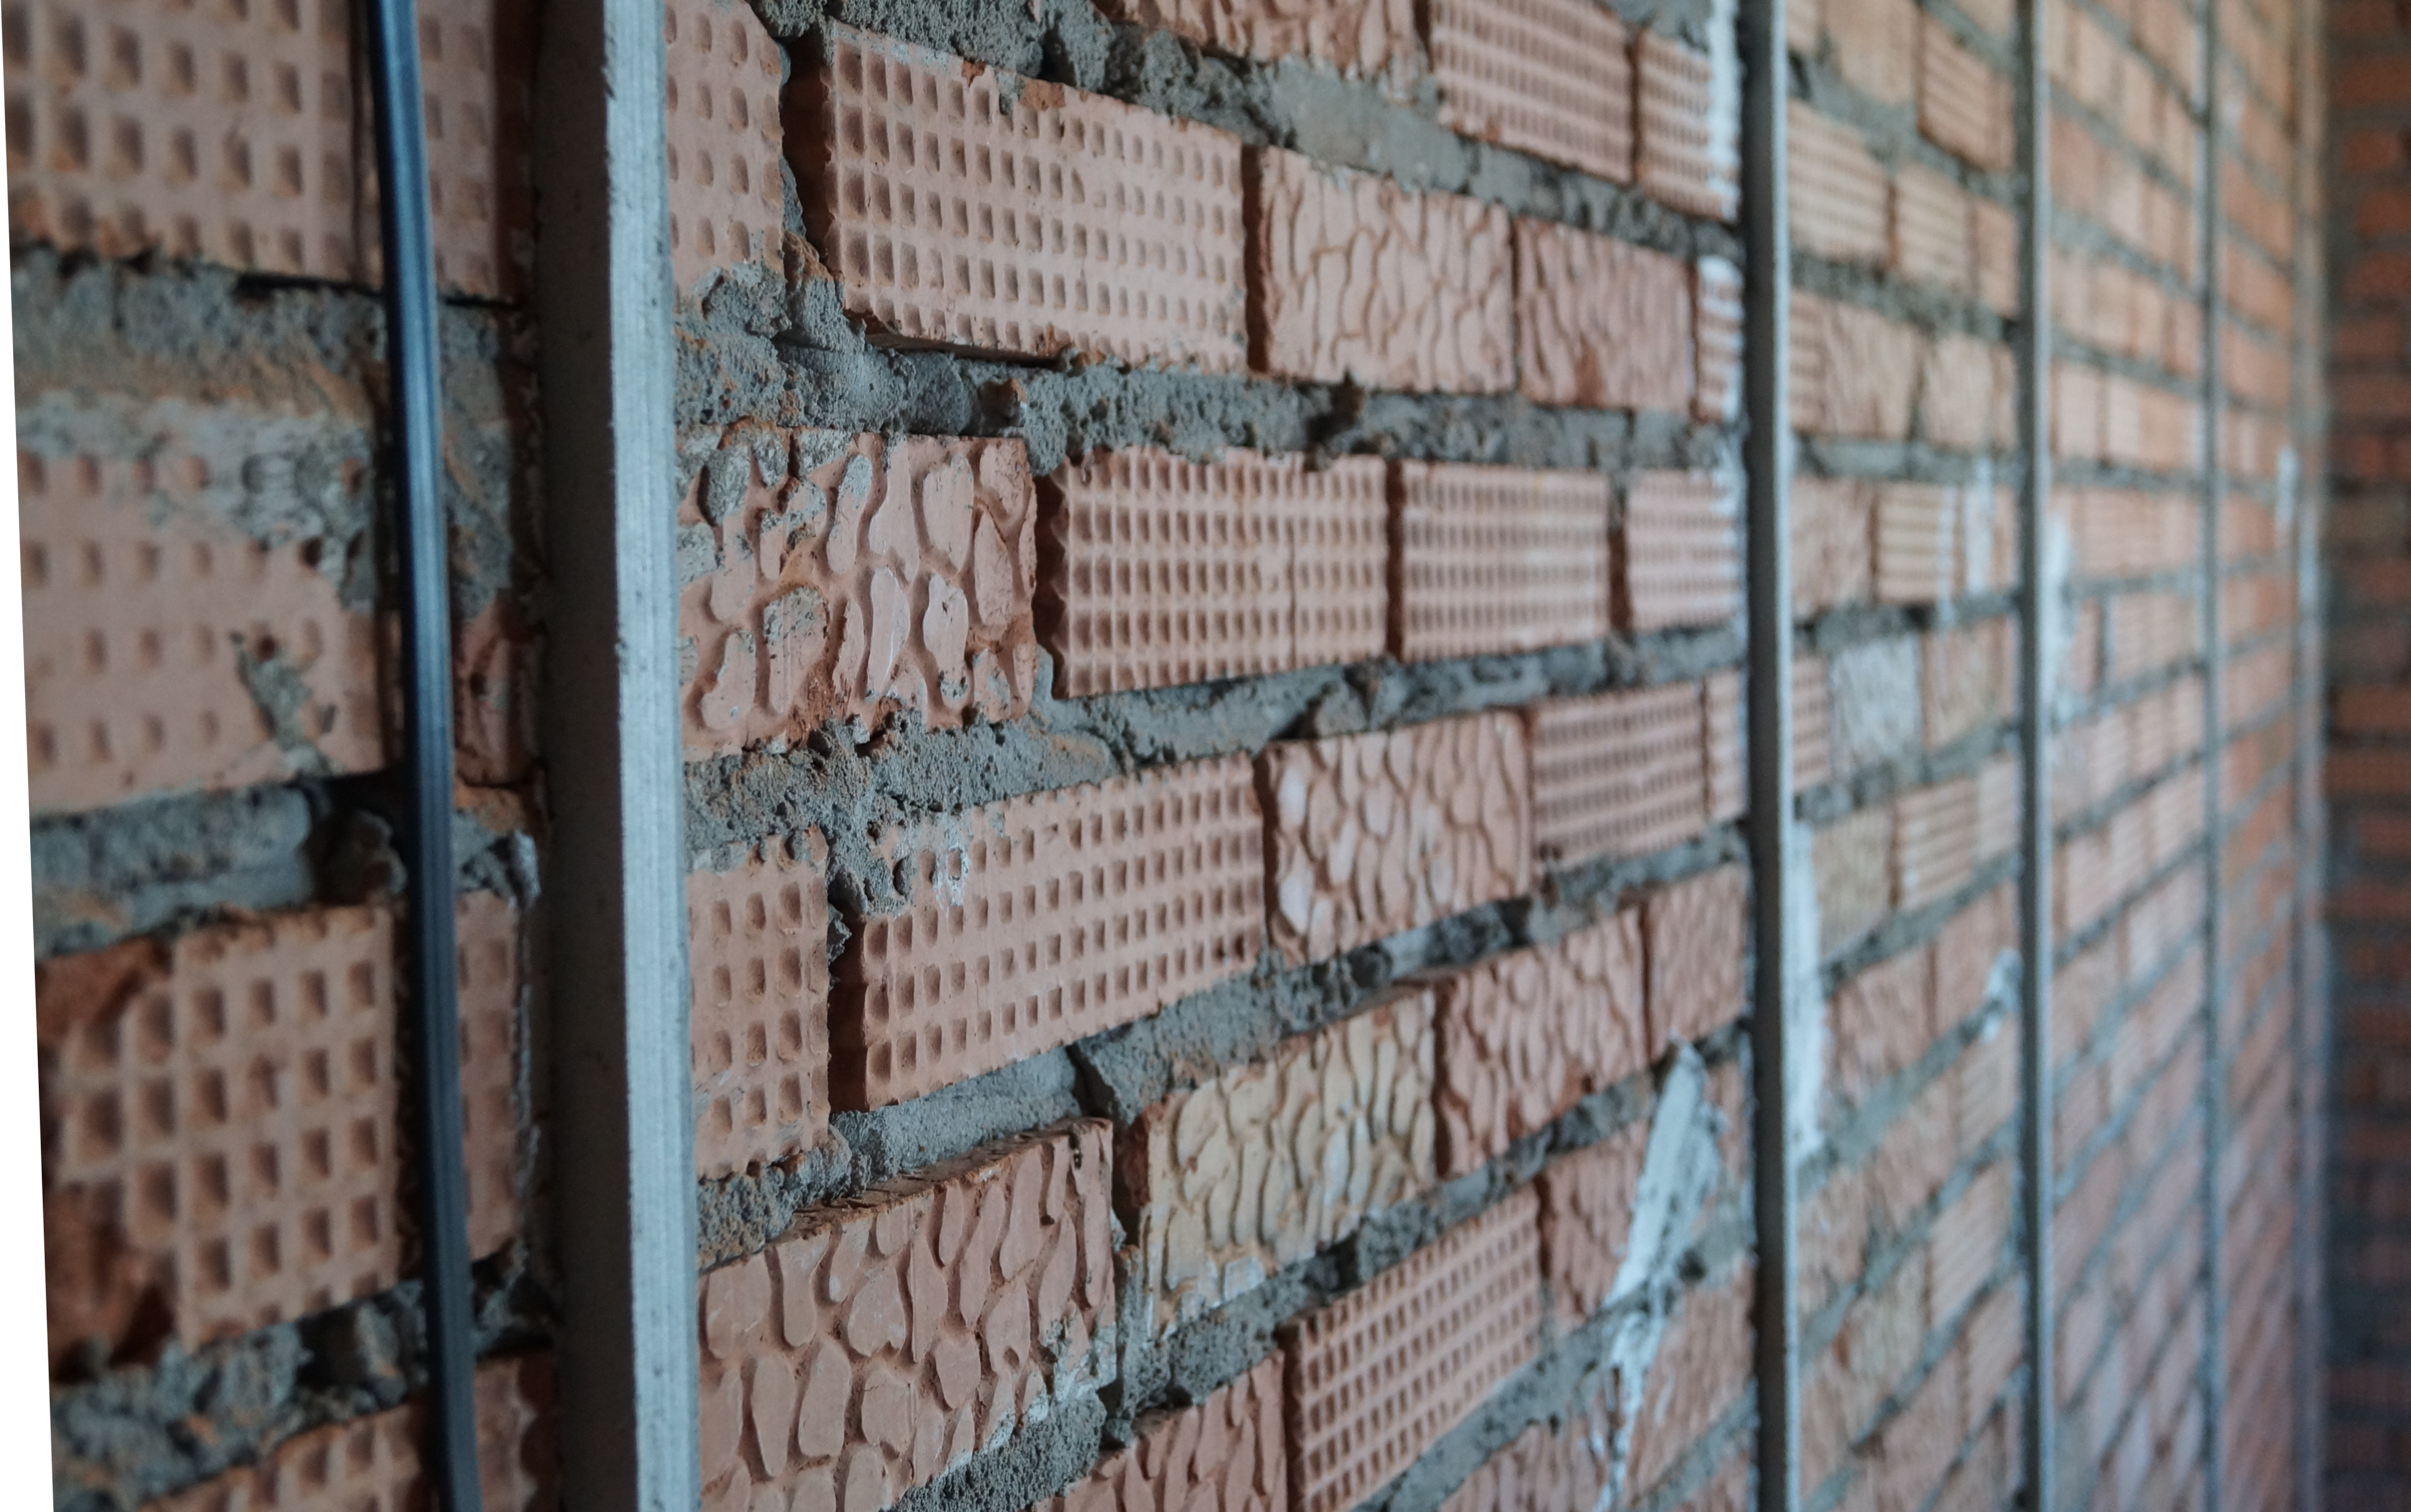
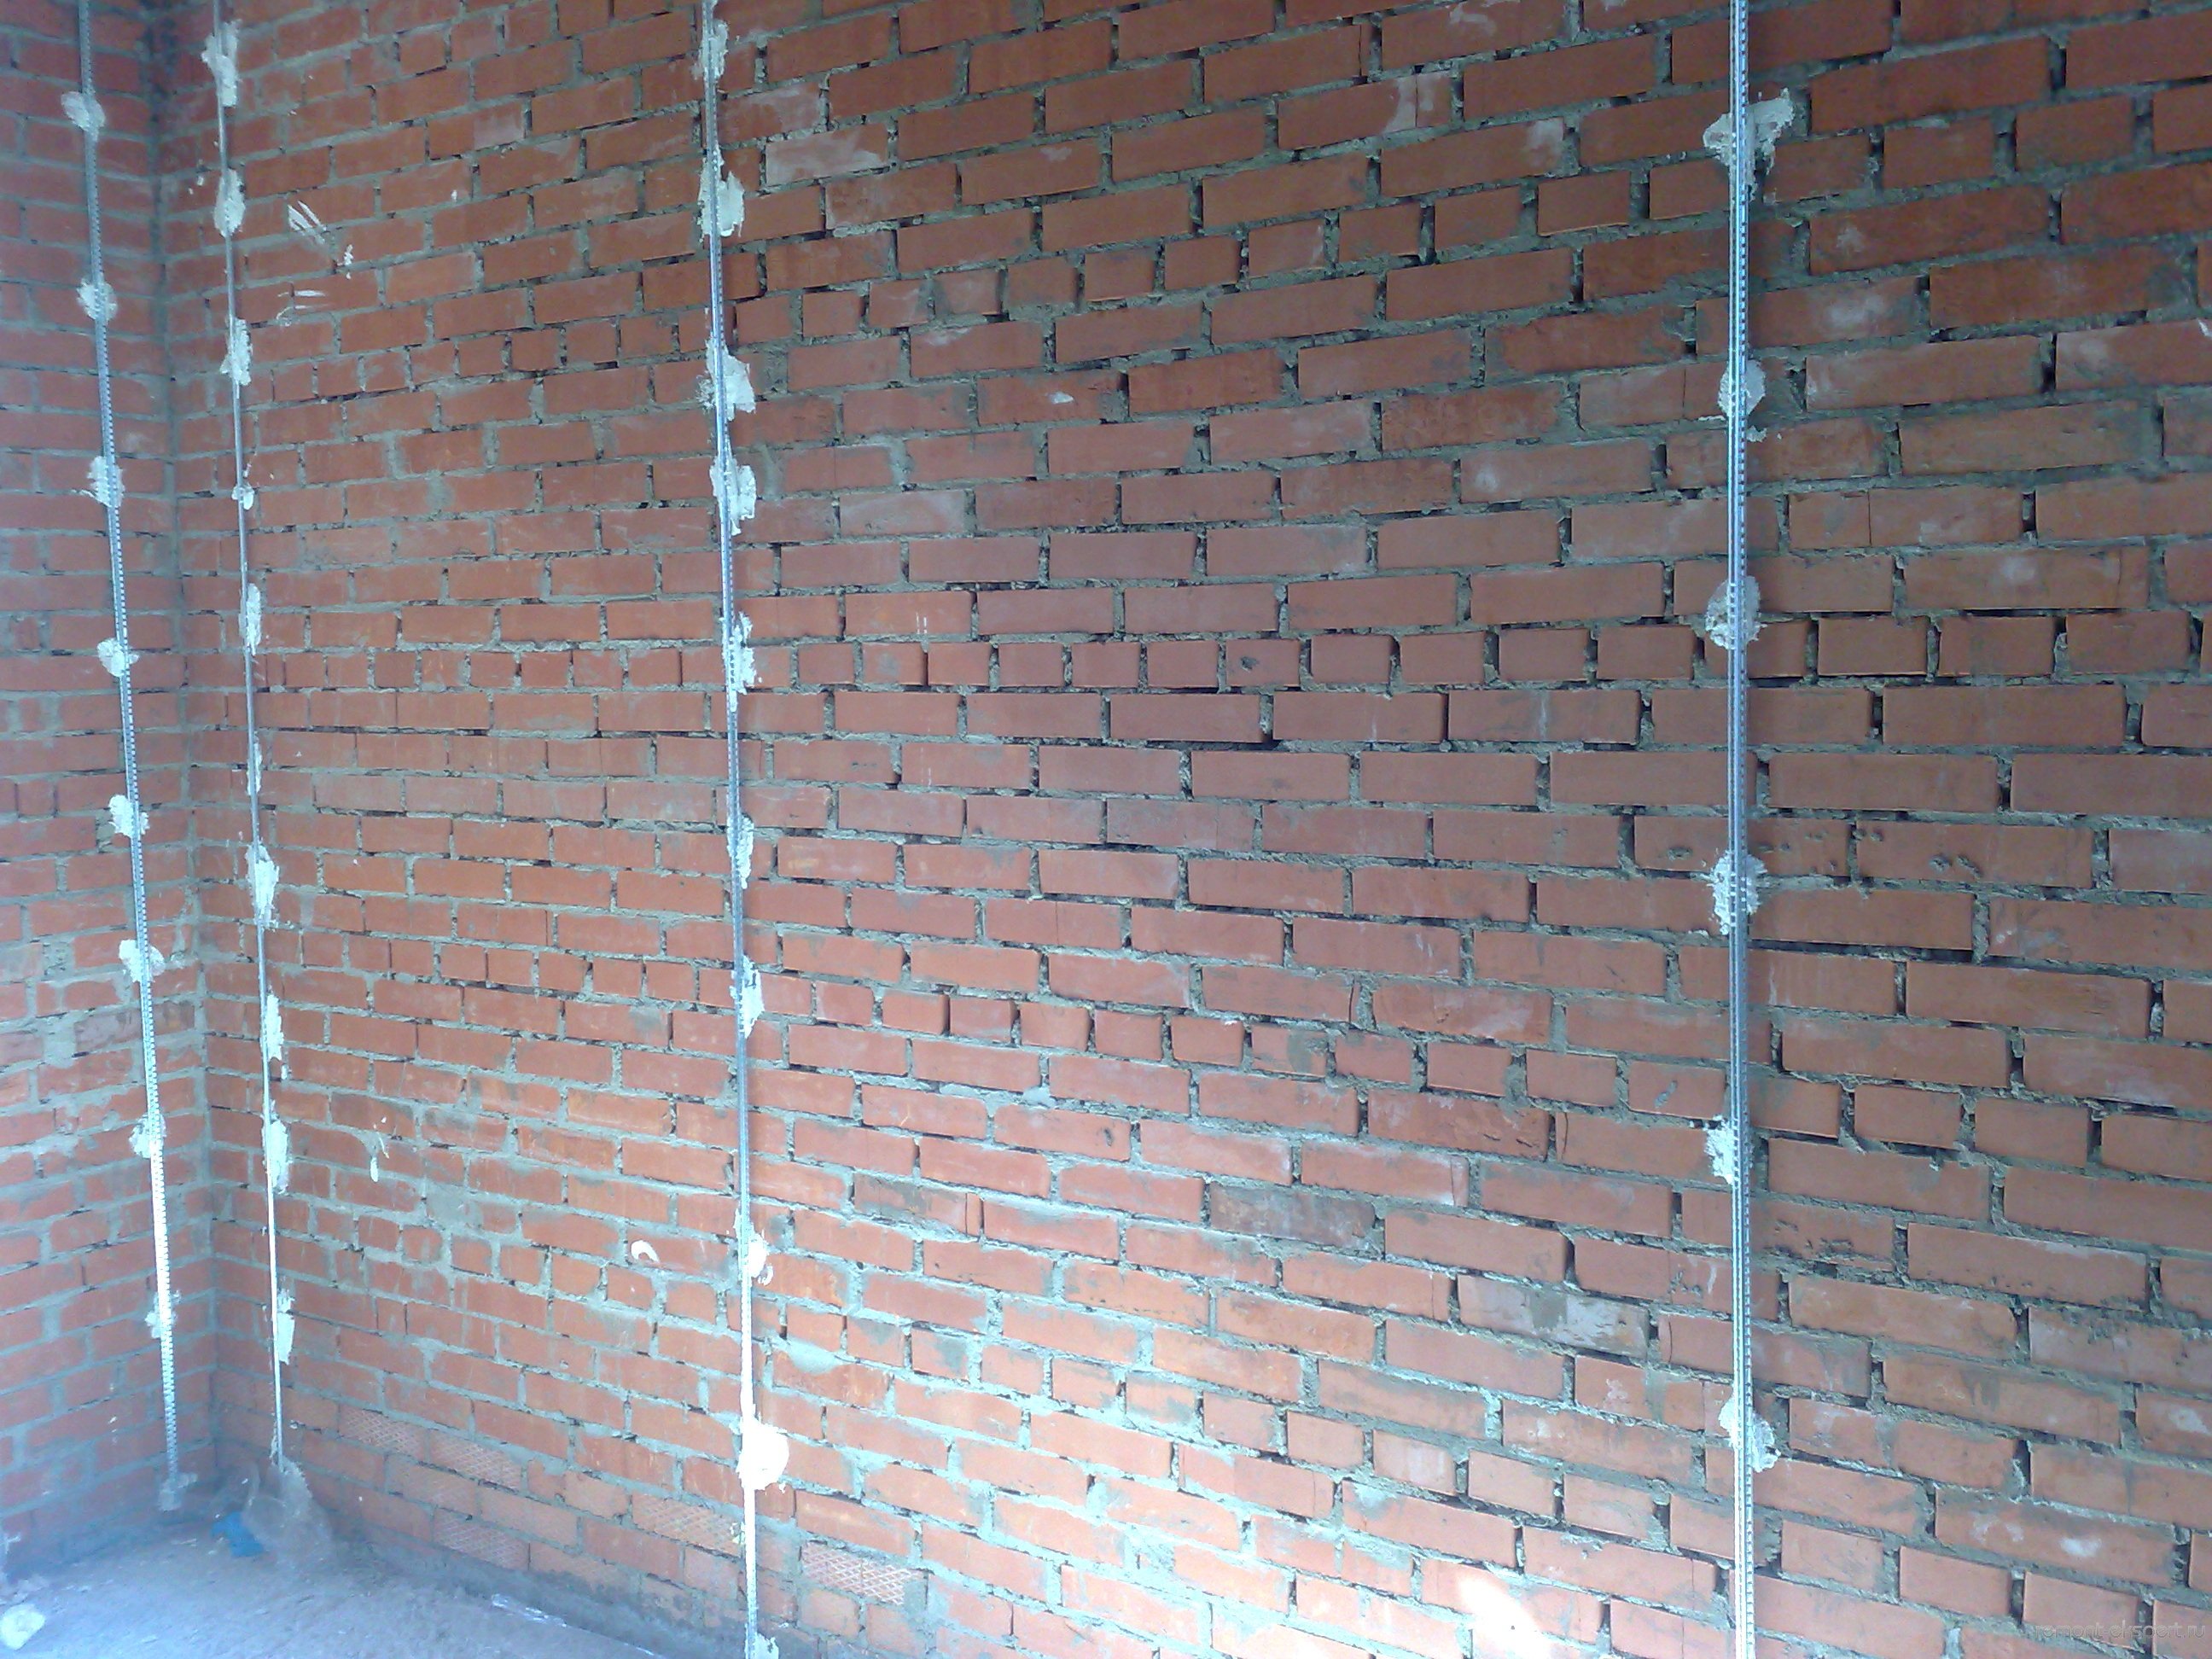
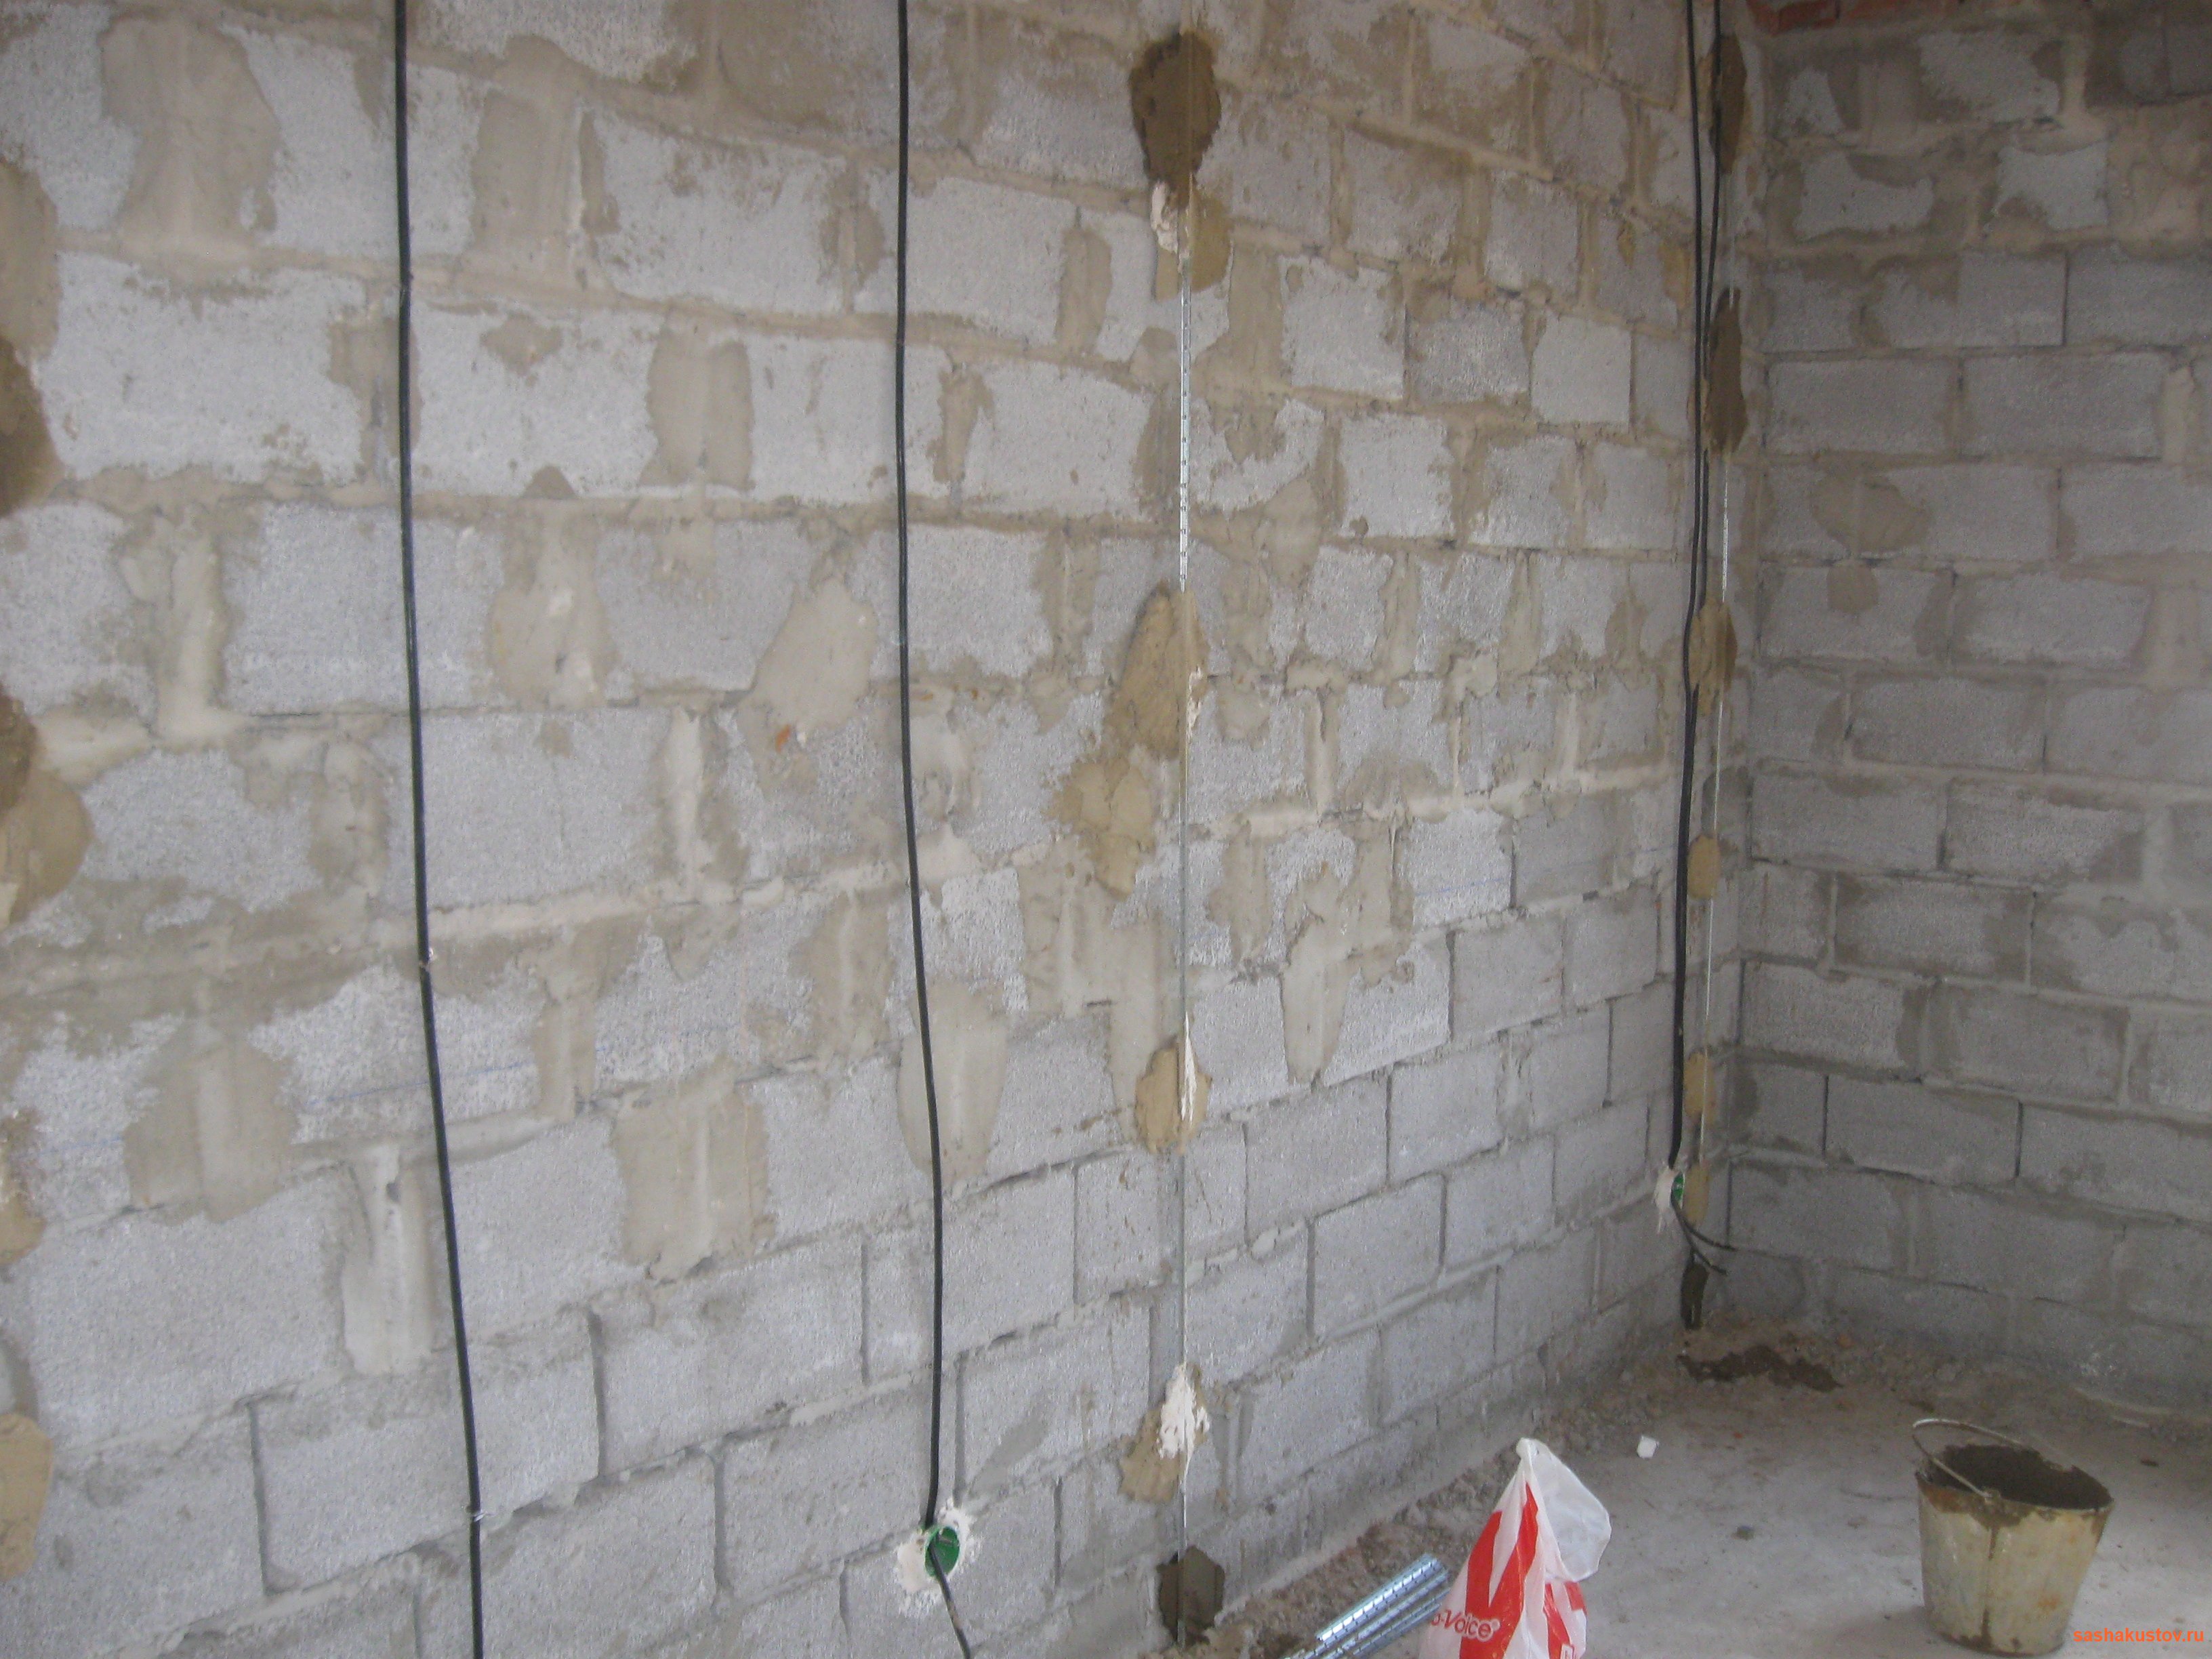
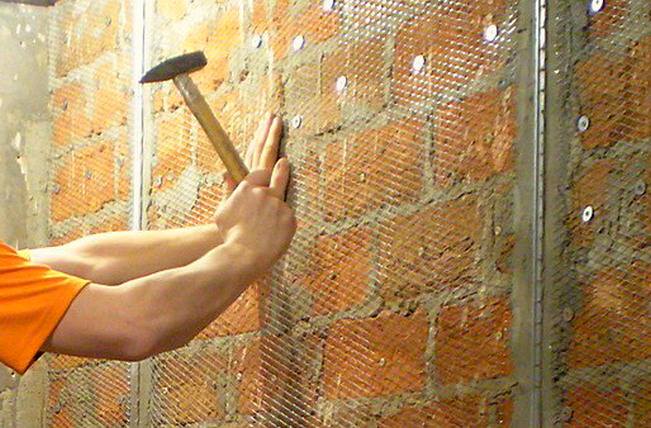
Depending on the type of surface, it may be necessary to apply certain material to the wall before installing the beacons and plastering. So, for brick walls additional processing is not required. Concrete surfaces need to be treated with a liquid cement mortar. Wooden and metal walls are additionally reinforced with special plaster nets, which are fixed between the lighthouses.
In principle, this preparatory work can be considered complete. Before starting any repair measures, it is necessary to protect adjacent objects and surfaces with masking tape: glue the door jambs, glue the strips of tape on the floor and on the ceiling where they are attached to the walls. So it will turn out to completely protect the environment and in the future it will not take much time to clean the adjacent surfaces.
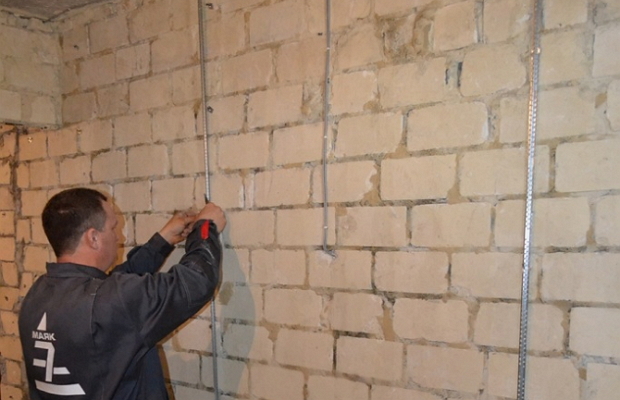
Markup
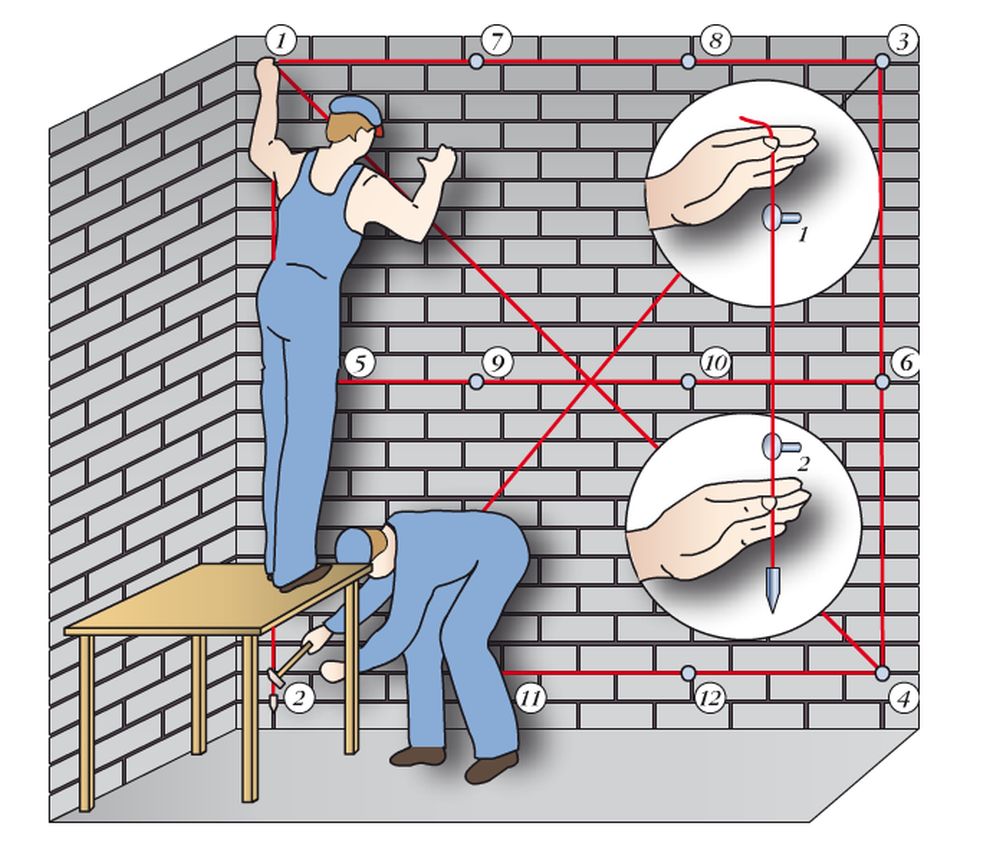
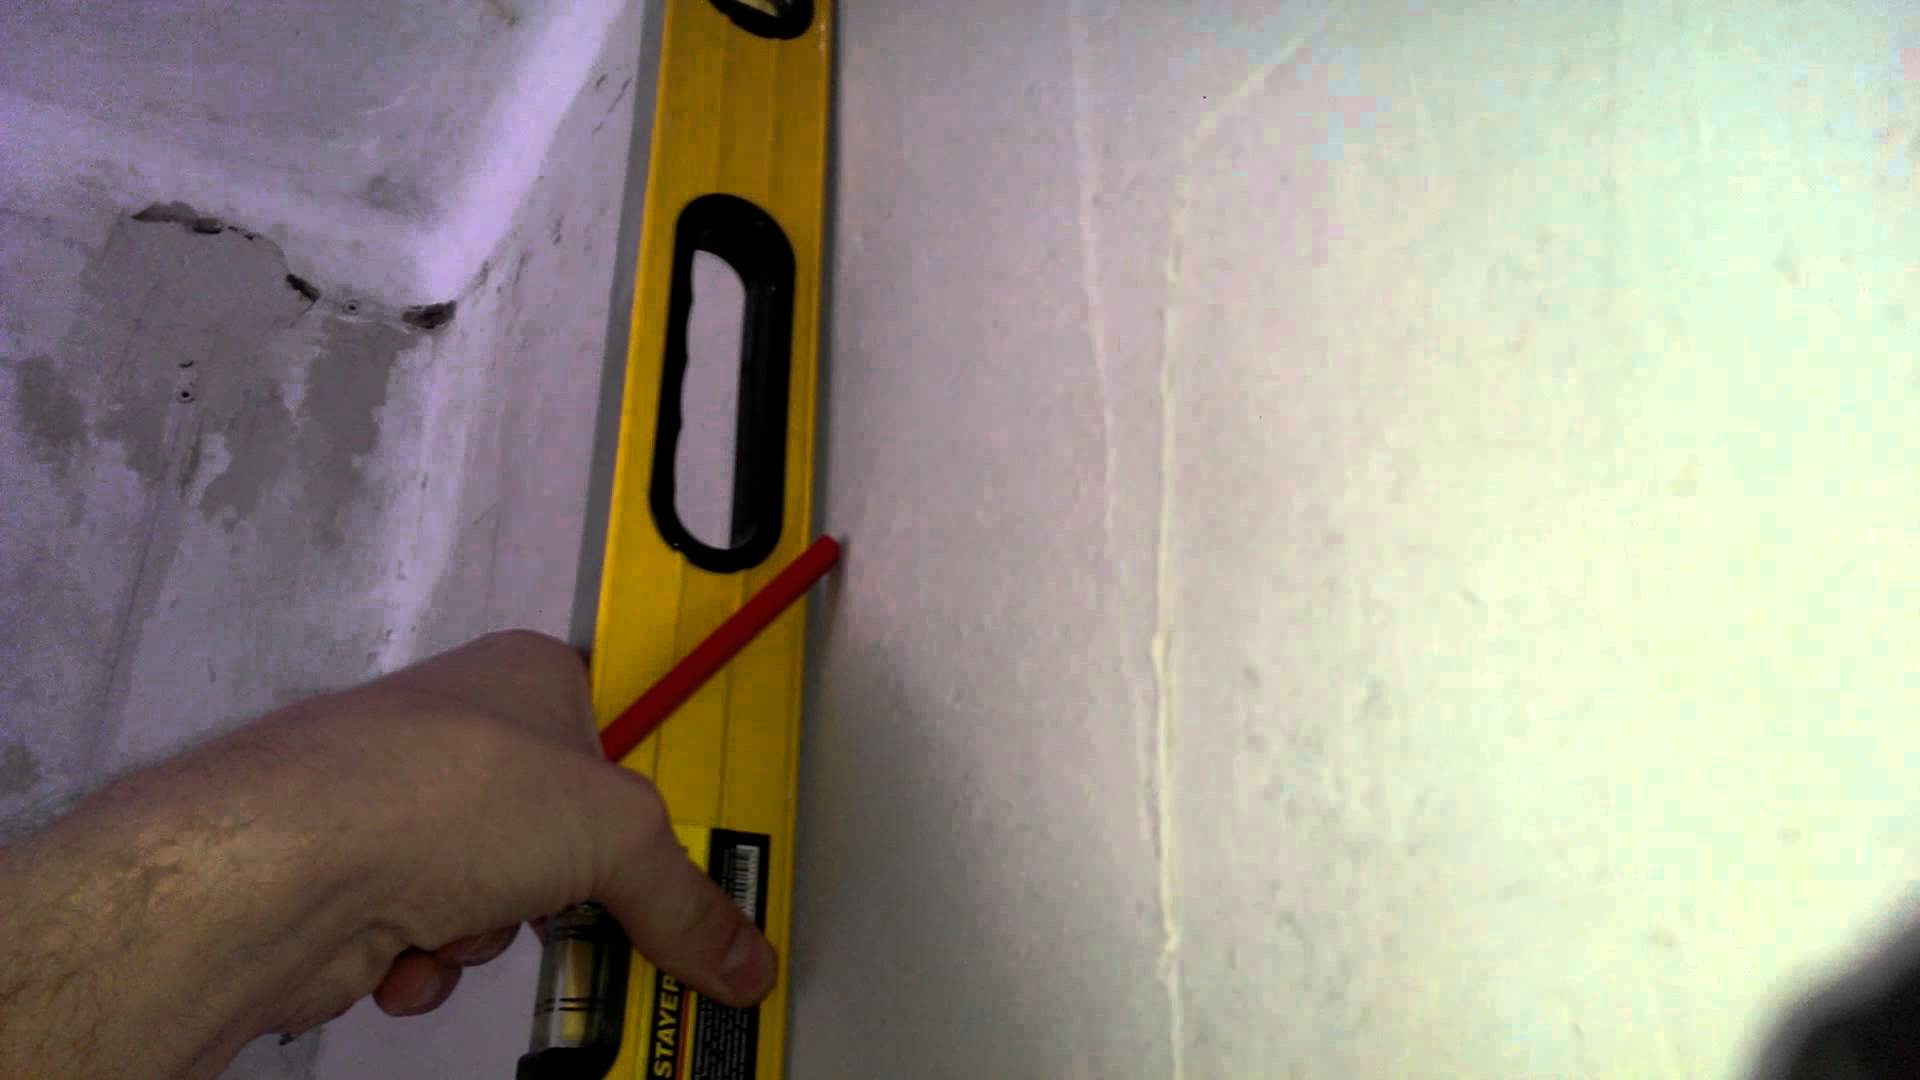
It is important to determine exactly where to put the beacons.Not only the correct geometry of exposure, but also the evenness of the walls depends on the correctness of the marking. The marking process is called walling. Run it is not as difficult as it may seem at first glance. All you need is knowledge of the school geometry course. Stages of work:
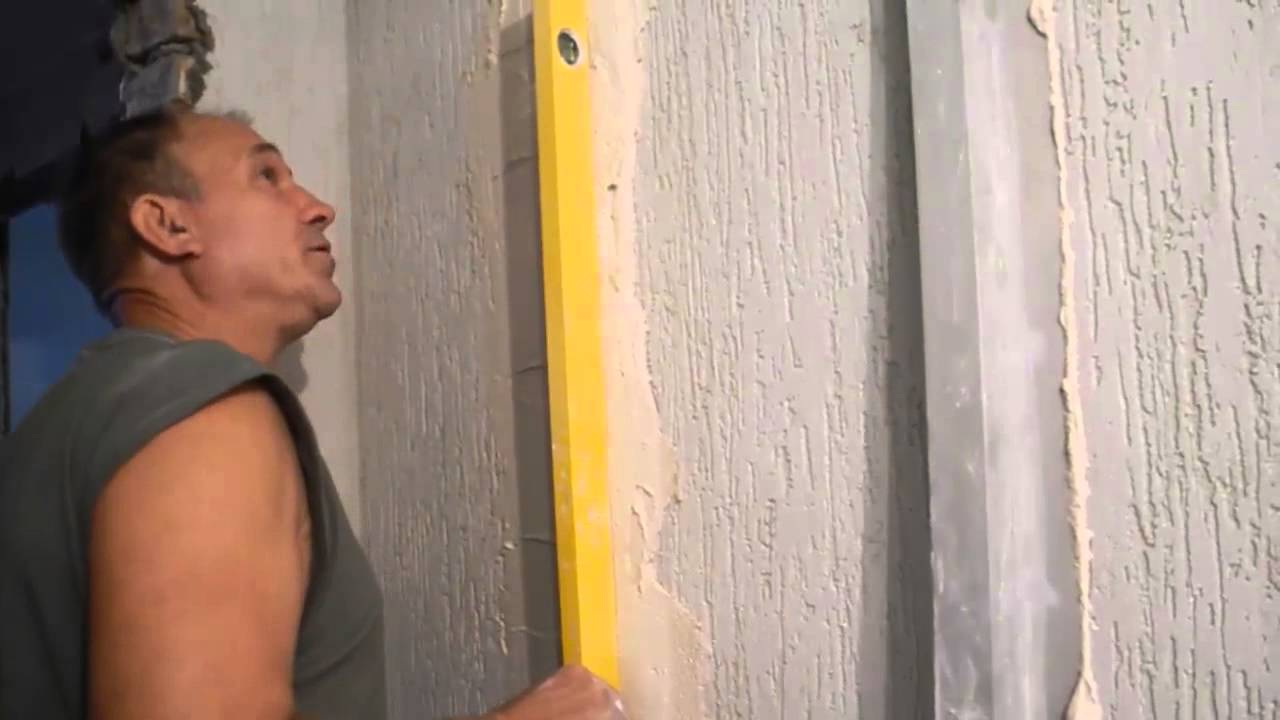
- First you need to determine the flatness of the wall. To do this, apply a long rule to different parts of the wall alternately, marking protruding places or depressions in different colors. For example, green chalk can be noted bulges, and blue - hollows.
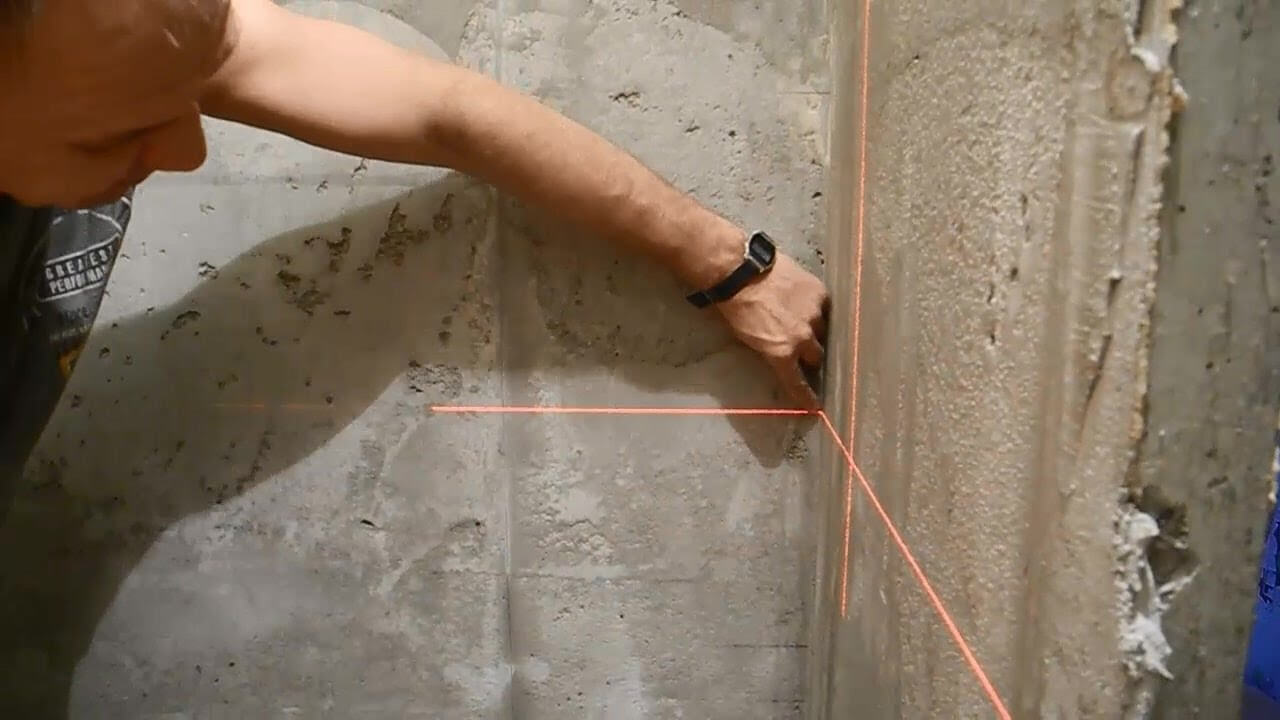
- Measure down from the top of the wall 2 m. It is best to measure at the junction of two walls in the corner. Use the laser level to line up the horizontal. After that, measure 2 m up from the line adjacent to the floor, and also build a horizontal line.
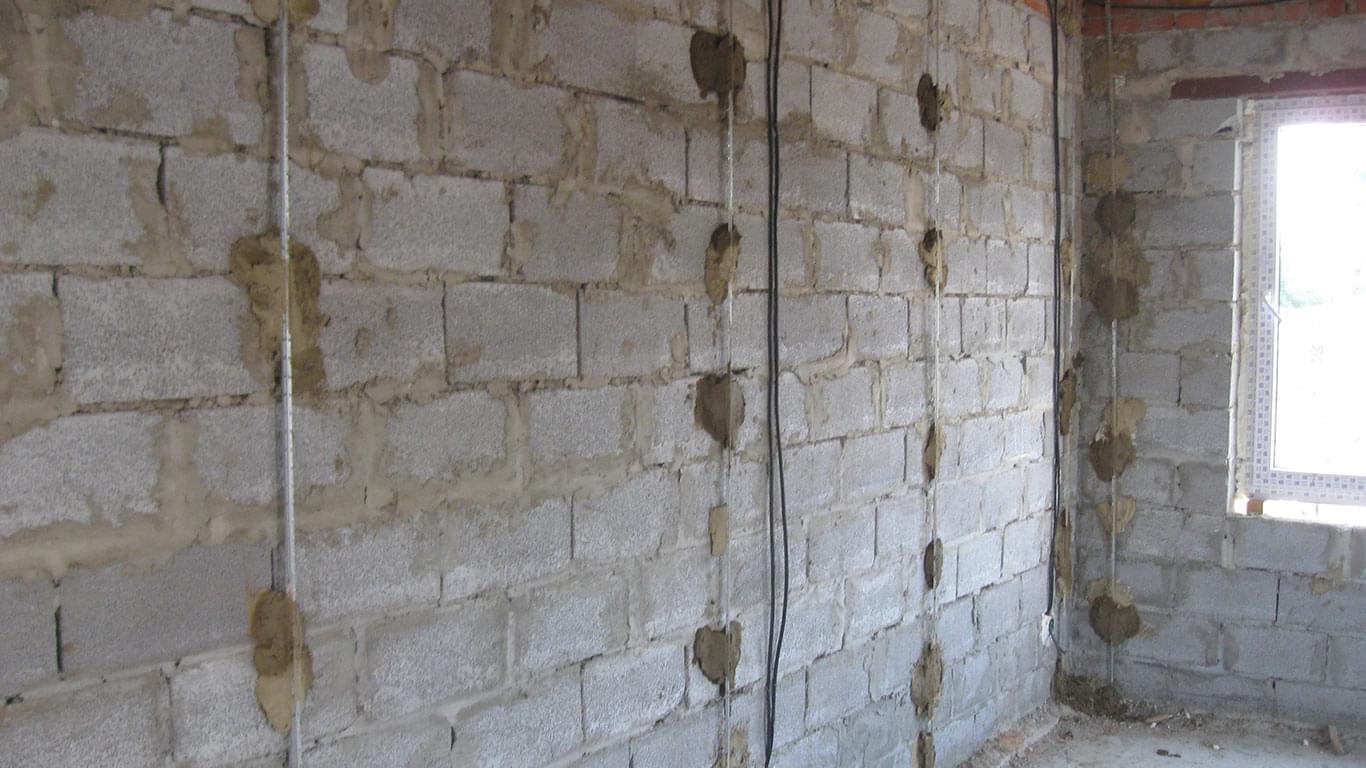
- Measure 10 cm from corner joints along the upper horizontal line. Drill holes in these places and install screws in them.
- There is a simple way to build smooth verticals. For this, a plumb line is used. The plumbing cord is attached to the upper screw and lowered until the distance from the floor is 3-4 cm. As soon as the plumb stops oscillating, mark the points on the lower horizontal. There are also drilled holes and install screws.
- Next, measure 10 cm from each screw and drill the holes again, installing the screws. Here will be located extreme lighthouses.
- The distance between the points of location of the outermost beacons should be divided into several approximately equal parts of about 1-1.3 m in length. Please note that it is better to postpone points in the upper horizontal, and mark the corresponding ones on the lower one with a plumb line. In each of the new points, drill holes and insert screws.
- If there is a door or window in the wall, then it is necessary to retreat from it by 10-15 cm on each side. Additional lighthouses will be installed here. Be sure to determine the flatness of the door or window opening with a level or plumb. Even if the opening is smooth, it’s still better to determine the verticals by a plumb line.
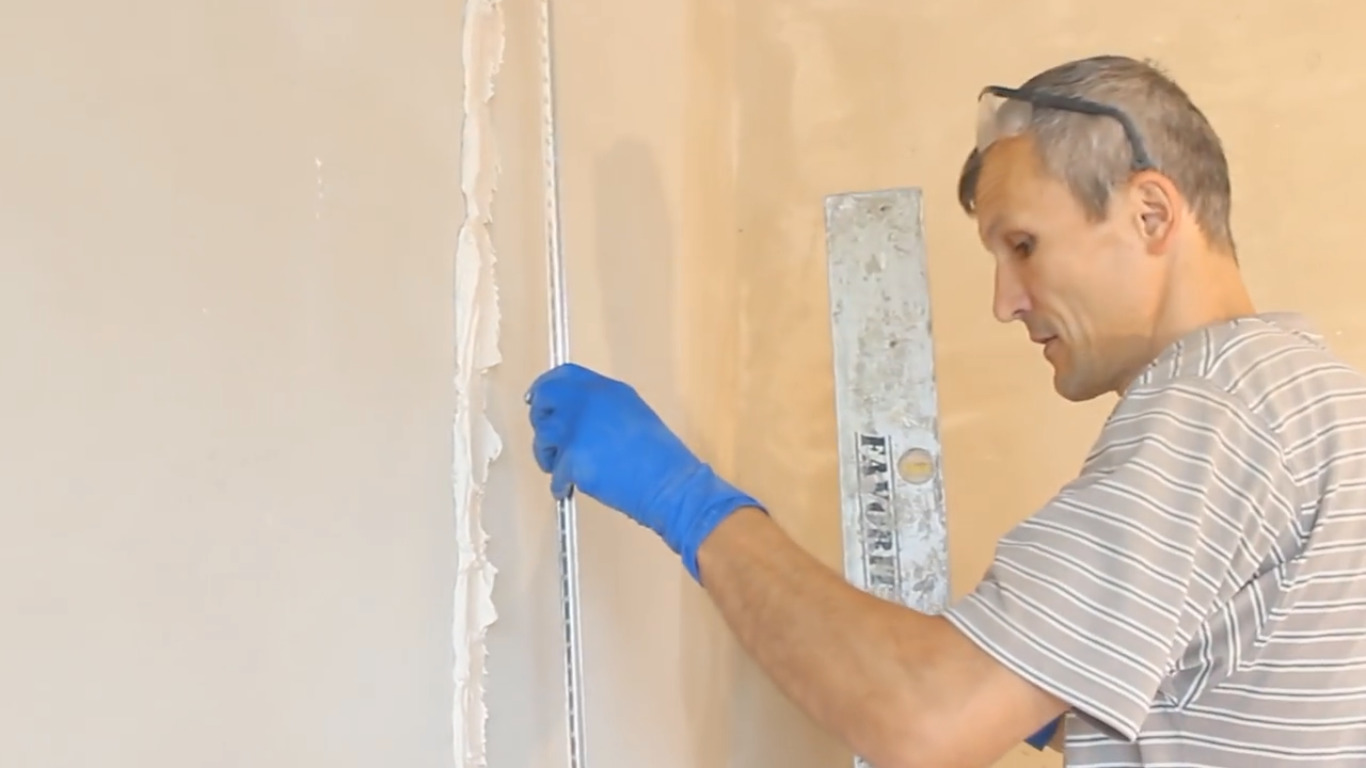
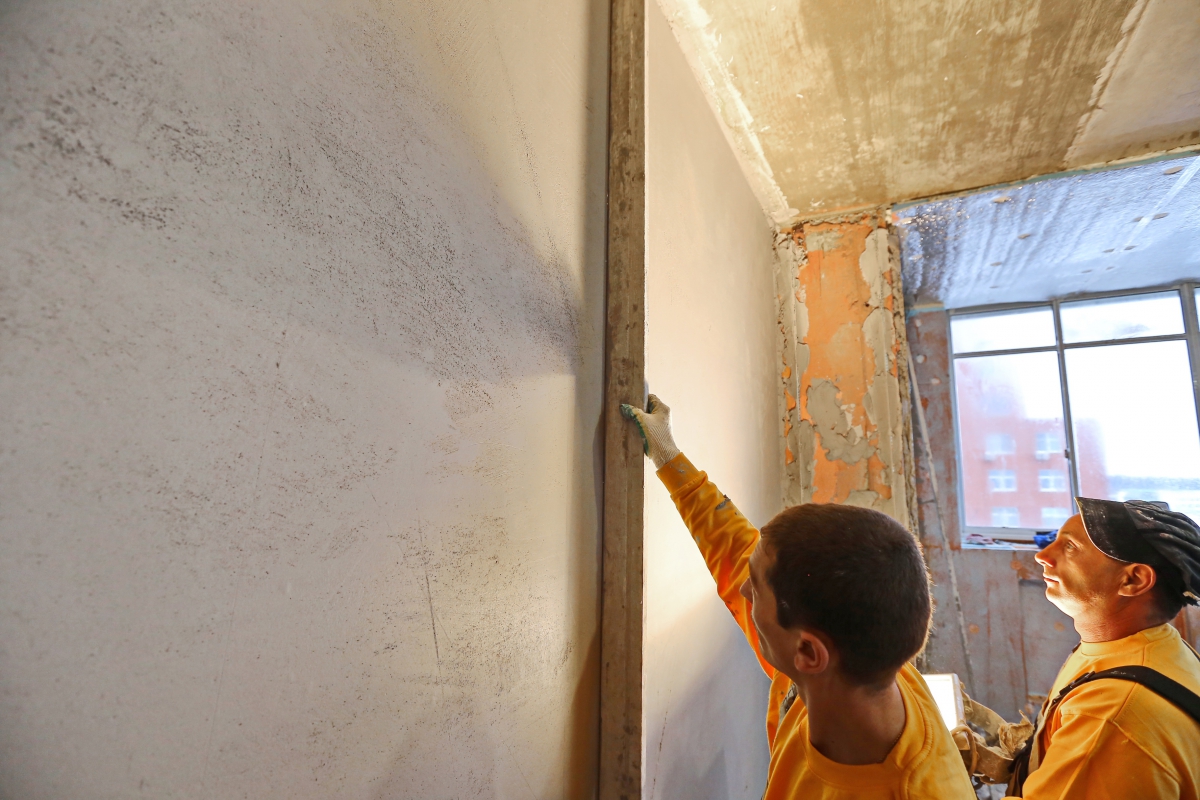
- Now pull the line along the perimeter and diagonally between the extreme screws. Next, screw in the screws until the line slightly touches the protruding spot. Diagonal fishing lines should be slightly in contact, be on the same level, lie in the same plane.
- Further, all the screws that determine the position of the lighthouses, unscrew until they are slightly in contact with the fishing line.It is important that they lightly touch, and do not rest on the line. This is indicated by the thickness of the plaster layer. Ensure that the screws lag behind the wall at a distance not less than the height of the selected beacons. If this is not the case, edit the position, removing all screws at an equal distance.
How to fix?
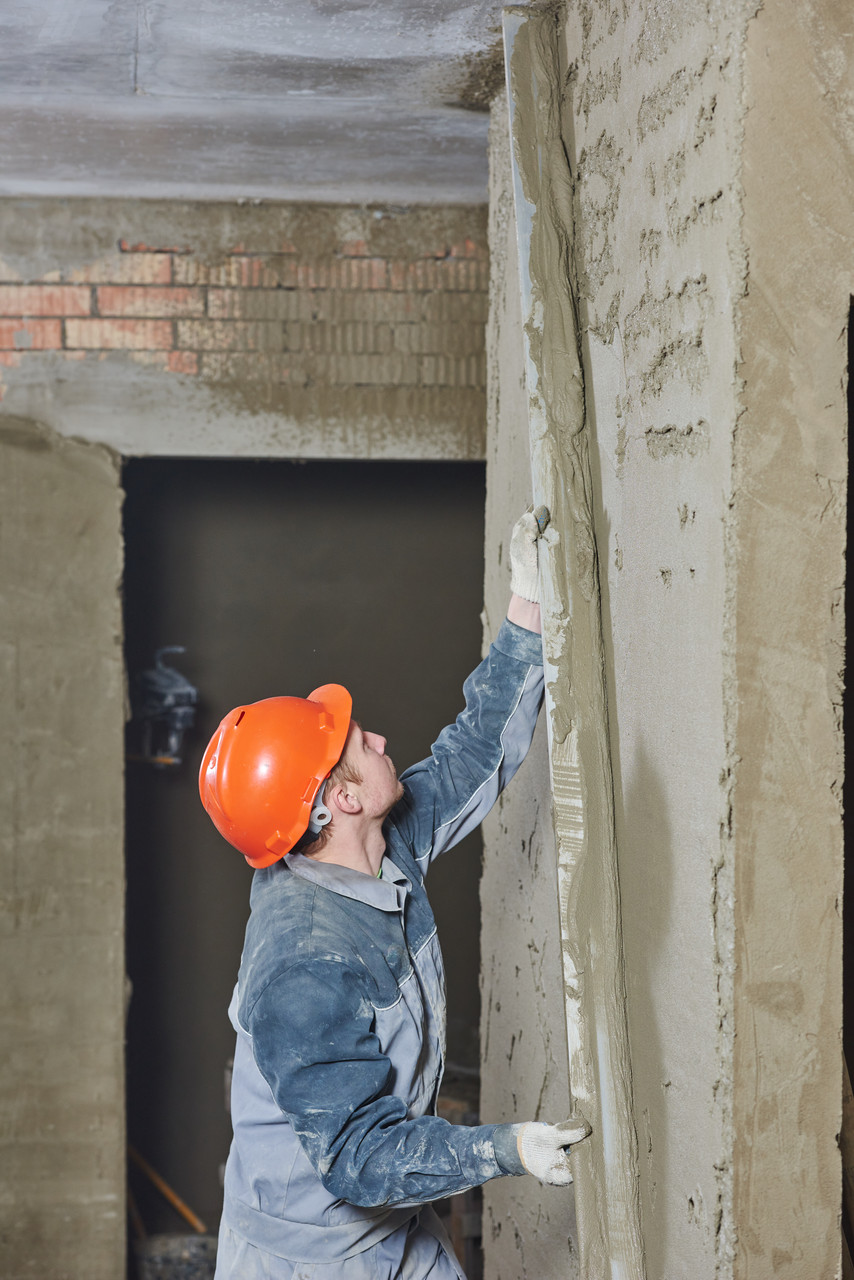
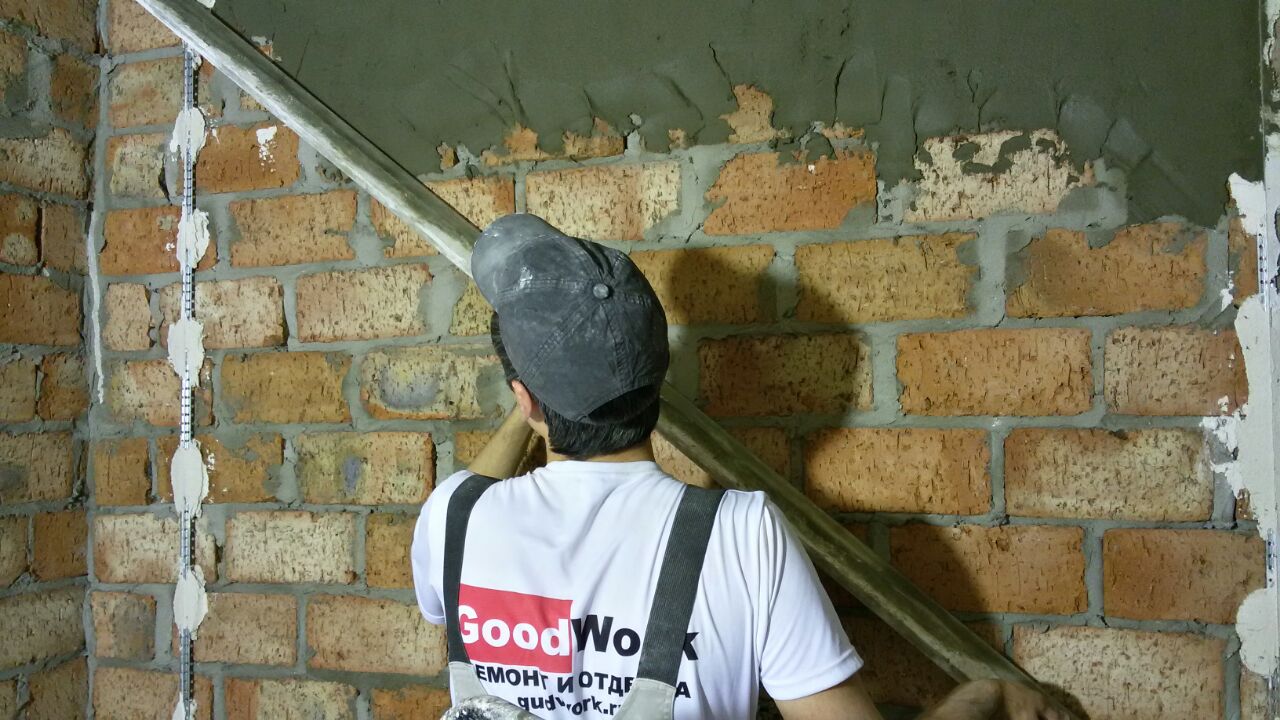
After the marking is done, it is necessary to decide how the beacons will be fixed. The fastener depends on the type of beacon used, on the material from which it is made. There will be no problems if you make beacons straight from the plaster with your own hands. Lighthouses from other materials - metal, plastic, wooden - can be fixed in two ways:
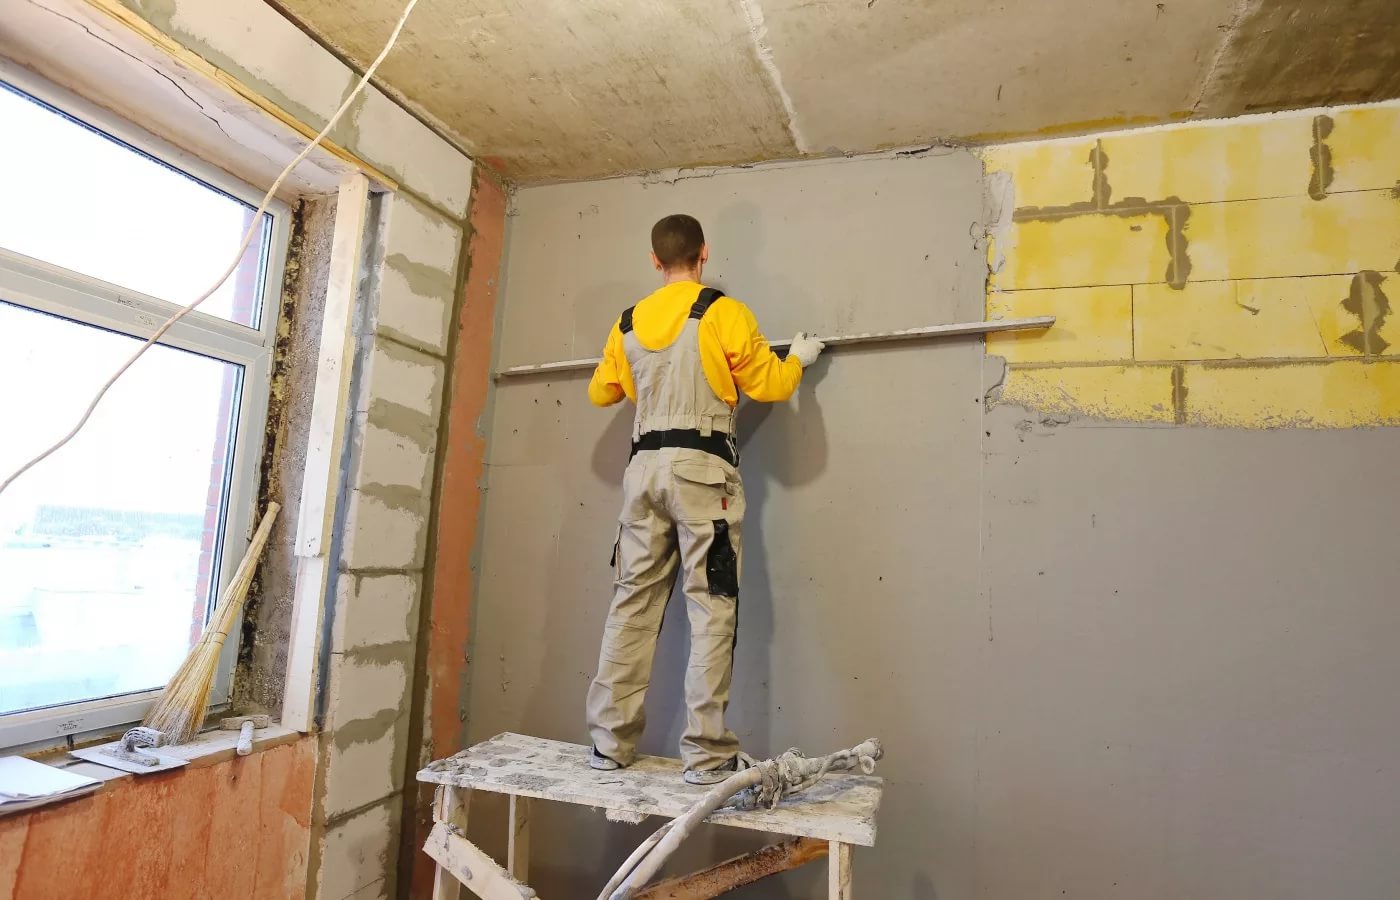
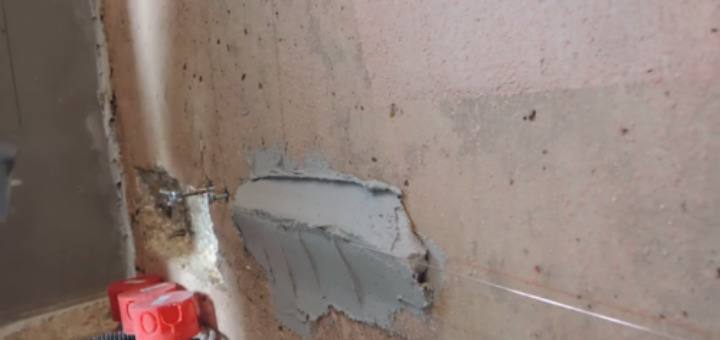
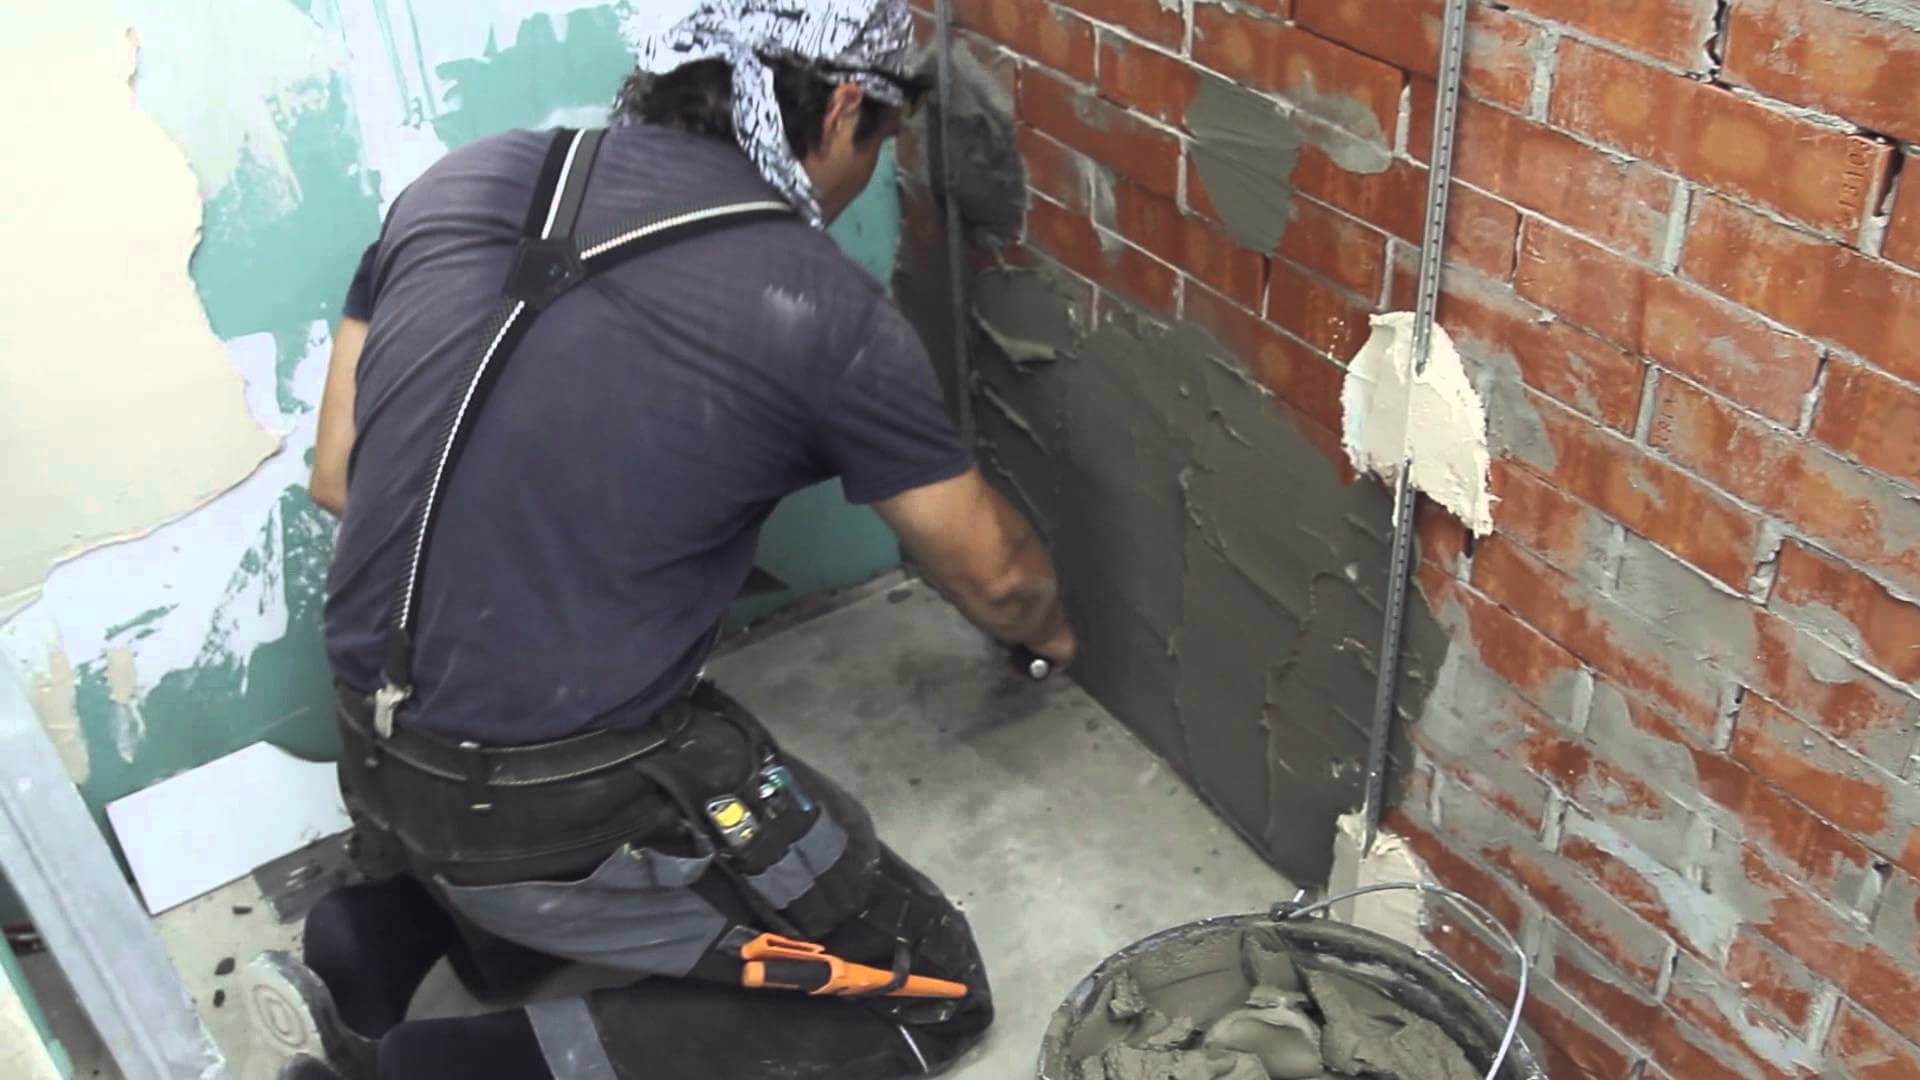
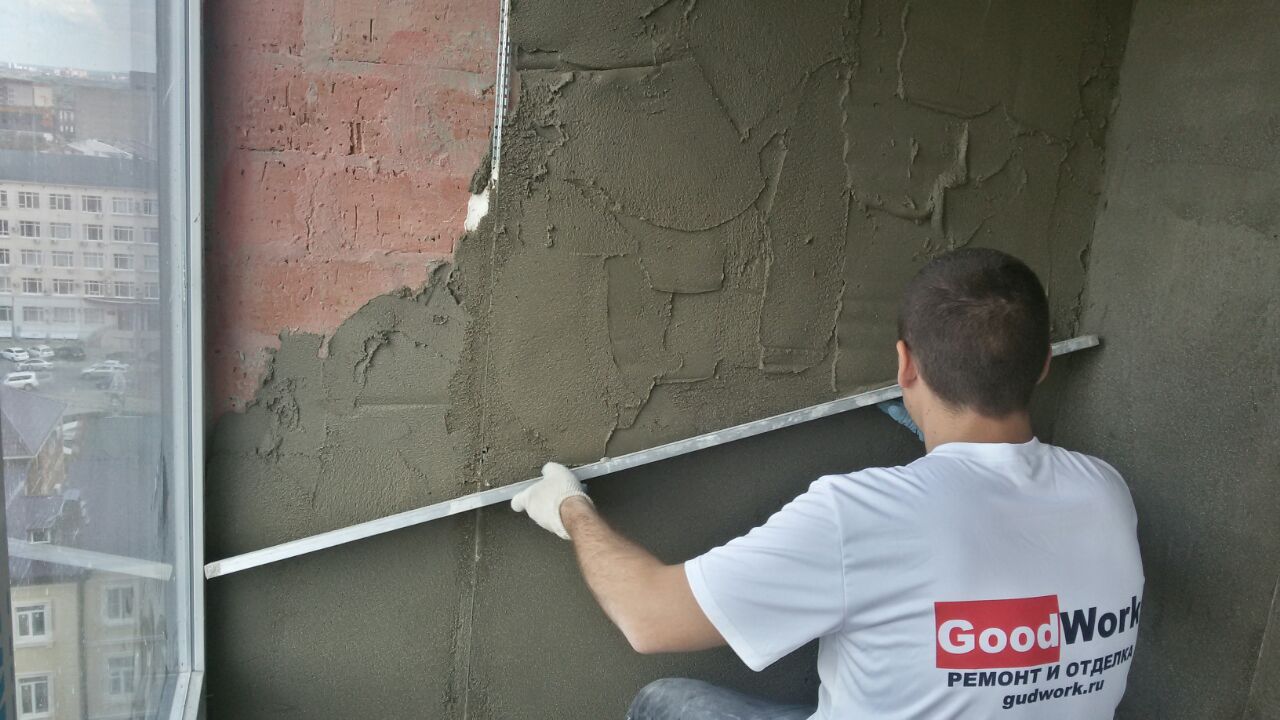
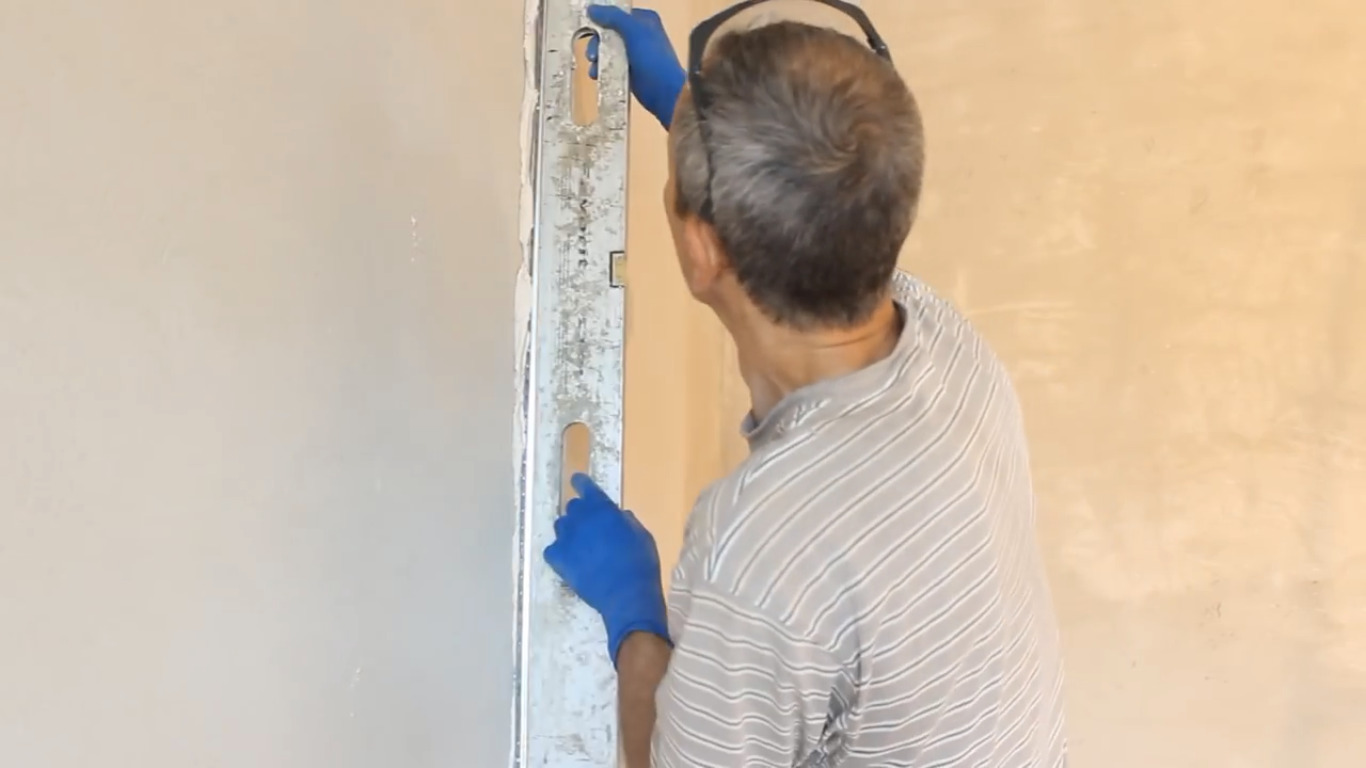
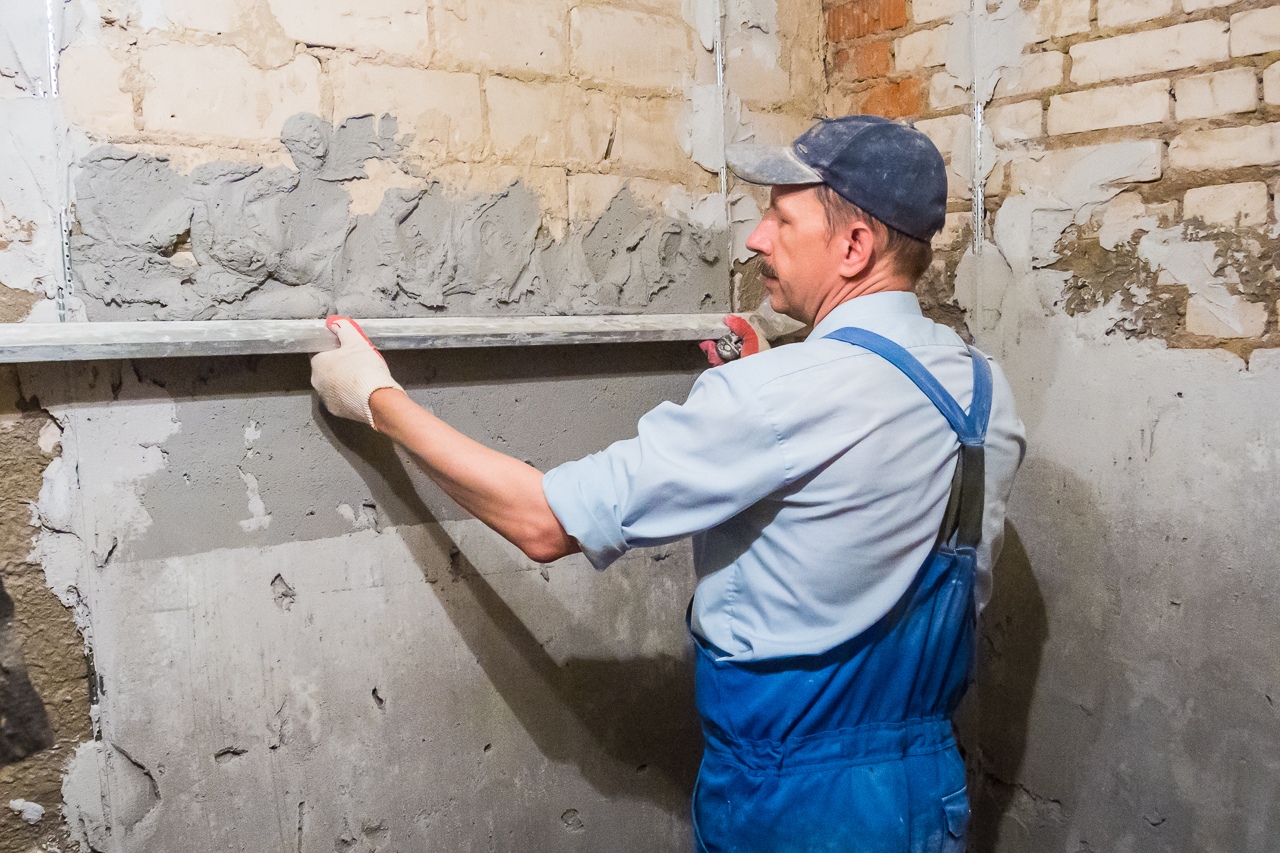
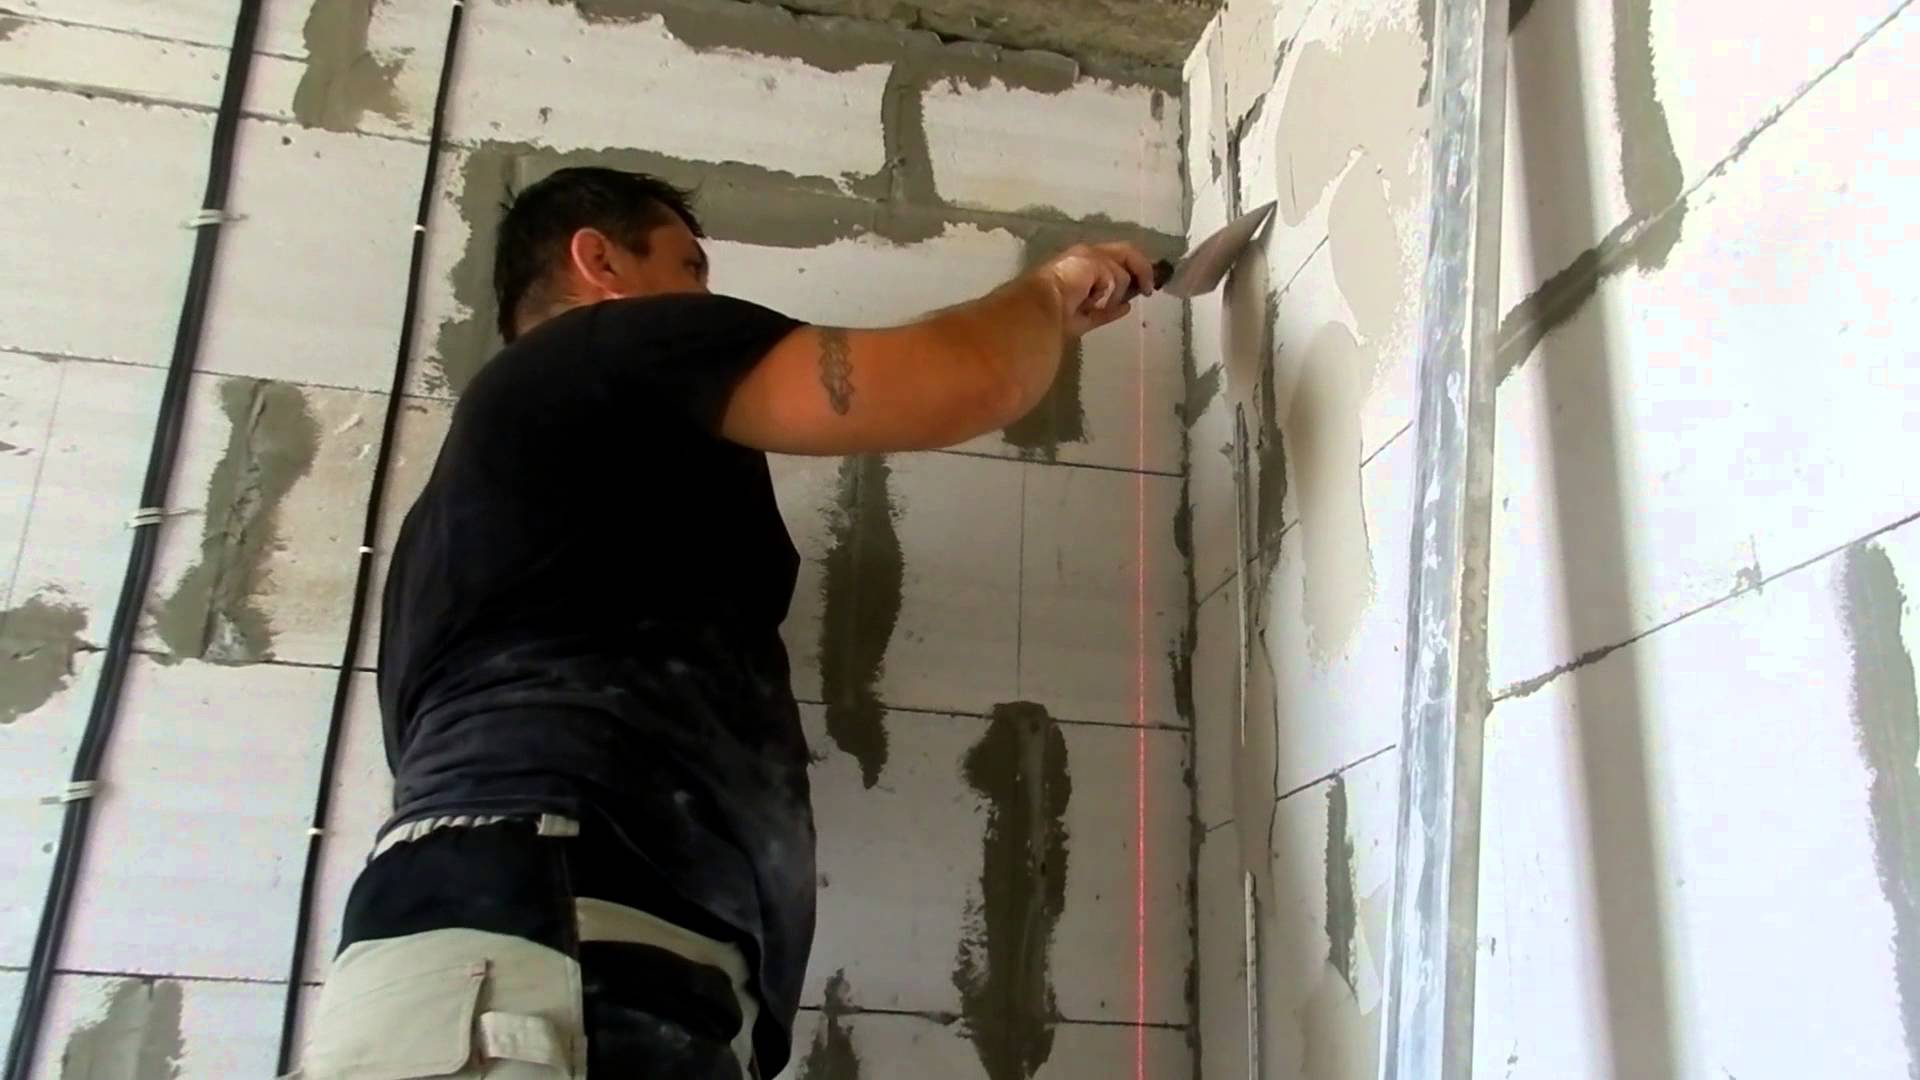
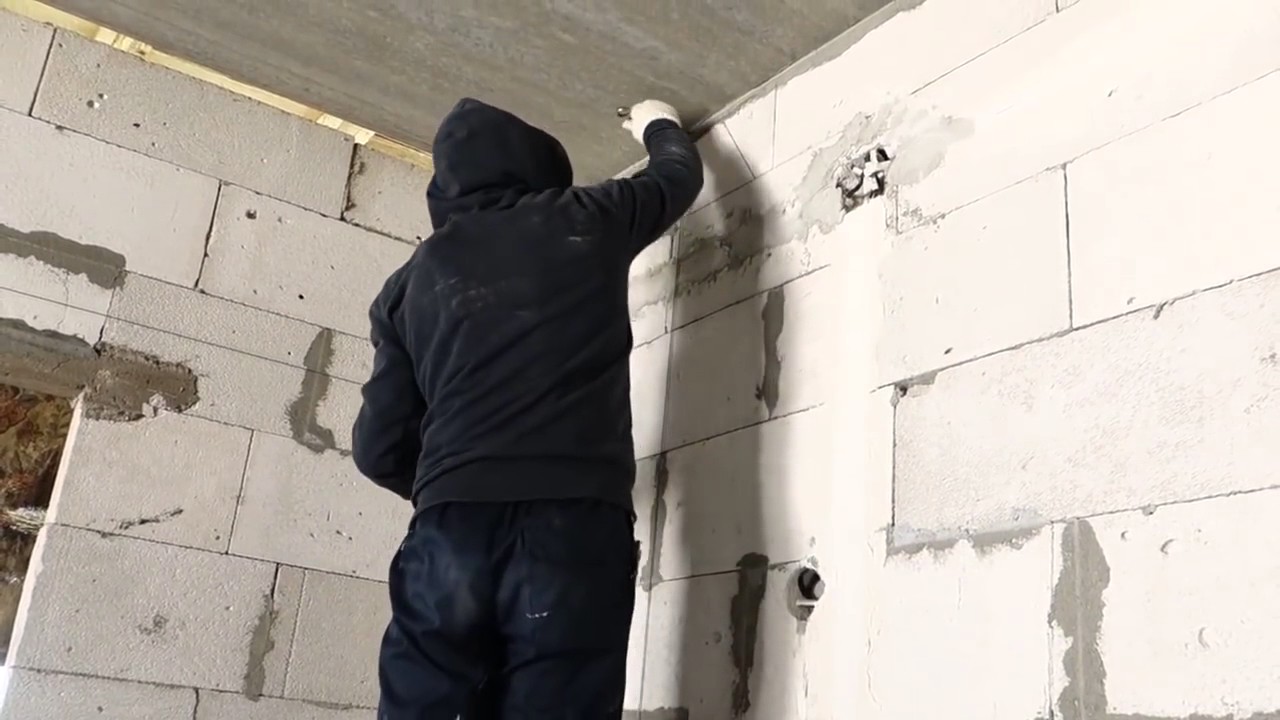
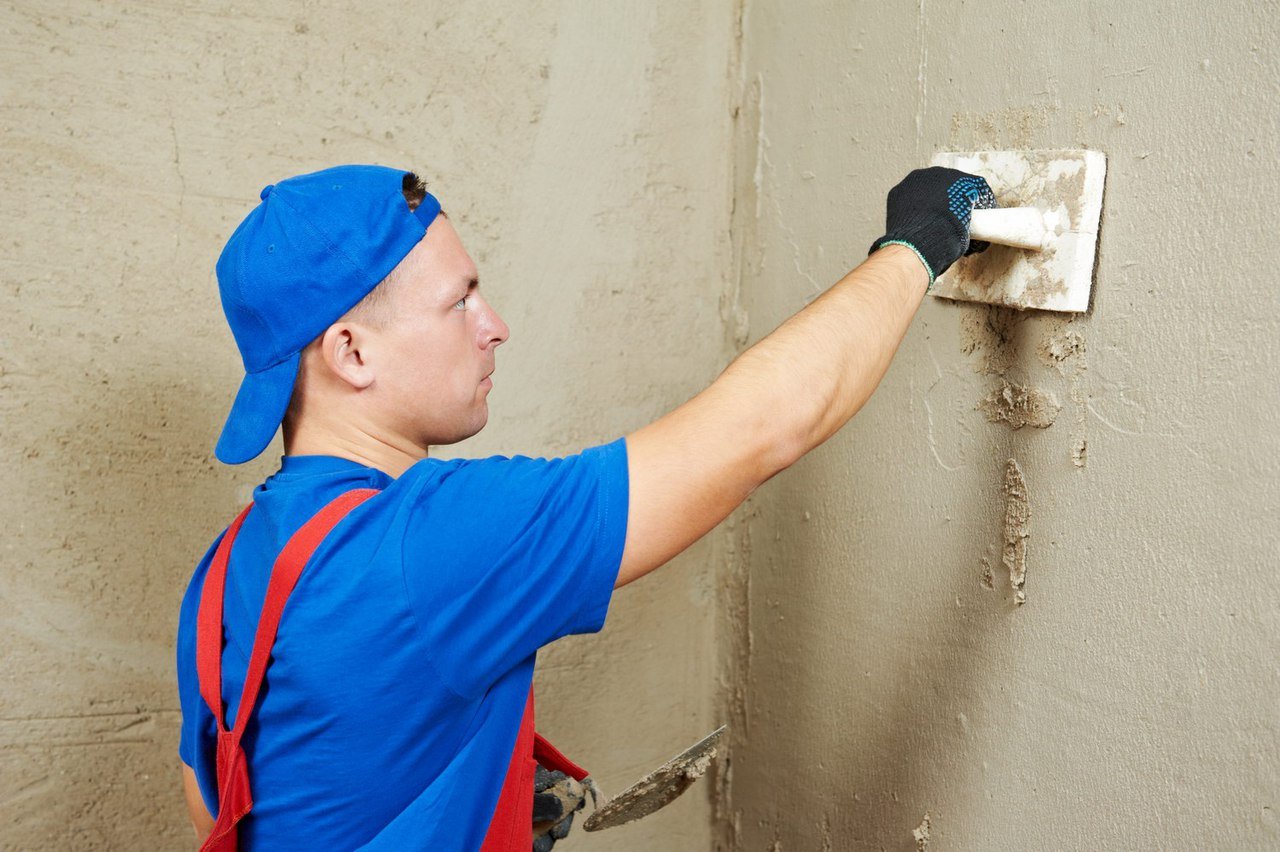
- Used by plaster mortar. For fasteners can be selected as a solution, which is carried out plastering, and a modified equivalent: plaster with additives responsible for the setting speed, gypsum mortar and others. The solution is slapped from top to bottom along the line on which the lighthouse will be mounted. Then the metal or plastic profile is firmly embedded in the solution until it is completely level with the screw heads.The flatness of the profile relative to the vertical is checked using the rule. If the profile is deformed in the process, then it is promptly replaced by another. After the profile is installed as it should, excess plaster is removed from it, and then proceed to the installation of the next beacon.
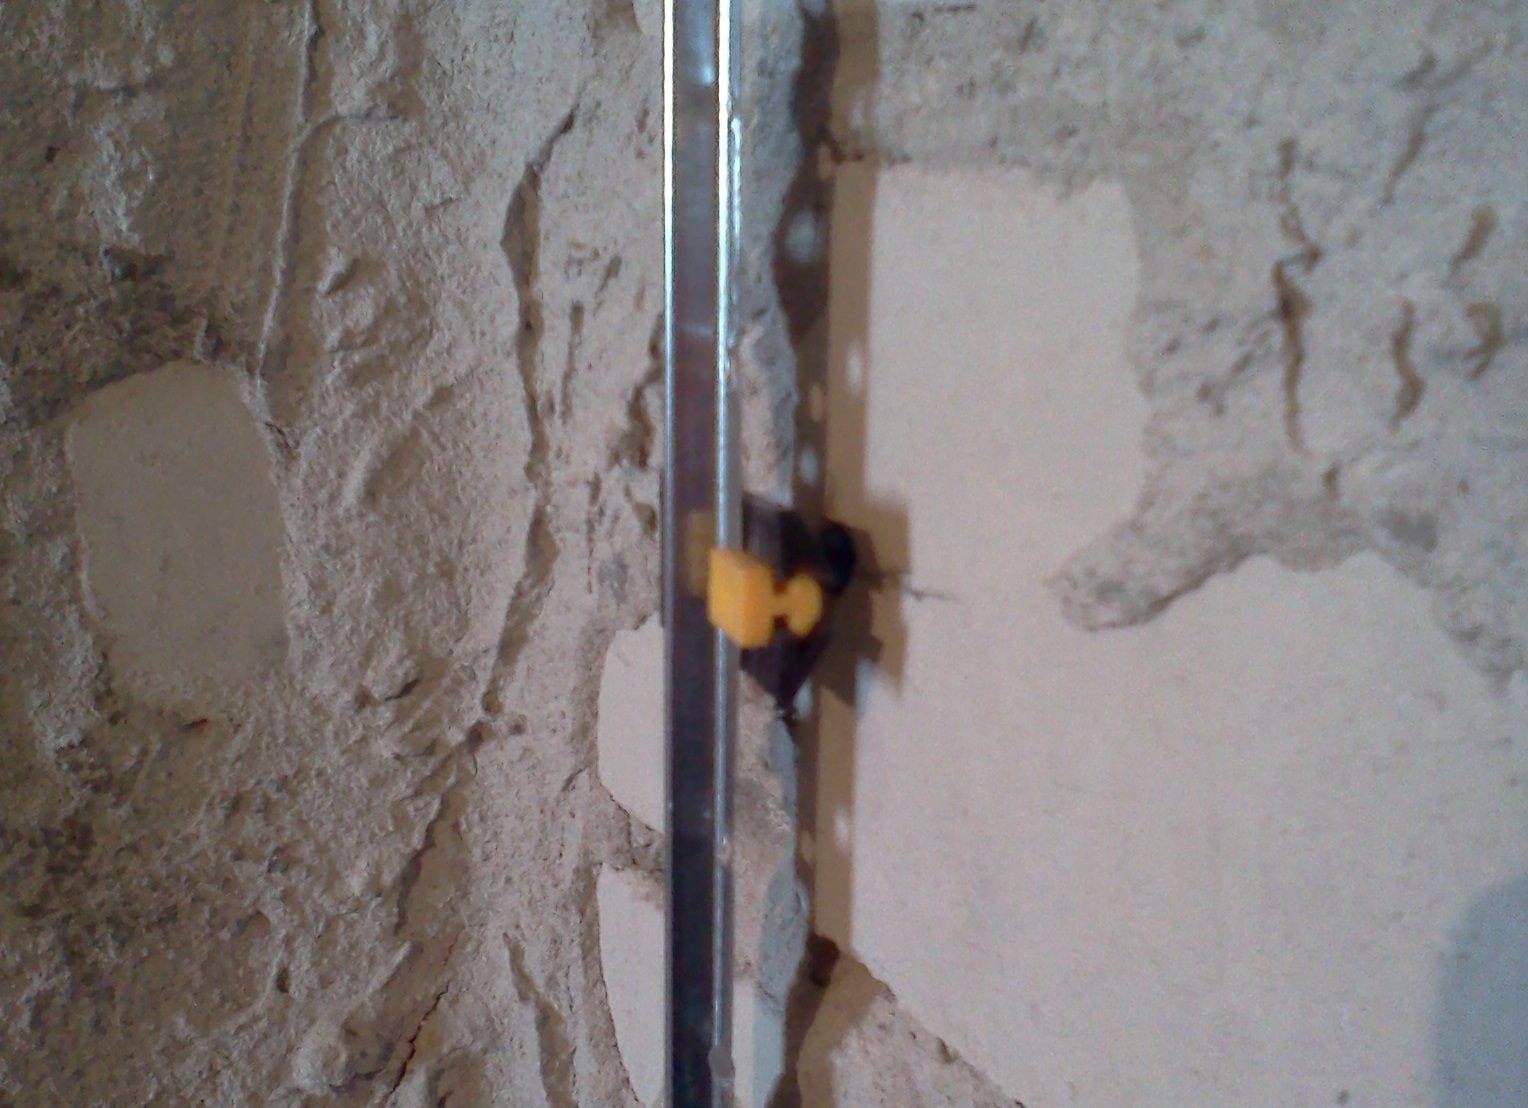
- Mounting without solution. This option is more modern, because here they use specially designed devices - plastic fasteners or "ears." If there is a choice between plastic retainers or “ears”, choose the second ones, since here the thickness of the fixing element itself is insignificant, therefore, a smaller layer of plaster is required later. The fasteners are screwed in place of the screws used for marking, and then the profile just snaps into the fasteners. Please note that removing plastic fasteners from the wall is quite difficult, so many leave them right in the wall.
If you are new to the construction business, it is better to give preference to the second method. It is a bit simpler.
How to install: step by step instructions
The technology of making mortar beacons is quite complicated, especially for a person without experience, but a definite plus is that the retainer will not be needed here.
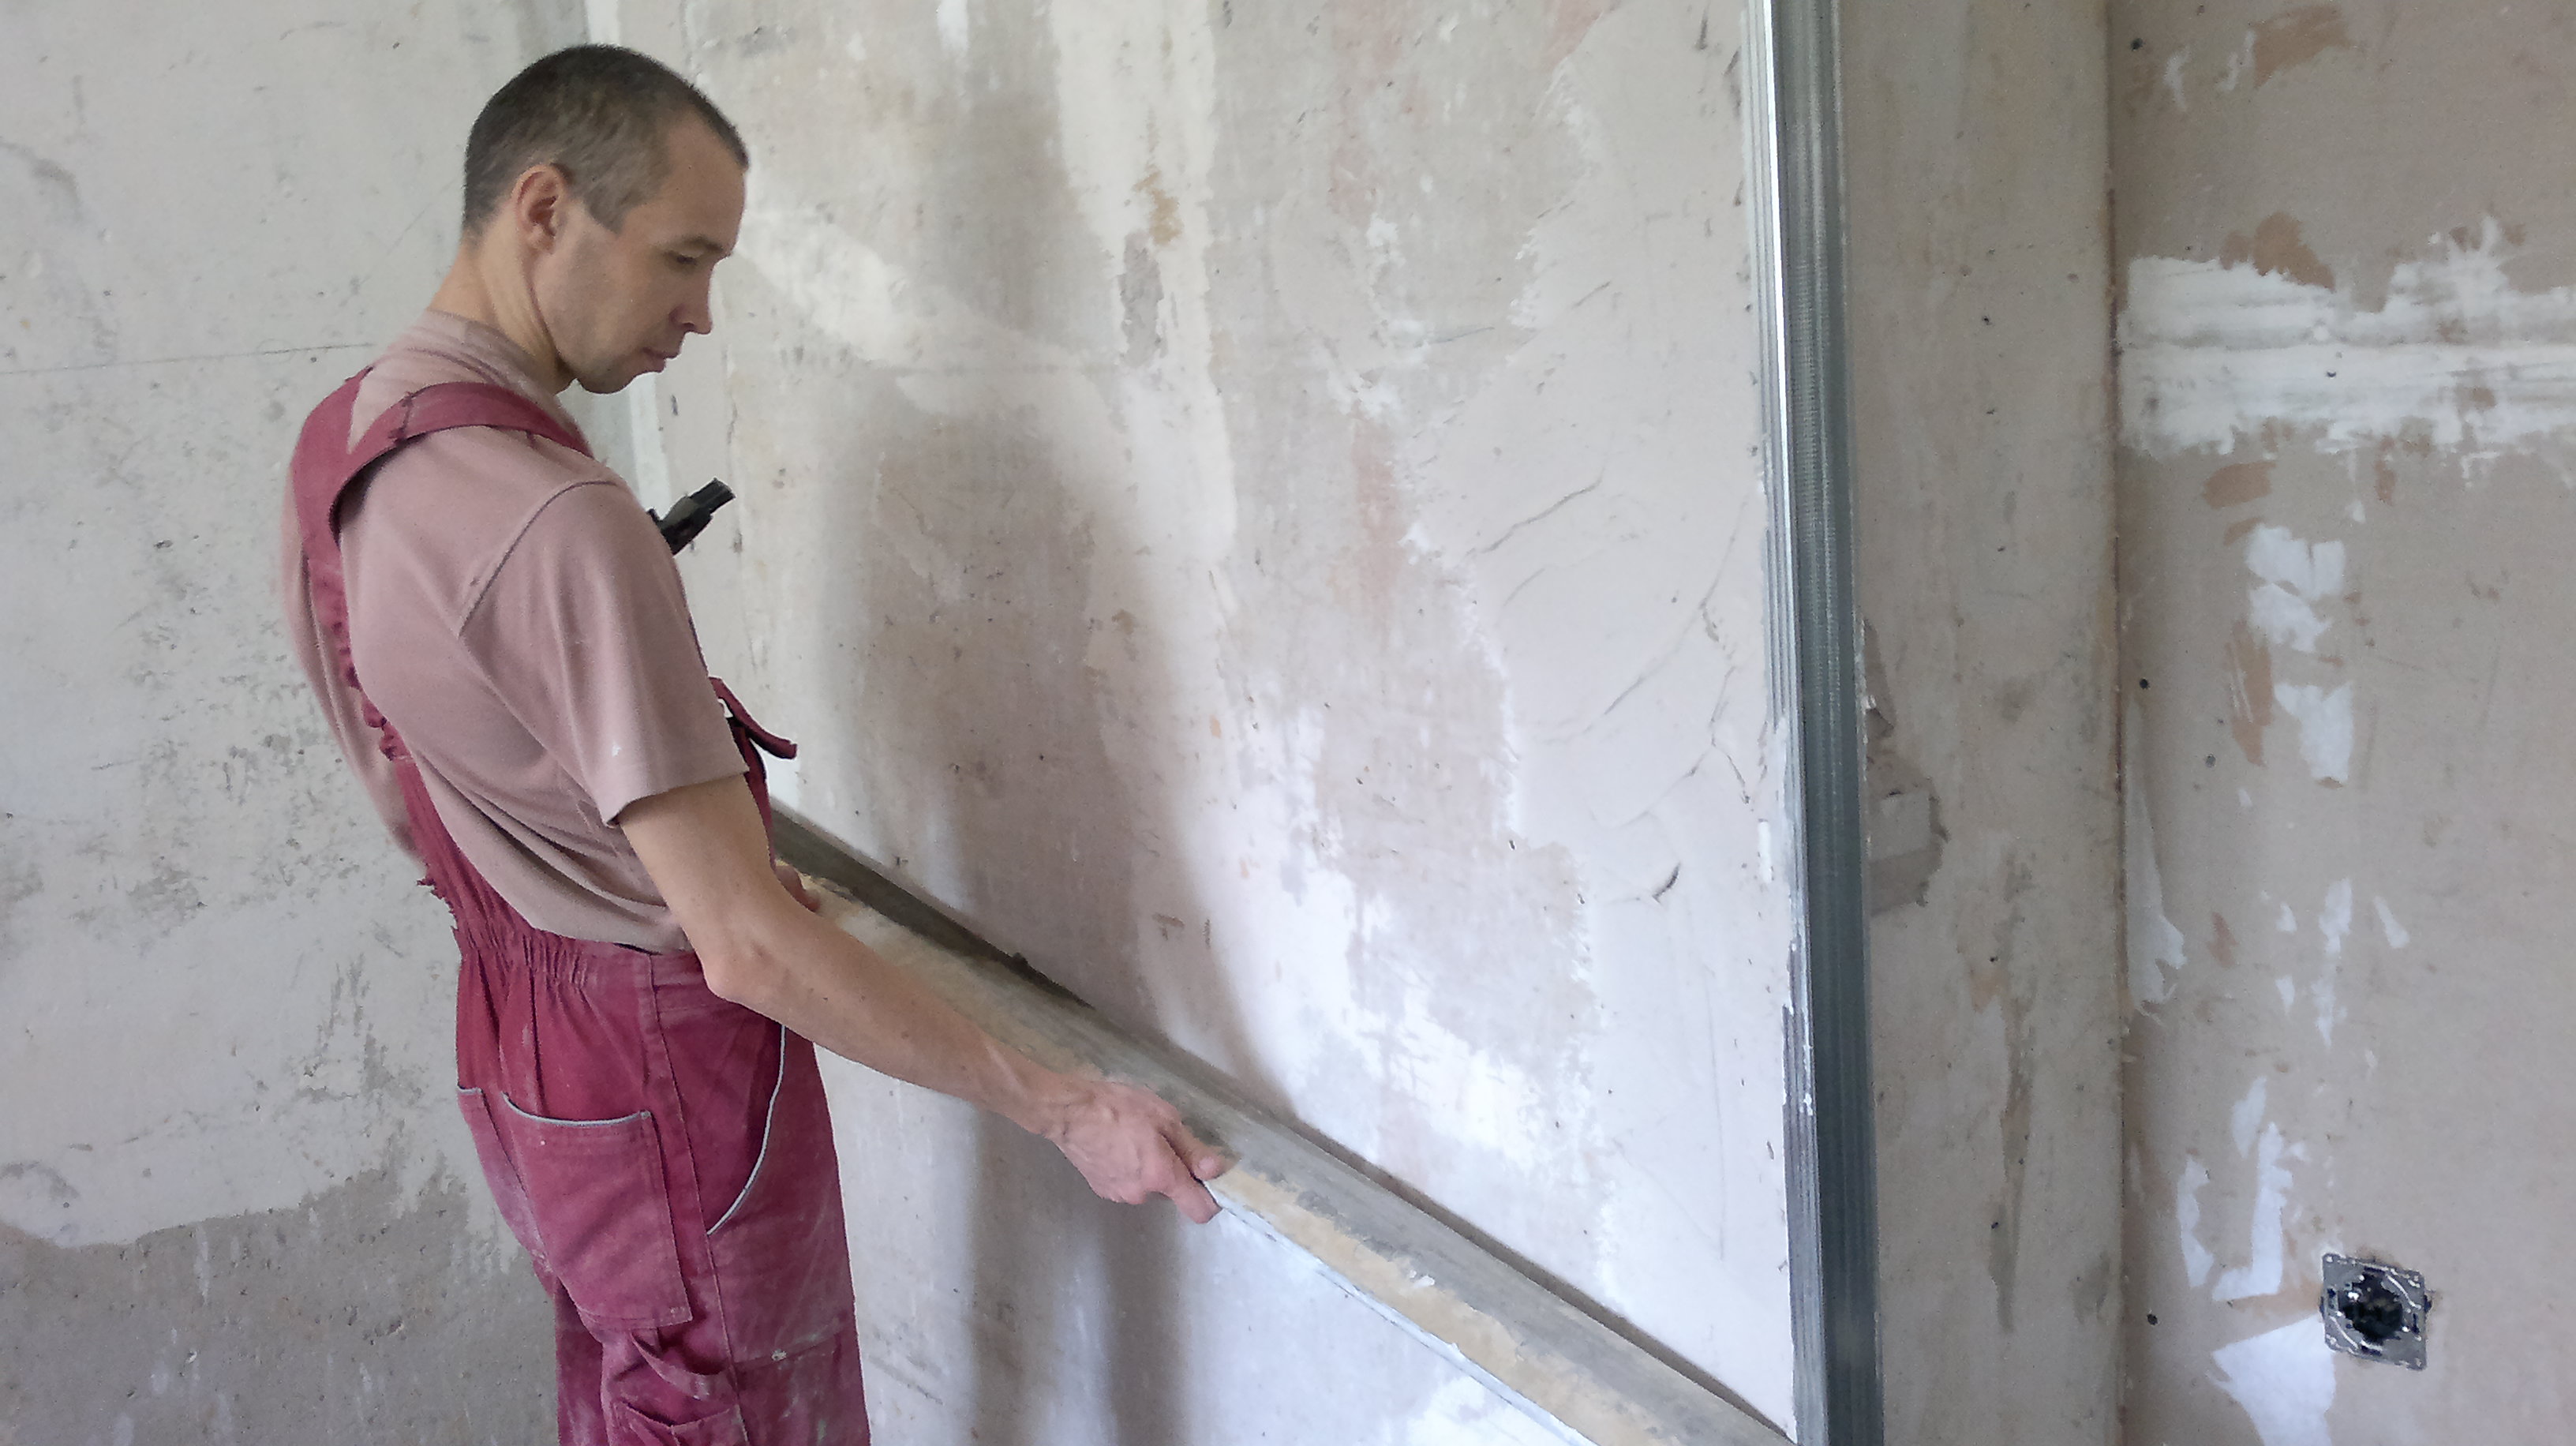
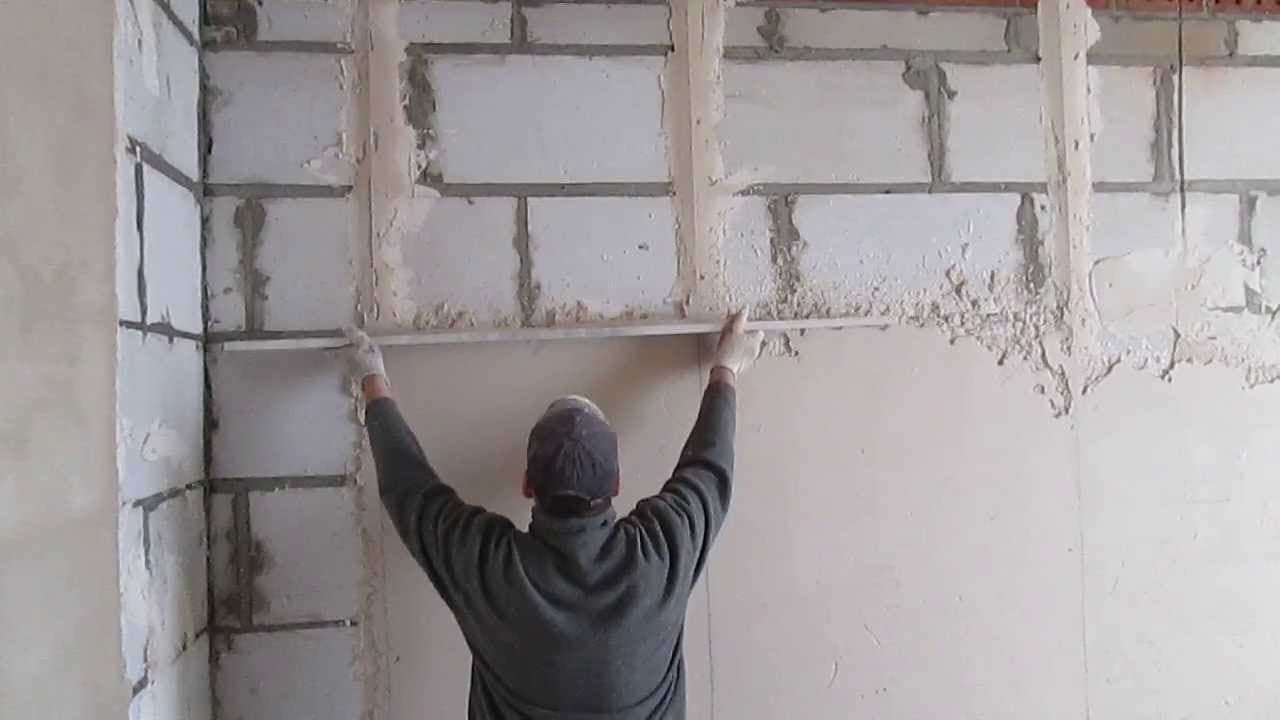
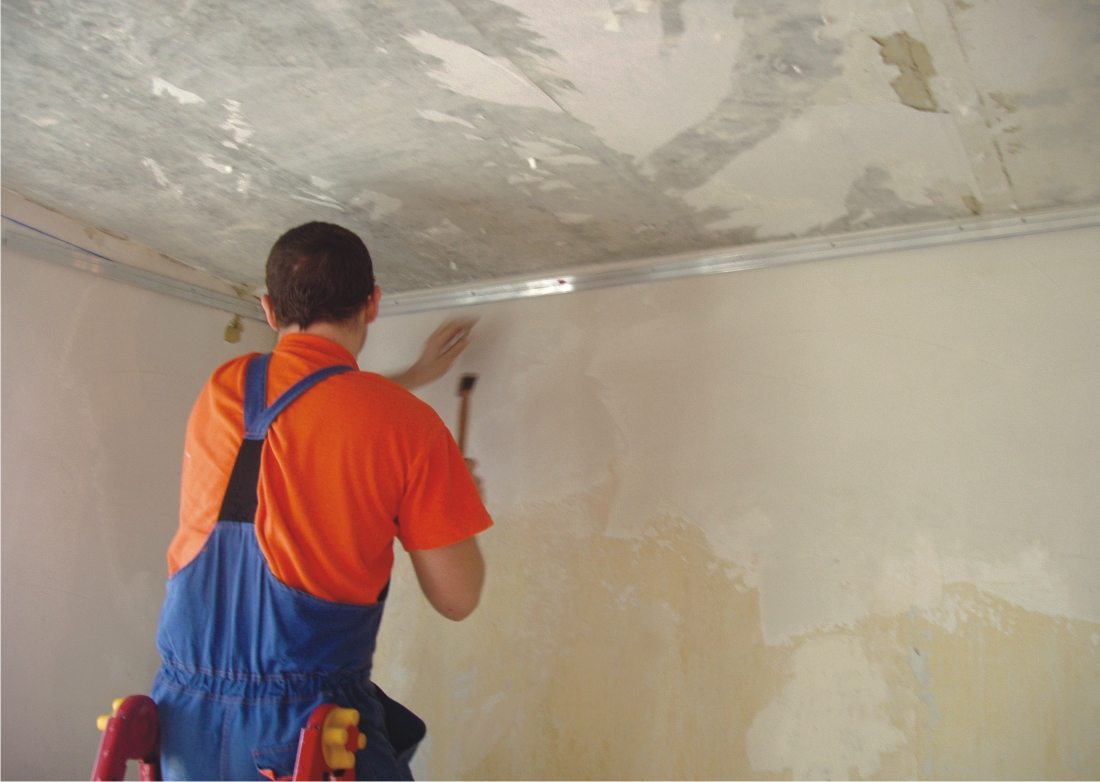
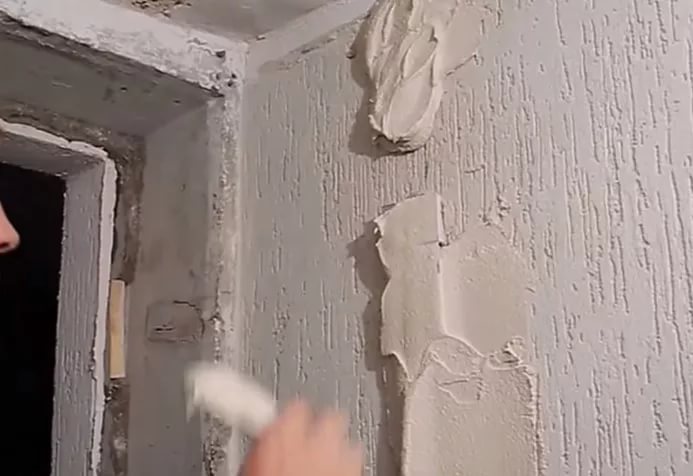
First of all, it is necessary to apply a sufficiently thick strip of plaster between the marking screws. Note that the solution should be applied immediately before making the guide, and not immediately on the whole wall. With the help of the rule it is necessary to form a lighthouse, flattening it on both sides and on top.

In addition, there is an opportunity to put guides from gypsum cardboard. When the walls are relatively flat, this option seems to be one of the most acceptable and cheap. You can use the trim plasterboard sheets, remaining after the repair.
First, plasterboard trim should be cut into strips with a width of 3-4 cm. Solution is applied to the pre-surface with slaps. The distance between the tubercles solution should be 20-30 cm. This will ensure good adhesion, while at the same time drywall under the rule will not bend.
Next, the strips are pressed against the wall with a solution and aligned with the rule on the screws screwed in during marking. The result is a flat surface on which it is convenient to drive a rule. In this case, the drywall strips will not sag and the wall will not be leveled correctly.
Wooden guides are not used in modern practice, since it is extremely difficult to pull them out of the wall after plastering is completed. As a result, the tree may start to rot, and traces of rotting will come to the surface. However, it is necessary to install wooden bars-beacons using the same technology as metal or plastic. Wooden blanks will be somewhat wider, otherwise the procedure of fastening is the same.

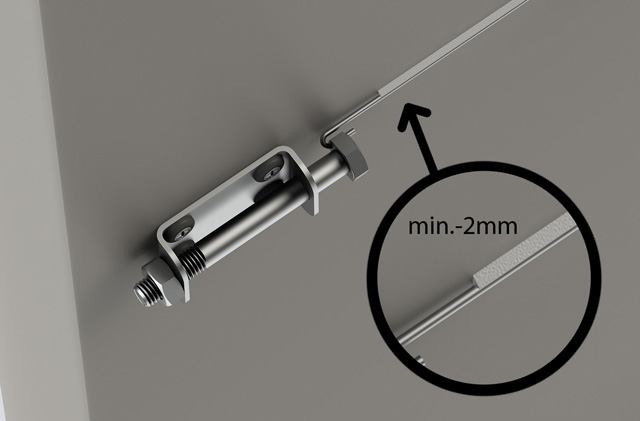
String beacons require a slightly different approach during installation. When installing them, follow the instructions below:
- After the surface is twice primed and well dried, it is necessary in the places where the dowels were installed during marking, to fix the brackets of the string device.
- Next, you need to tighten the strings between the latches. Their placement and distance from the wall should be the same as was determined when marking.
- The strings are stretched to the so-called ring: if touched with a pinch, a characteristic ringing sound should appear.
- Next, the string is fixed solution. This is done so that in the plastering process it does not sag and the flatness of the wall is not endangered.
- After the enclosed solution completely hardens, it is possible to start plastering the walls.
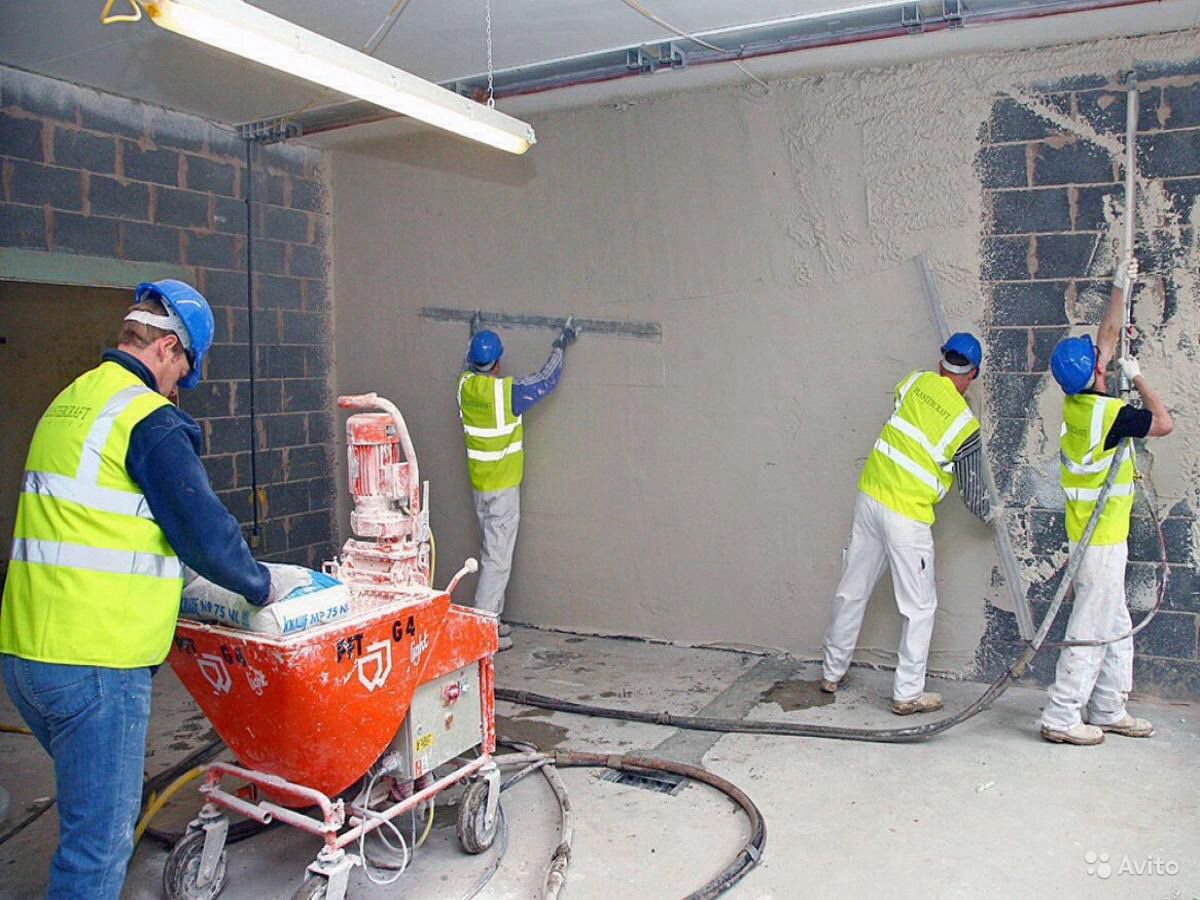
Regardless of which type of mounting you choose - with fasteners or onto mortar, installing profiles or other types of guides will not cause difficulties. The main thing is to carefully prepare the surface, and then follow the instructions step by step.
Useful recommendations
Professional plasterers share helpful tips to help with the installation of guides before plastering. The most relevant recommendations were the following:
- The primer should be given a well-saturated surface. This is done so that the lighthouses on the solution hold better and the plaster does not fall off further.
- Although many people urge to abandon the installation of lighthouses, this should not be done. First, they greatly facilitate the work on the alignment of the walls when you need to process a large area. Secondly, plastering work will be carried out faster. Thirdly, the surface will turn out ideally smooth provided that the lighthouses are set correctly.
- Do not leave profiles or guides of other materials in the wall after finishing the work.Over time, they can make them feel stained on the wallpaper or decorative plaster stains. With plastic profiles everything is different. If they are made of toxic cheap plastic, over time they can release harmful substances into the air that adversely affect the health of people and animals.
- To save material, choose the profiles of the smallest height, if the curvature of the walls allows it. For example, when processing surfaces in a new building of blocks, it is permissible to do without beacons, while in an old brick house, where the walls are lined crookedly and unevenly, beacons of 10 mm or more will be needed.

To learn how to quickly and efficiently install beacons for plaster walls, see the following video.


