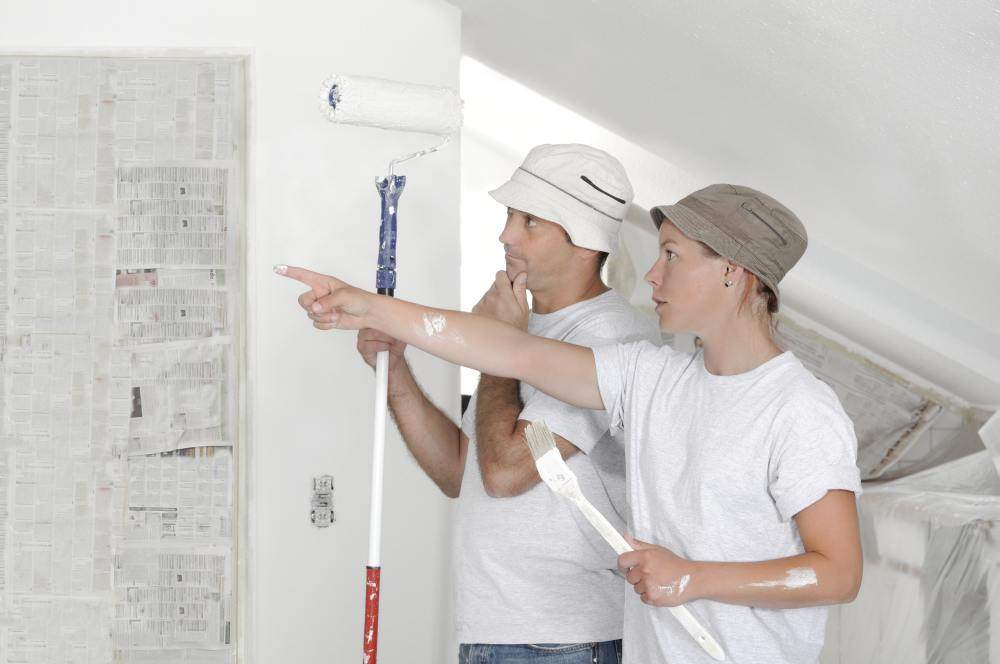
Leveling the walls with putty
Regardless of whether you started a grand renovation or redevelopment in an apartment or house, be prepared to work well. In most homes without leveling the walls can not do. And without this, you can not glue the wallpaper, otherwise they will lay down an uneven layer. To create a smooth and even surface, you need high-quality putty and the ability to handle it.

Features and benefits
In dry putty, compared with other finishing materials, there are a number of advantages. The first, and perhaps most important, low price. It is easy to make a solution yourself, but it will cost a penny.
The second advantage is it well covers all kinds of cracks and irregularities. If the wall is damaged, there are faults on it, then the plaster will help to correct the situation.Under the layer of this material all the flaws will be invisible, and you can safely paint or cover it with wallpaper.
Finally, it is easy to apply. Even if you have no experience at all in repair work, you are still able to self-level the surfaces of a small curvature using quality material.
Types and types
First of all, you will need theoretical knowledge, without which you will not be able to choose the necessary materials and translate your ideas into reality. Experts divide the alignment process into several stages.
All of them are simple, and having familiarized yourself with the information provided, you will be able to cope yourself with smoothing the differences at the joints of the plates, removing hillocks, dents, or many other defects.
First of all, you need to know that there are different types of putty: dry and ready. There are also different types of this finishing material: starting, finishing and universal. Here is some useful information about them.
Types
- Starting - it is intended for alignment of deep roughnesses. It is applied on the walls with a thickness of one to three centimeters. If the layer is too thick, fine cracks may form on the surface of the putty.
- Universal - as strong as the starting one, but can be used for the final leveling of the walls. So, if you do not know what kind of decoration to use, take it.
- Finish line - it is put with very thin layer, to one centimeter. It has the finest grain that ensures the smoothness of the surface. Walls decorated with this material can be immediately pasted over with wallpaper or painted.
Kinds
Hard putty also happens different types: polymeric, cement, limy, plaster.
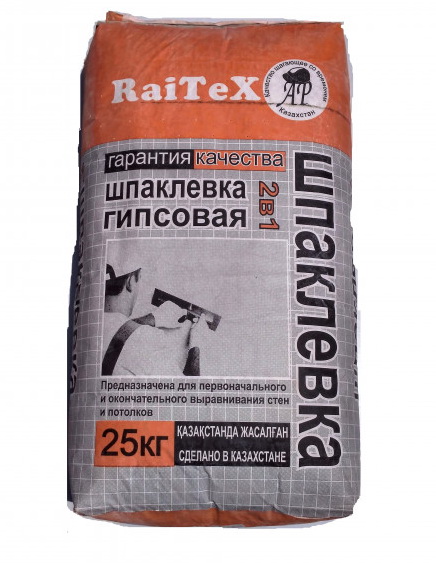
- Gypsum used for any finishing work. This is one of the types that does not sag, so a layer of plaster can be applied up to two millimeters. But there is a drawback: it does not like temperature fluctuations and high humidity. Therefore, it cannot be used for external work, as well as for leveling surfaces in the kitchen, in the bathroom, where the humidity is almost always high.
- Polymer Unlike the previous type, it can be used both on the street and in the house. It has water resistance and is not afraid of temperature changes. However, there are still disadvantages. The first is the high price, the second is the low quality.
Not all manufacturers create a quality product, so there are a lot of defects. When buying such putty, carefully inspect the contents of the package and only then pay.


- Cement most often used for leveling walls in the bathroom. Like other types of plaster, it also has its disadvantages. These include: the appearance of cracks, long hardening, the need to re-putty again.
- Limescale designed for the exterior of the building. Virtually no different from cement. The only difference in the composition is added quicklime and polymer components.
Having examined what types and types of putty there are, we are moving towards the main goal - leveling the surface, which is carried out in several stages.
Sequence of work
The whole scope of plaster finishing activities is divided into several main stages:
Training
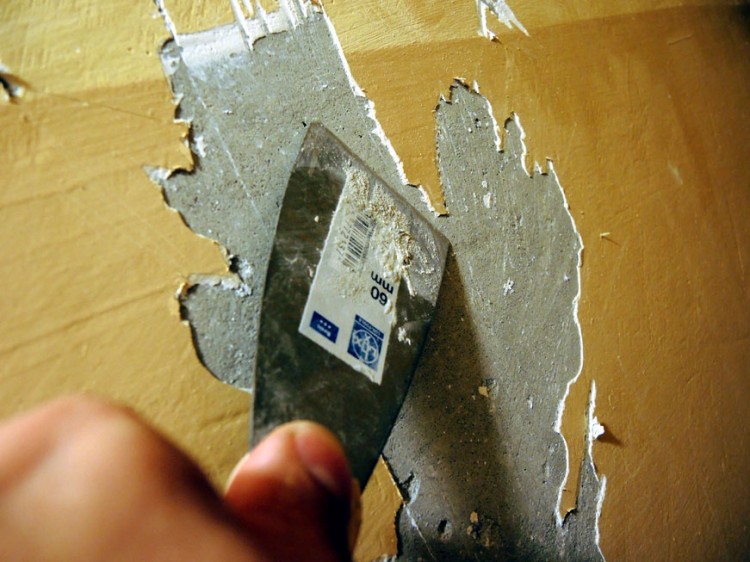
Before applying putty, it is necessary to remove the old plaster. This process is not so complicated, any person is able to do everything himself.
For this you need:
- soften a small space with water, wait 10-15 minutes;
- dismantle - remove plaster with a spatula, section by section until the entire surface has been cleaned;
- if the walls were painted with paint, remove the top layer with a wash, and if that doesn't work, knock them down with a special hammer.

Padding
This process is equally important. During it, small cracks are eliminated, and special solutions are applied to prevent the appearance of fungus or mold. It is best to use a “concrete contact” primer that dries quickly. Due to the fact that this material has a bright pink color, it is easy to control the smoothness of the surface, how much the composition lays down in an even layer, without gaps. All the slightest flaws are immediately visible, they are easier to fix.
However, this primer is used only under gypsum plaster. It is applied in two layers, making between the application of a pause for drying - for 6-10 hours. After drying, you can proceed to leveling.
Checking curvature of walls
Special tool - the rule - the master can assess how smooth the overlap or there are flaws. To do this, the building aluminum level is applied to the surface at different angles.Those areas with irregularities are marked with a pencil, and then filled with a putty.
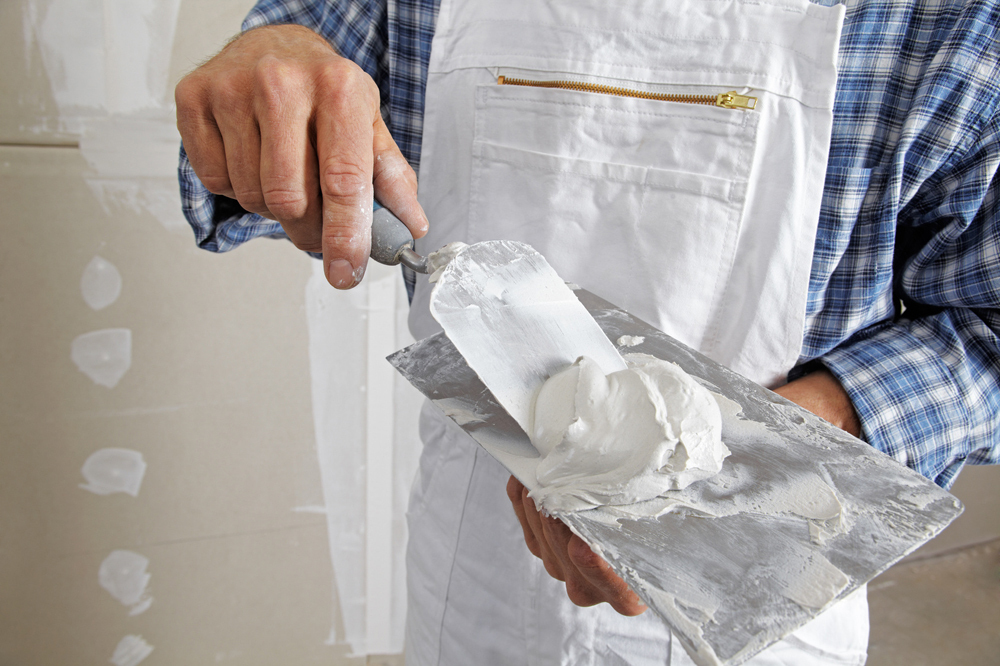
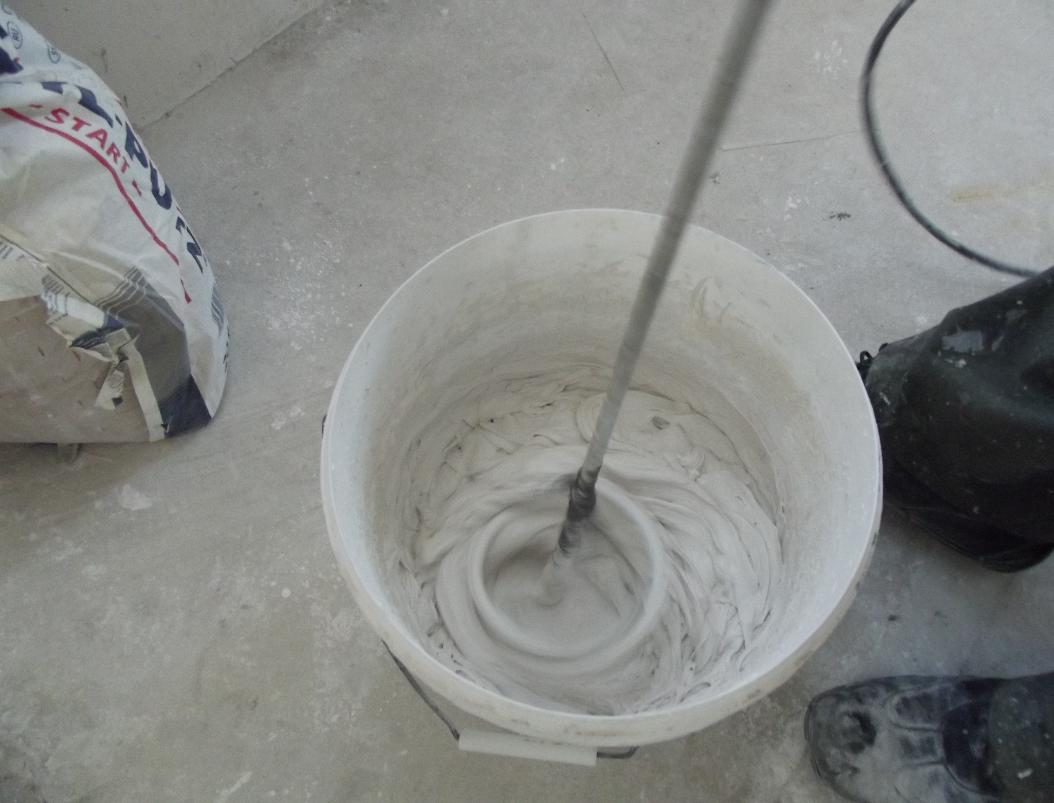
Kneading solution
Trial mixing is done with a drill and a construction mixer “mixer”. Proper putty should resemble a thick sour cream without lumps. If any, the process continues. If the test mix succeeds, you can start work.
At the same time, it is necessary to know that it is better to puttying in one step, because the mixture dries very quickly, after which it is impossible to apply it to the surface.
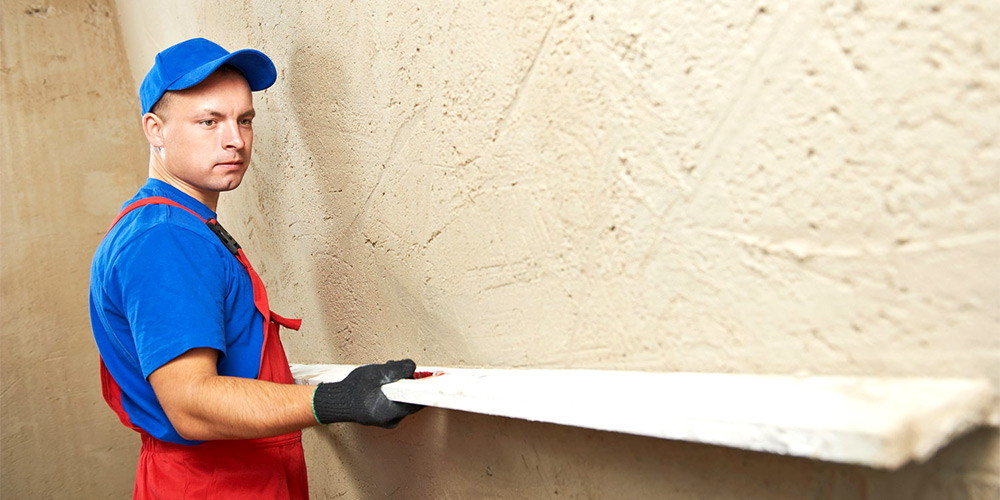
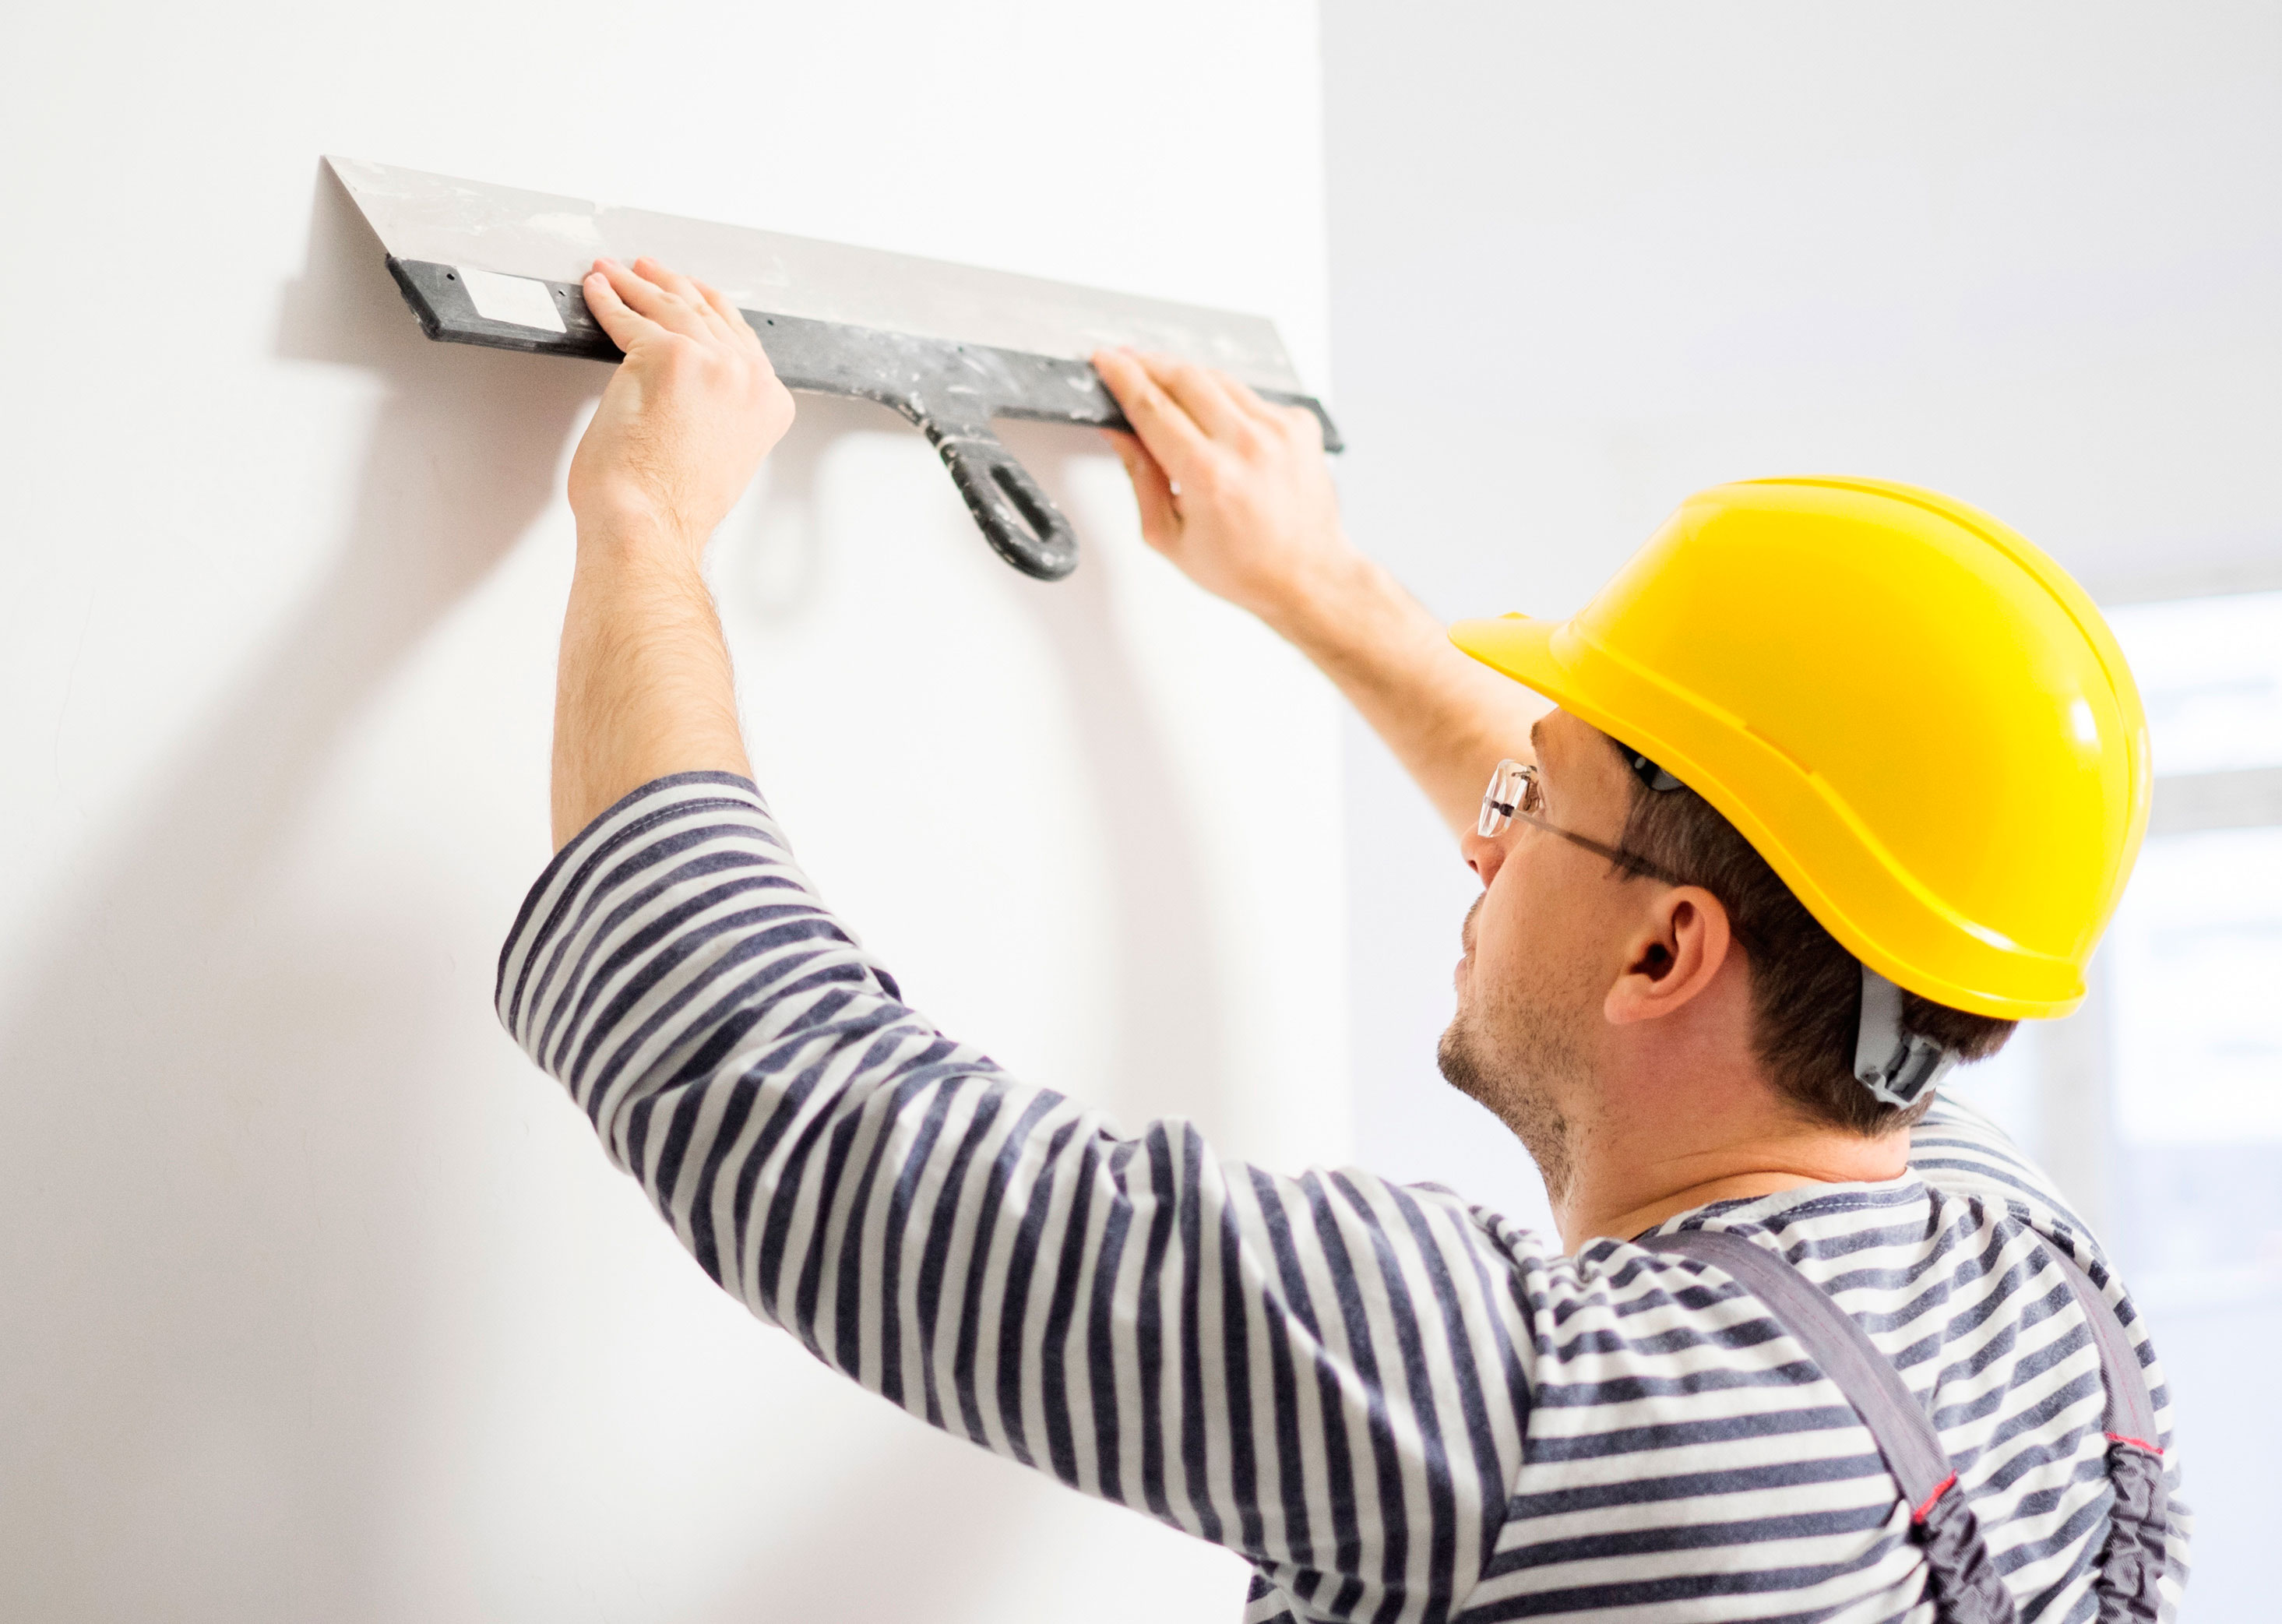
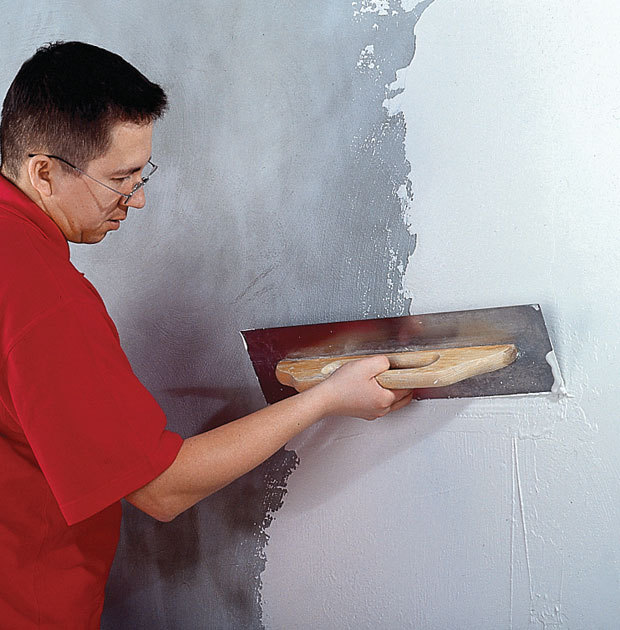
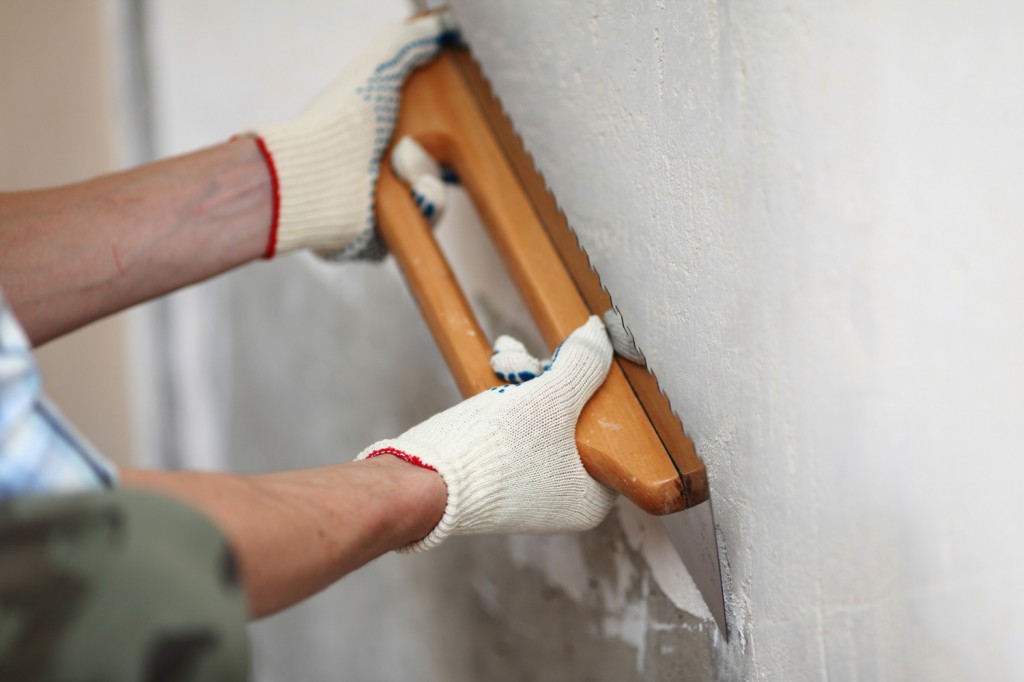
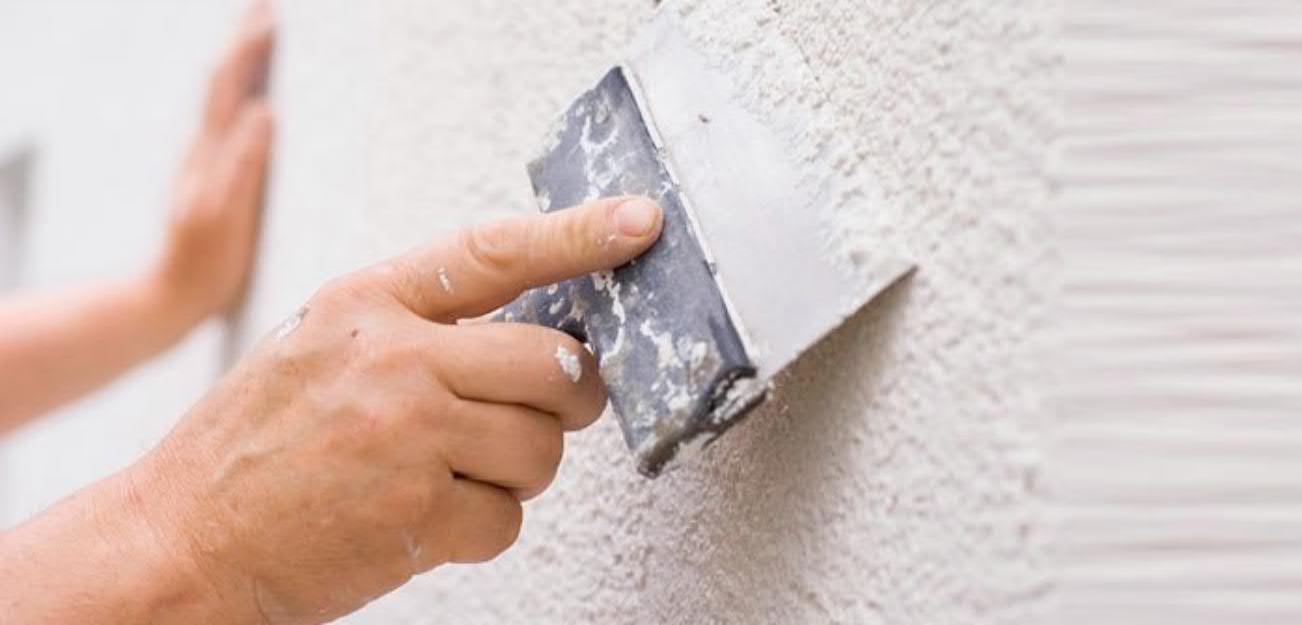
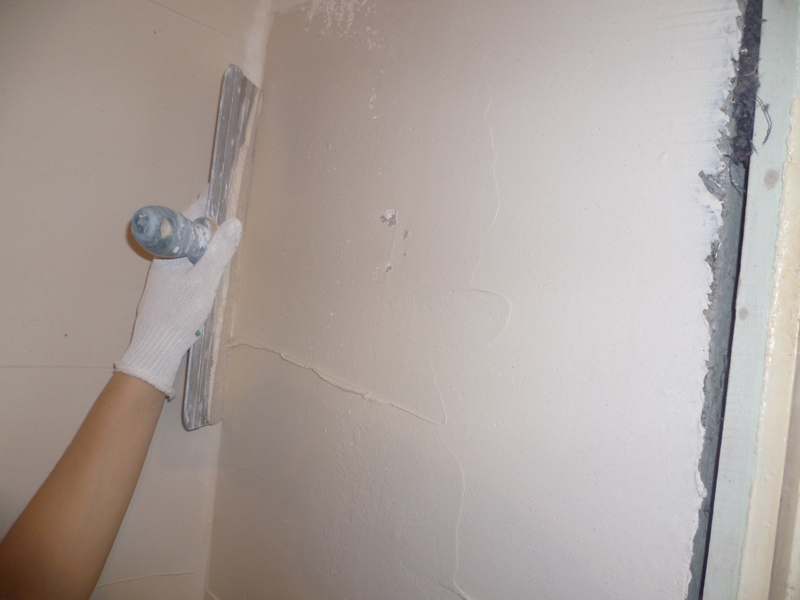
Putty
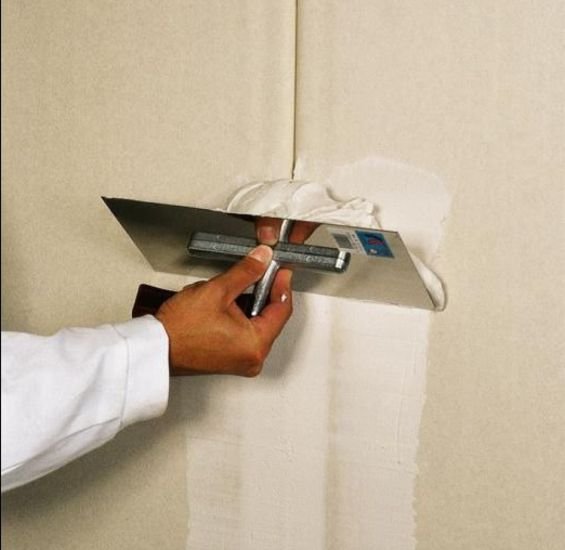
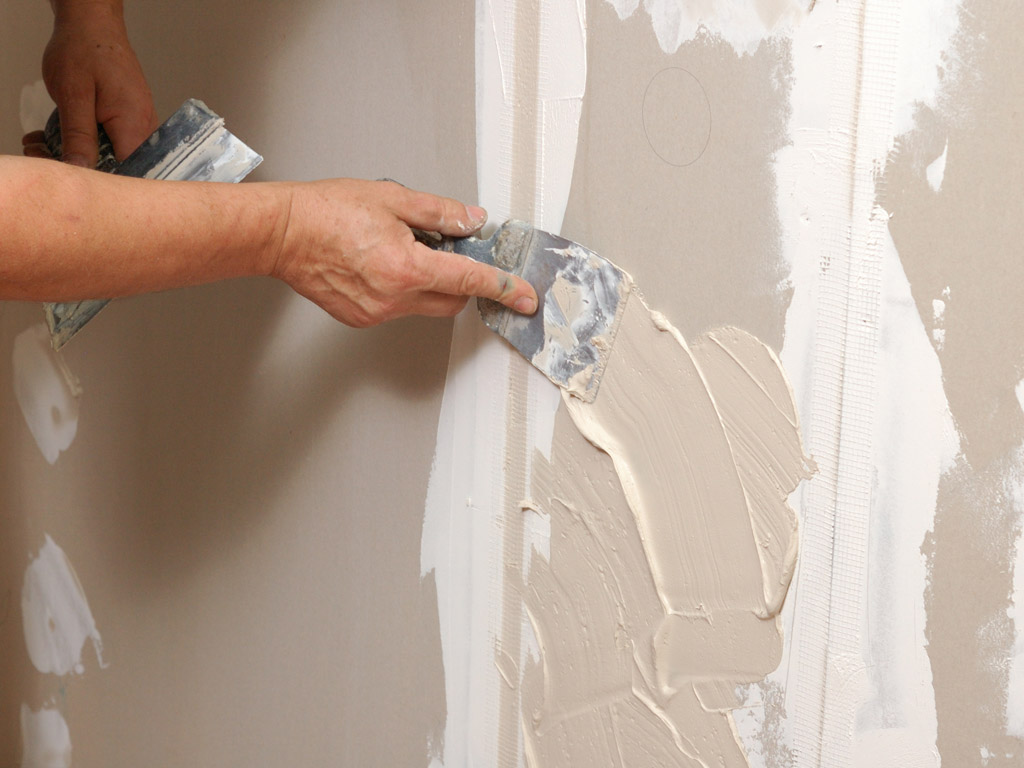
Alignment starts with corners. This is done to ensure that the corners and slopes are perfectly flat. For works the angular pallet is used. Spread the mixture along the spatula. It should be applied to the surface at an angle of 50-60 degrees. The solution is smoothly smeared over the surface of the wall, filling cracks and irregularities.
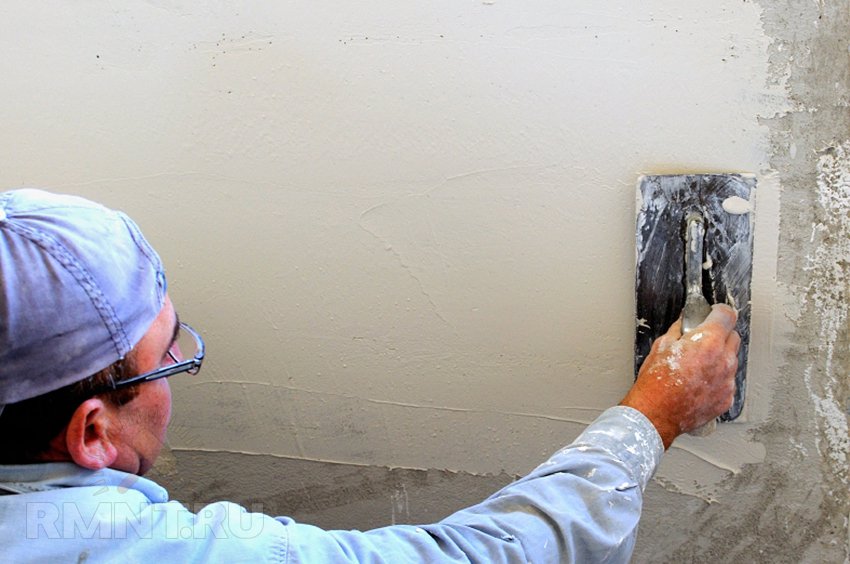
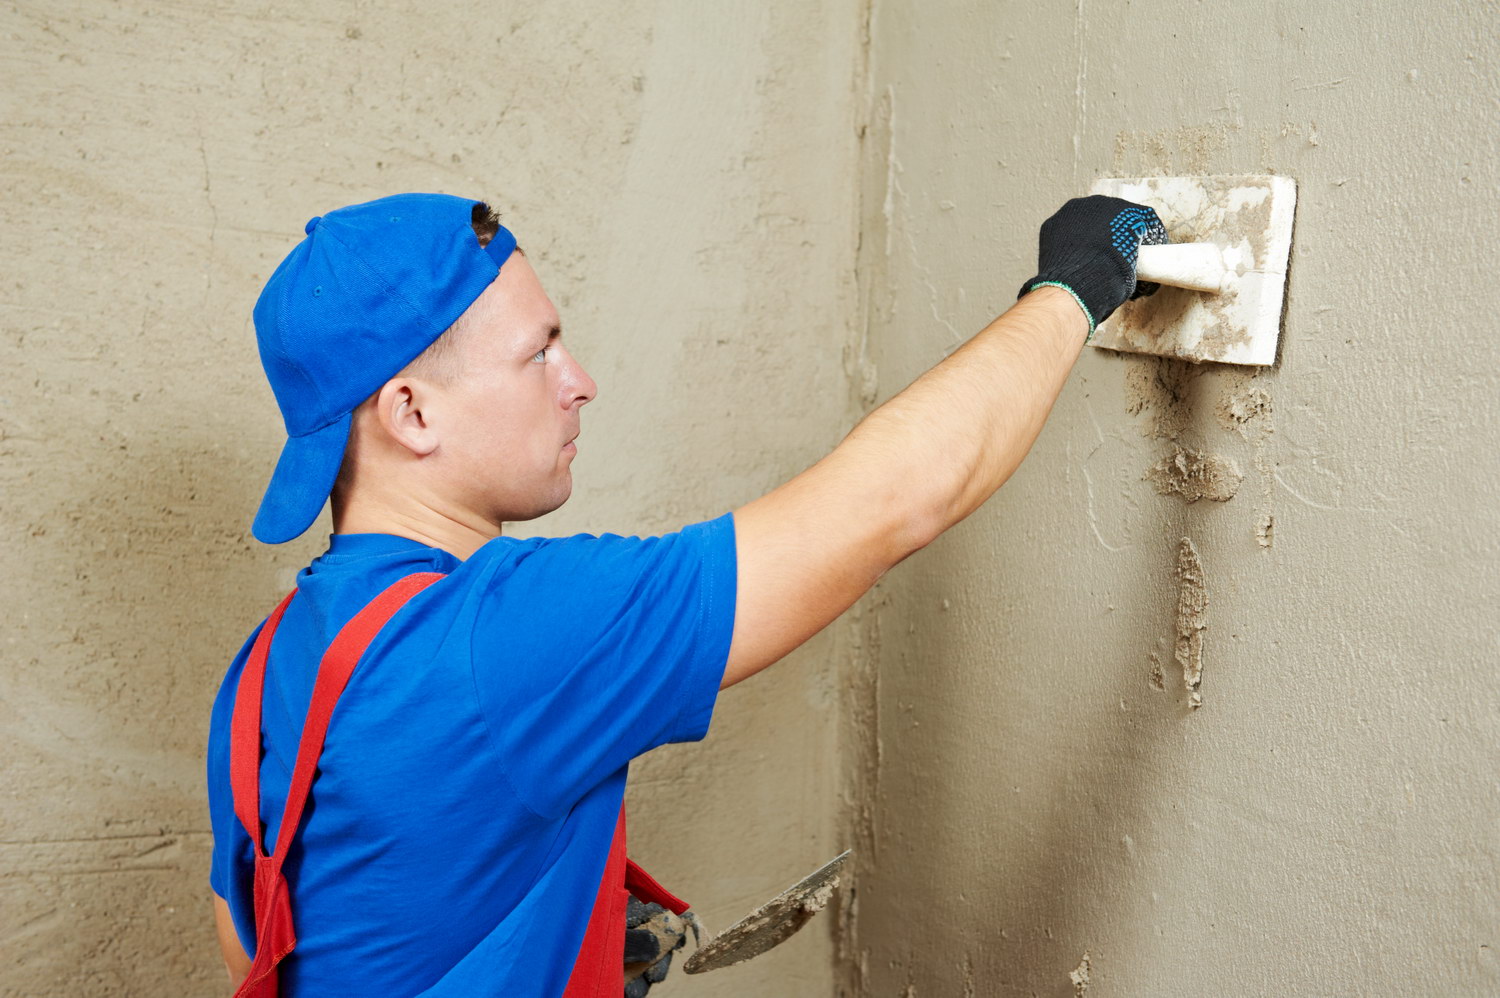
The next section is plastered like the previous one, but at the same time it should cover the surface that you have already finished with about five to seven centimeters. Having finished work approximately on one meter, it is necessary to put level at an angle and to stretch along a wall. In this way, surpluses are removed.All processes are repeated until the end of the alignment work. If you had to take a break, then before continuing the process, it is necessary to wet the edges of the plaster.


Finishing work
Ready walls should be allowed to dry for 2-3 days. To do this, we ventilate the room well, so that excessive moisture does not condense on the surface. It is necessary to ensure that there are no drafts, otherwise the layer of plaster may become covered with cracks. You also need to control the temperature in the room, it should not exceed 20-25 degrees.
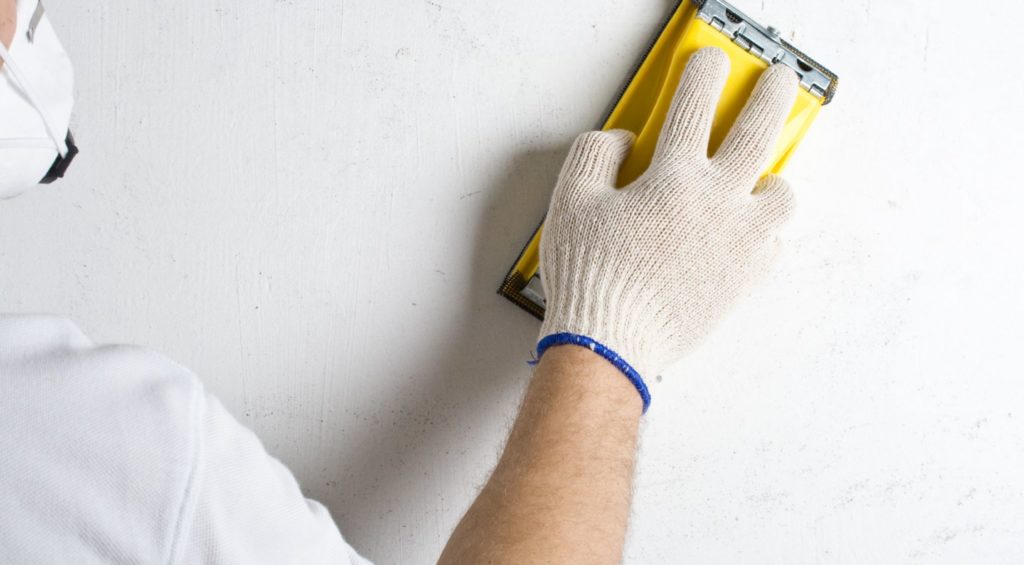
After everything is dry, we reapply the rule. If there are irregularities, they are removed either with the help of a polishing machine, or with a grater, to which sandpaper is attached. Carefully remove the bumps, and at the end, for minor final work, we use sandpaper with zero grain. It is necessary to overwrite still fresh, but dried up surface.
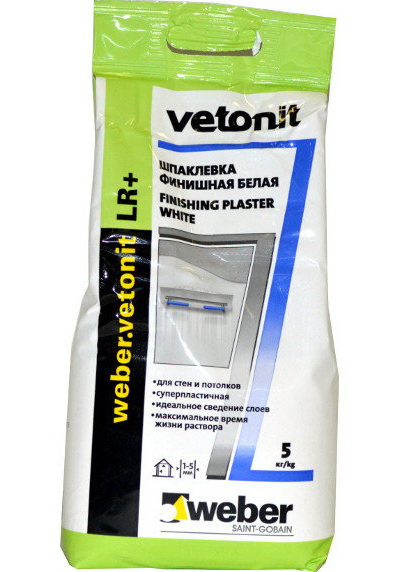
Finishing putty
The final stage will give the walls perfect smoothness. Before this, it is necessary to moisten or primer the previous layer of plaster to soften the surface.
An example of quality is the product from the brand "Stargers". Finishing putty "Stargers" is produced in the form of dry mixes, which allows you to simply and quickly prepare it. It is easily applied to walls, dries in a short period of time, does not crumble. You can store the mixture in the package at any temperature, without losing the original properties. The packing volume is provided different, which is very convenient. The only drawback - it quickly thickens during preparation.
The finishing solution is kneaded and applied, as well as starting. The only difference is the speed of drying. It is necessary to work very quickly, so it is better to turn to specialists, in order to avoid re-alignment.
It is important that fresh layers of putty overlap each other. It is applied in parallel strips, with two spatulas: the ready-mix is typed in by the narrow, and it is already transferred to the wall by the broad one. At the end of the work surface is polished with a fine mesh.

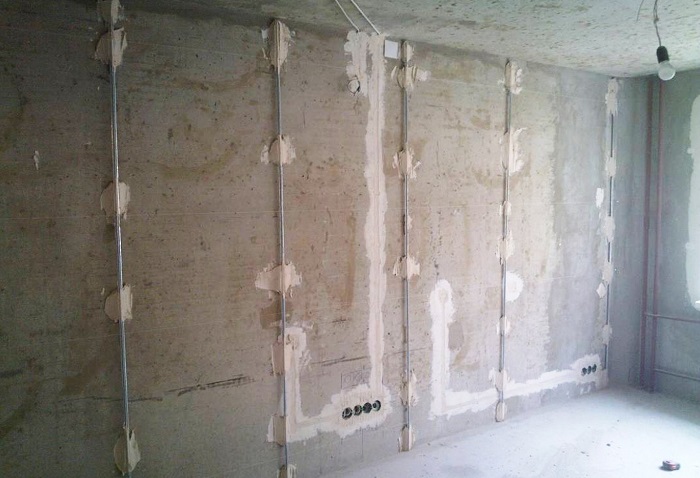
Puttying with beacons
This is another way to level the walls, which is used for very large irregularities. In such cases, you can apply a thick layer of putty. If it is too large, then before it is attached metal paint mesh. It prevents the solution from slipping from the surface.
With the help of a stretched thread, the most problematic place is determined, beacons are set on it. They are fixed with dowels or mortar. After that, the walls are leveled by level. The distance between the beacons should be ten centimeters shorter than the length of the rule.
If you used a fresh solution for fixing, then you need to wait until the beacons harden, then apply the starting mixture between them. If you need to create a very thick layer of putty, it is best to break the process into stages.
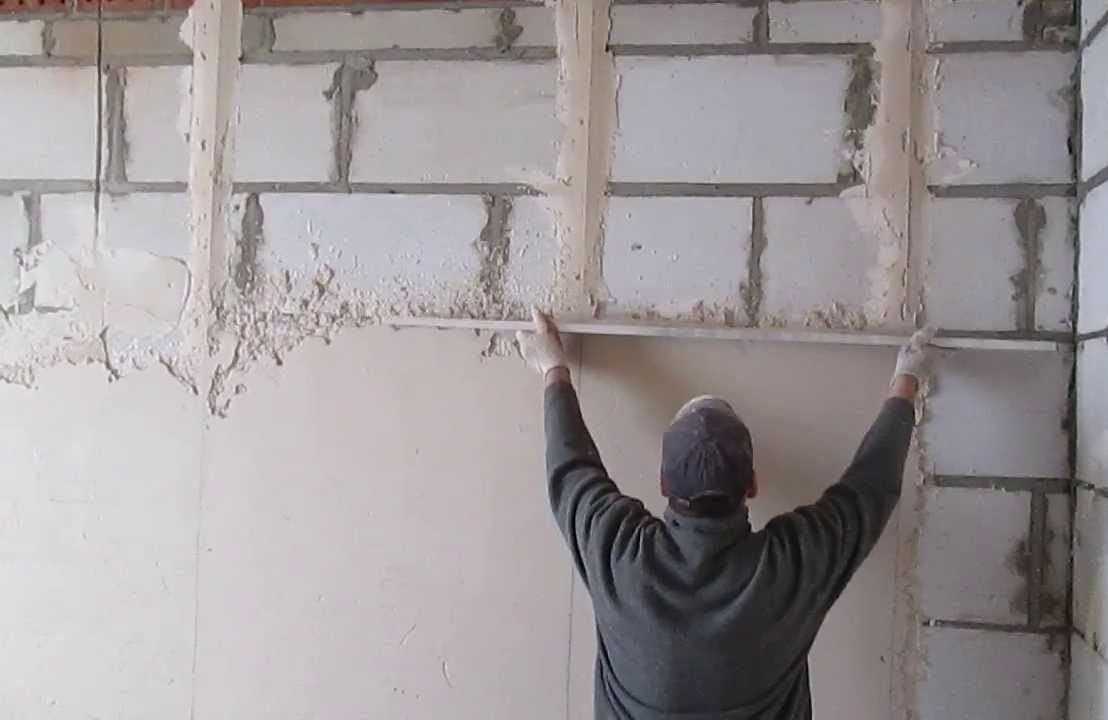
First, the mixture is applied from the floor to a height of not more than half a meter. You need to wait until it hardens, then continue on. This method does not allow the solution to slide down, while making the surface smooth, smooth. The angles between the walls, the ceiling and the floor are made when the mortar clutches a little. For this, too, an angular spatula is used.
After finishing the finish, wait until it dries, remove the beacons. Fill the holes from them can be a solution, and if there is a need, once again go with sandpaper.
If you want to level the walls in a house or apartment, then it is more profitable and convenient to use dry putty for this purpose.You can do all the work without the help of others, which will save you finances. However, be sure to follow the recommendations of experts. Strict compliance with the instructions - a pledge that in your house will be smooth walls and a good repair, made with your own hands.
For how to level the walls with putty, see the next video.


