Features of the manufacture of greenhouses from the profile pipe
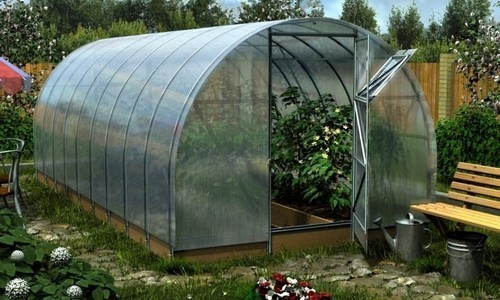
There are many varieties of greenhouses. Some are made from wood, others from polycarbonate, and so on. Particularly noteworthy are the structures created from metal profiles (pipes). Such material is able to serve for a long time, enduring strong destructive effects.

Features and types
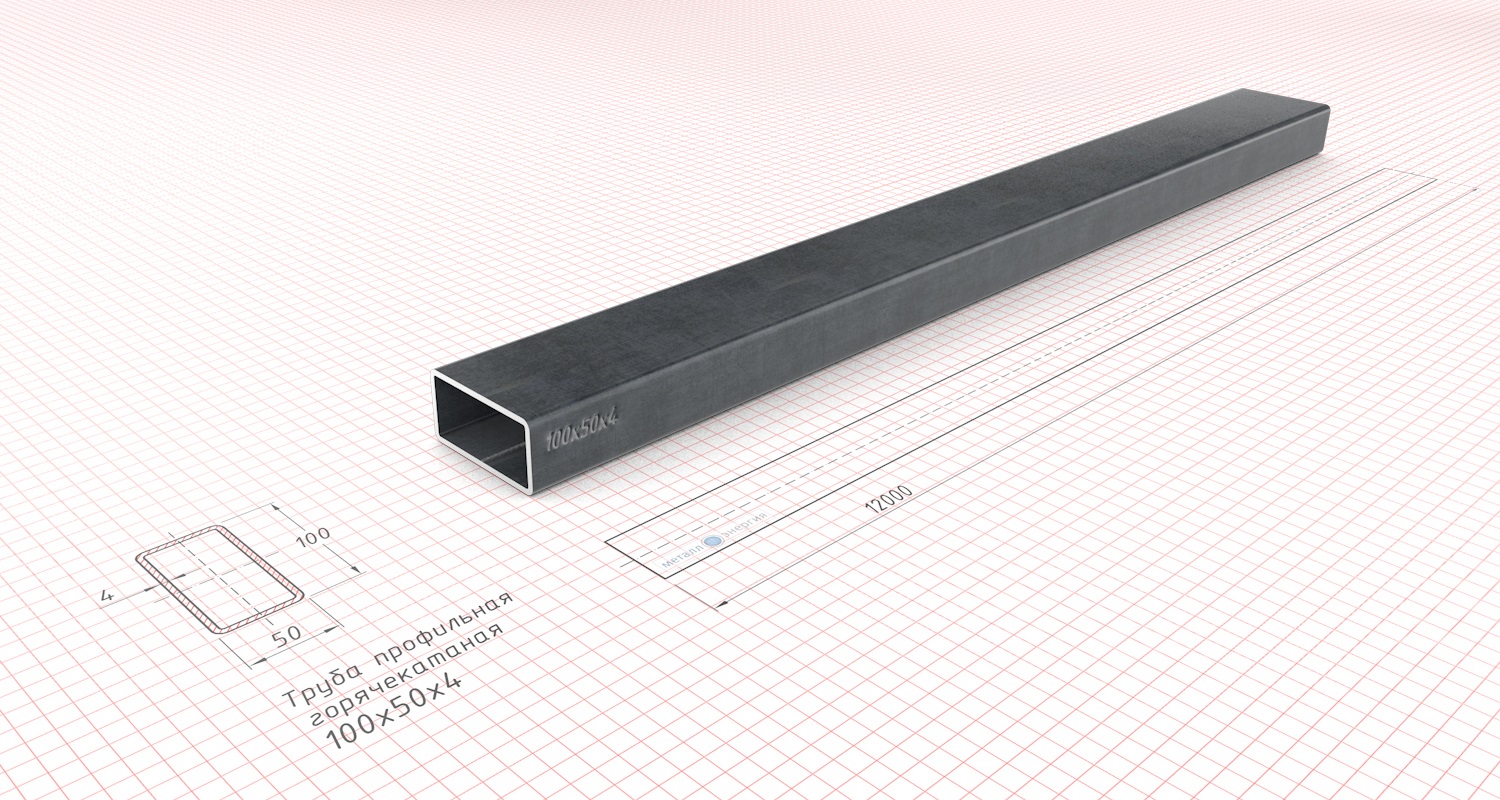
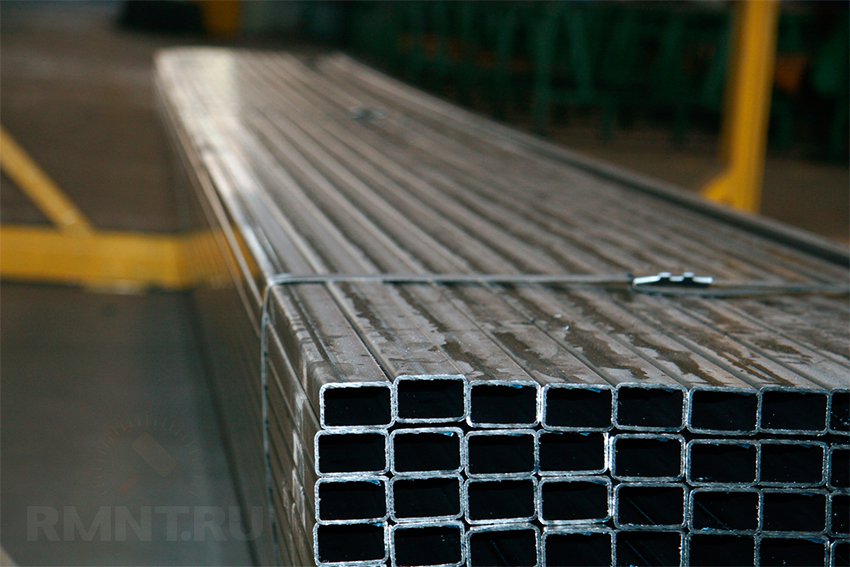
Most of the recommendations that can be found on the Internet are designed for the use of standard tubular structures. The profile tube can be either rectangular or square.
Homemade greenhouses are usually performed in one of three options:
- attached to houses (the roof can be single-pitch or oval, without pronounced symmetry);
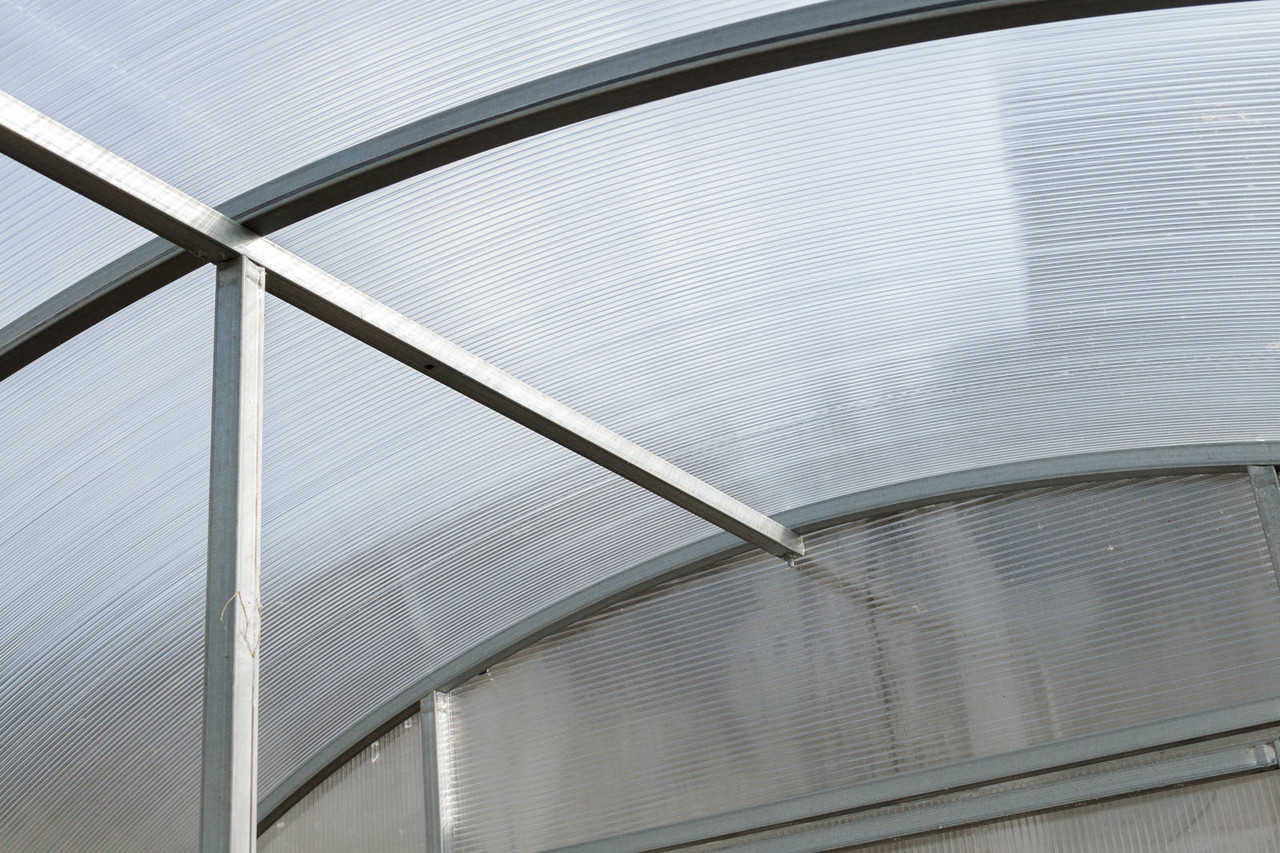
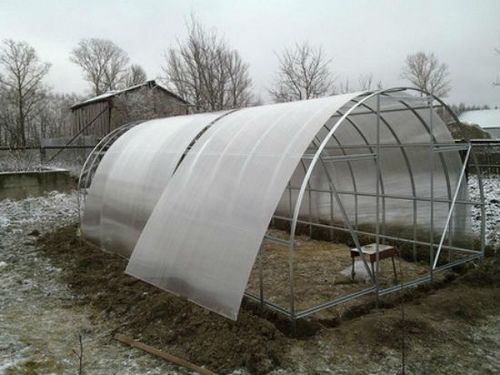
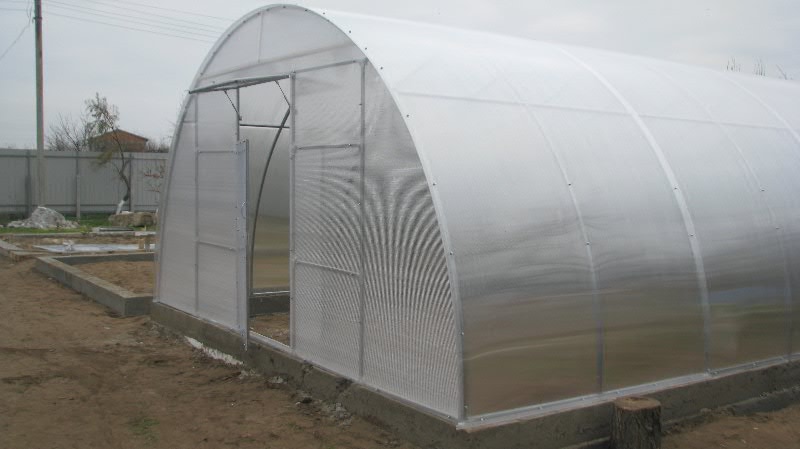
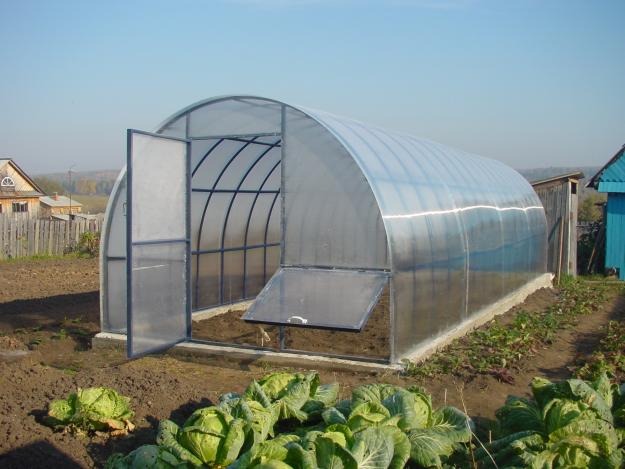
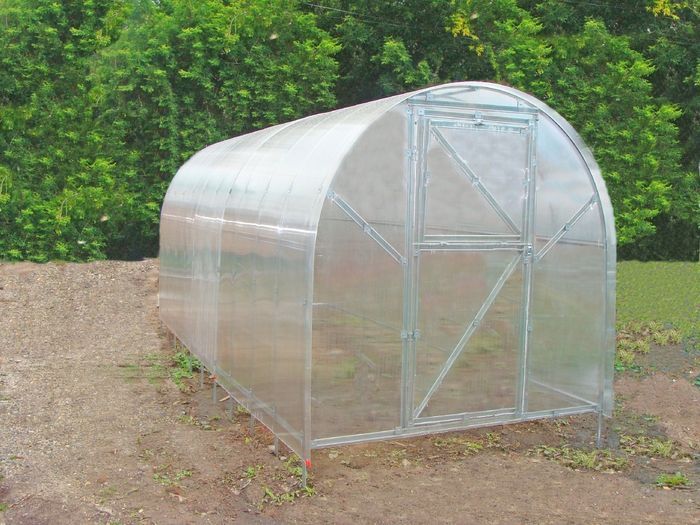
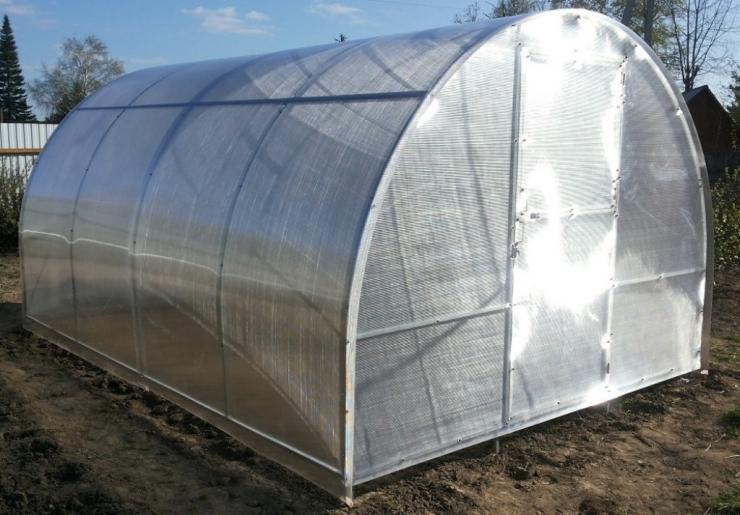
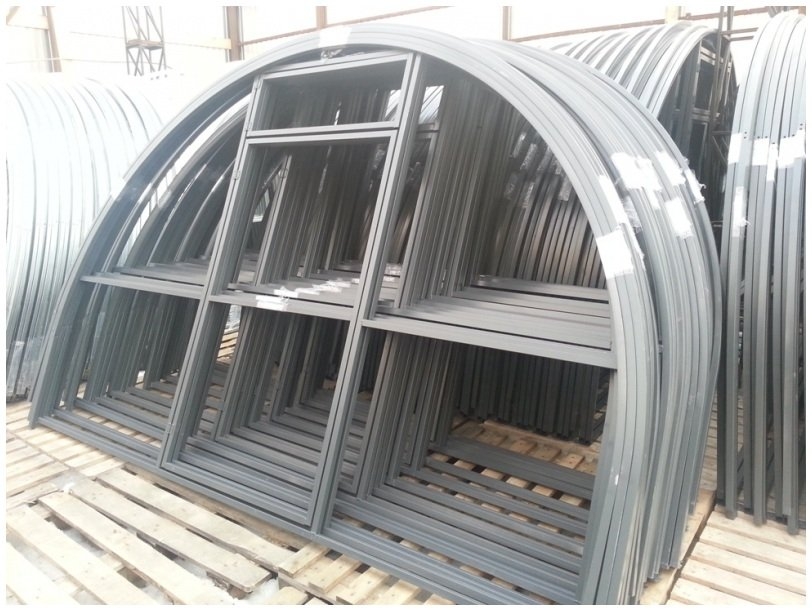
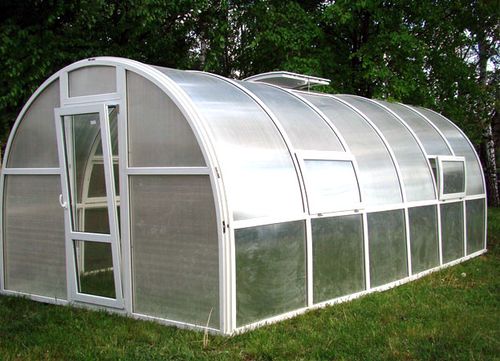
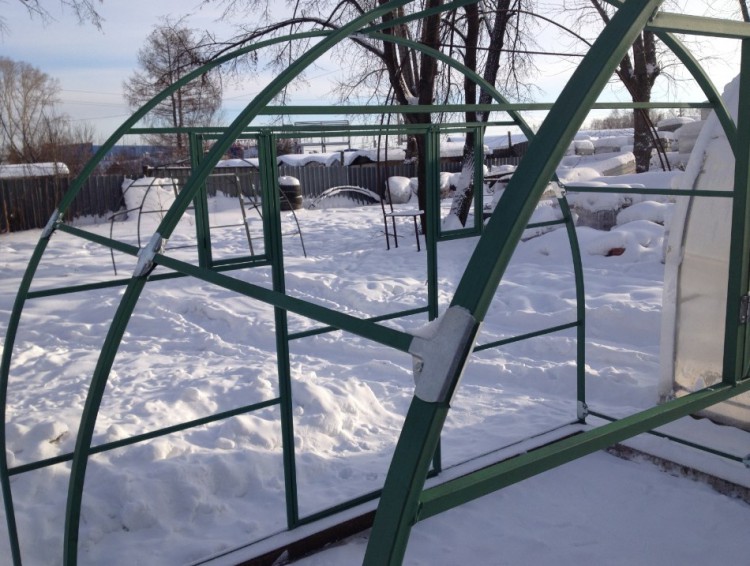
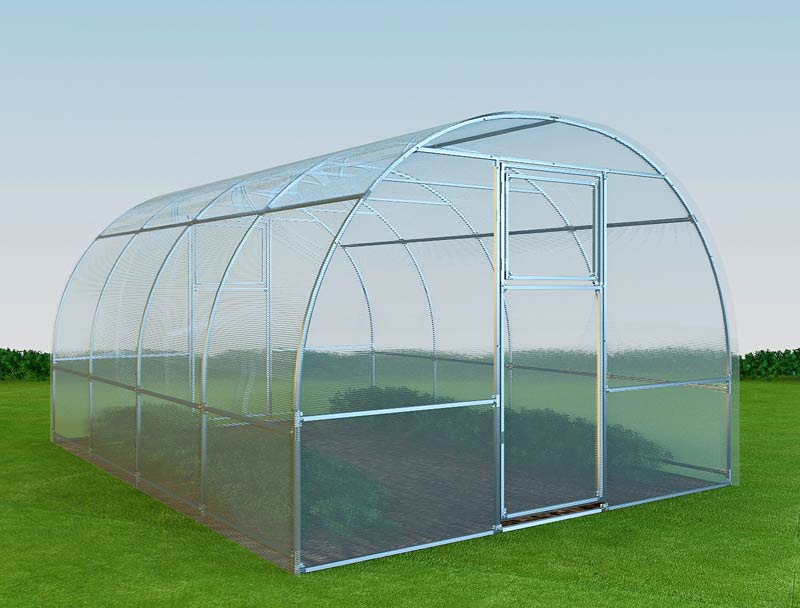
- isolated arched buildings;
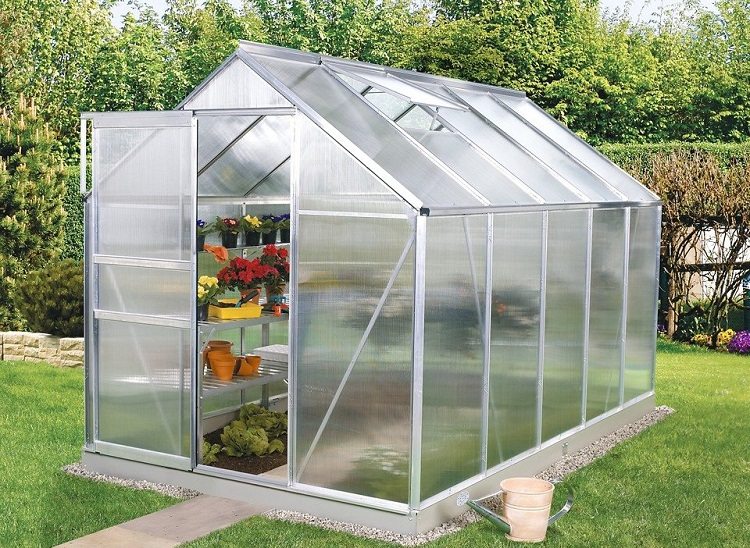
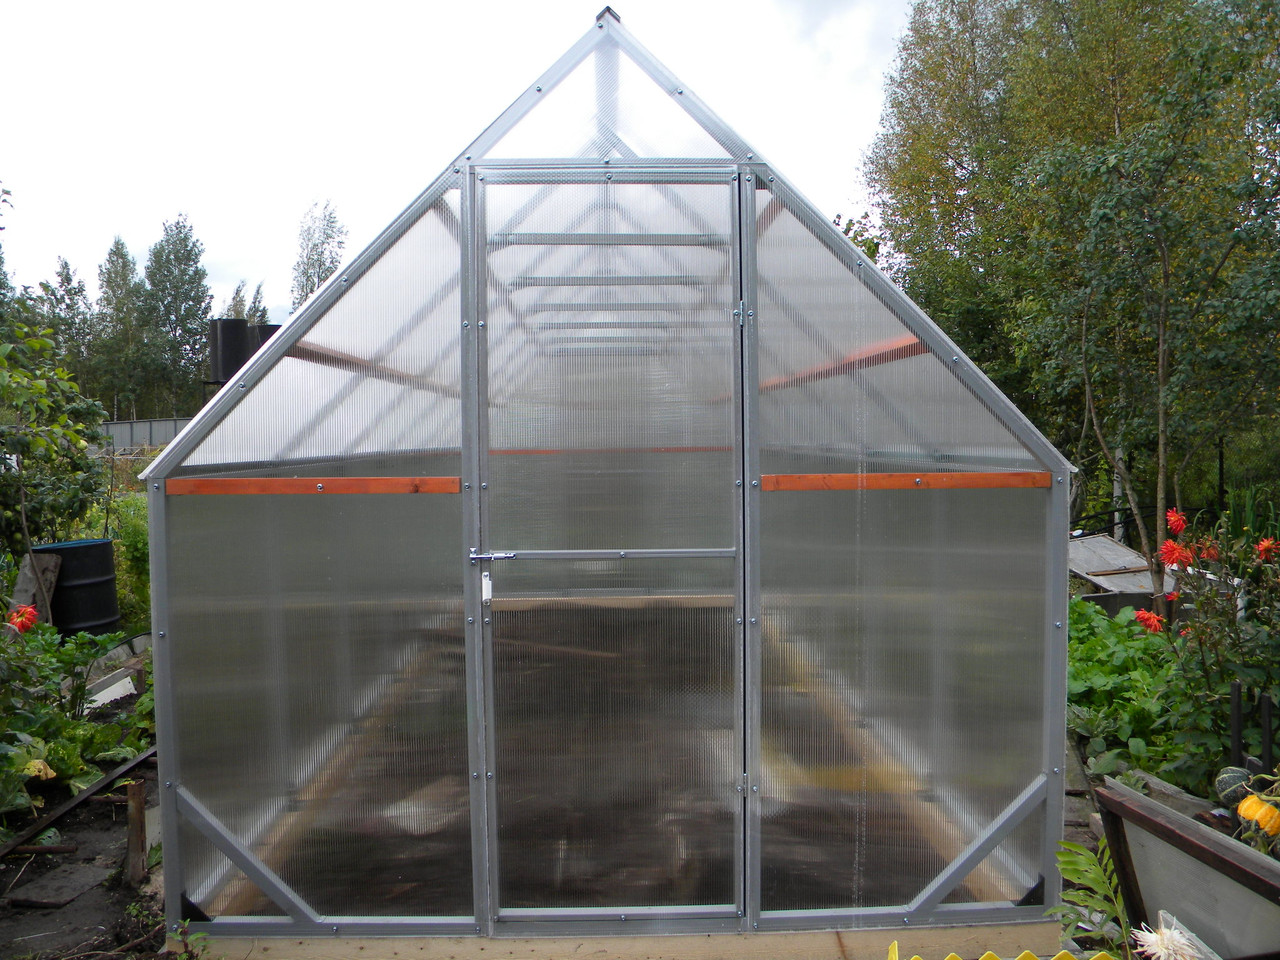
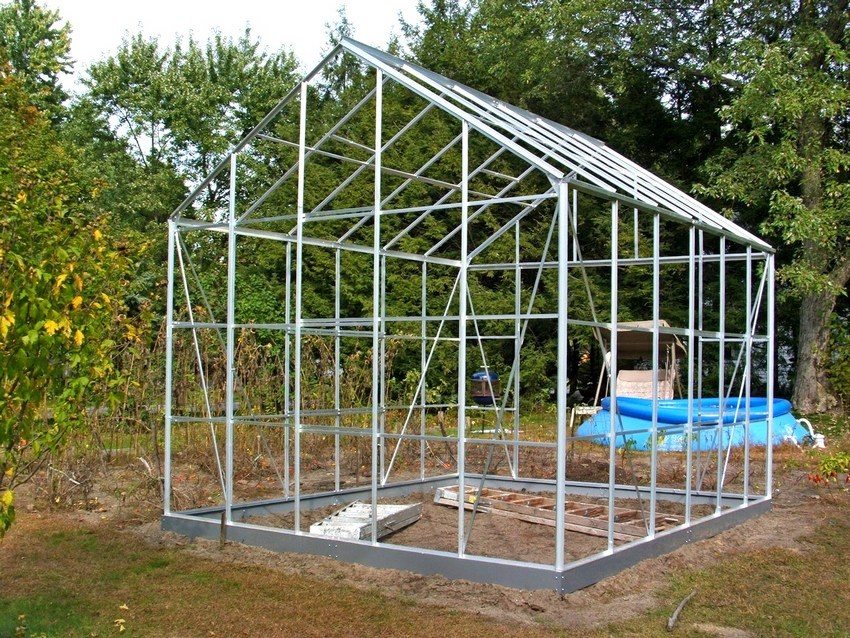
- greenhouses "house", equipped with a gable roof.
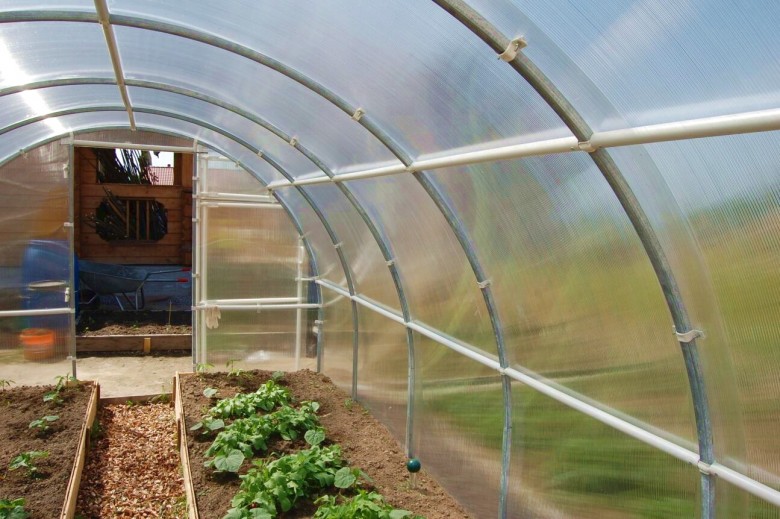
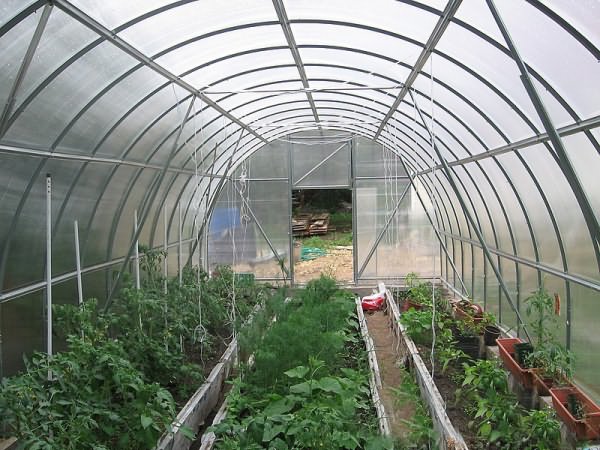
The typical size of the component parts determines the most common dimensions of buildings: 3, 4, 6 or 12 m in length, from 2 to 6 m in width. The most convenient dimensions for a pair of parallel beds - 3x6 m, for three beds - 3-12x4-6 m.


Advantages and disadvantages
The greenhouse of the pipework has five strengths:
- the design serves for a long time;
- blocks are fixed quite simply;
- assembly differs in ease and convenience;
- construction can be done in any configuration you like;
- applied coatings are very diverse.
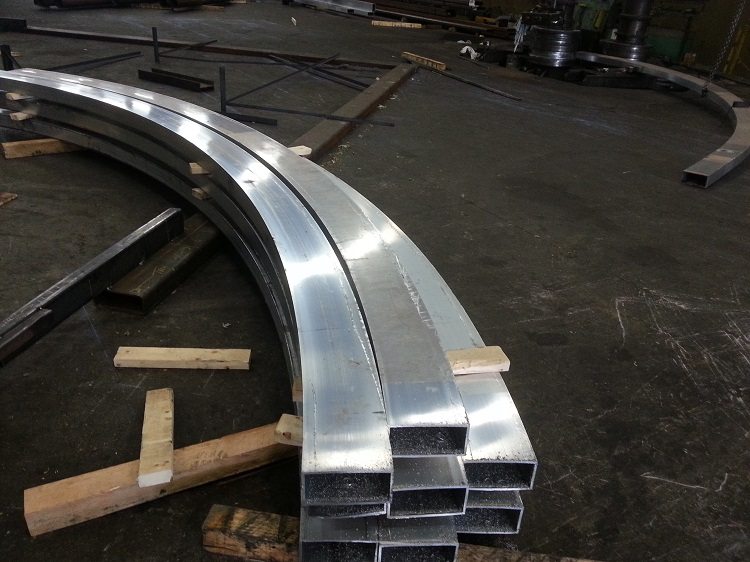
As for the flaws, then bend the profile is quite difficult. The solution to the problem is this: bend one of the pipes, filled with sand, trying to give it the most accurate shape, and use it as a template.
The choice of profile and shape design
In the manufacture of square or rectangular pipes can be used:
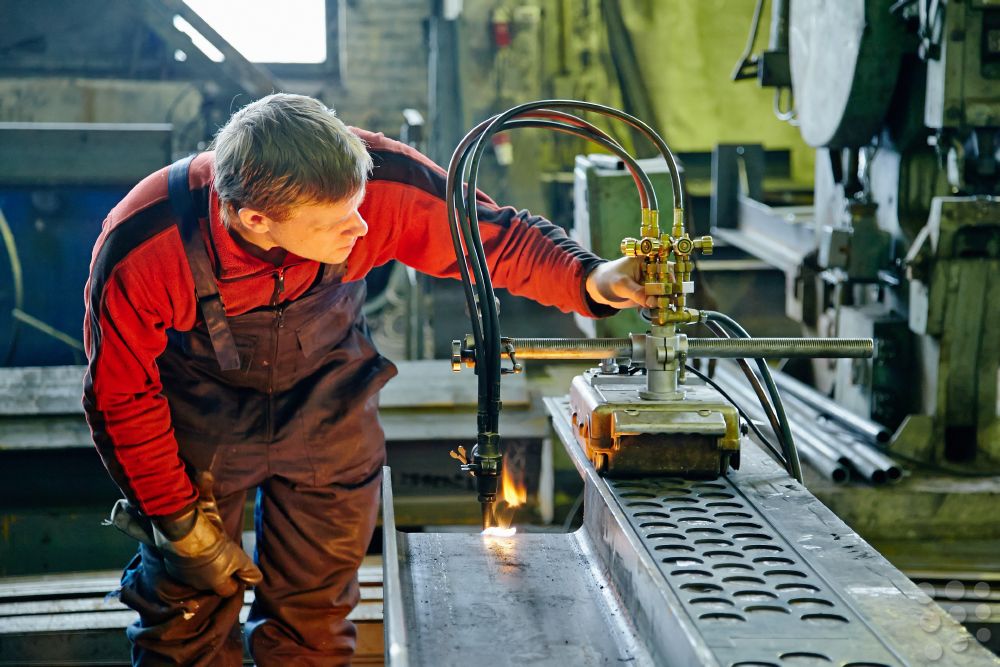
- hot deformation;
- cold deformation;
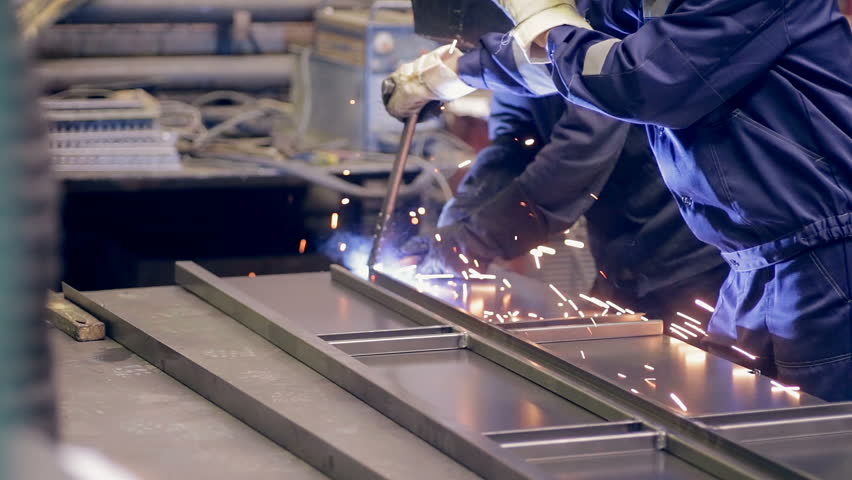
- electric welding;
- electric welding in combination with cold deformation.

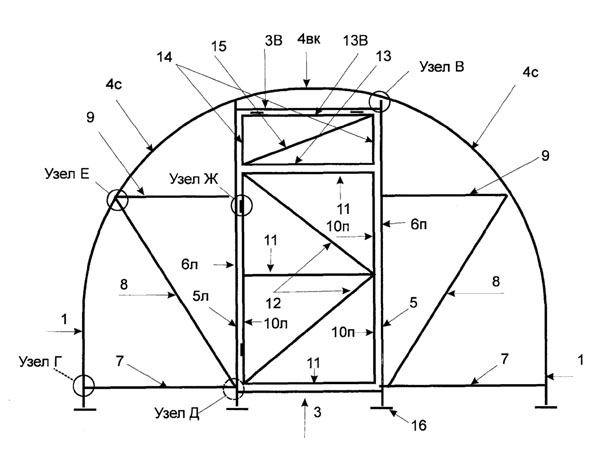
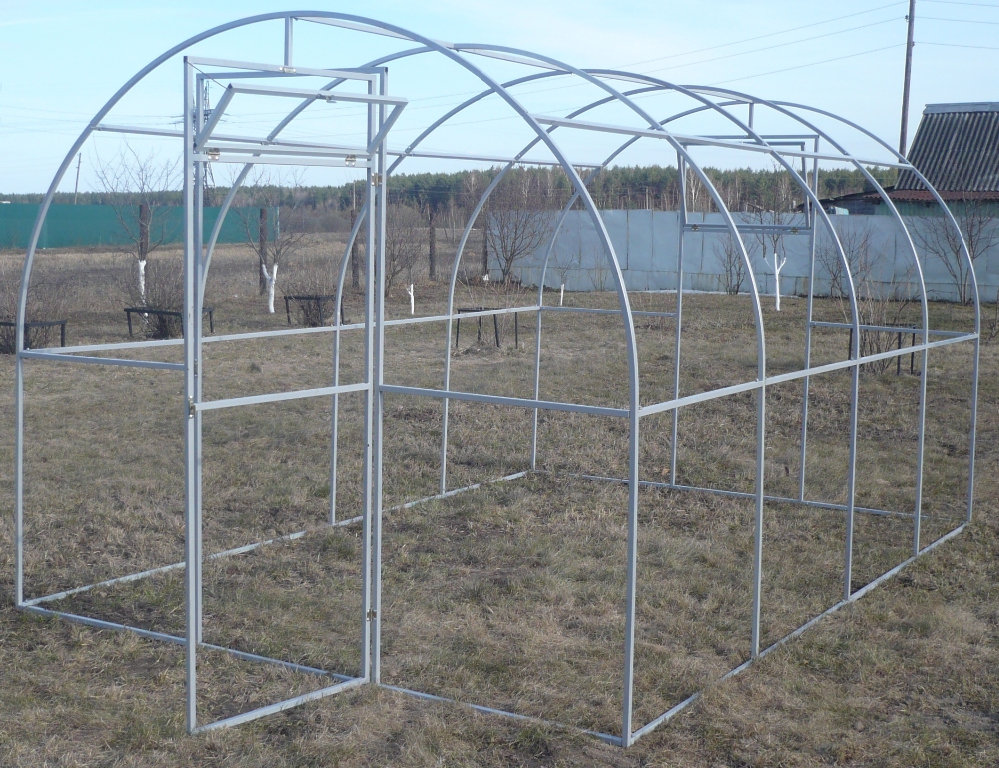
To make arches, you will need a 20x40 profile tube (10 pieces each), approximately 580 cm in length. There are two options: either immediately request cutting to the desired size, or buy ordinary 6 m models.The lintels are constructed from 2x2 metal (67 cm long).
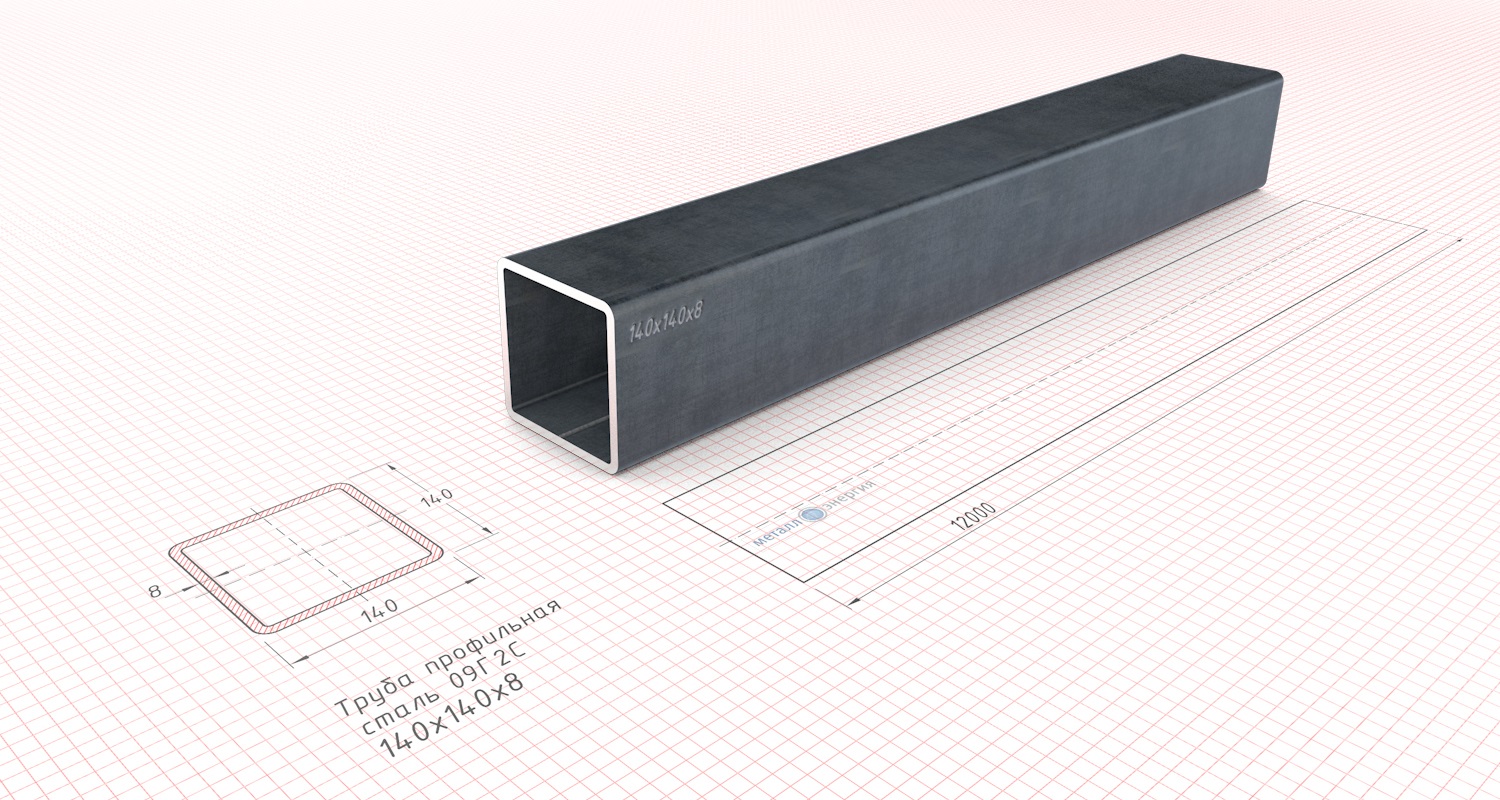
Official requirements for the profile pipe are set GOST 8639-82 and 8645-68. There are options based on various metals, most often builders prefer steel with an external anti-corrosion layer. Optimal hardening is achieved by four stiffeners, which take the maximum part of the load.
Galvanized profile pipe must have a special layer both inside and outside. Distinguishing quality material is easy - it should be pretty easy. The frame made of it is not difficult to move to another place or transport by car. Thanks to a solid protective coating, the risk of corrosion is minimal.
If you need a guarantee of increased mechanical stability of the structure, take a galvanized profile pipe with additional reinforcement. Such material calmly transfers pressure up to 90 kg per 1 sq. M. According to the provisions of GOST, such structures can serve up to 20 or even up to 30 years. Even if the galvanized layer is bent, dents and other defects will appear on it, but the coating will almost certainly remain holistic for a long time.
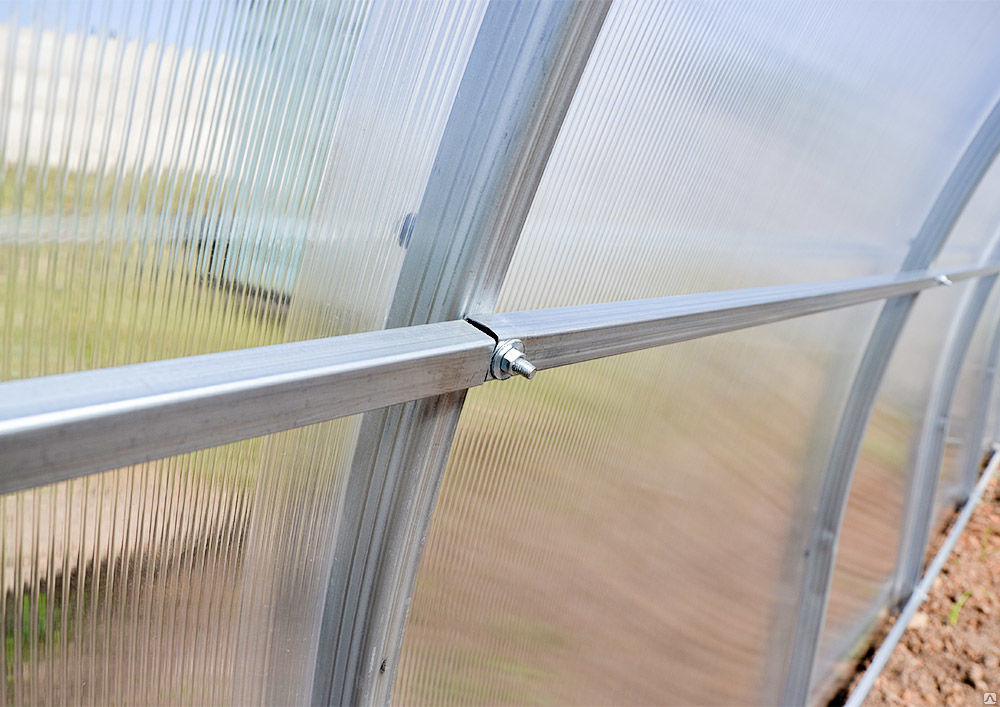
To make the frame of an unprotected pipe, welding is used. Galvanized elements are connected with bolts, special docking parts or corners. The use of large-diameter metal elements is not very practical, because they are excessively heavy and uncomfortable.
Design and preparation
Drawings in most cases are drawn up in standard sizes - from 300 to 1200 cm. It is recommended that this indicator be clarified by manufacturers or sellers in order not to overpay for excess material and not to leave scraps.
The plans should clearly display:
- base;
- upright racks;
- roofing;
- top trim;
- a door;
- windows and vents;
- spacers.
When drafting a project you should pay attention to the level of illumination. Any greenhouse should be directed strictly to the south. The allowable surface drop is a maximum of 100 mm. In accordance with the scheme, the markup of the building being constructed is carried out. To do this, use pins and rope. If you check the intended lines diagonally, you can do everything quite smoothly.
It is not necessary to use all profiles with a cross section of 40 by 20, 20x20 or 40x40 mm. Such elements due to the relatively thick body (from 0.2 cm) are quite strong. Horizontal ties can be made from a profile with a section from 1 to 1.5 mm, because exceptional performance is not required.
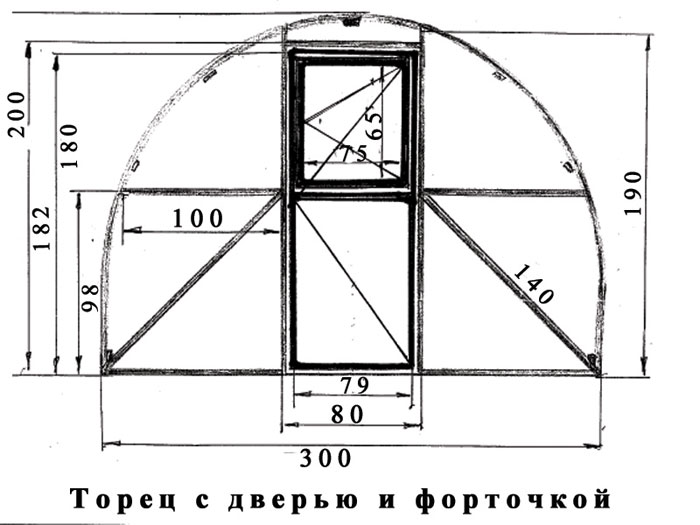
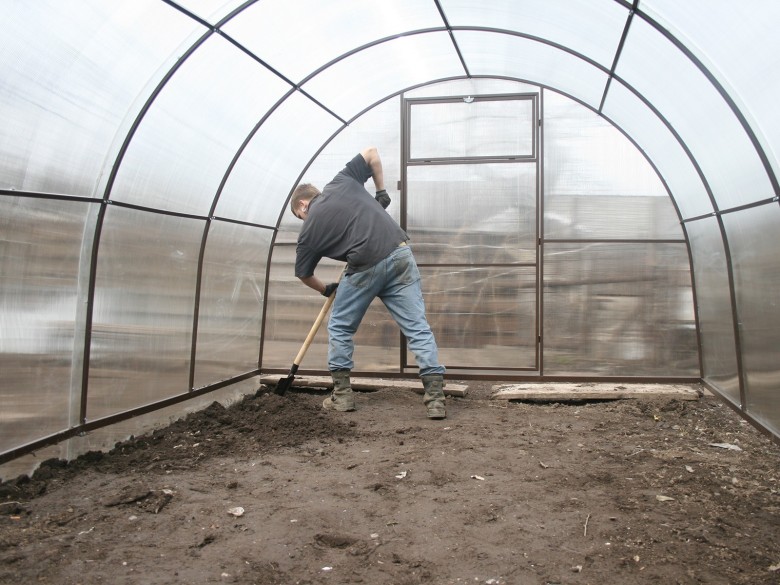
When calculating the height of the building, they are primarily focused on the growth of the owner of the cottage or a country house. It is usually assumed that the ceiling should be made 0.3–0.4 m higher than those using a greenhouse, therefore values can vary from 190 to 250 cm.
Counting the size has another subtlety - adaptation to the finishing material. When the frame is covered with a film, it does not matter much, but when using polycarbonate, it is important to ensure that the size of the material is enough to cover the entire height without cutting or adding. A typical sheet of cellular polycarbonate has a length of 6 m. In the case of an arched greenhouse, you need to apply the formula to calculate the circumference. It is worth considering that the height of 2 m is usually redundant, but 190 cm - it fits almost perfectly.
When preparing for the construction of a dual-slope greenhouse team, it is recommended to take into account the properties of the soil. The best results are achieved when installing on dry areas, since, for all the protection of supporting structures, it is better not to subject them to rigorous testing.The sandy soil is superior to the clay, because it does not so much swamp.
They try to direct the longest side of the structure to the south, so a maximum of sunlight will penetrate inside. Keeping heat inside the greenhouse and facilitating movement on it helps to place the door in the end.

As the practice of thousands of gardeners shows, the door should be made at least 0.7 - 0.8 m wide. As for the height, it is determined by the overall dimensions of the building. If it is planned to build a capital greenhouse, a kind of vestibule or corridor is beneficial for two reasons: it forms an additional air layer (thermal barrier) and can be used as a place to store inventory. When opening the door, this gateway will reduce heat loss.

Foundation construction
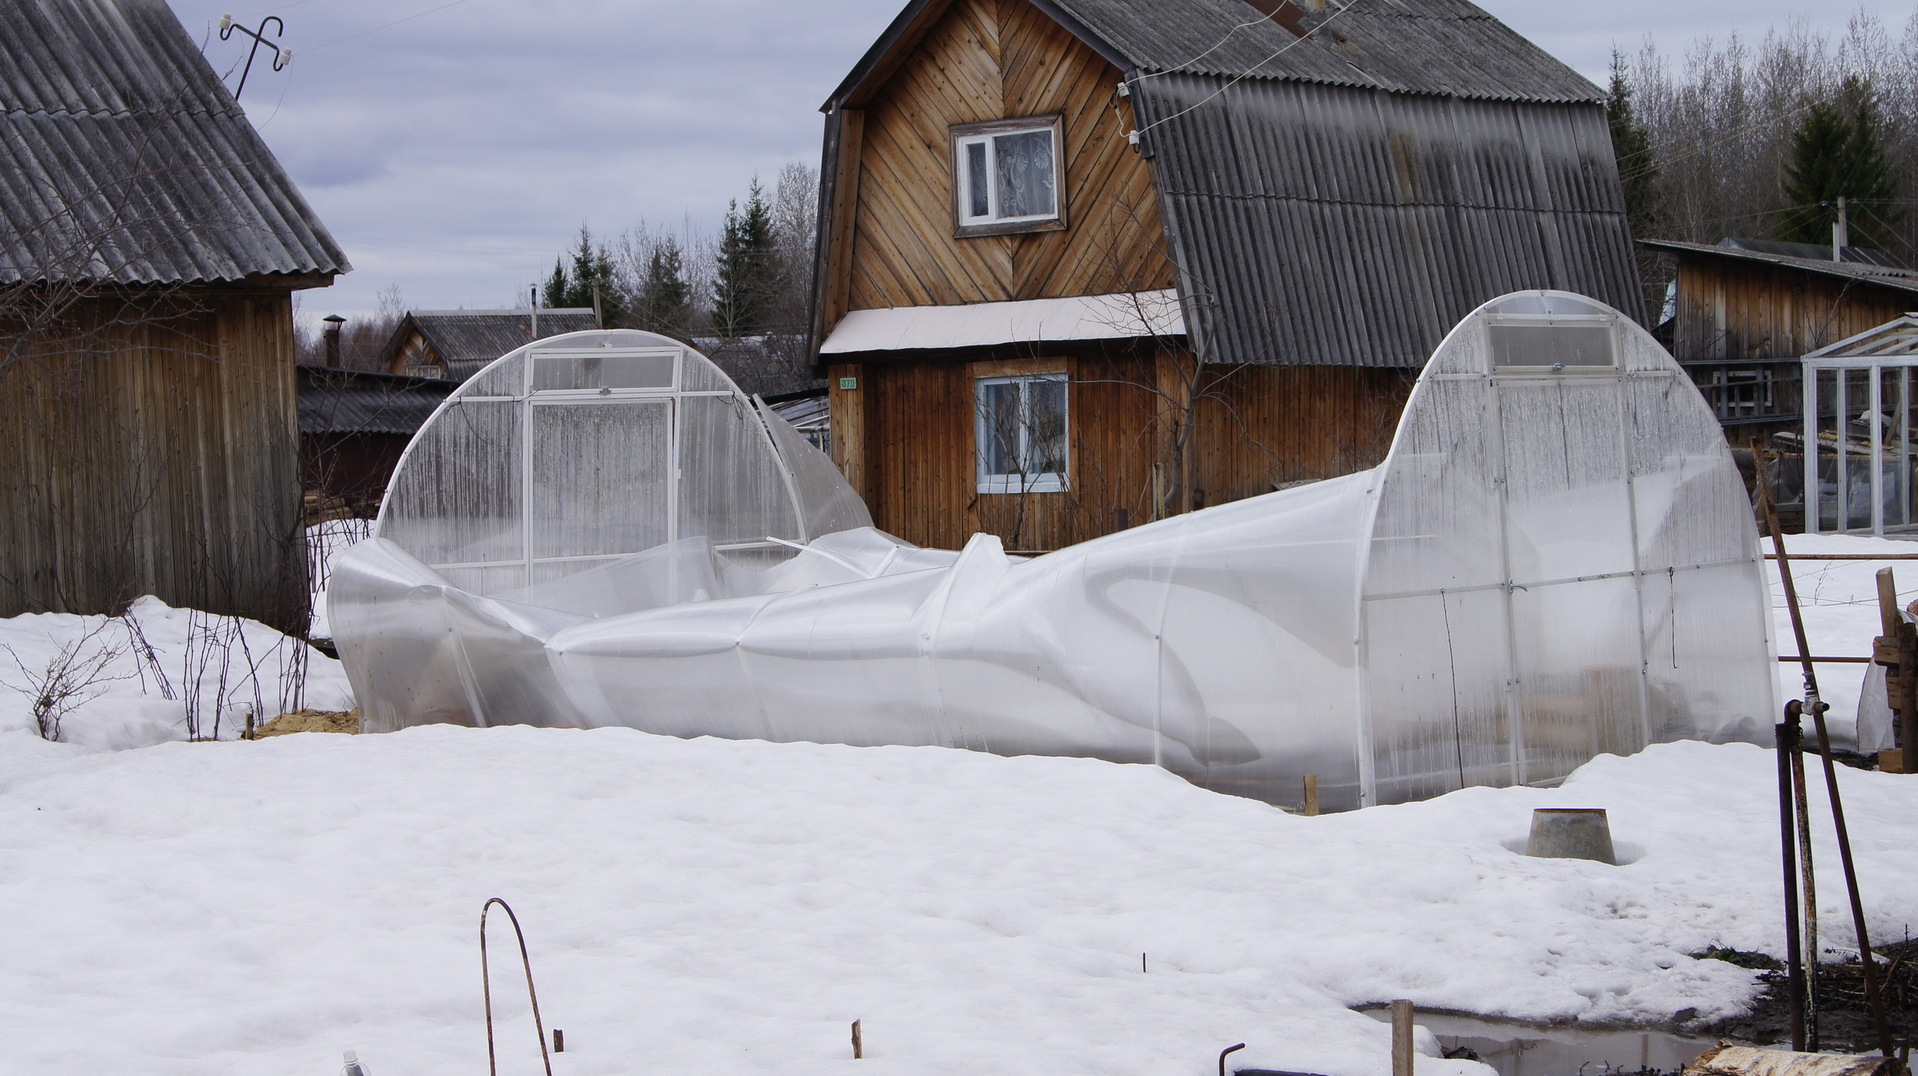
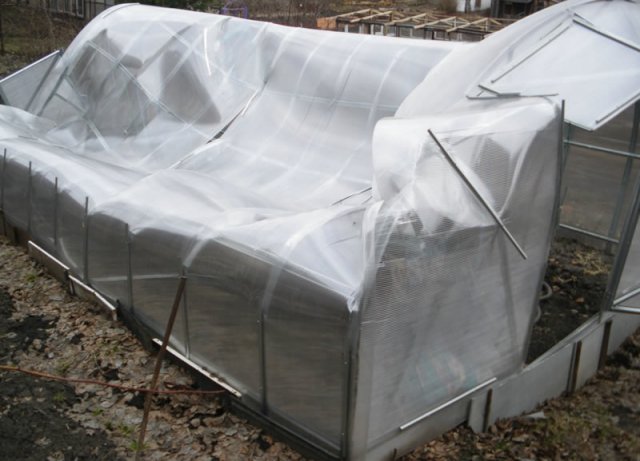
Greenhouses made of profile pipes are easy, but this advantage often turns into a serious problem, because it is easy to break such a construction for intruders or gusts of wind. The output is the manufacture of the foundation tape or pole type (its choice is determined by the structure of the soil). In any case, before the start of construction, the site is thoroughly cleaned of impurities, the upper layers of the earth are removed.Then they make a marking, filling wooden poles around the perimeter of the construction to be used to hold the rope.
Then you can build the foundation itself. If the special anti-vandal characteristics are not important, and there is no threat of strong wind, you can limit yourself to a columnar construction based on asbestos-cement pipes.
The process of work includes several stages.
- The earth is drilled with a strictly defined step. The diameter of each hole should allow the pipe to freely go inside without fitting.
- After placing the supports in the holes, the external gaps are filled with any suitable soil that should be compacted.
- The inside of the pipe is filled with cement, ensuring the absence of cavities.
- A metal plate or a pre-cut piece of reinforcement is introduced from above (this will be the hitch of the foundation and the homemade greenhouse frame).
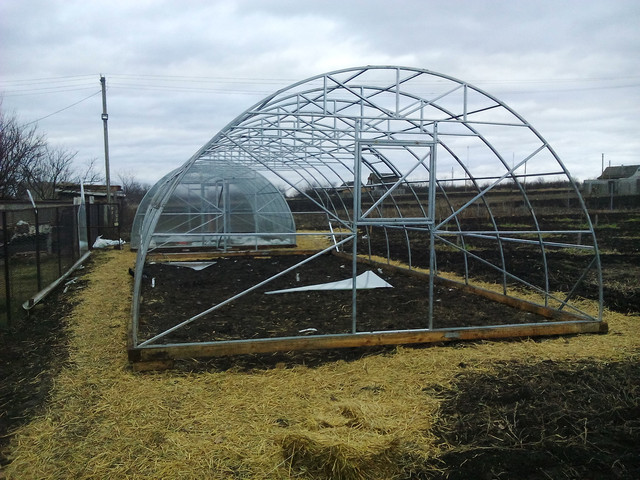
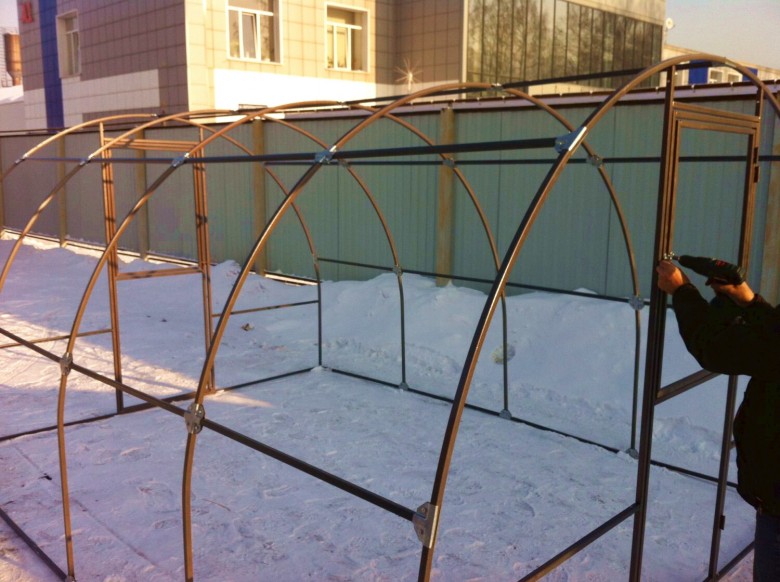
Frame assembly and trim
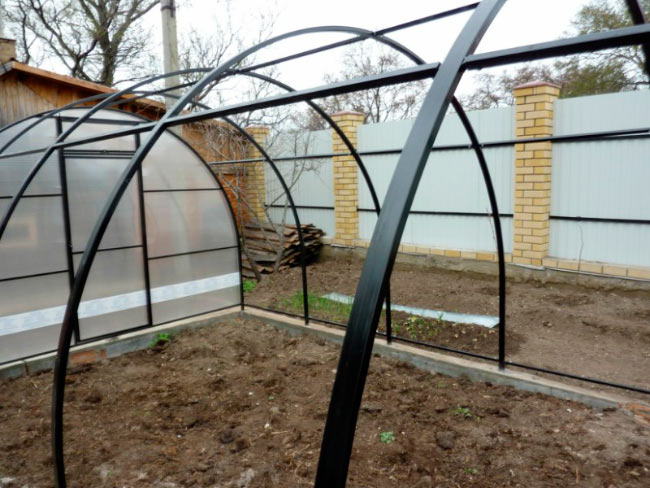
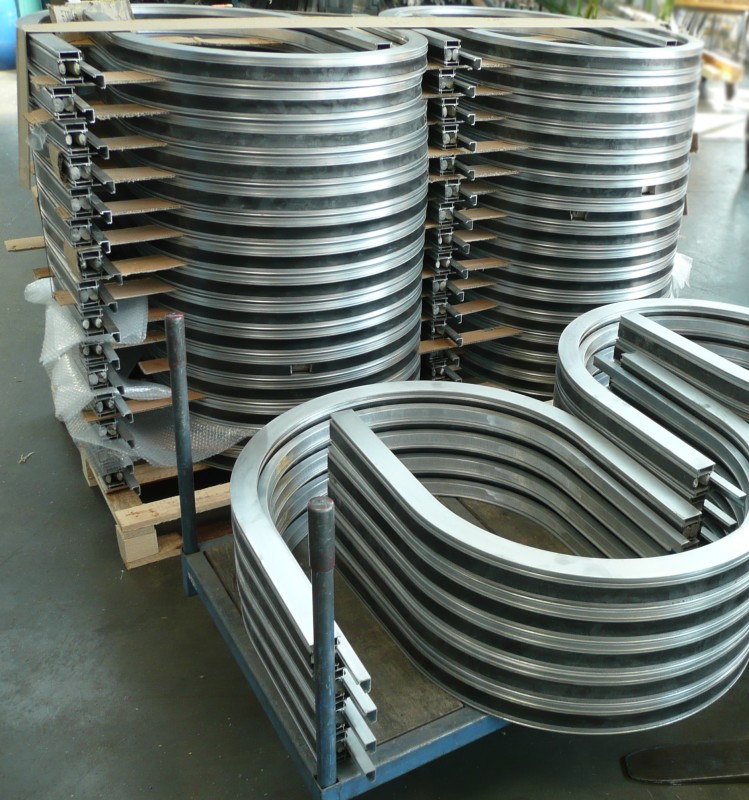
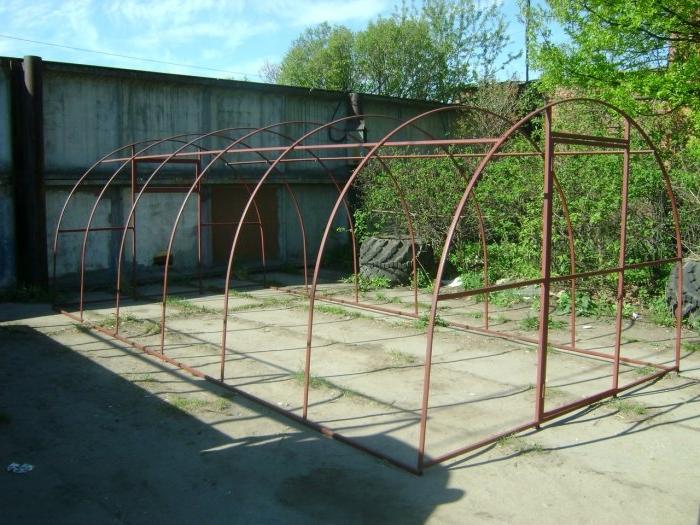
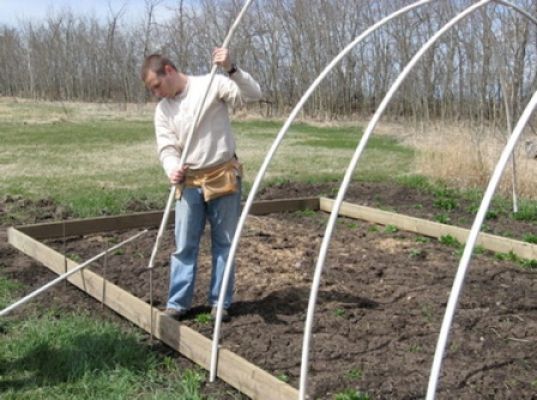
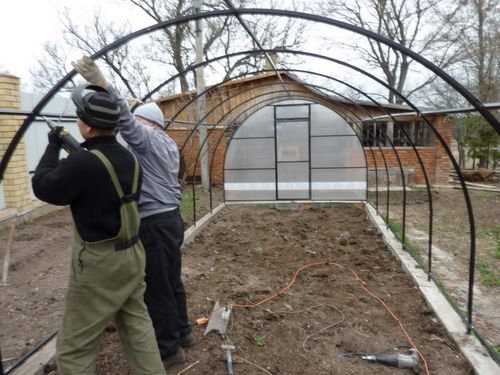
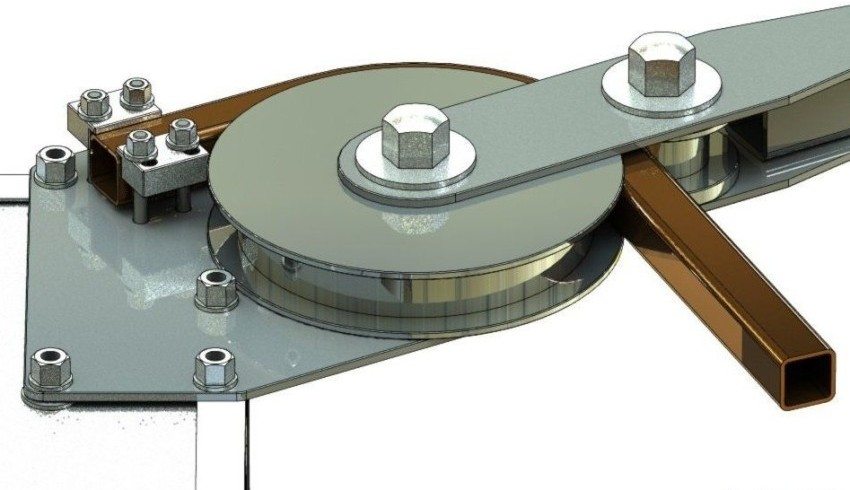
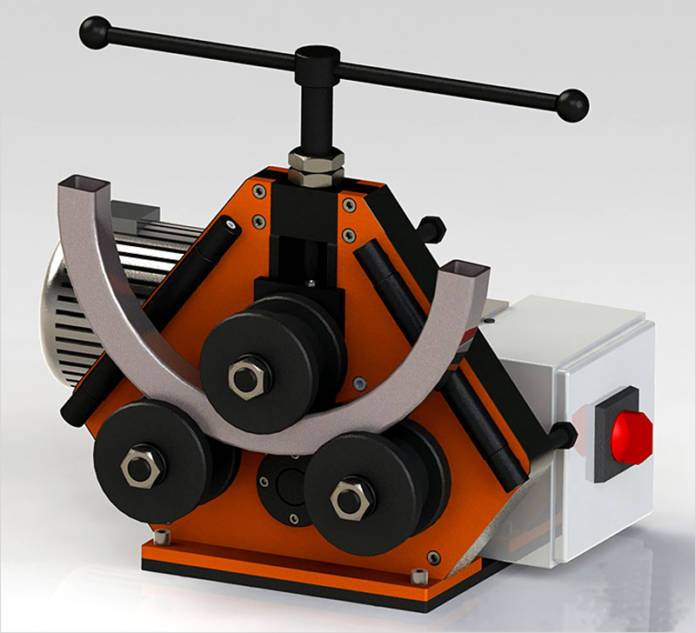
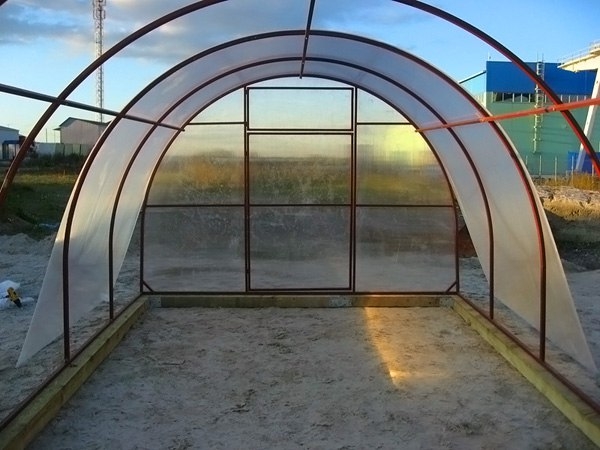
Arc is best created by a pipe bender. Manual work in this case is not just difficult, it also does not allow to obtain the necessary accuracy. The hull assembly begins at the ends of the structure. The pieces of pipe are usually connected by welding with the use of tees and angles, if you need to achieve the highest strength.But when the task is set to make a collapsible greenhouse with your own hands, you need to use couplings. The final step is to cover the greenhouse housing with polycarbonate.
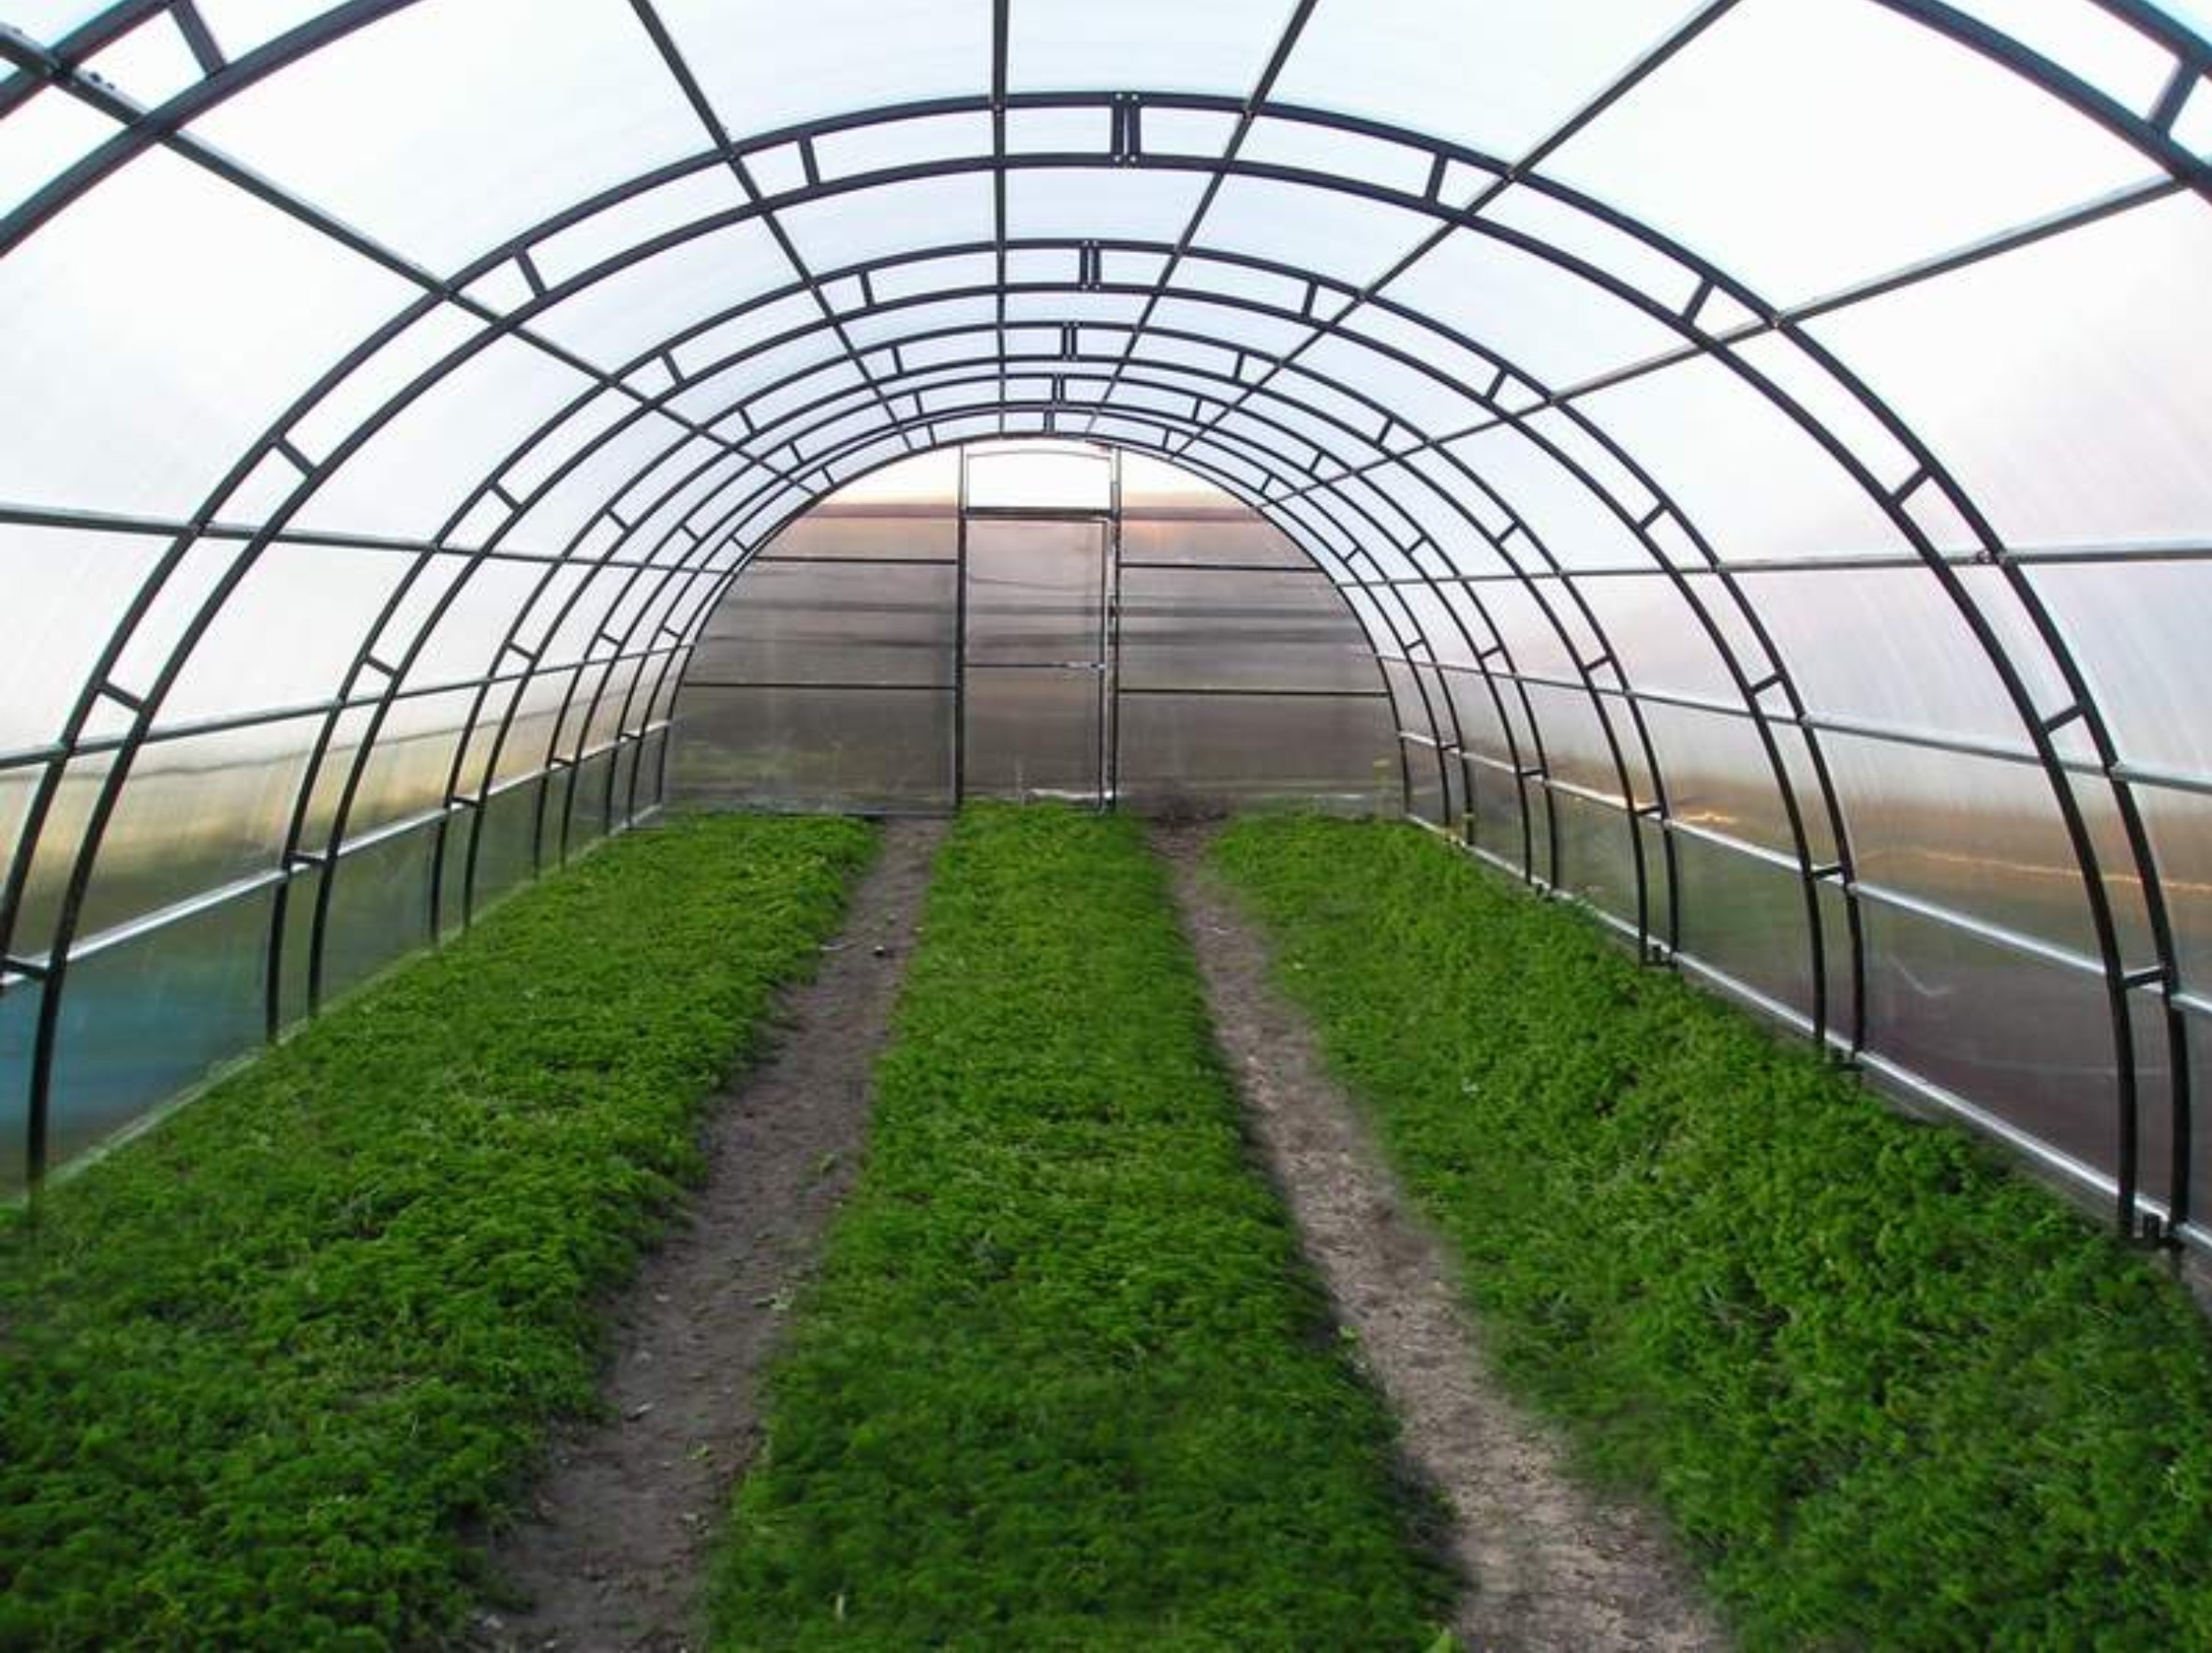
For fixing sheets using screws with thermal washersthat interfere with the penetration of water into the cell substance. The cells themselves should be placed at an angle or vertically, since in the horizontal plane the moisture will begin to stagnate and spoil the material.


A greenhouse in the form of a “house” with a full-size duo-pitch roof should be equipped with both an entrance door and air vents. Experts do a miniature greenhouse of an arch configuration with only one door, without ventilation vents.
The advantage of the shape of the arch is that such a greenhouse is very stable and practical. The aerodynamic quality of the design allows it to effectively transfer powerful gusts of wind, to avoid the accumulation of snow and ice. The problem can only be to bend the pipes correctly. In addition to using a bender and turning to professionals, you can also use simpler tools, including a radius pattern.
It is possible to bend the profile without heating with the addition of a filler, although this is not necessary for elements thinner than 1 cm. If relatively thick components are still used, the addition of sand or rosin noticeably facilitates the work, so it becomes easier and faster to bend the thick pipe. Some home craftsmen use large-diameter springs that can be inserted into the cavity of the pipe. The mechanical properties of such an "assistant" provide bend without changing the cross-section of profiles along the entire length of the pipe.
Another way to give the desired shape to the workpiece is a bending board with holes drilled in it. The notches serve to arrange the rods, which will perform the role of emphasis. Placing the pipe between a pair of rods inserted into the slab at the required distance from each other, the profile begins to bend, gradually moving the force from the middle of the piece of metal to its periphery. It is quite possible to do the work in this way, but it will be very difficult, and the result will depend on the efforts made.
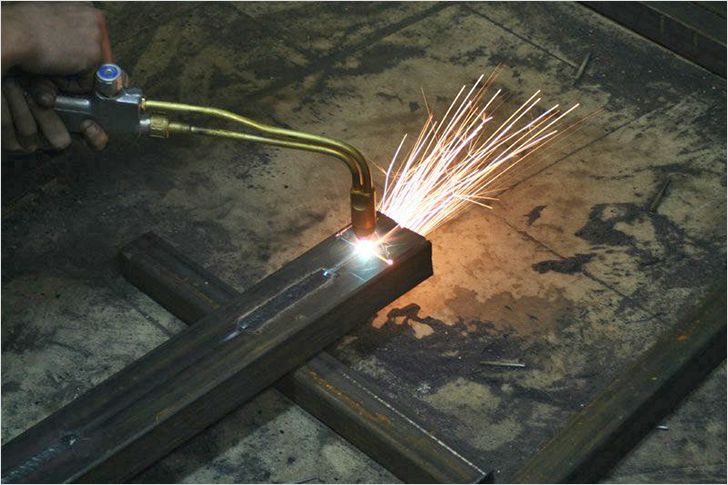
Very thick pipes should be bent more properly after pre-heating. Filling the profile with carefully sifted sand helps ensure a uniform bend.Since it is necessary to work with heated metal, it is necessary to wear protective gloves. It is also important to take care of the safety of the fire source.
The sequence of actions is as follows:
- create pyramidal wooden caps (their length is 10 times the width of the sole, in the widest point two pipes should be allowed to enter freely);
- in the plugs make the grooves, designed to bring out the hot gases;
- burn the desired section of the profile;

- the filler is freed from very large particles (imprinted on the surface) and from very small (they can fuse into the metal);
- sand is subjected to calcination at a temperature of 150 degrees;
- on one side of the pipe put an airtight plug that does not have grooves;

- from the opposite direction, inside the profile pipe, you need to enter a funnel, with the help of which you can place calcined sand into the cavity;
- rattling the walls (the resound should be muffled);
- after filling the pipe with sand, use the second plug;
- the bend point is marked with chalk, the segment is thoroughly fixed in a vise after applying it on the template;
- the welded pipe should be bent with the placement of the joints on the side (it should not be bent in the direction of the welds);
- heating along the marking line should be red hot;
- giving the metal a soft, it is bent in one verified movement.
The cooled billet is checked with a template just in case. If the result is perfect, the plugs are removed and the sand is shaken out. If necessary, docking metal elements with each other is best to cook.
The gap between the vertical posts should be 1 m. If polyethylene film is used as a covering material, it is desirable to reduce the distance to 60 cm. Such indicators are determined by the optimal level of load on the pipes. There are situations when the distance has to be increased. Then the design must be strengthened.
Then dig a pit with a depth of 0.8 m, which is poured with cement to a longitudinal base (its height is 0.15 m). Next, the base across is welded to the longitudinal elements. Metal corners help to increase the durability and reliability of the greenhouse. A brick is placed under the base, sometimes a shallow groove is formed.
The construction of the frame is preceded by:
- laying of covering material;
- placement of arcs on top;
- markers with markers.

When cutting covering materials leave a reserve of about 20 mm.The frame is mounted on the fully frozen solution; the first arch is welded to all longitudinal bases. During its installation, as with the installation of the last profile, a plumb is used to minimize errors. The following parts are connected with jumpers (in the opinion of professionals, it is advisable to start by welding the arc to the highest jumper).
Installing the last arch, mount jumpers on the end. Their profile has a cross section of 20x20 mm, because the load level is small. Having fixed covering material, in it cut openings for windows and doors. Each joint of this kind is treated with silicone for maximum sealing.
Strictly observing these recommendations, it is possible to build a greenhouse that will last for more than 10 years, requiring almost no maintenance. And if you make all the calculations so that there are fewer segments, the work will be relatively cheap.

To learn how to make a greenhouse from a shaped tube, see the following video.


