Greenhouses of the Volia company: types and installation

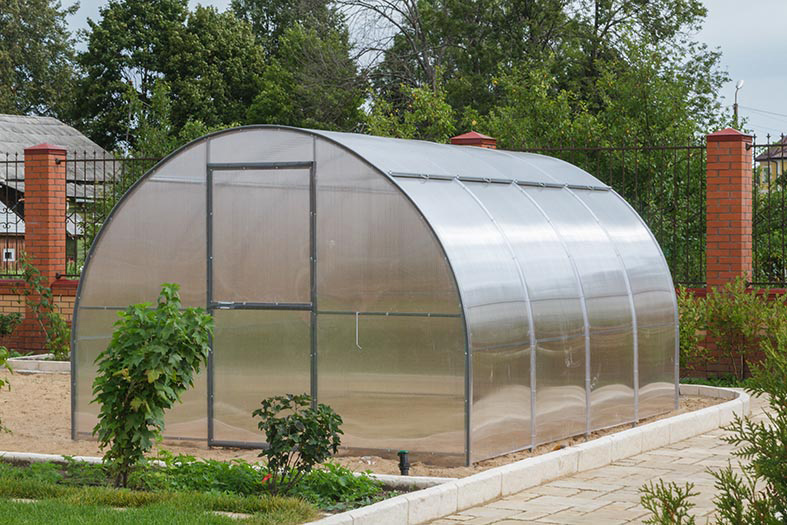
Many gardeners and villagers are engaged in growing vegetables in greenhouses. In a harsh climate - this is the only opportunity to taste their own, ecologically clean tomatoes, peppers, cucumbers. Currently, the market offers a huge selection of greenhouses. The products of the Russian company Volia are in great demand.
Features and types
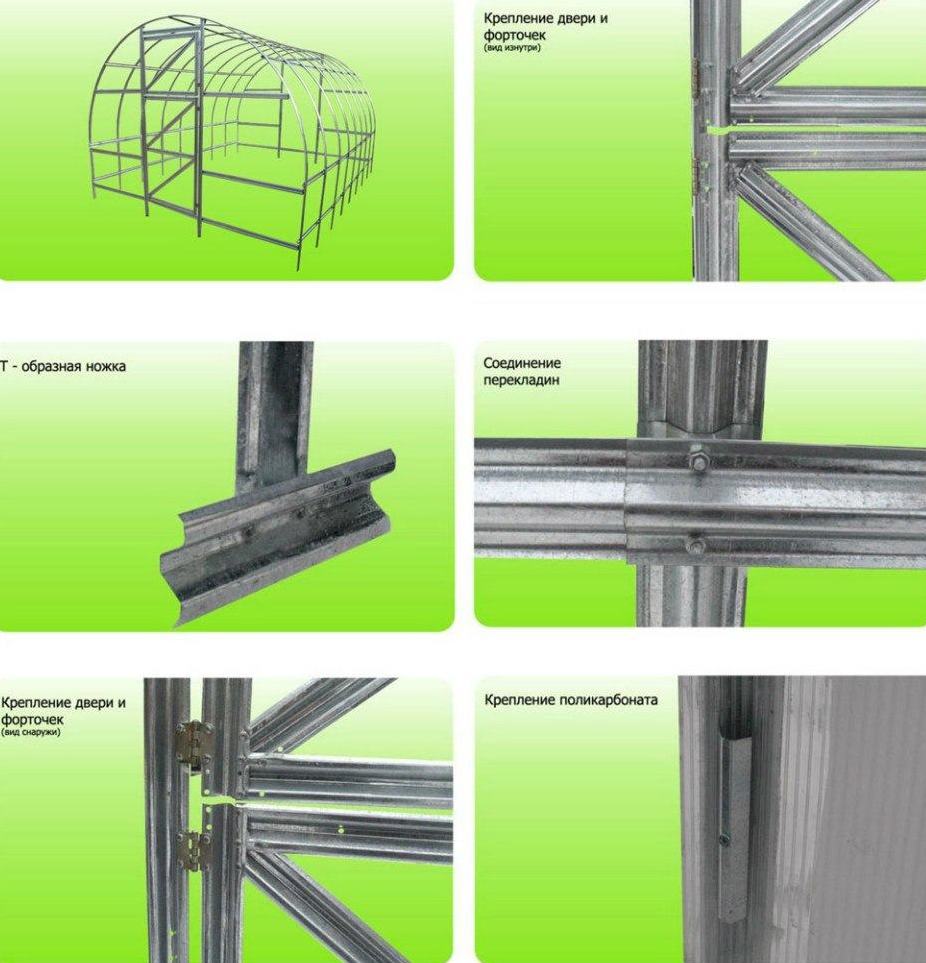
Volya has been manufacturing greenhouses for over 20 years, has a dealer network in various cities of the Russian Federation. Greenhouses of the Volia company are distinguished by good quality, well-thought-out construction, and a variety of models. Product frames are made of galvanized steel, so they are not subject to corrosion. The profile is used in different thicknesses and widths, in shape it resembles a men's hat with a brim.
This type of profile has four differently directed angles of rigidity, which makes it as strong as possible.

Top greenhouses cover with polycarbonate. This durable, durable material creates optimal conditions for the growth and development of plants. Sow seeds and plant seedlings can be a month earlier than usual. In the autumn, the duration of the harvest also increases.
The assortment of the company "Volya" presents the following types:
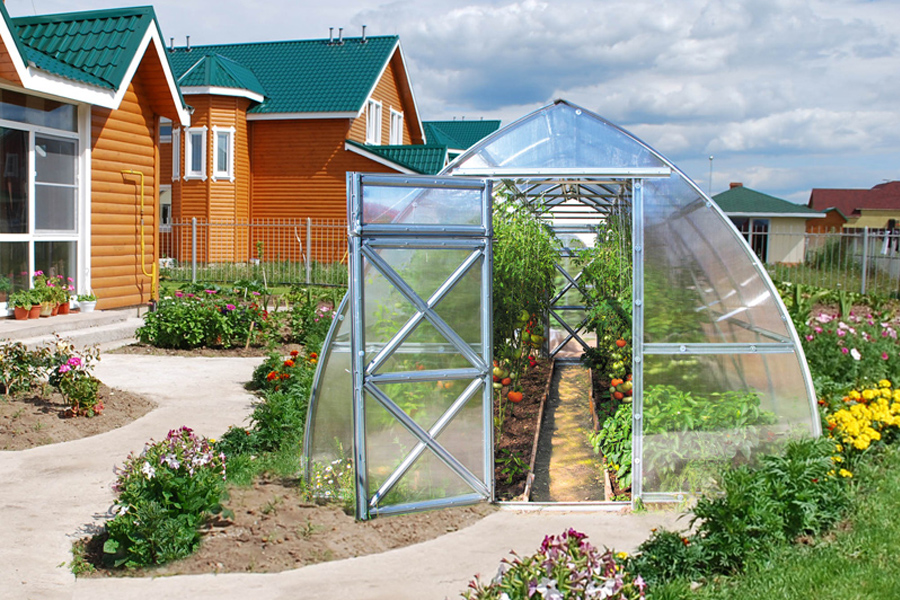
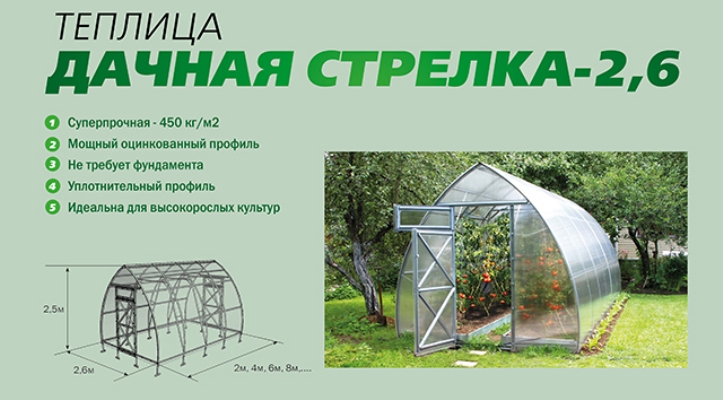
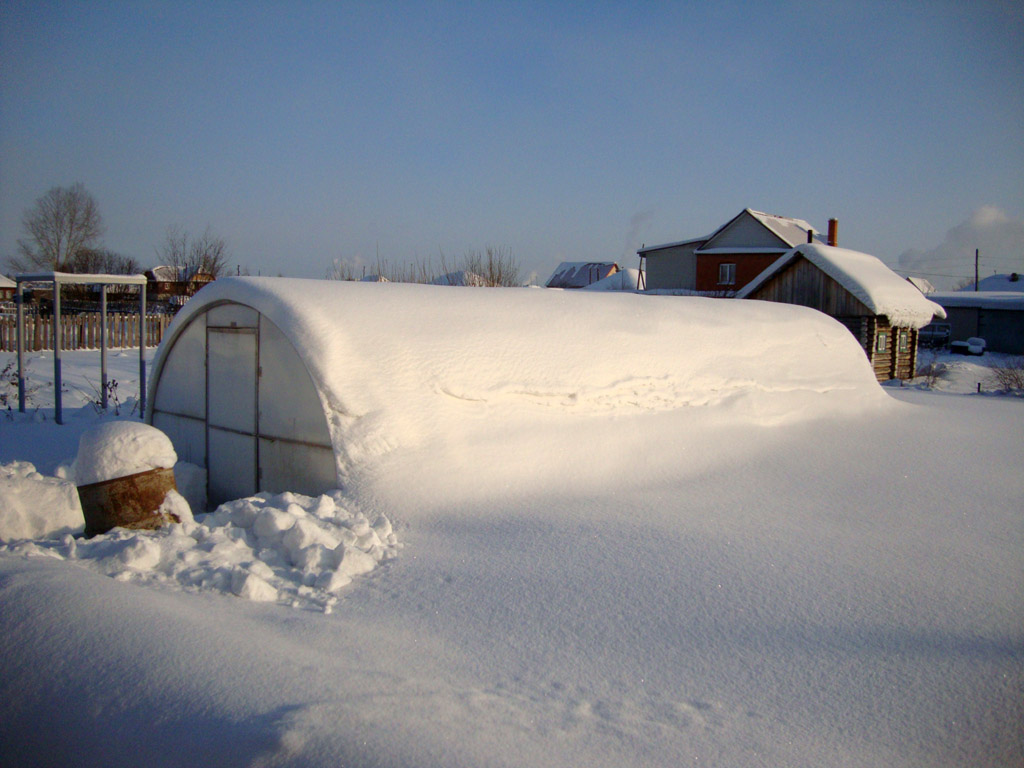
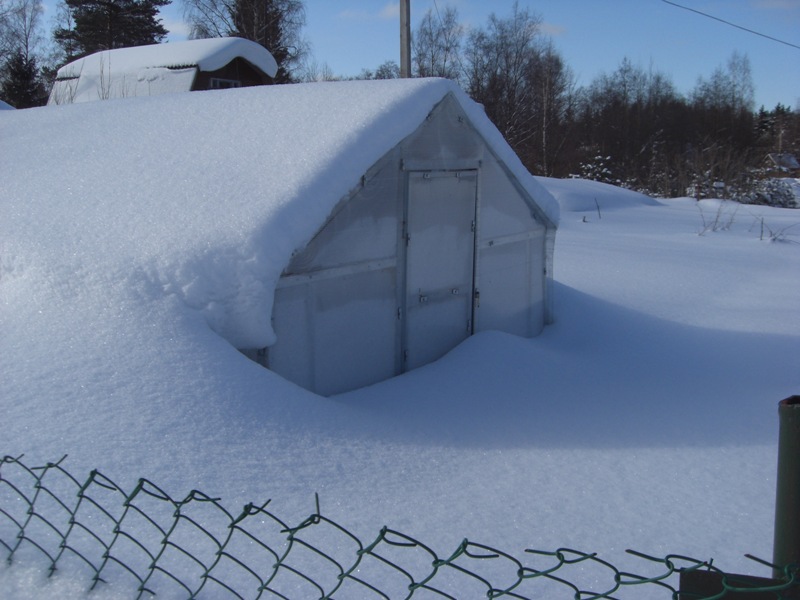
- "Dachnaya-Strelka" - thanks to the roof structure (elongated-conical shape), the snow rolls down from it without lingering;
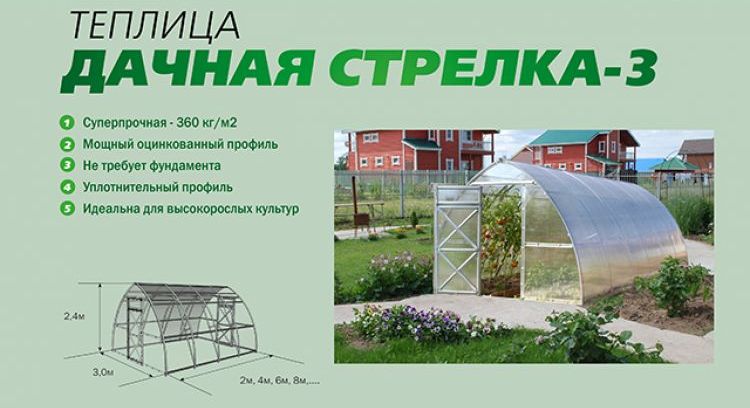
- "Dachnaya-Strelka 3.0" - Improved modification of the previous model;
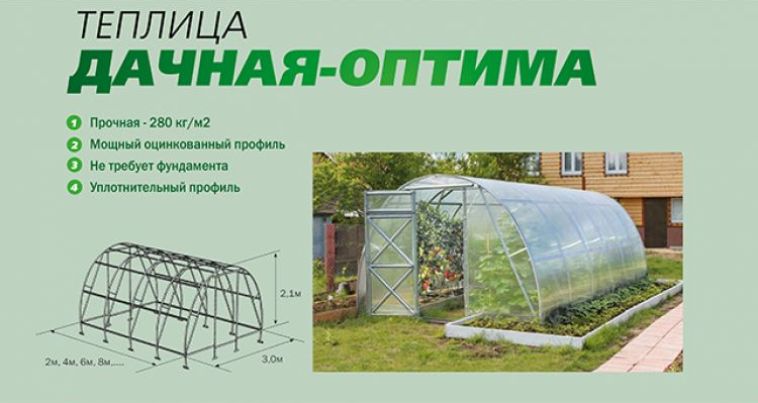
- "Dachnaya-Optima" - robust design, designed for heavy snowfalls;
- "Dachnaya-treshka" - characterized by the presence of a reinforced frame that can withstand a large snow load;

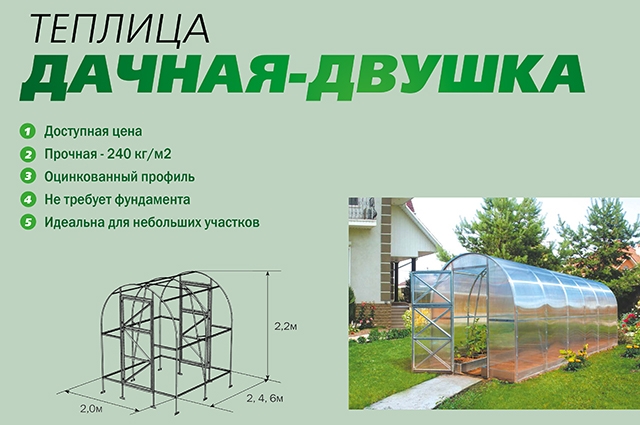
- "Dachnaya-Dvushka" - is ideal for small areas;
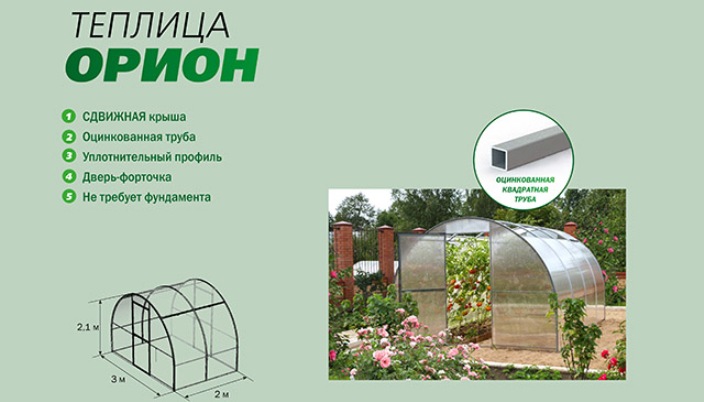
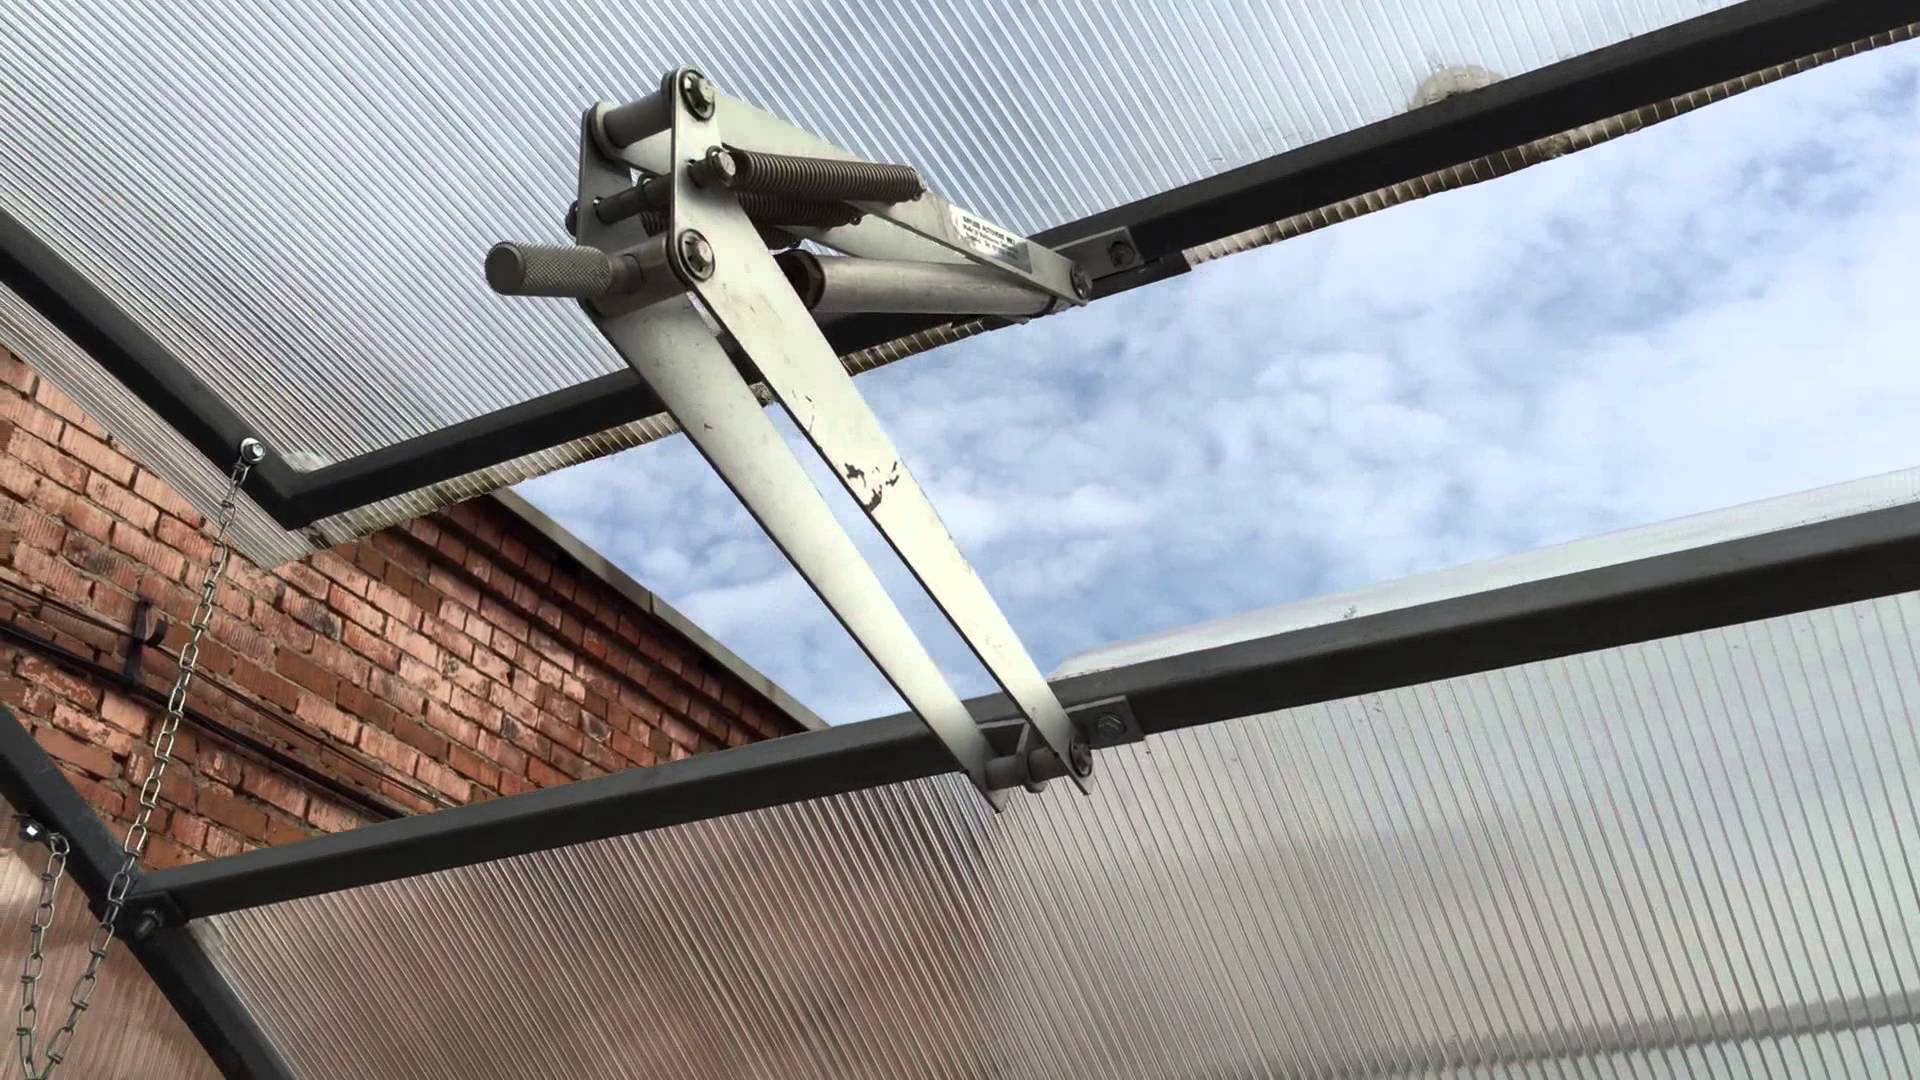
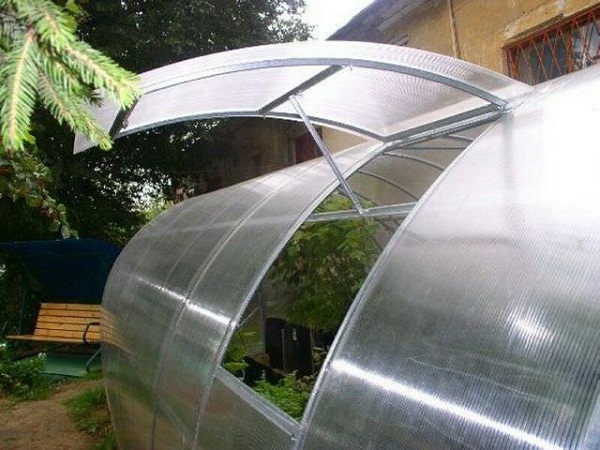
- "Orion" - characterized by the presence of an opening roof;
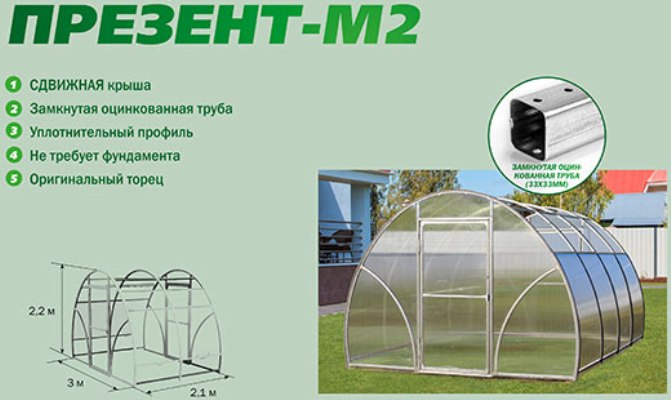
- "Present M2" - it is presented by the hangar type, and also is equipped with the opening roof;
- “Dachnaya-2DUM” - is one of the first models of the company, it can be increased to the required size;
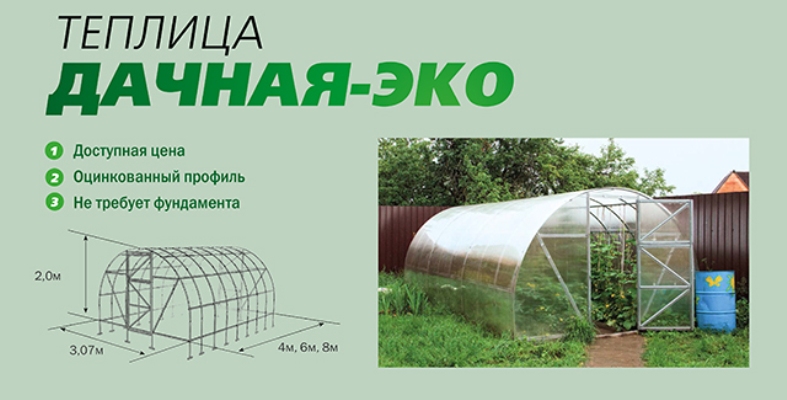
- "Dachnaya-Eco" - budget option, as well as “Dachnaya-2DUM”;

- "Delta" - possesses a gable removable roof, in the form of a house;
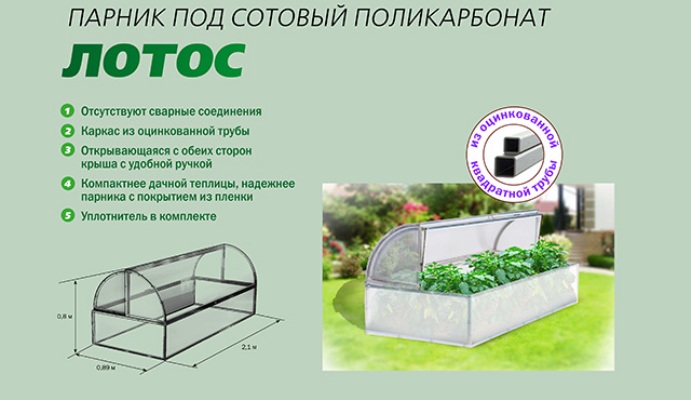
- "Lotus" - greenhouse with a convenient opening lid (the principle of "breadbasket").
The above is a brief description of the models. In order to learn more about the greenhouse you like, you can directly contact the official website of Volia or regional representatives.

Construction options: advantages and disadvantages
By type of greenhouse construction "Will" are divided into several types.
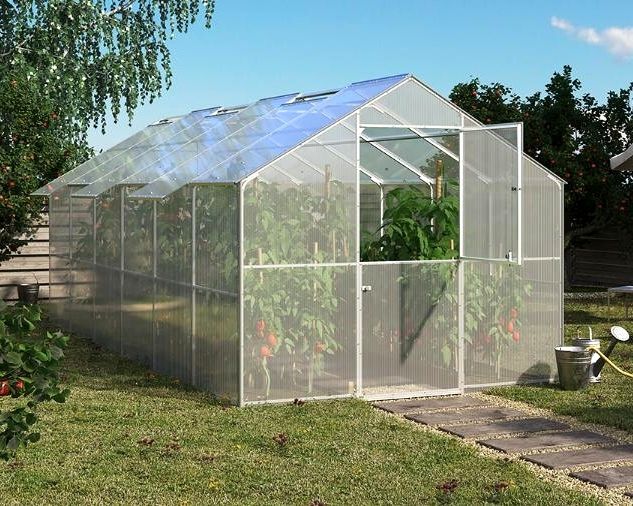
- Gabled greenhouses with a roof in the form of a house. One of the models presented is the Delta. Its advantages include the presence of a removable roof, as well as the useful and convenient use of space, since the space around the edges is not lost. The downside, according to individual buyers, is the flaw in some nodes. The lack of other greenhouses with a similar roof is that it is necessary to dump snow from them in the winter, otherwise the structure may collapse.
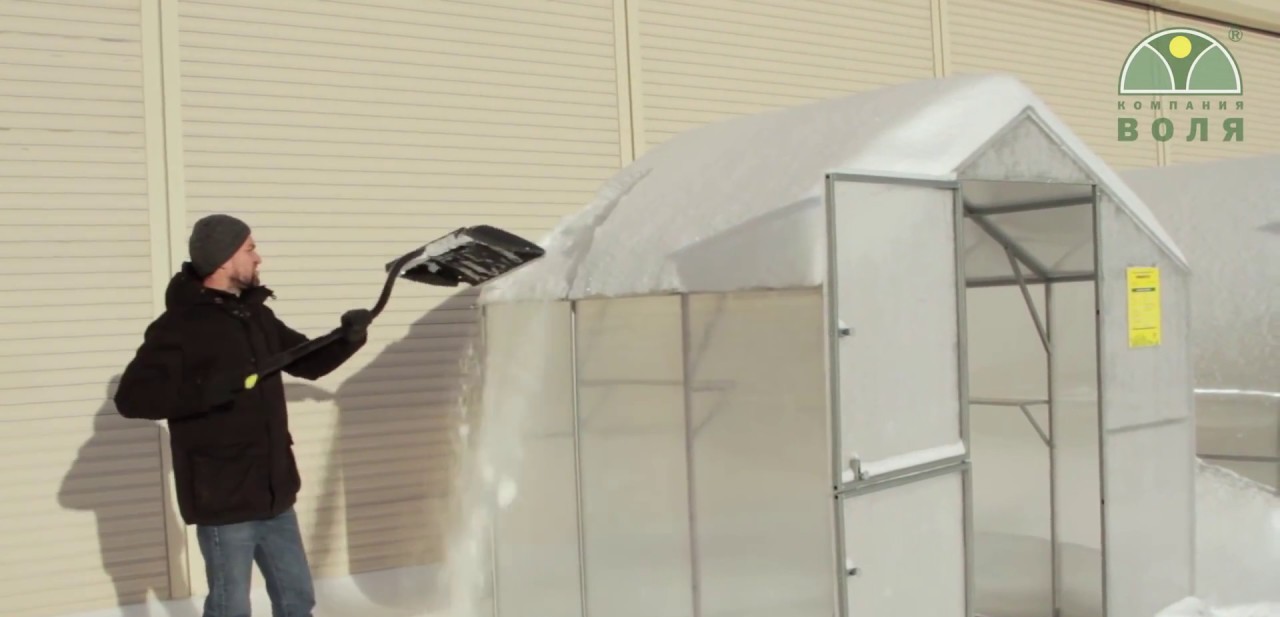
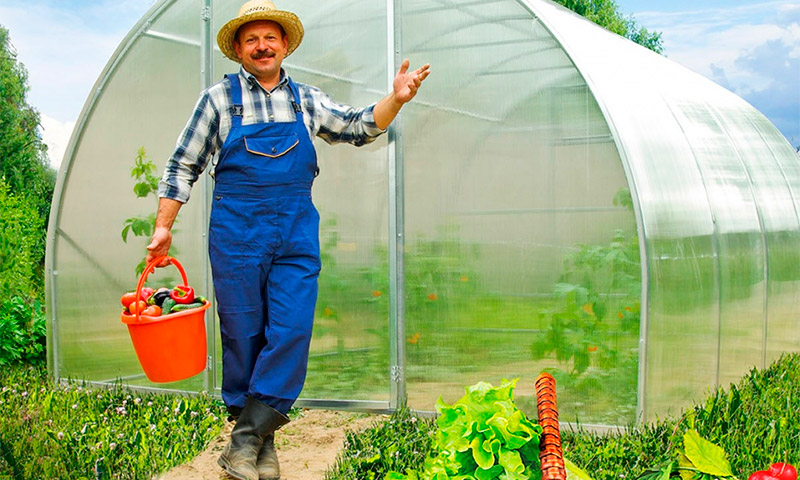
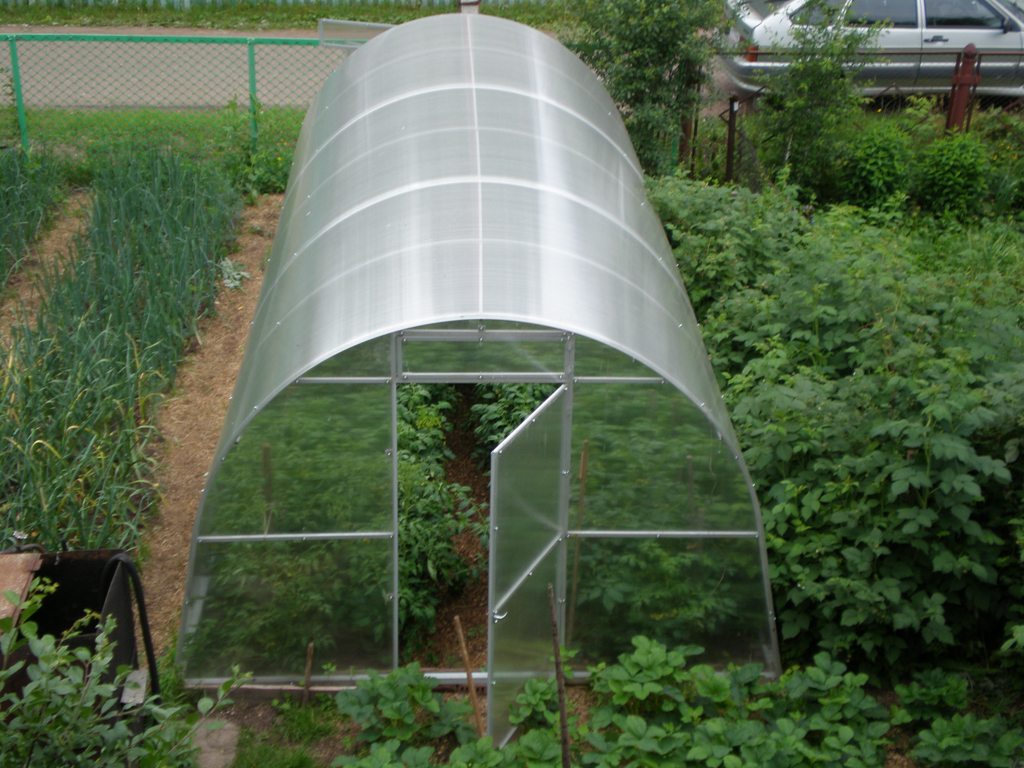
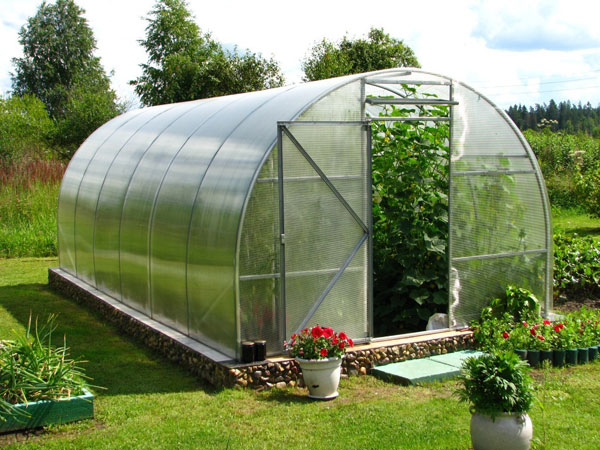
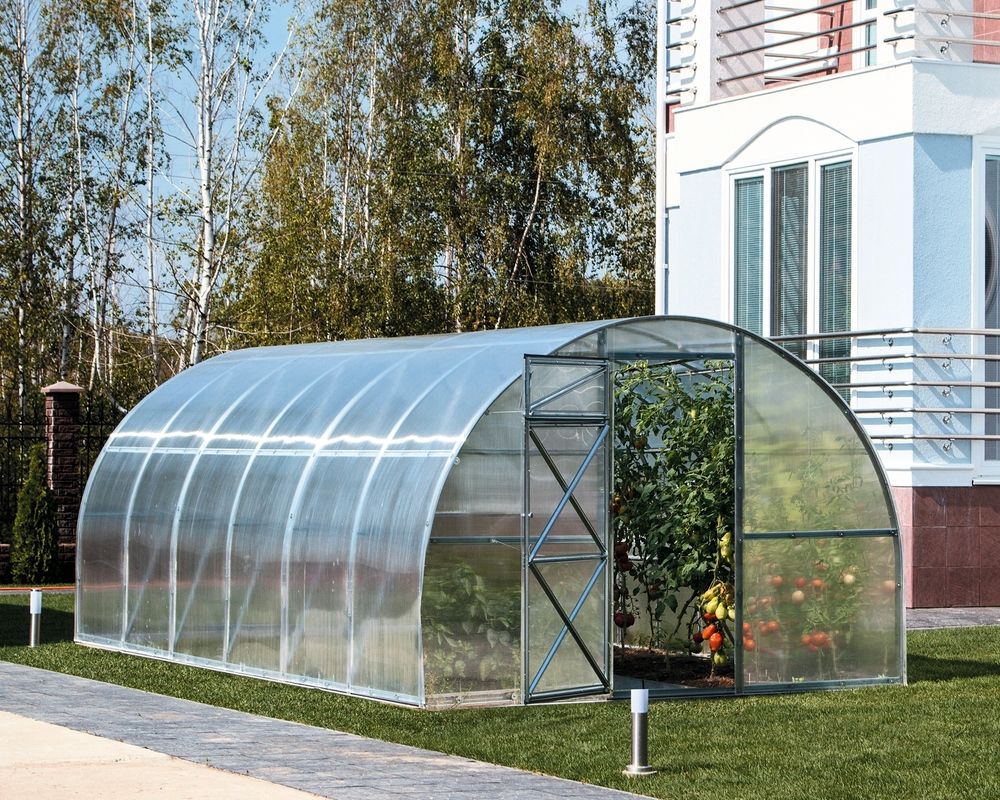
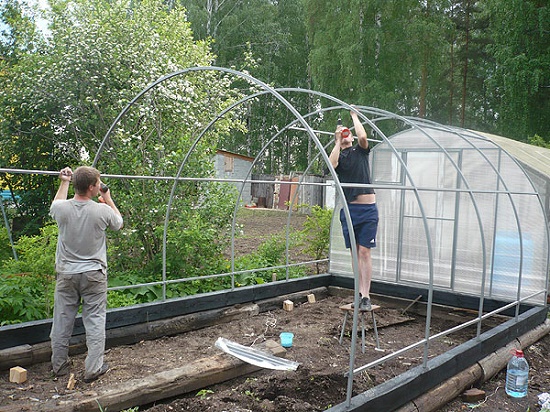
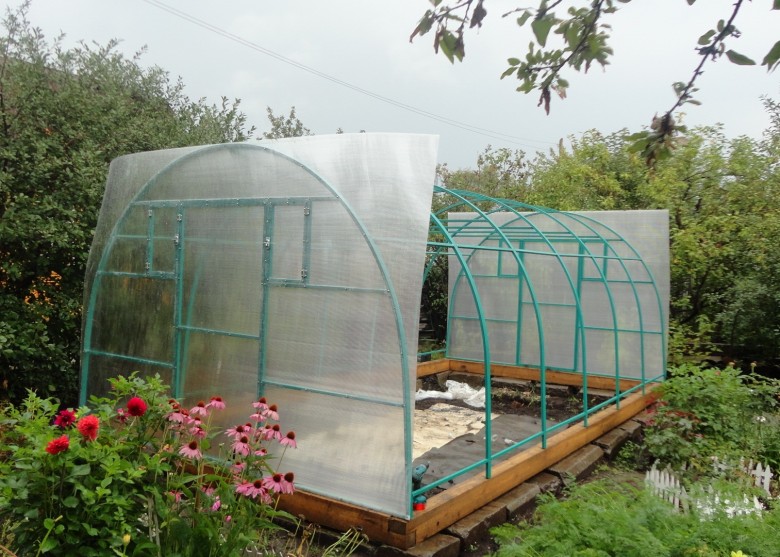
- Hangar type models represented by a well-thought-out design, which provides good protection from the wind. Due to the shape of the roof of the greenhouse can withstand a large snow load. Plants are in comfortable conditions, because they receive uniform illumination, and modern material retains deadly ultraviolet rays. The disadvantage of this type of construction is the need to monitor the amount of snowfall and promptly discharge it from the greenhouse.
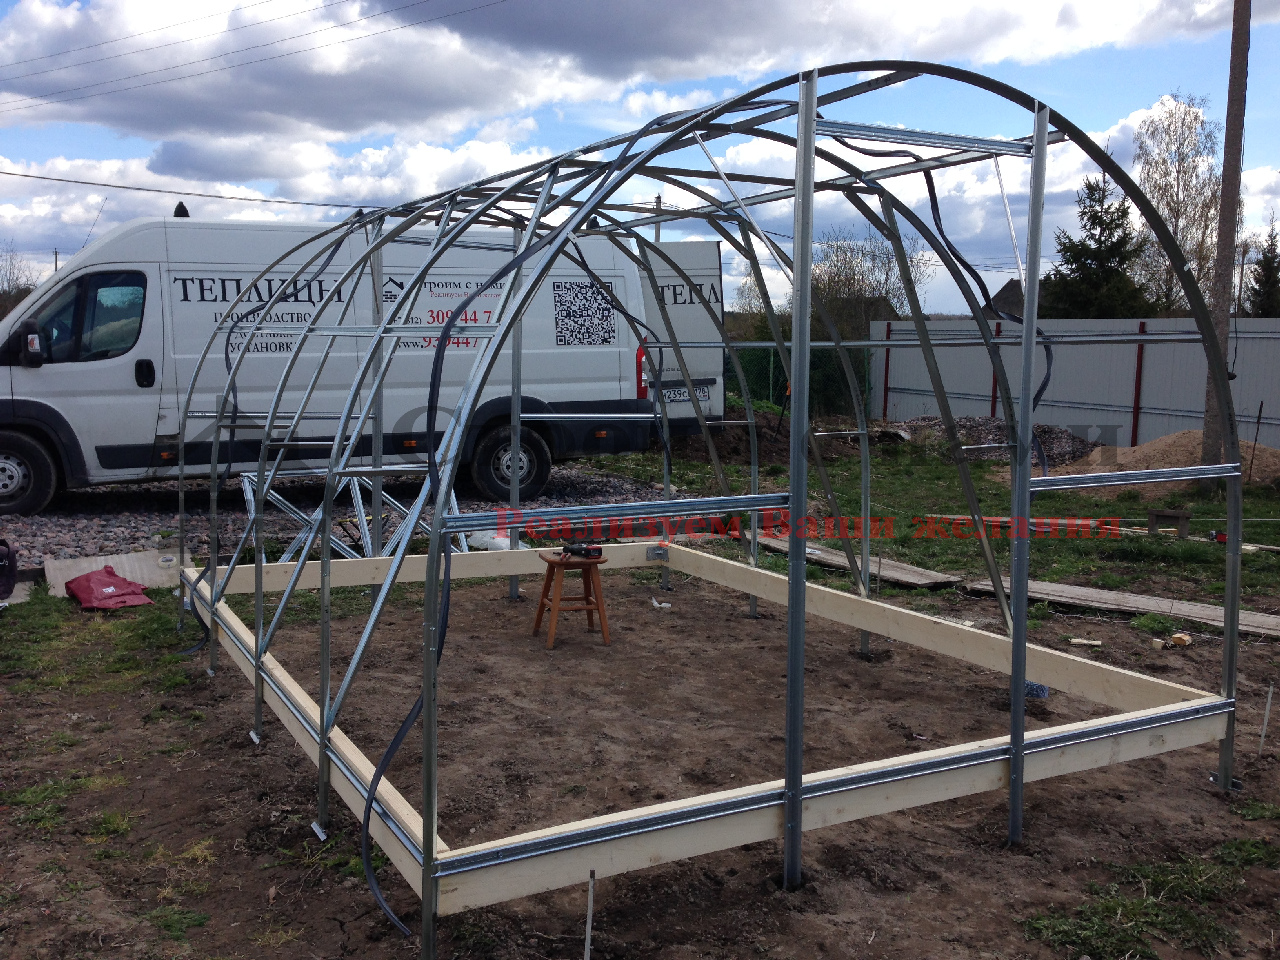
Installation and installation: how to do it right?
On how the greenhouse is installed and assembled, its service life depends. If done correctly, stable yields of tomatoes, cucumbers and peppers will be provided for the years ahead.
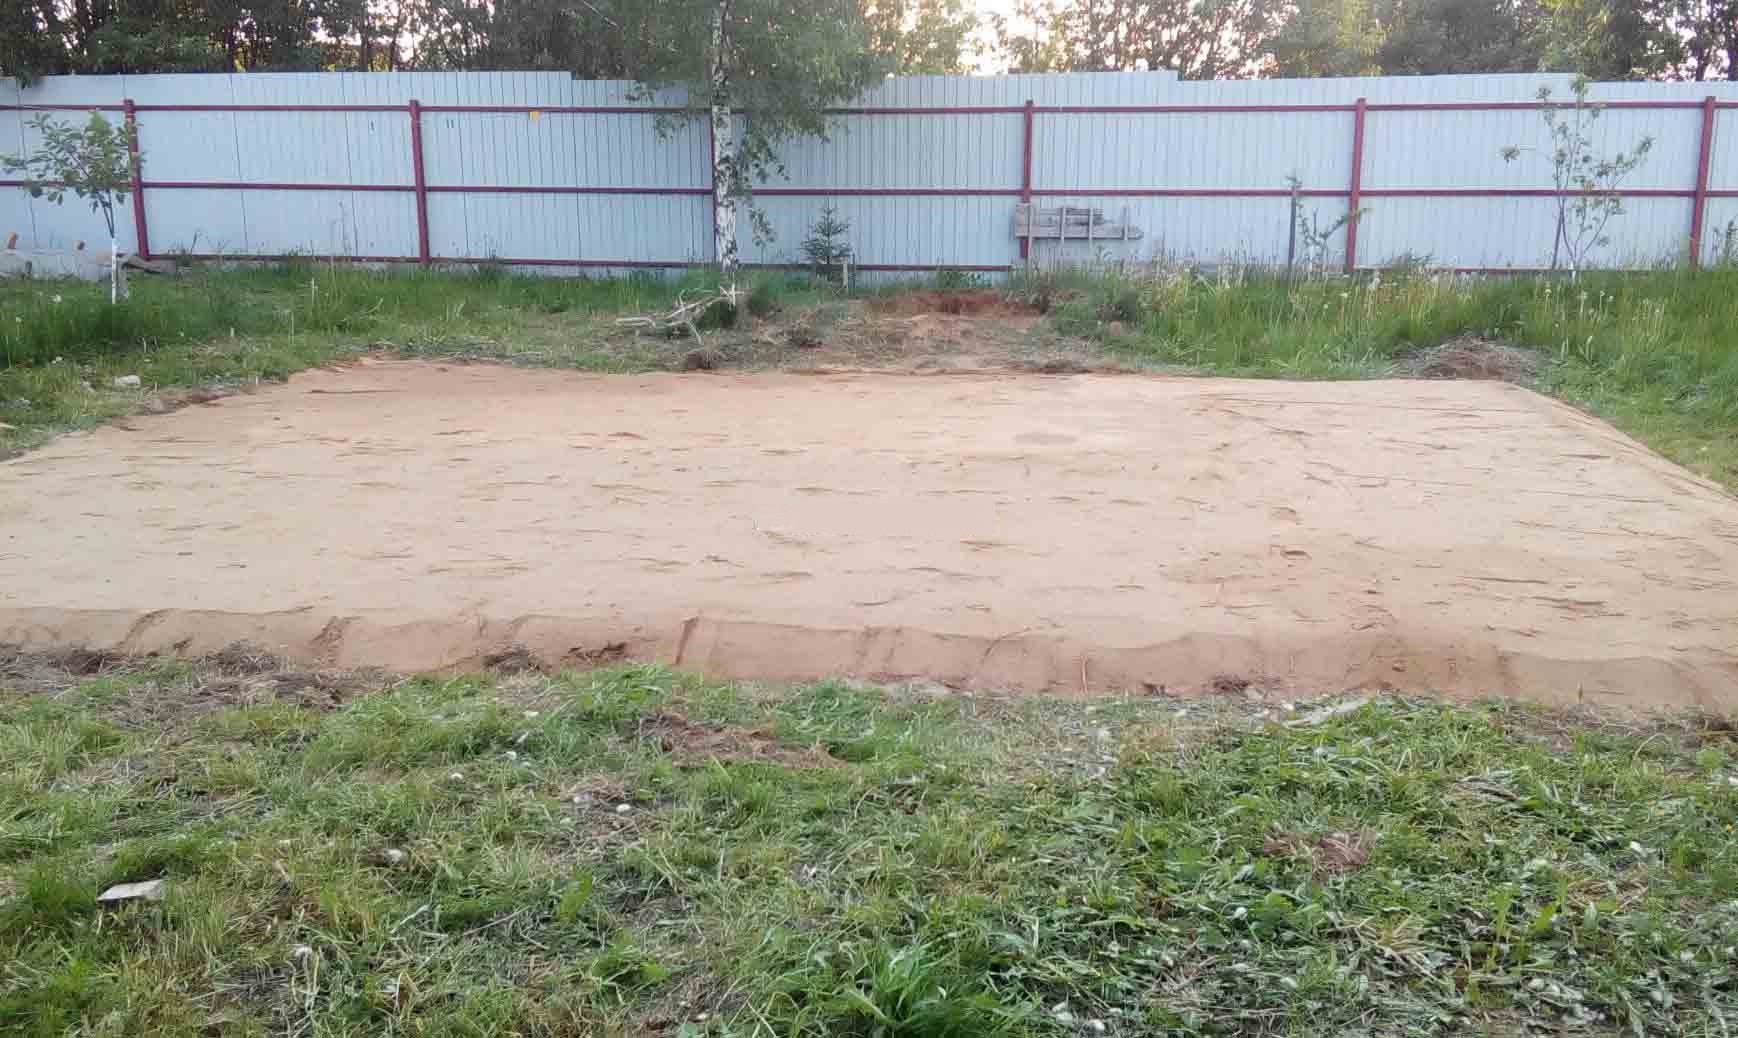
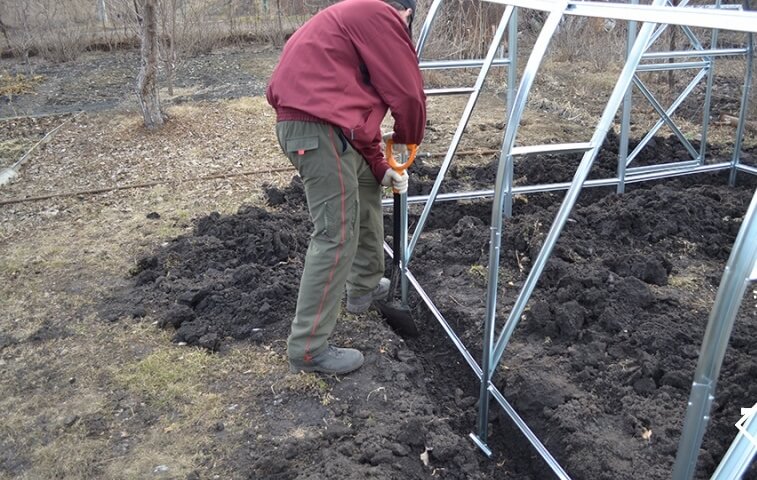
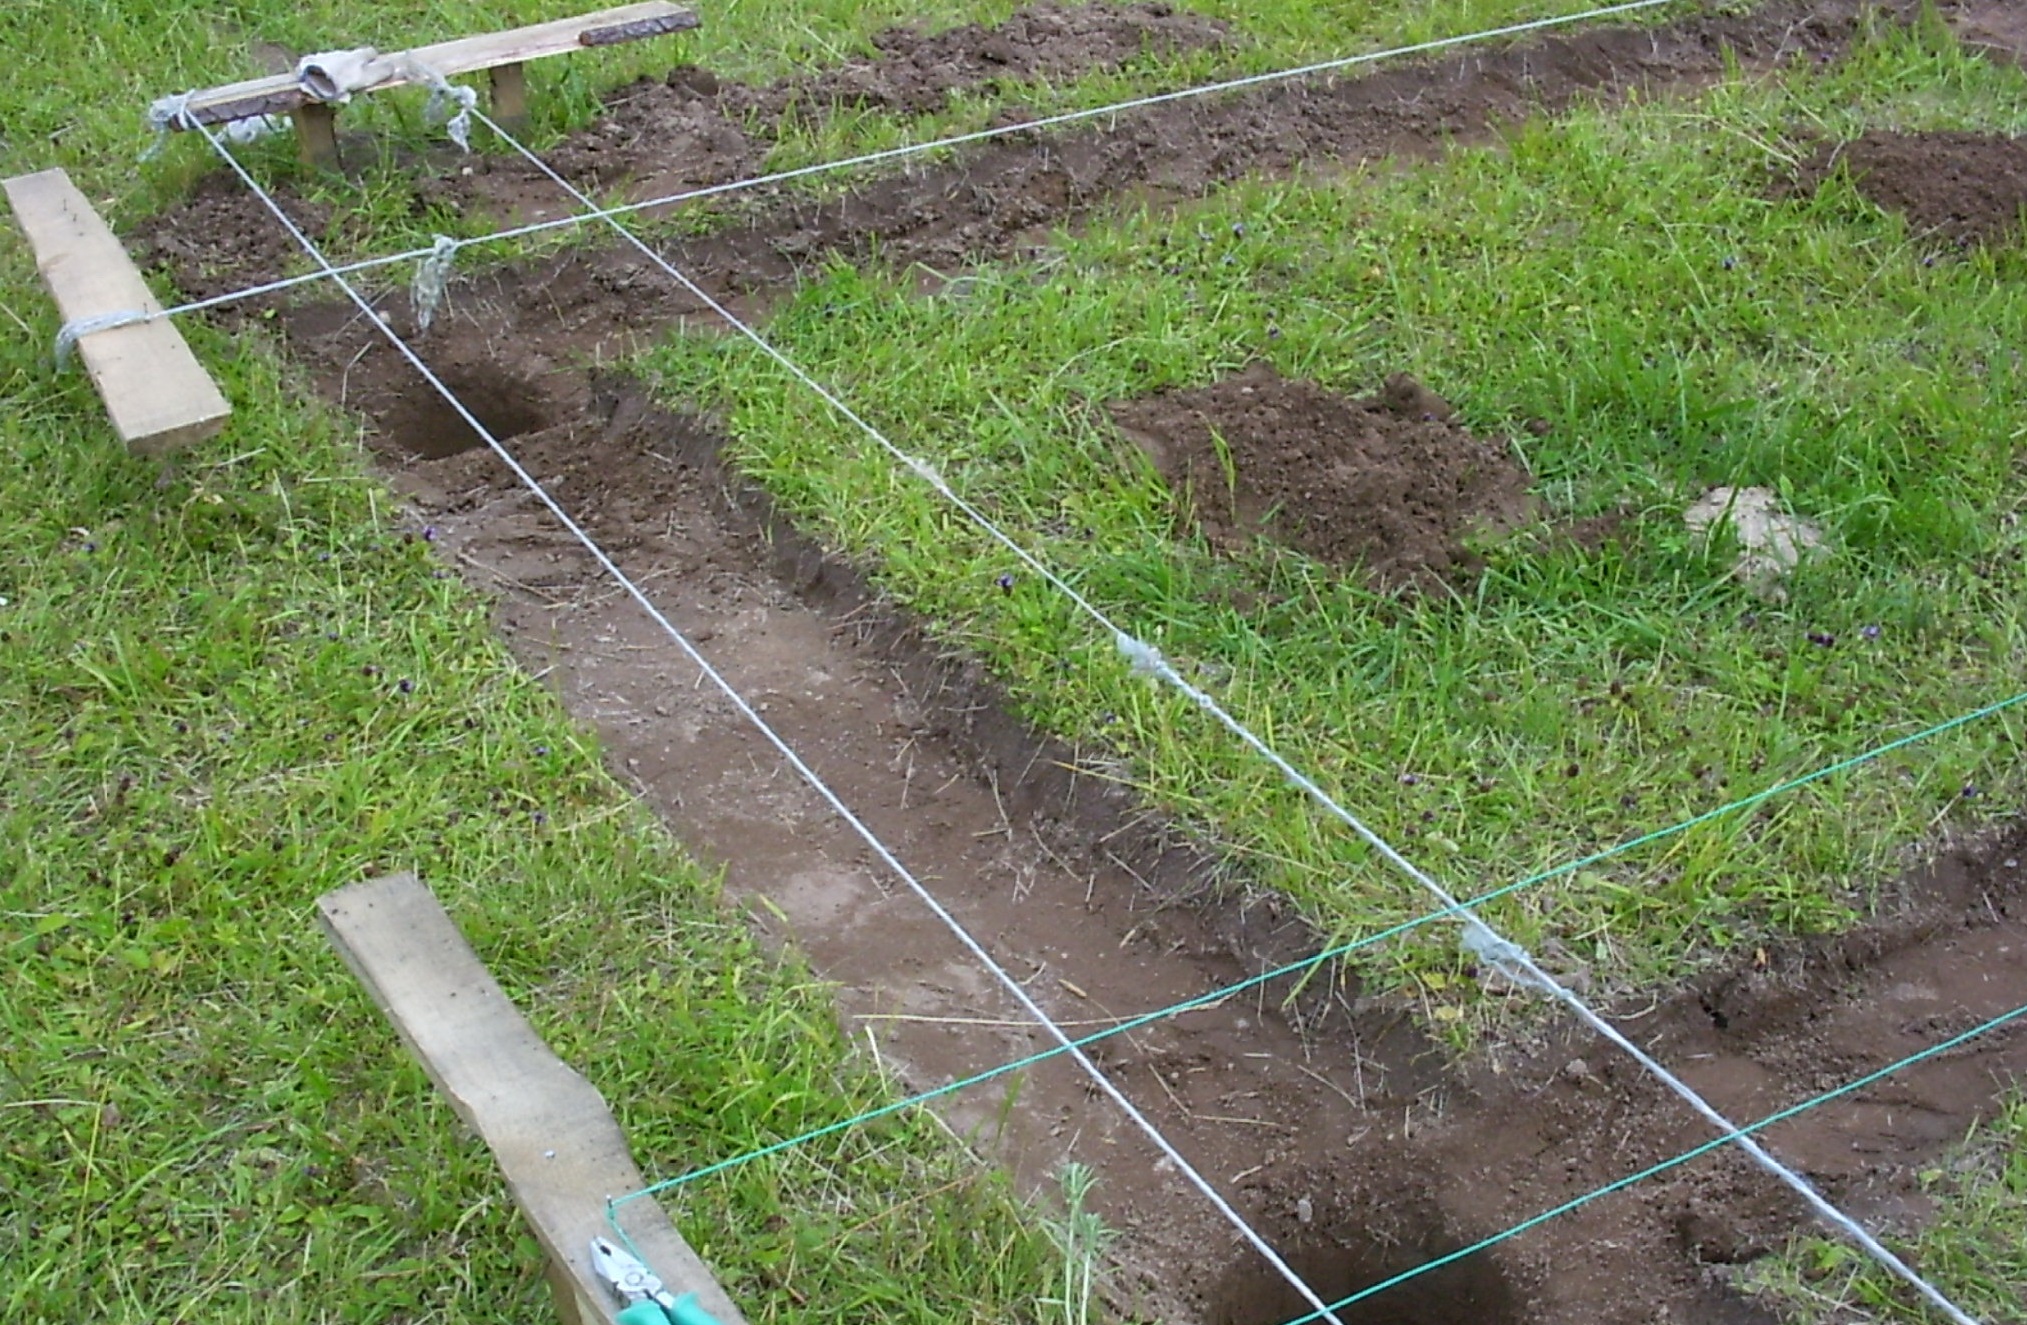
Preparatory work includes the following actions:
- choose a suitable place, since the sunlight should fall on the plants evenly, from all sides;
- prepare and level the plot. If this is not done, it will not be possible to install the structure correctly.

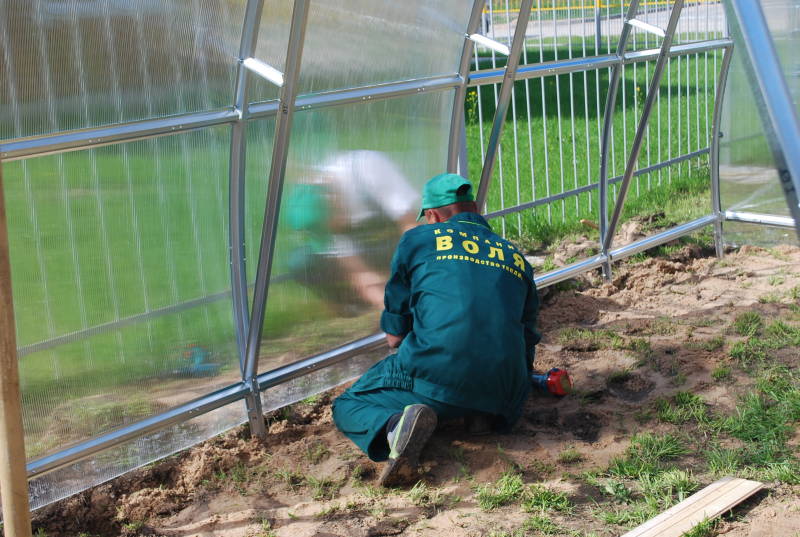
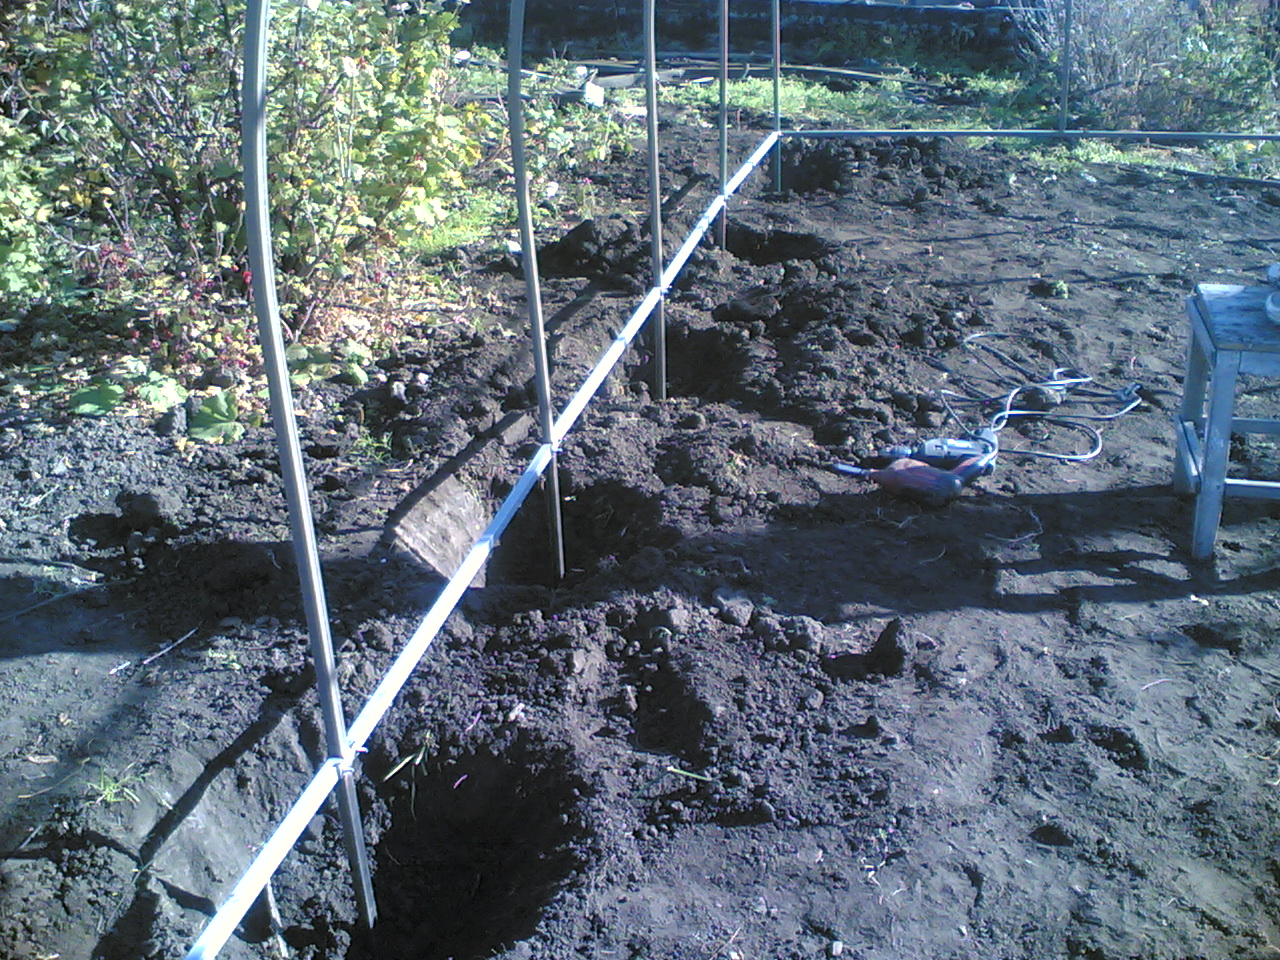
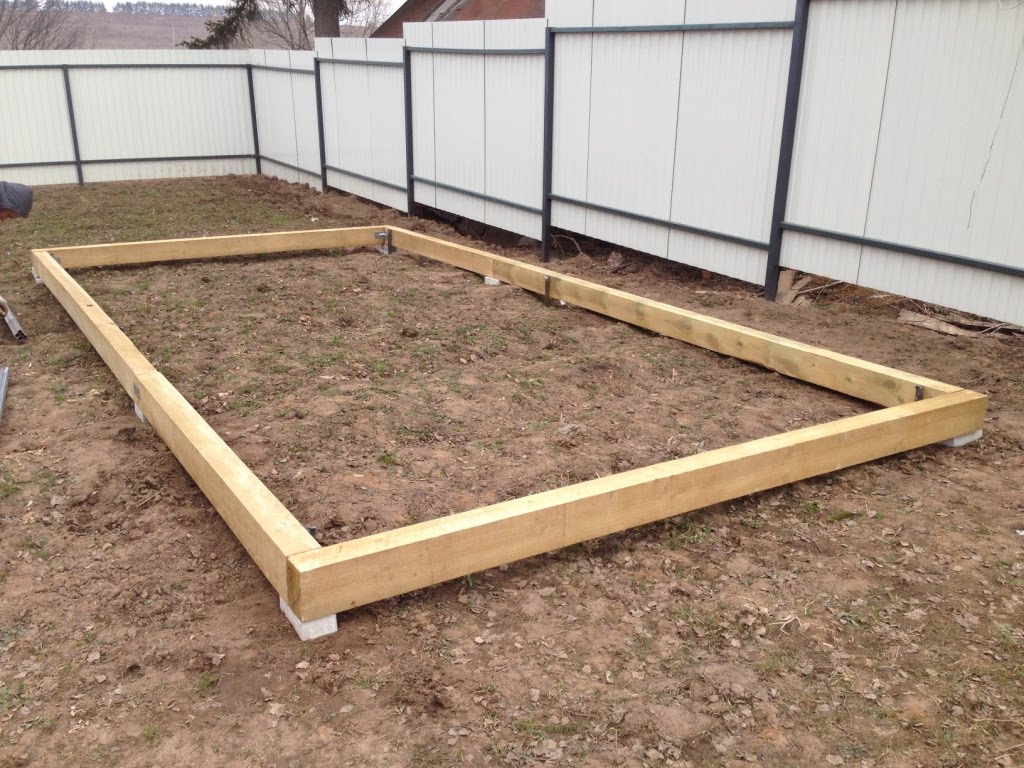
Greenhouses of Volya can be placed directly on the ground without using the foundation.
To do this, follow these steps:
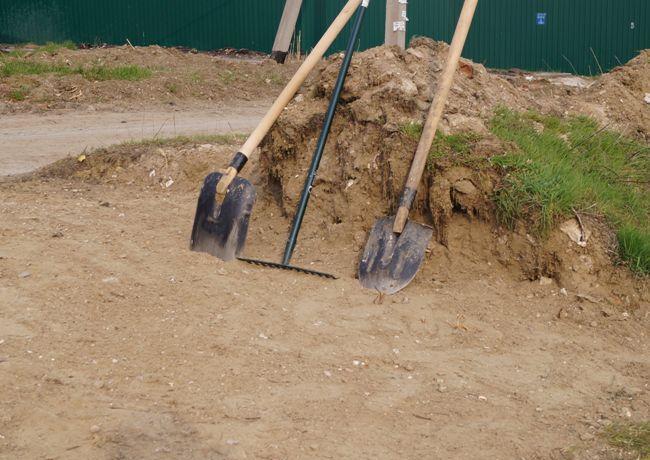
- dig out the grooves around the perimeter of the depth and width of the spade bayonet;
- install the assembled frame on the prepared place;
- align it with the level: vertical, horizontal, diagonal;
- grooves covered with earth and rammed;
- fasten the polycarbonate - first on the ends, sides;
- then cover the roof.
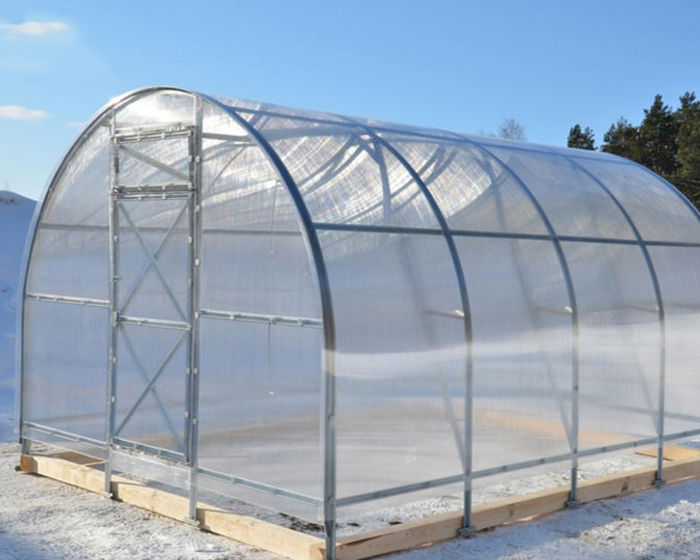
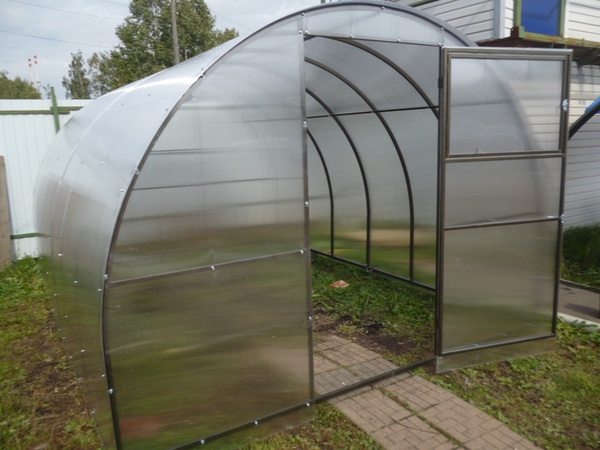
Greenhouse "Dachnaya-treshka"
Dachnaya-Treshka is an improved form of the Dachnaya-2DUM greenhouse. It differs from the prototype of a reinforced frame, as well as additional racks. As a result, the maximum snow load is increased to 180 kg / m².

Pros and cons of the model
The advantages of the model “Dachnaya-Treshka” include the following features:
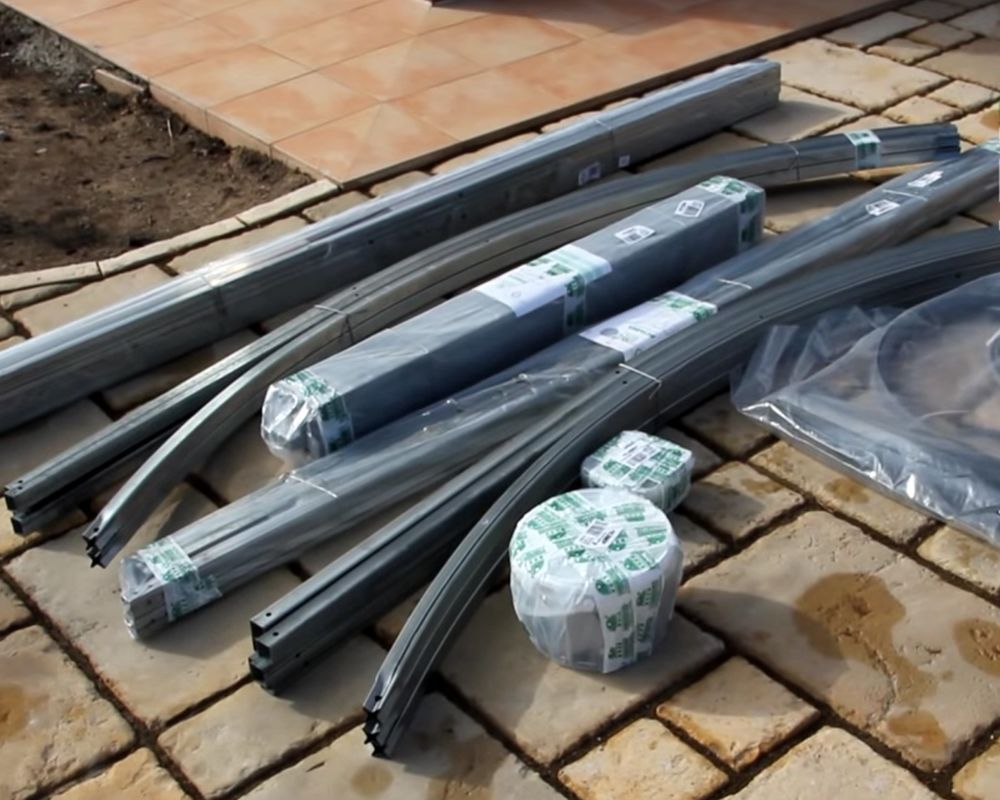
- compact packaging; if necessary, the kit can be taken away in a passenger car with a trailer;
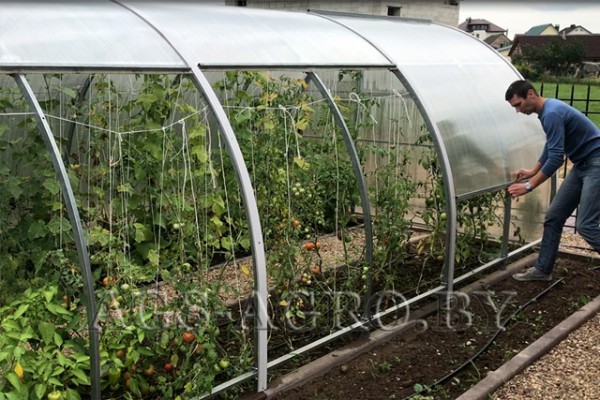
- ease of use - a height of more than two meters allows a person of any height to work comfortably inside the structure;
- there is enough space in the greenhouse for three beds with aisles;
- galvanized frame is characterized by increased resistance to corrosion.

This option has some drawbacks, namely:
- the structure may not withstand too much snow load;
- it will be rather difficult for an inexperienced assembler to assemble the collapsible frame, since it contains a large number of parts.
Frame parameters
The Dachnaya-Treshka model has standard dimensions: the width is 3 meters and the height is 2.1 meters. The buyer chooses the length according to his needs. The proposed options - 4, 6, 8 m. If necessary, you can increase to the desired mark.
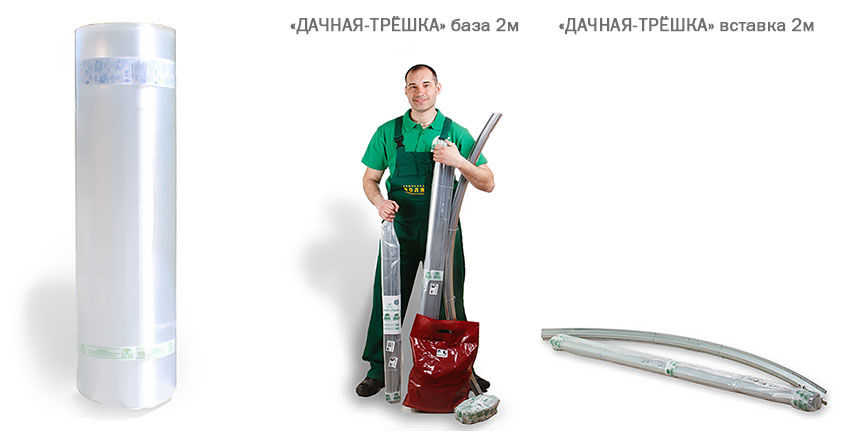
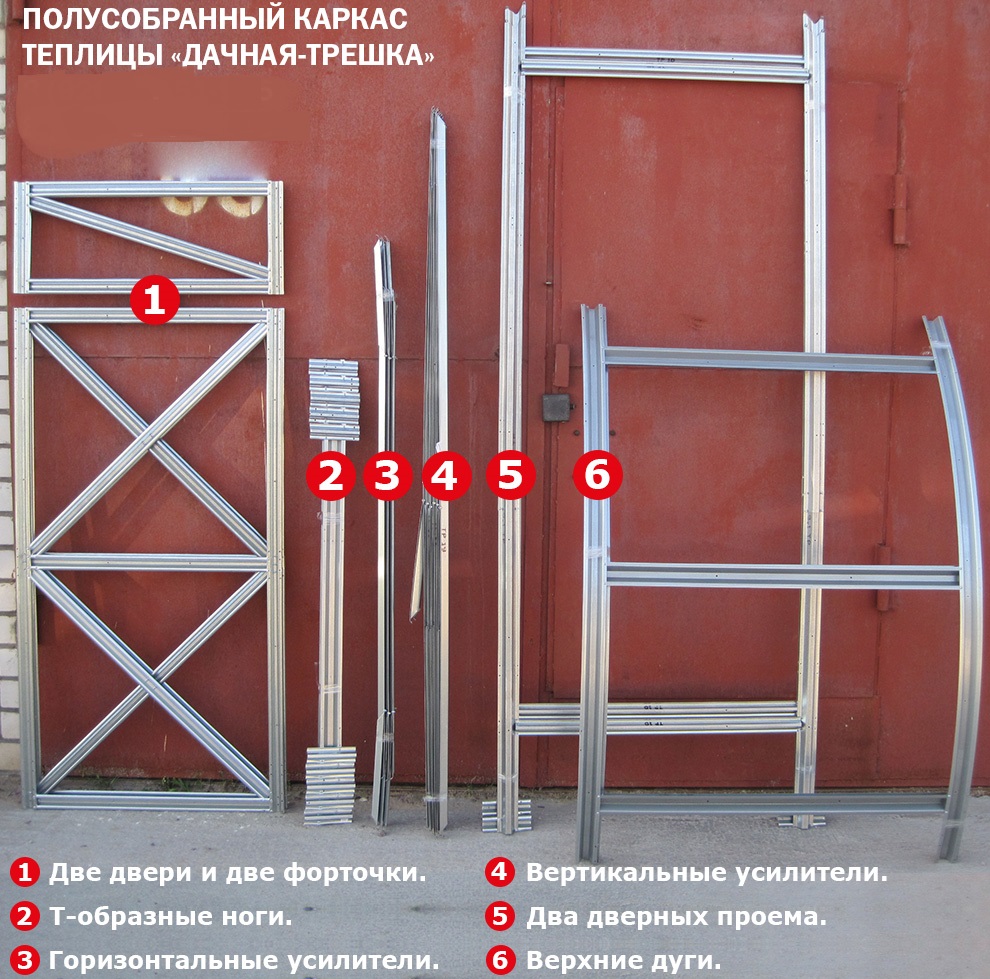
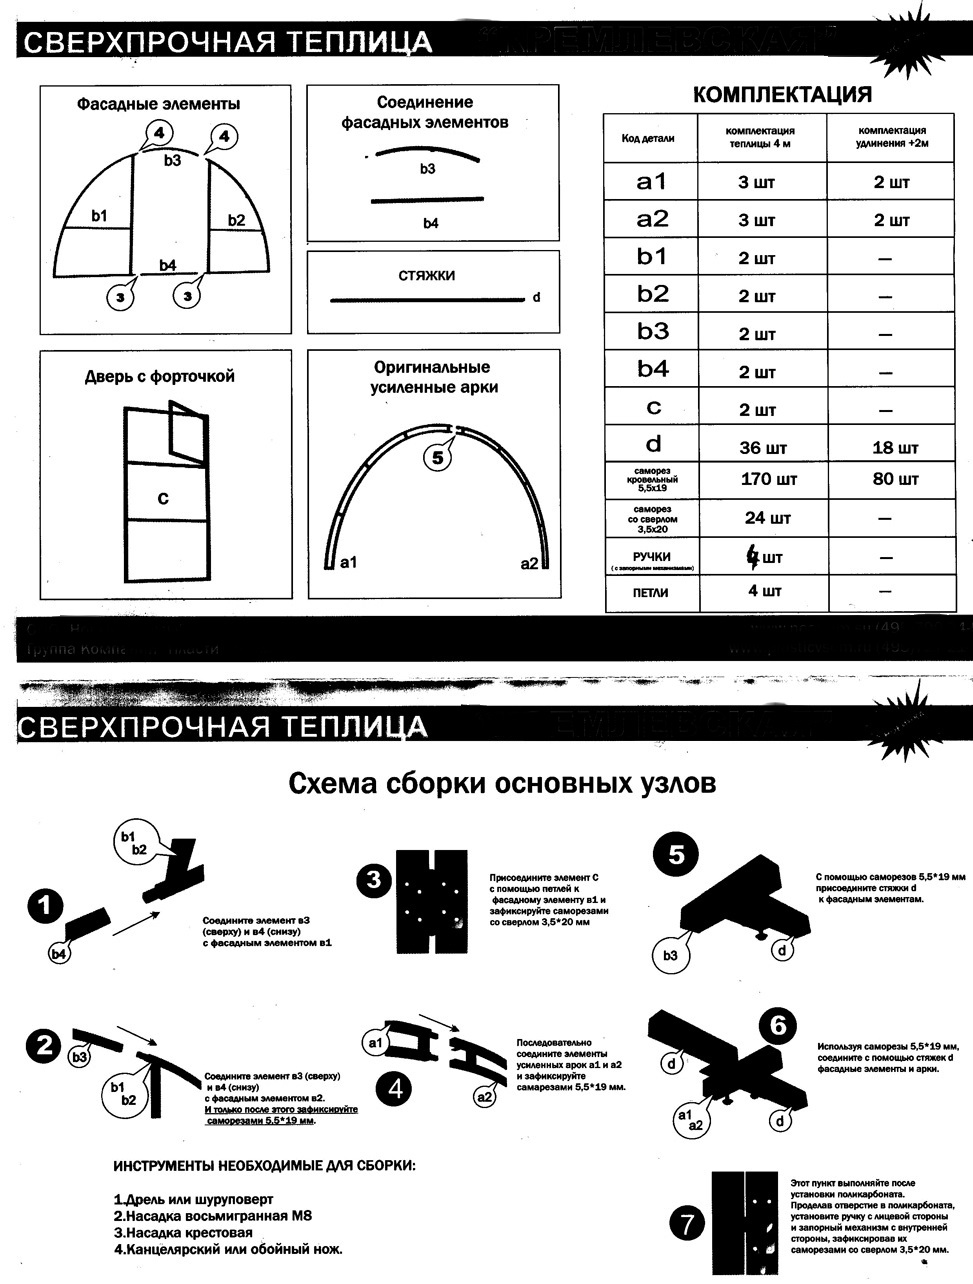
The basic configuration includes the following elements:
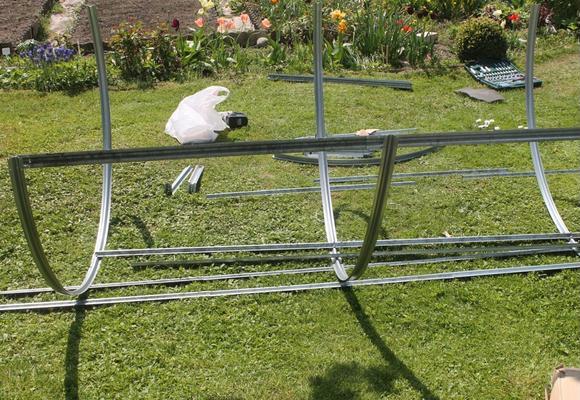
- precast frame parts;
- fastening screws and nuts;
- door, end, loopback seals;
- doors and vents on both sides;
- rack for installation in the ground.
Additionally, you can purchase items such as:
- side windows;
- partitions;
- shelves;
- galvanized beds;
- installation for drip irrigation;
- automatic ventilation system;
- set for heating greenhouses.
Location, Foundation and Assembly
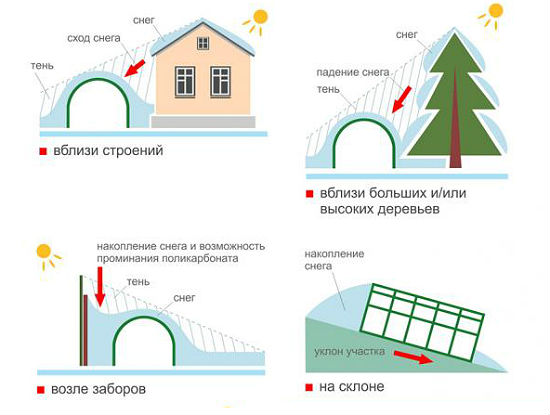
The distance from the greenhouse to buildings, tall trees and fences must be at least two meters. Otherwise, snow or ice, falling on it, can deform or completely break the structure. And you can not install a greenhouse near the roadway, as the dust eats into the coating, and the plants will experience a lack of light.
The best place to locate the greenhouse is the south or southeast side of the plot. It is good if the capital structure serves as a cover from the north.
Relative to the cardinal points, the greenhouse is, if possible, located facing east and west.

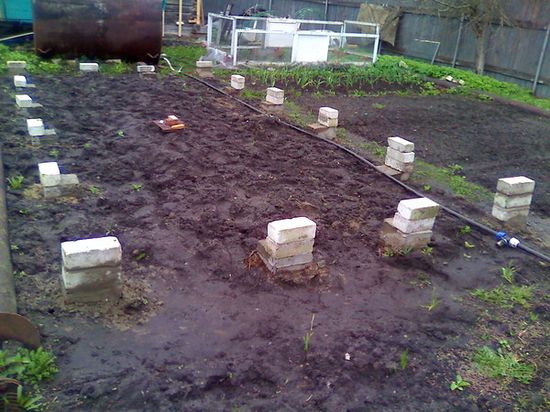
Before you decide to put a greenhouse on the foundation, you should consider all the advantages and disadvantages of this method of installation and decide whether it is needed.
The presence of the foundation has the following advantages:
- protection from pests, rodents and soil frosts;
- the design more reliably withstands strong winds;
- reduced heat loss.
Minuses:
- you need a more responsible approach to the choice of location, since it will be very difficult to move the greenhouse;
- the installation process is complicated, more time and effort is spent. For example, when building a brick foundation, you will have to wait about a week for it to set. And if you pour in concrete, then ten days;
- additional expenses for building materials (brick, cement, crushed stone, sand, rebar) will be required;
- if one pours a concrete strip foundation, one person cannot cope, the solution freezes quickly;
- as a result, the payback period of the greenhouse increases.


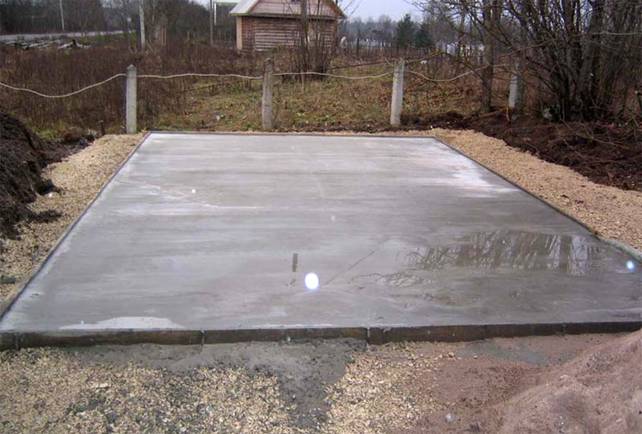
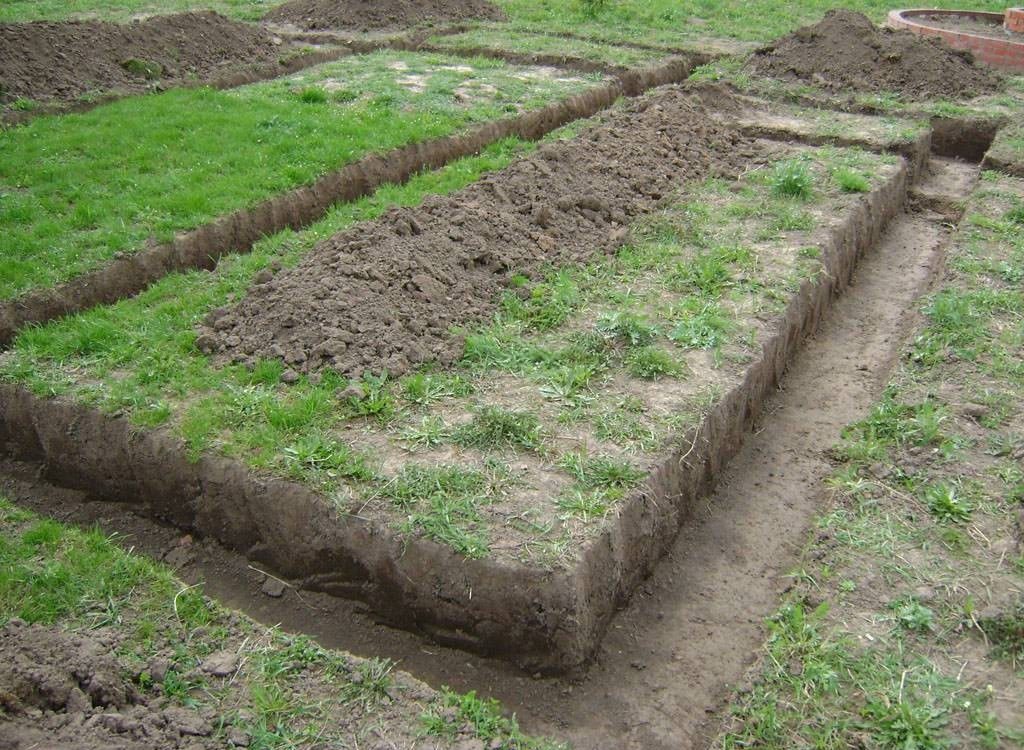
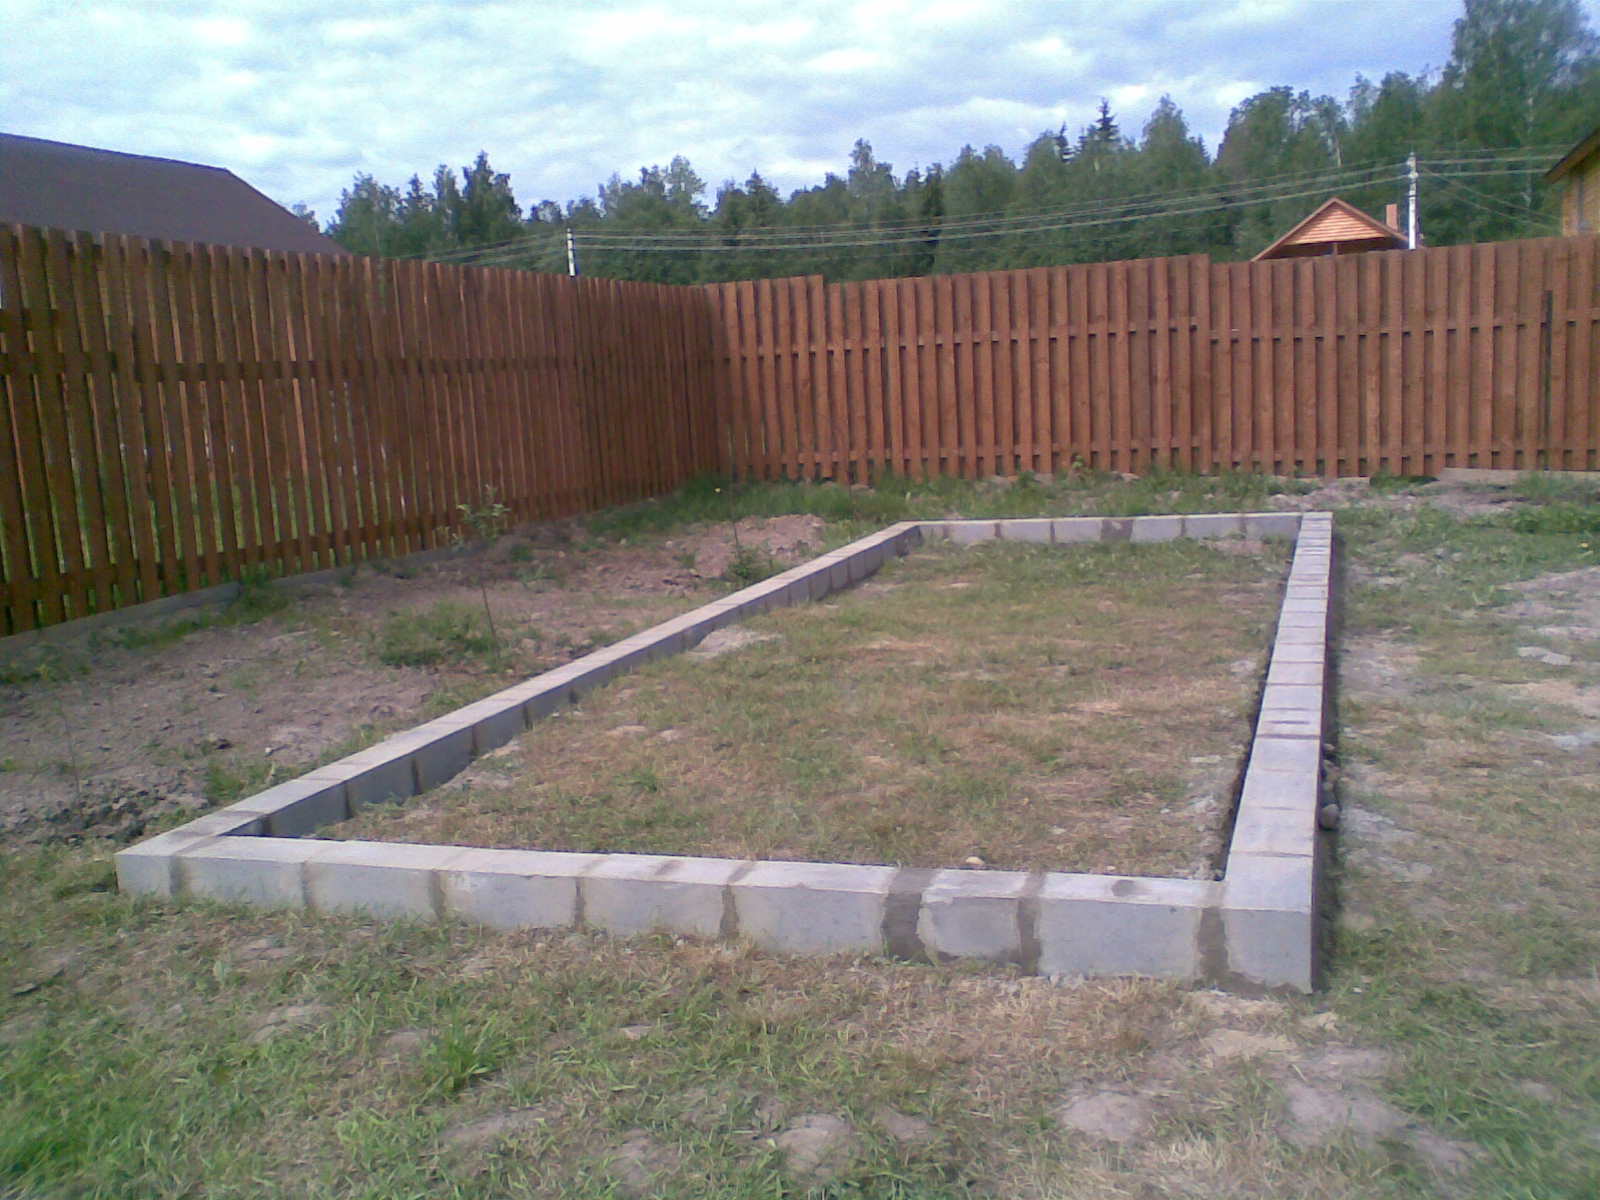
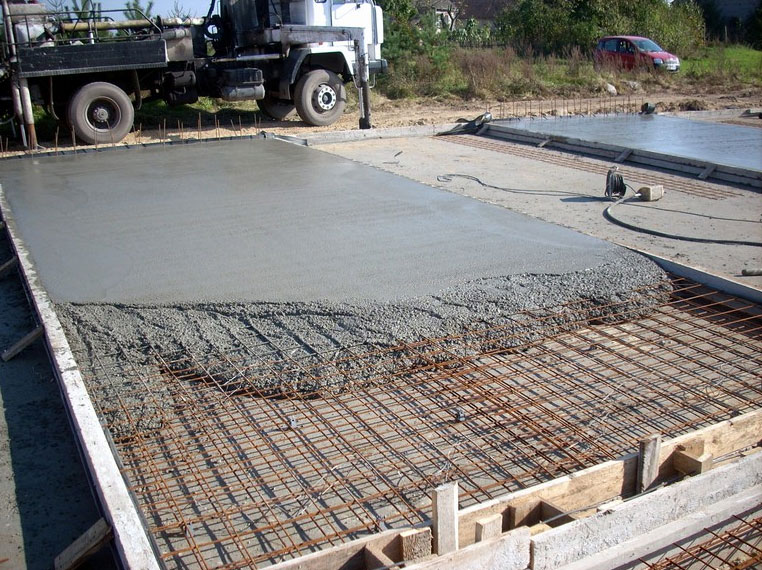
For the manufacture of the foundation you need to perform the following steps:
- clear the area;
- mark up the length and width of the greenhouse;
- dig a ditch 30–40 cm deep and 15–20 cm wide;
- carefully level and tamp the bottom, cover the sand with a layer of 10 cm;
- pour water and again well compacted;
- put the formwork, for its production using boards;
- prepare a solution: cement brand M200, crushed stone and sand mixed in a ratio of 1: 1: 2;
- pour the foundation, laying it with reinforcement (metal bar);
- after about one or a week and a half the formwork is removed;
- for increase in service life impose a waterproofing (roofing material or bitumen).
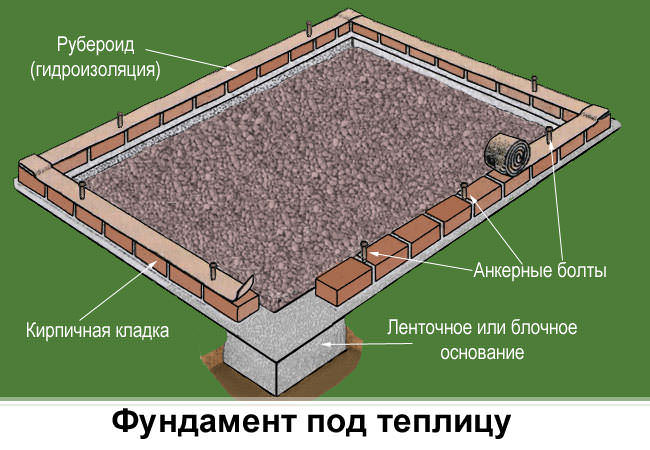
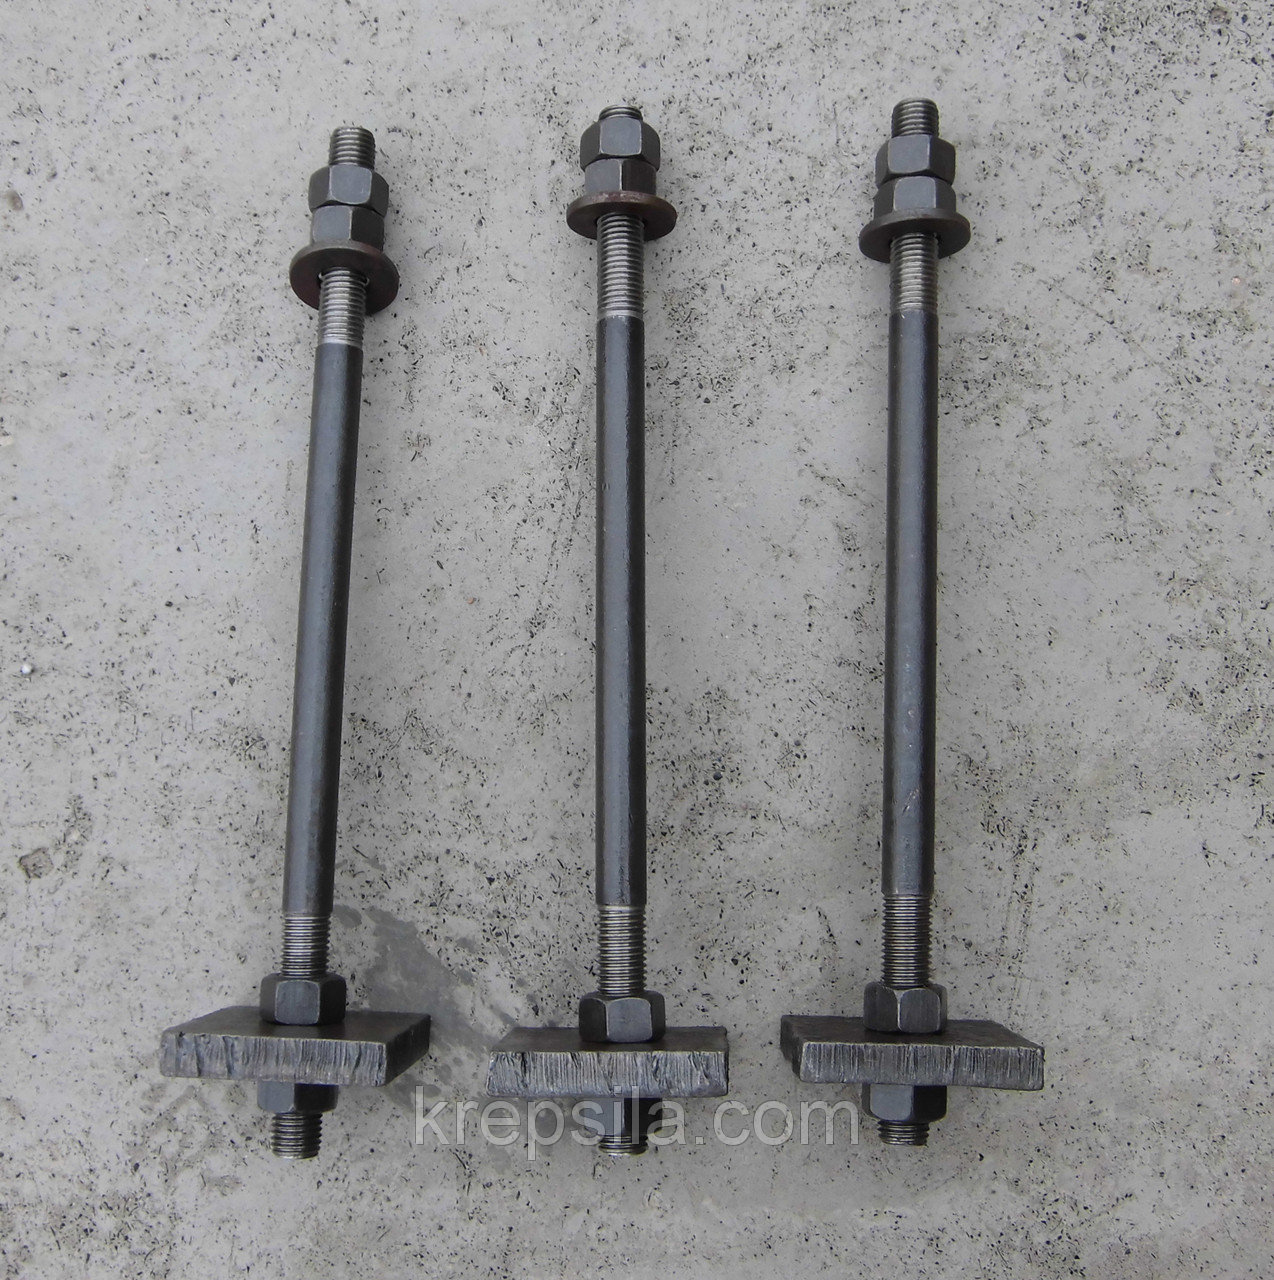
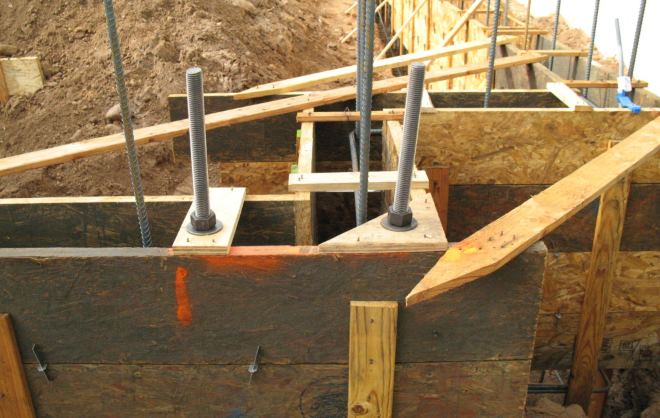
When building the foundation, one more important point needs to be taken into account: during casting, anchor bolts with a length of 50 cm and a diameter of 20 mm are installed. The depth of immersion in concrete should be at least 30 cm, on the surface - 20 cm or more. The frame can be screwed to the bolts with metal wire.
The greenhouse thus fixed is able to withstand any natural disasters.
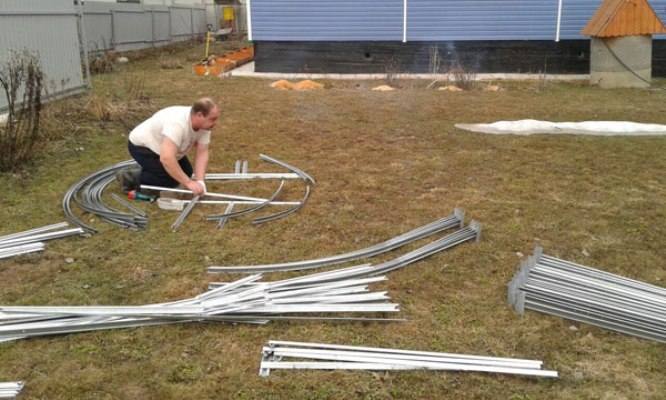
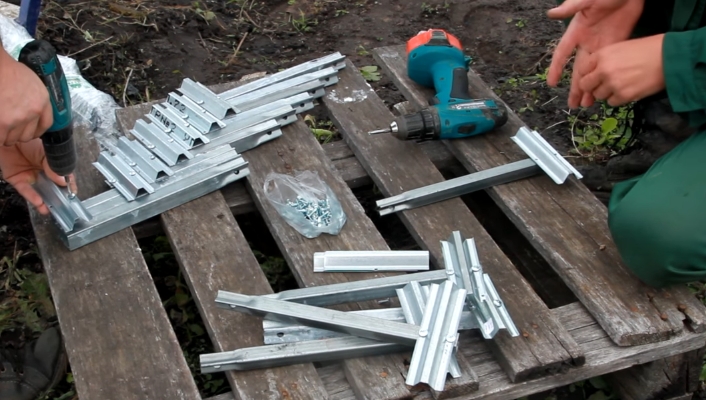
After choosing a place and filling the foundation, the most difficult part of the work begins. - from a variety of parts you need to assemble the frame of the future greenhouse.Usually at this stage, many novice gardeners come to a standstill. However, as they say, "the eyes are afraid, but the hands do." One has only once to collect the greenhouse, to penetrate into this matter, as it becomes clear that there is nothing very difficult in it. Just for the first time will have to spend more time.
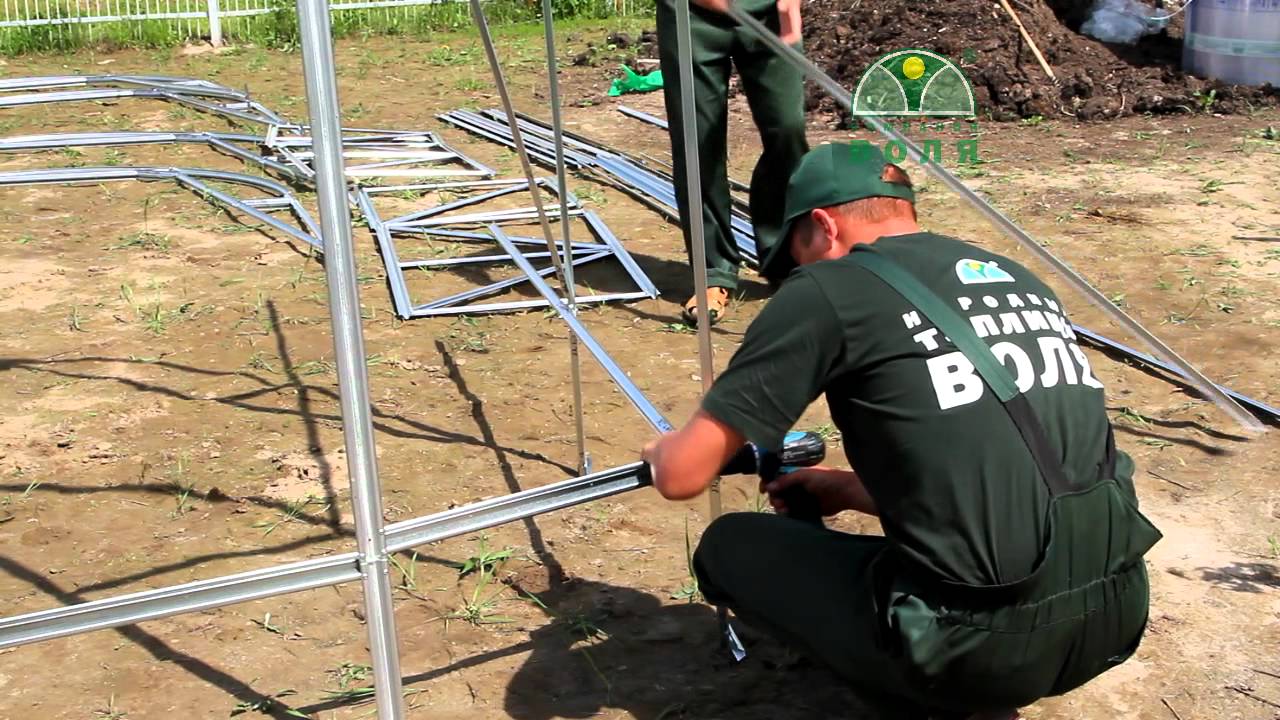
The main problem is that the instruction from the manufacturer contains mostly diagrams, the text is very small. In addition, it is not enough to read, you need to still define every detail. To some extent, this is intended to help the labeling that is placed on each element. Connect the parts to the factory holes attached with bolts and nuts. You do not need to drill or buy anything. Work better in gloves, so as not to injure your hands on sharp edges.
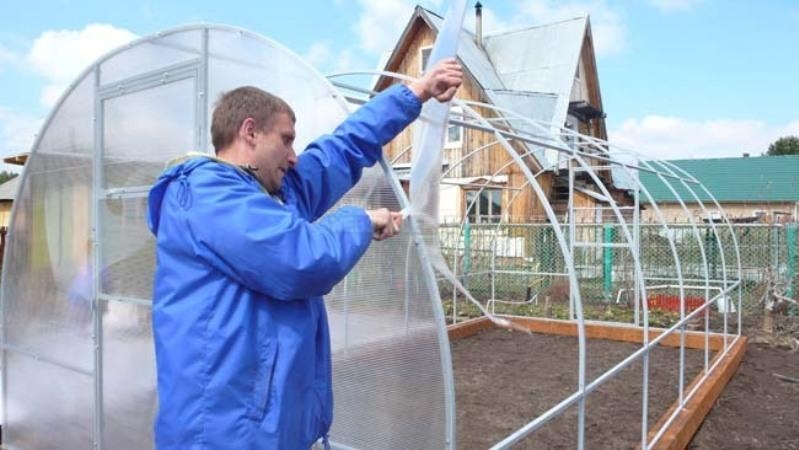
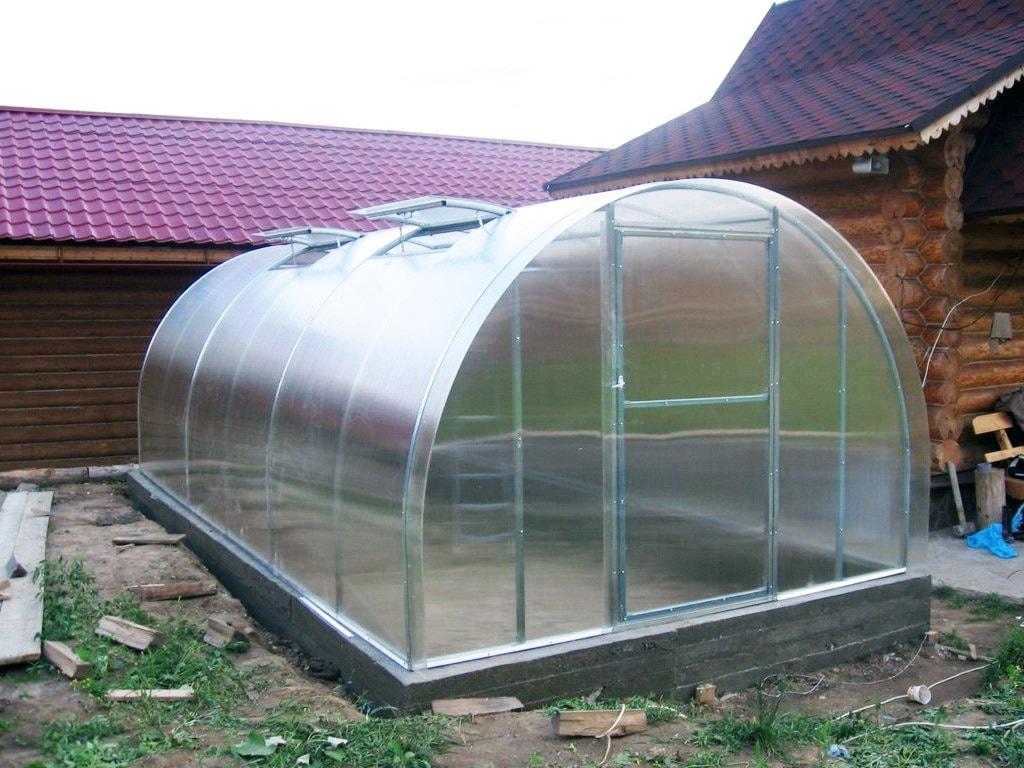
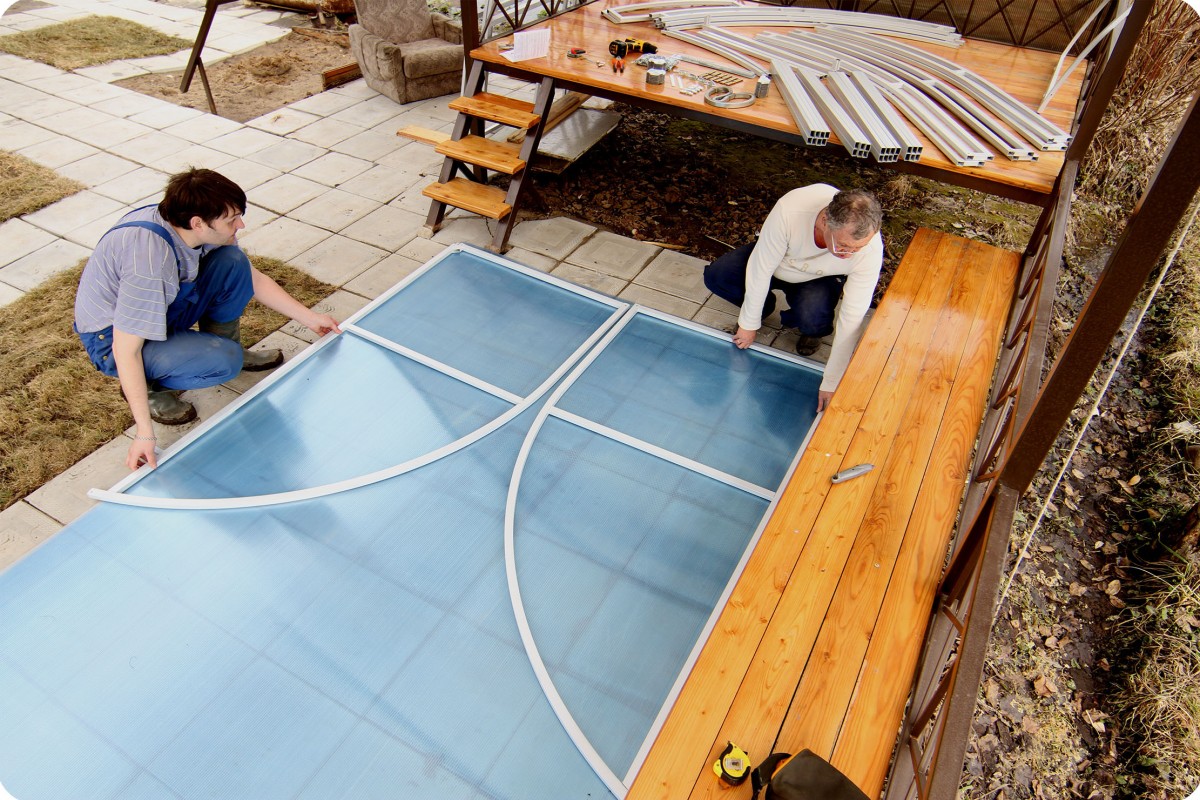
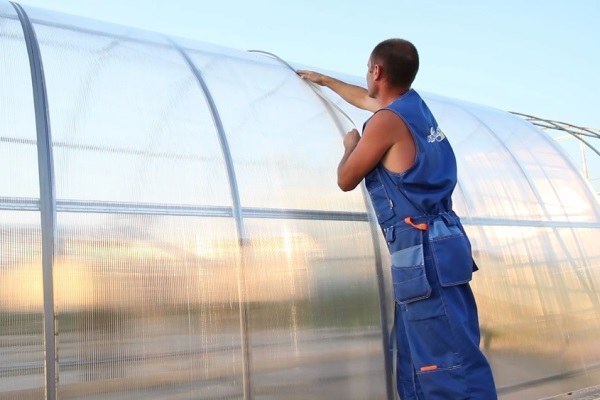
After the greenhouse is assembled and installed, it is covered with polycarbonate.
Before starting work, it is necessary to once again check the correctness of the structure with the help of a building level.
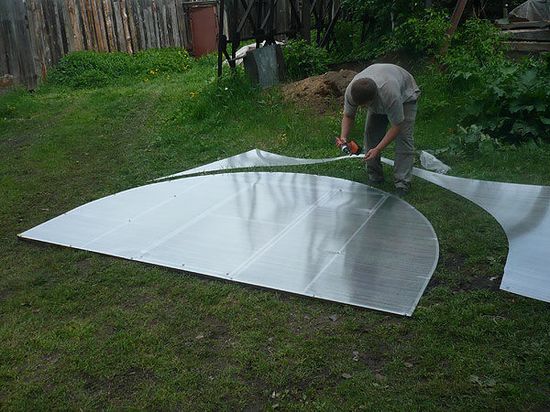
Then you can go directly to the installation of the coating, to do this, follow these steps:
- cut off from the whole polycarbonate web 3 meters;
- attach a piece to the end and mark the line of trimming;
- carve out a pattern;
- make the rest of the markup according to the instructions.
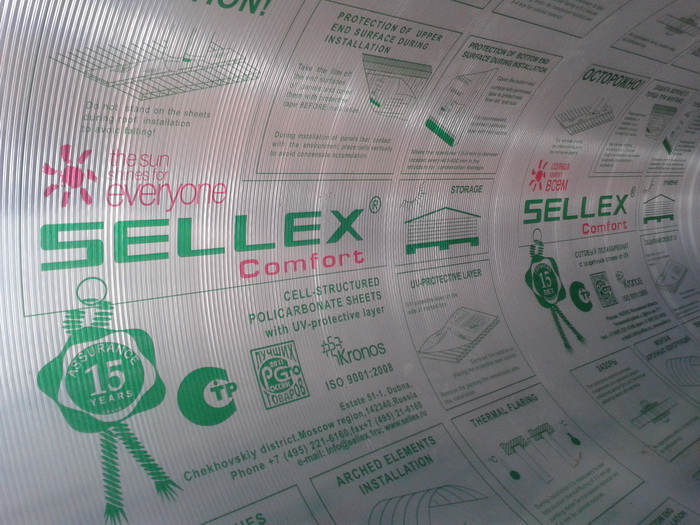
Important! It should be noted the side where the film has inscriptions. It is protected from ultraviolet radiation and must be secured outside. When the film is removed, the sides cannot be distinguished.
If installed incorrectly, polycarbonate will quickly collapse.
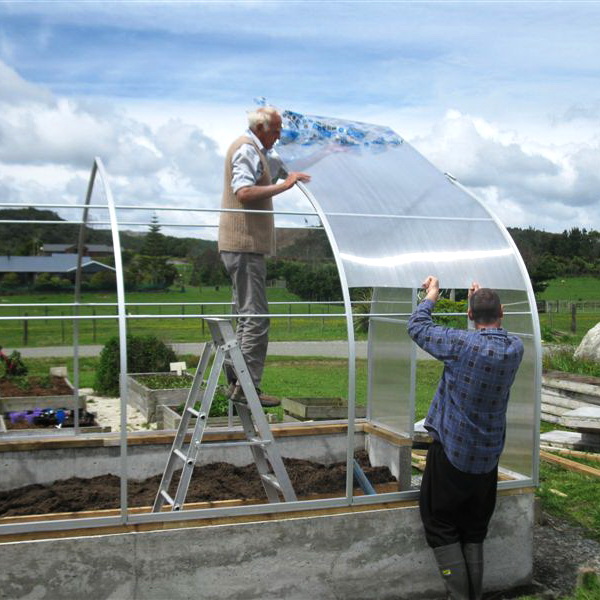
Once the ends are closed, proceed to cover the sides.
It should be remembered that:
- polycarbonate should protrude uniformly from all sides;
- the next sheet overlap;
- fixed at the edges of the frame.
The last stage is the installation of doors and vents. In the process, you need to carefully tighten the screws to prevent deformation and destruction of the coating. The final touch is to seal the gaps between the foundation and the greenhouse with mounting foam. If there is not enough time and effort to carry out all the above work, then it is worth entrusting the assembly to professionals.
Reviews about greenhouses company "Volia"
In general, the models of Volia received good and excellent marks for quality and practicality.
Especially highlight the following points:
- convenience, the design of the greenhouse is thought out to the smallest details;
- You can choose the right size;
- installation option without foundation is provided, which means that if necessary it can be easily transferred to another place;

- there are vents for airing;
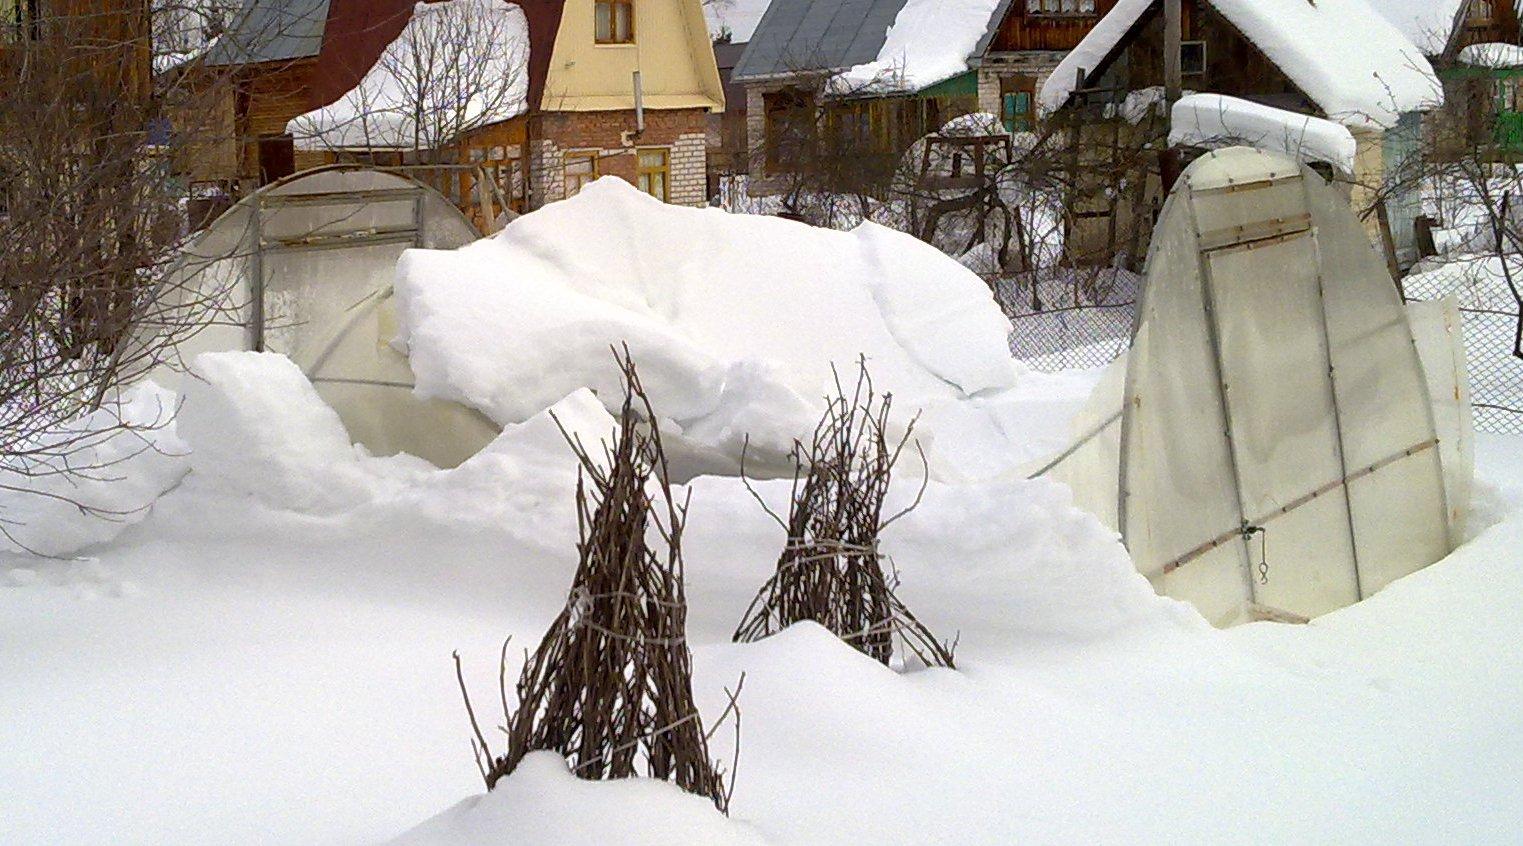
- models with increased snow load easily survive the winter, with the rest of the snow still need to be removed;
- If you look at the work carefully and thoughtfully, then the assembly, installation and installation are not difficult.
In addition to positive, there are also negative reviews.
Basically, the following points are noted:
- Some sections in the instructions are incomprehensible, there is little text, and the diagrams are hard to read;
- sometimes there is a low quality of parts and fasteners, the holes are not bored out or completely absent;
- incomplete, you have to buy the missing items.
To learn how to assemble and install a greenhouse "Dachnaya - Treshka" from the company Volya, see the following video.


