Features of wall insulation foam panel

A private house will be more cozy and comfortable for living if it is warmly insulated. Fortunately, for this in our time there are many different materials. It is possible to choose a suitable heater for any needs and for any wallet. Today we will talk about one of the most popular thermal insulation coatings - Penlex.
Coating properties
Currently on the market of insulation materials you can find products with a variety of performance characteristics. Without these components it is impossible to imagine a modern private building. In such homes without reliable insulation just can not do, especially in the cold season.
Modern insulation materials are also good because they can save on heating systems.Moreover, in a well-insulated house it will be quite possible to do without buying additional heaters, which often “eat up” a lot of electricity. Moreover, in a well-insulated house it is quite possible to do without buying additional heaters, which often “eat up” a lot of electricity.
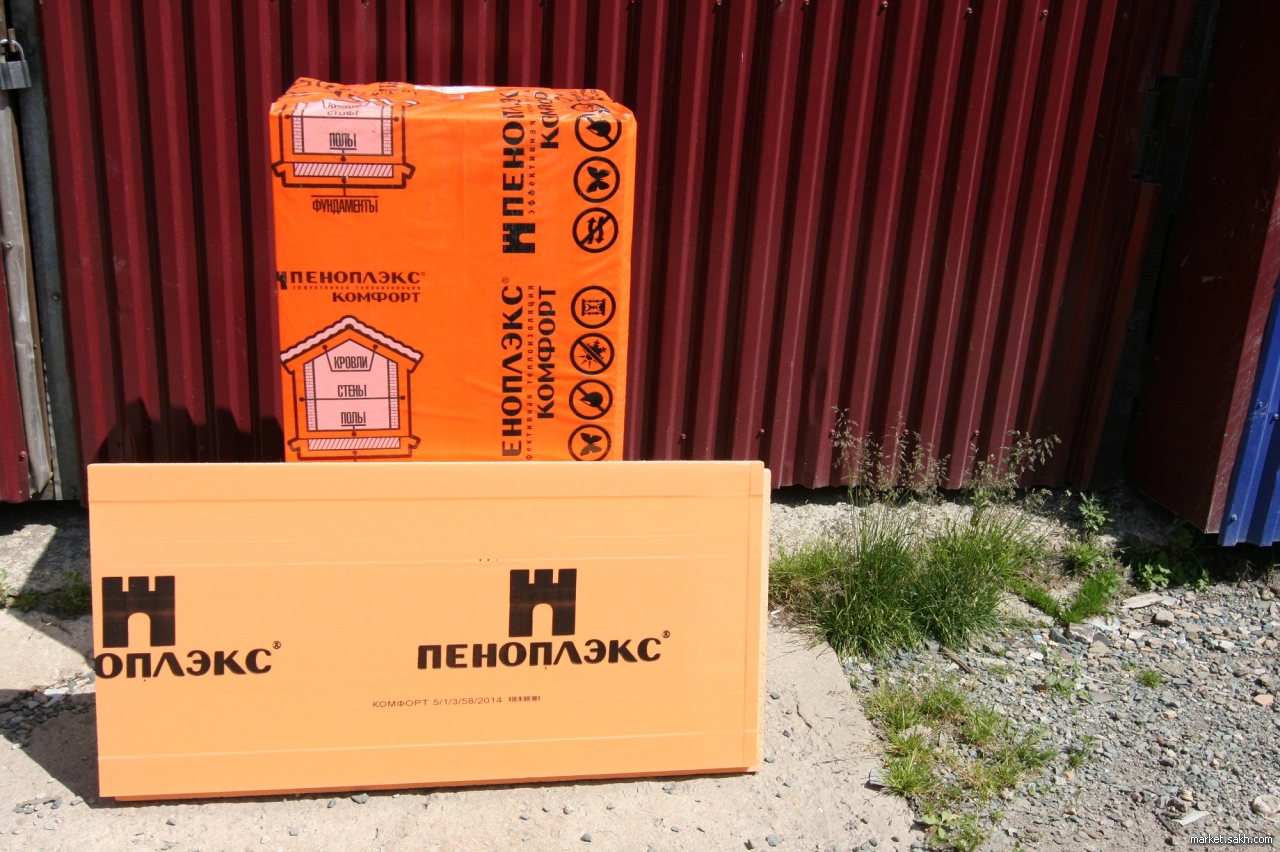
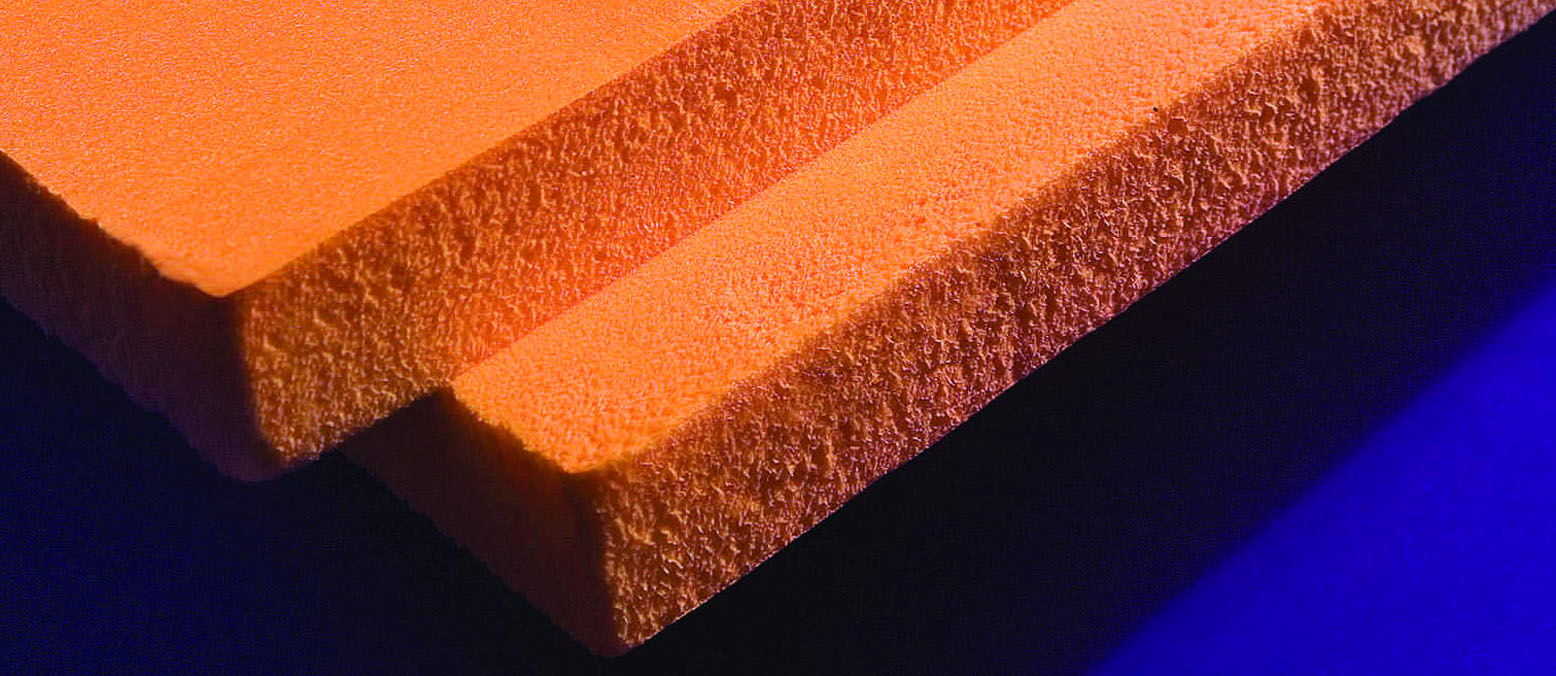
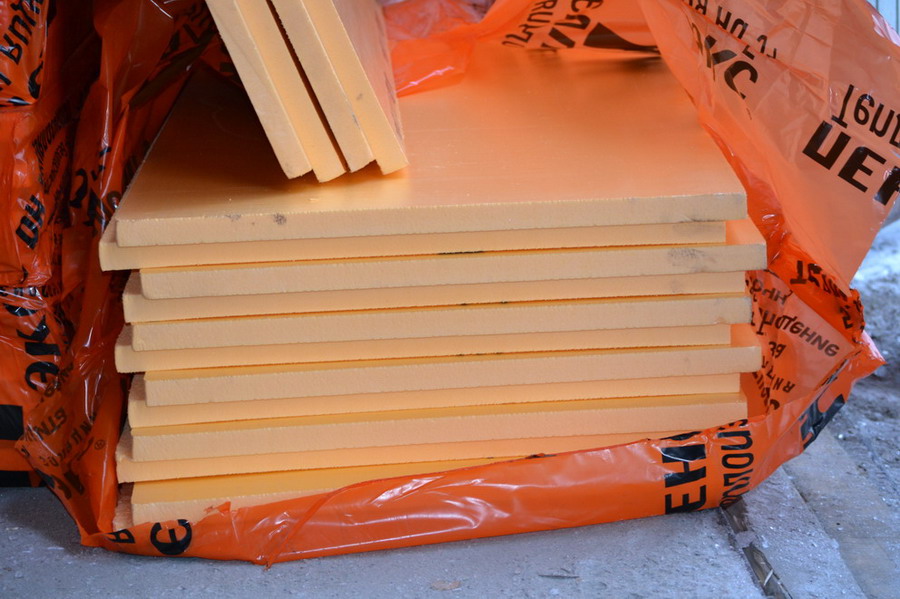
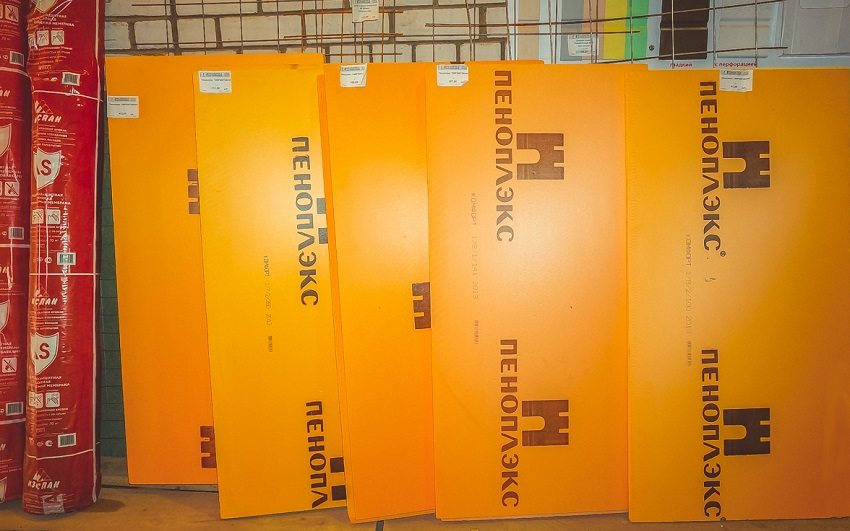
One of the most popular thermal insulation materials today is penoplex. It is expanded polystyrene, which is extruded during its production. In addition, this high-tech material is made exclusively by special technology.
At the heart of this insulation is foam. This material undergoes heat treatment, after which it becomes much tougher and stronger. At the same time, Penoplex acquires enhanced thermal insulation properties, which allow the use of such a coating for insulation of residential buildings.
The main feature of Penoplex is that It has a minimal degree of water absorption. Thanks to this distinctive feature, this material can be safely used even in the conditions of spaces with a high level of humidity.
Penoplex has a smooth surface that affects its adhesion with other materials.When installing this heater, it is recommended to use the most reliable and effective adhesive mixtures, otherwise the heater will not hold on to the wall bases very tightly.
In addition, it is strongly not recommended to apply to the "wet" finish of the house, if it is insulated with penoplex. This will worsen its adhesion even more. This feature should be considered when installing the insulation of the facade.
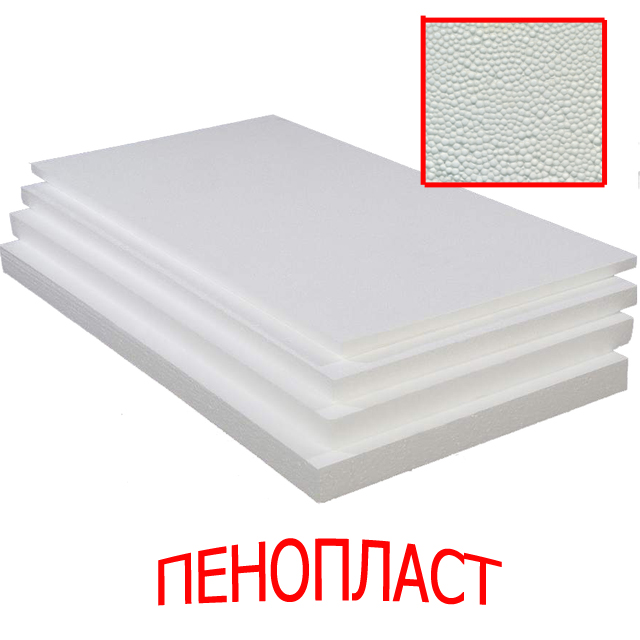
Many homeowners are wondering whether it is possible to use cheaper and more affordable foam instead of styrofoam. Experts still recommend to apply it to the extradited polystyrene foam, because it has a more reliable and dense structure. In addition, it is vapor-permeable and has a low thermal conductivity. Cheap foam does not boast of sufficient strength: it is easily destroyed with time, and the thermal properties of this material are inferior to foam polystyrene.

When self-styling penoplex in a private house or apartment is very important to choose the correct installation technology. Masters who have very little experience in such works often install this heat-insulating material in the same way as simple expanded polystyrene.When working with extruded coating, you need to take into account many important nuances that we will discuss below.
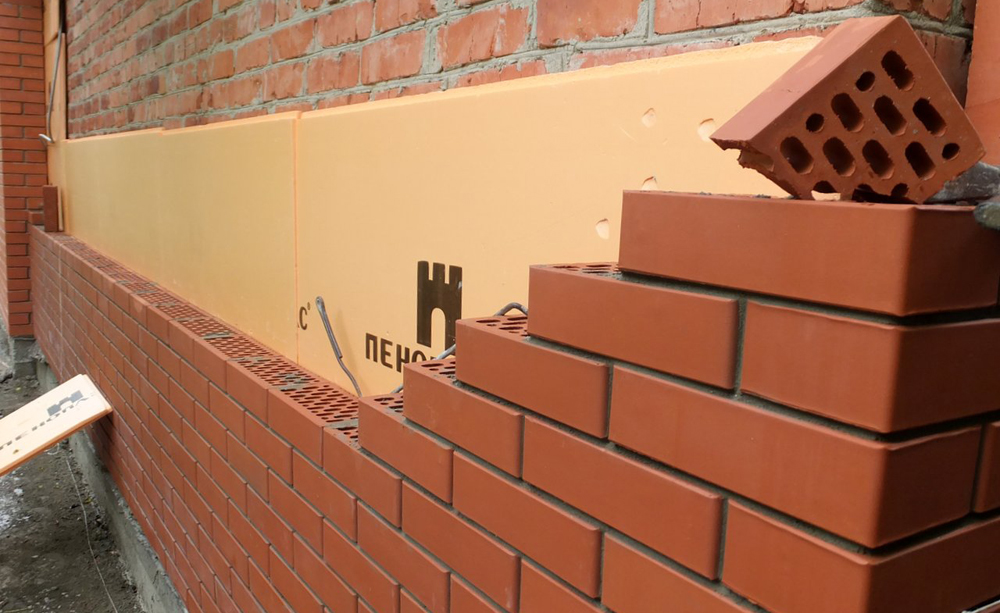
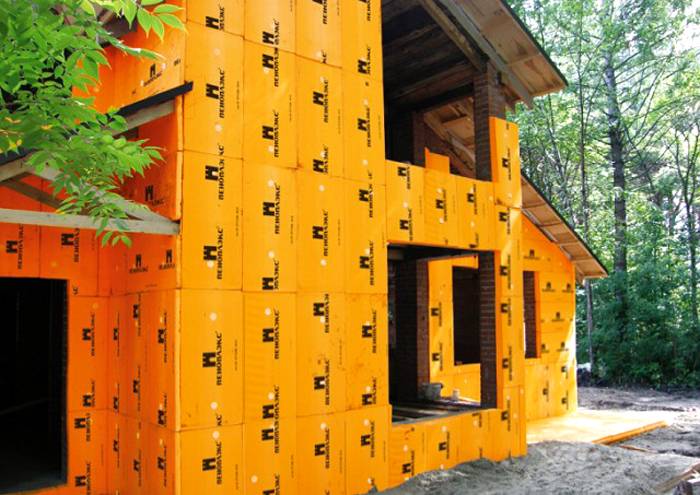
It is also worth considering that this heat-insulating material can be laid on the most different bases. It can be wooden, and brick, and concrete structures, and walls of aerated concrete or foam blocks. Thanks to this feature, it is possible to say with certainty about the universality of Penoplex.
Wall insulation extruded polystyrene foam can be made by hand. So that the result will not disappoint you, and the heater served as long as possible, you should follow simple step-by-step instructions.
If you are afraid to take on such work, then it is better to hire a professional master. So you protect yourself from material damage.
Pros and cons of the material
Currently, many homeowners choose penoplex to insulate their homes. This material is very popular due to its good performance. In addition, it is quite possible to carry out the work on its installation independently, which allows you to significantly save money, because the services of professionals today are expensive.

Penoplex, or extruded polystyrene foam, has many positive qualities that have made it a leading product in the market of insulation materials. Let's get acquainted with the main list of positive qualities of this type of insulation:
- The main advantage of Penoplex can be considered its increased strength. In this matter, this insulating material is ahead of its competitors.
- In addition, penoplex differs in almost zero absorption of dampness and moisture. Due to this advantage, it is not necessary to supplement such material with a vapor barrier after installation.
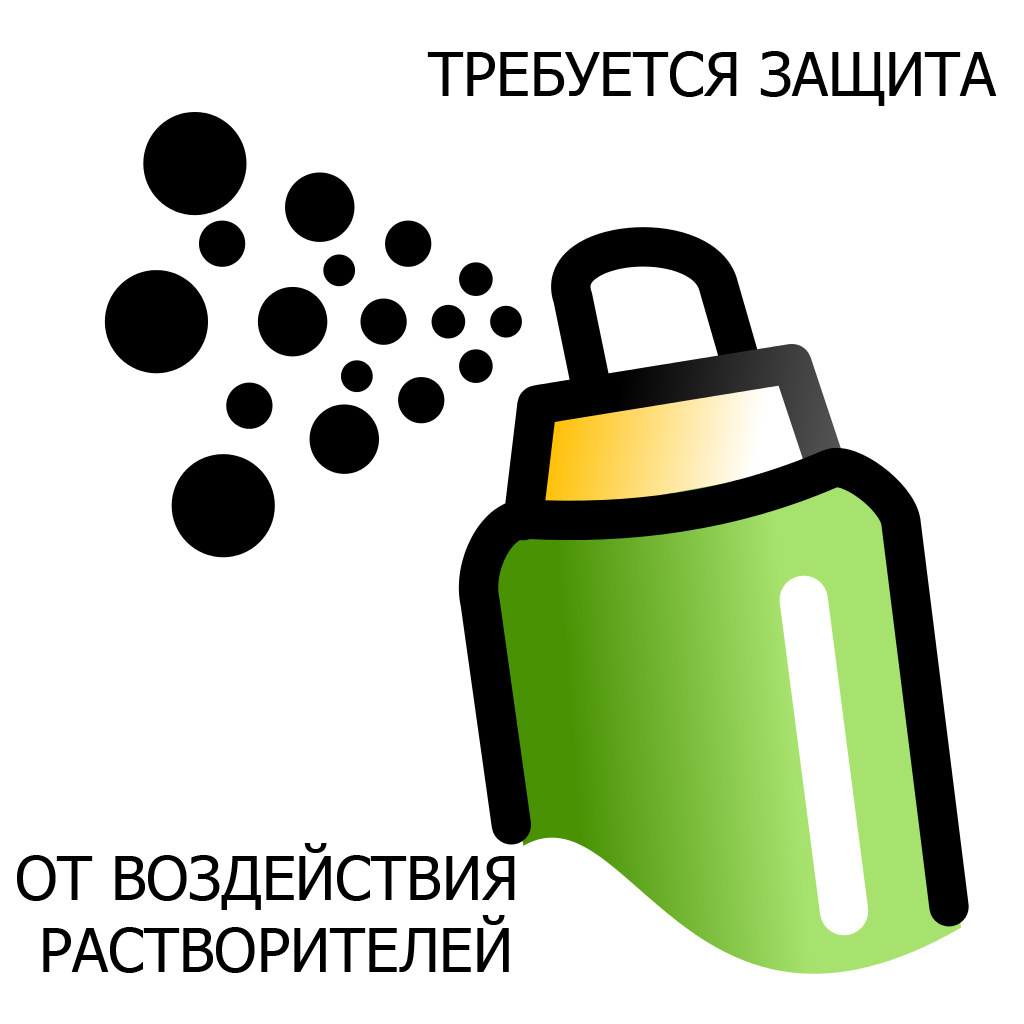
- This heat-insulating product seamlessly contacts with any other materials. No chemical reactions occur. The only exception is contact with solvents or acetone.
- As mentioned above, the foam is installed on the walls (and other surfaces) quite easily and quickly. To do this, you do not need to have a special education - just enough to follow the step by step instructions.
- Penoplex refers to the products of the average price category.
- This popular material effectively retains heat in the house.Thanks to this quality, a comfortable microclimate is maintained in the home.
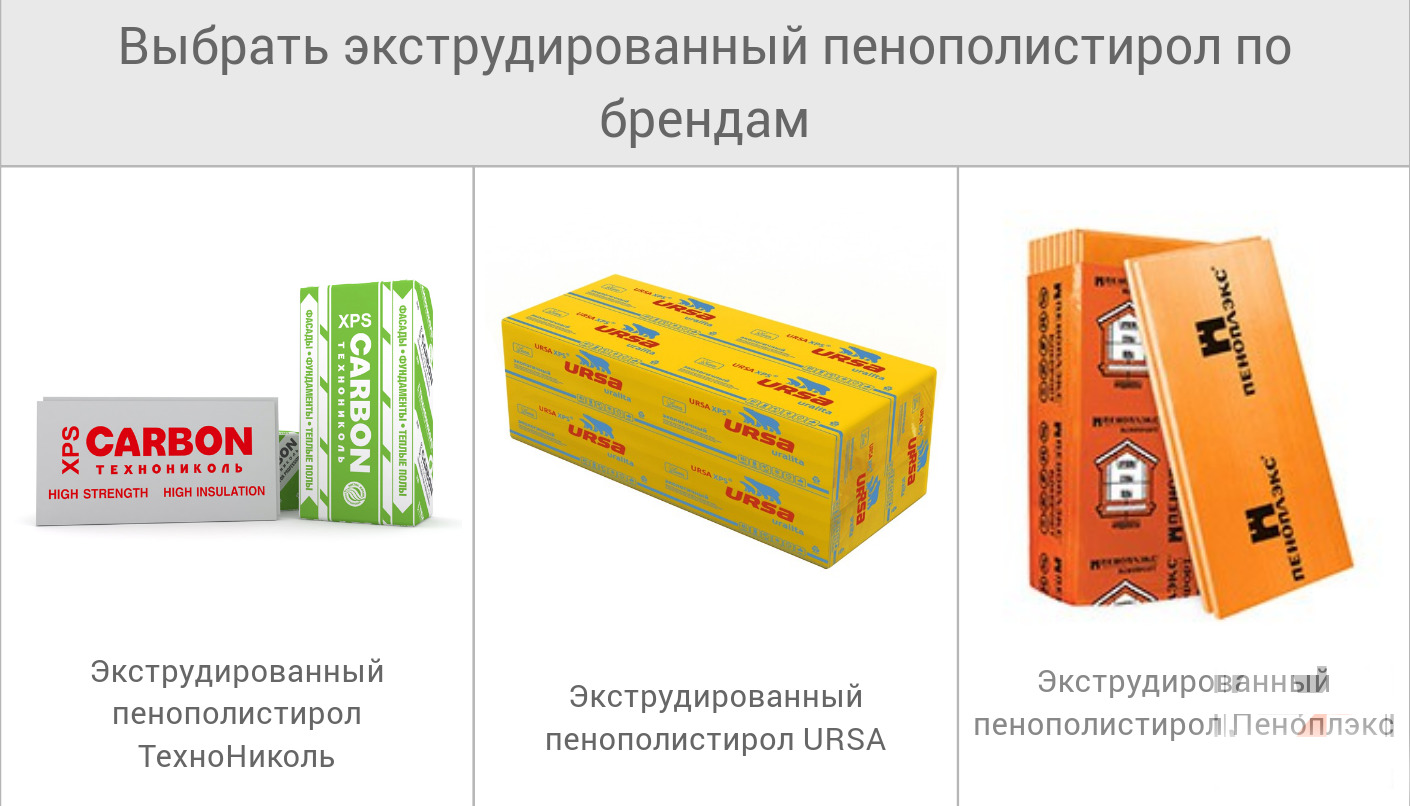
Currently in stores sold several types of penoplex. This suggests that you can choose the best option for any conditions.
In addition, a number of positive properties stand out;
- Penoplex is considered an environmentally friendly and safe material: it does not emit hazardous substances that can harm the health of the household. Unfortunately, today not every material can boast of such dignity.
- Extruded polystyrene foam is a vapor-permeable material. A dwelling with such insulation will remain “breathing”, therefore, fungus or mold will not appear on the ceilings, which can be very difficult to get rid of.
- Such a heater has a small weight, so the work on its installation can not be called energy-intensive. In addition, the transportation of penoplex will not be expensive.
- High-quality penoplex is a durable material: it will not require replacement or repair in the coming decades.
- Penoplex is characterized by anti-corrosion composition, so it can be safely laid on the bases consisting of a variety of materials.
- Such heat-insulating material does not cause allergic reactions, even if the room temperature is high.
- Penoplex does not rot and does not deform over time.
- This insulation can be addressed both in the construction of a new dwelling and in the restoration of an old one.
- Due to the excellent strength characteristics extruded polystyrene smoothly withstands heavy loads. It is difficult to damage during operation.


It is possible to warm houses with penoplex both inside and outside living space.
As you can see, Penoplex has a lot of advantages. That is why this material collects positive reviews on the Internet. Consumers like that this heater is easy to install and has excellent technical characteristics. However, penoplex has its drawbacks, which you need to know about if you decide to insulate the walls with this popular material.
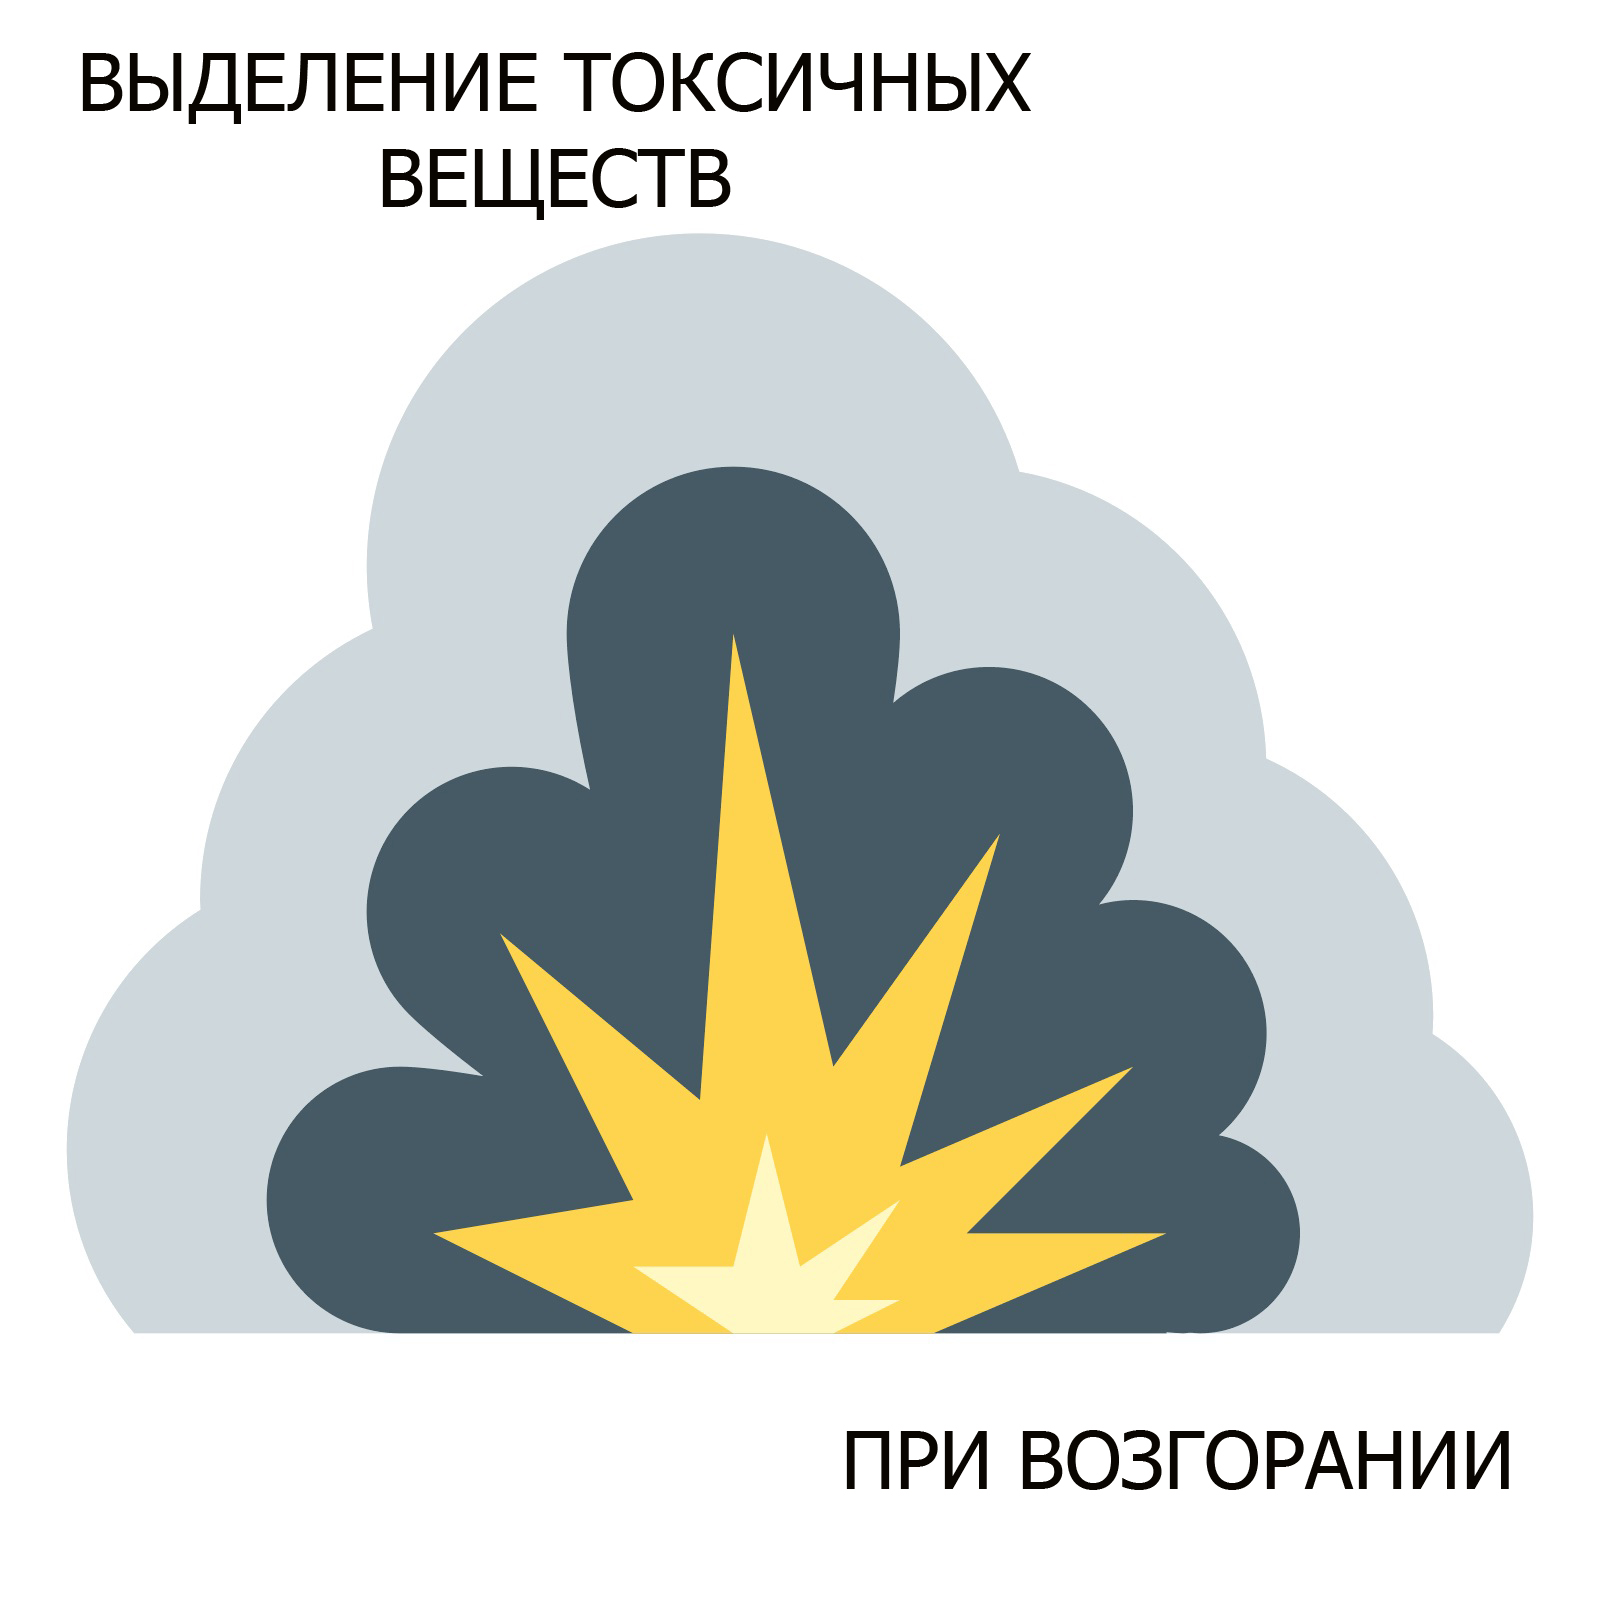
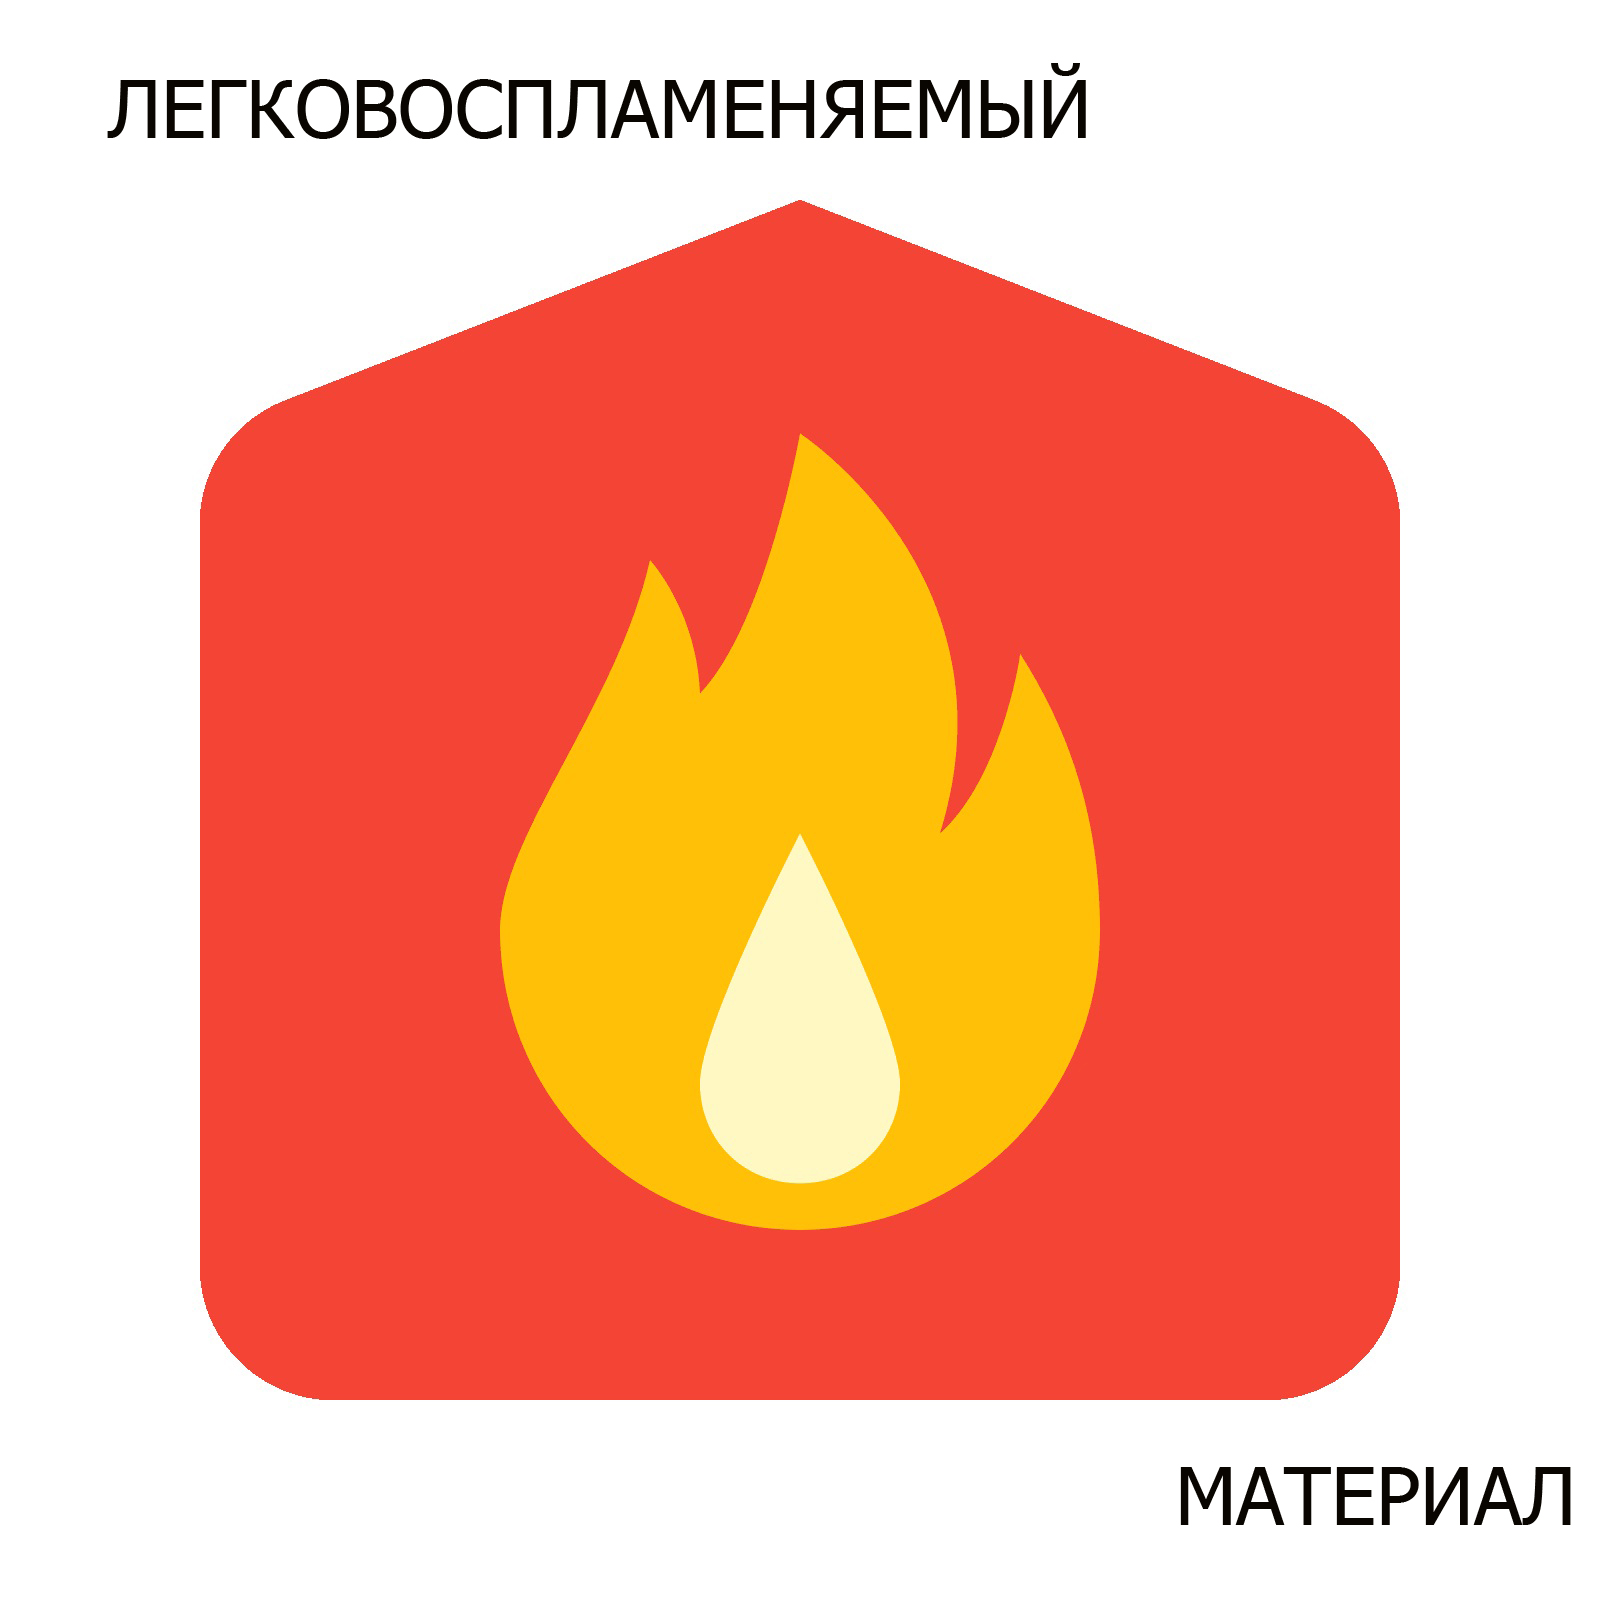
- When buying this insulating material, be sure to bear in mind that it is combustible and flammable.
- Extruded polystyrene foam does not tolerate interactions with solvents: under their influence, this insulation may be deformed and even destroyed.
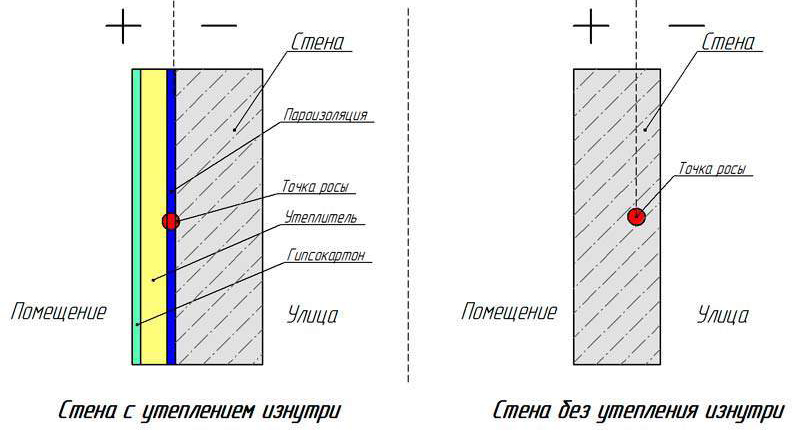
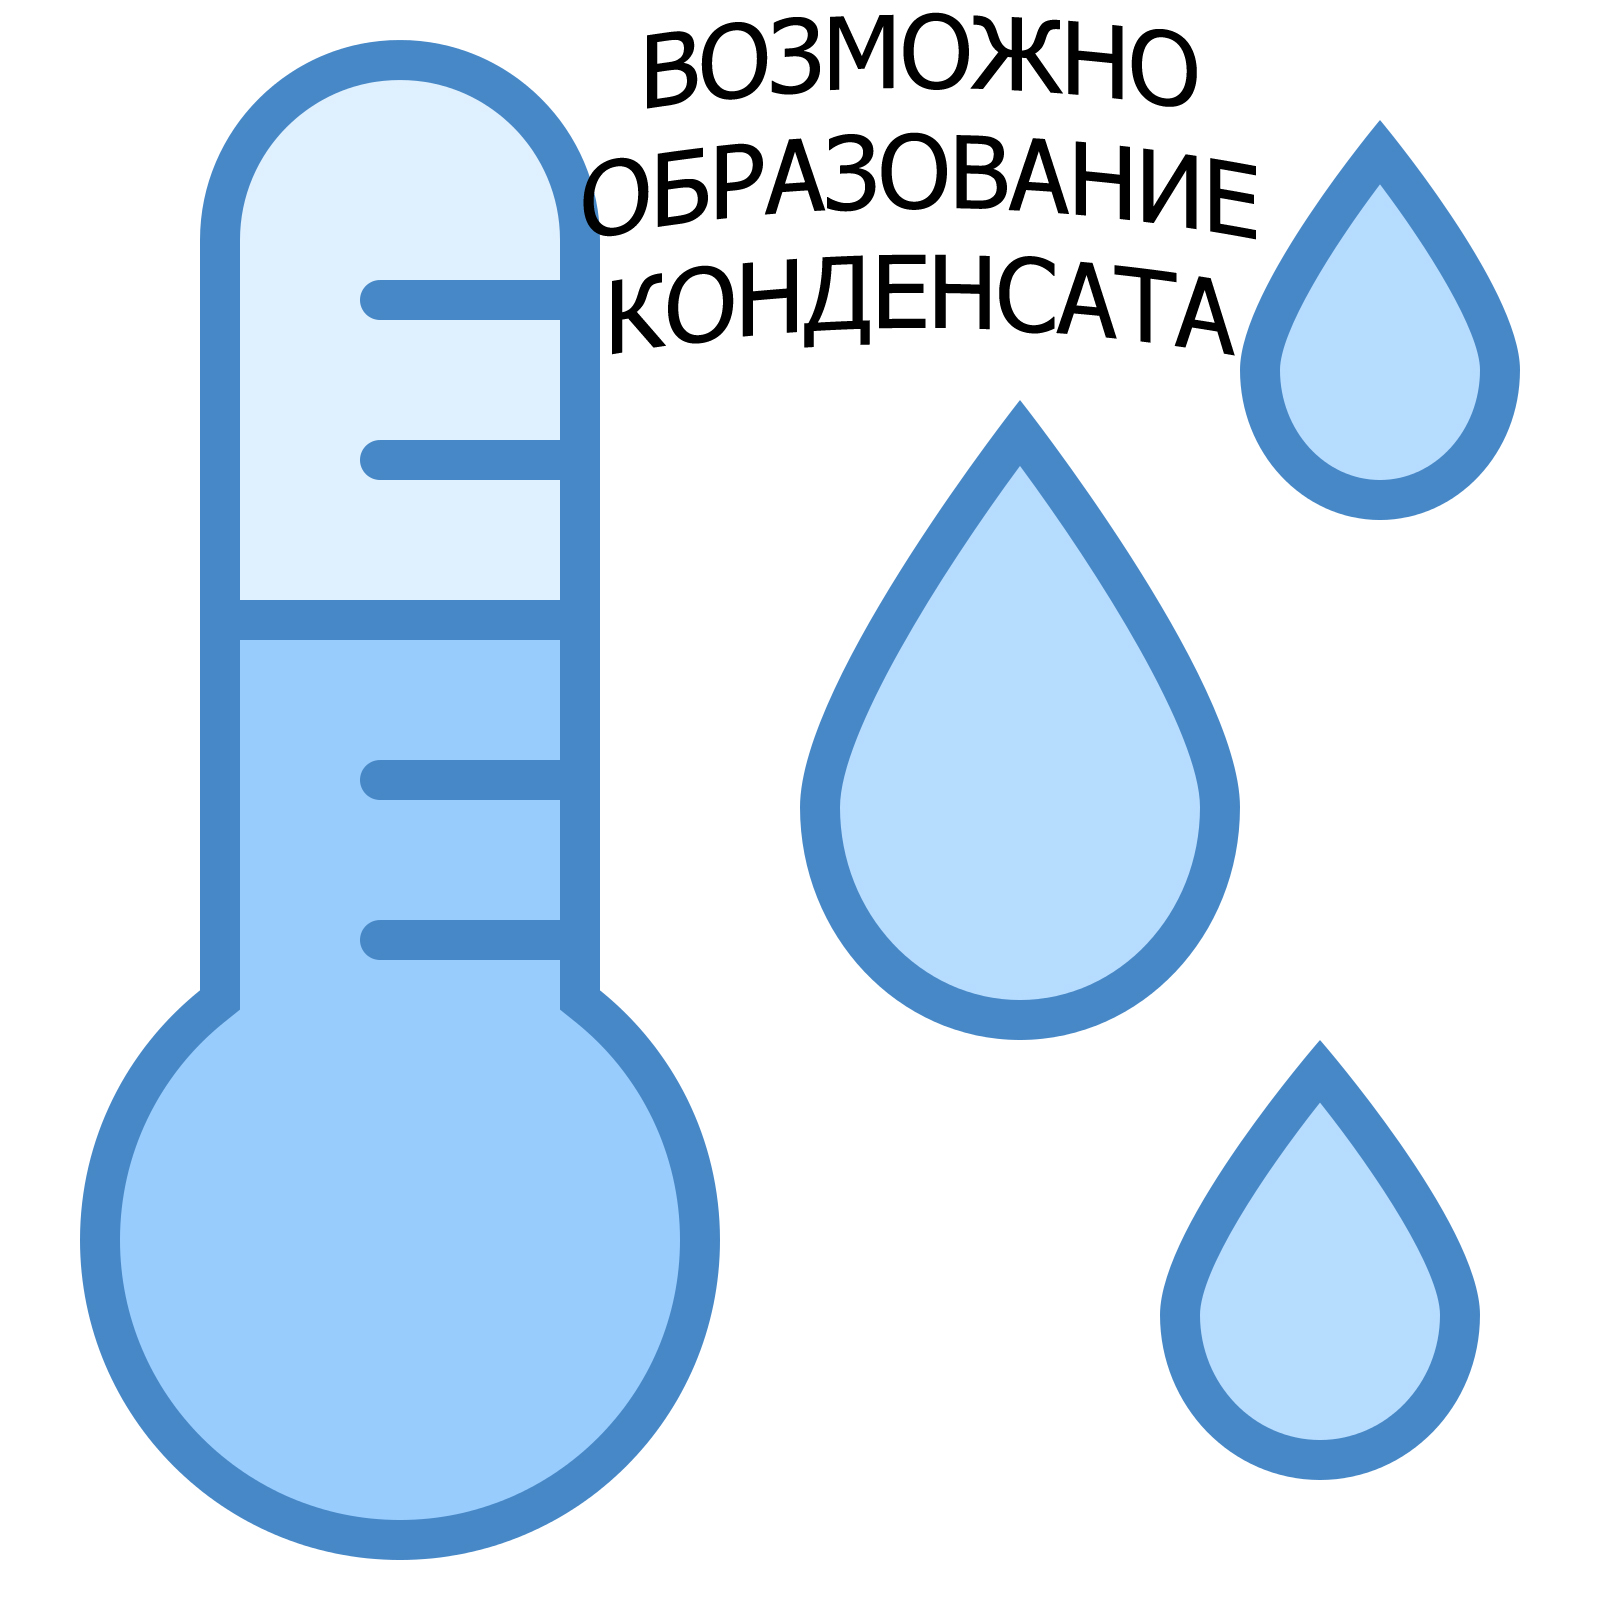
- It is worth considering that in some situations low vapor permeability is a disadvantage rather than the advantage of penoplex. For example, if you install this material in the wrong way or place it in adverse conditions, then it can accumulate condensate from the outside. In such circumstances, insulation can be a favorable environment for the formation of fungus or mold. In order not to encounter such defects, you will have to provide the living space with the highest possible ventilation, otherwise the air exchange will be disturbed.
- Penoplex does not have good adhesion characteristics, as it has a perfectly flat and smooth surface. For this reason, the installation of such insulation often causes many difficulties and takes a lot of time.
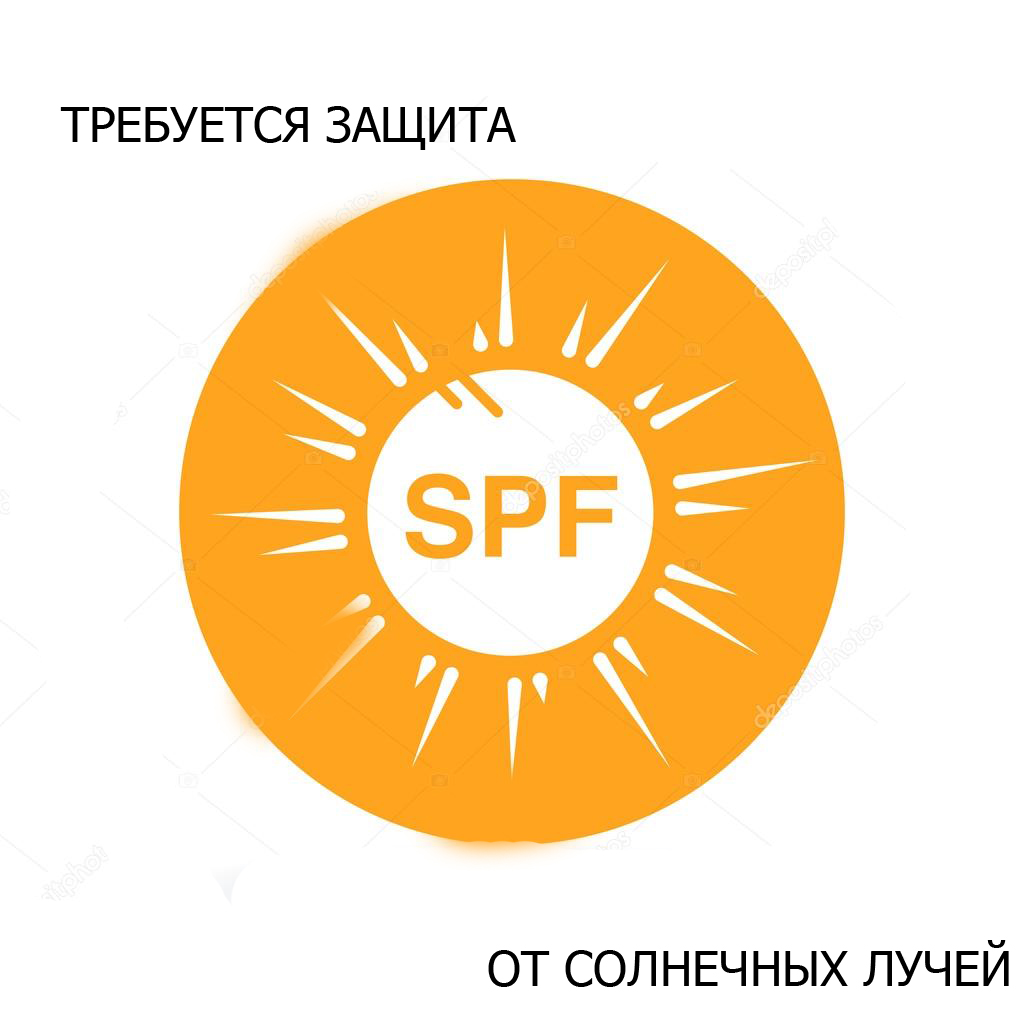
- Experts recommend to protect the penoplex from direct sunlight: when in contact with them, this insulation can be deformed (as a rule, the upper layer of the material suffers most).
- Many consumers refuse to buy penoplex because of its susceptibility to burning, so modern manufacturers have found a way out: they began to supplement this material with special substances (antiprenami) in the manufacturing process.Thanks to these components, the insulation becomes self-extinguishing, but during combustion, they can begin to emit thick black clouds of smoke and toxic substances.
Penlex has fewer minuses than pluses, but the choice is only for buyers. It is necessary to take into account only the fact that many problems associated with this heater can be avoided if installed correctly.

Preparatory work
Before laying penoplex it is necessary to correctly prepare the base. This stage of work can not be neglected, otherwise the insulation does not bond well with the walls. Let us consider in more detail how to properly prepare the ceiling for the installation of this thermal insulation coating.


First you need to stock up with all the necessary tools and fixtures, before proceeding directly to the preparation and installation of foam panels on the "wet" facade. For all the work will need the following items and materials:
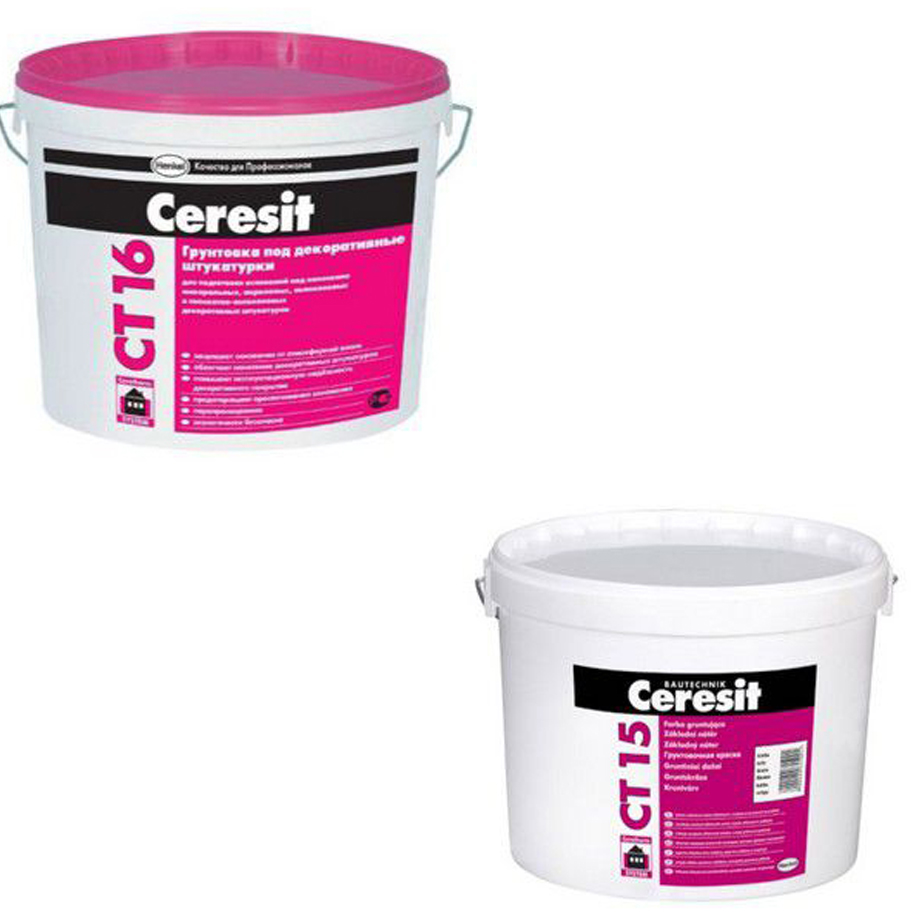
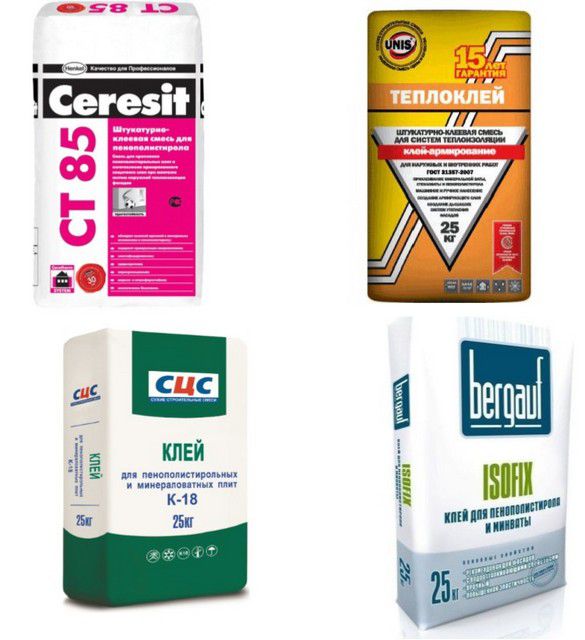
- high-quality adhesive mixture;
- special adhesive primer;
- corners;
- primer mixture of deep penetration;
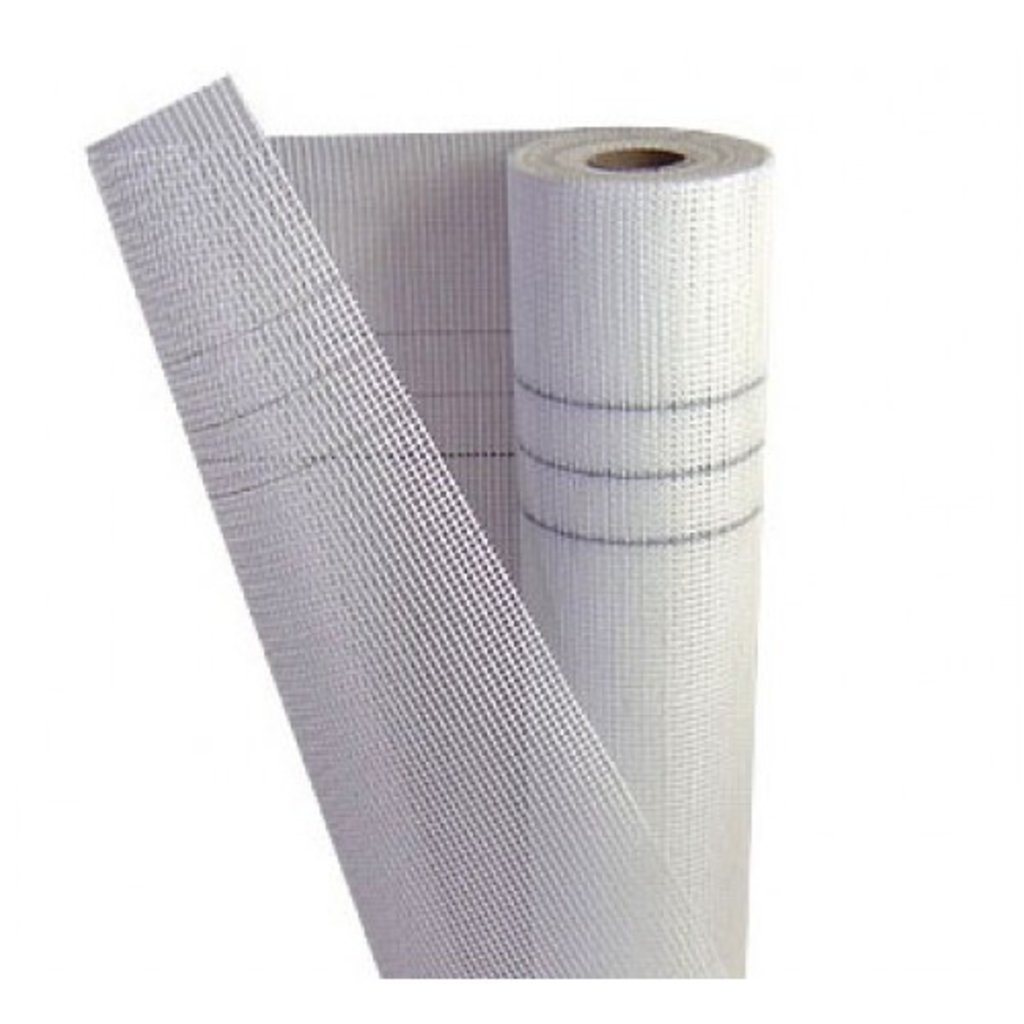
- reinforced mesh (preferably stock up with fiberglass products);
- paint;
- plaster.
If you plan to install Penoplex on a hinged base, then you will need the following tools and materials:
- wooden slats (metal profile can be);
- brackets;
- vapor barrier film;
- glue foam;
- anti-fungal impregnation, designed specifically for processing wood;
- decorative finishing material (it can be lining, vinyl siding, block house and other coatings).
If you stocked up with all the necessary materials and tools, then you can proceed directly to laying insulation on the walls. To begin with, let's look at how this work is done with a wet facade.
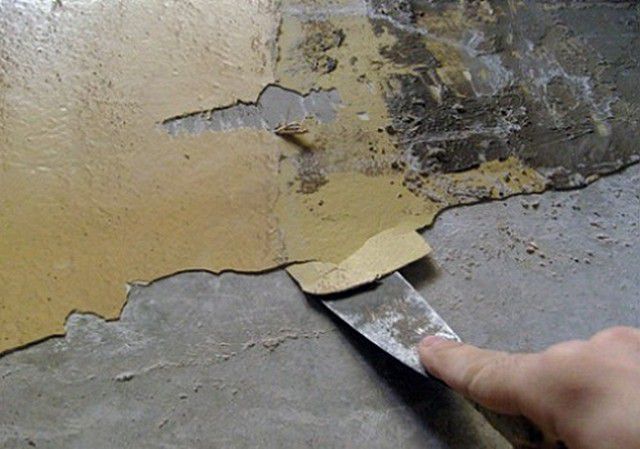
- Remove from the walls all extraneous parts and elements that may interfere with further plating and finishing.
- Now you need to form the most reliable and robust base under insulation. For example, if you suddenly notice that there are falling off pieces of plaster mixture on the walls, then they must be removed.
- Then you should walk along the facade with a damp rag. It is acceptable to use a vacuum cleaner that will help remove excess dust from ceilings.
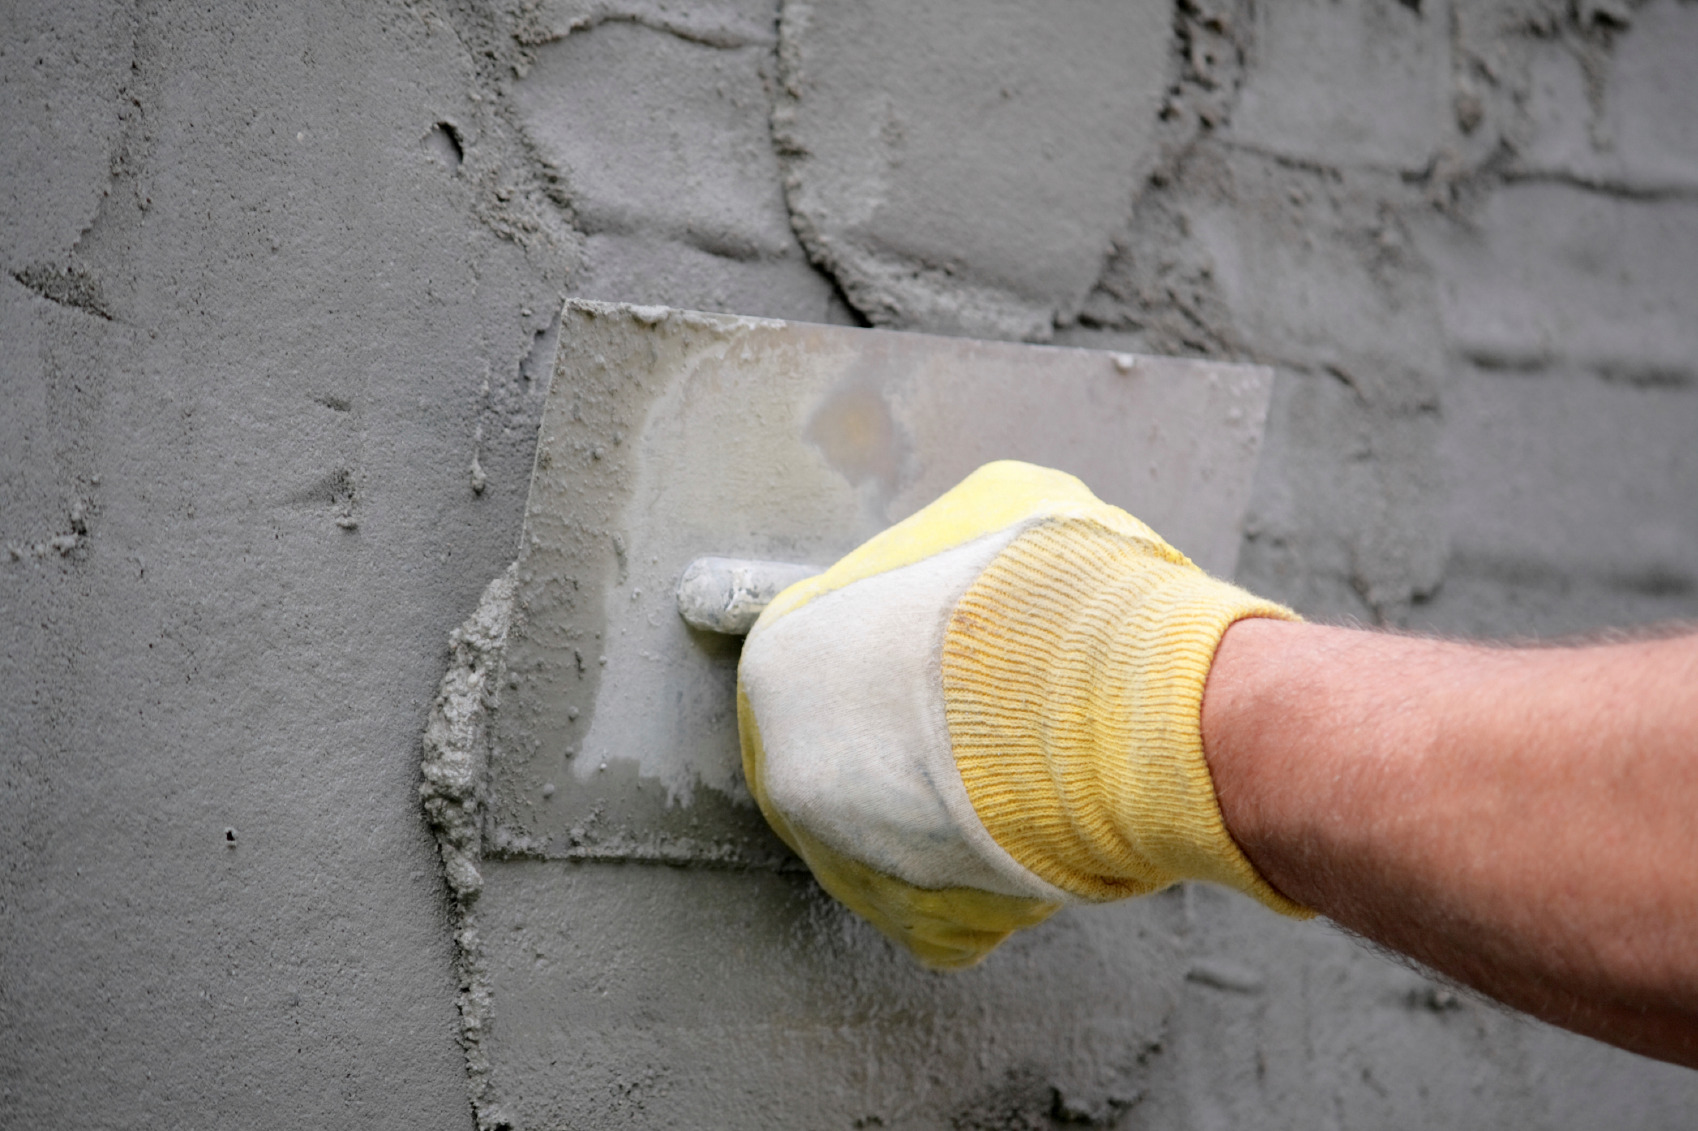
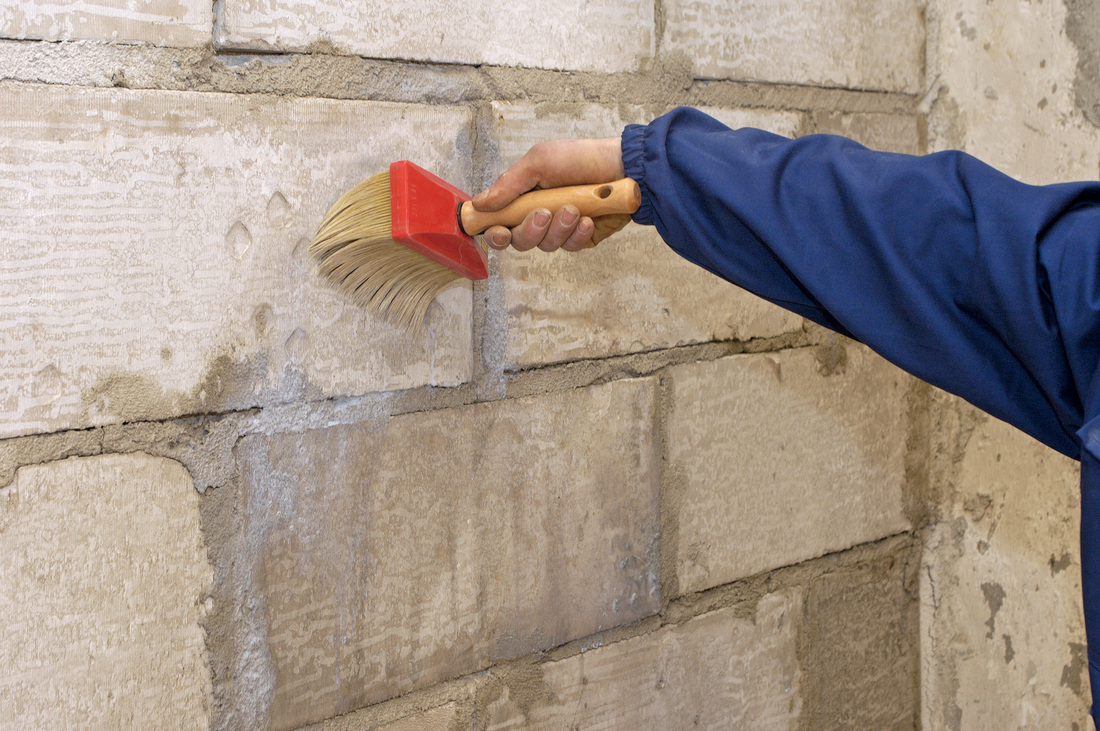
- Next, the base must be properly primed with a special deep penetration facade primer.To carry out this work is convenient with a roller or brush. Apply the primer when preparing a thin layer. After the first layer has dried, proceed to applying the second one.
When you make a hinged facade preparation for laying insulation is as follows:
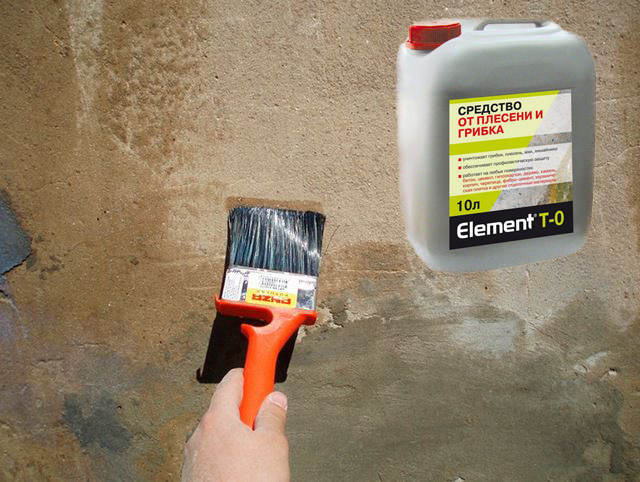
- remove all dirt and dust from the bases;
- process walls with special impregnation;
- Insulate the interventure cracks by filling them with suitable insulating materials.
After performing these actions, you can design the frame and proceed to the wall insulation.

Penoplex can be sheathed not only the facade foundations, but also the inner part of the dwelling. This will require the following materials:
- high-quality penoplex (it is desirable to buy a material with improved characteristics);
- glue;
- primer;
- plaster.
In this case, it is also necessary to prepare the walls for laying insulation. To do this, you must perform the following actions:
- remove any old finishes from ceilings, whether it is wallpaper or paintwork;
- follow the flatness of the walls: they should be smooth, without drops and gouges (if they are present, they should be got rid of with plaster and soil);
- if on the ceiling there are protruding parts, then they need to be properly cleaned;
- after that, it is recommended to prime the walls twice so that the penoplex is better meshed with them. After completing all of these actions, you can glue insulation.
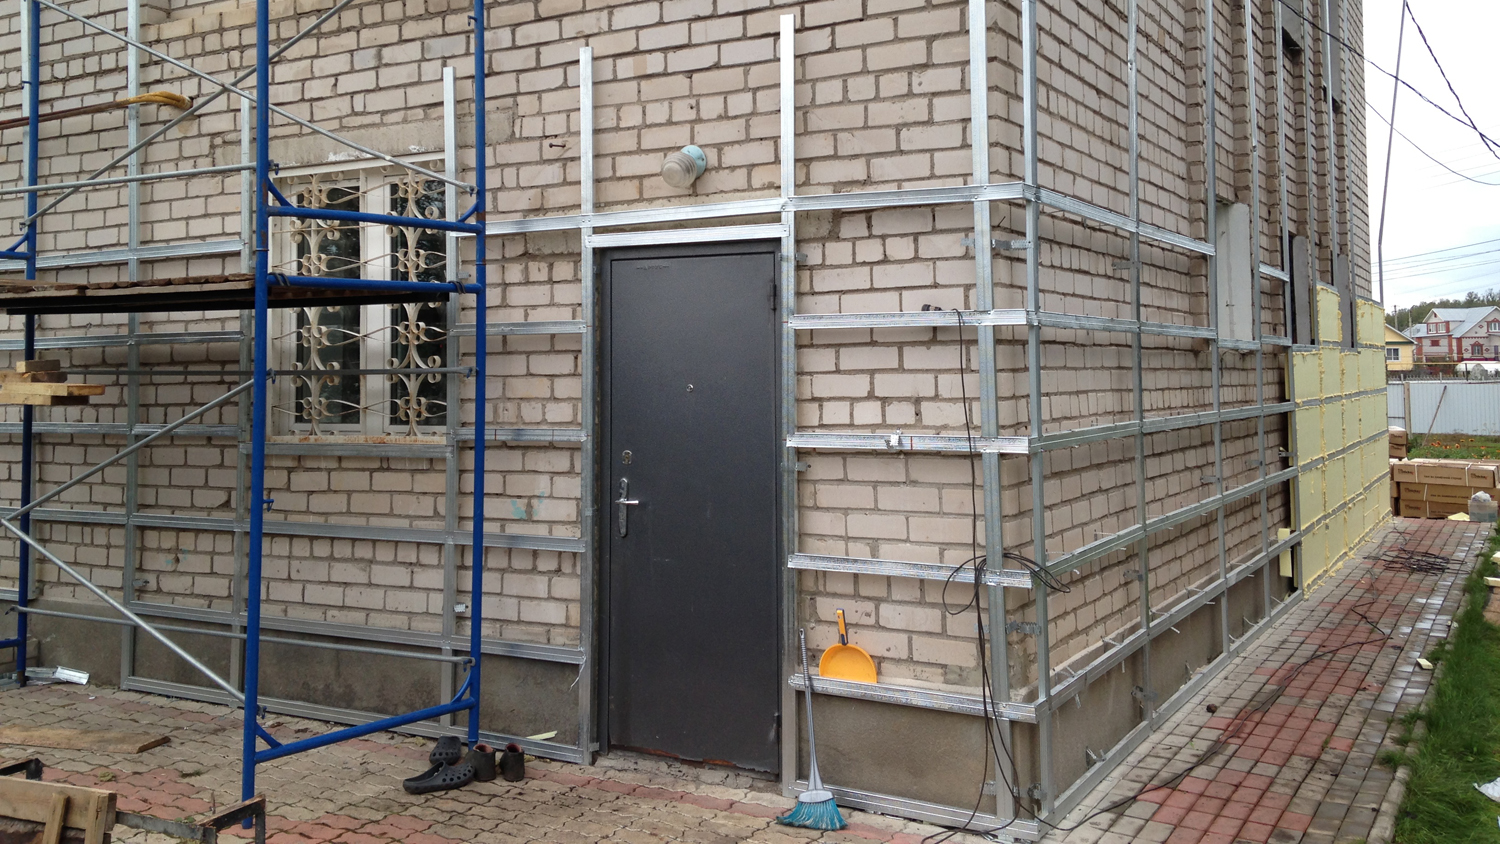
Outside mounting technology
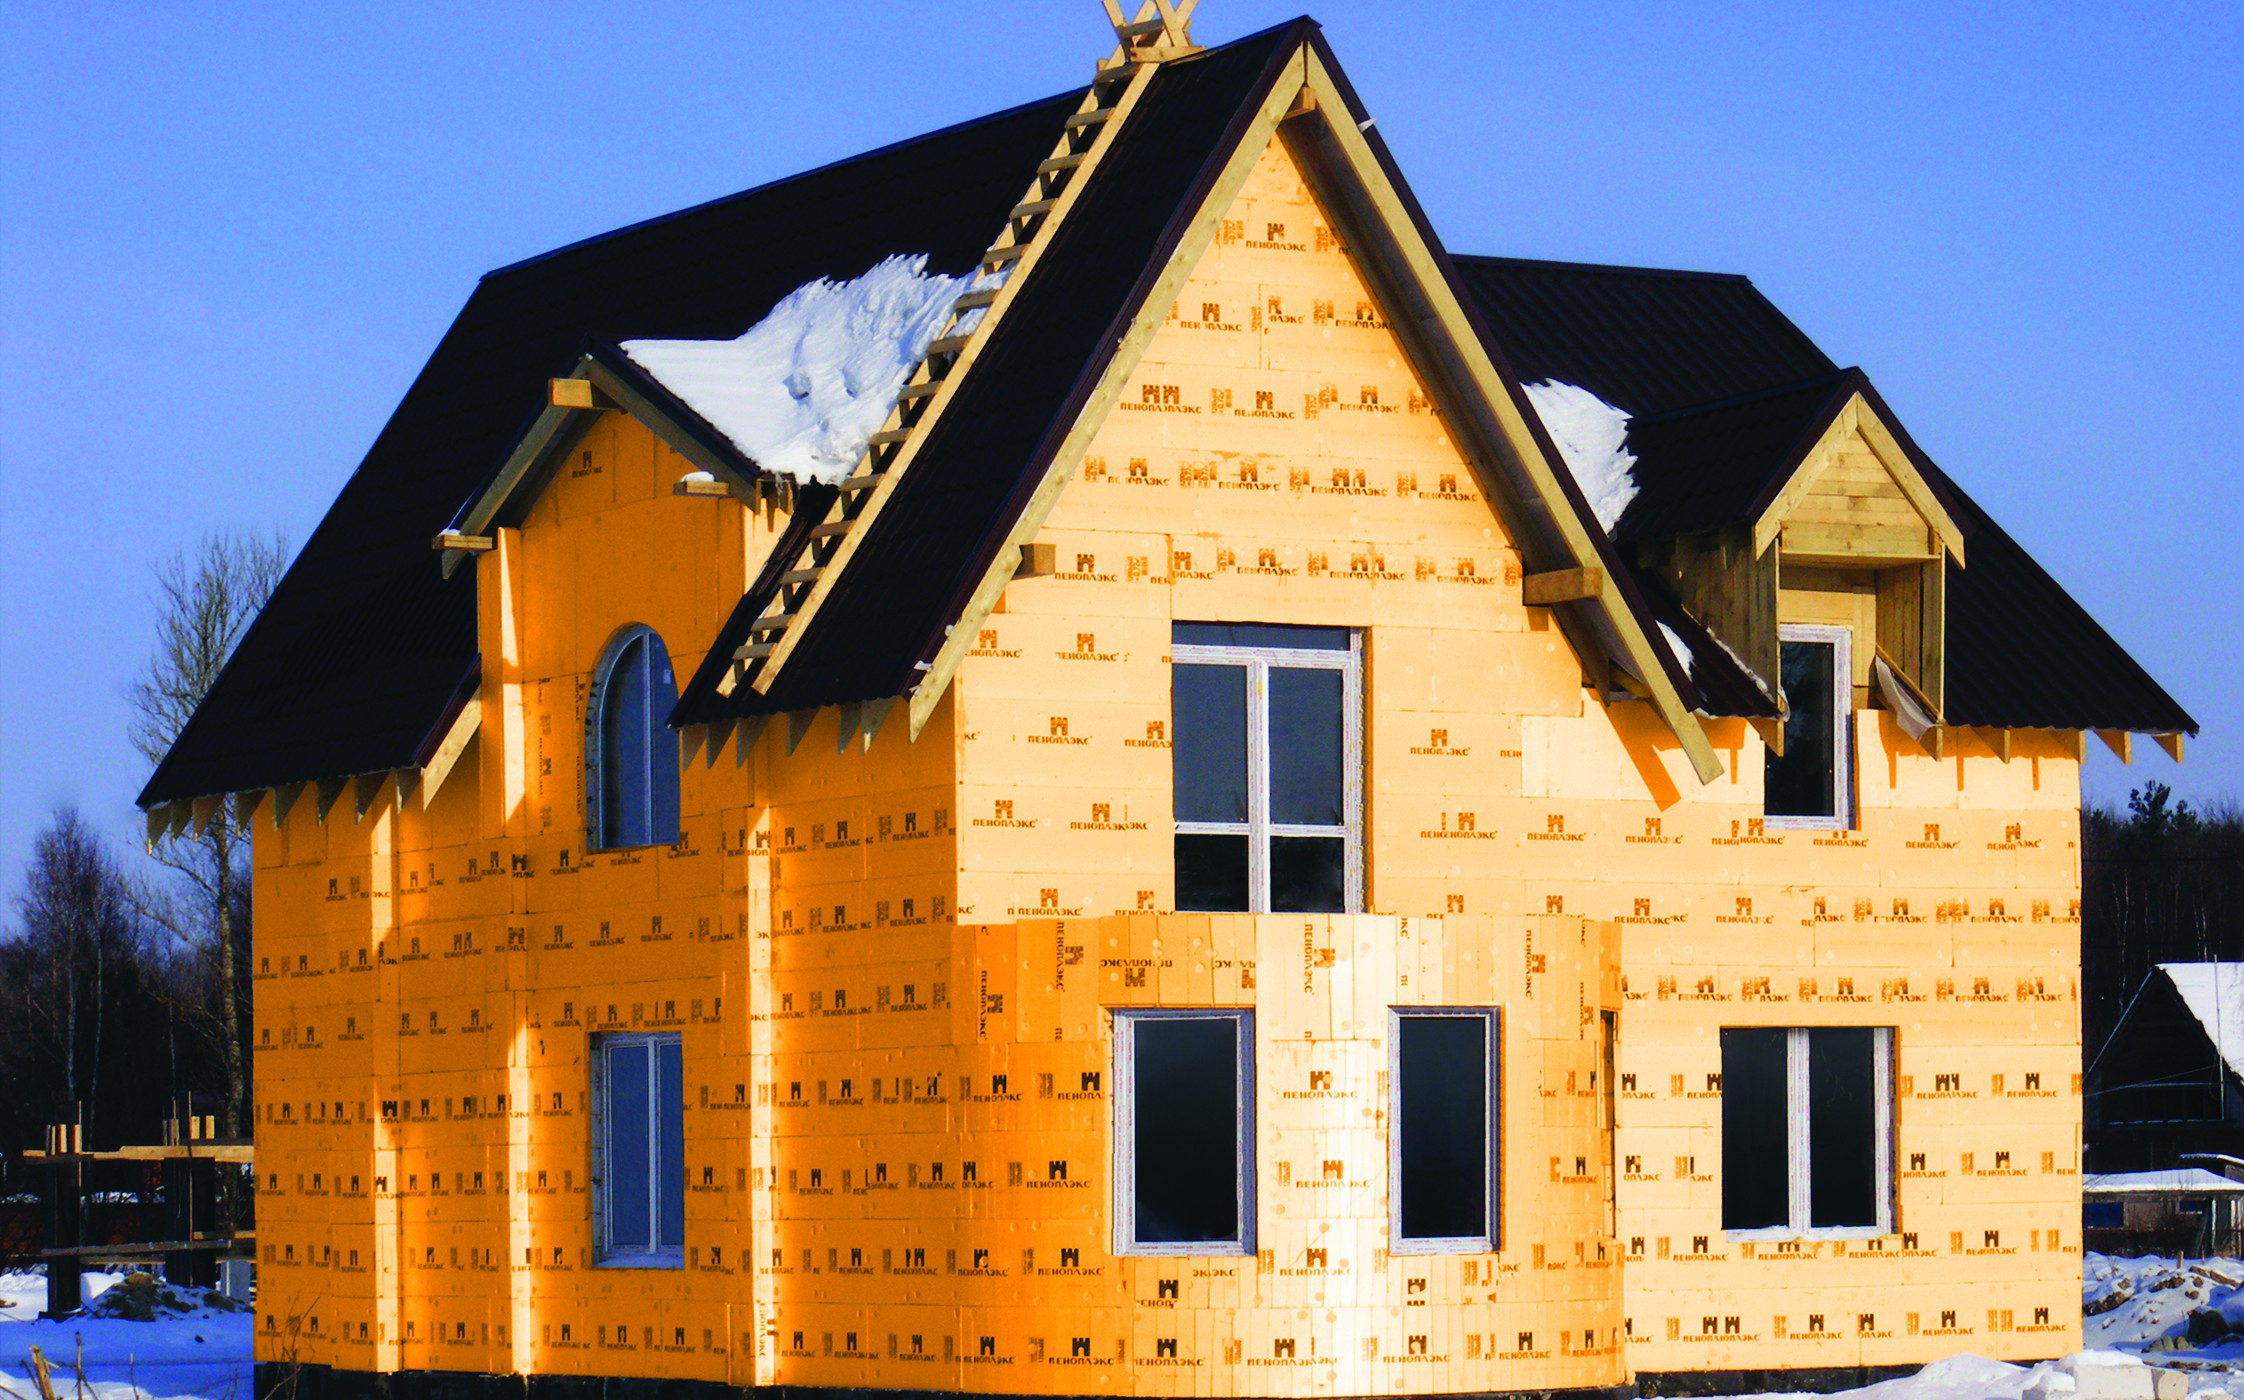
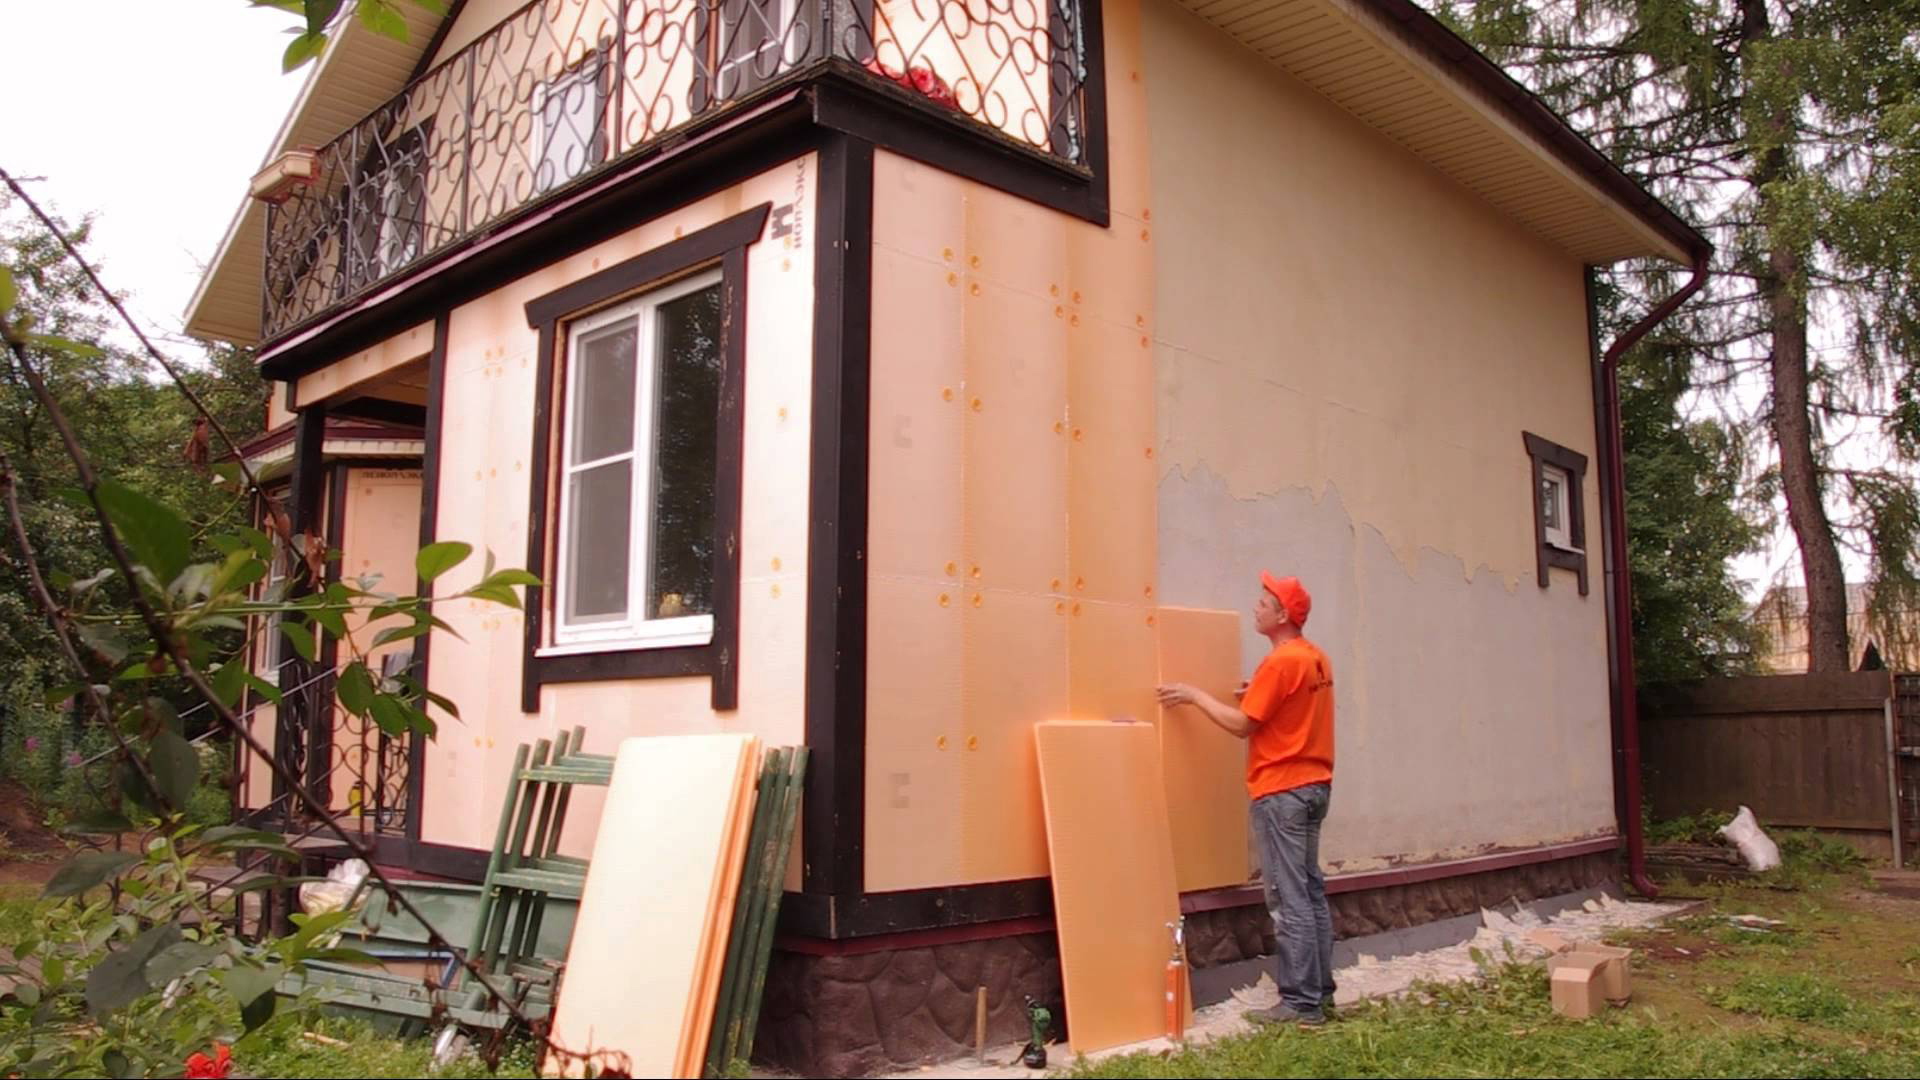
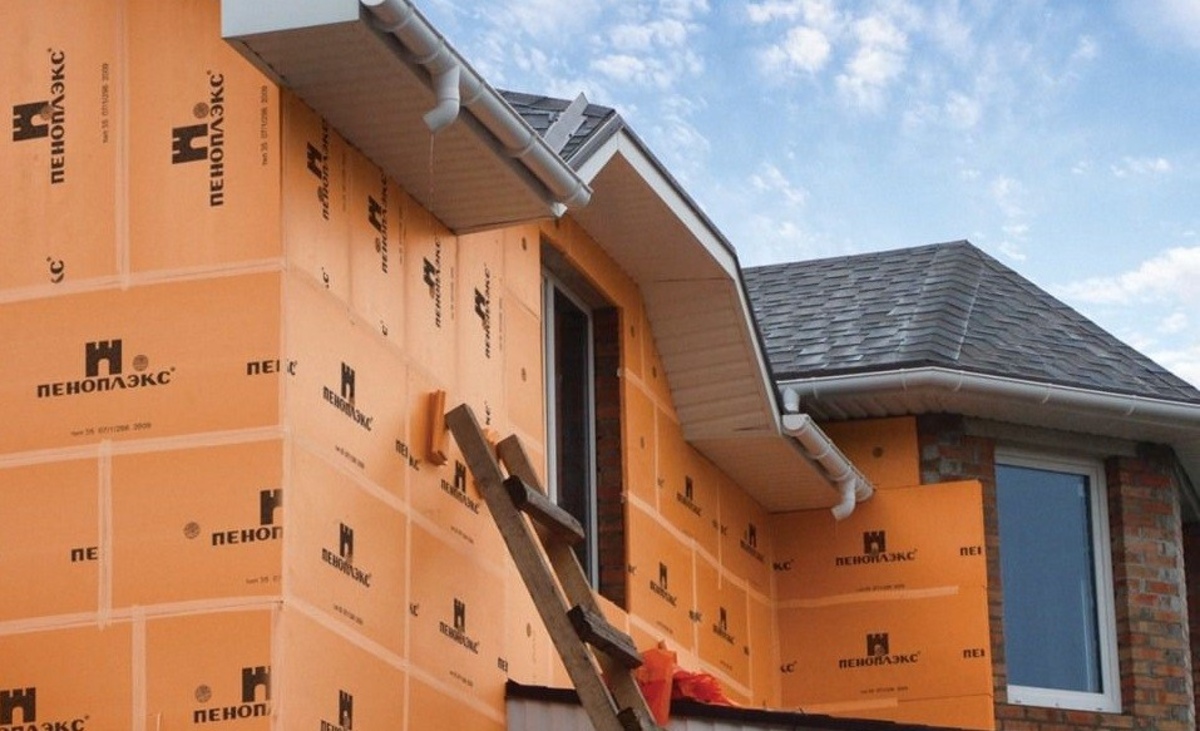
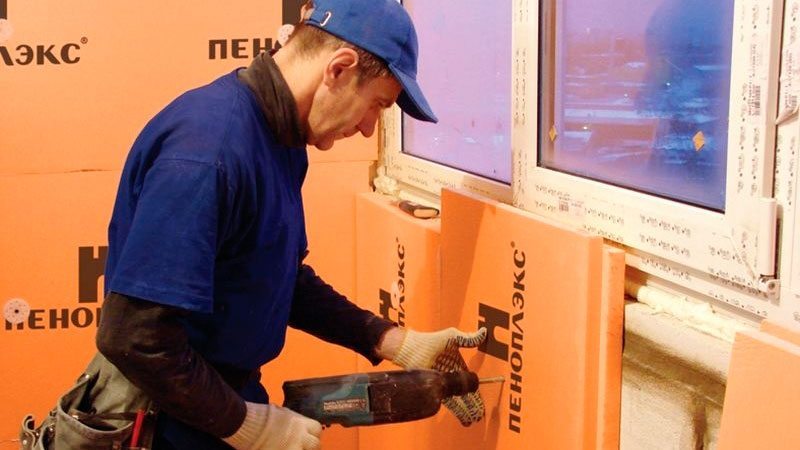
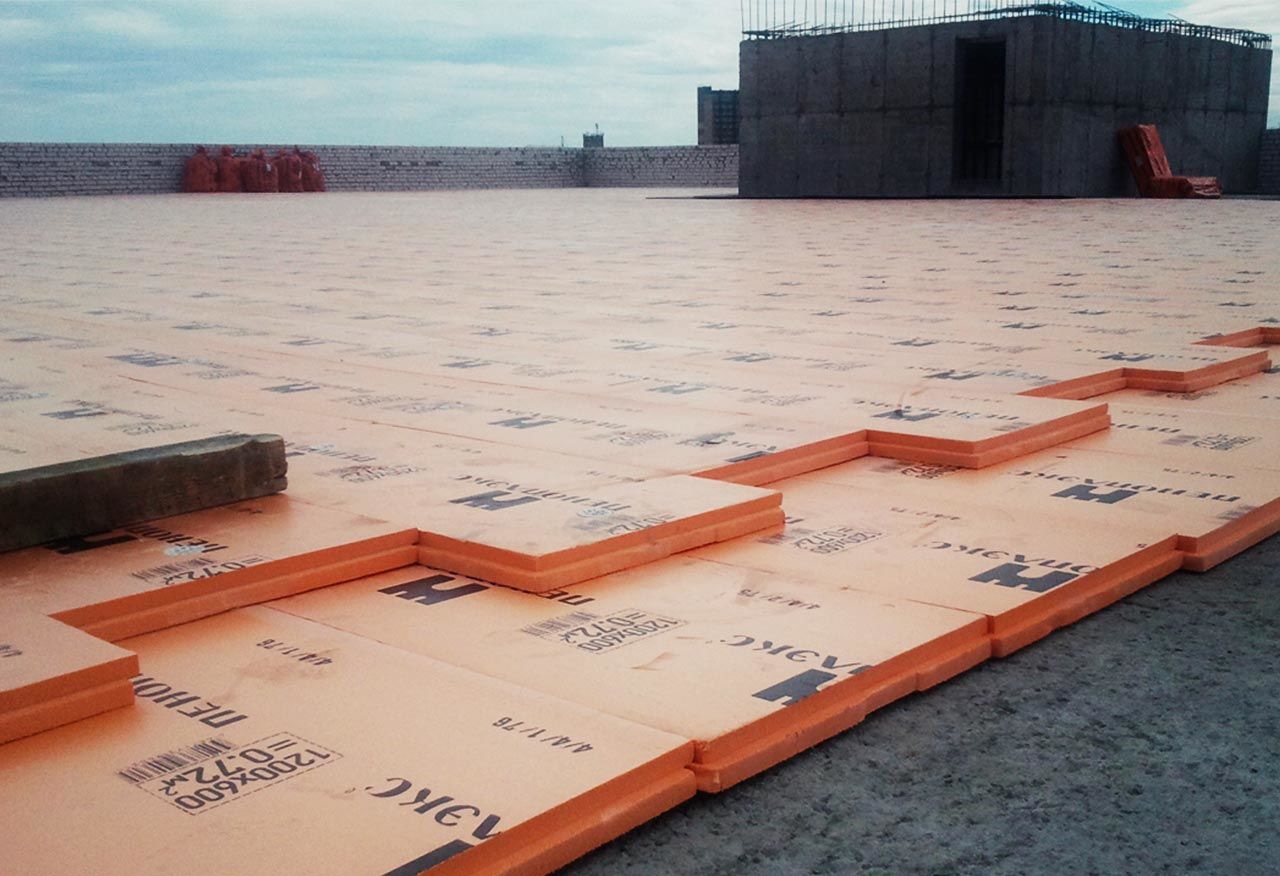
To warm the facade of the house is quite possible with their own hands. The main condition is to comply with the technology of styling penoplex. To begin with, we will look at how to trim a wet facade with a penoplex.
- At first it is necessary to install a ready profile along the perimeter of the facade (at the bottom). Thanks to this detail it will be more convenient for you to level the lower row of a heater.
- It is recommended to install the profile using dowel-nails. It is very important to correctly install the guide, so during all work it is recommended to use the building level.
- Next, glue-foam must be applied to the insulation around the perimeter and in the center point. In the center it is desirable to leave a few strips of adhesive composition.
- After that, you should attach the penoplex to the wall. It is worth starting such work starting from the corner. Insert the slab into the guide profile, and then press it against the wall. Be sure to check the location of the penoplex with a level.
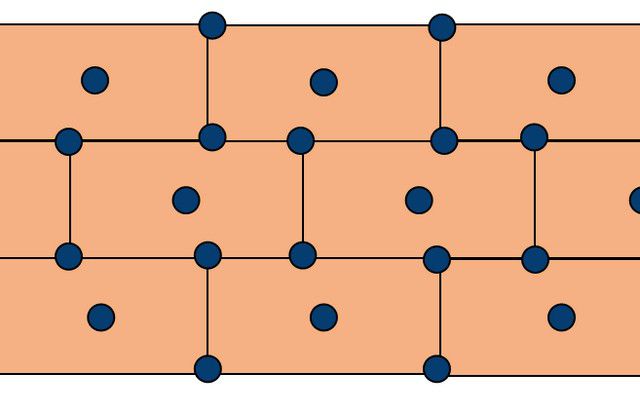
By the same principle, you need to glue the entire first row. Position the canvases so that they are as close as possible to each other (without gaps and cracks).
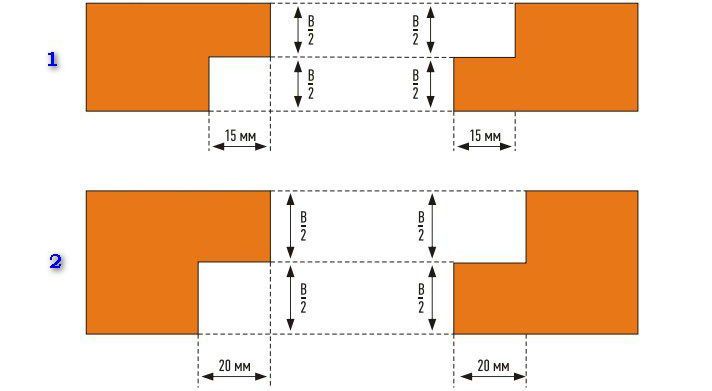
- Then you can proceed to the installation of the second row of insulation:
- It should be installed with a small offset (like chess layout).
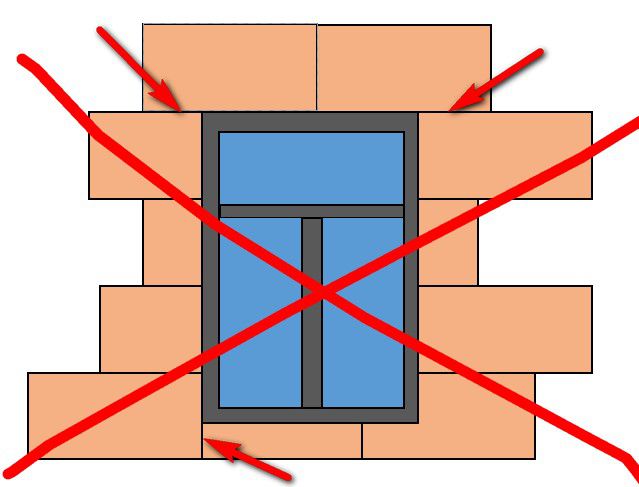
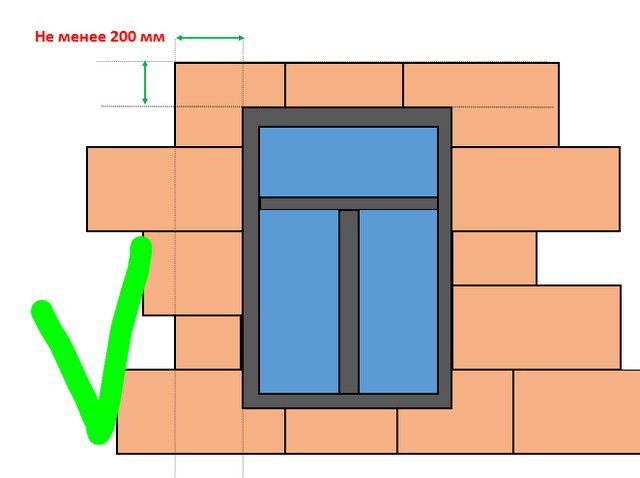
- When all the floors will be covered with insulation, you need to install penoplex on the slopes. To do this, cut the plates, giving them the desired size. Next, cut off the materials you need to seal the window and door openings.
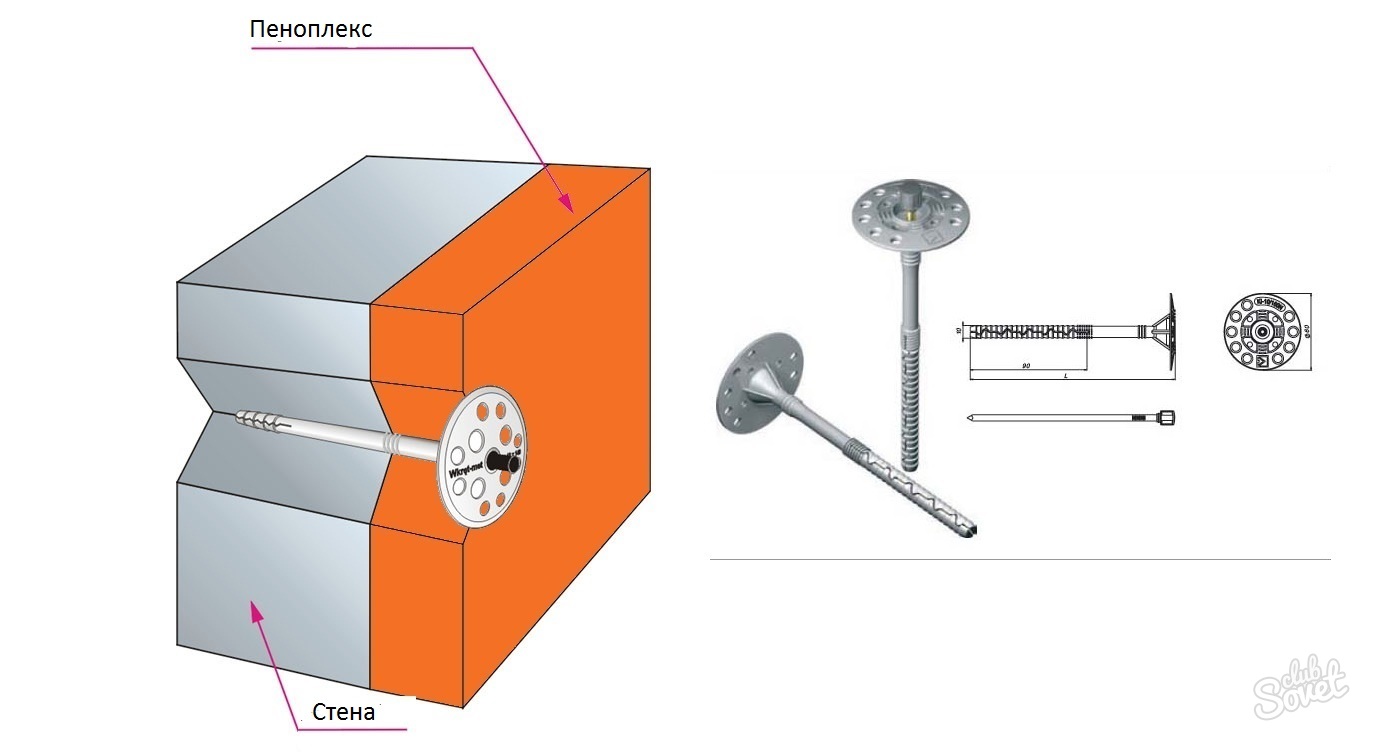
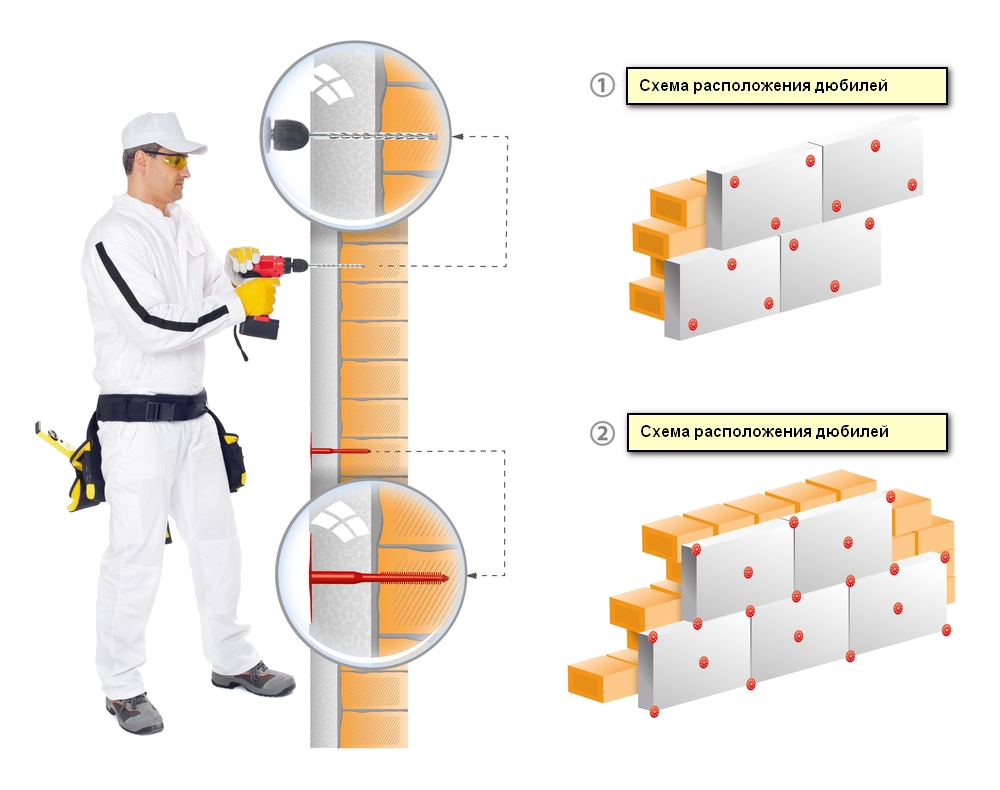
- Then you need to additionally fix the foam on the walls. To do this, you can use special dowels, which are popularly called "fungi" or "umbrellas."
- To install the dowel, you need to drill a hole in the ceiling, breaking with the insulating material. The hole must necessarily correspond to the dowel (its diameter). As for the length, it should be a little more - by 5-10 mm.
- Insulators located on the slopes do not need to be additionally fastened to the dowels. The process of laying insulation on the "wet" facade is completed.
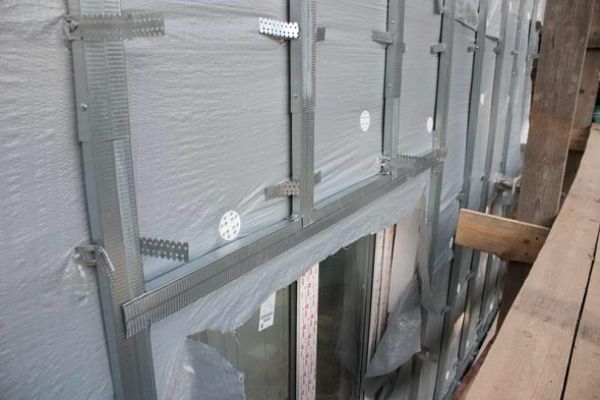
When insulating a suspended facade, one should also adhere to a certain technology.
- In the first place, as in other cases, overlaps should be prepared.
- It is necessary to mark the overlap under the correct location of the racks in the form of vertical strips. The ideal step between these details is 50 cm.
- On the specified lines on the walls you need to attach brackets with a similar distance of 50 cm vertically. To fix these elements, you can use dowel-nails.
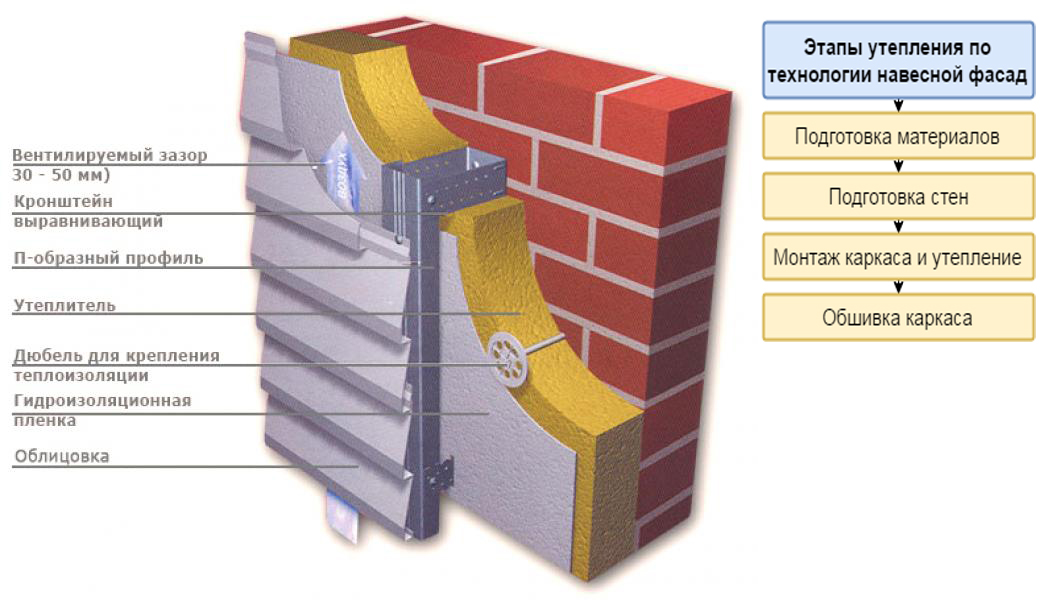
After that, you can proceed to the wall paneling foam plaster:
- It is simply strung on brackets. With this method it is not necessary to use glue. It is only important to ensure that each tile is captured by at least one dowel.
- If you are insulating a wooden house, then it is not necessary to fool the gaps: these elements will provide good characteristics of the vapor permeability of the insulation, which are especially important for wood floors.
- If the walls in the house are made of brick or another similar material, then it is recommended to close all the gaps and joints with mounting foam.
- It is recommended to close the surface of the foam plaster with vapor insulating material if you insulate a building made of wood. In this case, the additional film should be fixed on the dowel-umbrellas.
- Further in the brackets you need to fix the racks of metal or wooden bars.
In the course of installation work it is very important to ensure that all elements are fixed in a single vertical plane.
At this, the insulation of the suspended facade can be considered complete. After this, it is permissible to proceed to the installation of decorative finishing materials. To do this, most often use the profile design, which is installed itself trim, for example, lining.

How to mount from the inside?
Slightly less often, the owners turn to the insulation of floors from the inside of the penoplex. In this case, you also need to rely on step-by-step instructions to avoid common mistakes.
- If you have completed all the preparatory work, you can safely proceed to the sheathing of the insulation of the interior of your home. First you need to improve the adhesion properties of materials. To this end, it is recommended to treat the base with a high-quality special primer mixture. This process can be done sequentially in 2 steps.
- Since the penoplex is a moisture-proof material, then installing a waterproofing layer is completely optional, however, experts recommend to insure and not to neglect this component.
- Then you can proceed to the direct installation of foam panels on the walls. Previously, conventional dish-shaped dowels were often used for this, and they are still used today. However, now instead of such fasteners you can buy special high-quality glue. Of course, you can use both options to provide additional reliability.
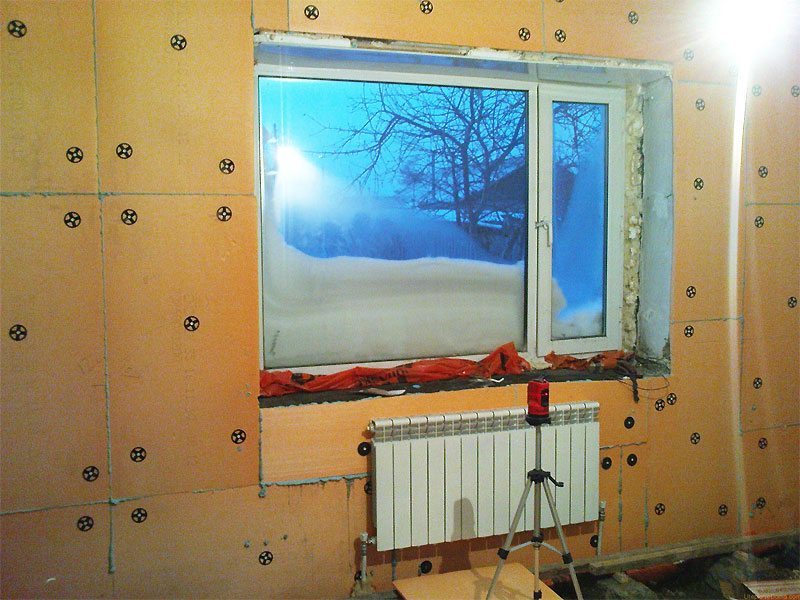
After fixing penoplex can proceed to the interior decoration of the room. However, before this, it is recommended to make sure that the insulation of the insulated structure is sufficiently tight, because even a very small crack or gap can cause the appearance of a cold “bridge”. Be sure to carefully inspect all the joints and junction of materials (in the areas of window and door openings). If you have found the problem items, they need to be corrected. For this, it is permissible to use a sealant or mounting foam.
After that you can install a vapor barrier material, but in the case of penoplex it is not necessary.

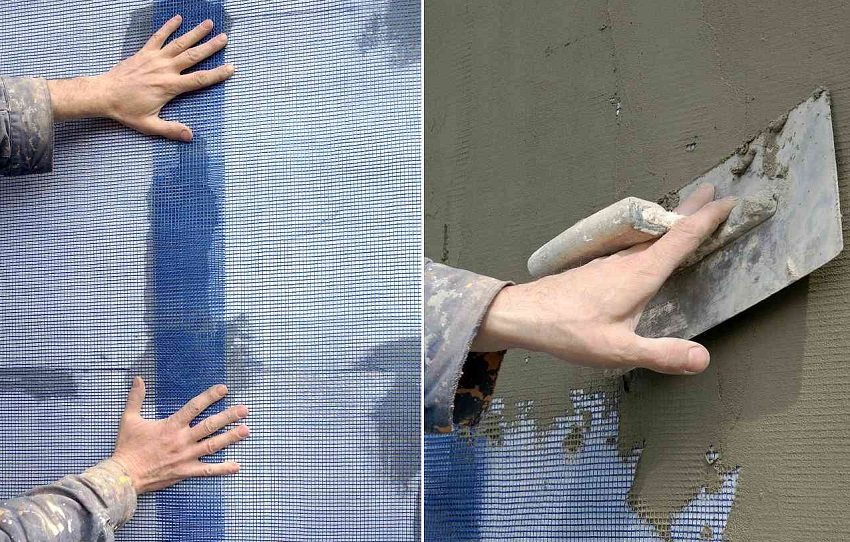
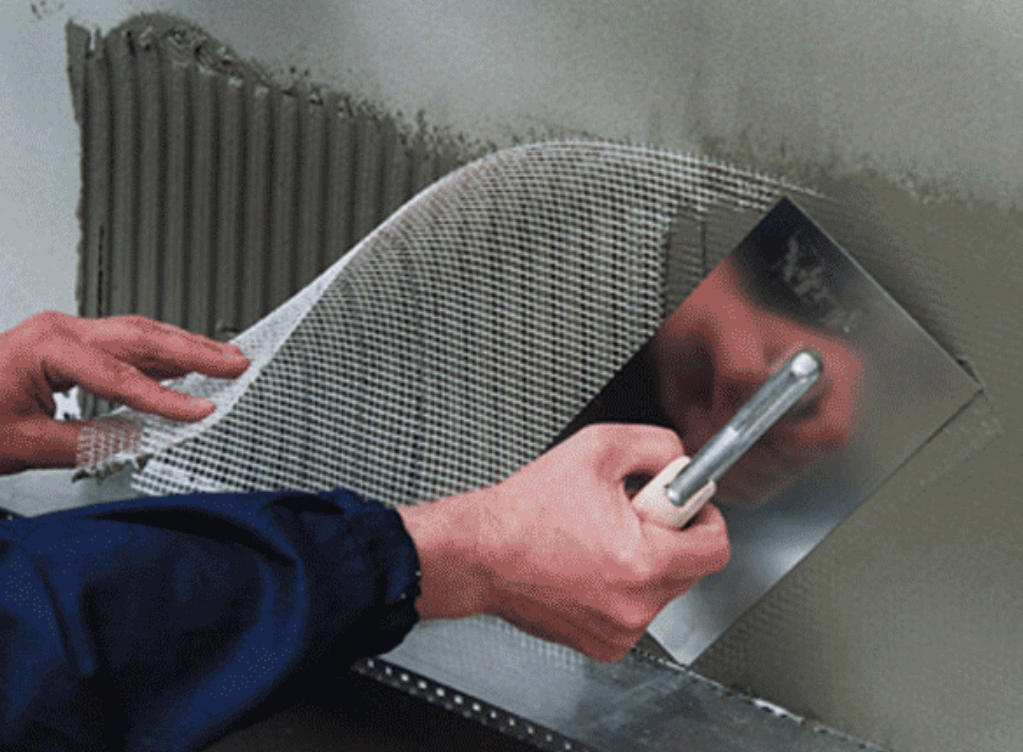
As for the finishing of the warmed walls, for this purpose, reinforcing mesh is most often used, which also needs to be leveled using an adhesive solution.After that, you can proceed to the application of decorative material. For more information on how to insulate the walls of the penoplex from the inside, see the following video.
Useful recommendations
Most homeowners are turning to outdoor, not internal wall insulation penopleks. This results from the fact that at the second option the useful area of the room is concealed.
To significantly reduce heat loss, it is recommended to lay the penoplex in two layers. Then you will have a layer of optimal thickness.
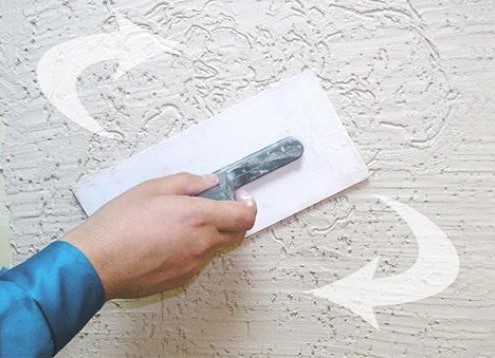
When decorating floors after insulation often turn to grout. For this it is better to use sandpaper. You can proceed to this stage after the complete drying of the reinforcing layer. Despite the strength of Penoplex, Be careful when working with it, as this material can still be damaged or broken.
Pick up high quality and maximum efficient glue for penoplex. For laying this insulation a special glue-foam is ideal: it firmly and firmly attaches the material to the base and holds it securely enough. Make sure thatso that the thickness of the foam insulation for wall insulation is not less than 5 cm. Ensure the insulation is secure and tight to the base. Use nails and glue.

The primer layer must be applied to the floor with a uniform and not very thick layer. When it dries to the end, be sure to repeat the operation.
During the installation of insulation can not do without a profile, especially when it comes to installing a frame structure. It is advisable to purchase a bubble or laser instrument, which is easier and more convenient to use.

To make the external insulation of the house more efficient and complete, it is recommended to pre-heat the foundation (with it you can also warm the basement). In this case, all the work is done quite simply: first, you need to dig out the foundation, clean it from any impurities, and then glue the sheets of penoplex. After this, the base can be instilled.
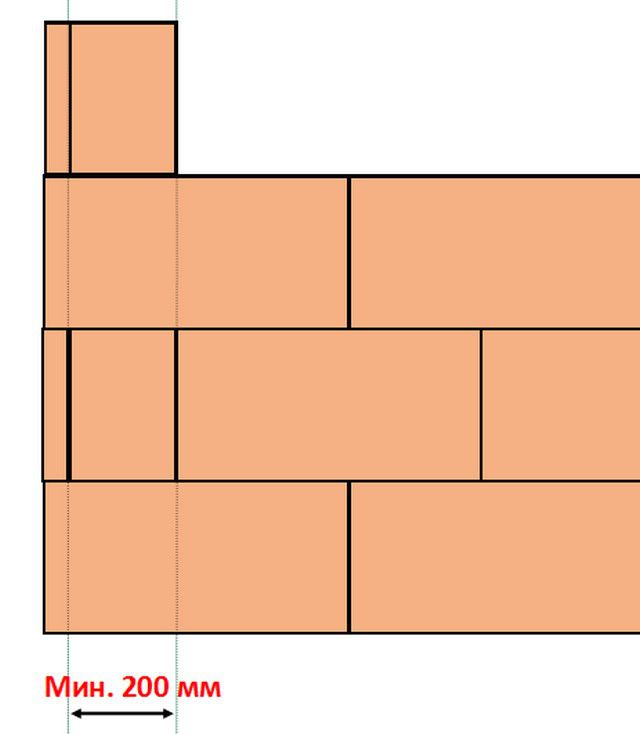
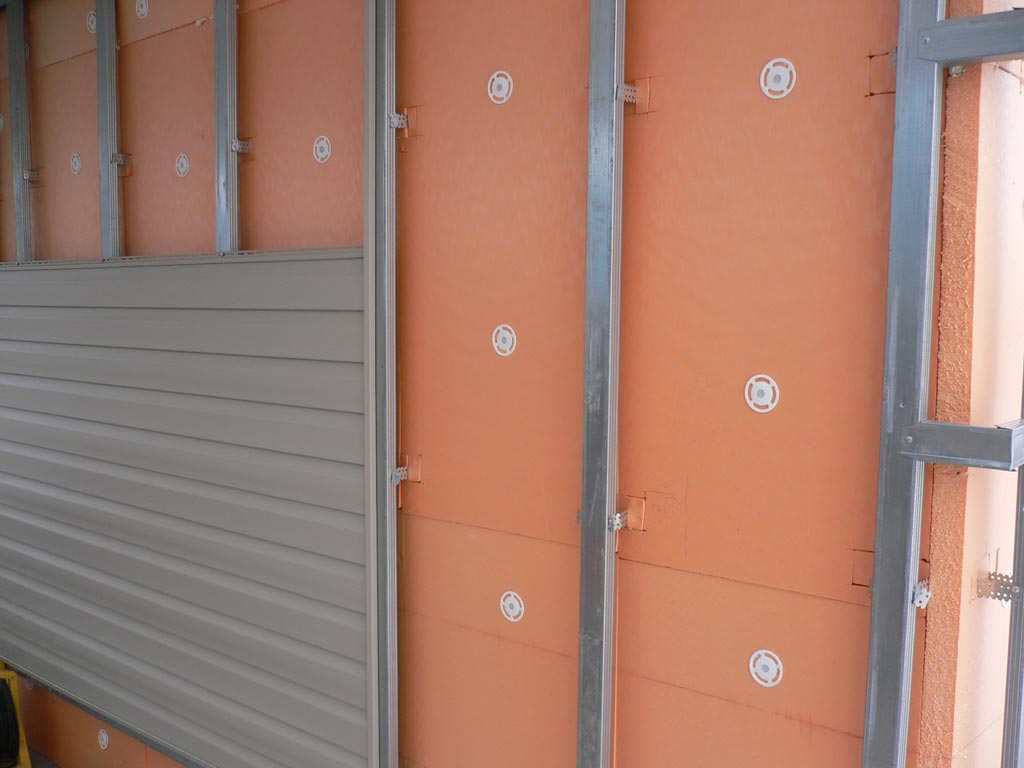
When installing penoplex on the facade of the building, it is necessary to ensure that the sheets overlap each other by about 10 cm. In this way, you can avoid the formation of cracks.
Extruded polystyrene is a strong and durable material, however, it does not tolerate contact with the following substances:
- gasoline, diesel fuel, kerosene;
- acetone and other ketone solvents;
- formalin and formaldehyde;
- benzene, xylene, toluene;
- various esters;
- polyesters;
- coal tar;
- oil paints.
It is most convenient to apply glue to materials with a notched trowel. In this case, the adhesive layer is desirable to do no more than 10 mm.
Facade foam tape glued to the ceiling needs to be tied up with vertical seams. This technology is very similar to laying bricks.
If you are going to plaster a wall insulated with foam plaster, then you should first apply the basic composition with a reinforcing mesh. The density of the latter should be at least 145 g / m2. Make sure that the overlap size is about 10 cm. Next, you need to put a leveling plaster layer (its thickness must be at least 5 mm). Only then the heat-insulating material should be covered with a decorative finish.
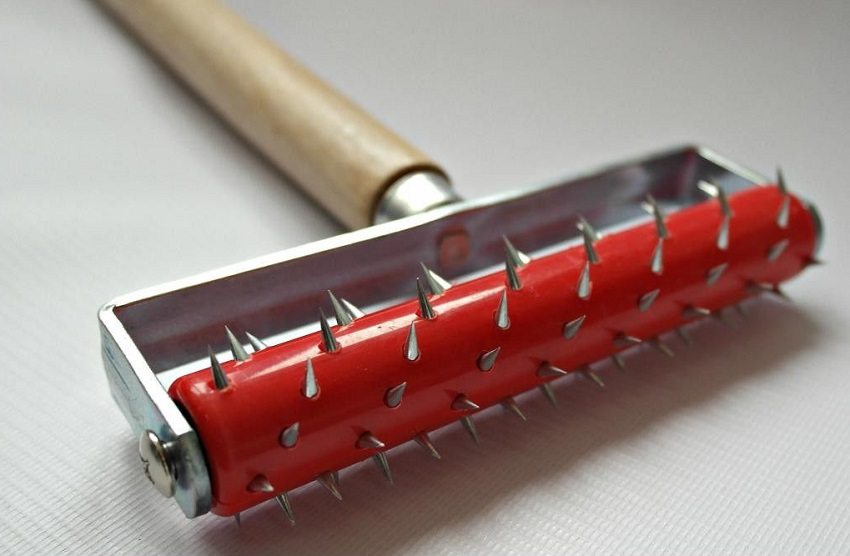
If you sheathe a penoplex house in 2 layers, then first glue the starting layer, and put the next layer on it with a slight offset.Before it it is necessary to process plates with the roller.
Before installing the insulation, remove the old coatings only if there are noticeable damages or loose areas on them. If the previous finish has no defects and complaints, then penoplex can be put on it.
During styling of the penoplex it is necessary to take into account that when applying it with the use of “wet” technology, you will often have to repair the lining because of its poor durability and strength. That is why during such work it is necessary to install insulation as tightly as possible to the surface.
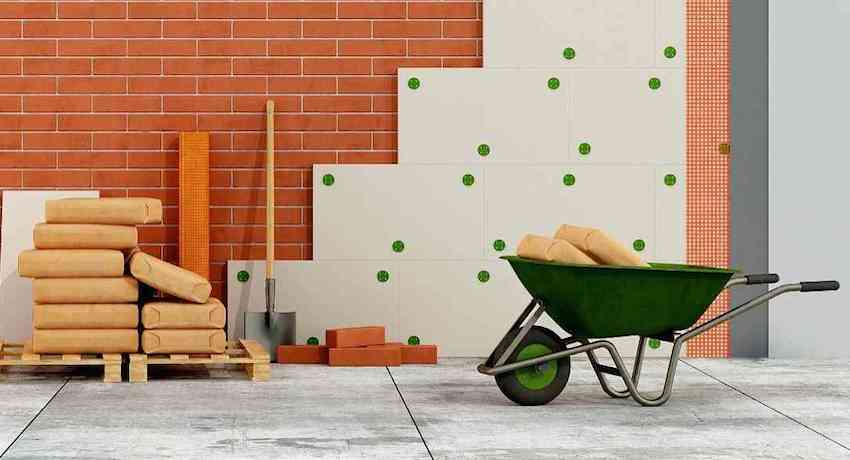
Penoplex can be installed on a variety of reasons. It can be safely used for a private / summer house or city apartment. In addition, this insulation you can easily put not only on the walls, but also on the roof / ceiling ceilings.
Experts advise not to rush to the warming of the house until it is completely shrinking. Otherwise, the layer of plaster will be covered with cracks and may begin to crumble. For carrying out heat insulation works it is necessary to select only high-quality materials and tools.
Do not look for too cheap penoplex, as its quality may disappoint you over time. In addition, this product belongs to the average price category and is inexpensive.
Alignment of the bases for styling penoplex is permissible to produce drywall. However, the presence of this material will scrape additional space in the room. Such solutions are often addressed by owners of city apartments with uneven ceilings.
If you decide to put foam plastic on a wall of foam concrete, then installation of a vapor barrier material is useful. These components are not needed only if we are talking about grounds, the structure of which is not porous.